V8 Sierra 2WD

 27-05-2017, 06:04 PM
#602
Too many posts.. I need a life!!
Some real quality workmanship going into this car can't wait to see the finished car 👍👍 the polishing machine you used on the bolts where's that from cleaning bolts by hand on mine is getting tedious
27-05-2017, 06:21 PM
#603
Got it from Amazon �76
The polishing media that comes with it is not much good for bolts, I bought some fine crushed walnut sand from a pet shop and rubbed in a bit of solvol autosol.
Takes a long while to get them shiny though !
EDIT to add that I sold the parts polisher on Ebay after I had finished with it for �88
Last edited by Mark V8; 28-05-2017 at 03:33 PM.
18-06-2017, 08:29 AM
#604
More bits stripped and cleaned ready for Zinc plating.
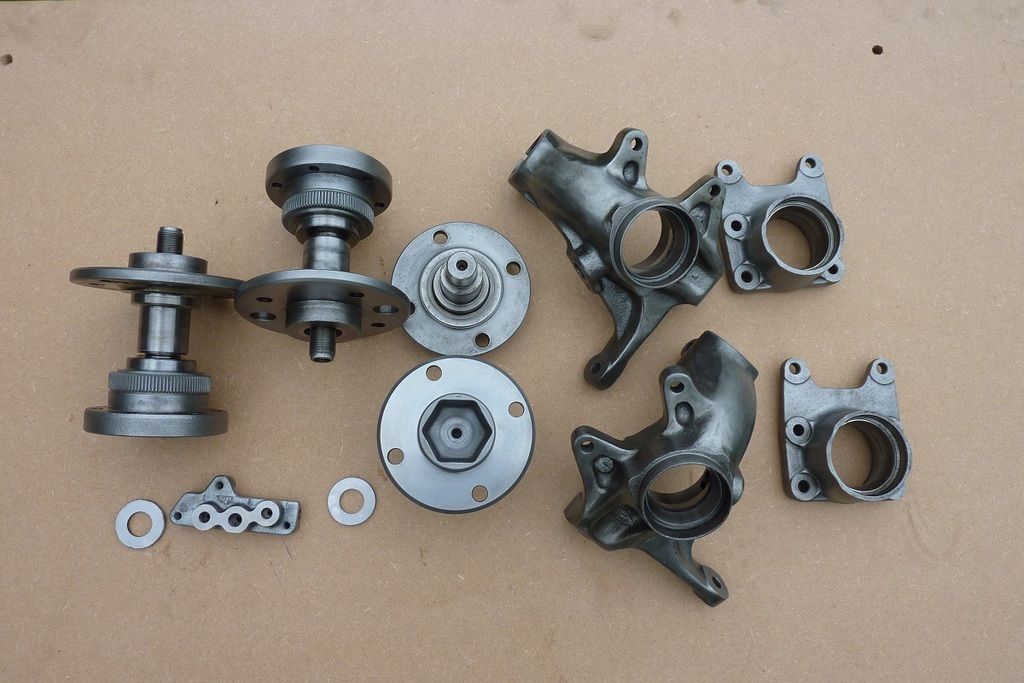
I've already done a set of 3 door hubs, but the fact that the unpainted parts will quickly rust is bugging me
Will sell the spare set when these are finished...
I've already done a set of 3 door hubs, but the fact that the unpainted parts will quickly rust is bugging me
Will sell the spare set when these are finished...
Last edited by Mark V8; 27-08-2018 at 06:36 PM.
18-06-2017, 11:29 AM
#606
It was Bohler M238 - they sell a lot of it to motorsport companies for making shafts.
http://www.bohlersteels.co.uk/english/1179.php
 21-06-2017, 08:00 PM
#609
Advanced PassionFord User

They look great a quick turnaround too. I'd want to leave them like that but I know they'd tarnish


 02-09-2017, 07:40 PM
#613
Thanks guys.
Very long day getting the front off the dolly wheels and all the suspension and steering on.
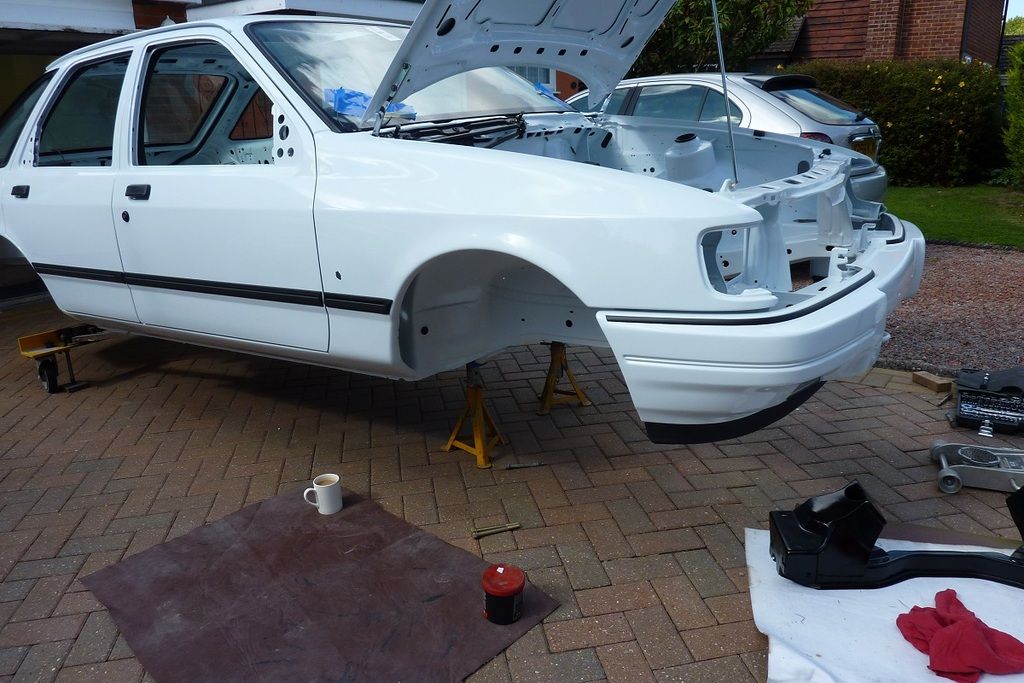
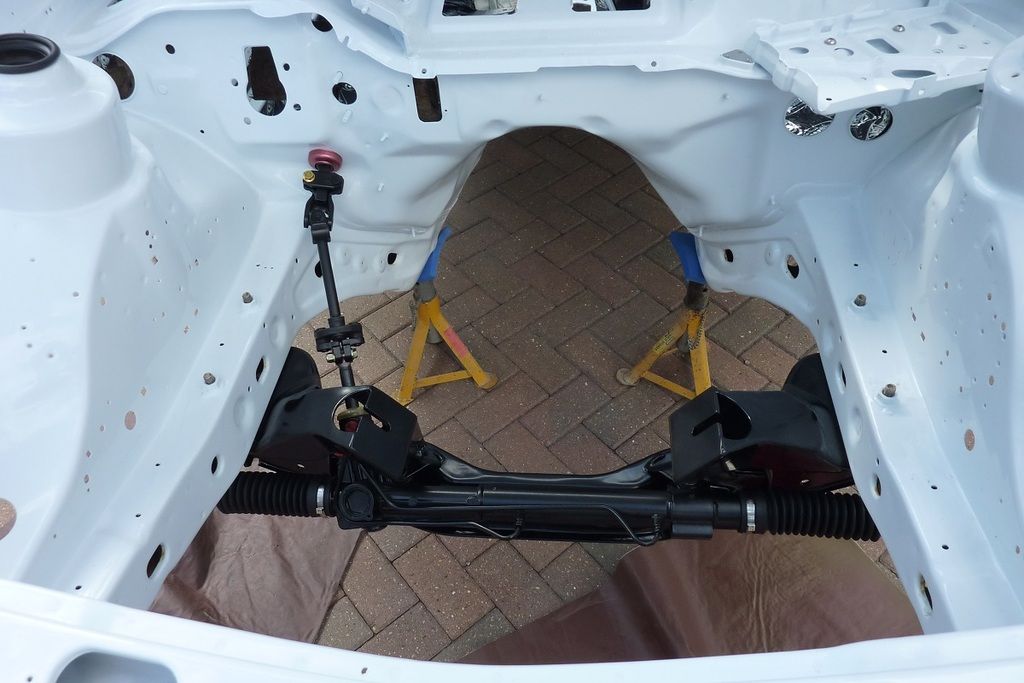
To make life much, much easier I spread the cross member a bit to give me a fighting chance of getting the TCA's in without beating the crap out of them.
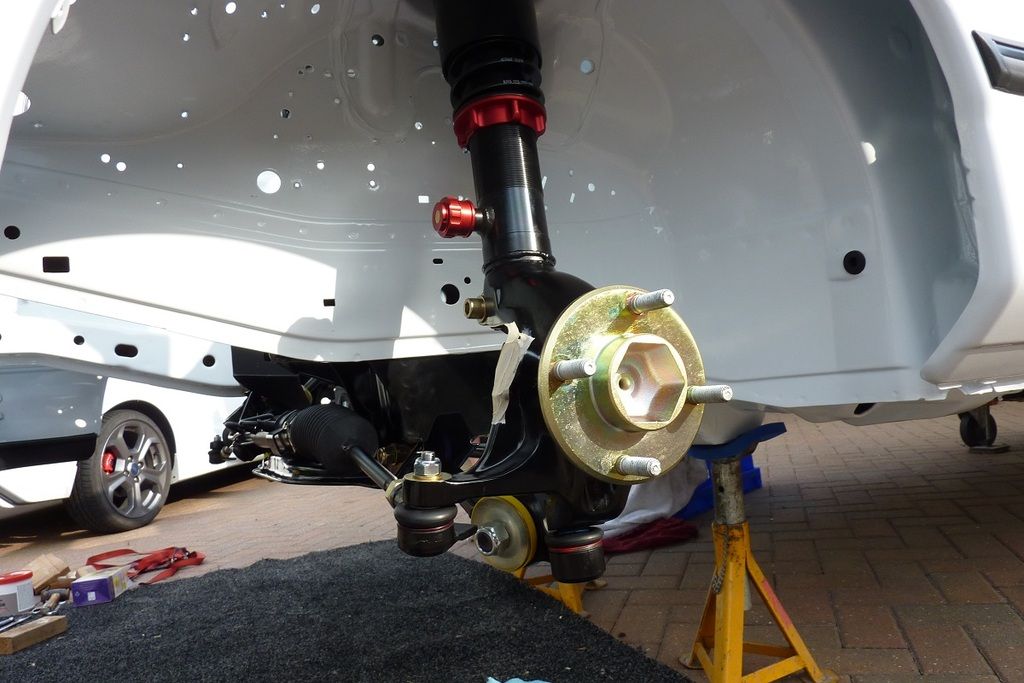
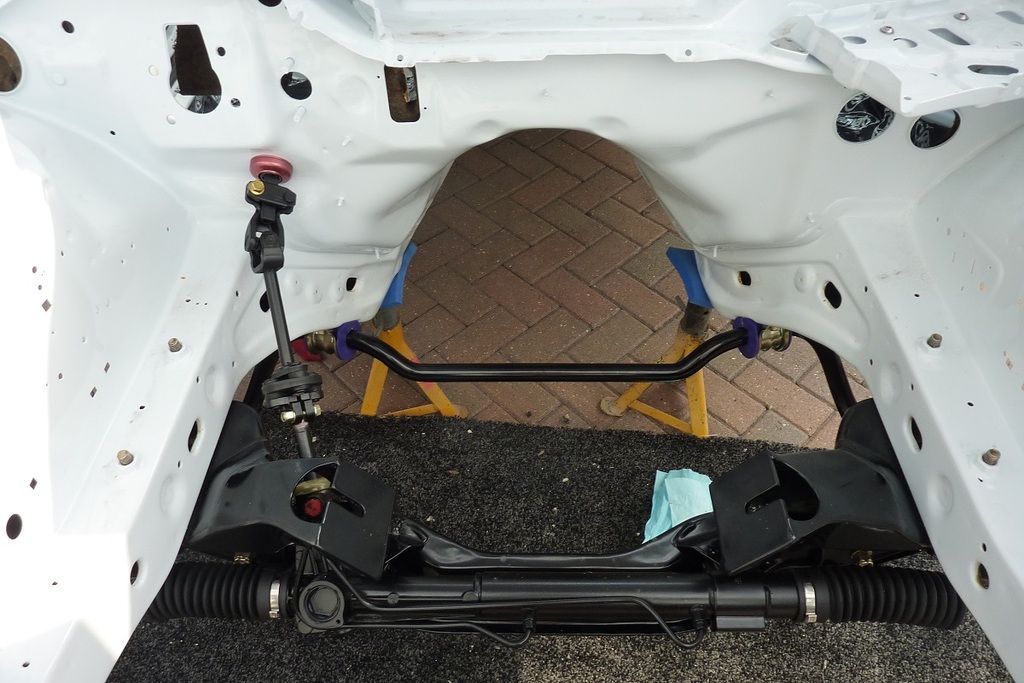


Just need to sort the rear end out now!
Very long day getting the front off the dolly wheels and all the suspension and steering on.
To make life much, much easier I spread the cross member a bit to give me a fighting chance of getting the TCA's in without beating the crap out of them.
Just need to sort the rear end out now!
03-09-2017, 12:22 AM
#615
Lucifer II - 666
Stunning!

The following users liked this post:
H3lsing (10-09-2017)
28-05-2018, 06:18 PM
#619
Not done a lot as I've changed my daily driver and been messing with that instead 
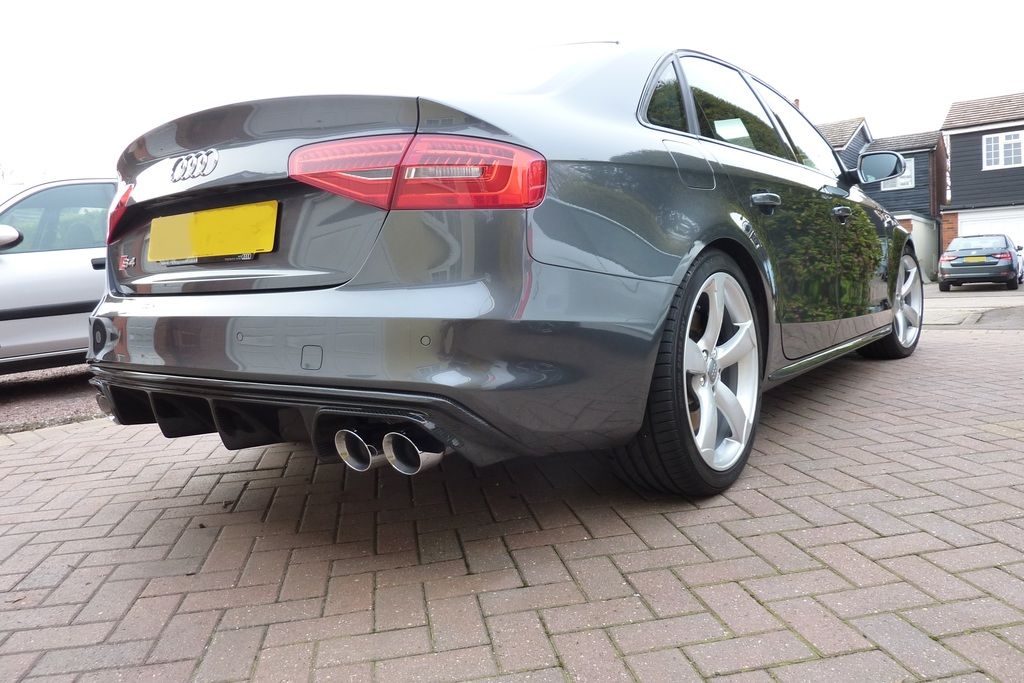
Had it remapped by MRC and it goes like the clappers.

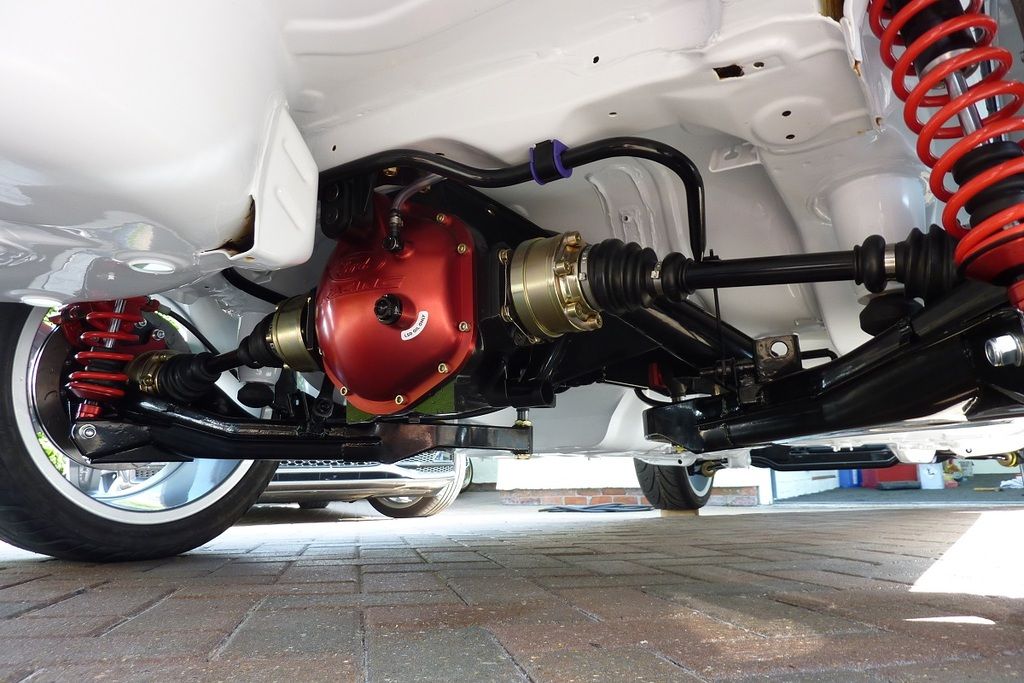
I have done some on the Sierra though!
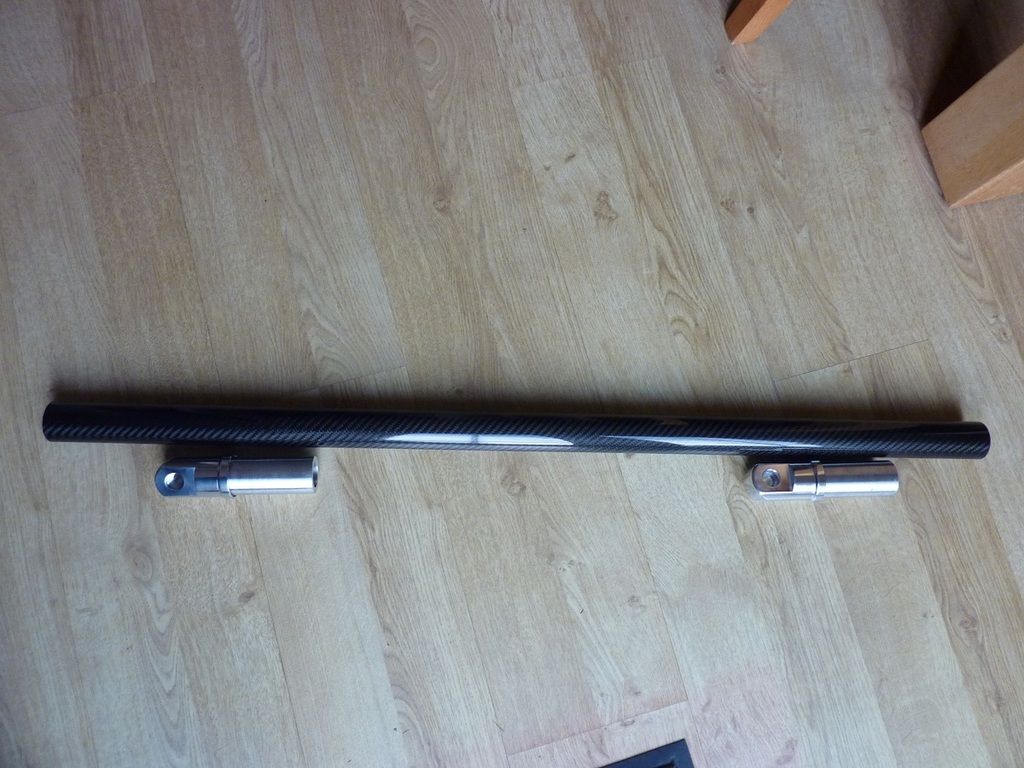
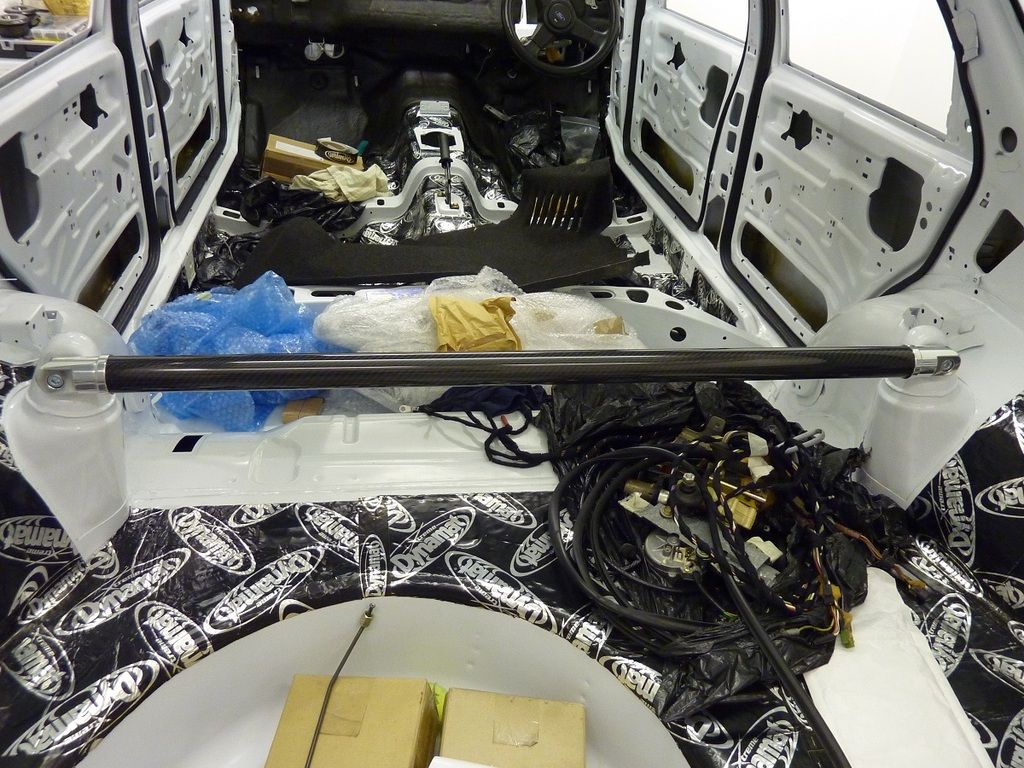
Made a carbon fibre rear strut brace over the winter
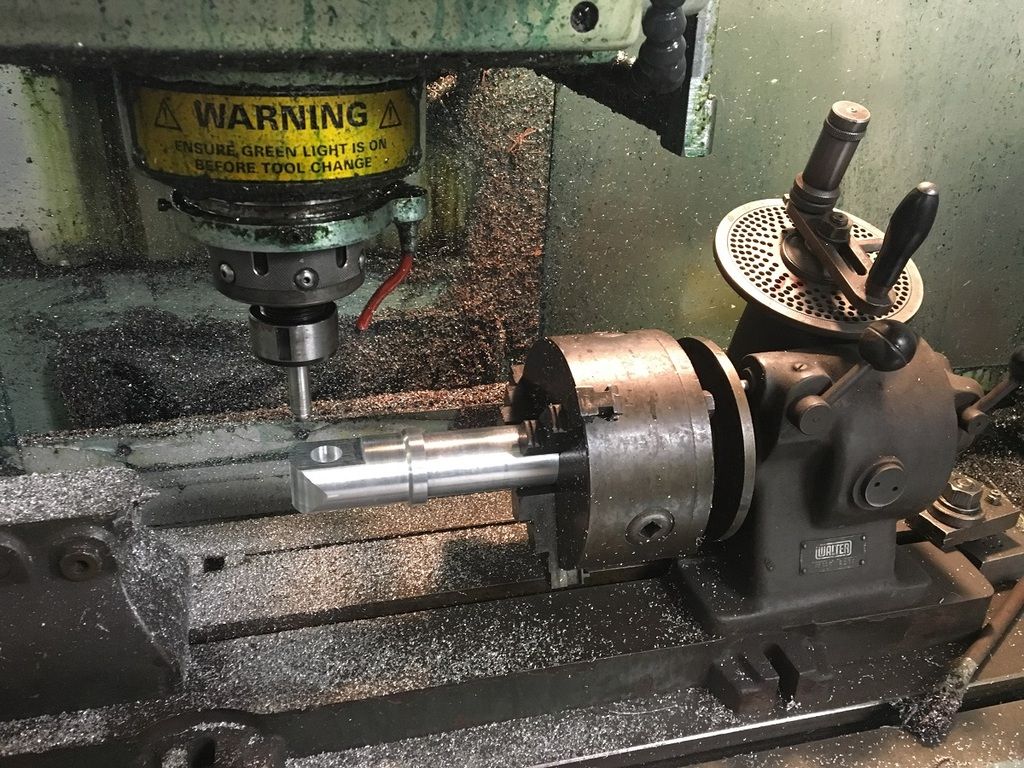
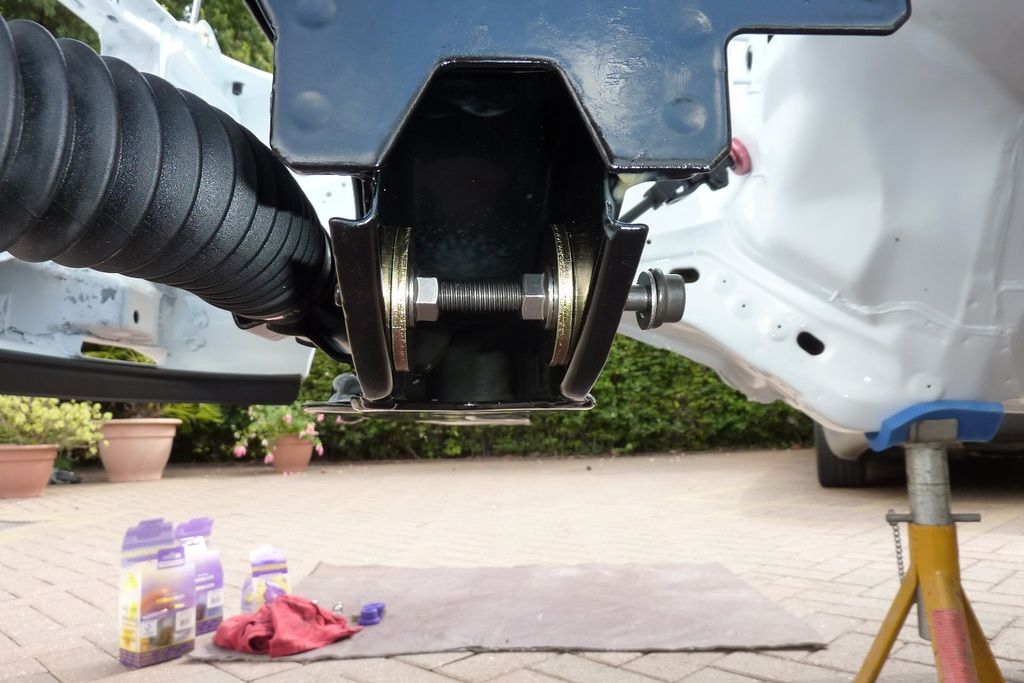
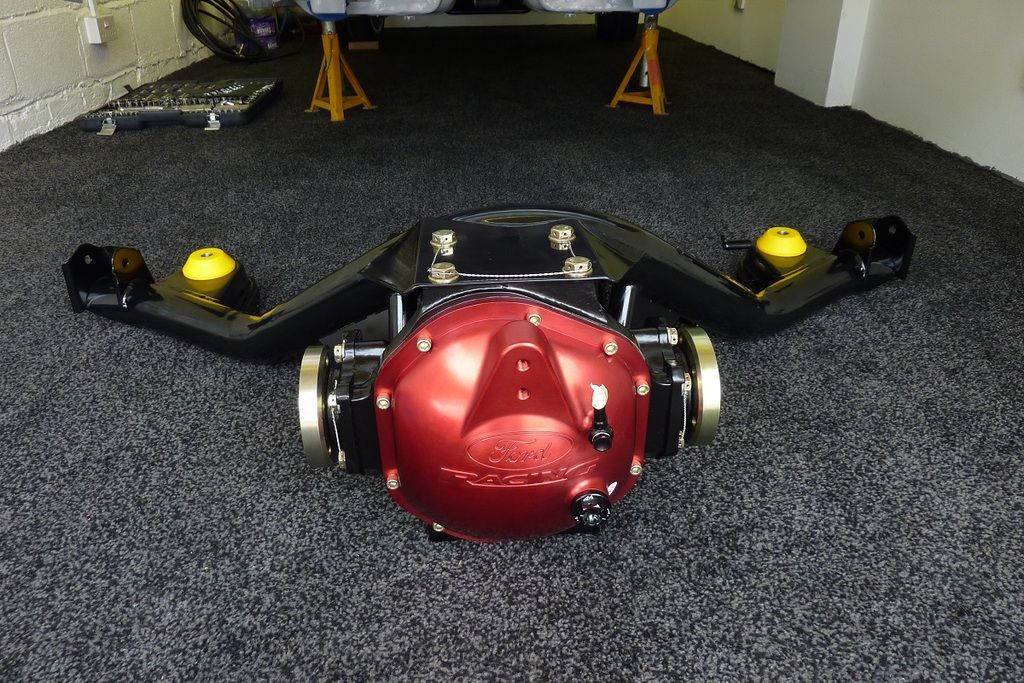
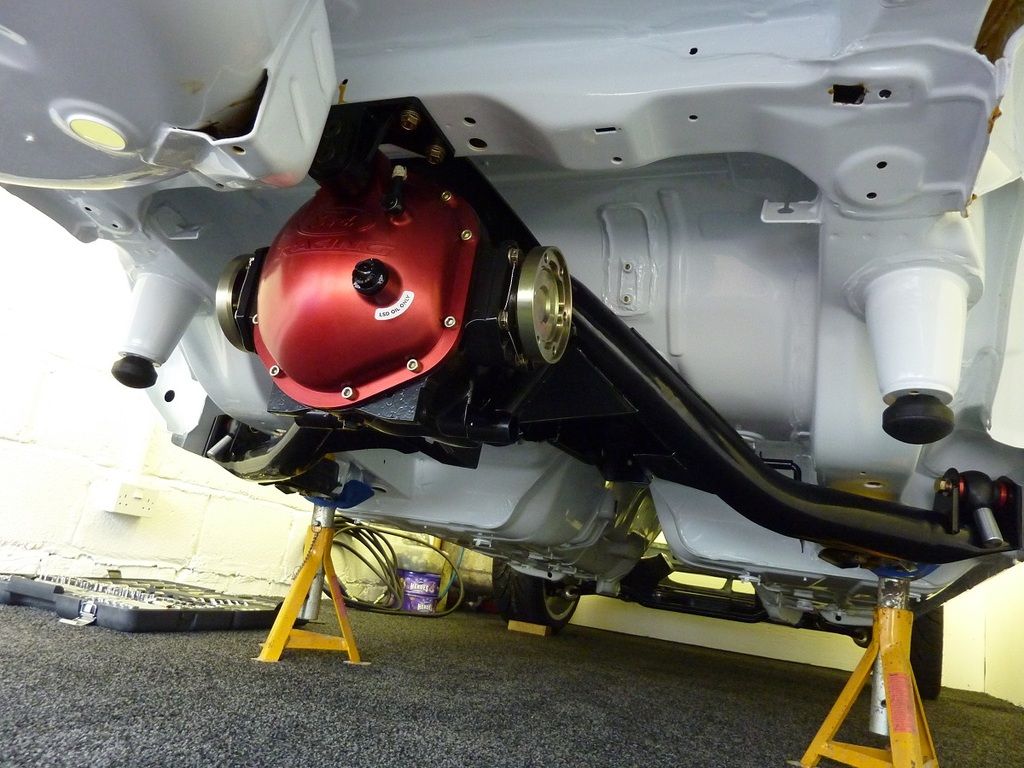
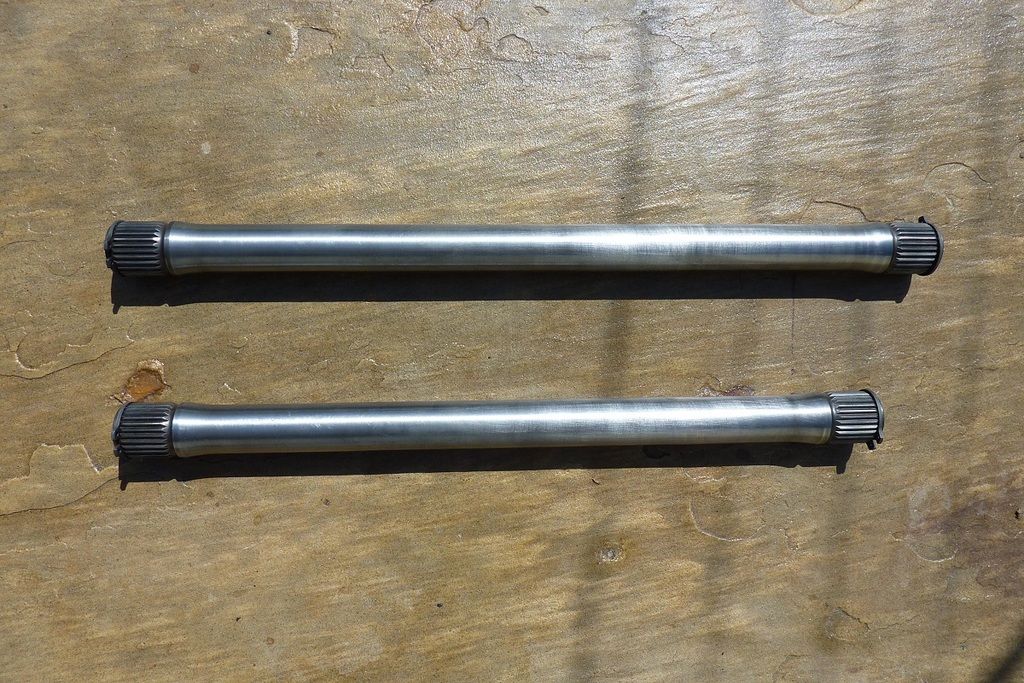
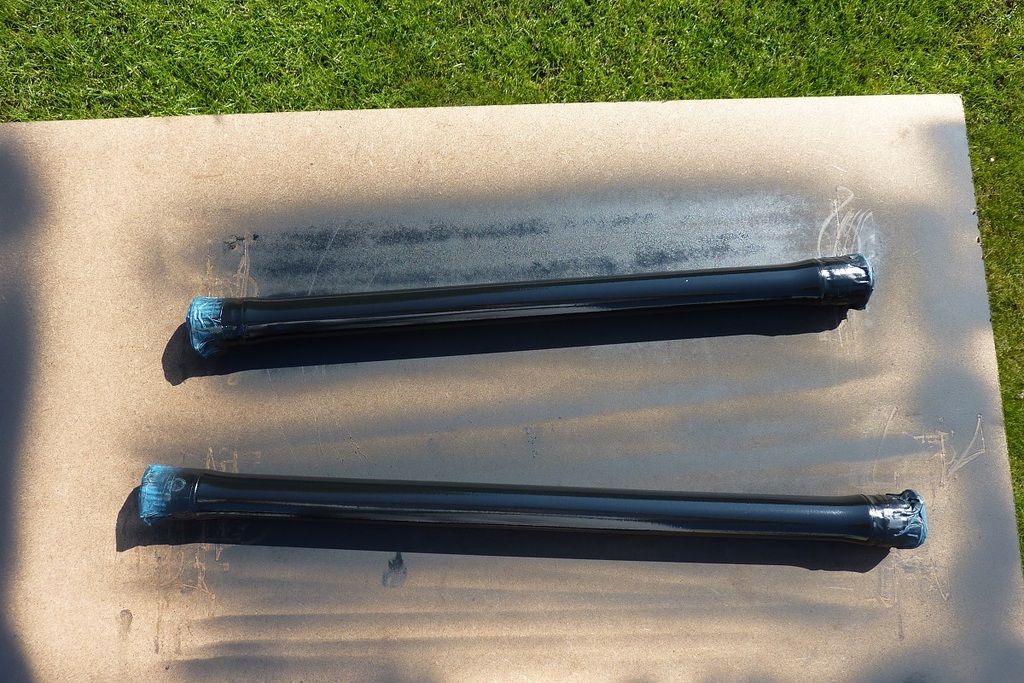
Cosworth drive shafts were too long to fit with the Jag diff and I had to get some shorter ones made.
Painted them last weekend
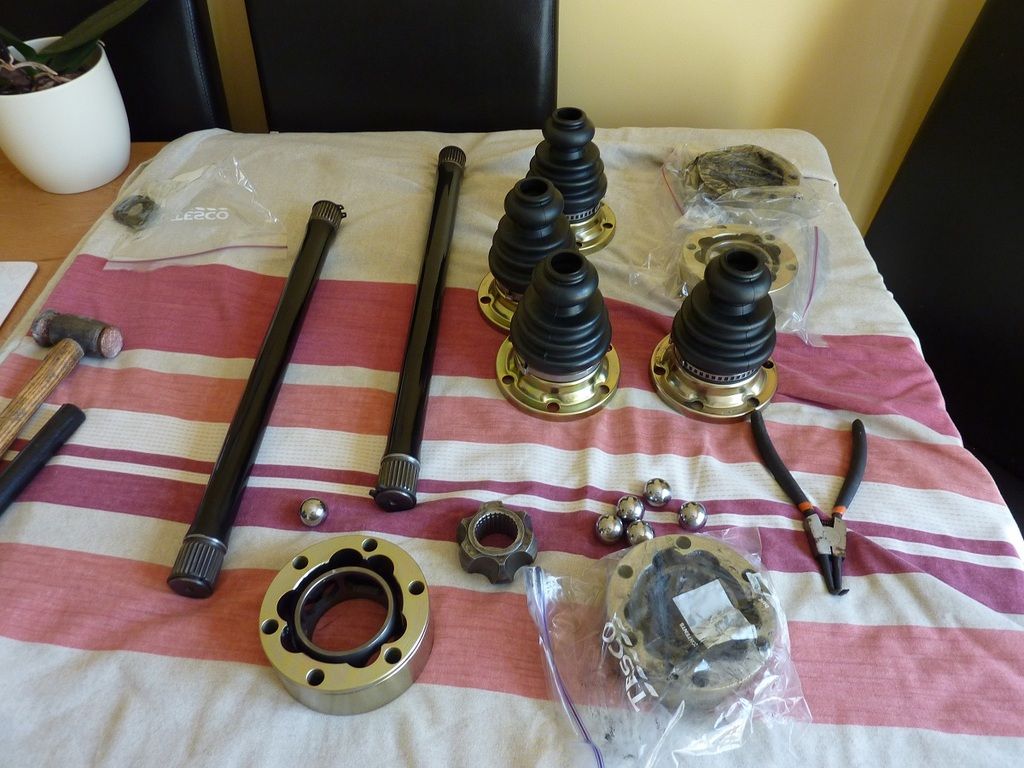
Built them on the kitchen table
Hid from the sun today under the car fitting them and the 4x4 Cosworth ARB

Had it remapped by MRC and it goes like the clappers.

I have done some on the Sierra though!
Made a carbon fibre rear strut brace over the winter


Cosworth drive shafts were too long to fit with the Jag diff and I had to get some shorter ones made.

Painted them last weekend

Built them on the kitchen table

Hid from the sun today under the car fitting them and the 4x4 Cosworth ARB

 29-05-2018, 09:15 AM
#624
10K+ Poster!!


Fantastic build, are those Black Art Coilovers.
29-05-2018, 07:52 PM
#626
10K+ Poster!!
Nice, they are supposed to be very good, I have a set going on mine
The following users liked this post:
Mark V8 (30-05-2018)


The following 2 users liked this post by merkwerke:
Mark V8 (26-07-2018),
sierra1off (03-11-2019)
 That looks like a real tight fit, what was clearance like for the headers ?
26-07-2018, 07:08 PM
That looks like a real tight fit, what was clearance like for the headers ?
26-07-2018, 07:08 PM
#631
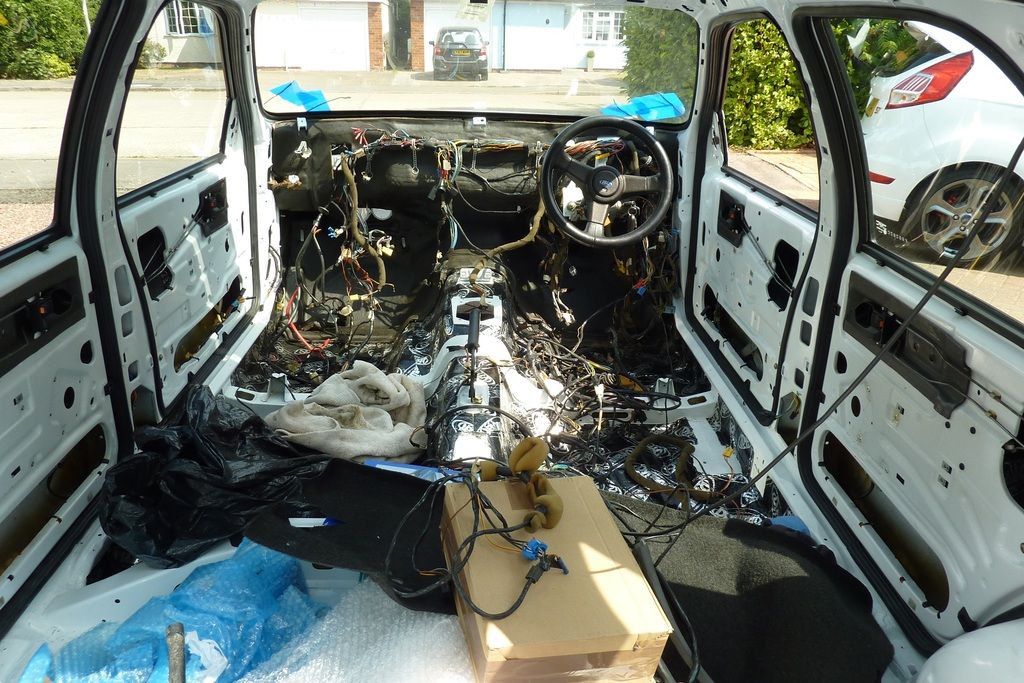
I've been slacking with the updates!
A few years back I bought some door looms on Ebay, but they did not have enough wires for my setup so had to swap the rubber grommets over - took bloody ages.
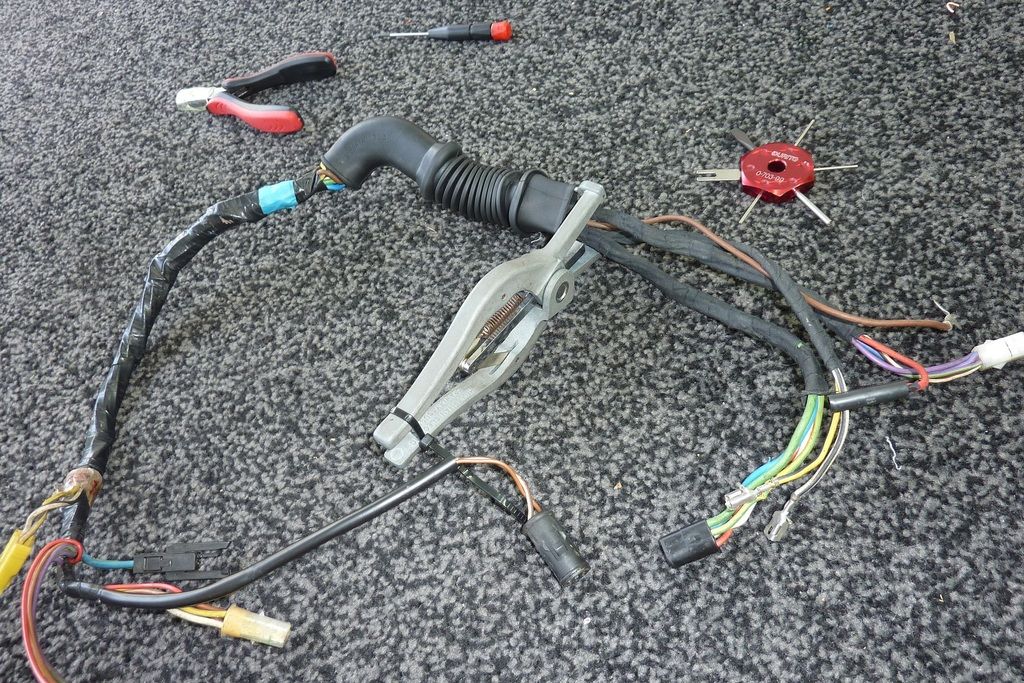
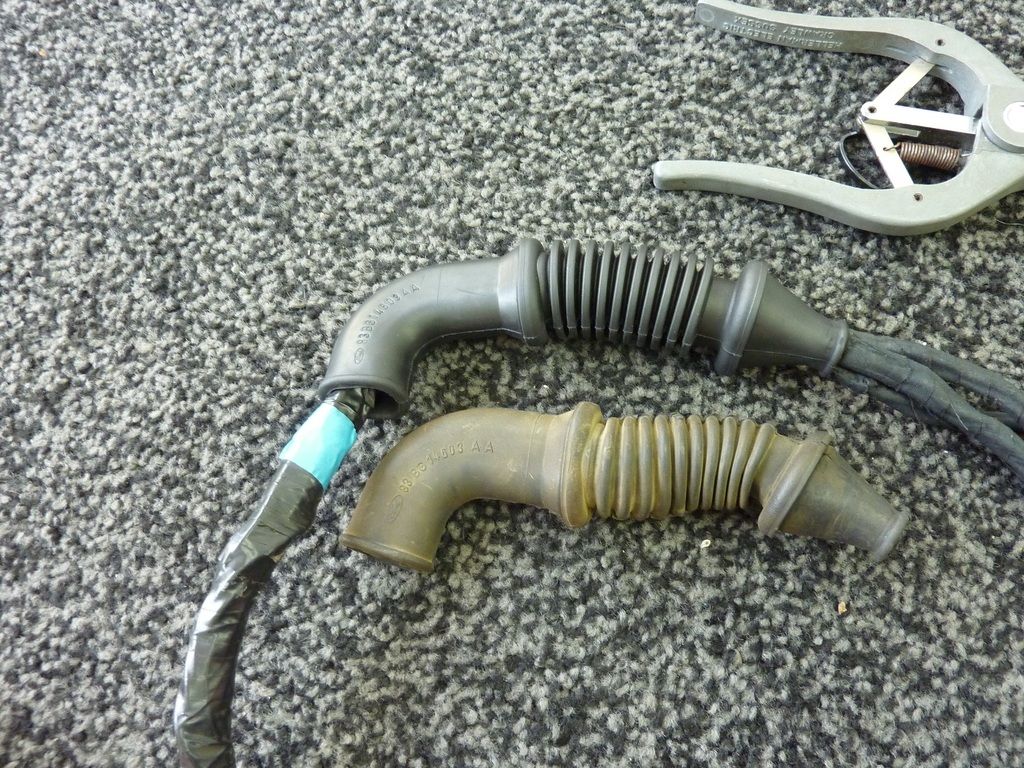
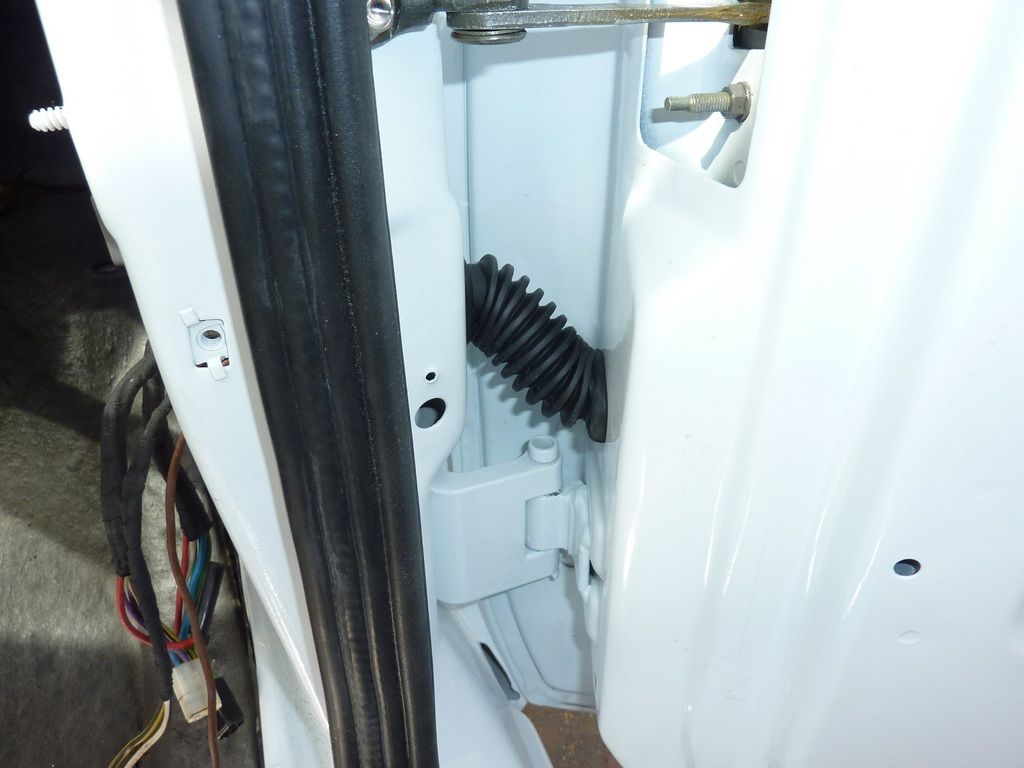
Got to love new old stock, �140 well spent for the full set
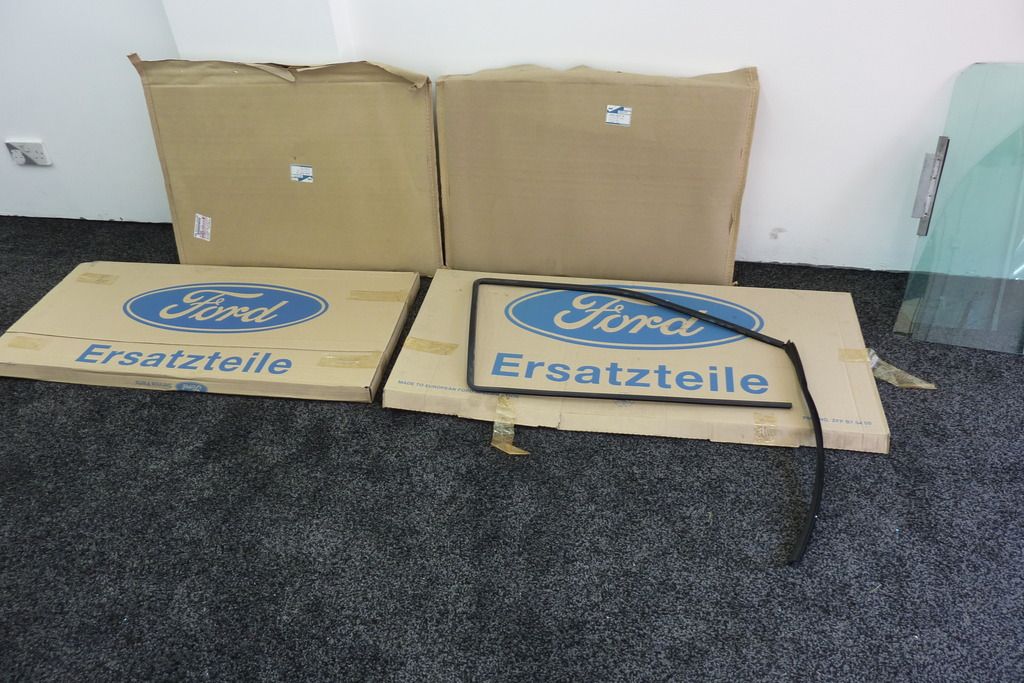
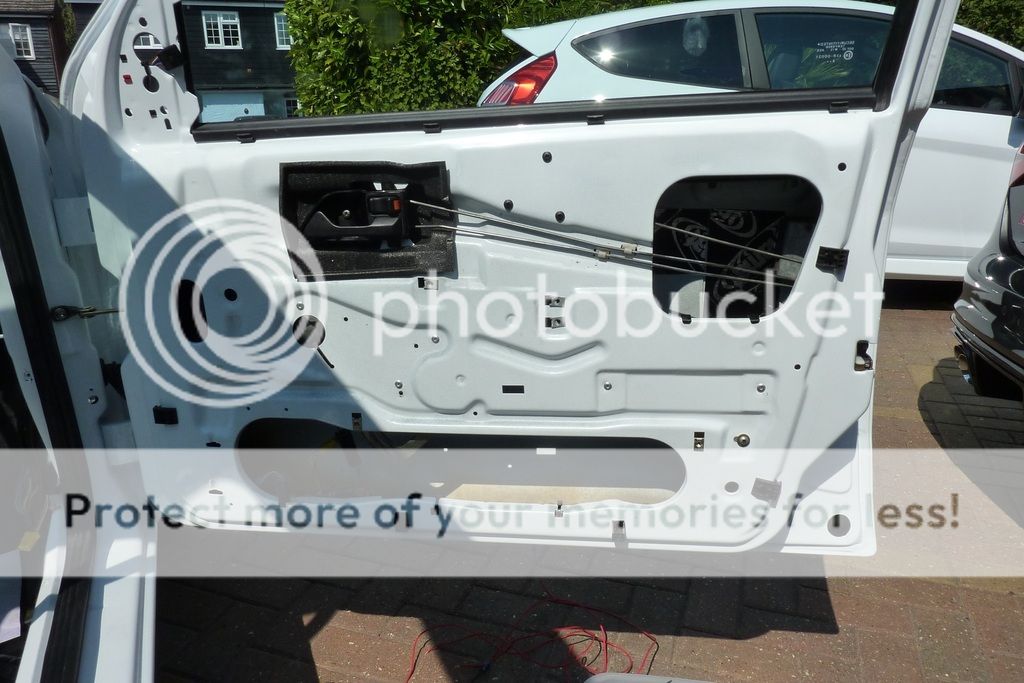
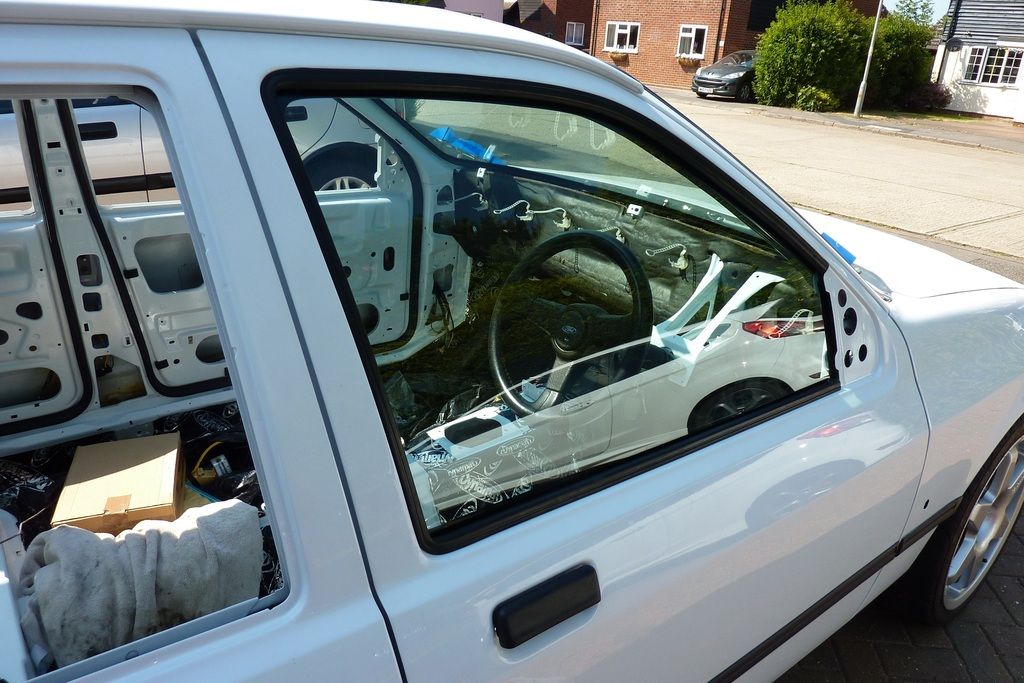
Cleaned up all the original glass and re-fitted it.
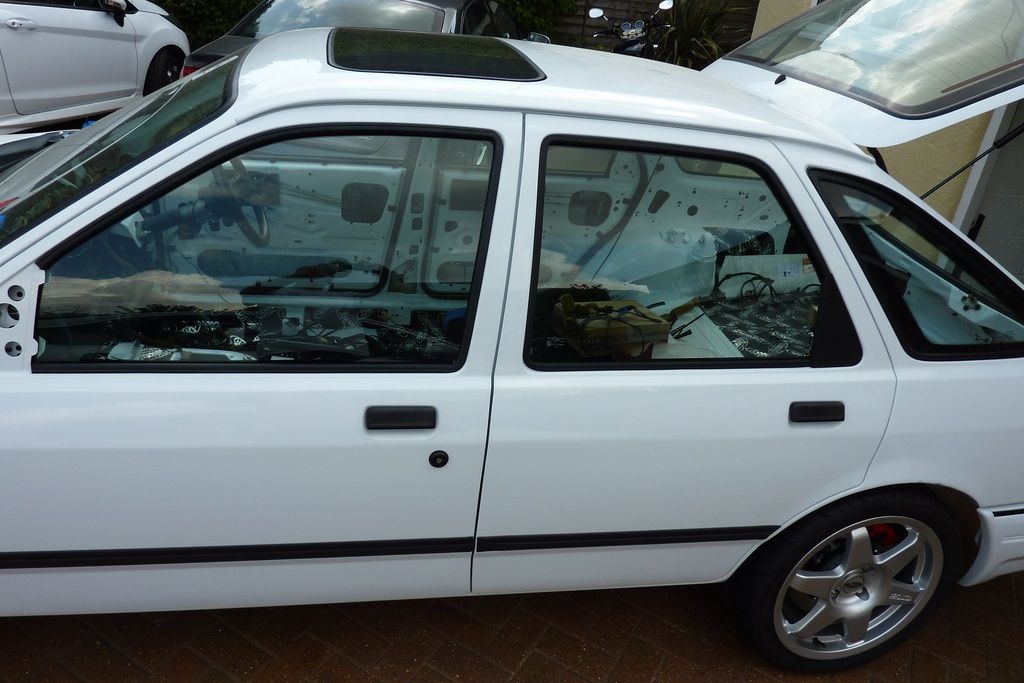
Now I'm on the wiring 
A few years back I bought some door looms on Ebay, but they did not have enough wires for my setup so had to swap the rubber grommets over - took bloody ages.


Got to love new old stock, �140 well spent for the full set


Cleaned up all the original glass and re-fitted it.

Now I'm on the wiring

Last edited by Mark V8; 26-07-2018 at 07:10 PM.
28-07-2018, 08:55 AM
#633
Virgin

Loads of room. For now it just has shorty headers on it that take up about the same room as cast iron manifolds. And it's not as "tight/snug" as people think. Between the frame rails it's wider than the Mustang! The Mustang does have more depth though.
01-08-2018, 06:53 PM
#634
Regular Contributor
[QUOTE=Mark V8;6776980]
Got to love new old stock, �140 well spent for the full set


Cleaned up all the original glass and re-fitted it.

/QUOTE]
Hi Mark V 8
Where did you get this from. I'm looking for a full set for my sapphire - just the outer trims is all I'm needing. I'm battling to source. Is it worth requesting from Germany. Who can help me with this?
Here in South Africa, these items are obsolete from the agents. I've been going to scrappers and they all have similar issues corrosion and bubbling. Any ideas?
Got to love new old stock, �140 well spent for the full set
Cleaned up all the original glass and re-fitted it.
/QUOTE]
Hi Mark V 8
Where did you get this from. I'm looking for a full set for my sapphire - just the outer trims is all I'm needing. I'm battling to source. Is it worth requesting from Germany. Who can help me with this?
Here in South Africa, these items are obsolete from the agents. I've been going to scrappers and they all have similar issues corrosion and bubbling. Any ideas?
02-08-2018, 01:47 AM
#636
Advanced PassionFord User

Keep up the good work, as above you won't want to drive it once done in case it gets dirty.
Out of interest how hard was it to make the carbon rear strut brace?
Out of interest how hard was it to make the carbon rear strut brace?
02-08-2018, 05:49 PM
#637
Got the carbon tube and adhesive from Easy composites
CFT-WF-40-37-1 40mm(37mm) Woven Finish Carbon Fibre Tube - 1m Length
VM100B-25 VM100 Black 10min Methacrylate Adhesive 25ml Syringe
The following users liked this post:
sierra1off (18-09-2018)
27-08-2018, 06:56 PM
#638
I've been putting this off for a while, but it needed doing so all the wiring can go back - scabby bulkhead panel attacked with paint stripper and 'Phosclean A' acid for the rust.
Acid was so strong it melted the scotch pad in less than a minute, stings your hands like a bastard as well


It's a bit thin in places so I soldered up the thin area and filed it smooth before laying on a load of epoxy mastic chassis paint, sanded it all over then more epoxy, sanded again with 600 wet and dry followed by some 2 pack satin black.
No pics of the finished article yet
Acid was so strong it melted the scotch pad in less than a minute, stings your hands like a bastard as well
It's a bit thin in places so I soldered up the thin area and filed it smooth before laying on a load of epoxy mastic chassis paint, sanded it all over then more epoxy, sanded again with 600 wet and dry followed by some 2 pack satin black.
No pics of the finished article yet

