Other Marques Use this section for any non Ford marques.

Toyota Carina

Old 08-04-2018, 12:20 PM
  #41  
visa_broke
Advanced PassionFord User
 
visa_broke's Avatar
 
Join Date: Nov 2014
Location: Hertsfordshire
Posts: 2,439
Received 329 Likes on 308 Posts
Default

in that case if your planning on doing it once and once only it might cost more at the start but to get the look you are after without too much hassle then look into air ride. You can put the kits together cheaply. I'm looking into getting a kit for my car at some point, plus points outway the minus's.

Rotiform has a wheel similar to the one in the picture above. Or I think compomotive used to do one similar.
The following users liked this post:
PaulinhoT (08-04-2018)
Old 08-04-2018, 07:34 PM
  #42  
PaulinhoT
Advanced PassionFord User
Thread Starter
 
PaulinhoT's Avatar
 
Join Date: Oct 2012
Location: South Coast
Posts: 1,717
Received 148 Likes on 147 Posts
Default

Cheers I will do some reading over the next week and see what I can digest, thank you.
Old 08-04-2018, 10:08 PM
  #43  
visa_broke
Advanced PassionFord User
 
visa_broke's Avatar
 
Join Date: Nov 2014
Location: Hertsfordshire
Posts: 2,439
Received 329 Likes on 308 Posts
Default

From what i've seen its basically

struts with airbags on them
air lines
compressor or two
tank for the air
management unless you go manual

Kits seem to be coming down in price all the time and if you are prepared to do work yourself then its even easier/cheaper. Just get decent bags is what i've been hearing.
The following users liked this post:
PaulinhoT (10-04-2018)
Old 11-04-2018, 06:45 PM
  #44  
PaulinhoT
Advanced PassionFord User
Thread Starter
 
PaulinhoT's Avatar
 
Join Date: Oct 2012
Location: South Coast
Posts: 1,717
Received 148 Likes on 147 Posts
Default

Well on Monday after work I came home and my case of "elbow grease" had showed up. I was recommended it by a few people that clean engine bays. So as it was really cheap I thought I'd give it a go.

Before:


30 seconds later, and a wipe off.

After:

Old 11-04-2018, 06:48 PM
  #45  
PaulinhoT
Advanced PassionFord User
Thread Starter
 
PaulinhoT's Avatar
 
Join Date: Oct 2012
Location: South Coast
Posts: 1,717
Received 148 Likes on 147 Posts
Default

Sadly it rained most of Monday night, and Tuesday, so I wasn't able to do much to the Carina E.
Tonight however the weather has been lush, so I've managed to de-tar the bonnet, roof, and boot. Then white cut it, and wax it.

Old 11-04-2018, 06:49 PM
  #46  
PaulinhoT
Advanced PassionFord User
Thread Starter
 
PaulinhoT's Avatar
 
Join Date: Oct 2012
Location: South Coast
Posts: 1,717
Received 148 Likes on 147 Posts
Default

I had to stand on a crate to get to the middle of the roof, but it will do for the time being.

Old 11-04-2018, 06:50 PM
  #47  
PaulinhoT
Advanced PassionFord User
Thread Starter
 
PaulinhoT's Avatar
 
Join Date: Oct 2012
Location: South Coast
Posts: 1,717
Received 148 Likes on 147 Posts
Default

The boot lid is a little flat, but I will go over it with some other products tomorrow, weather allowing.

Old 11-04-2018, 07:26 PM
  #48  
Caddyshack
10K+ Poster!!

 
Caddyshack's Avatar
 
Join Date: Mar 2013
Location: Guildford
Posts: 10,841
Received 1,031 Likes on 944 Posts
Default

Originally Posted by PaulinhoT
Well on Monday after work I came home and my case of "elbow grease" had showed up. I was recommended it by a few people that clean engine bays. So as it was really cheap I thought I'd give it a go.

Before:


30 seconds later, and a wipe off.

After:

That brake fluid looks dangerously dark to me, I expect it has taken on water, check it and if dark drain out as it will let you down if it gets hot. I had total brake fade on a car once like that.
The following users liked this post:
PaulinhoT (12-04-2018)
Old 12-04-2018, 07:15 PM
  #49  
PaulinhoT
Advanced PassionFord User
Thread Starter
 
PaulinhoT's Avatar
 
Join Date: Oct 2012
Location: South Coast
Posts: 1,717
Received 148 Likes on 147 Posts
Default

Cheers, and yes it's long over due having all it's fluids changed, both fluids look dark, and I've no idea how long they have been in there
Old 14-04-2018, 06:24 PM
  #50  
PaulinhoT
Advanced PassionFord User
Thread Starter
 
PaulinhoT's Avatar
 
Join Date: Oct 2012
Location: South Coast
Posts: 1,717
Received 148 Likes on 147 Posts
Default

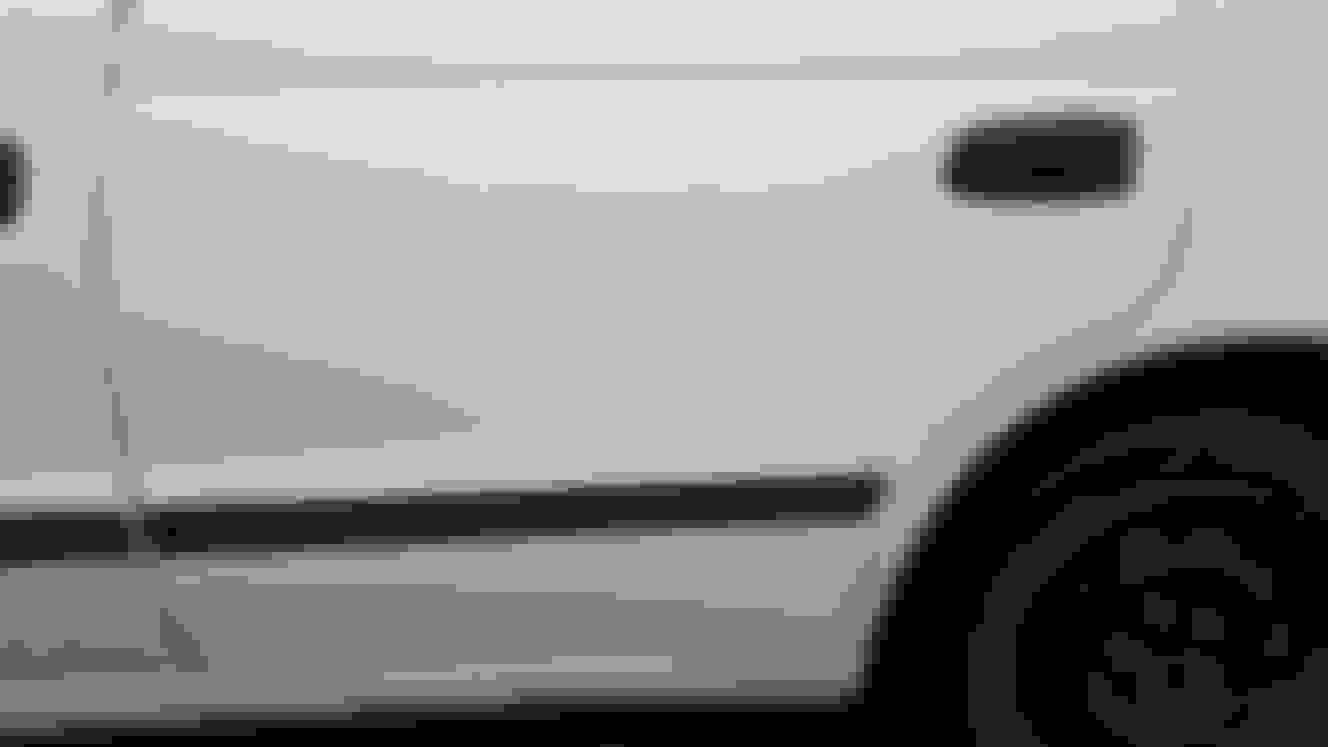
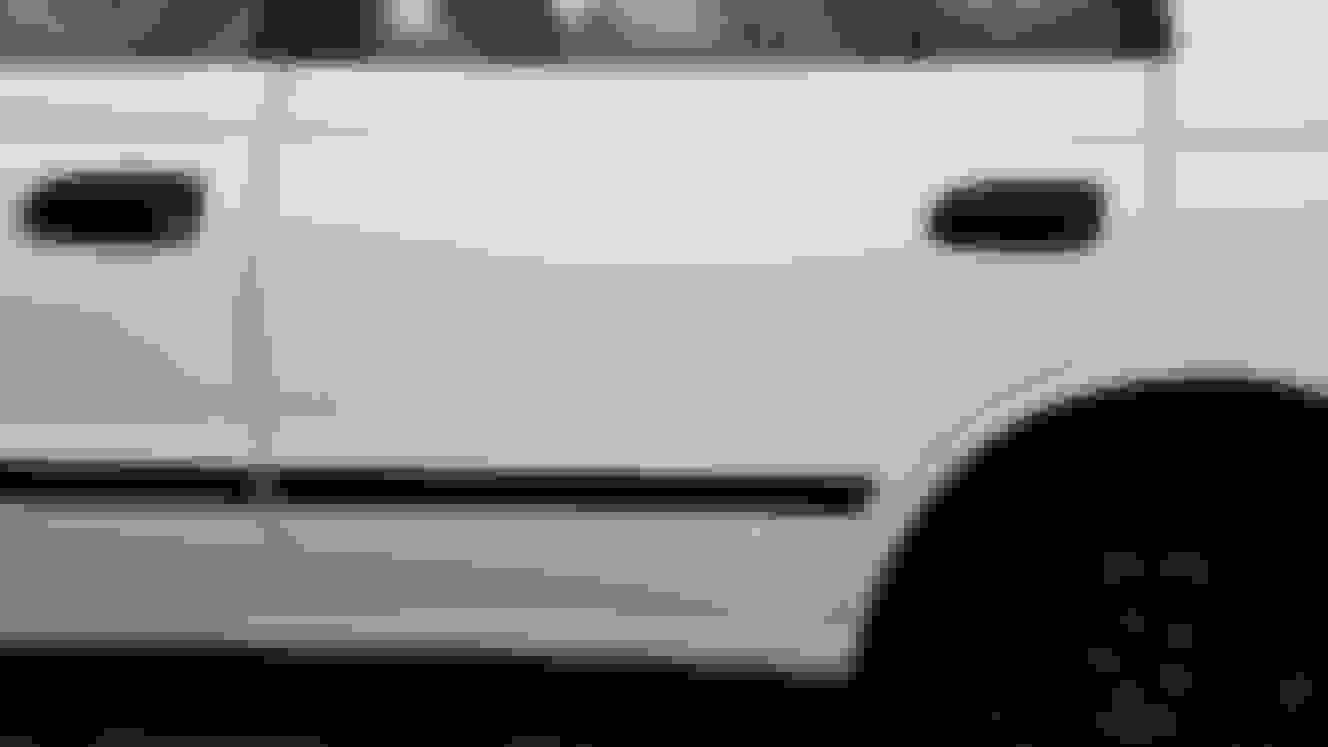
So Friday the 13th saw me spend a few more hours on the Carina E, mainly removing more dots of tar on the passengers doors, and rear arches. A lot of work, but again all has to be done.


Last edited by PaulinhoT; 14-04-2018 at 06:26 PM.
Old 14-04-2018, 06:27 PM
  #51  
PaulinhoT
Advanced PassionFord User
Thread Starter
 
PaulinhoT's Avatar
 
Join Date: Oct 2012
Location: South Coast
Posts: 1,717
Received 148 Likes on 147 Posts
Default

The paint looks very flat in the these photos, but it was getting dark already.
Old 15-04-2018, 03:51 PM
  #52  
PaulinhoT
Advanced PassionFord User
Thread Starter
 
PaulinhoT's Avatar
 
Join Date: Oct 2012
Location: South Coast
Posts: 1,717
Received 148 Likes on 147 Posts
Default

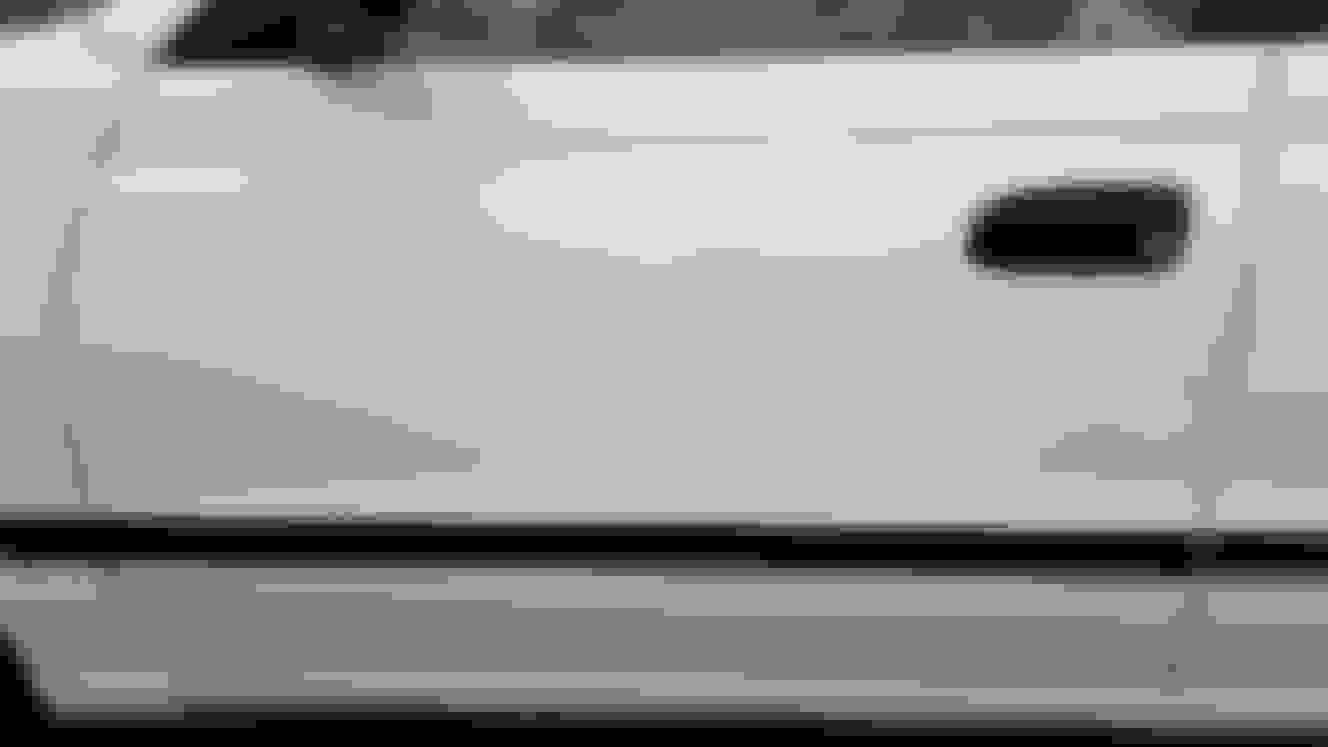
The near side was a lot dirtier, I guess that's due to lots of standing water and mud beside the road, but it still cleaned up very well. But I soon lost the light, so my Friday the 13th ended early.


Last edited by PaulinhoT; 15-04-2018 at 03:56 PM.
Old 15-04-2018, 03:58 PM
  #53  
PaulinhoT
Advanced PassionFord User
Thread Starter
 
PaulinhoT's Avatar
 
Join Date: Oct 2012
Location: South Coast
Posts: 1,717
Received 148 Likes on 147 Posts
Default

But a good few hours of work netted some good results.


Last edited by PaulinhoT; 15-04-2018 at 04:00 PM.
Old 15-04-2018, 04:04 PM
  #54  
PaulinhoT
Advanced PassionFord User
Thread Starter
 
PaulinhoT's Avatar
 
Join Date: Oct 2012
Location: South Coast
Posts: 1,717
Received 148 Likes on 147 Posts
Default

So this moved me onto the next day, and I was off work for the whole day, so planned on doing rather a lot to the car.

The first job was to try and tidy up the rear bump, as it seems to not fit 100%

This is the before:


This is the after:


Last edited by PaulinhoT; 22-04-2018 at 05:34 PM.
Old 15-04-2018, 04:05 PM
  #55  
PaulinhoT
Advanced PassionFord User
Thread Starter
 
PaulinhoT's Avatar
 
Join Date: Oct 2012
Location: South Coast
Posts: 1,717
Received 148 Likes on 147 Posts
Default

I feel the plastic has been pinched for so long, well it's basically taken on the incorrect shape, so I may have to replace that.

I also had a quick poke around underneath at the same time, as was looking at the suspension set up.


Last edited by PaulinhoT; 22-04-2018 at 05:34 PM.
Old 15-04-2018, 04:11 PM
  #56  
PaulinhoT
Advanced PassionFord User
Thread Starter
 
PaulinhoT's Avatar
 
Join Date: Oct 2012
Location: South Coast
Posts: 1,717
Received 148 Likes on 147 Posts
Default

One of the things I wanted to check out was the dent below the rear light. I think it's just a simple car park trolley dent.

Old 15-04-2018, 04:12 PM
  #57  
PaulinhoT
Advanced PassionFord User
Thread Starter
 
PaulinhoT's Avatar
 
Join Date: Oct 2012
Location: South Coast
Posts: 1,717
Received 148 Likes on 147 Posts
Default

But in order to do so, I need to remove the light, and when I did I found loads of dirt behind the light, which I then had to clean.


Last edited by PaulinhoT; 22-04-2018 at 05:34 PM.
Old 15-04-2018, 04:13 PM
  #58  
PaulinhoT
Advanced PassionFord User
Thread Starter
 
PaulinhoT's Avatar
 
Join Date: Oct 2012
Location: South Coast
Posts: 1,717
Received 148 Likes on 147 Posts
Default

To make it fair I did the passenger side as well.

Old 15-04-2018, 04:15 PM
  #59  
PaulinhoT
Advanced PassionFord User
Thread Starter
 
PaulinhoT's Avatar
 
Join Date: Oct 2012
Location: South Coast
Posts: 1,717
Received 148 Likes on 147 Posts
Default

At this point I noticed the reversing light didn't work, so what I thought was a five minute job turned into a nightmare. The bulb holder wouldn't unscrew, so I ended up taking most of the boot lid trim out, then remove the light to get the bulb out.


Last edited by PaulinhoT; 22-04-2018 at 05:35 PM.
Old 16-04-2018, 04:30 PM
  #60  
PaulinhoT
Advanced PassionFord User
Thread Starter
 
PaulinhoT's Avatar
 
Join Date: Oct 2012
Location: South Coast
Posts: 1,717
Received 148 Likes on 147 Posts
Default

Getting the damaged reverse light bulb out was harder than I thought, basically it twists and comes out, but I couldn't budge this one. So I ended up taking the rear light out and doing it that way. Which added a fair amount of time to a 10 second job.


Last edited by PaulinhoT; 22-04-2018 at 05:36 PM.
Old 16-04-2018, 05:43 PM
  #61  
PaulinhoT
Advanced PassionFord User
Thread Starter
 
PaulinhoT's Avatar
 
Join Date: Oct 2012
Location: South Coast
Posts: 1,717
Received 148 Likes on 147 Posts
Default

I did treat myself to a few spare bulbs, although I'm looking into LED replacements.

Old 16-04-2018, 06:01 PM
  #62  
massivewangers
PassionFord Post Whore!!
iTrader: (1)
 
massivewangers's Avatar
 
Join Date: Jan 2006
Location: Norfolk Drives: Couple of Fords
Posts: 5,412
Received 186 Likes on 146 Posts
Default

Love it! What a cool project, will be following with interest!
The following users liked this post:
PaulinhoT (22-04-2018)
Old 16-04-2018, 06:23 PM
  #63  
PaulinhoT
Advanced PassionFord User
Thread Starter
 
PaulinhoT's Avatar
 
Join Date: Oct 2012
Location: South Coast
Posts: 1,717
Received 148 Likes on 147 Posts
Default

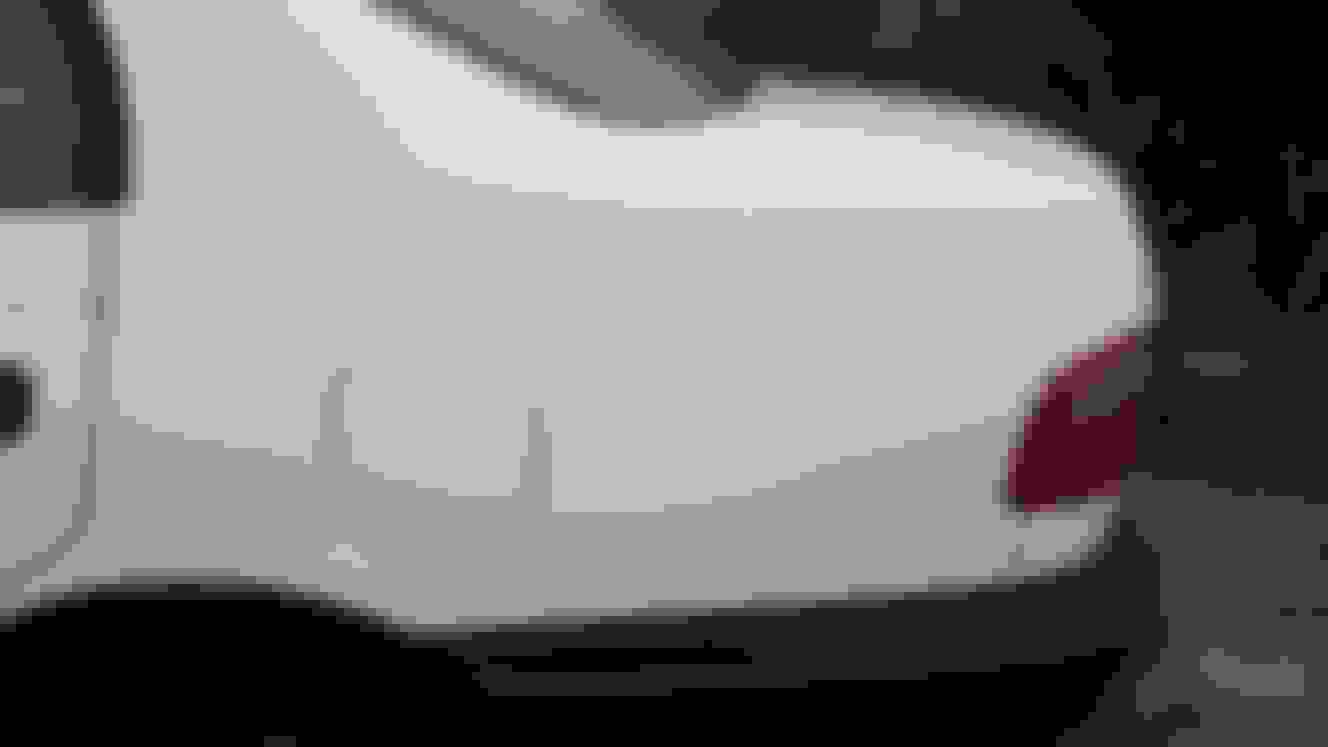
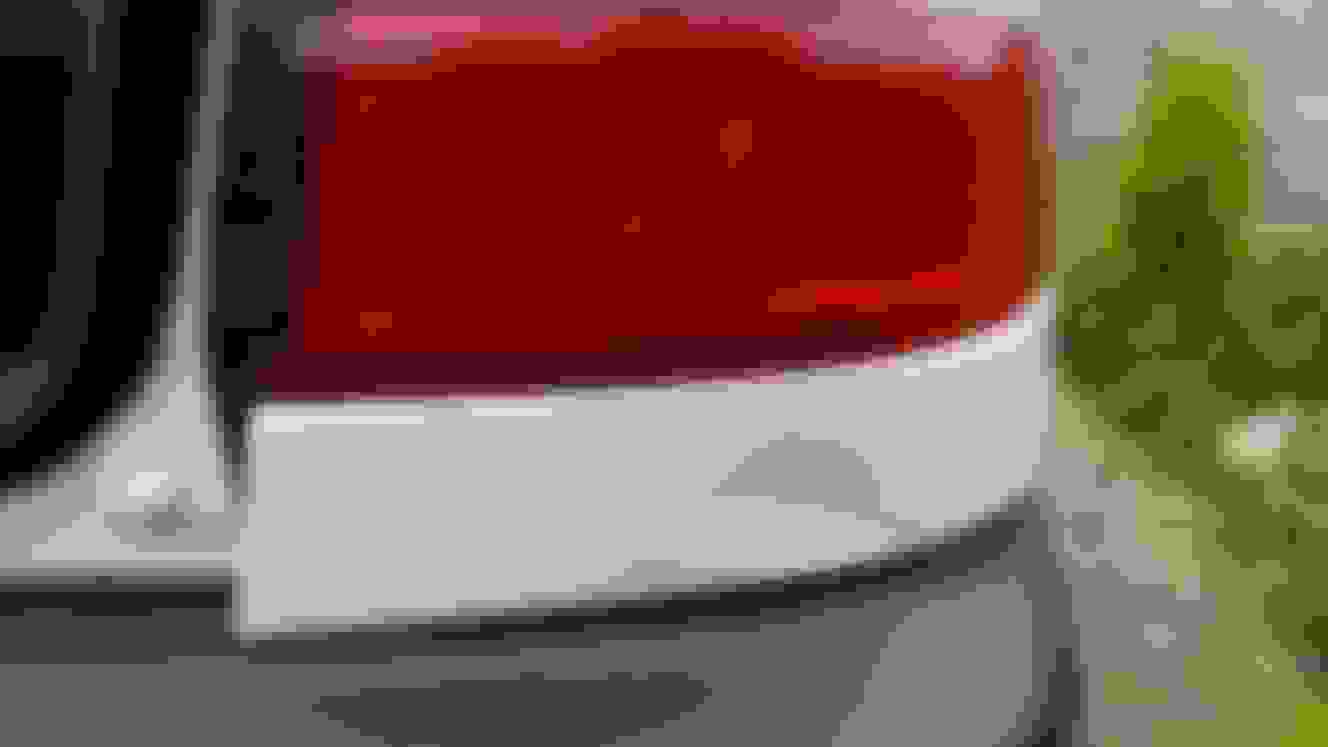
The next job was to try and clean around the model badge on the back. I used a few different products, and although much better than it was, it's still not perfect. So I will have another go at the weekend.

Old 16-04-2018, 06:25 PM
  #64  
PaulinhoT
Advanced PassionFord User
Thread Starter
 
PaulinhoT's Avatar
 
Join Date: Oct 2012
Location: South Coast
Posts: 1,717
Received 148 Likes on 147 Posts
Default

Whilst I was down on the ground, I couldn't help but notice the dirt build up on the inner lip of the wheel arch. Again I took some time, and removed a lot of the mess, yet I still have more to do.

Old 16-04-2018, 06:26 PM
  #65  
PaulinhoT
Advanced PassionFord User
Thread Starter
 
PaulinhoT's Avatar
 
Join Date: Oct 2012
Location: South Coast
Posts: 1,717
Received 148 Likes on 147 Posts
Default

Next up was the sills, and I can't believe how good these cleaned up. All they needed was a wash.
Old 16-04-2018, 06:28 PM
  #66  
PaulinhoT
Advanced PassionFord User
Thread Starter
 
PaulinhoT's Avatar
 
Join Date: Oct 2012
Location: South Coast
Posts: 1,717
Received 148 Likes on 147 Posts
Default

Finishing up for the day, I gave the car a quick once over, and another wax, and left it alone then.
As I say, I think I've put in about 50-60+ hours over the last couple of weeks, doing full days on Saturdays, bits on Sunday, and bit in the evening time.
I still have the door shuts to do, then to start on bodywork, followed by parts and fluids etc.

Old 16-04-2018, 06:30 PM
  #67  
PaulinhoT
Advanced PassionFord User
Thread Starter
 
PaulinhoT's Avatar
 
Join Date: Oct 2012
Location: South Coast
Posts: 1,717
Received 148 Likes on 147 Posts
Default

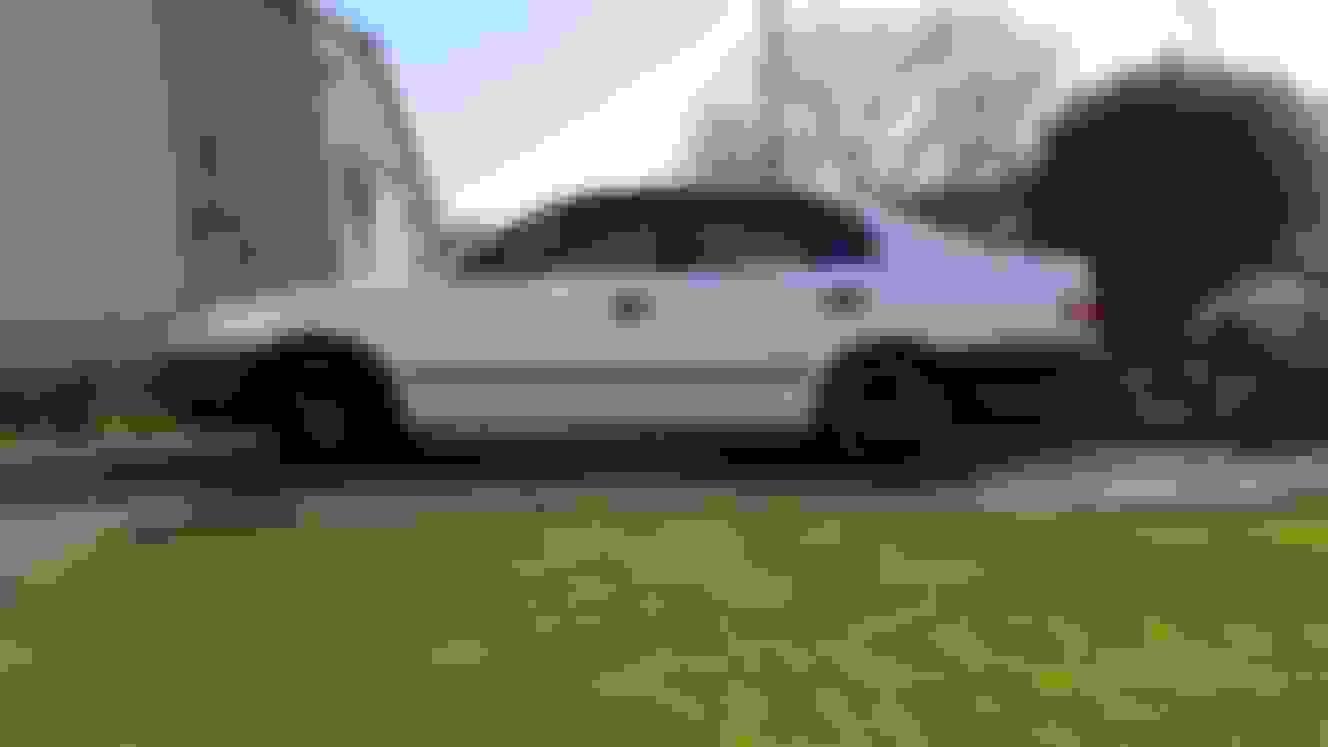
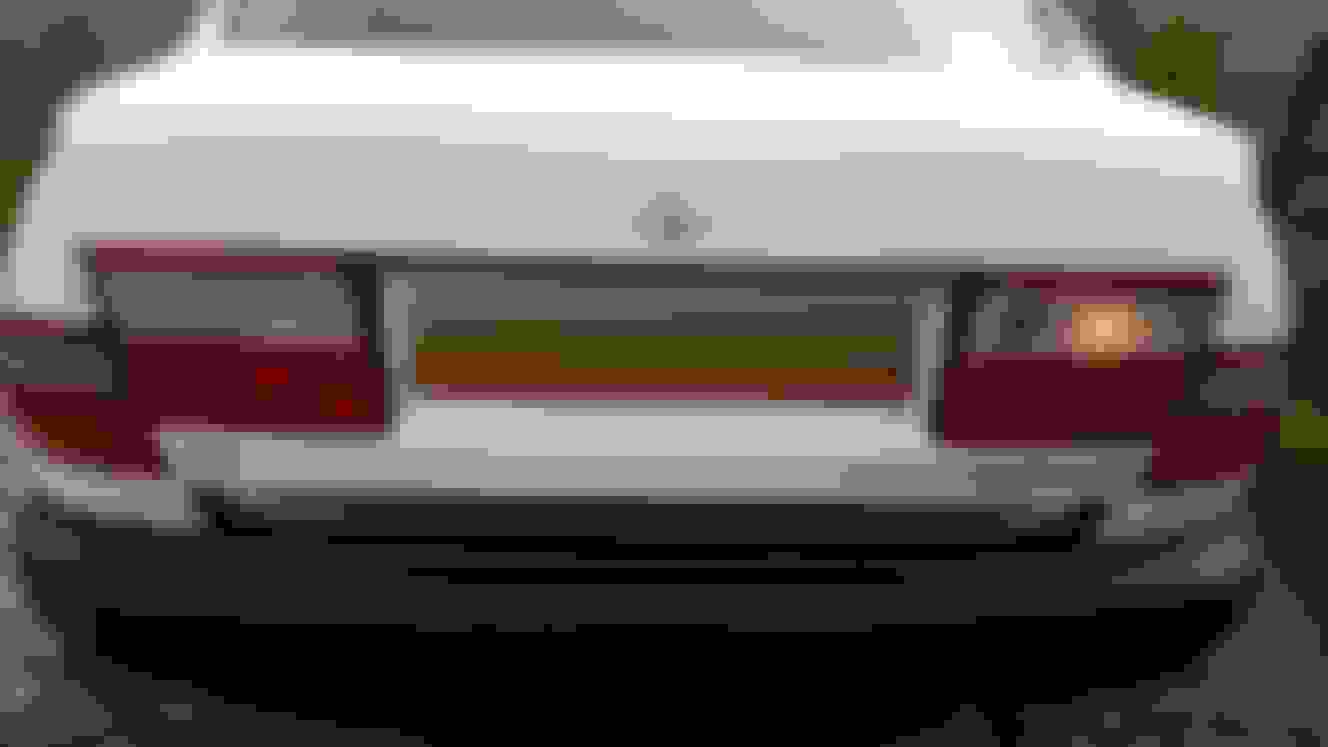
This is how the car stands at the moment, and I'm happy'ish with where she is now. But it does need to be lowered, and made a little louder, and with some shinny bits I've also got things like the headlights to do, stereo, just an ever growing list.

Old 16-04-2018, 06:37 PM
  #68  
RichieST
15K+ Super Poster!!
iTrader: (2)
 
RichieST's Avatar
 
Join Date: Aug 2004
Location: Wiltshire
Posts: 18,732
Received 449 Likes on 397 Posts
Default

Looks like it's cleaning up well! Are you going full on touring car rep then?
The following users liked this post:
PaulinhoT (17-04-2018)
Old 17-04-2018, 07:09 PM
  #69  
PaulinhoT
Advanced PassionFord User
Thread Starter
 
PaulinhoT's Avatar
 
Join Date: Oct 2012
Location: South Coast
Posts: 1,717
Received 148 Likes on 147 Posts
Default

Originally Posted by RichieST
Looks like it's cleaning up well! Are you going full on touring car rep then?

Thank you, I'm not sure on how far is full on lol. I don't really have the knowledge or tools to cut the floor up or inner wheel arches or seam-weld the shell. But I have been saving up for a few years, so intend on doing, wheels, brakes, suspension, exhaust, then engine, gearbox, interior. But as I plan on keeping the car for as long as I'm able to drive, then it will be done as I go along.

I also have all the bodywork to sort, although I've been told it looks authentic to having been in a few races lol, but oddly I've already been approached by someone that does graphics about doing the Castrol livery they used in the 1994 BTCC, although this will more than likely be the last thing I do.

At the moment I'm using it as my daily drive to work, and I'm actually really enjoying it. I have some more cleaning to do first, then the interior once again, then I turn over the page and carry on with my rather long list of things to do
Old 18-04-2018, 07:14 PM
  #70  
PaulinhoT
Advanced PassionFord User
Thread Starter
 
PaulinhoT's Avatar
 
Join Date: Oct 2012
Location: South Coast
Posts: 1,717
Received 148 Likes on 147 Posts
Default

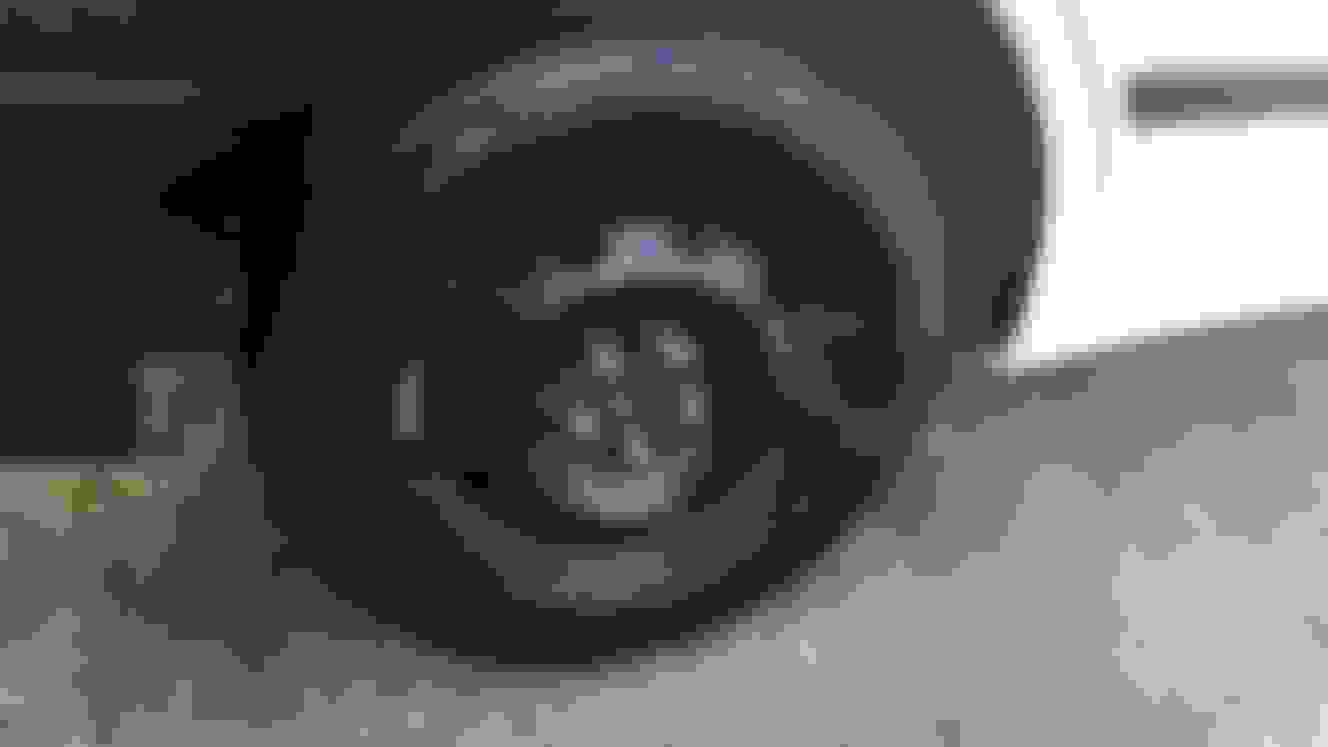
A little update today I managed to find a screw in one of the rear tyres, so had that repaired and switched the spare back to the boot. Hopefully once I work out a good deal on my new wheels and tyres, I'll be switching out all four wheels and tyres.

Old 21-04-2018, 12:33 PM
  #71  
PaulinhoT
Advanced PassionFord User
Thread Starter
 
PaulinhoT's Avatar
 
Join Date: Oct 2012
Location: South Coast
Posts: 1,717
Received 148 Likes on 147 Posts
Default

So a little update today, as I managed to spend a few more hours on the Carina E.

This morning I had another go at cleaning the marks off in between the letters on the rear model badge, and bit by bit it's getting near to where I want it.

Old 21-04-2018, 12:41 PM
  #72  
PaulinhoT
Advanced PassionFord User
Thread Starter
 
PaulinhoT's Avatar
 
Join Date: Oct 2012
Location: South Coast
Posts: 1,717
Received 148 Likes on 147 Posts
Default

Another little job I needed to do was sort the water inside the indicator unit.


It was only on the one side, but I soon took it out and gave it a clean.

Old 21-04-2018, 12:42 PM
  #73  
PaulinhoT
Advanced PassionFord User
Thread Starter
 
PaulinhoT's Avatar
 
Join Date: Oct 2012
Location: South Coast
Posts: 1,717
Received 148 Likes on 147 Posts
Default

Once it was all sealed back up, I cleaned the area it needed to go back into (no picture) and also touched up a few stone chips around the car.


Still dirty, pre - clean.
Old 21-04-2018, 12:42 PM
  #74  
PaulinhoT
Advanced PassionFord User
Thread Starter
 
PaulinhoT's Avatar
 
Join Date: Oct 2012
Location: South Coast
Posts: 1,717
Received 148 Likes on 147 Posts
Default

Next up was to clean the door shuts, as these have been annoying me for some time.

Rather dirty:


A little better:


Last edited by PaulinhoT; 21-04-2018 at 12:44 PM.
Old 21-04-2018, 12:44 PM
  #75  
PaulinhoT
Advanced PassionFord User
Thread Starter
 
PaulinhoT's Avatar
 
Join Date: Oct 2012
Location: South Coast
Posts: 1,717
Received 148 Likes on 147 Posts
Default

I only managed to do one of them, as I started to feel cold, so have come back indoors for a little bit. Still plenty to do
Old 21-04-2018, 02:20 PM
  #76  
The Black Count
PassionFord Regular
 
The Black Count's Avatar
 
Join Date: Jan 2015
Location: Bristol, England
Posts: 350
Received 48 Likes on 47 Posts
Default

Wish I had the time and also a car worth putting in that sort of effort, a bit of dirt inside the doors is the least of my problems.

Don't let the cold stop you, get on with it

p.s. stuck in Spain so doing bugger all so I can not talk
The following users liked this post:
PaulinhoT (22-04-2018)
Old 22-04-2018, 05:39 PM
  #77  
PaulinhoT
Advanced PassionFord User
Thread Starter
 
PaulinhoT's Avatar
 
Join Date: Oct 2012
Location: South Coast
Posts: 1,717
Received 148 Likes on 147 Posts
Default

Originally Posted by The Black Count
Wish I had the time and also a car worth putting in that sort of effort, a bit of dirt inside the doors is the least of my problems.

Don't let the cold stop you, get on with it

p.s. stuck in Spain so doing bugger all so I can not talk
Spain sounds nice basically I'm enjoying these light evenings, and often come home from work and quickly get outside and do an hour here or there. Saturdays are my best day, as the girlfriend is working all day, so I do a bit of gardening, then mess with the car pretty much all day (it helps that I'm always up around 6am).

I took the Carina out for a drive today, and it feels really nice. A little quiet mind, but that's okay lol.
Old 28-04-2018, 07:00 PM
  #78  
PaulinhoT
Advanced PassionFord User
Thread Starter
 
PaulinhoT's Avatar
 
Join Date: Oct 2012
Location: South Coast
Posts: 1,717
Received 148 Likes on 147 Posts
Default

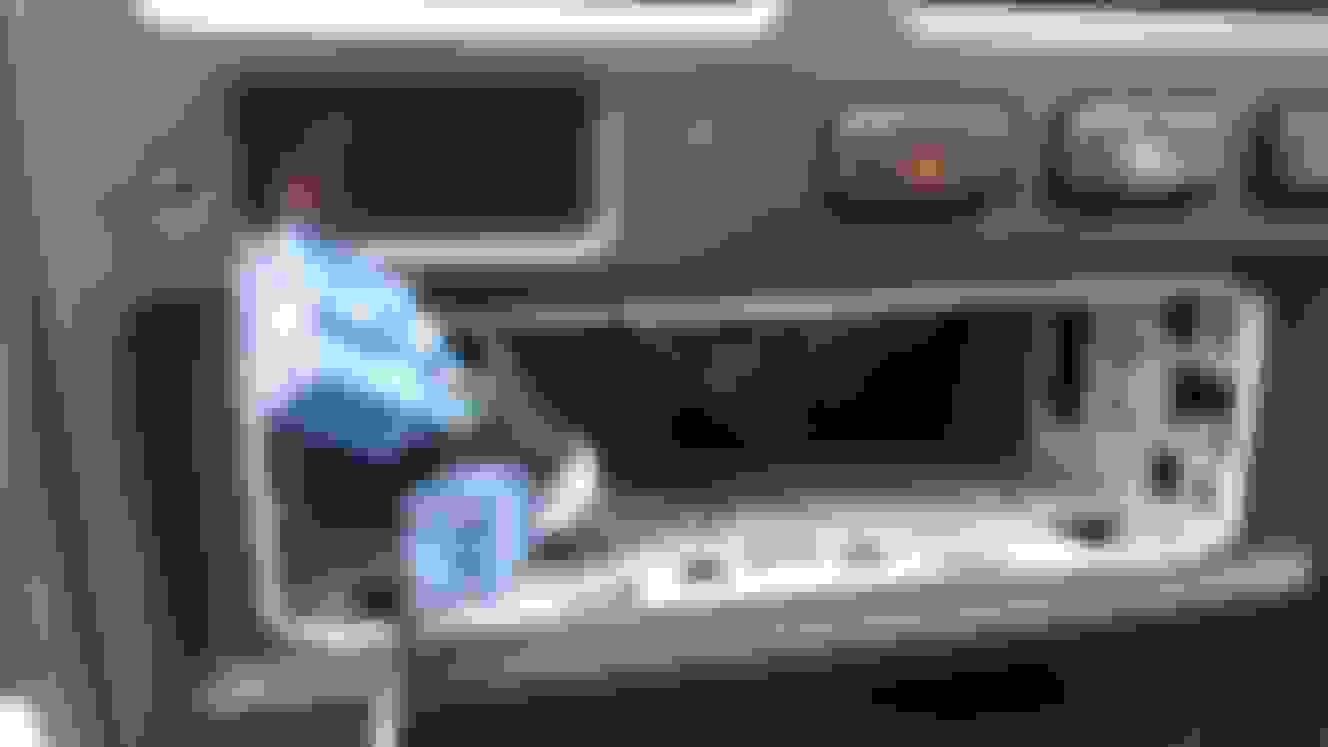
Well I've been rather busy this week, so haven't had much time with the Carina E, although I did take the tape deck out, because the dash rattles with it in lol. I think I will upgrade this as well.

Old 02-05-2018, 08:55 AM
  #79  
3i Jim
I've found that life I needed.. It's HERE!!
 
3i Jim's Avatar
 
Join Date: Mar 2014
Location: Suffolk
Posts: 1,354
Received 118 Likes on 93 Posts
Default

Nice project, but I think it needs a couple of tweeks...

Last edited by 3i Jim; 02-05-2018 at 08:56 AM.
The following users liked this post:
PaulinhoT (02-05-2018)
Old 02-05-2018, 05:22 PM
  #80  
PaulinhoT
Advanced PassionFord User
Thread Starter
 
PaulinhoT's Avatar
 
Join Date: Oct 2012
Location: South Coast
Posts: 1,717
Received 148 Likes on 147 Posts
Default

Originally Posted by 3i Jim
Nice project, but I think it needs a couple of tweeks...

That's the plan, and the correct decals for 1994
Bit by bit it will happen, cheers.
The following users liked this post:
3i Jim (02-05-2018)

Thread Tools
Search this Thread
Quick Reply: Toyota Carina


All times are GMT. The time now is 06:44 PM.