little update again, still havnt managed to get much done but it isnt through lack of trying lol
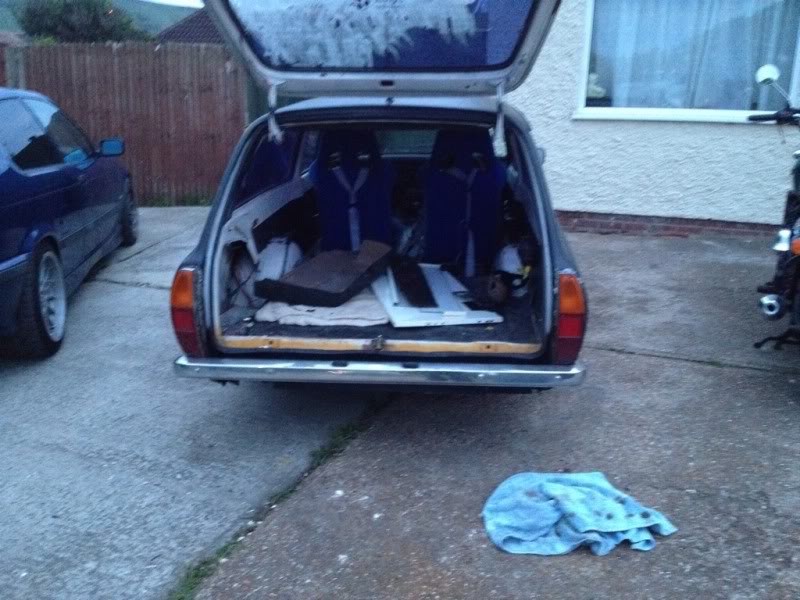
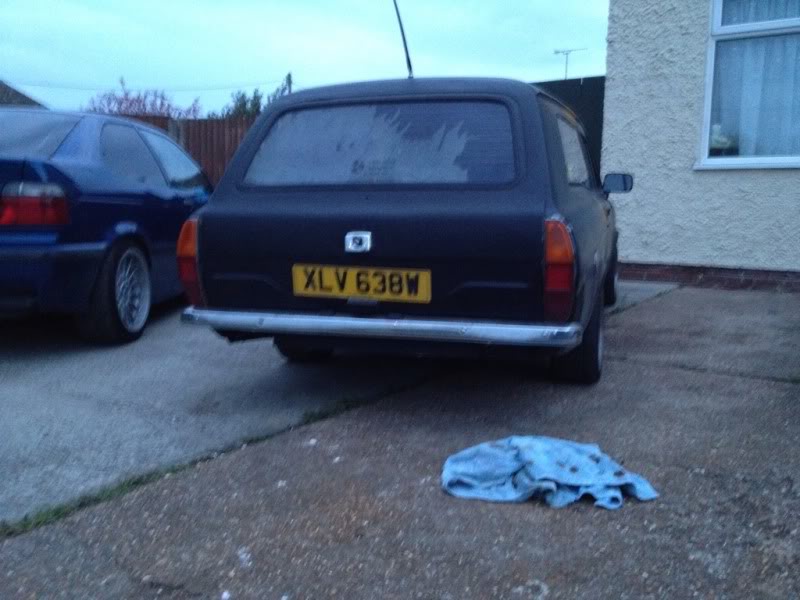
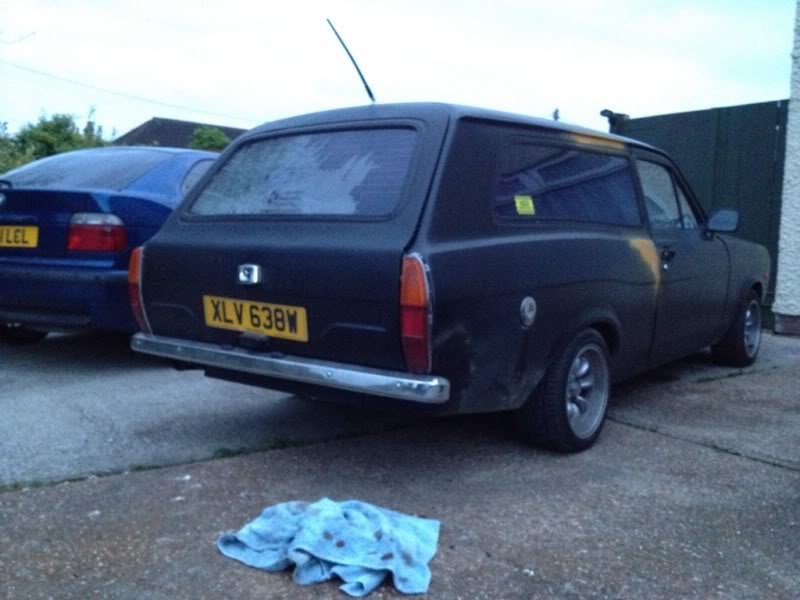
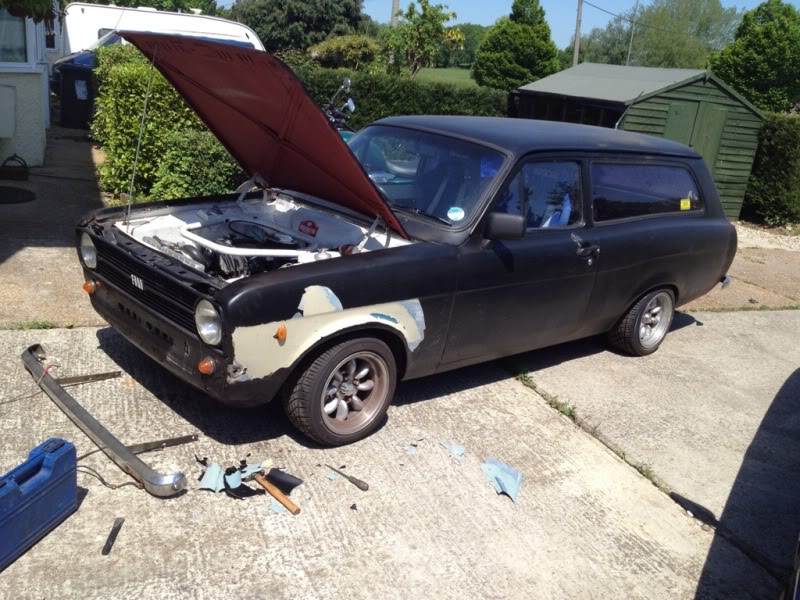
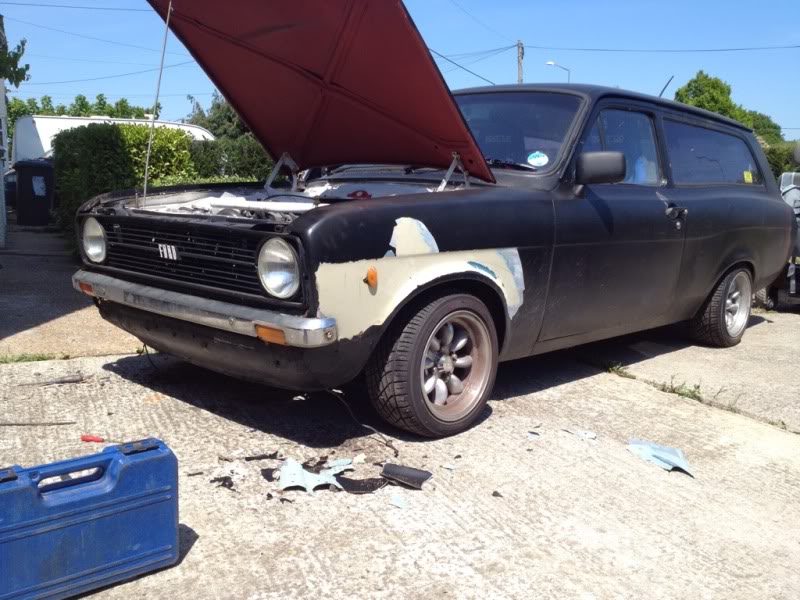
anyway, il start with a picture of her in all her glory lol
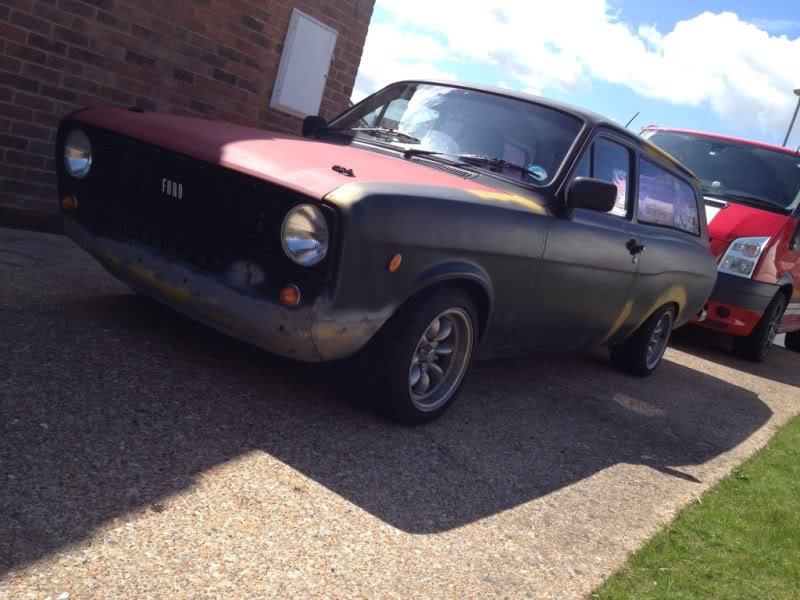
bless it, one day it'l look good again :shock:
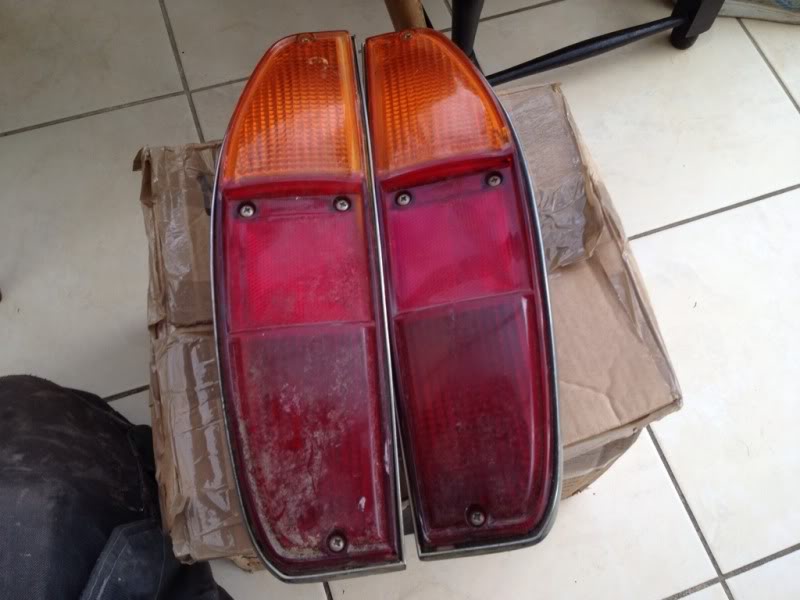
and some more bits iv acquired...
standard rear lights
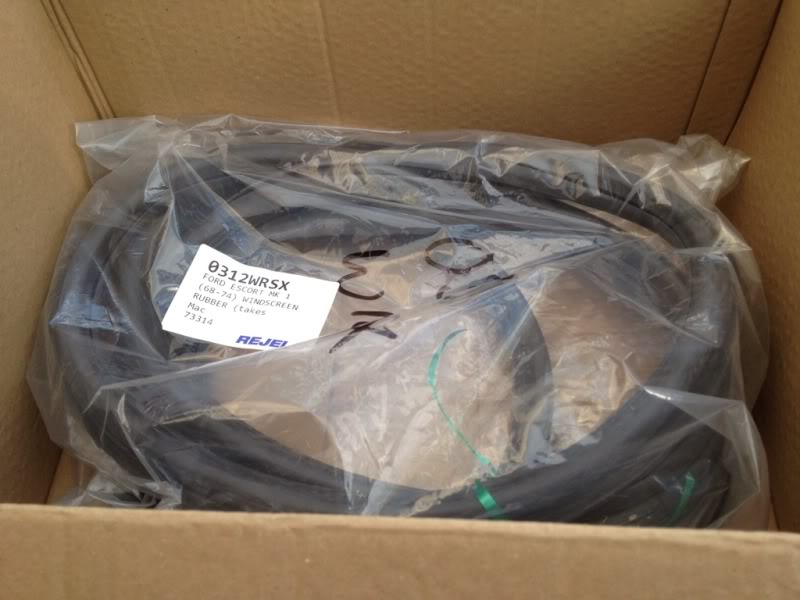
new windscreen rubber
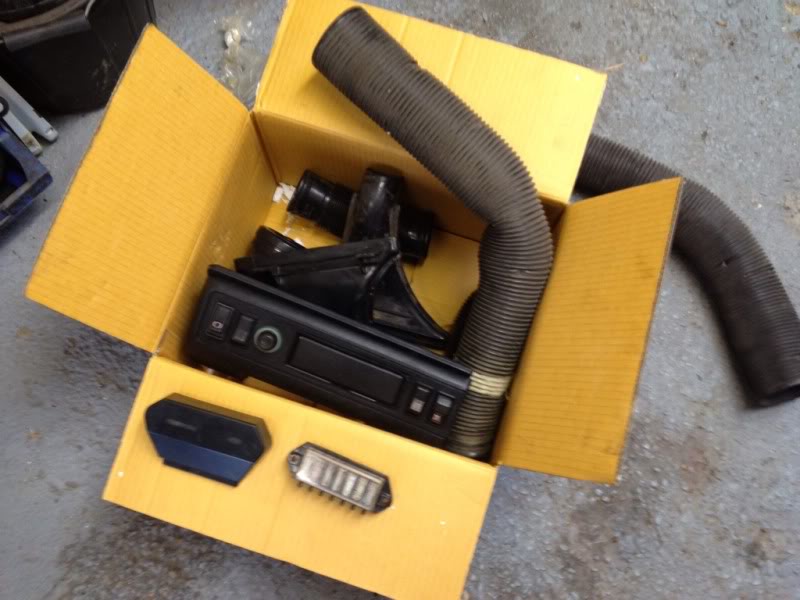
small box of bits mk1mexico sorted me out with, cheers dude!
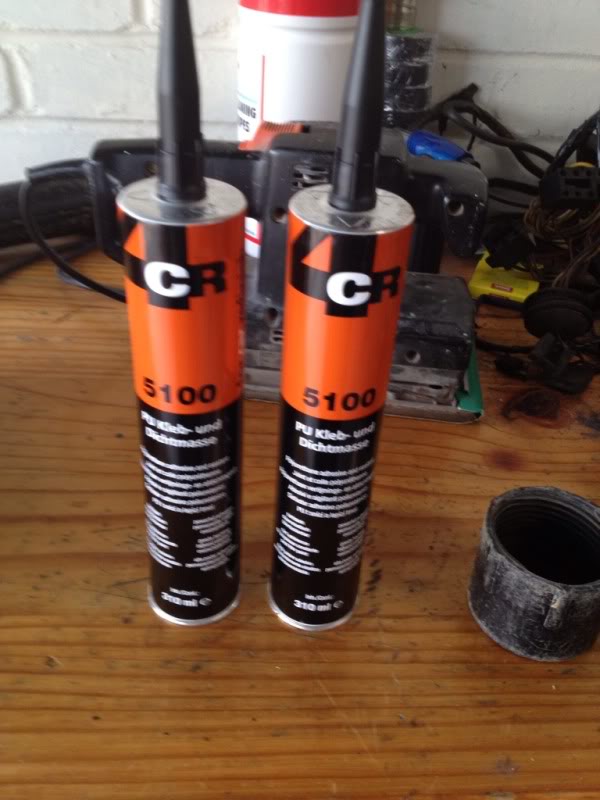
seam sealer, basically tiger seal.
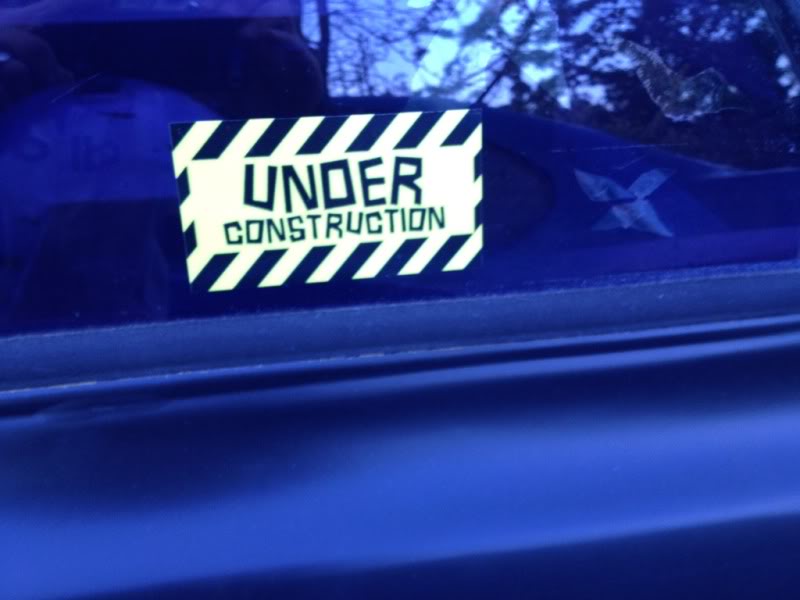
new sticker lol
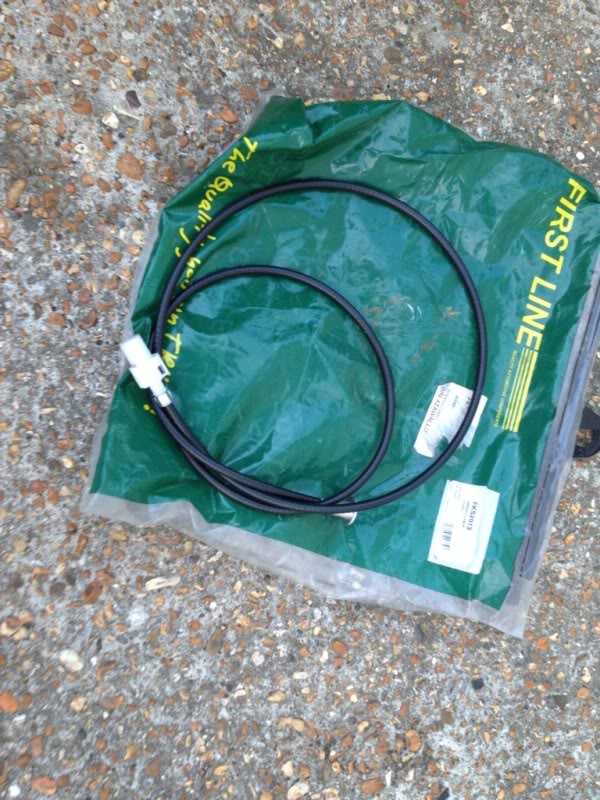
new speedo cable, this actually came with the car but i only got around to fitting it last week and my speedo still doesnt work :banghead: so good knows whats wrong with that, any ideas as to why it isnt working??
mk1 fiesta xr2 utility tray
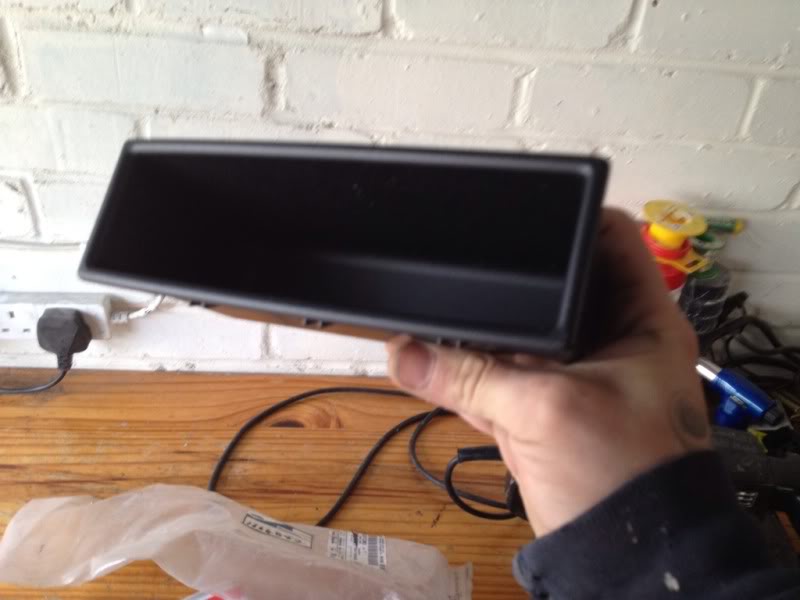
and the plan for the utility tray..
new 2" rear lowering blocks because what i have fitted atm is also a bodge up lol

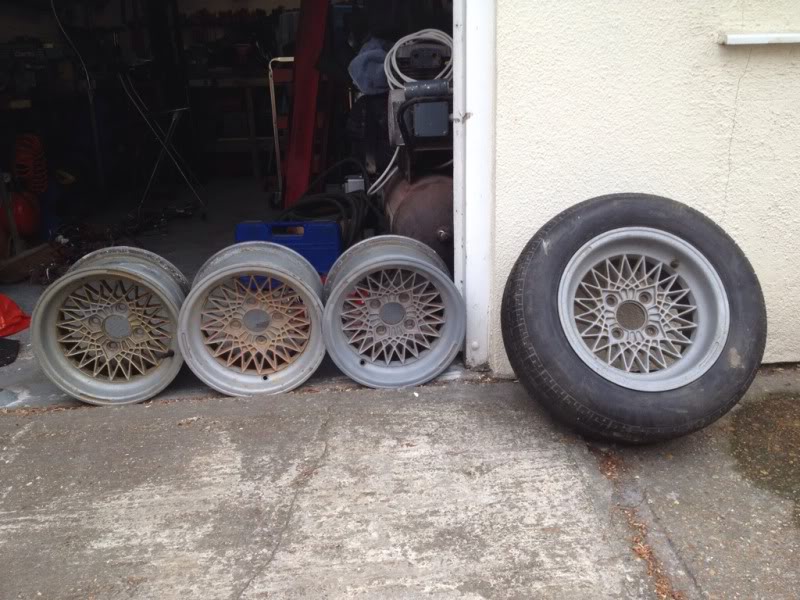
and finally the new choice of rim that collected earlier today...
compomotive cx's 13x7j cheers madmex :thumbsup:
the 'to buy' list is slowly getting smaller lol
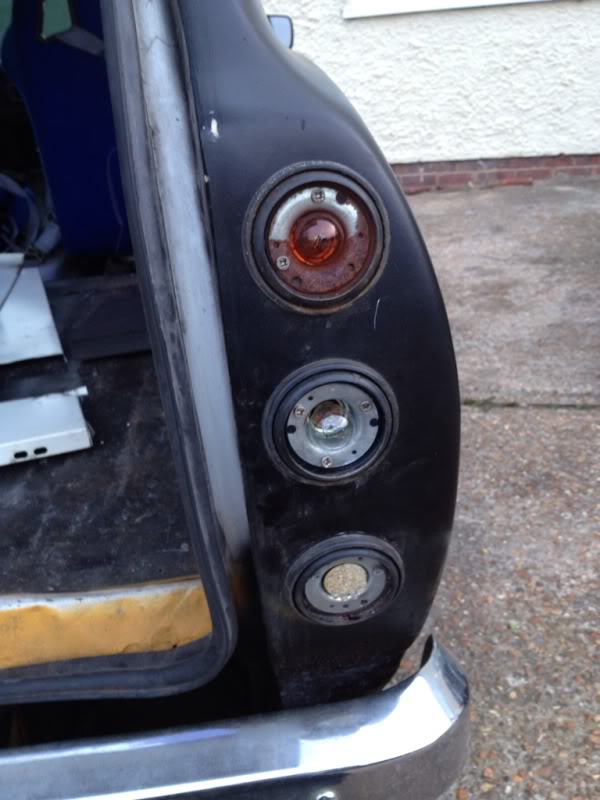
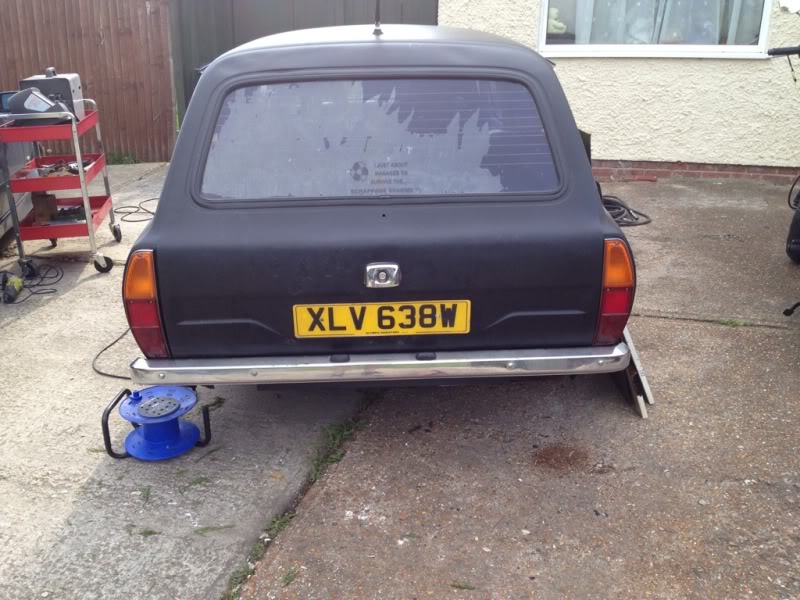
and now for the car itself, i still havnt really done much with it due to lack of time and enthusiasm to work out in the intense heat but i did managed to do a couple of bits, first up is the rear lights, i just couldnt resist trying to fit them when i received them and it was getting on abit so i only planned on removing the old lights ready for the morning so i could finish it off and get the new standard lights back but because it went so well i managed to get the old ones out and the new ones in in just an hour lol...
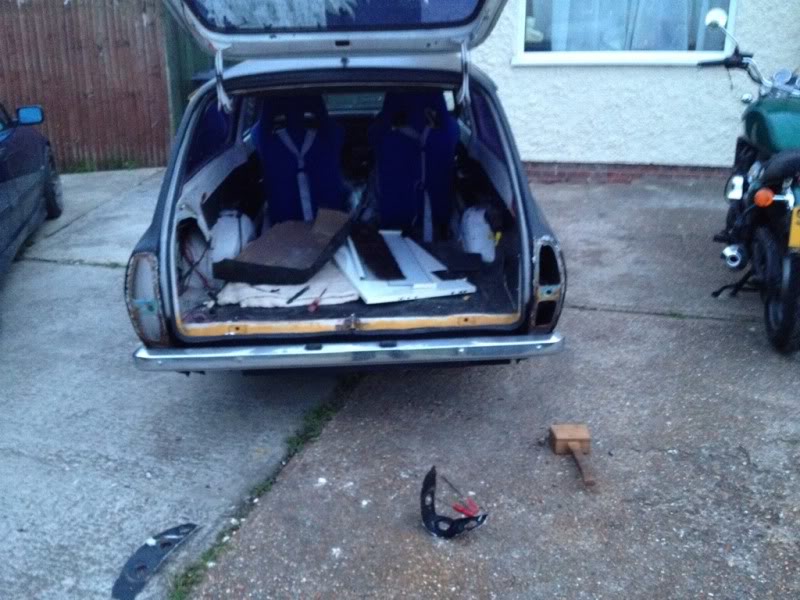
old light removal

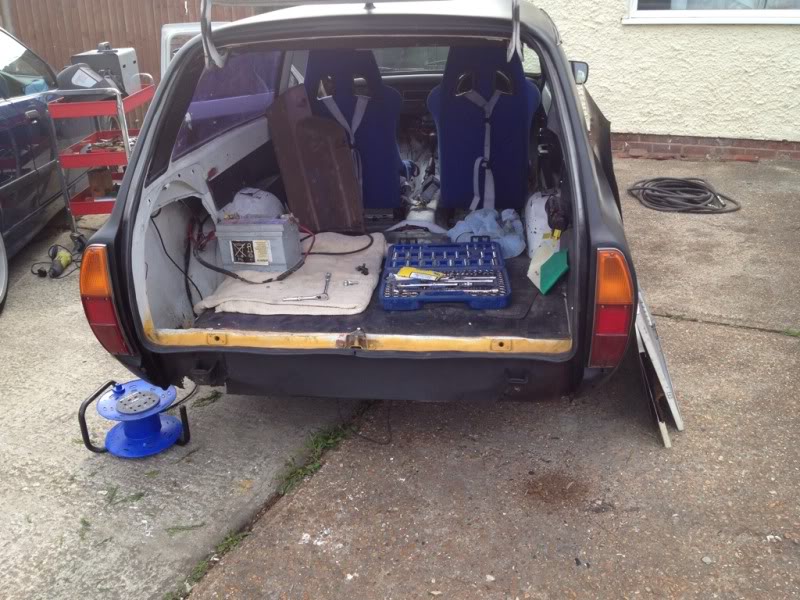
and new ones going back in...
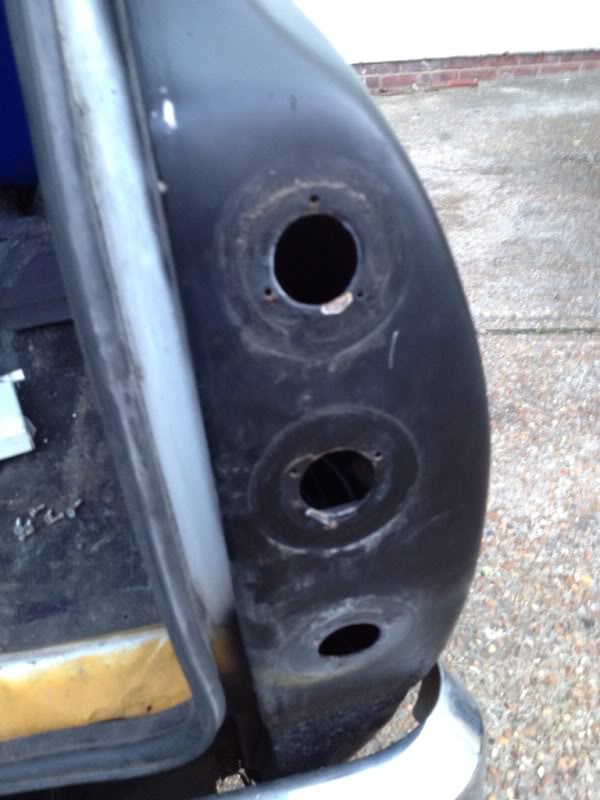
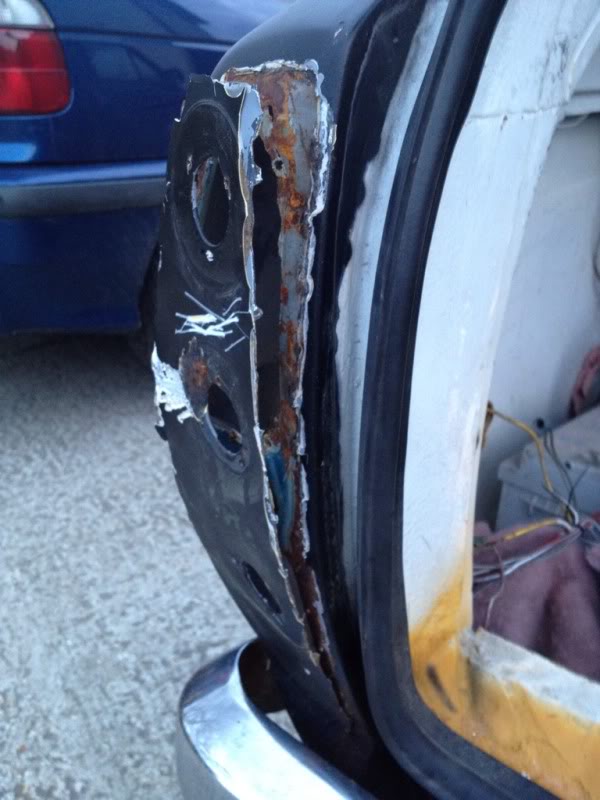
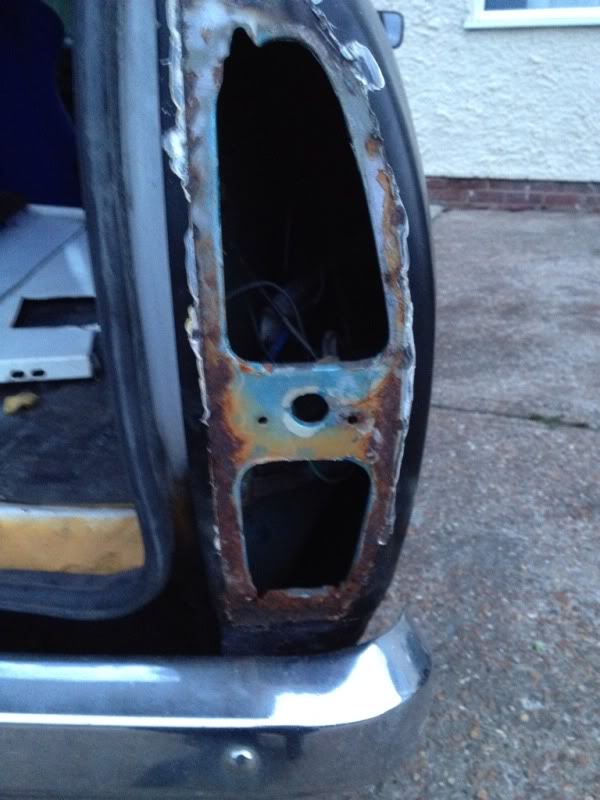
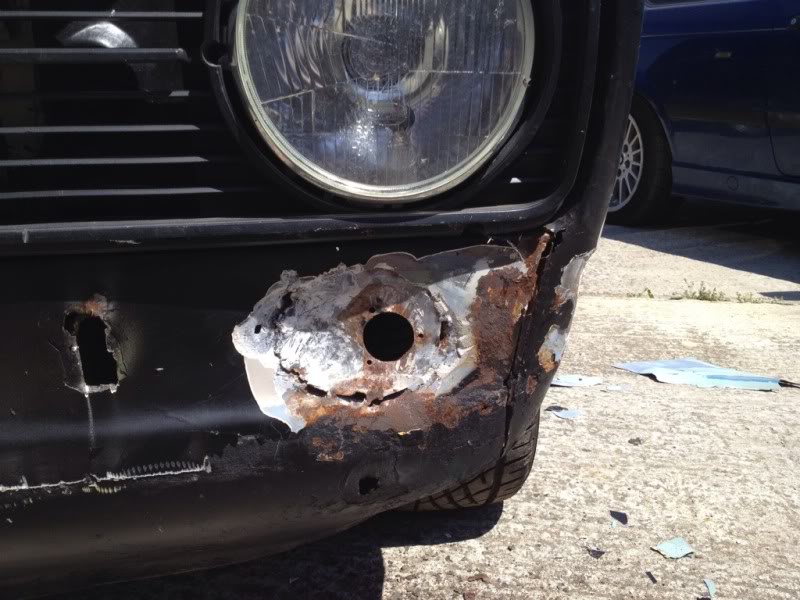
unfortunetly the filla that was used the blend in the plates that the old lights sat into was also hiding this...
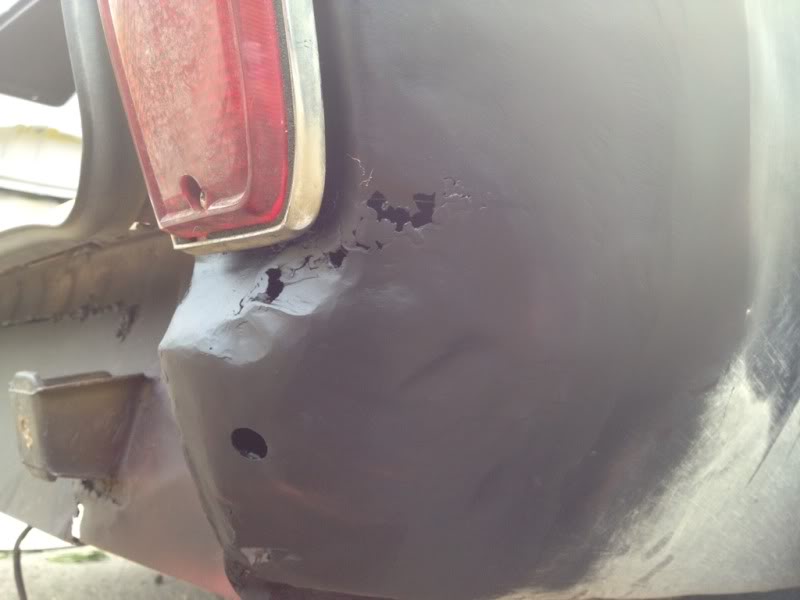
so iv now decided to pay for the rear end to be done as thats a little out of my depth really so does anyone know anyone down the south east area that would be willing to take it on? the holes above and the lower inner and outer valence panels?
next up was ripping out the old abused rear loom and replace it all with a better loom..
no pics of the new rear loom going in though im affraid

with that done i decided to fit the front bumper because it just looked silly with out it but that didnt turn out to be as easy as the rear lights
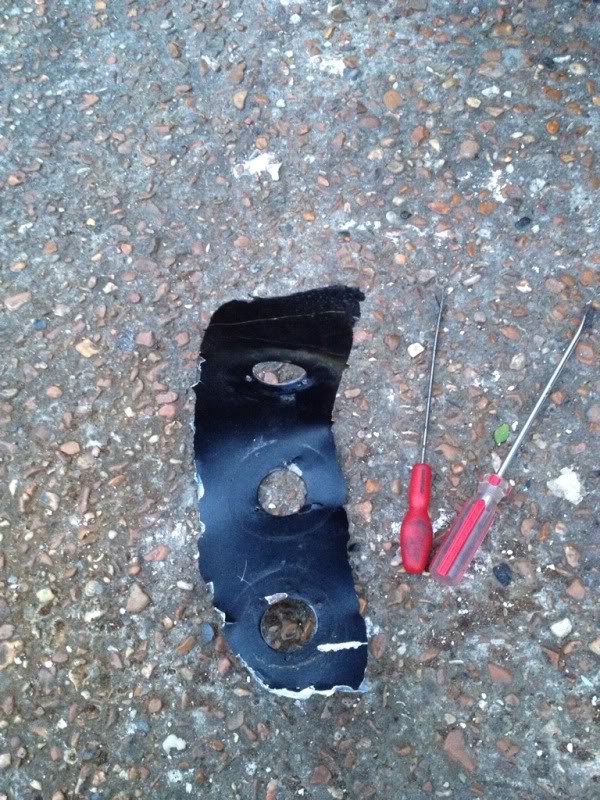
first up, i had to cut out the n/s hole that the bumper mounting bracket goes through because it had been welded up for whatever reason?
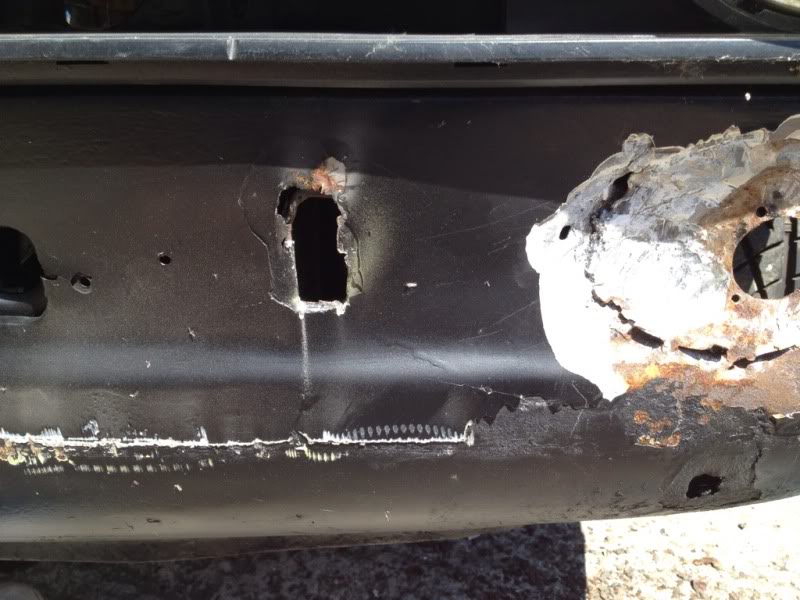
i didnt have any intension of doing it neatly because the whole front panel will be replaced at some point...
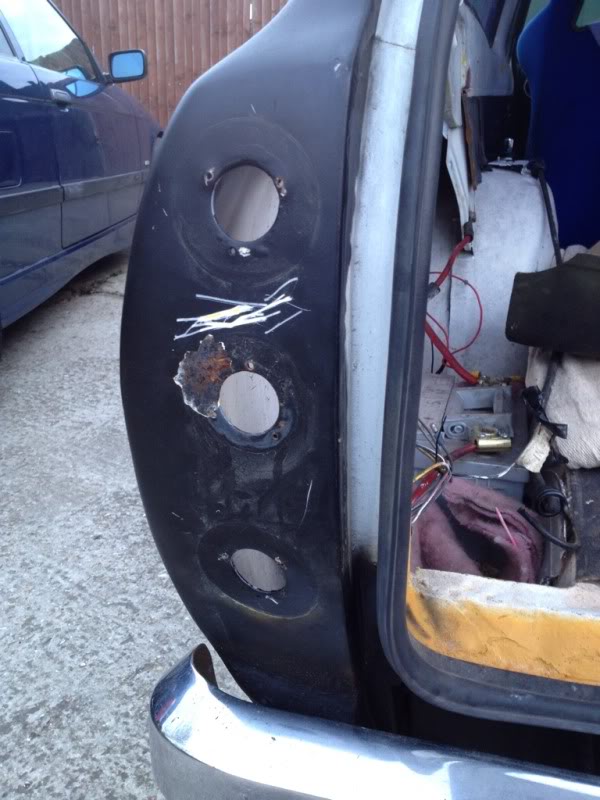
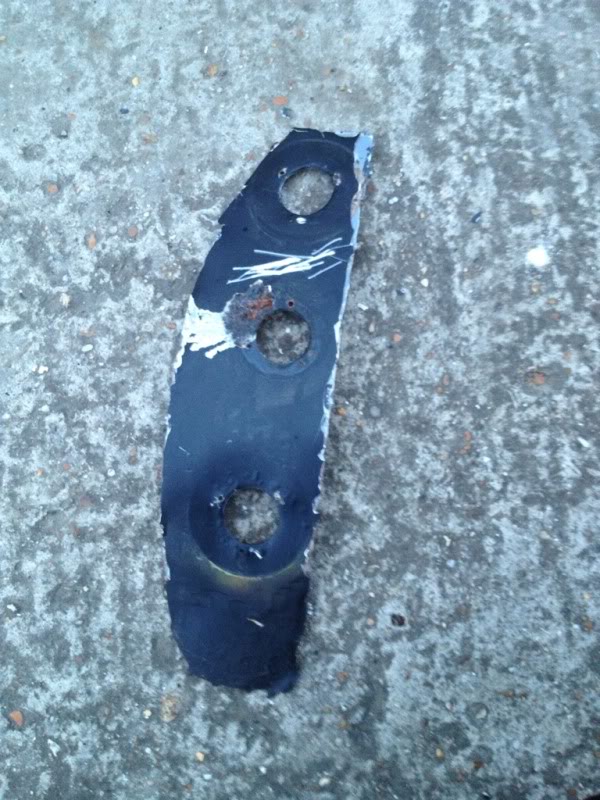
then i had to chip away all the filla that covered up the holes on the front wings that the bumper also mounts to... and it ended up like this lol
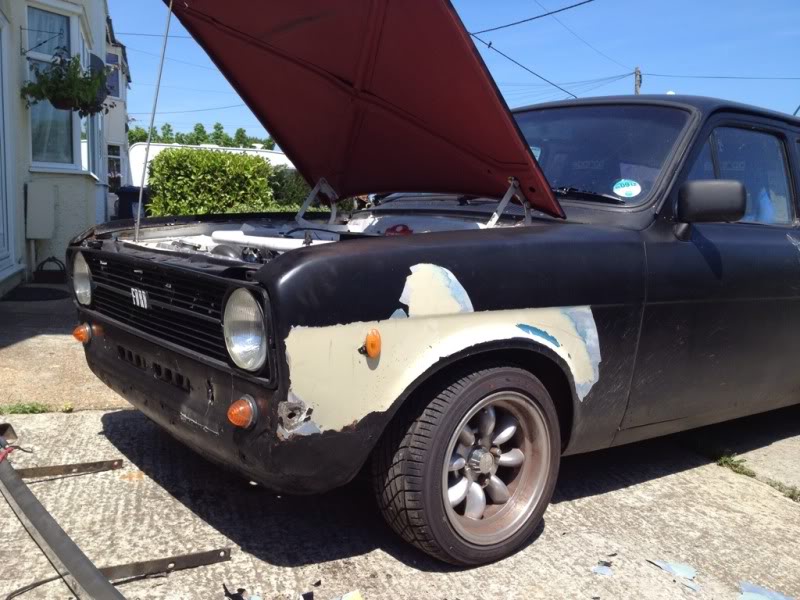
it was so hot when i was doing this that the paint literally just pealed off, it only started with a bit the size of a 20p coin coming away with a chunk of filler but i had to see how far it would go after that

then i had to get my hammer out and make an indicator resess as that had also been chopped out and a flat plate welded in its place

random pic
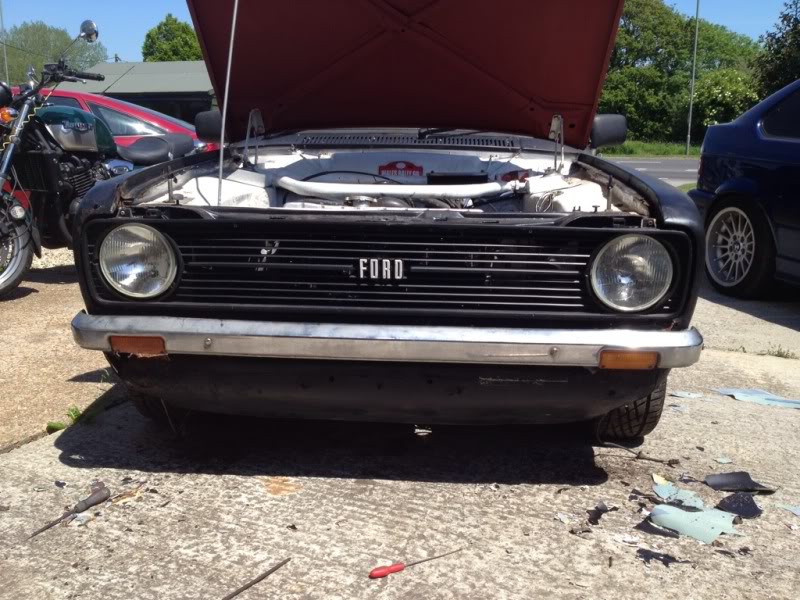
and the front bumper mounted
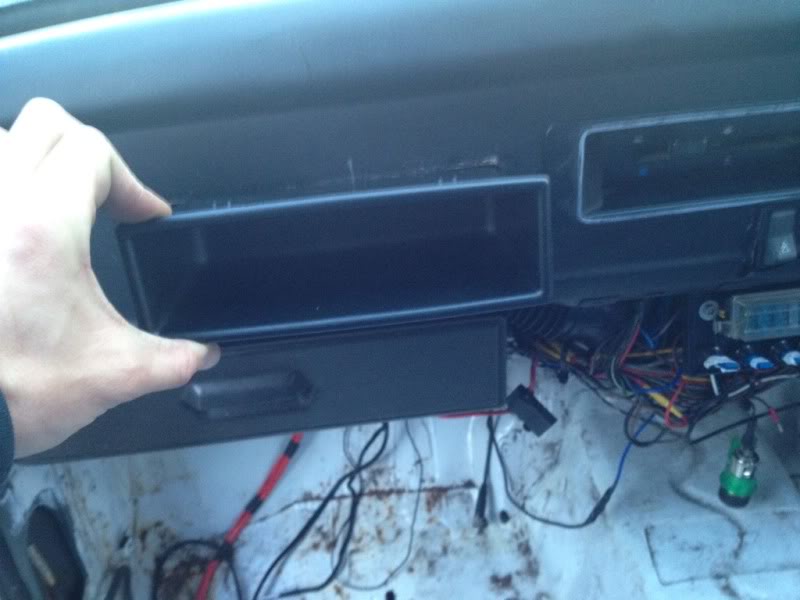
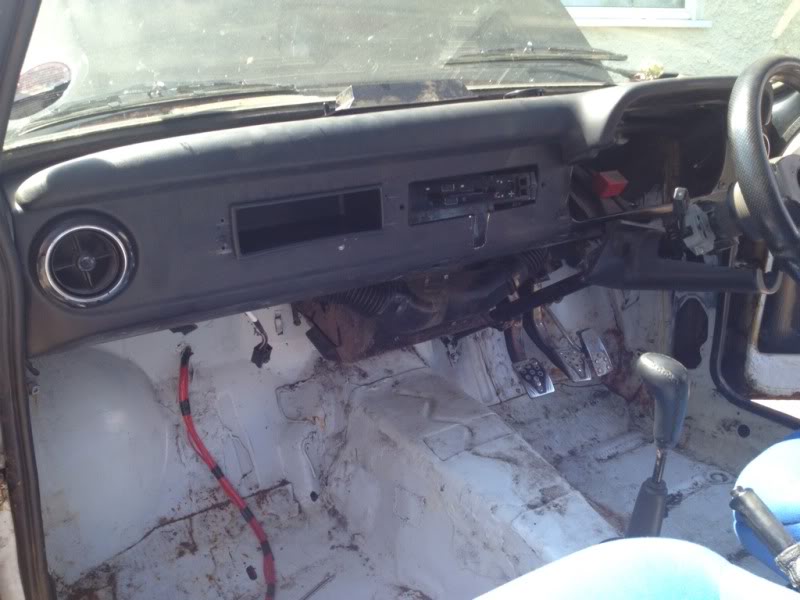
it was still nice outside when i had finished the front bumper so while the air compressor was outside i decided to chop the dash for the utility tray...
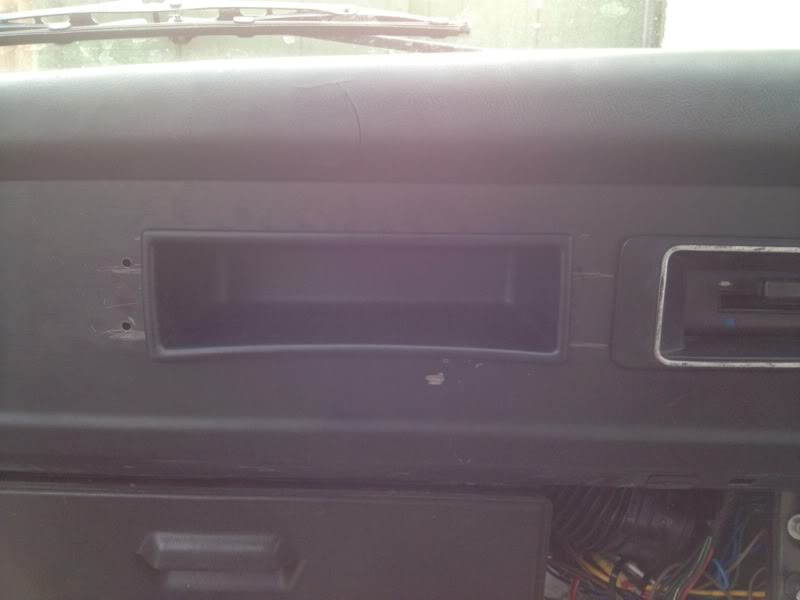
i still need to chop a tiny bit more out to make it a proper fit but im still waiting for the cutting discs to arrive.
and finally, today i started on swopping the wireing looms over because i had no work and i have the use of my bosses van for 16 days while he's on holiday so nows the best time to get on with it
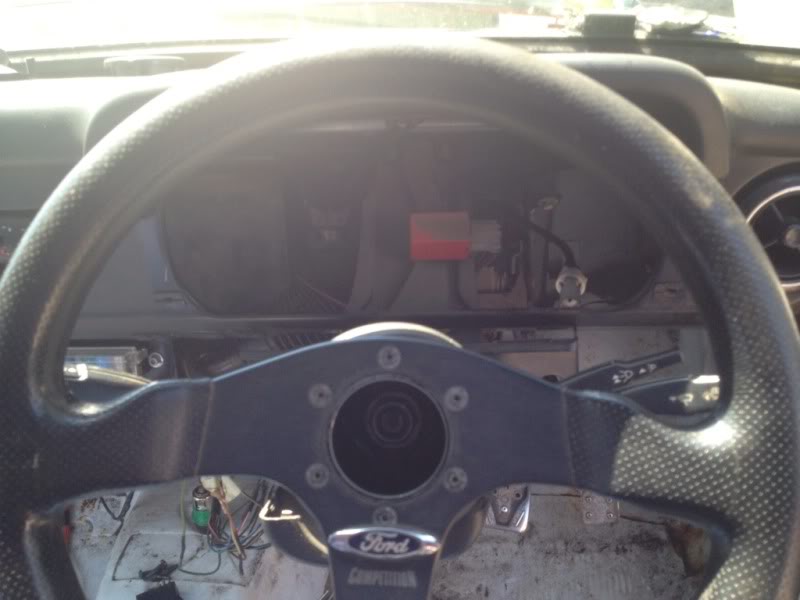
all gone except the power cable.
all the engine bay and front light loom gone although the pic is pretty point less because it dont really show anything

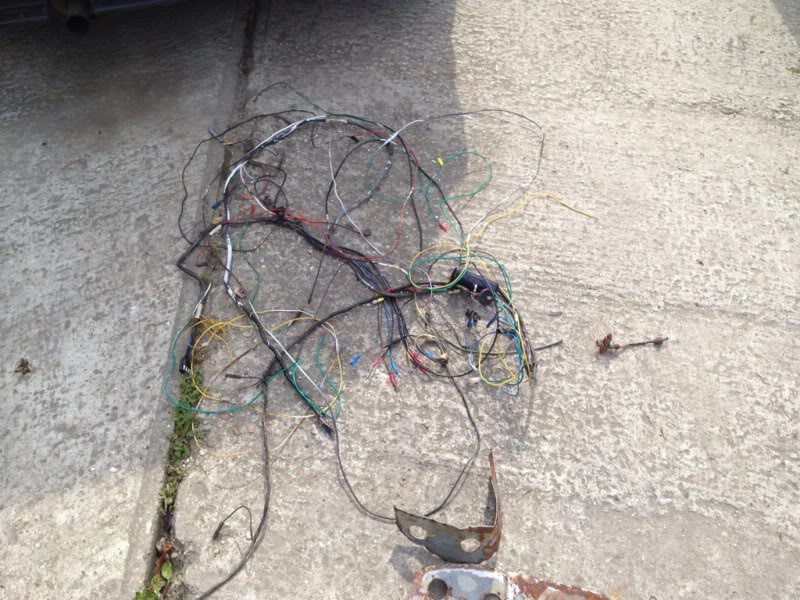
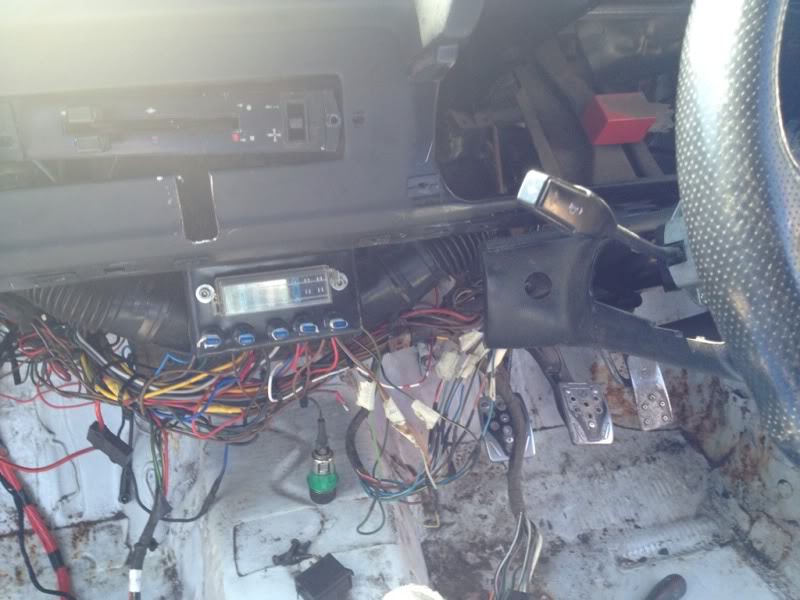
and the loom out
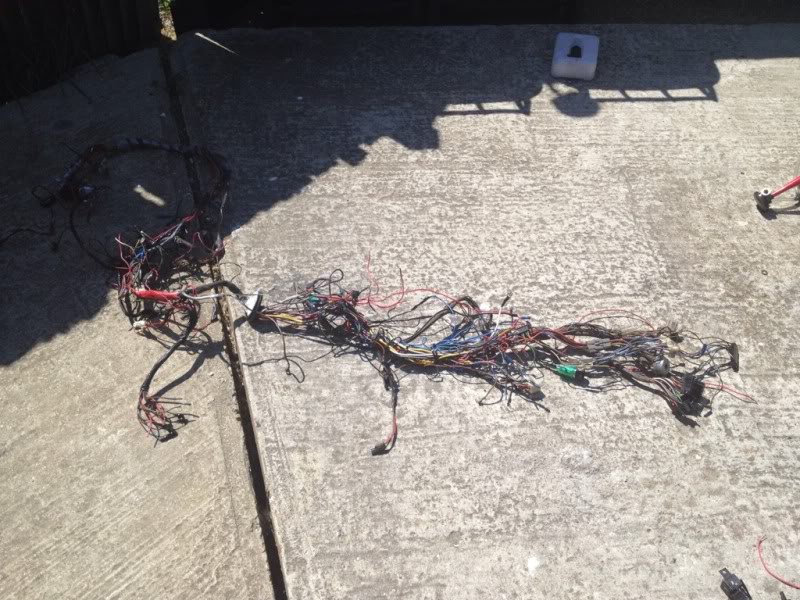
such a bloody mess!
also removed these while i was at it
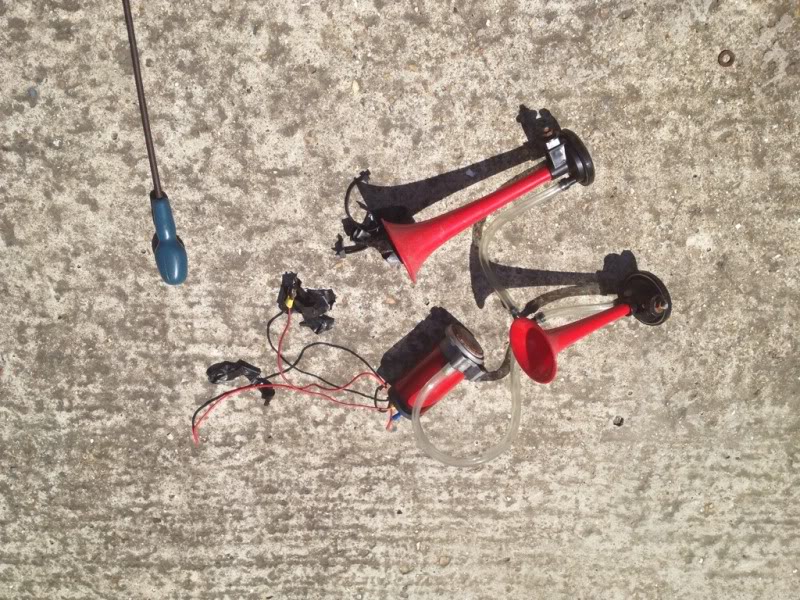
stupid bloody things, whats wrong with a standard horn ffs lol
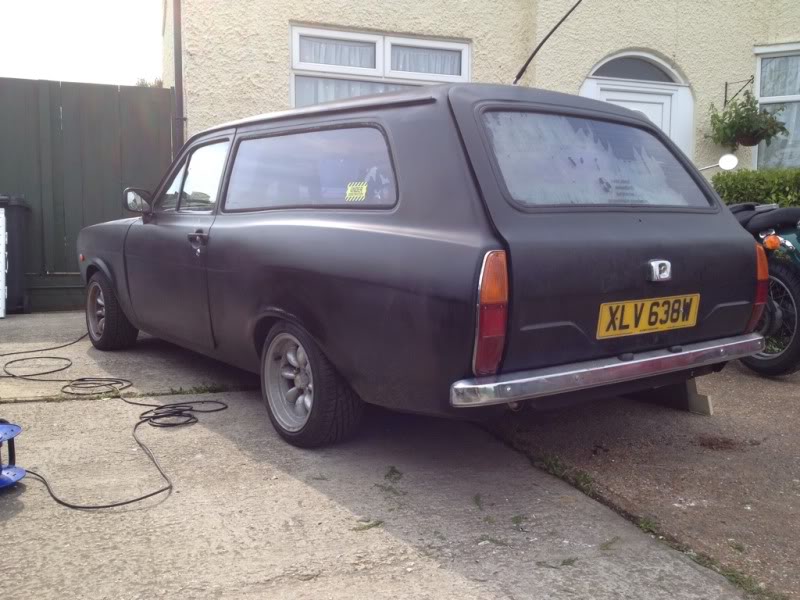
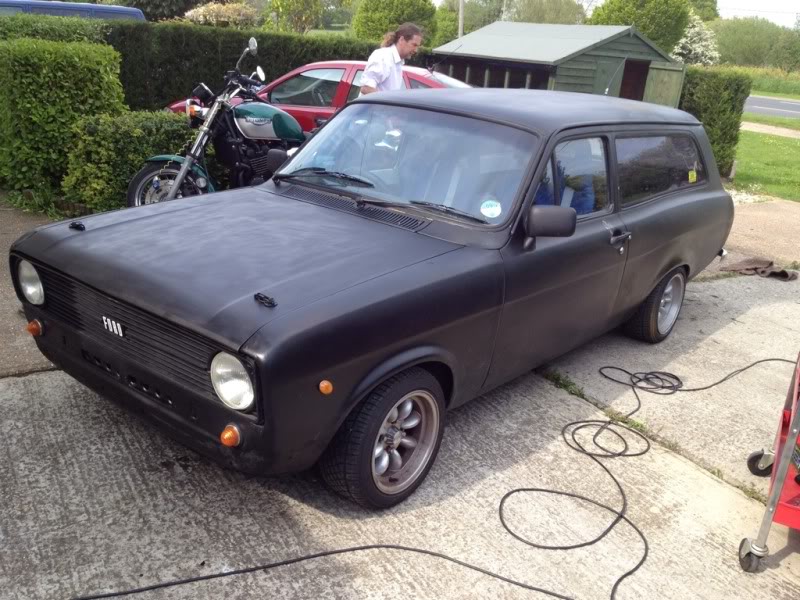
and a random pic of the car when i put some black paint back over the primer
hopfully get the new loom in thursday or friday weather permitting and have a go at the n/s/r arch

thanks for looking :thumbsup: