An overdue update!
In the last couple of month's I've finally managed to complete the engine mounts. The initial things I made were only ever temporary while I hacked the rest of the subframe around to make it all fit and try to form some sort of plan...a plan that would later change, and change again...
I got the idea for these engine mounts from working on the transit van at work. I was checking it over for the MOT and found myself looking at the leaf spring bush. This rubber bush seemed to be exactly what I had been trying to find for the last few months.
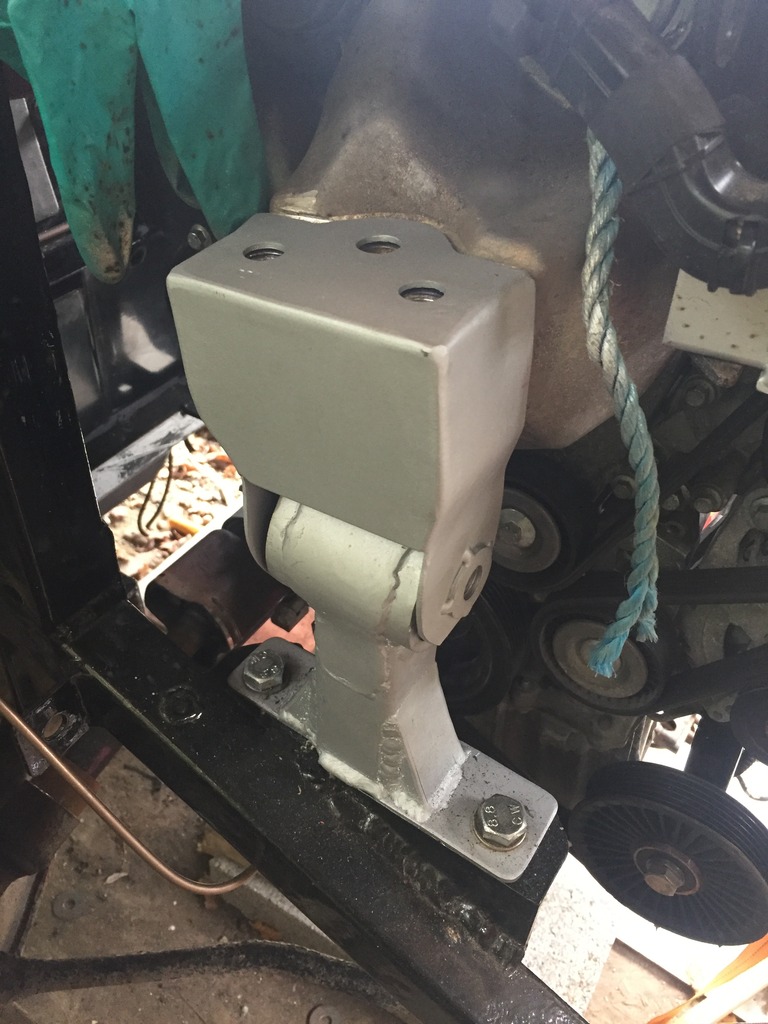
This engine and gearbox combination has 3 mounts. One on the timing belt end of the engine, another on the back of the diff housing part of the gearbox, and another one supporting the end of the gearbox.
Driver side engine mount
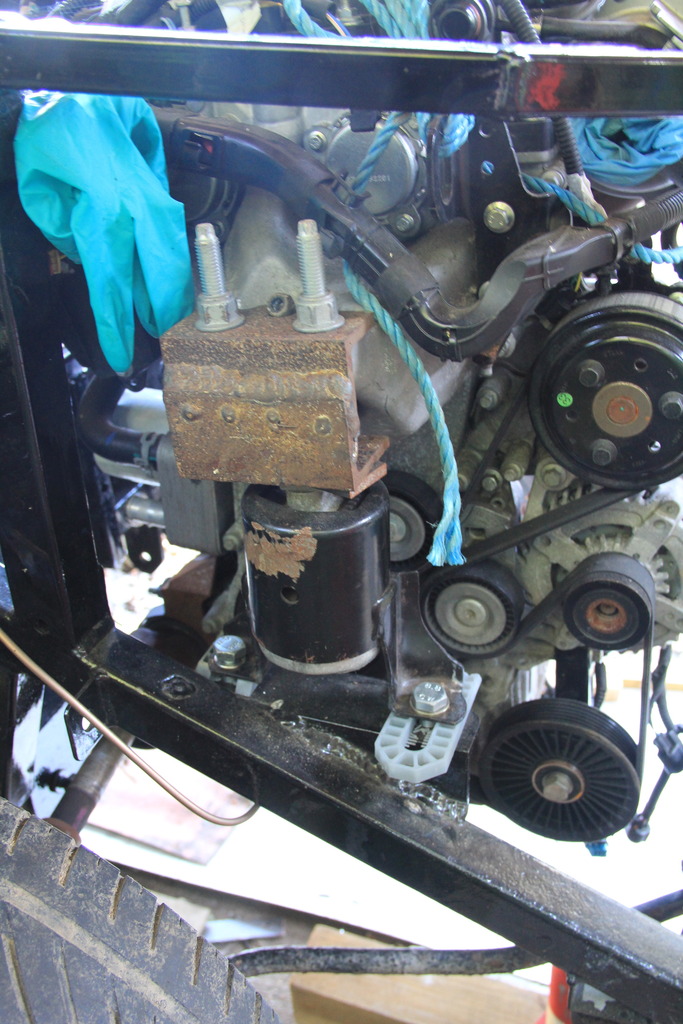
This was my starting point. 2 pieces of angle welded together with a few holes drilled to bolt it to the engine and the mount. This mount is from a fiesta 1.0 and I was never happy with it because I had to cut a side support bracket off otherwise it would have fowled on the wheel arch.
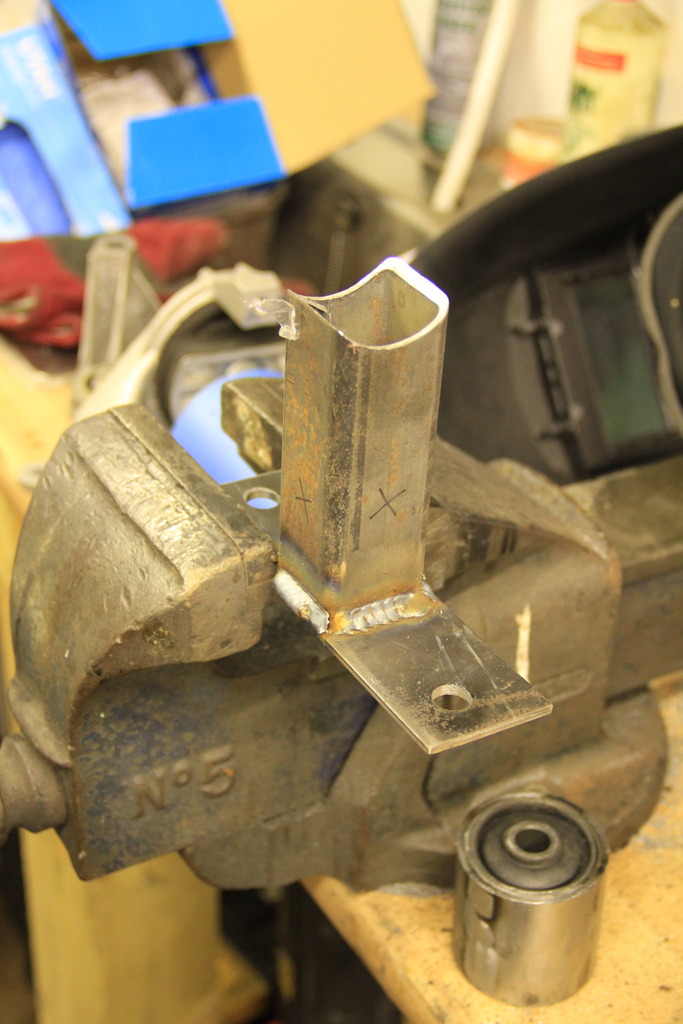
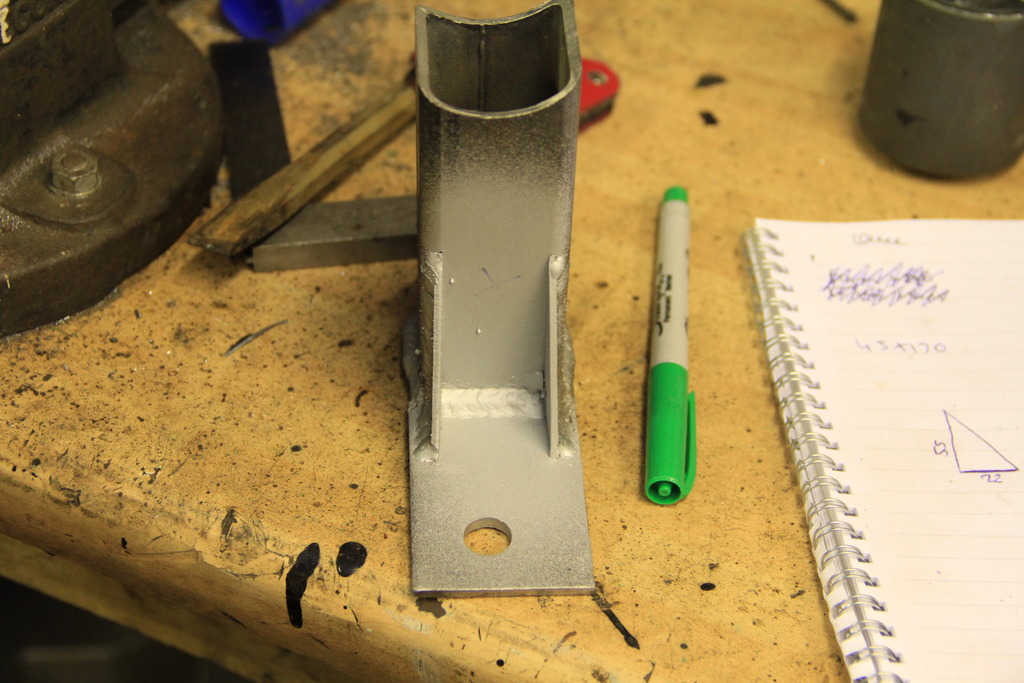
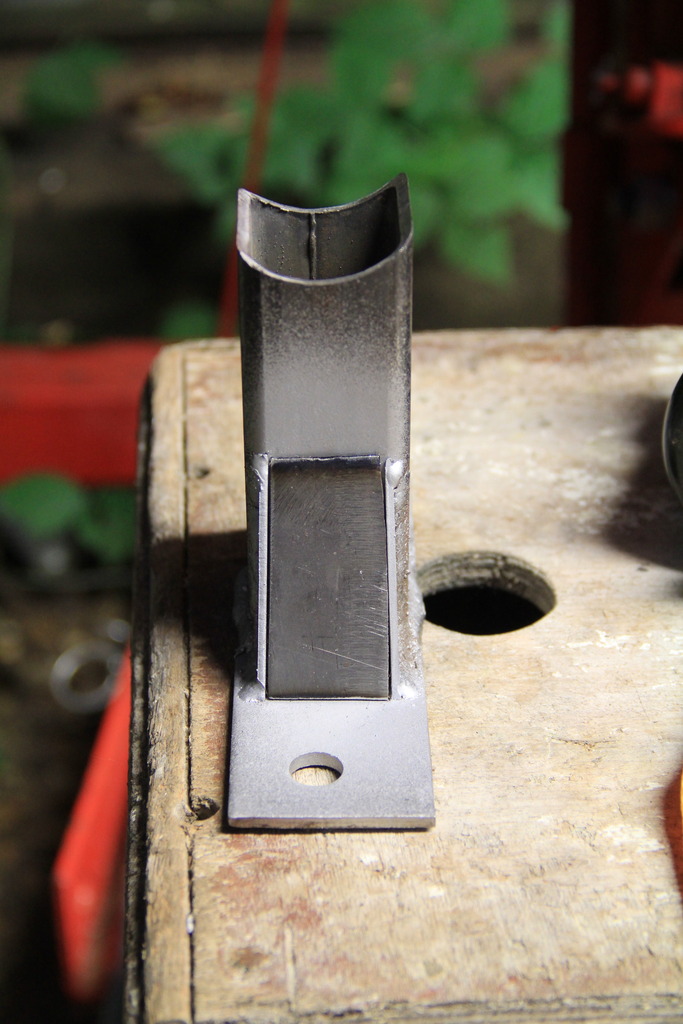
The starting point. 3mm steel base with a stick of 40x40x3 box section welded to it. The top was cut with a hole-saw to give a profile for the bush housing to sit in.
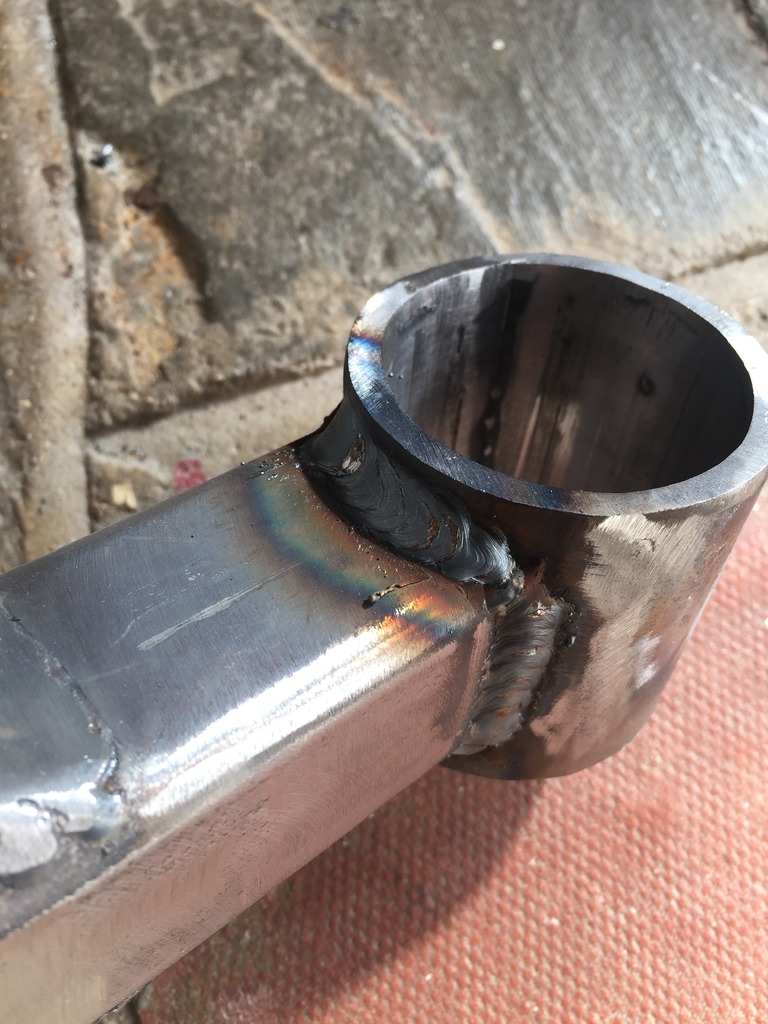
Bush housing welded onto the box section.
Inside sprayed with U-POL weld through primer to give the metal some protection. Showing the fit of the cover plate. Once this picture was taken I shaved 2mm off the ends of the plate to give me a 1mm gap to weld into before grinding it down flush.
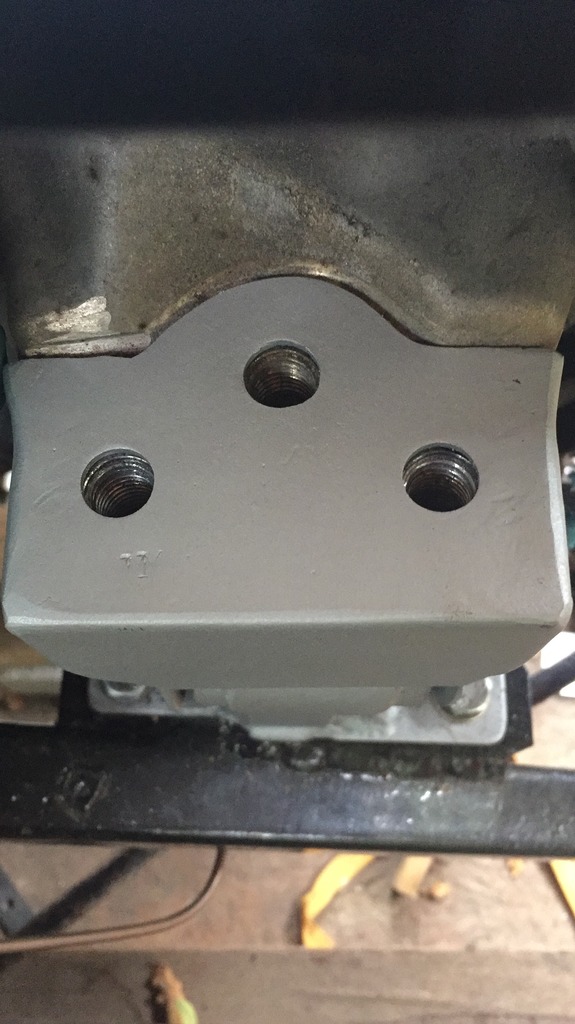
Unfortunately I haven�t got any pictures of the build for the top piece. It was all made from 2mm steel sheet, strengthened and triangulated on the inside.
more to follow soon
