When you click on links to various merchants on this site and make a purchase, this can result in this site earning a commission. Affiliate programs and affiliations include, but are not limited to, the eBay Partner Network.
Not to fussed about emissions, all i know is it will be a pass!! As my engine sits further forward i removed the original steering rack, I fabricated a BMW E36 power rack to fit the RX8 and made up track rod ends to fit. I have removed my abs now as it was sitting right onto of the turbo area.. A guy up here in scotland had a 1jz RX8 and he managed to run a trigger wheel and get his instruments working aswell.
Yeah, from the sound of it the trigger wheel is all thats needed to get the gauges running.
i could try the p100 rack thats in the pile of bits out for size, but if we use that its gonna make mounting the A/C compressor more difficult as we were planning mount that where the PAS pump was, and machine the front v-belt pulley back and then bolt on the mazda flat belt pulley and trigger wheel.
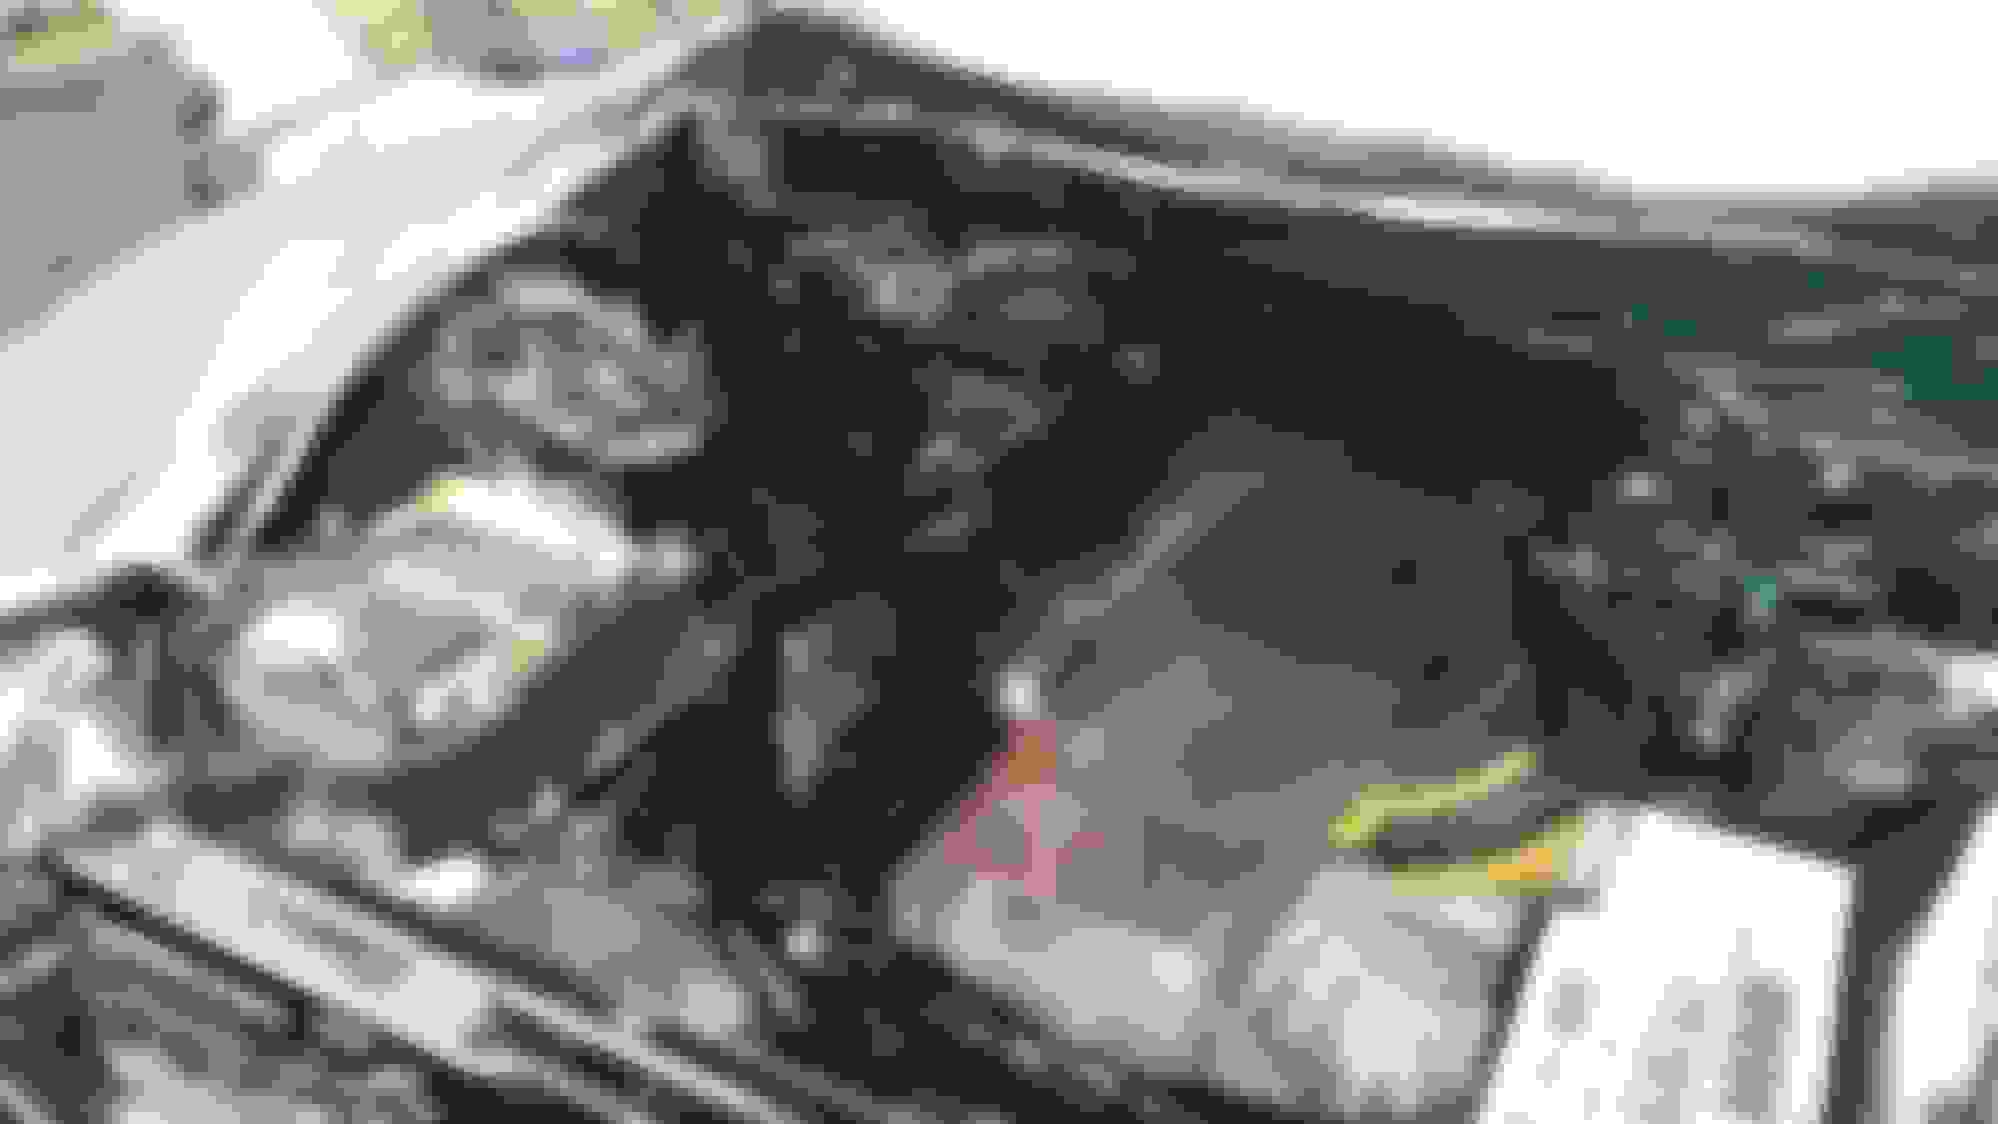
The ABS unit was totally in the way of the inlet manifold so we have removed the bracket and were planning to run the brake lines under the scuttle panel cover and then back into the engine bay where the washer reservoir is.
Its just chucked in place in the pic below, the wiring wont quite reach, but we can extend that easy enough.
Hoping to get back on with it Sunday and get the bulkhead trimmed a little more around the inlet manifold and then make up a piece to fit ready to weld in when theres two of us, one welding, and the other putting out the inevitable fires
How are you getting on with gearing, supposedly they have a low final drive ratio, does it make the gears noticeably shorter?
Had another few hours at it again this afternoon, dropped the gearbox down out of the way and trimmed a little more from the bulkhead to give a little extra clearance, and roughly made up a piece to fill in the gap with some 1.5mm sheet steel. ive only tacked it together for now (with one of those awful stick welders) once i have a final position for everything, bulkhead plate, engine mounts etc i will be borrowing the old mans proper mig welder and butt welding it in place.
Not what i wanted to do, but the remainder of the dash will have to come out in order to weld it up and tidy up on the inside of the bulkhead, id have taken it all out already, but i wanted to be able to push everything back into place easily so i can check it clears the heater box.
The engine and box will mate together ok as this is, and the dash still fits back in where its come from, so that part is all good, however the plenum fouls against the bulkhead to the right of where its been cut out, i only need an inch or so back towards the dash, but its a really awkward place to have to chop out (three skins) and will be a real pain in the knacker to plate back up, Obviosly theres no doubt a fair few cossie experts on here, so.... if i took a small slice off the back corner of the plenum cover (probably only an inch or so, at a 45 degree angle) and had it tig welded back up minus the back corner sticking out, will it affect air supply to the back cylinder?
it shouldnt need to be too intrusive , but im concerned it might make it run a little rich.
Or as an easy option, is there a slightly less bulky manifold available?? that would be great lol
Bitten off a lot here considering its my first engine transplant project
Well, we've both been busy on the Mazda for the last couple of weeks, but unfortunately not had much time for any updates, however things are coming along nicely, and after the 12th time the engine has been in and out it looks as though our lucky number is 13! next time it goes in, it should be there to stay.
Extended the cutout in the bulkhead to fit the inlet manifold
Decided that rather than move the rack down we would have the engine slightly higher, this should save us some major headaches in the suspension department, it just meant that the scuttle panel needed cutting out to allow for some space above.
Engine back in and some mounts planned out and made up, what we did here was make both mounts slightly lower than the final position so that we could level it up perfectly with some spacers under the rubber mounts, we just used washers to get the height right on either side and then measured them so i can make a couple of spacers up before final fitting, after all this it would look a real bastard if the engine wasnt totally level
The drivers side arm placed the rubber mount directly in the way of the steering column, so we cut and drilled a plate to bolt to the block and then used some pretty serious box section to make a dog leg to go down below the column, im no expert on the minimum strength we could have got away with for this, and neither of us want a failure, so it was made way too strong!!! I reckon the subframe would tear off before that ugly bastard breaks
The other side was a little simpler and just required the original arm and a mounting point welding into the subframe
Happy with how its going the engine and box come back out, we widened the area cut out of the scuttle an inch or so on the right due to the gap around the cam cover being uneven and welded it back up, before prepping the engine and bay for a coat of paint, and derusting the brake calipers ready to go the same lairy red as the interior
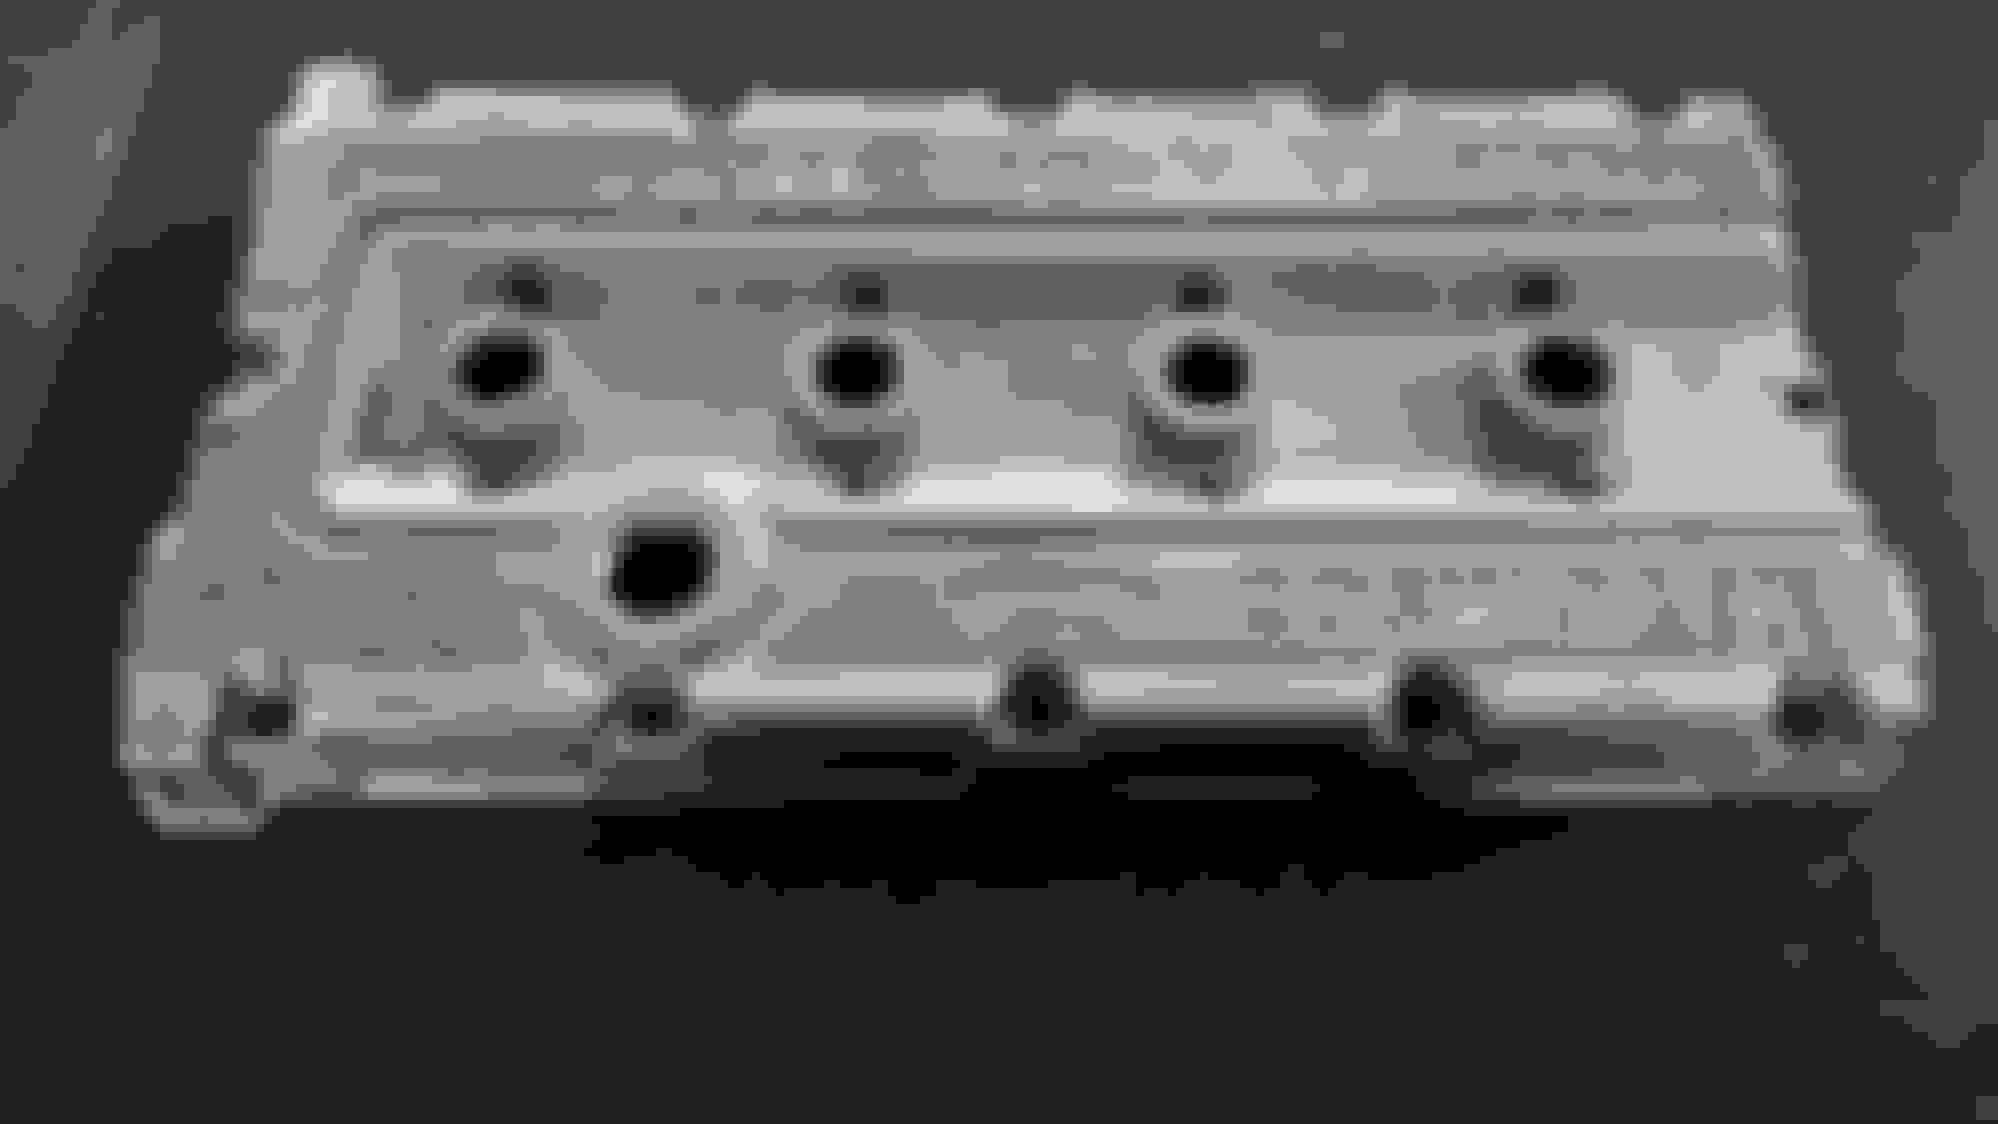
Paint stripped the cam cover, thought this was going to be easy enough, but it seems that paint stripper nowadays is complete crap, so it needed some industrial stripper to get through both coats
Masked off the writing so it can be painted in later on before it goes on the miller for a skim
Block masked off and painted, and calipers done, anybody considering messing around with a wire brush or shotblasting the rust off calipers should look up electrolytic rust removal, 24hrs in a bucket of water and washing soda connected to a dc power supply and the rust falls off with no effort, leaving just clean metal, you just have to rinse them real quick and get them dried and zinc primed before they start to rust again.
With the bulk of the cutting and welding out of the way, its been time to get the engine tidied up a little and put back together, in the hope that the old bastard will stand half a chance of firing up when the time comes
Repainted cam cover and pulleys back on.
Box of goodies turned up with some replacement gaskets, oil filter, new set of plugs and a timing belt kit, also replaced the rotten looking modine cooler with a mocal thermostatic sandwich plate to make use of the two coolers which come as standard on the RX
Another part i hadn't really been looking forward to was extending the input shaft of the RX8's gearbox. i didn't document this process very well, as most of my time was spent swearing. Got the box spilt open and then welded on a hard steel extension to go into the flywheels pilot bearing, then turned the weld and extension back to the same 15mm diameter as the original shaft.
The tricky bit was getting the endplate/bellhousing back on, there's a lever which goes onto reverse gear and pivots on a pin which is screwed through the bellhousing from outside. anyway long story short, this little fucker is the work of the devil. took allsorts of rolling the box over and tugging on it with a wire threaded through, and prodding etc but it went together in the end, and has 6 forwards, and a reverse, so i'm happy.
It remains to be seen whether the RX box will deal with the extra torque from the cossie, or if it will just spew its bits, either way we will find out (we still have the spare 2wd cossie box in case )
extended shaft, and treated to a nice new release bearing
Final goody box...
Boy racer slotted discs to go with the freshly painted calipers. Standard RX8 brakes certainly arent what i'd call small, 323mm if i remember correctly!!
nice progress, will be interesting to see what the box thinks to the engine
Yeah, the guy selling the plates is using them to replace the type 9 gearboxes, the plate isn't actually ideal for our purpose as it is drilled in a way that puts the gearbox on a slight tilt, and because of the ppf on the mazda there is no way for us to install it tilted, so the only way we can make it work is to redrill it so that the engine sits straight upright in the bay. We are going to be measuring the play in the whole assembly between the gearbox and adaptor plate with dial guages so that we can centre it perfectly before drilling a couple more holes for dowels, hopefully we're giving it the best chance of survival this way! If it's even slightly off centre it will most likely eat the input shaft bearing almost straight away
A little more progress been happening, at the moment we're faffing around with the starter motors position in the adapter plate, and making up a mount for the A/C pump which will be going in the same spot as the cossie power steering pump was, as it's no longer required with the EPS on the mazda, I've also been busy putting back the dashboard and tackling some of the wiring.
Cossie loom in, the washer reservoir is going to have to go elsewhere
Something else that needed dealing with is that there's going to be a few warning lights that we would never be able to turn off without messing around with canbus controllers, so a simpler (if a little fudgey) technique is going to be employed here
Traction control, Cruise control and the skiddy warning lamps are definitely going to freak out as it now has no control or feedback from the engine, so the leds were desoldered at one side and tilted up to stop them coming on at all, then the same was done to check engine, oil level and battery charging indicators, but these had a pair of wires soldered to the led and the pad on the pcb, these will go into a 3 pole relay to switch them all off simultaneously
Something weird I've found about the mazda is that although it has an oil pressure guage, it doesn't have a pressure transducer to drive it, it just has a standard pressure switch like the cossie, and it seems they removed the transducer in early models because the needle moving was making drivers think something was wrong with the engine. The pressure switch simply makes the needle go just above half way!
Mostly put back together, I need to plug them in when the battery is on to get the spindles for the needles back into the correct place as I've lost track of where they were pointing to start with.
I'll be feeding the coil of the relay with the output from the alternator, so that the three offending lamps come on with the ignition and then go off once the engine is running in the same way as they normally would, and if the alternator fails there will be all three lamps back on.
I think there would be bits flying everywhere if we hit 10k rpm on that engine lol, speaking to some mazda guys about rpm in 6th gear on the rx8, and it looks like they're at 3.5k at 70 mph, so we will run out of gears at around 120 (6k), but I'm going to hazard a guess we will be getting there quite quickly
Not an awful lot to add to what's been happening with this over the last week really as we have both been pretty flat out with proper work but I have given the manifold, plenum and throttle body a bit of a clean down ready for when I have got the injectors cleaned up and new seals etc fitted
Also, not sure if I'm allowed to do this, but we have quite a few cossie / p100 spares now that we won't be needing, dashboard, front seats, doors, 2wd manifold etc, which titch I've no doubt will be open to sensible offers on
Been a busy few days, but things have come together nicely, got the adaptor plate sorted out, and the starter motor in and checked on a battery, so the engine and box can go back in and be bolted together.
Got the 4x4 exhaust manifold so set about dismantling the turbo to turn the housings around and mount it to the new manifold, obviously something had to piss on my chips, this time it was one of the studs in the turbo flange shearing straight off...
Not sure what grade of super steel they're made of but it could blunt drills almost instantly, and almost killed the trusty black and decker!
Starting to look like progress now, with the stud out and the turbo attached to the manifold, we can get some of the other bits and pieces on, need to find a bracket for the wastegate actuator as the 2wd one doesn't fit and makes it bind, oil feeds and return are still to sort, but that shouldnt be a problem.
Even threw the bonnet on to check how much space we have above the engine to replace the strut brace that came out, and to suss how much space we have for a battery and air filter. The battery can go back pretty much where it was on the left above the rad, and an enclosed air filter on the right going to the cold air feed, there's actually a flap in there that moves with a vacuum actuator to use either the long or short air feed, I'm not sure if this could be of any use to us, but its worth looking into for nothing
It will look like an even tighter fit once we have a tray bolted in for the battery, the plan is to make a tray with a box section frame straight across above the radiator, which will double up to replace the crossmember that we had to hack out to get the engine in. Then it's just going to be the small matter of routing pipes, boost pipe from the turbo isn't going to be ideal as it looks as though it will have to loop back 180 degrees as it's behind the strut top and then go 90 degrees straight after to head forward to the intercooler
 03-04-2015, 08:21 PM


 )
)


 but I have given the manifold, plenum and throttle body a bit of a clean down ready for when I have got the injectors cleaned up and new seals etc fitted