Escort Cabriolet 90 spec,EFi turbo,update,Engine bay painting,clutch & Box 2/6/16
 25-03-2014, 11:30 PM
#1
.
Well since selling my XR2 turbo I’ve been plodding along with my RWD S2 Cossie ERST, so for the last 22 months I’ve been carless apart from the family wagon Mondeo. A few months back I bought a turbo cabby to break from a mate as I knew the car mechanically but the shell was scrap. Anyway, after selling a lot of parts and making my money back I was left with the engine, loom, ECU, front mount intercooler, full Magnex etc.
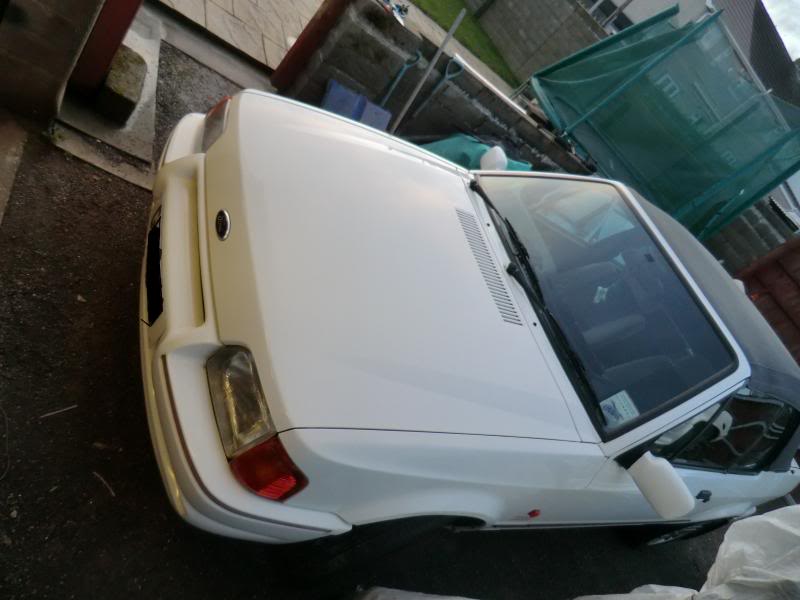
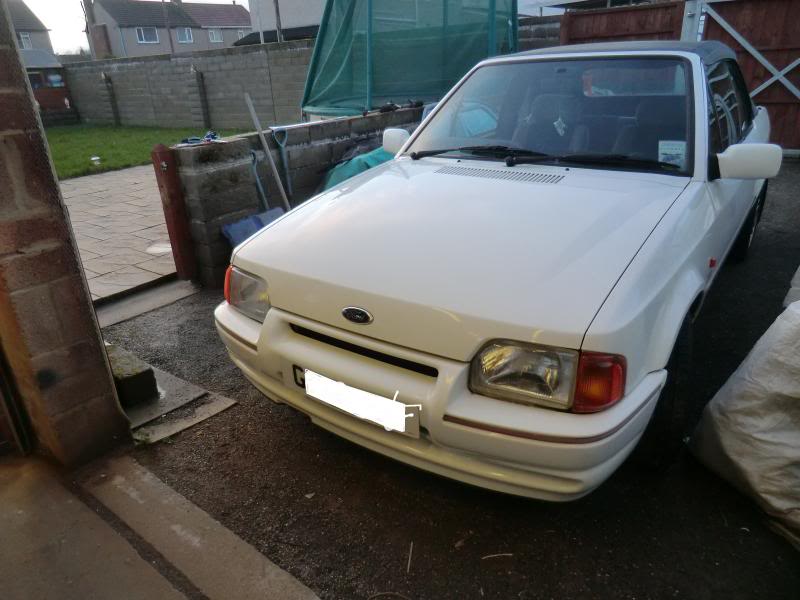
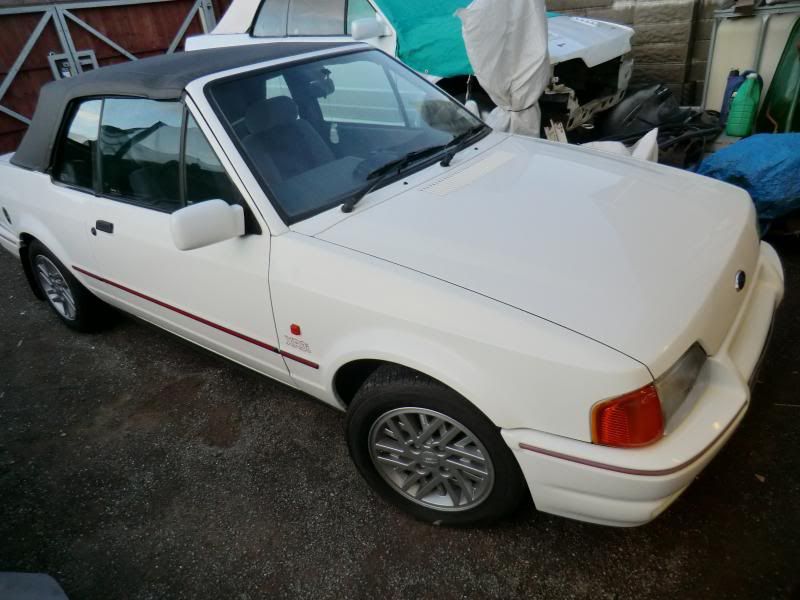
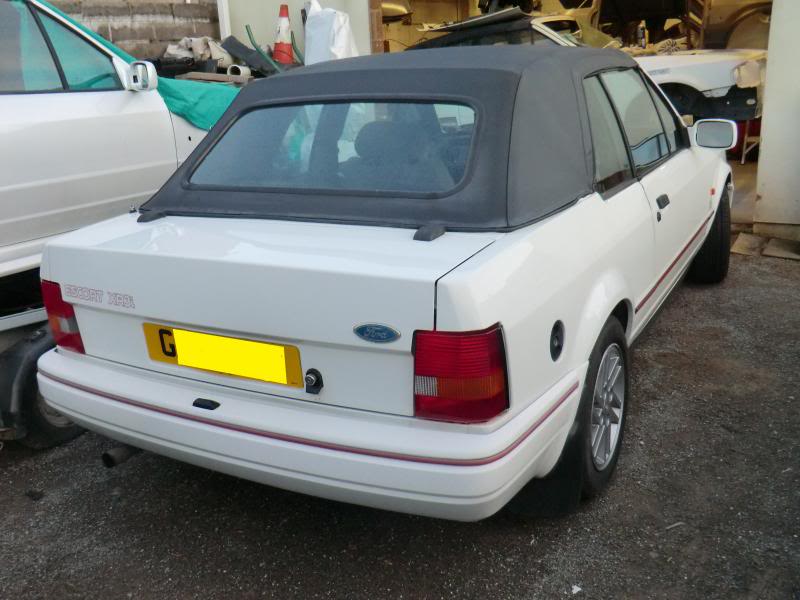
So a few weeks back I picked up a G plate 90spec Cabriolet in white, Really nice car for less than half the original �1500 the seller wanted for it last July.
It’s EFi were as the breaker was MFi, not an issue as I wanted it EFi anyway so only an ECU and MAP sensor required.
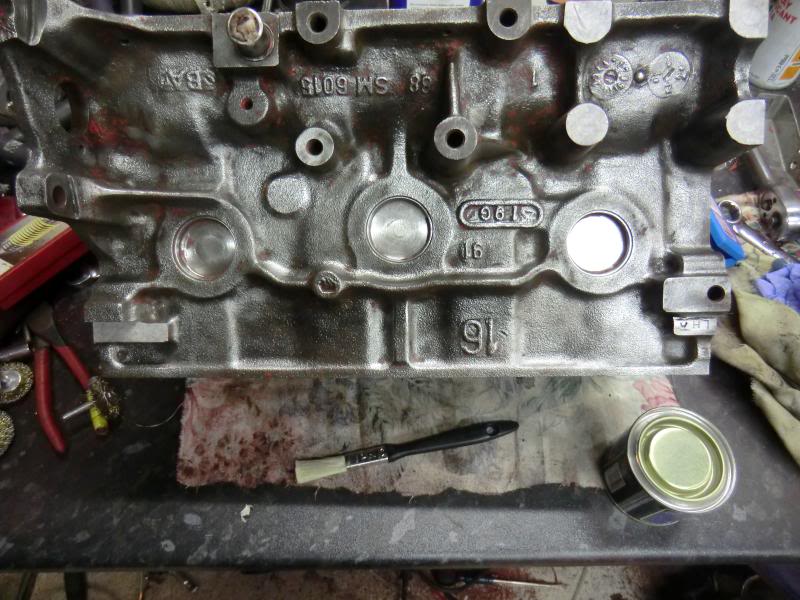
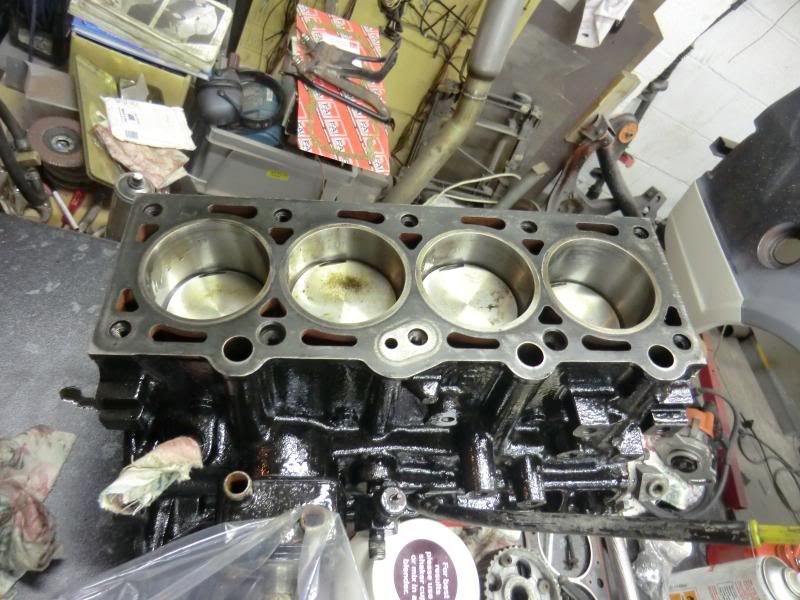
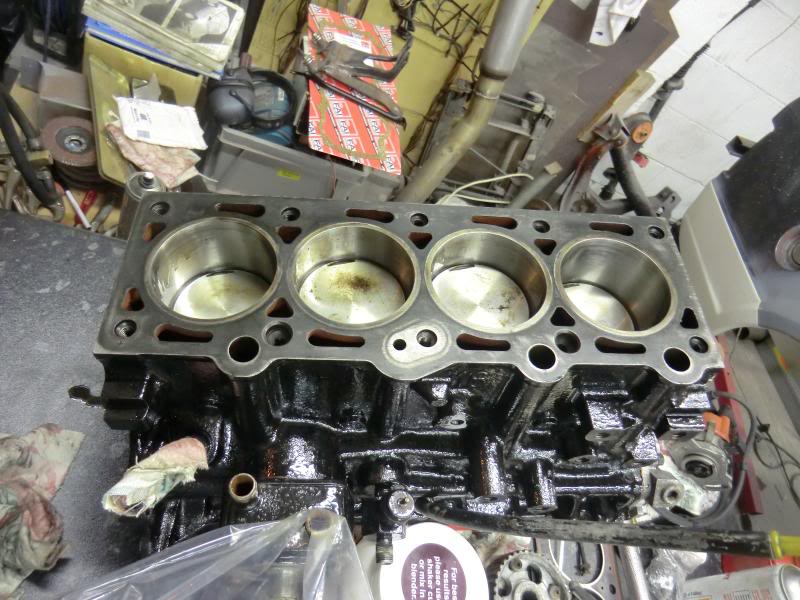
So far the turbo engine has had a stripe down check over a rebuilt with new shells, rings, bolts etc.
Spec is
0.5mm Wossner pistons (EFi block)
ARP rod bolts
High pressure oil pump
Fully lightened and balanced
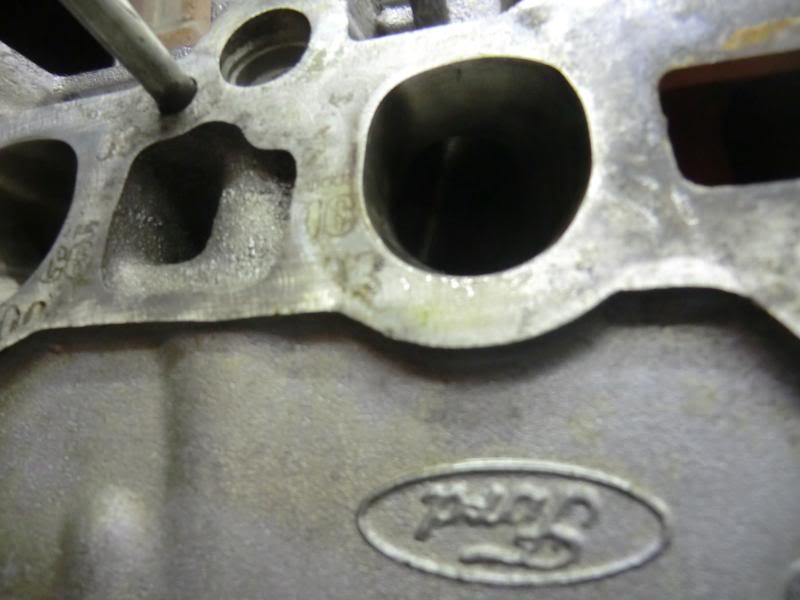
Ported and polished MFi head
Kent cam
Vernier pully etc
So a nice spec to start with, now I’m not going mental power wise so 180bhp will be fine.
Also gonna fit an S2 kit, plus a brake upgrade.
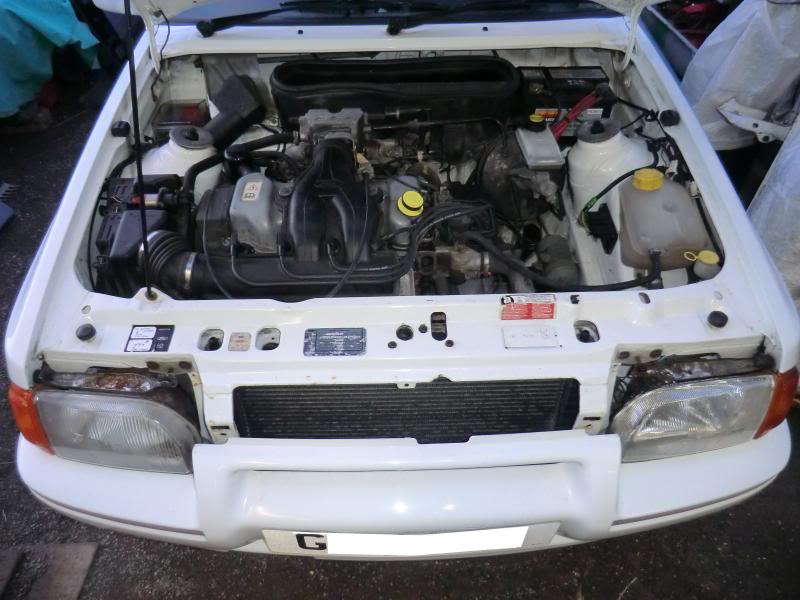
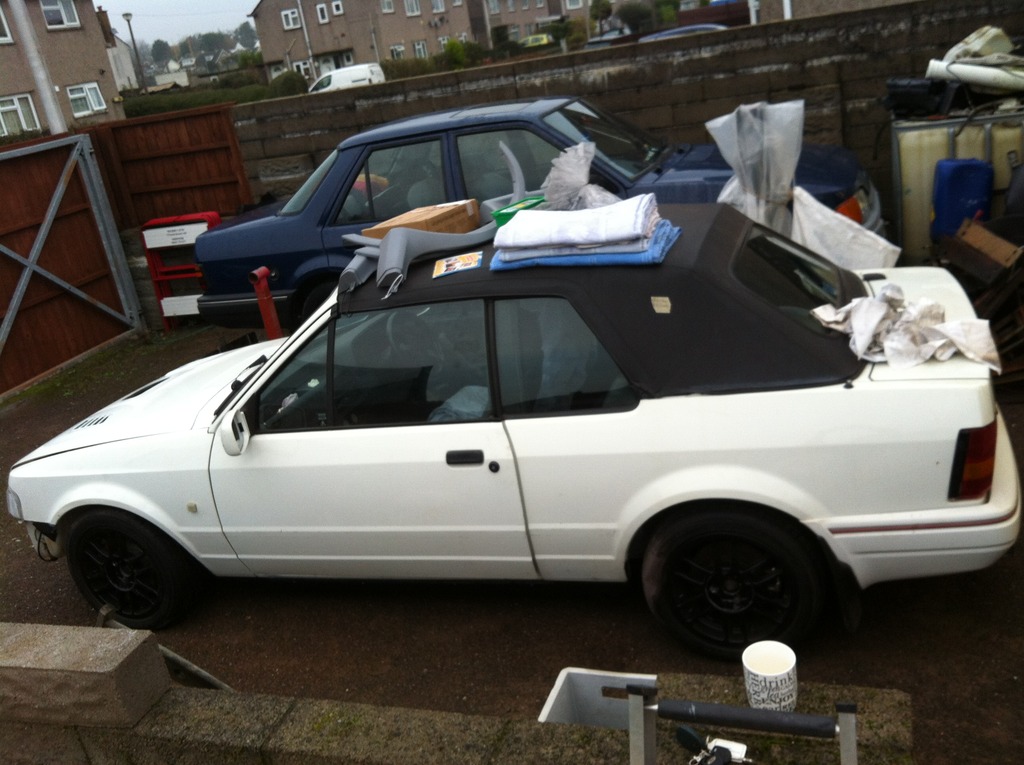
Anyway here’s the car when I 1st got her
Dash coming out ready for the fitment of the roof electrics as it runs along the bulkhead just below the windscreen, also made it easier to fit the new alarm.
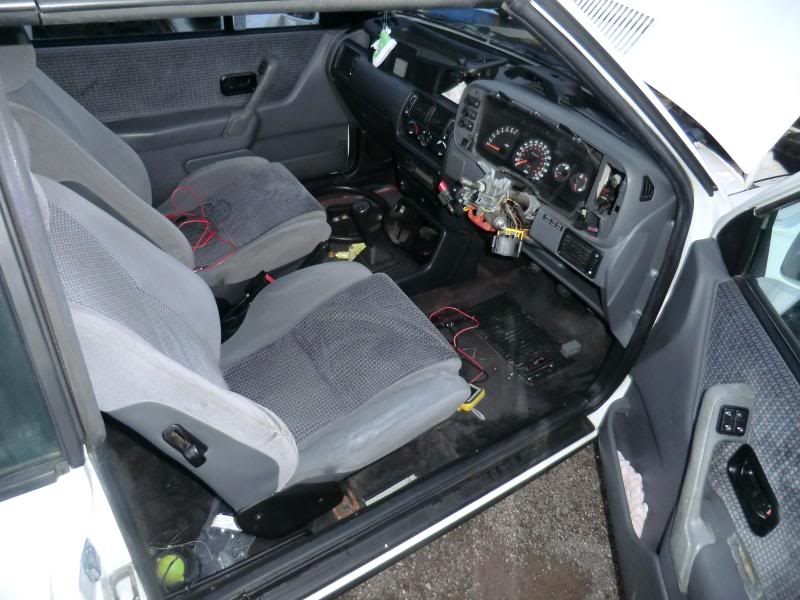
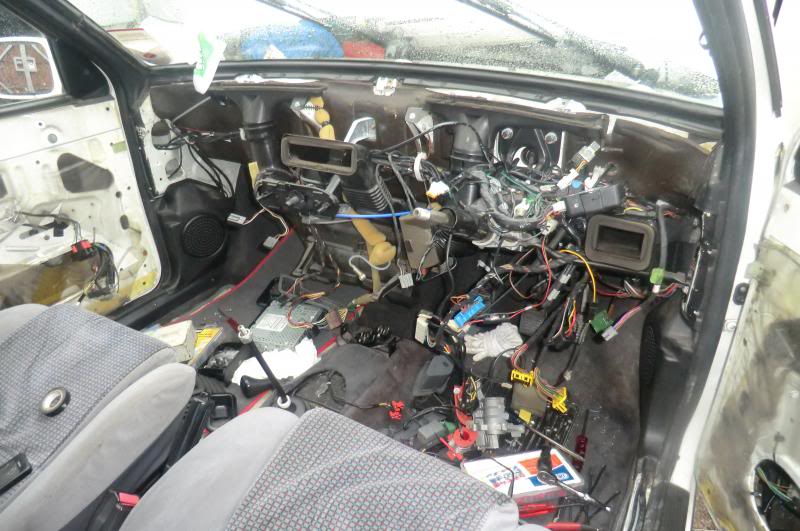
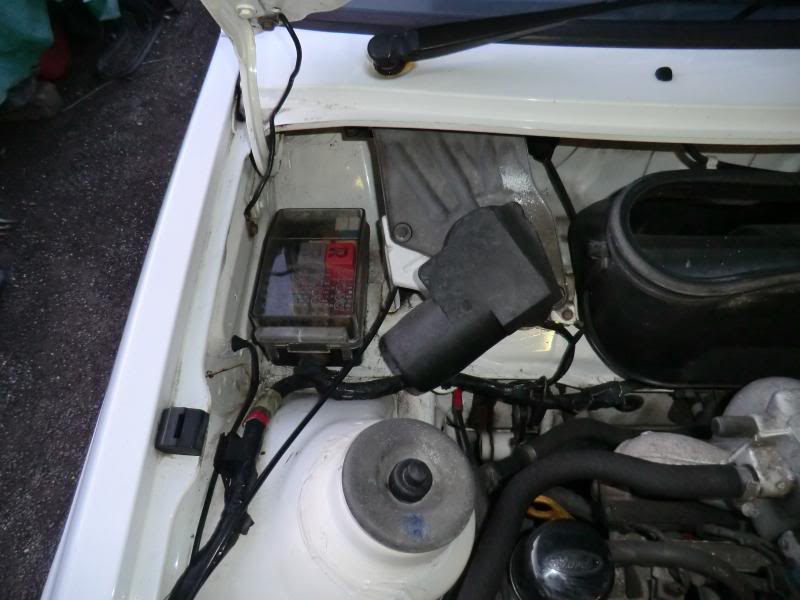

The car had a manual roof when I got it but after using the roof twice I fitted the power roof off the breaker, why or how anyone can have one of these with a manual roof is beyond me
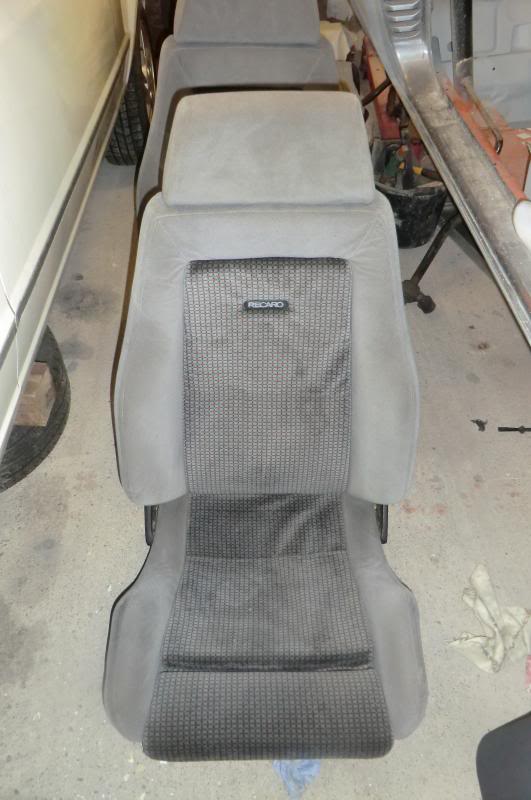
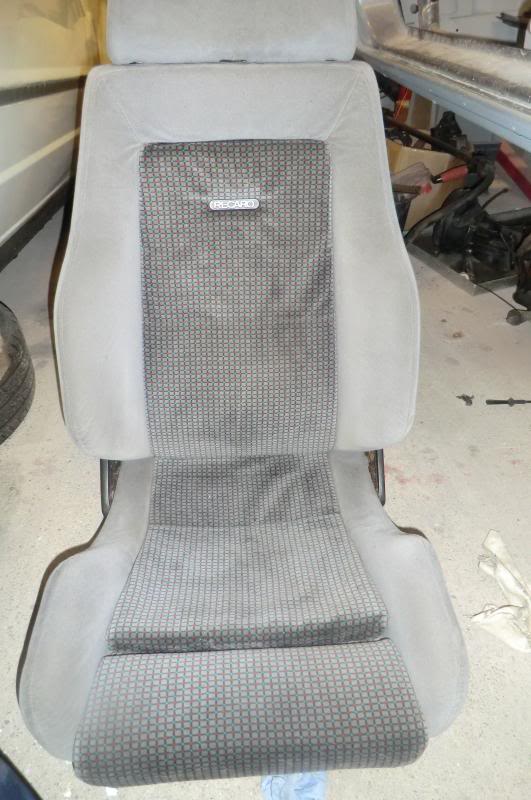
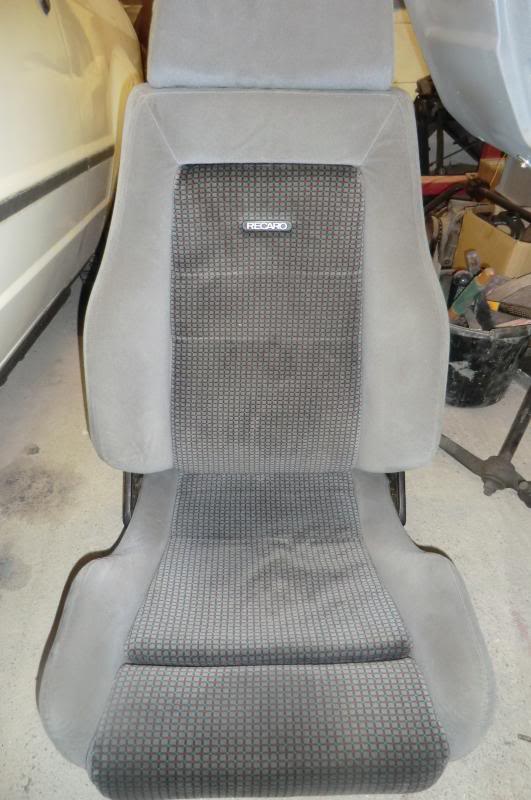
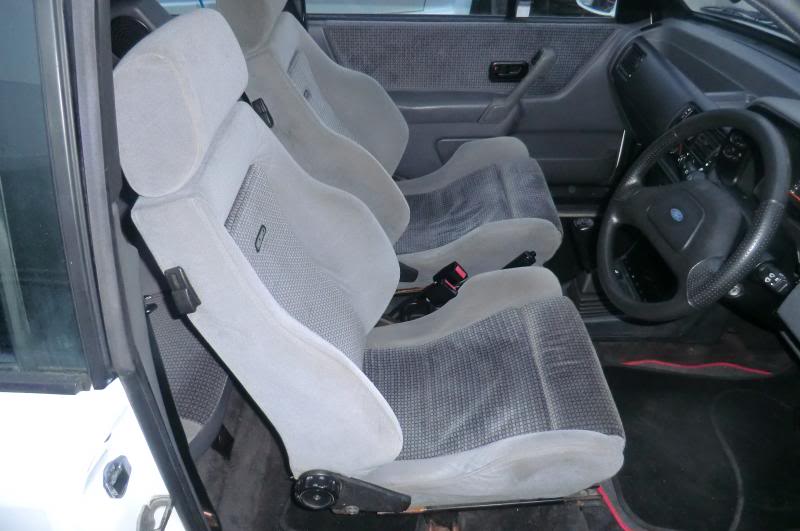
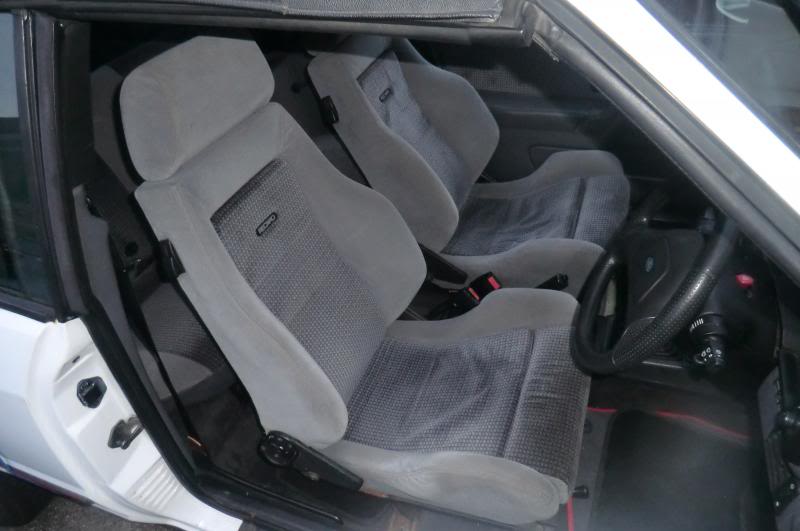
So 1st thing was the roof, then I had to sort out the seats in the form of a pair of Recaro's

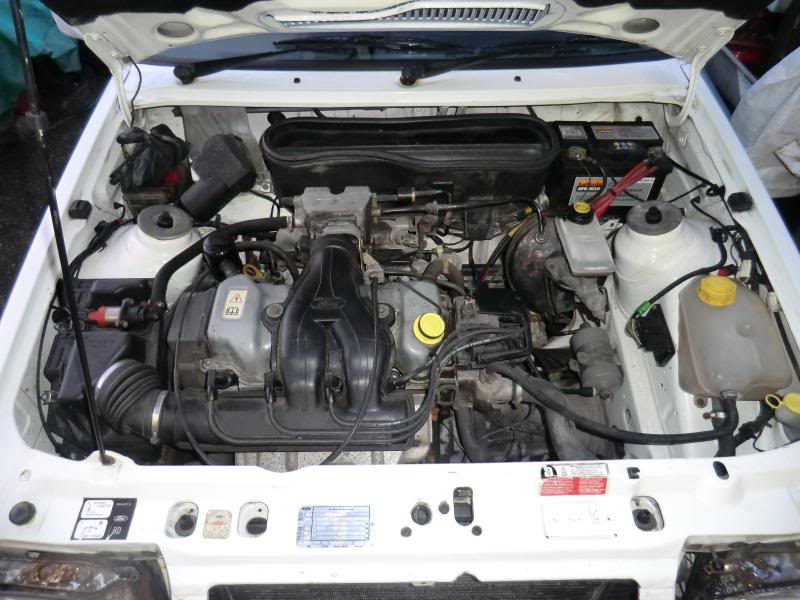
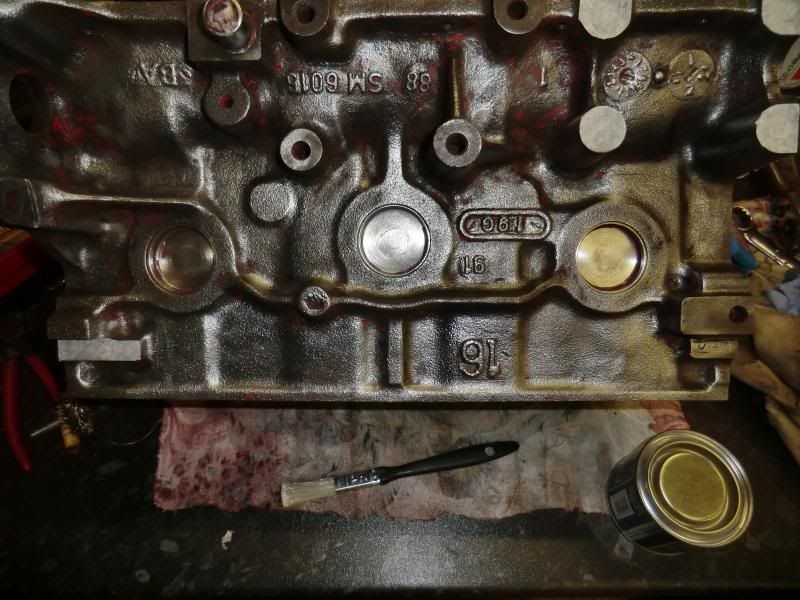
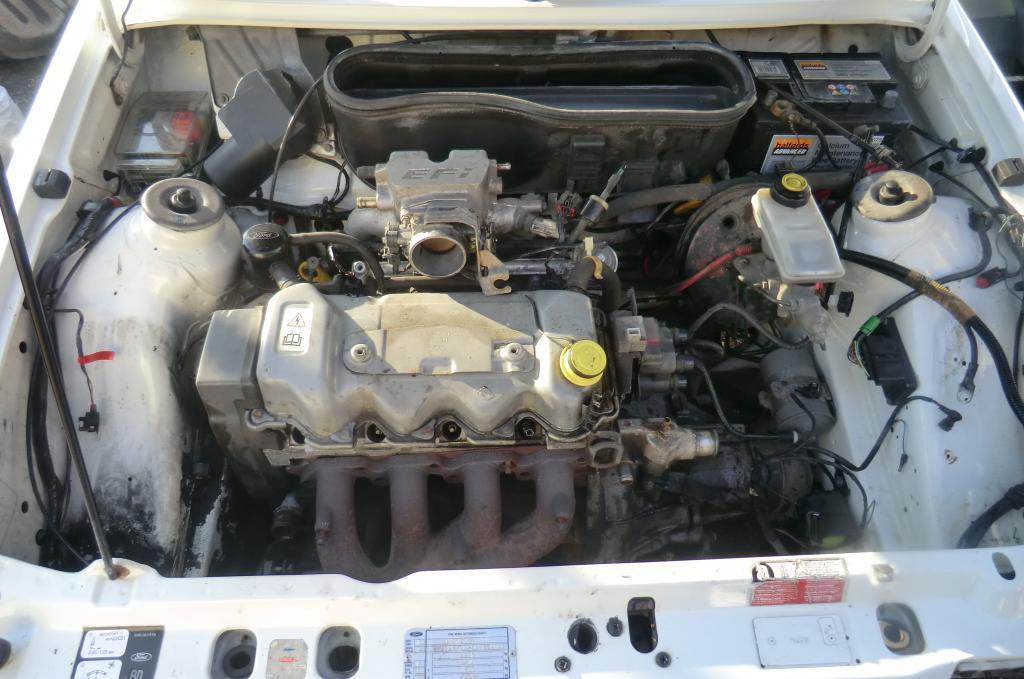
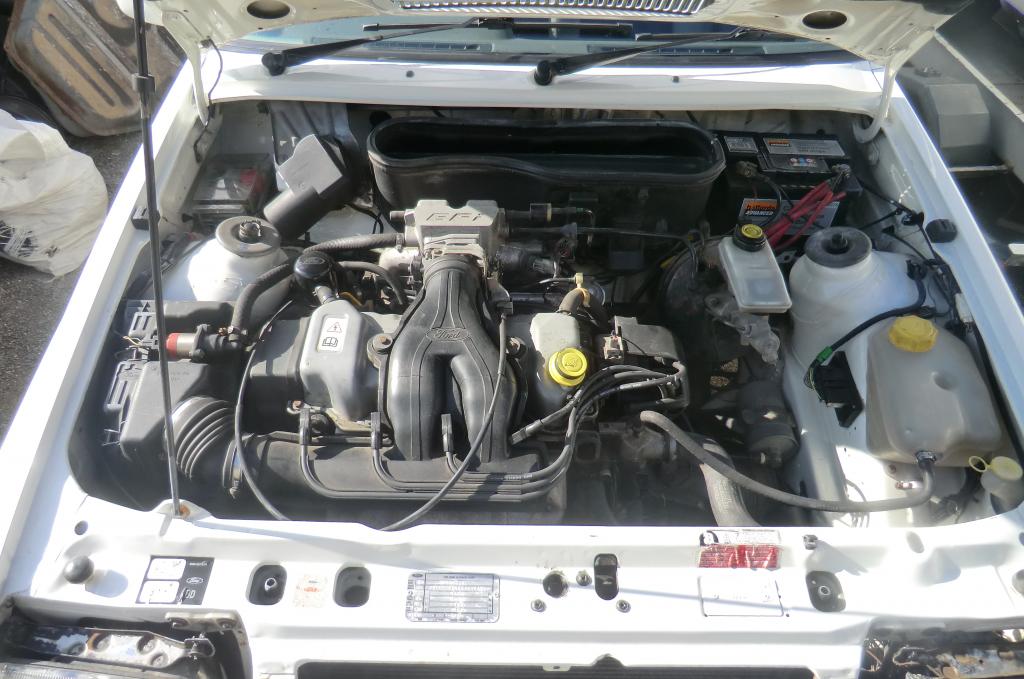
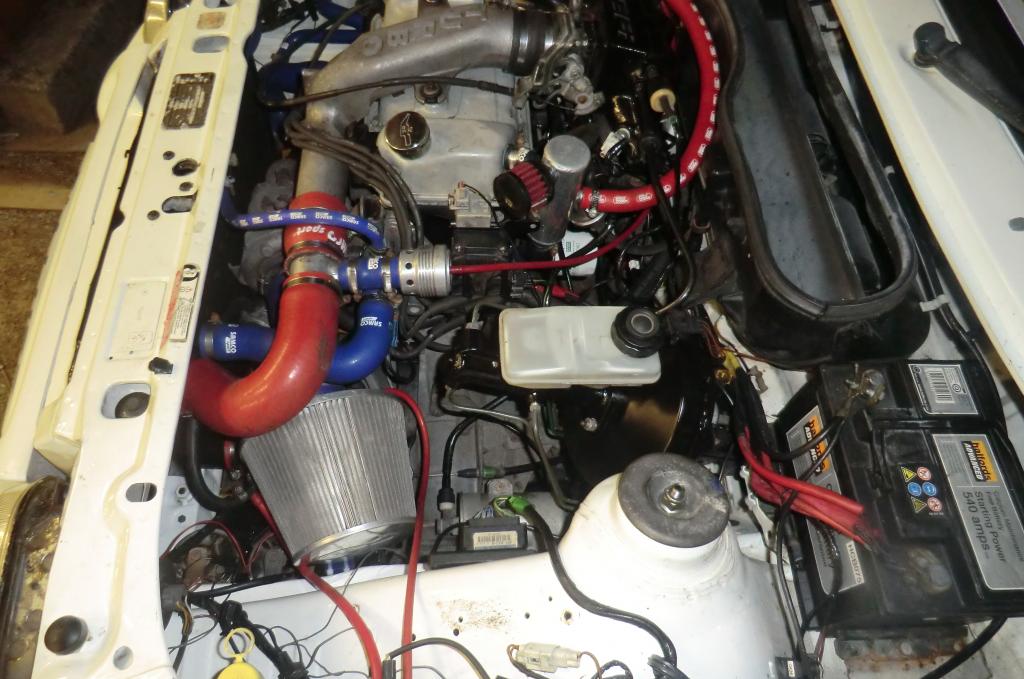
Few pics of the motor


Just going to enjoy the car for a few months before I do anything with the engine, so i'm going to get everything I need ready, plus i'm going to refurb and repaint a full spare set of suspension arms brackets etc ready to go on in one go.
Ginger
.
Well since selling my XR2 turbo I’ve been plodding along with my RWD S2 Cossie ERST, so for the last 22 months I’ve been carless apart from the family wagon Mondeo. A few months back I bought a turbo cabby to break from a mate as I knew the car mechanically but the shell was scrap. Anyway, after selling a lot of parts and making my money back I was left with the engine, loom, ECU, front mount intercooler, full Magnex etc.
So a few weeks back I picked up a G plate 90spec Cabriolet in white, Really nice car for less than half the original �1500 the seller wanted for it last July.
It’s EFi were as the breaker was MFi, not an issue as I wanted it EFi anyway so only an ECU and MAP sensor required.
So far the turbo engine has had a stripe down check over a rebuilt with new shells, rings, bolts etc.
Spec is
0.5mm Wossner pistons (EFi block)
ARP rod bolts
High pressure oil pump
Fully lightened and balanced
Ported and polished MFi head
Kent cam
Vernier pully etc
So a nice spec to start with, now I’m not going mental power wise so 180bhp will be fine.
Also gonna fit an S2 kit, plus a brake upgrade.
Anyway here’s the car when I 1st got her


Dash coming out ready for the fitment of the roof electrics as it runs along the bulkhead just below the windscreen, also made it easier to fit the new alarm.


The car had a manual roof when I got it but after using the roof twice I fitted the power roof off the breaker, why or how anyone can have one of these with a manual roof is beyond me
So 1st thing was the roof, then I had to sort out the seats in the form of a pair of Recaro's


Few pics of the motor


Just going to enjoy the car for a few months before I do anything with the engine, so i'm going to get everything I need ready, plus i'm going to refurb and repaint a full spare set of suspension arms brackets etc ready to go on in one go.
Ginger
.
Last edited by GINGExR2 T; 25-03-2014 at 11:36 PM.
 25-03-2014, 11:42 PM
#2
PassionFord Post Whore!!
Looks a clean one... 
27-03-2014, 04:48 PM
#5
.
Cheers guys, yer it is a nice clean base to start with so should just be a unbolt and rebolt sort of project.
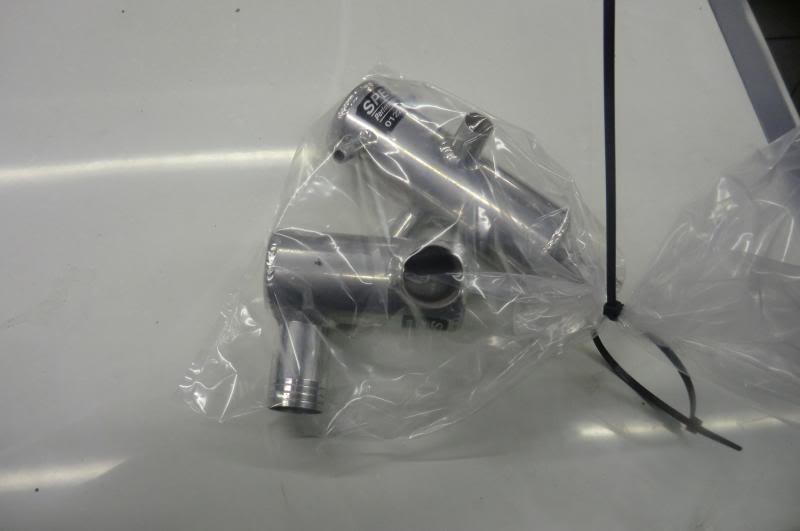
Anyway, got a few parts sorted for when I do the turbo conversion,
Swirl pot and crank breather
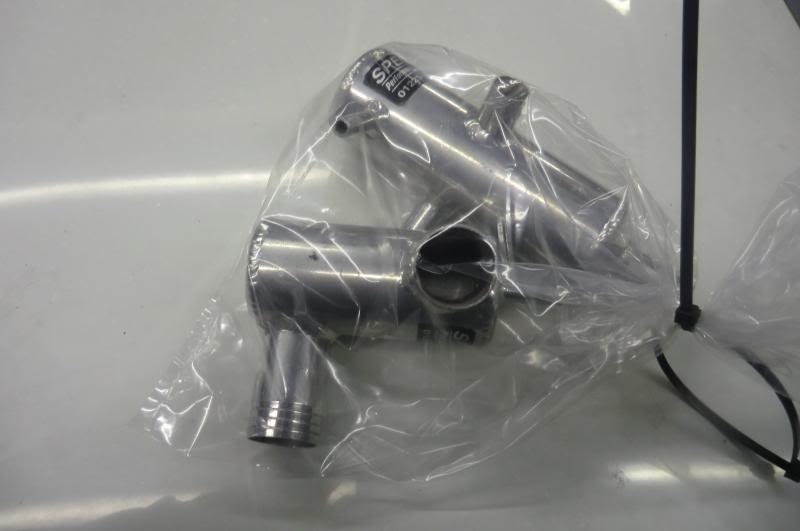
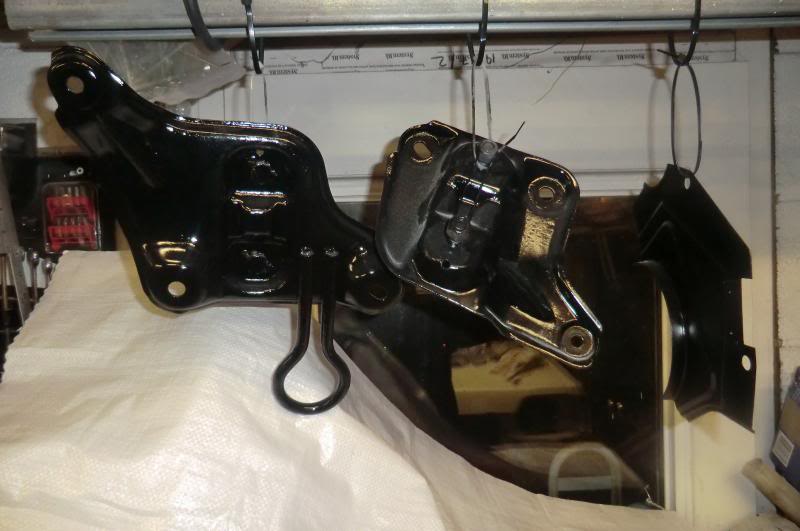
Also, I had a couple of spare parts/brackets which I have striped etched and painted up ready.
Got some break upgrades sorted so i'll get some pics up soon.
Ginger
.
Cheers guys, yer it is a nice clean base to start with so should just be a unbolt and rebolt sort of project.
Anyway, got a few parts sorted for when I do the turbo conversion,
Swirl pot and crank breather


Also, I had a couple of spare parts/brackets which I have striped etched and painted up ready.


Got some break upgrades sorted so i'll get some pics up soon.
Ginger
.
Trending Topics
14-04-2014, 08:35 PM
#8
.
Small update, managed to get my mates Cabby out of my garage and had a 3 day tidy up as the place was a shit hole :-(
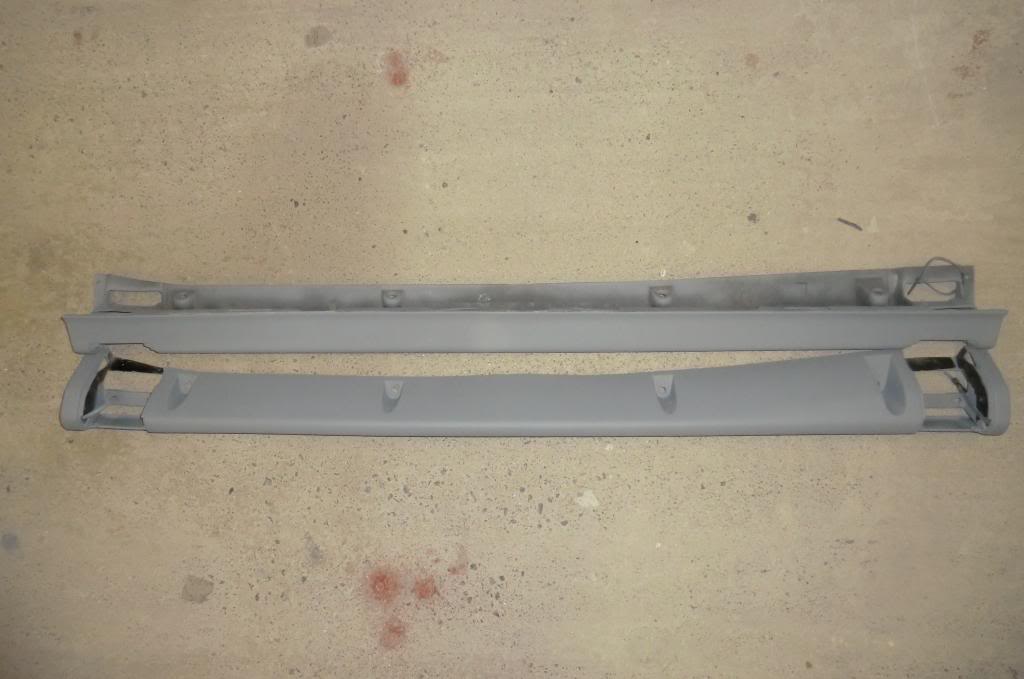
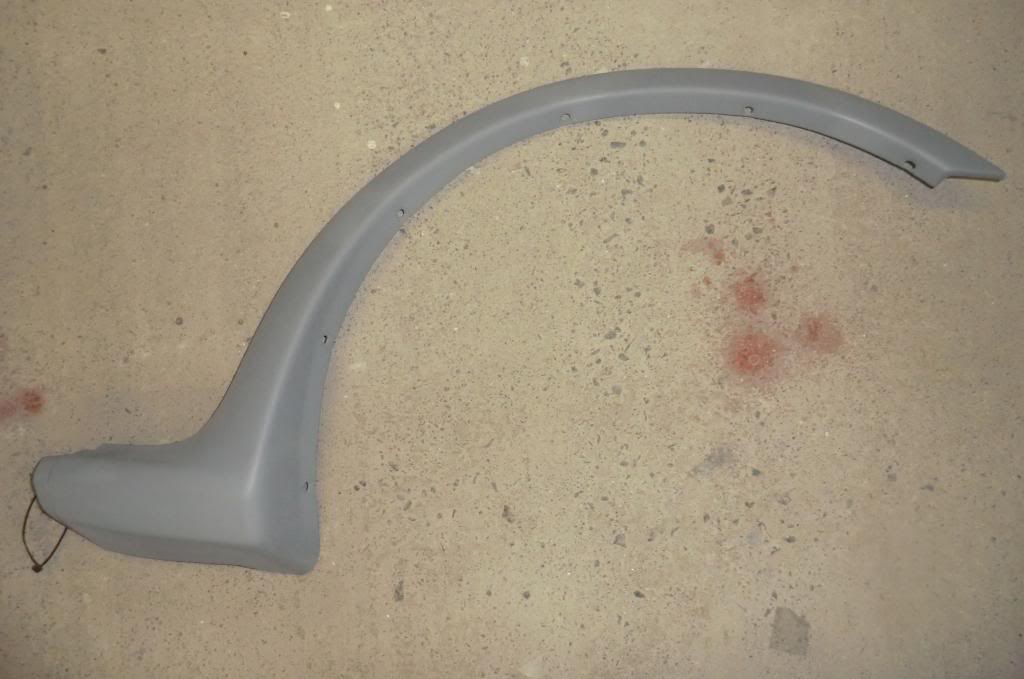
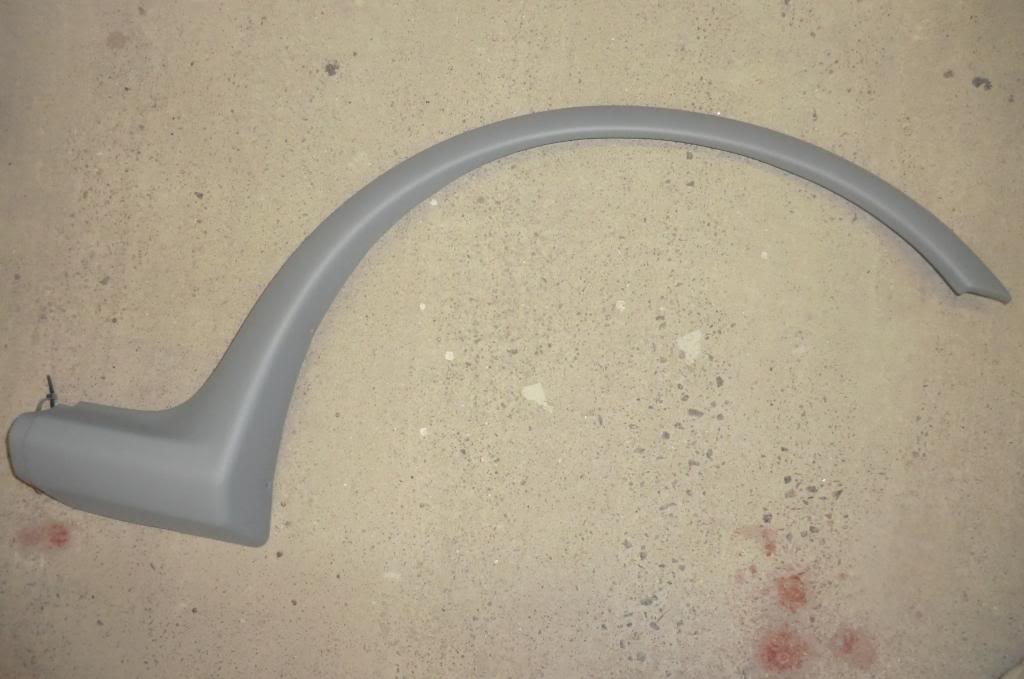
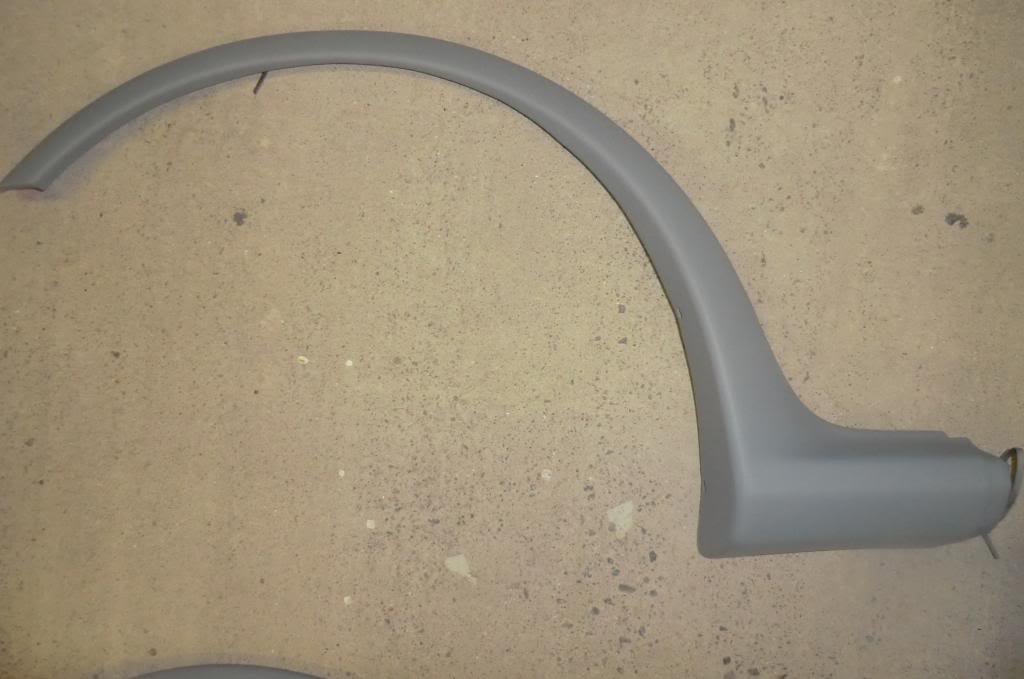
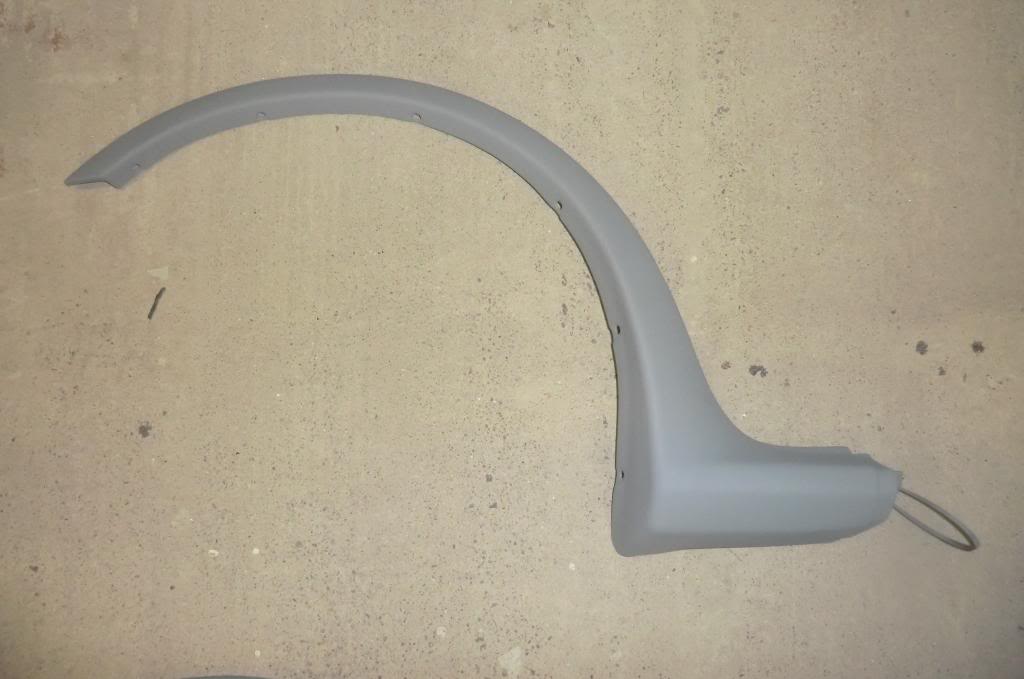
Anyway, my mates cabby was mine that I bought last year (yes another one) and I had a S2 kit in the boot that I kept after he bought it, so after looking at it and striping some of the paint off I found that the one side had 12 layers of paint and primer and the other had 14 (YES 14) layers, So many boring hours later I had it striped back to the bare plastic and got them I plastic primer
Boring, yes, Worth it, defo
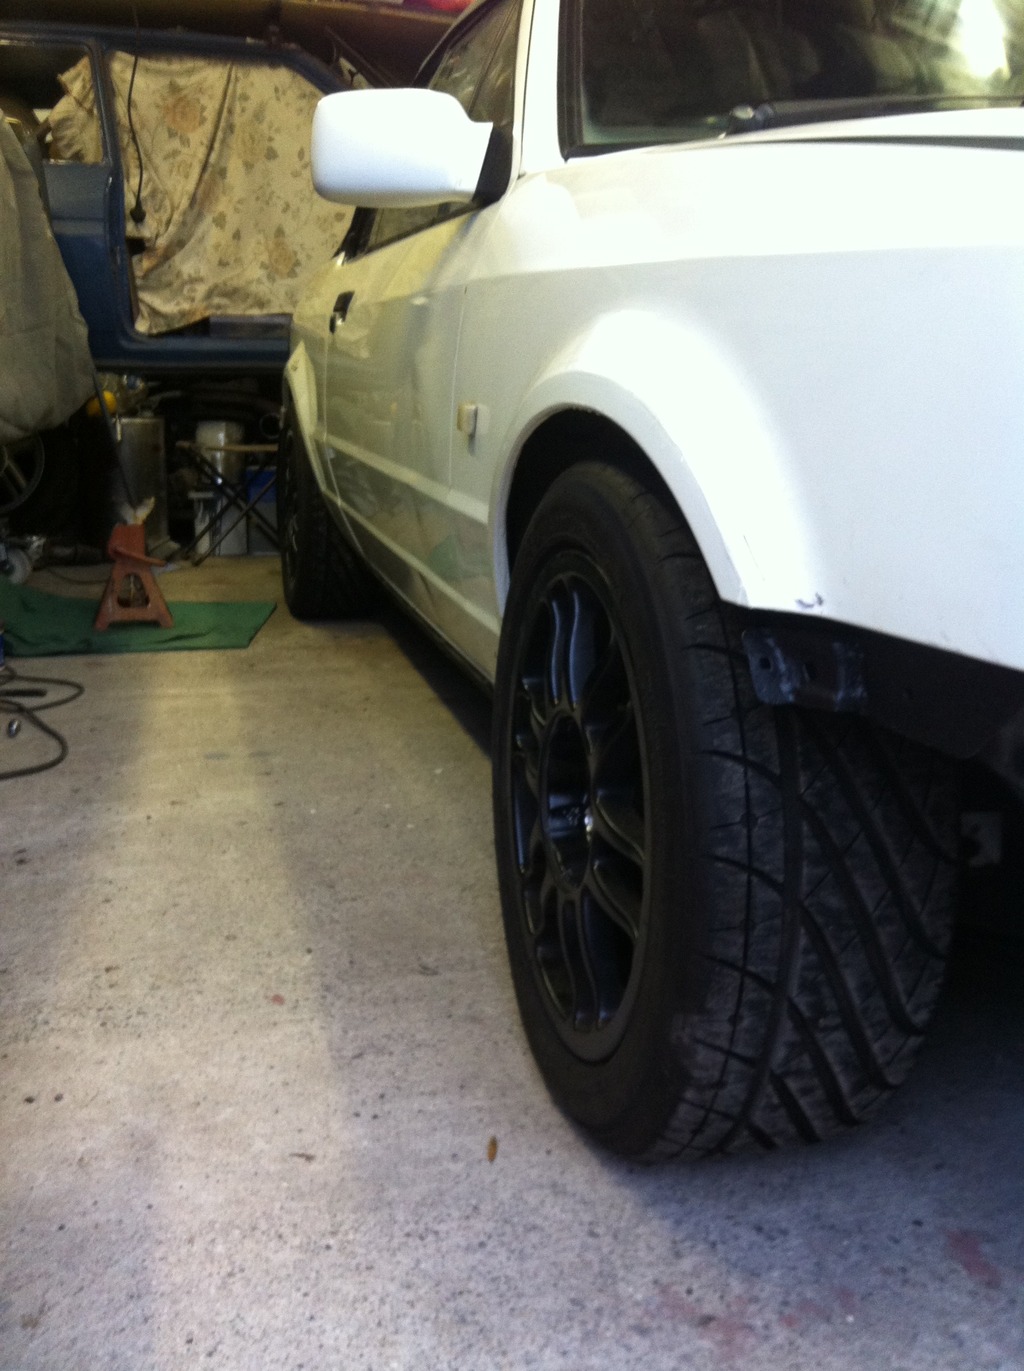
Also made a start on prepping and paint the Super T's, I've had these sat in my garage for 3 years that I had of a Fiesta RS Turbo I broke, so after having a trial fit as the 7J 16" ET37 they fit perfect. forgot to get before pics on 3 of them but this before pic is the best of the 4 wheels, most of the curb damage was just paint.
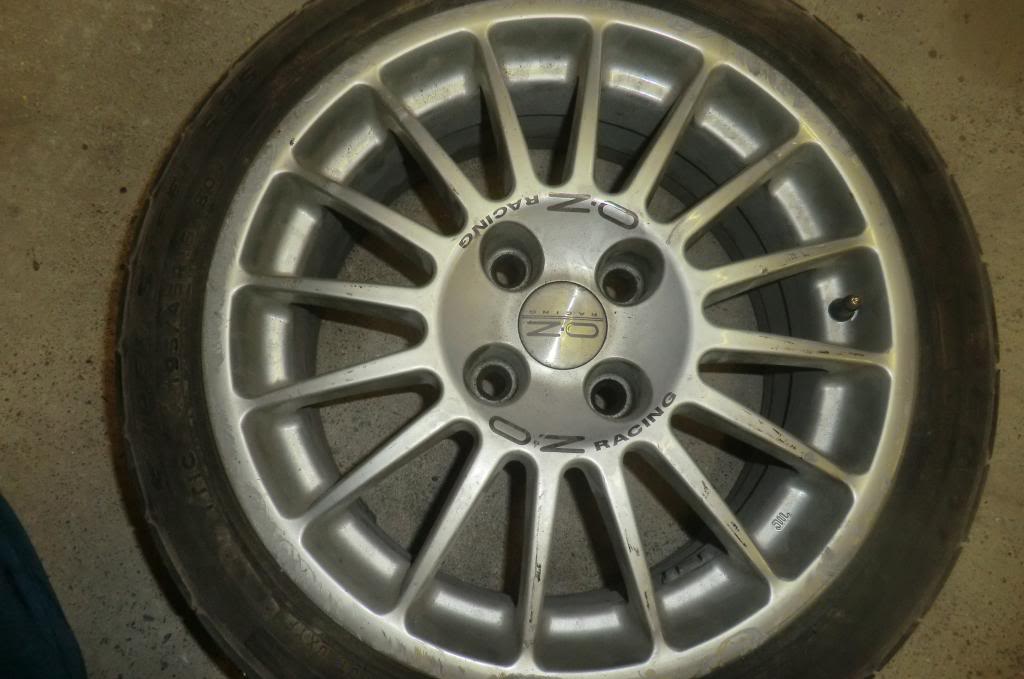

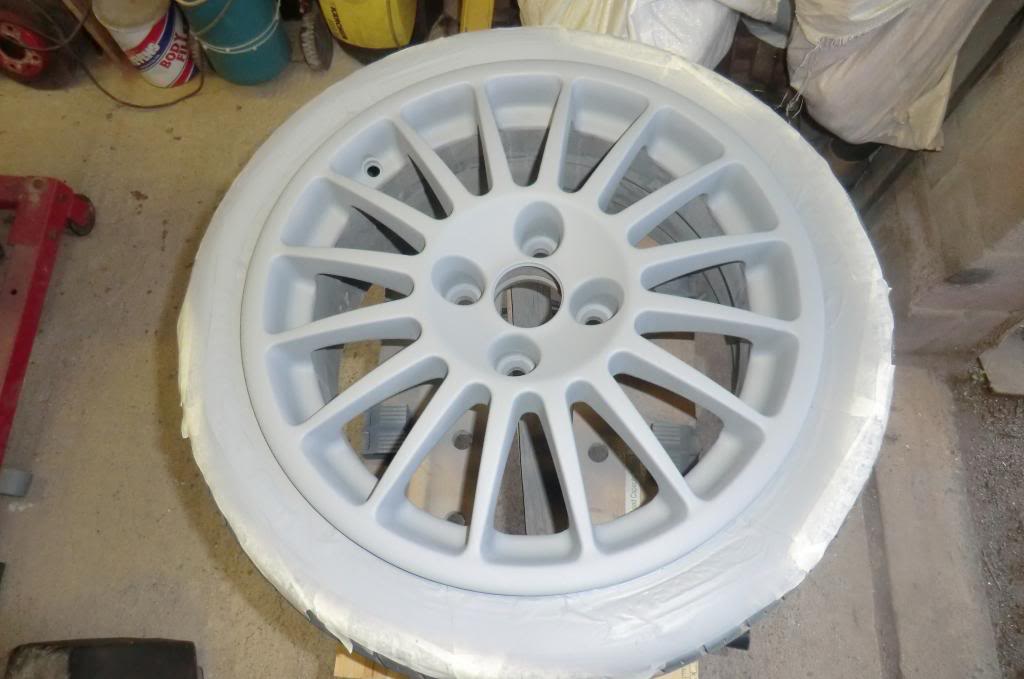
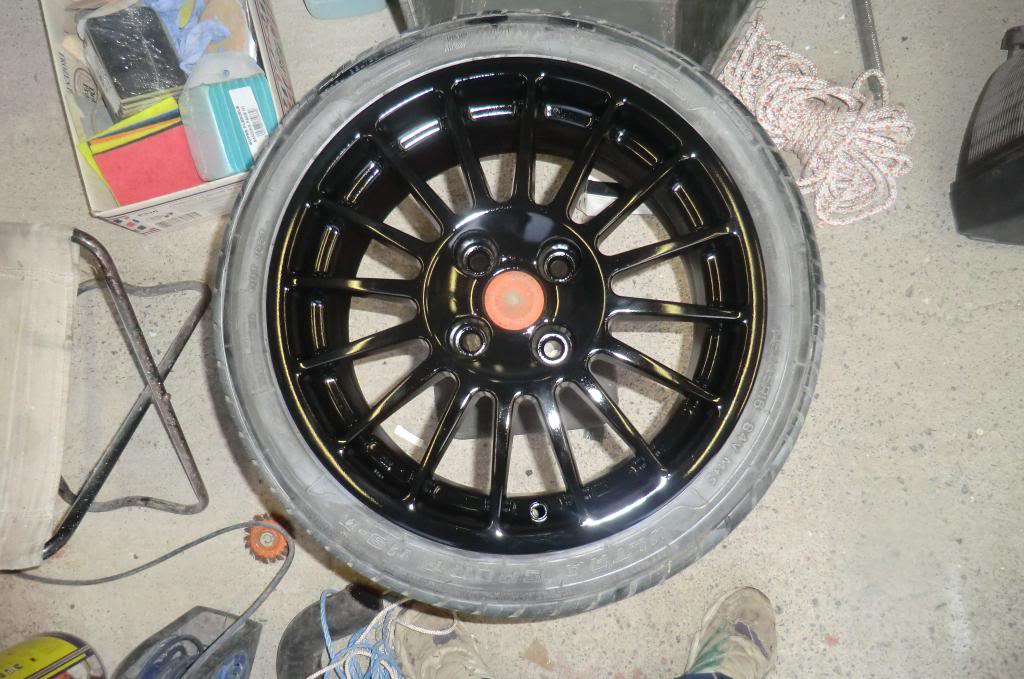
Can't be doing with cleaning multi spoke rims so black is perfect
Need to source 1 centre cap as I've lost one :-(
Cheers for looking
Ginger
.
Small update, managed to get my mates Cabby out of my garage and had a 3 day tidy up as the place was a shit hole :-(
Anyway, my mates cabby was mine that I bought last year (yes another one) and I had a S2 kit in the boot that I kept after he bought it, so after looking at it and striping some of the paint off I found that the one side had 12 layers of paint and primer and the other had 14 (YES 14) layers, So many boring hours later I had it striped back to the bare plastic and got them I plastic primer
Boring, yes, Worth it, defo


Also made a start on prepping and paint the Super T's, I've had these sat in my garage for 3 years that I had of a Fiesta RS Turbo I broke, so after having a trial fit as the 7J 16" ET37 they fit perfect. forgot to get before pics on 3 of them but this before pic is the best of the 4 wheels, most of the curb damage was just paint.


Can't be doing with cleaning multi spoke rims so black is perfect
Need to source 1 centre cap as I've lost one :-(
Cheers for looking
Ginger
.
 30-08-2014, 01:18 PM
#11
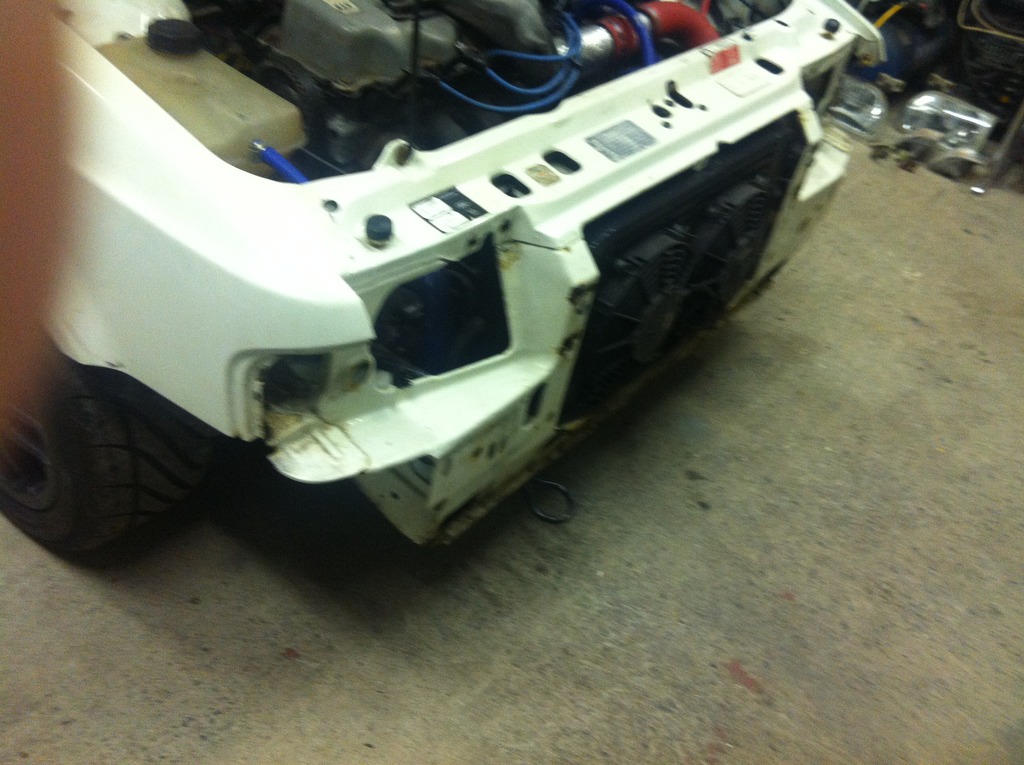
Bit of an update, Last weekend the 2 week Turbo Cabby challenge started, I need the car ready and running by next Sunday as the weekend after I�m taking it to Forge Motorsport event at Castle Combe, That was a total of 3 weeks, which will give me a week to get a few running in miles and give it a bit of a shake down, Combe is only 60 miles from my house so not too far.
Anyway with all the parts ready to go or on order after the MOT the stripe down began. Every part coming of is being striped and painted before going back on.
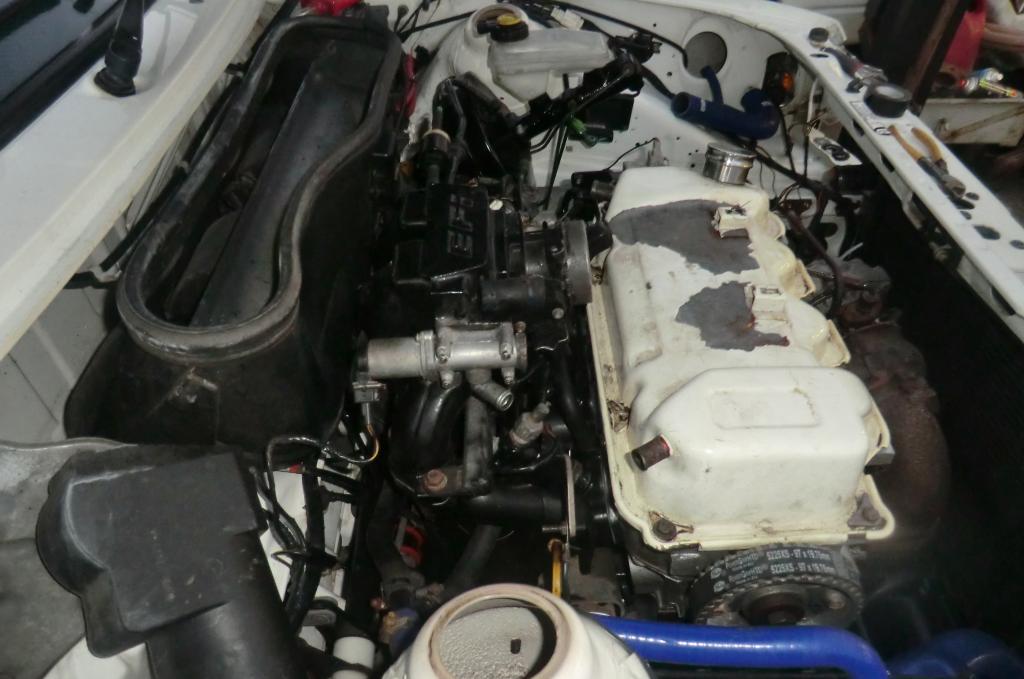
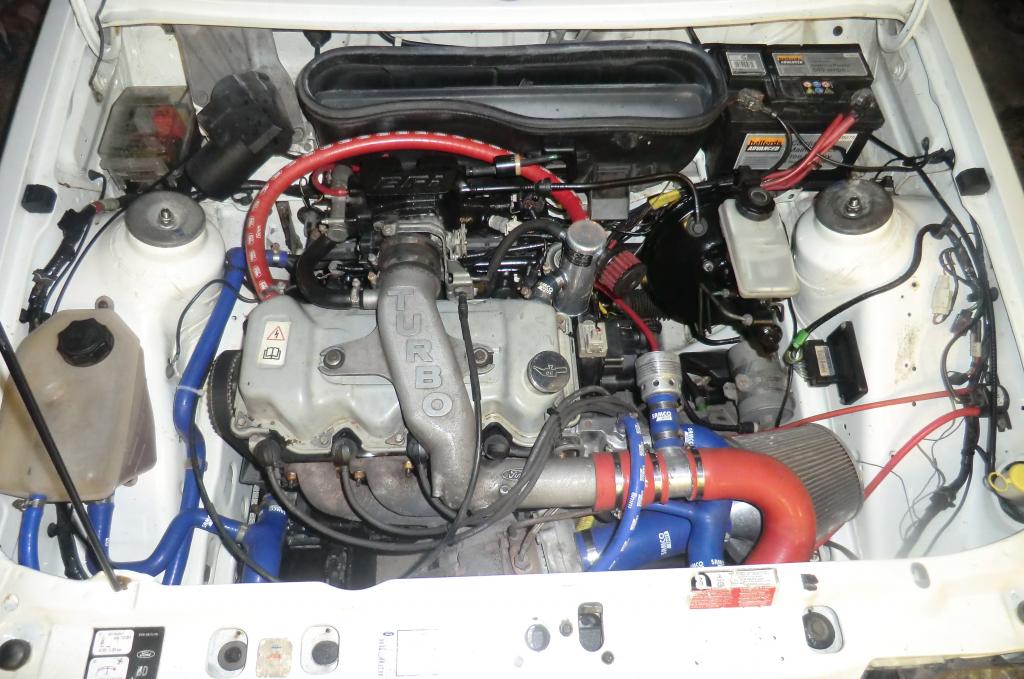
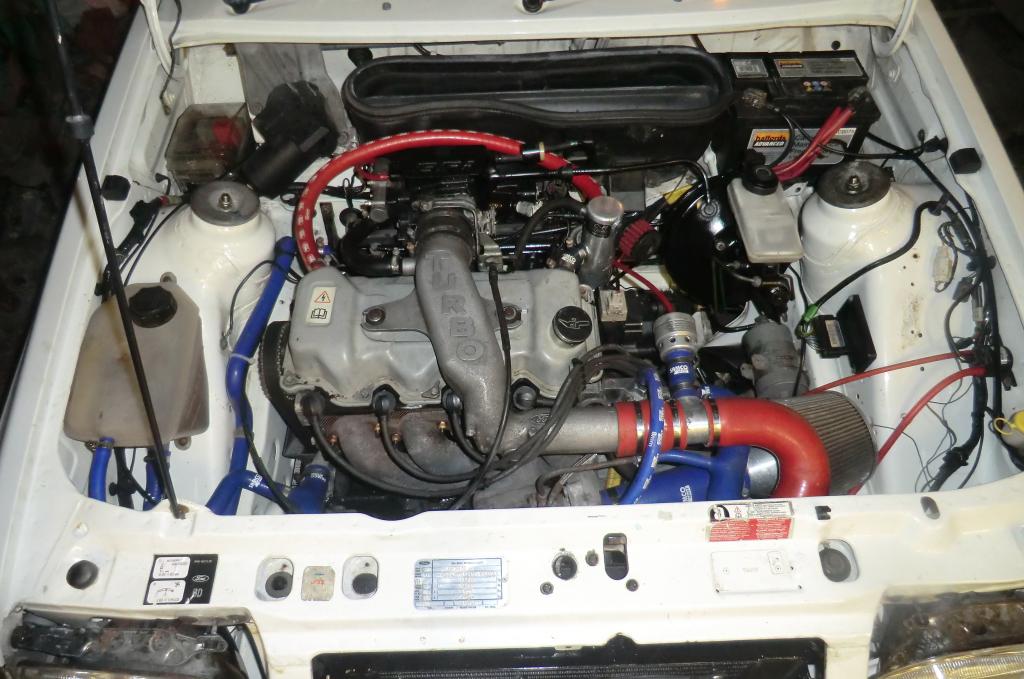
Few pics of the progress

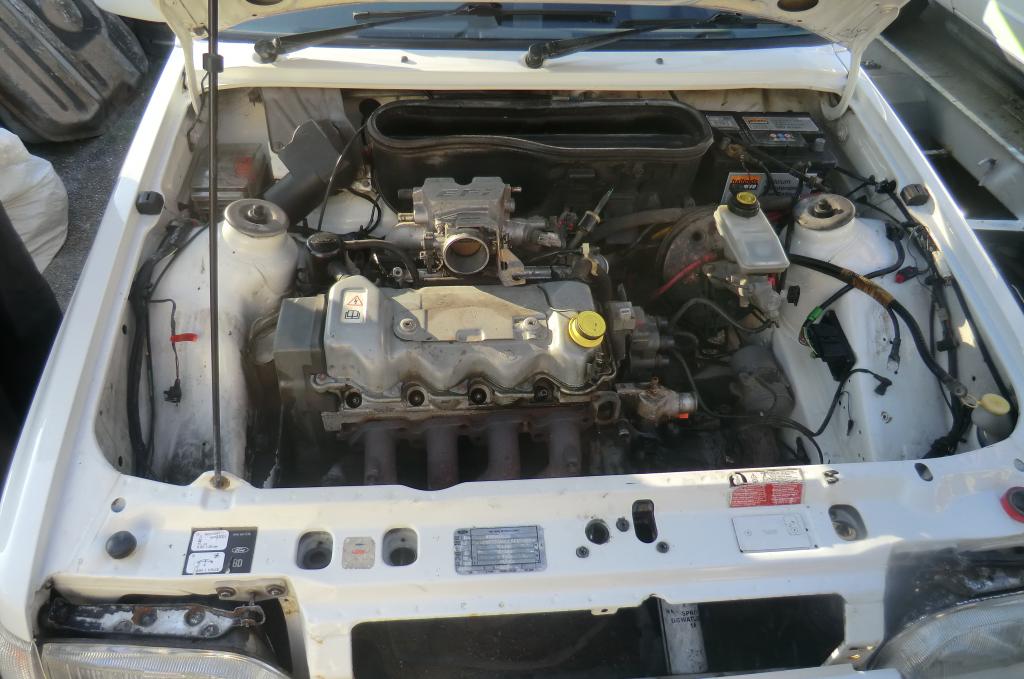

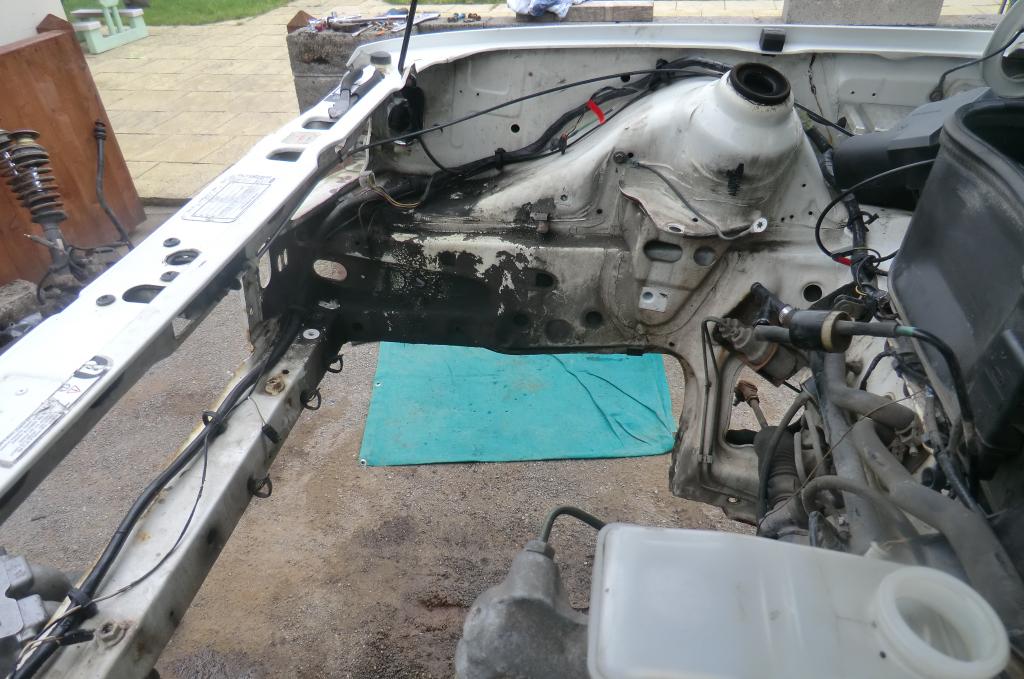
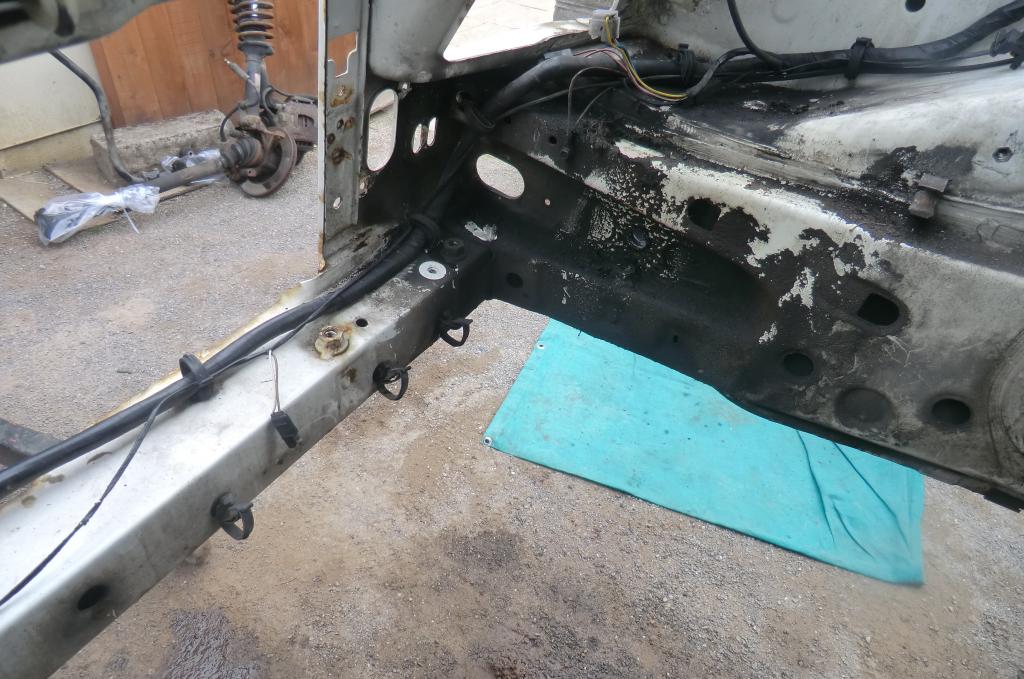
Well that�s before it was cleaned etc
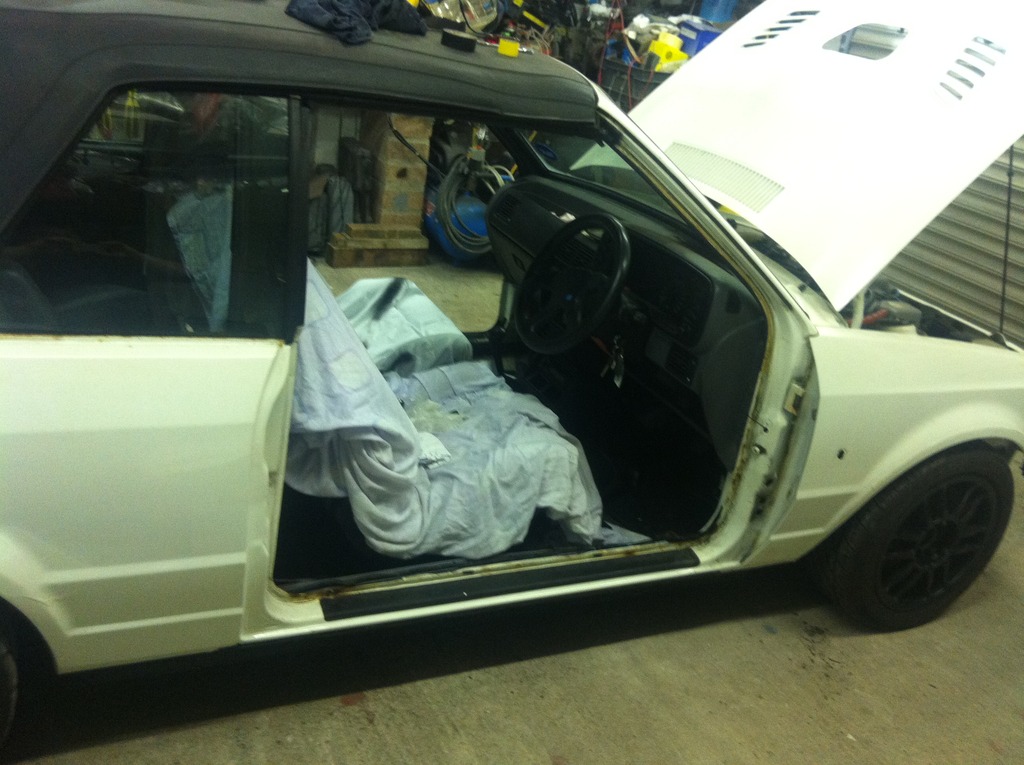
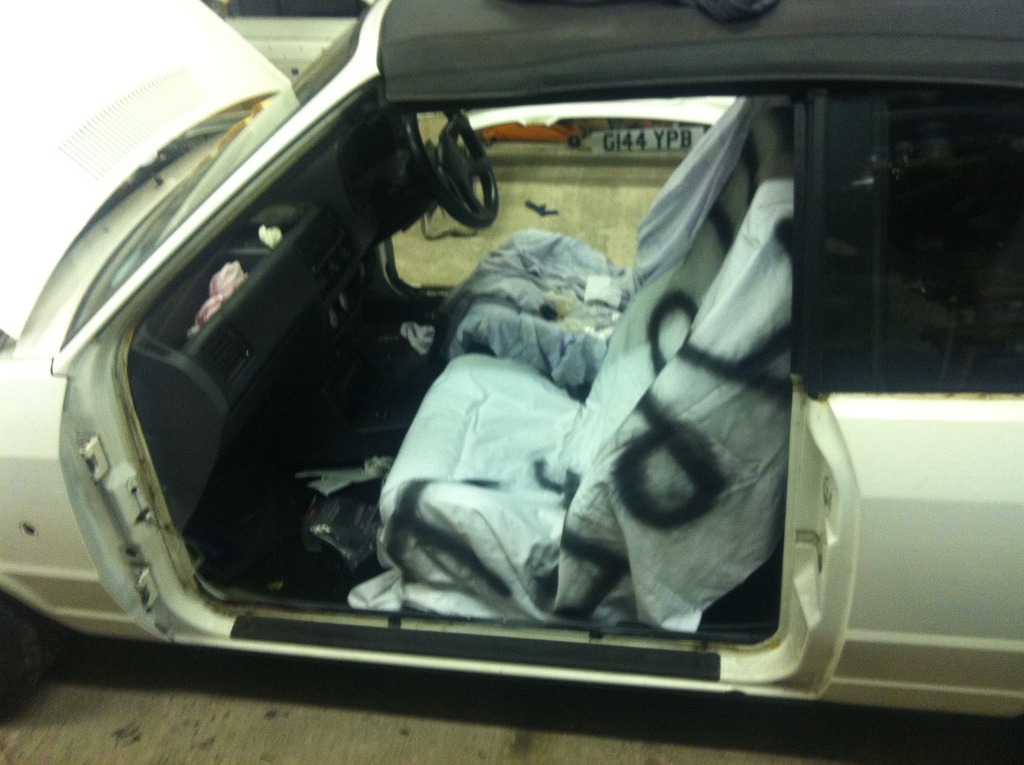
Dash out for the wiring changes and to add the Amal valve wiring, fitted the chipped OFAC ECU and also had to change the leaky Matrix at the same time.

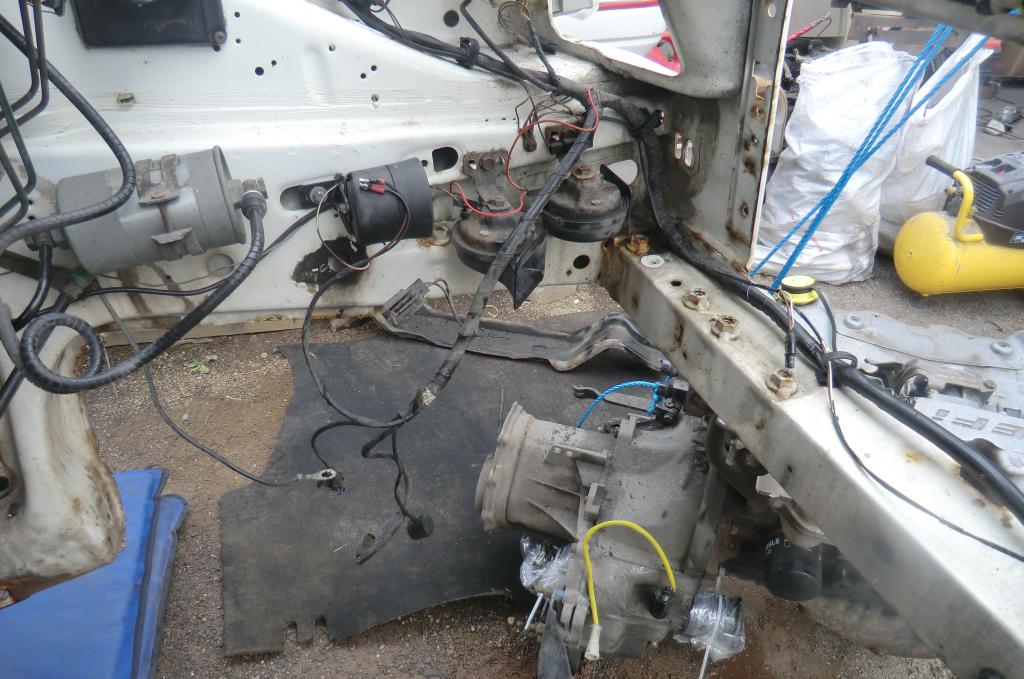
That�s after a chuffing good clean.
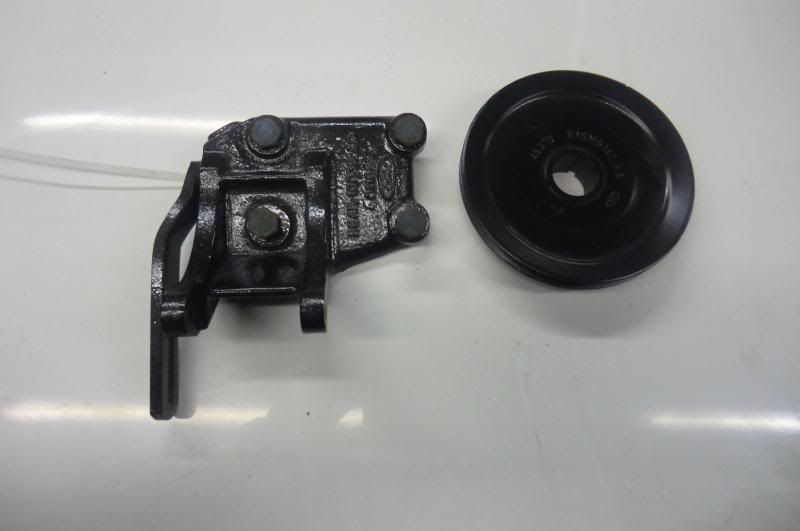
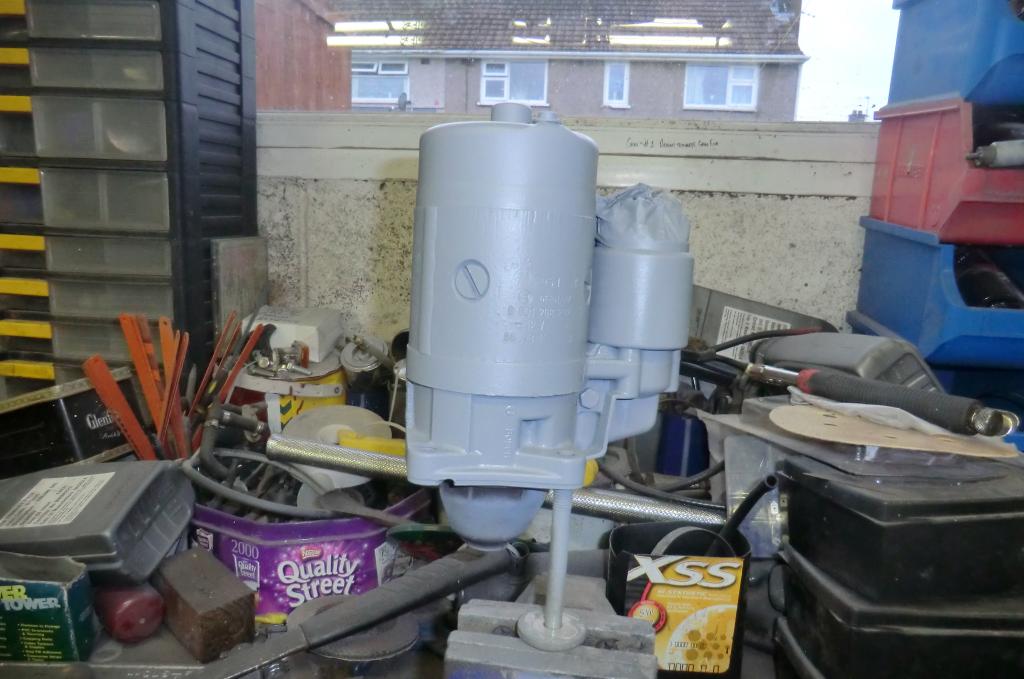
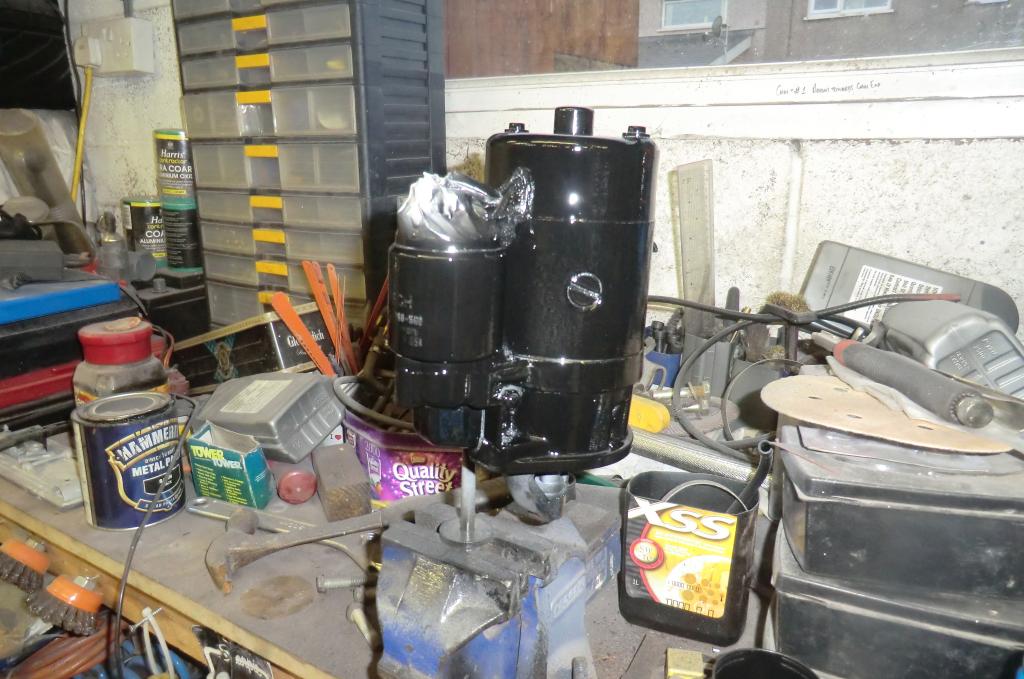
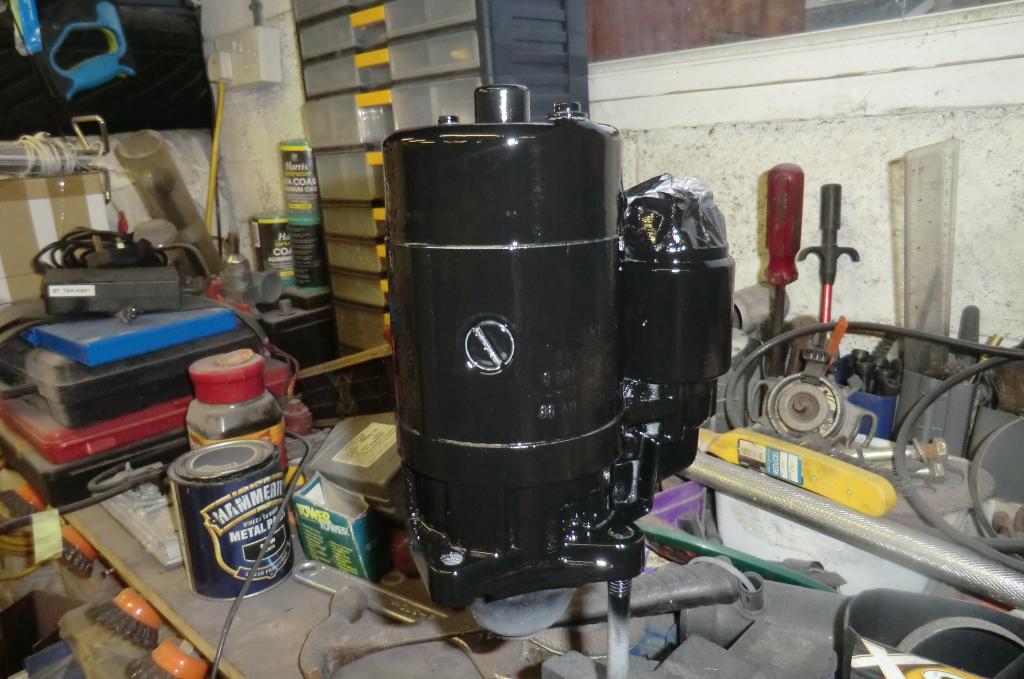
Starter striped back to bare metal and etched and satin blacked, looks a million times better.
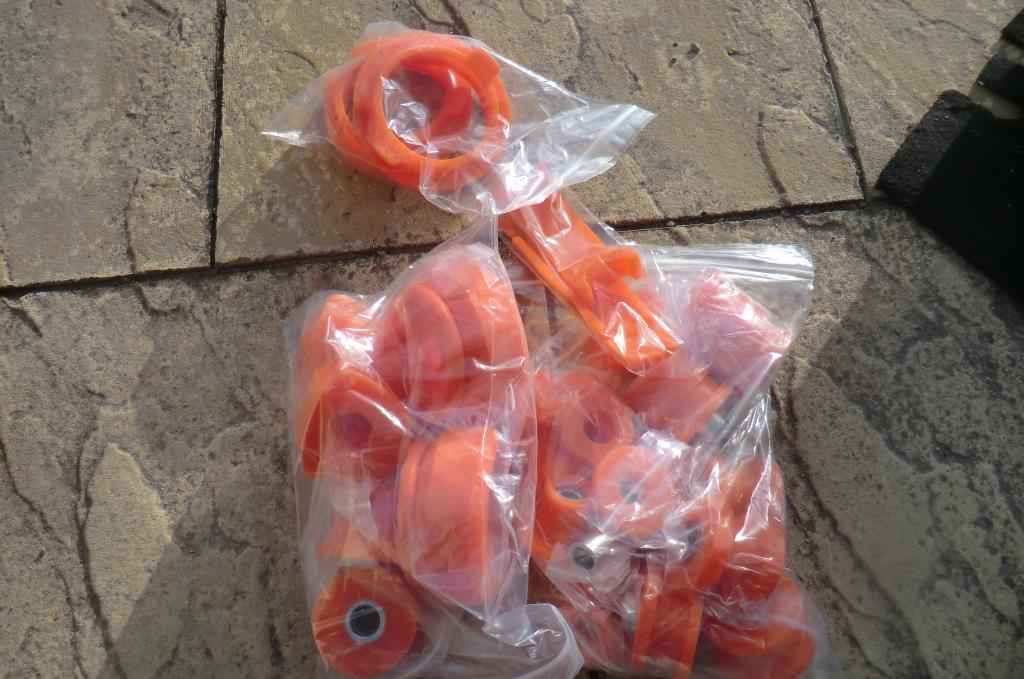
Deflex ERST full poly bush set turned up mid week
I do have an IB5 box to go in and a spare LSD S2 diff, but due to time i havn�t yet got around to fitted the diff so I�ll sort this out in a few weeks time, just want it up and running at the moment.
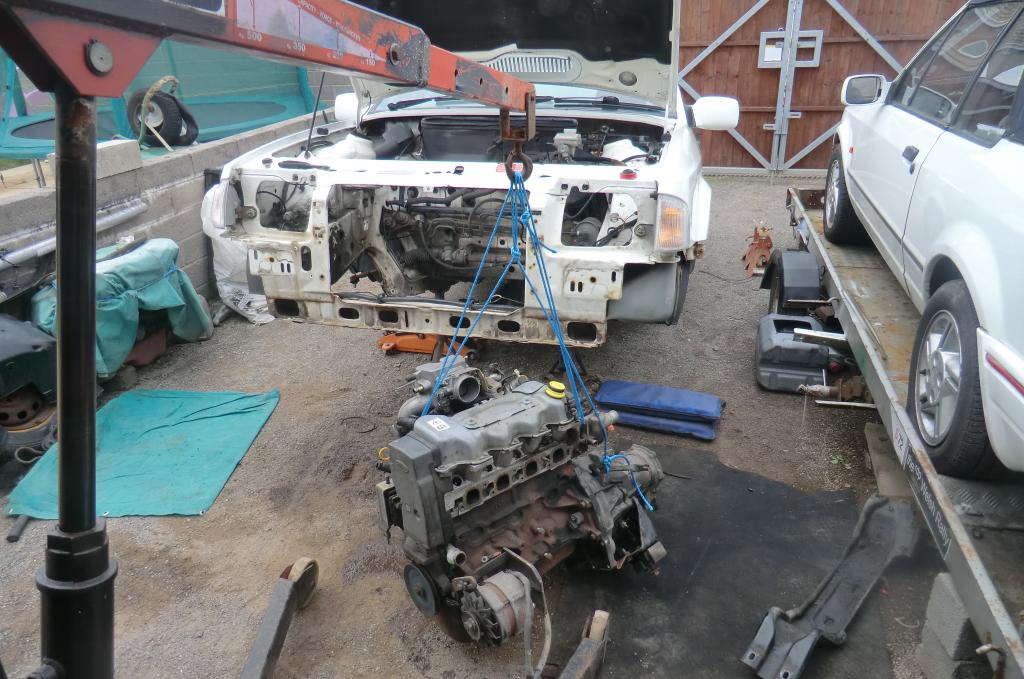
Engine is in as is the box with a pair of VibraTech box mounts I had in the garage.
Will be cracking on tomorrow with a bit of luck.
Ginger
.
Anyway with all the parts ready to go or on order after the MOT the stripe down began. Every part coming of is being striped and painted before going back on.
Few pics of the progress


Well that�s before it was cleaned etc
Dash out for the wiring changes and to add the Amal valve wiring, fitted the chipped OFAC ECU and also had to change the leaky Matrix at the same time.


That�s after a chuffing good clean.
Starter striped back to bare metal and etched and satin blacked, looks a million times better.


Deflex ERST full poly bush set turned up mid week

I do have an IB5 box to go in and a spare LSD S2 diff, but due to time i havn�t yet got around to fitted the diff so I�ll sort this out in a few weeks time, just want it up and running at the moment.
Engine is in as is the box with a pair of VibraTech box mounts I had in the garage.
Will be cracking on tomorrow with a bit of luck.
Ginger
.
01-09-2014, 10:01 AM
#14
.
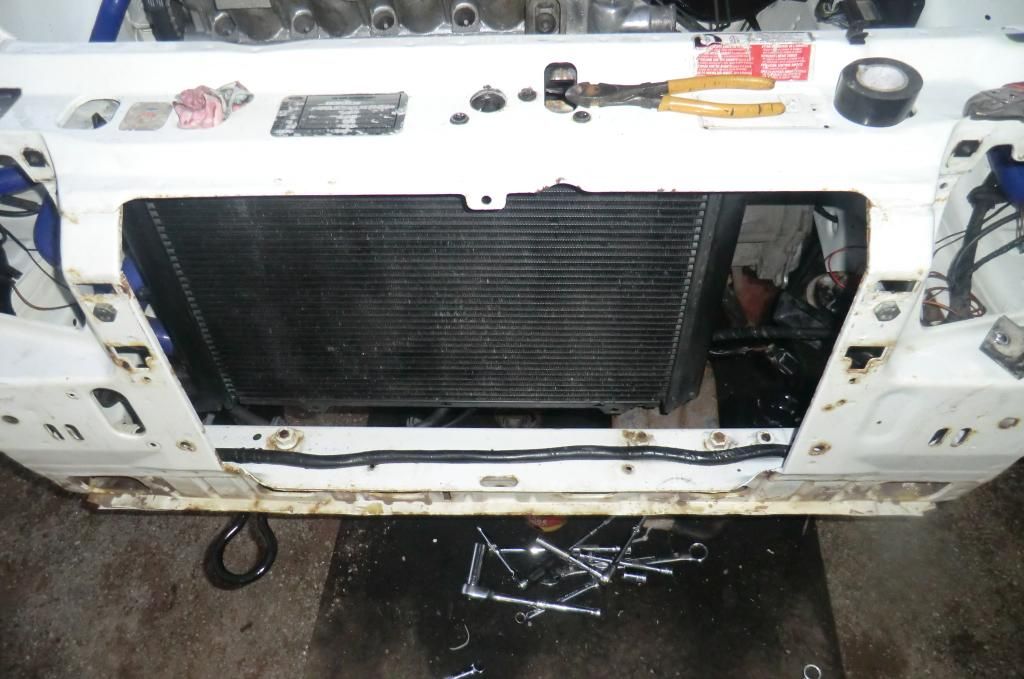
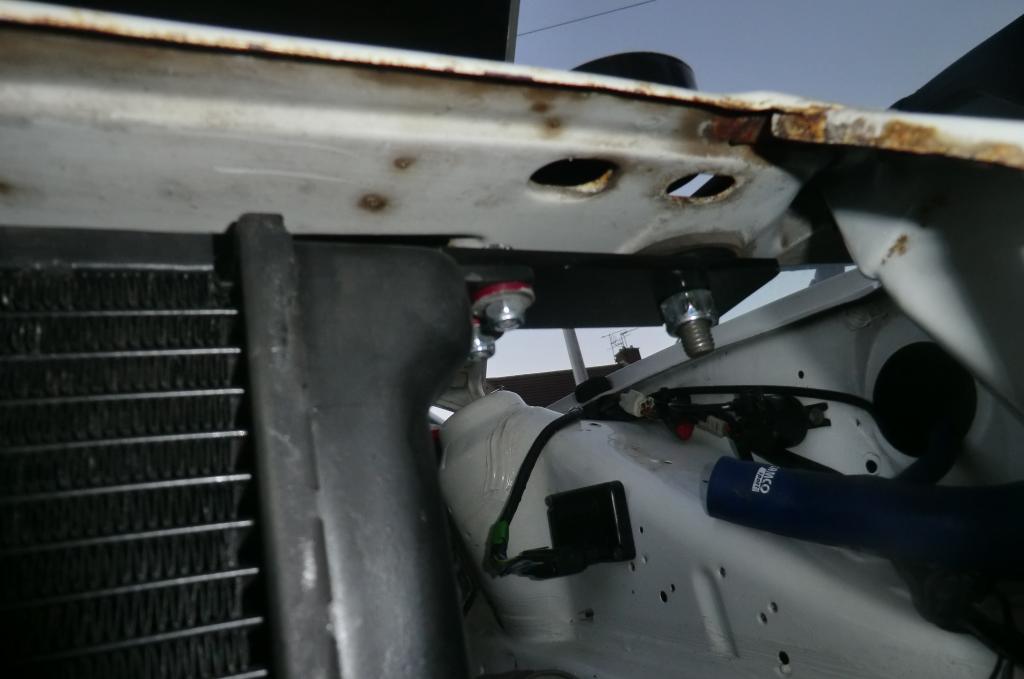
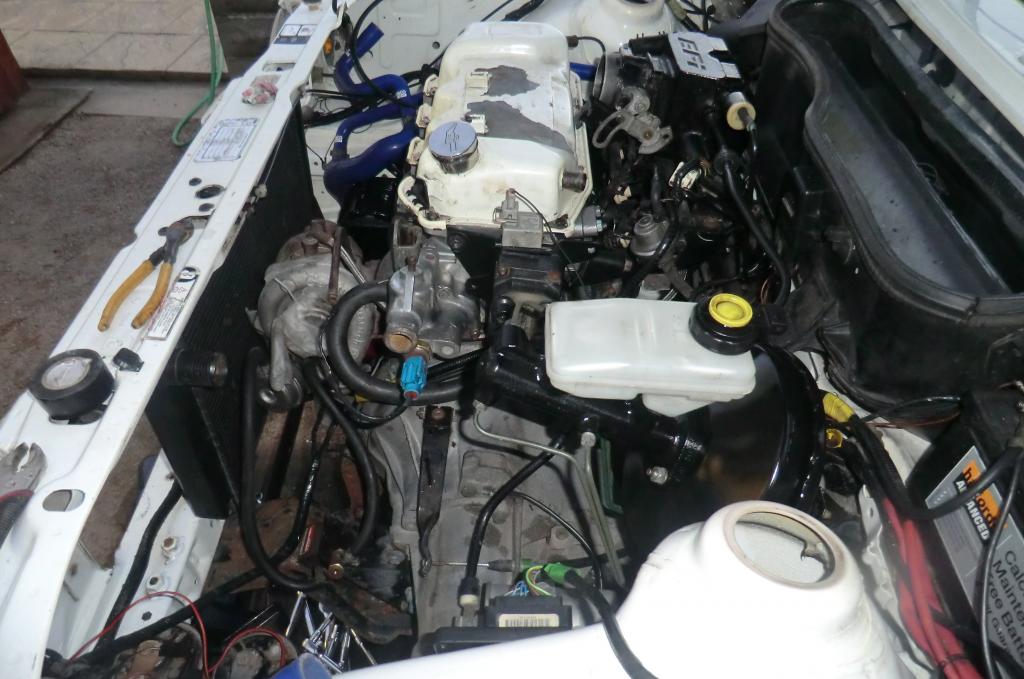
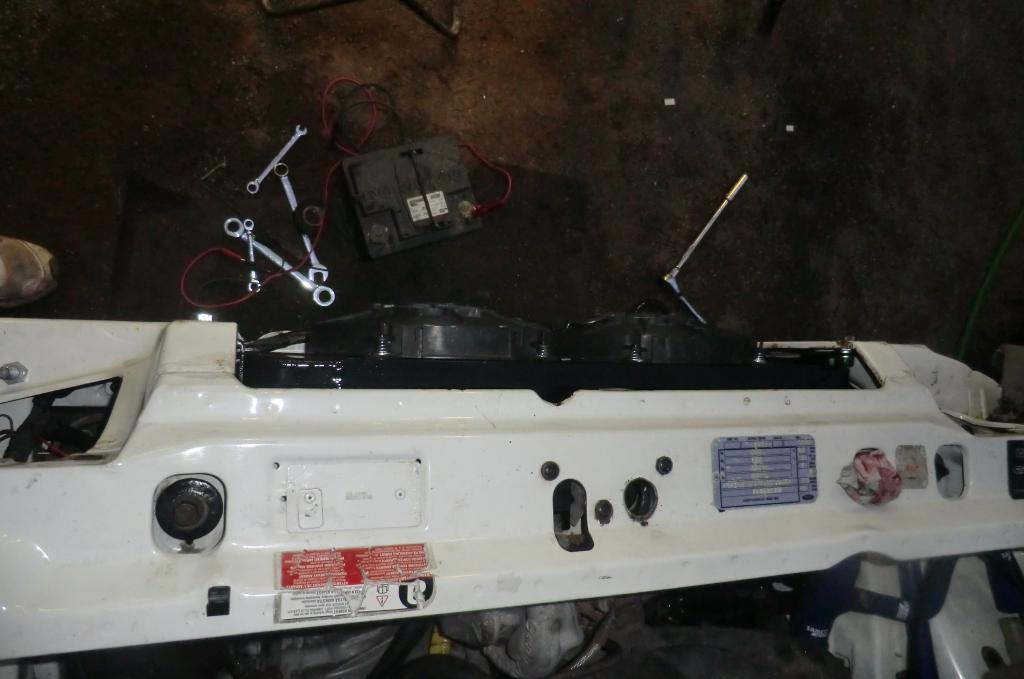
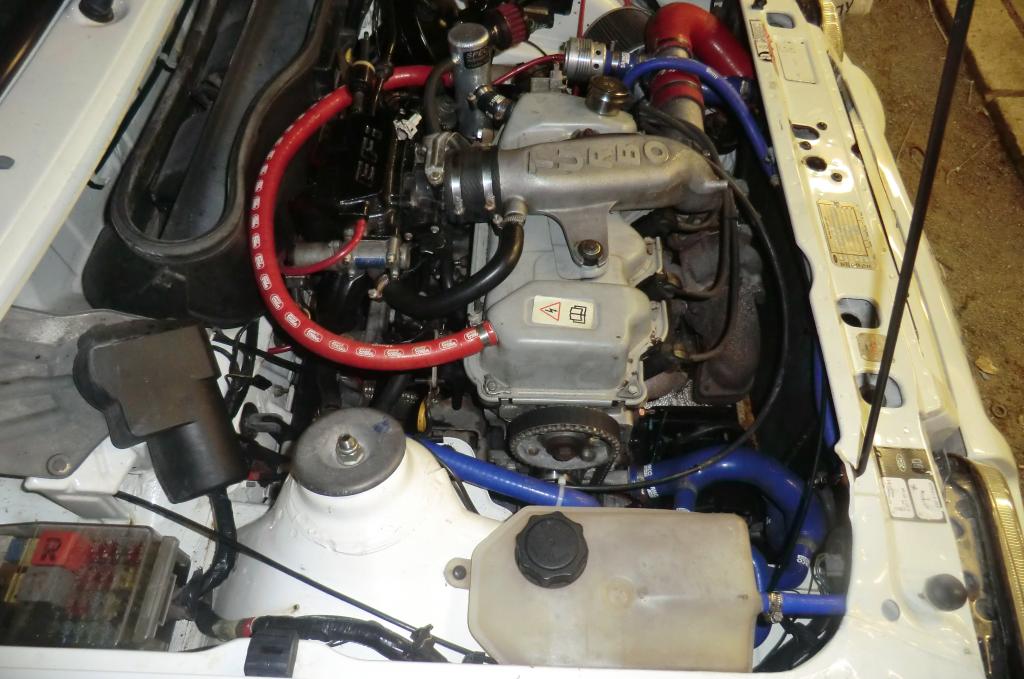
Busy day yesterday, with the engine and box fitted and after TRYING to fit the rad, front mount and fans I found that I need to move the rad back plus the front mount didn't have the passenger side upper fixing so had to make one of the them. To get the bottom of the rad back I just made up a plate which moves the bottom of the rad into the bay by 40mm, Nice and easy and still have 30mm clearance to the turbo

Ignore the rocker cover it's just a temp one, got another one being painted in the garage,
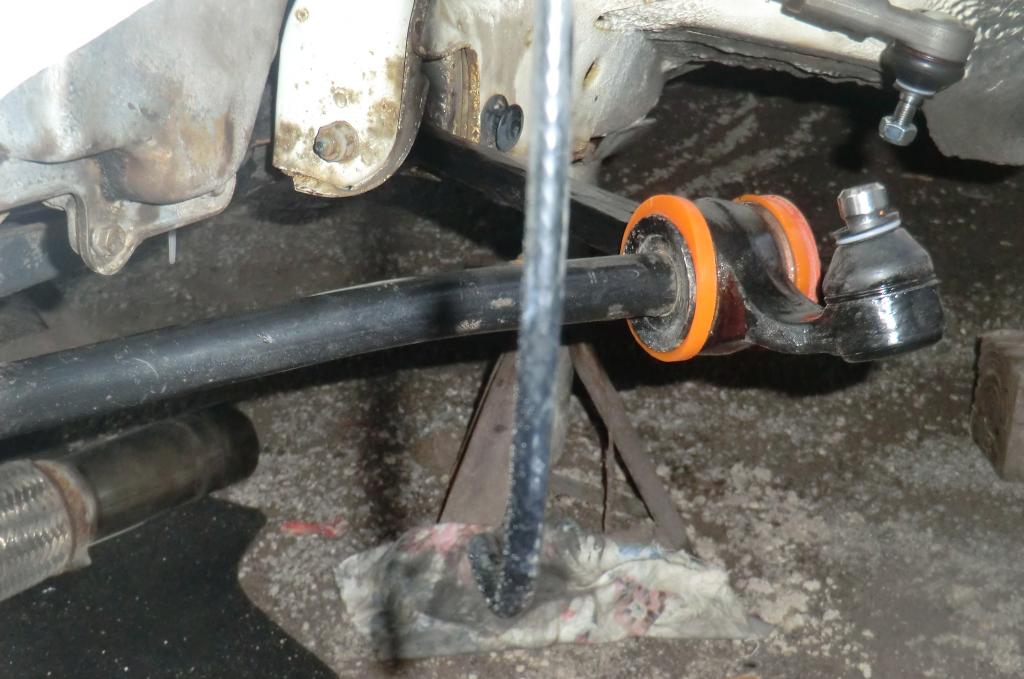
New bottom arms, track rod ends and Deflex bushes
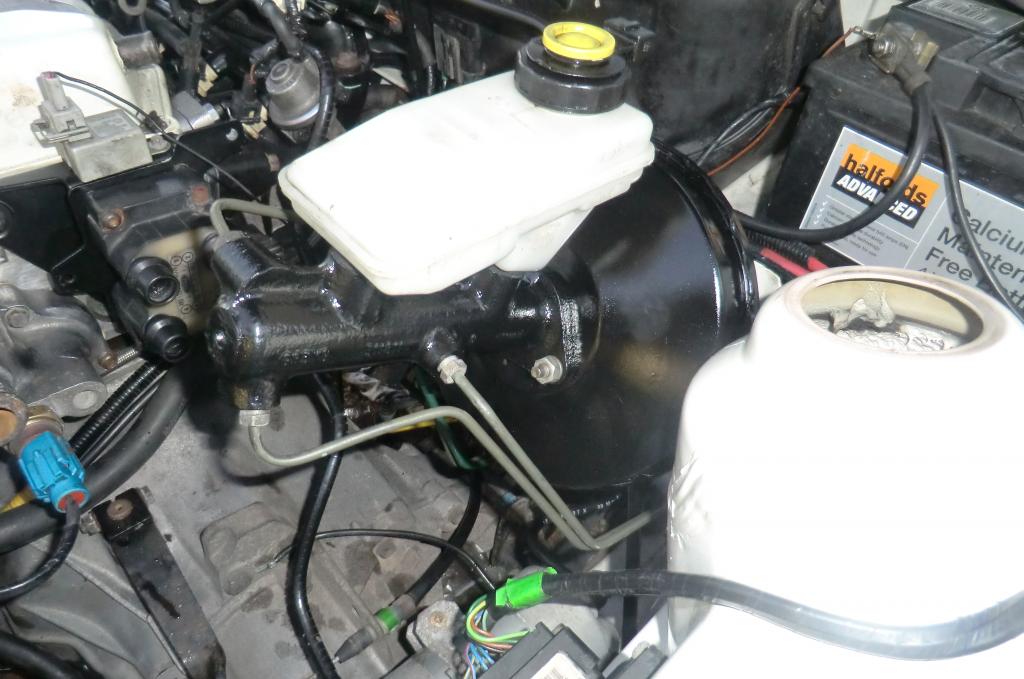
Servo and master were cleaned, striped, etched and given a coat of satin black
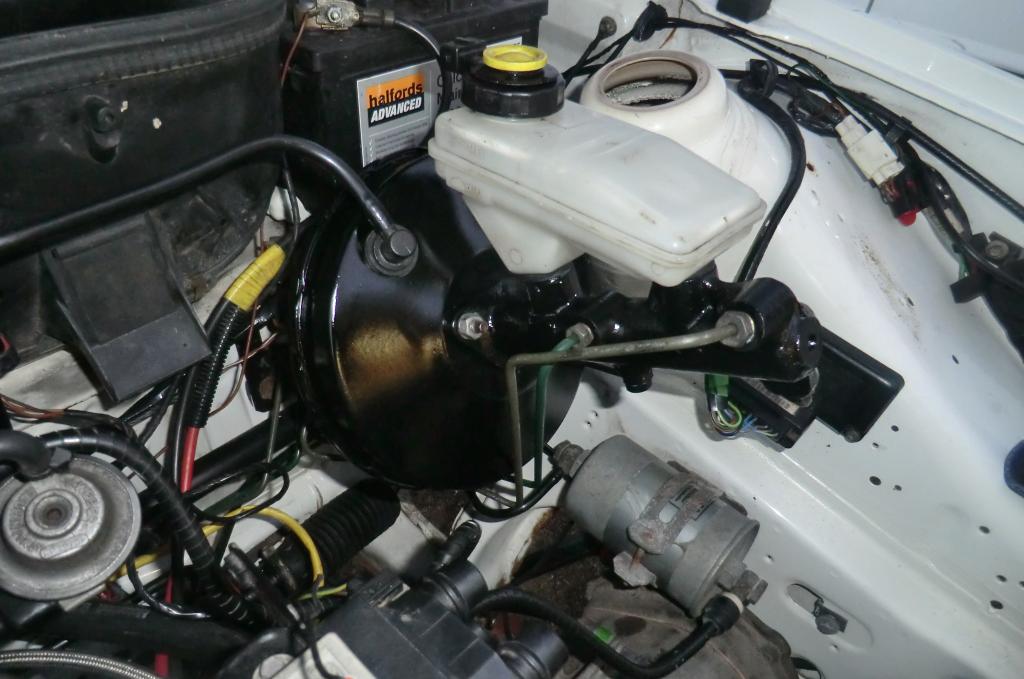

Whilst the servo was off the brake lines have been blown out to get as much of the old fluid out.
Drive shafts have been clean and painted, front mount is etched ready for paint, just the hub to do then
All looking good for getting it up and running for the weekend.
Busy day yesterday, with the engine and box fitted and after TRYING to fit the rad, front mount and fans I found that I need to move the rad back plus the front mount didn't have the passenger side upper fixing so had to make one of the them. To get the bottom of the rad back I just made up a plate which moves the bottom of the rad into the bay by 40mm, Nice and easy and still have 30mm clearance to the turbo


Ignore the rocker cover it's just a temp one, got another one being painted in the garage,

New bottom arms, track rod ends and Deflex bushes


Servo and master were cleaned, striped, etched and given a coat of satin black


Whilst the servo was off the brake lines have been blown out to get as much of the old fluid out.
Drive shafts have been clean and painted, front mount is etched ready for paint, just the hub to do then
All looking good for getting it up and running for the weekend.
01-09-2014, 08:07 PM
#16
Umm, 4
Mk2 Fiesta 1800cvh turbo 6 speed track car (still being built, not touched it for 3 years though :-( )
Mk2 1.6L Orion (just saved/got that one)
Mk4 ERST RWD Cossie (All the fabrication work is done, just some last min body work before paint)
And this one,
This one I class as a normal car, just bolt bits on
Ginger
.
03-09-2014, 10:38 AM
#18
.
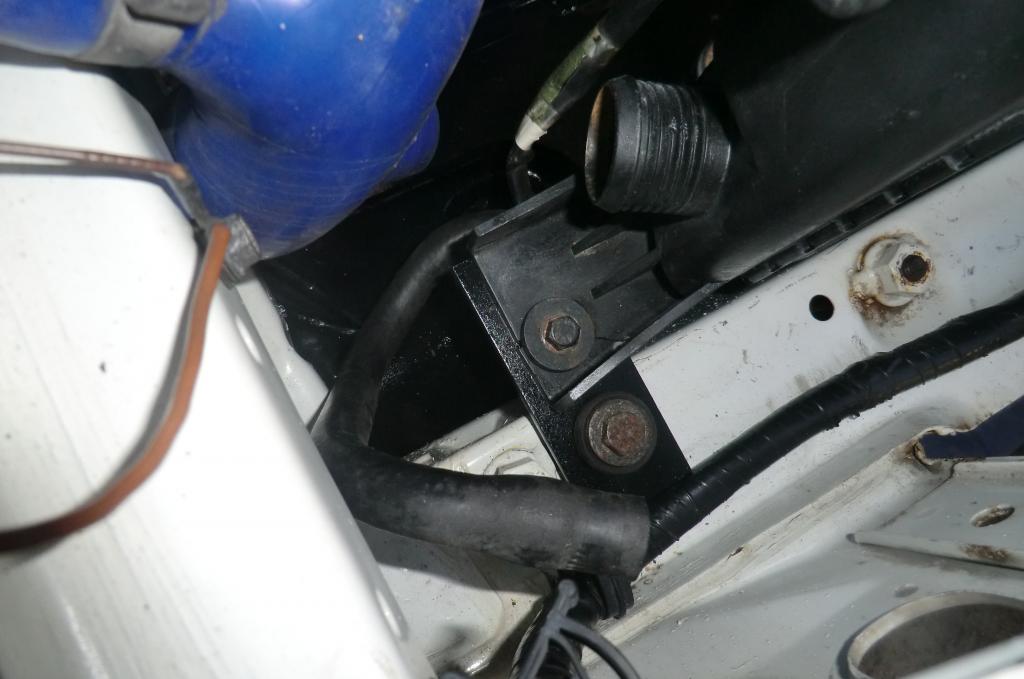
In the past I�ve read loads about over heating problems when having front mounts fitted, also having seen the same issue on a mates Orion Turbo. So I fitted the intercooler and wired the fans to a battery to see what the air flow was like through the IC and rad. Result, not much, most of the air from the fans just blew out of the gaps above, below and to the sides. So being a bit of an F1 fan a listen to them go on about hot and cold air traveling a different speeds etc I thought I�d seal the IC to the rad with foam tape (From Screw Fix)
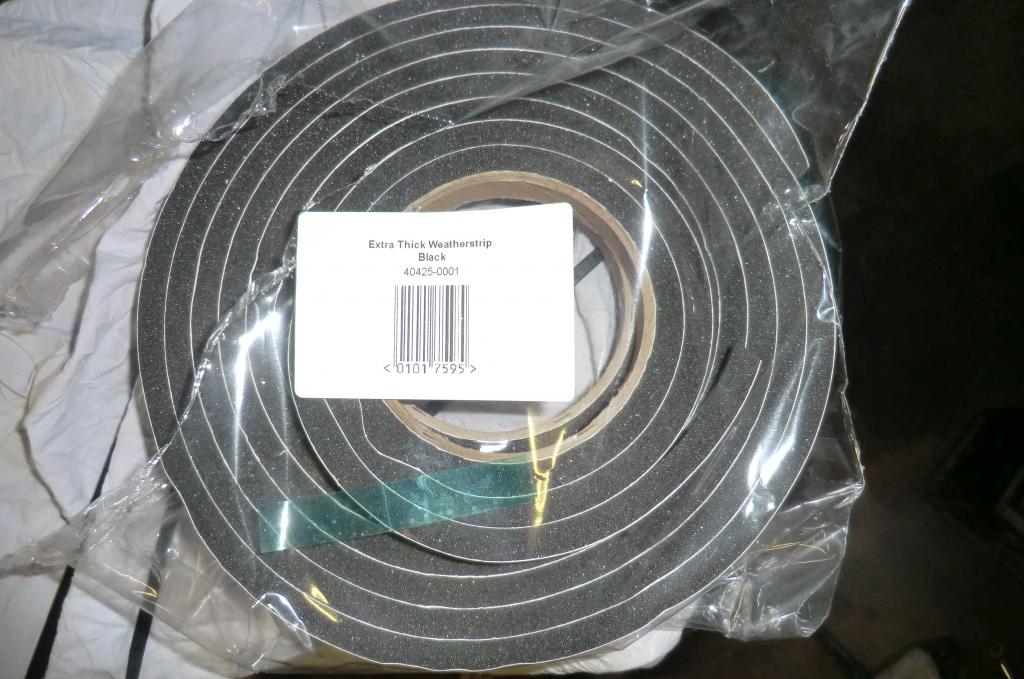
Which I fitted to the IC and looked like this, Refitted the IC and fans a reconnected to the battery, WHAT A DIFFERENCE, the increased air flow through the rad is very noticeable as now 100% of the air through the IC now has to go through the rad
Hopefully this should make a difference.
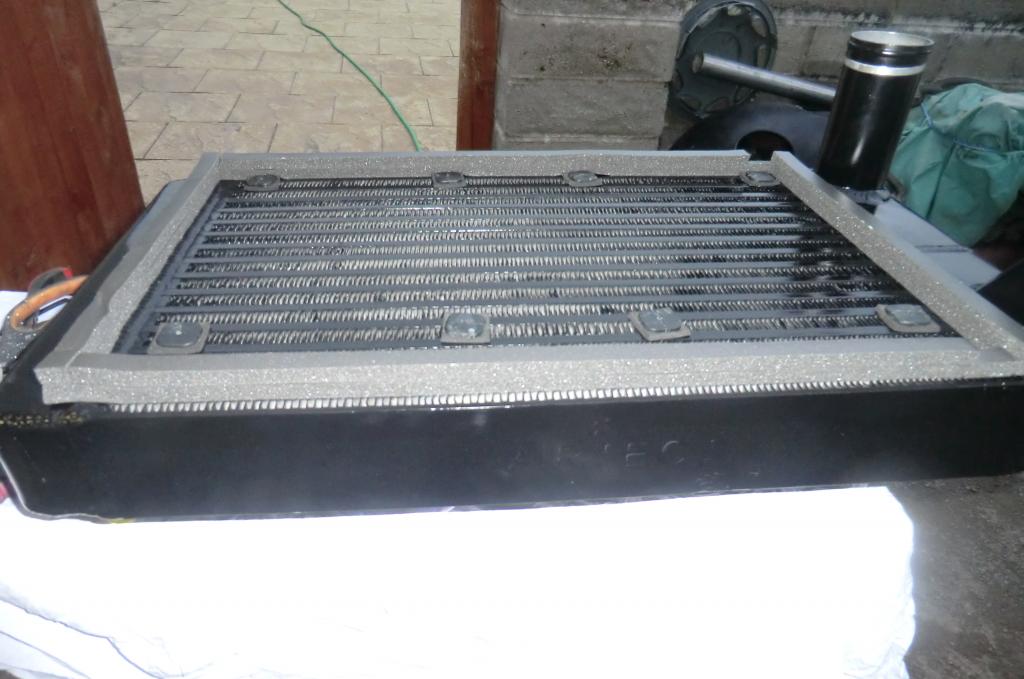
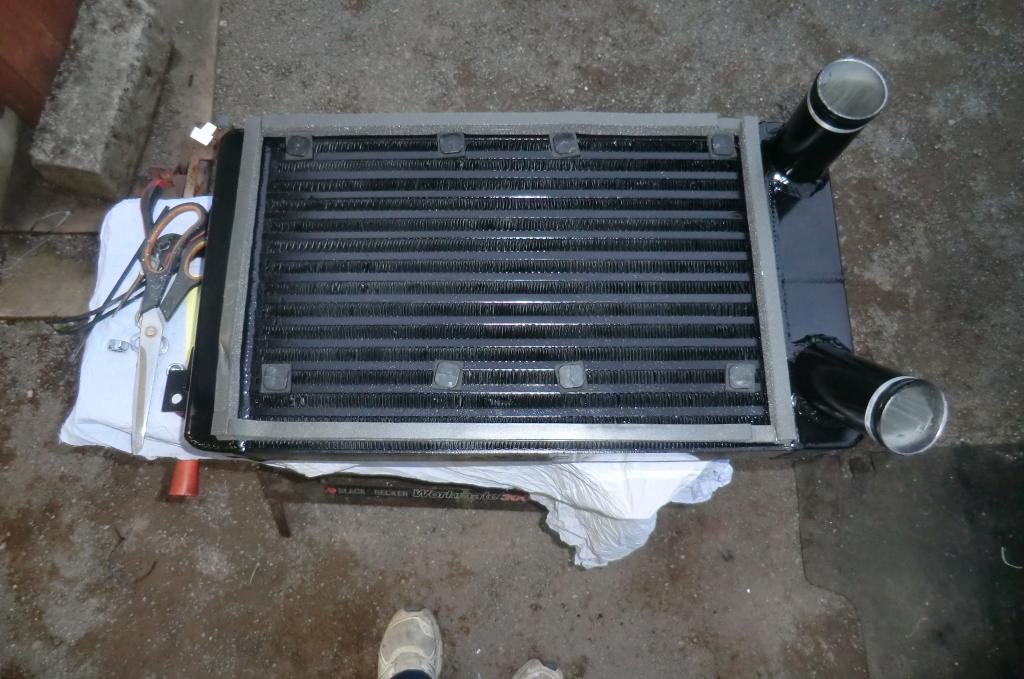
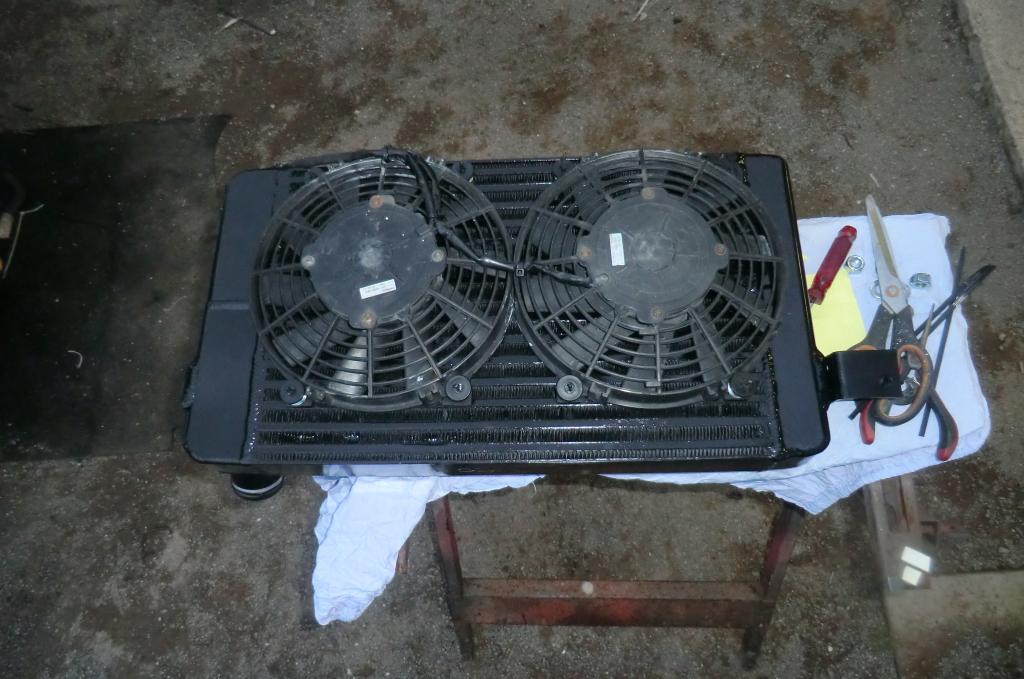
With it fitted it creates an air tight seal
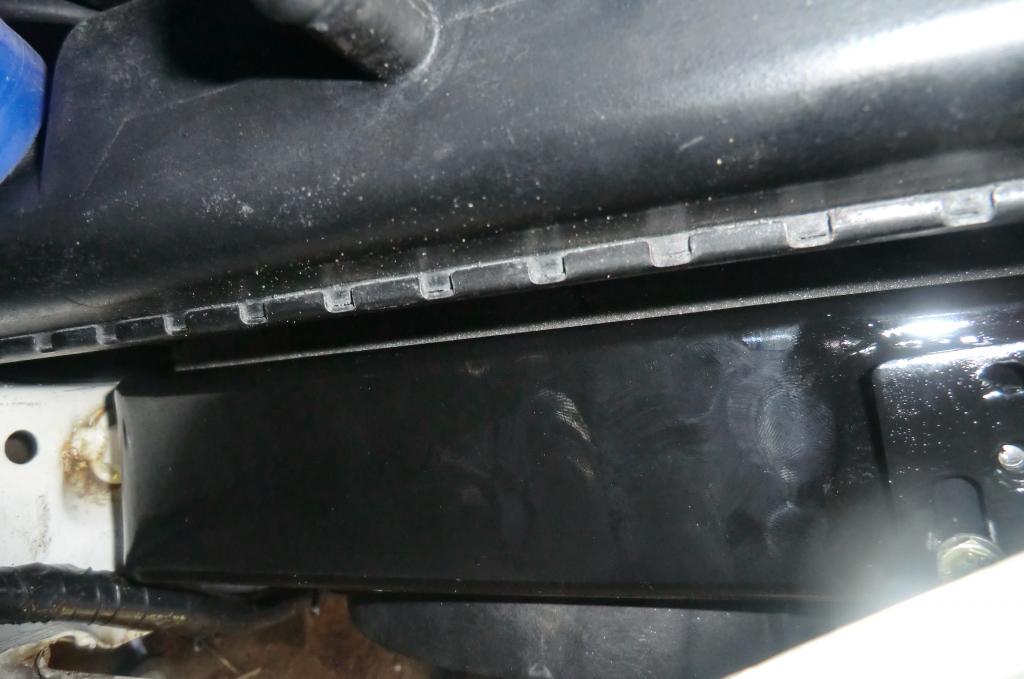
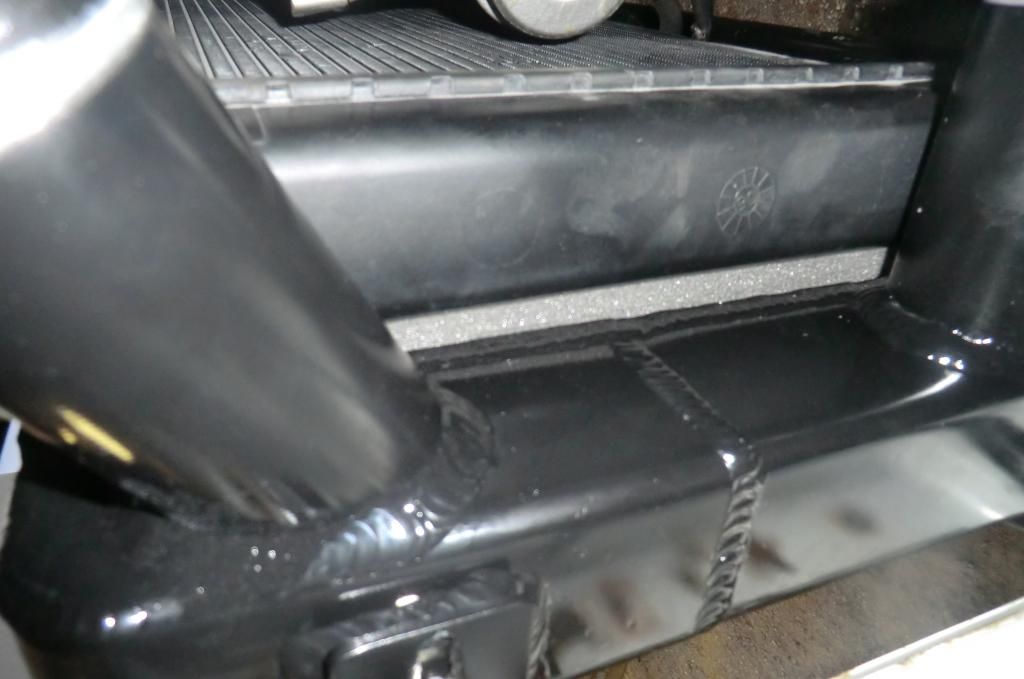
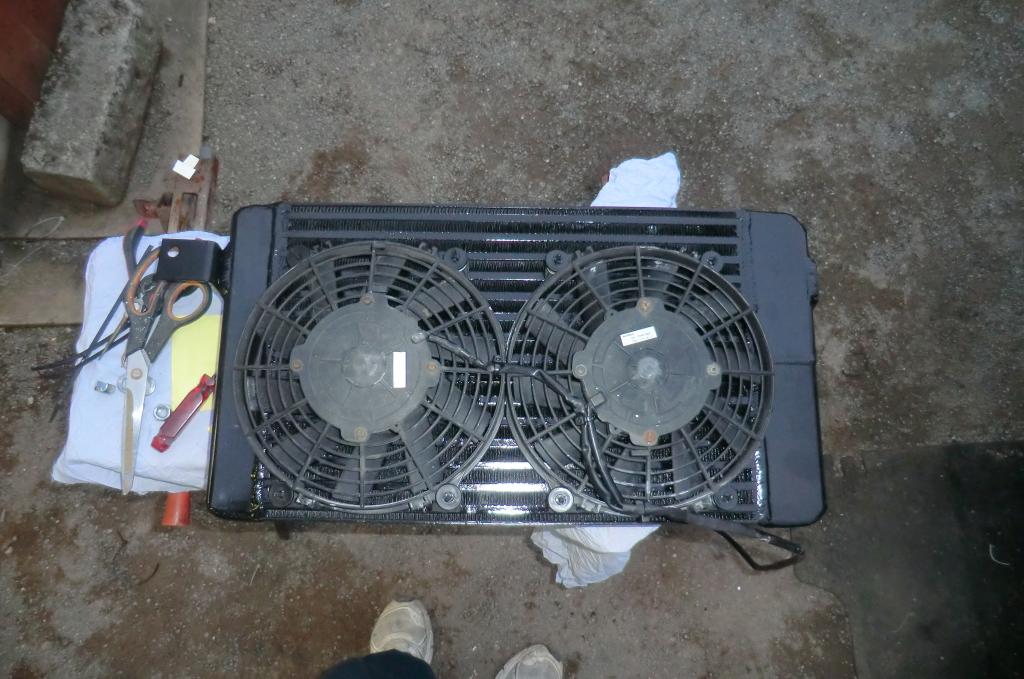
Mounted
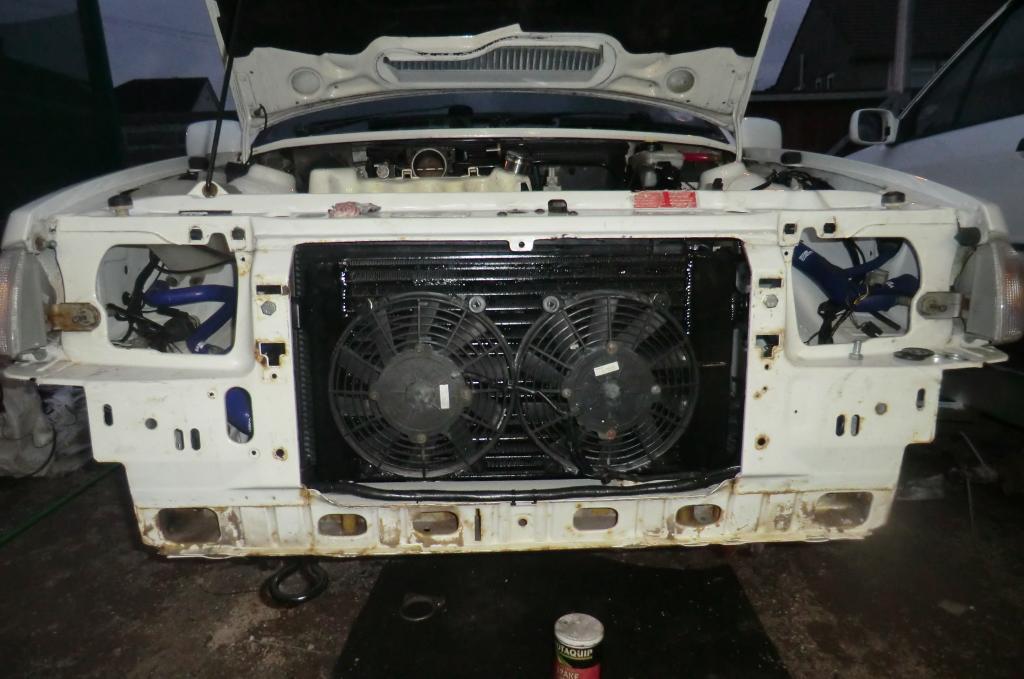
Repositioned mounting points
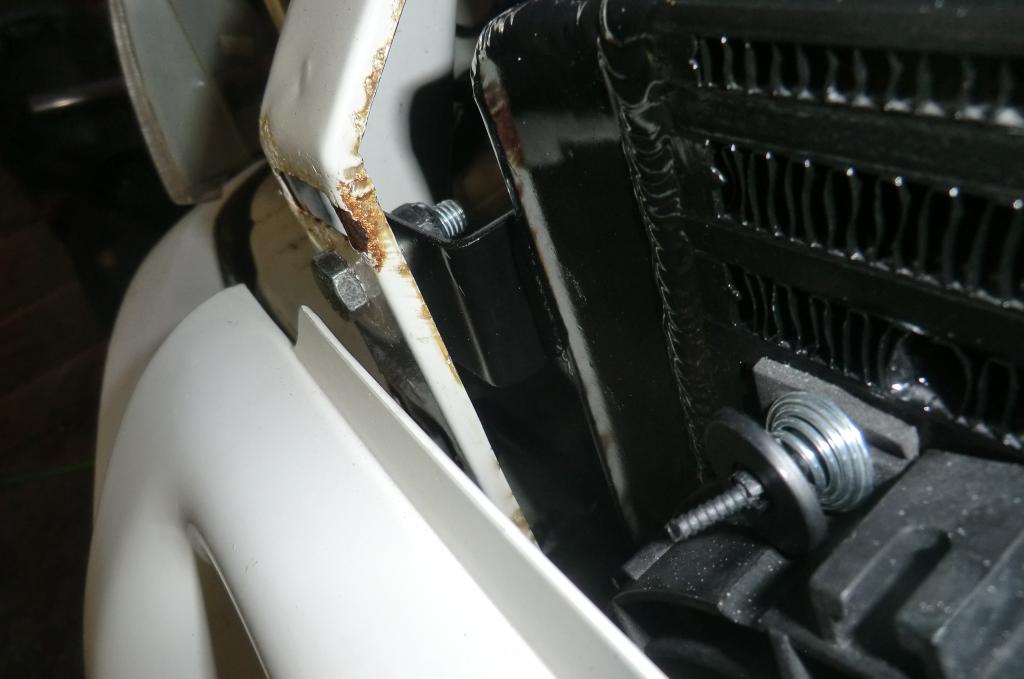
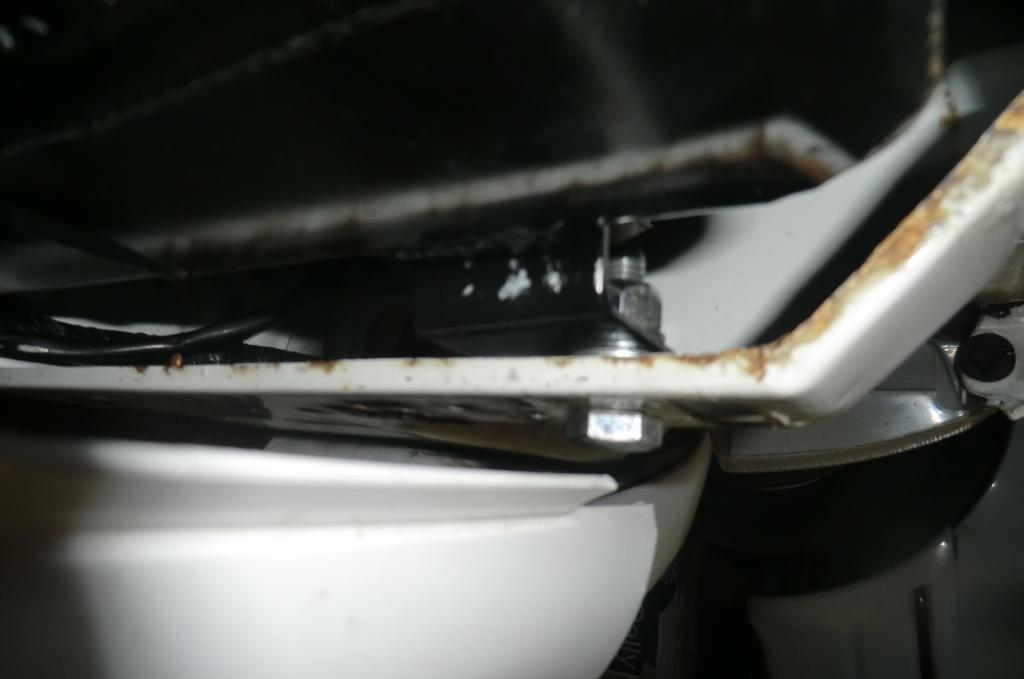
And 10-15mm of space between the fans and the inner edge of the bumper.
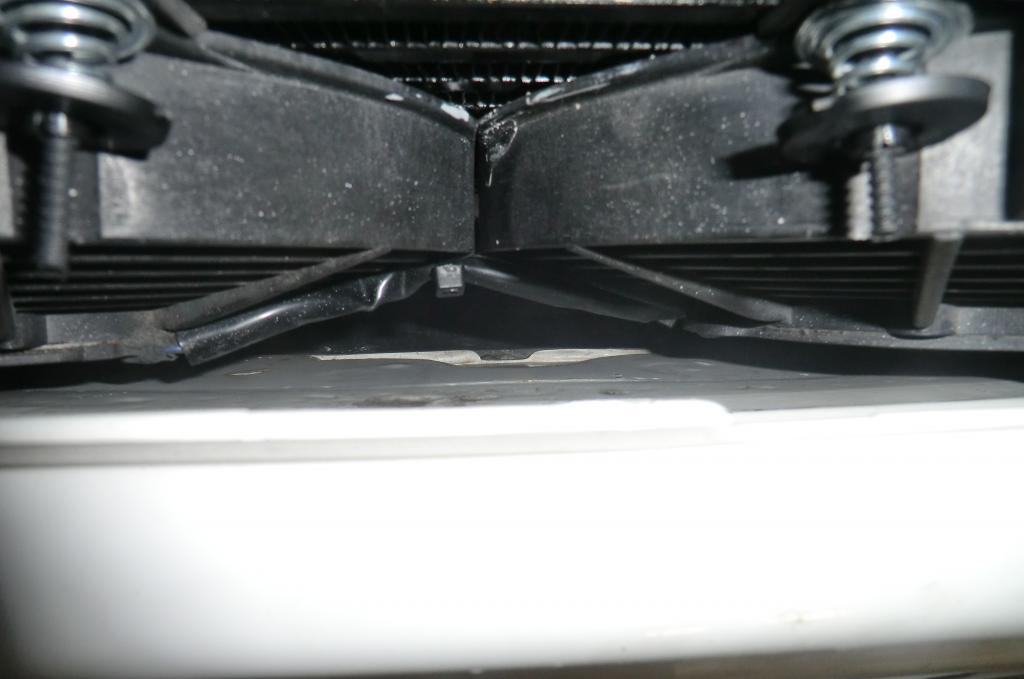
I�ve done it this way as I didn�t want to modify the bumper in anyway and has been left standard
Ginger
.
In the past I�ve read loads about over heating problems when having front mounts fitted, also having seen the same issue on a mates Orion Turbo. So I fitted the intercooler and wired the fans to a battery to see what the air flow was like through the IC and rad. Result, not much, most of the air from the fans just blew out of the gaps above, below and to the sides. So being a bit of an F1 fan a listen to them go on about hot and cold air traveling a different speeds etc I thought I�d seal the IC to the rad with foam tape (From Screw Fix)

Which I fitted to the IC and looked like this, Refitted the IC and fans a reconnected to the battery, WHAT A DIFFERENCE, the increased air flow through the rad is very noticeable as now 100% of the air through the IC now has to go through the rad
Hopefully this should make a difference.


With it fitted it creates an air tight seal


Mounted


Repositioned mounting points


And 10-15mm of space between the fans and the inner edge of the bumper.

I�ve done it this way as I didn�t want to modify the bumper in anyway and has been left standard
Ginger
.
07-09-2014, 08:41 AM
#20
.
2 week turbo challenge almost done, todays to do list
Brake fluid and bleed brakes
Jubilee clip all the hose's
Fit oil temp switch in sump and put wire and vac pipe into the car for gauge's
Oil and Water
Hopefully it'll be up and running later today, if all goes well and no issues the dash can go back in
Ginger
.
10-09-2014, 09:15 PM
#23
Well just to report that I managed my target of getting the car up and running by Sunday evening. Had a few small issues during the day with pipe work and the Magnex exhaust back box not fitted the rear end properly but nothing to dramatic, So after cutting off the SHOCKING 4" rolled in tail pipe off, then having to cut off the back box hanger to reposition it so that the new tail pipe would line up with the cut out of the bumper, I gave every thing fitted a checked over and added fluids.
The coil pack feed was removed to get a bit of oil around the engine and when reconnect it started straight off the key. After letting it run up to temp I found the fans were not coming on so changed the 77'/88' low temp fan switch for the higher rated one out of the old motor and the fans now go on and off as they should do, after testing the sensor I found it was faulty. Apart from that I had a tiny leak from the passenger side of the rad end tank which seams to have stopped itself.
So took it for a run on Sunday and so far have clocked up 120 fault less miles I did change the ISCV and the water temp sensor in the inlet manifold as it was hunting a bit, also turned the idle screw in a few turns and now seems to run spot on.
So with all that done it needs a good clean ready for Saturday and then off to Castle Combe for the Forge Motorsport day, Got the car on the Welsh Ford stand so fell free to have a nose if your there.
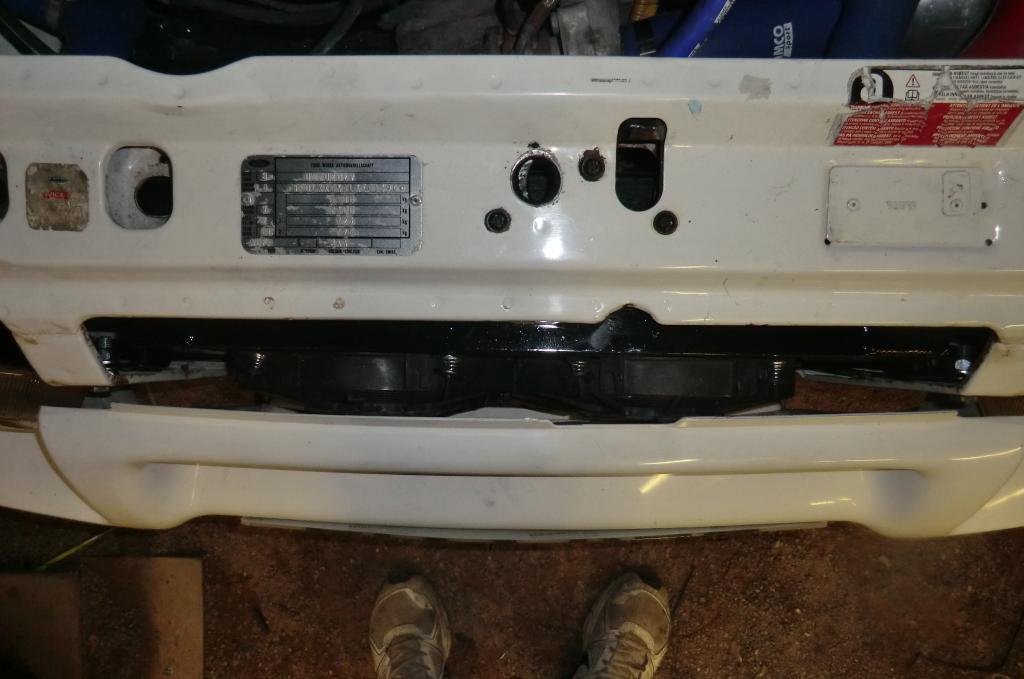
And a few pics of the finished item
Before
After
Unmodified bumper
Got a few changes to make in the engine bay like paint the rocker cover and cross over, also got an ib5 box to fit an S2 LSD into and change all the brakes. But at least it's up and running.
Ginger
.
The coil pack feed was removed to get a bit of oil around the engine and when reconnect it started straight off the key. After letting it run up to temp I found the fans were not coming on so changed the 77'/88' low temp fan switch for the higher rated one out of the old motor and the fans now go on and off as they should do, after testing the sensor I found it was faulty. Apart from that I had a tiny leak from the passenger side of the rad end tank which seams to have stopped itself.
So took it for a run on Sunday and so far have clocked up 120 fault less miles
So with all that done it needs a good clean ready for Saturday and then off to Castle Combe for the Forge Motorsport day, Got the car on the Welsh Ford stand so fell free to have a nose if your there.
And a few pics of the finished item
Before
After


Unmodified bumper

Got a few changes to make in the engine bay like paint the rocker cover and cross over, also got an ib5 box to fit an S2 LSD into and change all the brakes. But at least it's up and running.
Ginger
.
17-09-2014, 10:04 PM
#25
.
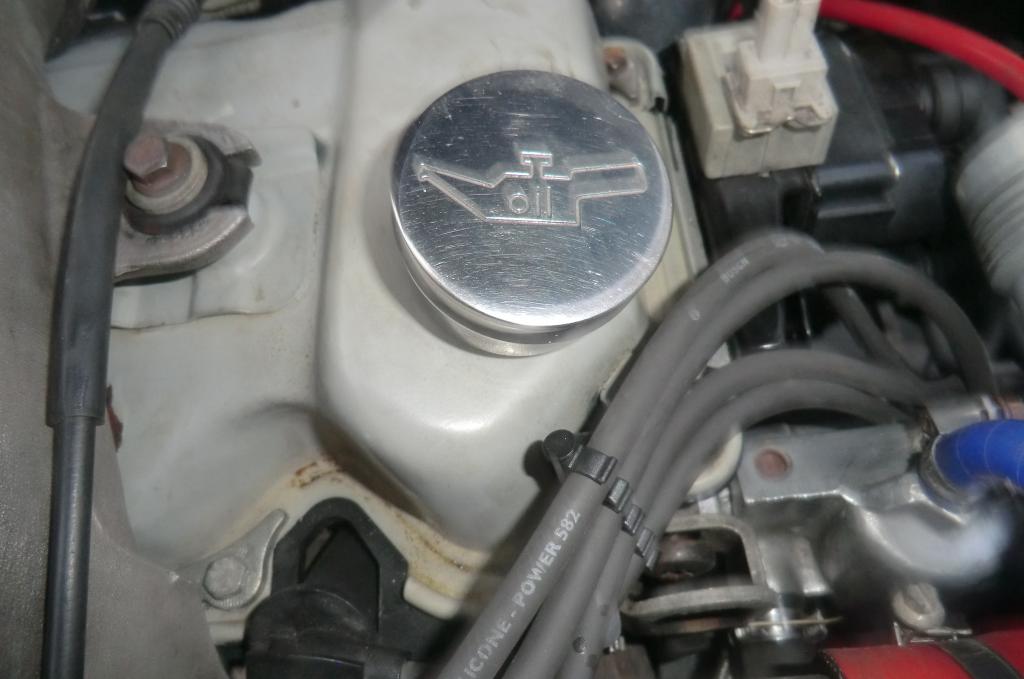
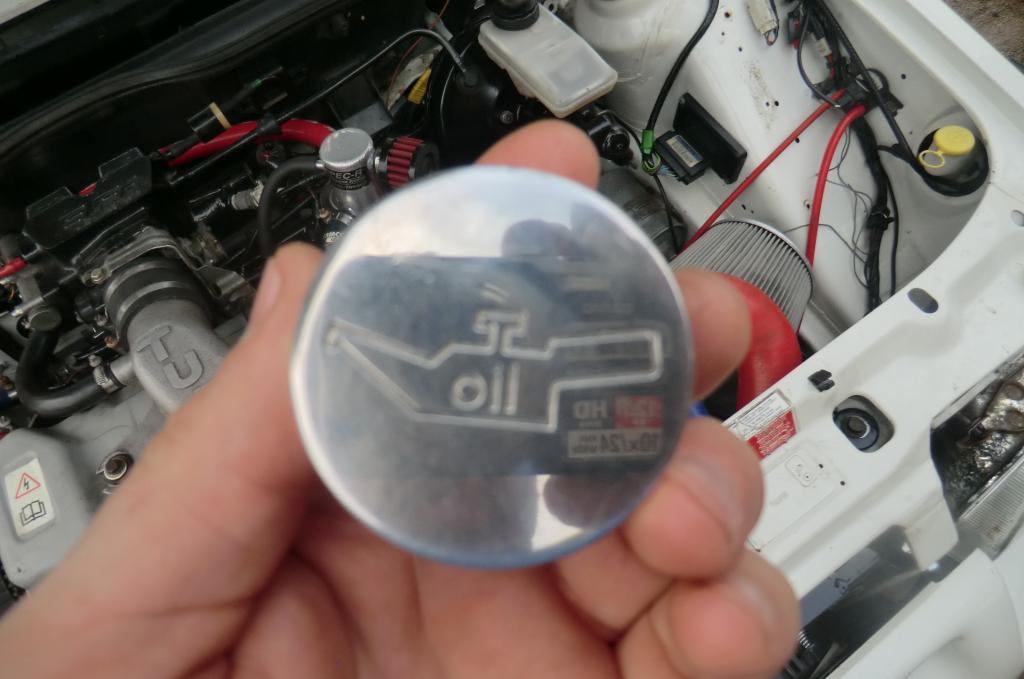
Couple of the filler cap for turbo m
Cars been running perfect with only 1 issue of gearbox oil coming up the speedo cable and dripping out the back of the clocks, I've had about 25 fwd fords and have never had this before so i'm a bit stumped on that one.
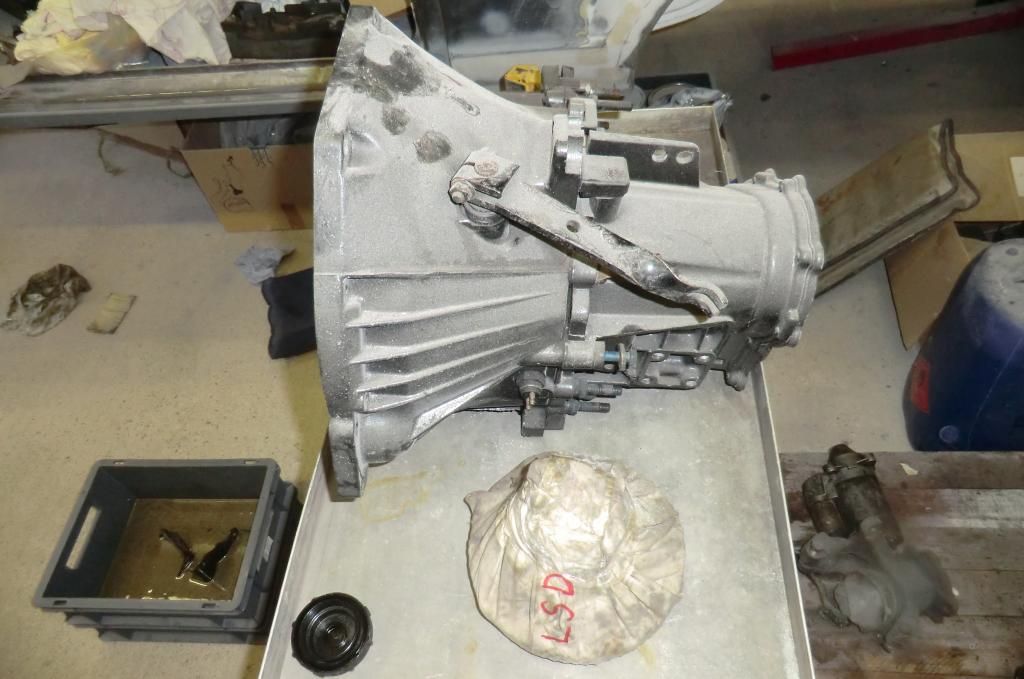
Anyway, small update, it was always the plan to change the box for an IB5 with LSD, now I had both of these in the garage but just didn't get time before the motor went in, So yesterday I started but taking the box apart, this is the 1st box I've taken apart to fit an LSD so took me a while.
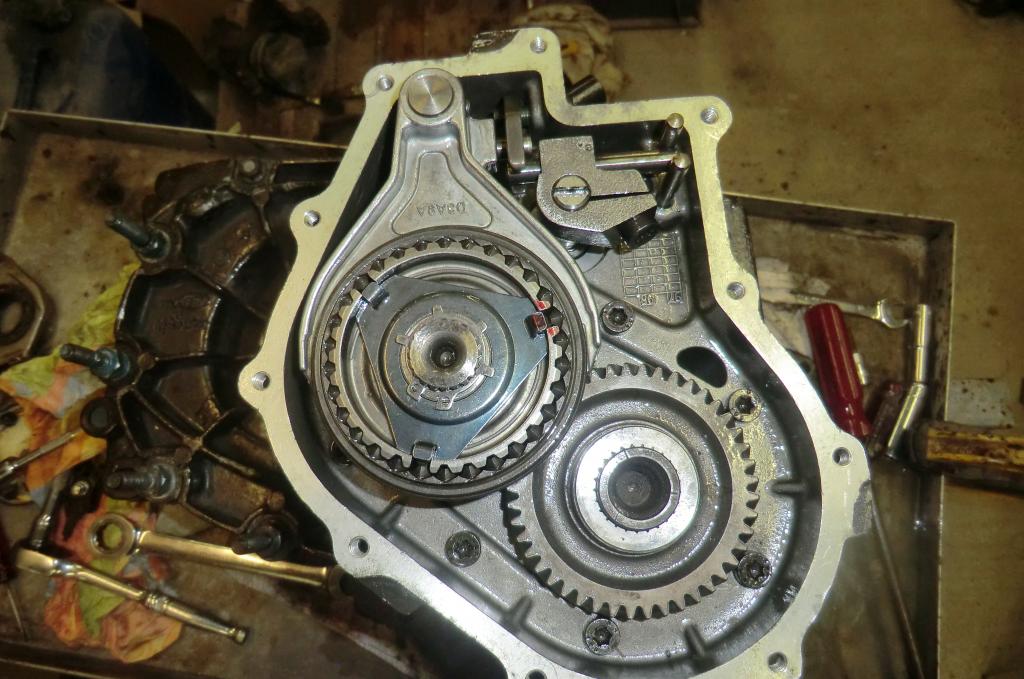
Before I cleaned it
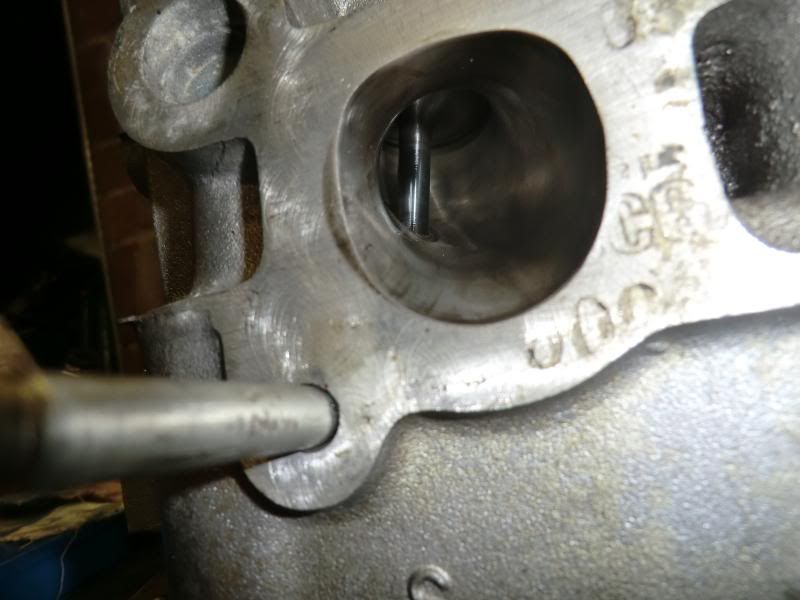
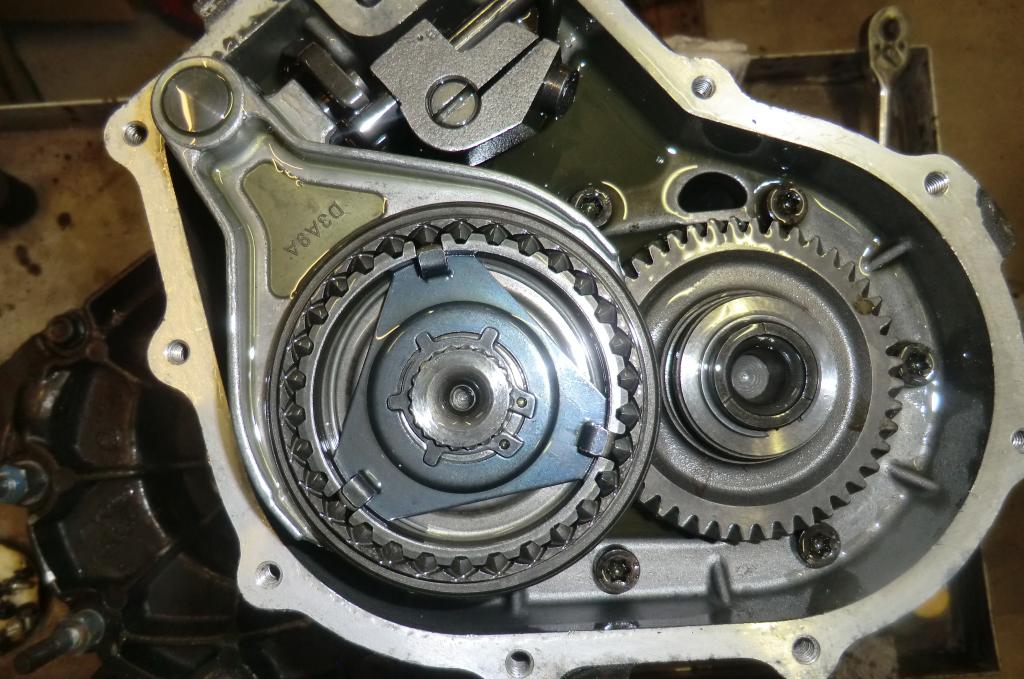
End cap removed
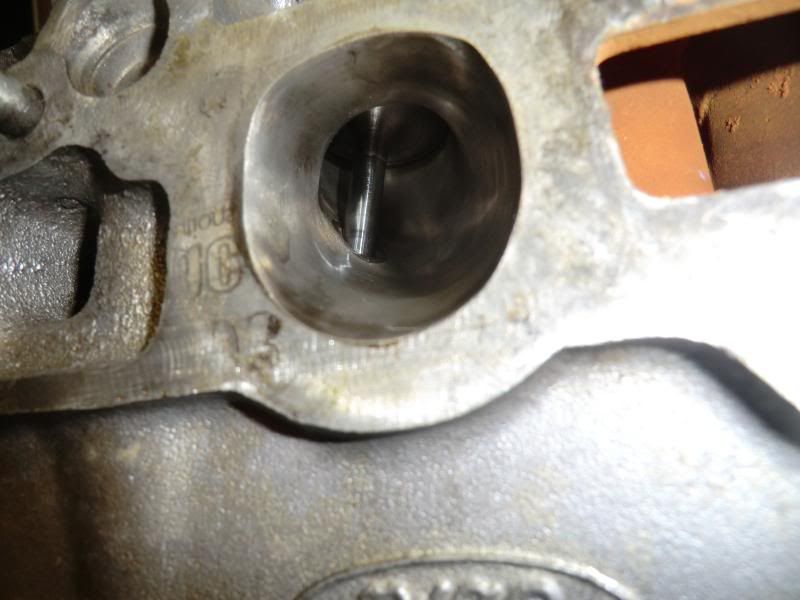
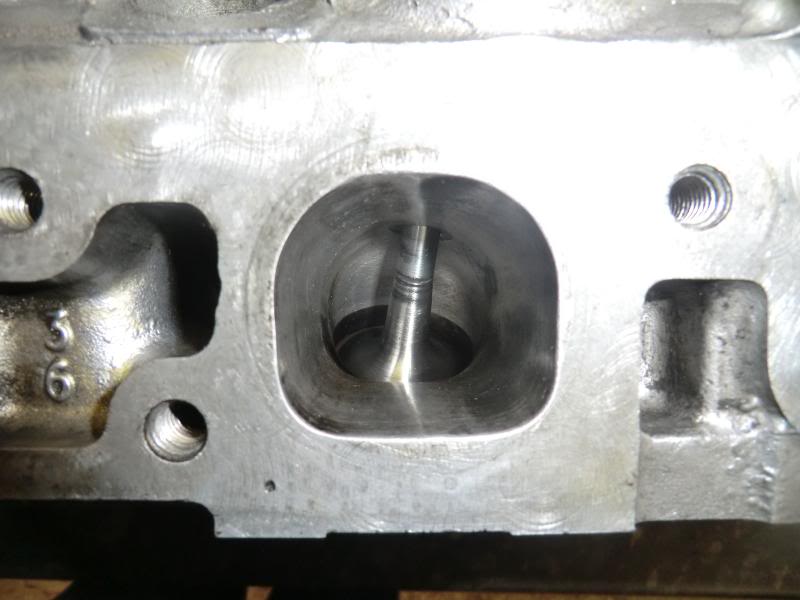
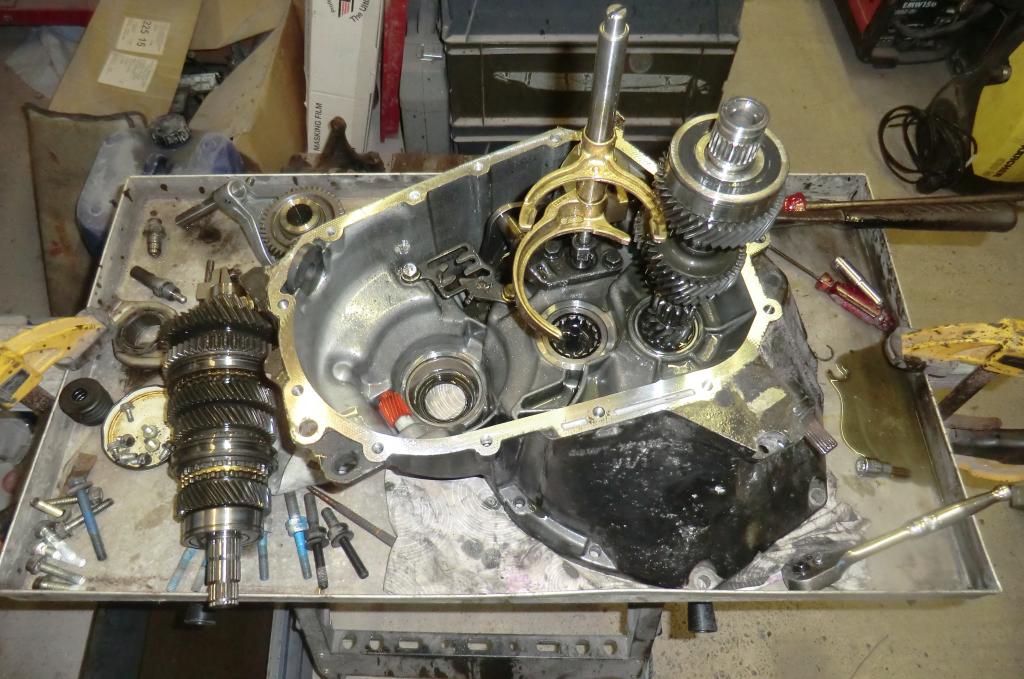
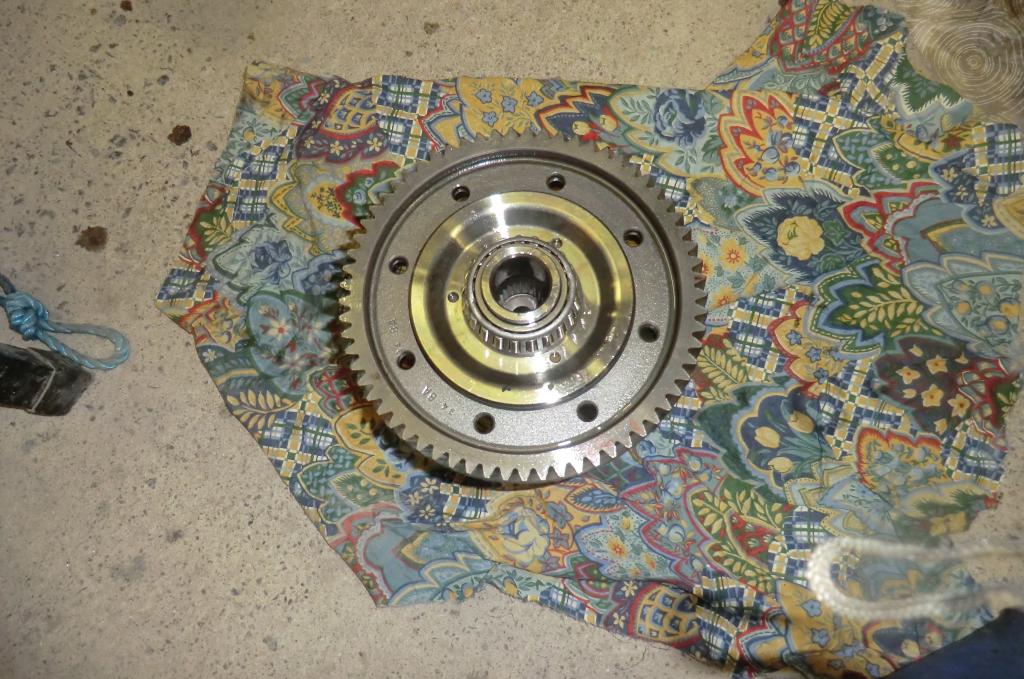
Main shaft and diff removed
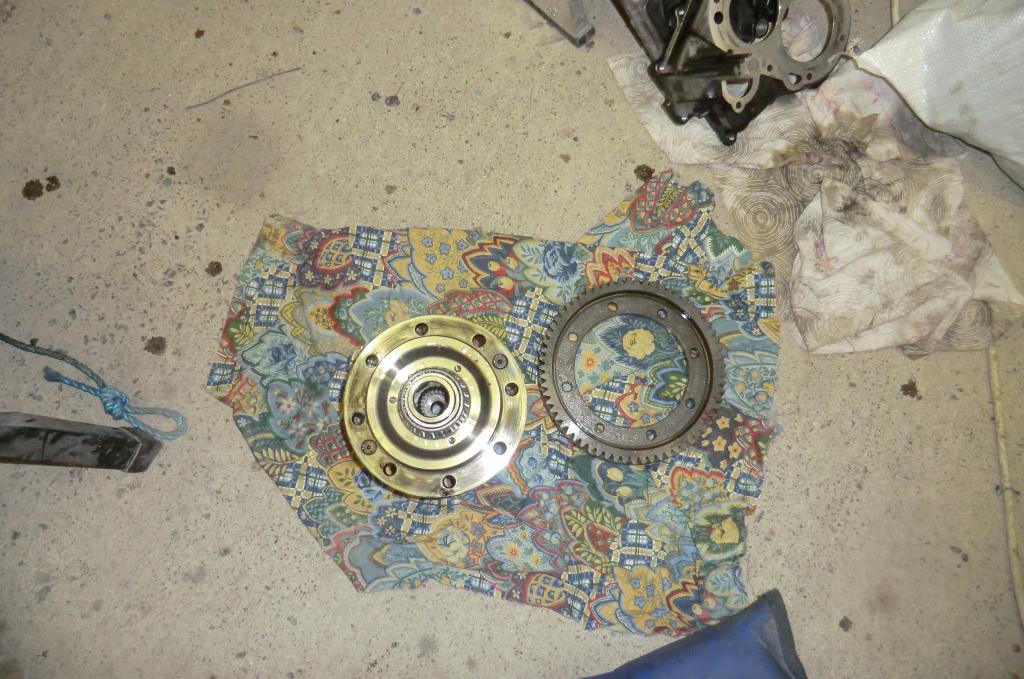
LSD diff and IB5 crown wheel, Now I had read that the inner diameter of the crown wheel of the IB5 was a tiny bit smaller and may need running on a lathe so that the diff would fit, so took the crown wheel off the open diff and trial fitted it and it went straight on no problems
Now I have an issue, the cog on the bottom right has a retaining ring which decided to fly across the garage when I was removing it, so now i'm stuck until I find it :-(
Whilst it was apart I checked the final drive and it's 3.82 the same as an S2 so all good.
Just need to sort a tidy clutch out now, so any advice on this is welcome.
Ginger
Couple of the filler cap for turbo m


Cars been running perfect with only 1 issue of gearbox oil coming up the speedo cable and dripping out the back of the clocks, I've had about 25 fwd fords and have never had this before so i'm a bit stumped on that one.
Anyway, small update, it was always the plan to change the box for an IB5 with LSD, now I had both of these in the garage but just didn't get time before the motor went in, So yesterday I started but taking the box apart, this is the 1st box I've taken apart to fit an LSD so took me a while.
Before I cleaned it

End cap removed

Main shaft and diff removed

LSD diff and IB5 crown wheel, Now I had read that the inner diameter of the crown wheel of the IB5 was a tiny bit smaller and may need running on a lathe so that the diff would fit, so took the crown wheel off the open diff and trial fitted it and it went straight on no problems


Now I have an issue, the cog on the bottom right has a retaining ring which decided to fly across the garage when I was removing it, so now i'm stuck until I find it :-(

Whilst it was apart I checked the final drive and it's 3.82 the same as an S2 so all good.
Just need to sort a tidy clutch out now, so any advice on this is welcome.
Ginger
Last edited by GINGExR2 T; 18-09-2014 at 08:16 AM.
18-11-2014, 05:49 PM
#27
.
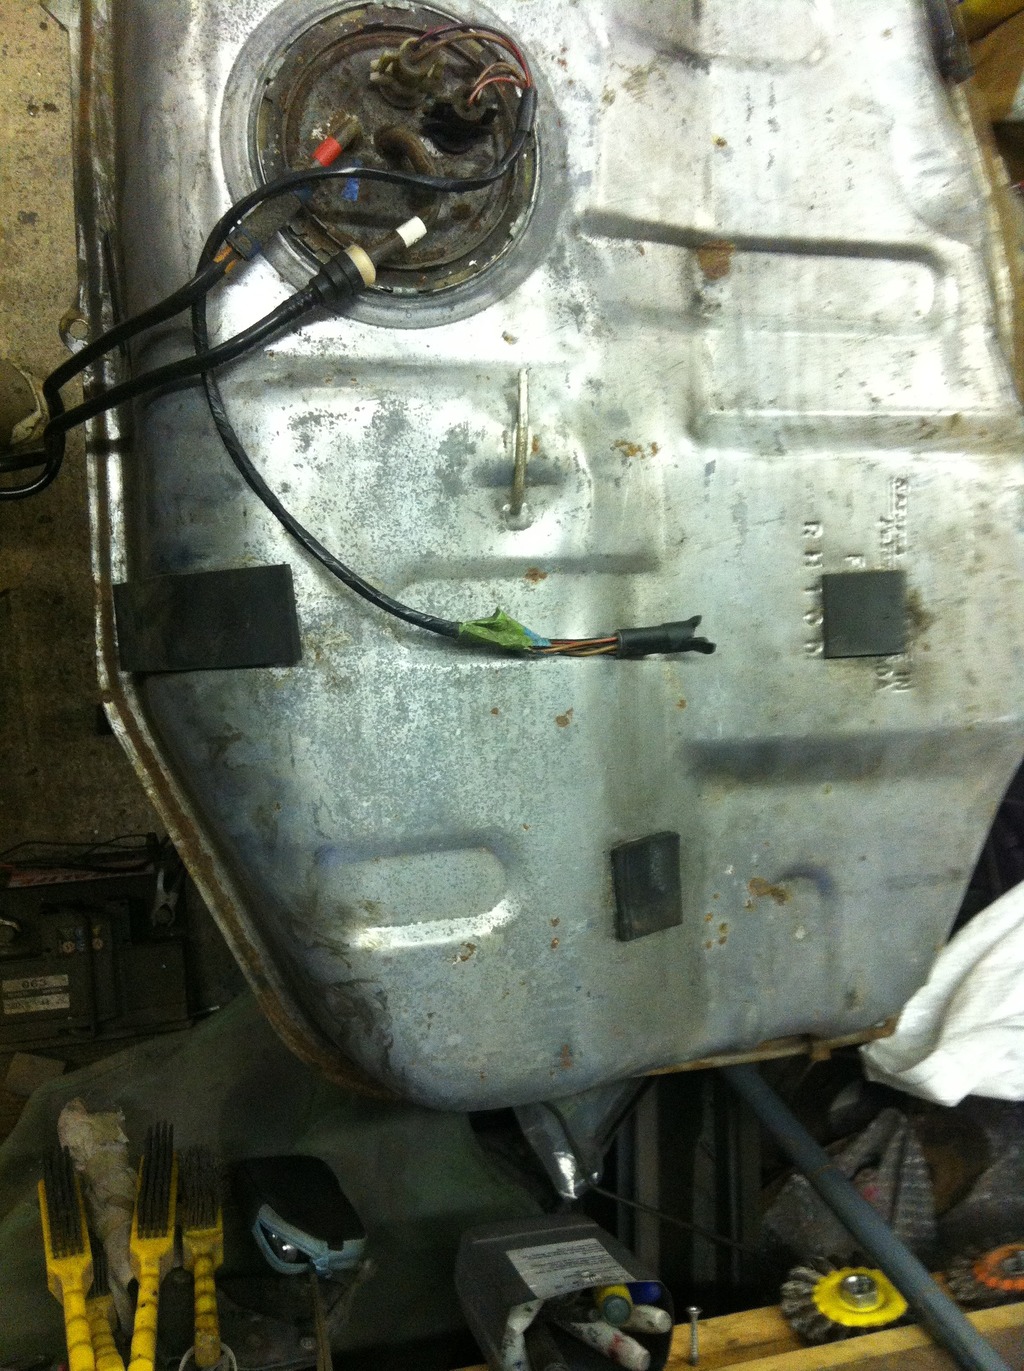
Small update, Car has now done 900miles and running perfect all be it a break down 2 Sundays after the standard XR3i fuel pump gave up, no biggy as I had a new MSD upgrade sat in the garage waiting to go on, as a bonus I found that the EFi fuel tank has been replaced at some point in the past few years with a brand new one
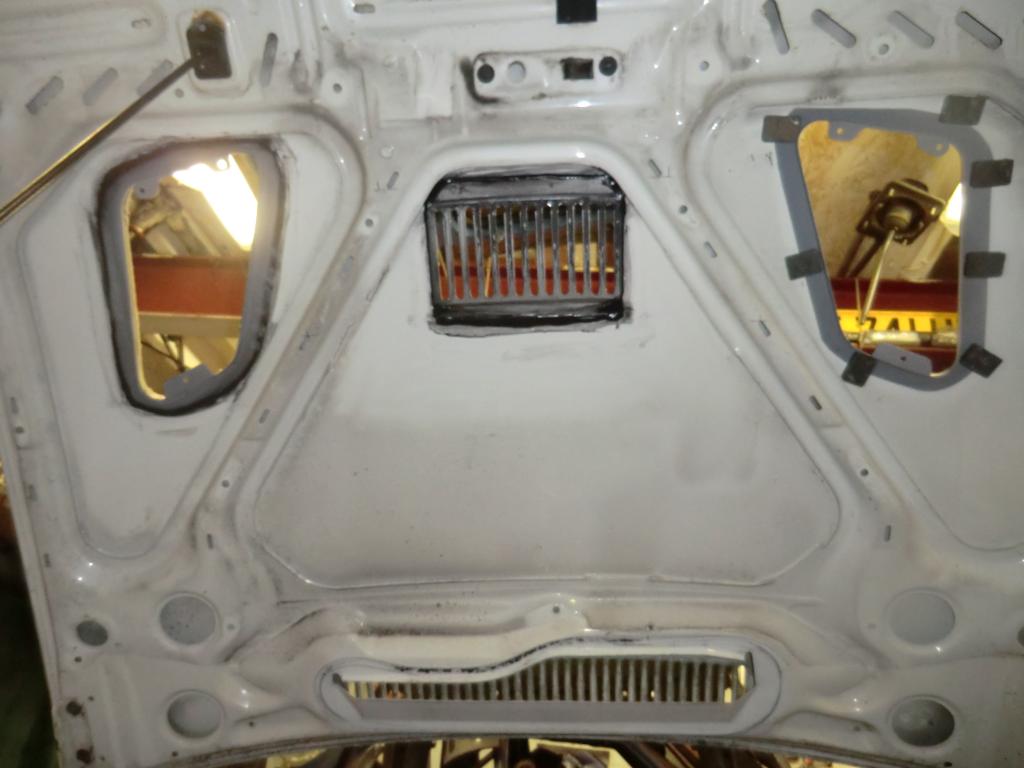
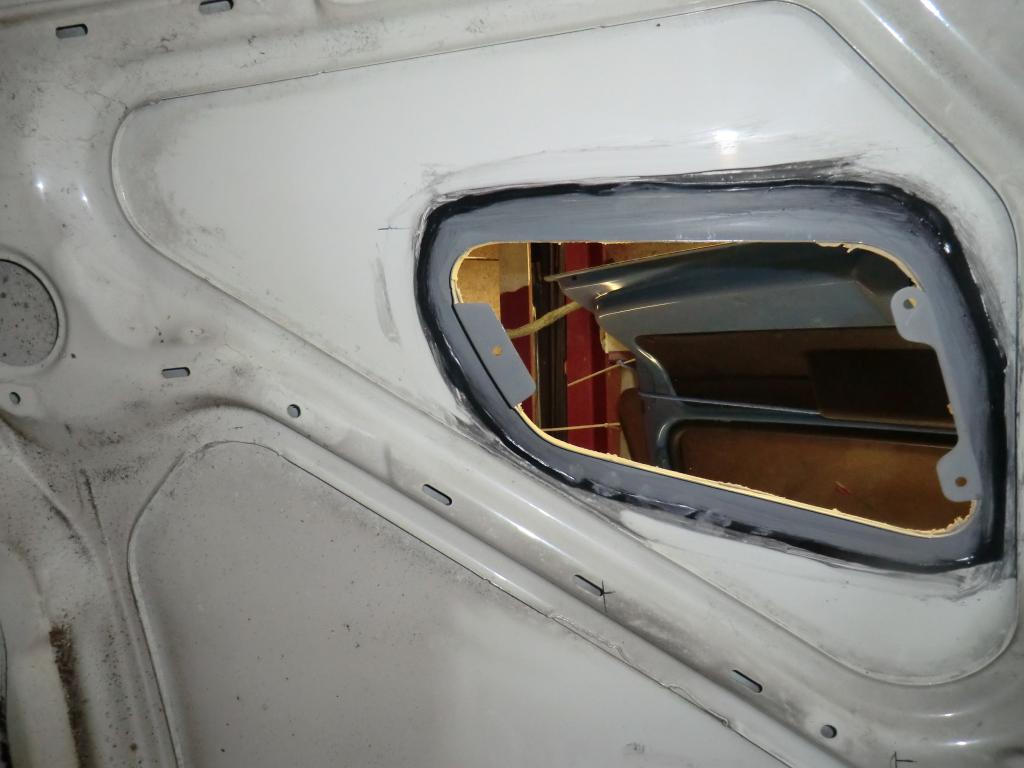
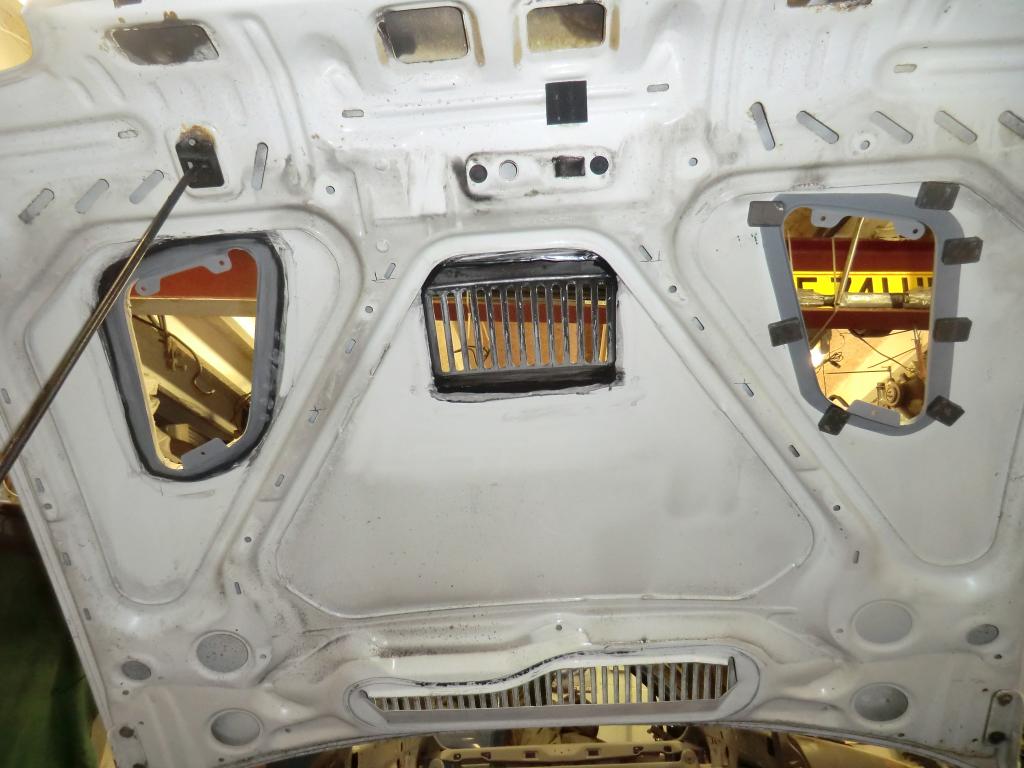
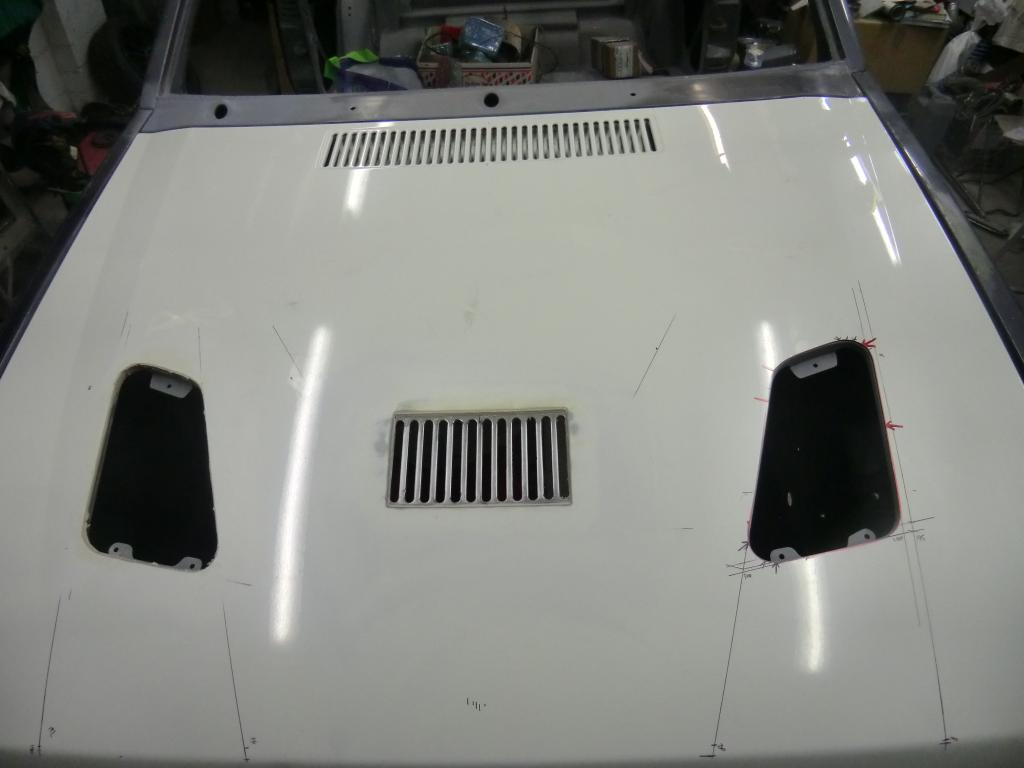
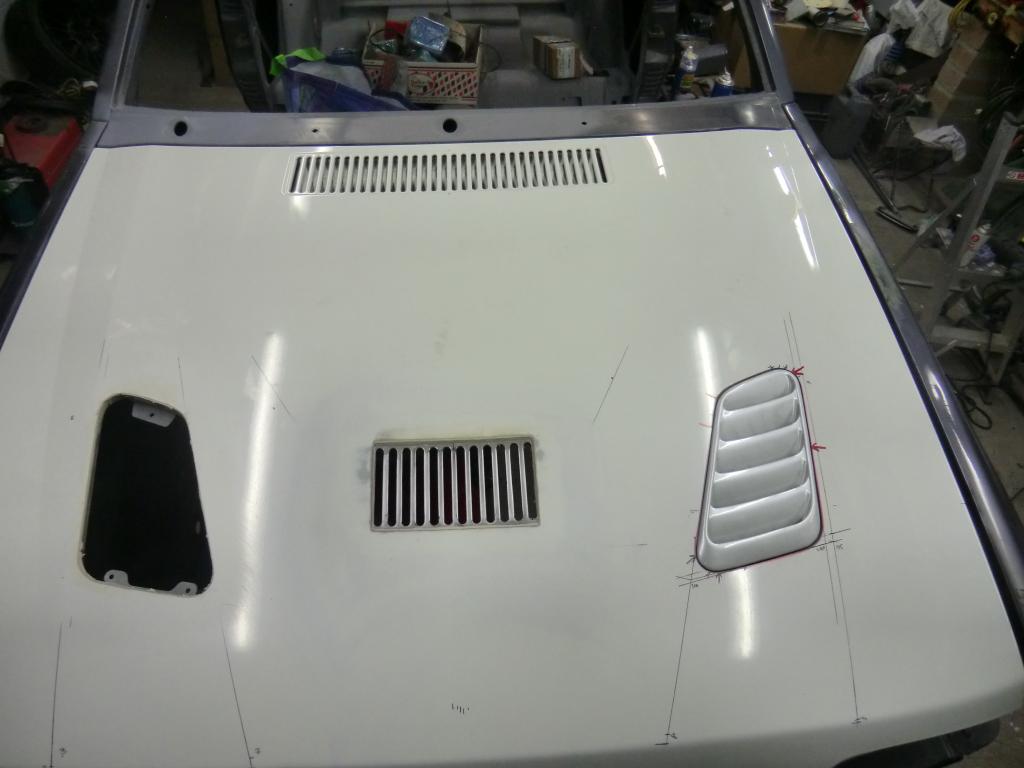
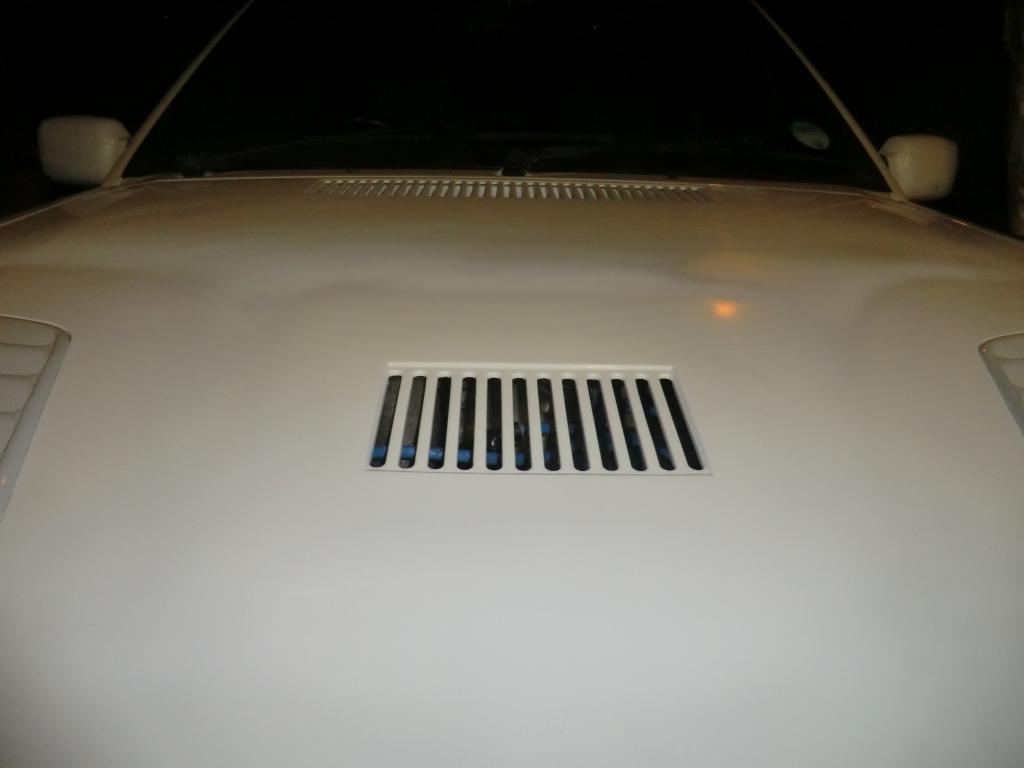
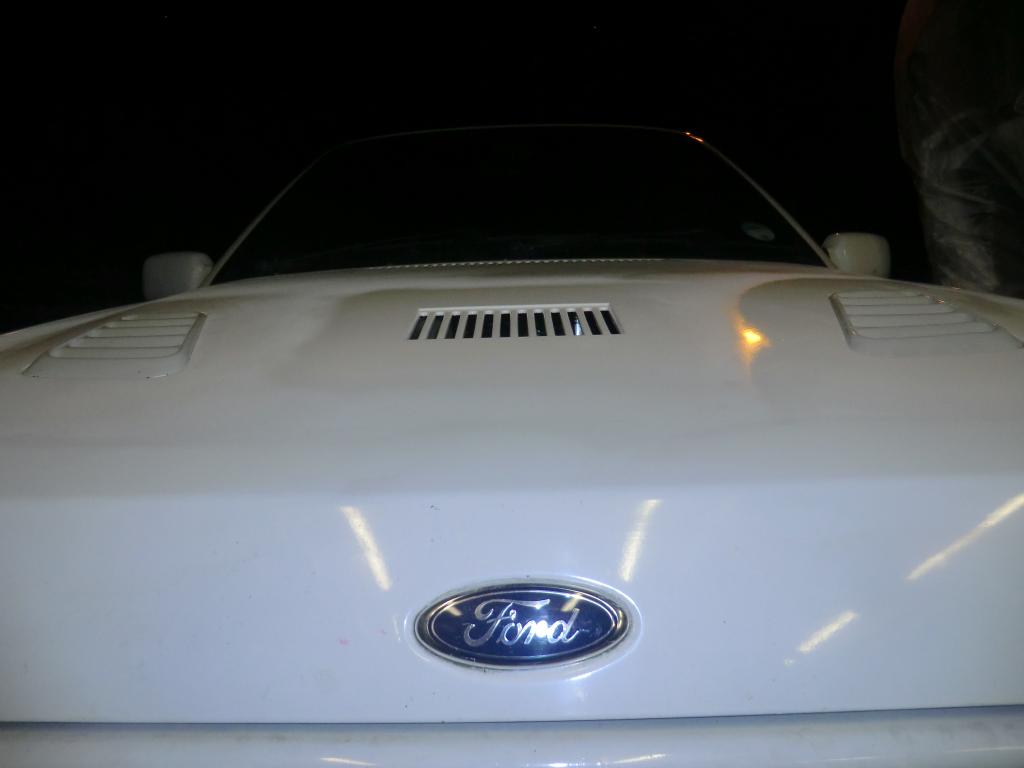
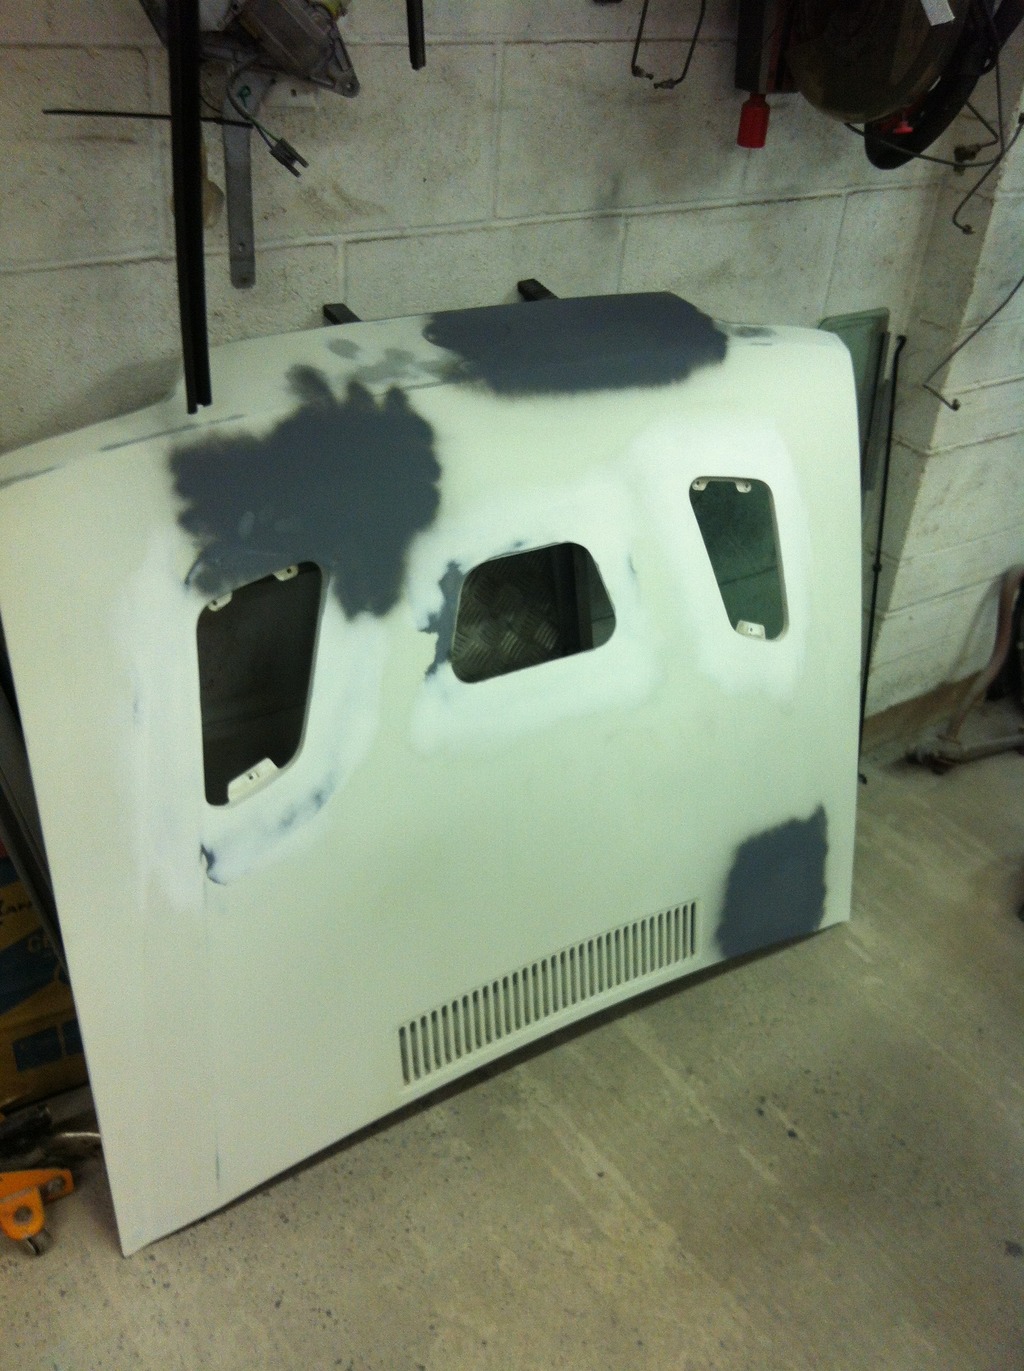
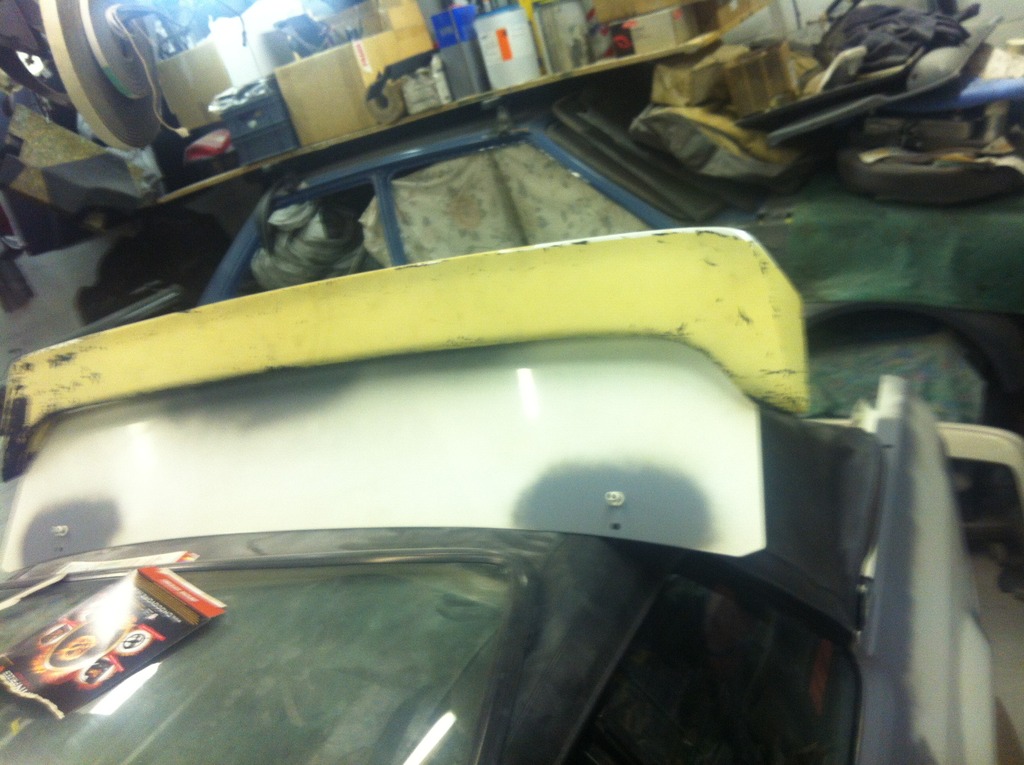
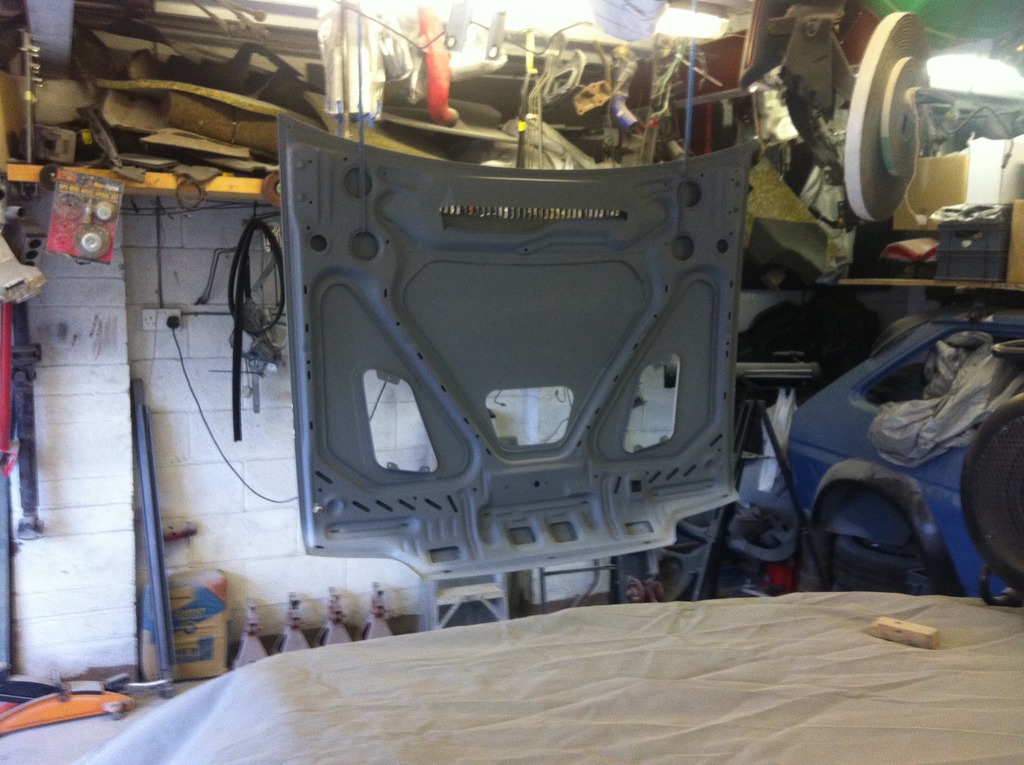
Also i've been looking for months for a turbo bonnet that’s not 100's of miles away from Cardiff and not rusty across the bottom edge and have come to the conclusion that they’re like rocking horse shit so I’ve given up, the bonnet on my car is totally rust free so after cutting up a scrap turbo bonnet I had I decided to bond the vent cut out’s into my bonnet, Also wanted a bit of extra cooling as the cross over pipe gets stupidly hot, so from the scrap bonnet I thought it’d use the air box vent, well part of it. Blowing a heat gun across the bonnet it’s surprising how much air will flow through it , hoping that this will help keep the under bonnet temps lower which can only be a good thing.
Ginger
.
Small update, Car has now done 900miles and running perfect all be it a break down 2 Sundays after the standard XR3i fuel pump gave up
Also i've been looking for months for a turbo bonnet that’s not 100's of miles away from Cardiff and not rusty across the bottom edge and have come to the conclusion that they’re like rocking horse shit so I’ve given up, the bonnet on my car is totally rust free so after cutting up a scrap turbo bonnet I had I decided to bond the vent cut out’s into my bonnet, Also wanted a bit of extra cooling as the cross over pipe gets stupidly hot, so from the scrap bonnet I thought it’d use the air box vent, well part of it. Blowing a heat gun across the bonnet it’s surprising how much air will flow through it , hoping that this will help keep the under bonnet temps lower which can only be a good thing.


Ginger
.
Last edited by GINGExR2 T; 19-11-2014 at 06:21 PM.
 05-12-2014, 10:13 AM
#31
.
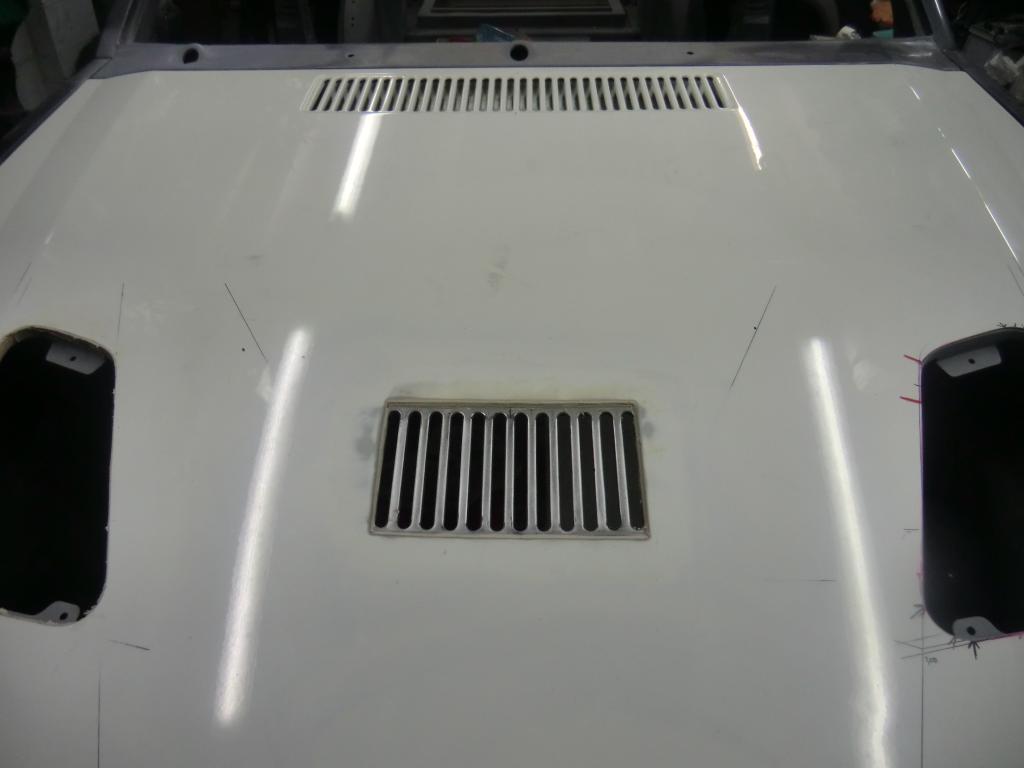
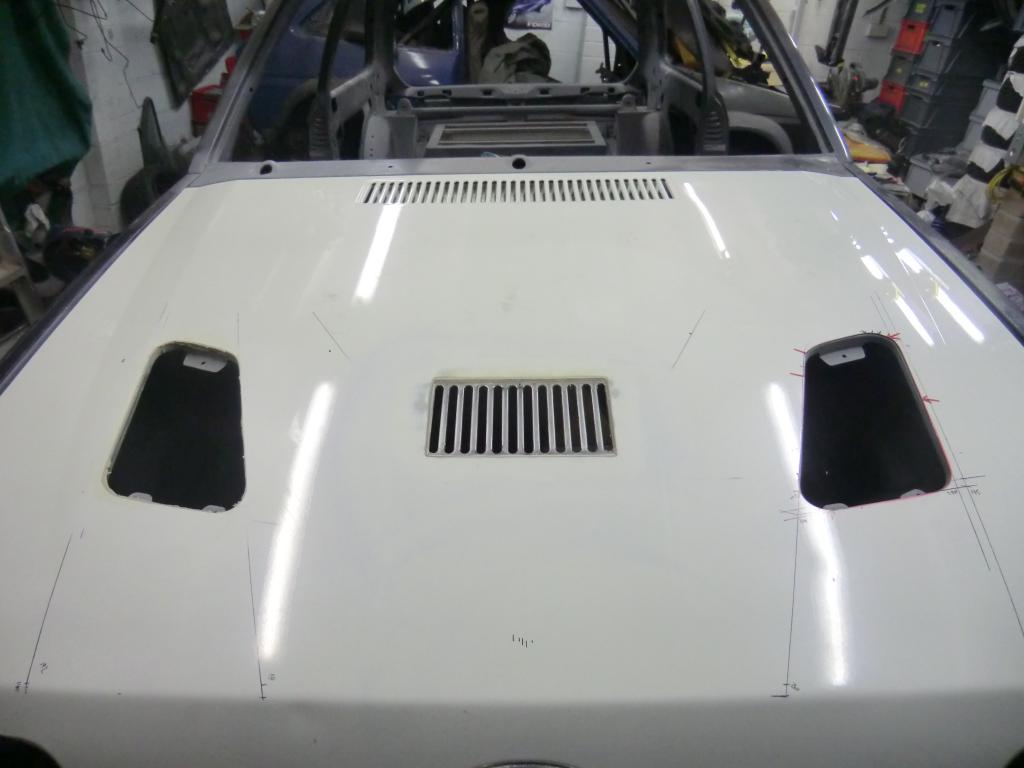
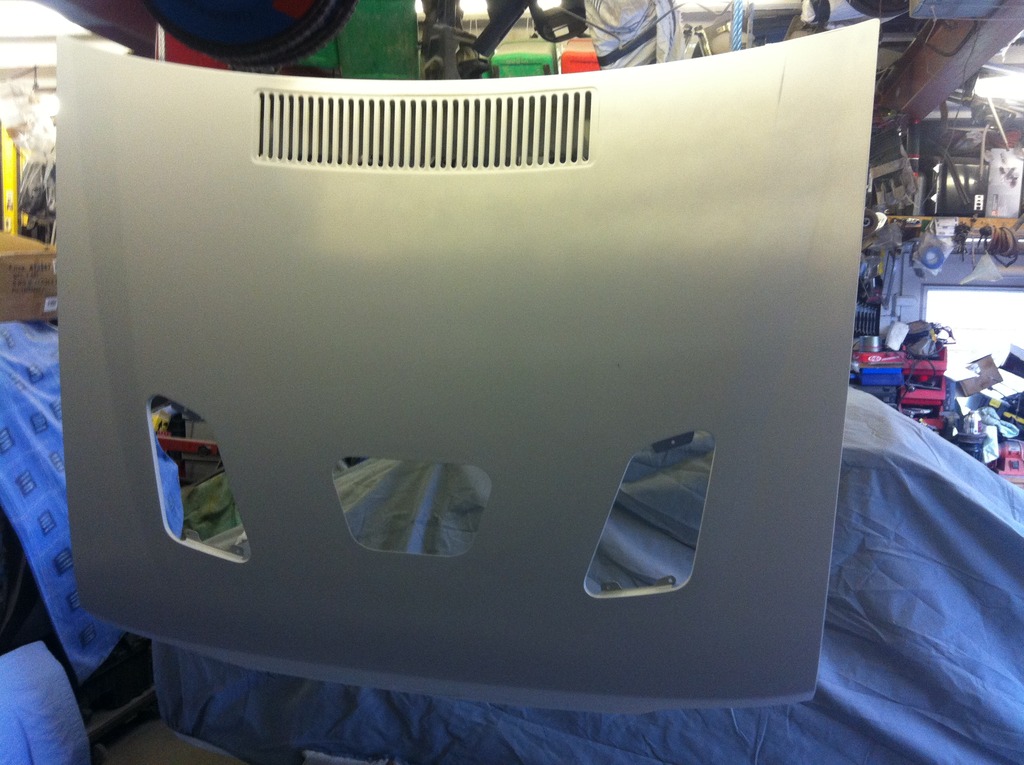
Managed to get the bonnet sort of finished, just chucked a bit of rattle can white on it until after Xmas as I havn't got time to get it painted yet, Plus i'm probably gonna get the whole car done in one go as I have a turbo kit for it as well,
Does look better with paint on it, and has made a massive difference to bay temps, especially the cross over pipe.

Ginger
.
Managed to get the bonnet sort of finished, just chucked a bit of rattle can white on it until after Xmas as I havn't got time to get it painted yet, Plus i'm probably gonna get the whole car done in one go as I have a turbo kit for it as well,
Does look better with paint on it, and has made a massive difference to bay temps, especially the cross over pipe.


Ginger
.
Last edited by GINGExR2 T; 05-12-2014 at 10:14 AM.
01-01-2016, 09:40 PM
#35
.
Bit of an update, Car faultlessly until the end of September when the MOT ran out so whilst I was waiting for my RWD YB converted S2 to go for paint i decided to give it some attention and upgrades etc,
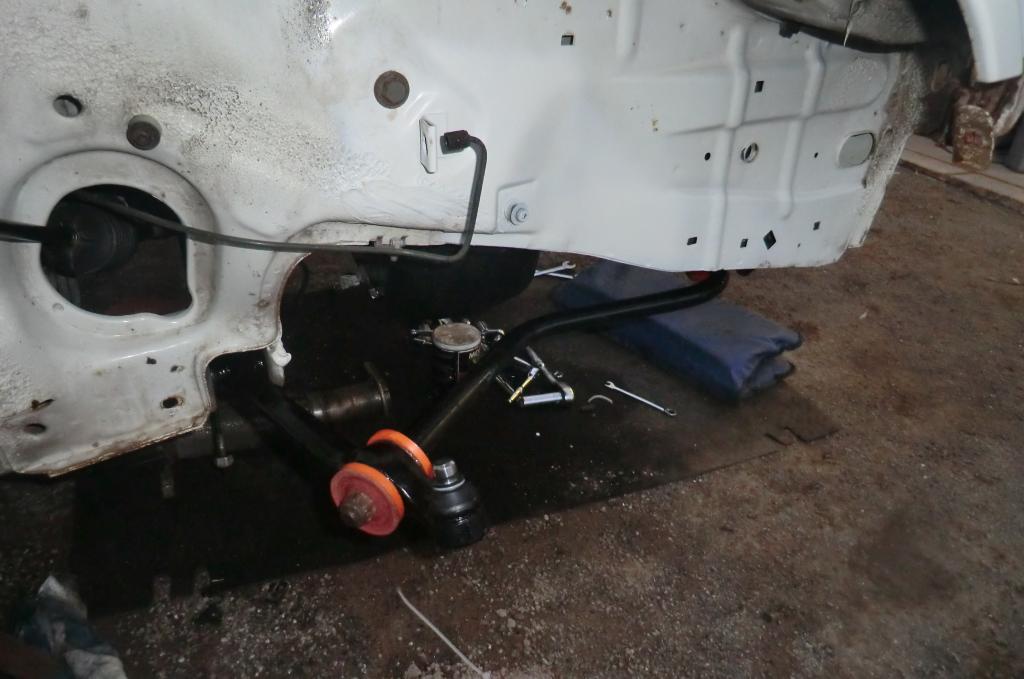
It was running on standard XR3i brakes and suspension etc and I had changed the front to poly bushes last September so whilst I was at it I got a pair of RST antiroll bar wish bones and had everything sandblasted and repainted to freshen it all up and cleaned and paint the shocks with front dust covers.
.
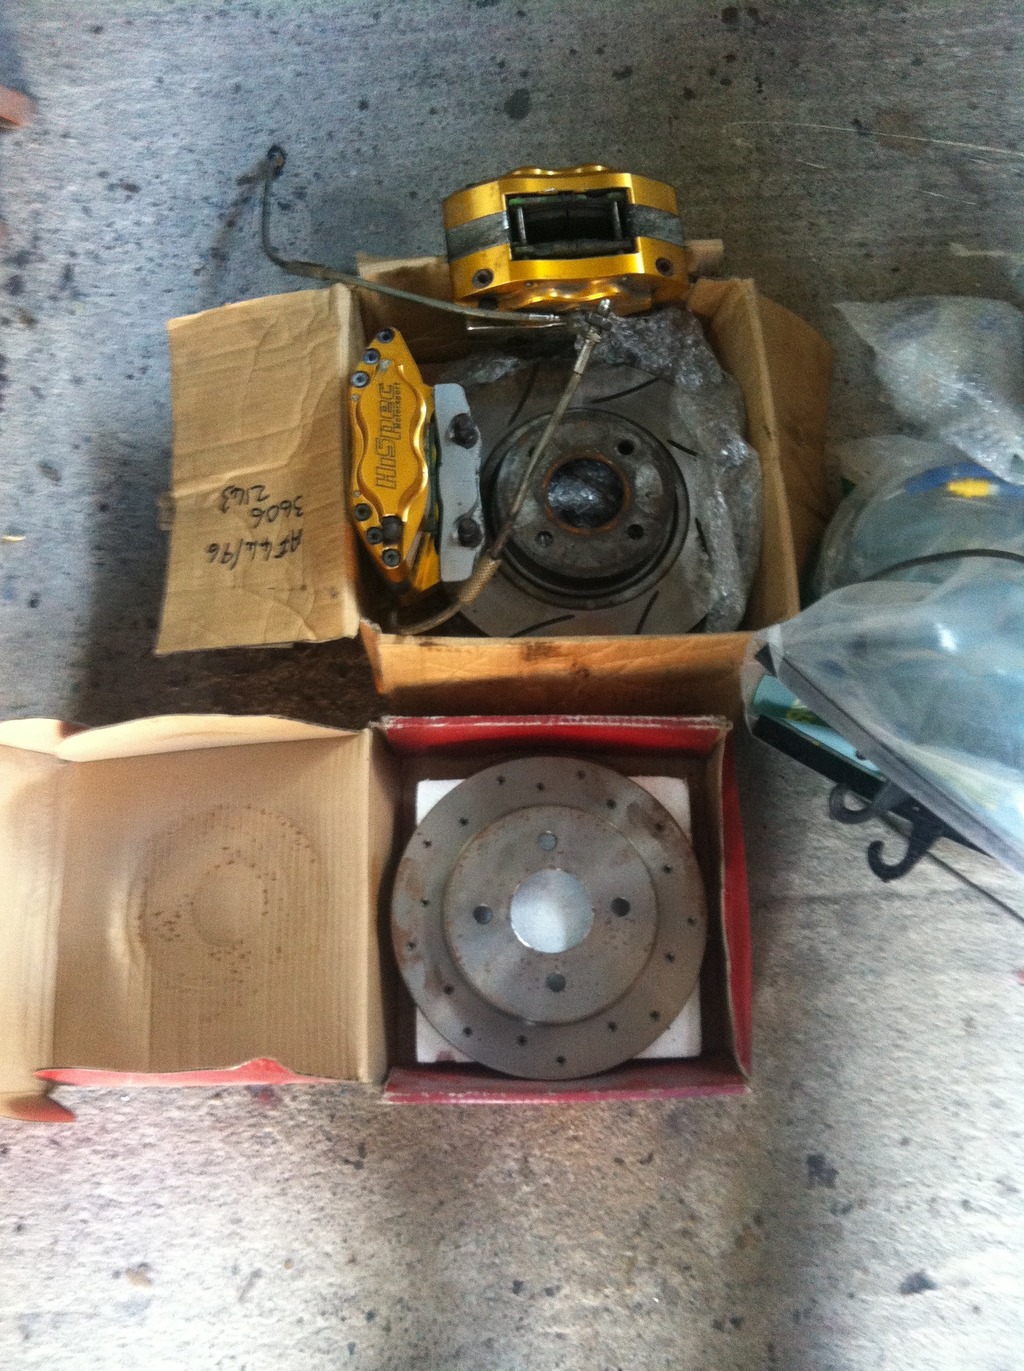

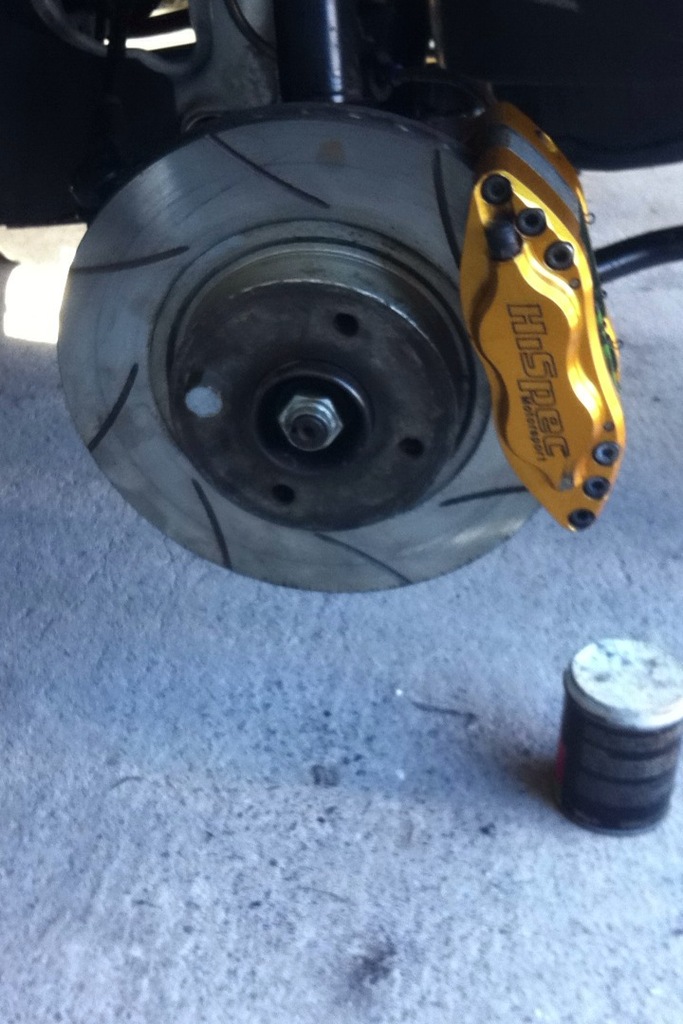
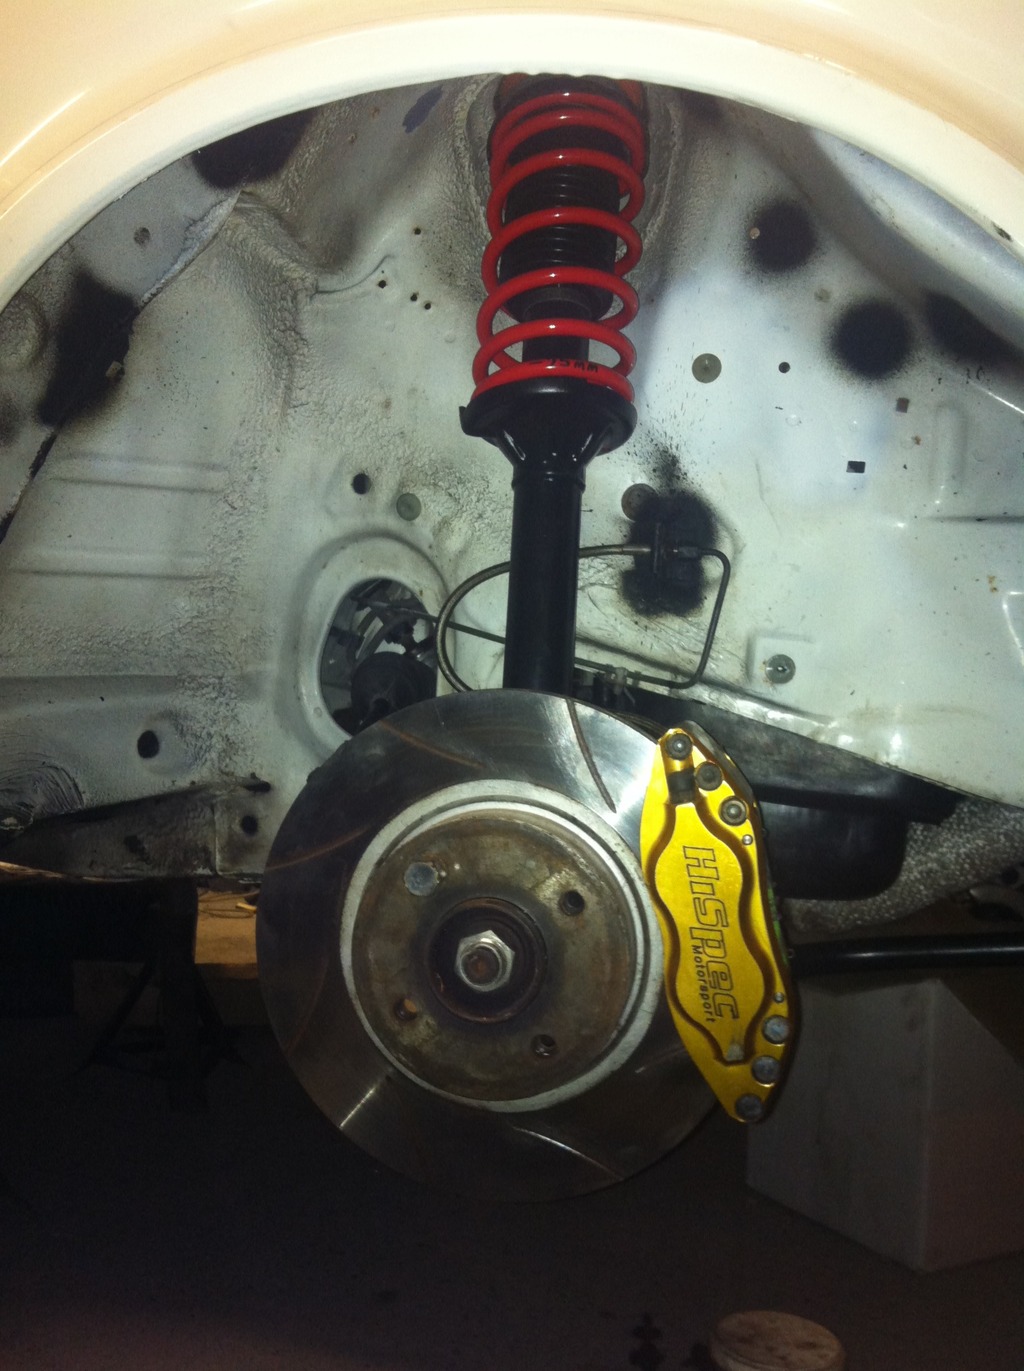
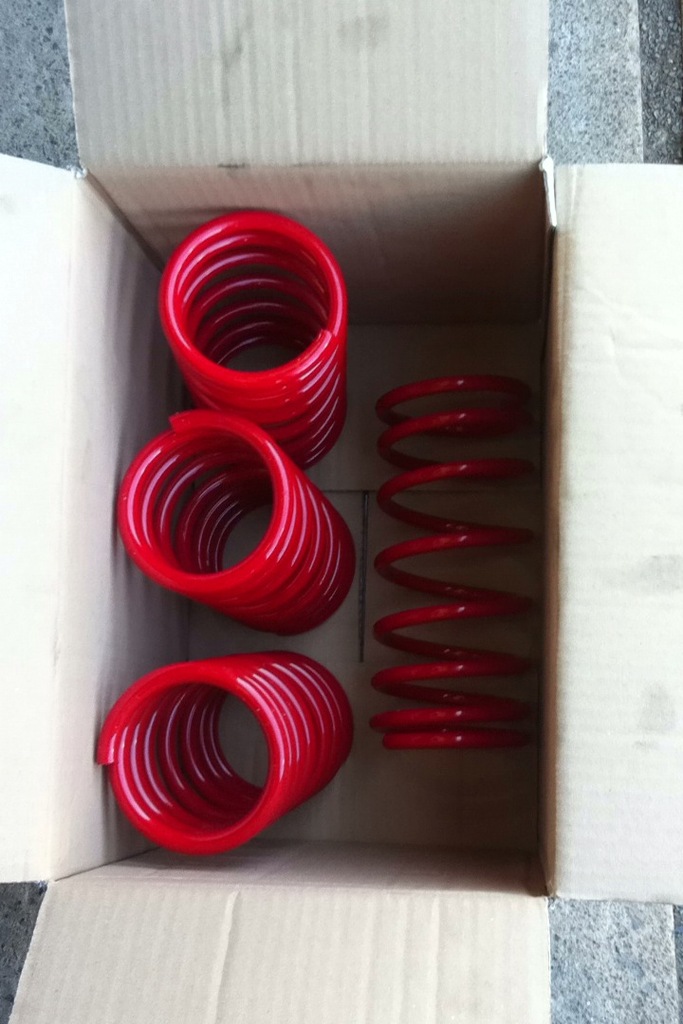
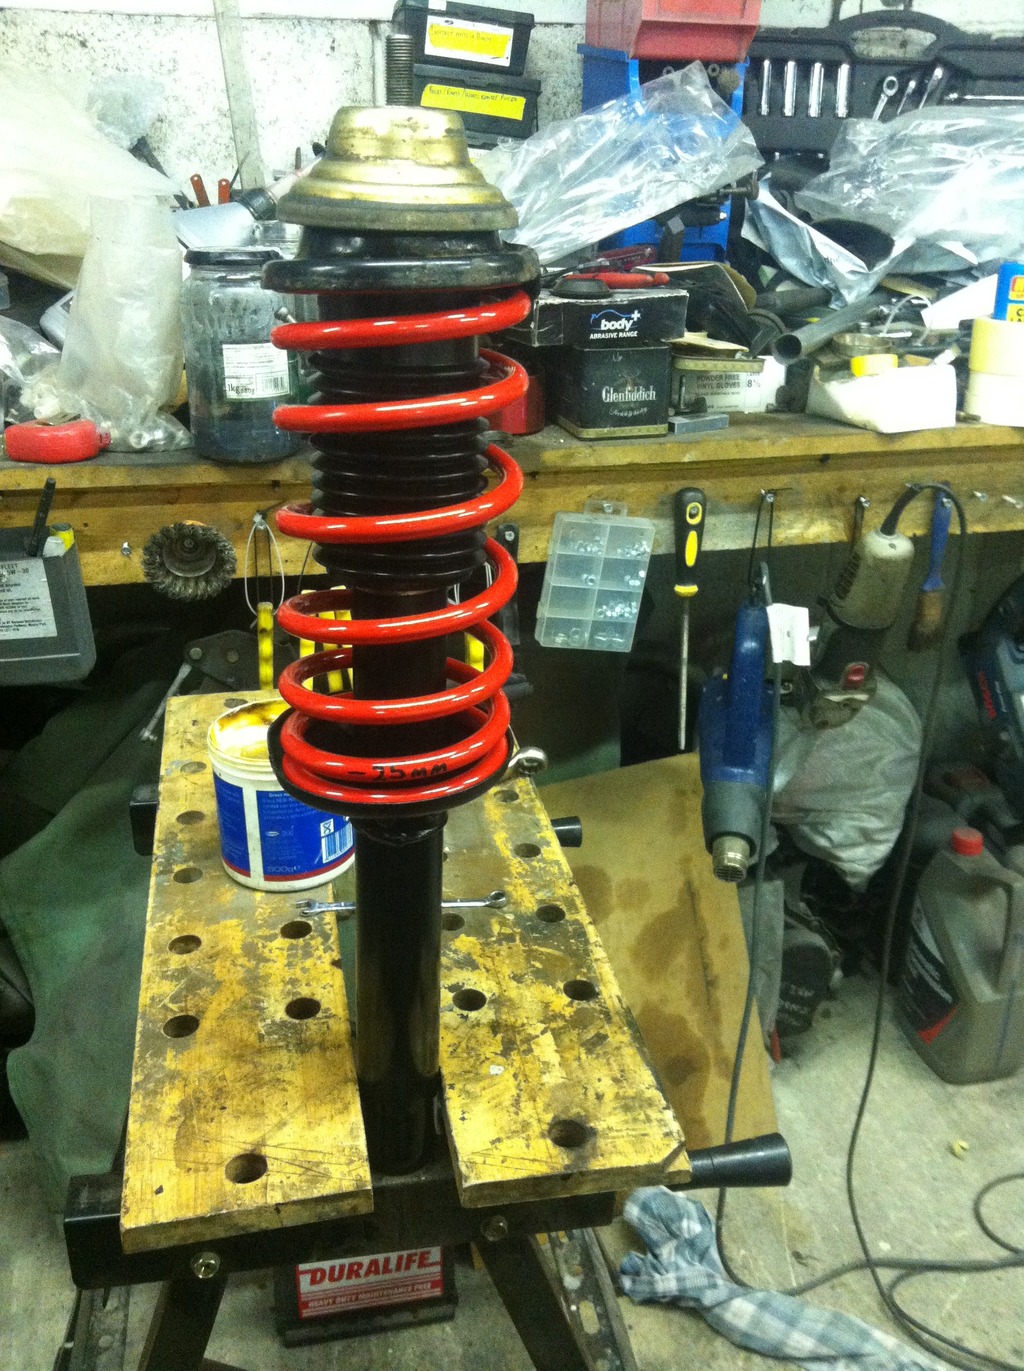

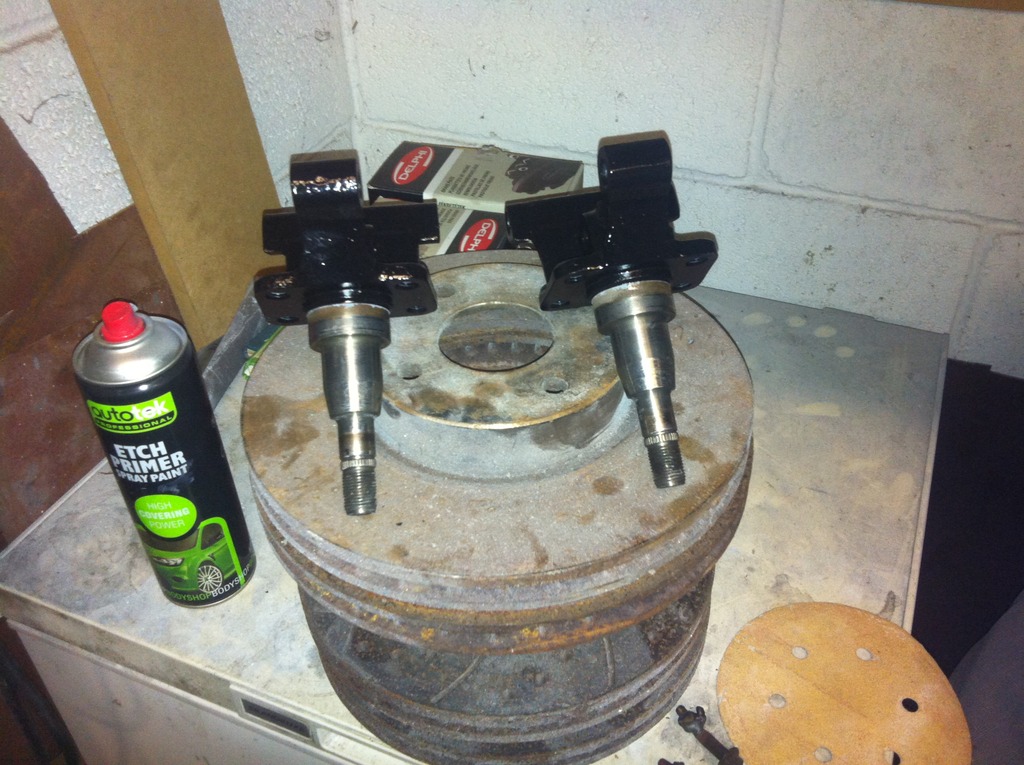
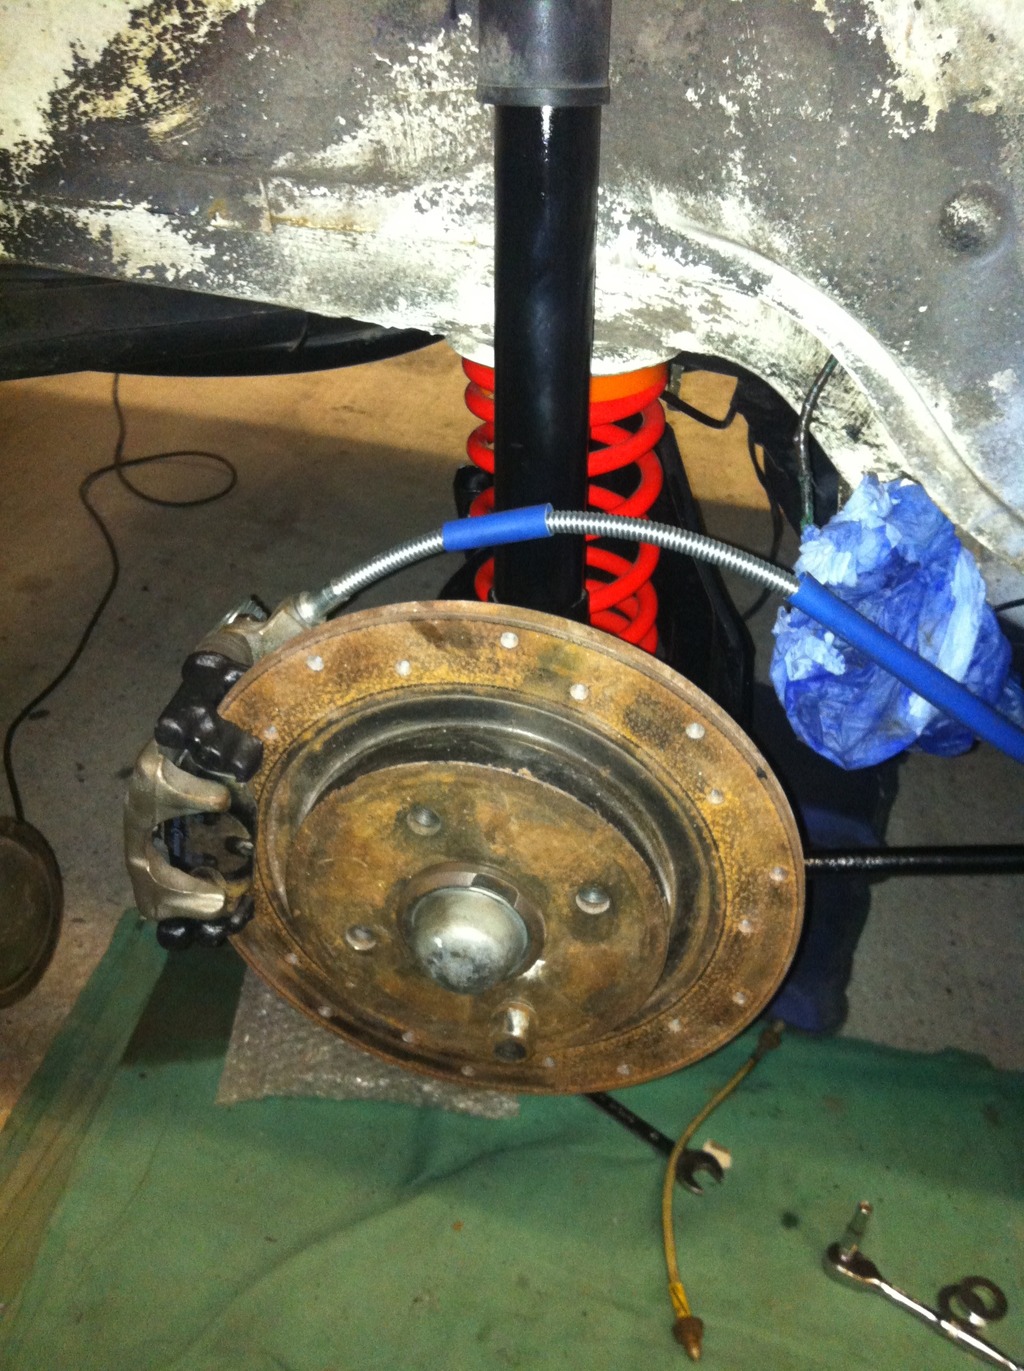
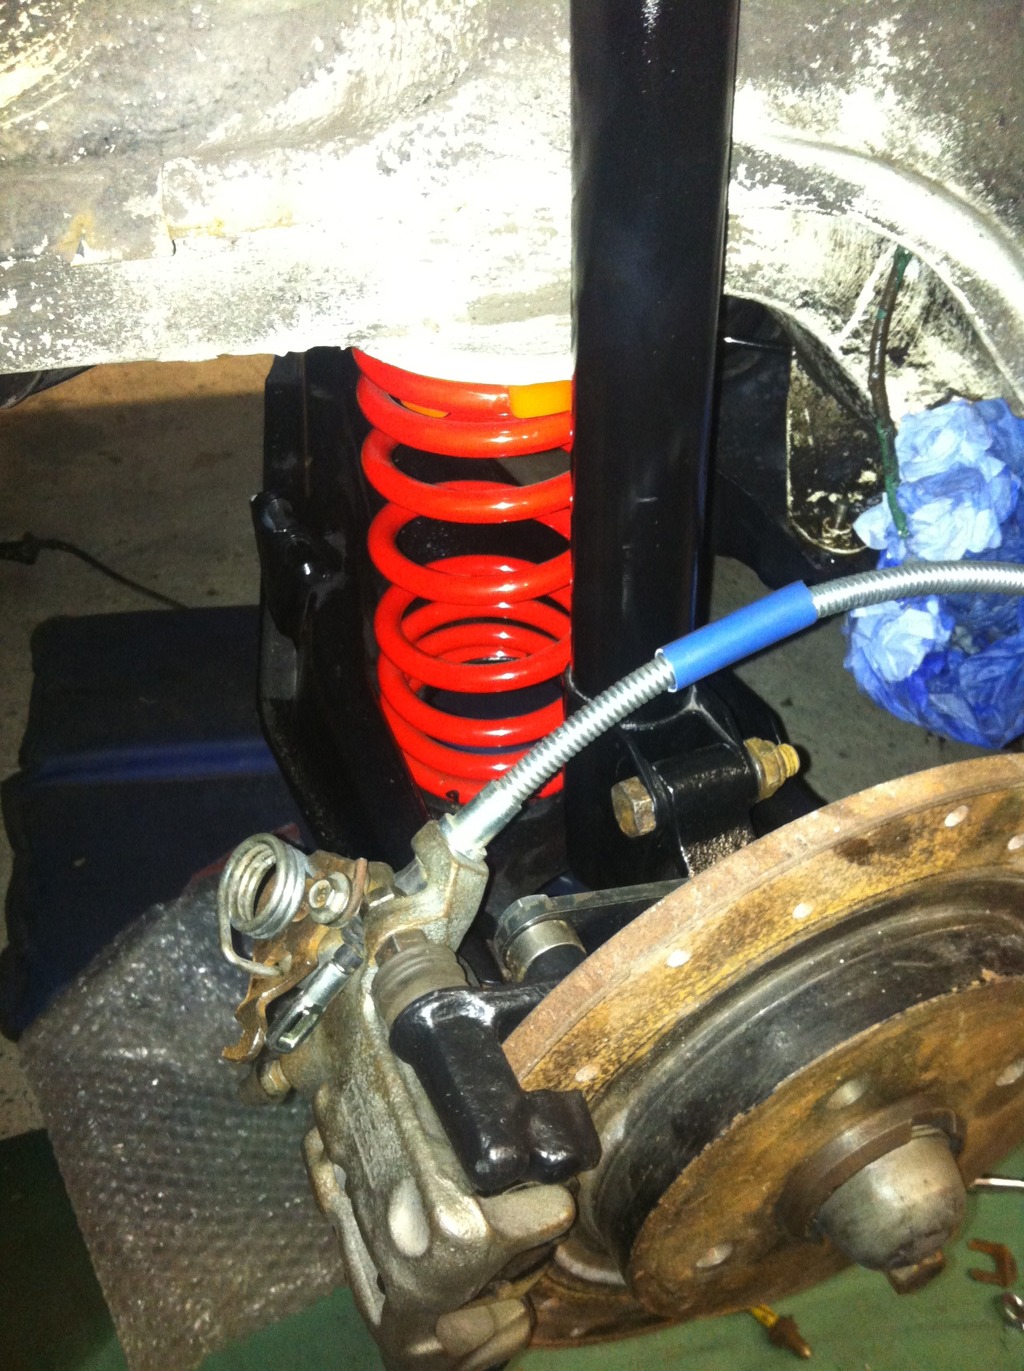
I had the Hi-Spec's from a swap deal a few years back and had spare rear callipers and discs so did them at the same time, Springs are ERST -25mm which is nice height.
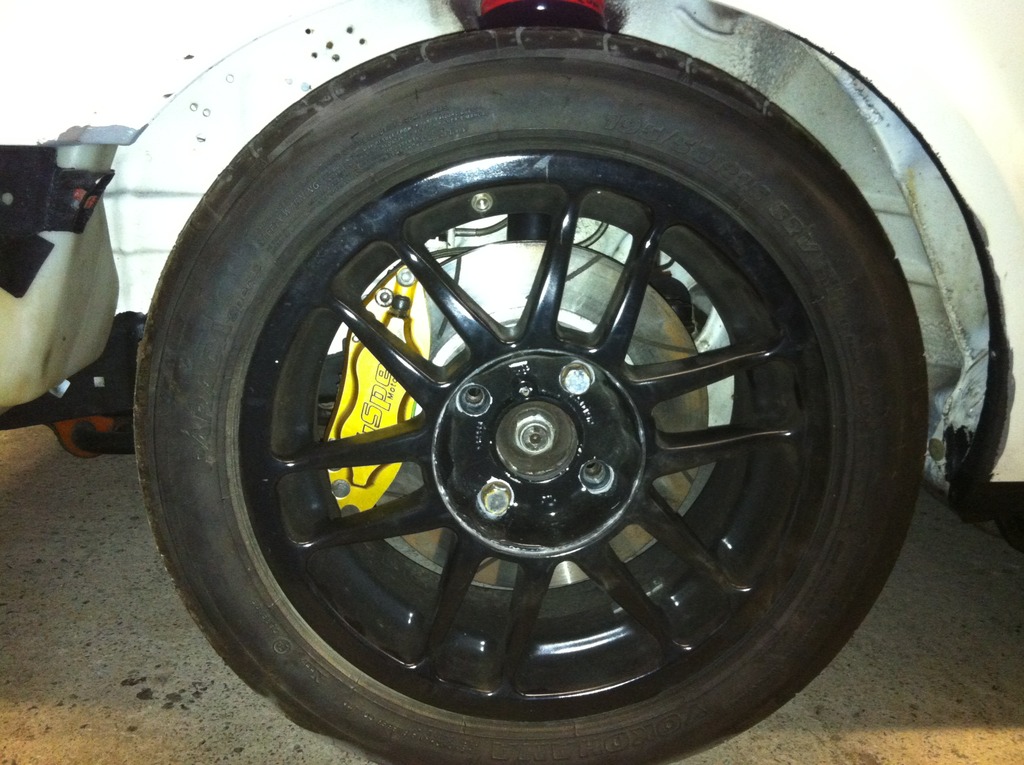
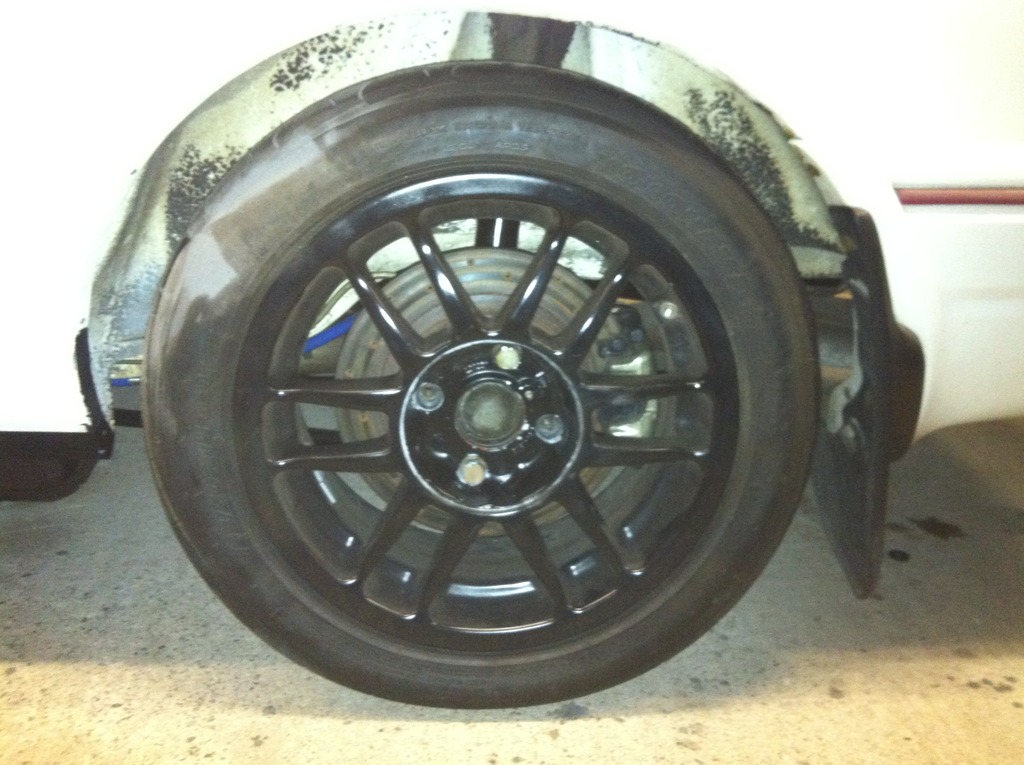
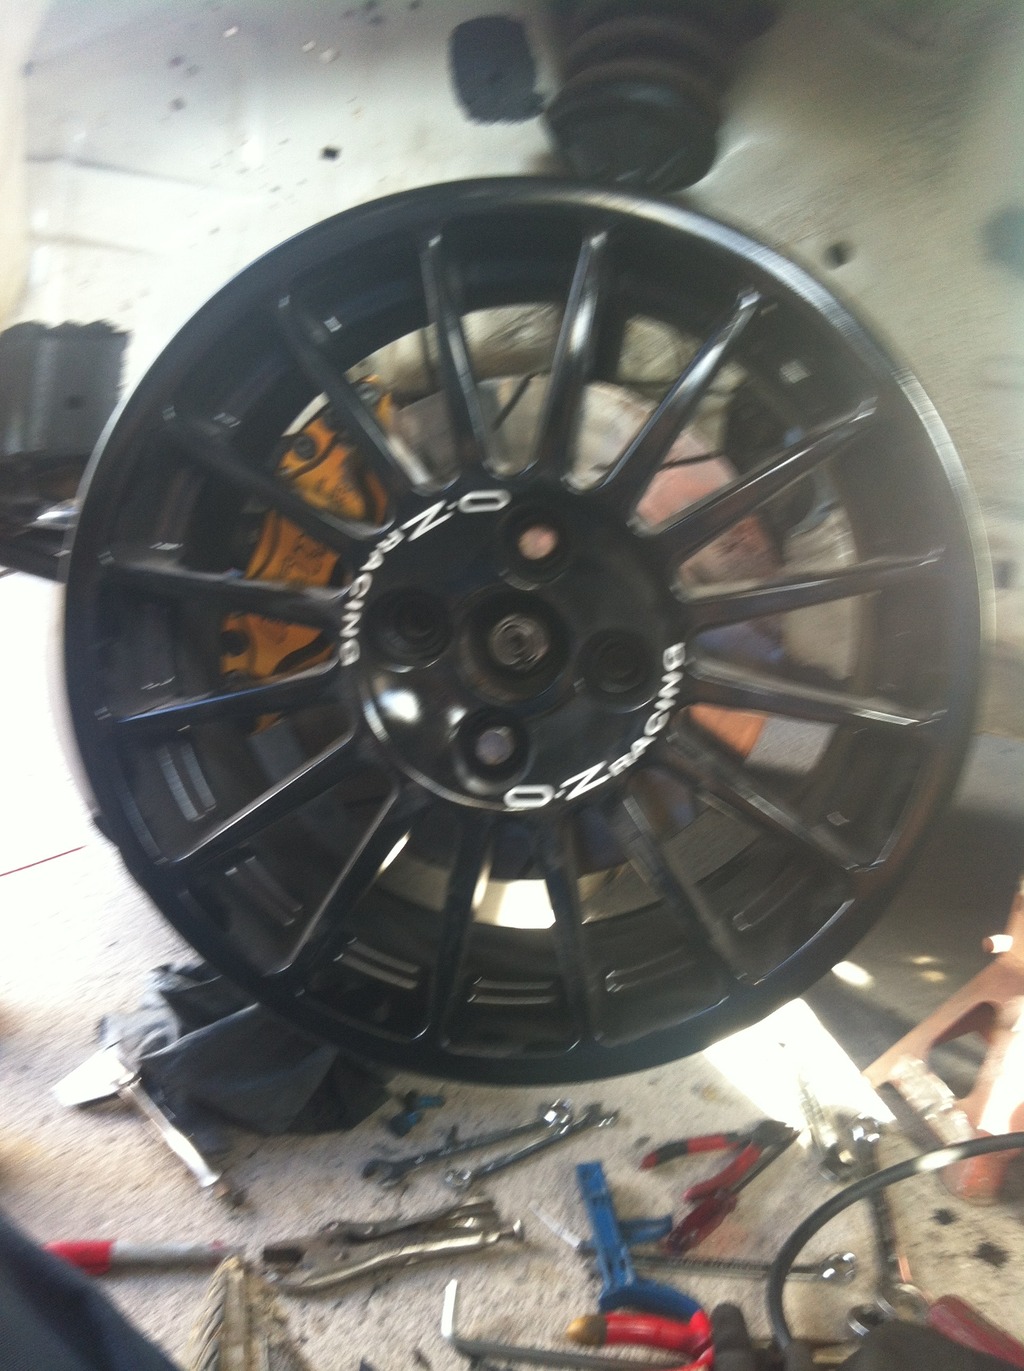
The 16' Super T's need tires so have fitted a set of my 15' Team Dynamics for the time being as the 14's don't fit anymore,
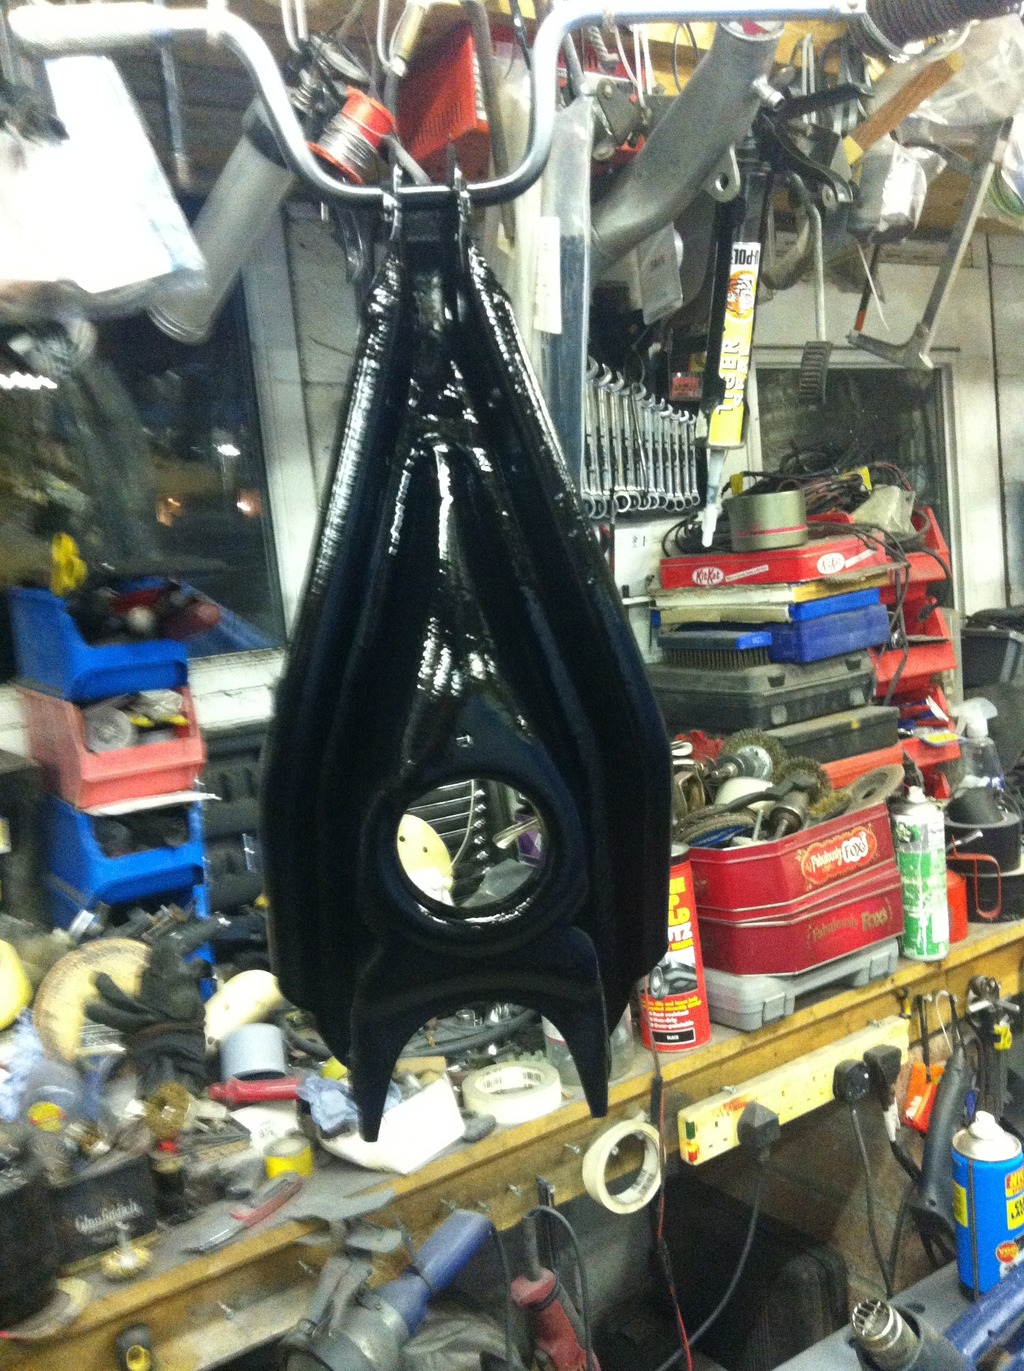
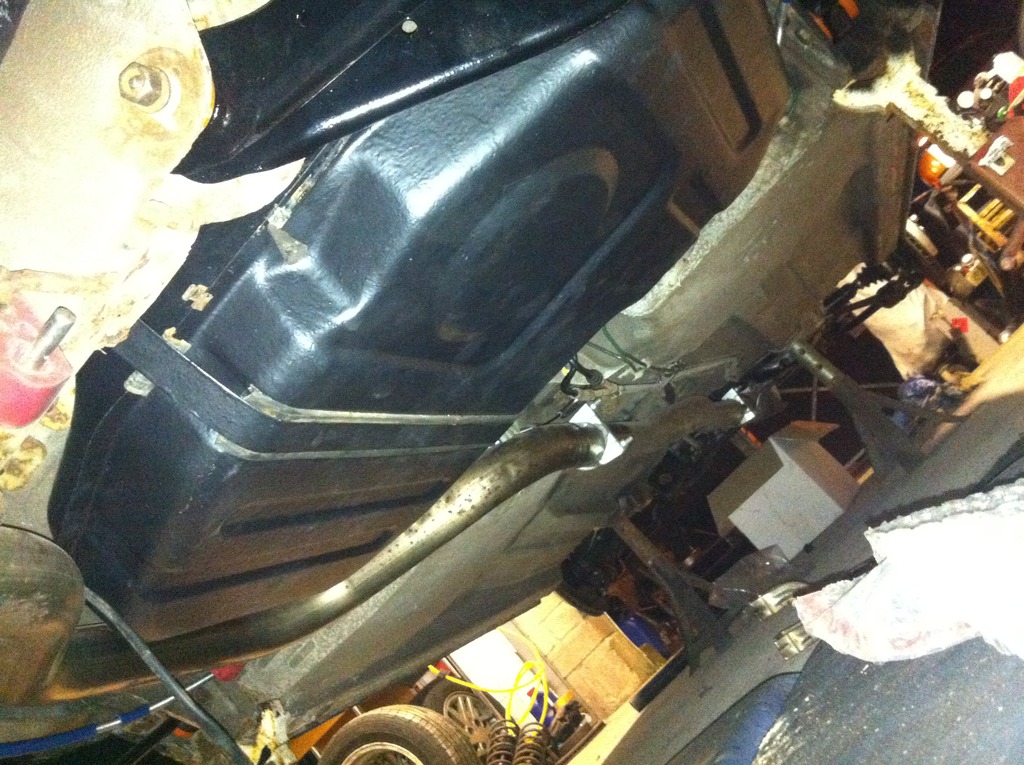
I've done a lot of under side cleaning up whilst I had the rear running gear off, Also removed the tank and gave it a clean up and paint
Got more progress so will update soon
Ginger
.
.
Bit of an update, Car faultlessly until the end of September when the MOT ran out so whilst I was waiting for my RWD YB converted S2 to go for paint i decided to give it some attention and upgrades etc,
It was running on standard XR3i brakes and suspension etc and I had changed the front to poly bushes last September so whilst I was at it I got a pair of RST antiroll bar wish bones and had everything sandblasted and repainted to freshen it all up and cleaned and paint the shocks with front dust covers.
.


I had the Hi-Spec's from a swap deal a few years back and had spare rear callipers and discs so did them at the same time, Springs are ERST -25mm which is nice height.


The 16' Super T's need tires so have fitted a set of my 15' Team Dynamics for the time being as the 14's don't fit anymore,
I've done a lot of under side cleaning up whilst I had the rear running gear off, Also removed the tank and gave it a clean up and paint


Got more progress so will update soon
Ginger
.
.
03-01-2016, 10:52 PM
#38
.
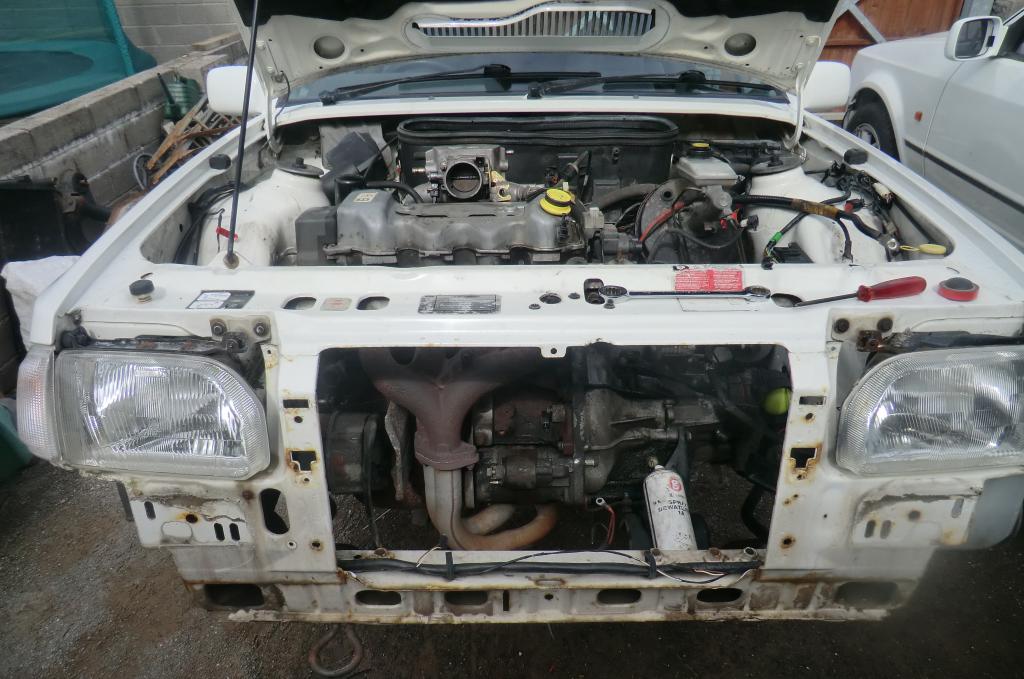
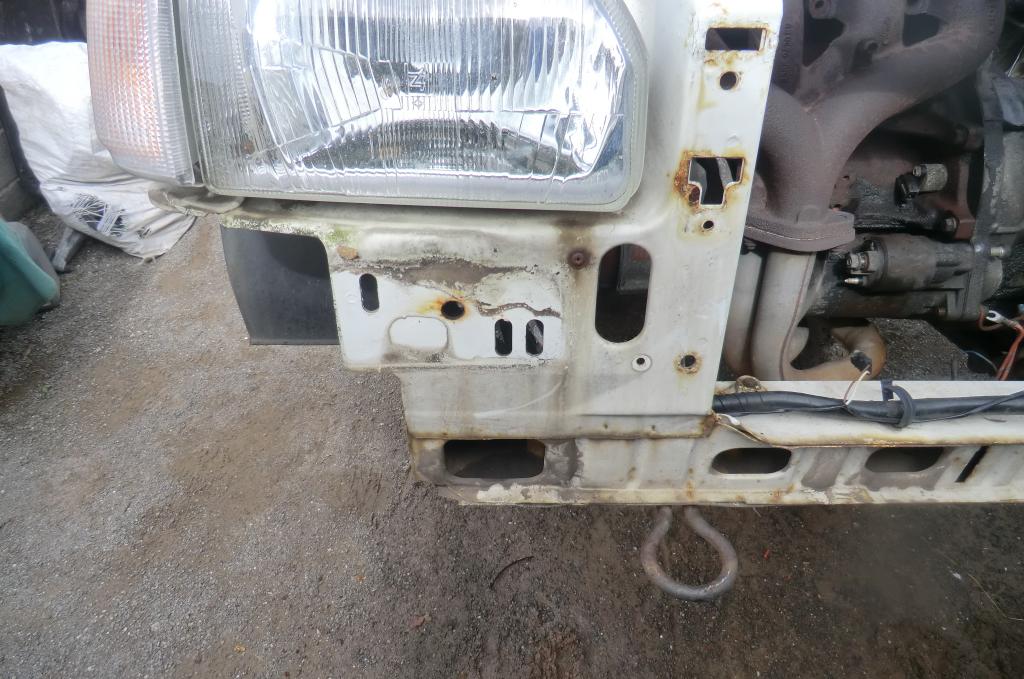
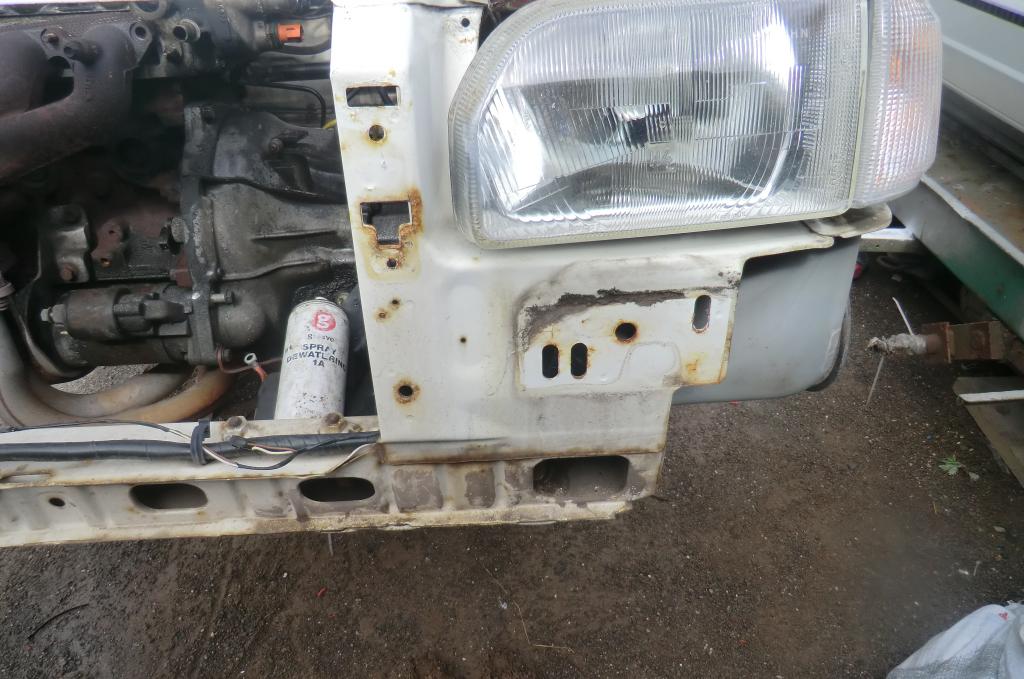
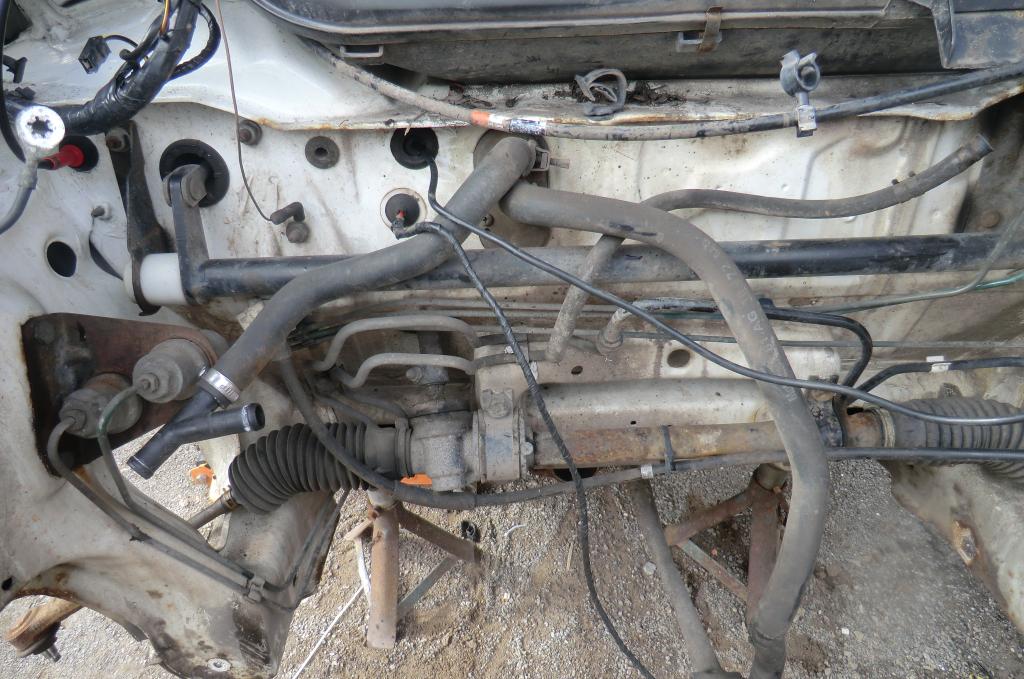
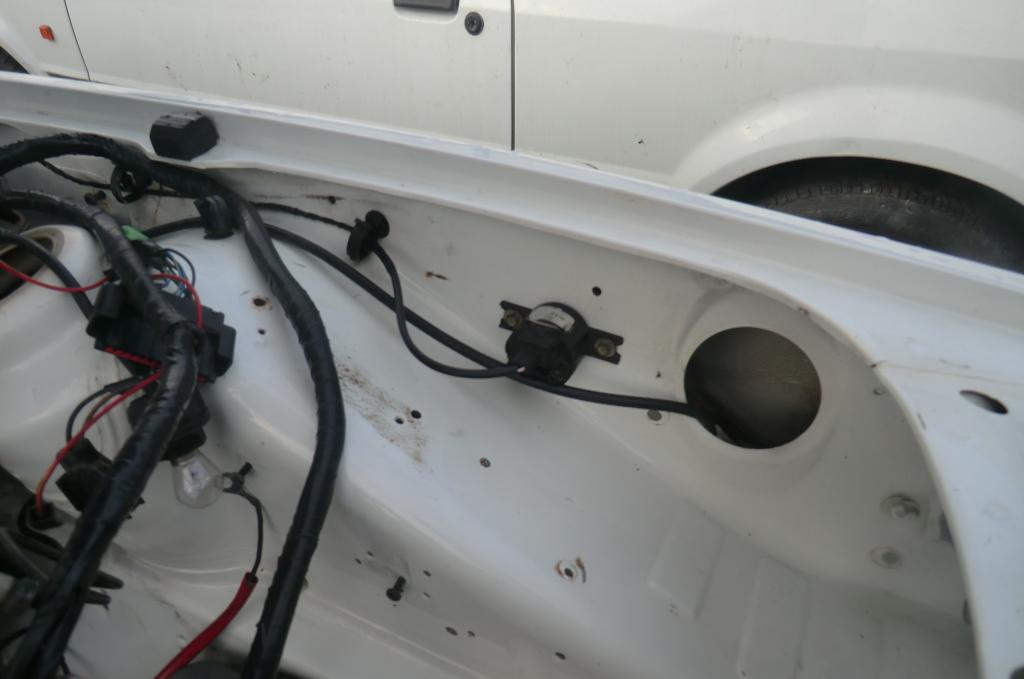
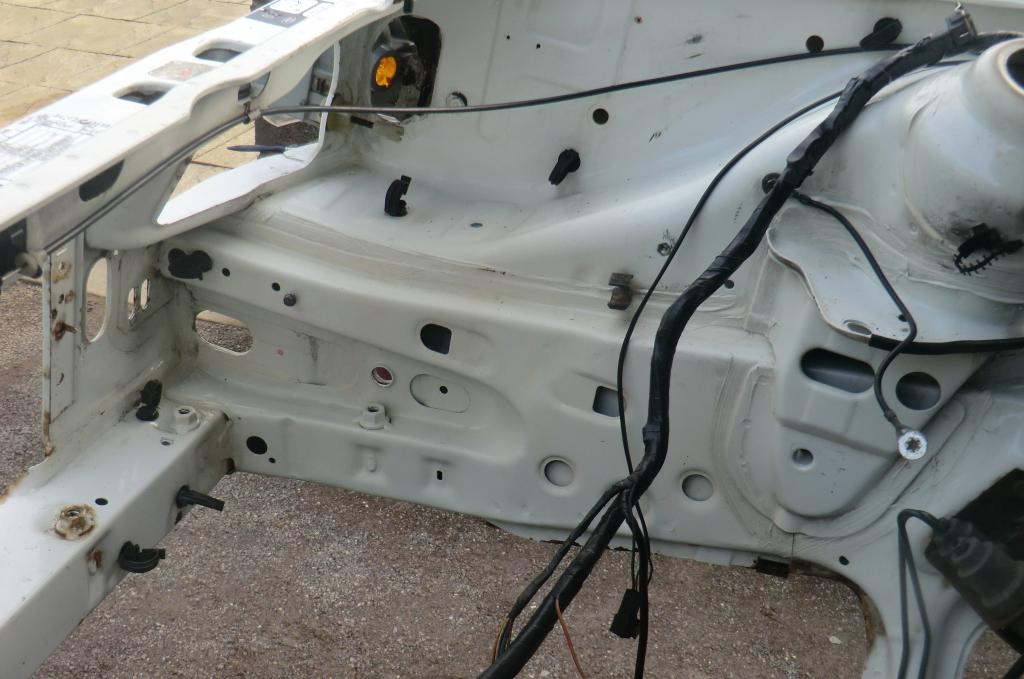
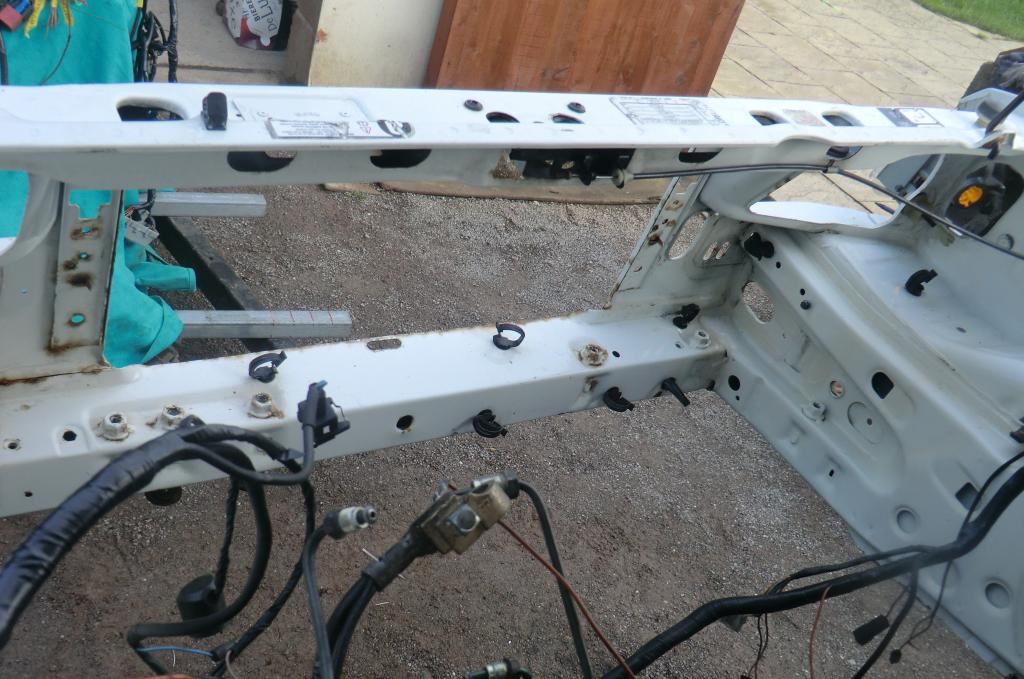
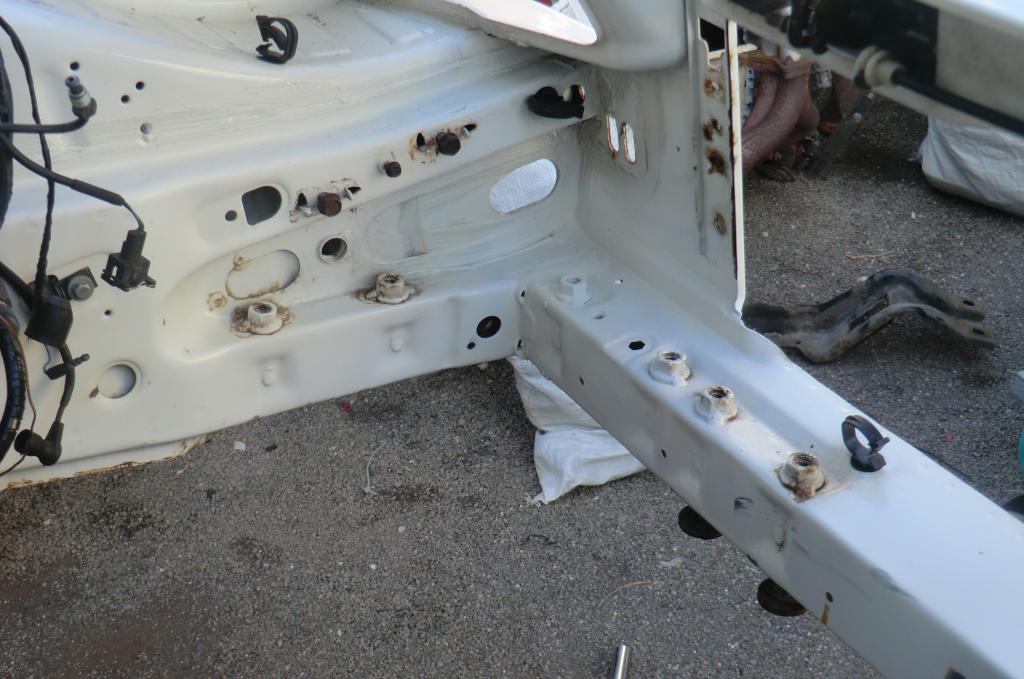
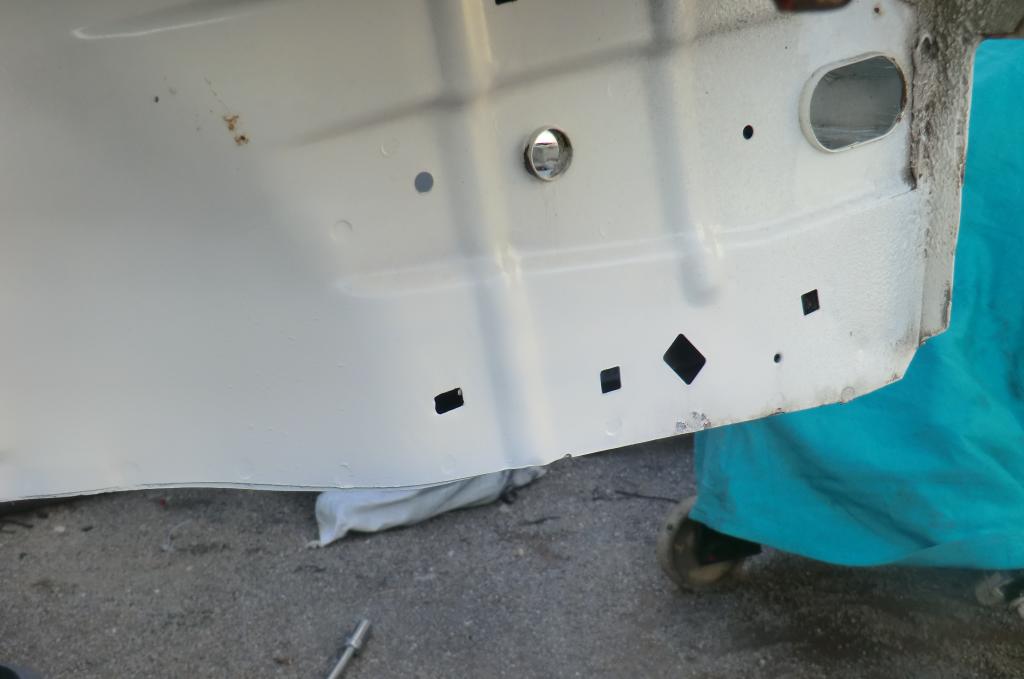
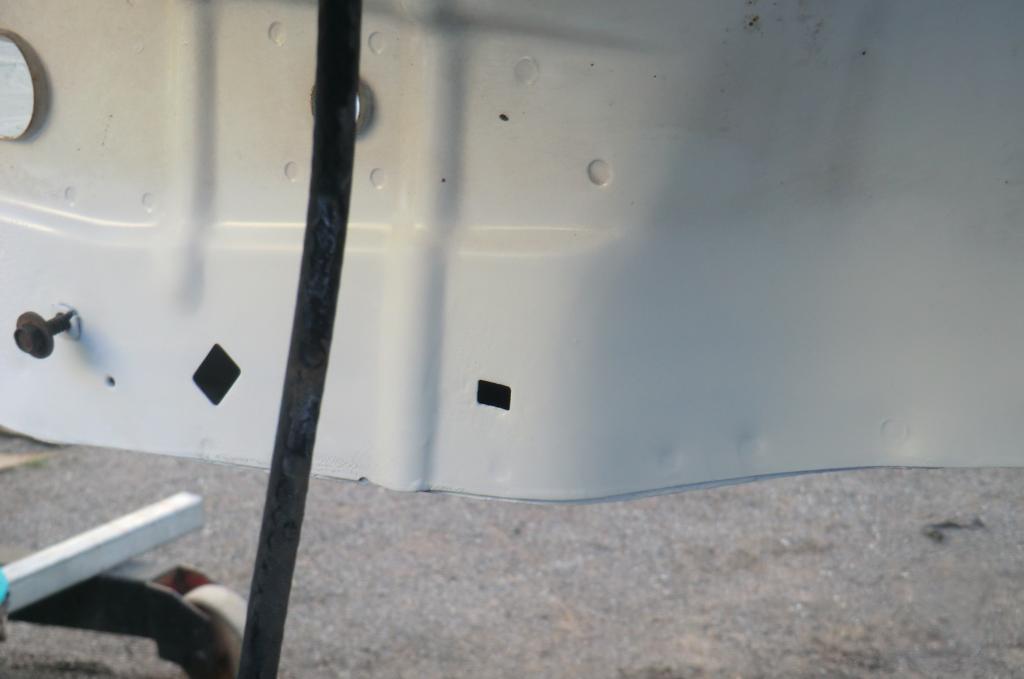
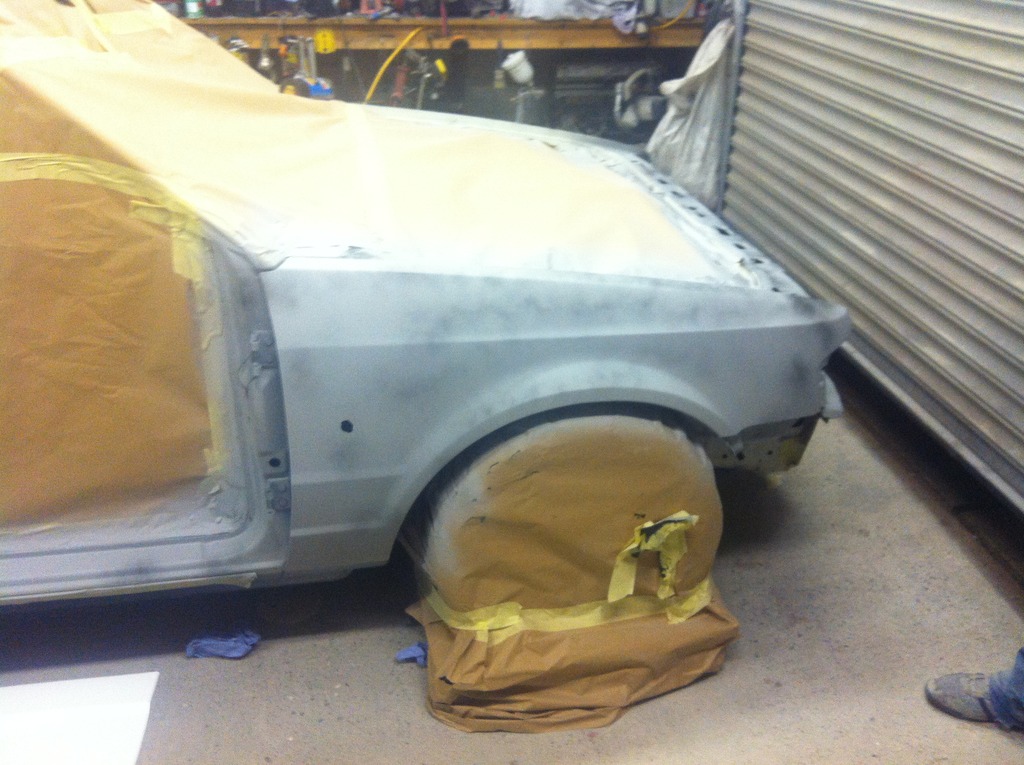
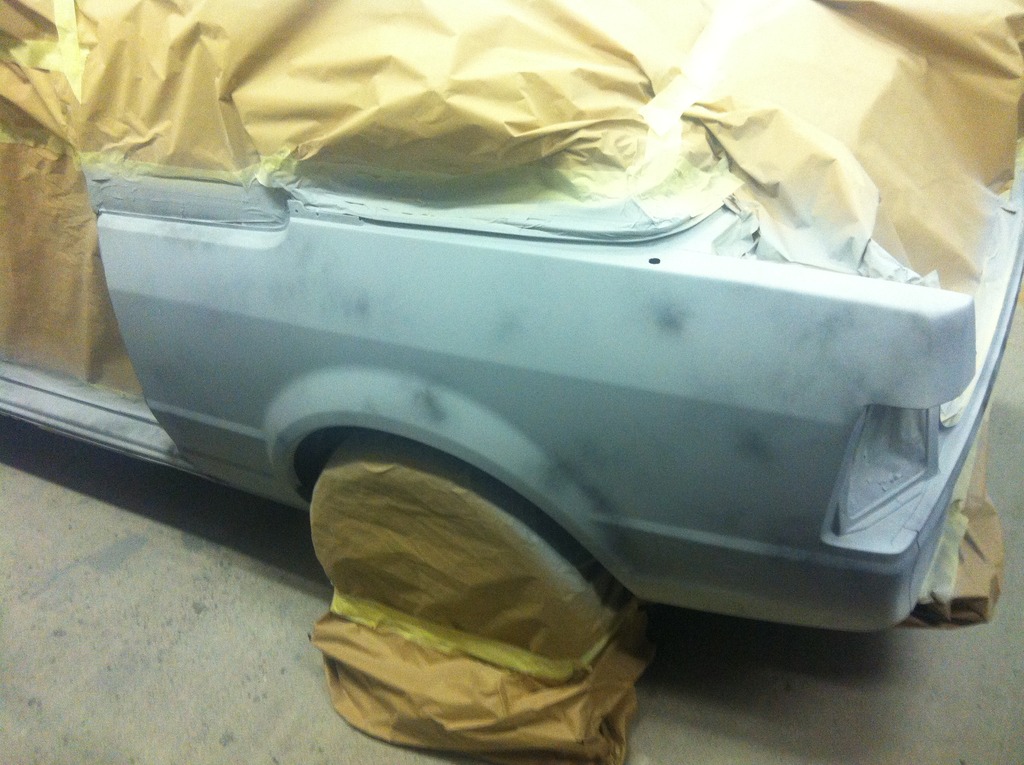
Whilst I was working on the car I realised a full respray was on the cards, so with the other car already away at the paint shop my mate Simon offered to do all the prep work in my garage and arranged a spray booth for the weekend, So the day after boxing day I cracked on and the car striped of it lights etc the prep work commenced with the help of one of the Simon body shop mates it was 80% ready and in primer by Monday night, then left til Thursday to flat the primer, then trailered to the body shop on Saturday 2nd for a 16hr shift to get everything painted ready to be picked up today.
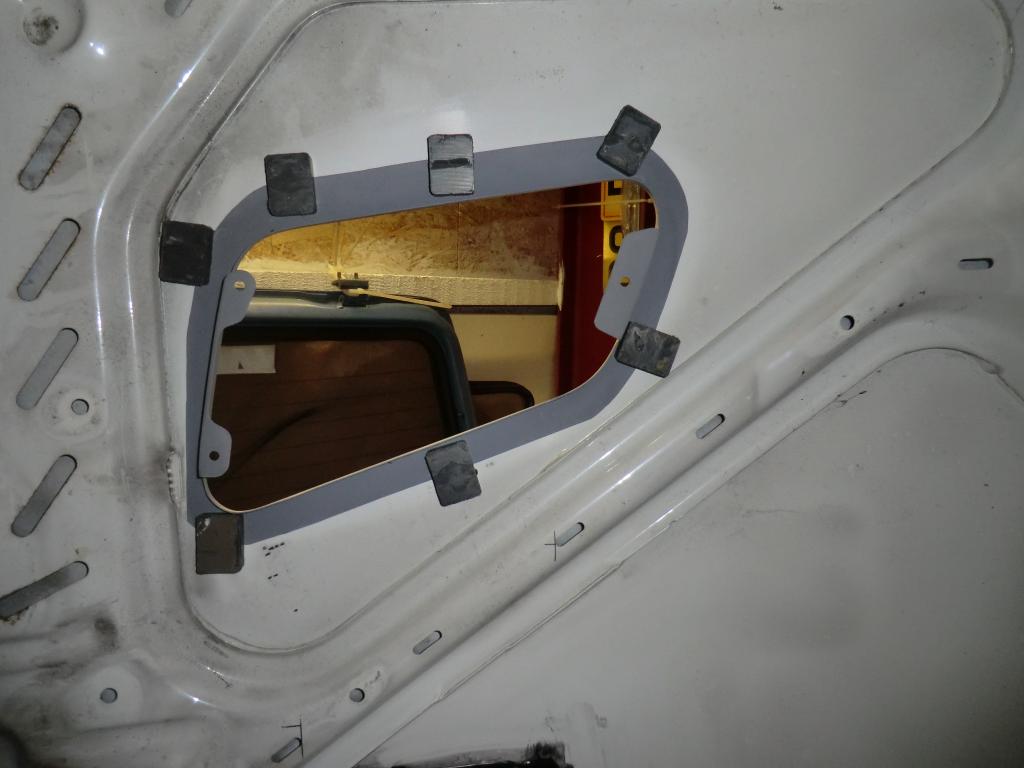
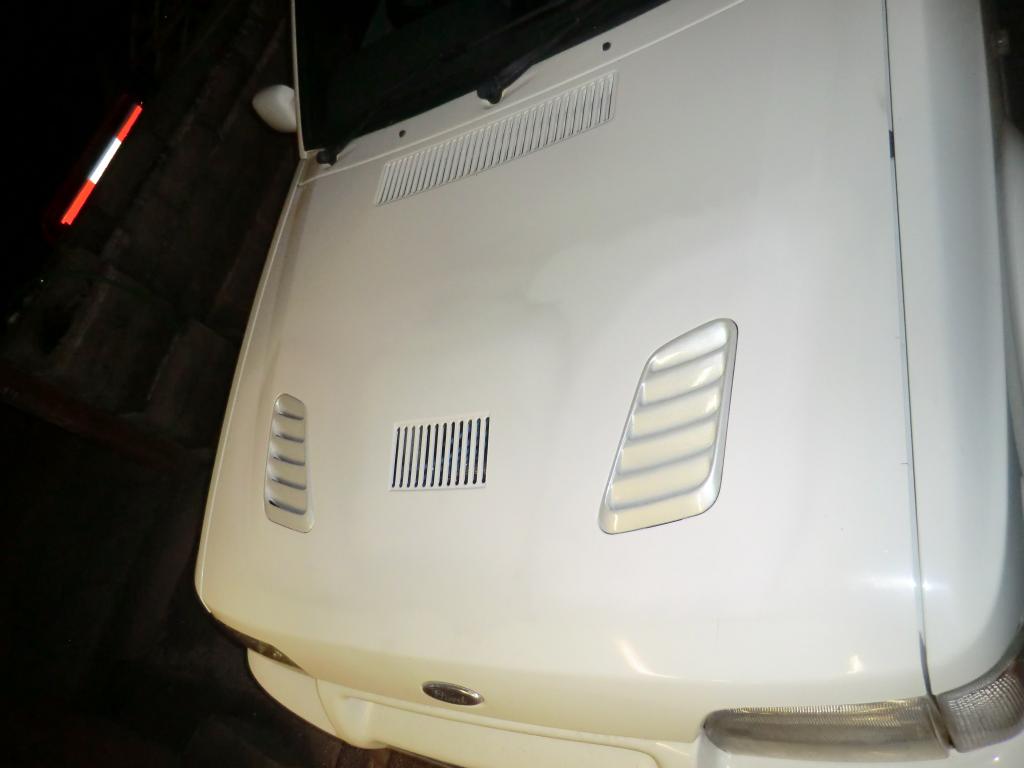
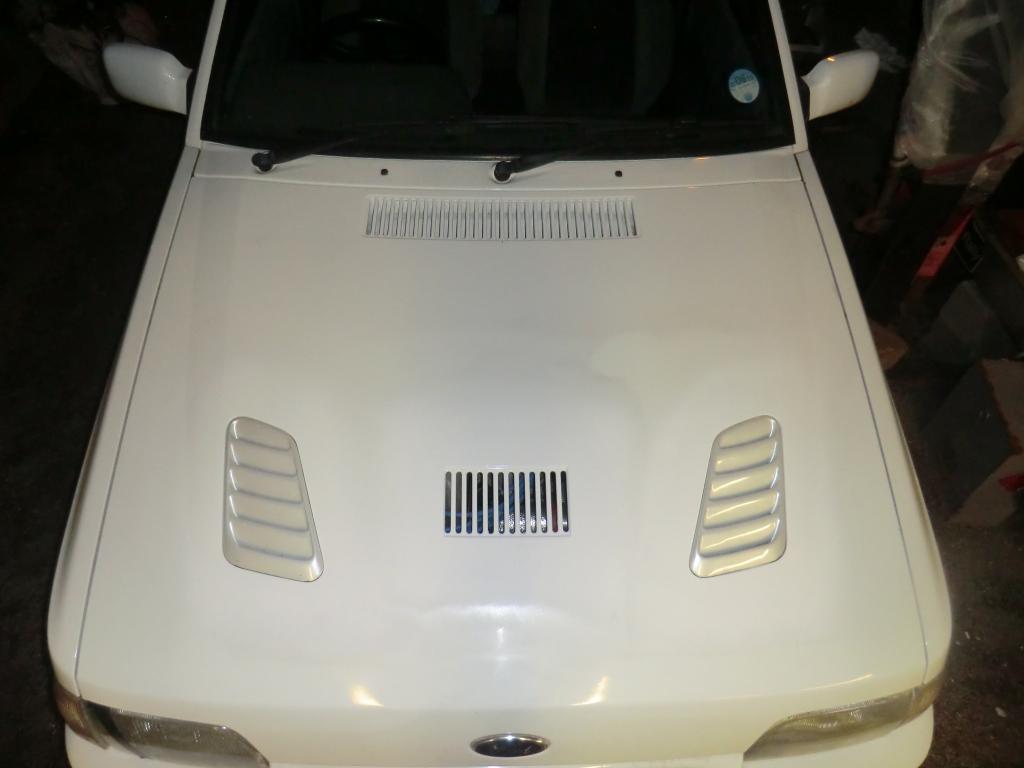
Oh yer, that stupid vent I put in had to go, looked at welding it up but was never gonna look right so had to do something different and looks a lot better, plus i'm gonna make a vent to go in there.
So here are the pics
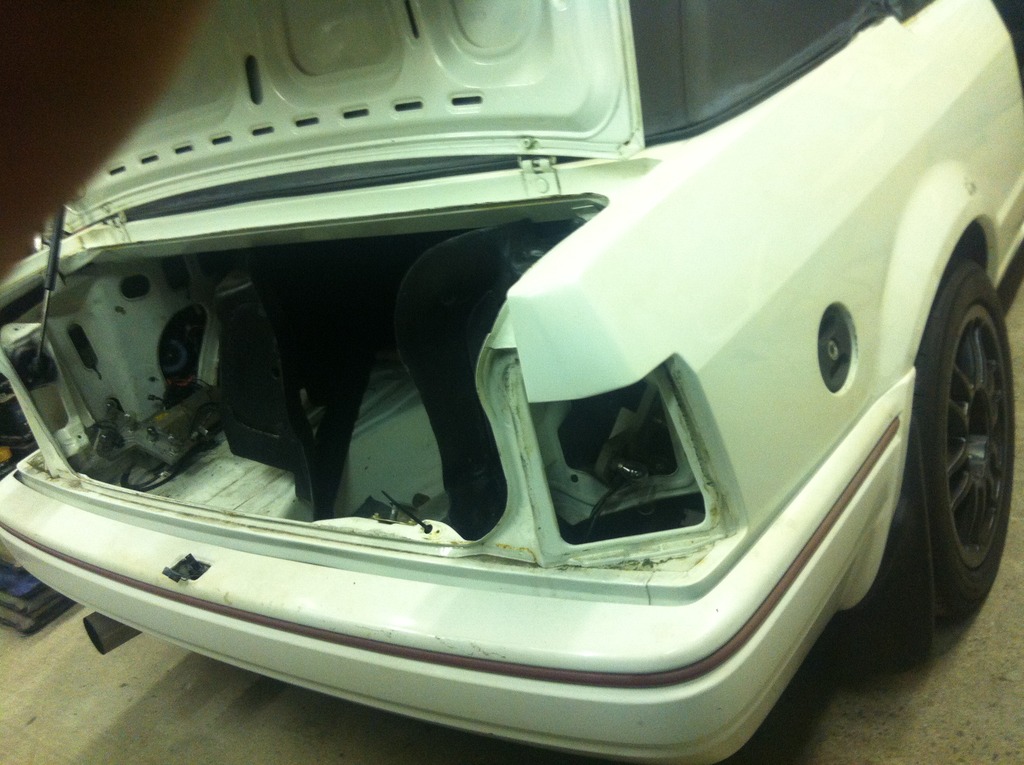
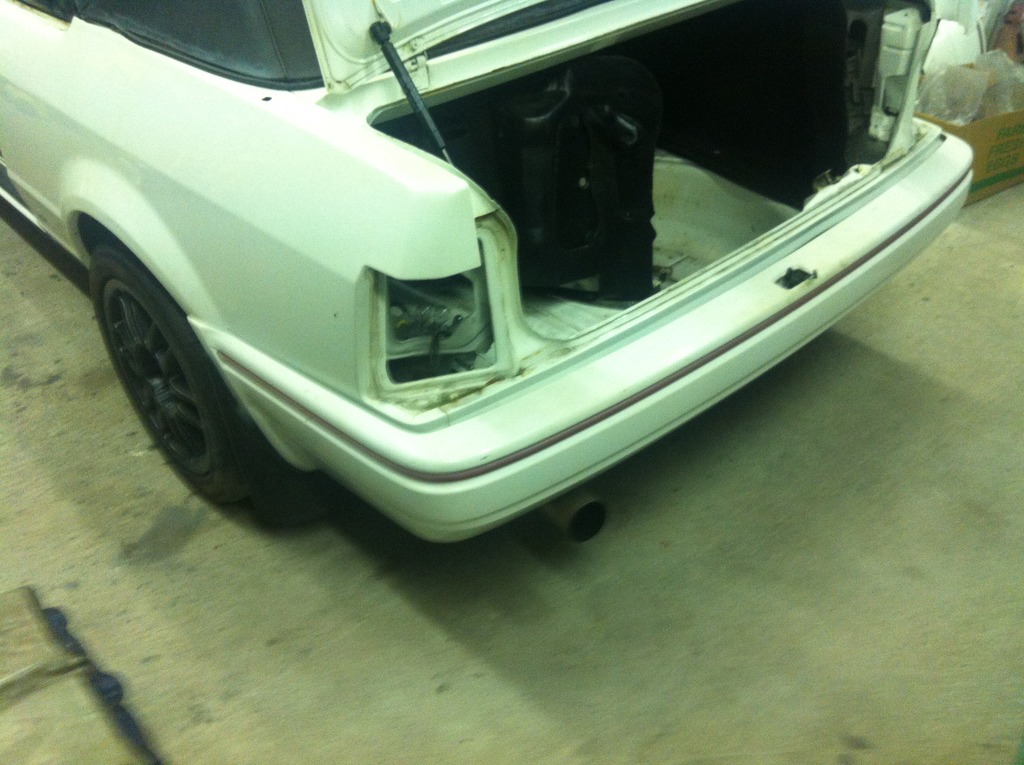
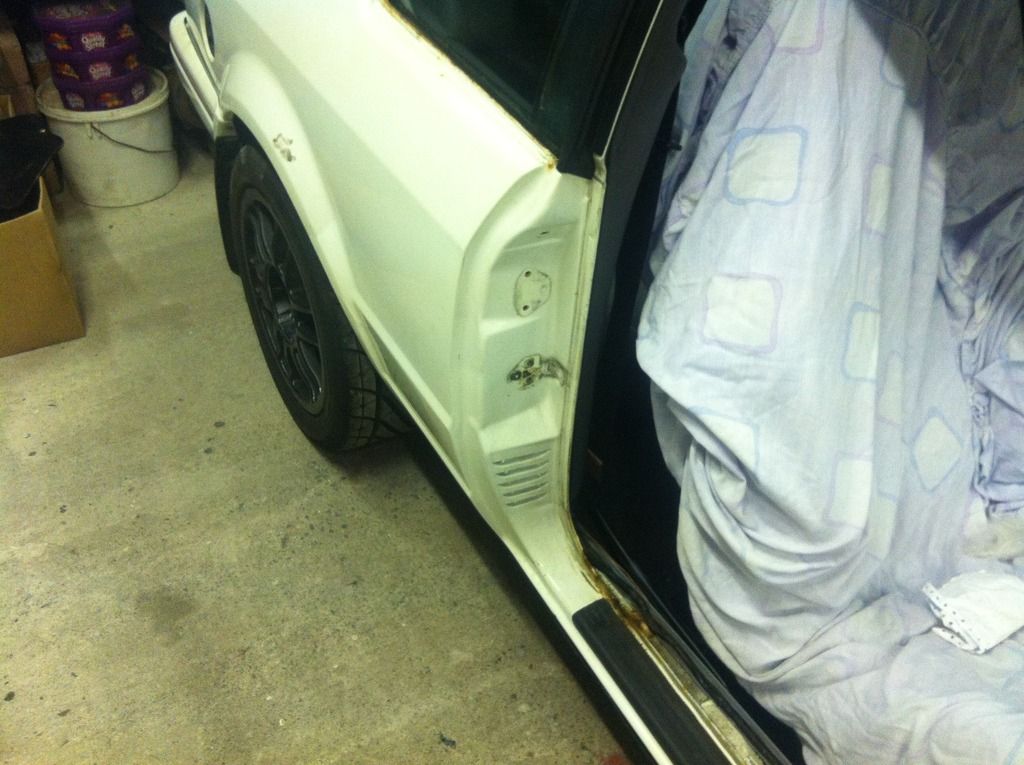
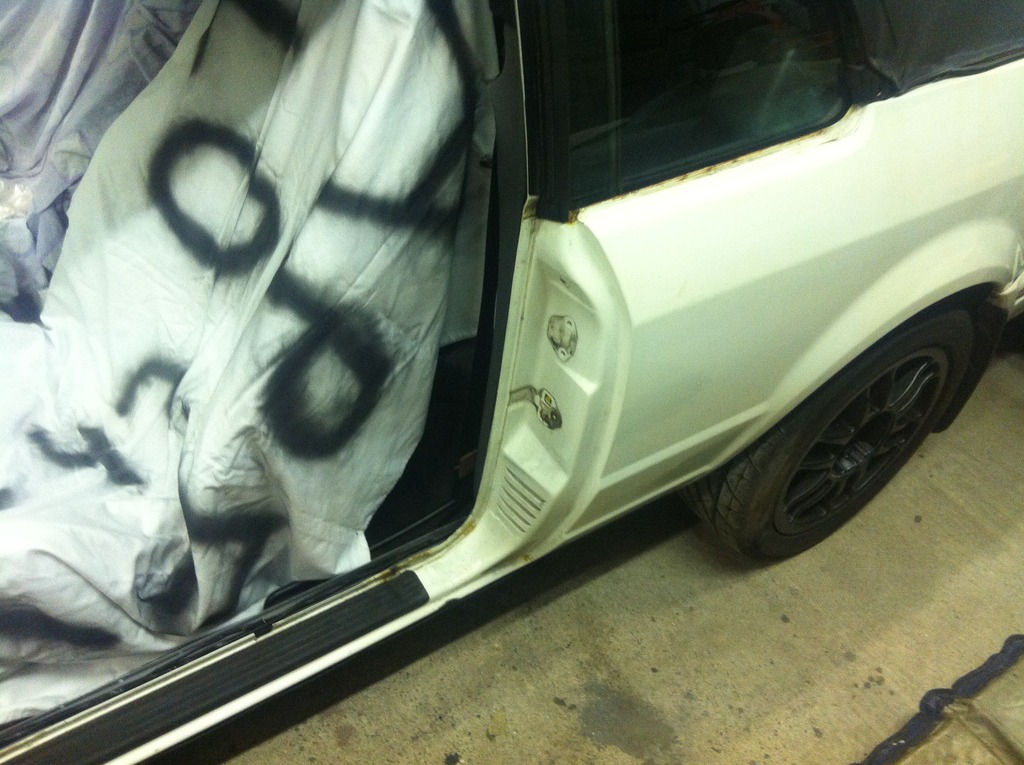
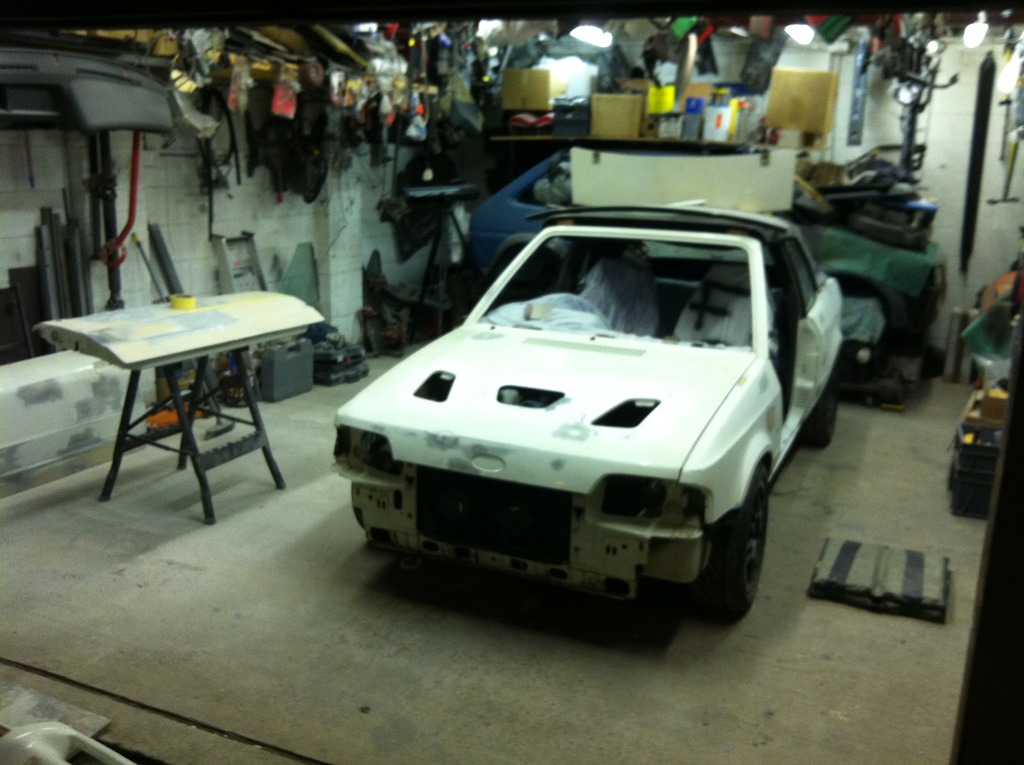

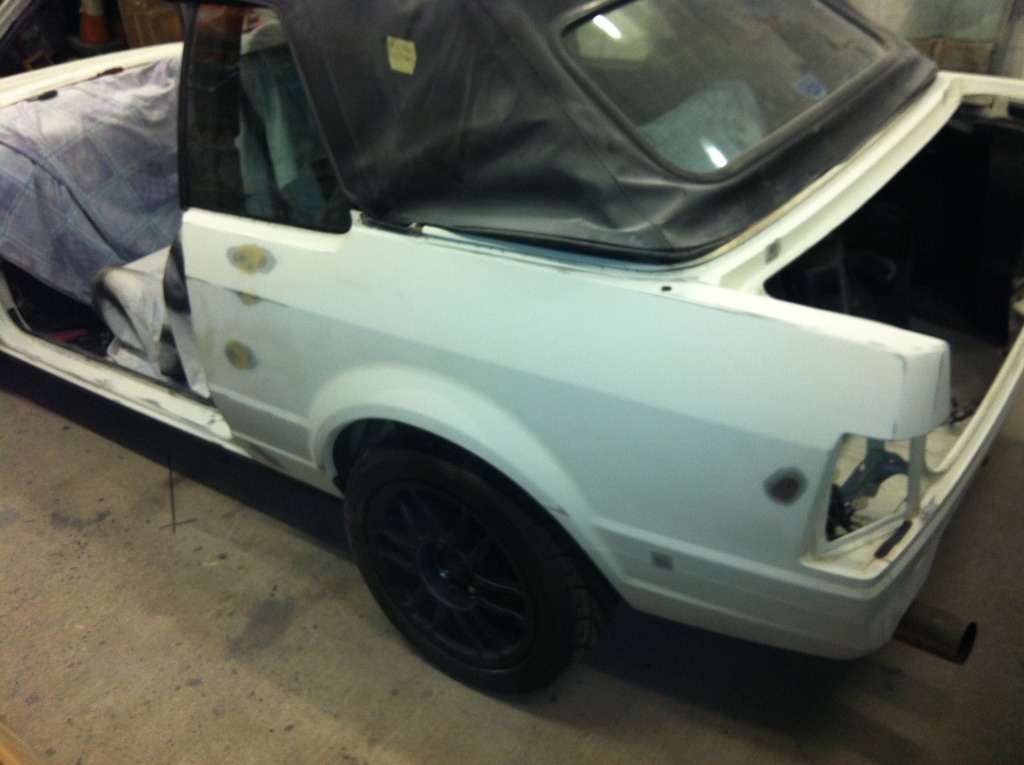
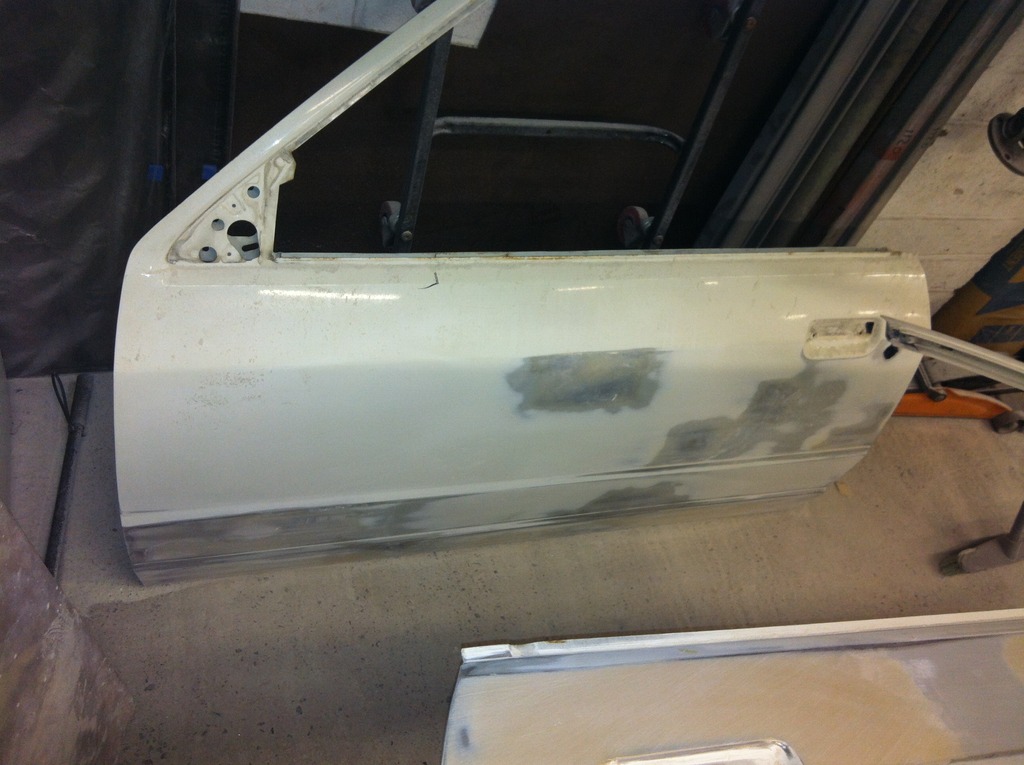
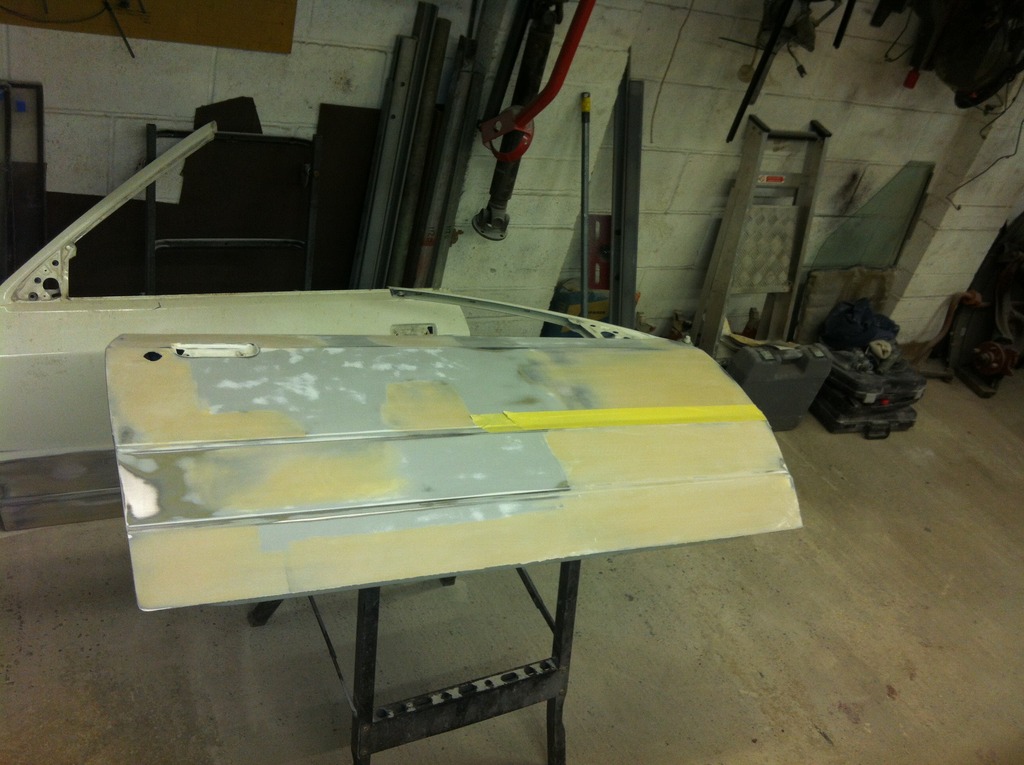
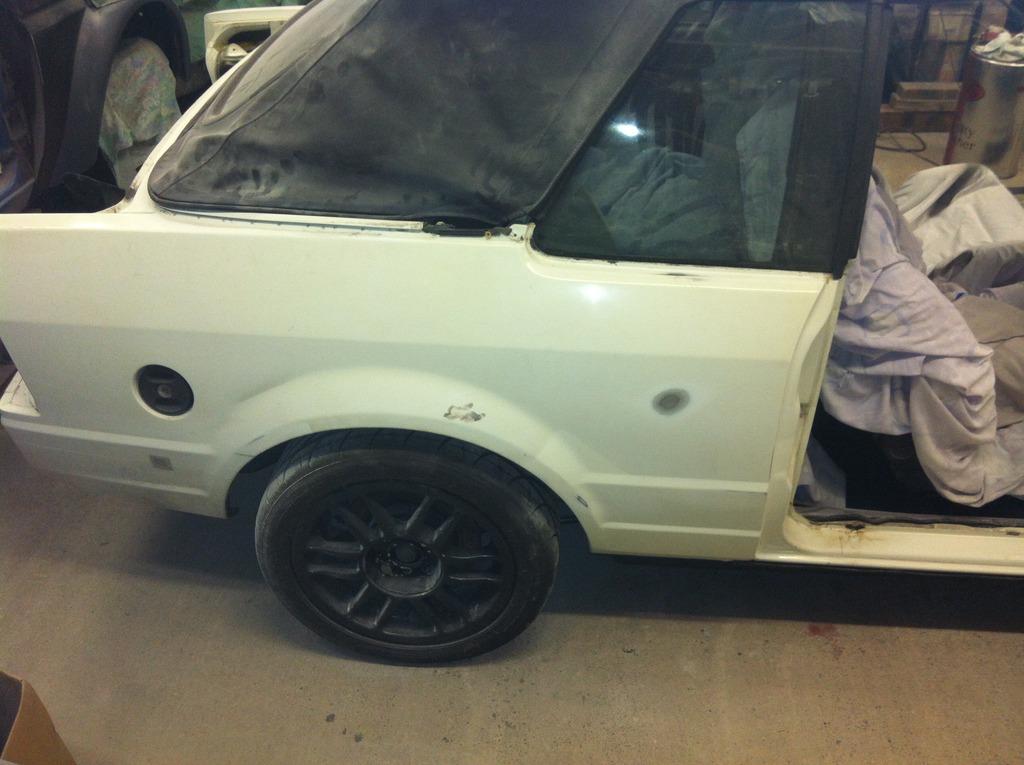
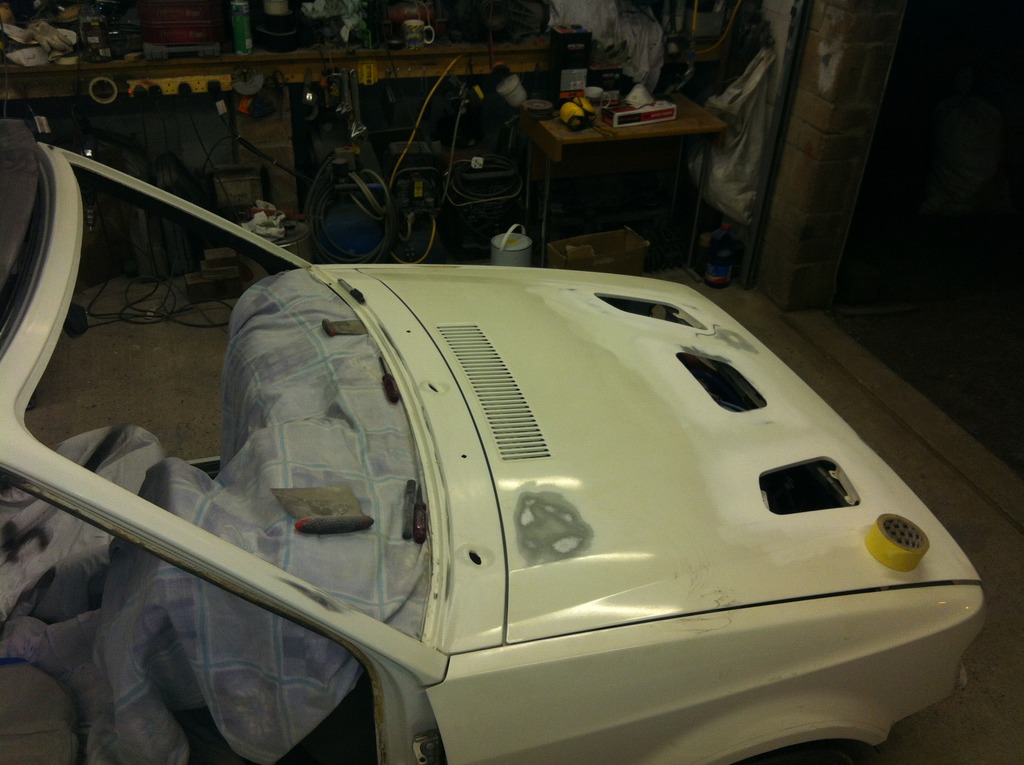
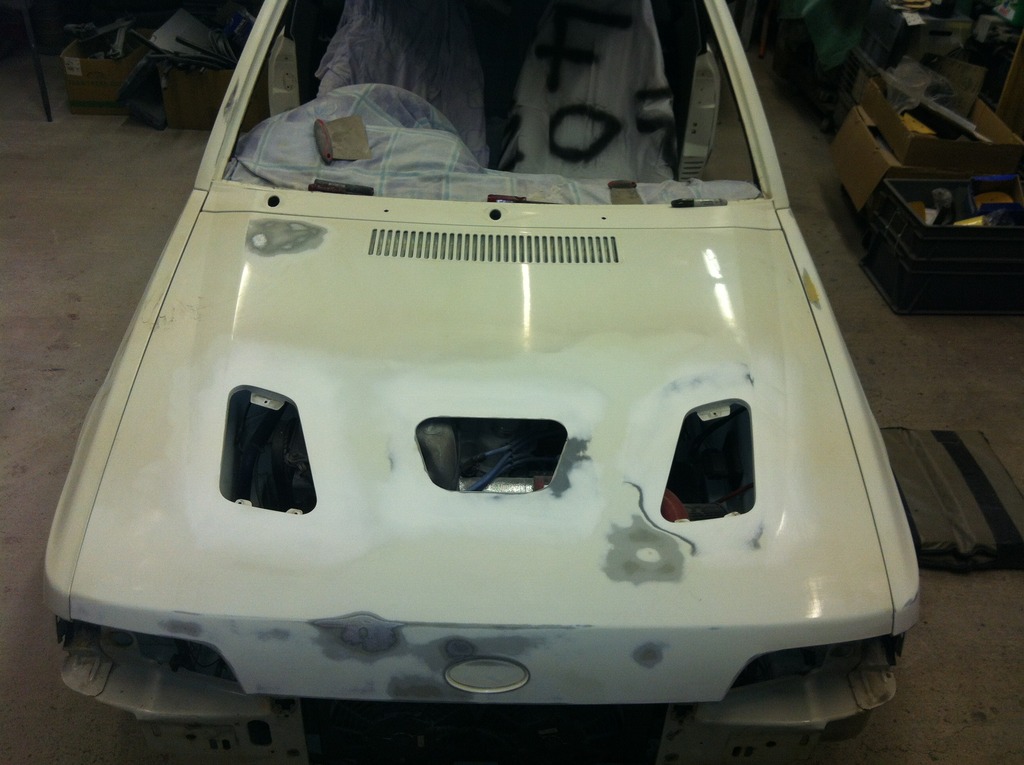
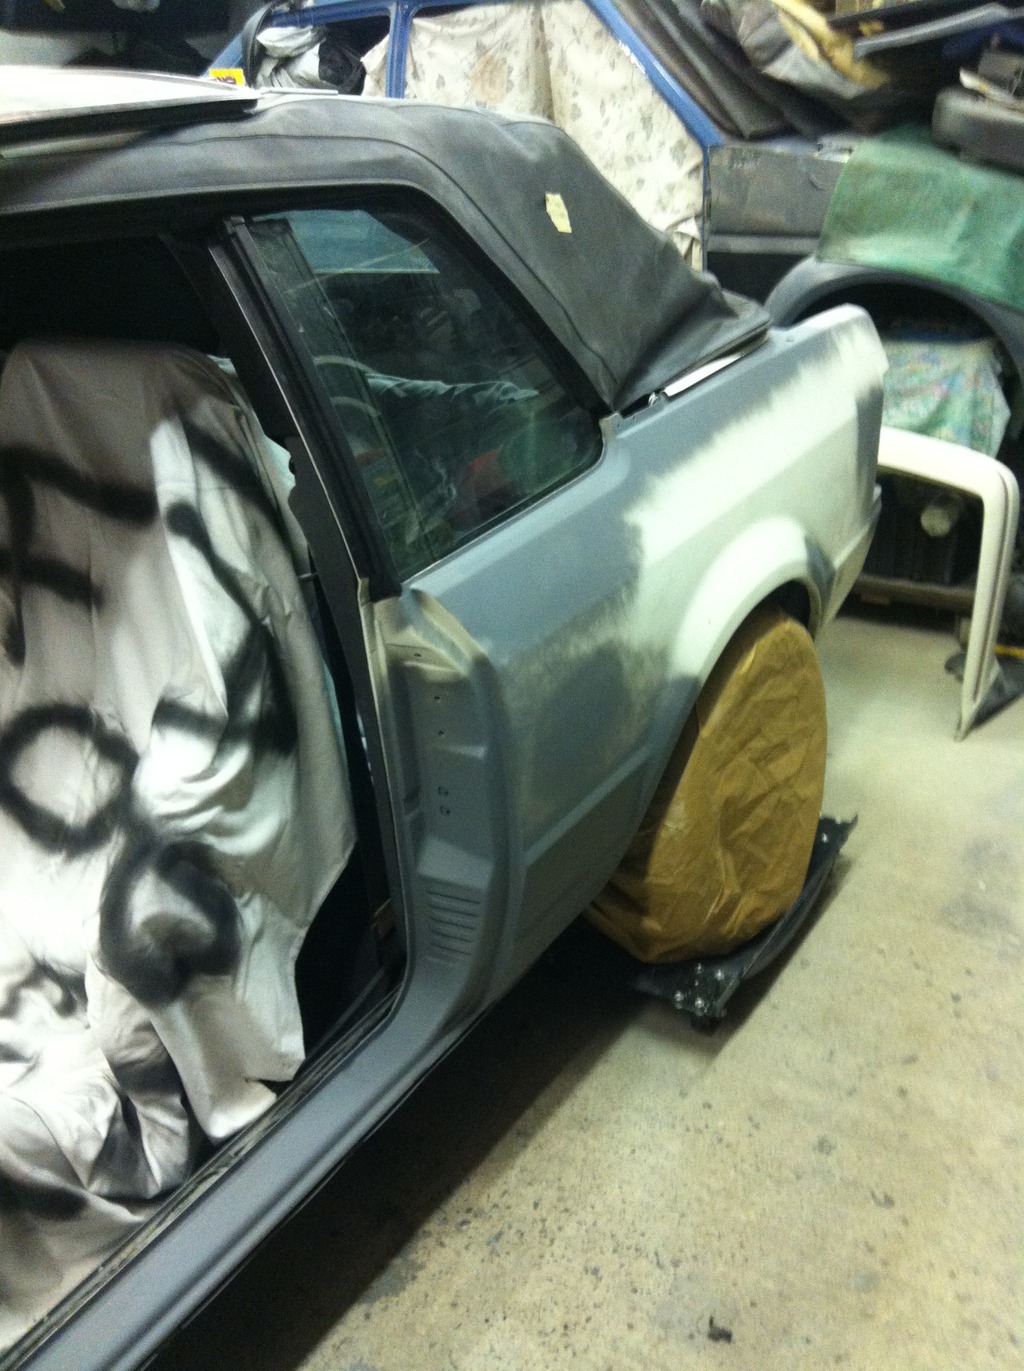
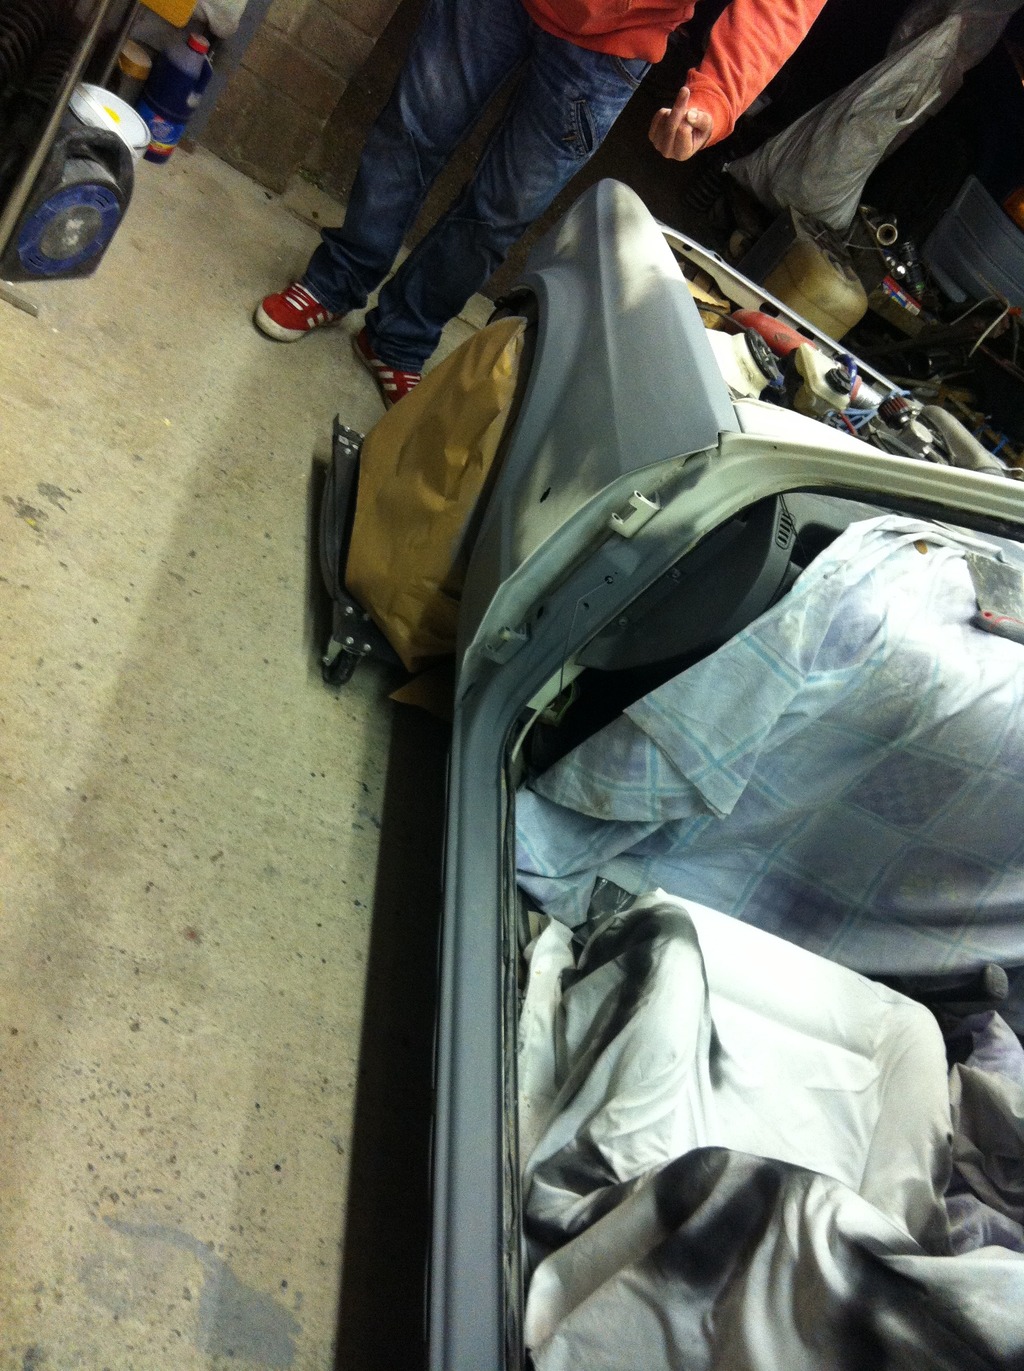
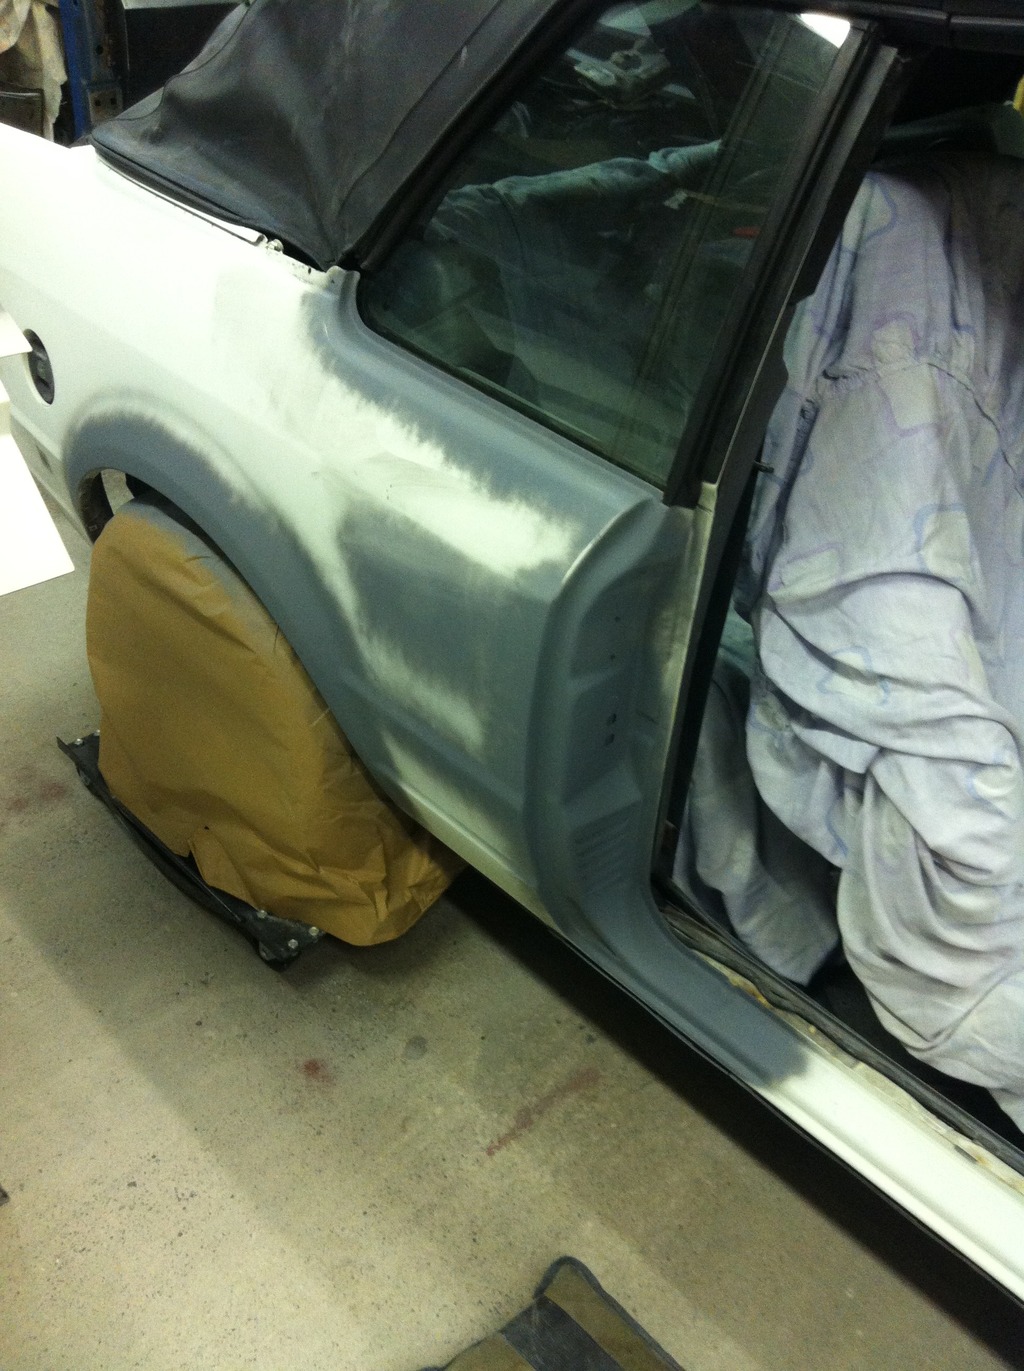
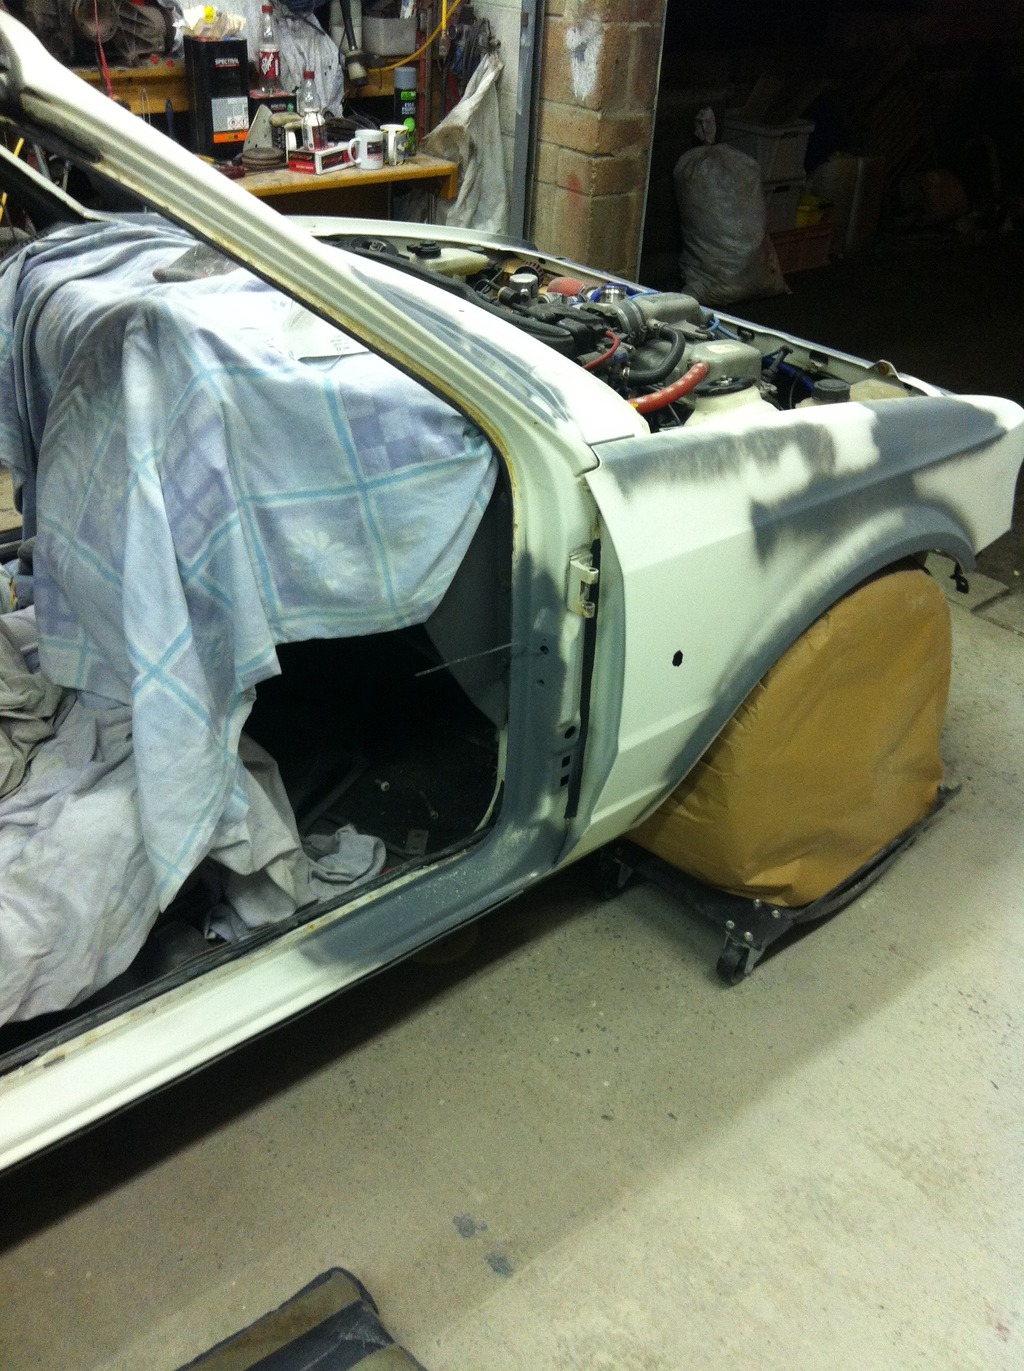
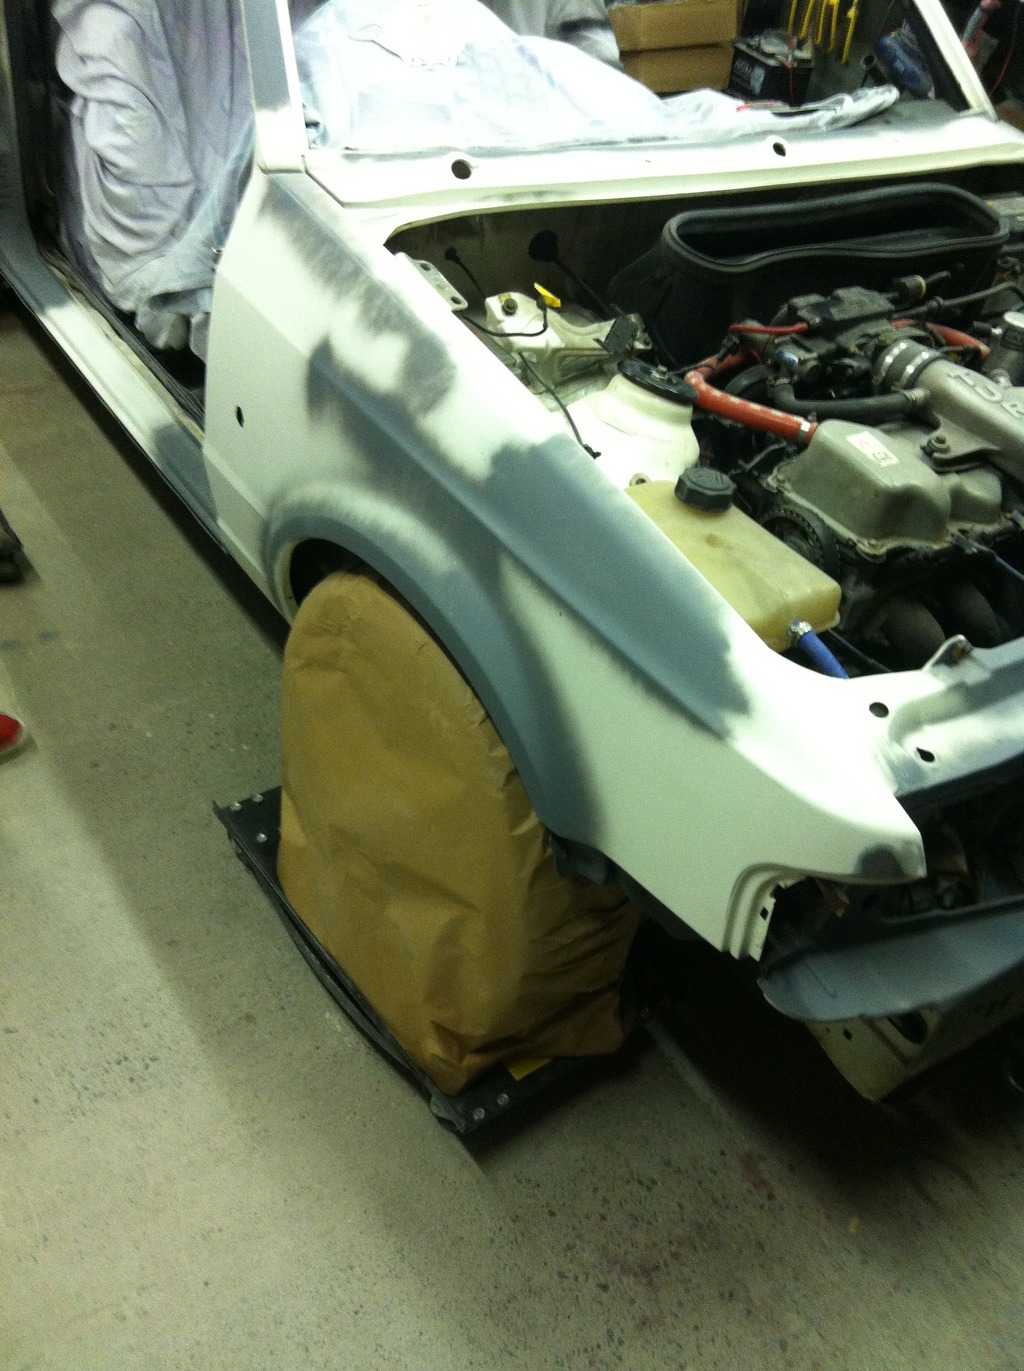
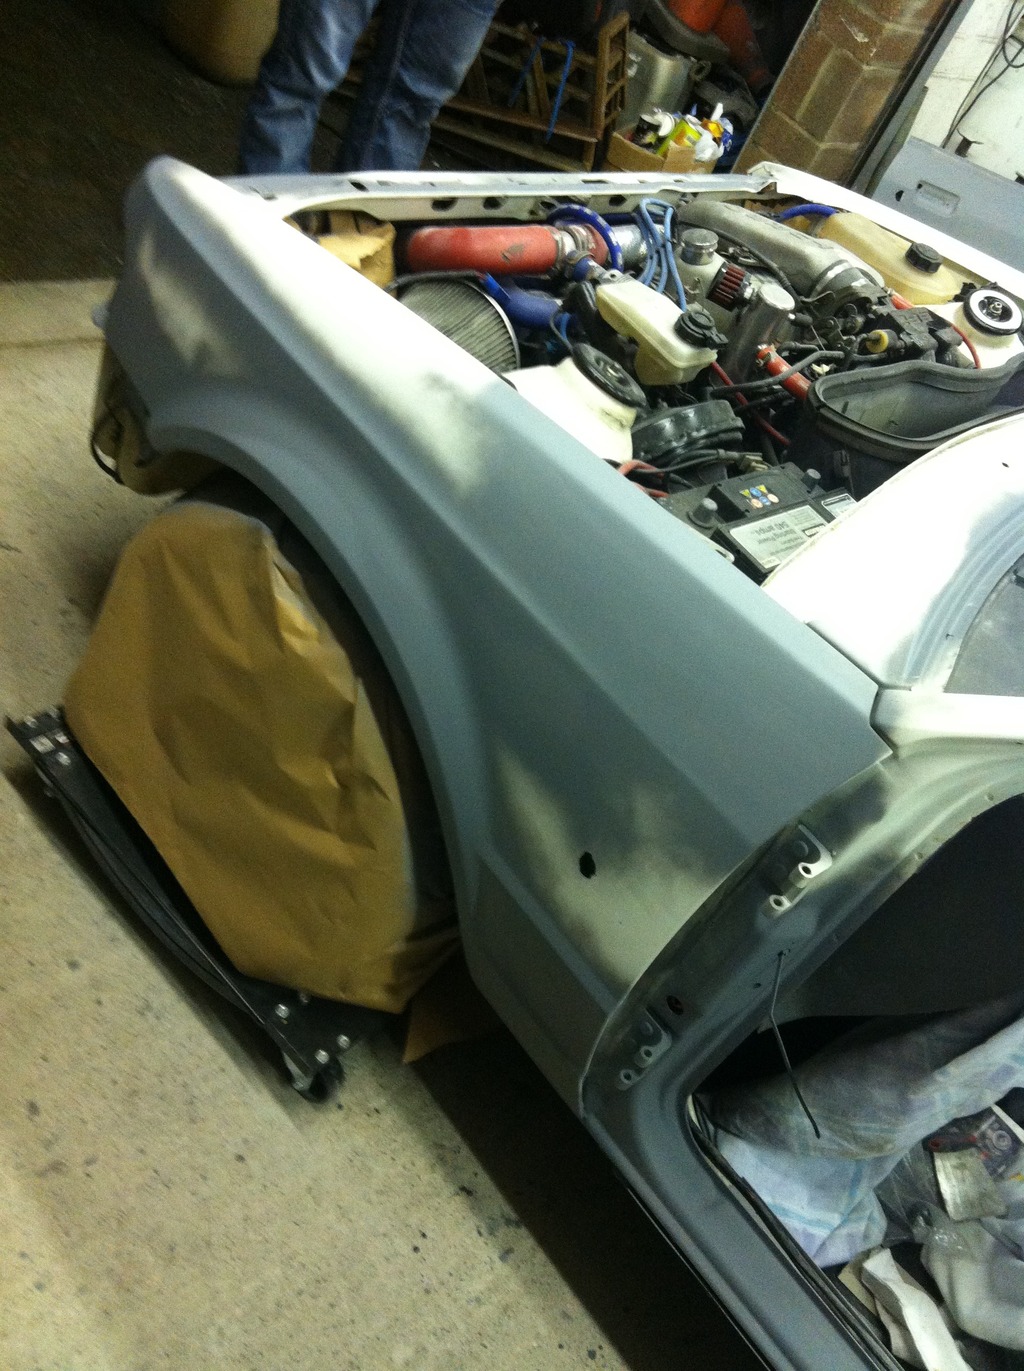
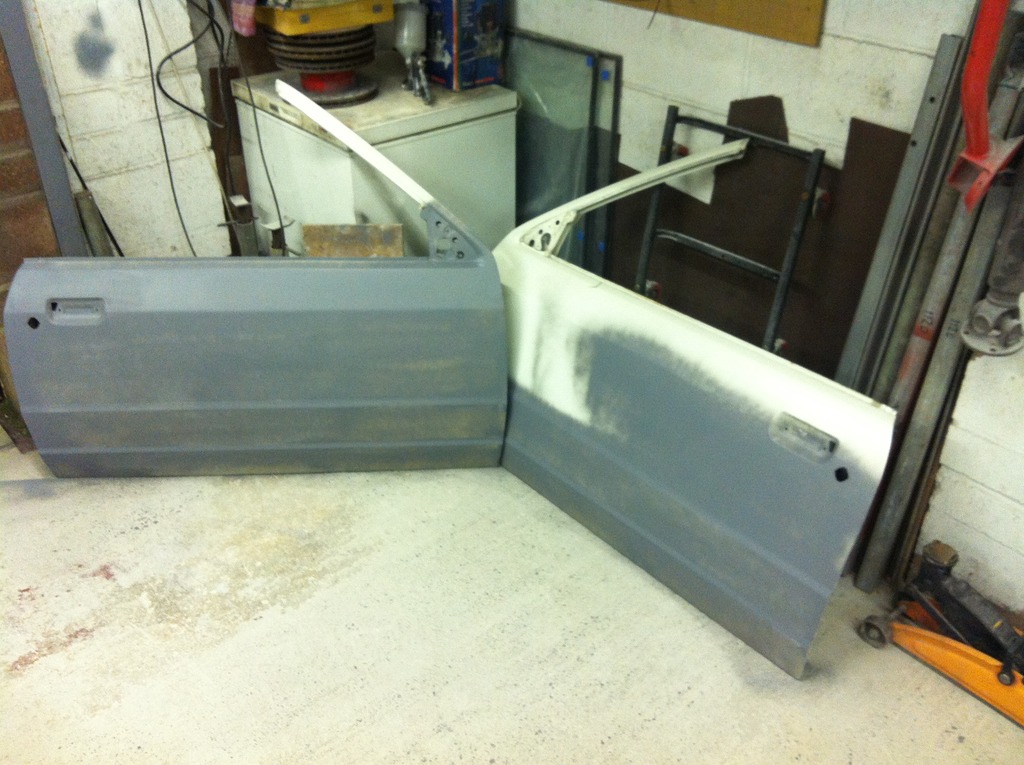
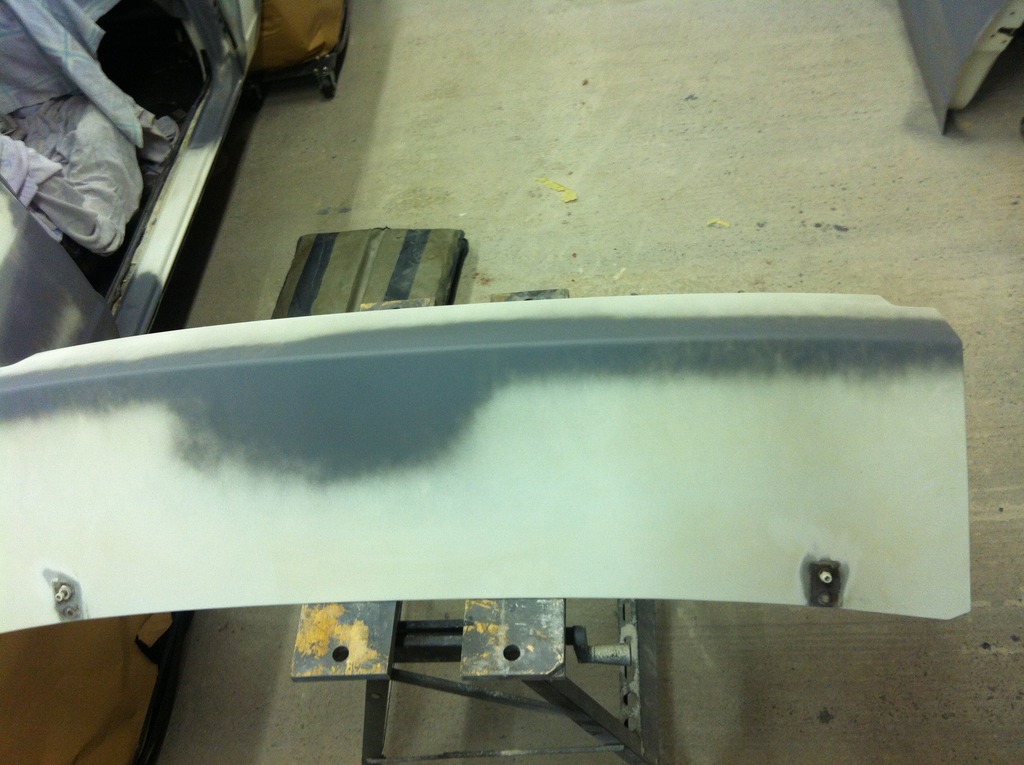


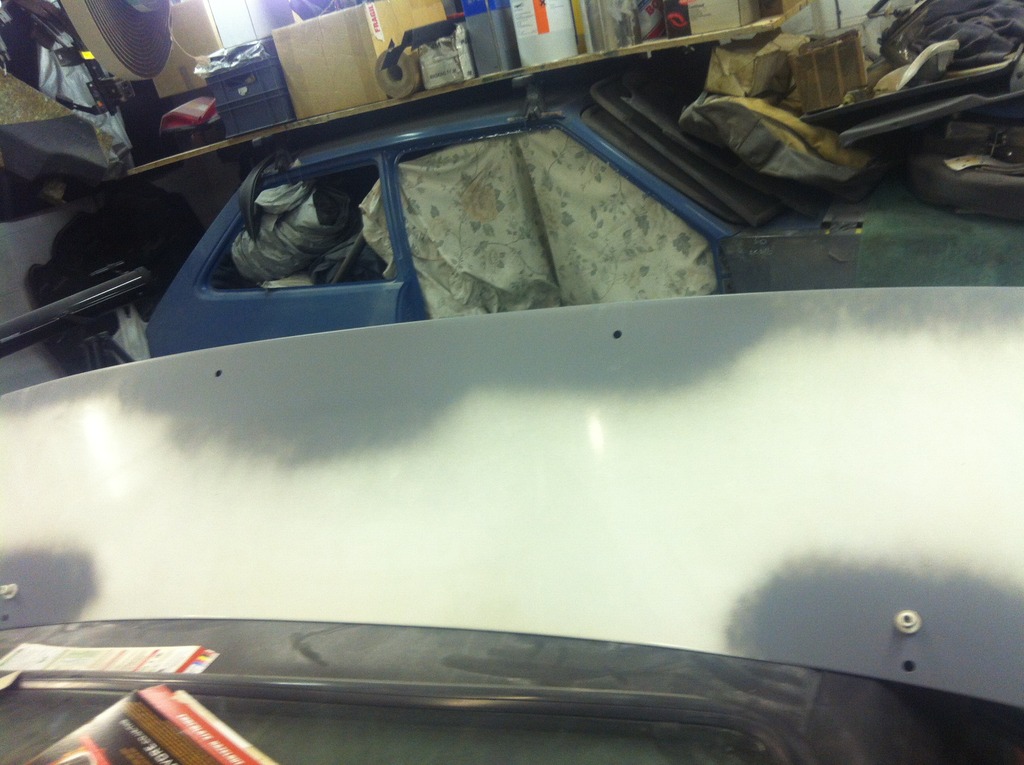
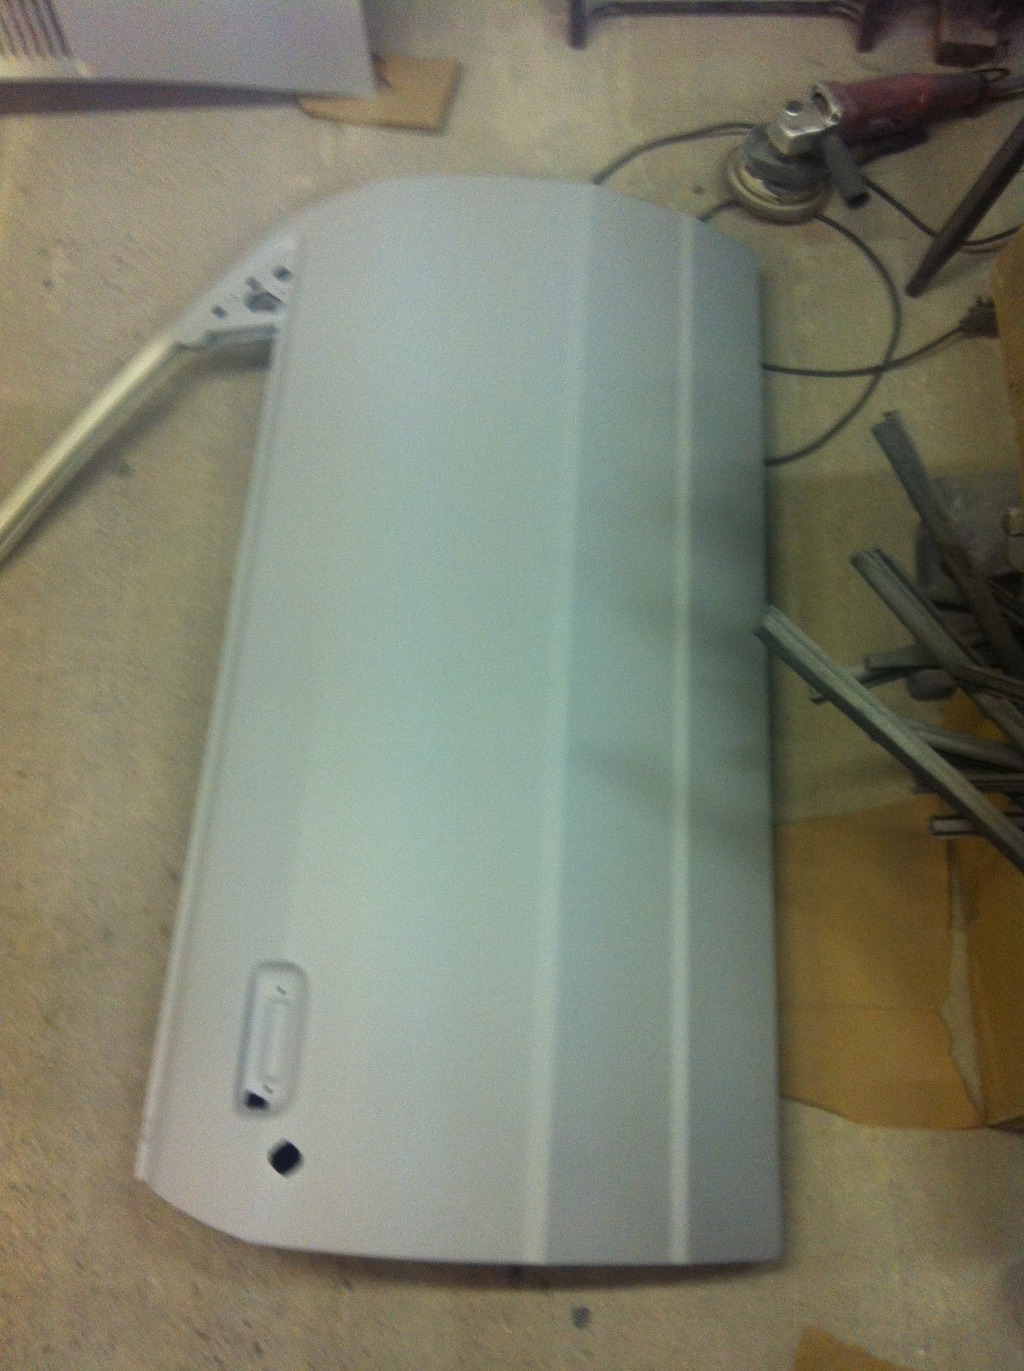
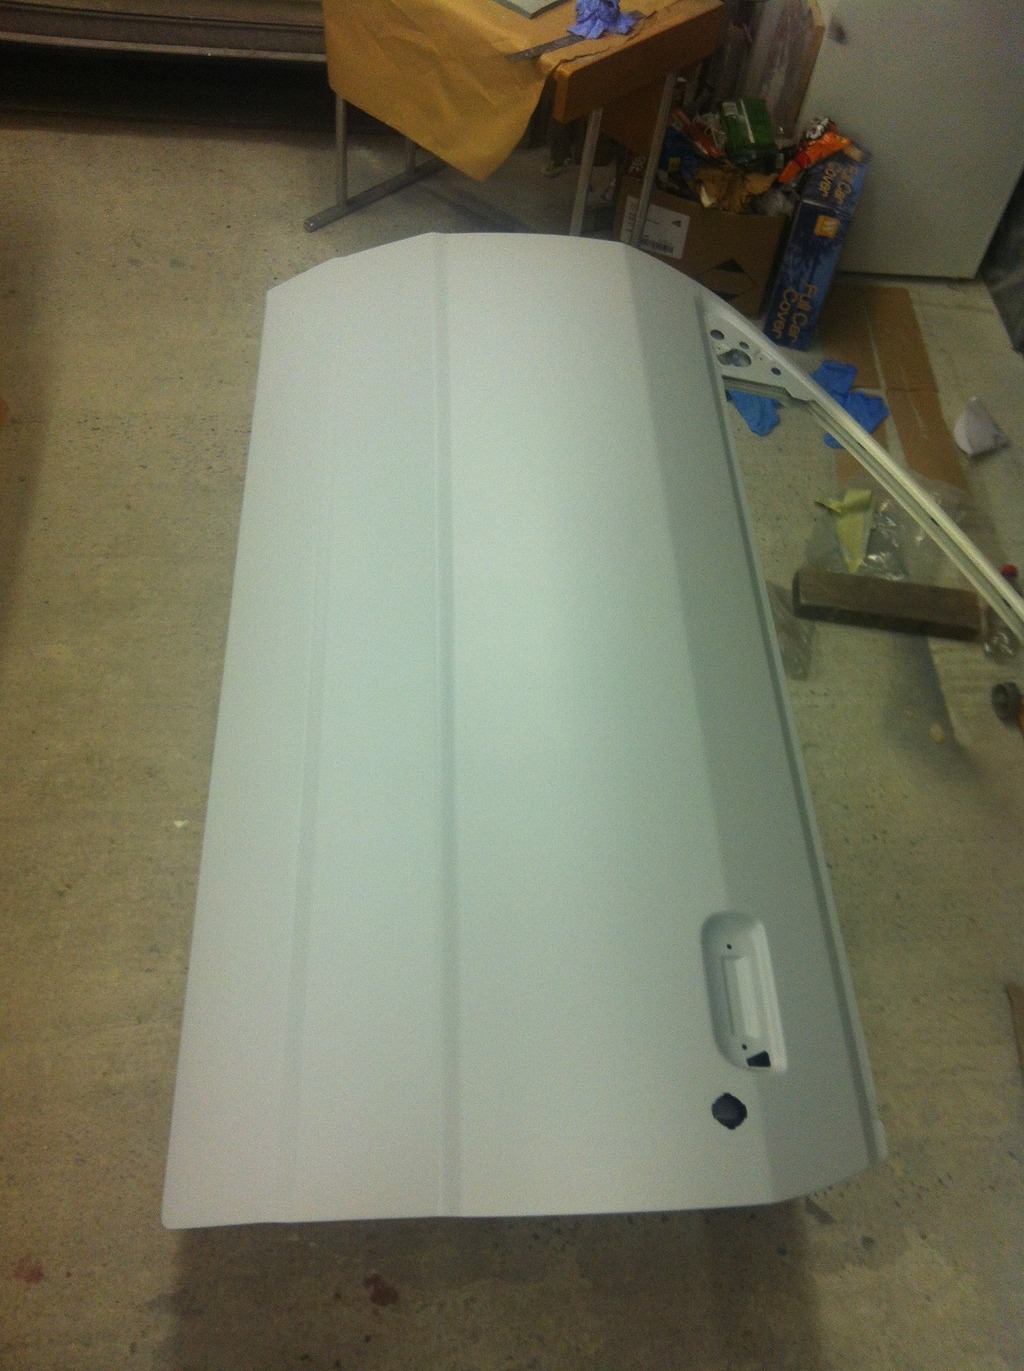

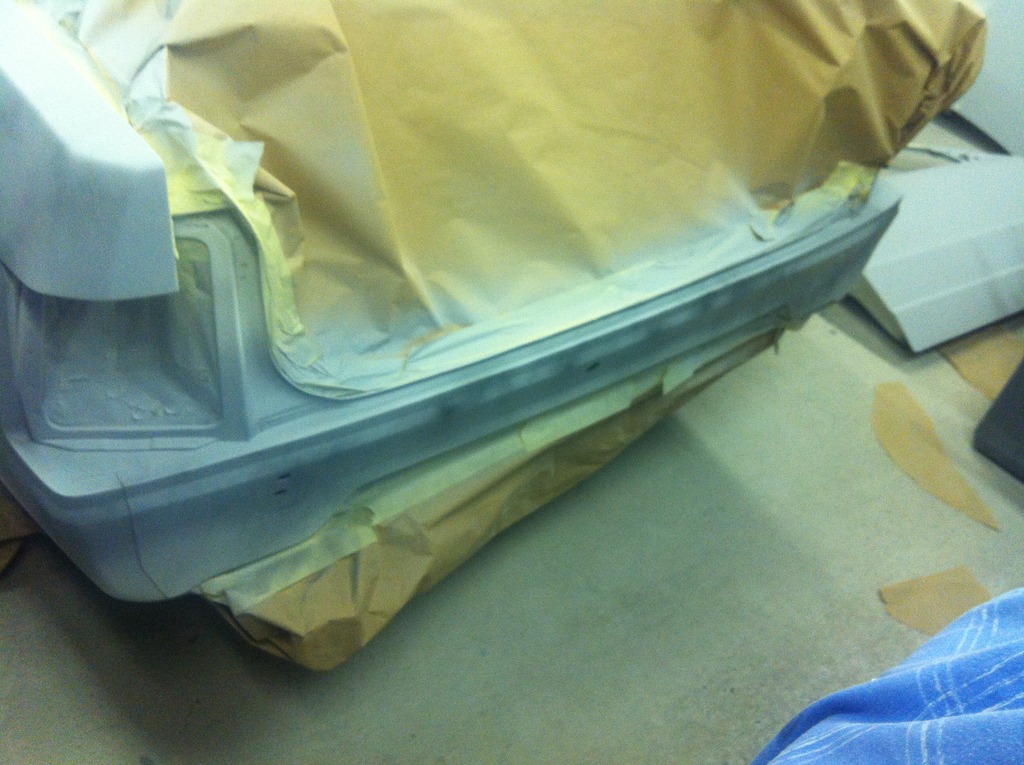

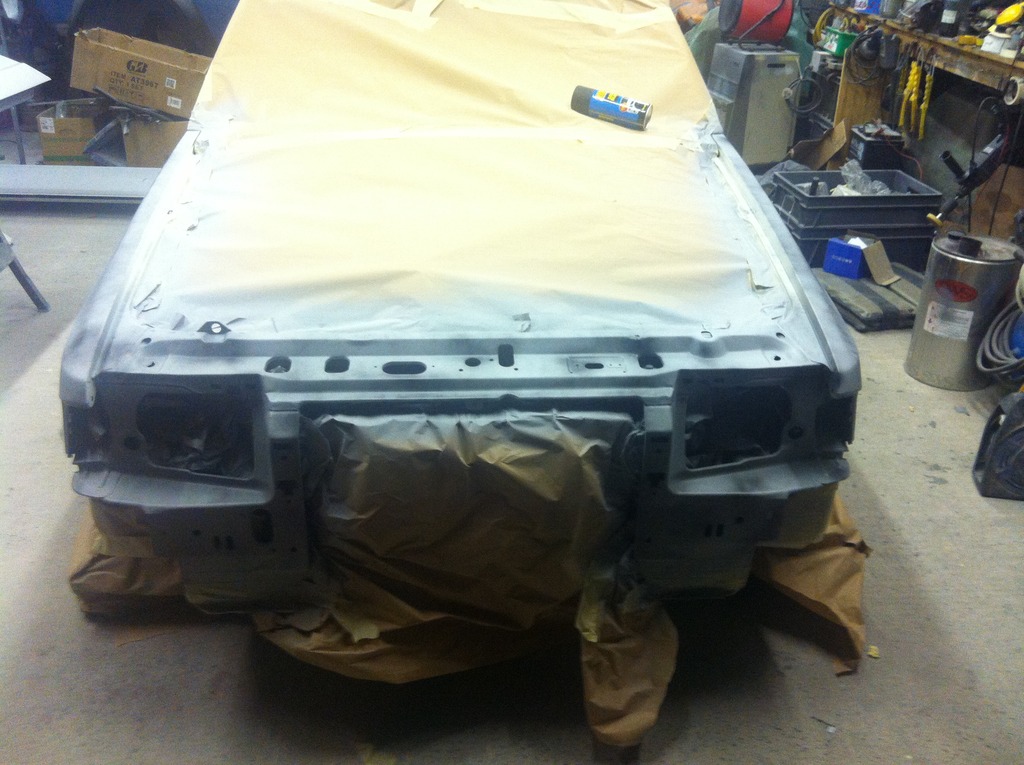
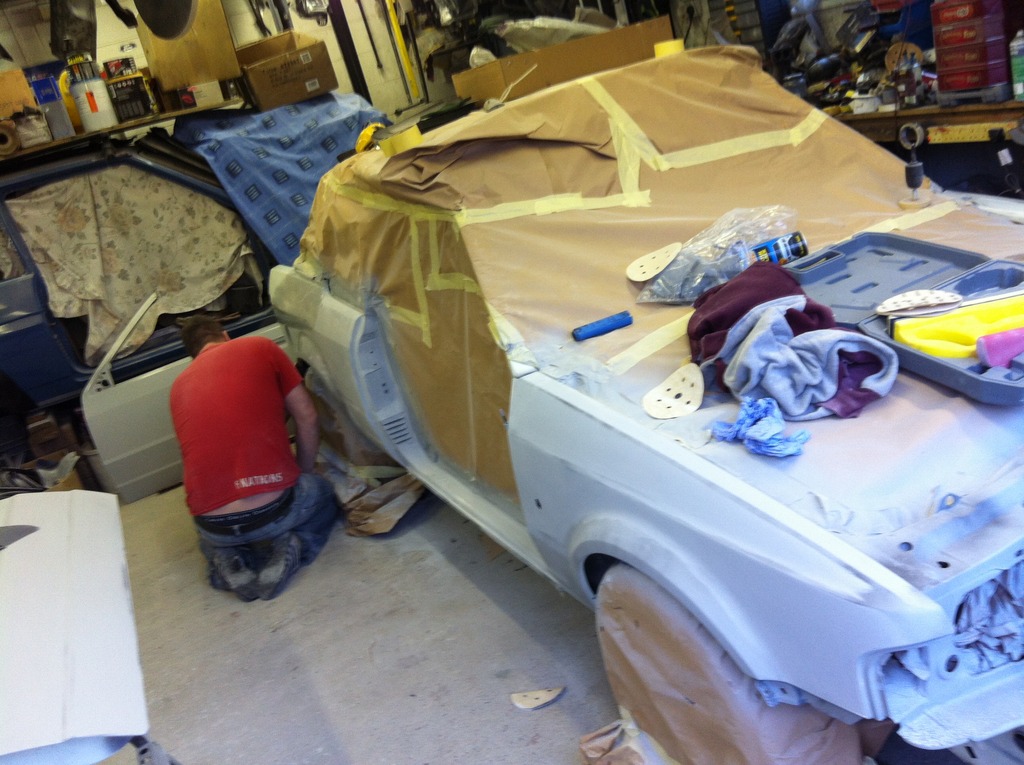
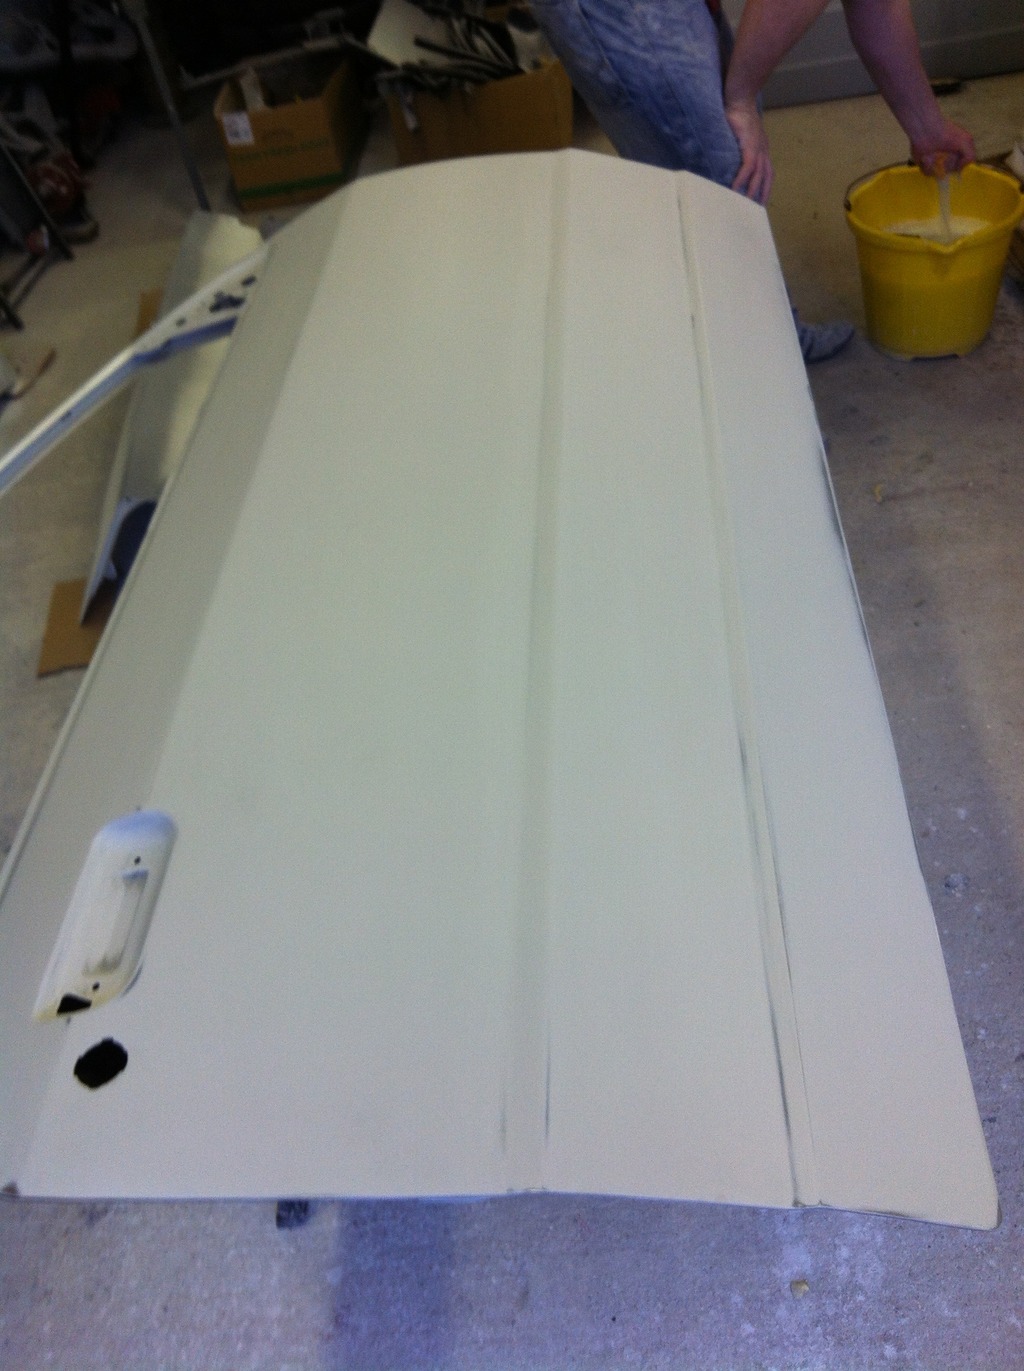

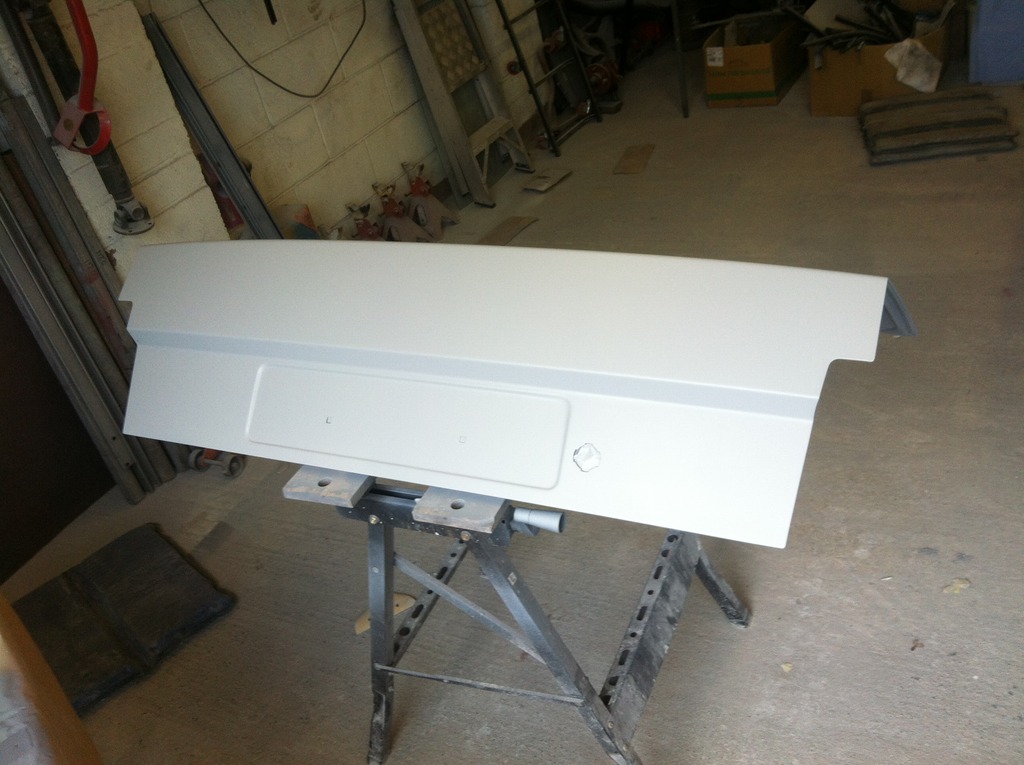
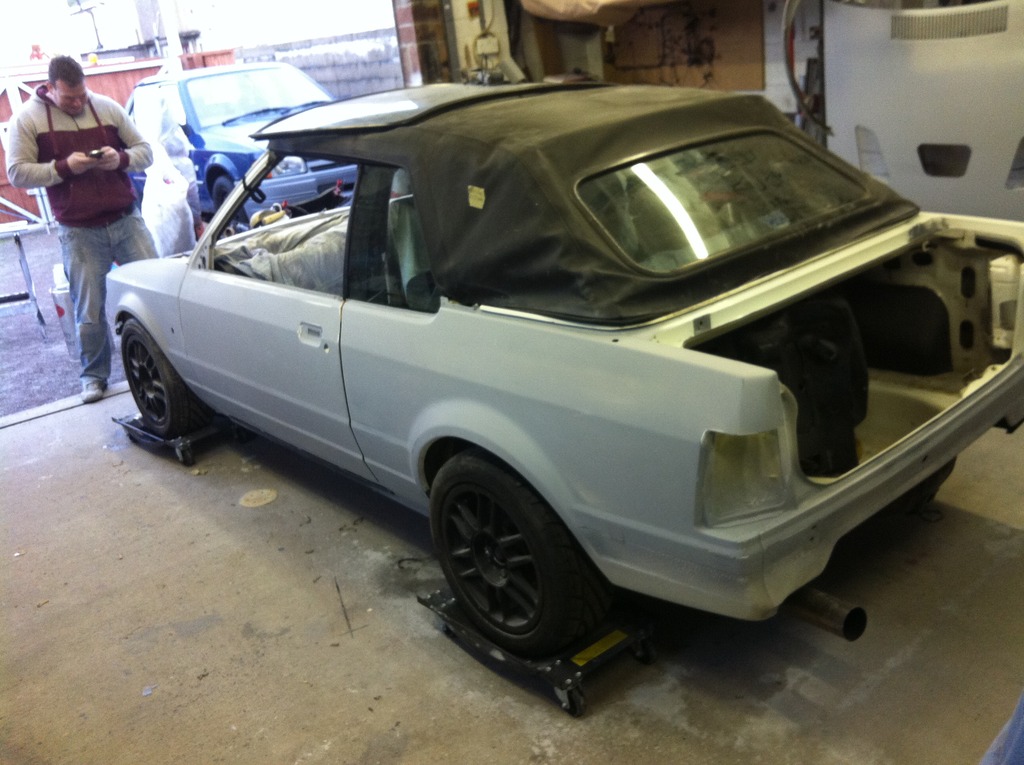
So that was it ready for the paint shop, I'll get some more pics up in a few days
Ginger
.
Whilst I was working on the car I realised a full respray was on the cards, so with the other car already away at the paint shop my mate Simon offered to do all the prep work in my garage and arranged a spray booth for the weekend, So the day after boxing day I cracked on and the car striped of it lights etc the prep work commenced with the help of one of the Simon body shop mates it was 80% ready and in primer by Monday night, then left til Thursday to flat the primer, then trailered to the body shop on Saturday 2nd for a 16hr shift to get everything painted ready to be picked up today.
Oh yer, that stupid vent I put in had to go, looked at welding it up but was never gonna look right so had to do something different and looks a lot better, plus i'm gonna make a vent to go in there.
So here are the pics


So that was it ready for the paint shop, I'll get some more pics up in a few days
Ginger
.
