4X4 Sapphire Project thread
 10-03-2014, 12:52 PM
#1
Regular Contributor
Thread Starter

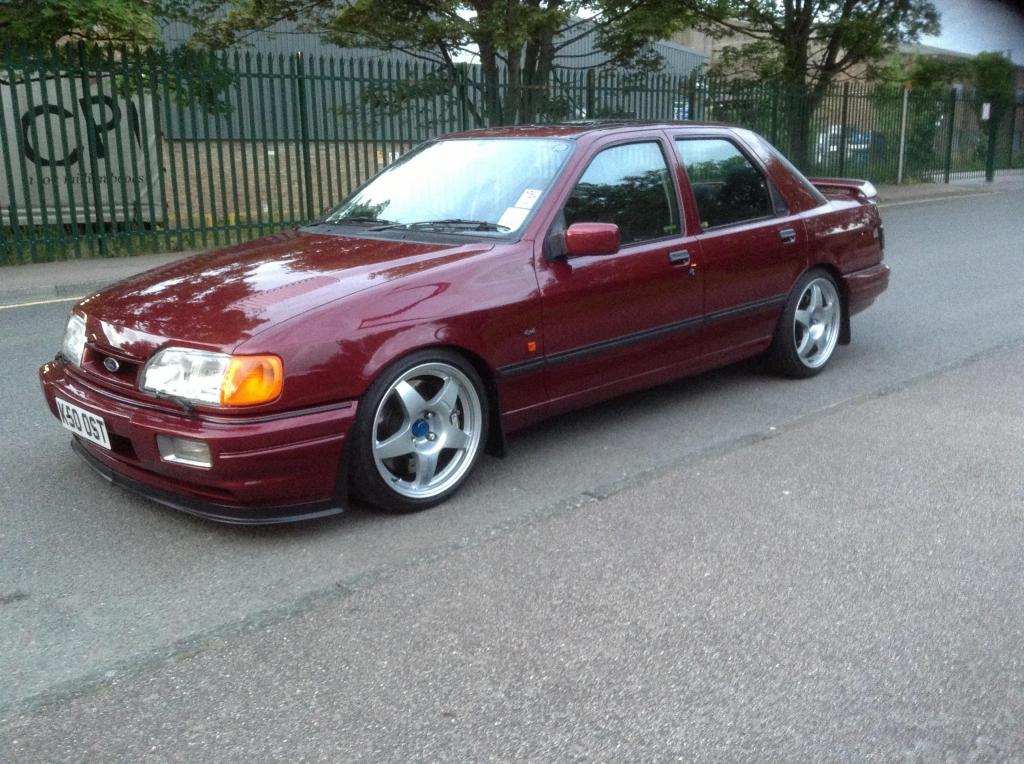
Had the car off the road since October, heres a pic of it before I Sorned it:
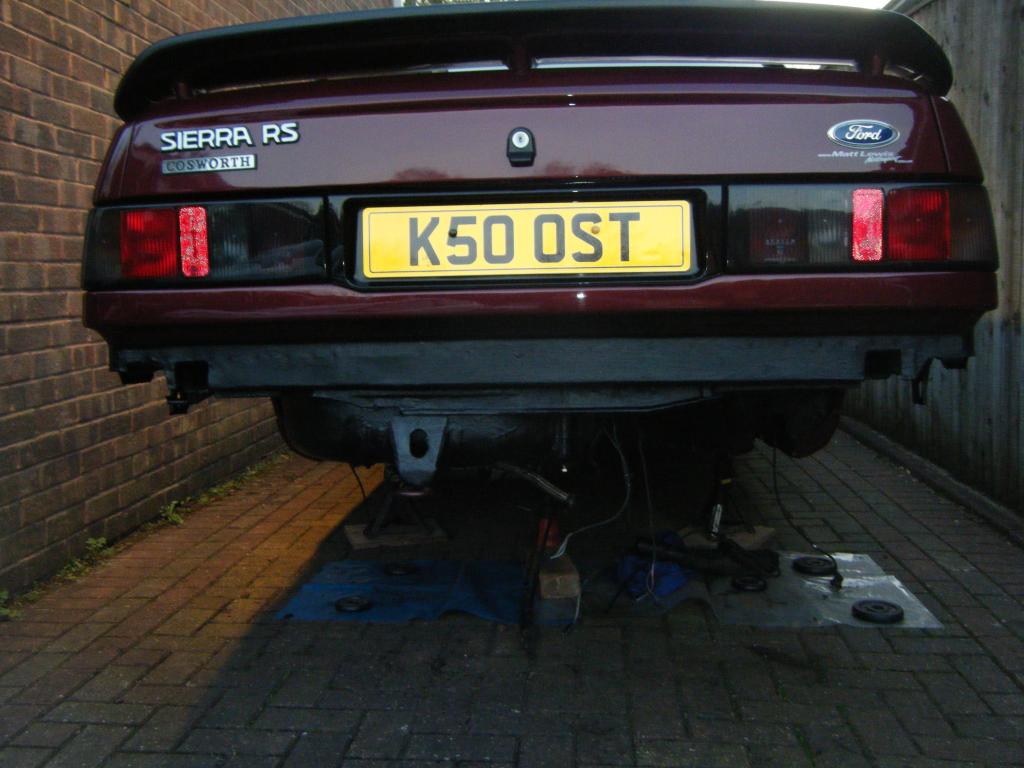
This is its current state on my driveway at home:
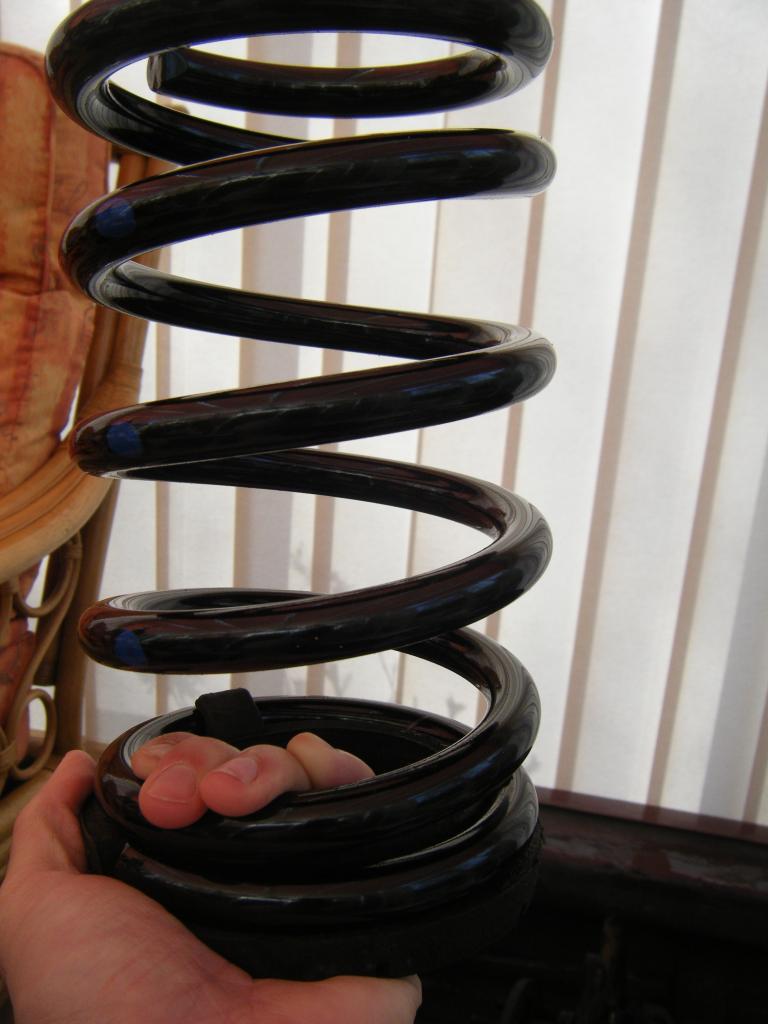
At first all I was going to do was change the springs, it had Castle Performance ones on there, so I bought some Ahmed Bayjoo ones to go on the Konis:
However I then ventured down the slippery slope.....
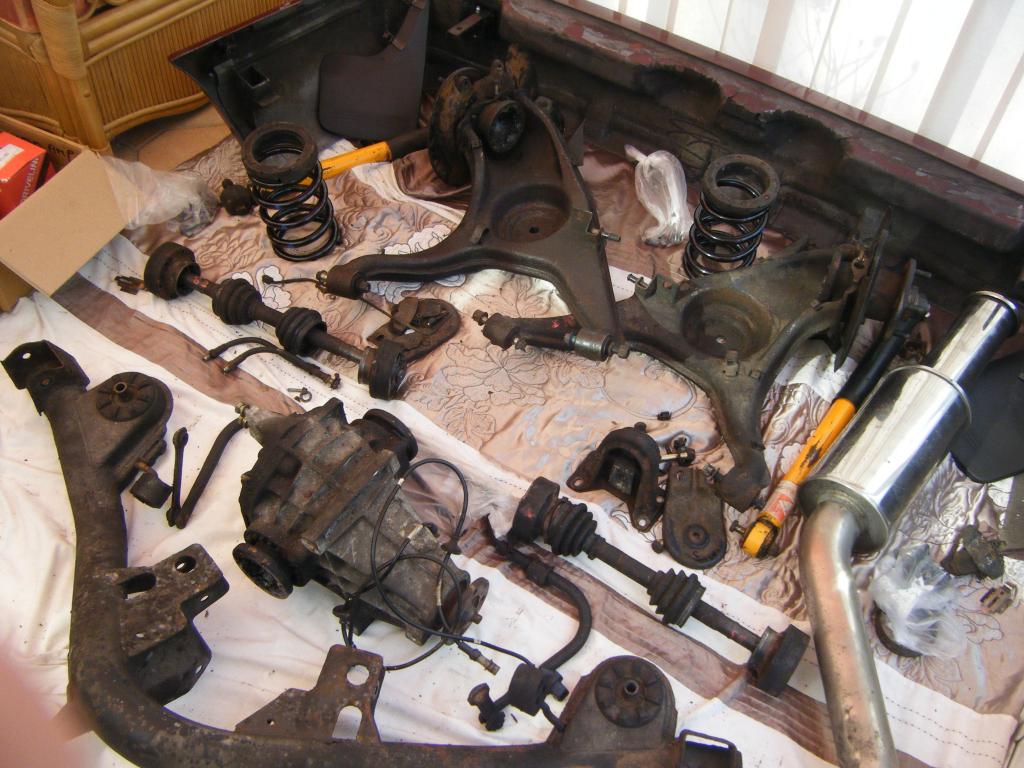
All the back end is now stripped out.

This is its current state on my driveway at home:

At first all I was going to do was change the springs, it had Castle Performance ones on there, so I bought some Ahmed Bayjoo ones to go on the Konis:

However I then ventured down the slippery slope.....

All the back end is now stripped out.


 10-03-2014, 01:05 PM
#6
Regular Contributor
Thread Starter
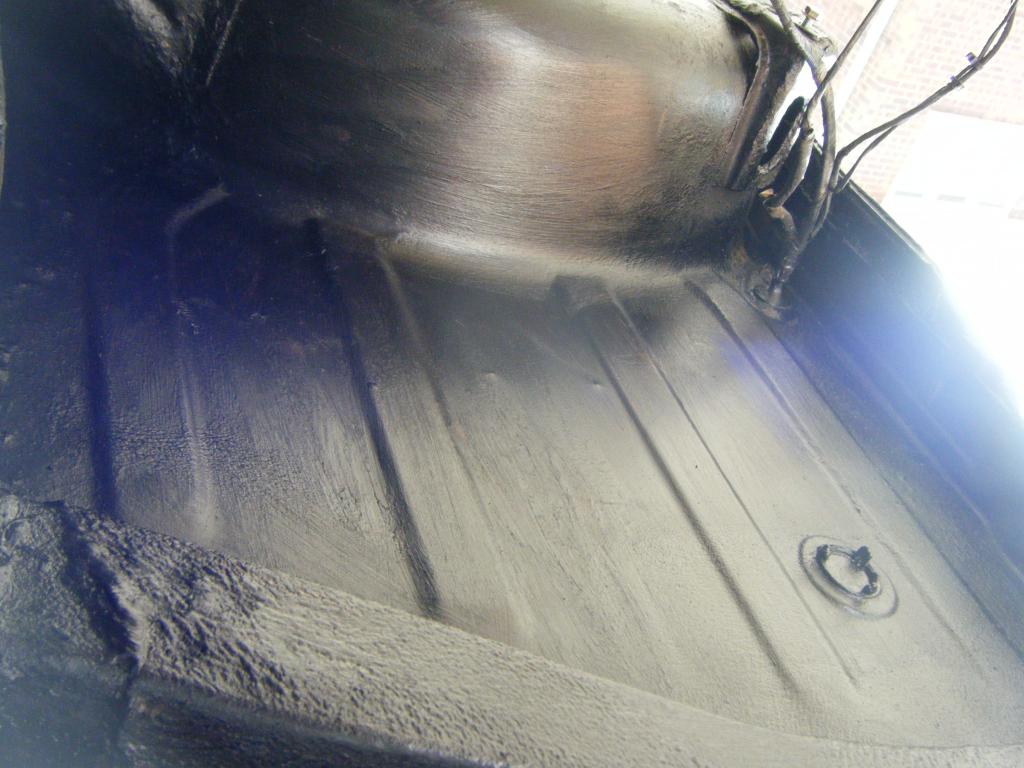
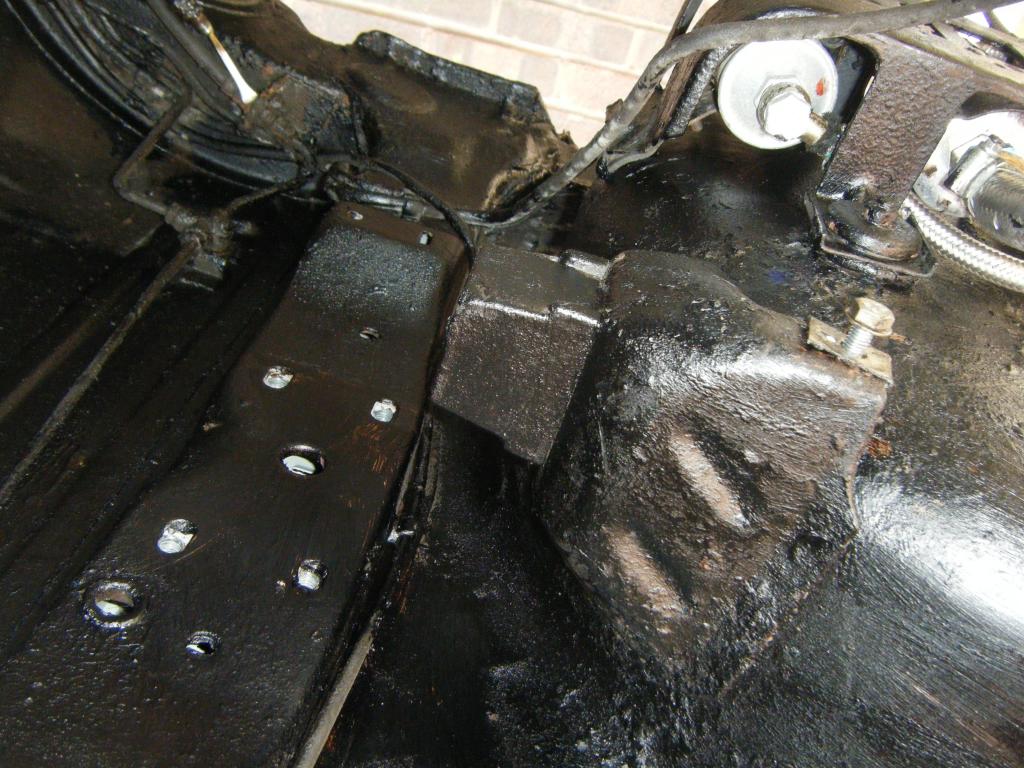
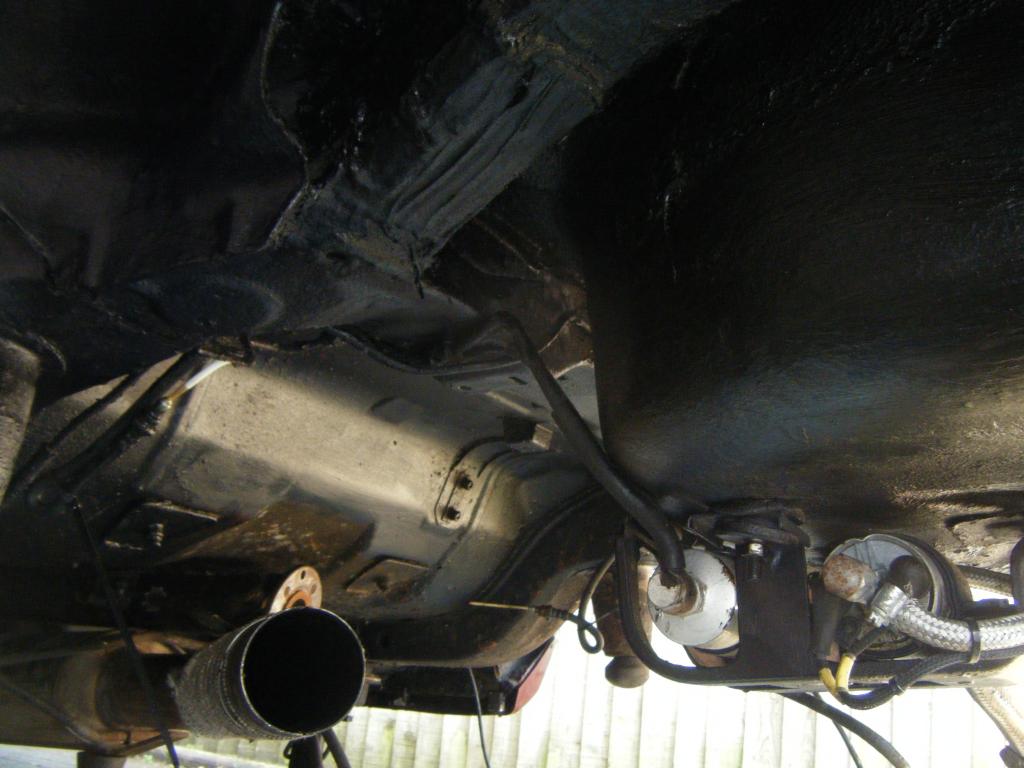
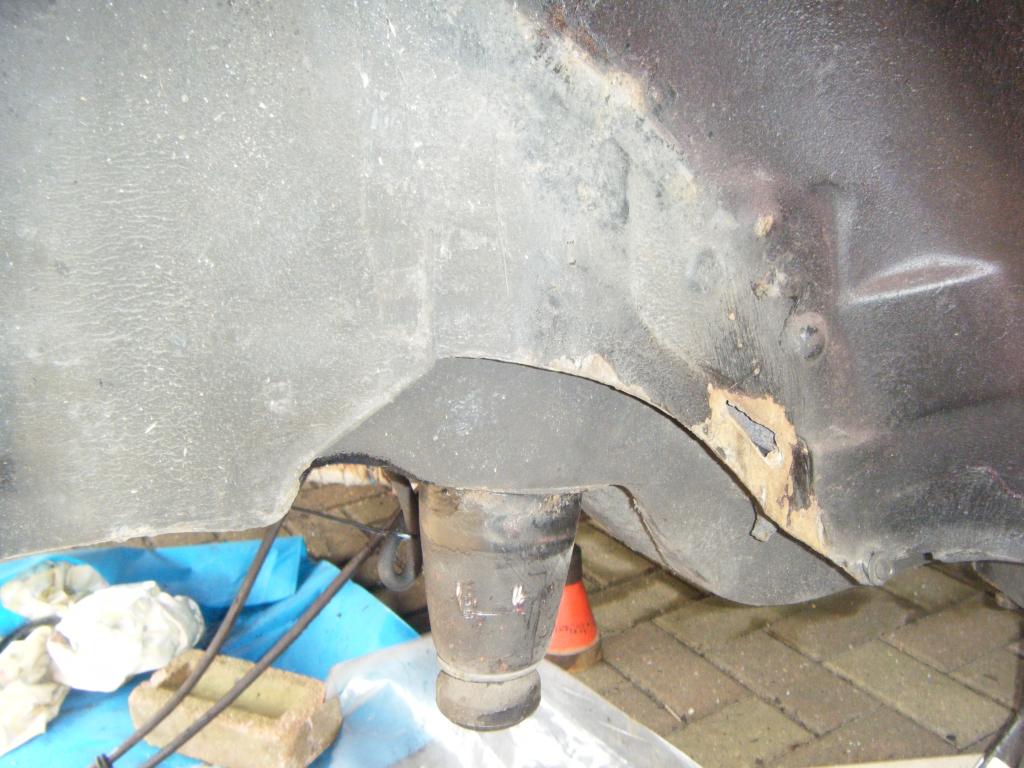
Then began to underseal underneath the rear near side of the car, As I dont have access to a ramp its been hard progress so far working on the drive but heres some general pics of underneath take from laying on the floor with the camera:


Trending Topics
 10-03-2014, 01:13 PM
#9
Regular Contributor
Thread Starter
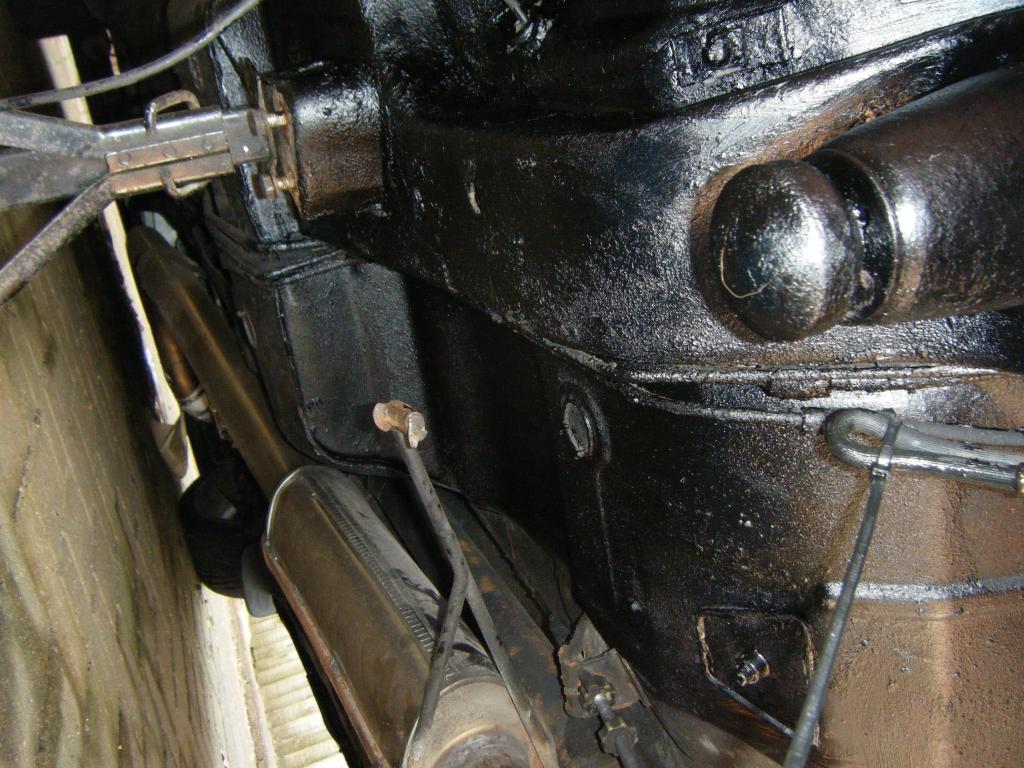
Discovered a small hole on the offside rear which will need welding up:
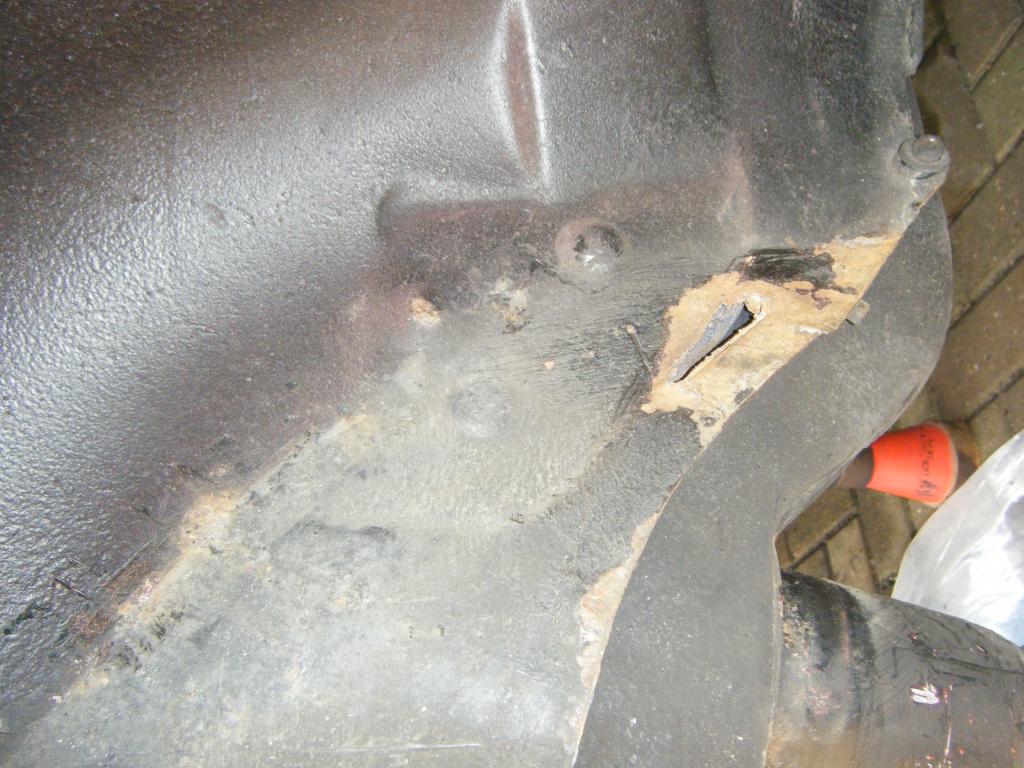
Have a mobile welder round in the next couple of days to sort that, then I can underseal that side.


Have a mobile welder round in the next couple of days to sort that, then I can underseal that side.
10-03-2014, 01:15 PM
#10
Regular Contributor
Thread Starter
Have sent the rear calipers off to Bigg Red Ltd to have refurbished in silver and have also dropped my rear copper brake lines off to the local motor factors to make me some new ones up.
Thats where I am up to so far. This is the first time ive ever done anything like this so any tips would be greatly appreciated from those of you that have done this before.
Matthew
Thats where I am up to so far. This is the first time ive ever done anything like this so any tips would be greatly appreciated from those of you that have done this before.
Matthew
10-03-2014, 07:19 PM
#11
PassionFord Post Whore!!
Keep up the good work.
Nice car
Nice car


 12-03-2014, 06:55 PM
#15
Regular Contributor
Thread Starter
Next on the list is to order some new rear brake discs and pads (I'd love a Reyland 300 kit but I think I am just going to get standard discs and some Ferrodo or EBC pads for now) and also some new bushes for the rear beam. Deciding between either Powerflex ones or standard ones if you can still get them new from Ford?
 12-03-2014, 08:49 PM
#17

Next on the list is to order some new rear brake discs and pads (I'd love a Reyland 300 kit but I think I am just going to get standard discs and some Ferrodo or EBC pads for now) and also some new bushes for the rear beam. Deciding between either Powerflex ones or standard ones if you can still get them new from Ford?


 06-04-2014, 10:50 AM
#34
Regular Contributor
Thread Starter
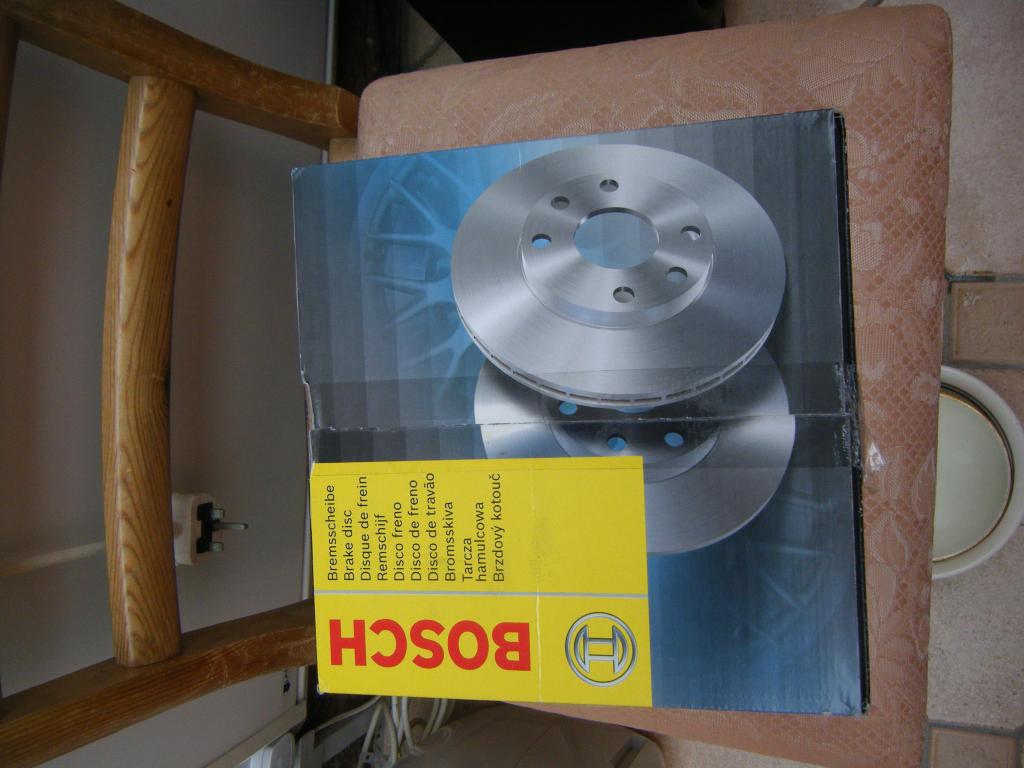
New rear discs:
Thats where I'm up to so far; next is to strip the rear trailing arms down, get the rear beam powdercoated and paint the rear ARB.

Thats where I'm up to so far; next is to strip the rear trailing arms down, get the rear beam powdercoated and paint the rear ARB.
 04-06-2014, 06:19 PM
#37
Regular Contributor
Thread Starter
About time to update my restoration thread:
I took the rear beam and trailing arms to the powdercoaters and had them done in gloss black and painted the rear arb yellow to match the rear shocks.
I also bought new rear trailing arm bearings from Graham Goode and fitted those and fitted new powerflex rear beam bushes. Then rebuilt the rear back together.


 04-06-2014, 06:30 PM
#40
Regular Contributor
Thread Starter
Just a few jobs left on the rear now; bleed the brakes and clean and fit the exhaust, then I can drop it down on its wheels add fuel turn it round and start on the front end!