Dad's Cabby - XR3i 1990 spec =UPDATED 2nd DECEMBER=
 05-09-2013, 09:03 PM
#1
Since using my Mk4 for the past 5 or so years my old man has had a real desire for a Mk4 of his own and in particular a cabby. So for the last year he has been looking at them on eBay etc. Then seriously going to look at cars for the last few months but with now joy. 
We have seen everything from a really nice SE 500 on eBay that in the end went for way over the odds for what it was to a two-tone that had new wings and front panel that looked as if it been welded by a drunk penguin with a gammy eye! Panel gaps that were either �fag paper� tight or �bus size� wide, all on the same panel�
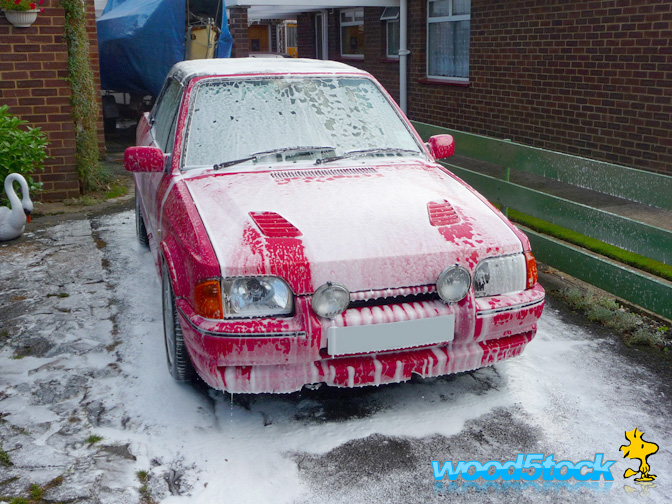
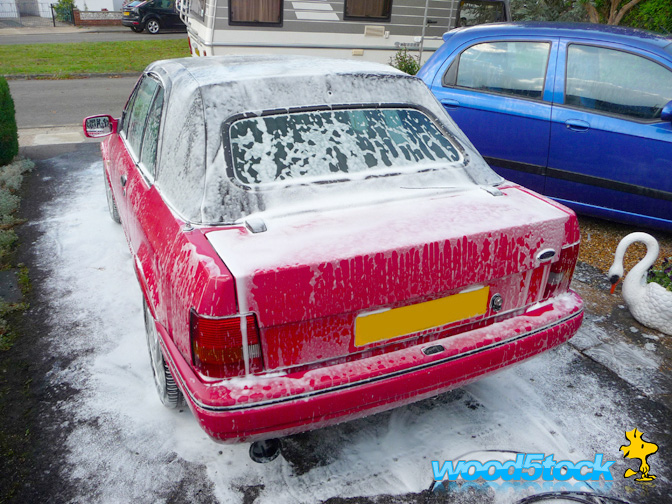
So seeing quite a few cars and coming away with nothing we were pretty down and almost had given up. I suddenly noticed this red one suddenly pop up stupidly cheap on Auto Trader. We figured that as we had seen pretty well every type of cabby now in every sort of condition we would just go see it for a laugh making up our minds it will be rough, smoking, hood would leak and rusted to hell etc etc etc.
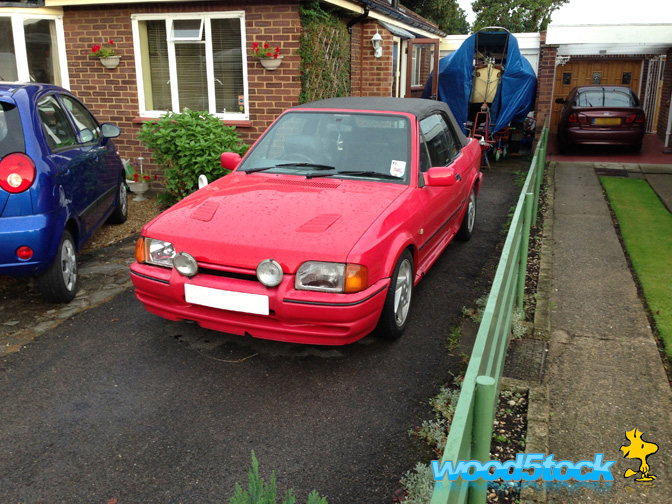
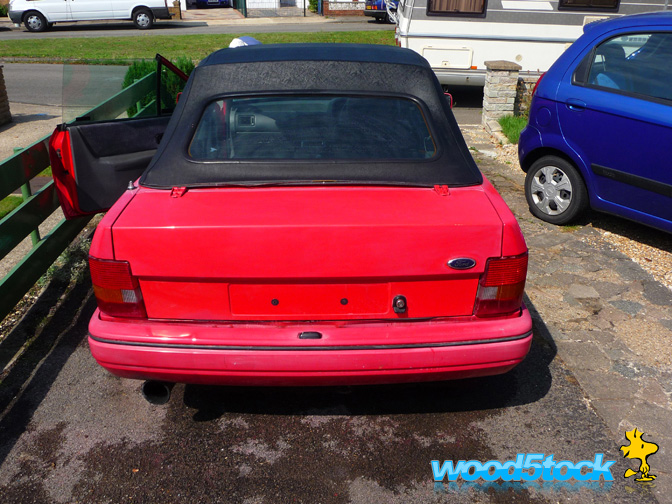
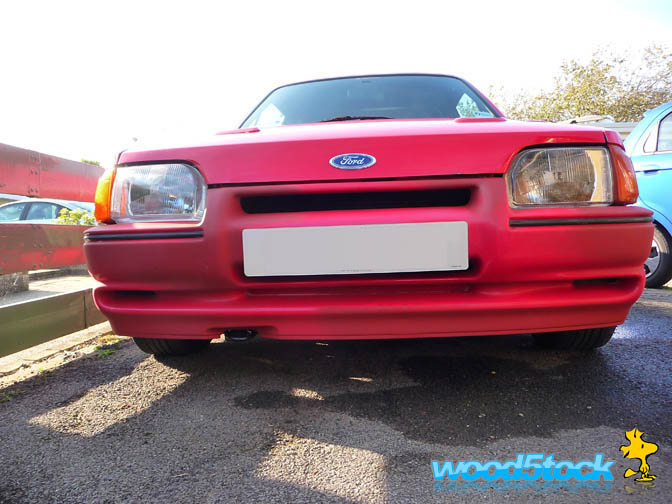
Well yes it was tatty, and the paint was flat and milky, BUT no rust, not a bit! The engine although a little lumpy, had no death rattles or terminal smoke. The hood was tatty but didn�t leak, and the interior although grubby and worn was not unserviceable.
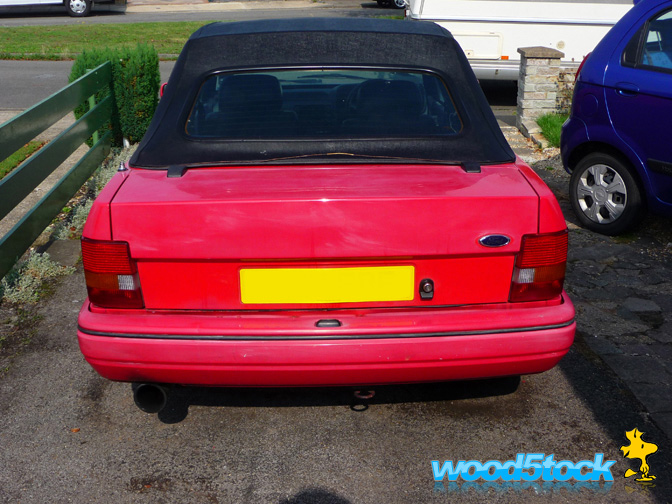
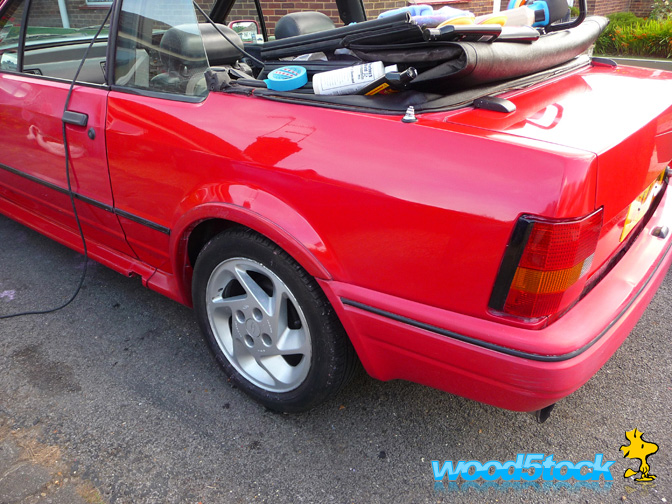
So here you go �Little Red� as it came home ready for some serious TLC, and yet another Mk4 saved!!!
We have seen everything from a really nice SE 500 on eBay that in the end went for way over the odds for what it was to a two-tone that had new wings and front panel that looked as if it been welded by a drunk penguin with a gammy eye! Panel gaps that were either �fag paper� tight or �bus size� wide, all on the same panel�
So seeing quite a few cars and coming away with nothing we were pretty down and almost had given up. I suddenly noticed this red one suddenly pop up stupidly cheap on Auto Trader. We figured that as we had seen pretty well every type of cabby now in every sort of condition we would just go see it for a laugh making up our minds it will be rough, smoking, hood would leak and rusted to hell etc etc etc.
Well yes it was tatty, and the paint was flat and milky, BUT no rust, not a bit! The engine although a little lumpy, had no death rattles or terminal smoke. The hood was tatty but didn�t leak, and the interior although grubby and worn was not unserviceable.
So here you go �Little Red� as it came home ready for some serious TLC, and yet another Mk4 saved!!!
Last edited by Wood5tock; 02-12-2013 at 06:50 PM.
 05-09-2013, 09:07 PM
#2
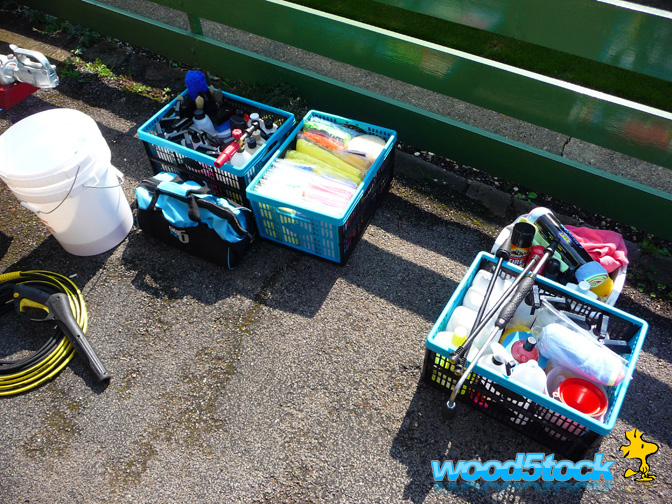
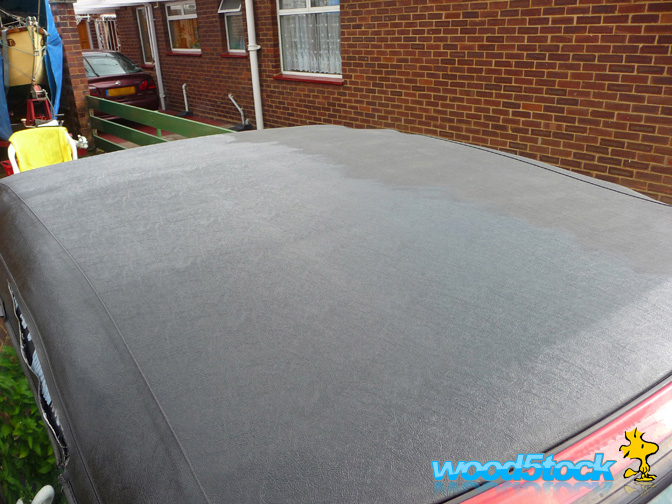
First job was to break out the detailing kit for a seriously good wash.
Then we attacked the hood with a good dowsing of APC and two stiff brushes.
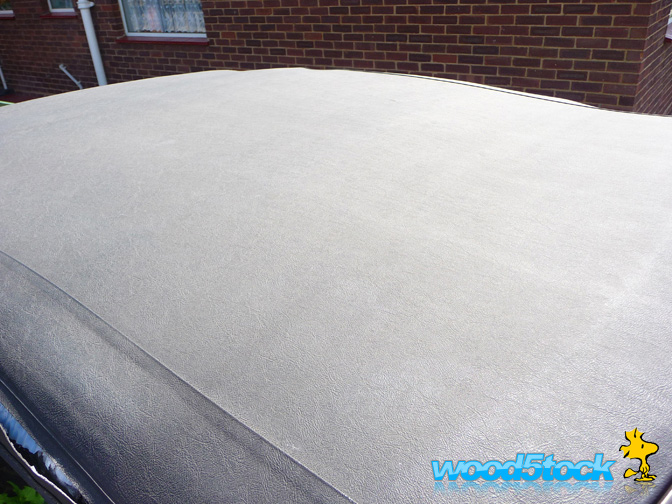
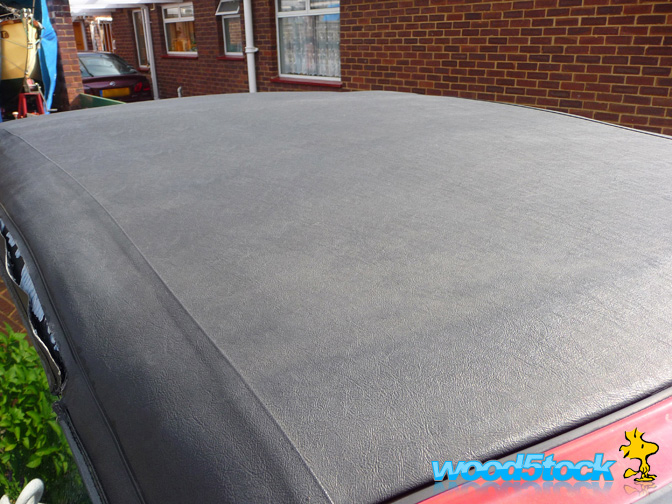
With a final dressing with 2 coats of Chem Guys VRP.

Then we attacked the hood with a good dowsing of APC and two stiff brushes.
With a final dressing with 2 coats of Chem Guys VRP.
Last edited by Wood5tock; 06-09-2013 at 09:49 PM.
 05-09-2013, 09:24 PM
#4
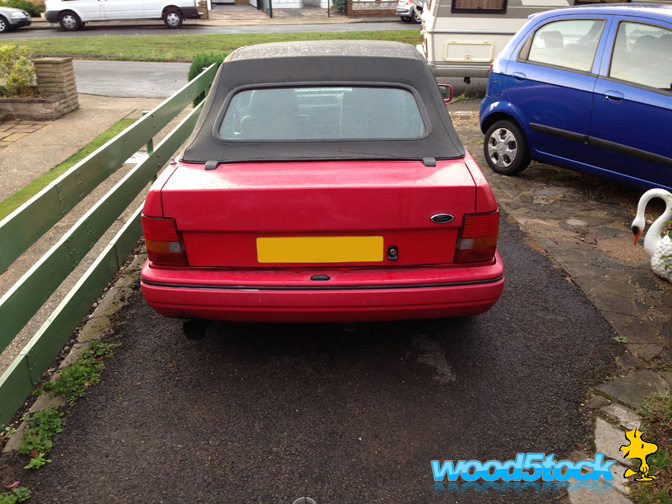
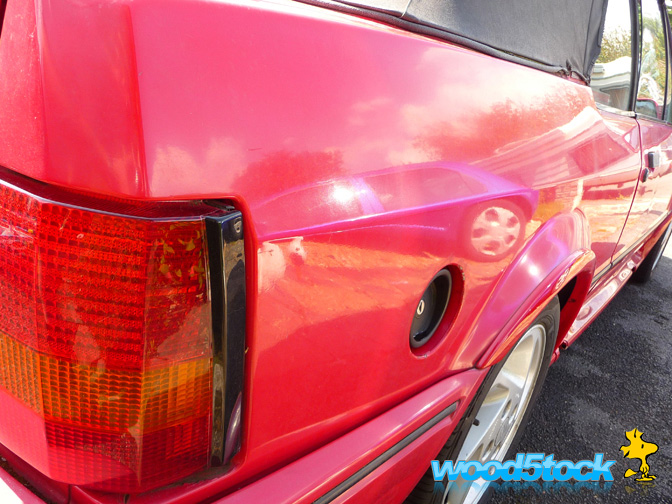
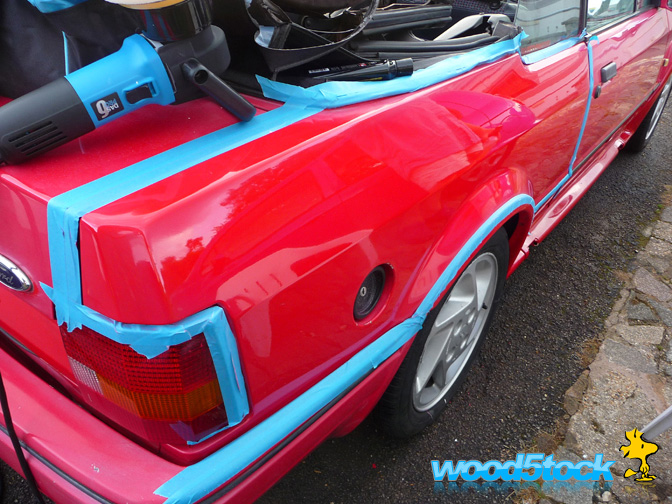
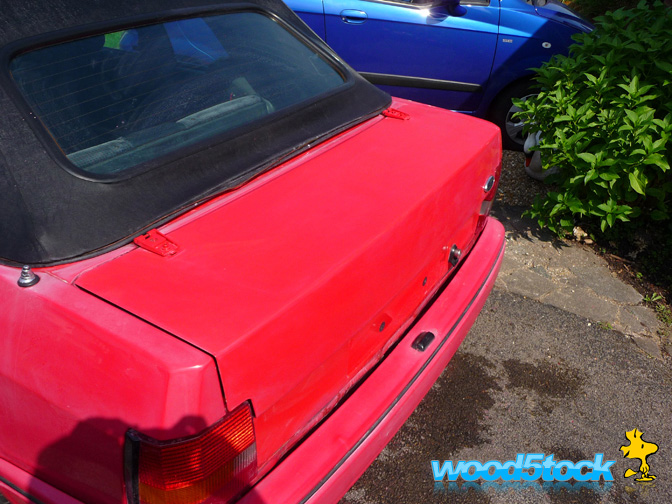
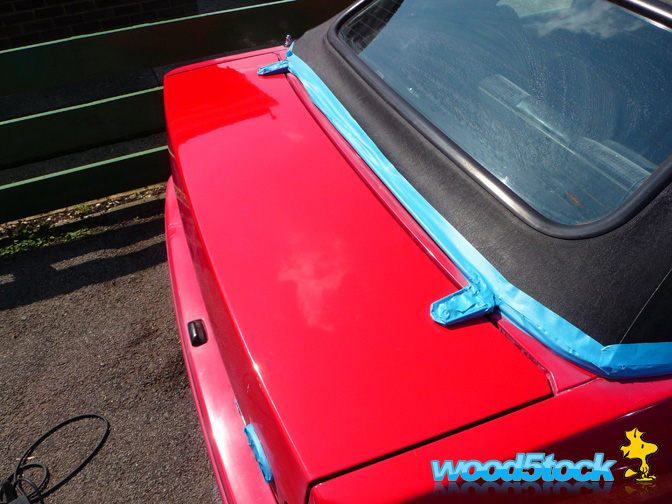
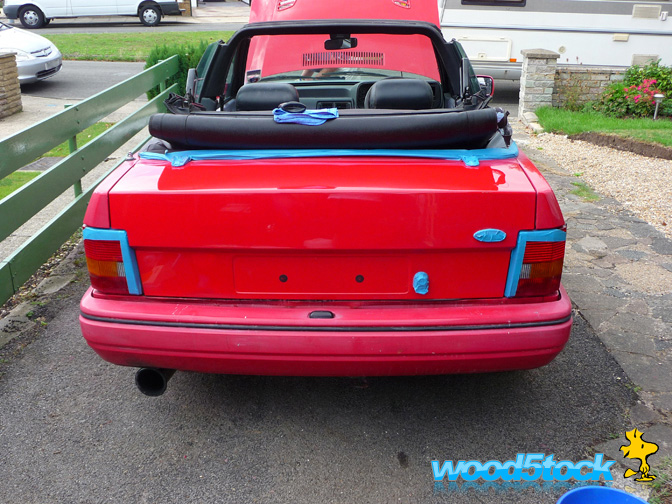
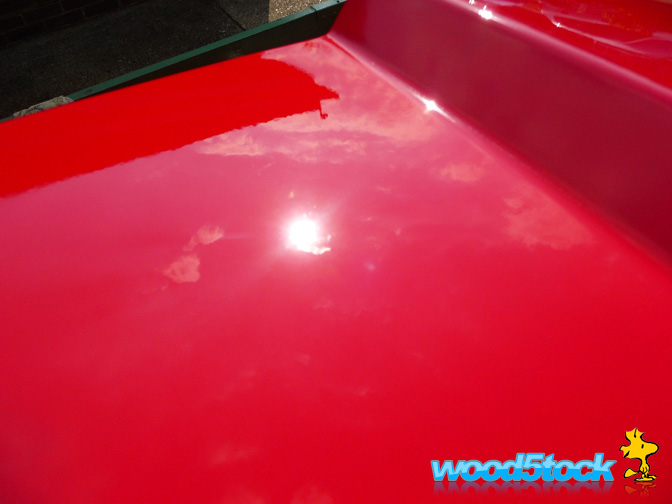
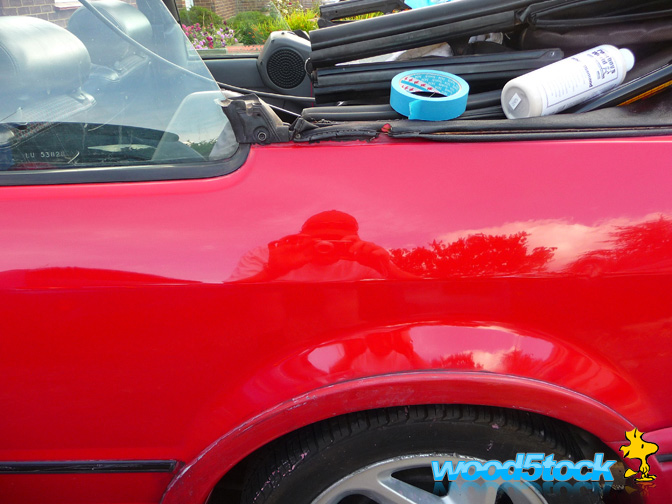
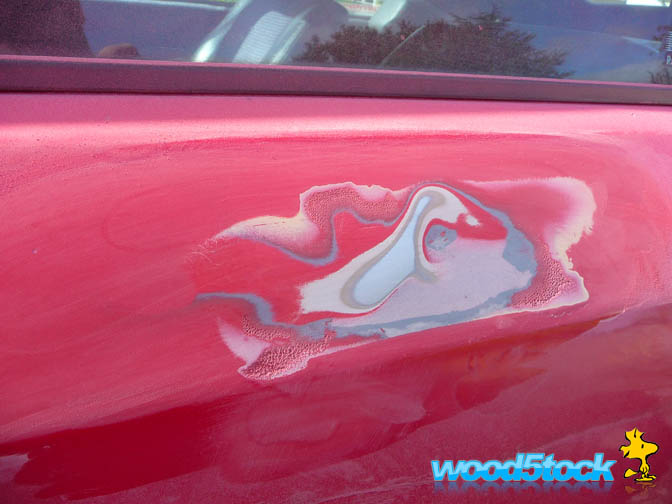
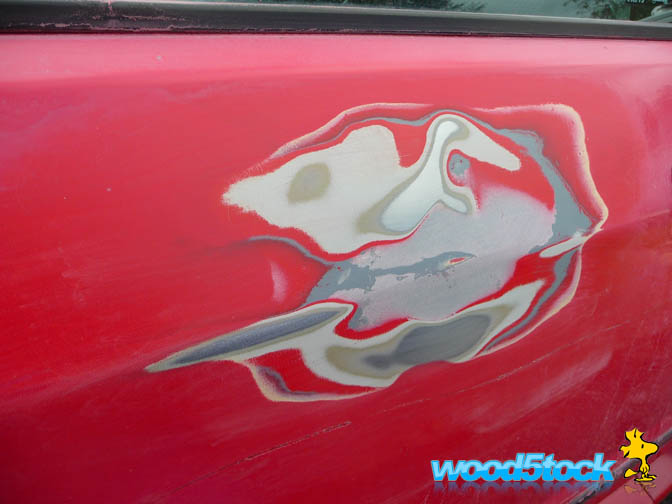
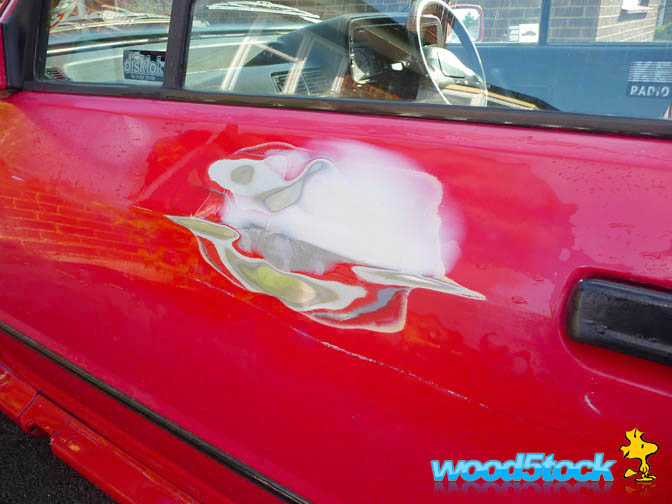
Next day it was the turn of the boot. With what I had found with the O/S quarter I decided to colour sand the whole thing before cutting and polishing.
Before
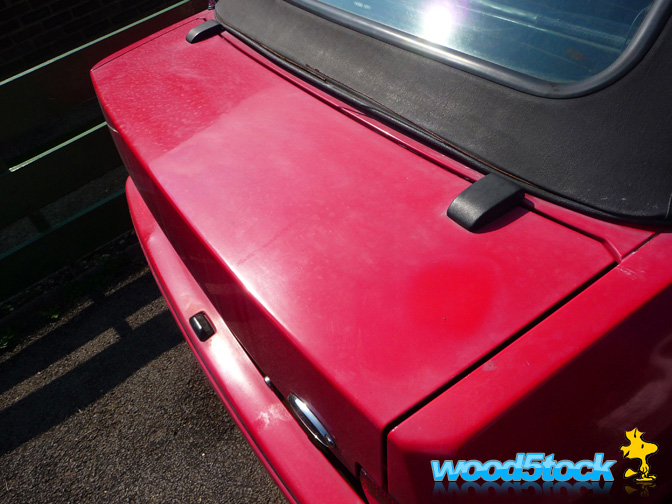
Those aren't reflections above the reg plate but a residue of polish where it appears someone had just wiped a bit on and went no further
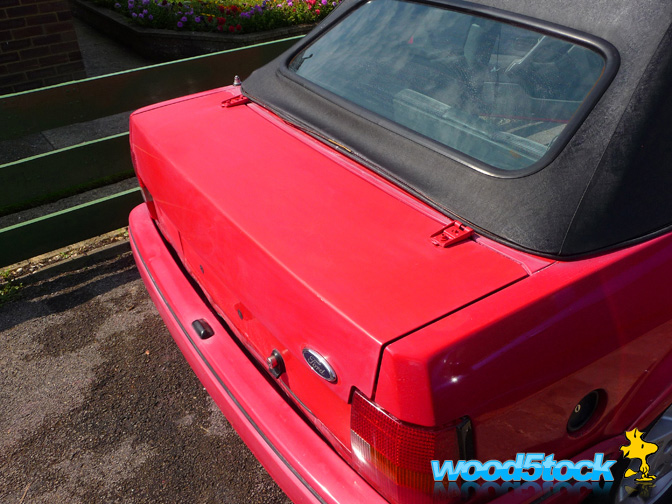
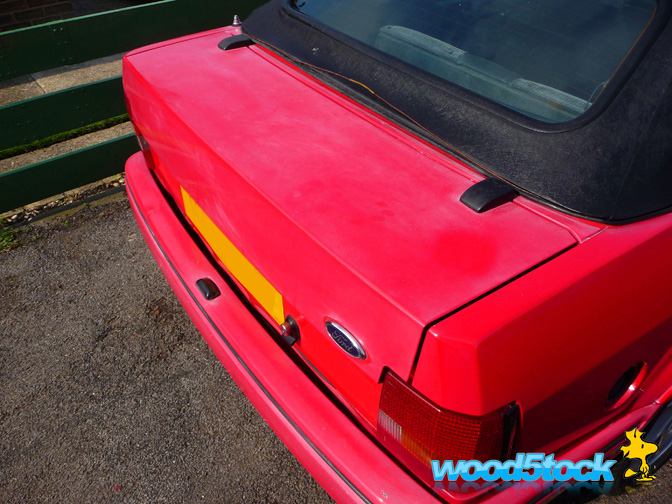
All colour sanded ready for polishing
Who can spot another Mk4.
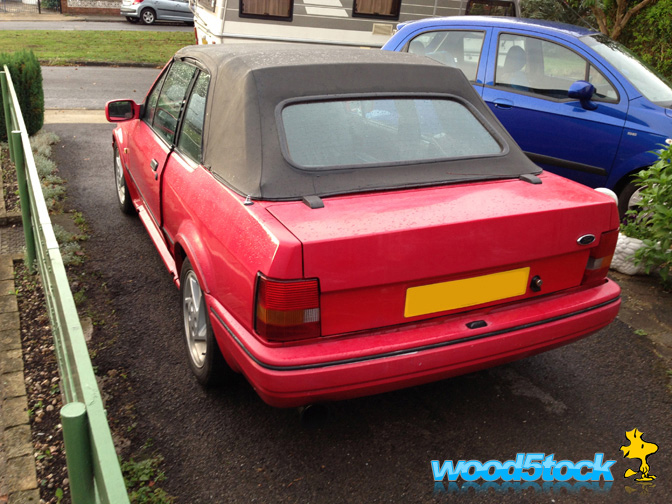
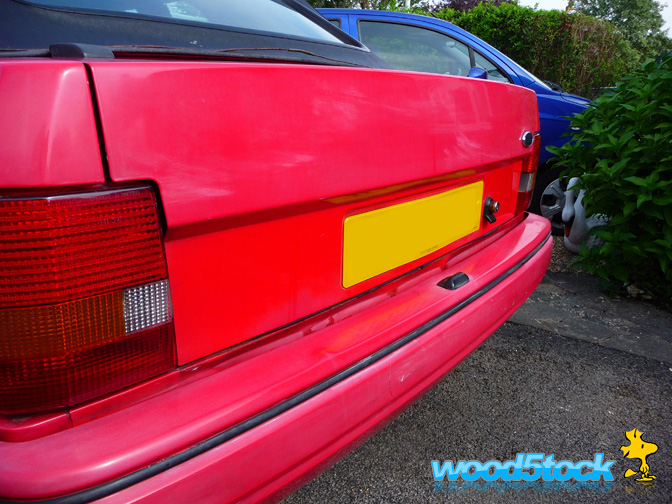
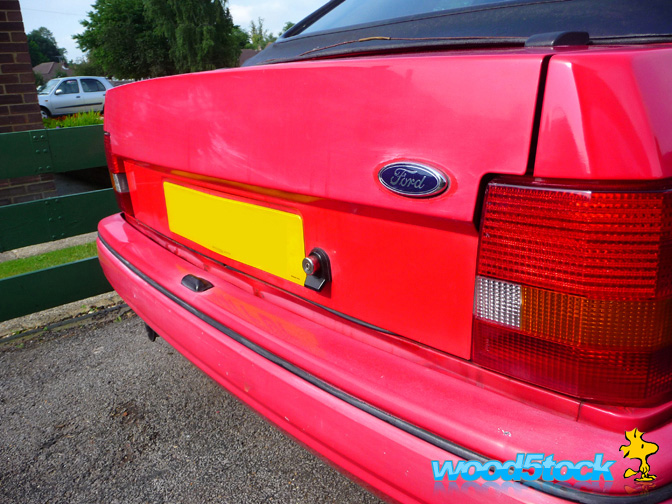
It worked a treat this time well happy so it was treated to Megs 205 � White Hex Logic, then Megs #20 Sealant followed by Megs Speed glaze and finally Wax.
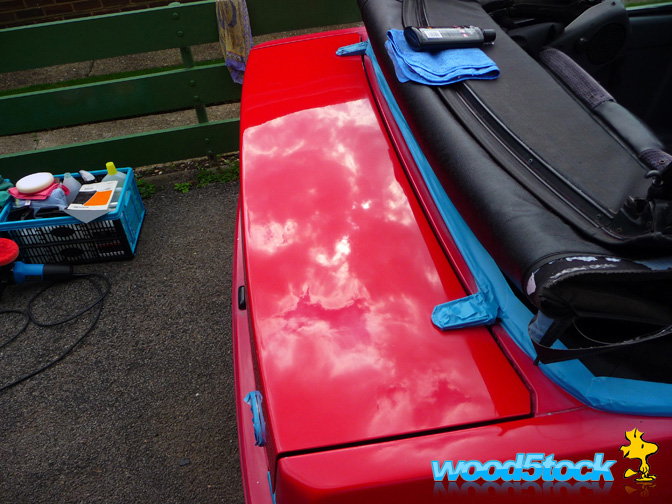
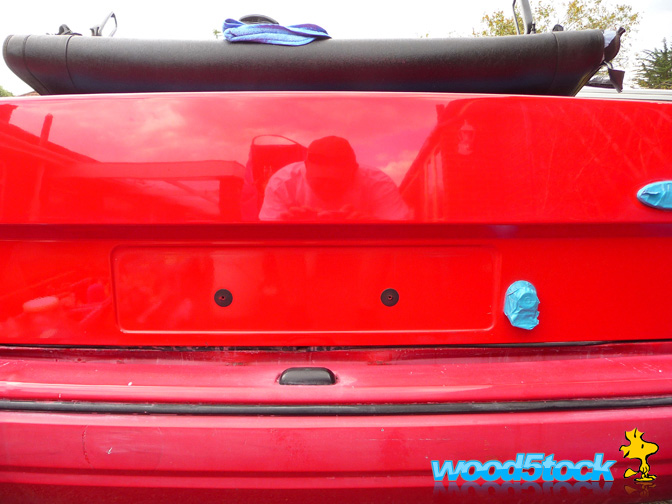
Check out the sun shot in this one for now swirl goodness.
Before
Those aren't reflections above the reg plate but a residue of polish where it appears someone had just wiped a bit on and went no further
All colour sanded ready for polishing
Who can spot another Mk4.
It worked a treat this time well happy so it was treated to Megs 205 � White Hex Logic, then Megs #20 Sealant followed by Megs Speed glaze and finally Wax.
Check out the sun shot in this one for now swirl goodness.
05-09-2013, 09:28 PM
#5
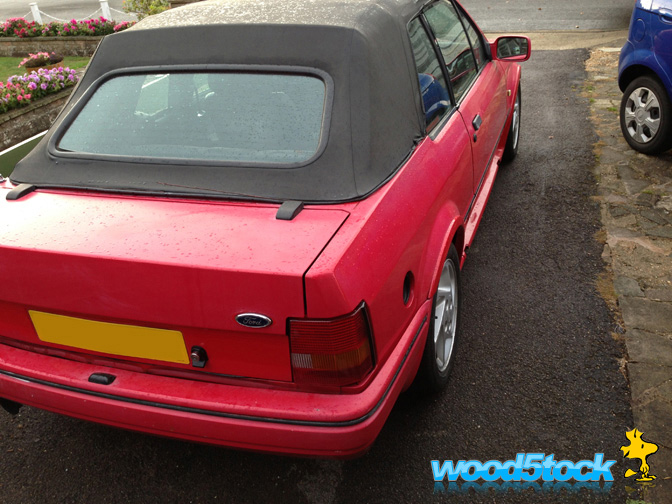
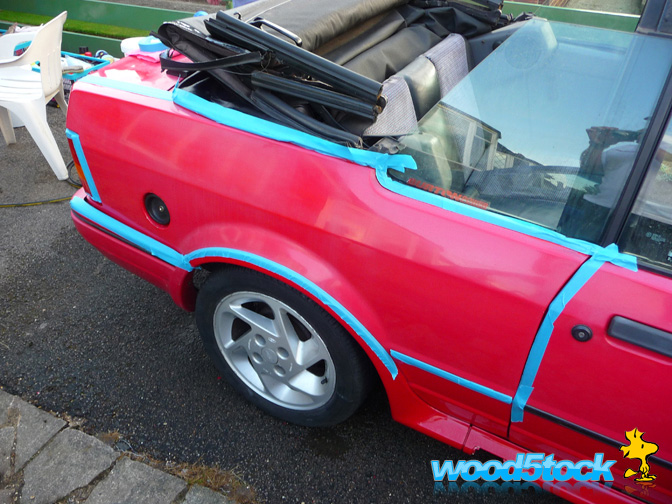
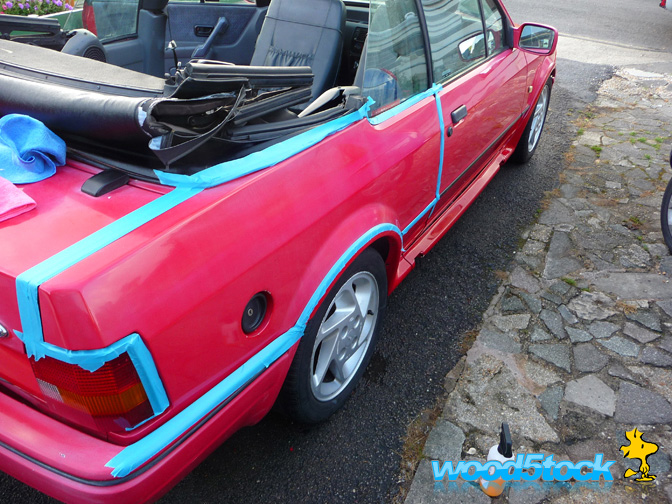
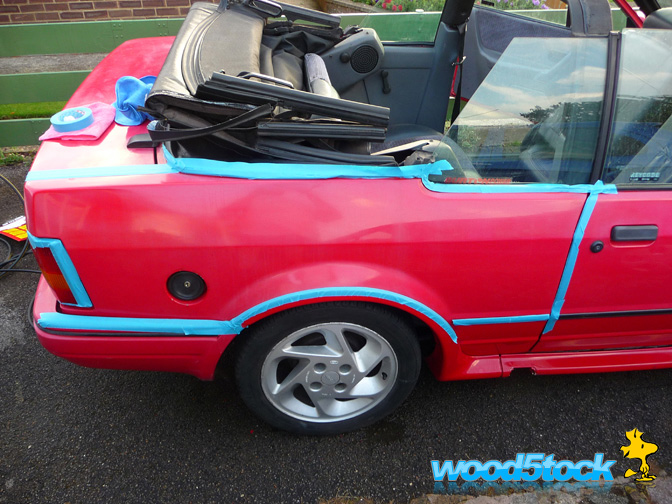
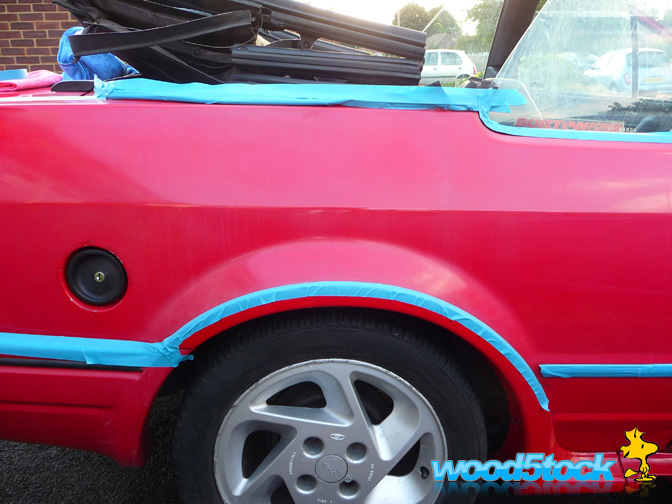
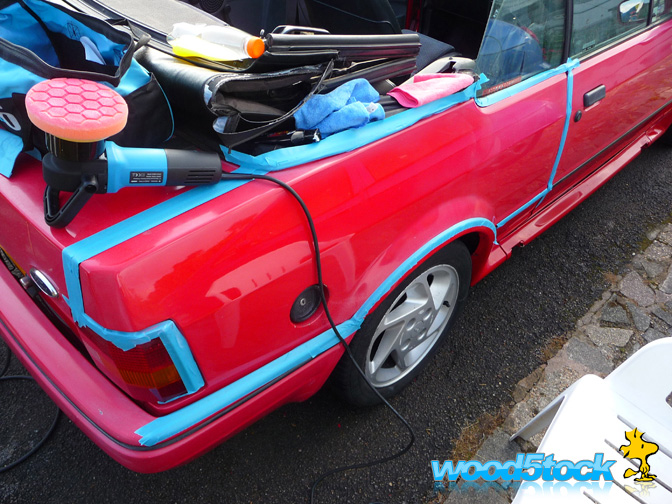
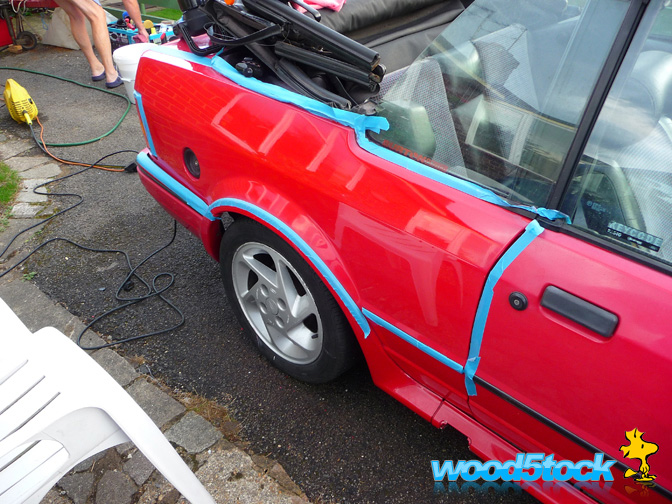
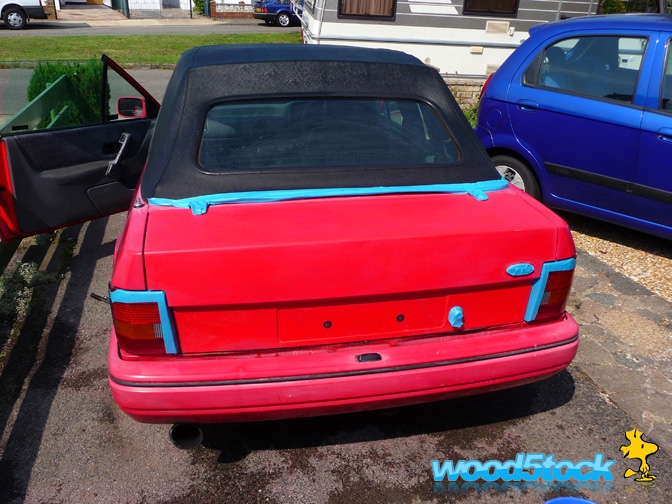
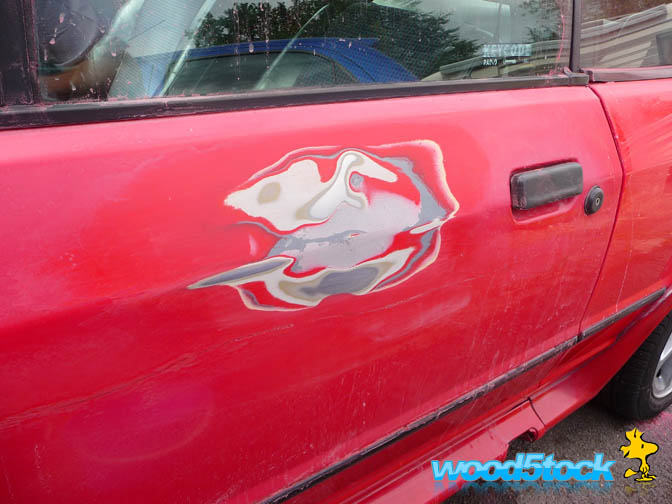
Now on to the N/S rear quarter, once again colour sanded first.
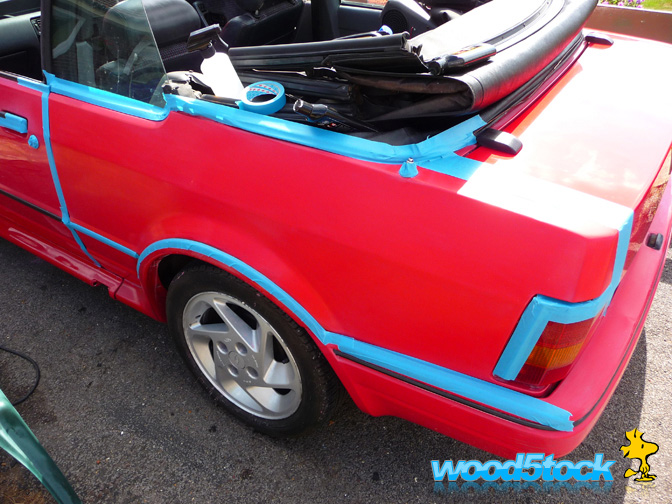
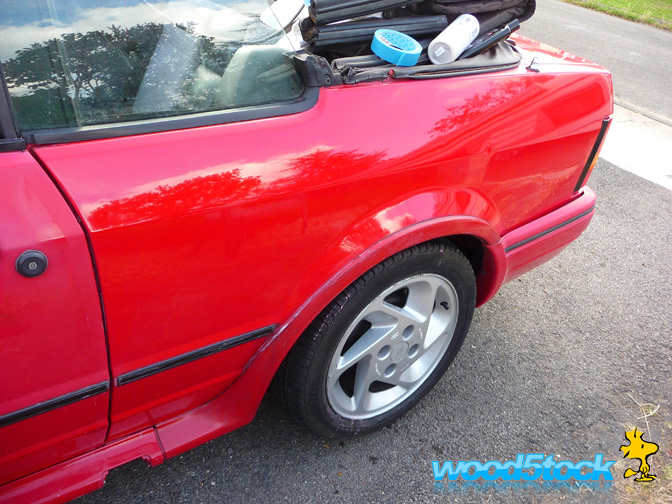
Then the same treatment as the boot to protect.
Really pleased with how the paint is coming on, ultimately it will be re-sprayed but we just want to get it into a fair condition rolling resto.
At the same time as I was doing the outside dad was doing a similar job on the interior revealing again under the grime it was pretty good, but he has those photos on his camera so will get them off him when he gets back from a weeks break this weekend
Hopefully will be back on it beginning of next week
07-09-2013, 08:18 PM
#10
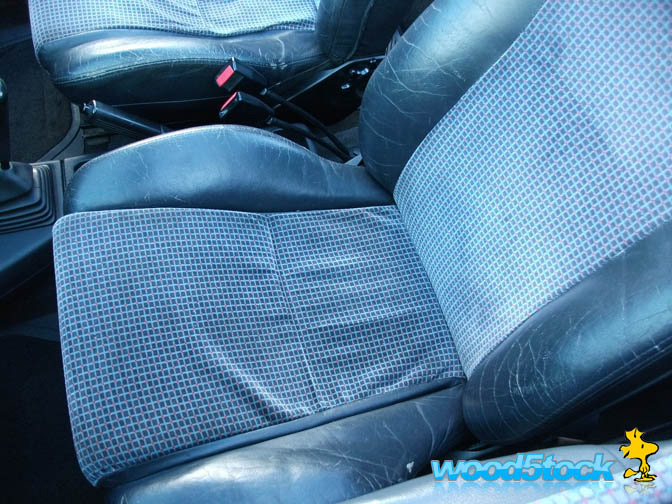
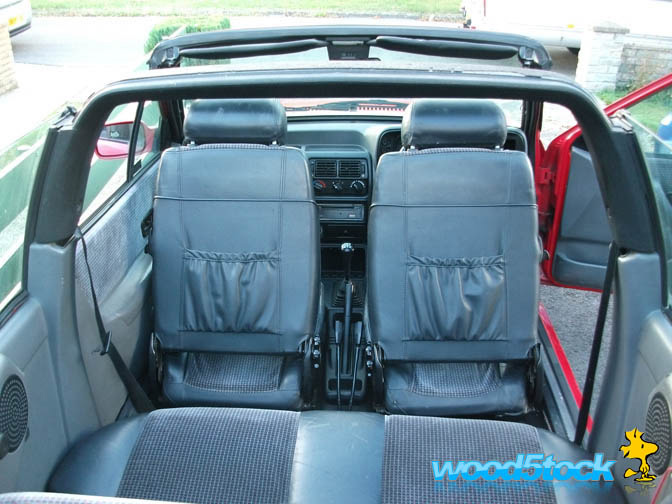
Just go the images back from dad on the clean up he did to the interior. On the whole yes it’s tatty and the drivers seat is suffering from a severe case of ‘blown bolster’ but after a good initial clean up we were a little happier 
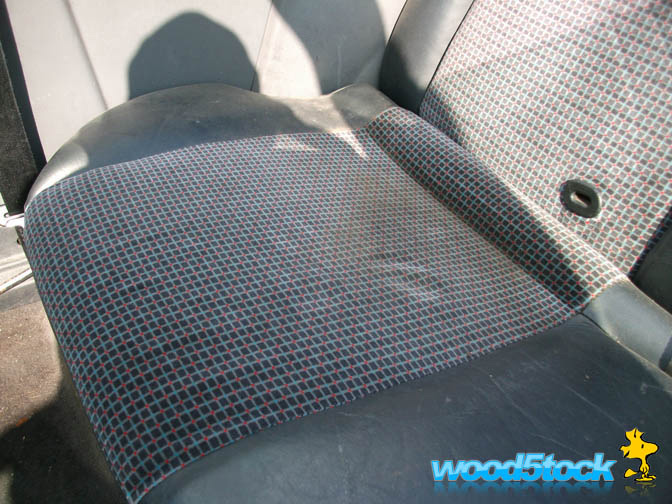
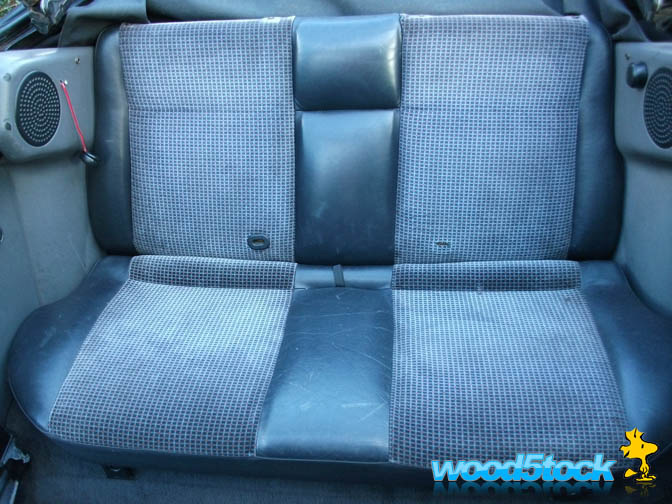
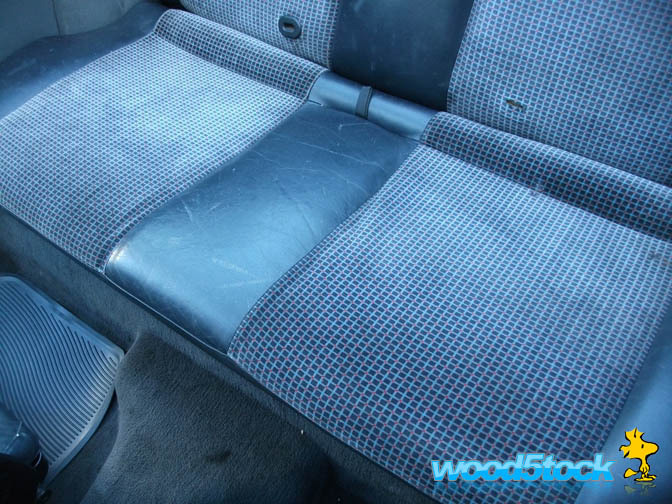
I don’t even want to know what this stain was
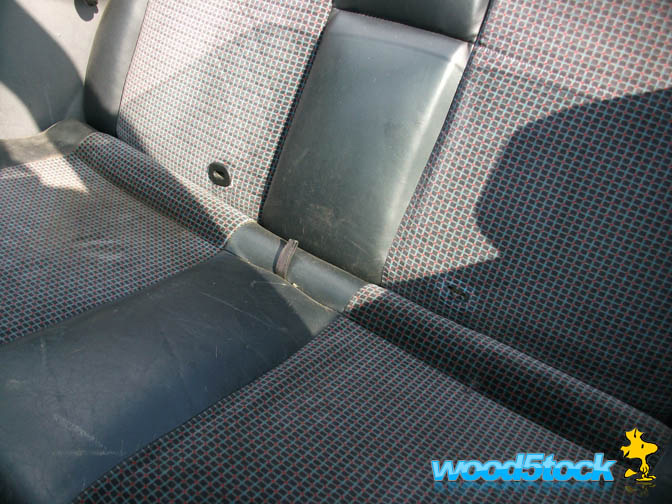
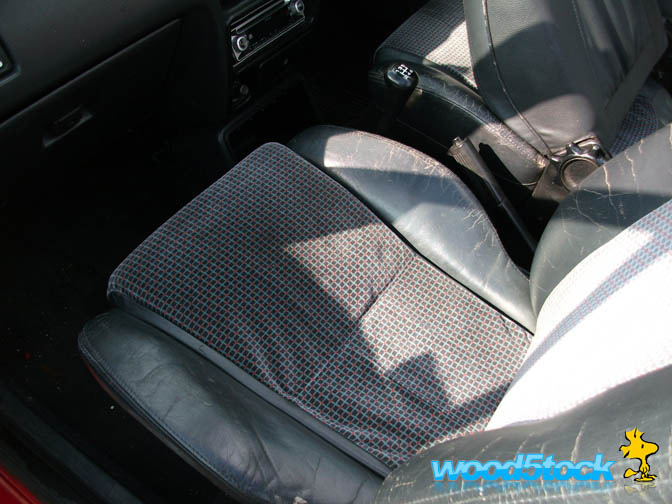
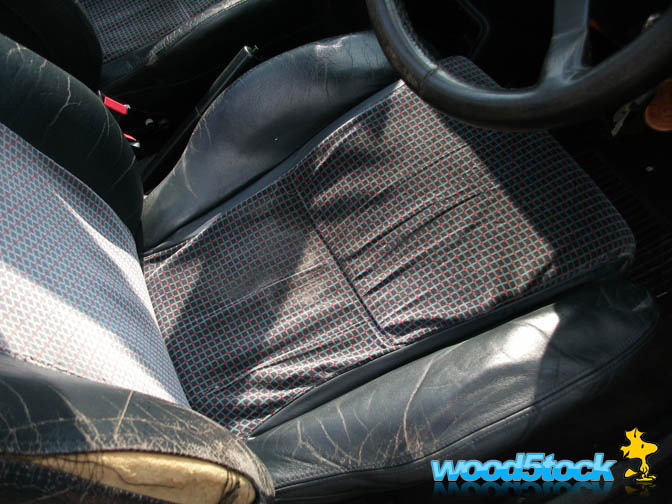
Or this stain
Came up pretty good considering
I don’t even want to know what this stain was
Or this stain
Came up pretty good considering
07-09-2013, 08:19 PM
#11
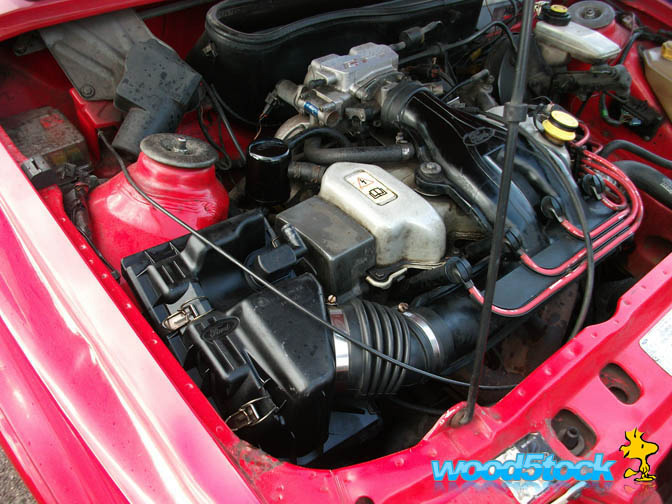
Also lost the hideous ‘induction kit’ and bespoke catch-tank which was a soft drinks bottle splattering crap everywhere! Still protect this half of the engine bay from rust. Got hold of an original air box
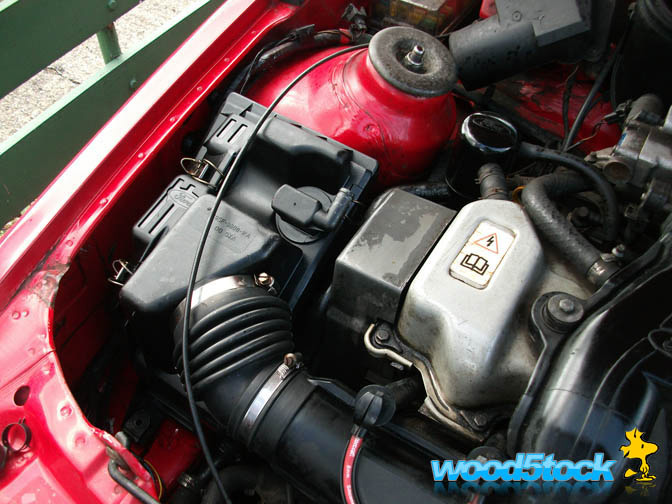
That’s it for now but we will hopefully getting more work done the early part of next week. Tomorrow I am going to get on with another pet project, restoring Mk4 interior door handles
That’s it for now but we will hopefully getting more work done the early part of next week. Tomorrow I am going to get on with another pet project, restoring Mk4 interior door handles
Last edited by Wood5tock; 07-09-2013 at 08:20 PM.
 07-09-2013, 10:18 PM
#13
Advanced PassionFord User
Good progress.
13-09-2013, 02:29 PM
#14
Thanks for the comments guys
Little bit more work done over the last week main restriction RAIN
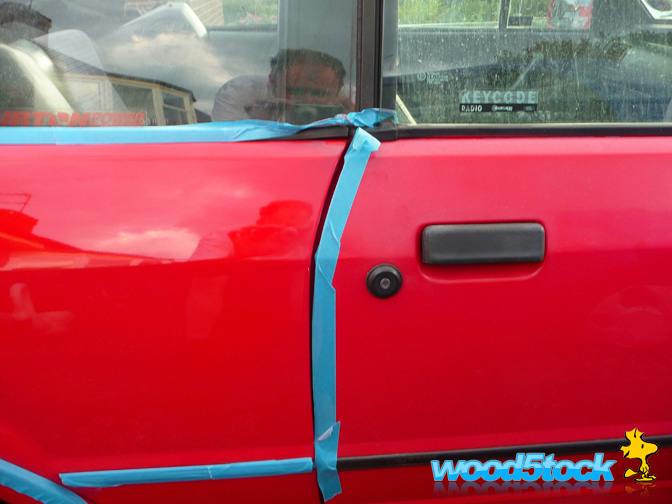
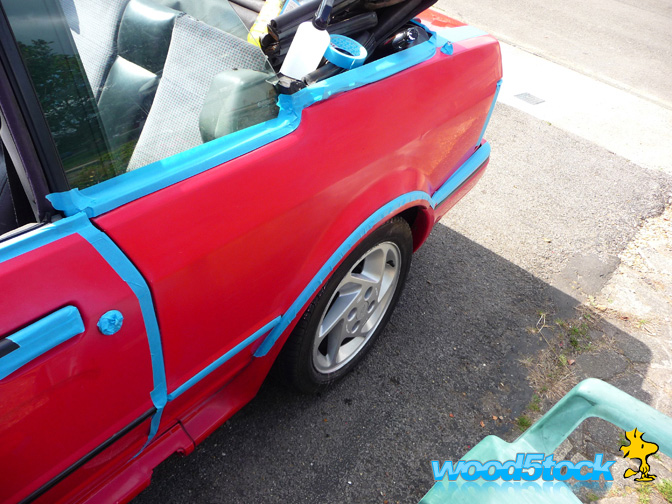
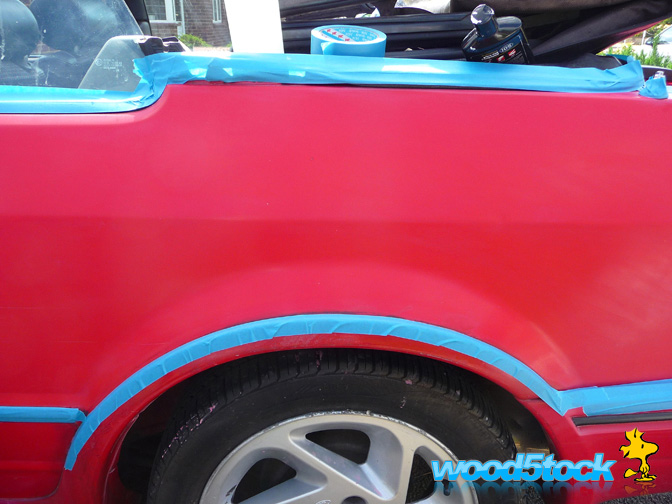
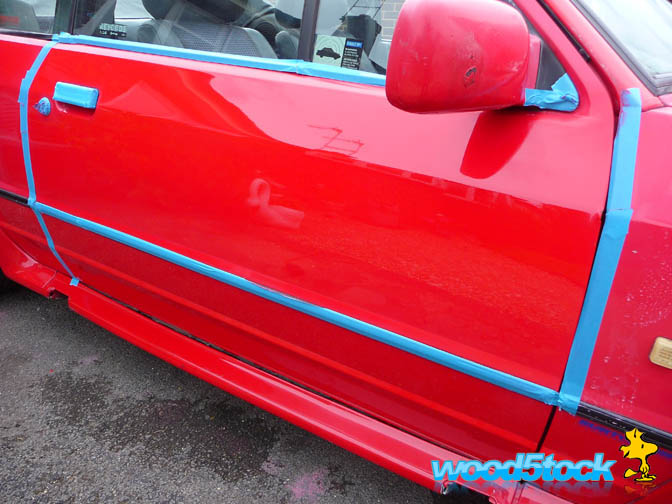
Anyhow here we go. First job was to carry on with flat body work and in particular the drivers door, here we are with a couple of before shots
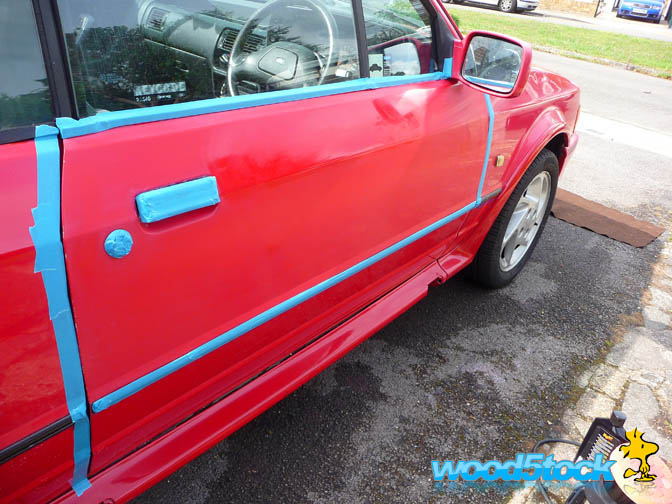
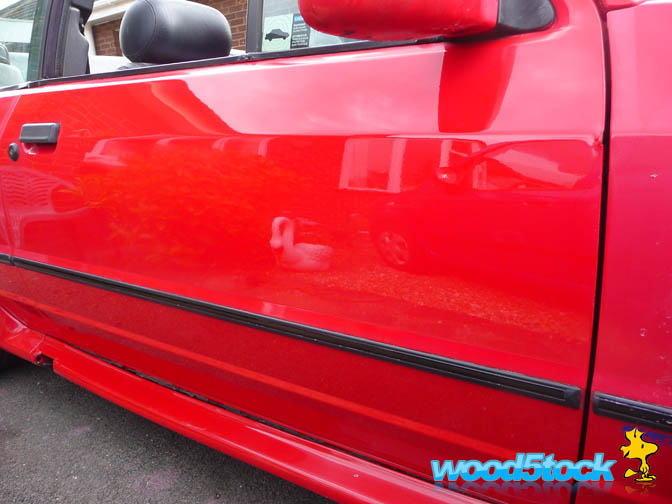
Half way through
And finally after
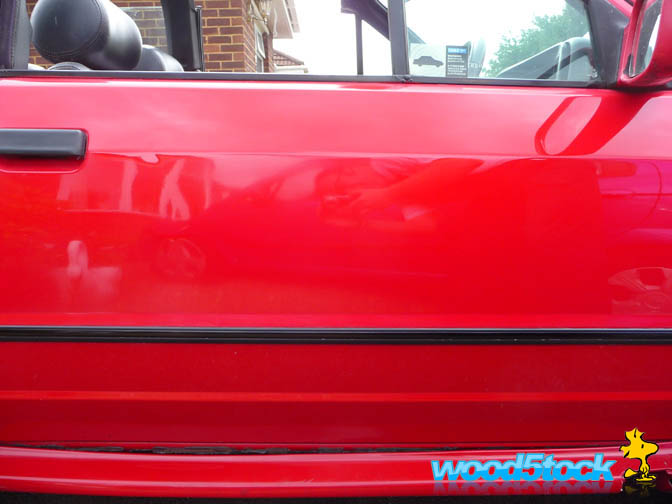
This time I tried out my new Colly 476 as the LSP
Hopefully going to get the two front wings done next week. Dad's booked a dent specialist to pull out the dents on the wings so will get them done after that
Last edited by Wood5tock; 13-09-2013 at 02:36 PM.
13-09-2013, 02:29 PM
#15
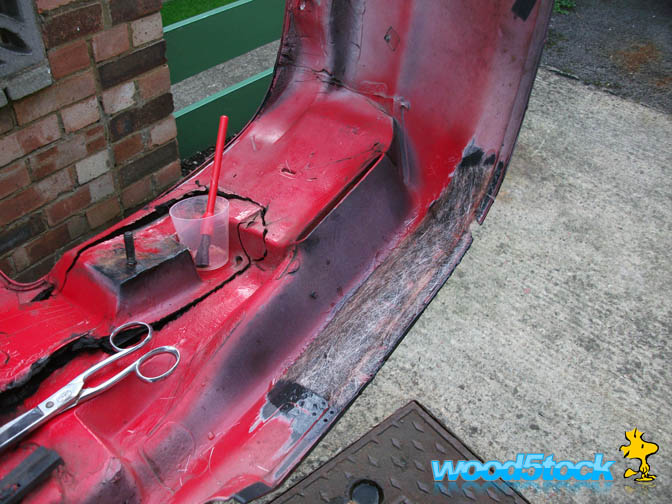
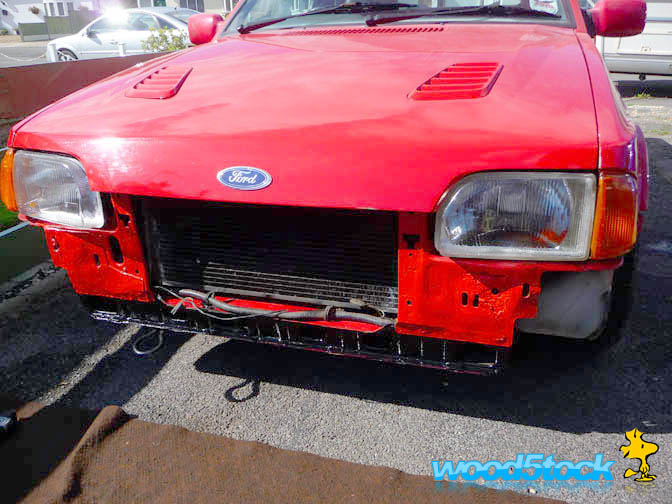
We want to have the front and rear bumpers repaired and painted but not just yet, but we decided to remove the front just to make sure there were no nasties or bitts missing.

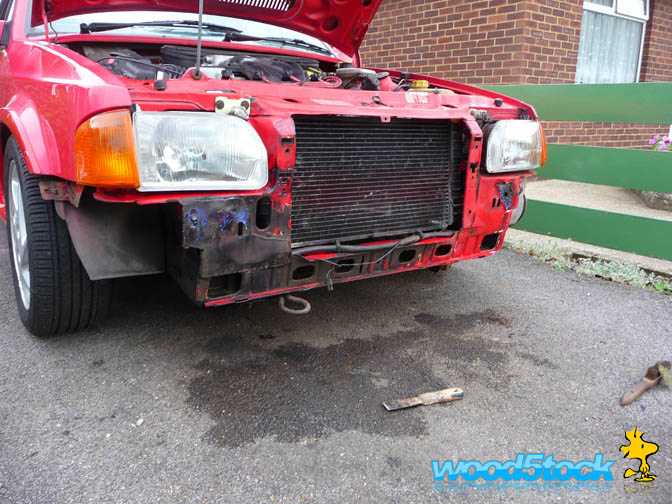
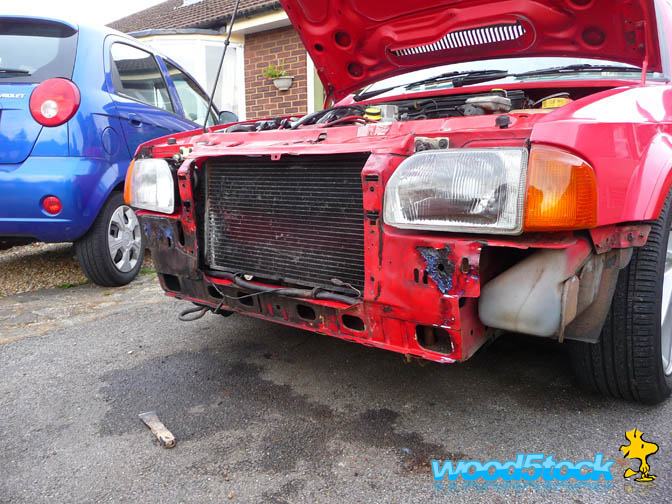
We did find a minor amount of bodgery, mostly wrong fasteners being used and we did encounter some of the dreaded tin worm but for now we just treated it.
We did find a minor amount of bodgery, mostly wrong fasteners being used and we did encounter some of the dreaded tin worm but for now we just treated it.
Last edited by Wood5tock; 13-09-2013 at 02:37 PM.
13-09-2013, 02:30 PM
#16
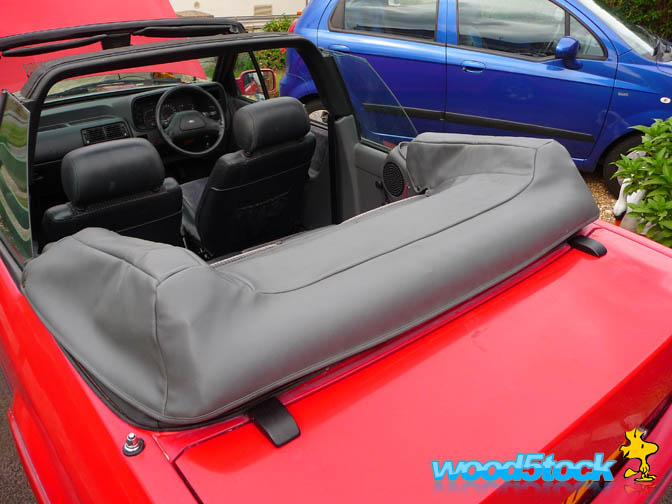
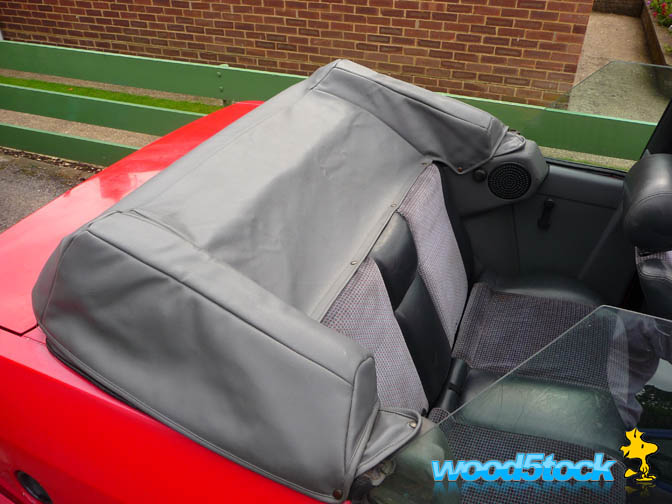
We also received some stuff we ordered from eBay first off a hood cover in really good nick even better after a good clean with APC
One of the many annoying things that was missing was the washer bottle cap
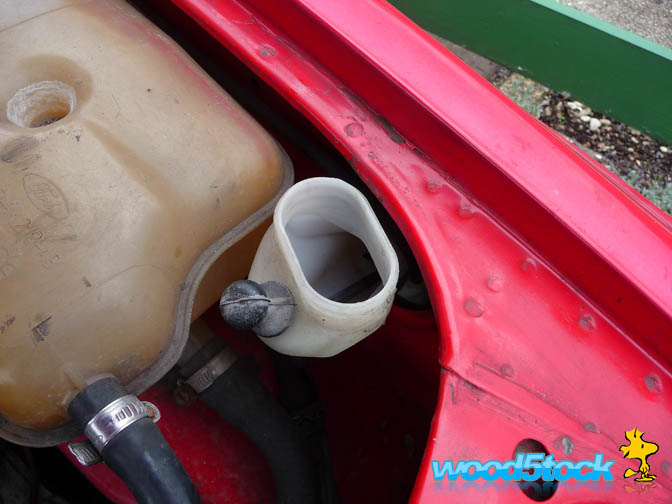
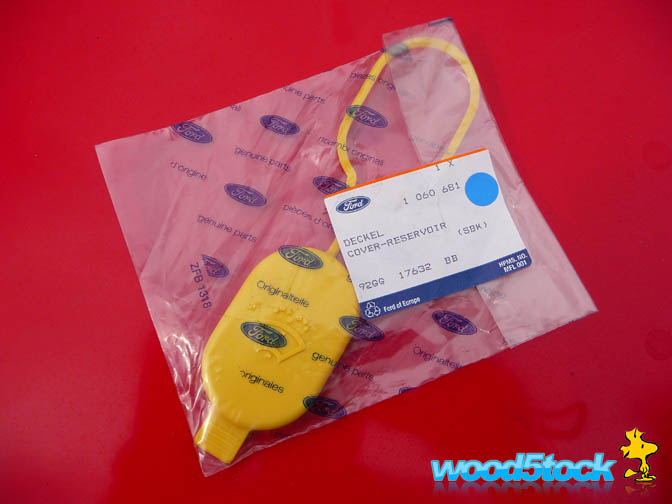
Mmmm... Genuine Ford
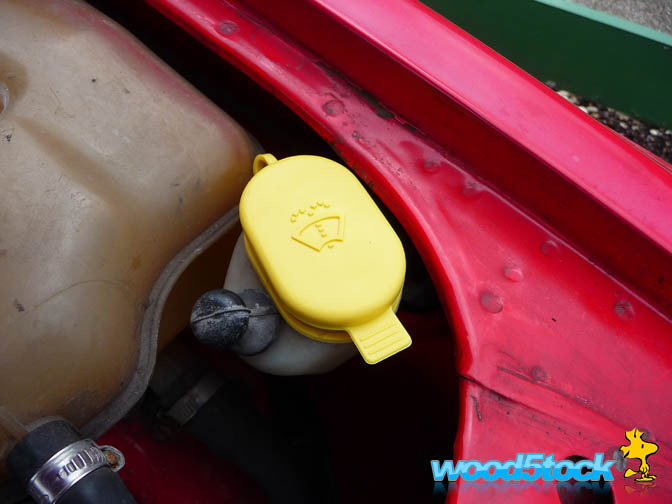
Fitted
One of the many annoying things that was missing was the washer bottle cap
Mmmm... Genuine Ford
Fitted
Last edited by Wood5tock; 09-10-2013 at 03:47 PM.
13-09-2013, 02:30 PM
#17
As and aside to the Cabby I have been sorting the perennial problem that is scabby Mk4 interior door handles, I may even start a separate thread on this for anyone else who may find it useful
So I bought a spare pare to practice on from eBay so if they go wrong I haven't destroyed anything and if the go right I can swap them over for the ones on my blue Mk4 then Dad's Cabby :top
So here is the story so far
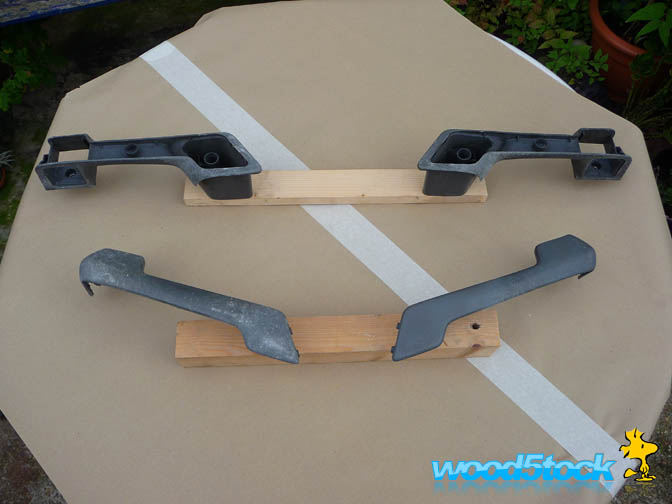
The first thing I did was make a quick holding jig for priming and painting when ready

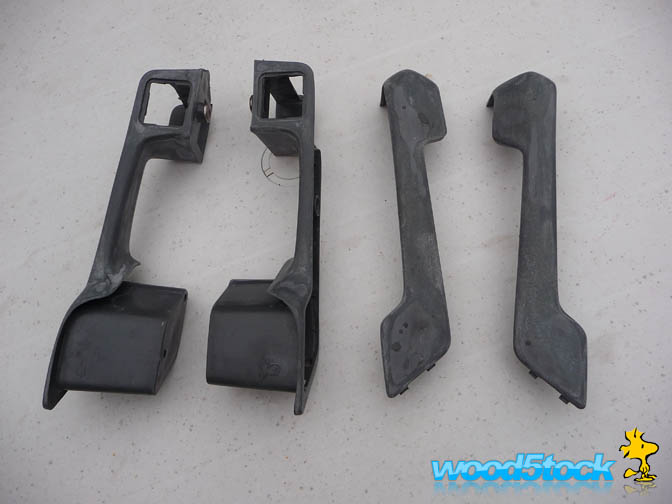
A view of the handles before work

They then had a skim over with some filler to get rid of the first imperfections and then blocked back using 3M Production Paper
The were then sanded back again with 400 WoD until nice and smooth
Once they were prepped they then had a few coats of filler primmer and that's how they are now hardening of for a good few days after which I will then flat them back and sort any fine imperfections.
That's in for now, any comments welcome
So I bought a spare pare to practice on from eBay so if they go wrong I haven't destroyed anything and if the go right I can swap them over for the ones on my blue Mk4 then Dad's Cabby :top
So here is the story so far
The first thing I did was make a quick holding jig for priming and painting when ready
A view of the handles before work
They then had a skim over with some filler to get rid of the first imperfections and then blocked back using 3M Production Paper
The were then sanded back again with 400 WoD until nice and smooth
Once they were prepped they then had a few coats of filler primmer and that's how they are now hardening of for a good few days after which I will then flat them back and sort any fine imperfections.
That's in for now, any comments welcome
Last edited by Wood5tock; 13-09-2013 at 05:46 PM.
13-09-2013, 07:58 PM
#19
Wahay!! I've lost my Virginity!!

Join Date: Aug 2013
Location: Northumberland
Posts: 50
Likes: 0
Received 0 Likes
on
0 Posts
We want to have the front and rear bumpers repaired and painted but not just yet, but we decided to remove the front just to make sure there were no nasties or bitts missing.
We did find a minor amount of bodgery, mostly wrong fasteners being used and we did encounter some of the dreaded tin worm but for now we just treated it.
We did find a minor amount of bodgery, mostly wrong fasteners being used and we did encounter some of the dreaded tin worm but for now we just treated it.
my interior door handles are also rubbish would be very interested to follow your how too thread if you decide to start one!
Excellent job on the paint work well done mate
13-09-2013, 08:11 PM
#20
Thanks for the comments guys.
@skoda169 yes I will more than likely start a thread once I am happy that the handles will work. When I was looking for info myself on this there are a couple of pics of people finished handles but not a process of how they got there.
Having said that it's pretty obvious
@skoda169 yes I will more than likely start a thread once I am happy that the handles will work. When I was looking for info myself on this there are a couple of pics of people finished handles but not a process of how they got there.
Having said that it's pretty obvious
 22-09-2013, 07:47 PM
#24
Got loads done this week first off getting the old exhaust off and replacing it with a standard one. This not only helped a little with the rough running but also unearthed some horrible bodges
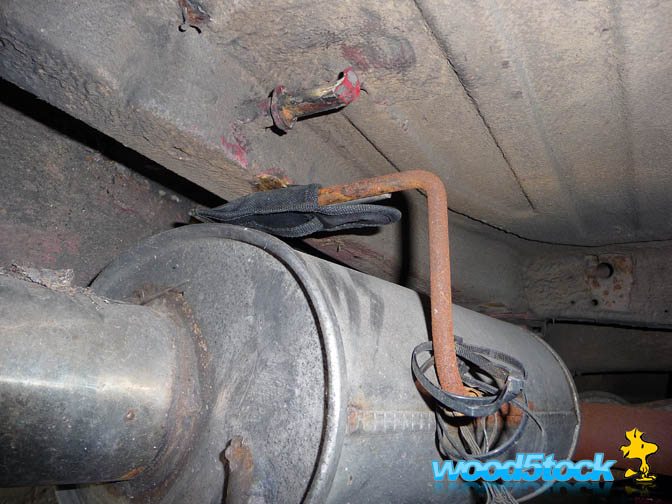
Yes those are cable ties acting as exhaust rubbers and yes that is a sheath from a one of those Leatherman tools wrapped around the back box mount
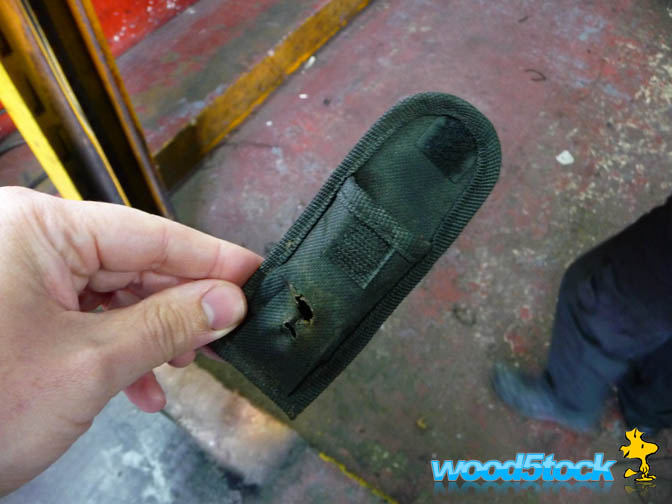
Here's a better view of the sheath
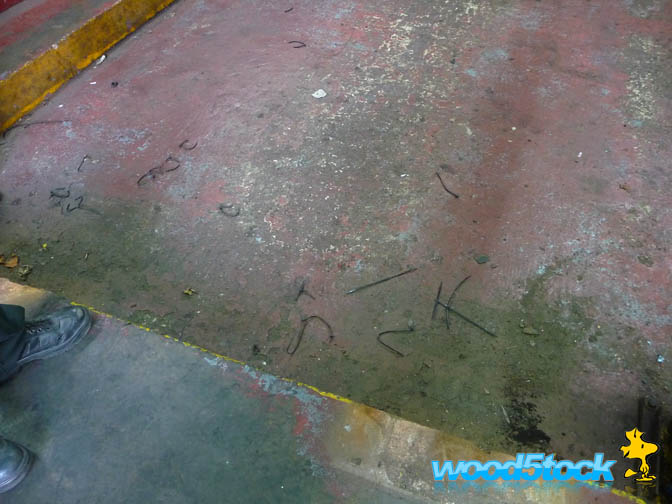
And here are some of small amount of cable ties removed on the floor
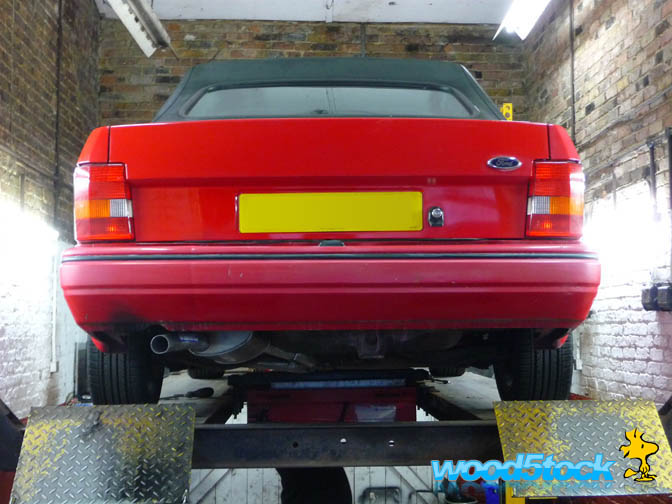
All sorted though with a nice standard item
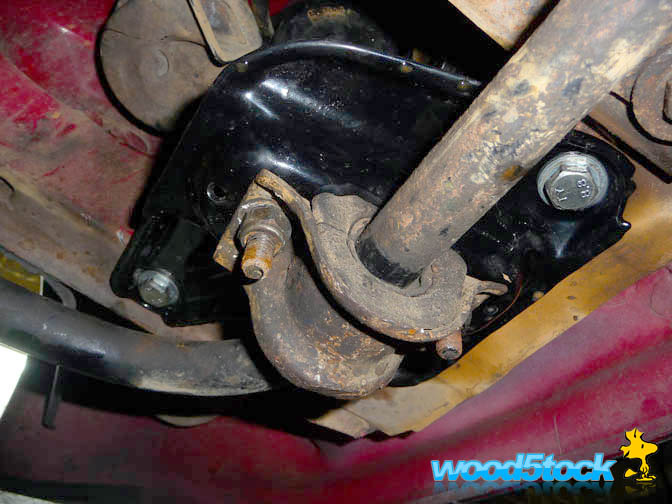
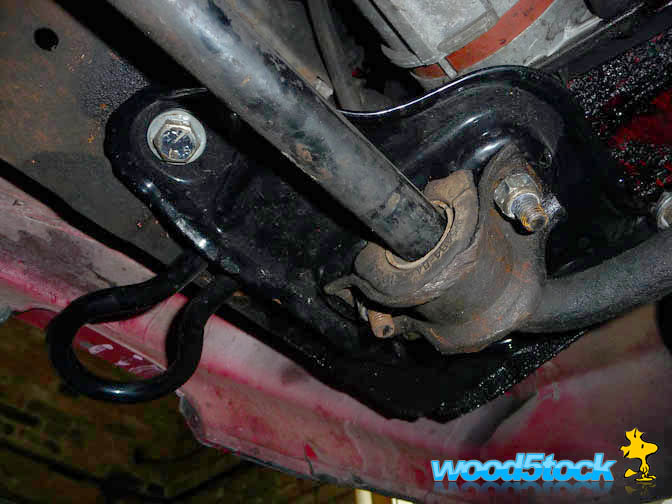
Whilst it was up on the ramp I decided to get a couple of shots of the ARB mounts we got from Ryoishikawa on here
Yes those are cable ties acting as exhaust rubbers and yes that is a sheath from a one of those Leatherman tools wrapped around the back box mount
Here's a better view of the sheath
And here are some of small amount of cable ties removed on the floor
All sorted though with a nice standard item
Whilst it was up on the ramp I decided to get a couple of shots of the ARB mounts we got from Ryoishikawa on here
22-09-2013, 07:57 PM
#26
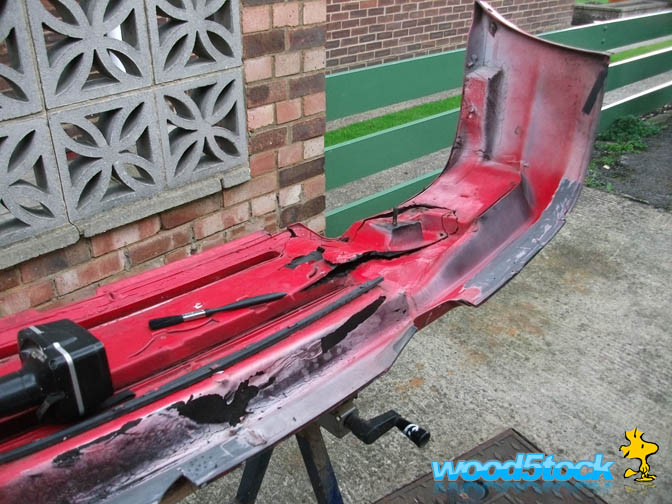
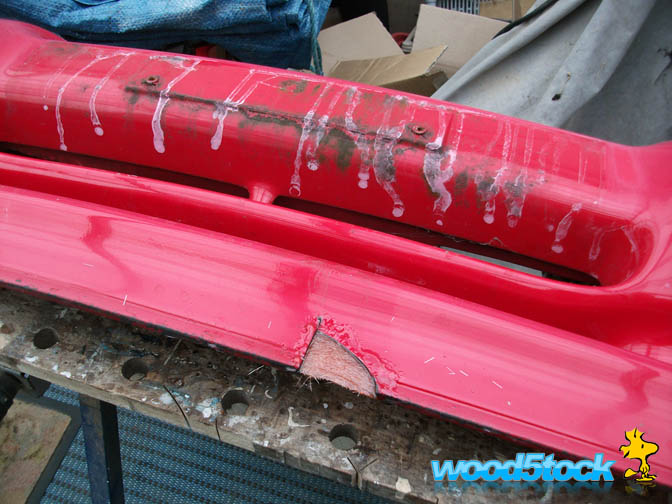
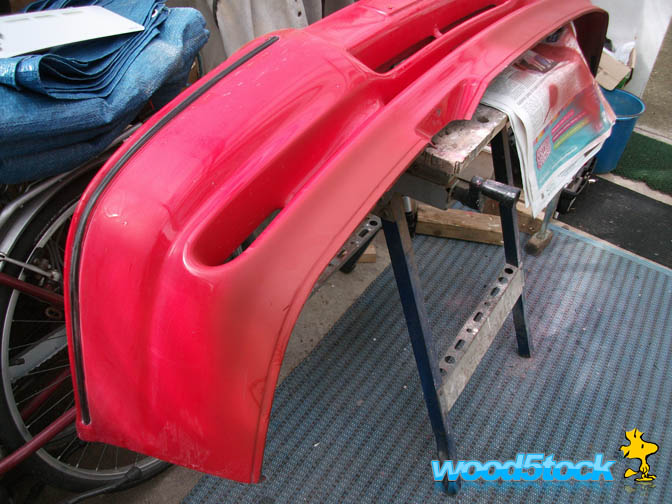
Now on to the front bumper with dad weaving his magic on the repairs after a local body shop didn�t want to touch it.
First off repairing and reinforcing the cracks along the bottom with GRP including making up bits that were missing
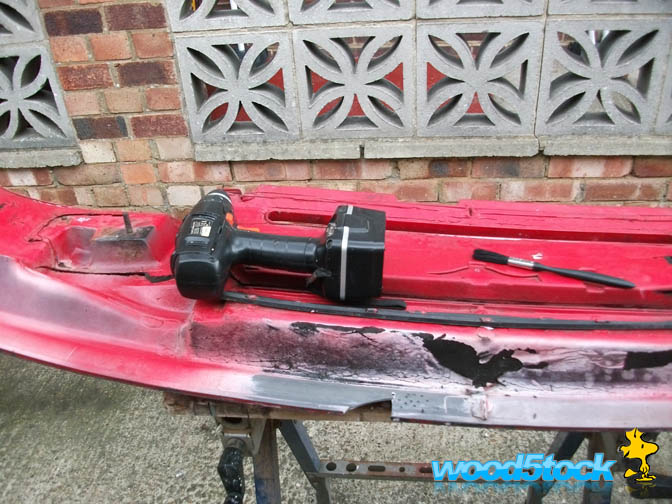

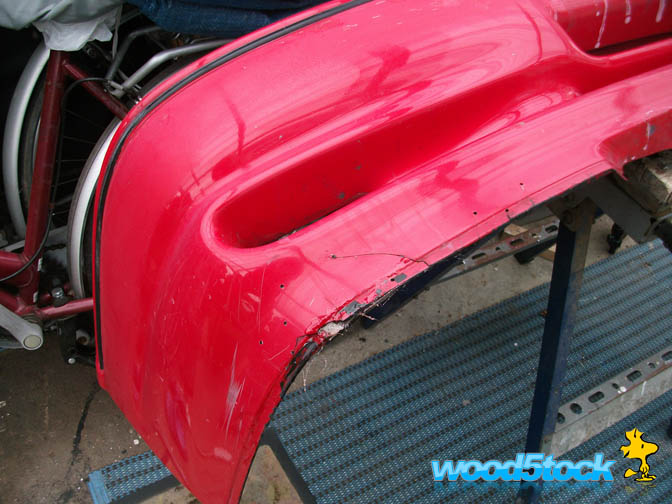
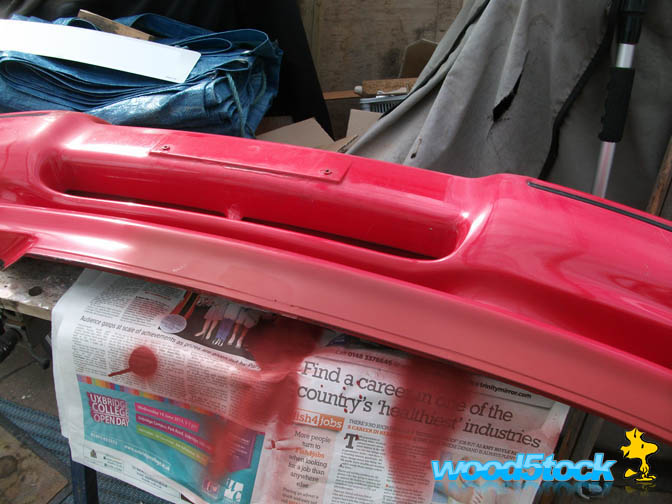
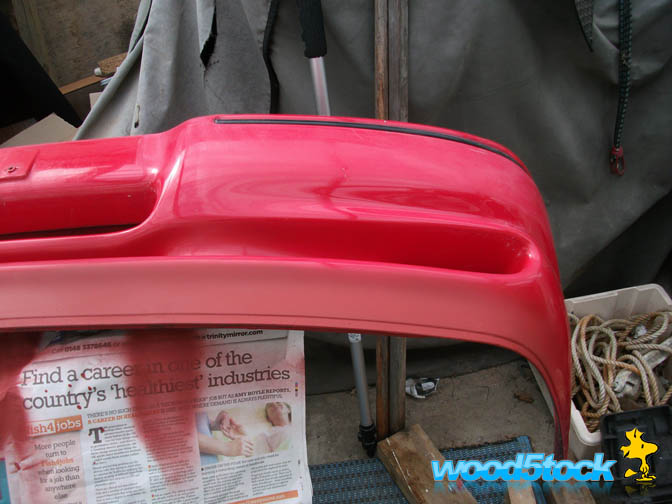
Then on to shaping and skimming
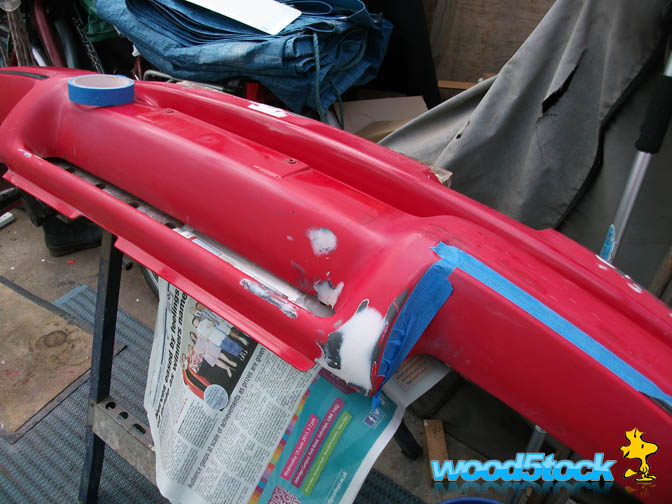
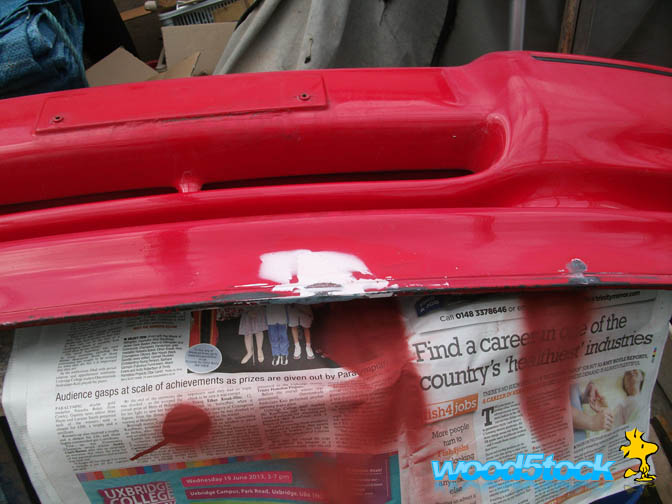
A bit of red primmer just see how it was coming along
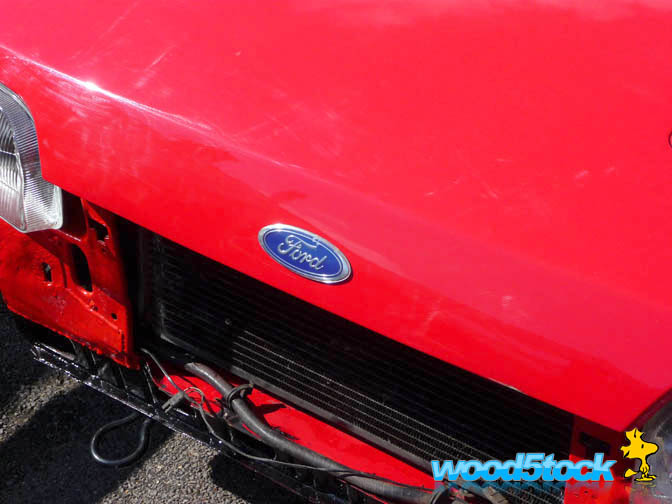
Whilst waiting for the primer to dry after a final skim dad finished painting the steel work up front. I also fitted a spare ford badge on the bonnet despite lack of recess due to de-badging
With everything dried we put the bumper back on until the next day
First off repairing and reinforcing the cracks along the bottom with GRP including making up bits that were missing
Then on to shaping and skimming
A bit of red primmer just see how it was coming along
Whilst waiting for the primer to dry after a final skim dad finished painting the steel work up front. I also fitted a spare ford badge on the bonnet despite lack of recess due to de-badging
With everything dried we put the bumper back on until the next day
22-09-2013, 08:01 PM
#27
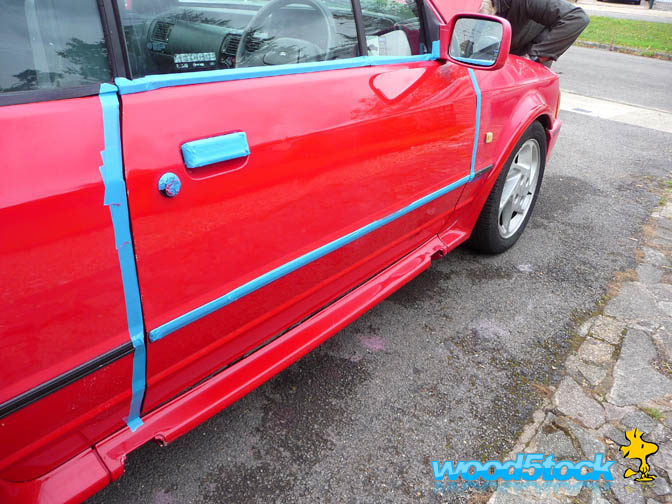
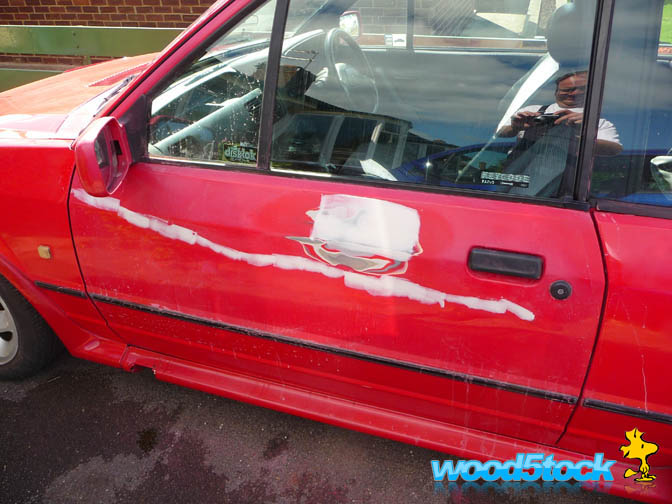
Whilst dad was on the front bumper I was investigating the nasty blisters on the passenger door. I had a feeling it was due to paint going over un-cured filler was the problem and sure enough a familiar smell was released as I sanded the door back. Plus a fantastic reaction the paint had under it all. 
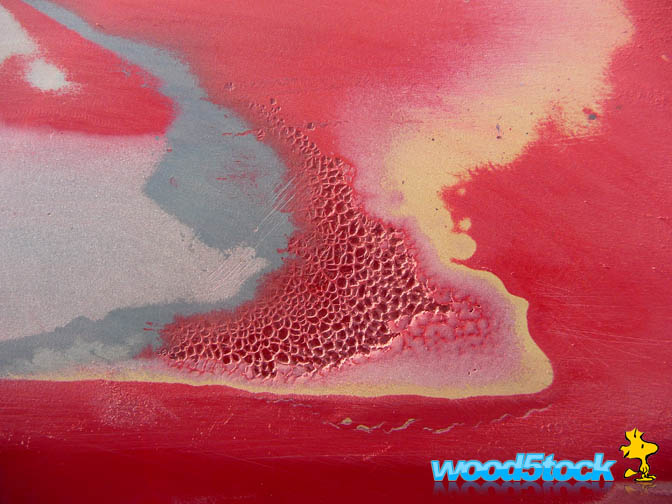
Got all the nastiness out and started on the light skims to correct it back to shape
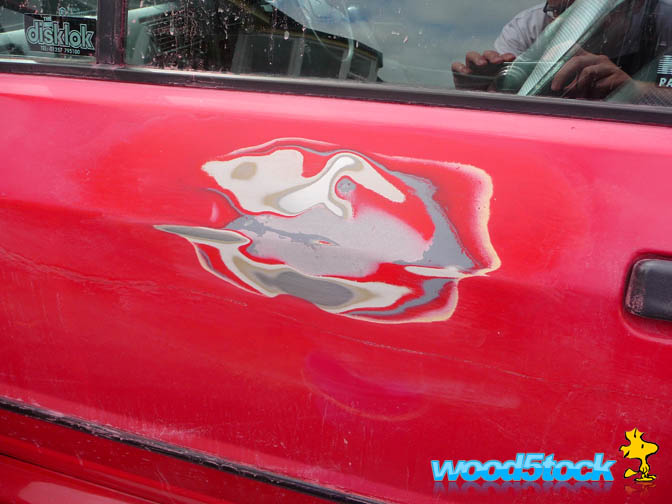
Also filled the key scratch running along the door
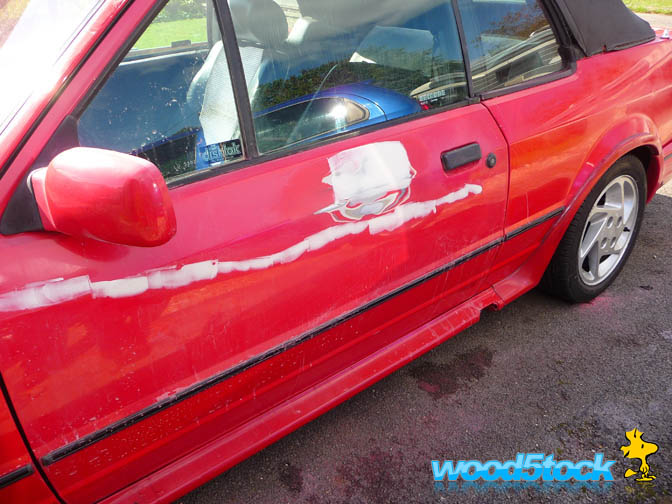
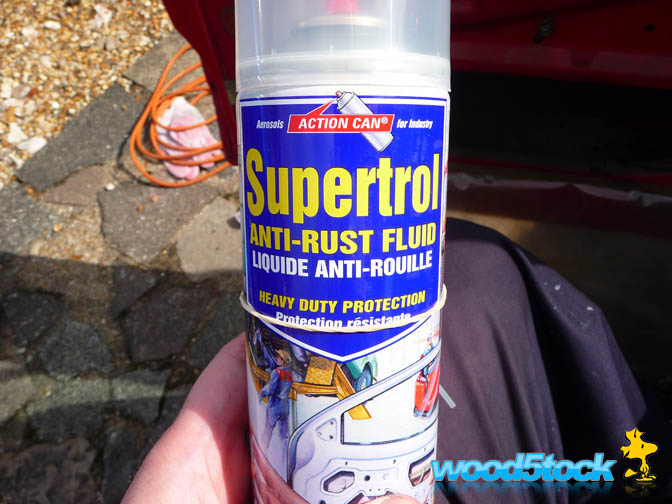
Whilst I was waiting for things to cure I also took the door card off the clean up and lube the window and locking mechanisms. Also treated the door bottoms to a good coating of good old Supertrol
Got all the nastiness out and started on the light skims to correct it back to shape
Also filled the key scratch running along the door
Whilst I was waiting for things to cure I also took the door card off the clean up and lube the window and locking mechanisms. Also treated the door bottoms to a good coating of good old Supertrol
22-09-2013, 08:04 PM
#28
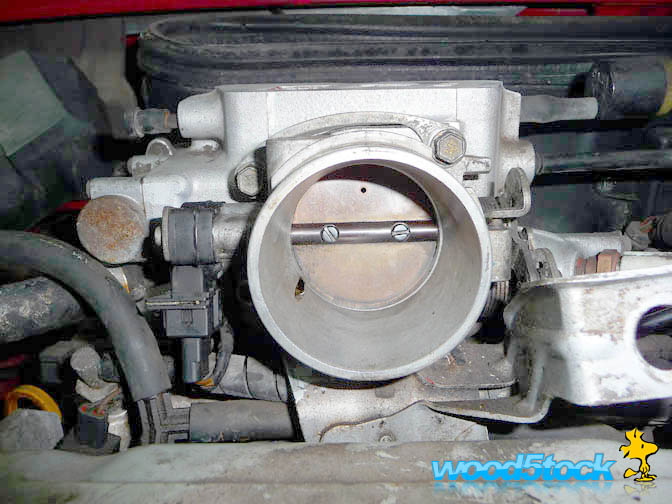
That evening with the car back together we ventured off to our friendly mechanic for him to start a program of getting the car to run properly
This time he cleaned up the throttle body as it was full of crap and also the idle valve
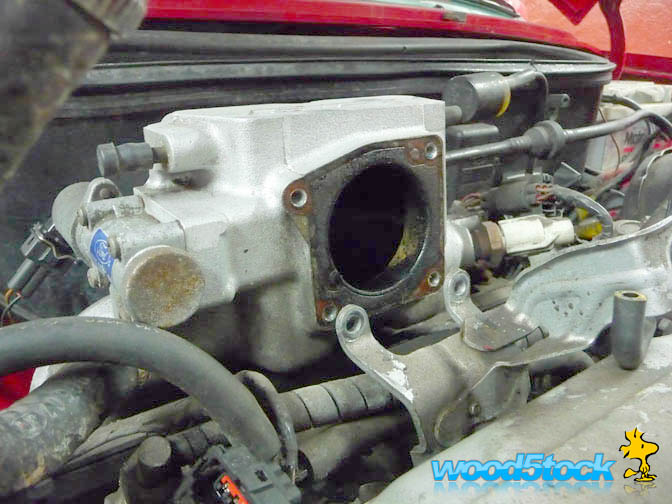
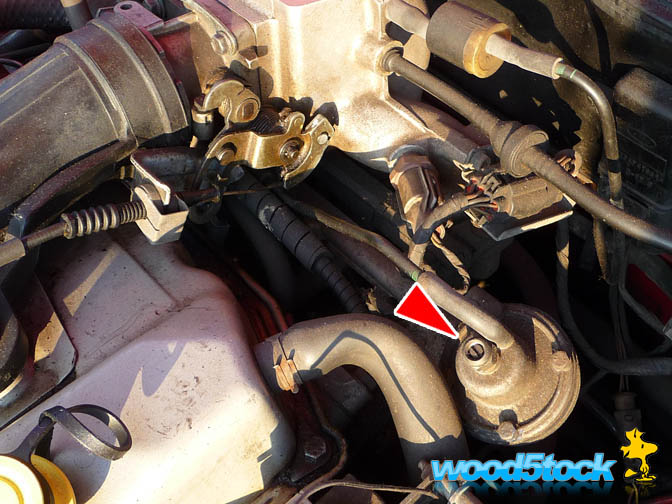
We also found another bodge, a suspicious nut being used on top of the fuel regulator. At least it�s the right thread
It certainly ran better after these tweaks but still more to do with quite a few evening visits I am guessing.
This time he cleaned up the throttle body as it was full of crap and also the idle valve
We also found another bodge, a suspicious nut being used on top of the fuel regulator. At least it�s the right thread
It certainly ran better after these tweaks but still more to do with quite a few evening visits I am guessing.
22-09-2013, 08:08 PM
#29
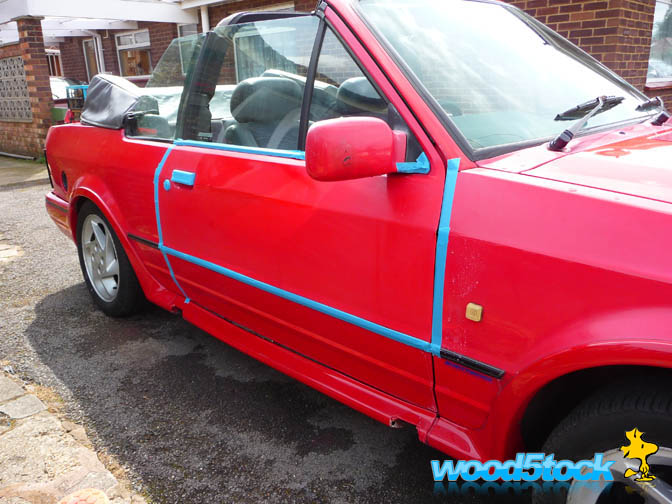
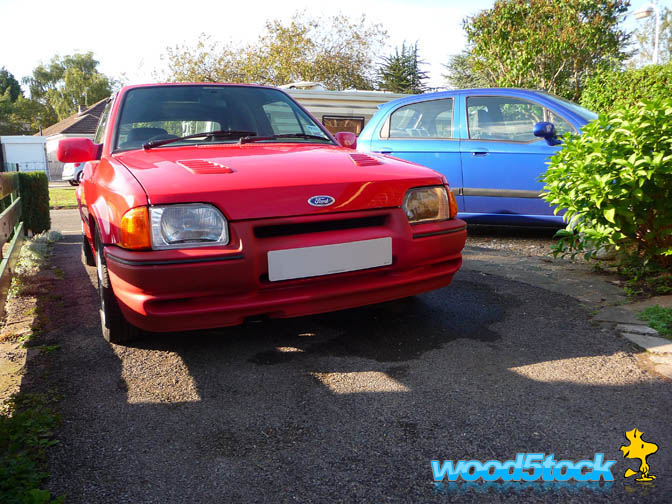
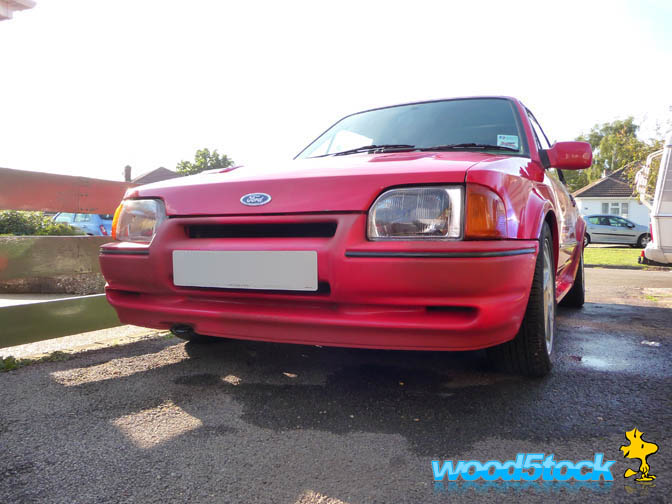
To finish up over the last few days dad has been painting the front bumper and this afternoon we were able to fit it.
Not bad for an apparent lost cause Mr body shop.
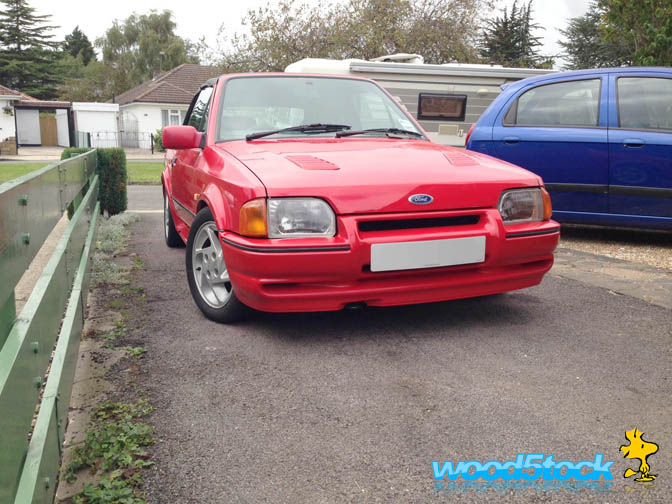
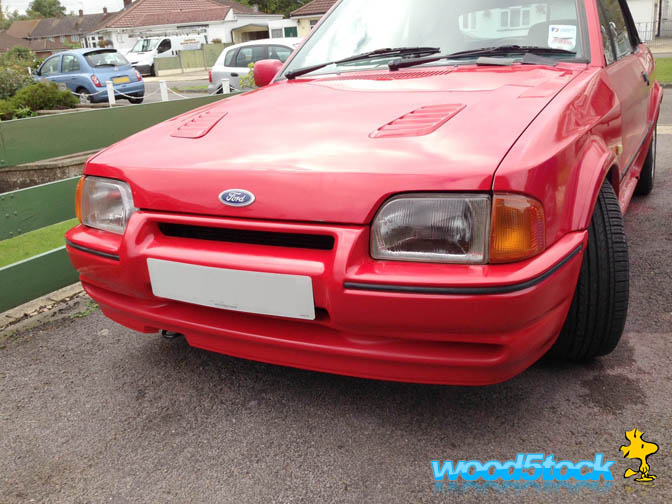
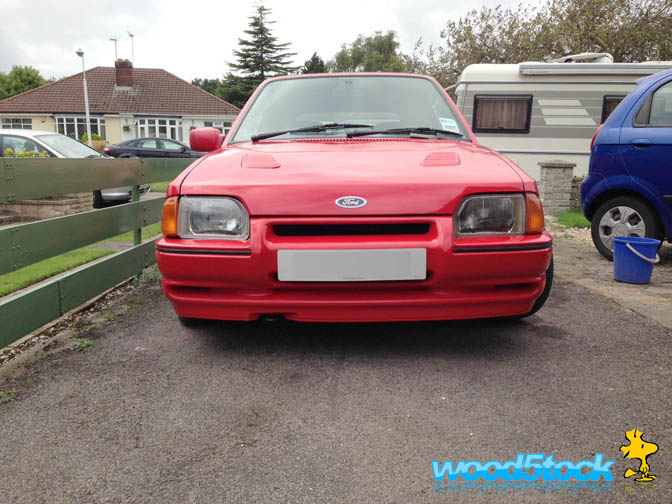
Not concourse because as you know at the moment we just want a decent looking rolling resto, but I think it looks rather good.
Next week more door, Hood work and seat restorations
Wood5tock
Not bad for an apparent lost cause Mr body shop.
Not concourse because as you know at the moment we just want a decent looking rolling resto, but I think it looks rather good.
Next week more door, Hood work and seat restorations
Wood5tock
 22-09-2013, 09:04 PM
#33
You Shonkaphile you. I am sure there will be more shonks uncovered before we get much older
Just ordered a selection of proper trim screws, spire clips, and self tappers etc. As you well know we have discovered a worrying amount of wood screws holding things in
Thankfully none of them have caused damage or risk
Just ordered a selection of proper trim screws, spire clips, and self tappers etc. As you well know we have discovered a worrying amount of wood screws holding things in
Thankfully none of them have caused damage or risk
22-09-2013, 09:07 PM
#34
Not Crazy, just Unwell
You already know I hate the wood screw agenda etc etc. but why the fook do people use them to screw bumpers on?? You know in the wheel arch! God I hate that!!
Your doin a top job, you and your dad mate. Excellent work.
Your doin a top job, you and your dad mate. Excellent work.


