Bams Grey RS
 19-04-2013, 10:48 PM
#1
Regular Contributor
Thread Starter

Join Date: May 2008
Location: mansfield
Posts: 214
Likes: 0
Received 0 Likes
on
0 Posts
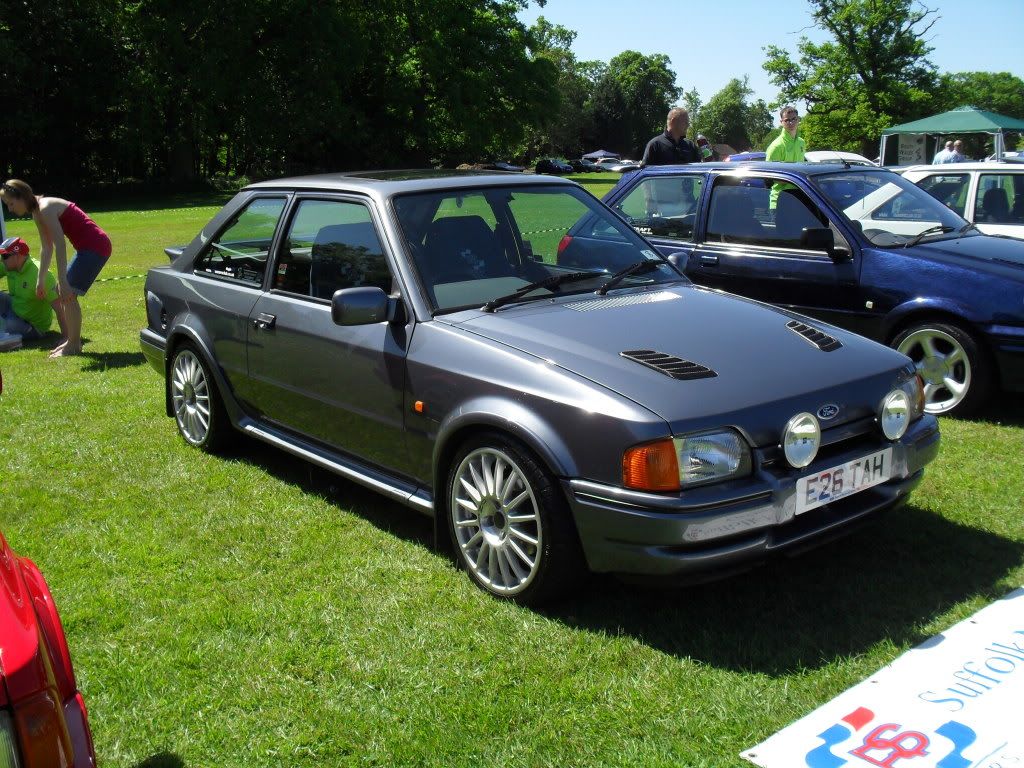
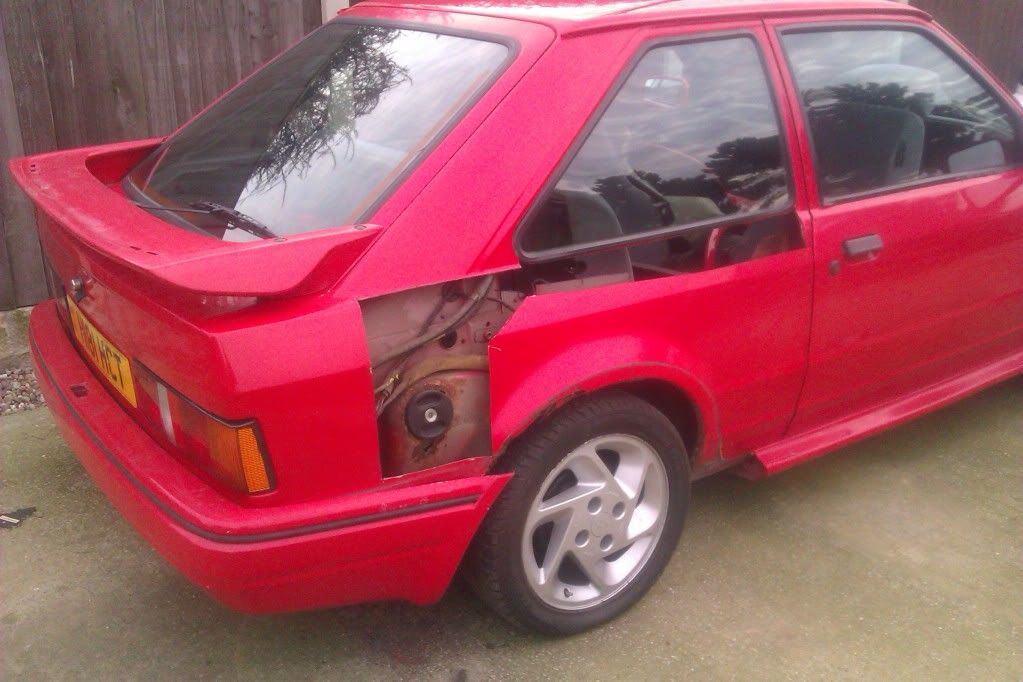
before i bought this car it looked like this
and then Liam the last owner stripped it and made it look like this
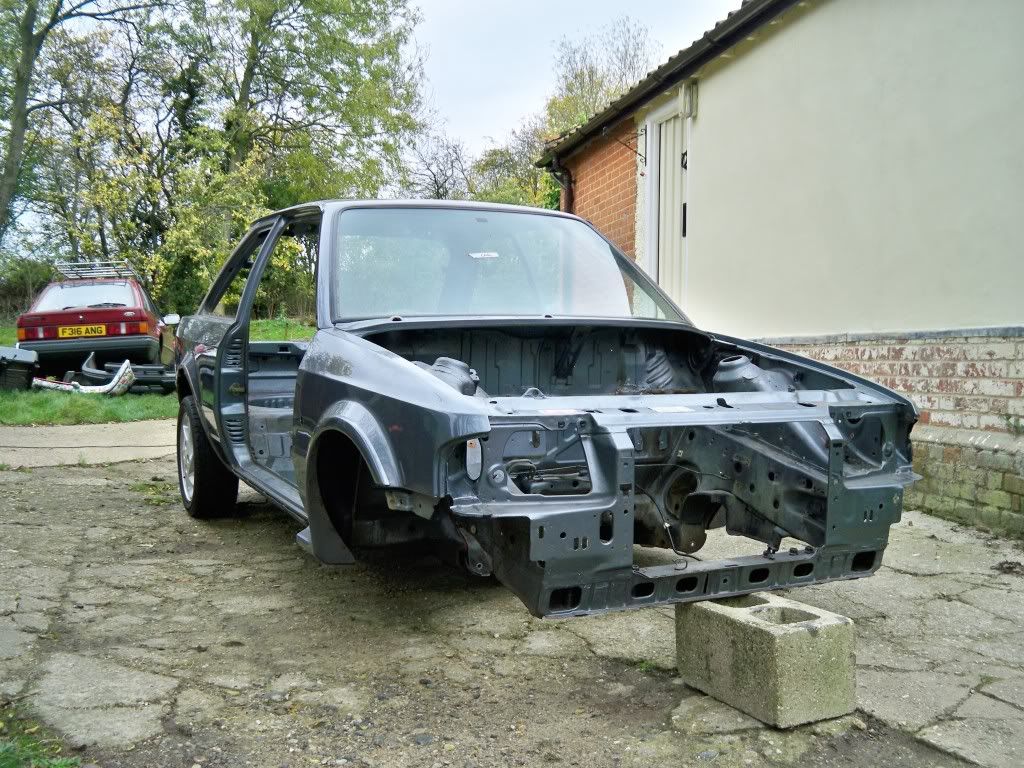
so i popped down to sussex with my luton van and swapped the RS for a crisp �50 note
feb 2012 the resto started

and then Liam the last owner stripped it and made it look like this

so i popped down to sussex with my luton van and swapped the RS for a crisp �50 note
feb 2012 the resto started


 20-04-2013, 08:50 AM
#7
Wahay!! I've lost my Virginity!!

Join Date: Jan 2011
Location: Burton Upon Trent
Posts: 50
Likes: 0
Received 0 Likes
on
0 Posts
Sweet looking 88 spec before. Hope you keep it that way and keep the updates going. Just started my resto thread on here as GGR S2 so bound to be asking lots of questions.
Trending Topics
21-04-2013, 03:52 PM
#10
Advanced PassionFord User
Lads the car looks nothing like before, and will look even better than ever once its finished. You should really check out the resto on the RSOC forum.
http://www.rsownersclub.co.uk/rsocbb...d.php?t=394605
Anyway i'll let bam continue from here.
http://www.rsownersclub.co.uk/rsocbb...d.php?t=394605
Anyway i'll let bam continue from here.
Last edited by RSmark84; 21-04-2013 at 03:57 PM.
22-04-2013, 06:52 PM
#11
Regular Contributor
Thread Starter
Join Date: May 2008
Location: mansfield
Posts: 214
Likes: 0
Received 0 Likes
on
0 Posts
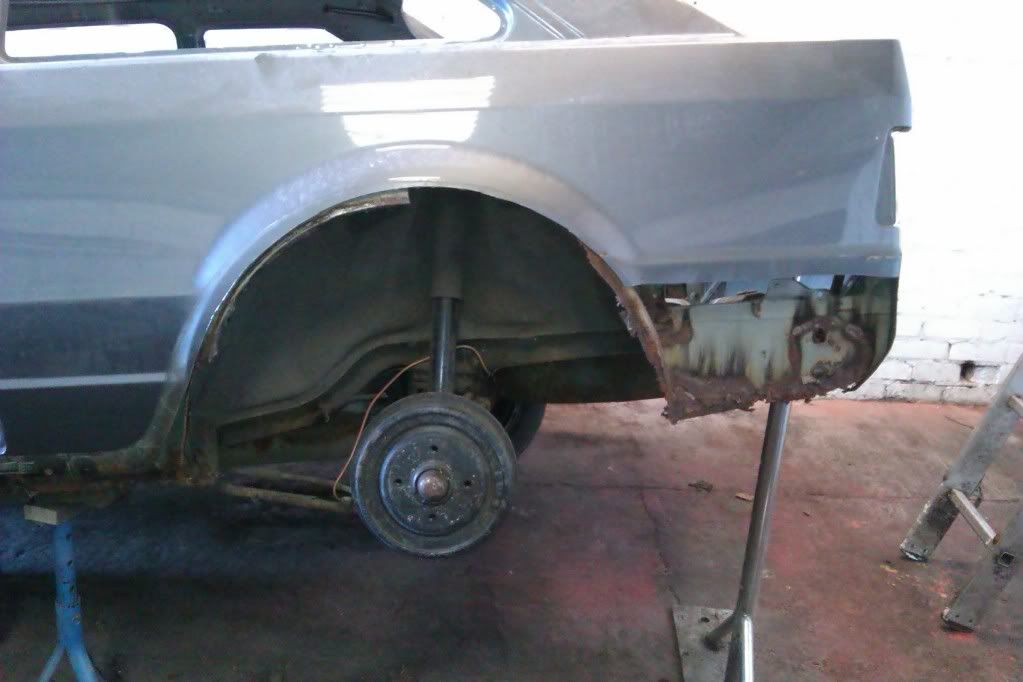
ha ha cheers for that Mark , I will add a bit more to this thread now i have 10 minutes spare , it fitted in the back of the Luton lovely
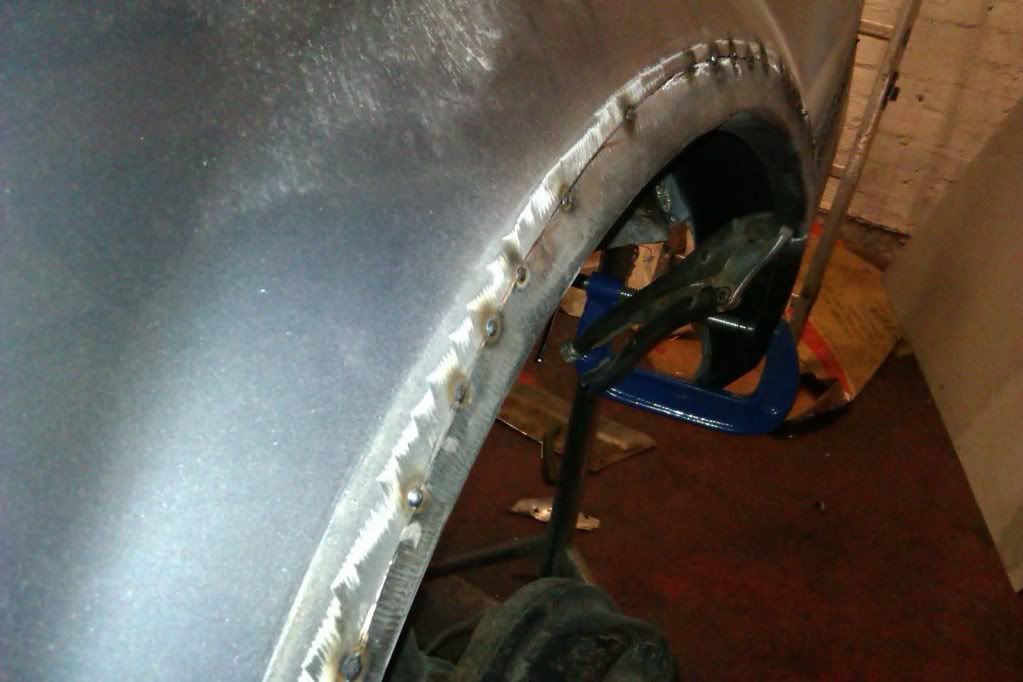
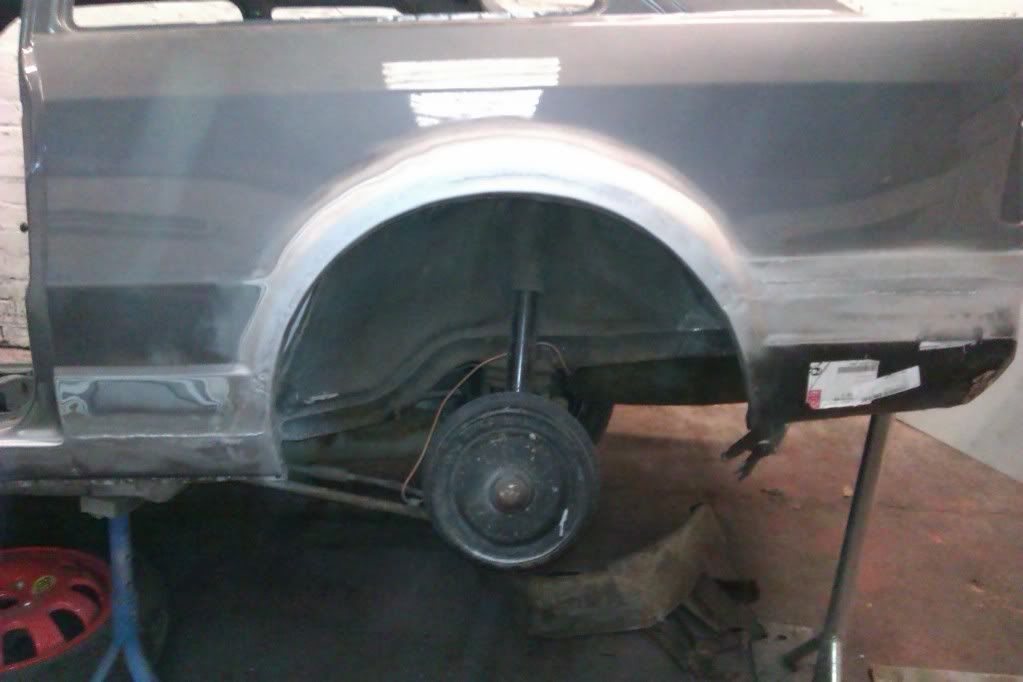
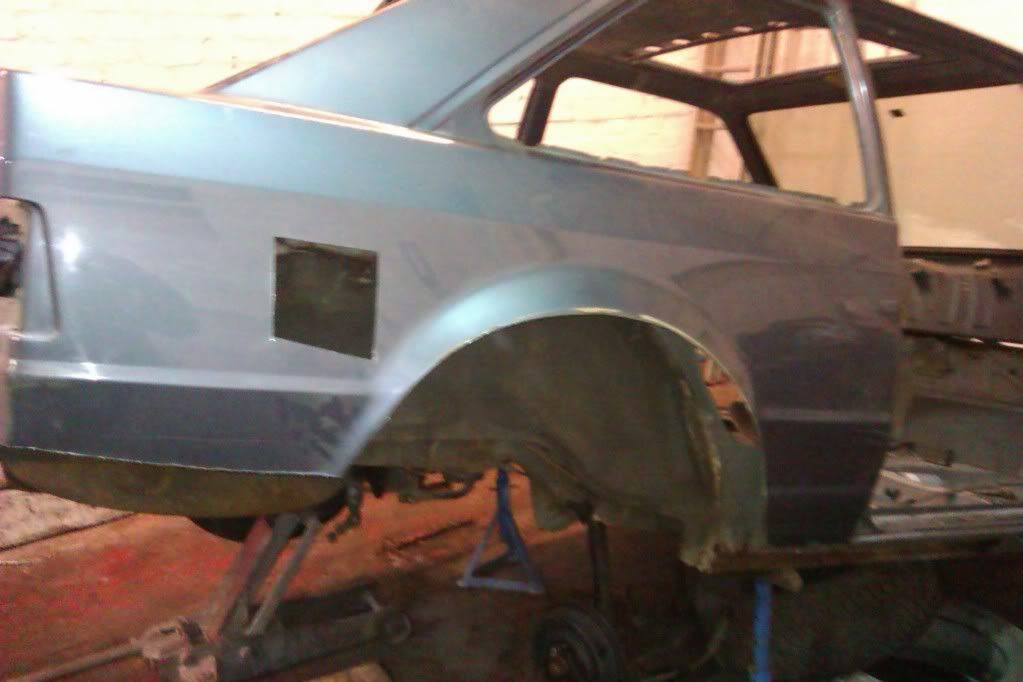
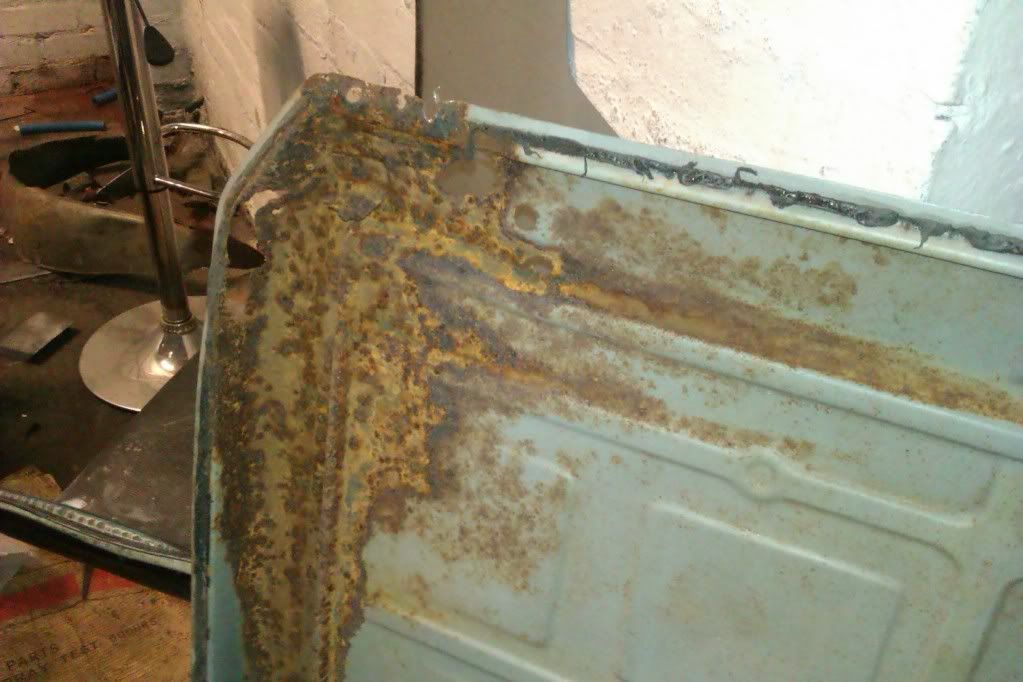
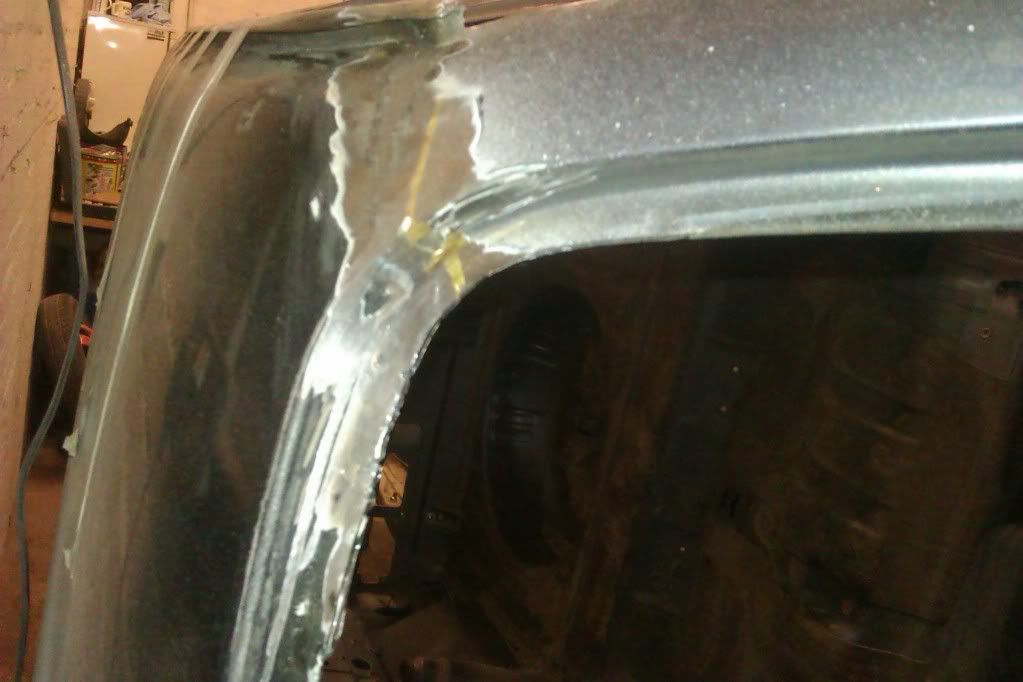
cut a bit of the rot out here

made a new bit to go in
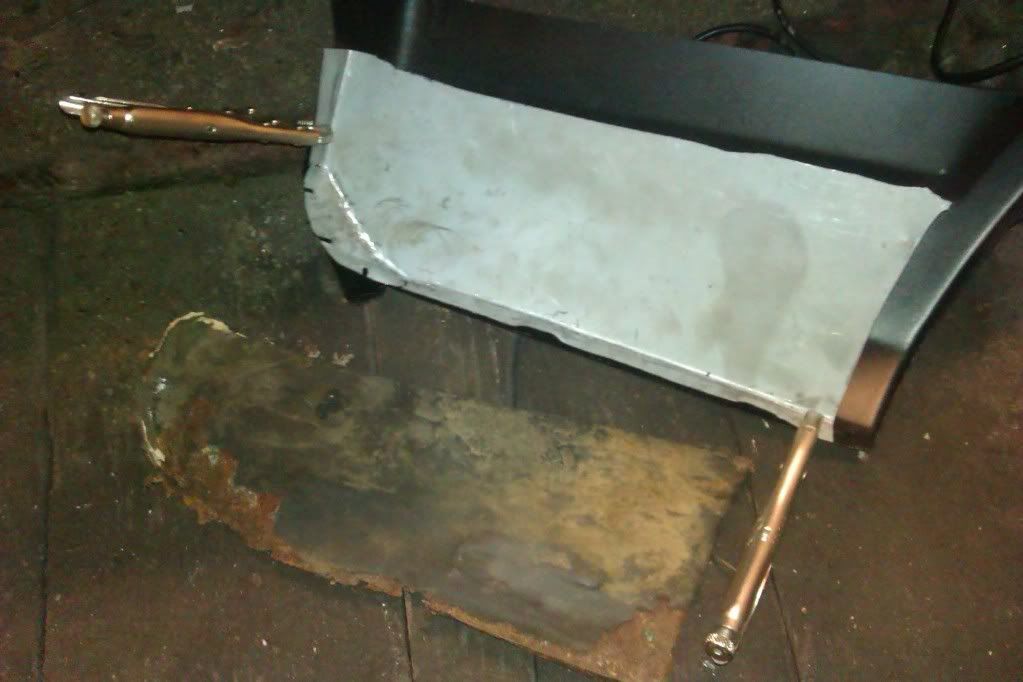
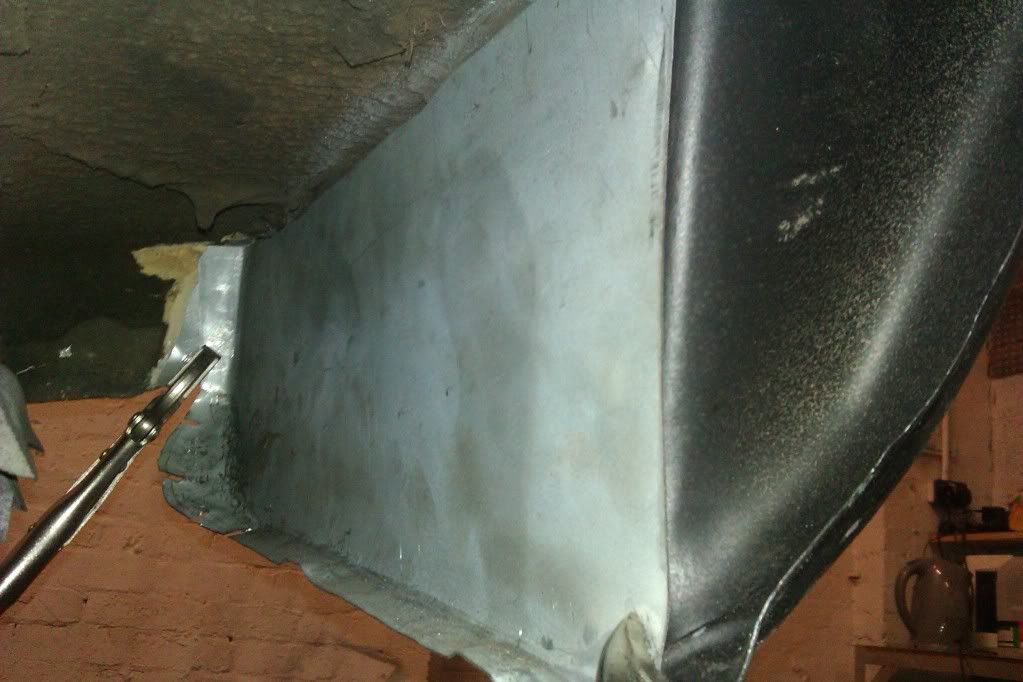
new inner arch in place , the silver spray is weld through primer
cut a bit of the rot out here

made a new bit to go in


new inner arch in place , the silver spray is weld through primer

 22-04-2013, 06:58 PM
#12
Regular Contributor
Thread Starter
Join Date: May 2008
Location: mansfield
Posts: 214
Likes: 0
Received 0 Likes
on
0 Posts
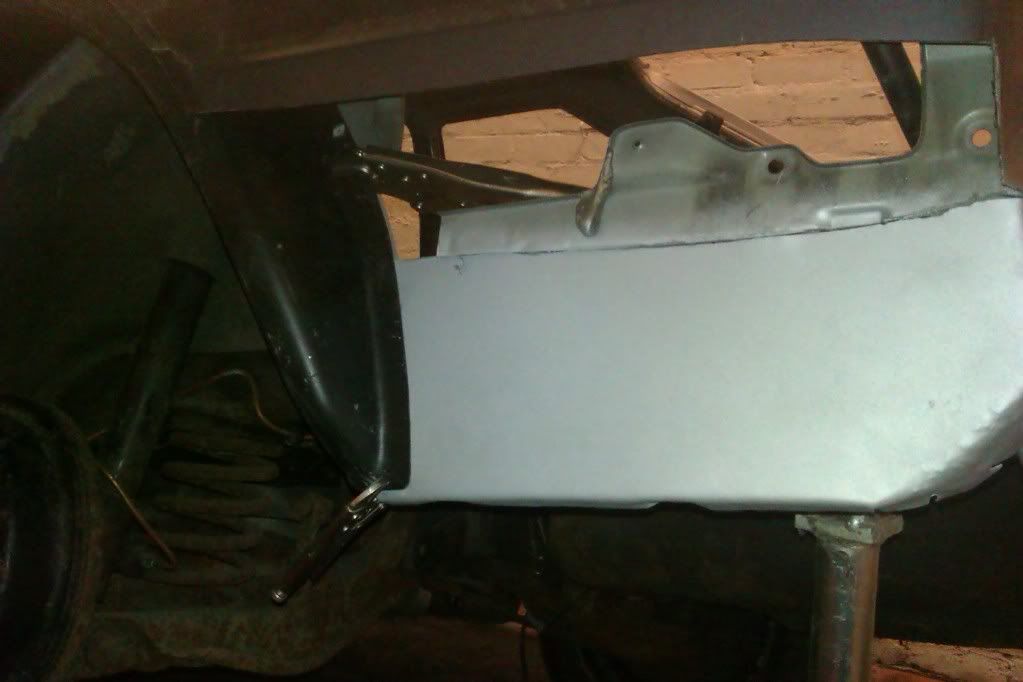
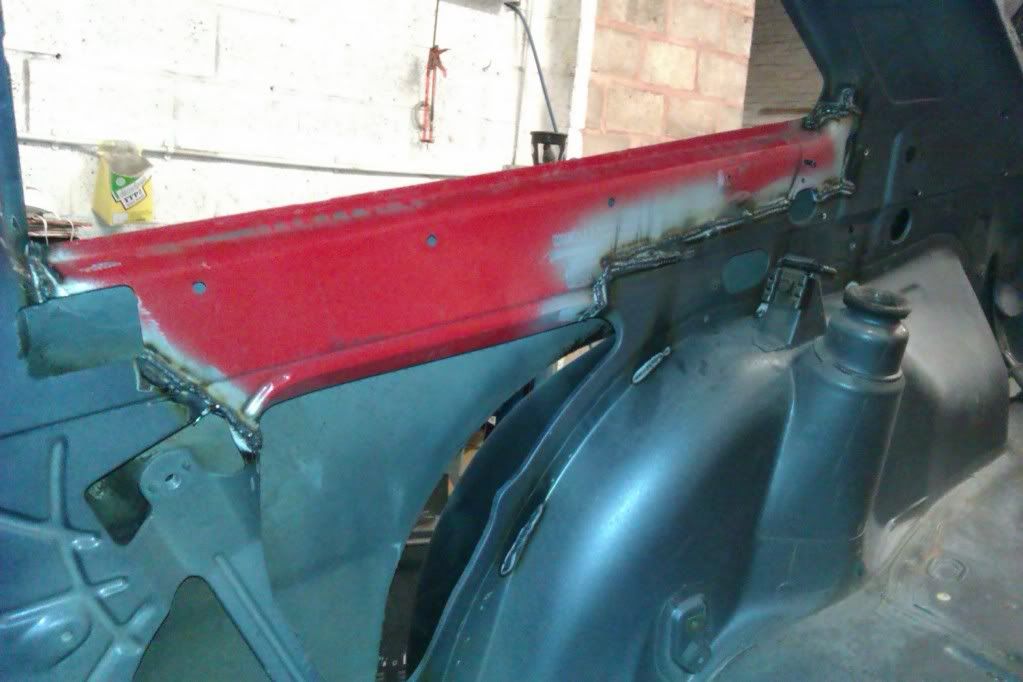
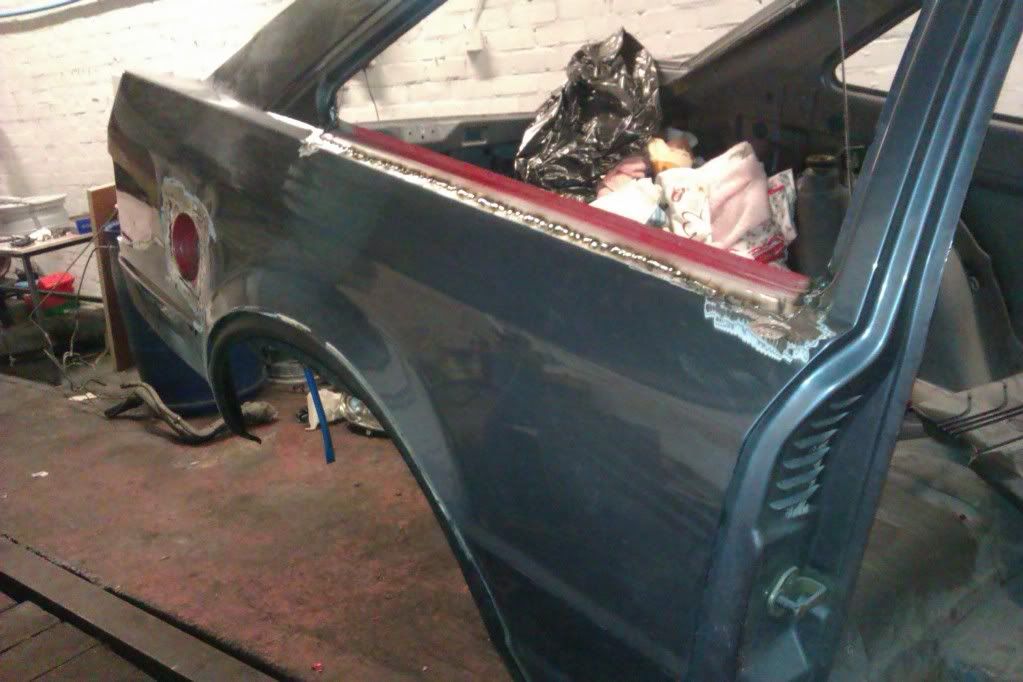
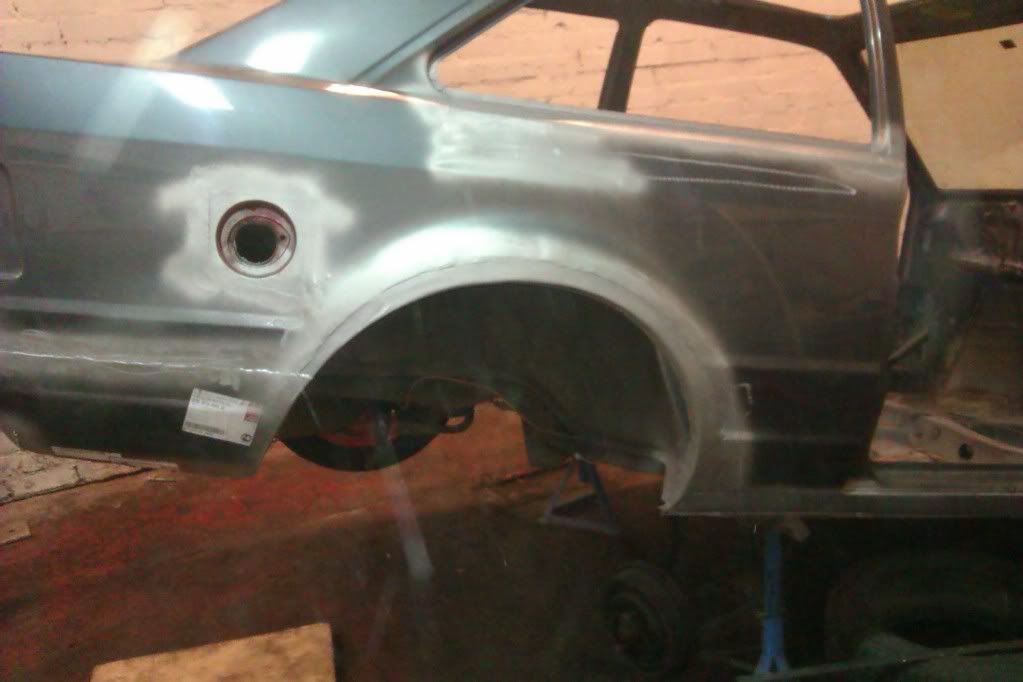
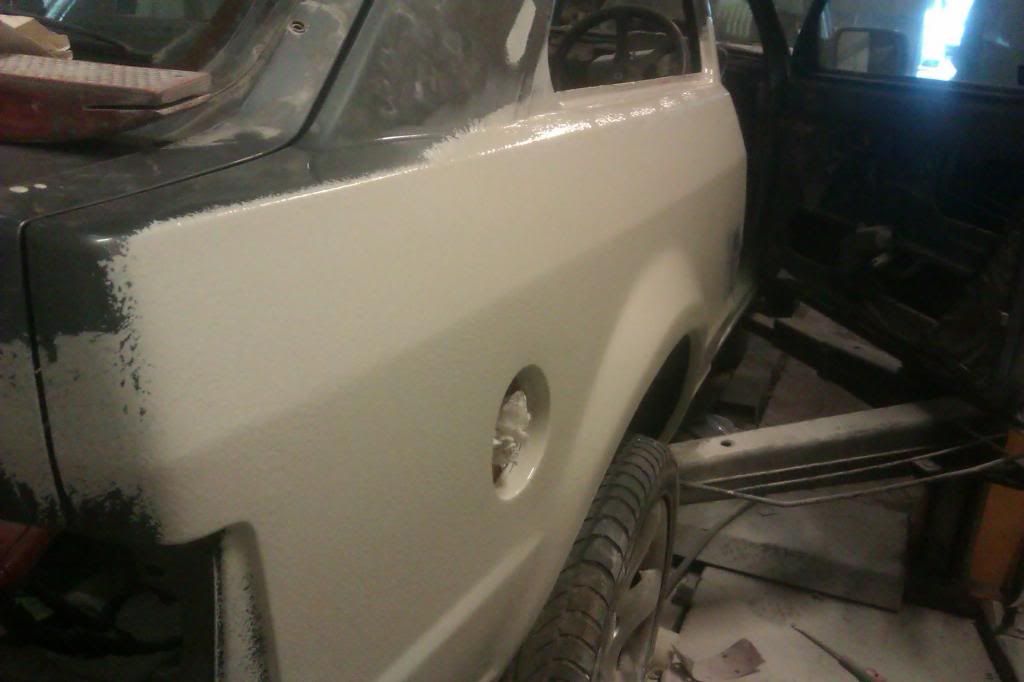
outer arch tacked in place
this bit was rotten so i made a new one
and welded in
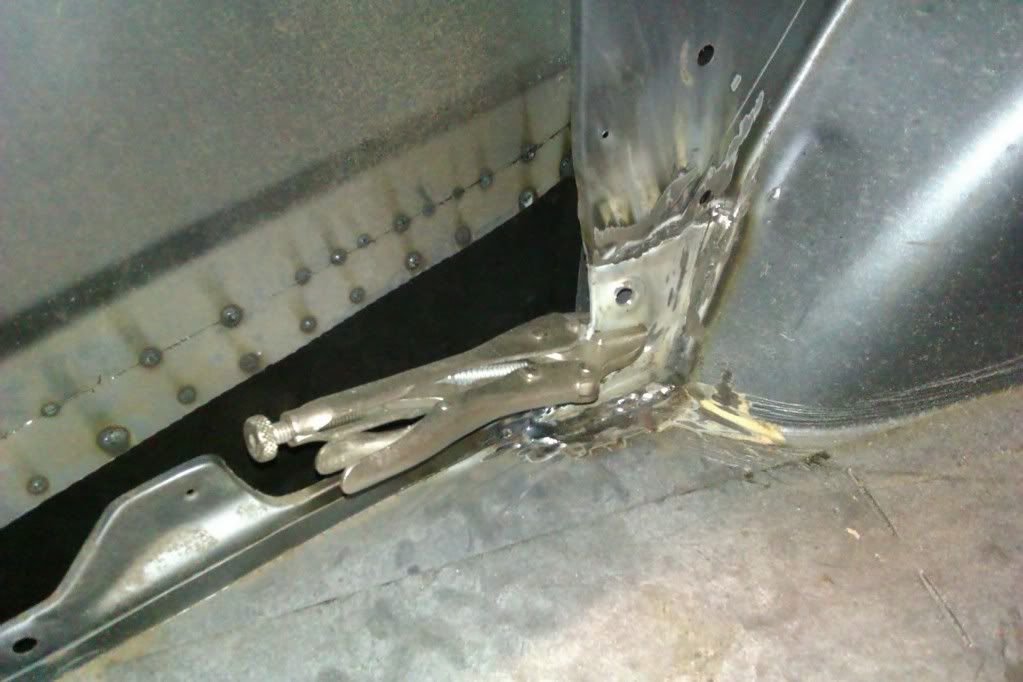
lower quarter tacked in place
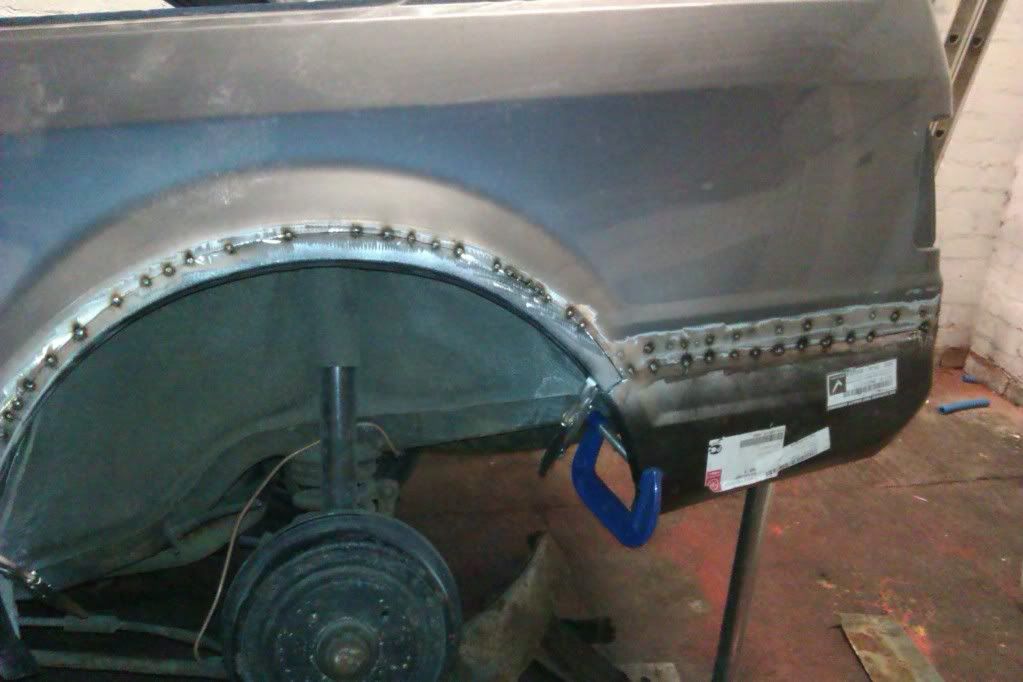
all welded up
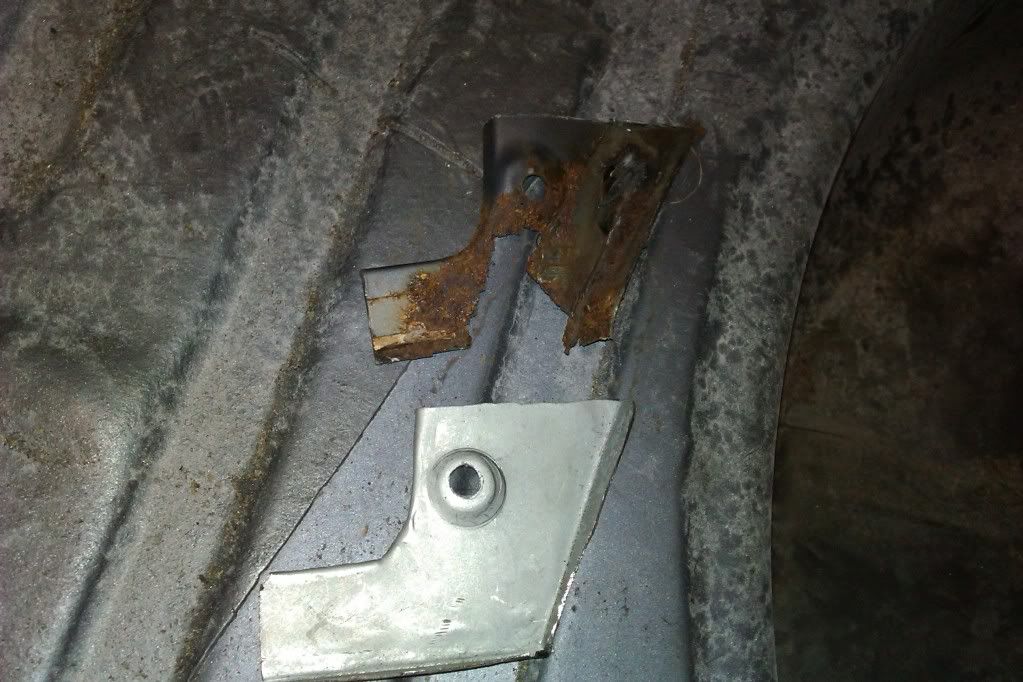
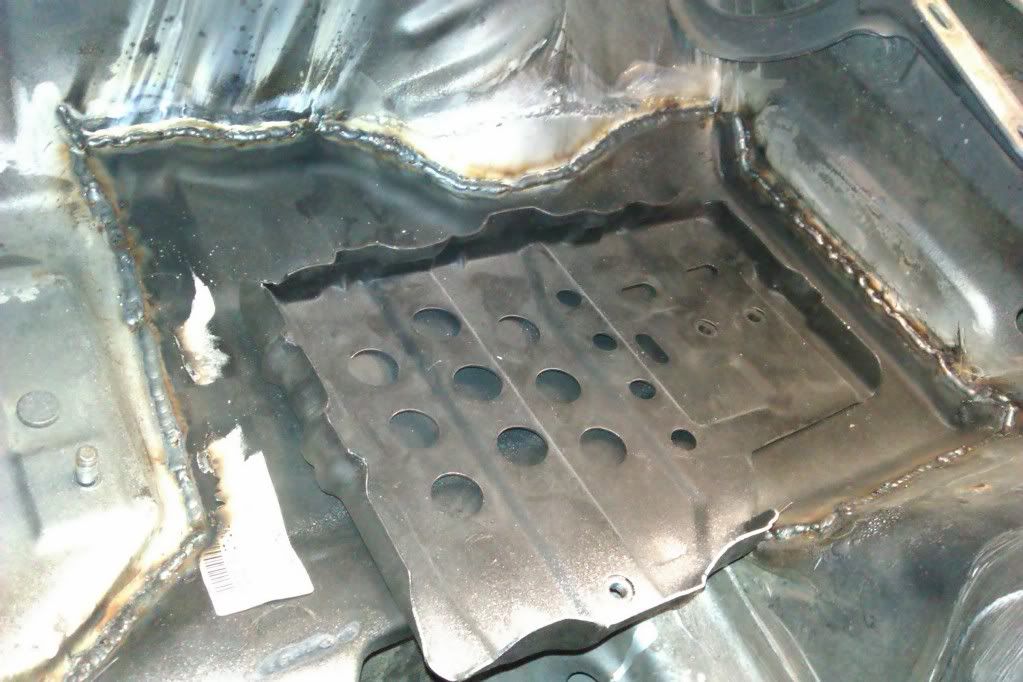
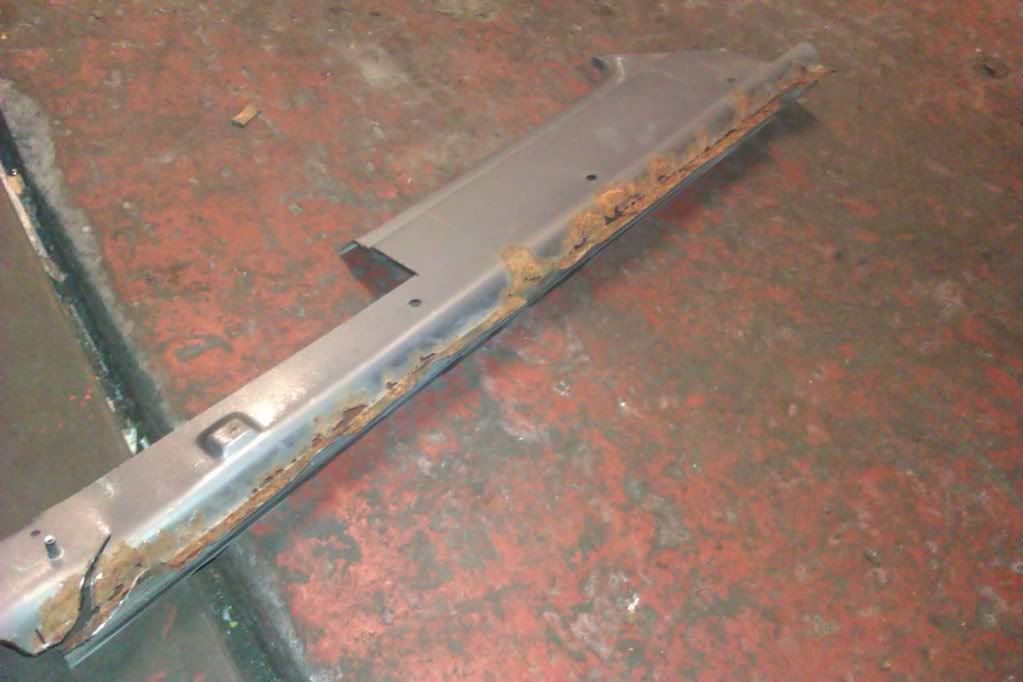
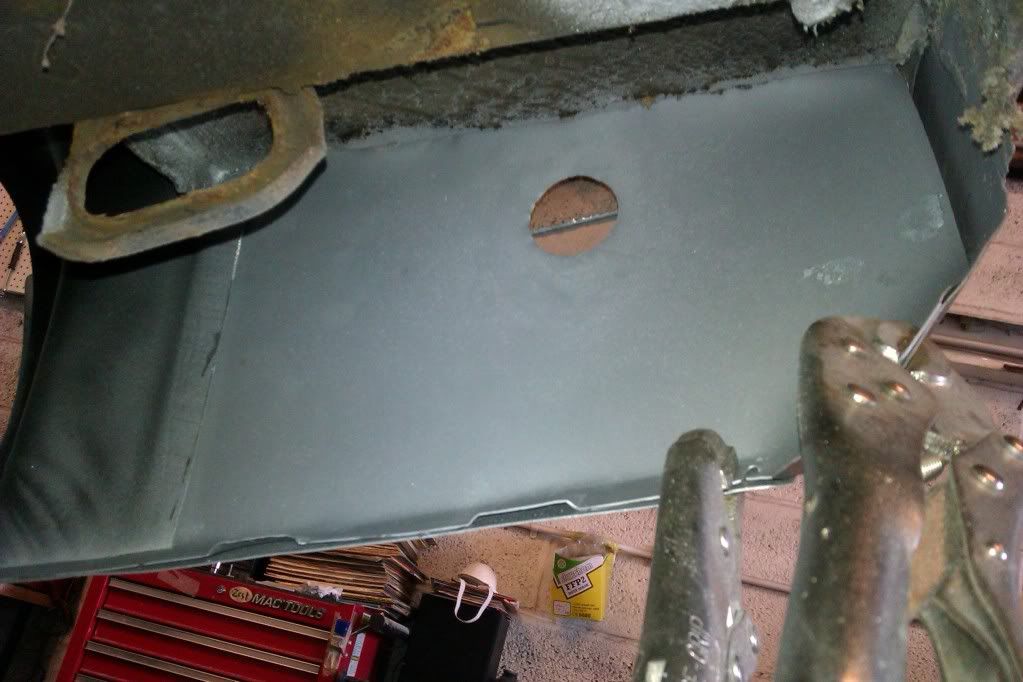
some one had done a poor job of the tray in the past
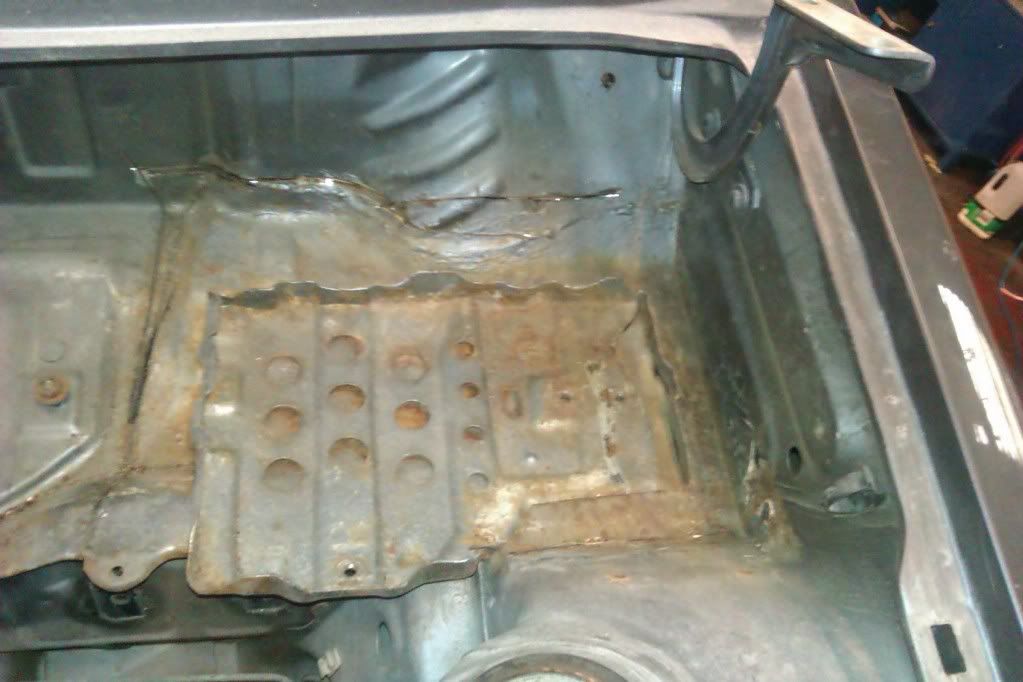
so i cut the lot out
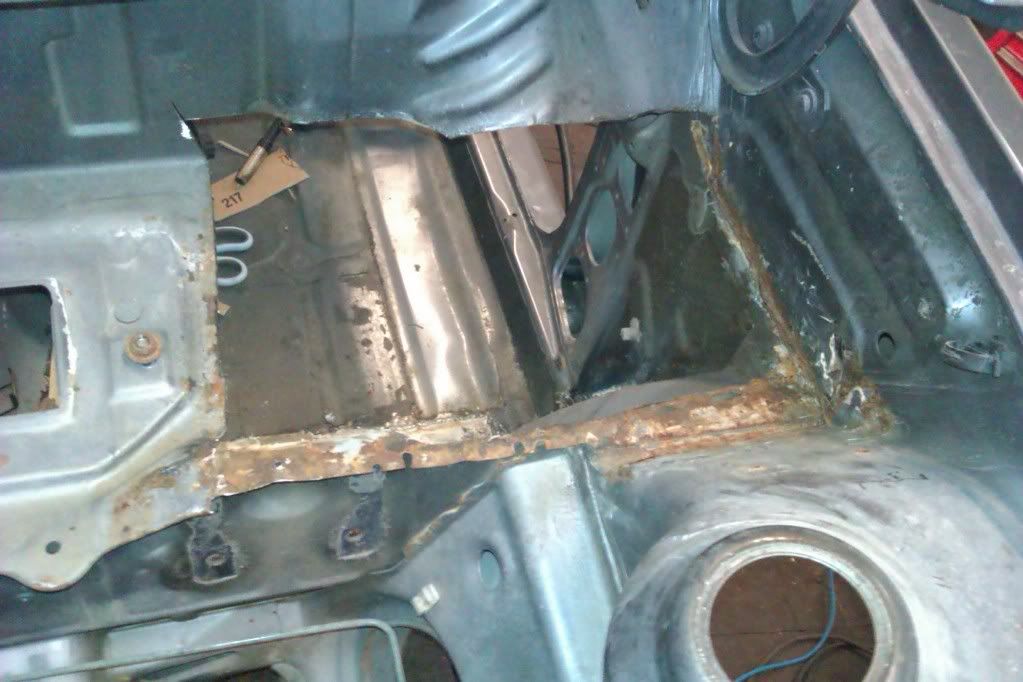
new one welded in

this bit was rotten so i made a new one

and welded in

lower quarter tacked in place

all welded up

some one had done a poor job of the tray in the past

so i cut the lot out

new one welded in


 22-04-2013, 08:11 PM
#16
Virgin

Join Date: Nov 2010
Posts: 11
Likes: 0
Received 0 Likes
on
0 Posts
all cut out , i left the cillin for now to use as a datum
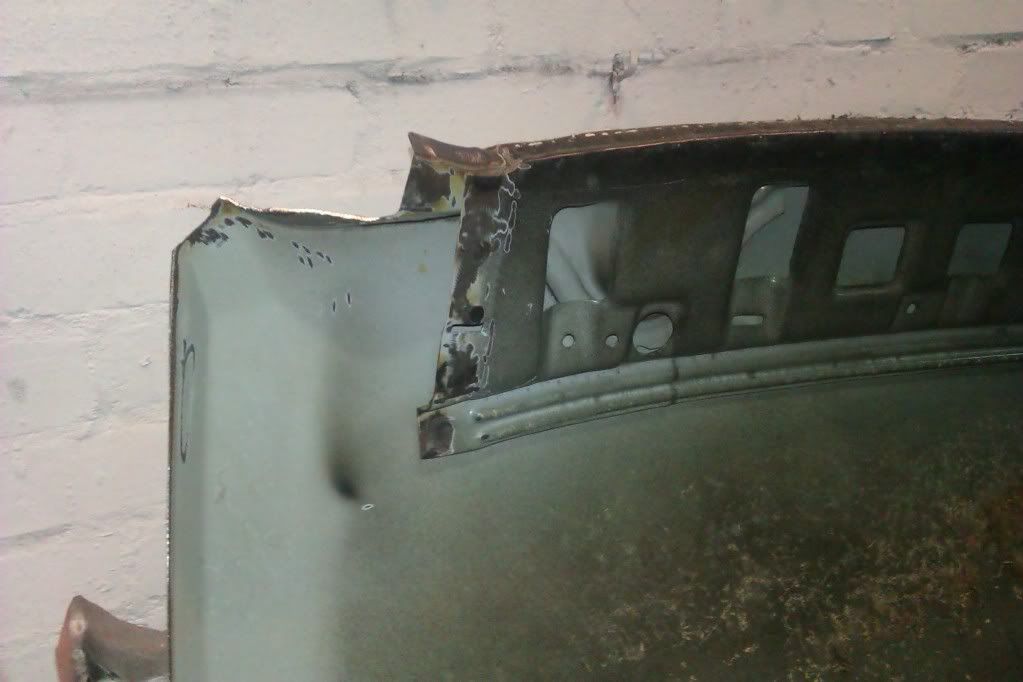
i bought a second car for parts , i cut out the first part i needed
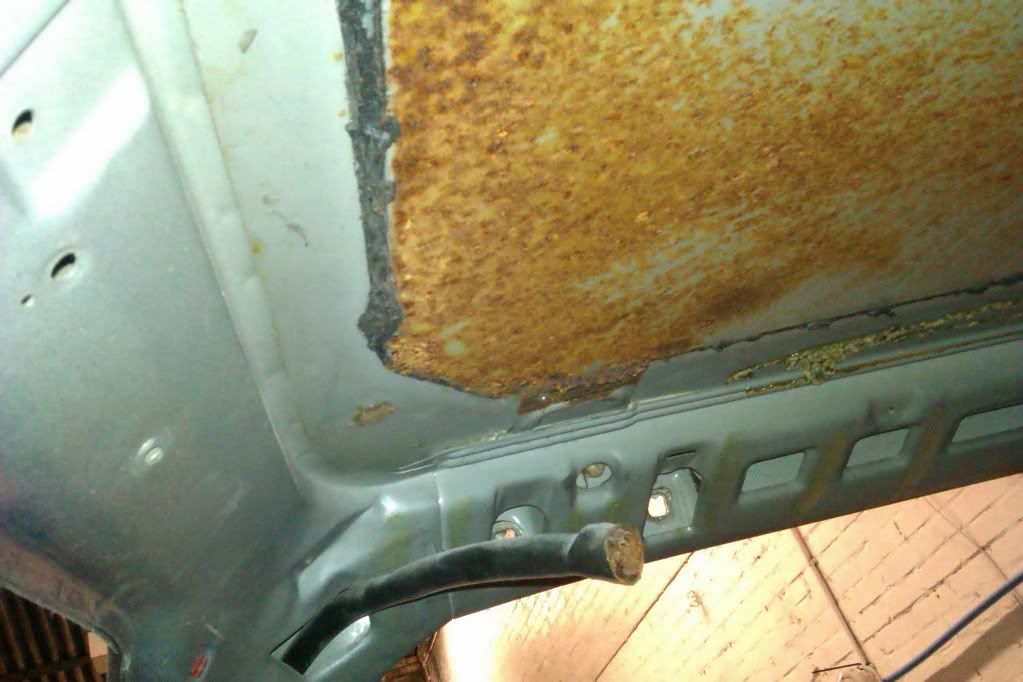
rotten window frame cut out
and welded in
new inner rear arch in place
drivers inner lower quarter i made
drivers side all welded up
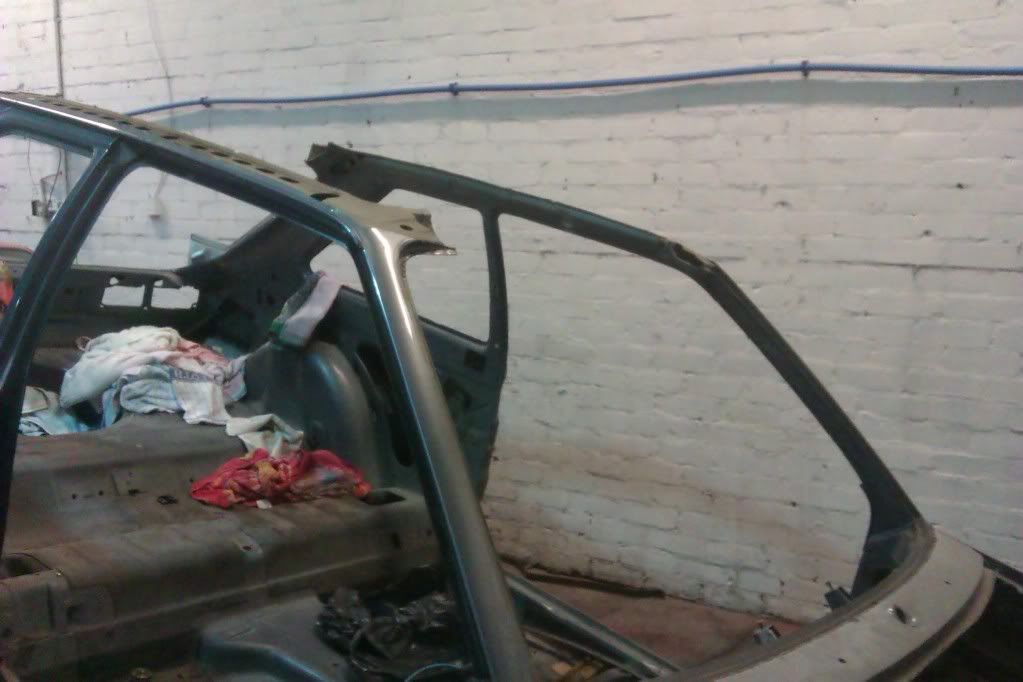
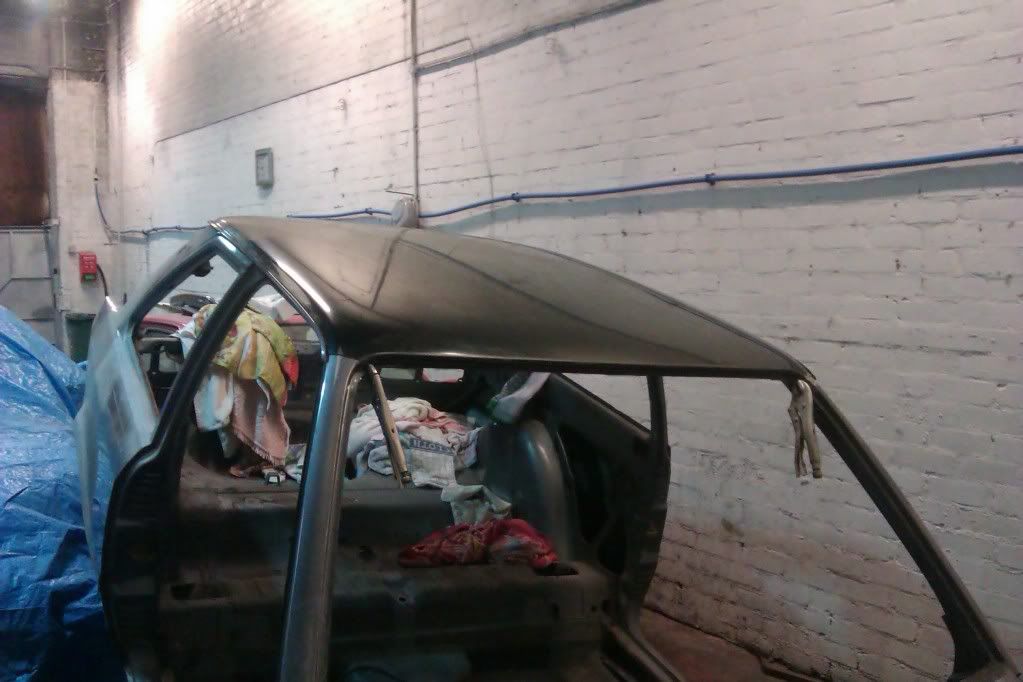
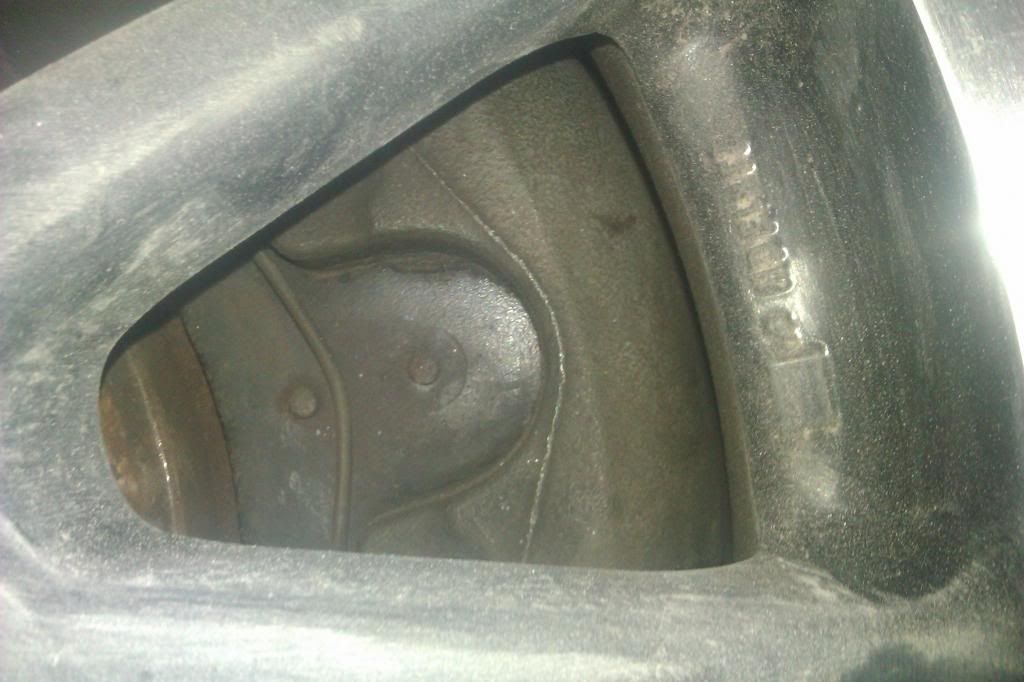
sun roof tray that is very rotten
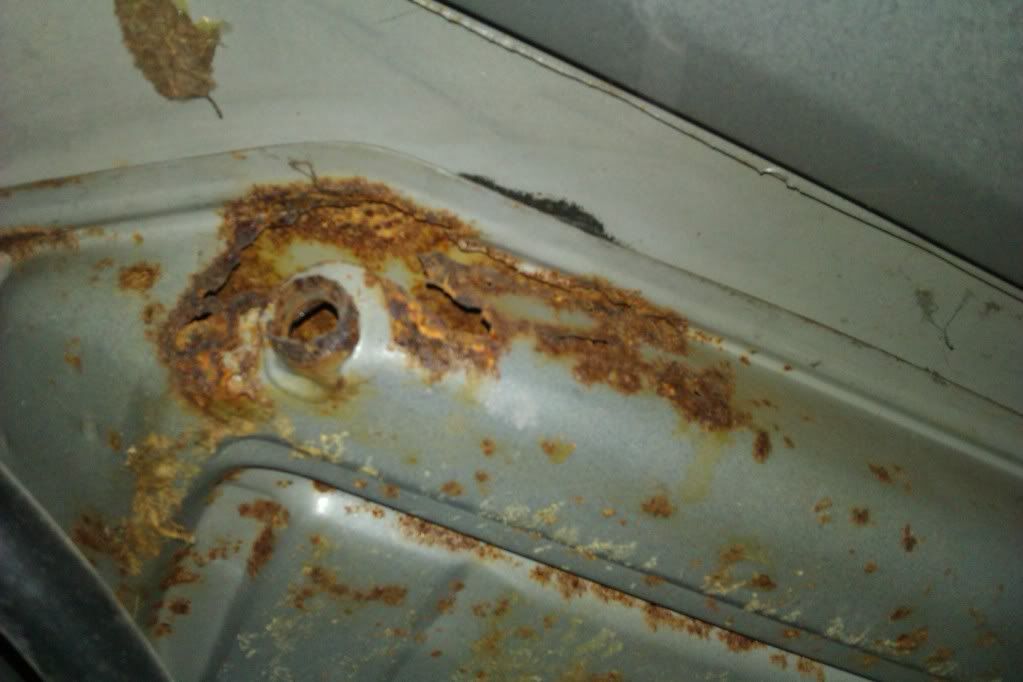
i removed the whole tray and set about trying to find a good replacement
after lots of searching and every roof i looked at being rusty i decided to go for a sunroof delete option

i bought a second car for parts , i cut out the first part i needed

rotten window frame cut out

and welded in


new inner rear arch in place


drivers inner lower quarter i made

drivers side all welded up

sun roof tray that is very rotten

i removed the whole tray and set about trying to find a good replacement


after lots of searching and every roof i looked at being rusty i decided to go for a sunroof delete option
 22-04-2013, 08:15 PM
#17
Advanced PassionFord User
Jesus christ, that was rotten to fuck. It looked so good when Liam had it at the shows, just goes to show what lies beneath. To be honest i'd of chucked the towel in if i owned that.
Still it looks pukka nowadays.
Still it looks pukka nowadays.
22-04-2013, 08:24 PM
#18
Virgin
Join Date: Nov 2010
Posts: 11
Likes: 0
Received 0 Likes
on
0 Posts
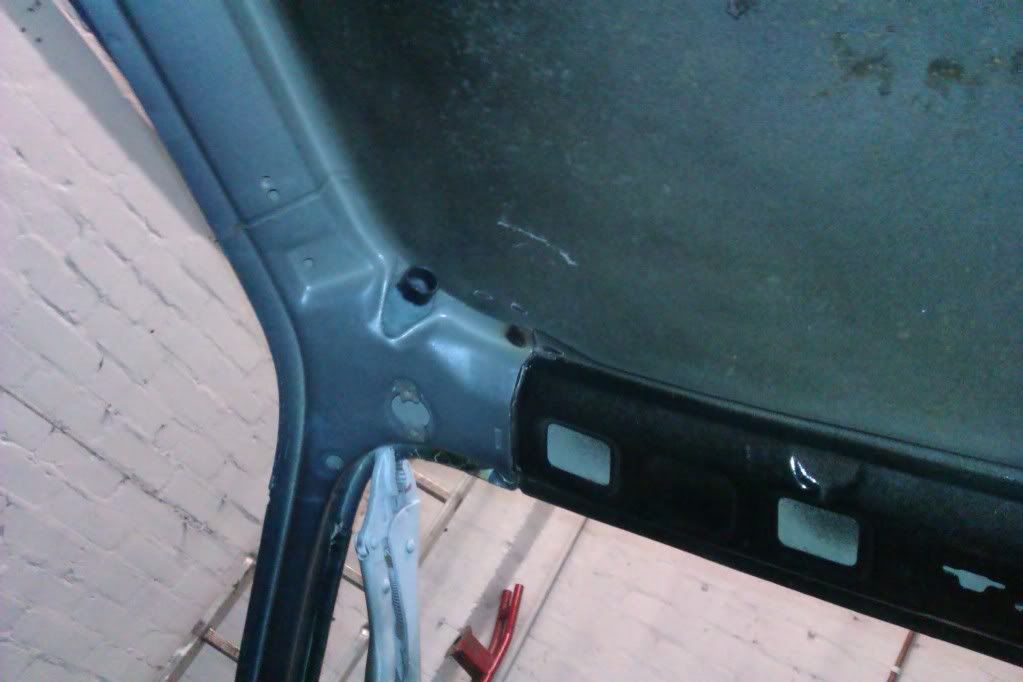
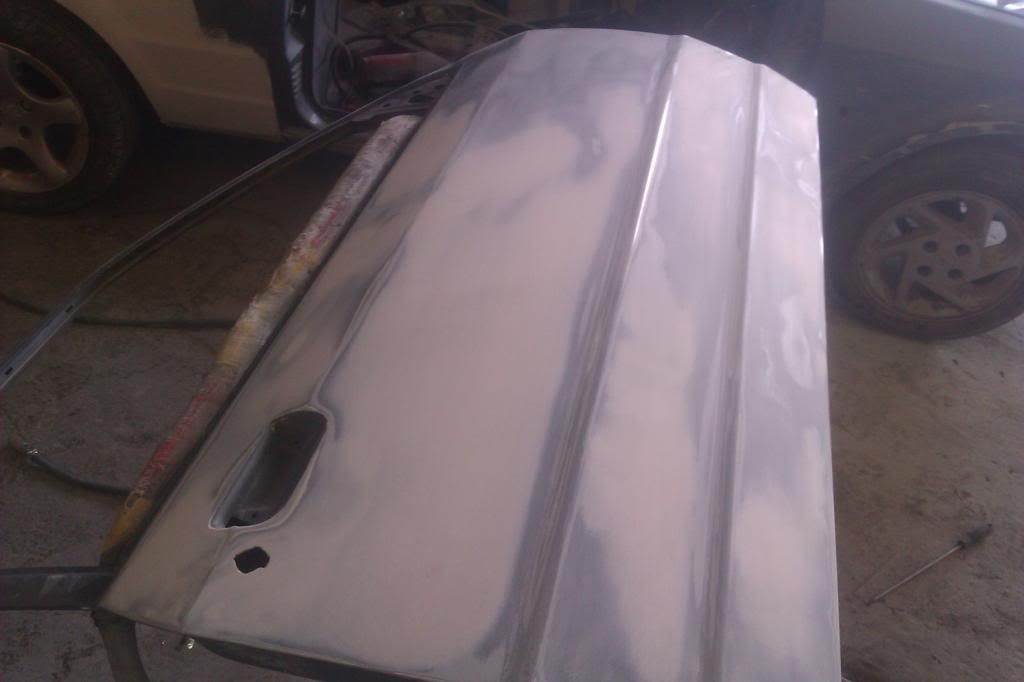
a used none sunroof skin thanks to Twins
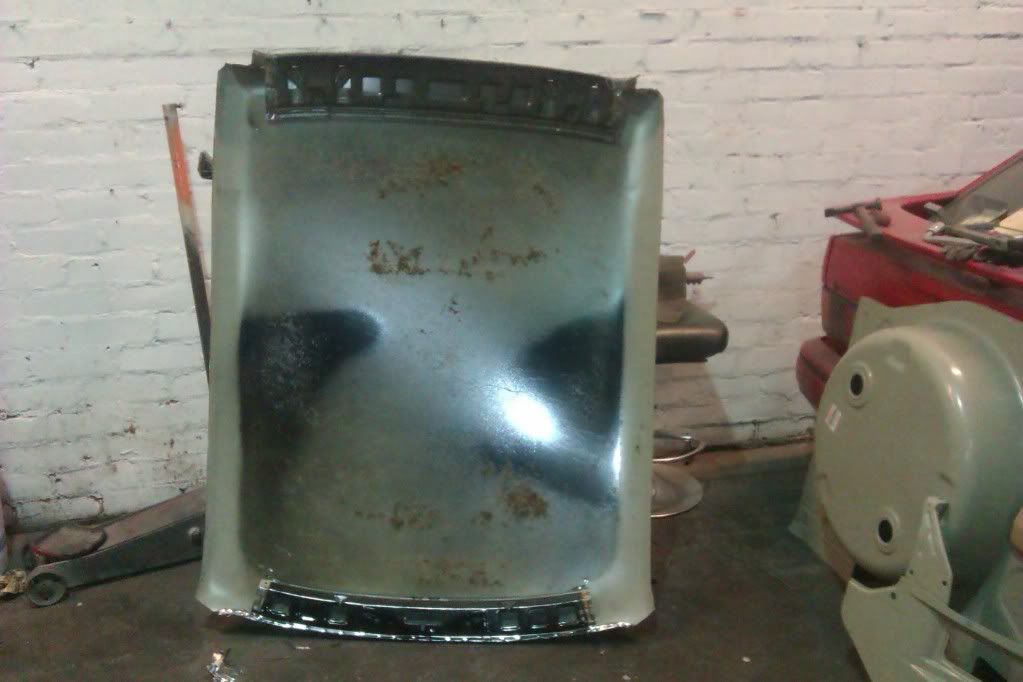
i left the crossmembers on the skin as this would half the amount of welding on the roof
clamped on in place
did a bit of prep inbetween looking for a roof
also stripped some more parts from the red car for powder coating


i left the crossmembers on the skin as this would half the amount of welding on the roof

clamped on in place


did a bit of prep inbetween looking for a roof

also stripped some more parts from the red car for powder coating
 22-04-2013, 08:41 PM
#20
Virgin
Join Date: Nov 2010
Posts: 11
Likes: 0
Received 0 Likes
on
0 Posts
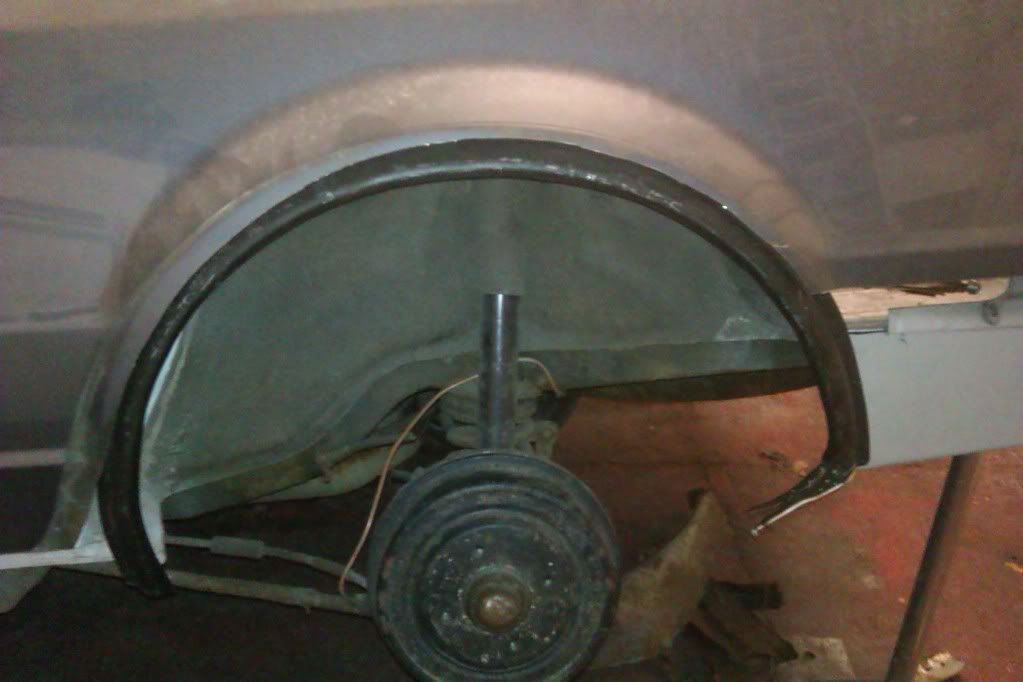
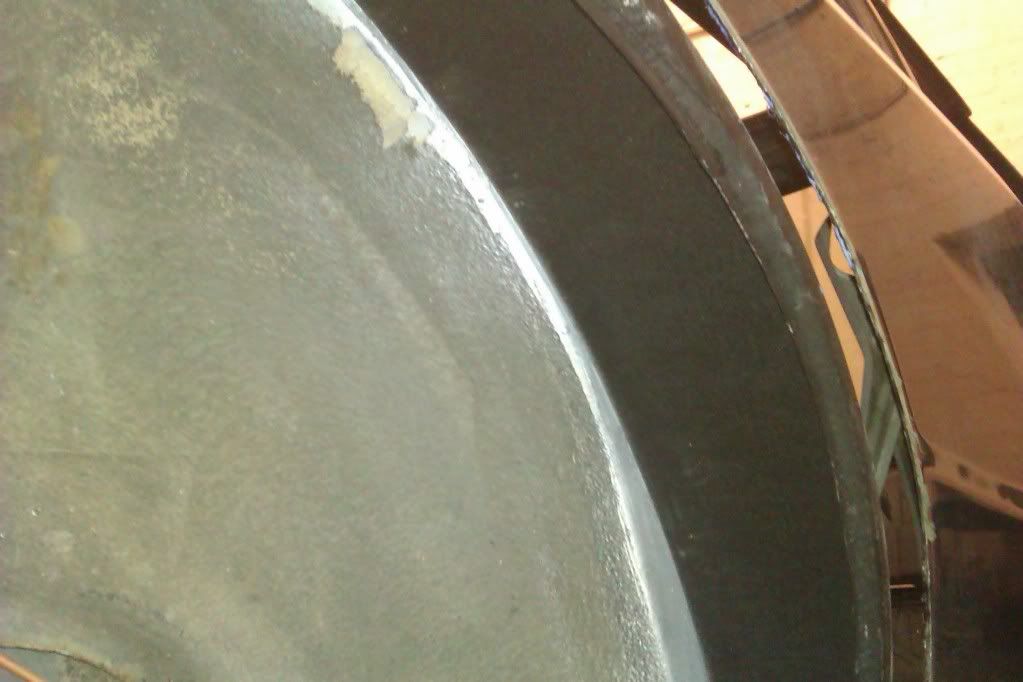
with all the welding done i started on the underside
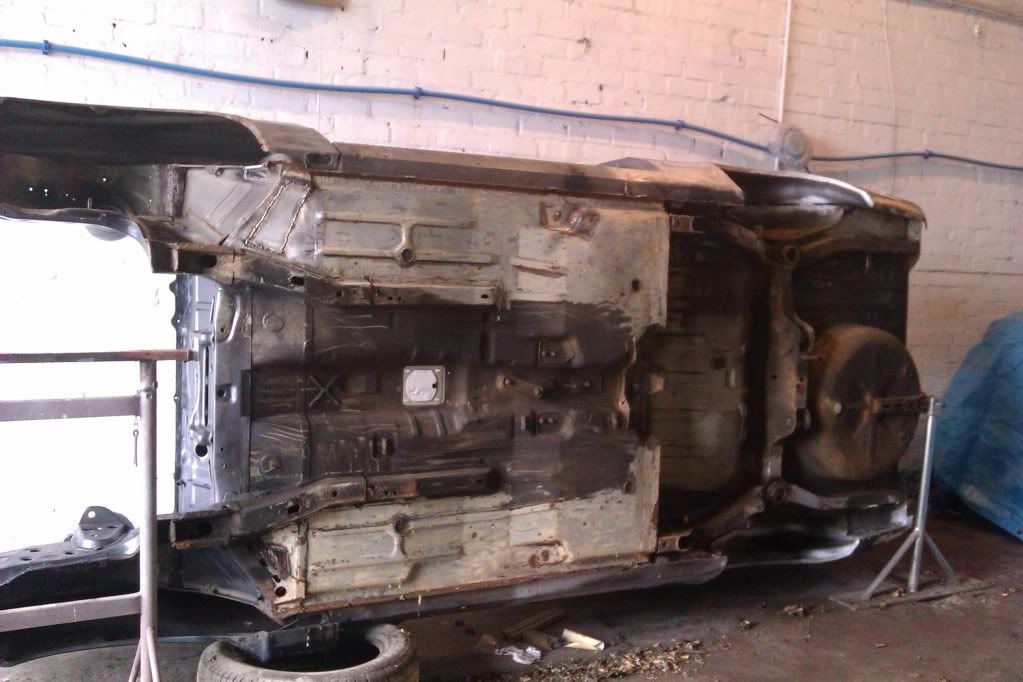
sand blasted the underside
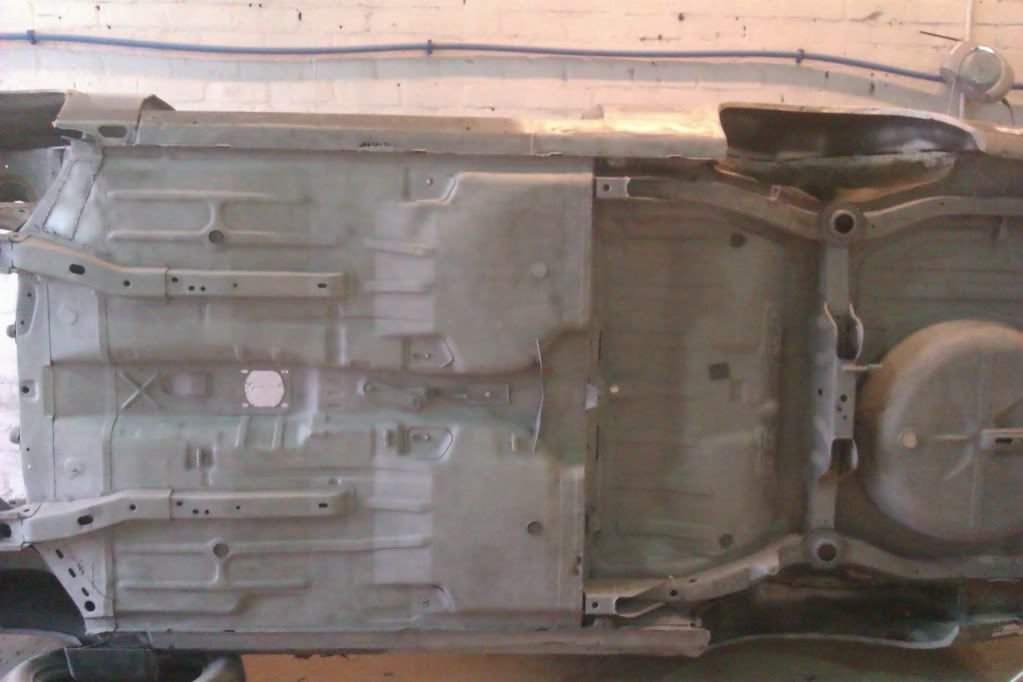
it found a few more bits of welding but in all was pretty good
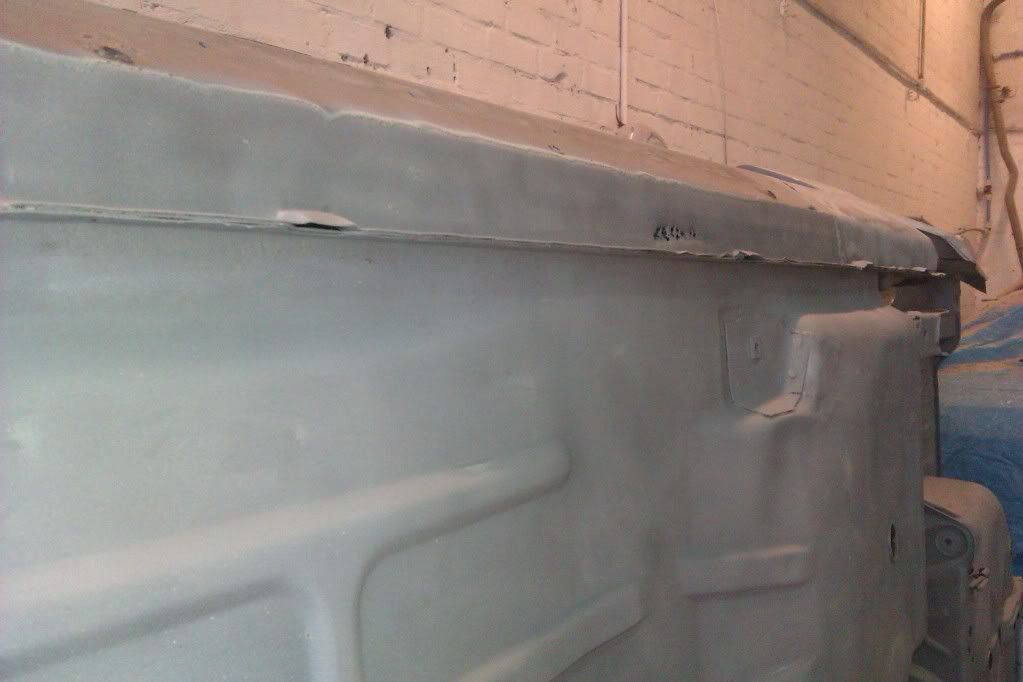
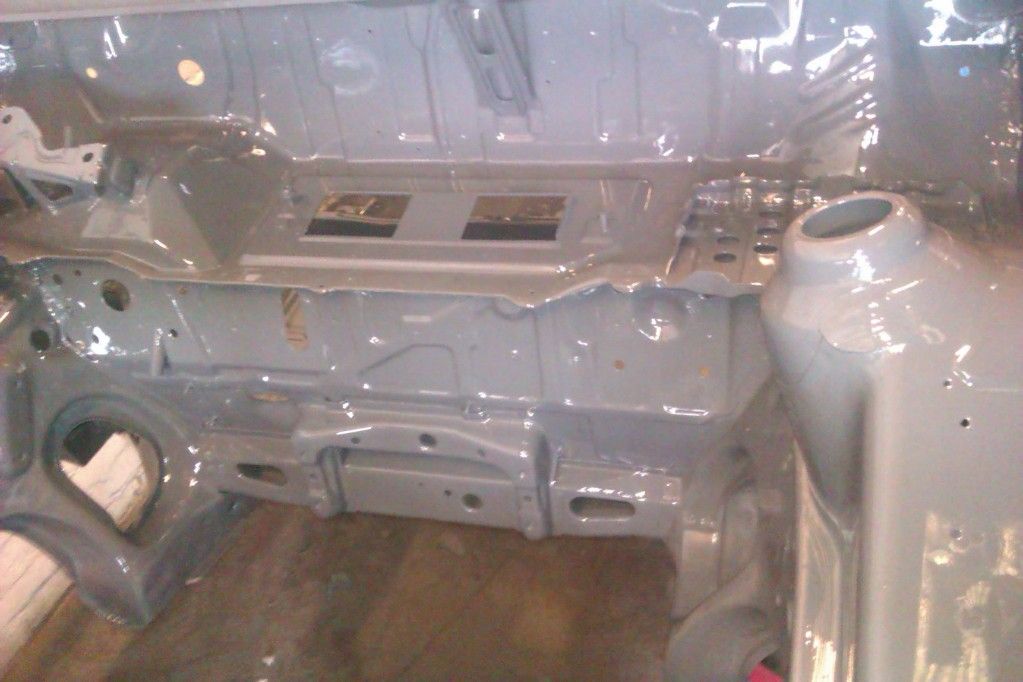
gave the underside a good coat of 2k epoxy primer , this is used to paint shipping containers so its good stuff
these parts you can see that i did not prime are poor previous chassis repairs that i will rework

sand blasted the underside

it found a few more bits of welding but in all was pretty good

gave the underside a good coat of 2k epoxy primer , this is used to paint shipping containers so its good stuff

these parts you can see that i did not prime are poor previous chassis repairs that i will rework

 22-04-2013, 08:53 PM
#22
Virgin
Join Date: Nov 2010
Posts: 11
Likes: 0
Received 0 Likes
on
0 Posts
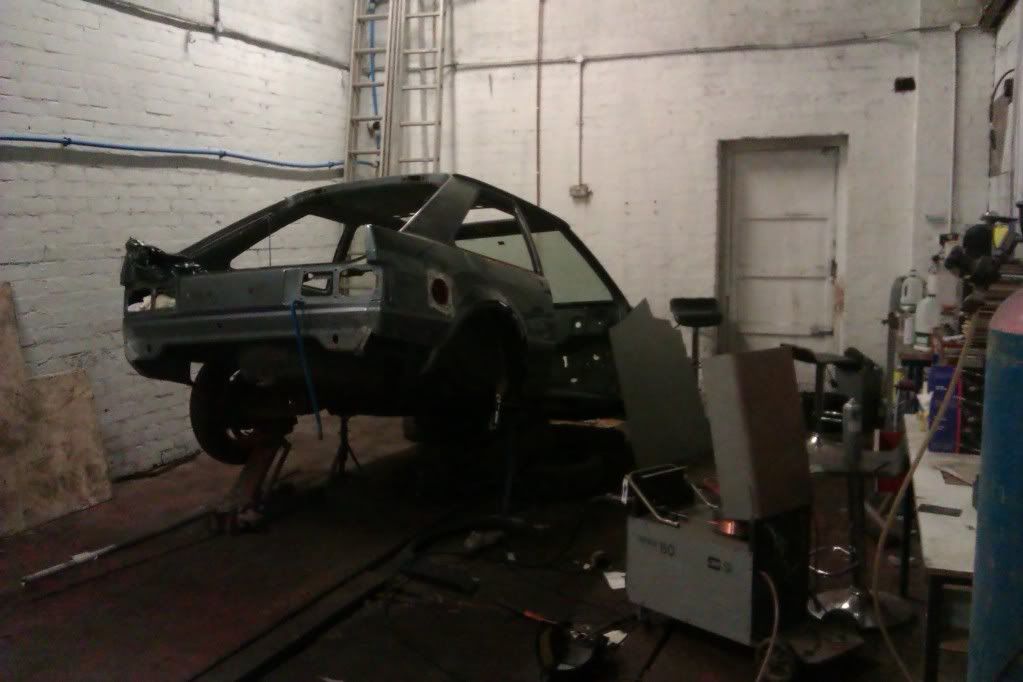
found a pic of the roof welded on
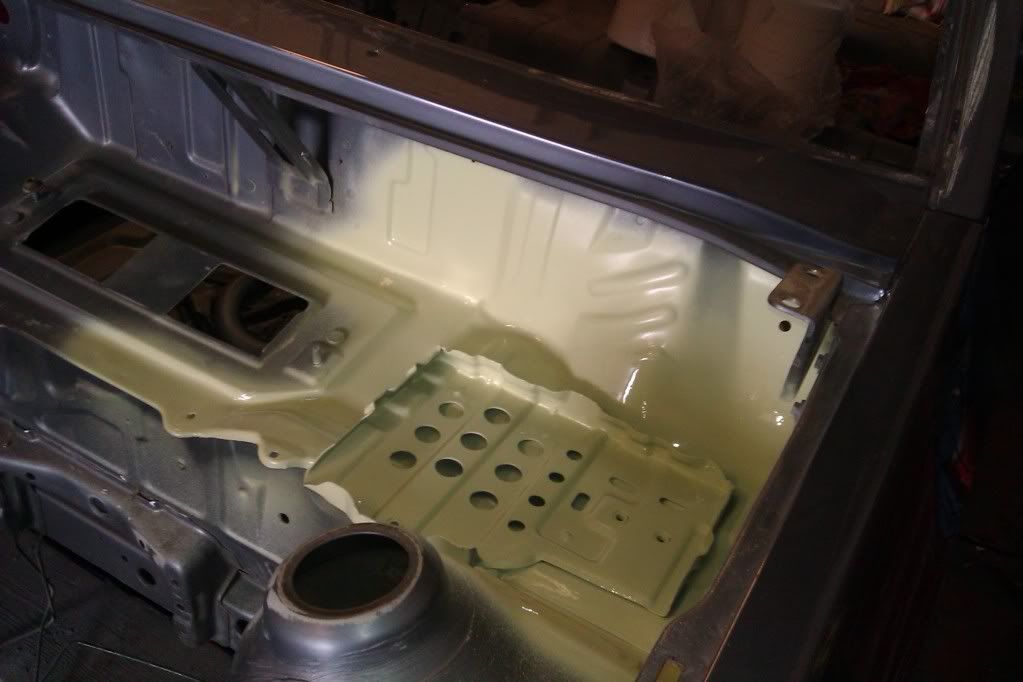
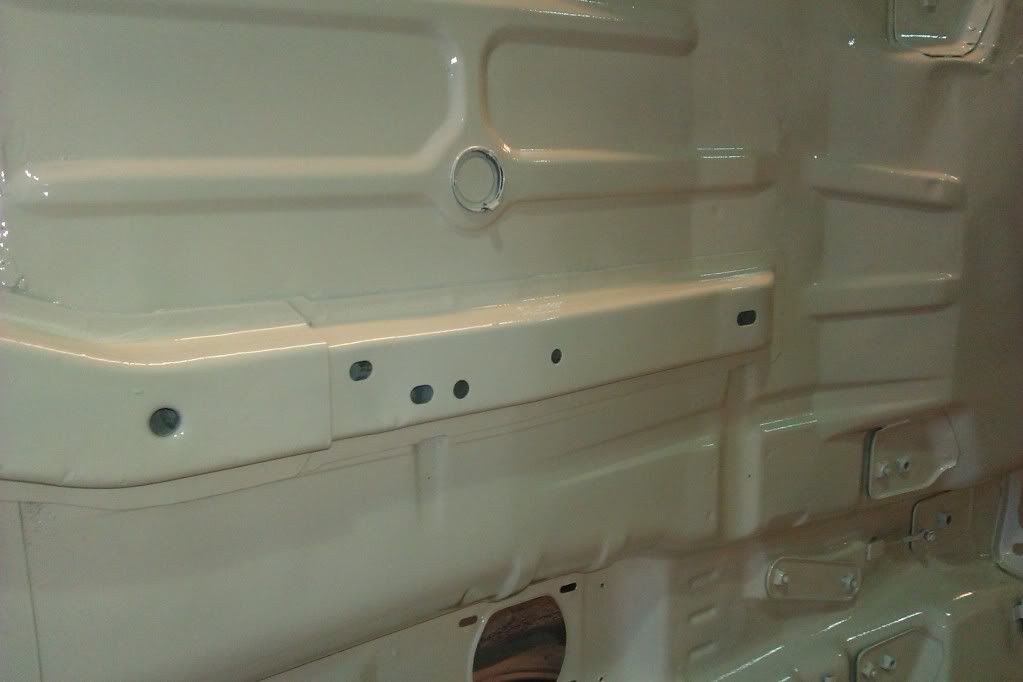
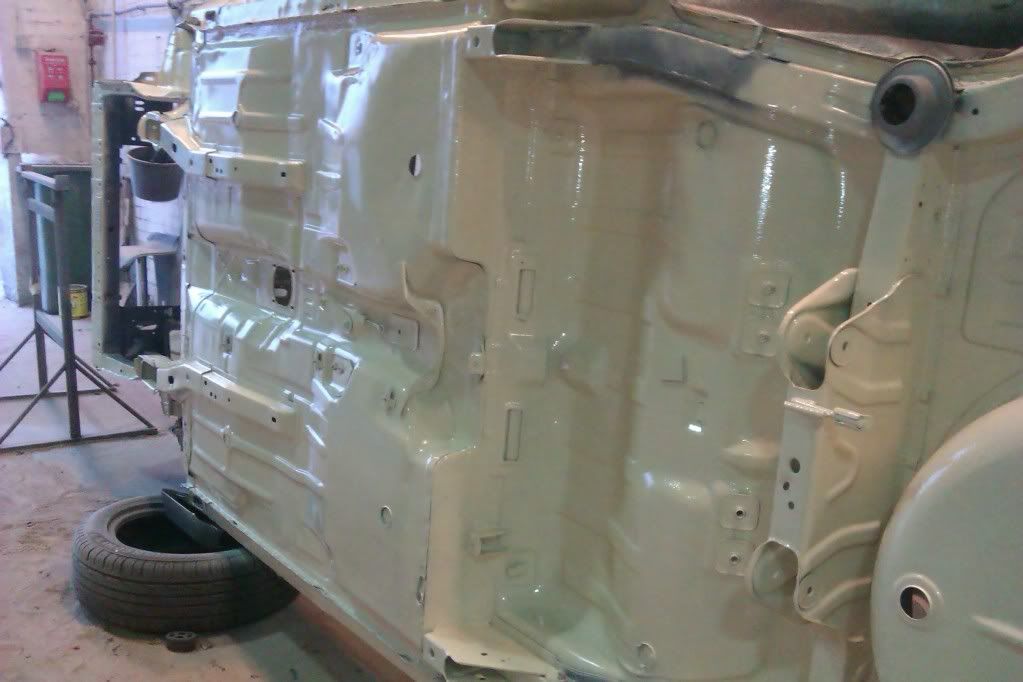
i prepped and painted the underside ,engine bay and inside
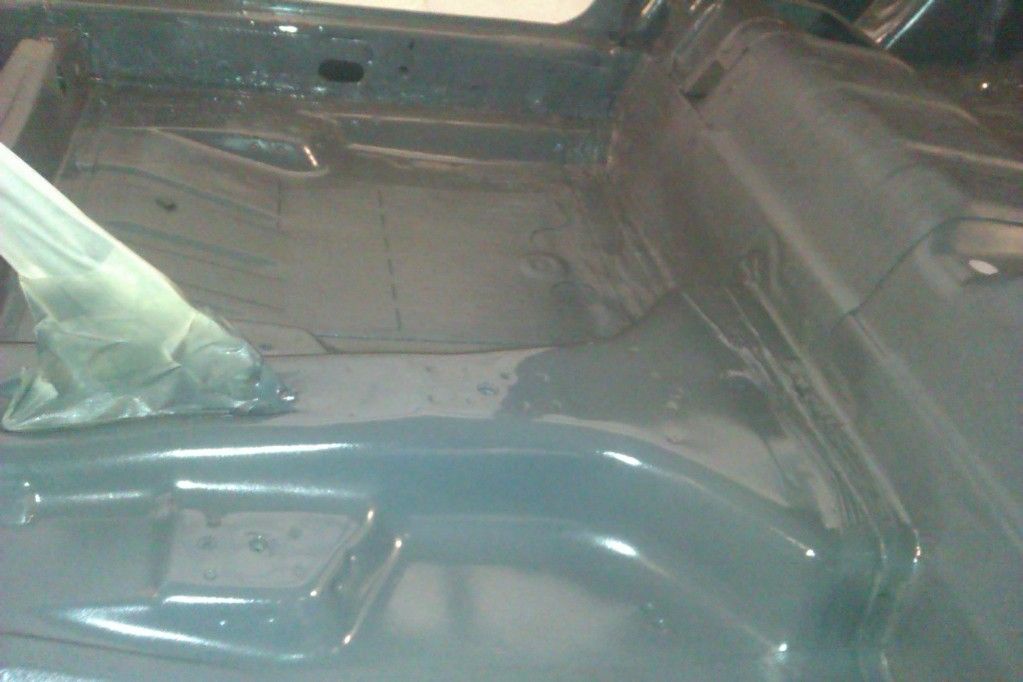
i used 3m stone gaurd on the underside before painting
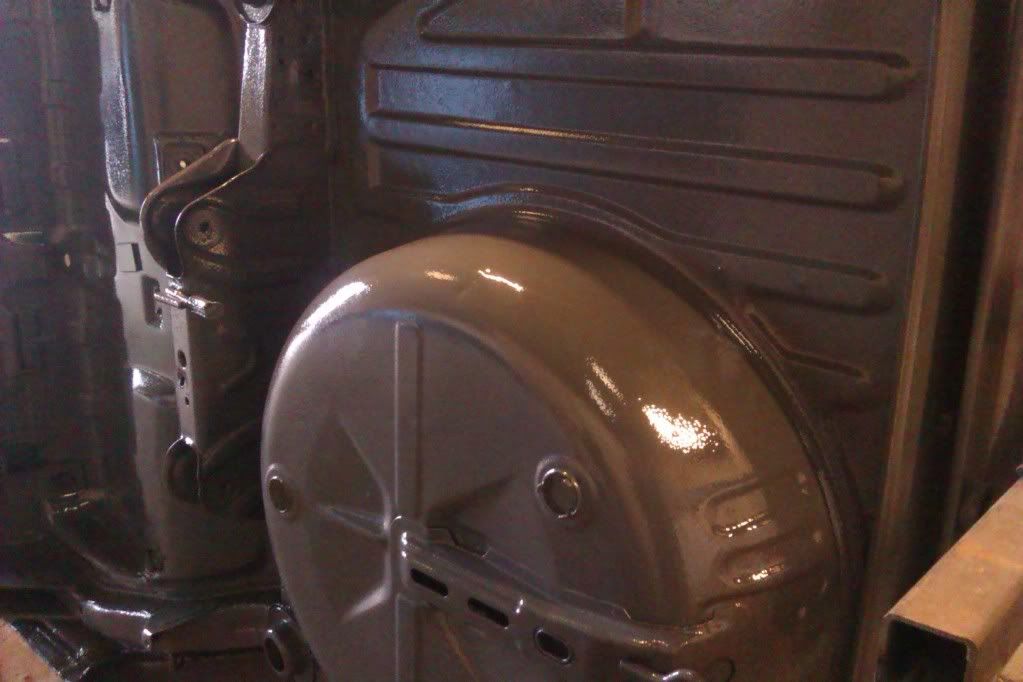
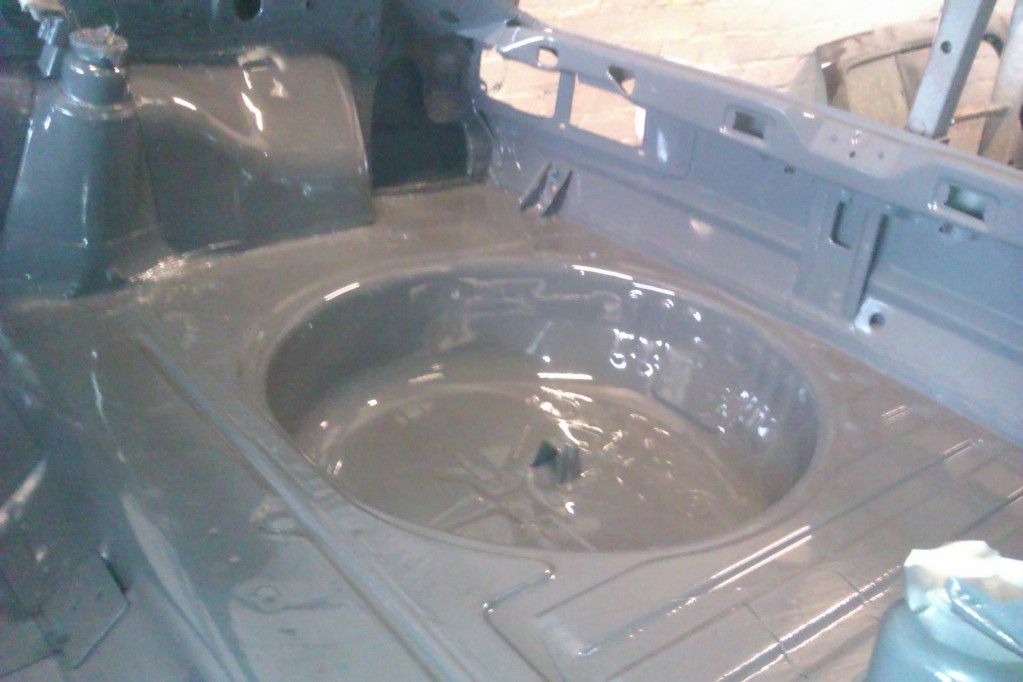
the sharpe eyed ones will have noticed its not mercury grey , its a Ral colour none metallic grey
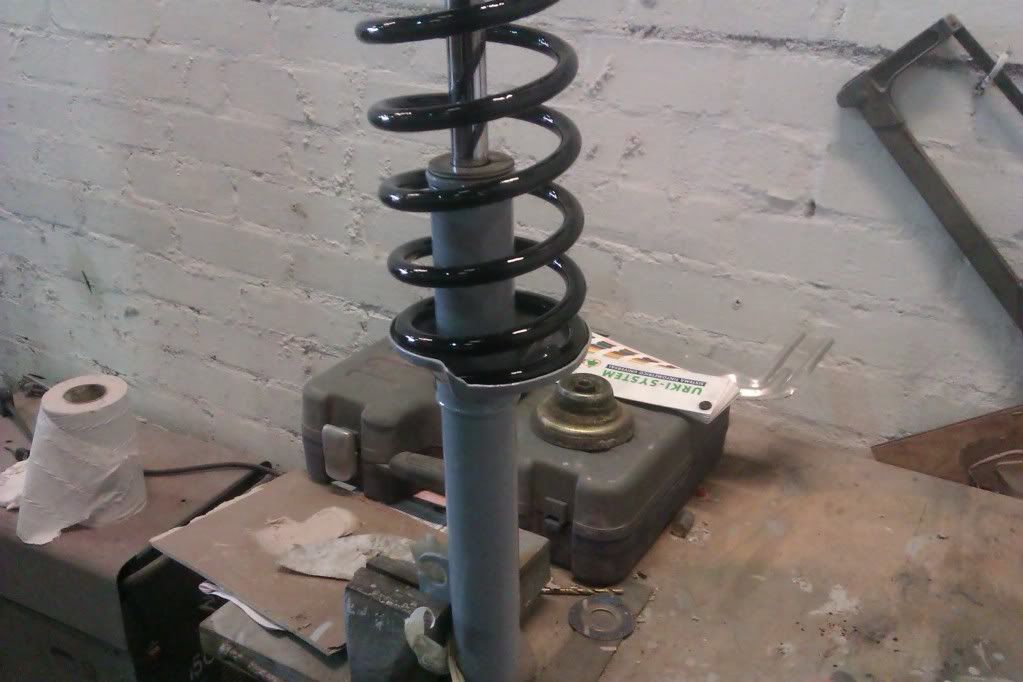
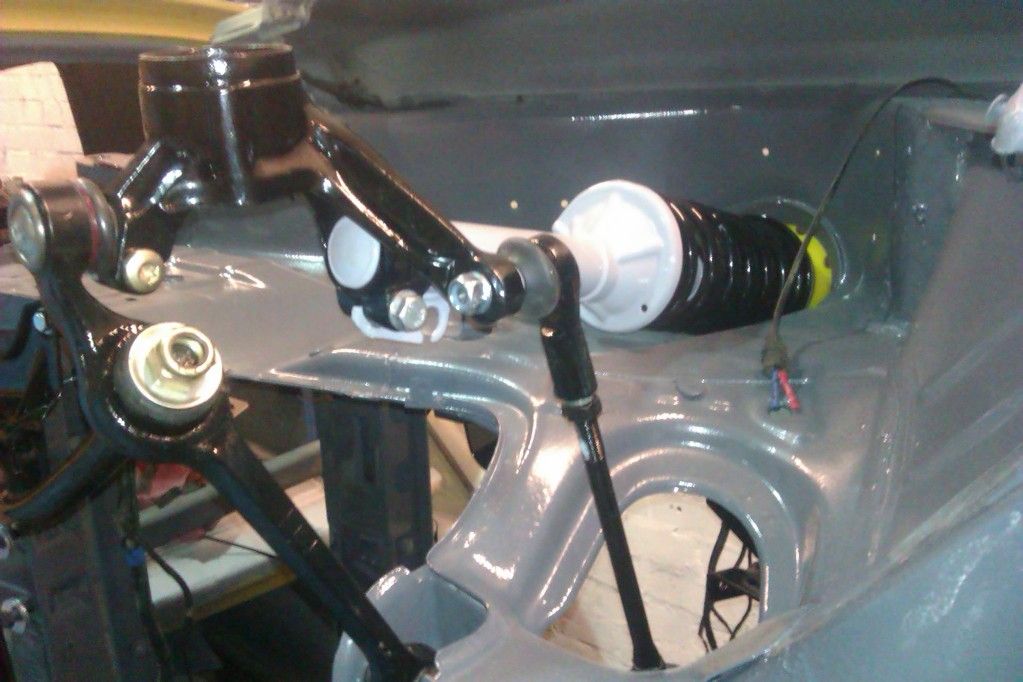
the shockers needed a fettle so i prepped and painted these a lighter grey and powder coated the springs black

and after the work
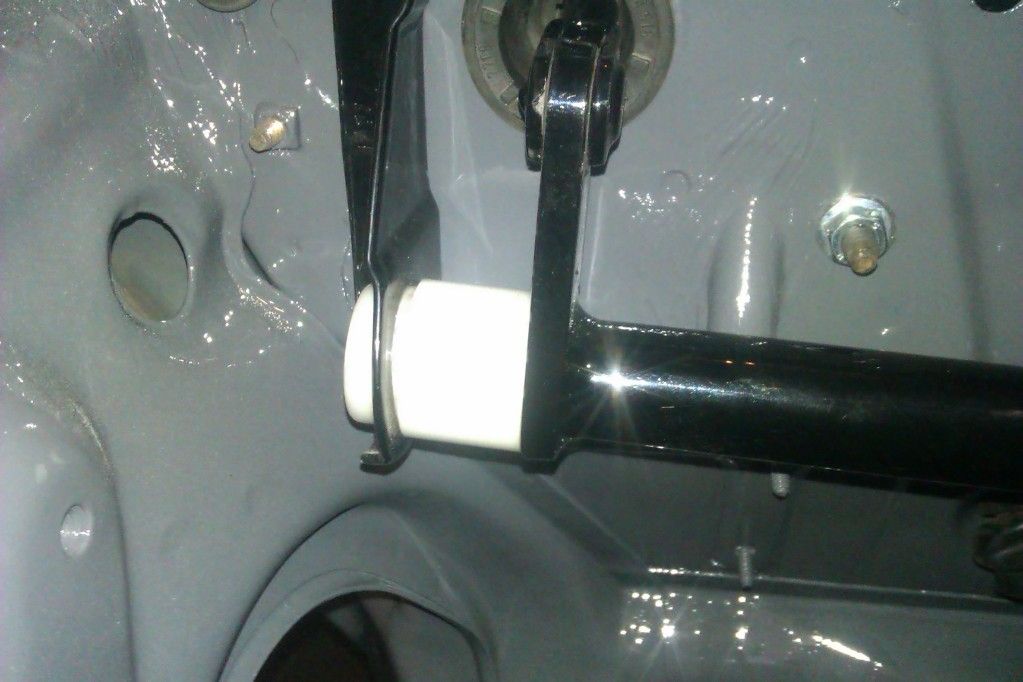
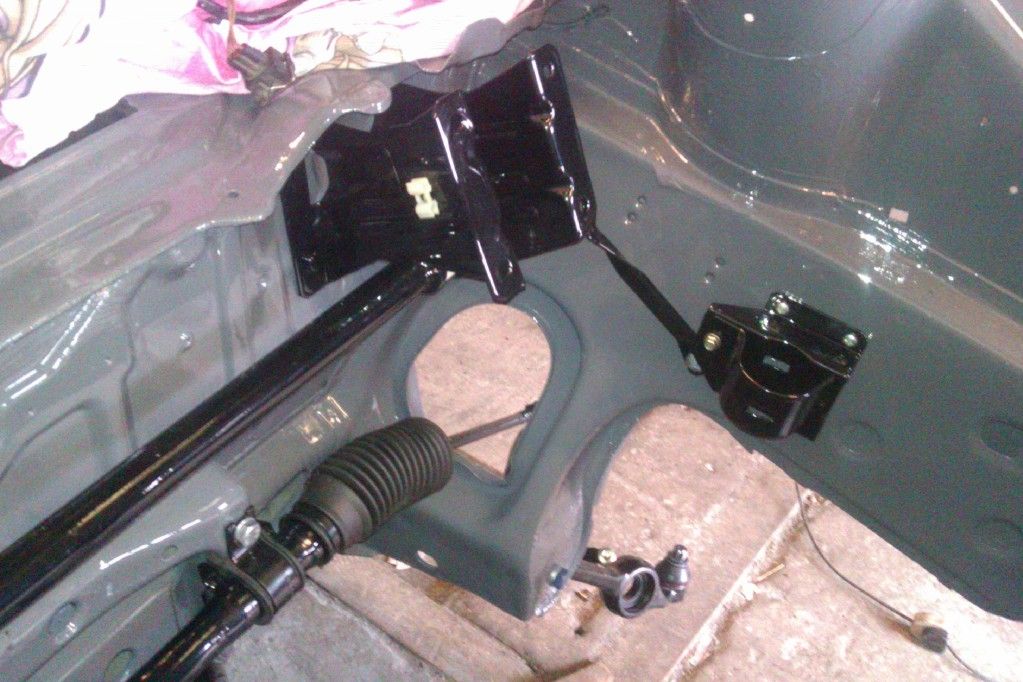
i started to fit a few refurbed parts that i removed from the red car

i prepped and painted the underside ,engine bay and inside


i used 3m stone gaurd on the underside before painting


the sharpe eyed ones will have noticed its not mercury grey , its a Ral colour none metallic grey
the shockers needed a fettle so i prepped and painted these a lighter grey and powder coated the springs black

and after the work

i started to fit a few refurbed parts that i removed from the red car


 22-04-2013, 09:35 PM
#25
Virgin
Join Date: Nov 2010
Posts: 11
Likes: 0
Received 0 Likes
on
0 Posts
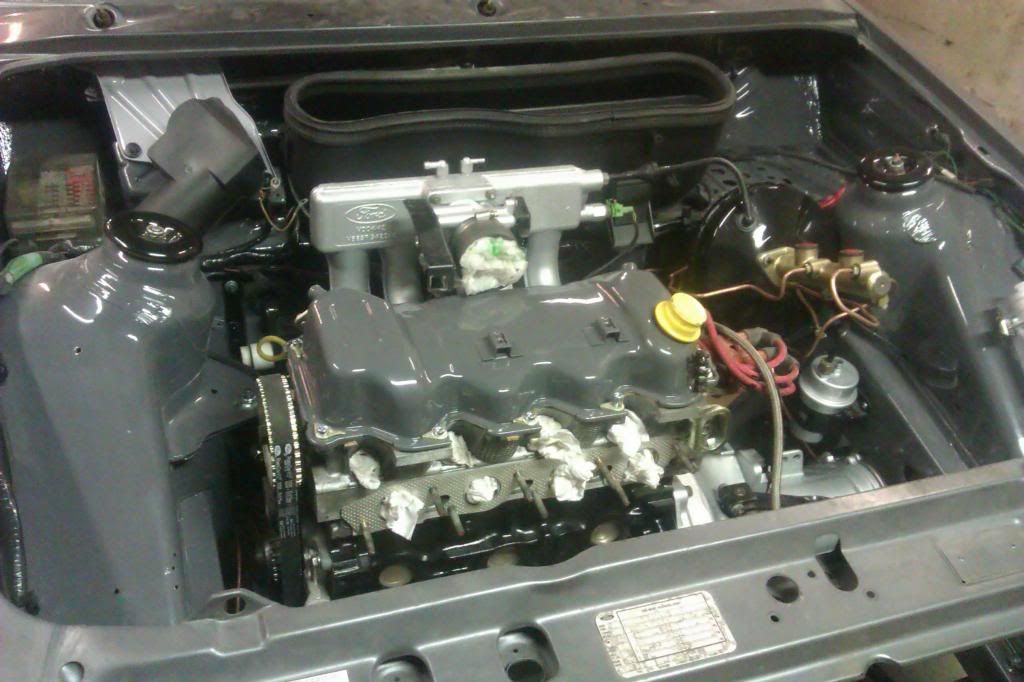
the engine from the red car was stripped , head rebuilt with new cam tappets , valves ect ect then built back up with new gaskets and bolts
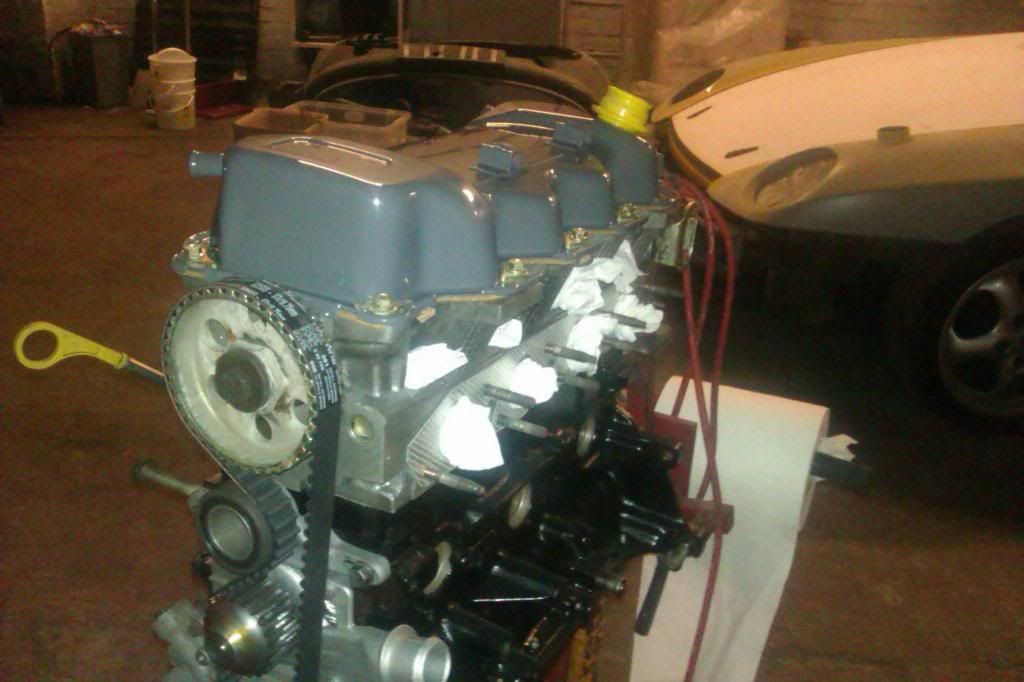
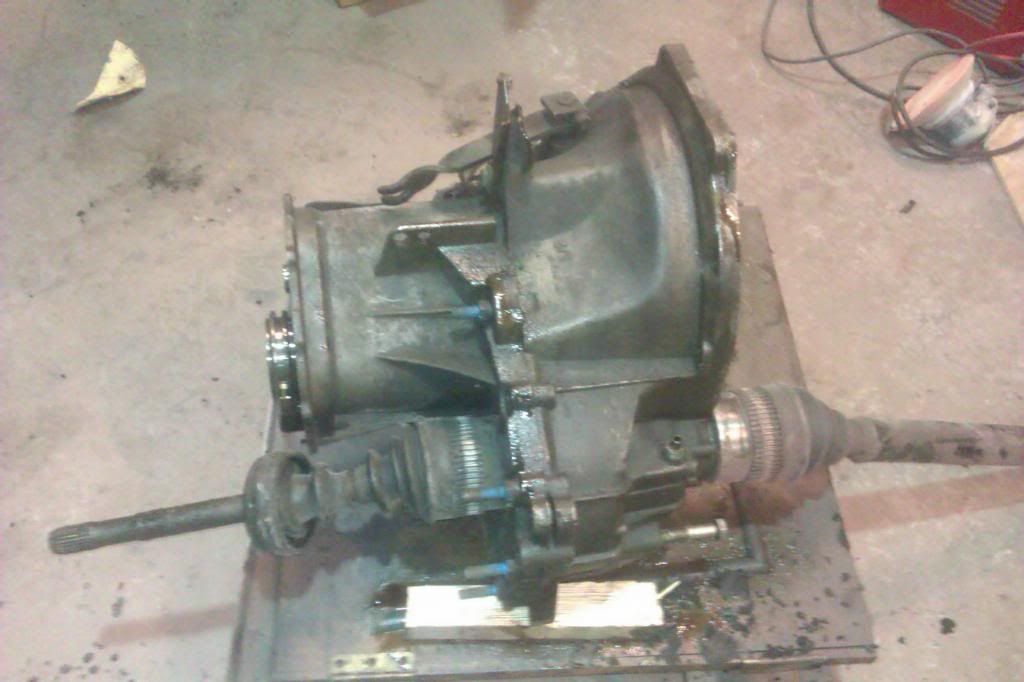
then on to the gearbox
before work started
and after a good clean . a coat of etch primer then stratos silver with 2k clearcoat
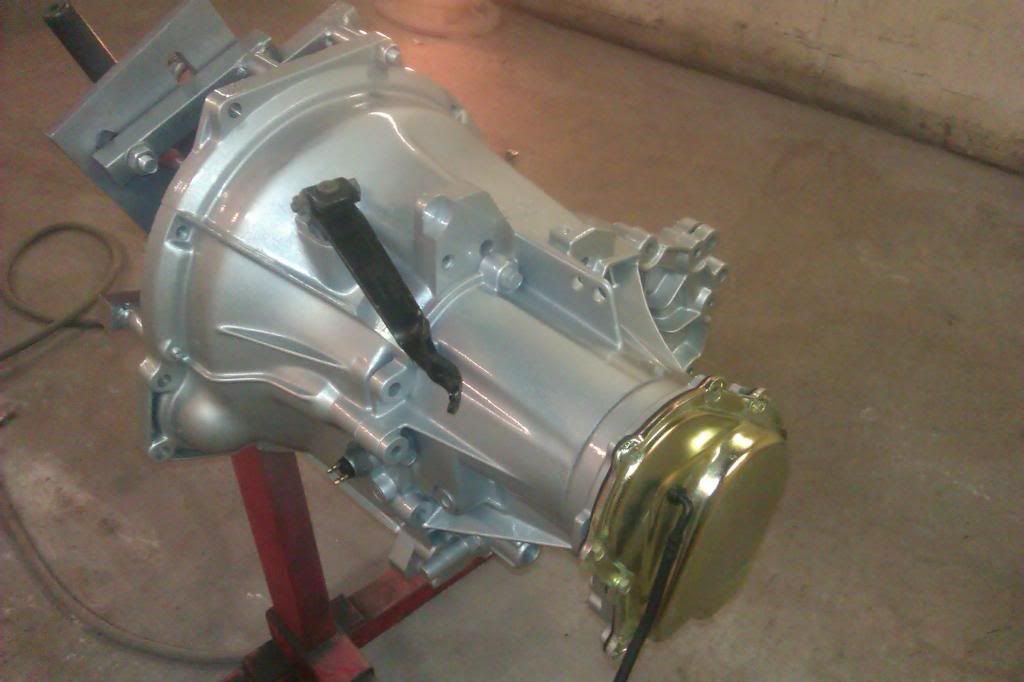
dropped the engine and box in the car with all new engine mounts and powder coated gearbox cradle

then on to the gearbox
before work started

and after a good clean . a coat of etch primer then stratos silver with 2k clearcoat

dropped the engine and box in the car with all new engine mounts and powder coated gearbox cradle
 22-04-2013, 09:52 PM
#26
Virgin
Join Date: Nov 2010
Posts: 11
Likes: 0
Received 0 Likes
on
0 Posts
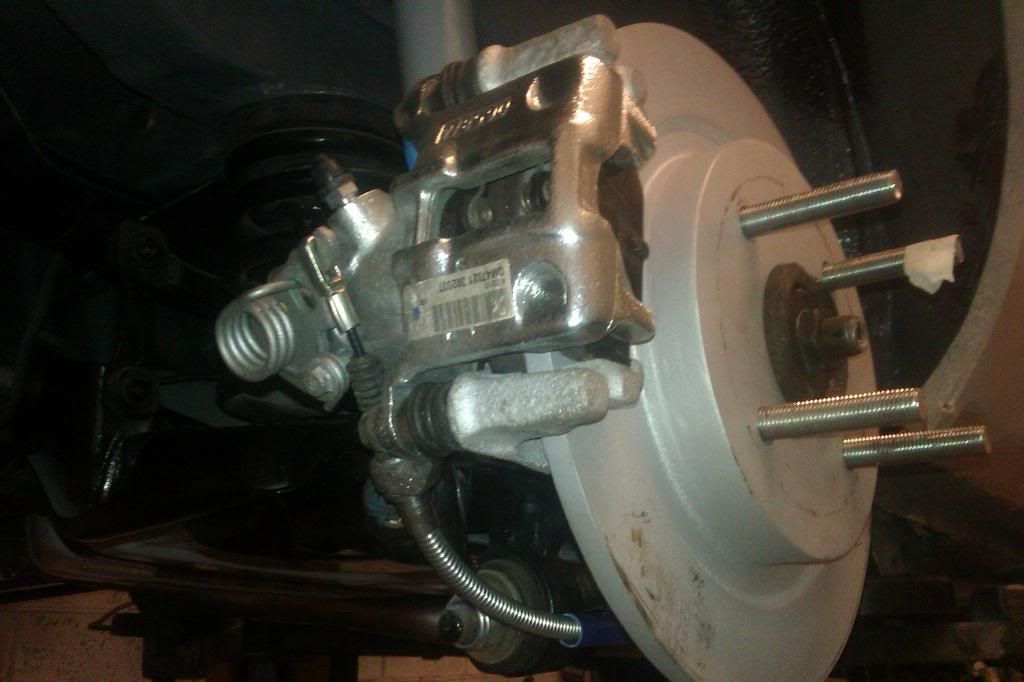
im fitting st170 discs and calipers to the front so i had to drill out the mounting holes from 10mm to 12mm
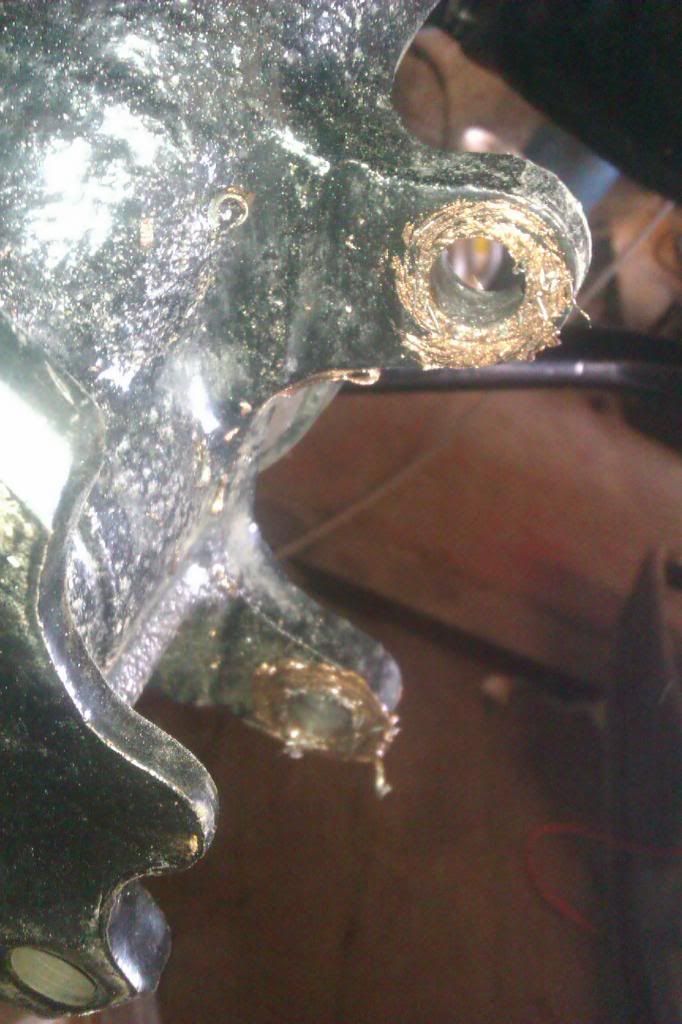
there nice and tight when fitted , just need to remove and paint the calipers and spacers now
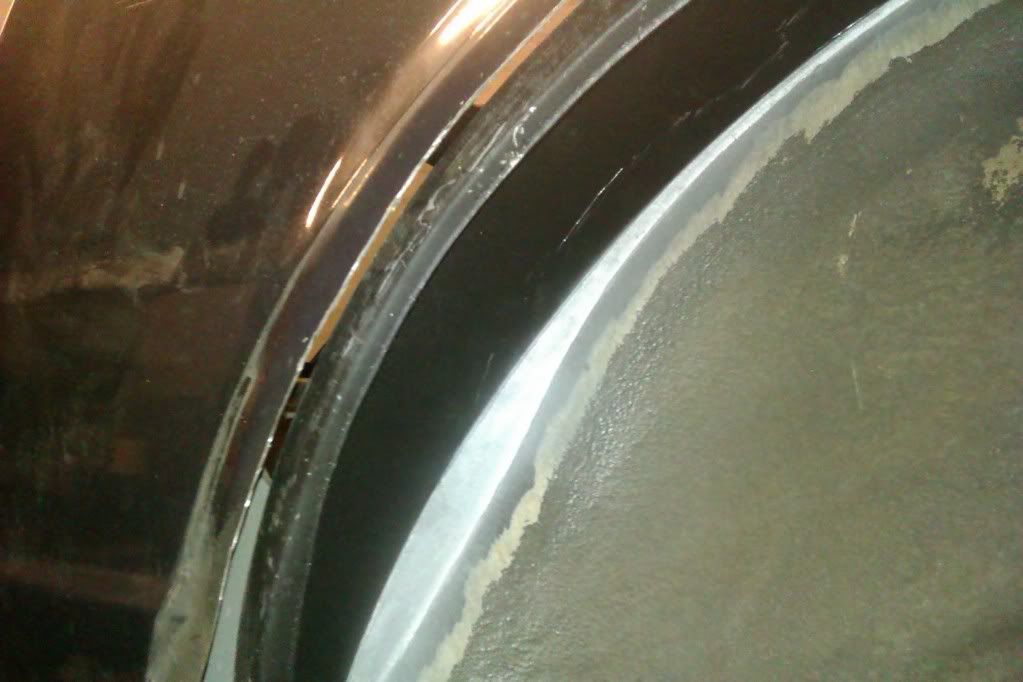
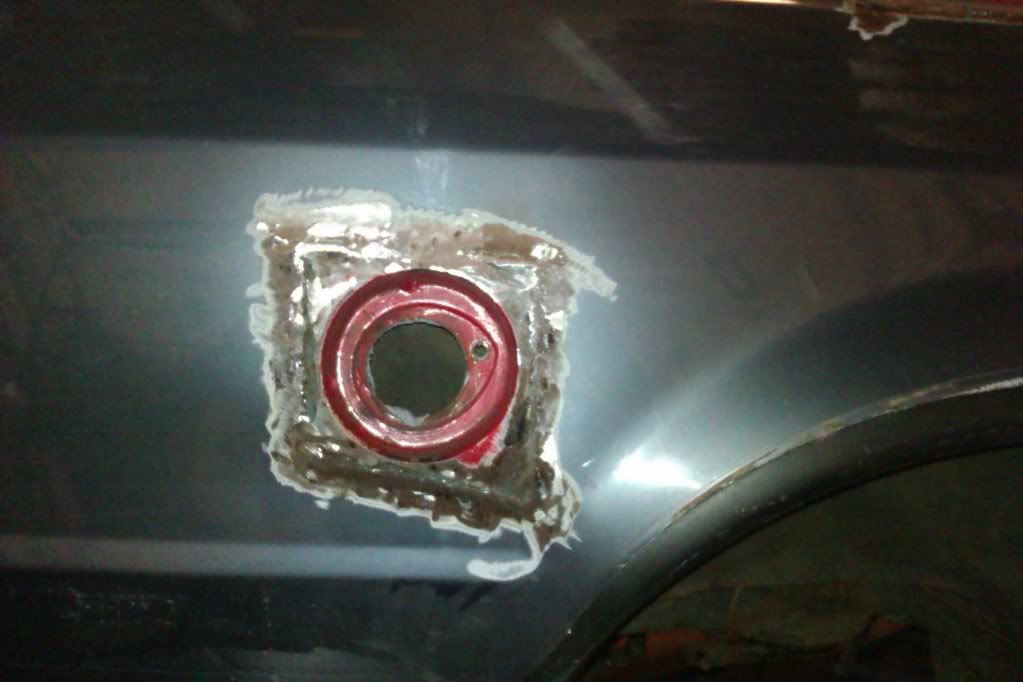
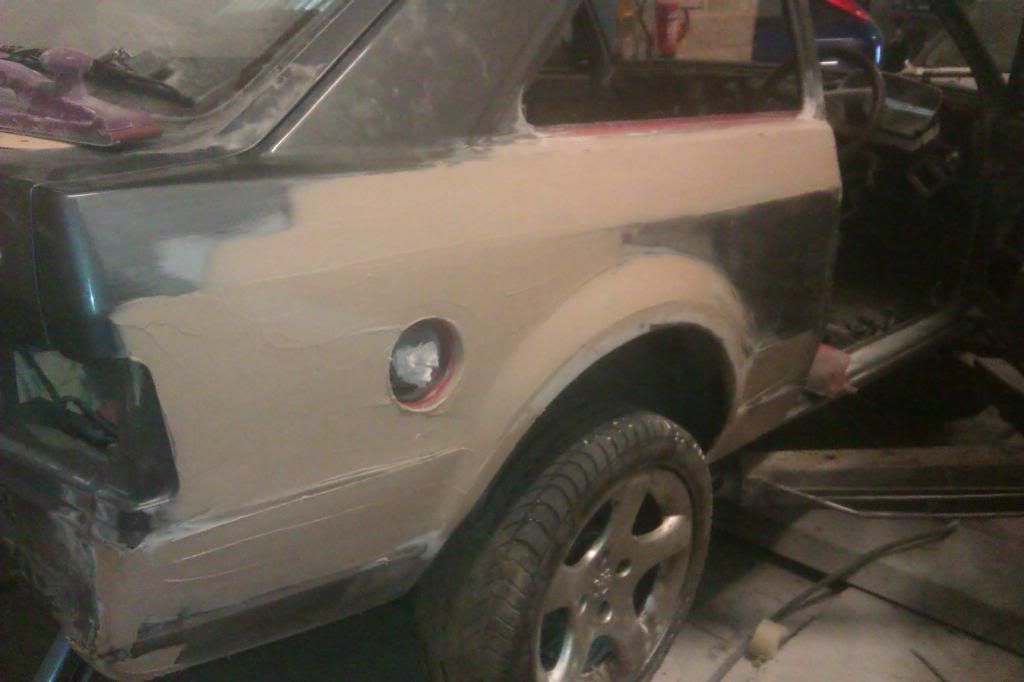
a bit of filler to level things out

there nice and tight when fitted , just need to remove and paint the calipers and spacers now

a bit of filler to level things out


 23-04-2013, 09:33 AM
#29
Advanced PassionFord User
I am really enjoying reading this  well done.
23-04-2013, 09:57 PM
#32
Regular Contributor
Thread Starter
Join Date: May 2008
Location: mansfield
Posts: 214
Likes: 0
Received 0 Likes
on
0 Posts
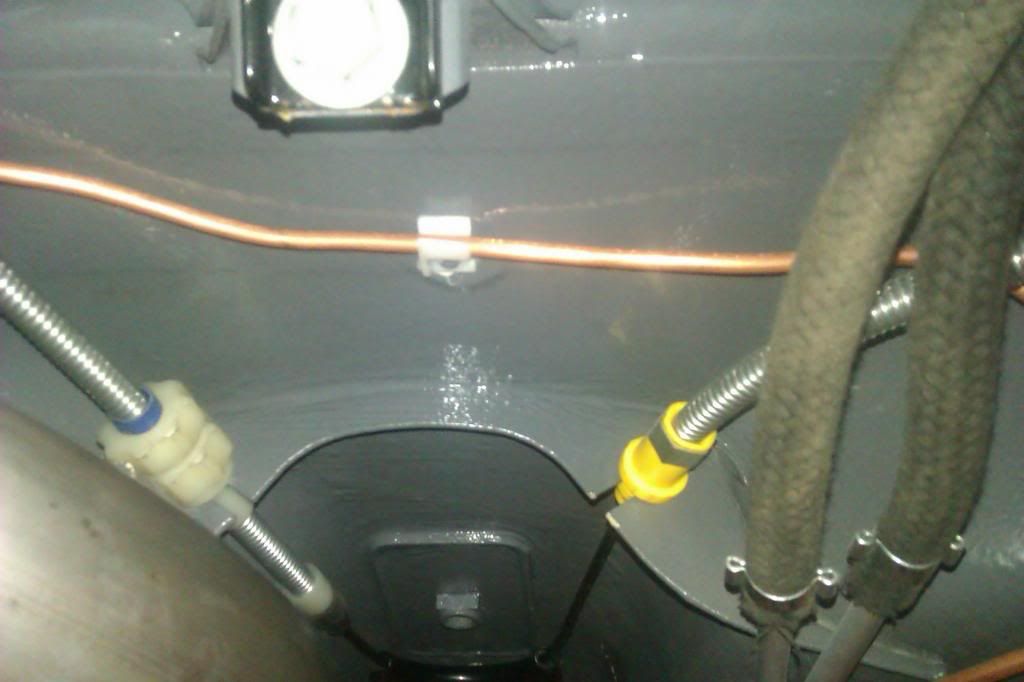
cheers guys , a bit of an update of what ive done tonight
rear brakes fitted

stud conversion done but im changing to shorter studs as these are a bit long
hanbrake cable fastned in
rear brakes fitted

stud conversion done but im changing to shorter studs as these are a bit long

hanbrake cable fastned in
 24-04-2013, 02:50 AM
#33
PassionFord Post Troll
Nice looking car!!!! Shell looks pretty good underneath
Proper gutted its the same RAL colour as mine i think looks identical noooooooo
Not a million miles away in Mansfield too
Proper gutted its the same RAL colour as mine i think looks identical
Not a million miles away in Mansfield too
Last edited by Beach; 24-04-2013 at 02:53 AM.
 24-04-2013, 10:07 PM
#37
PassionFord Post Troll
7031 Blue Grau or something like that it looks identical last night on me night shift i had to keep checking as it thought it was my car on the under bonnet shots pmsl 
Looks amazing when its all done pal i love thwe colour gets so m uch attention mine was painted 5 years ago now just obly made itn out for one or two shows before the BC gave in. Shes having a full cage and new engine and box at NMS just need to make a start.
Cant wait, good look with the project
Looks amazing when its all done pal i love thwe colour gets so m uch attention mine was painted 5 years ago now just obly made itn out for one or two shows before the BC gave in. Shes having a full cage and new engine and box at NMS just need to make a start.
Cant wait, good look with the project
 mines 7015


Thread
Thread Starter
Forum
Replies
Last Post
nicodinho
Ford Non RS / XR / ST parts for sale.
6
07-10-2015 12:56 PM