1990 Escort RS Turbo Restoration. Focus RS Conversion
26-03-2013, 12:56 AM
Regular Contributor
Thread Starter
Join Date: Jul 2010
Location: NORFOLK
Posts: 217
1990 Escort RS Turbo Restoration. Focus RS Conversion
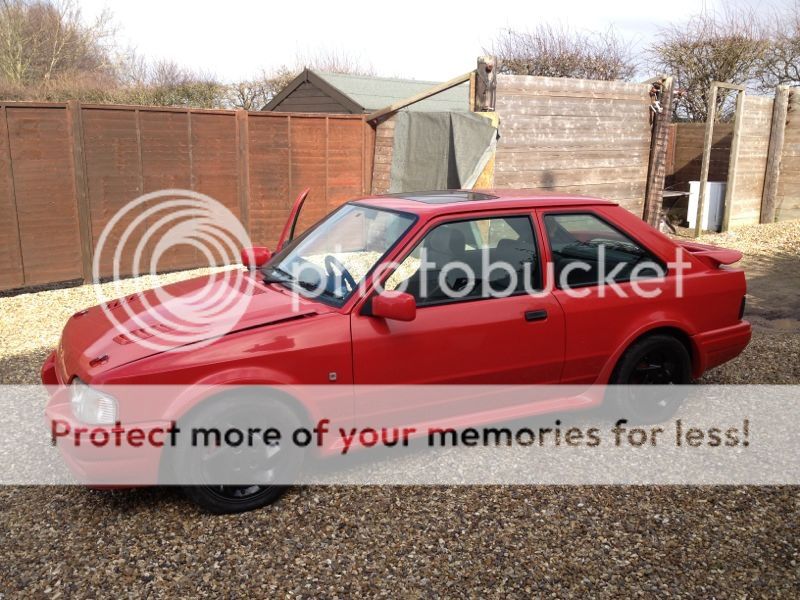
After getting rid of my grey s2 a few years back i have been looking for a replacement ever since, spent years looking for the right one to come along and i finally found one that was a good base project for me, It an H-reg s2 with EFI conversion, some of you may have seen the car for sale.
I did a 400 mile round trip to get the car and i believe it was worth it, the shell is pretty solid, just a couple of patches of repair that i shall do again but do so its not noticeable, and then just a case of tidying up whats already been started, change a few things and get it ready for summer.
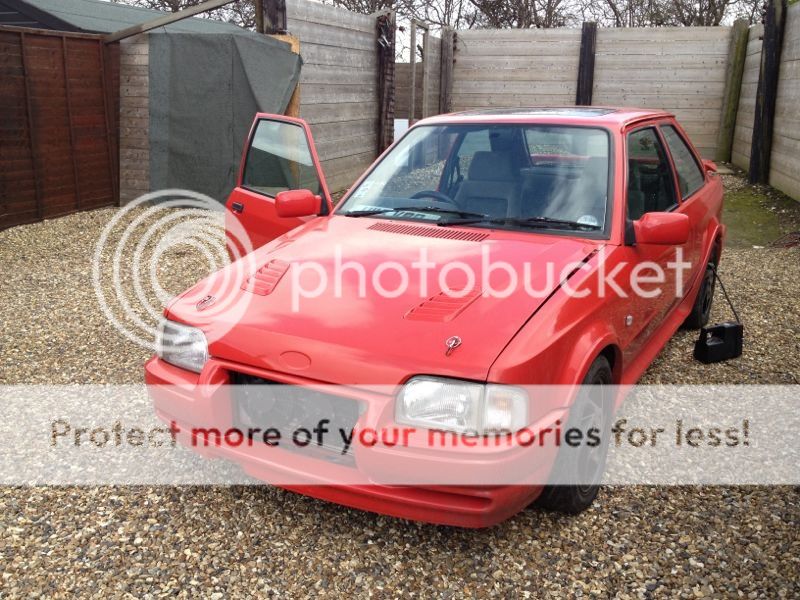
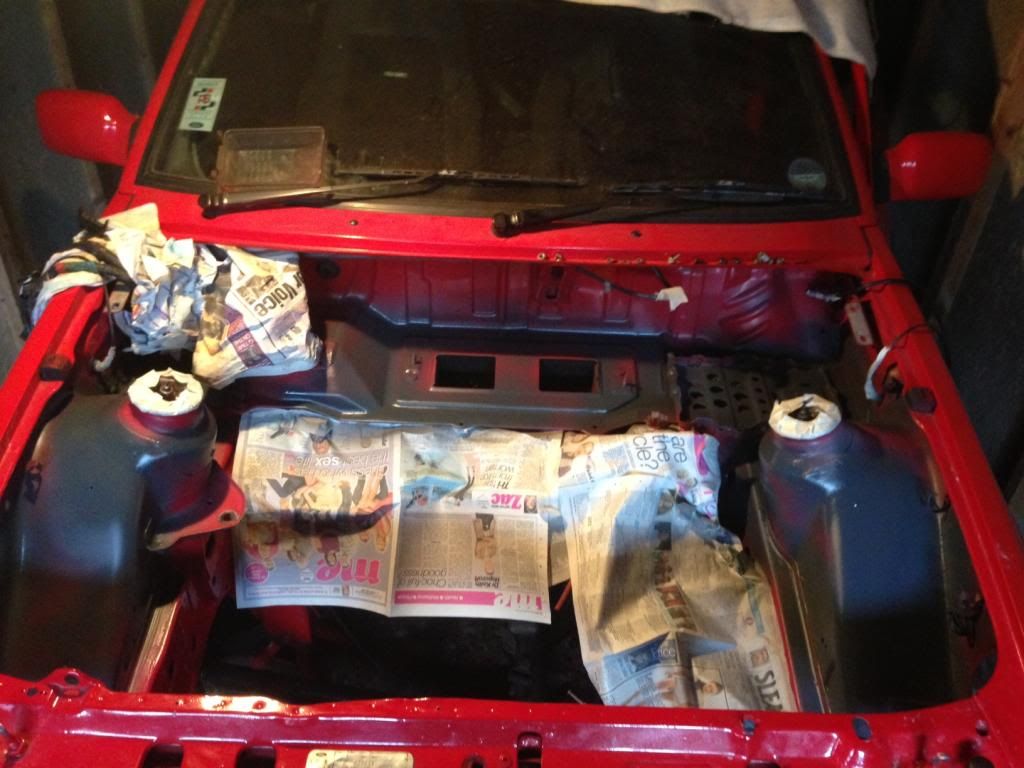
Heres some pics today before i started strippin it out.....
Last edited by xxTWINNYxx; 24-06-2019 at 06:37 PM .
26-03-2013, 12:58 AM
Regular Contributor
Thread Starter
Join Date: Jul 2010
Location: NORFOLK
Posts: 217
Front panel seems pretty clean, small patch of surface rust starting so will sort this.
26-03-2013, 12:59 AM
Regular Contributor
Thread Starter
Join Date: Jul 2010
Location: NORFOLK
Posts: 217
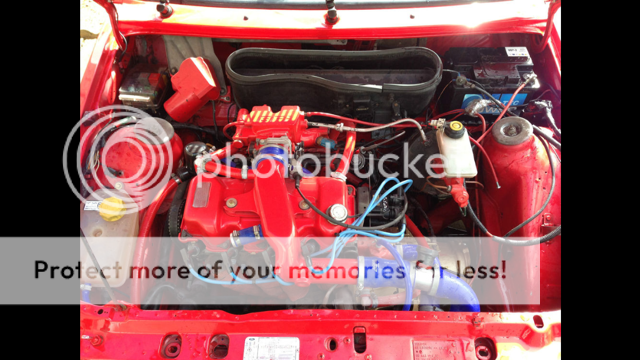
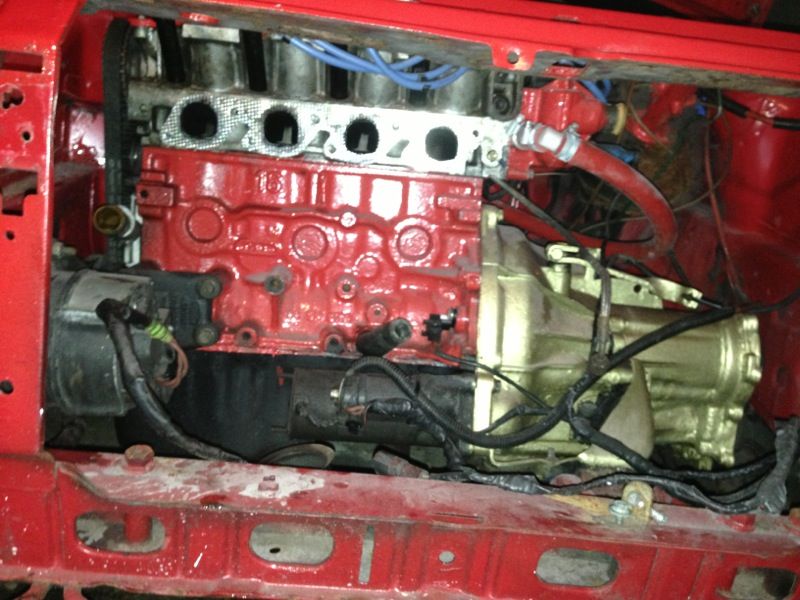
Engine nearly ready to come out...
26-03-2013, 03:19 AM
10K+ Poster!!
Join Date: Aug 2003
Location: Essex
Posts: 11,239
Looks nice
Brian
26-03-2013, 10:24 AM
PassionFord Regular
Join Date: Mar 2012
Location: Bo'ness In The Garage Carmac Autos
Posts: 415
Likes: 0
looks like a good one look forward to watching this
26-03-2013, 09:05 PM
Regular Contributor
Thread Starter
Join Date: Jul 2010
Location: NORFOLK
Posts: 217
Only had about an hour spare tonight so i stripped everything off the engine so its ready to lift out tomorrow, then i can start the painting
27-03-2013, 06:21 PM
Glennvestite
Join Date: Jul 2006
Location: Darlington county durham
Posts: 62,755
Cool car.It looks like a clean example.
27-03-2013, 10:31 PM
Regular Contributor
Thread Starter
Join Date: Jul 2010
Location: NORFOLK
Posts: 217
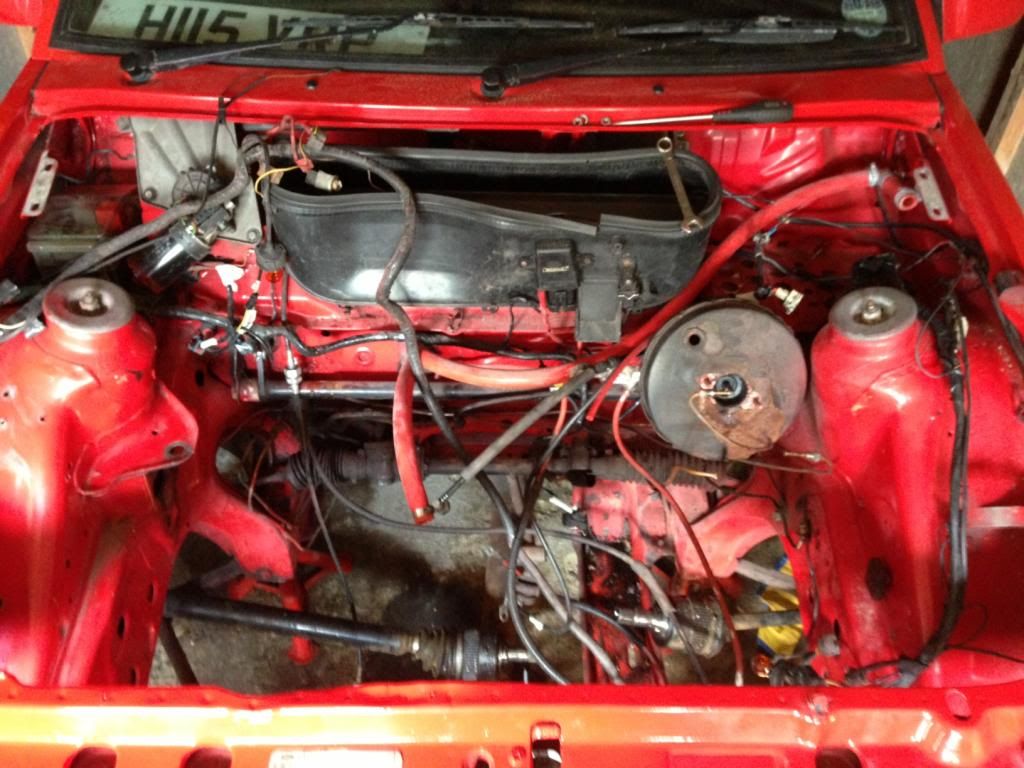
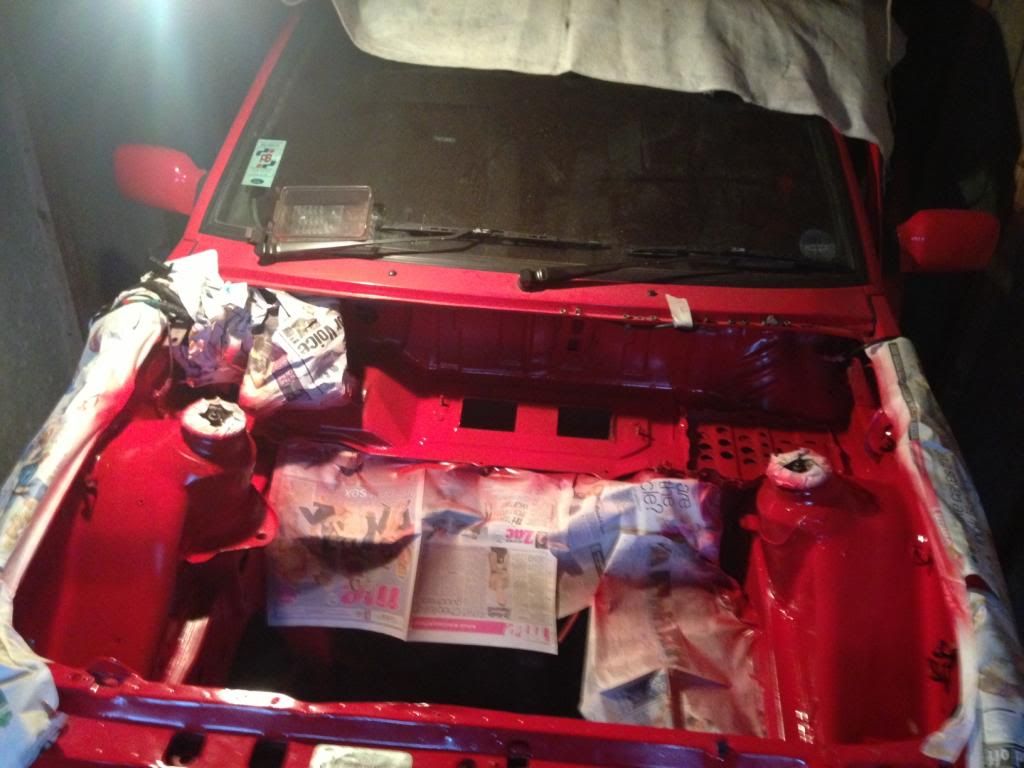
Engine out, started to strip down the bay so its ready for a clean up and paint...
28-03-2013, 10:52 PM
Regular Contributor
Thread Starter
Join Date: Jul 2010
Location: NORFOLK
Posts: 217
29-03-2013, 07:24 PM
Regular Contributor
Thread Starter
Join Date: Jul 2010
Location: NORFOLK
Posts: 217
Sprayed the arches in stone chip today, and applied the first coat of paint, pics to follow
29-03-2013, 07:27 PM
Regular Contributor
Thread Starter
Join Date: Jul 2010
Location: NORFOLK
Posts: 217
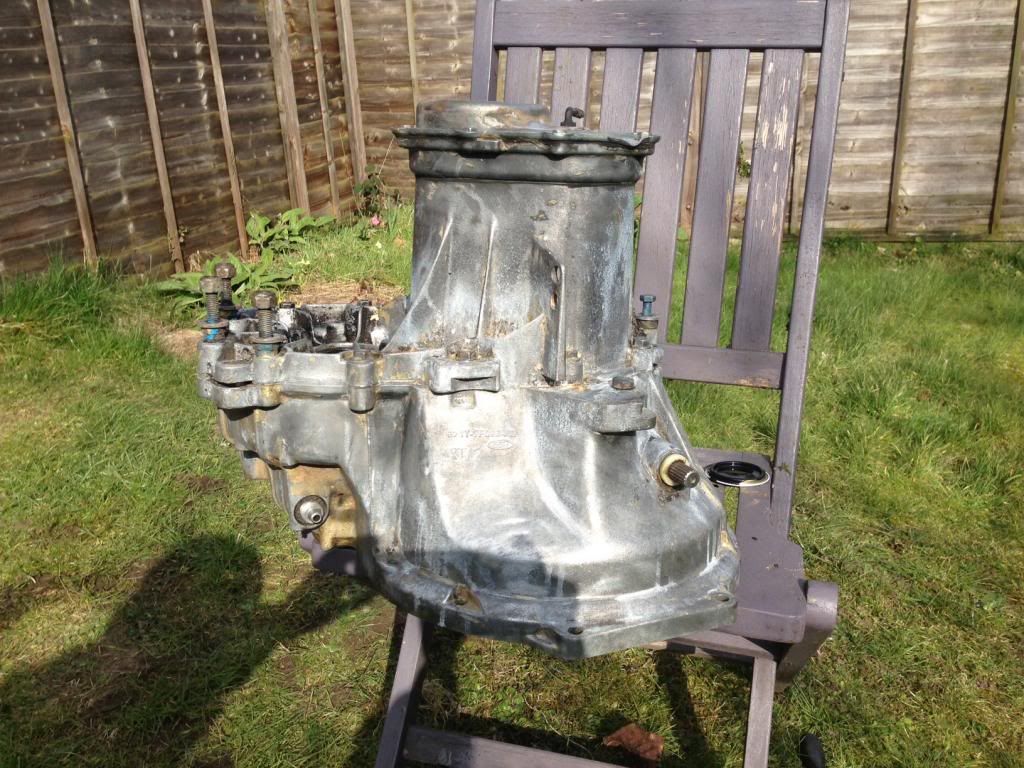
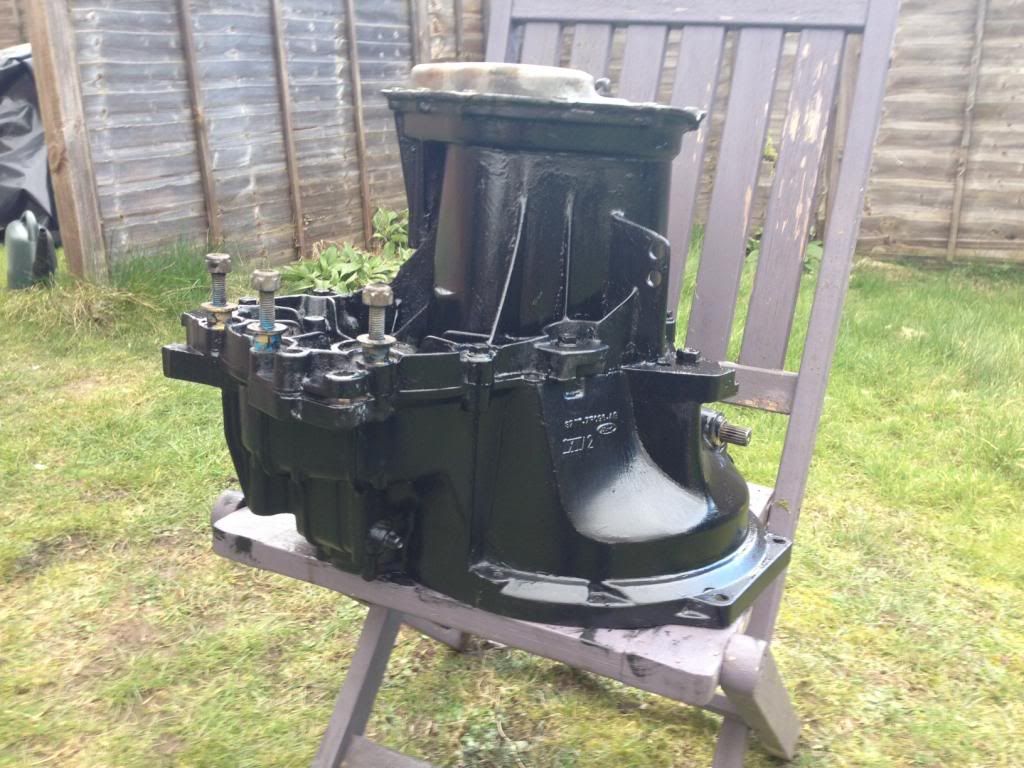
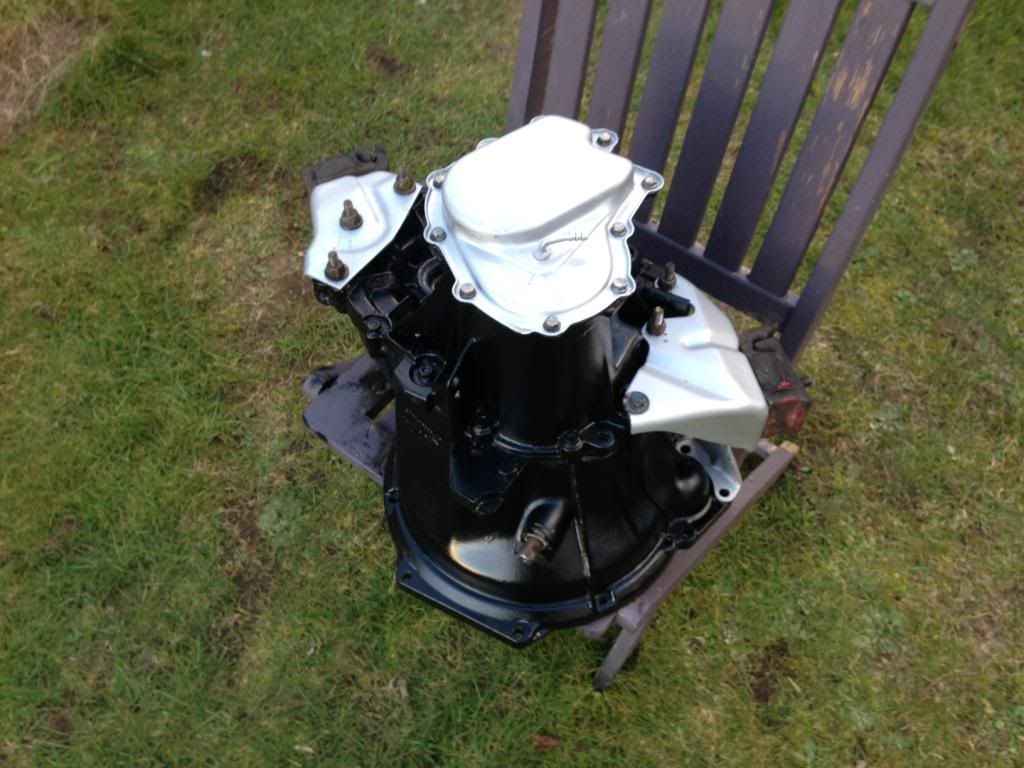
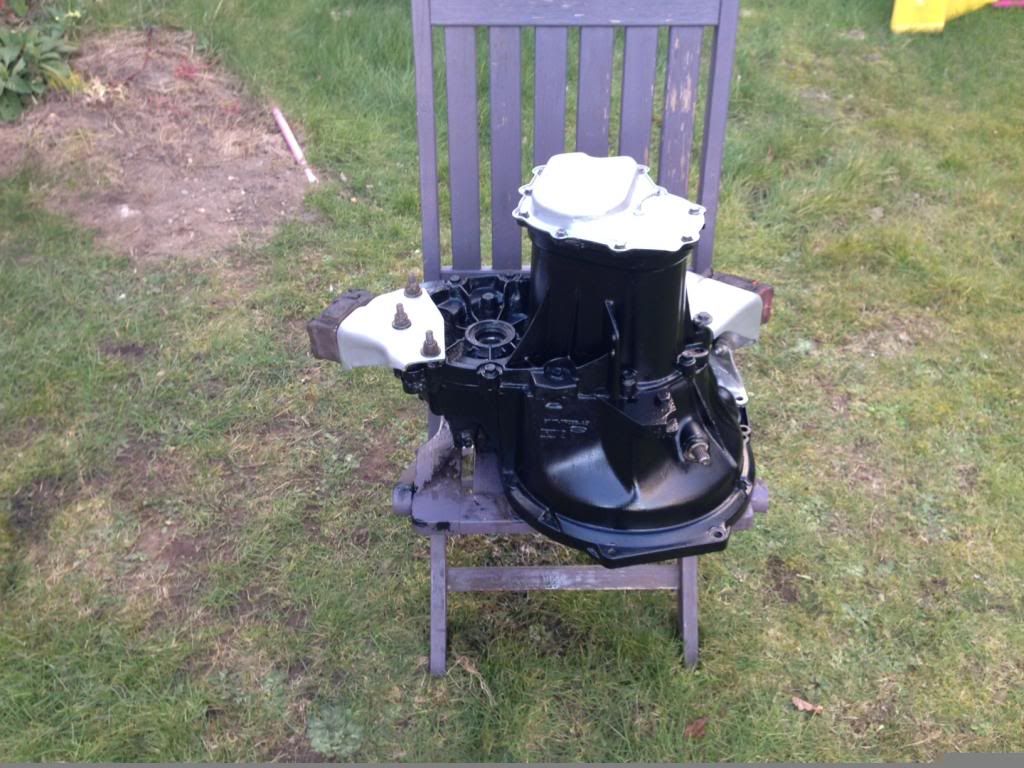
Been getting fed up looking at a gold painted gearbox so i tackled it with a wire wheel today, took bloody ages!!!
Last edited by xxTWINNYxx; 30-03-2013 at 12:13 AM .
29-03-2013, 07:28 PM
Regular Contributor
Thread Starter
Join Date: Jul 2010
Location: NORFOLK
Posts: 217
29-03-2013, 09:58 PM
Advanced PassionFord User
Join Date: Jul 2007
Location: Wiltshire
Posts: 2,400
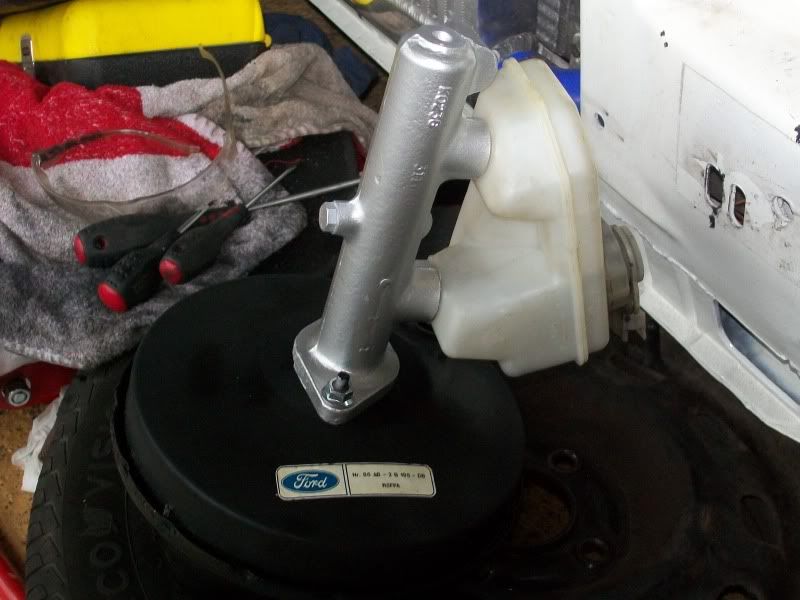
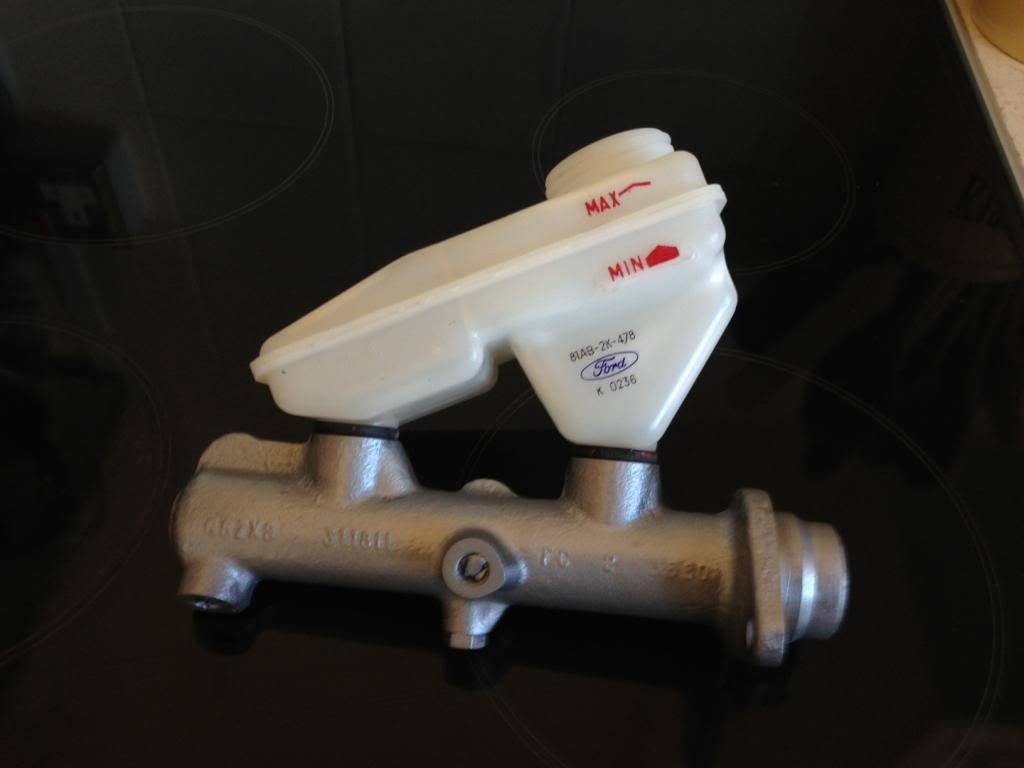
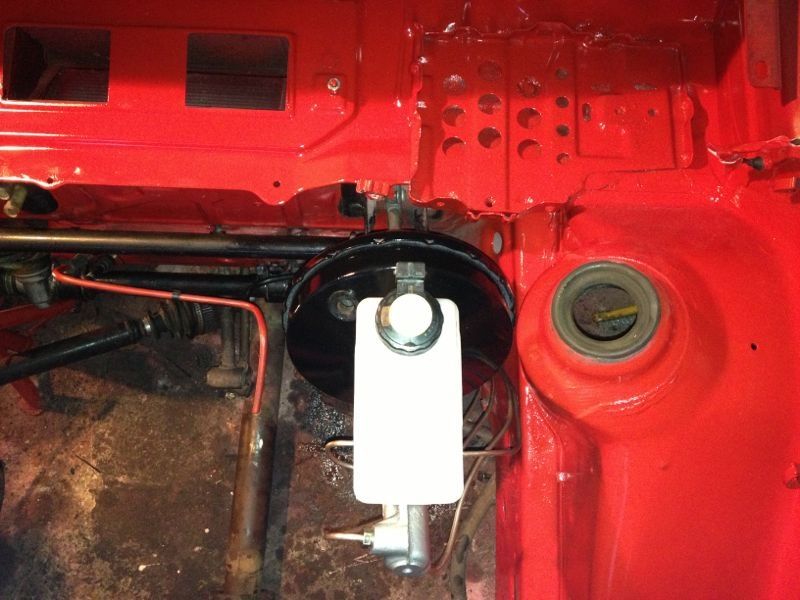
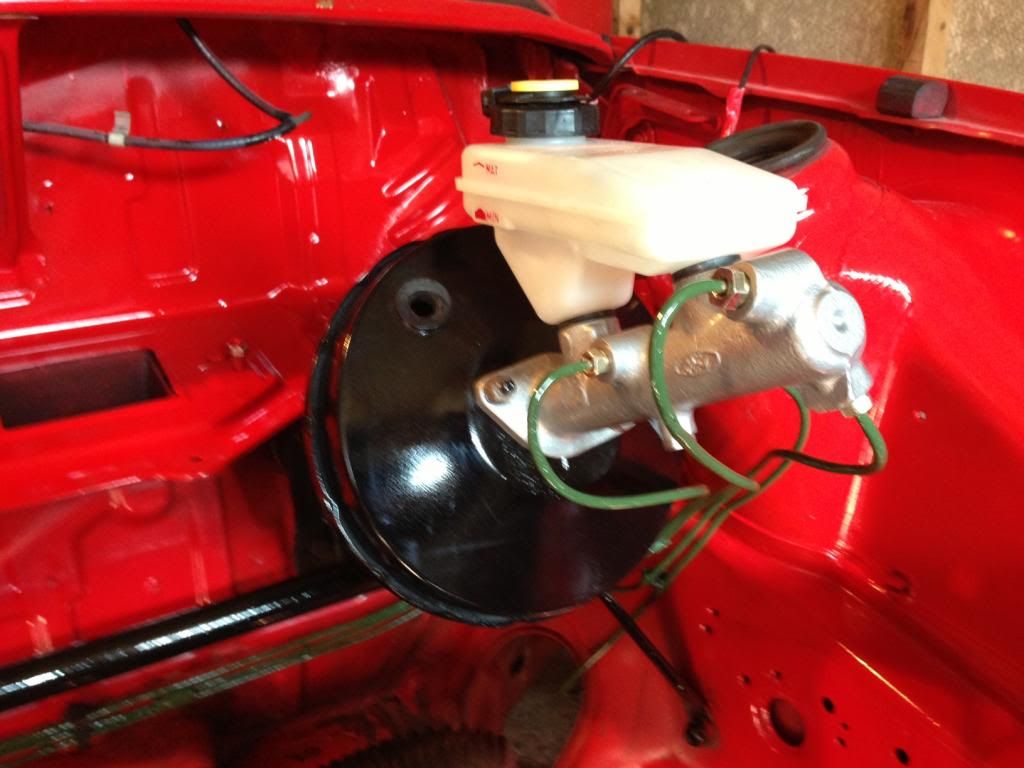
Did you just wack a bit of brush on paint on that brake servo?
If so its a bloody mess(sorry) theres only 4 nuts holding it onto the car(behind glovebox) then a split pin holding it onto the brake bar. Should take no more than 10 mins to remove it.
Sand it down and spray paint it. You can even paint the cylinder while youre at it, thats only a 2 nut job.
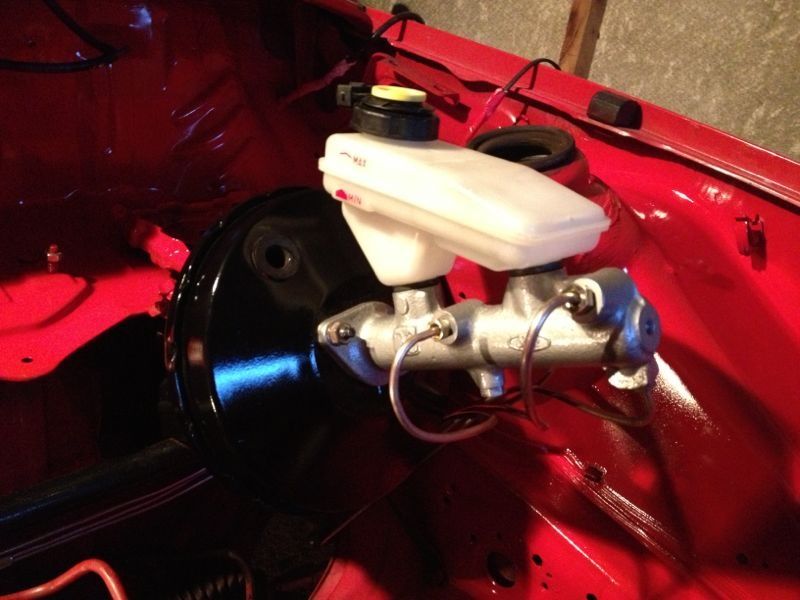
This only took me about 2 hours total to do:
Last edited by RSmark84; 29-03-2013 at 10:05 PM .
29-03-2013, 10:06 PM
Regular Contributor
Thread Starter
Join Date: Jul 2010
Location: NORFOLK
Posts: 217
yeah i did
, dont worry its all coming out when i paint the bay
29-03-2013, 10:08 PM
Advanced PassionFord User
Join Date: Jul 2007
Location: Wiltshire
Posts: 2,400
Good lad, last thing you want is that to let down a nice car.
29-03-2013, 10:13 PM
Regular Contributor
Thread Starter
Join Date: Jul 2010
Location: NORFOLK
Posts: 217
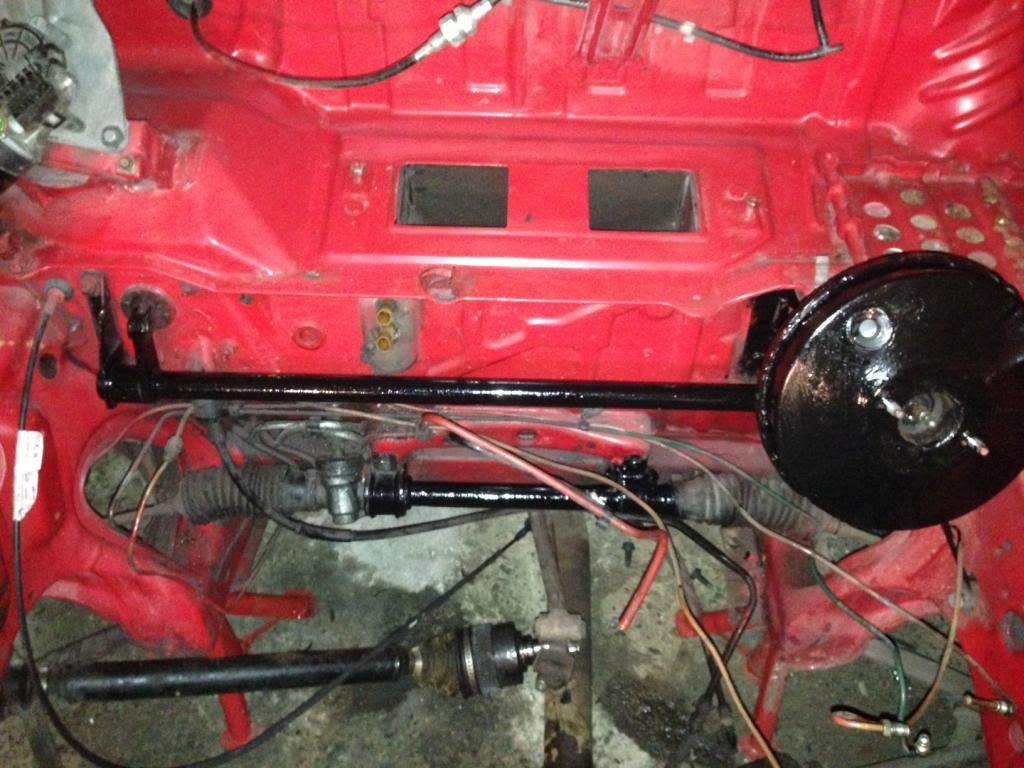
I put the paint on when i was coating the rack, but soon decided it needed painting, so its all coming out so i can paint the bay red
would have stopped me painting the inner wing if i left it in anyway
29-03-2013, 11:21 PM
Glennvestite
Join Date: Jul 2006
Location: Darlington county durham
Posts: 62,755
Top work.Its amazing what a bit of paint can do.
31-03-2013, 07:12 PM
Regular Contributor
Thread Starter
Join Date: Jul 2010
Location: NORFOLK
Posts: 217
Had a good look around the car now its been stripped, found that its had, new front wings, new front panel, new scuttle panel, new fuse box tray, new battery tray, new rear arches, new floor pans. looks like most of the hard work has been done
31-03-2013, 07:18 PM
Regular Contributor
Thread Starter
Join Date: Jul 2010
Location: NORFOLK
Posts: 217
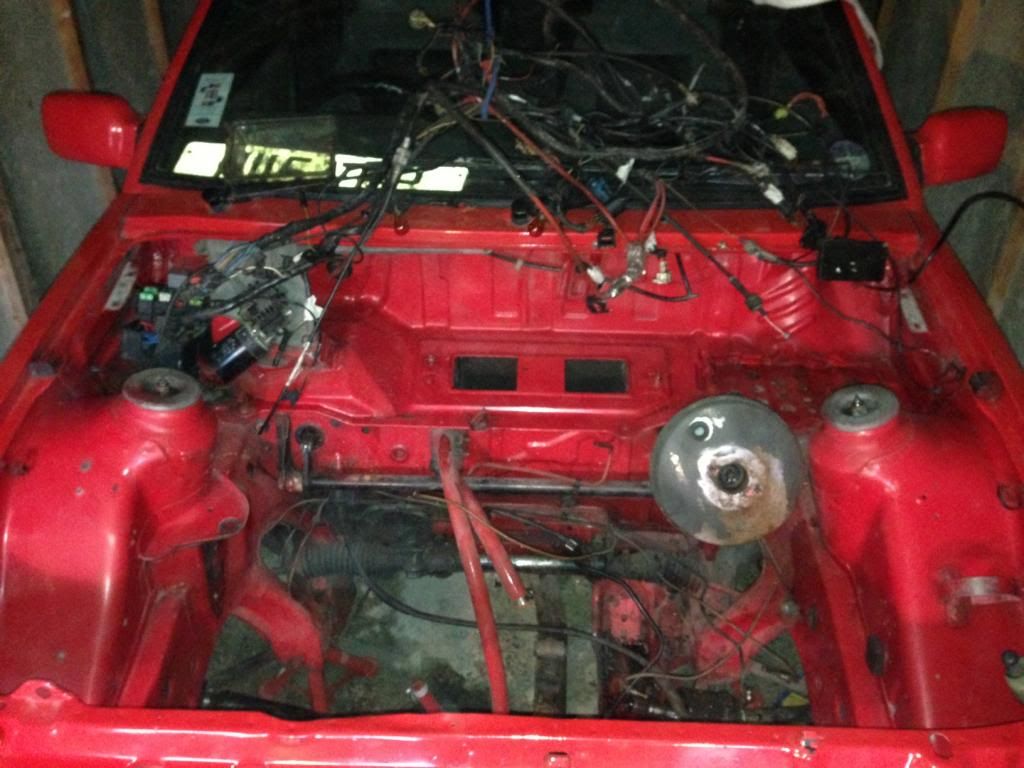
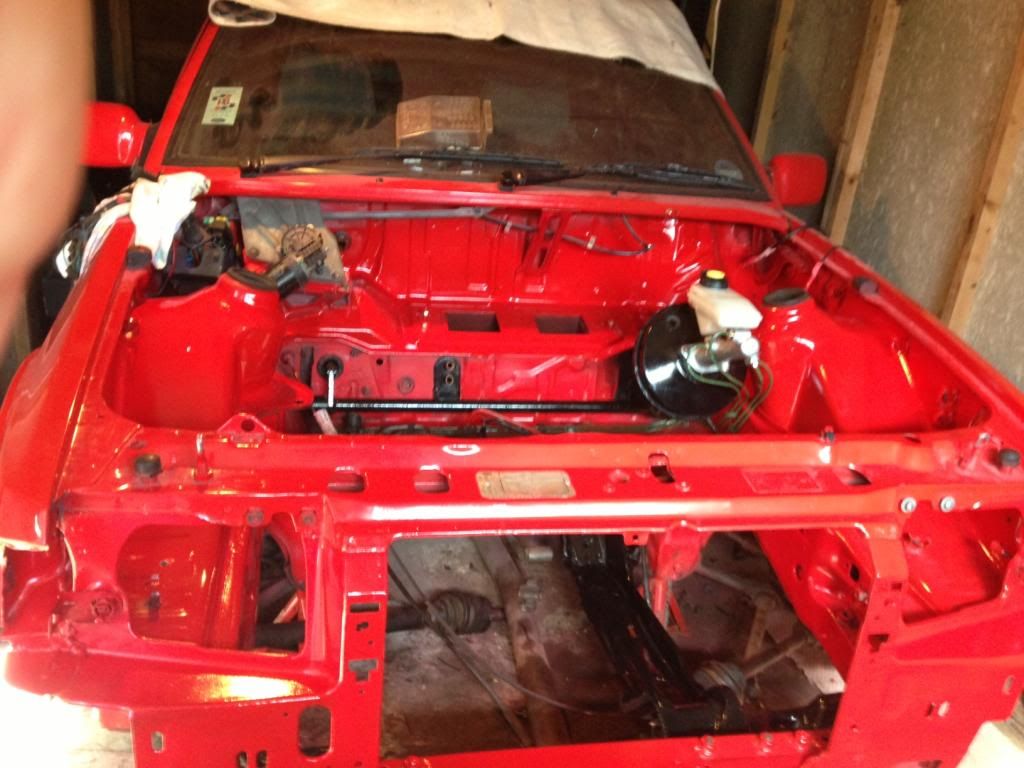
Todays Progress.....
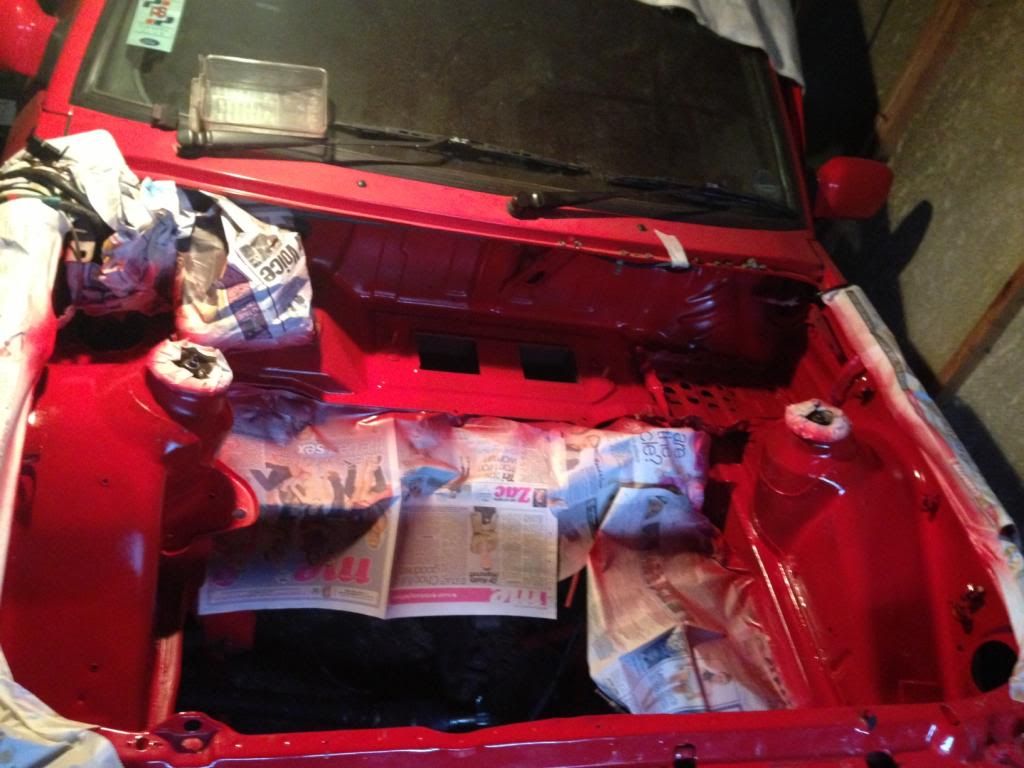
removed dashboard ready for replacement, Finished filling up the holes in inner wings that are not needed, then started to prepare the engine bay, stonechipped, primed and painting it. Turned out pretty well, And for the people that will ask, I didnt remove the wiper motor or wiring loom as the area was painted when fuse box panel was replaced.
31-03-2013, 08:23 PM
Glennvestite
Join Date: Jul 2006
Location: Darlington county durham
Posts: 62,755
Cool matey.I like the smooth inner wing look.
31-03-2013, 08:48 PM
Regular Contributor
Thread Starter
Join Date: Jul 2010
Location: NORFOLK
Posts: 217
Cheers Glenn, Couldnt believe how many little holes were in the inner wings, some of them were from the fuel filter and metering head but obviously dont need them now
31-03-2013, 09:18 PM
Glennvestite
Join Date: Jul 2006
Location: Darlington county durham
Posts: 62,755
Or there is plenty of holes.Same as the sierras.
01-04-2013, 07:35 AM
Too many posts.. I need a life!!
Join Date: Sep 2007
Location: Norwich
Posts: 624
i see your in norfolk where abouts? iv just restored a series 2 in norwich
01-04-2013, 08:37 AM
PassionFord Post Whore!!
Join Date: Apr 2010
Location: Ellesmere
Posts: 4,033
01-04-2013, 08:39 PM
Regular Contributor
Thread Starter
Join Date: Jul 2010
Location: NORFOLK
Posts: 217
Im right on the coast daz, 20 miles from city
04-04-2013, 12:17 PM
Regular Contributor
Thread Starter
Join Date: Jul 2010
Location: NORFOLK
Posts: 217
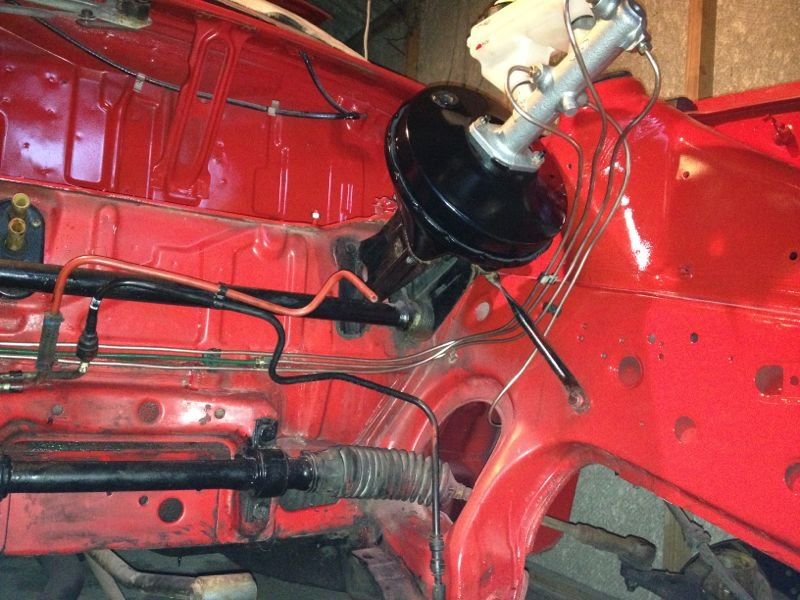
Refurbished the brake servo, master cylinder and reservoir bottle, also added a little detailing to the bottle, some will like, some wont
04-04-2013, 12:18 PM
Regular Contributor
Thread Starter
Join Date: Jul 2010
Location: NORFOLK
Posts: 217
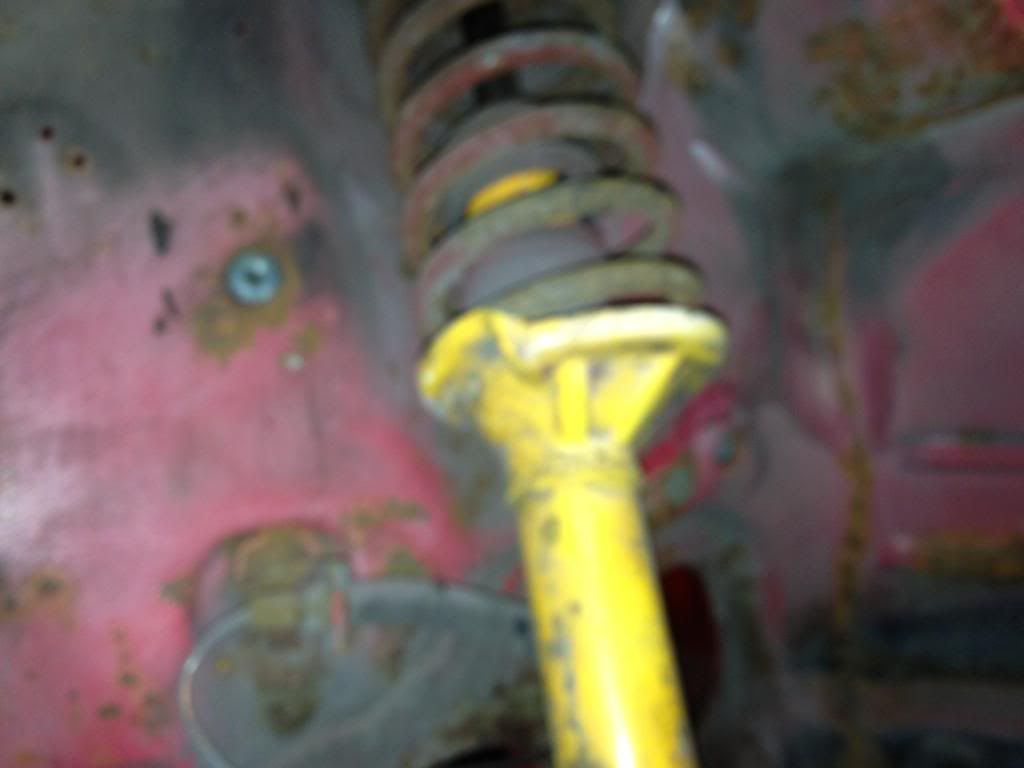
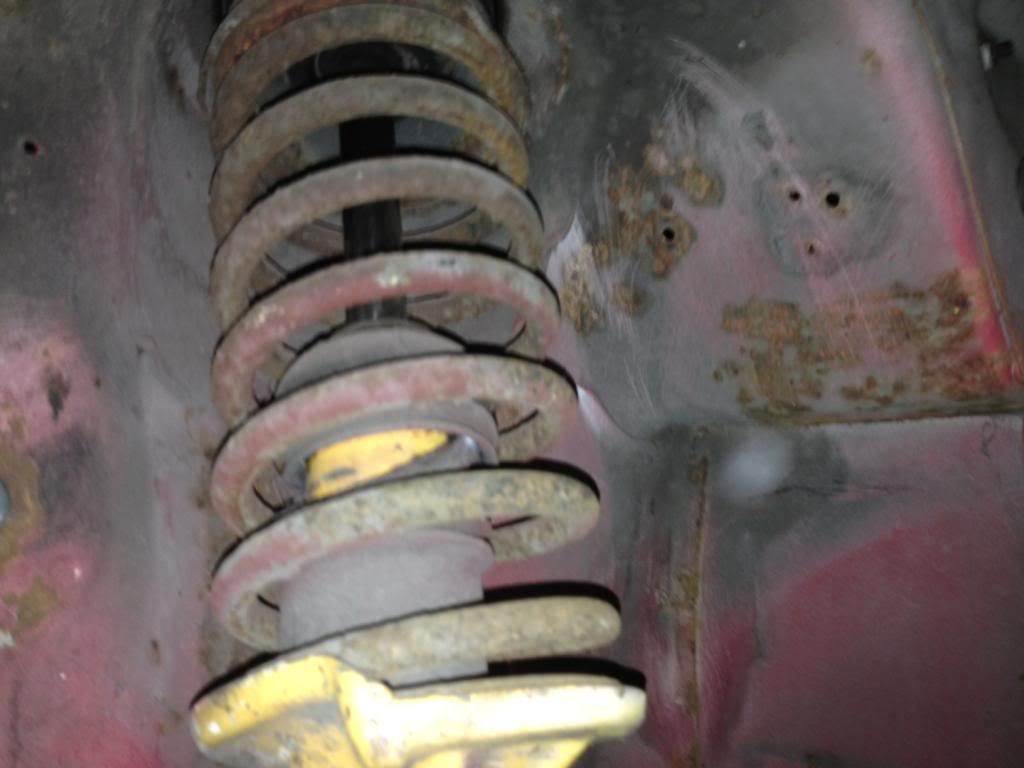
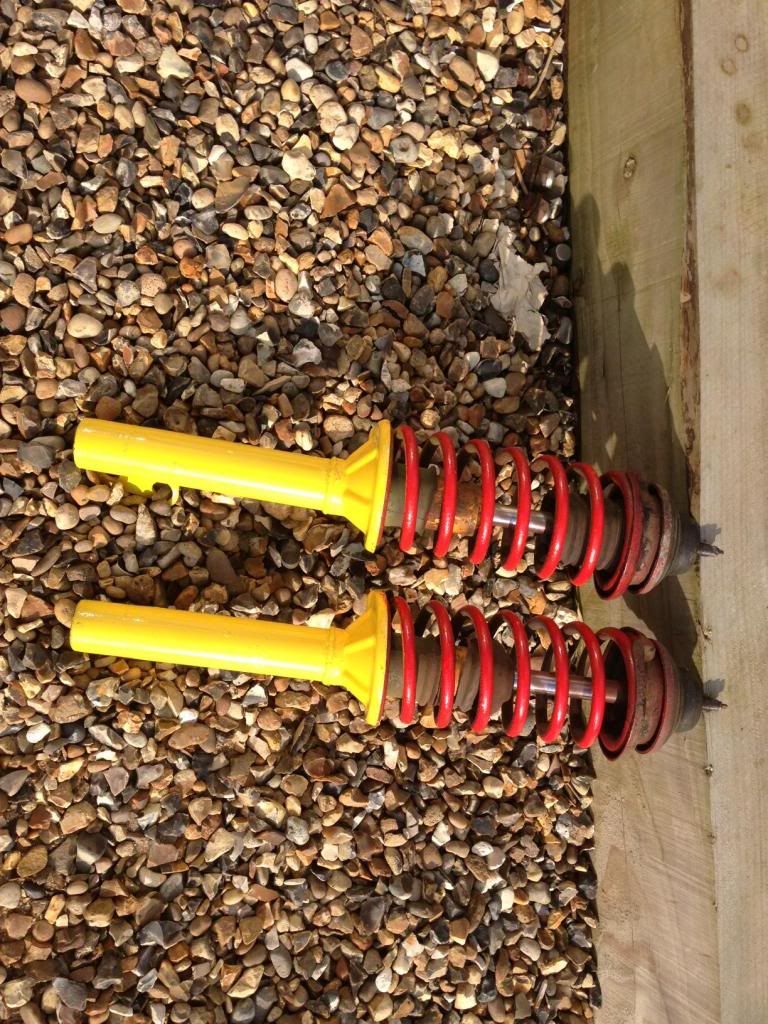
Gave the Koni Adjustables a bit of a clean and re-paint
04-04-2013, 12:20 PM
Regular Contributor
Thread Starter
Join Date: Jul 2010
Location: NORFOLK
Posts: 217
04-04-2013, 12:22 PM
Regular Contributor
Thread Starter
Join Date: Jul 2010
Location: NORFOLK
Posts: 217
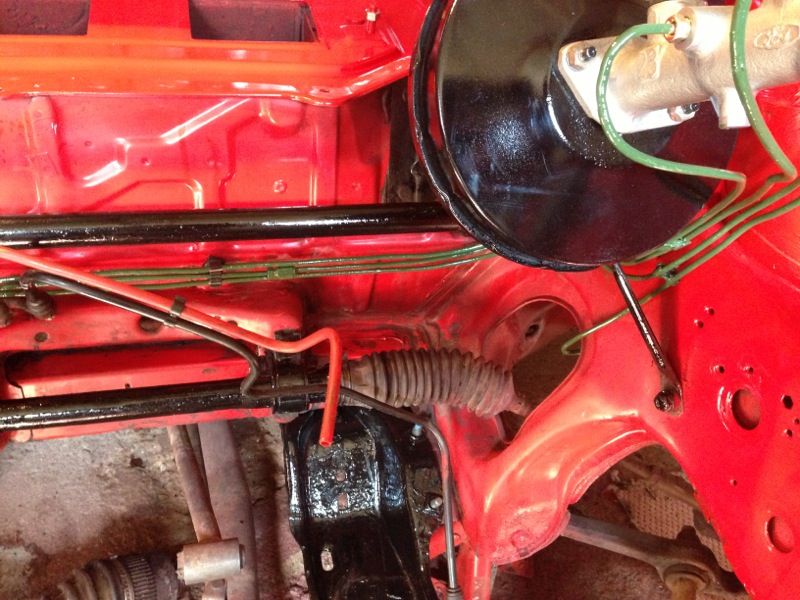
The gave the brake lines a touch of green paint
04-04-2013, 12:24 PM
Regular Contributor
Thread Starter
Join Date: Jul 2010
Location: NORFOLK
Posts: 217
Also gave the front panel a feshen up, covered the hole into the chassis so it holds the wax oil and looks better. then gave a coat of paint. now it can start going back together
04-04-2013, 02:43 PM
I just love fords!
Join Date: Jul 2006
Location: norfolk
Posts: 165
Coming alone now soon be time to put the engine back in
14-04-2013, 09:46 PM
Regular Contributor
Thread Starter
Join Date: Jul 2010
Location: NORFOLK
Posts: 217
Been waiting for parts to turn up so got busy with the paint
14-04-2013, 09:53 PM
Virgin
Join Date: Apr 2009
Location: Itatiba, SP - Brazil
Posts: 14
Likes: 0
Received 0 Likes
on
0 Posts
Quote:
Originally Posted by
xxTWINNYxx
Front panel seems pretty clean, small patch of surface rust starting so will sort this.
May sound like a dumb question, but how do these kind of radiator fan is attached to the radiator it self?
Your project is looking gorgeous, congratz!
14-04-2013, 09:57 PM
Regular Contributor
Thread Starter
Join Date: Jul 2010
Location: NORFOLK
Posts: 217
Quote:
Originally Posted by
Evolution-VII
May sound like a dumb question, but how do these kind of radiator fan is attached to the radiator it self?
Your project is looking gorgeous, congratz!
Fittings go through the fins.
14-04-2013, 10:03 PM
Regular Contributor
Thread Starter
Join Date: Jul 2010
Location: NORFOLK
Posts: 217
Painted the hubs, fitting the shocks and attached new koni stickers
14-04-2013, 10:06 PM
Regular Contributor
Thread Starter
Join Date: Jul 2010
Location: NORFOLK
Posts: 217
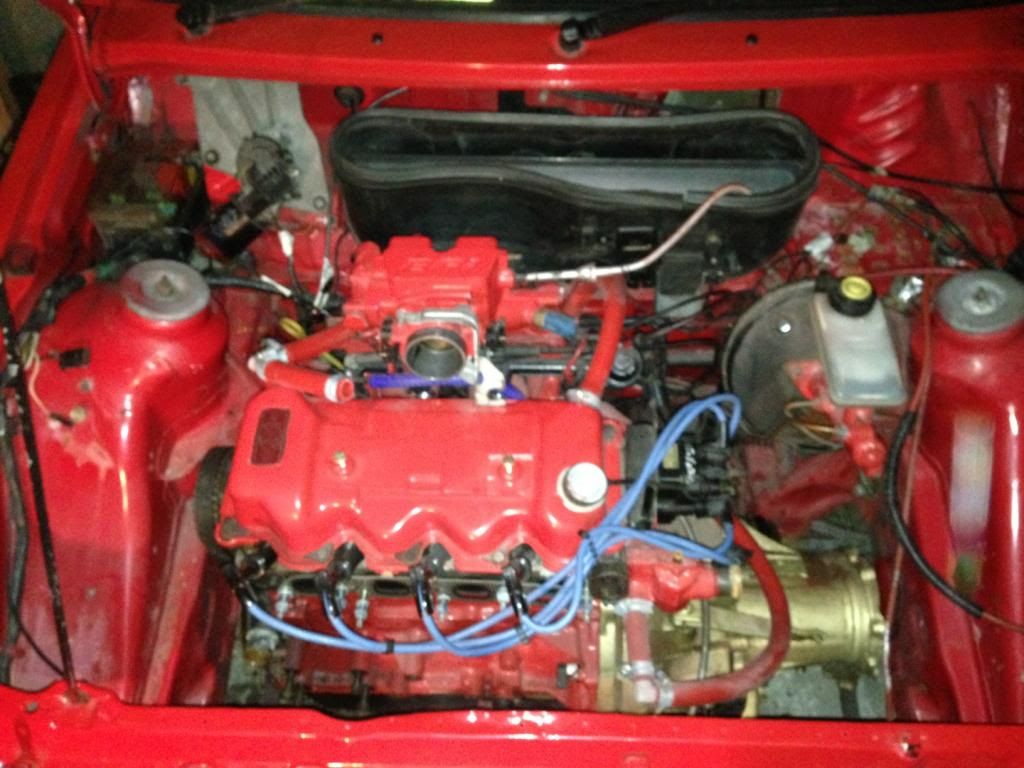
Gave the Inlet and throttle body some new paint as i thought hey looked awful all painted red
Much better now i think...
14-04-2013, 10:43 PM
RSHoleinator
Join Date: Jul 2007
Location: Scotland
Posts: 4,840
Nice project that mate! Look forward to more updates
22-04-2013, 07:34 PM
Regular Contributor
Thread Starter
Join Date: Jul 2010
Location: NORFOLK
Posts: 217
Inlet all put back together with the beige injectors, went for black and silver on the fuel rail, regulator, throttle body etc with EFI in red
22-04-2013, 07:35 PM
Regular Contributor
Thread Starter
Join Date: Jul 2010
Location: NORFOLK
Posts: 217
Gave the calipers a fresh coat of gold paint
22-04-2013, 07:56 PM
PassionFord Post Troll
Join Date: Aug 2005
Location: TORQUAY
Posts: 3,305
Received 0 Likes
on
0 Posts
looks like your getting on top of things mate
 26-03-2013, 12:56 AM