Aubergine Series 2 Resto/Project


 20-02-2013, 11:40 AM
#42
Too many posts.. I need a life!!
Thread Starter

Cheers for the comment mate.
Things have been slow recently, but got given a battery tray which will also now be fitted in, thanks to arron (as rs)
Things have been slow recently, but got given a battery tray which will also now be fitted in, thanks to arron (as rs)
19-07-2013, 06:56 PM
#44
Too many posts.. I need a life!!
Thread Starter
Finally after months i can actually update this...this week the bodyshop have had time to get back on the car and have started ripping through the rot again.
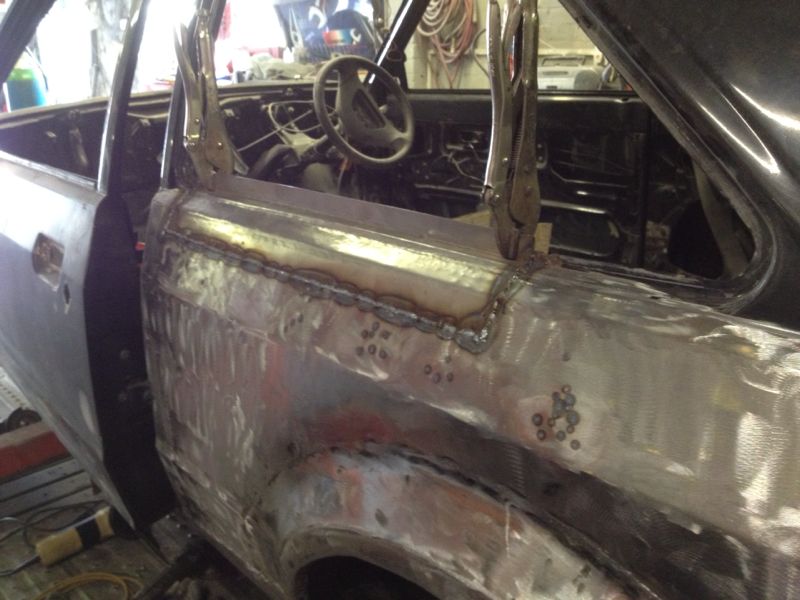
The arch is all back in aswell
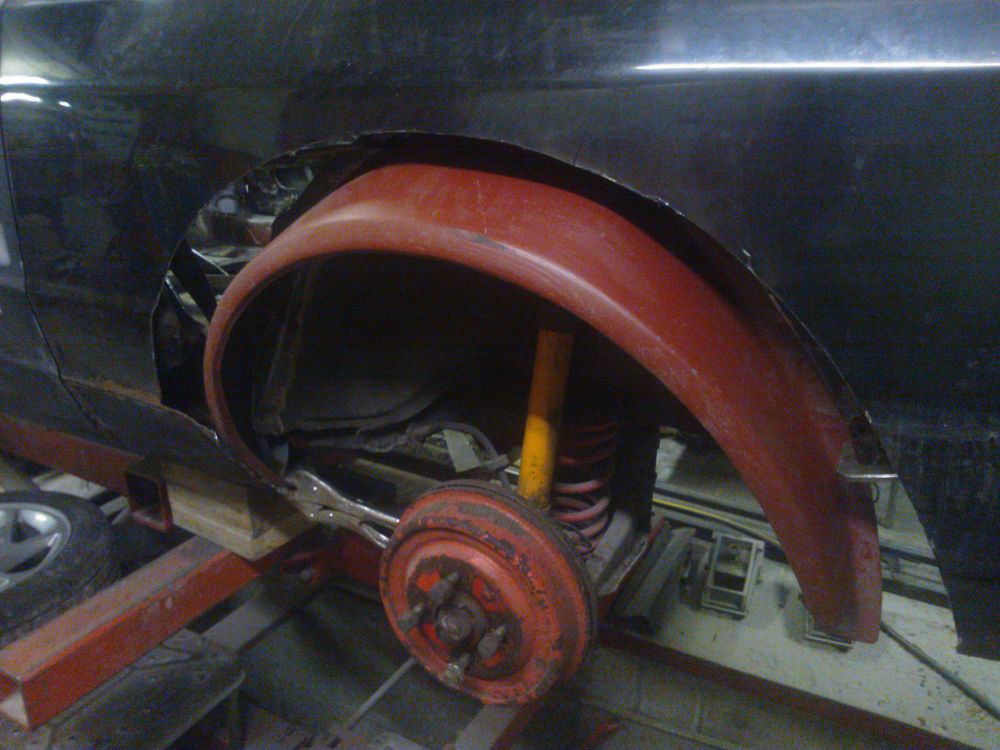
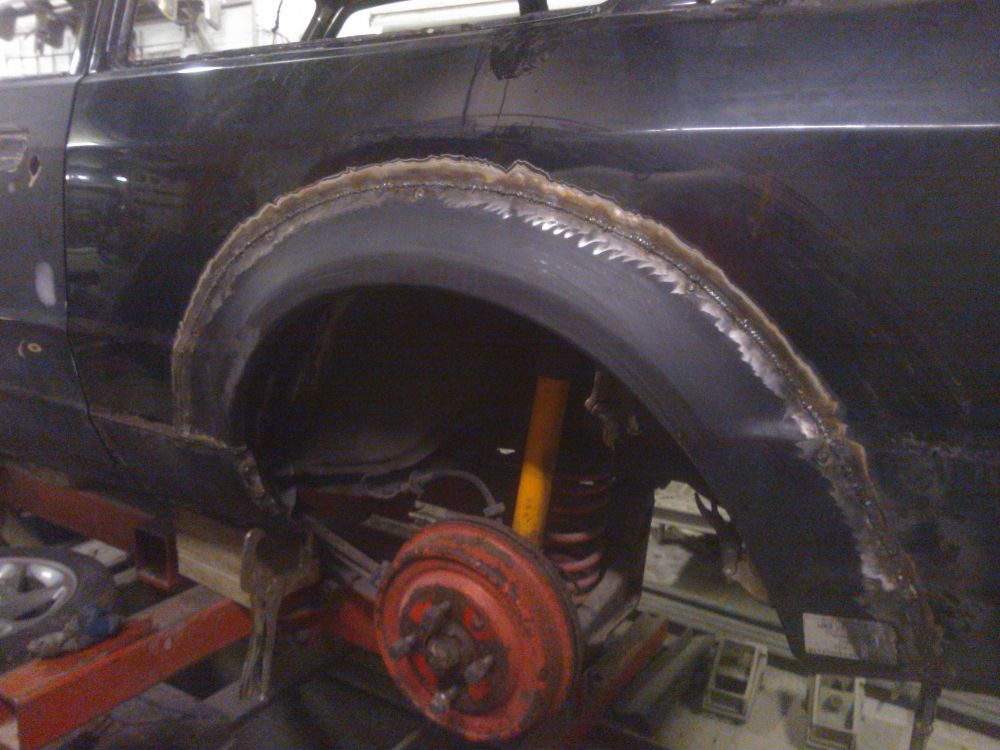
Someone in the past repaired (so its called) just under the window edge with around and inch worth of filler the everything was chopped out and started again
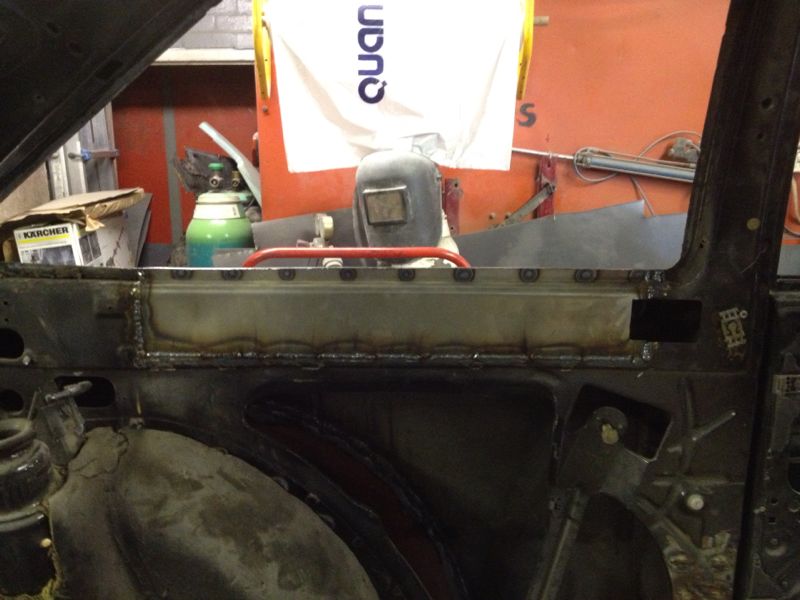
The battery tray wasnt the best but thanks to arron (asrs) i had it cut out and a new one fitted

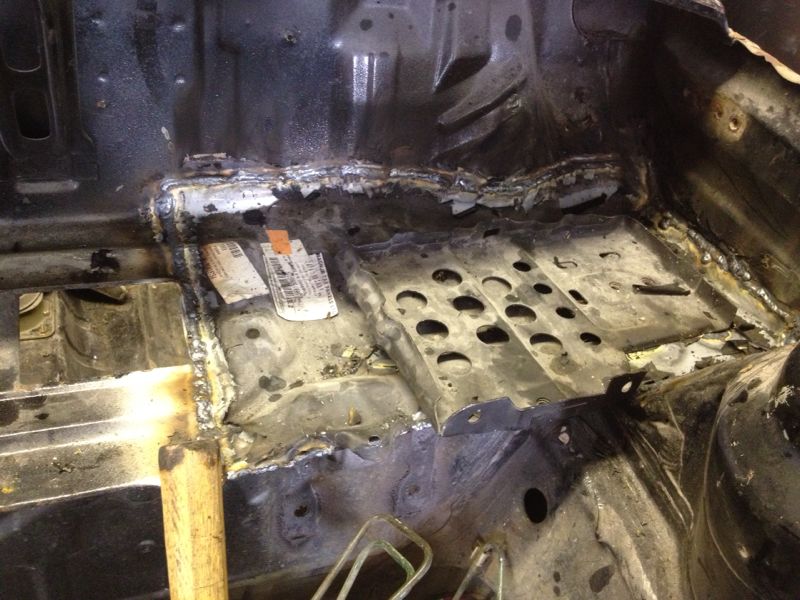
They also sorted front leg out which had also seen better days and rebuilt that back up strong

Since the last update iv also bought a full bush set of powerflex bushes ready, had the rear suspension set up and front roll bar powercoated (black). so suspension wise its all ready to go back on
Hopefully will be able to update this again soon
The arch is all back in aswell


Someone in the past repaired (so its called) just under the window edge with around and inch worth of filler the everything was chopped out and started again


The battery tray wasnt the best but thanks to arron (asrs) i had it cut out and a new one fitted


They also sorted front leg out which had also seen better days and rebuilt that back up strong

Since the last update iv also bought a full bush set of powerflex bushes ready, had the rear suspension set up and front roll bar powercoated (black). so suspension wise its all ready to go back on
Hopefully will be able to update this again soon

The following users liked this post:
cabriolet (29-10-2015)
19-07-2013, 07:52 PM
#46
Too many posts.. I need a life!!
Thread Starter
 24-07-2013, 06:10 PM
#51
Too many posts.. I need a life!!
Thread Starter
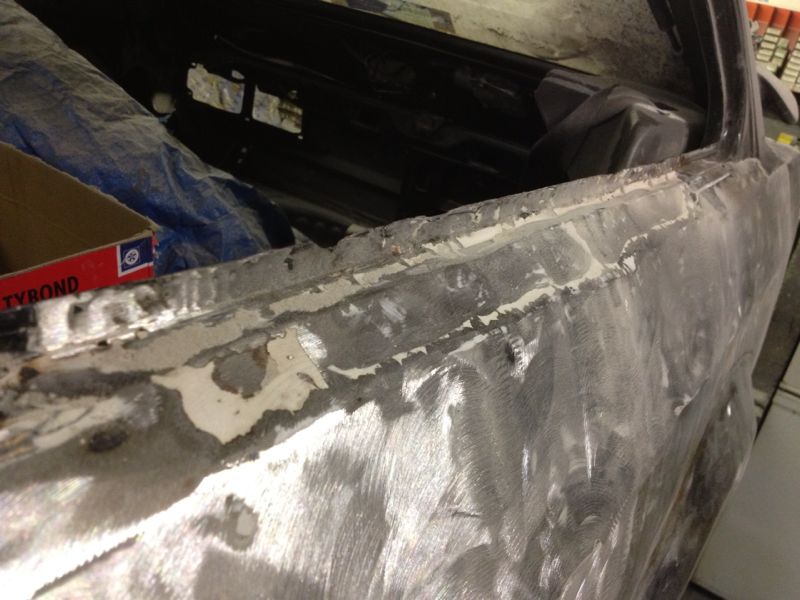
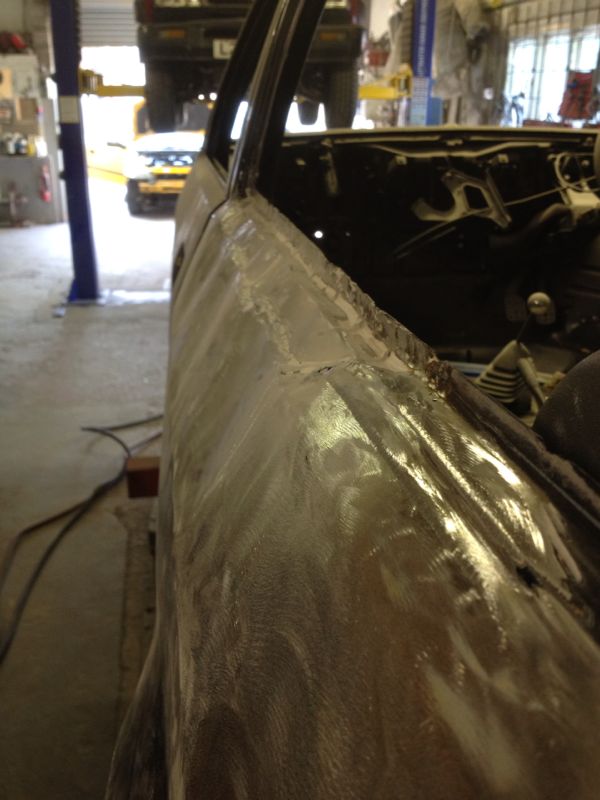
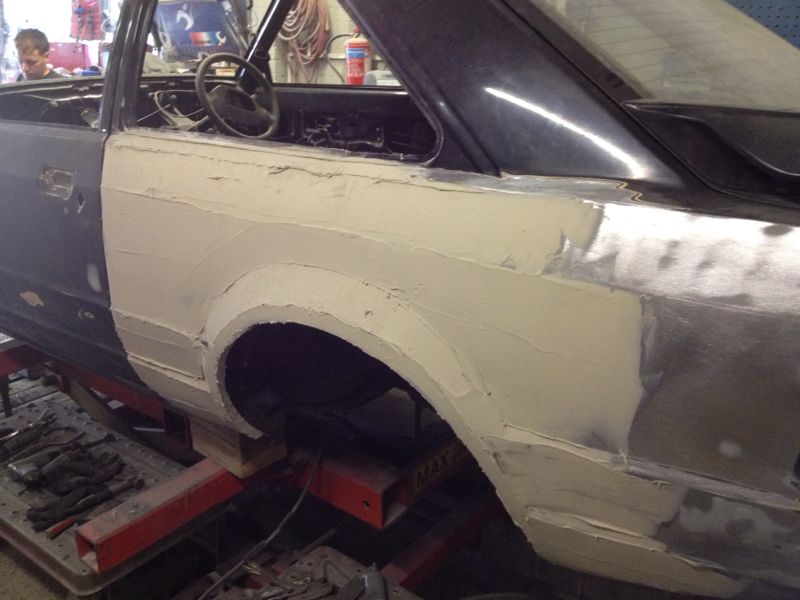
Just a small update, the rear quarter is all done and has been skimmed ready to get it all nice n smooth again
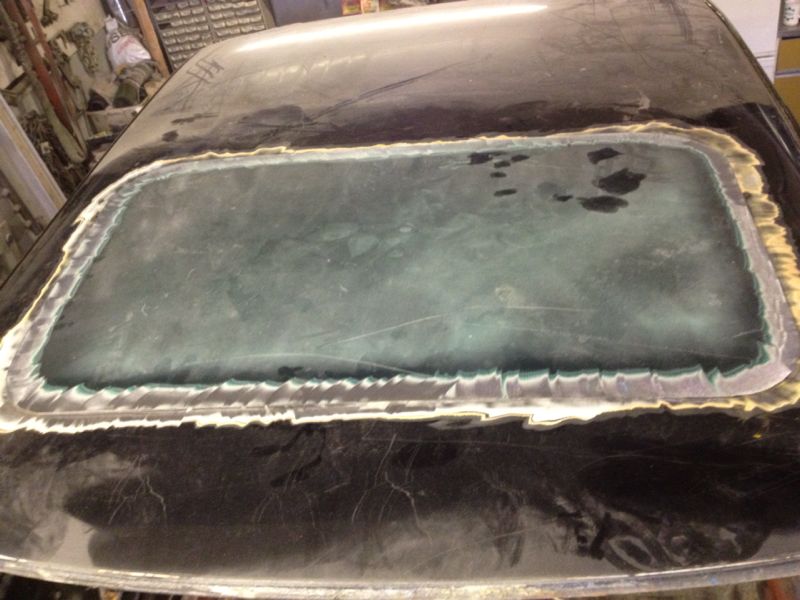
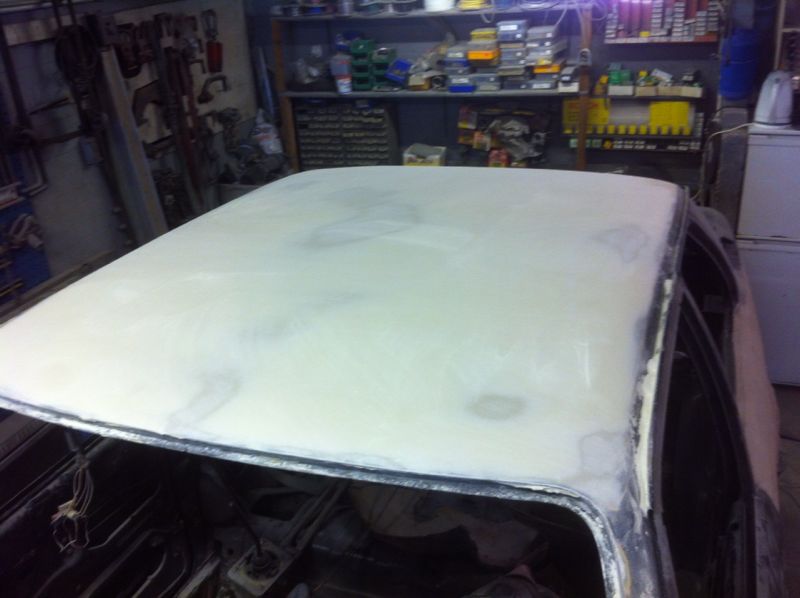
On to the next, they started on the roof...now everyone knows with RST's (well every mk3/4) the sunroofs are complete w@nk. Trying to find a mint cassette is near impossible
It seems the next best thing is going carbon roof replacement or fitting a carbon roof skin, we've gone down a slightly different avenue filling the hole and fitting braces across the roof to give it a bit of a stiffer structure.....full pics to follow

 27-07-2013, 02:54 PM
#52
Too many posts.. I need a life!!
Thread Starter
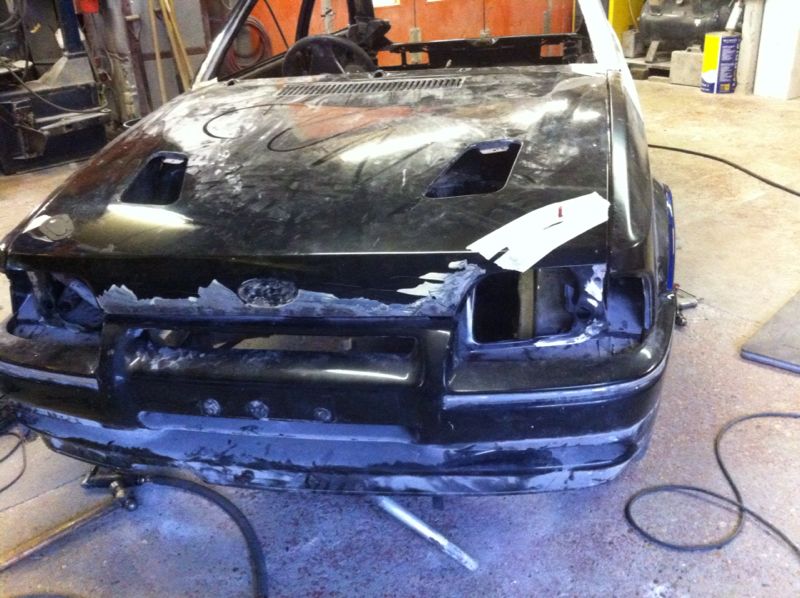
so the hole is finally gone, just needs some metal filler and skimming 
front end is also starting to come together with the front panel, wings and bonnet being mocked up
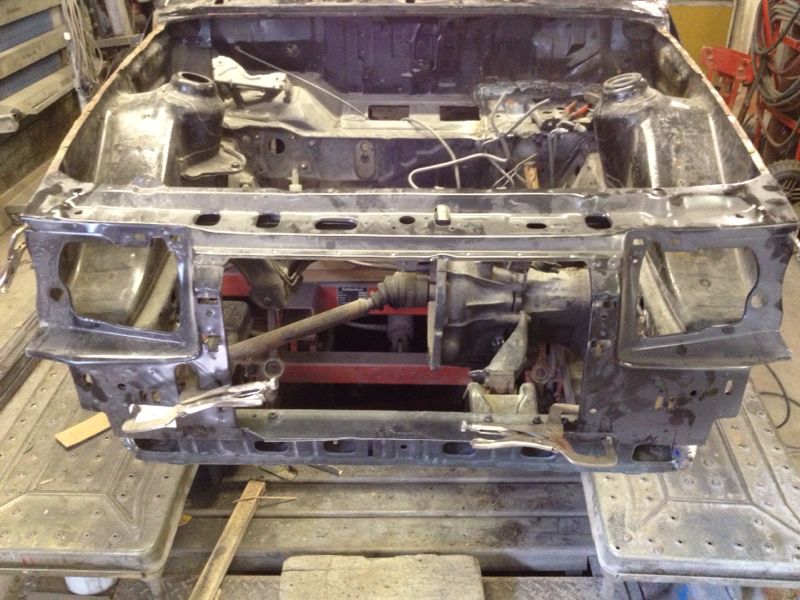
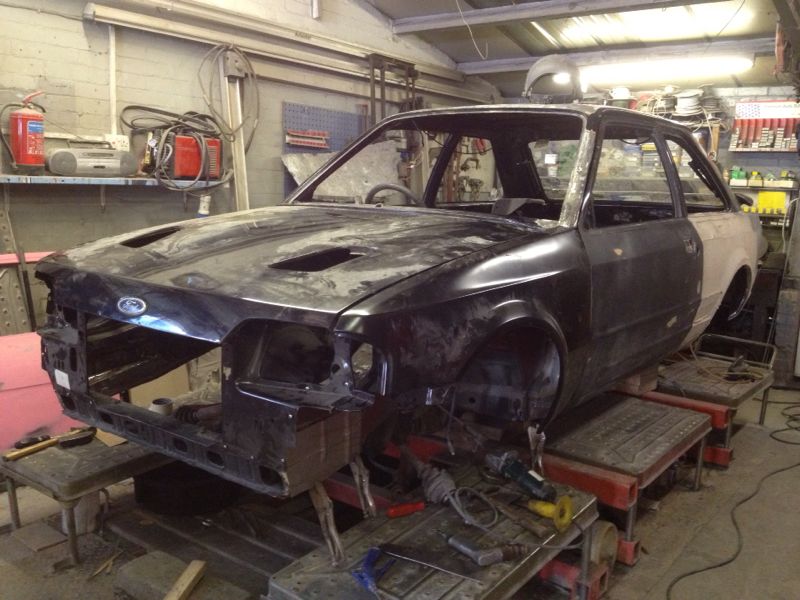

front end is also starting to come together with the front panel, wings and bonnet being mocked up


 27-07-2013, 08:32 PM
#54
Too many posts.. I need a life!!
Thread Starter
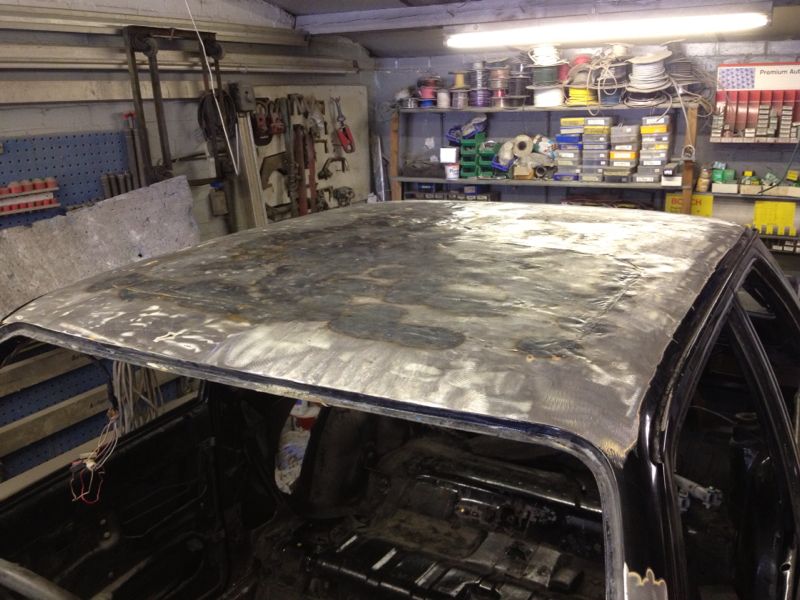
yea i was going to go down the route of carbon fibre but then have it painted, when speaking to the bodyshop guy he said he could fill that in as if it never was there.....loooking at it today still needs some panel beating to get spot on but it should never buckle...i hope 
 02-08-2013, 10:53 PM
#56
Too many posts.. I need a life!!
Thread Starter
Cheers mate, happy with how it came out just need to smooth it all out now...going to pop to the bodyshop tomorrow n drop off the front lights n fixings so we can get the front end welded up
 31-08-2013, 09:59 PM
#58
Too many posts.. I need a life!!
Thread Starter
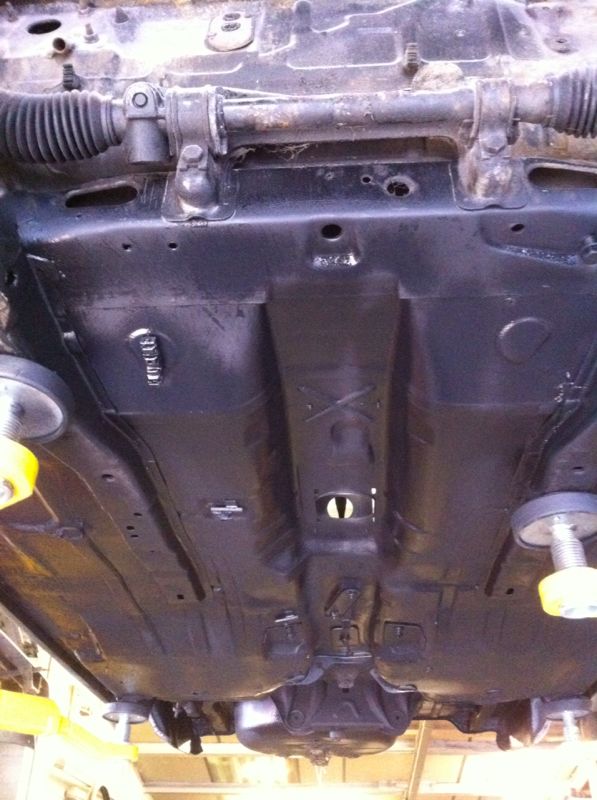
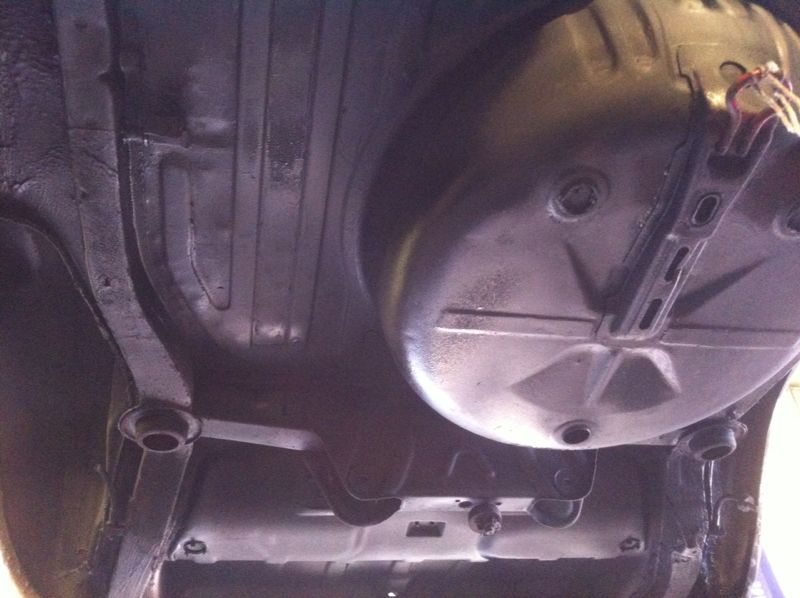
All the panel and underside welding is now done!! ...finally
Underside is all stonechipped
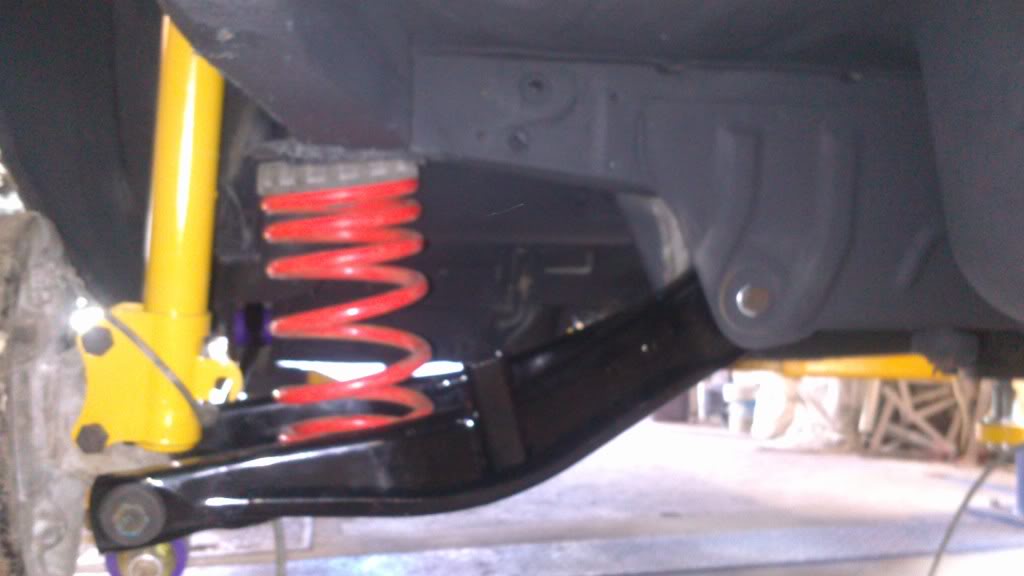
Now started refitting the suspension, all new powerflex and powerplex 'BLACK' bushes used along with the powdercoated suspension bits looks real well
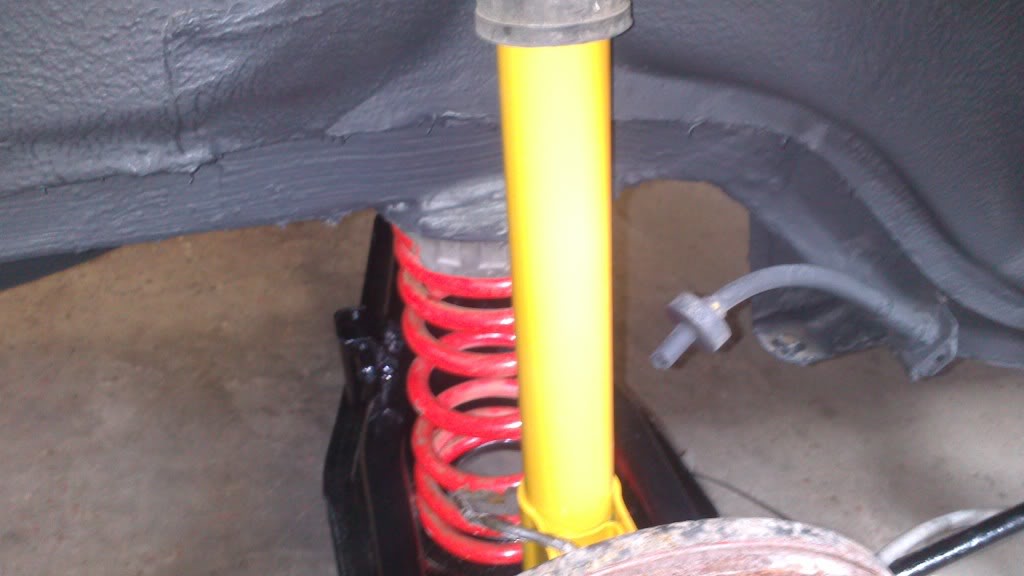
Underside is all stonechipped
Now started refitting the suspension, all new powerflex and powerplex 'BLACK' bushes used along with the powdercoated suspension bits looks real well
01-09-2013, 07:00 AM
#59
I like him nice!
Wow big job on here!
Good to see another one being saved.
I wish I had seen this as few weeks ago I could of saved you a load off hassle with that roof..I had a mint non sunroof roof and pillars
Did you get a price for all that work or is per hour??
Good to see another one being saved.
I wish I had seen this as few weeks ago I could of saved you a load off hassle with that roof..I had a mint non sunroof roof and pillars
Did you get a price for all that work or is per hour??
01-09-2013, 12:03 PM
#61
Too many posts.. I need a life!!
Thread Starter
 typical mate, luckily shes al done now and looking good. Nearly went done the carbon roof option
 Well I know the company whos doing it pretty well (known for years) n we sorted a price before we started they're doing the bodywork (welding, paint, cage mock-up etc) and ill be fitting everything
Yess mate was a very sorry state but most of it was typical parts for rot (just the whole all the typical places)
01-09-2013, 08:56 PM
#63
Too many posts.. I need a life!!
Thread Starter
22-09-2013, 01:14 PM
#64
Too many posts.. I need a life!!
Thread Starter
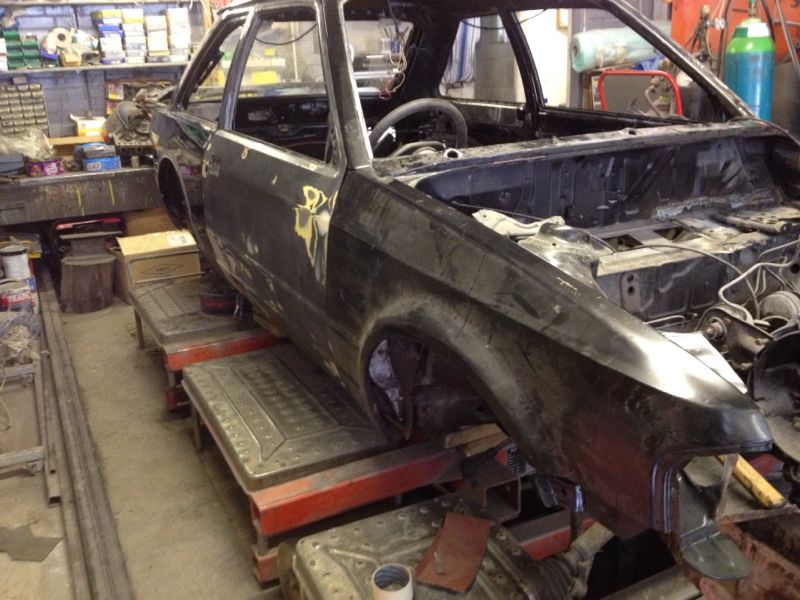
Thought id add up a couple of pics of the car now shes back on her wheels!!
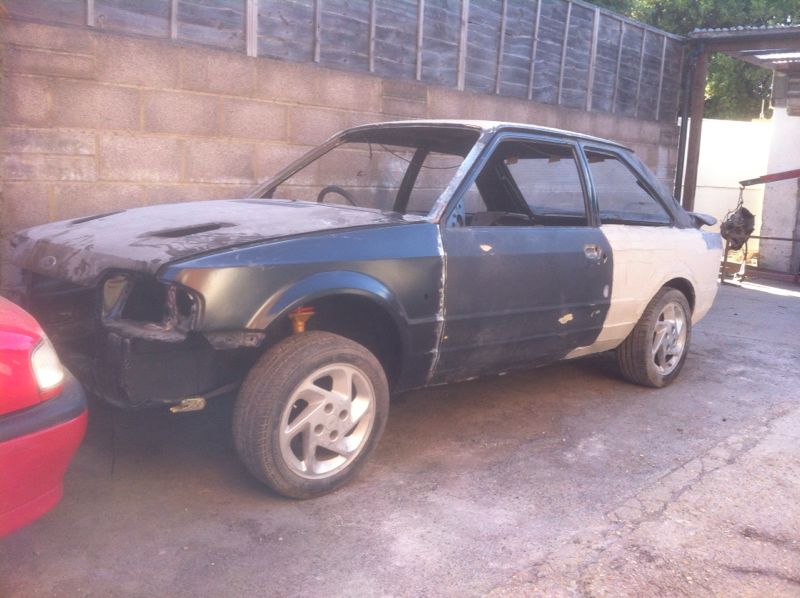

Still have bits to finish off, cleaning the welds etc but glad it can roll again
Still have bits to finish off, cleaning the welds etc but glad it can roll again
 22-09-2013, 07:33 PM
#67
15000

Join Date: Dec 2010
Location: kent
Posts: 31
Likes: 0
Received 0 Likes
on
0 Posts
I miss my S2 sooooooo much! So wish i could afford another one! fantastic restoration, mate! props for bringing her back from the dead. Terrifies me that they can look not 'that bad' on the surface and still find that underneath! :-0
Andy
Andy
23-09-2013, 11:54 AM
#68
Too many posts.. I need a life!!
Thread Starter
Yeaa tell me about it Andy, iv seen a few good ones....well what seemed to be good ones, its annoying as everything is hidden. I knew this one was going to need a fair amount of work but through no fault of my own didnt realise how far i was going to take the build
 27-09-2013, 11:01 PM
#74
Too many posts.. I need a life!!
Thread Starter
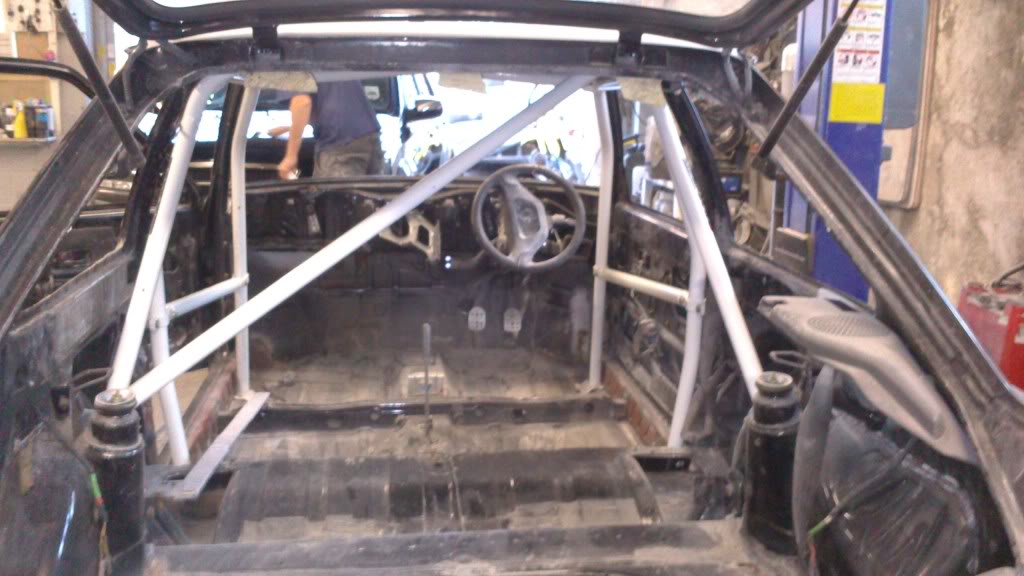
To be honest mate I never fitted it but my mate said I wasnt too bad...still needs the floor mounting turrets making up n some final jiggling then she'l be bolted proper...sat real snug around the shell though 
Yeeaa soo happy with how the roof has come out never expected it to look that good....real nice and solid aswell
Yeeaa soo happy with how the roof has come out never expected it to look that good....real nice and solid aswell
Last edited by Jamie_EscortSport; 27-09-2013 at 11:27 PM.
09-10-2013, 12:31 PM
#75
Too many posts.. I need a life!!
Thread Starter
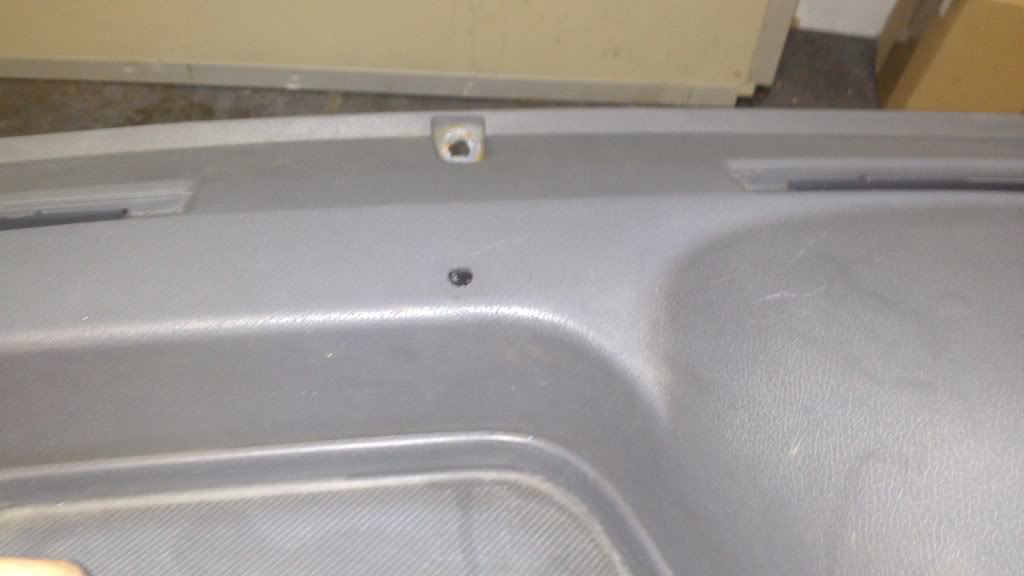
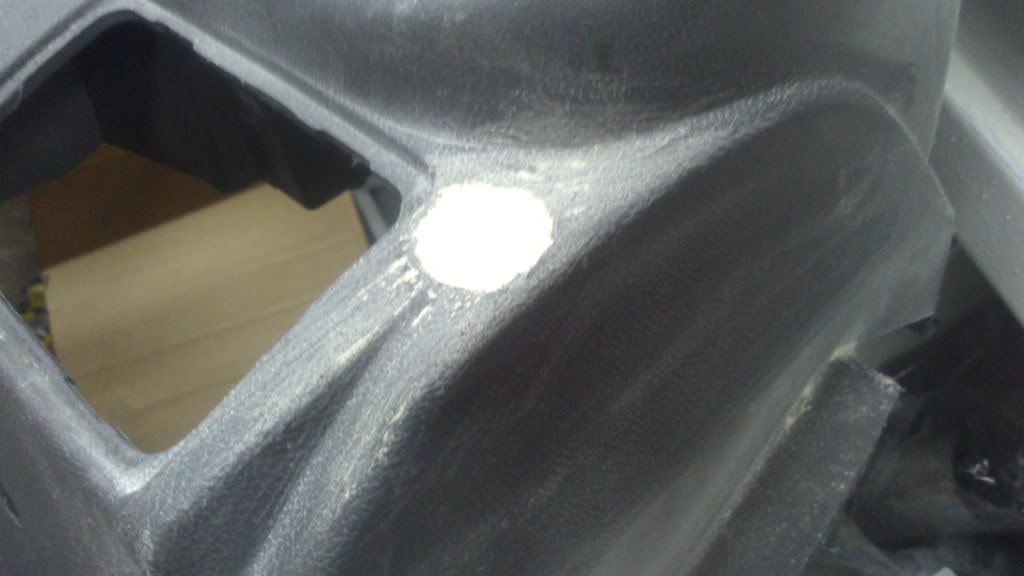
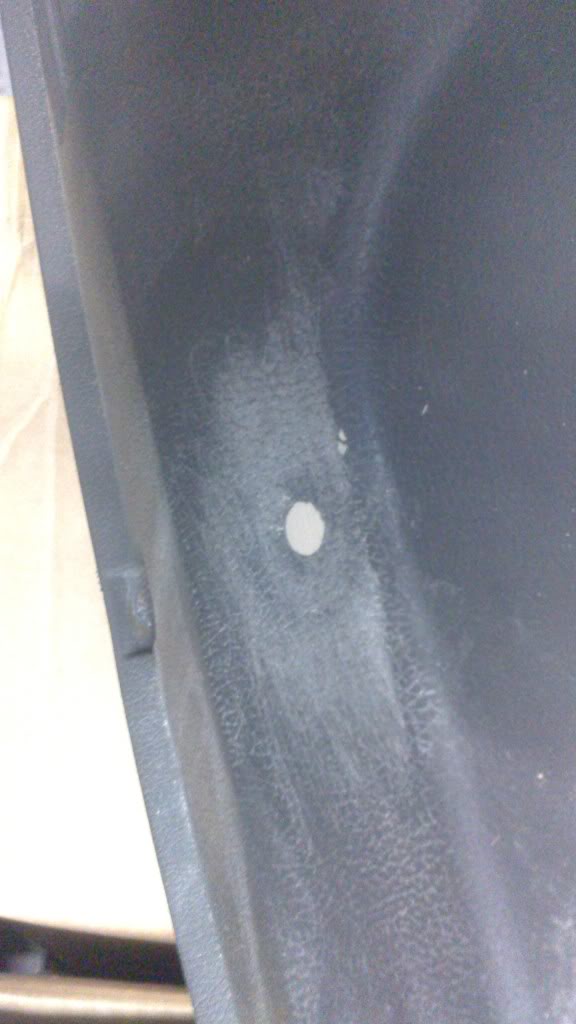
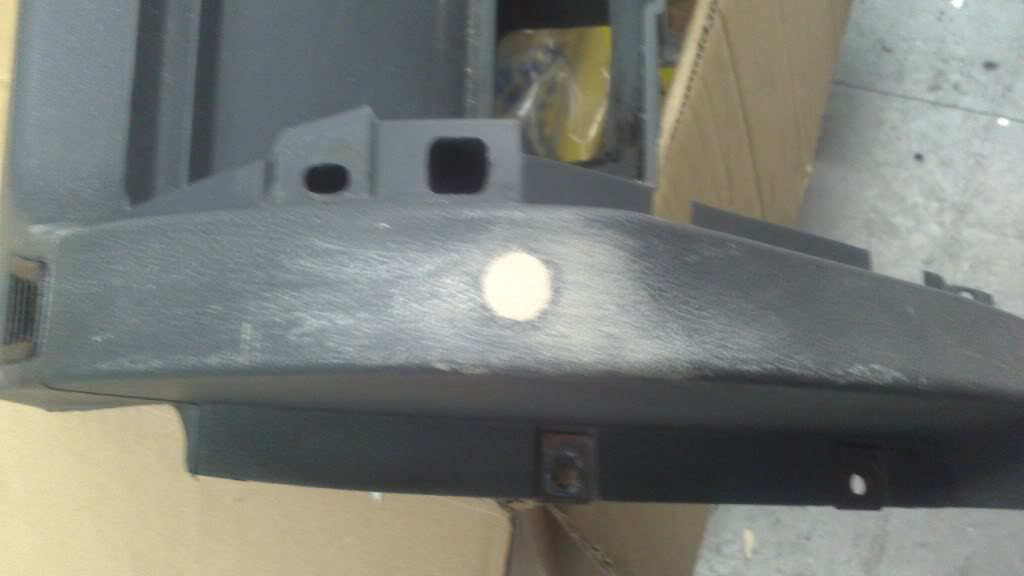
Have spent some time prepping the dash ready to be flocked, have started filling the holes from previous alarms and toggle switches. Few of the bits of trim will be done i.e. The blank for what would be the choke cable etc
Few pics -
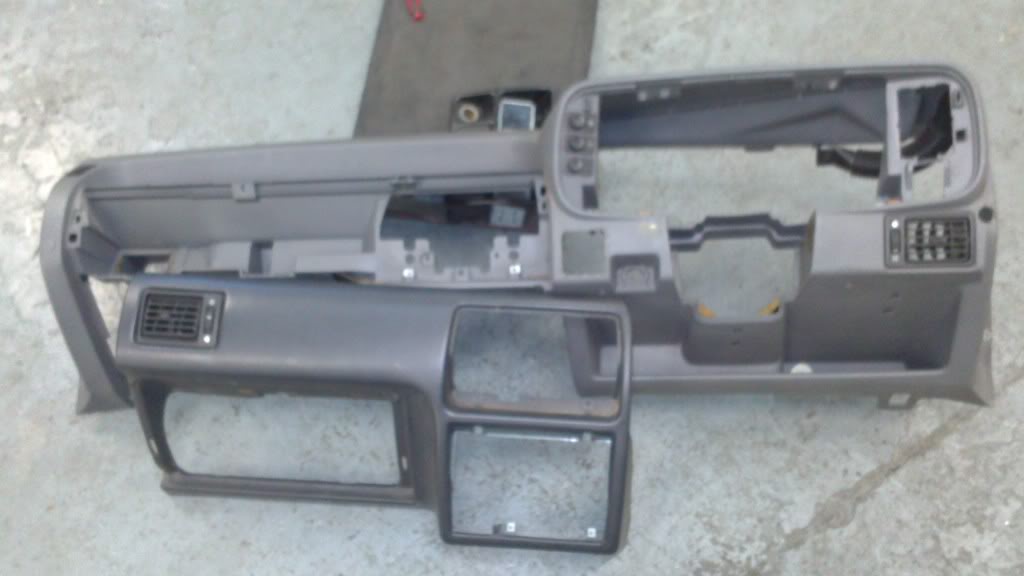
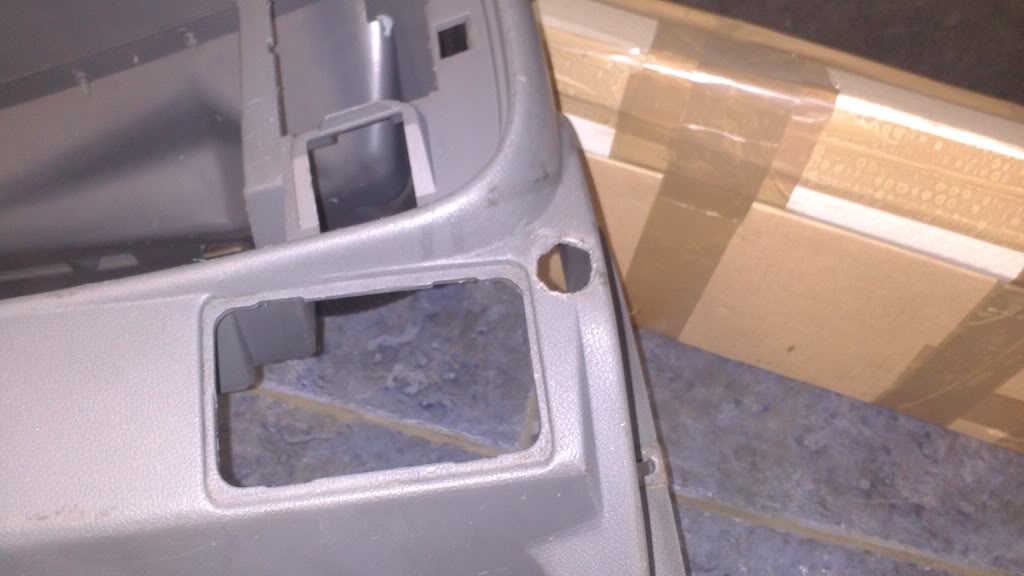
And couple of them finished
Few pics -
And couple of them finished
10-10-2013, 04:37 PM
#76
Advanced PassionFord User
Just a heads up:
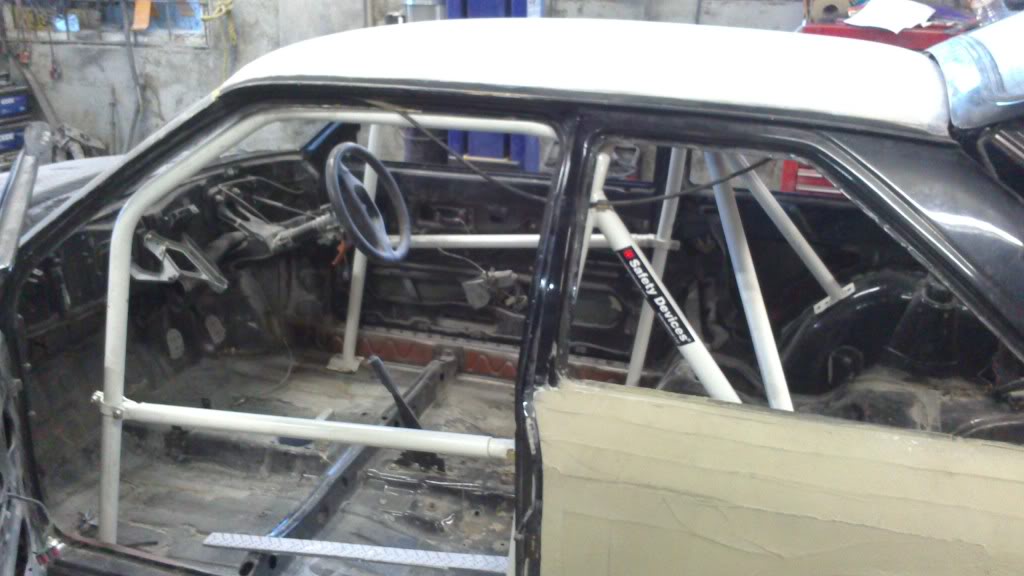
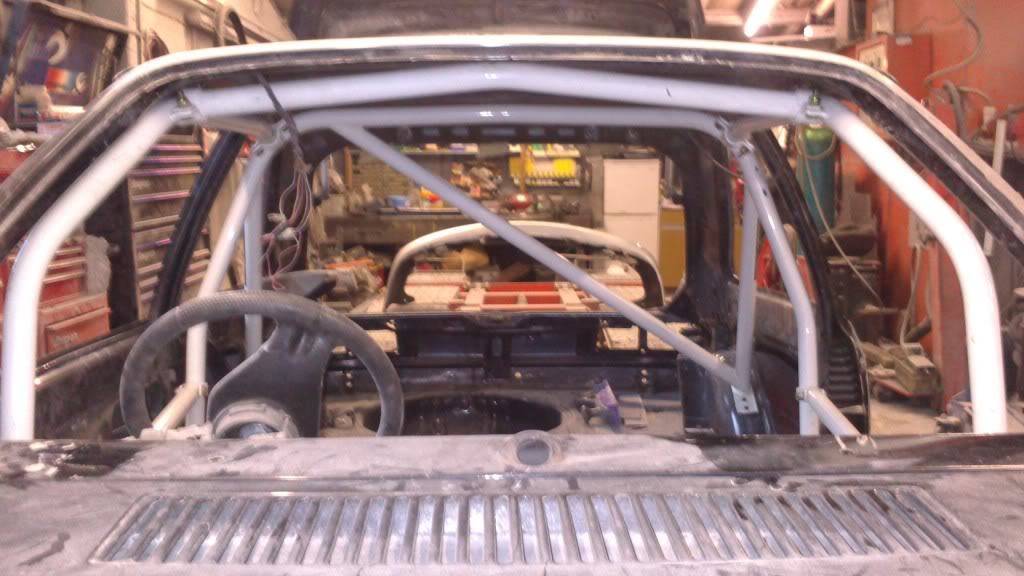
The glovebox wont be of any use as the cage fouls it.... It'll open about an inch or 2. I can fit my dealership wallet in there just a battle to get it out.
Also make sure if you are not fitting 4 point harnesses make sure you have fit the B pillar trim and the seatbelts are bolted to the pillar. This HAS to be done before the cage goes in, the bolt hole is right beside the cage and you cant get a bolt in once the cage is in.
Fit the rear door card before the cage is fit, press the rear leg against it and use a circular saw to cut around the leg, if you fit the card after the cage is fit and bolted in you'll have to chop it in half and shape it to fit round the cage..... not forgeting to wedge and force it back in as the rear cage stops you fitting the card in, without bending the card to allow it to sit in sito.
Ensure the rear seat backrest is fitted and is upright before the cage is fitted, trust me its a pain in the back and near impossible to get the bolts/screws back in their locations.
I'd also consider fitting the kick plate(long inner sill cover) before the cage is in as you may find you can't fit a screw in either side due to the leg of the cage fouling the screwdriver from fitting the screw at the angle the hole is.
The dash obviously needs to be fit before the cage is in, as im sure you'd already know. but incase you didnt know, you'll want to make sure the outer 2 heater vents are fitted before bolting the cage in, once the cage is in and bolted up you dont want and set backs.
The above are all things i found out(apart from the dash) when i fit my dash and had to keep setting back and unbolting to fit stuff in.
Last edited by RSmark84; 10-10-2013 at 04:41 PM.
10-10-2013, 11:11 PM
#77
Too many posts.. I need a life!!
Thread Starter
Spot on Mark cheers for the pointers...I had a feeling it was going to be not so straight forward, going to be running harnesses and not running rear seats so should'nt be too bad however I would like the trims in just to tidy it up a bit
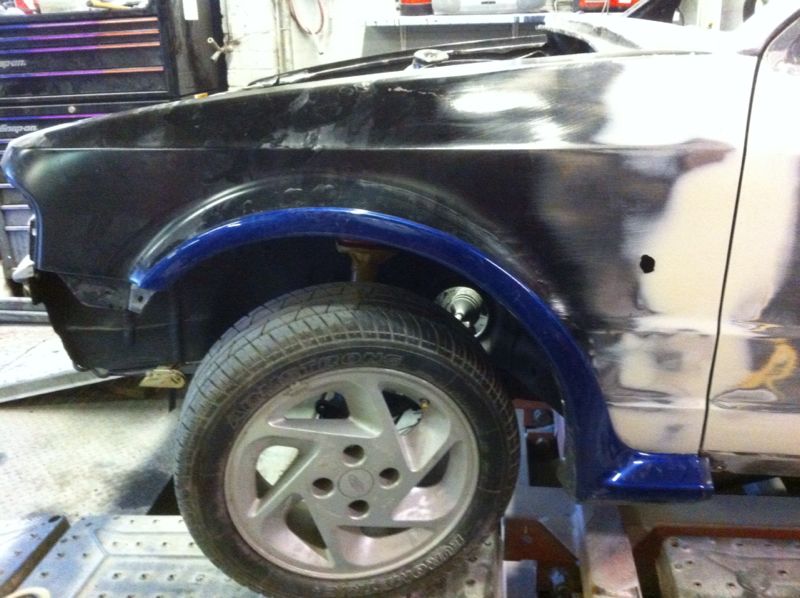
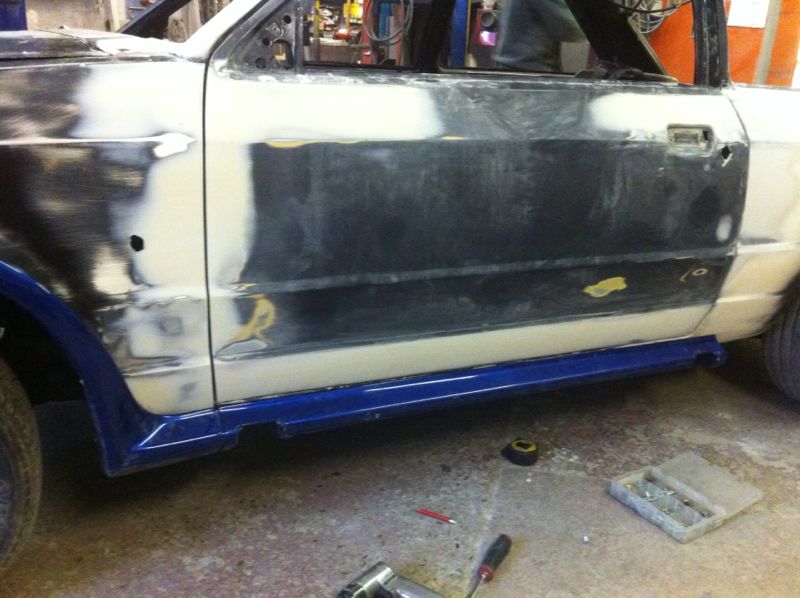
Still a few bits to do before things start going back together. They were mocking the kit up today making sure it fits nicely n gaps are ok.
Still a few bits to do before things start going back together. They were mocking the kit up today making sure it fits nicely n gaps are ok.
18-10-2013, 10:18 PM
#78
Too many posts.. I need a life!!
Thread Starter
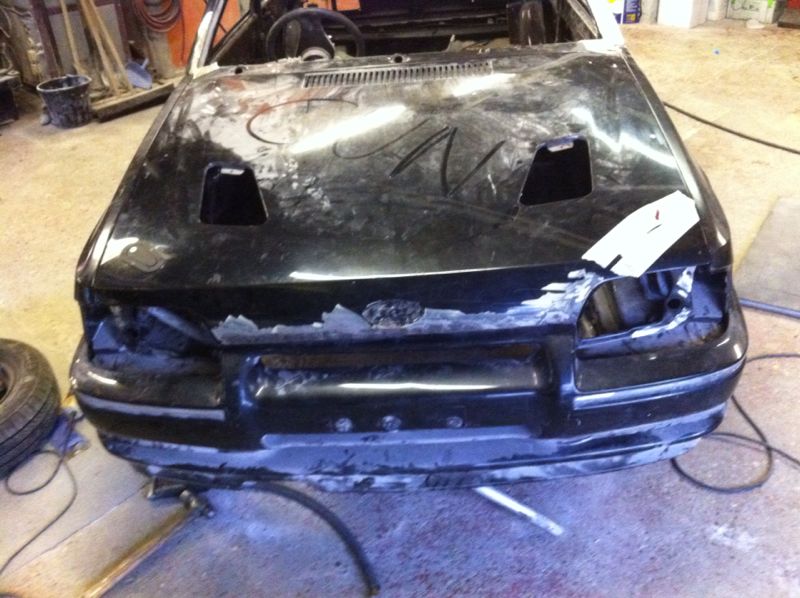
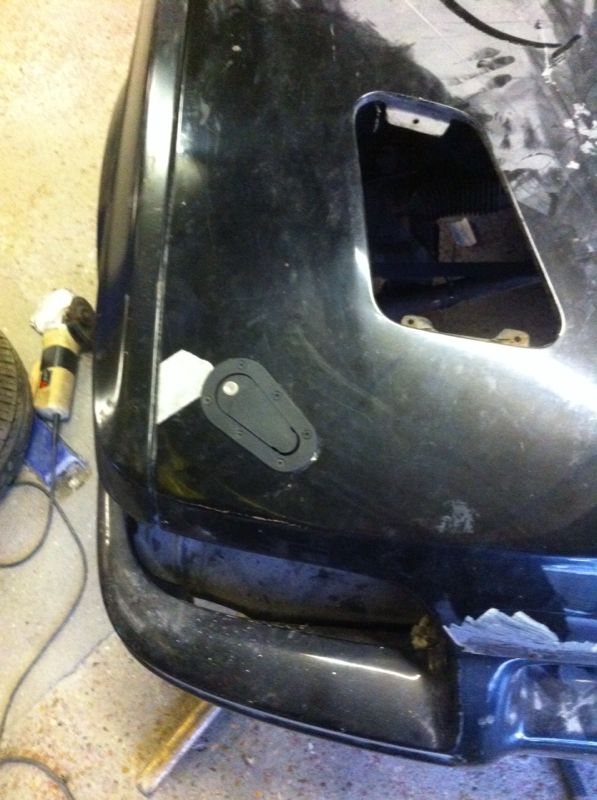
Small update -
Couple of pics of the kit going on
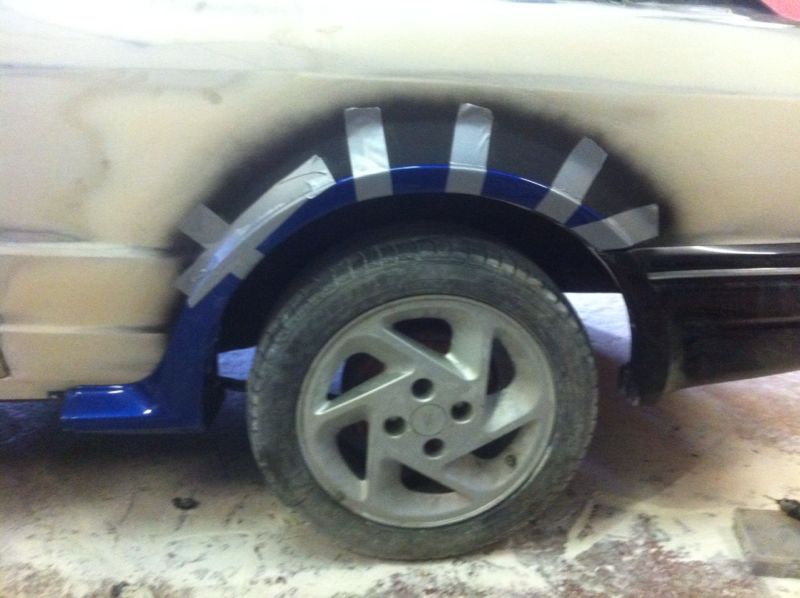
Also the bonnet catch holes have been cut n trial fitted ready to go on
.....someone must love me
Couple of pics of the kit going on


Also the bonnet catch holes have been cut n trial fitted ready to go on

.....someone must love me

 18-10-2013, 10:27 PM
#80
Too many posts.. I need a life!!
Thread Starter
The rear arches will be bonded on once painted.
yeaa mate soo happy it now looks like a car again