sierra cosworth 3dr 4x4 rally prepared project
 23-12-2012, 09:10 PM
#1
15000
Thread Starter

Join Date: Dec 2012
Location: pembrokeshire
Posts: 19
Likes: 0
Received 0 Likes
on
0 Posts
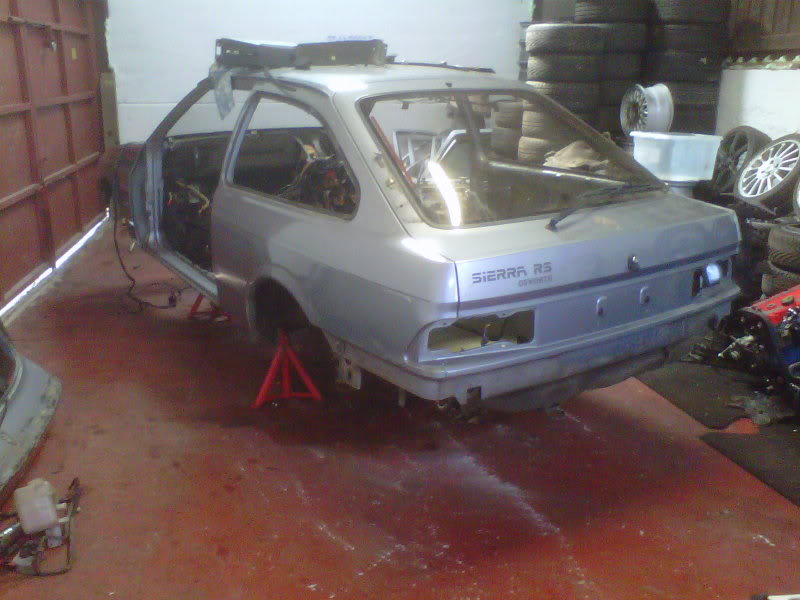
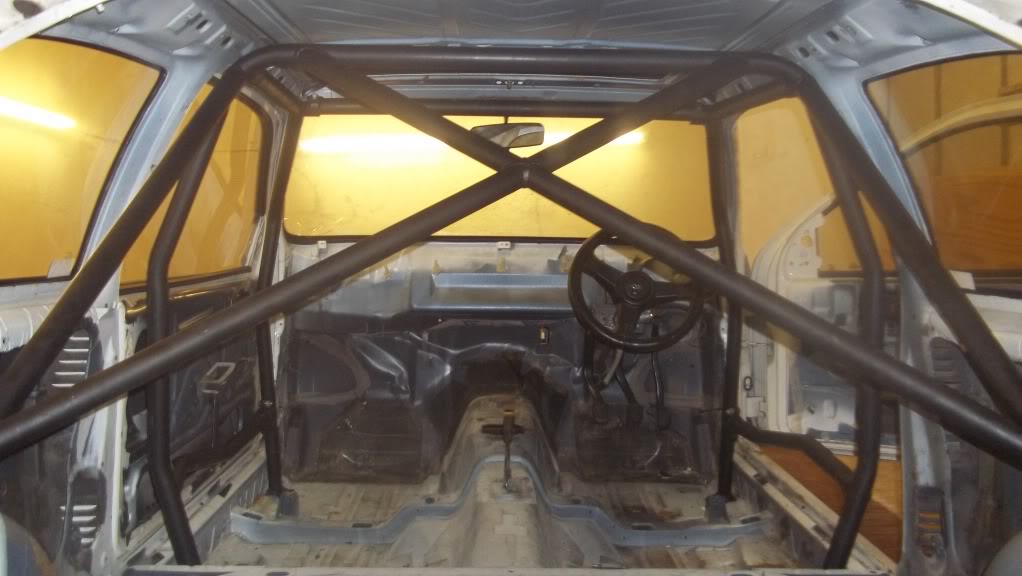
this is my resto thread for my project. it is a genuine 3dr shell in moonstone blue now but will be white when finished. looking at threads on here i see a lot of you have standard 3dr shells and fitted genuine cosworth running gear into them. i am doing it the other way round.
i will be using xr4x4 2.9i running gear for now, untill i have the funds available for a cosworth engine. cost is the reason for doing this so please don't advise putting this in or putting that in as i can't afford to this. i know there are better engines available and a lot won't like the idea of 4 wheel drive in a 3dr. any other advice which will help me out will be more than welcome and do not mean to sound ungratefull.
the only modification planned over the xr4x4 gear is cosworth discs and 4 pot calipers. this should make any later conversion to cosworth engine a little easier as just drop cossie lump in and a bit of wiring (i think).
here are some pics of shell in current condition.
some good areas on shell, some not so good but not too bad (i hope)
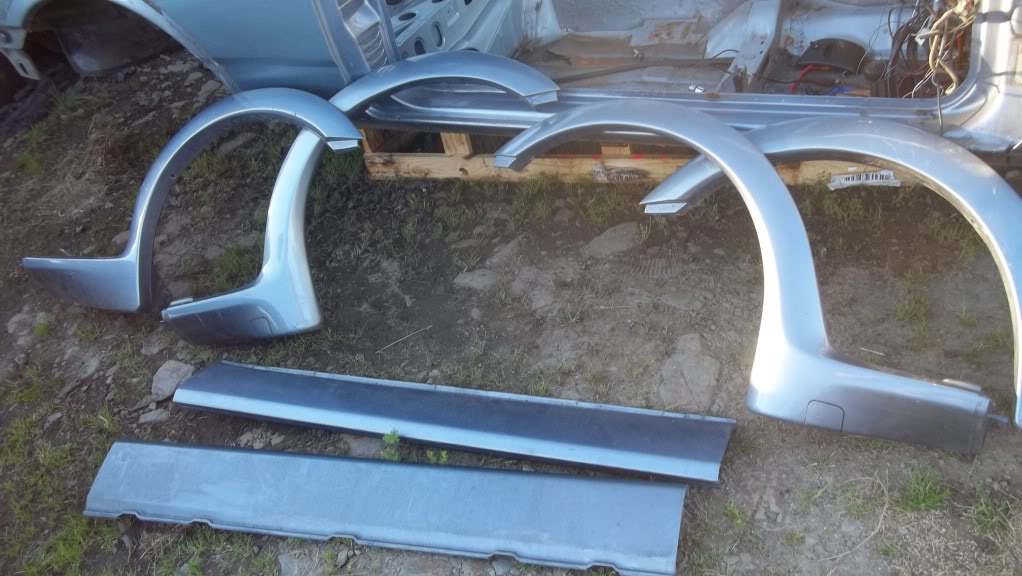
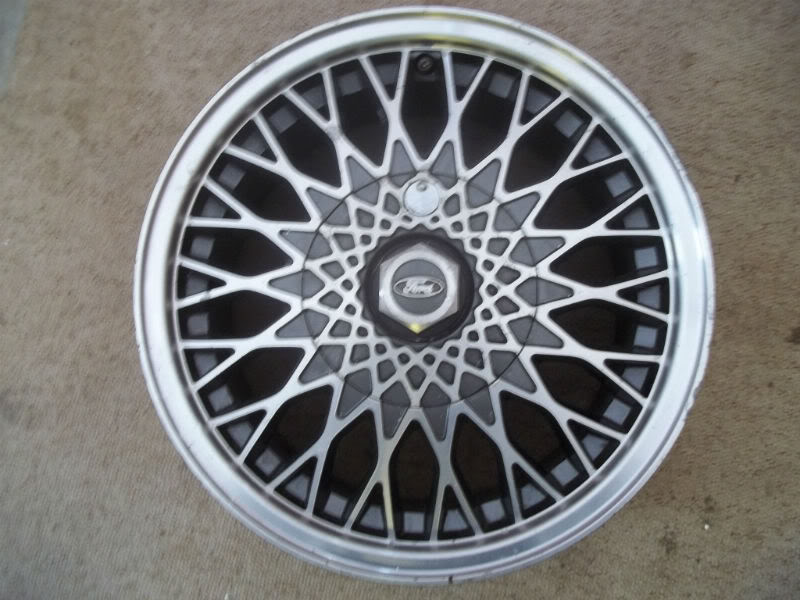
most bits and pieces already here for car, skirts / arches, whaletail, bumpers, all running gear (engine, box, axles etc), bonnet, grille, wheels, koni adjustables, dash etc.

this is how i want the car to look. not good pic as copied but i'm sure you'll get the idea.

car will be in workshop over xmas so let the games begin. hope you all enjoy the thread. it won't be a quick project (or car) but hopefully it will be done right.
i will be using xr4x4 2.9i running gear for now, untill i have the funds available for a cosworth engine. cost is the reason for doing this so please don't advise putting this in or putting that in as i can't afford to this. i know there are better engines available and a lot won't like the idea of 4 wheel drive in a 3dr. any other advice which will help me out will be more than welcome and do not mean to sound ungratefull.
the only modification planned over the xr4x4 gear is cosworth discs and 4 pot calipers. this should make any later conversion to cosworth engine a little easier as just drop cossie lump in and a bit of wiring (i think).
here are some pics of shell in current condition.
some good areas on shell, some not so good but not too bad (i hope)
most bits and pieces already here for car, skirts / arches, whaletail, bumpers, all running gear (engine, box, axles etc), bonnet, grille, wheels, koni adjustables, dash etc.
this is how i want the car to look. not good pic as copied but i'm sure you'll get the idea.
car will be in workshop over xmas so let the games begin. hope you all enjoy the thread. it won't be a quick project (or car) but hopefully it will be done right.
 23-12-2012, 09:34 PM
#2
Hi, good luck with the biuld, try and seem weld it as much as you can, makes it alot stronger! I have been running my 3 door tarmac rally car for ten years and I love it!!
I would also try and get some fibreglass panels/bumpers , get as much weight out as you can, it really helps. cheers....
I would also try and get some fibreglass panels/bumpers , get as much weight out as you can, it really helps. cheers....
23-12-2012, 10:05 PM
#5
15000
Thread Starter
Join Date: Dec 2012
Location: pembrokeshire
Posts: 19
Likes: 0
Received 0 Likes
on
0 Posts
23-12-2012, 10:07 PM
#6
15000
Thread Starter
Join Date: Dec 2012
Location: pembrokeshire
Posts: 19
Likes: 0
Received 0 Likes
on
0 Posts
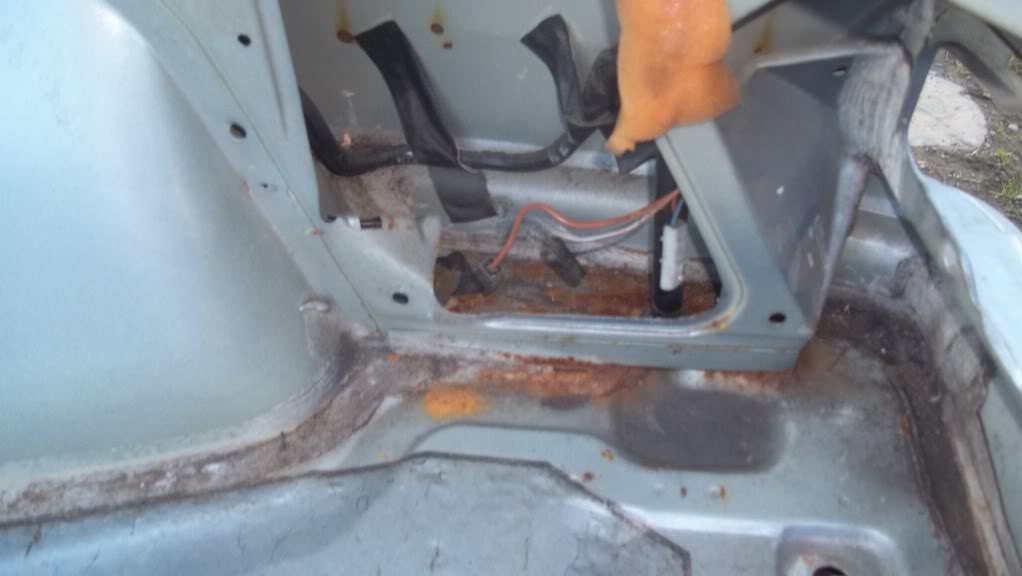
thanks for the advice. first unplanned work, no doubt there will be more before this ones running.
23-12-2012, 10:10 PM
#7
15000
Thread Starter
Join Date: Dec 2012
Location: pembrokeshire
Posts: 19
Likes: 0
Received 0 Likes
on
0 Posts
Hi, good luck with the biuld, try and seem weld it as much as you can, makes it alot stronger! I have been running my 3 door tarmac rally car for ten years and I love it!!
I would also try and get some fibreglass panels/bumpers , get as much weight out as you can, it really helps. cheers....
I would also try and get some fibreglass panels/bumpers , get as much weight out as you can, it really helps. cheers....
Trending Topics
23-12-2012, 10:18 PM
#8
My 3door was converted to 2.8xr4x4
The tunnel needs modifying where the transfer box is situated (4x4 type 9)and u will need a custom mount.. Would probably be a better job if you cut out the tunnel and put a 4wd one in
Also you need to cut notches out of the inner wings for driveshaft clearance (half moon shape)
Car was great fun though, stacks of grip
Last edited by tjRS500; 23-12-2012 at 10:19 PM.
24-12-2012, 07:34 AM
#9
Too many posts.. I need a life!!

My 3door was converted to 2.8xr4x4
The tunnel needs modifying where the transfer box is situated (4x4 type 9)and u will need a custom mount.. Would probably be a better job if you cut out the tunnel and put a 4wd one in
Also you need to cut notches out of the inner wings for driveshaft clearance (half moon shape)
Car was great fun though, stacks of grip
The tunnel needs modifying where the transfer box is situated (4x4 type 9)and u will need a custom mount.. Would probably be a better job if you cut out the tunnel and put a 4wd one in
Also you need to cut notches out of the inner wings for driveshaft clearance (half moon shape)
Car was great fun though, stacks of grip
24-12-2012, 11:48 AM
#11
24-12-2012, 01:16 PM
#12
Too many posts.. I need a life!!
seems i was wrong again. oh well, looks like a little more work than previously thought. anything else that needs modification that can be done when shell is bare and before respraying. i would hate to see the car resprayed and then have to cut and weld it. as previously said, i only gave chris this shell to avoid cutting out gearbox tunnel, with this in mind he should have kept to original plan and shell. the easiest way around this is 2wd running gear, not planned but a lot easier overall. i could just give him a complete 2.0 gt twin cam sierra i have and use that for now. thanks though for pointing this out. i would have been realy annoyed to think all spraying had been done and found this out when refitting which would have been a disaster. don't suppose chris would have been very amused neither.
24-12-2012, 01:39 PM
#13
15000
Thread Starter
Join Date: Dec 2012
Location: pembrokeshire
Posts: 19
Likes: 0
Received 0 Likes
on
0 Posts
as said by my dad, cheers for advice. typical isn't it. the first problem come across is the one i thought i had avoided. not a major problem and not the last i'm sure during this build. the only thing i can do is keep going and deal with any issues as they arise. trailer still not returned so car isn't in the garage yet.
24-12-2012, 01:55 PM
#14
PassionFord Post Whore!!
iTrader: (4)
the reason i swapped shells with chris from standard shell (1.6) to genuine cosworth 3dr was to avoid this. the tunnel in a genuine shell is wider already than a mk1 shell so presumed the gearbox would fit. the inner wings i knew about. i did not realise the tunnel still had to be modified. i thought it would be a mk2 floor pan and all the same.
It's only late 2wd Sapphires (any model) that have a tunnel that will fit a 4x4 gearbox without mods if I remember correctly.
26-12-2012, 05:31 PM
#15
15000
Thread Starter
Join Date: Dec 2012
Location: pembrokeshire
Posts: 19
Likes: 0
Received 0 Likes
on
0 Posts
got a few bits done again today. stripped cage out of white shell and mocked up new horizontal bar for harnesses.
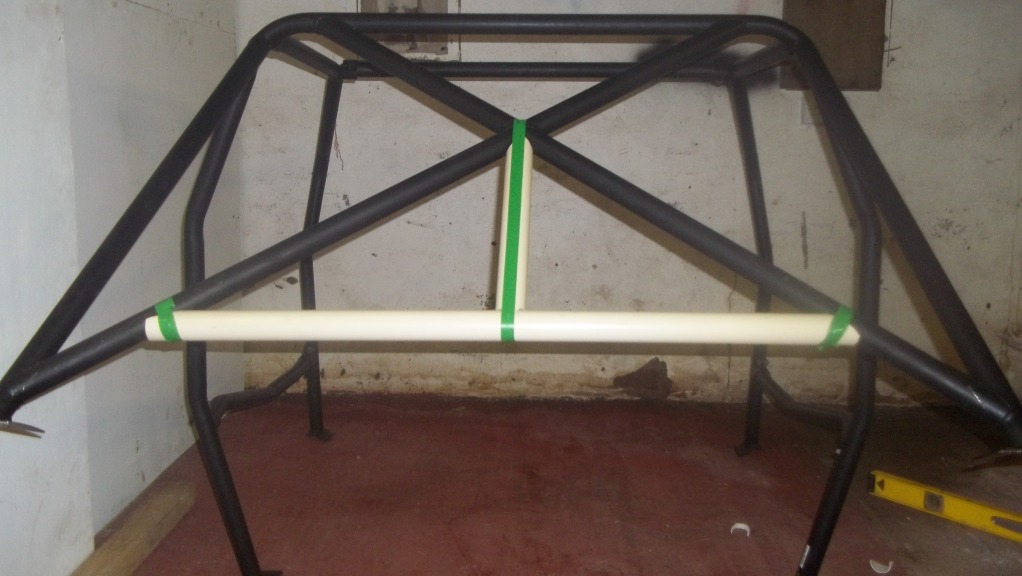
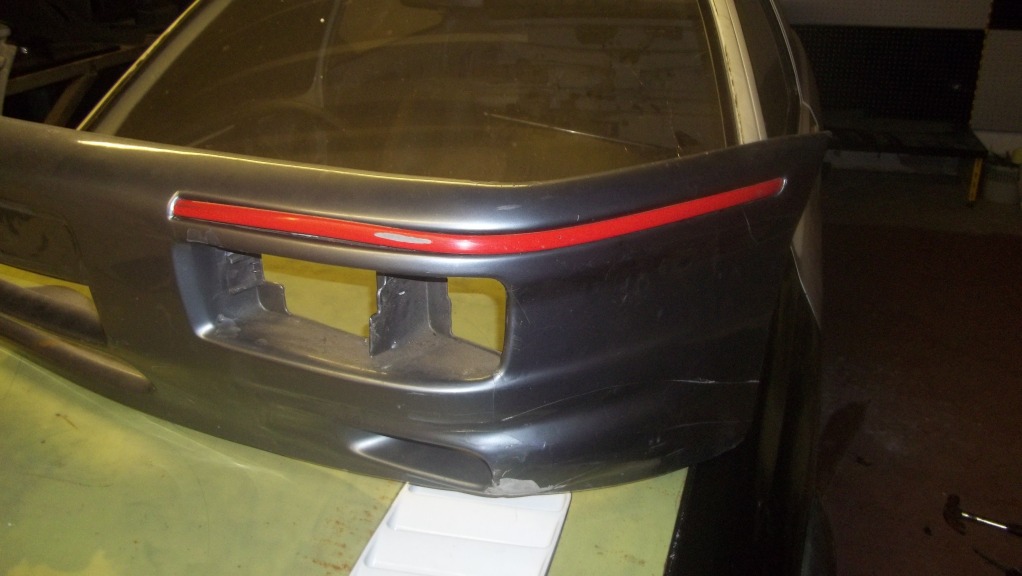
got some red bumper trim to match brooklyn gemini car. don't know why they used red but that is what is going on them. hopefully get some more done this week as would like to get this shell painted to protect the bodywork.
got some red bumper trim to match brooklyn gemini car. don't know why they used red but that is what is going on them. hopefully get some more done this week as would like to get this shell painted to protect the bodywork.
27-12-2012, 10:04 AM
#17
Too many posts.. I need a life!!
27-12-2012, 04:18 PM
#18
Too many posts.. I need a life!!
 27-12-2012, 07:11 PM
#19
10K+ Poster!!

Nice project!
29-12-2012, 01:48 PM
#21
15000
Thread Starter
Join Date: Dec 2012
Location: pembrokeshire
Posts: 19
Likes: 0
Received 0 Likes
on
0 Posts
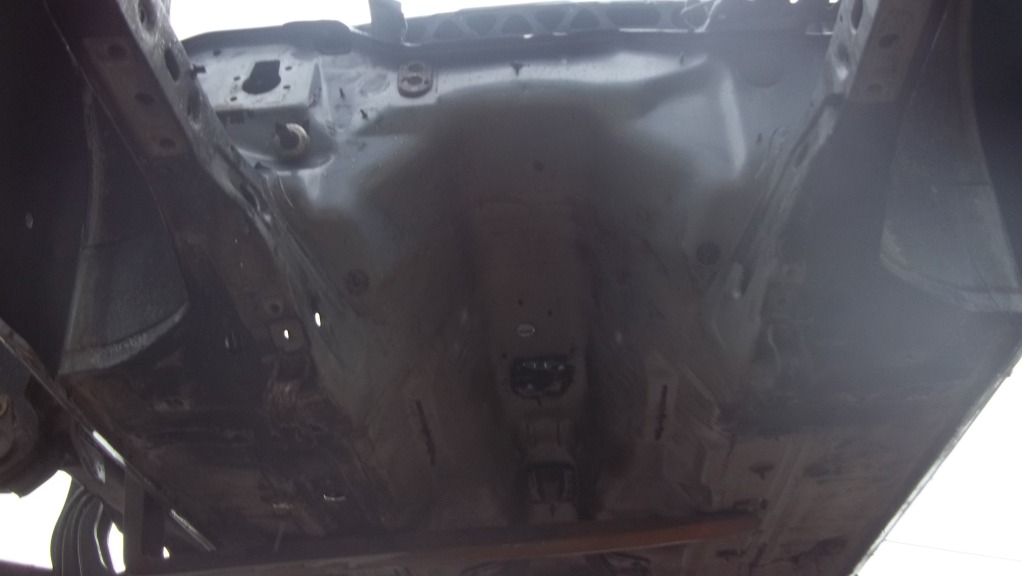
collected shell today and took it to my dads workplace to steam clean it before starting bodywork. came up pretty good overall.
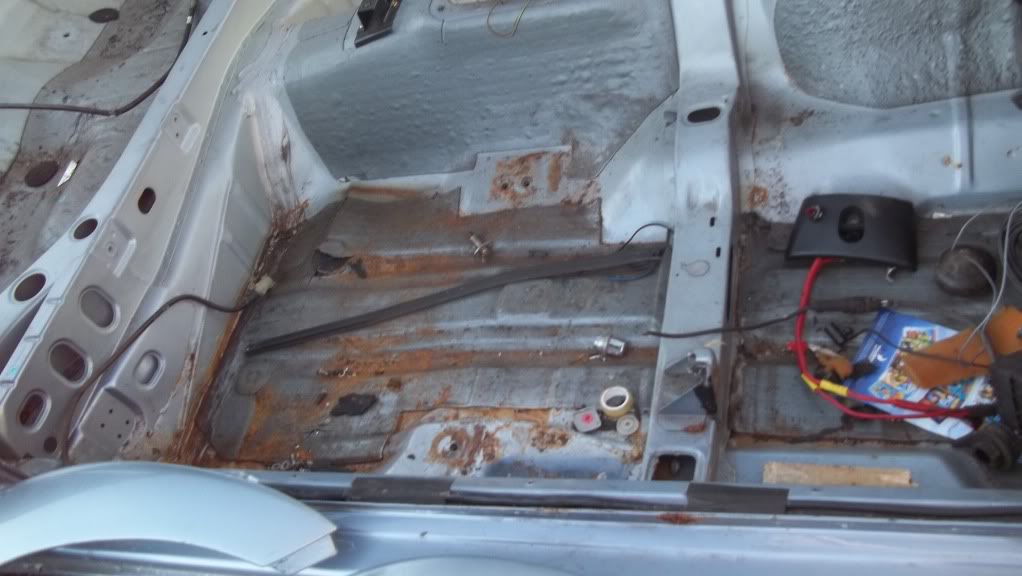
inside the car

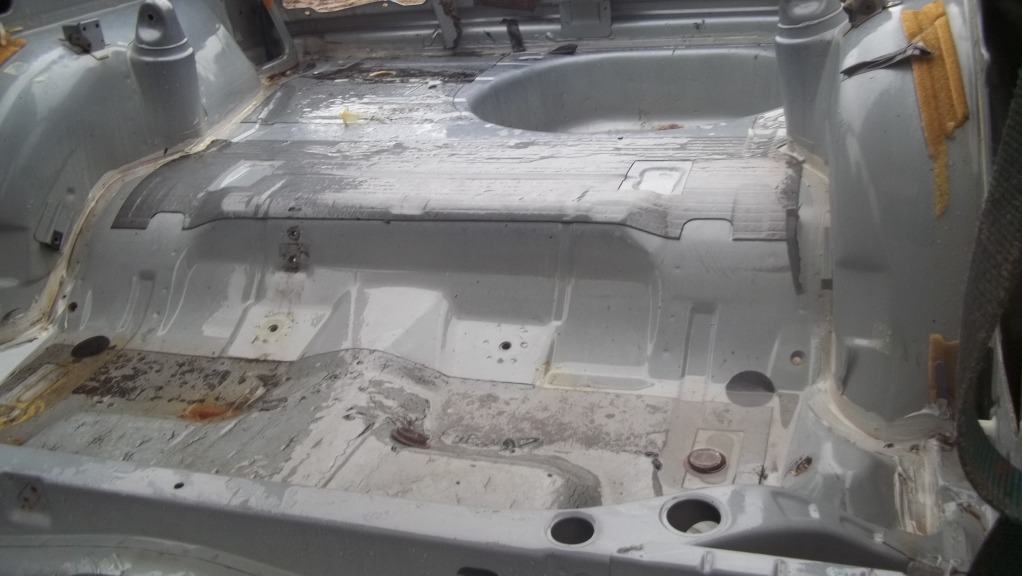

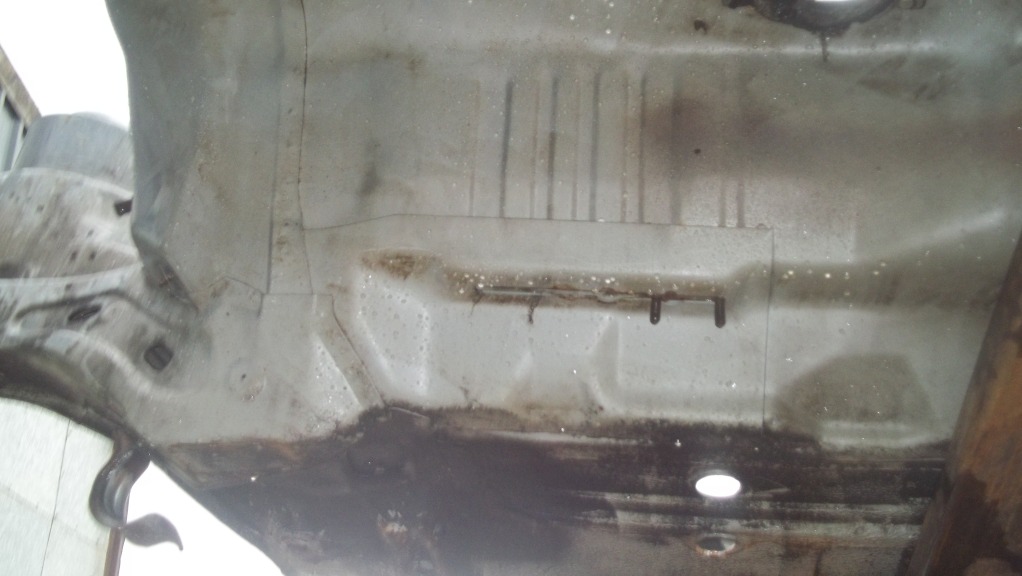
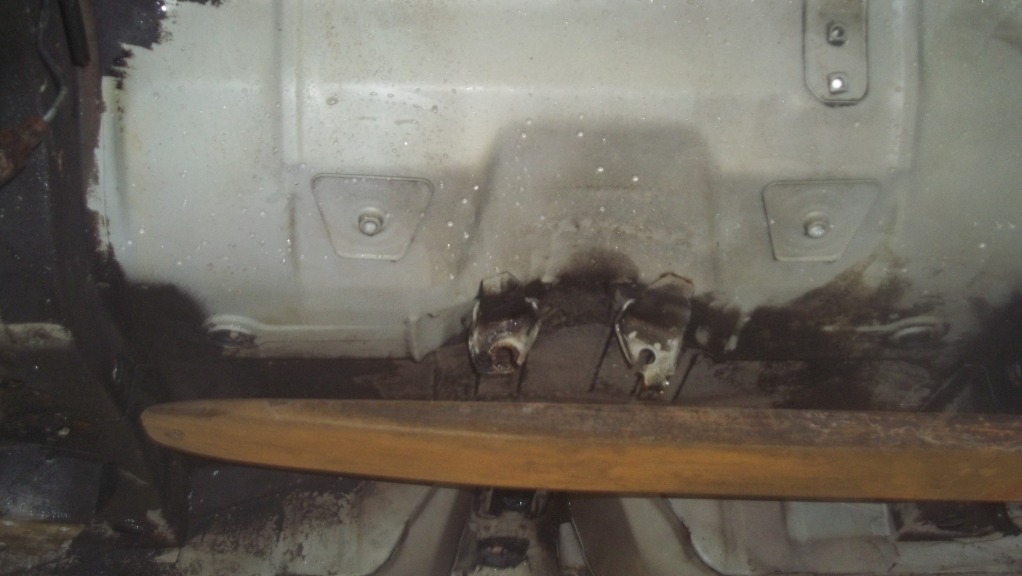
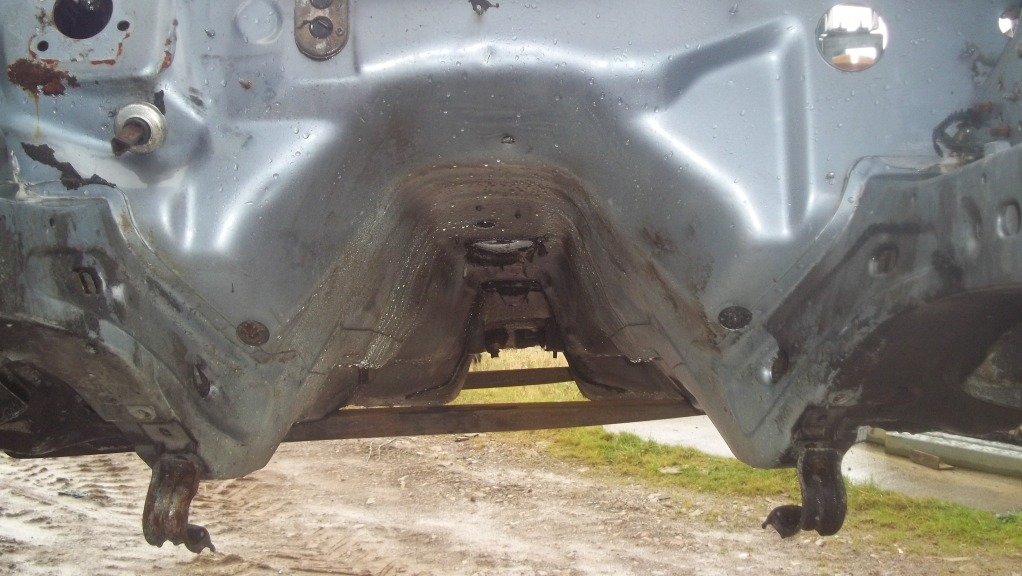
underneath. needs degreaser but started raining heavily so will do the rest when dry. steam cleaner got a lot off already.
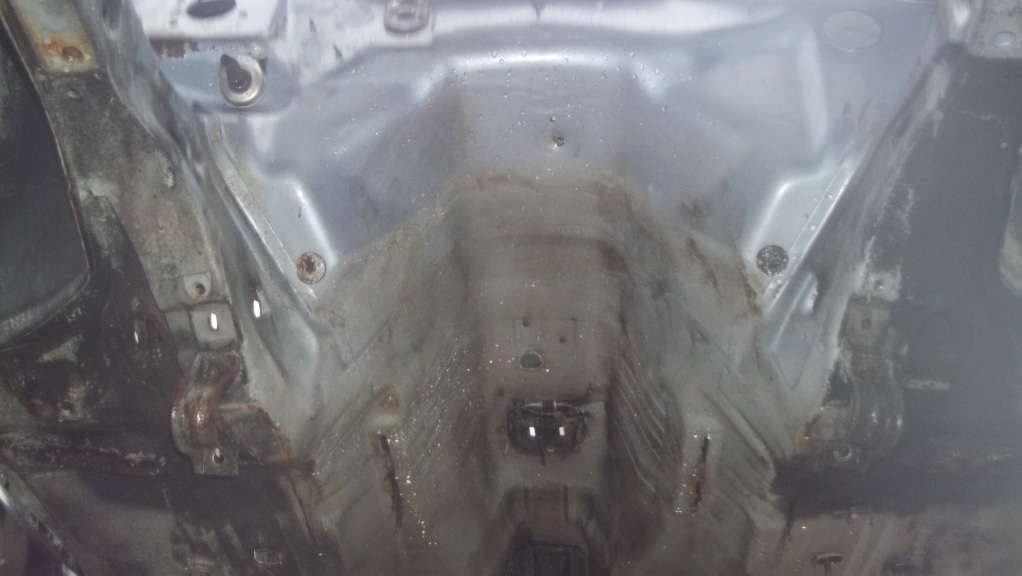

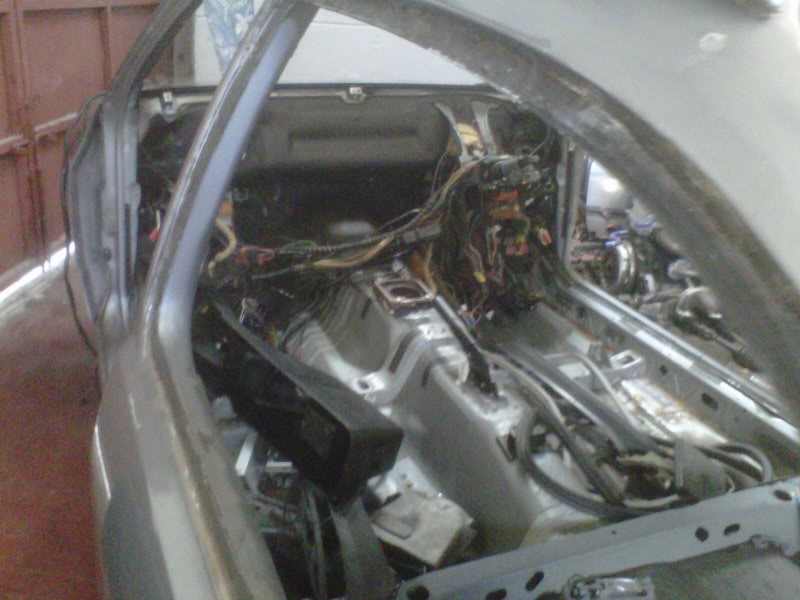
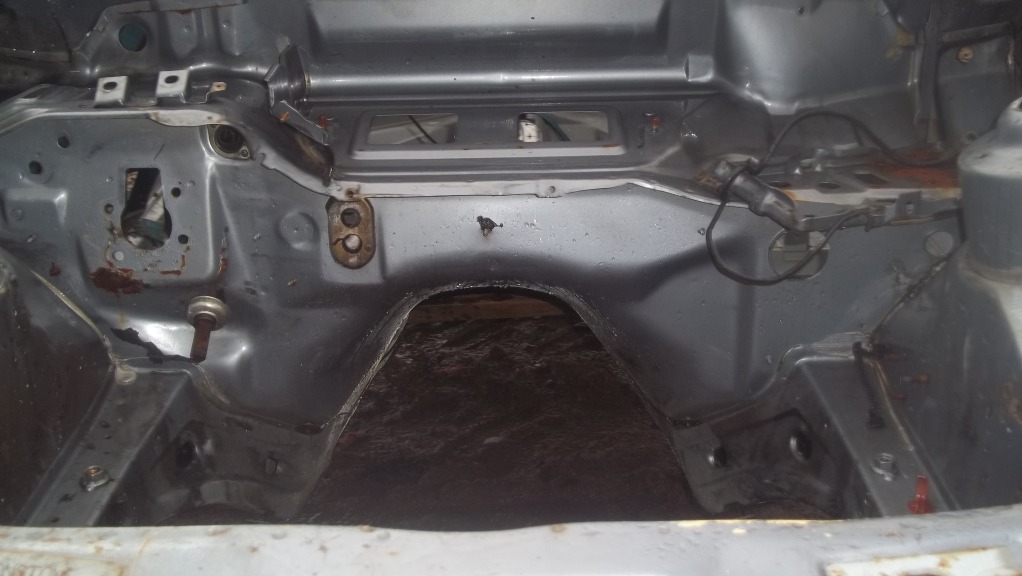
engine bay and tunnel.
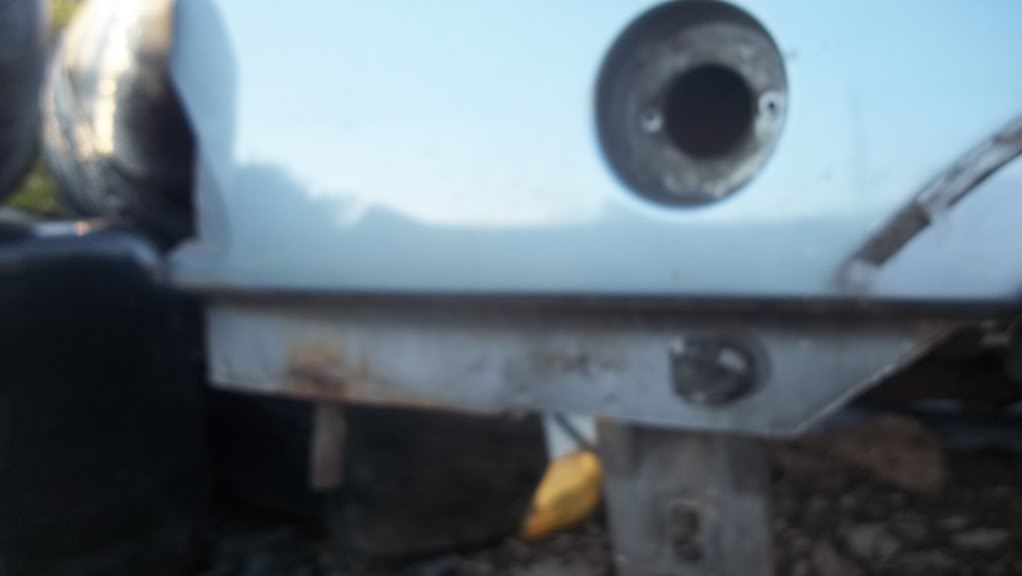
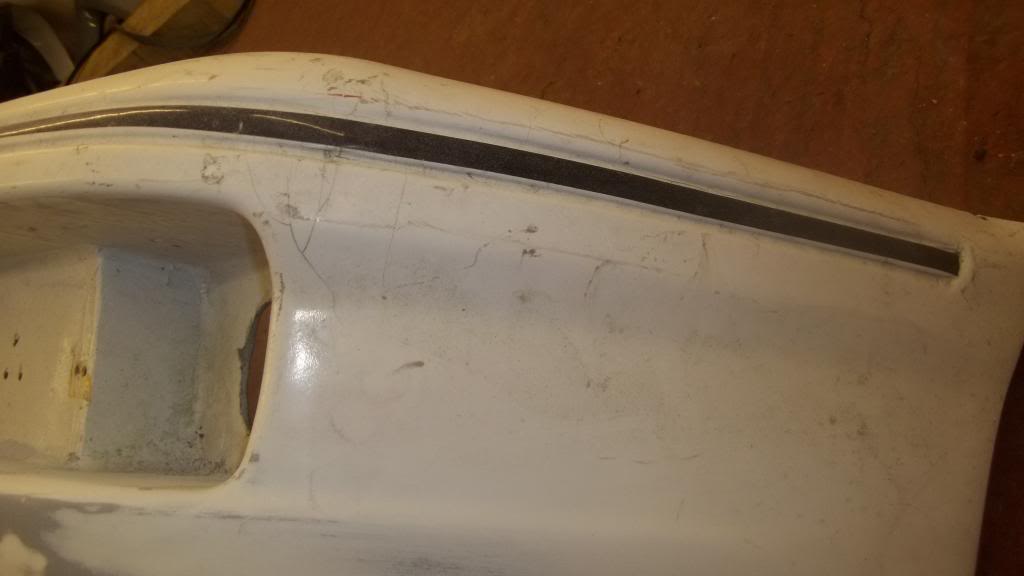
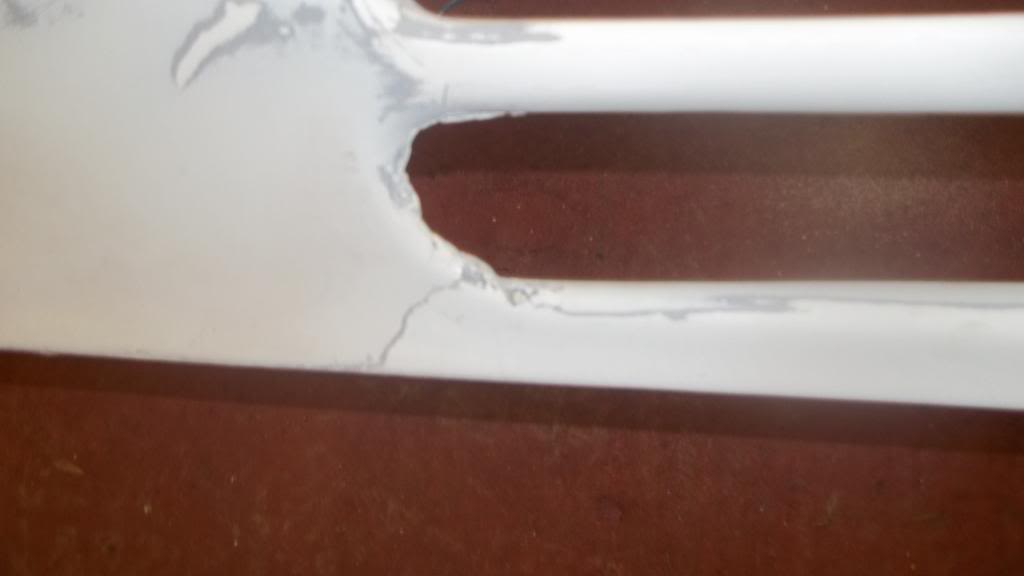
finally the worse bit of shell. the rust around passenger side light. the pics show the rot infront of headlight surround but from behind it isn't too bad.
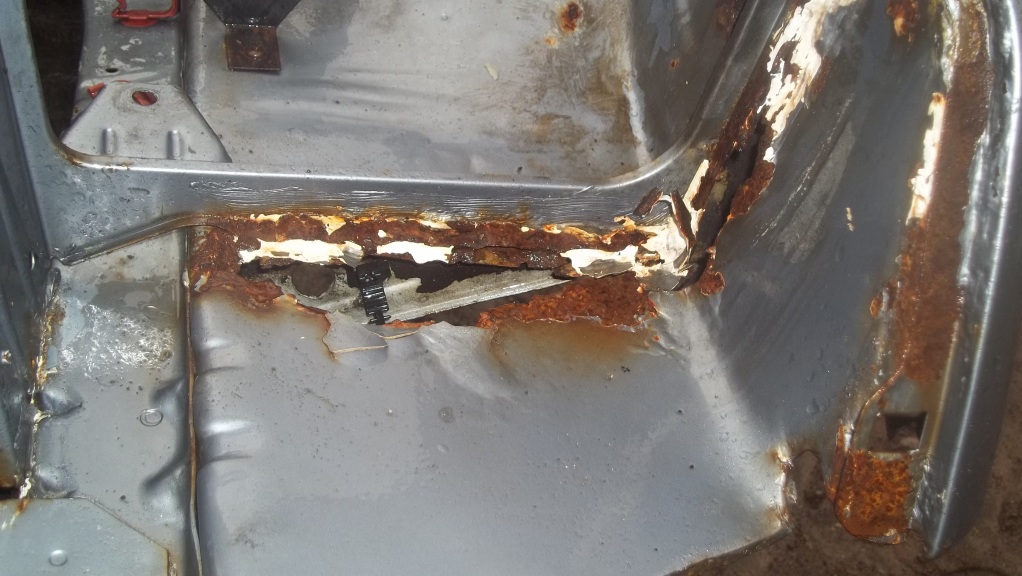
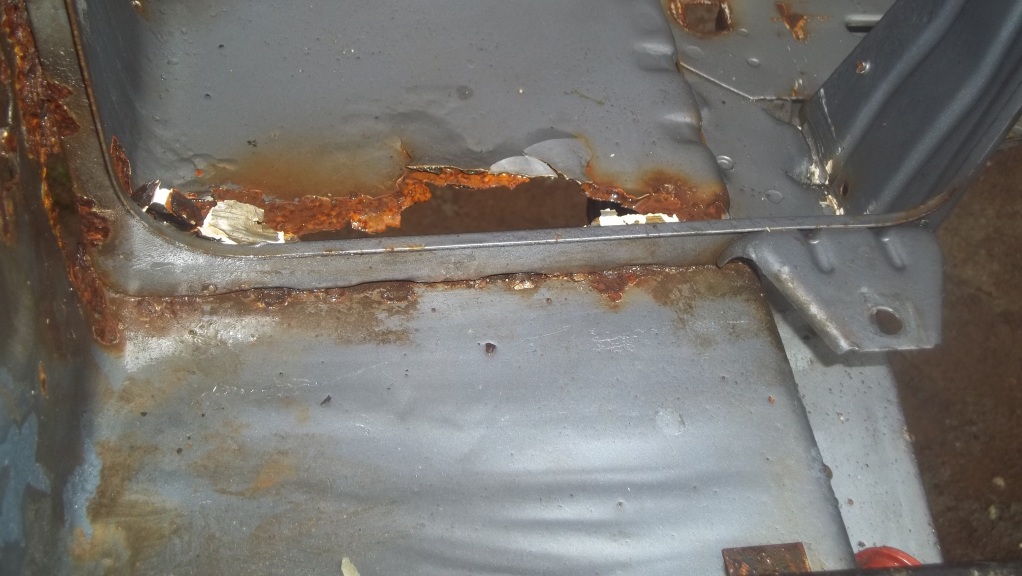
should be able to remove headlight surround, cut out the rot and reweld a strip in. around 75mm max width and flat so should be able to do a pretty good job on it. new headlight surround and job sorted.
thanks for all comments and encouragement from you all.
inside the car
underneath. needs degreaser but started raining heavily so will do the rest when dry. steam cleaner got a lot off already.
engine bay and tunnel.
finally the worse bit of shell. the rust around passenger side light. the pics show the rot infront of headlight surround but from behind it isn't too bad.
should be able to remove headlight surround, cut out the rot and reweld a strip in. around 75mm max width and flat so should be able to do a pretty good job on it. new headlight surround and job sorted.
thanks for all comments and encouragement from you all.
29-12-2012, 03:34 PM
#22
Too many posts.. I need a life!!
just out of interest. what condition is this shell in compared to shells some of you would have restored. better, worse or about average. i thought it looked quite good overall.
29-12-2012, 04:05 PM
#26
PassionFord Post Whore!!
 29-12-2012, 04:11 PM
#27
Too many posts.. I need a life!!
couldn't have had as much cut out as you have done on yours mate. i realy wouldn't have the patience to do what you have. then again, there is no sentimental value in the shells i have or this one of chris's. i will have another look for this thread later.
01-01-2013, 04:44 PM
#28
15000
Thread Starter
Join Date: Dec 2012
Location: pembrokeshire
Posts: 19
Likes: 0
Received 0 Likes
on
0 Posts
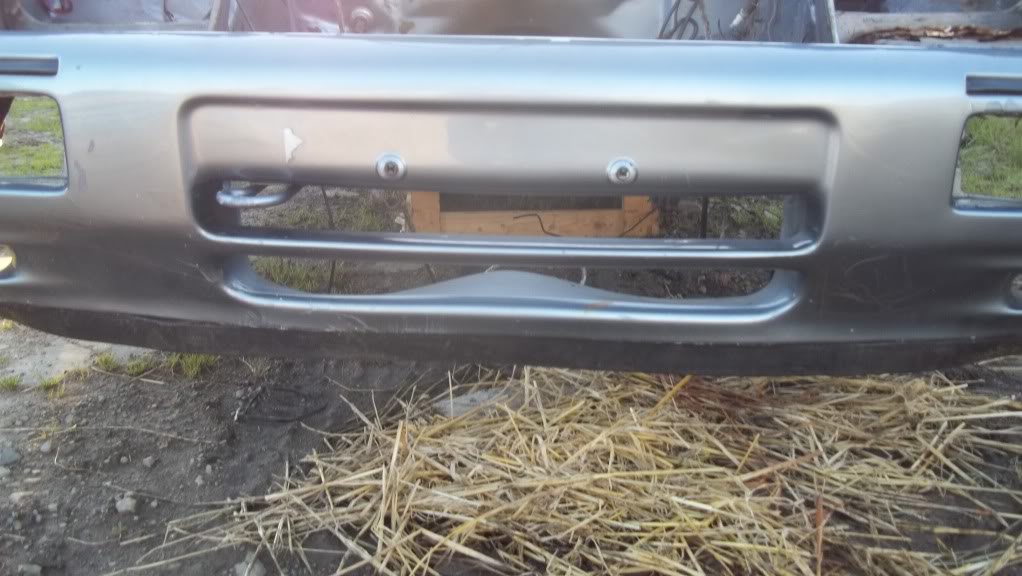
decided to go fg bumpers / bodykit to help lighten the car. started taking paint off a bumper that came on a shell. are all fibreglass bumpers crap. alot lighter than genuine though.
after a few hours it is starting to look ok.

hope everything else isn't going to be as much hassle. after seeing a rally car the other day think i'll copy the idea. flush fitting bonnet pins were used on front and sides to hold bumper on. quick to take off if needed.
after a few hours it is starting to look ok.
hope everything else isn't going to be as much hassle. after seeing a rally car the other day think i'll copy the idea. flush fitting bonnet pins were used on front and sides to hold bumper on. quick to take off if needed.
01-01-2013, 04:46 PM
#29
10K+ Poster!!
Coming on nicely, your shell is in pretty good nick, seen far worse on the road.
01-01-2013, 04:53 PM
#30
15000
Thread Starter
Join Date: Dec 2012
Location: pembrokeshire
Posts: 19
Likes: 0
Received 0 Likes
on
0 Posts
cheers mate. just be happier when it's in workshop and sandblasted. i'll know what the shell is like then. overall it doesnt look too bad and only the inner wing with major rust. so far. looking on resto threads on here there are a lot worse.
02-02-2013, 06:50 PM
#31
15000
Thread Starter
Join Date: Dec 2012
Location: pembrokeshire
Posts: 19
Likes: 0
Received 0 Likes
on
0 Posts
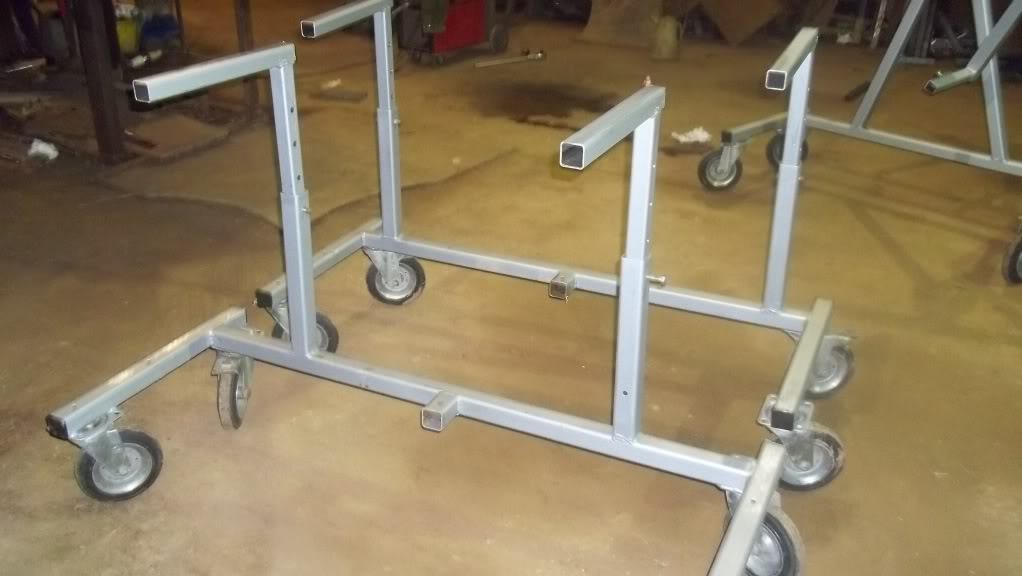
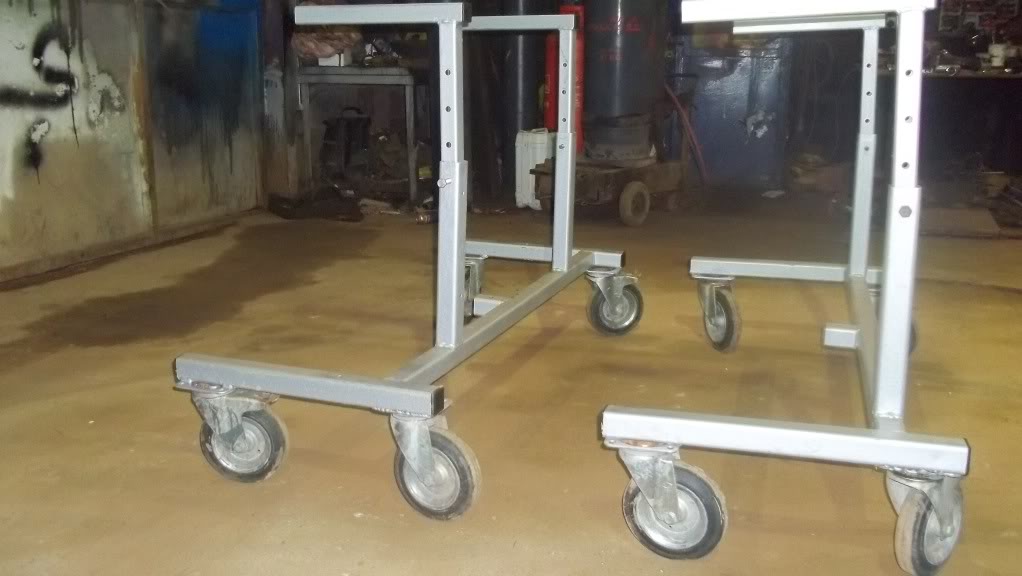
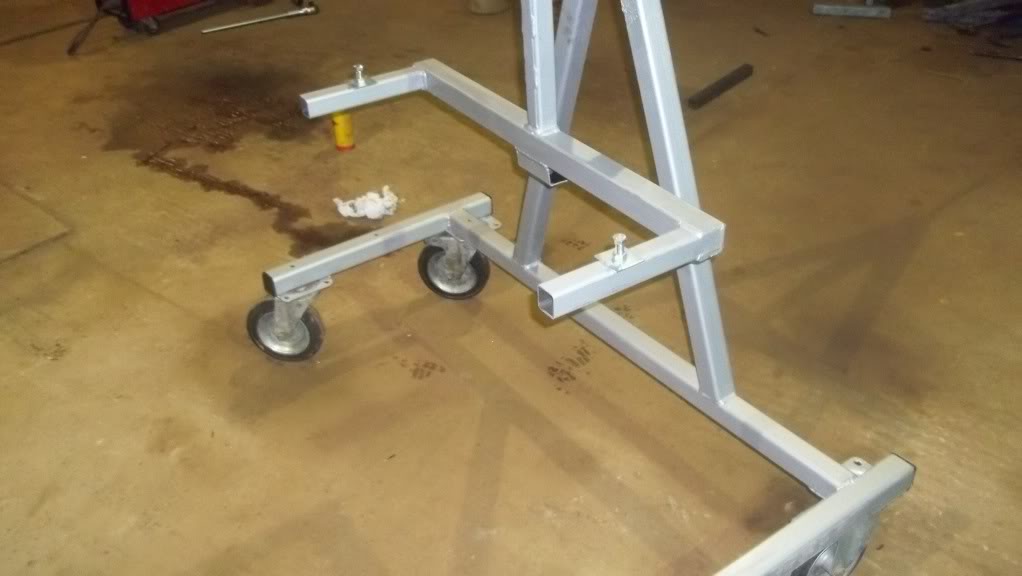
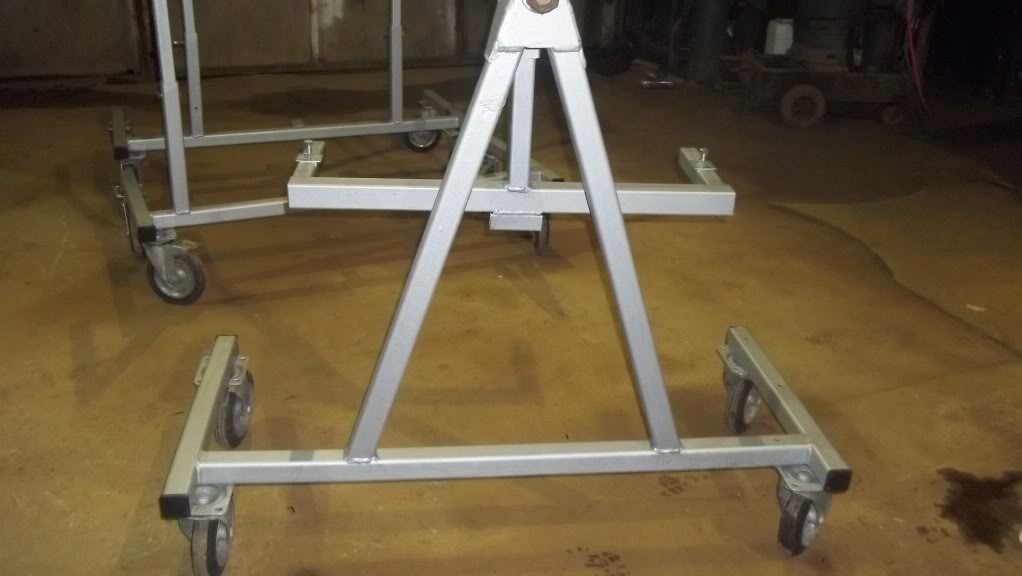
just a quick update. realy not done anything but still getting stuff sorted for the resto. finished the dolly's so now i can get the shell in the workshop but a couple of hours left on the spit. electric started playing up friday night so abandoned the welding with only one spit left to finish.
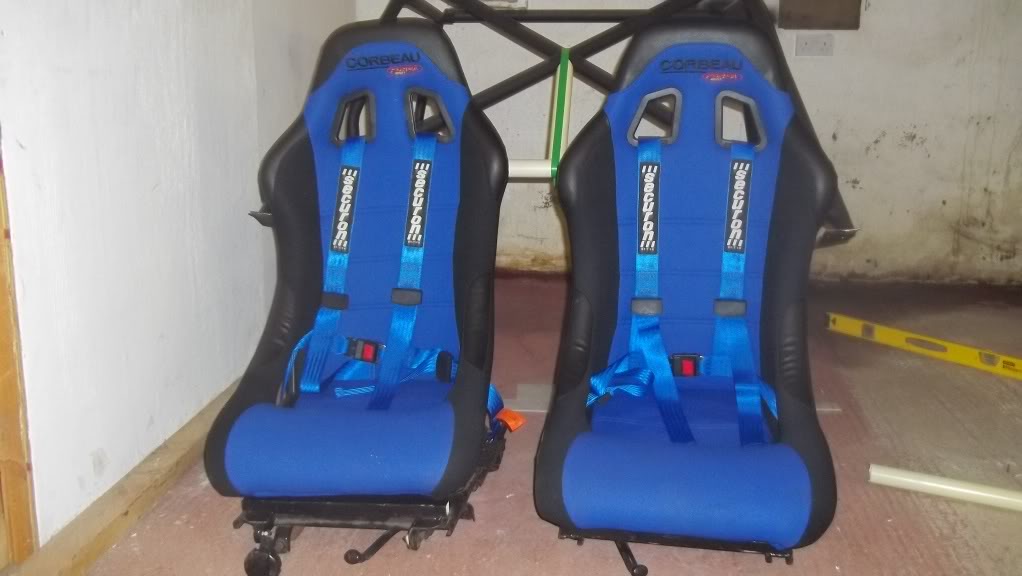
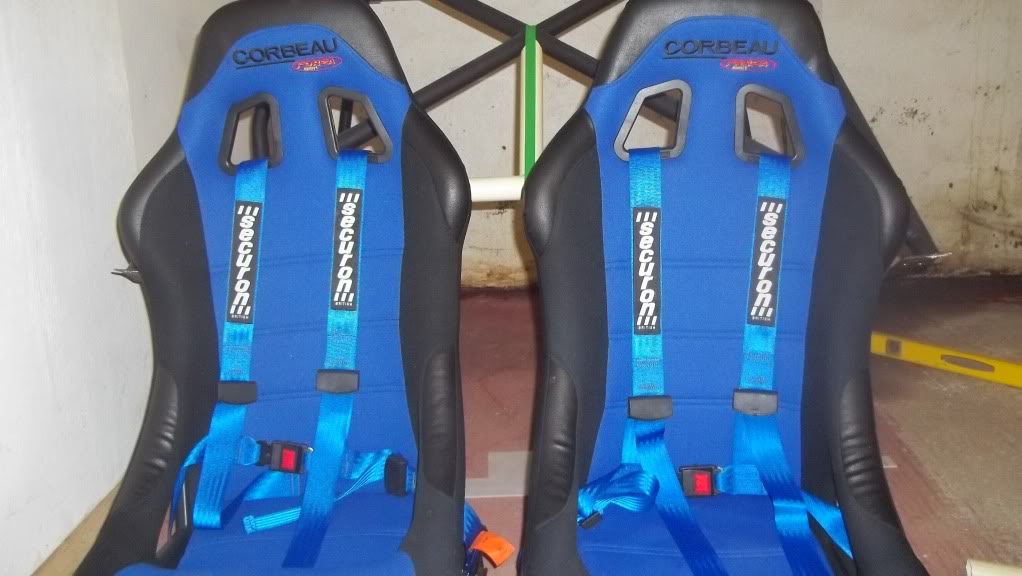
seats and harnesses picked up today. realy happy with these and colour will go with what i have planned for this shell.
now i can get the shell in work should start very soon on it and i will be glad to see some sort of progress.
seats and harnesses picked up today. realy happy with these and colour will go with what i have planned for this shell.
now i can get the shell in work should start very soon on it and i will be glad to see some sort of progress.
02-02-2013, 09:55 PM
#32
10K+ Poster!!
Nice!! Did you make the dollies yourself?
08-02-2013, 05:20 PM
#34
15000
Thread Starter
Join Date: Dec 2012
Location: pembrokeshire
Posts: 19
Likes: 0
Received 0 Likes
on
0 Posts
yes mate, with my dad. i have plans sent from pf member and they are very good. probably better for us as we have large workshop so will be very handy. the spit we made aswell, looking forward to using it now. not cheap to make as wheels are expensive to buy. heavy duty steel used not 2mm walls as usual so complete car can be put on them. on the highest point the wheels would be around 21 inches off the floor.
10-02-2013, 06:25 PM
#35
Too many posts.. I need a life!!
hi all. chris and i have decided to put both projects under one so it is easier to keep up to date. both will be done at the same time so makes more sense.
anyway not had much time spare lately so managed a few hours today.
still waiting for chris's shell to be delivered over which should have been this weekend. guess what, let down again. i knew i should have hired a trailer myself.
decided to start on preping some of the parts ready for primer. currently got the following parts sorted
2 bonnets,
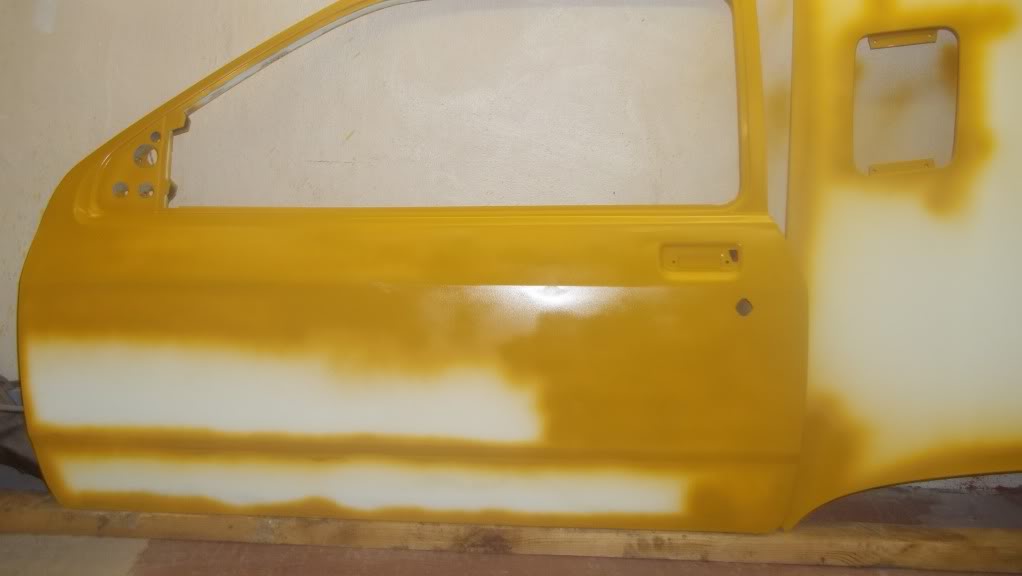
1 door
1 set of sideskirts / arches
fibreglass bumper for chris, he had done a fair job already
2 rear spoilers.
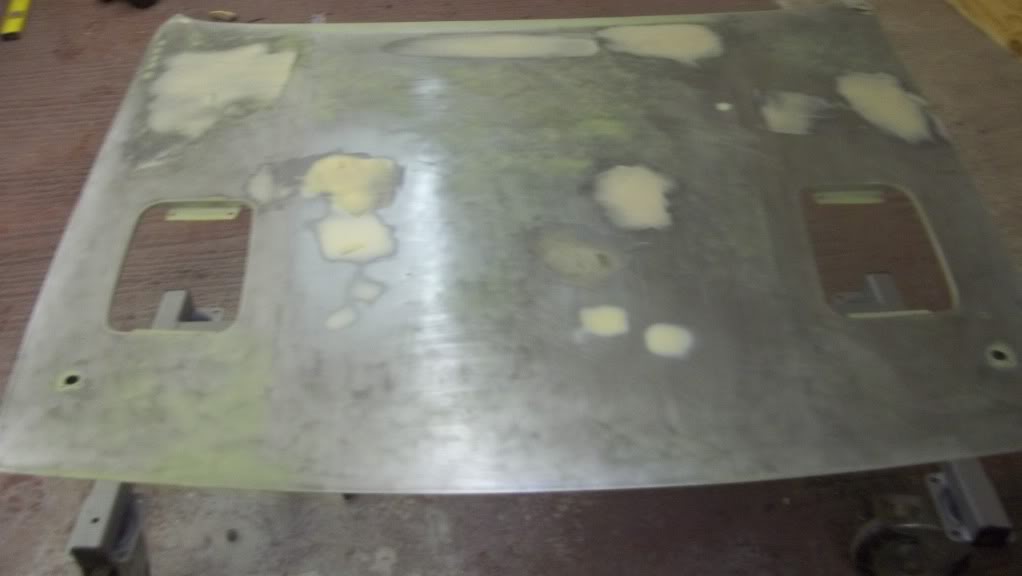
one of the bonnets was pretty good with a few marks around the edges from storage i guess and a couple of low spots which were filled. the edges taken back to metal, rust proofed and primed.
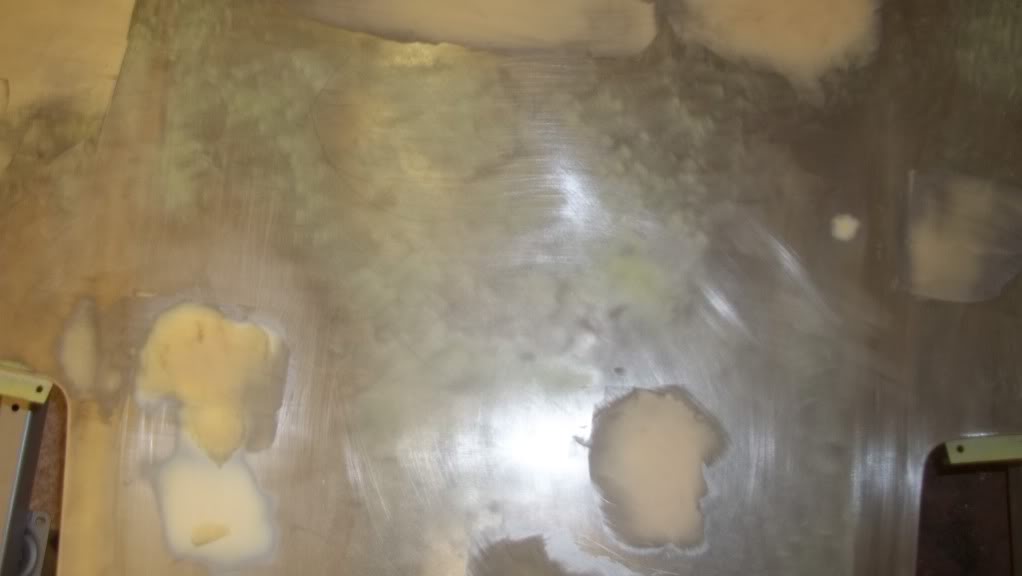
the other bonnet was a different story. totally back to bare metal, several areas quite badly dented so filled again, rustproofed and primed.
the door wasn't too bad only a couple of small dents so filled and primed.
spoilers were good just a bit fiddly but came up very well although according to paint layers both had been resprayed atleast 3 times.
sideskirts and arches very good with no problems.
couple of pics. only applied primer where metal had been exposed.
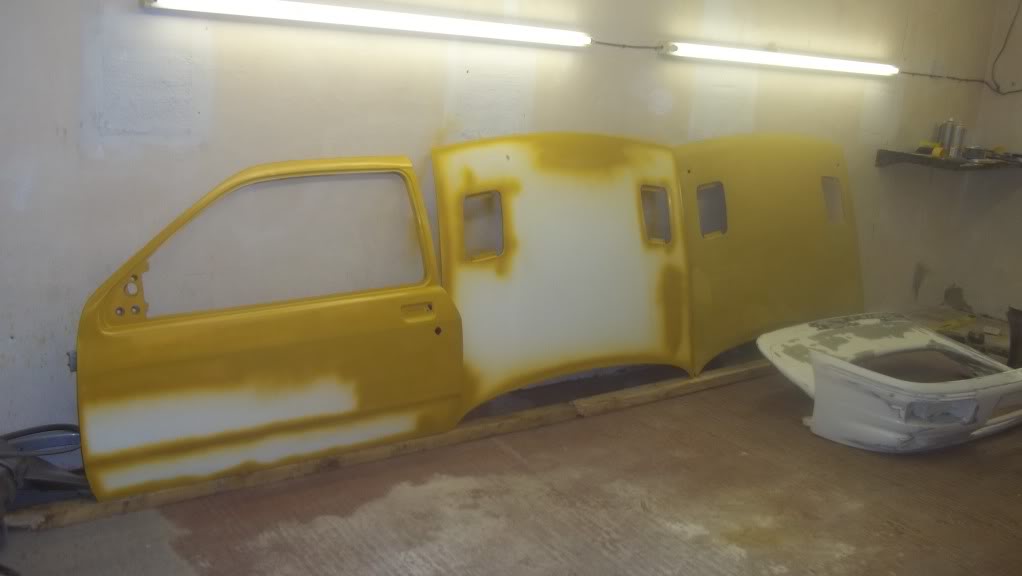
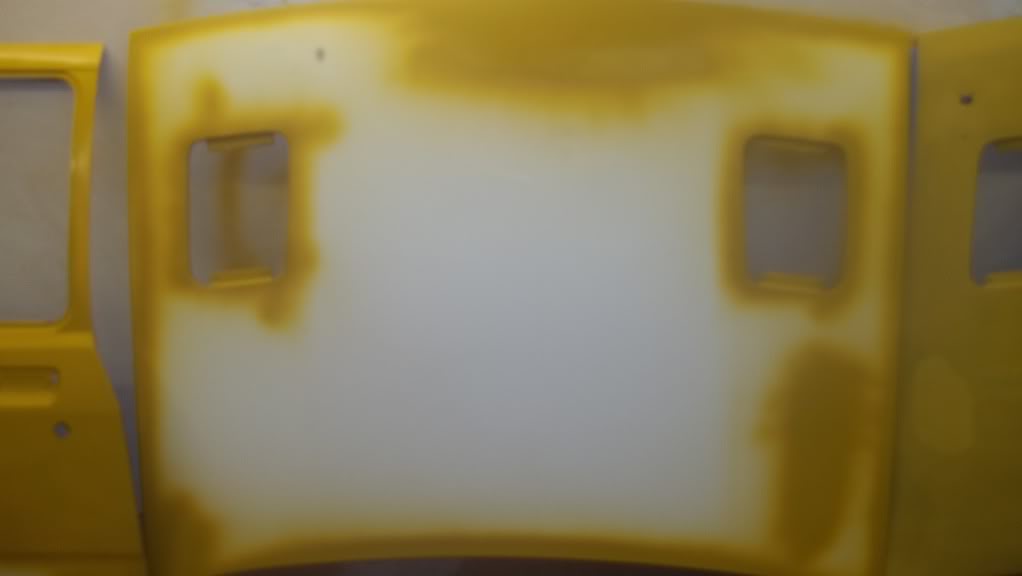
all ready to sand down and prime properly when i get the chance. at least for now they are protected
need to get these finished now and stored away from any harm. don't want to fill more dents.
anyway not had much time spare lately so managed a few hours today.
still waiting for chris's shell to be delivered over which should have been this weekend. guess what, let down again. i knew i should have hired a trailer myself.
decided to start on preping some of the parts ready for primer. currently got the following parts sorted
2 bonnets,
1 door
1 set of sideskirts / arches
fibreglass bumper for chris, he had done a fair job already
2 rear spoilers.
one of the bonnets was pretty good with a few marks around the edges from storage i guess and a couple of low spots which were filled. the edges taken back to metal, rust proofed and primed.
the other bonnet was a different story. totally back to bare metal, several areas quite badly dented so filled again, rustproofed and primed.
the door wasn't too bad only a couple of small dents so filled and primed.
spoilers were good just a bit fiddly but came up very well although according to paint layers both had been resprayed atleast 3 times.
sideskirts and arches very good with no problems.
couple of pics. only applied primer where metal had been exposed.
all ready to sand down and prime properly when i get the chance. at least for now they are protected
need to get these finished now and stored away from any harm. don't want to fill more dents.
10-02-2013, 08:14 PM
#37
Too many posts.. I need a life!!
already got the shell nathan. it is at my work place. just waiting for it to be brought over to the workshop. both shells will be restored at the same time. if i have to sandblast the shells i may as well do both. same with spraying etc. atleast they will both get done that way. don't want to see one left altogether till the other is finished, that's why i gave chris one. probably be better now if i make another spit aswell. i also have a 3rd complete 3dr i bought cheap. that will be in workshop for complete resto after these. few years work ahead of me altogether i think. just wish i could aford to fit all cossie gear into these now but it will not be happening due to cost unfortunately.
10-02-2013, 08:46 PM
#38
PassionFord Post Whore!!
Jeez! You are nicely prepped for the future, and have cars that will go up in value! So you aint gonna loose out. And yeah, cosworth gear would be nice, but hey, if you have that xr4i you can use the gear out of that! And yeah, another spit would come in handy. It is a pain to move em so I reckon it's a good idea. Any news on the guy with the 2.3?
10-02-2013, 08:55 PM
#39
Too many posts.. I need a life!!
nothing yet mate. not bothering waiting anymore. xr4 gear won't be used on any of these builds. still working out what to use. chosing which engine to use is a bloody nightmare as some produce good power but are a sod to fit. all easy drop and drive engines / boxes etc, are suffering from severe lack of power. catch 22 i believe they call it.