Dutch Sierra Cosworth 4x4 - home made power measurement
 07-11-2011, 09:16 PM
#1

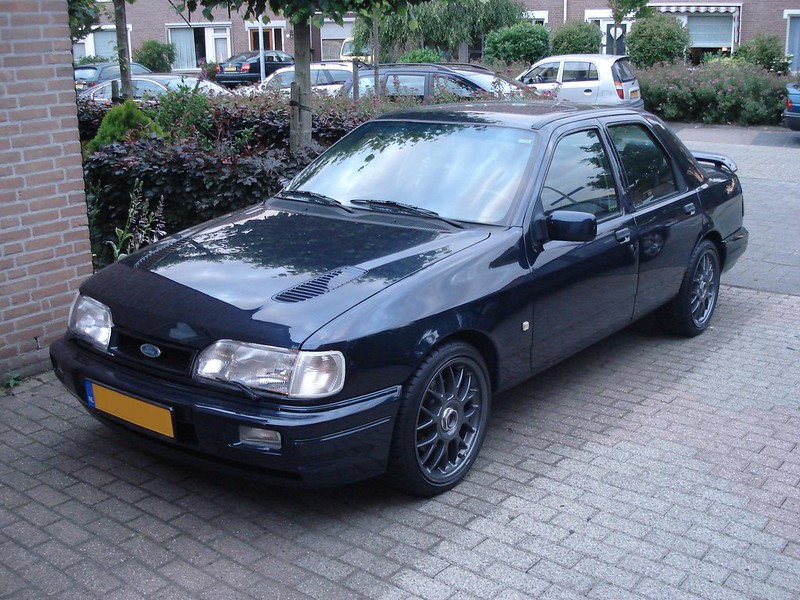
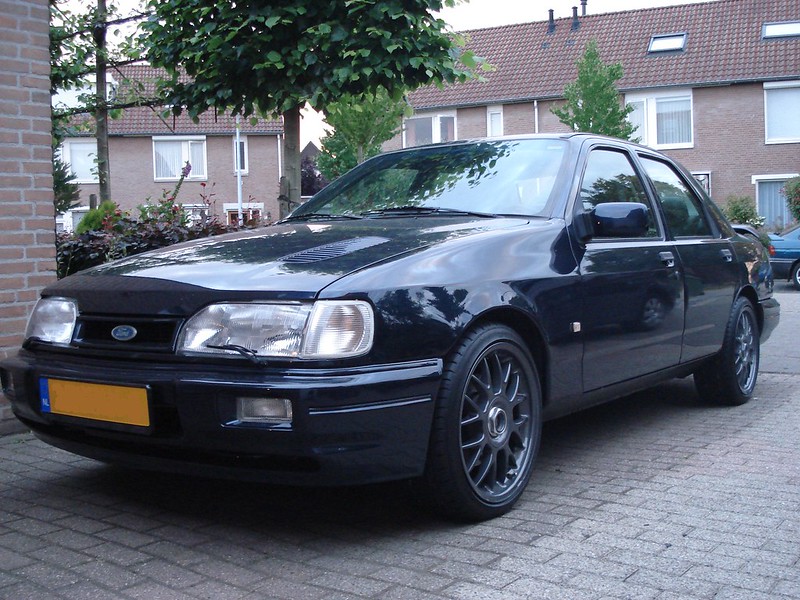
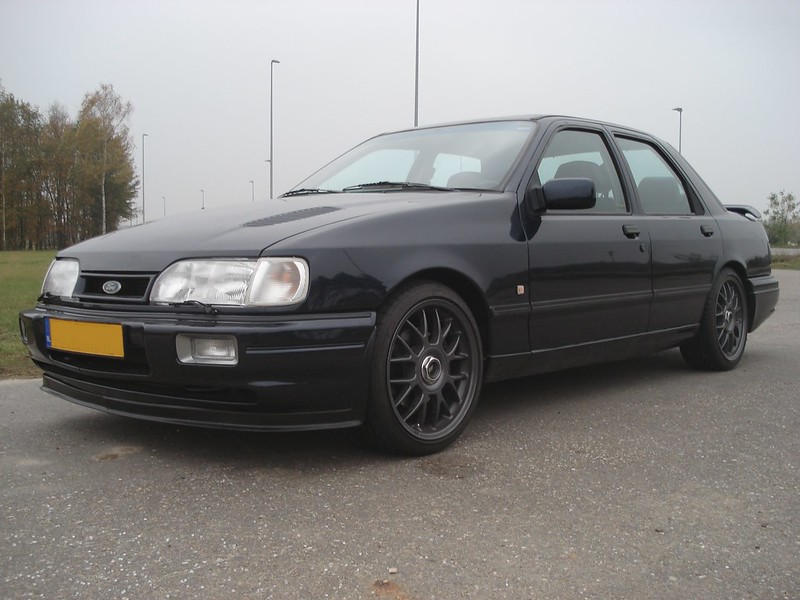
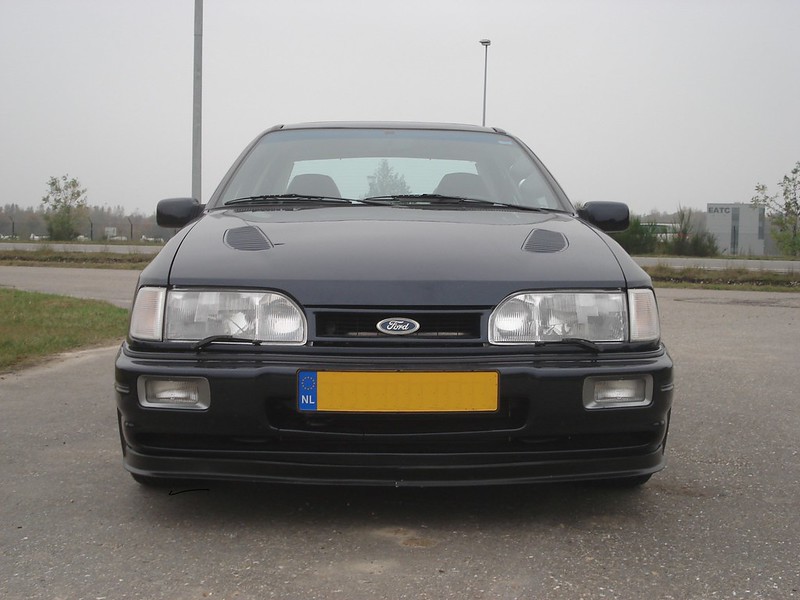
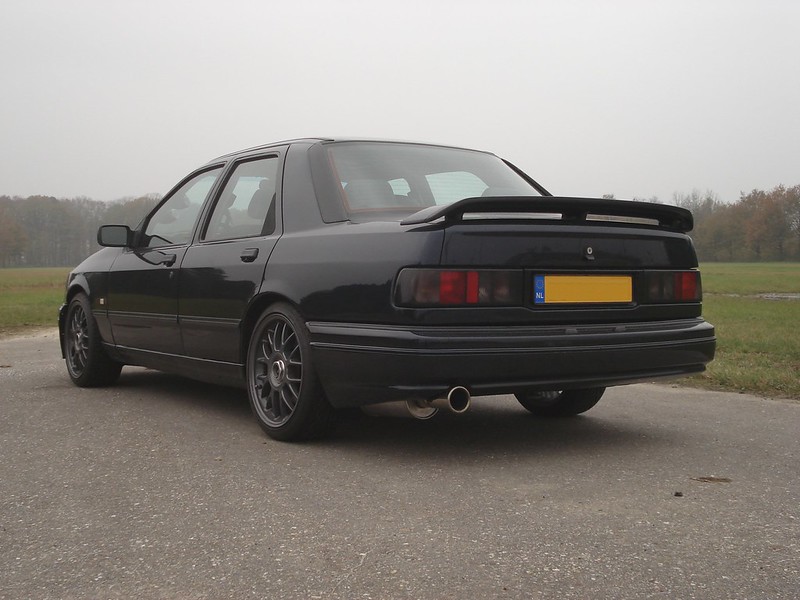
A while ago I bought a 1990 Cosworth 4x4 in Smokestone Blue.

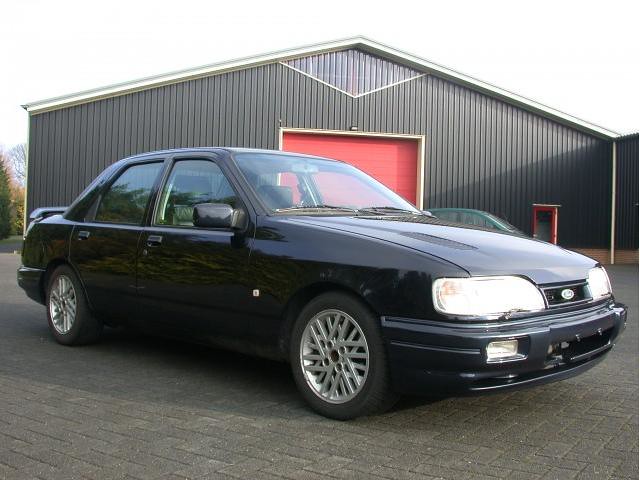
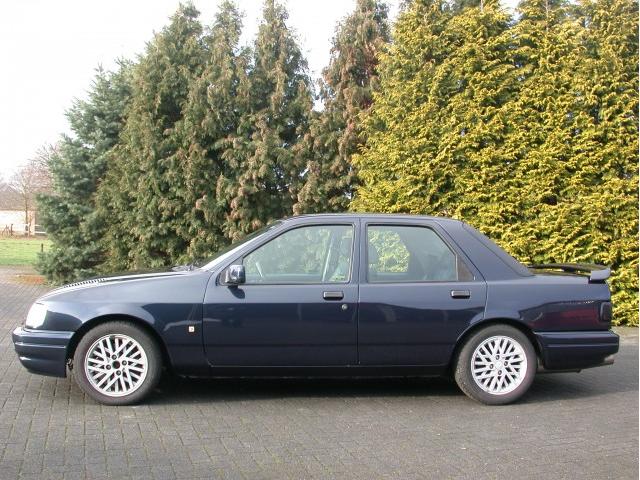

Of course, as any Sierra it needs some modding.
Of course, as any Sierra it needs some modding.
Last edited by Marc sierra; 20-07-2020 at 07:02 AM.
 08-11-2011, 03:59 PM
#2
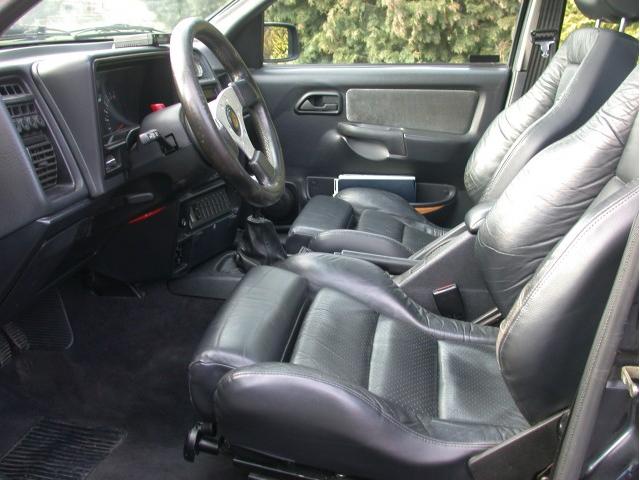
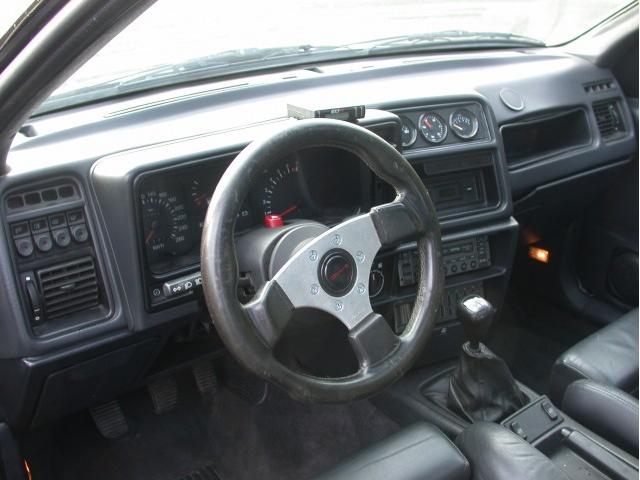
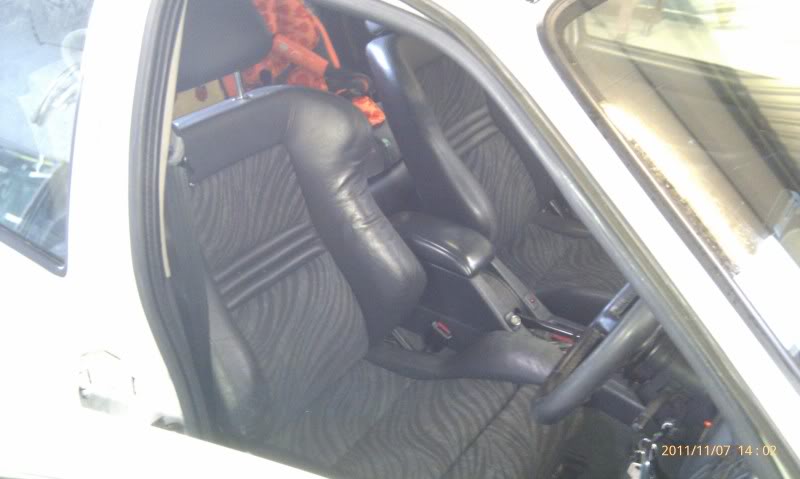
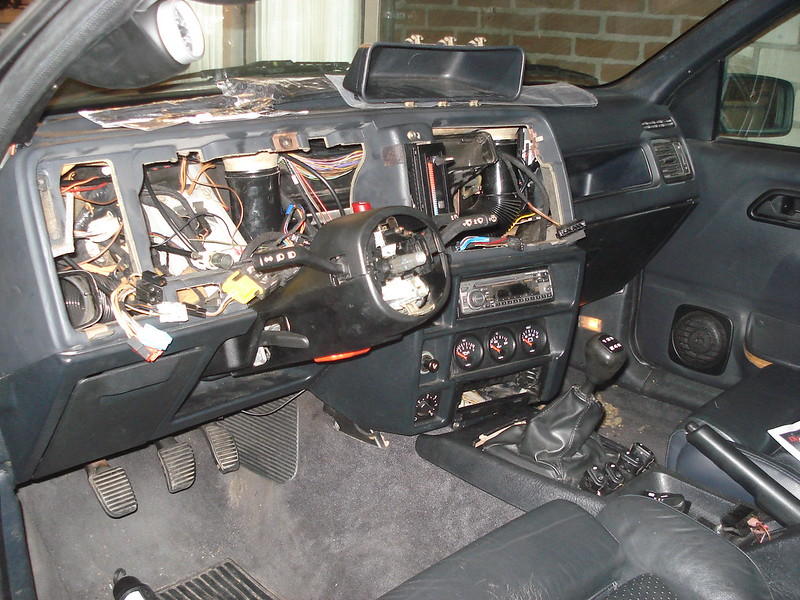
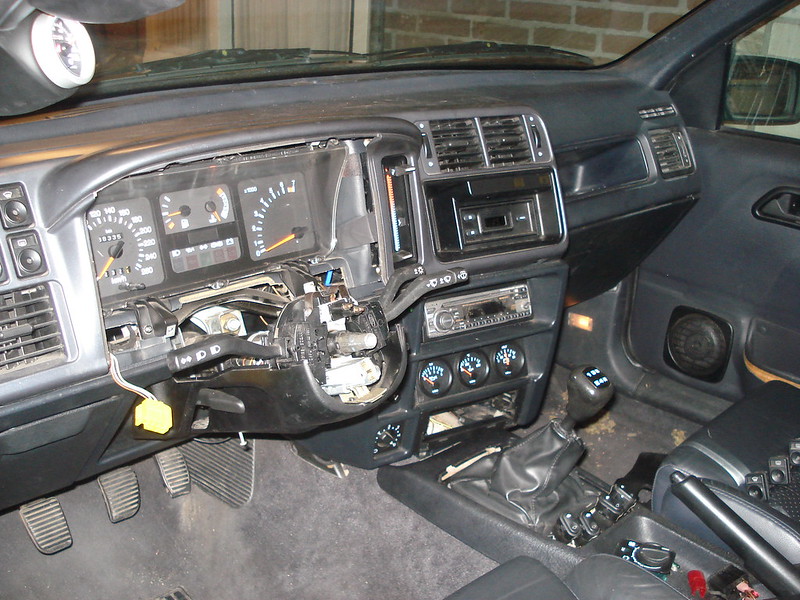
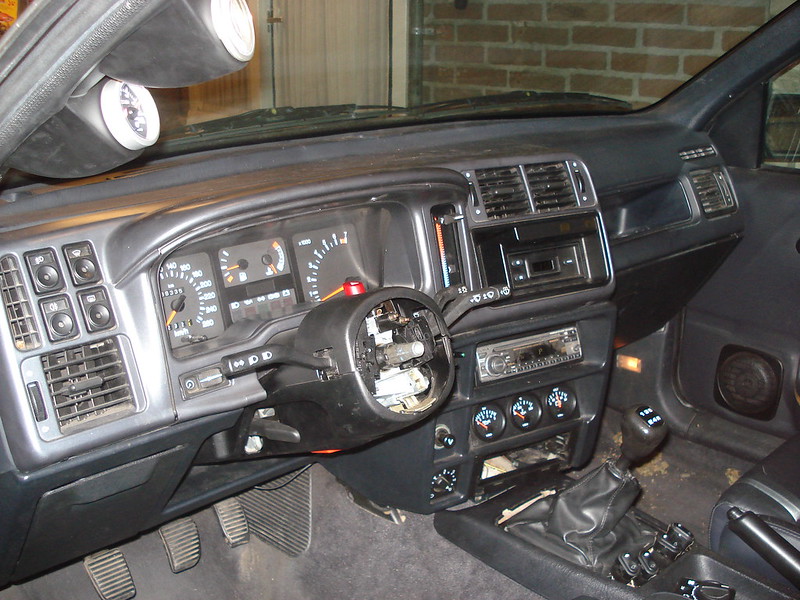
First I got rid of the hideous steering wheel and fitted an original one instead. At the same time I removed the turbo timer from the top of the dash. The view from behind the wheel is already improved.

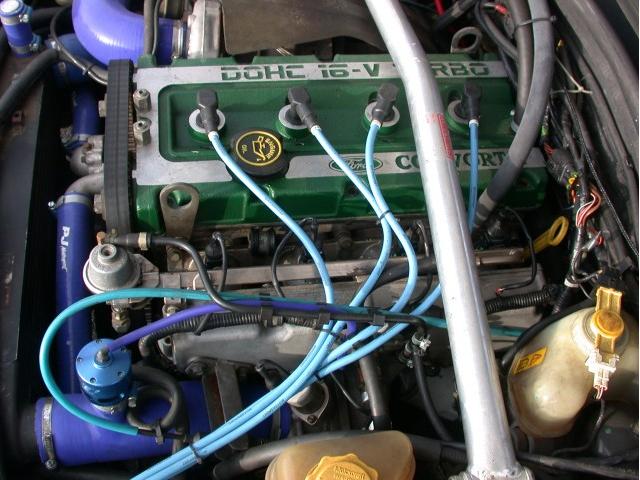
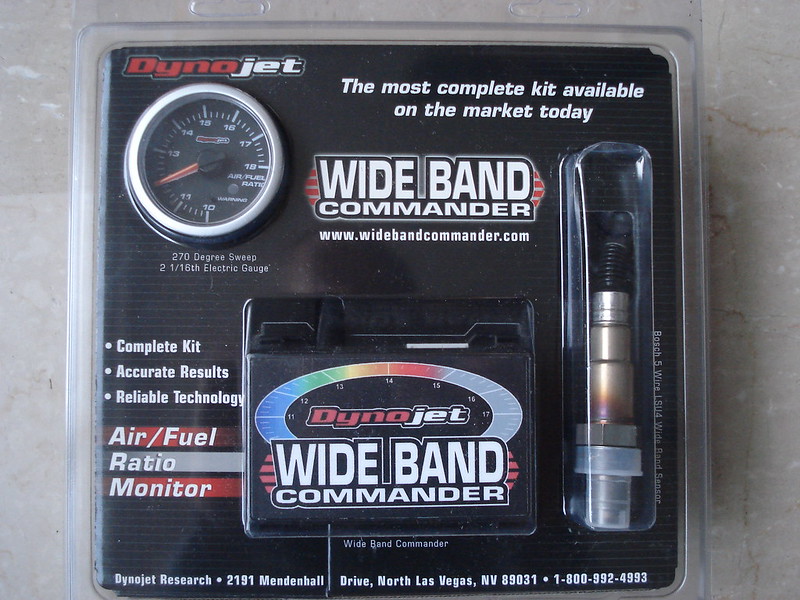
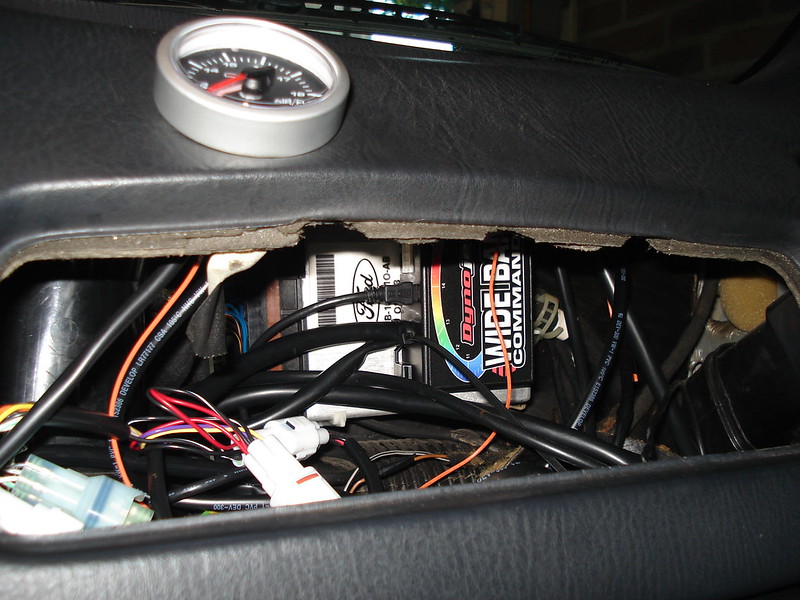
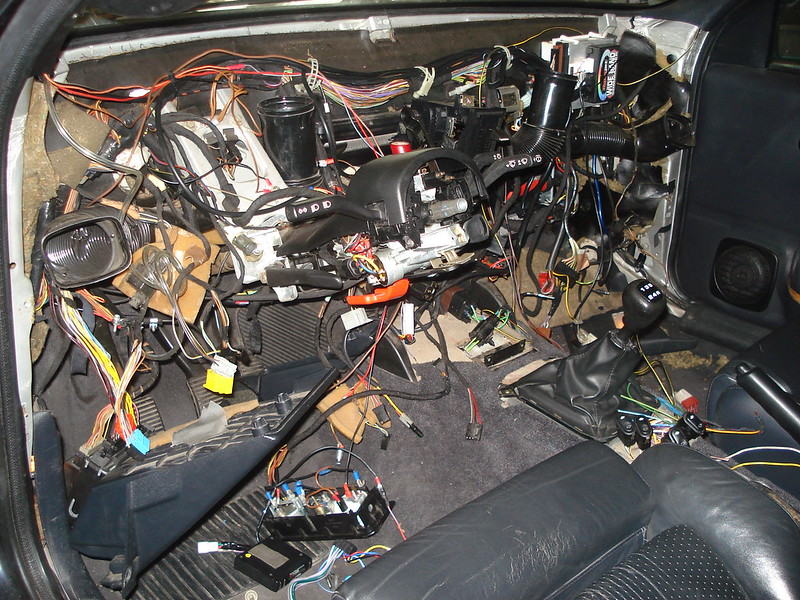
After reading all the horror stories about melt downs I bought a Dynojet wideband controller to be able to monitor the mixture. This AFR meter has a warning light when the mixture goes too lean and it can also measure and log RPM and another 0-5V sensor.
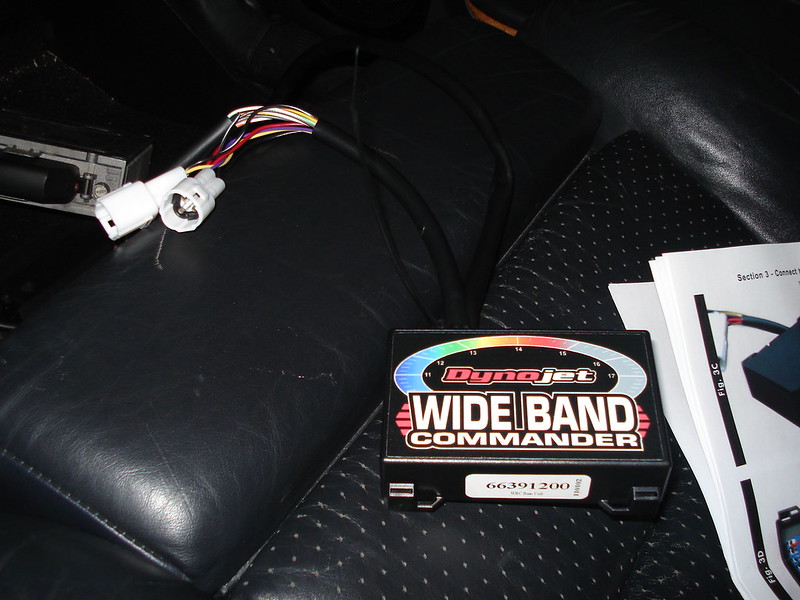
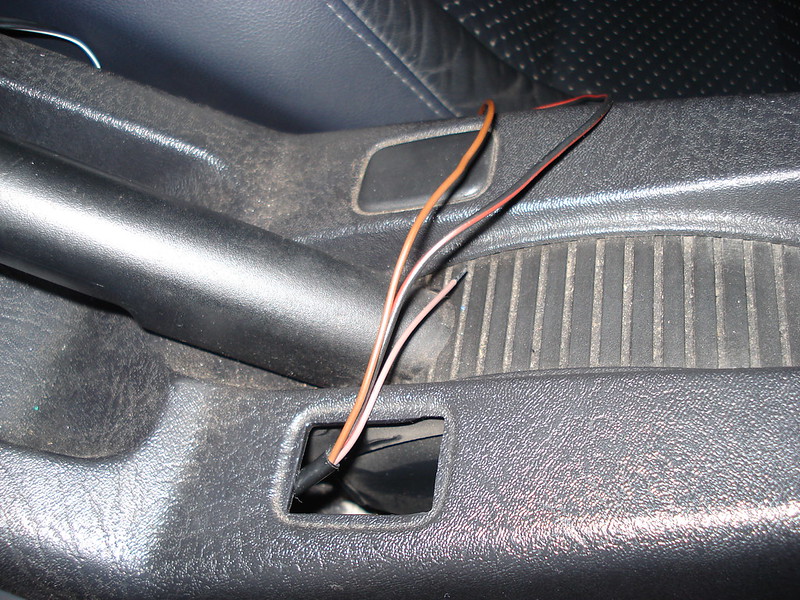
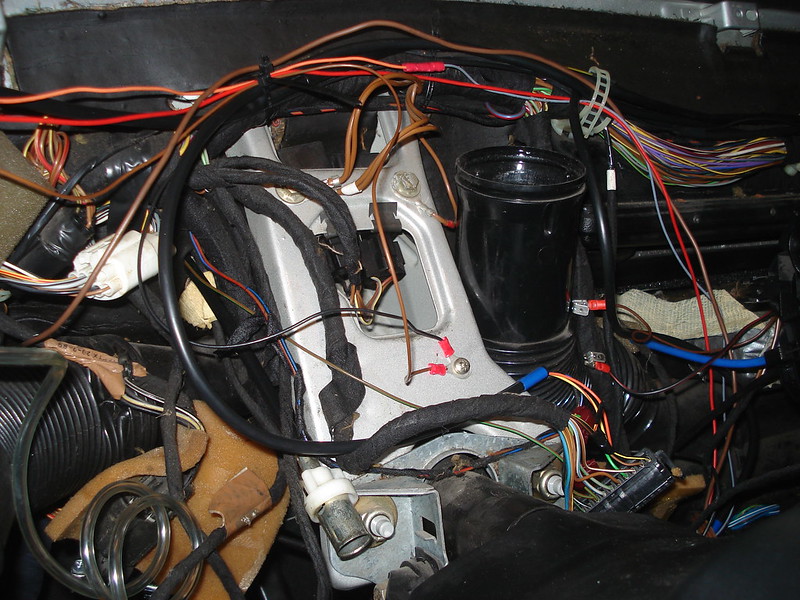
I also started fitting the AFR meter. First I put the wideband HEGO sensor in the exhaust and the loom for the sensor in the engine bay and through the standard engine loom grommet. When I had the other end of the loom behind the dash I connected the wires inside the Dynojet controller.

And the controller box closed again.
Plugged in all the other wires.
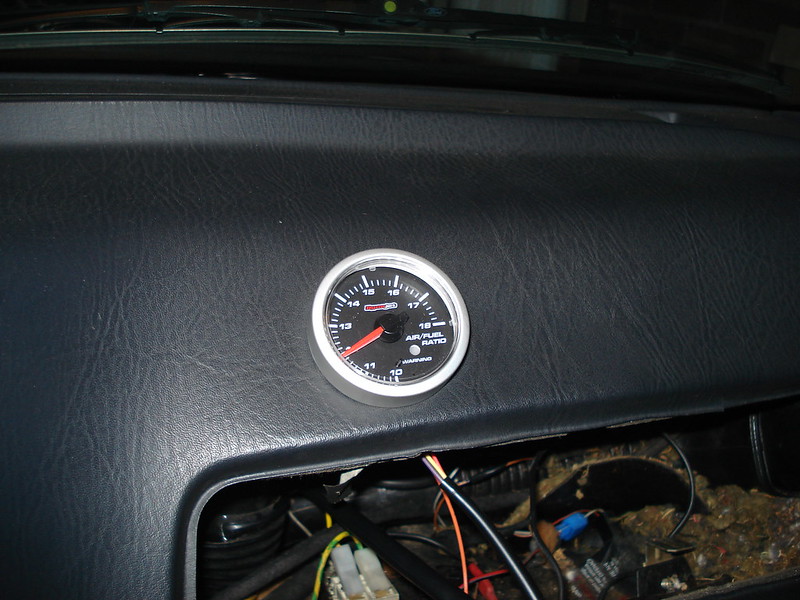
Then I fitted the AFR gauge in the dashboard. The hole in the dash was already there, so for the time being I simply put it in the hole. But it will have a nice dash again, so the gauge will also move to a place where it's better visible.
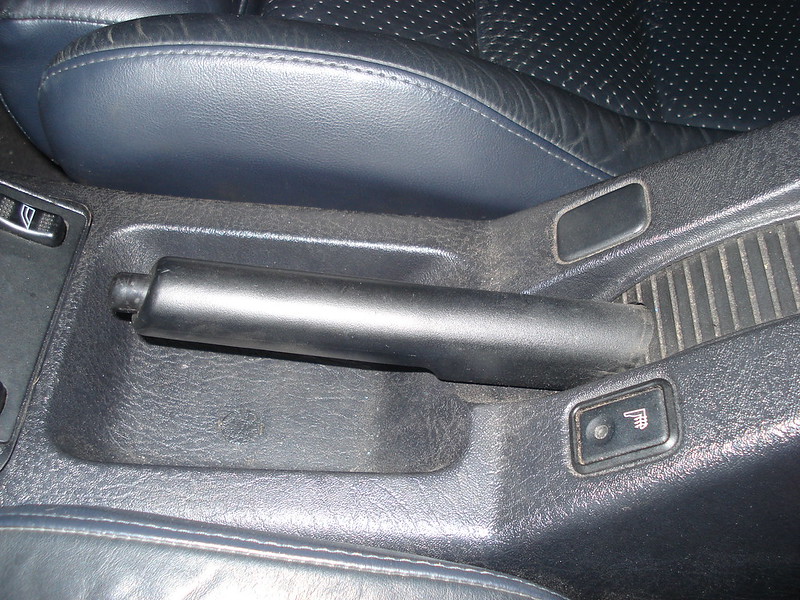
I've connected the Dynojet to the green wire from the clocks, so it also reads the RPM. One of the analog ports I've connected to the MAP signal, so boost is also recorded. With a push on a button you can start logging AFR, RPM and boost pressure. Since I wanted an original switch for that function I fitted a heated seat switch to the centre console.
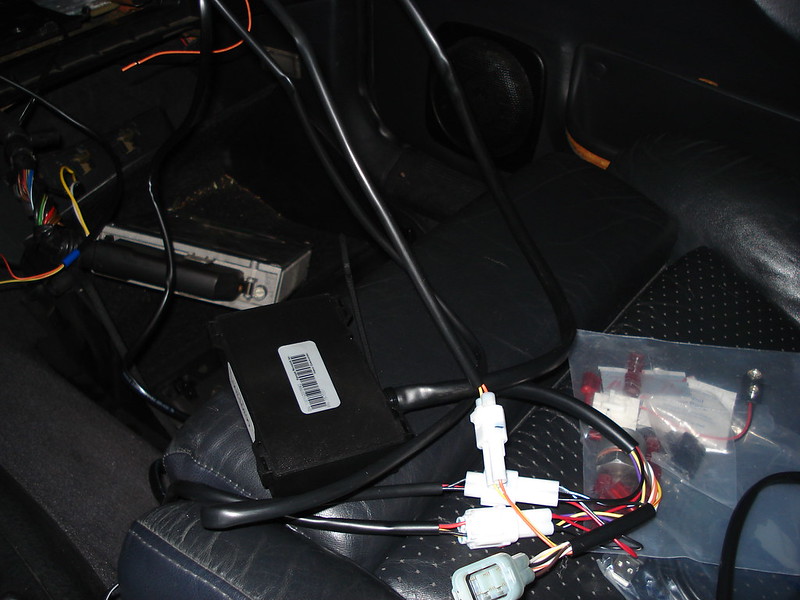
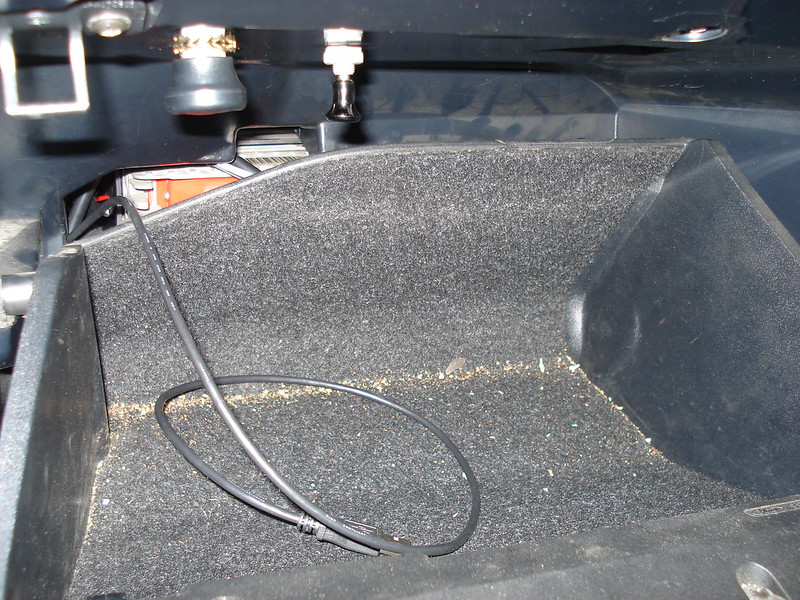
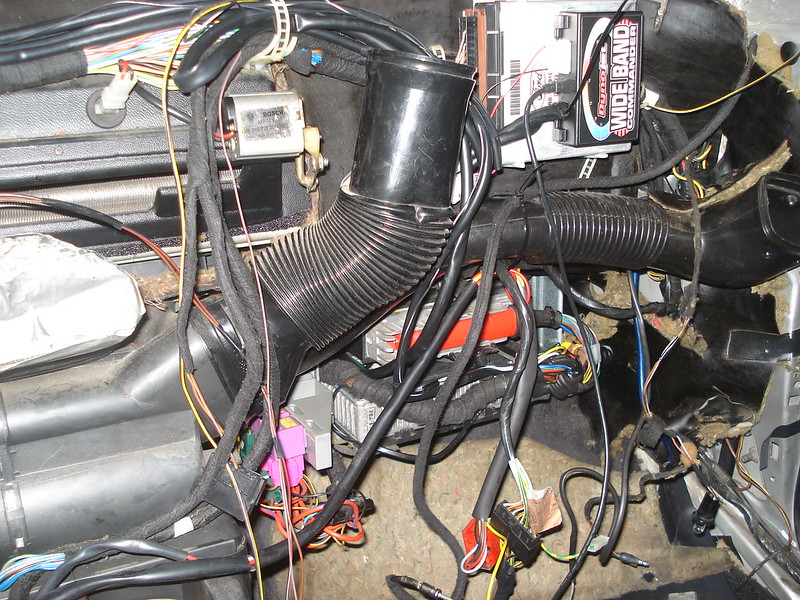
I taped the controller to the AWS ecu behind the dash.

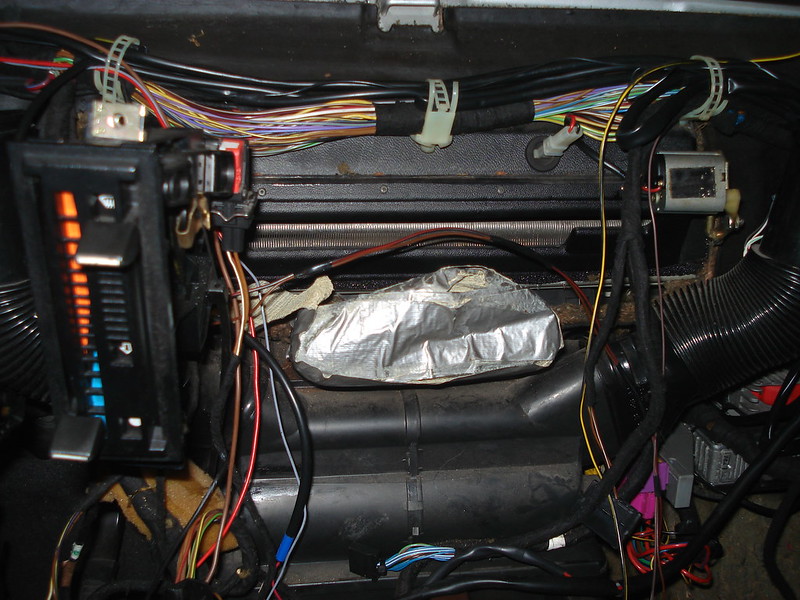
And there's a USB cable to program the controller with a laptop in the glove box. That way you can also copy the log files from the controller.
After reading all the horror stories about melt downs I bought a Dynojet wideband controller to be able to monitor the mixture. This AFR meter has a warning light when the mixture goes too lean and it can also measure and log RPM and another 0-5V sensor.
I also started fitting the AFR meter. First I put the wideband HEGO sensor in the exhaust and the loom for the sensor in the engine bay and through the standard engine loom grommet. When I had the other end of the loom behind the dash I connected the wires inside the Dynojet controller.

And the controller box closed again.
Plugged in all the other wires.
Then I fitted the AFR gauge in the dashboard. The hole in the dash was already there, so for the time being I simply put it in the hole. But it will have a nice dash again, so the gauge will also move to a place where it's better visible.
I've connected the Dynojet to the green wire from the clocks, so it also reads the RPM. One of the analog ports I've connected to the MAP signal, so boost is also recorded. With a push on a button you can start logging AFR, RPM and boost pressure. Since I wanted an original switch for that function I fitted a heated seat switch to the centre console.
I taped the controller to the AWS ecu behind the dash.
And there's a USB cable to program the controller with a laptop in the glove box. That way you can also copy the log files from the controller.
Last edited by Marc sierra; 20-07-2017 at 08:28 PM.
 08-11-2011, 05:40 PM
#4
Thanks.
It's the same kit Stu tested a few years back and was very enthousiastic about. The reason I got it was of the warning light. I don't plan to look at the gauge constantly, so having it warn you is nice. BTW, it also beeps when the warning light comes on, so really hard to mis.
It's the same kit Stu tested a few years back and was very enthousiastic about. The reason I got it was of the warning light. I don't plan to look at the gauge constantly, so having it warn you is nice. BTW, it also beeps when the warning light comes on, so really hard to mis.
08-11-2011, 07:47 PM
#5
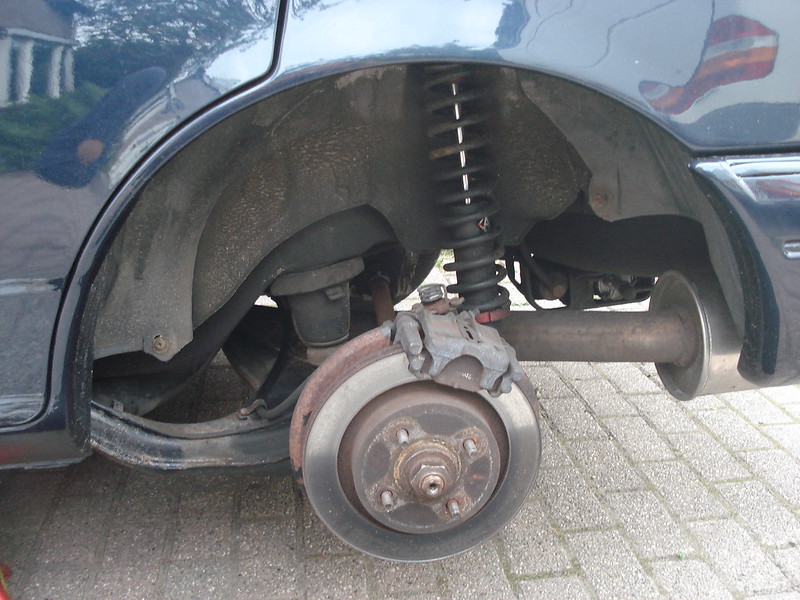
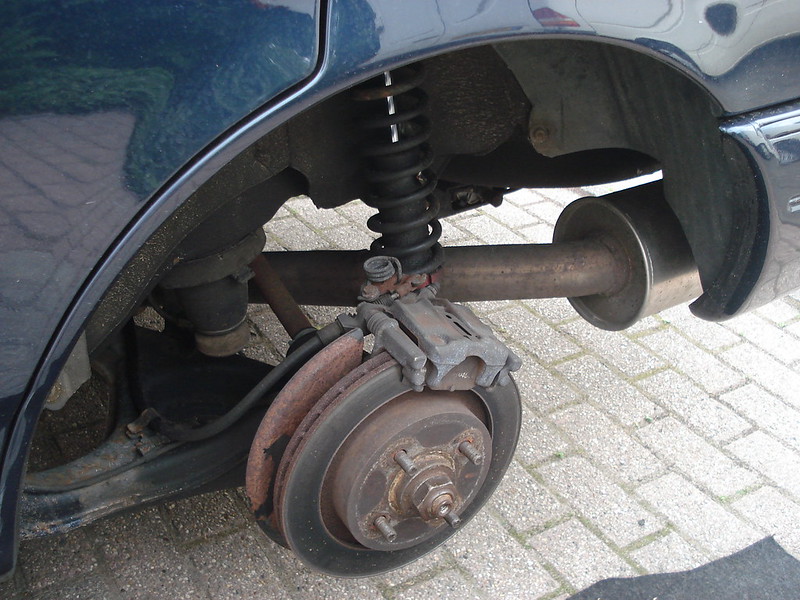
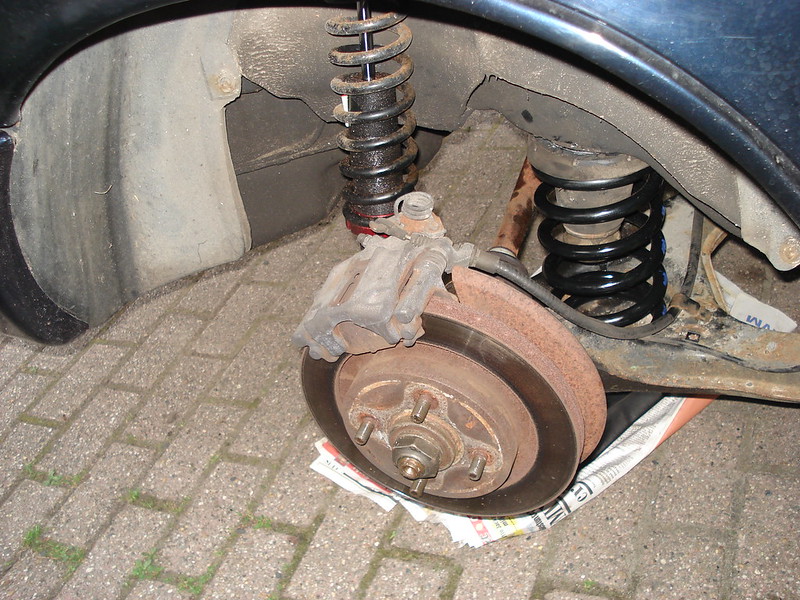
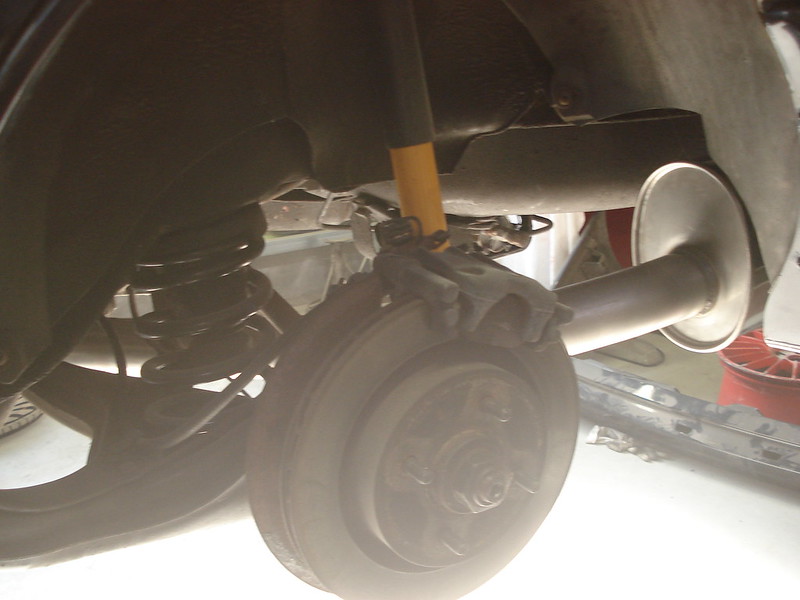
Since I wasn't happy with the suspension on the car I bought some second hand Koni dampers. I also got a set of fast road spec Ahmed Bayjoo springs from Mike Rainbird. It's the same set I have on the 24v which I'm happy with.
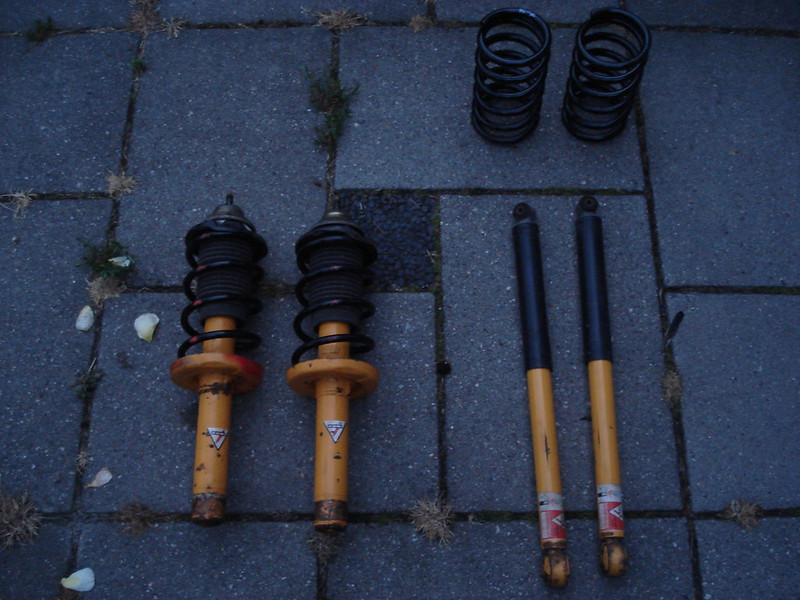
The Koni dampers with Ahmed Bayjoo springs are going to replace these coilovers from AVO. Even on the softest setting they are way too hard for my liking.
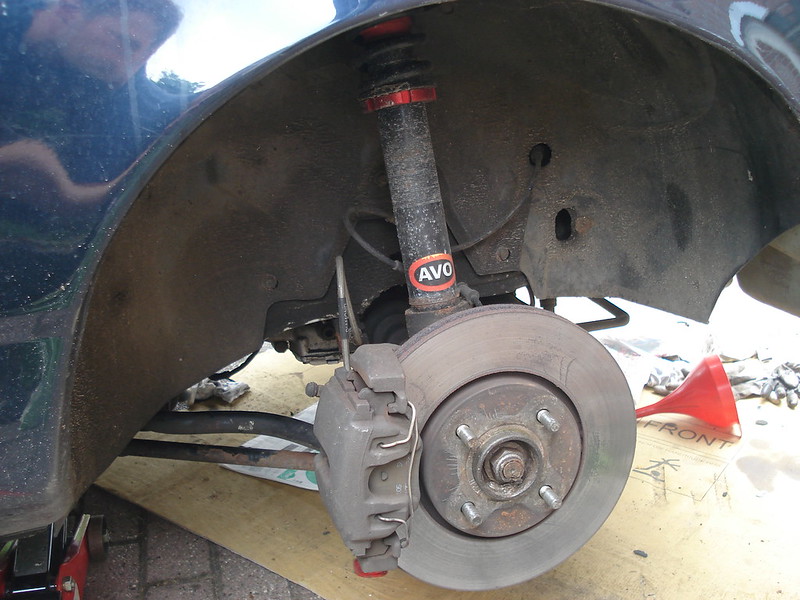
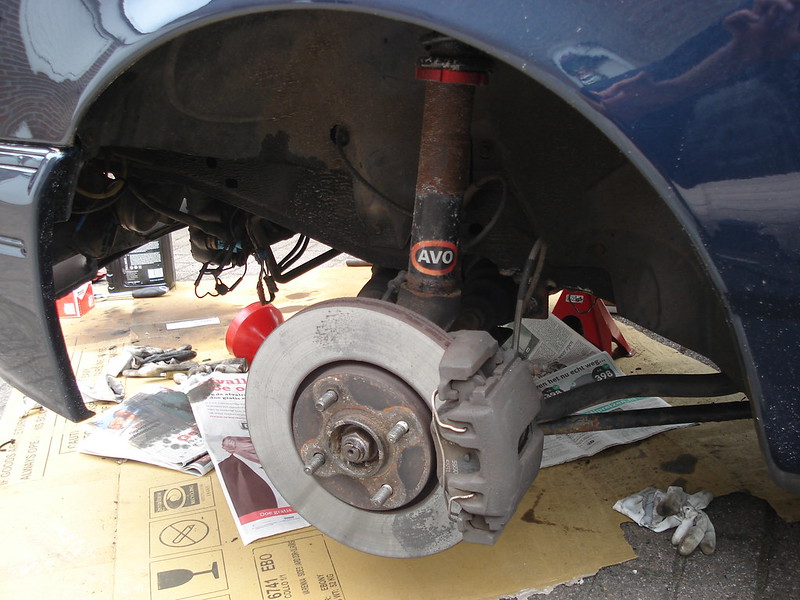
On the front it has some sort of compression struts fitted. Normally the compression struts replace the arb, but in this case they are mounted underneath the arb.
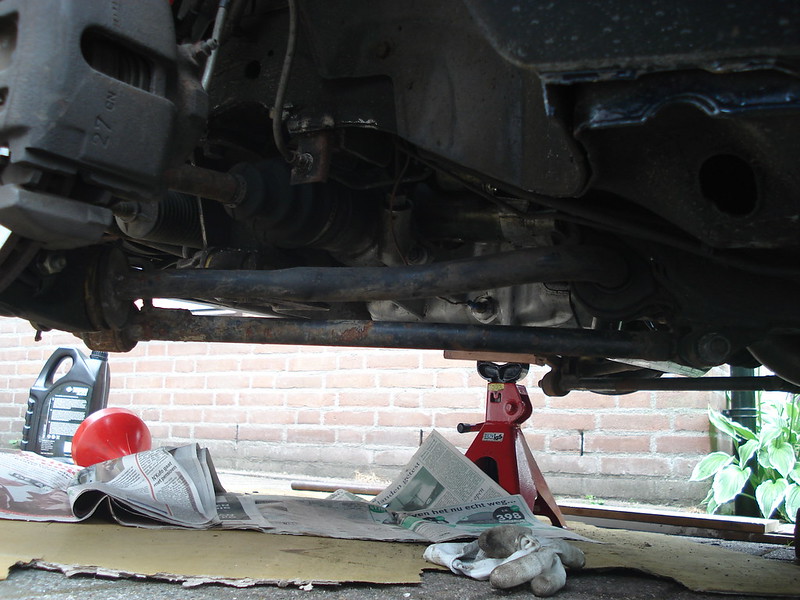
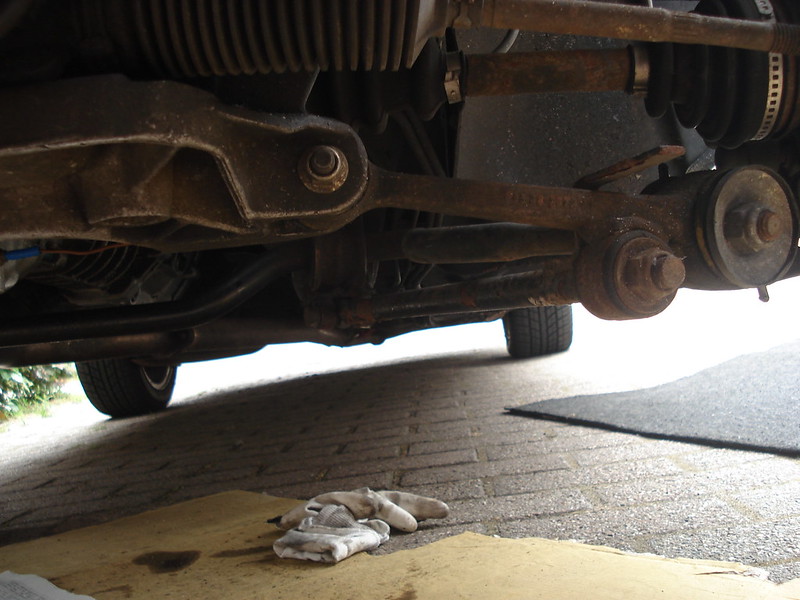
I have been searching on the net for a while when I found out the compression struts were an upgrade kit from Suhe Motorsport in Germany. The car has originally been tuned there, there is still a Suhe badge underneath the bonnet.

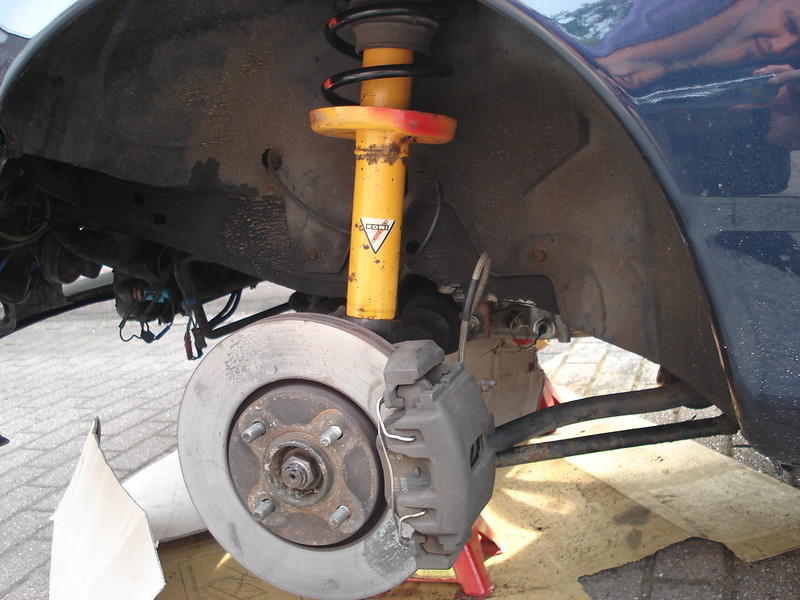
The Koni dampers with Ahmed Bayjoo springs are going to replace these coilovers from AVO. Even on the softest setting they are way too hard for my liking.
On the front it has some sort of compression struts fitted. Normally the compression struts replace the arb, but in this case they are mounted underneath the arb.
I have been searching on the net for a while when I found out the compression struts were an upgrade kit from Suhe Motorsport in Germany. The car has originally been tuned there, there is still a Suhe badge underneath the bonnet.
Last edited by Marc sierra; 20-07-2017 at 08:36 PM.
09-11-2011, 12:29 PM
#6
Also done the rear. Before I started with the AVO coilovers fitted.
After I fitted the new springs. The coilovers are still there on the pics, so it temporarily has some assistance springs.
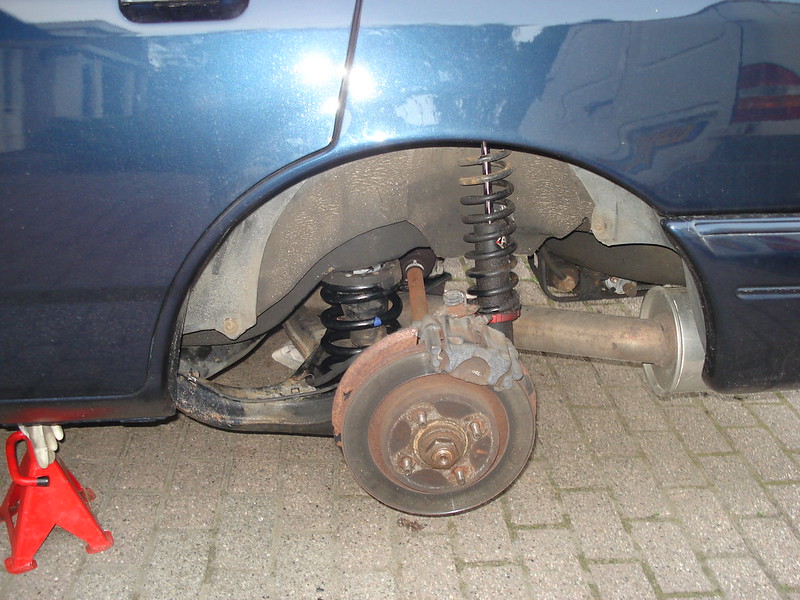
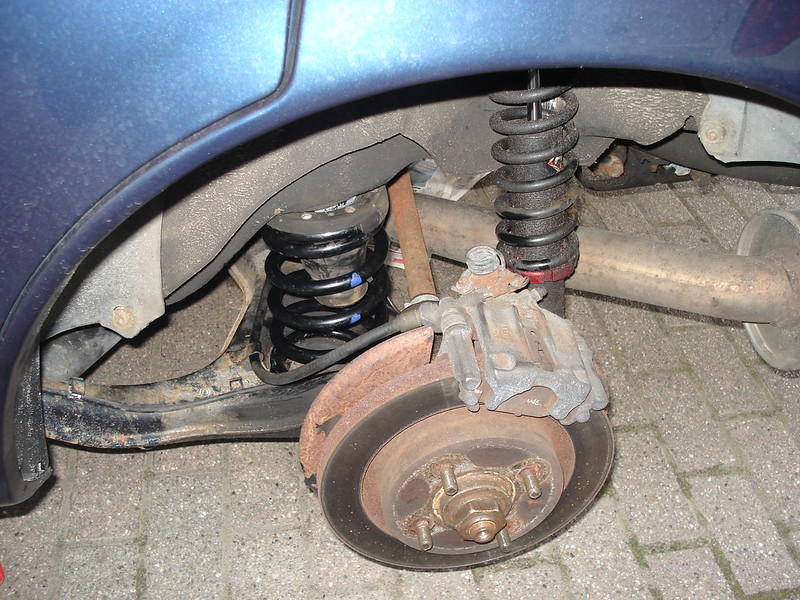
Then changed the coilover for the Koni damper.
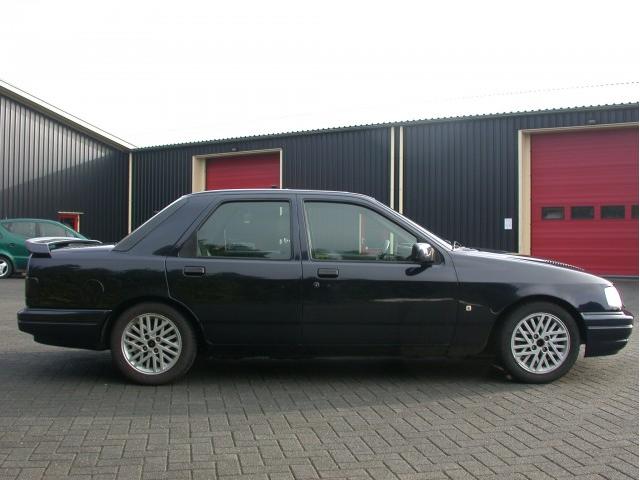
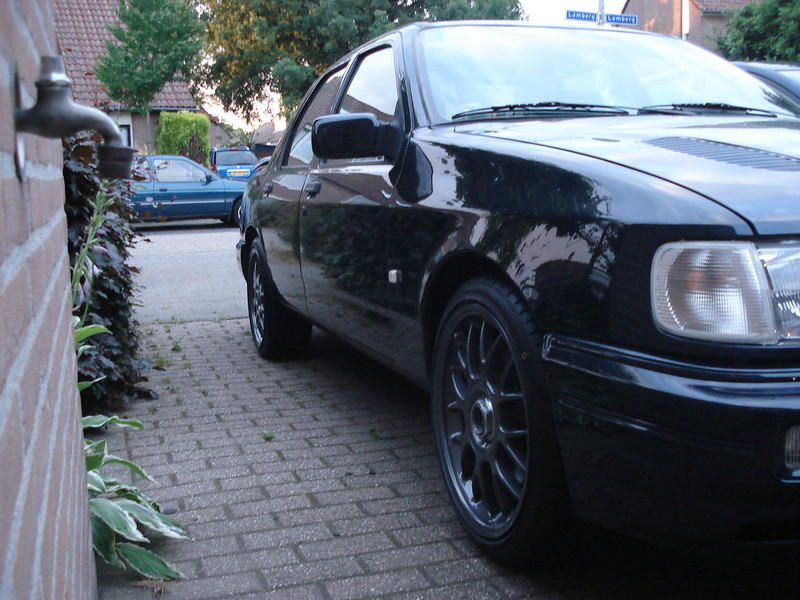
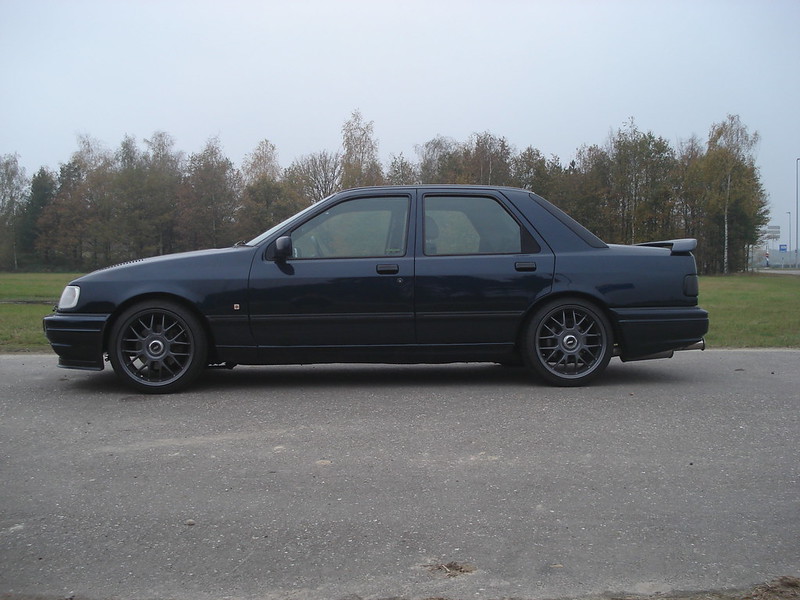
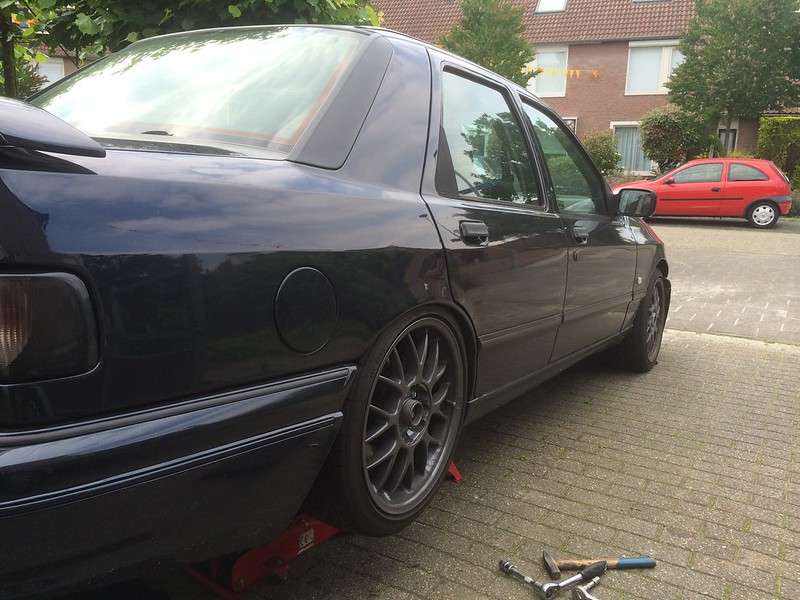
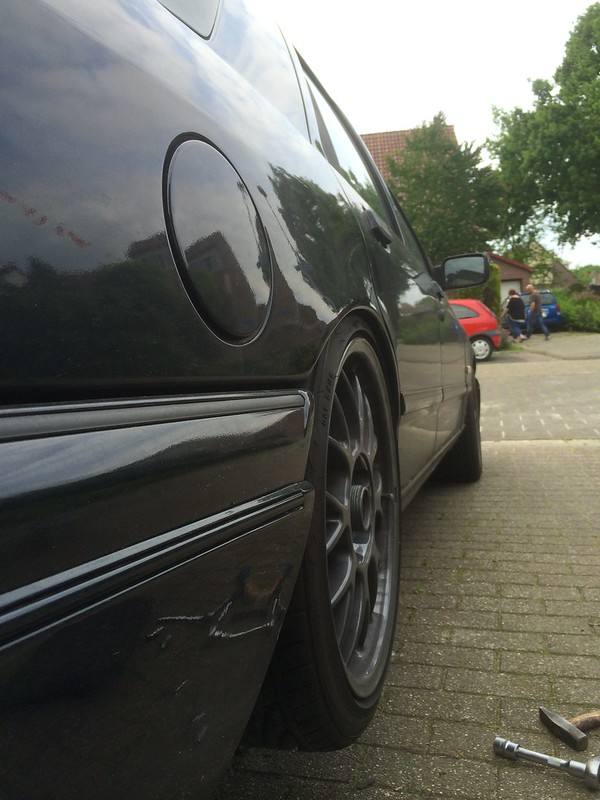
Then I also put the new wheels on. They are TSW Hockenheim R's in 17x8, powdercoated in antracite.
After I fitted the new springs. The coilovers are still there on the pics, so it temporarily has some assistance springs.
Then changed the coilover for the Koni damper.

Then I also put the new wheels on. They are TSW Hockenheim R's in 17x8, powdercoated in antracite.
Last edited by Marc sierra; 27-07-2017 at 11:53 AM.
10-11-2011, 03:50 PM
#7
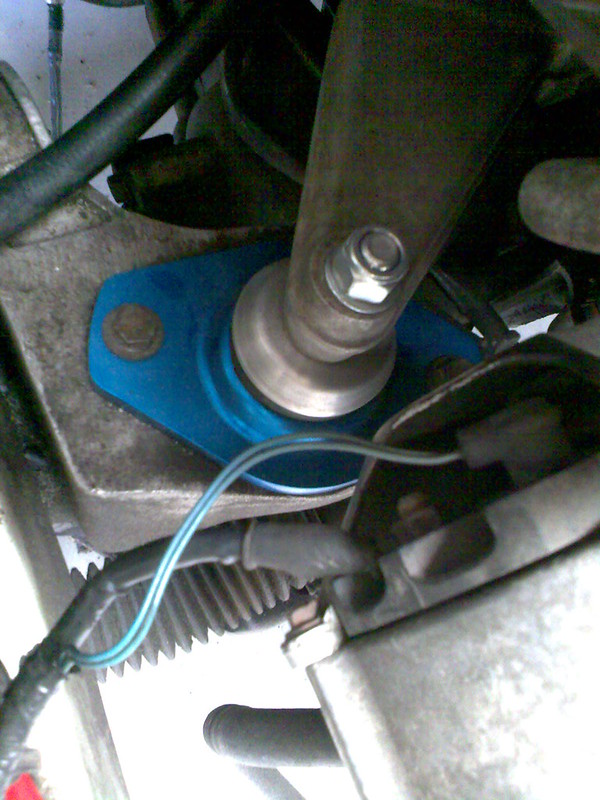
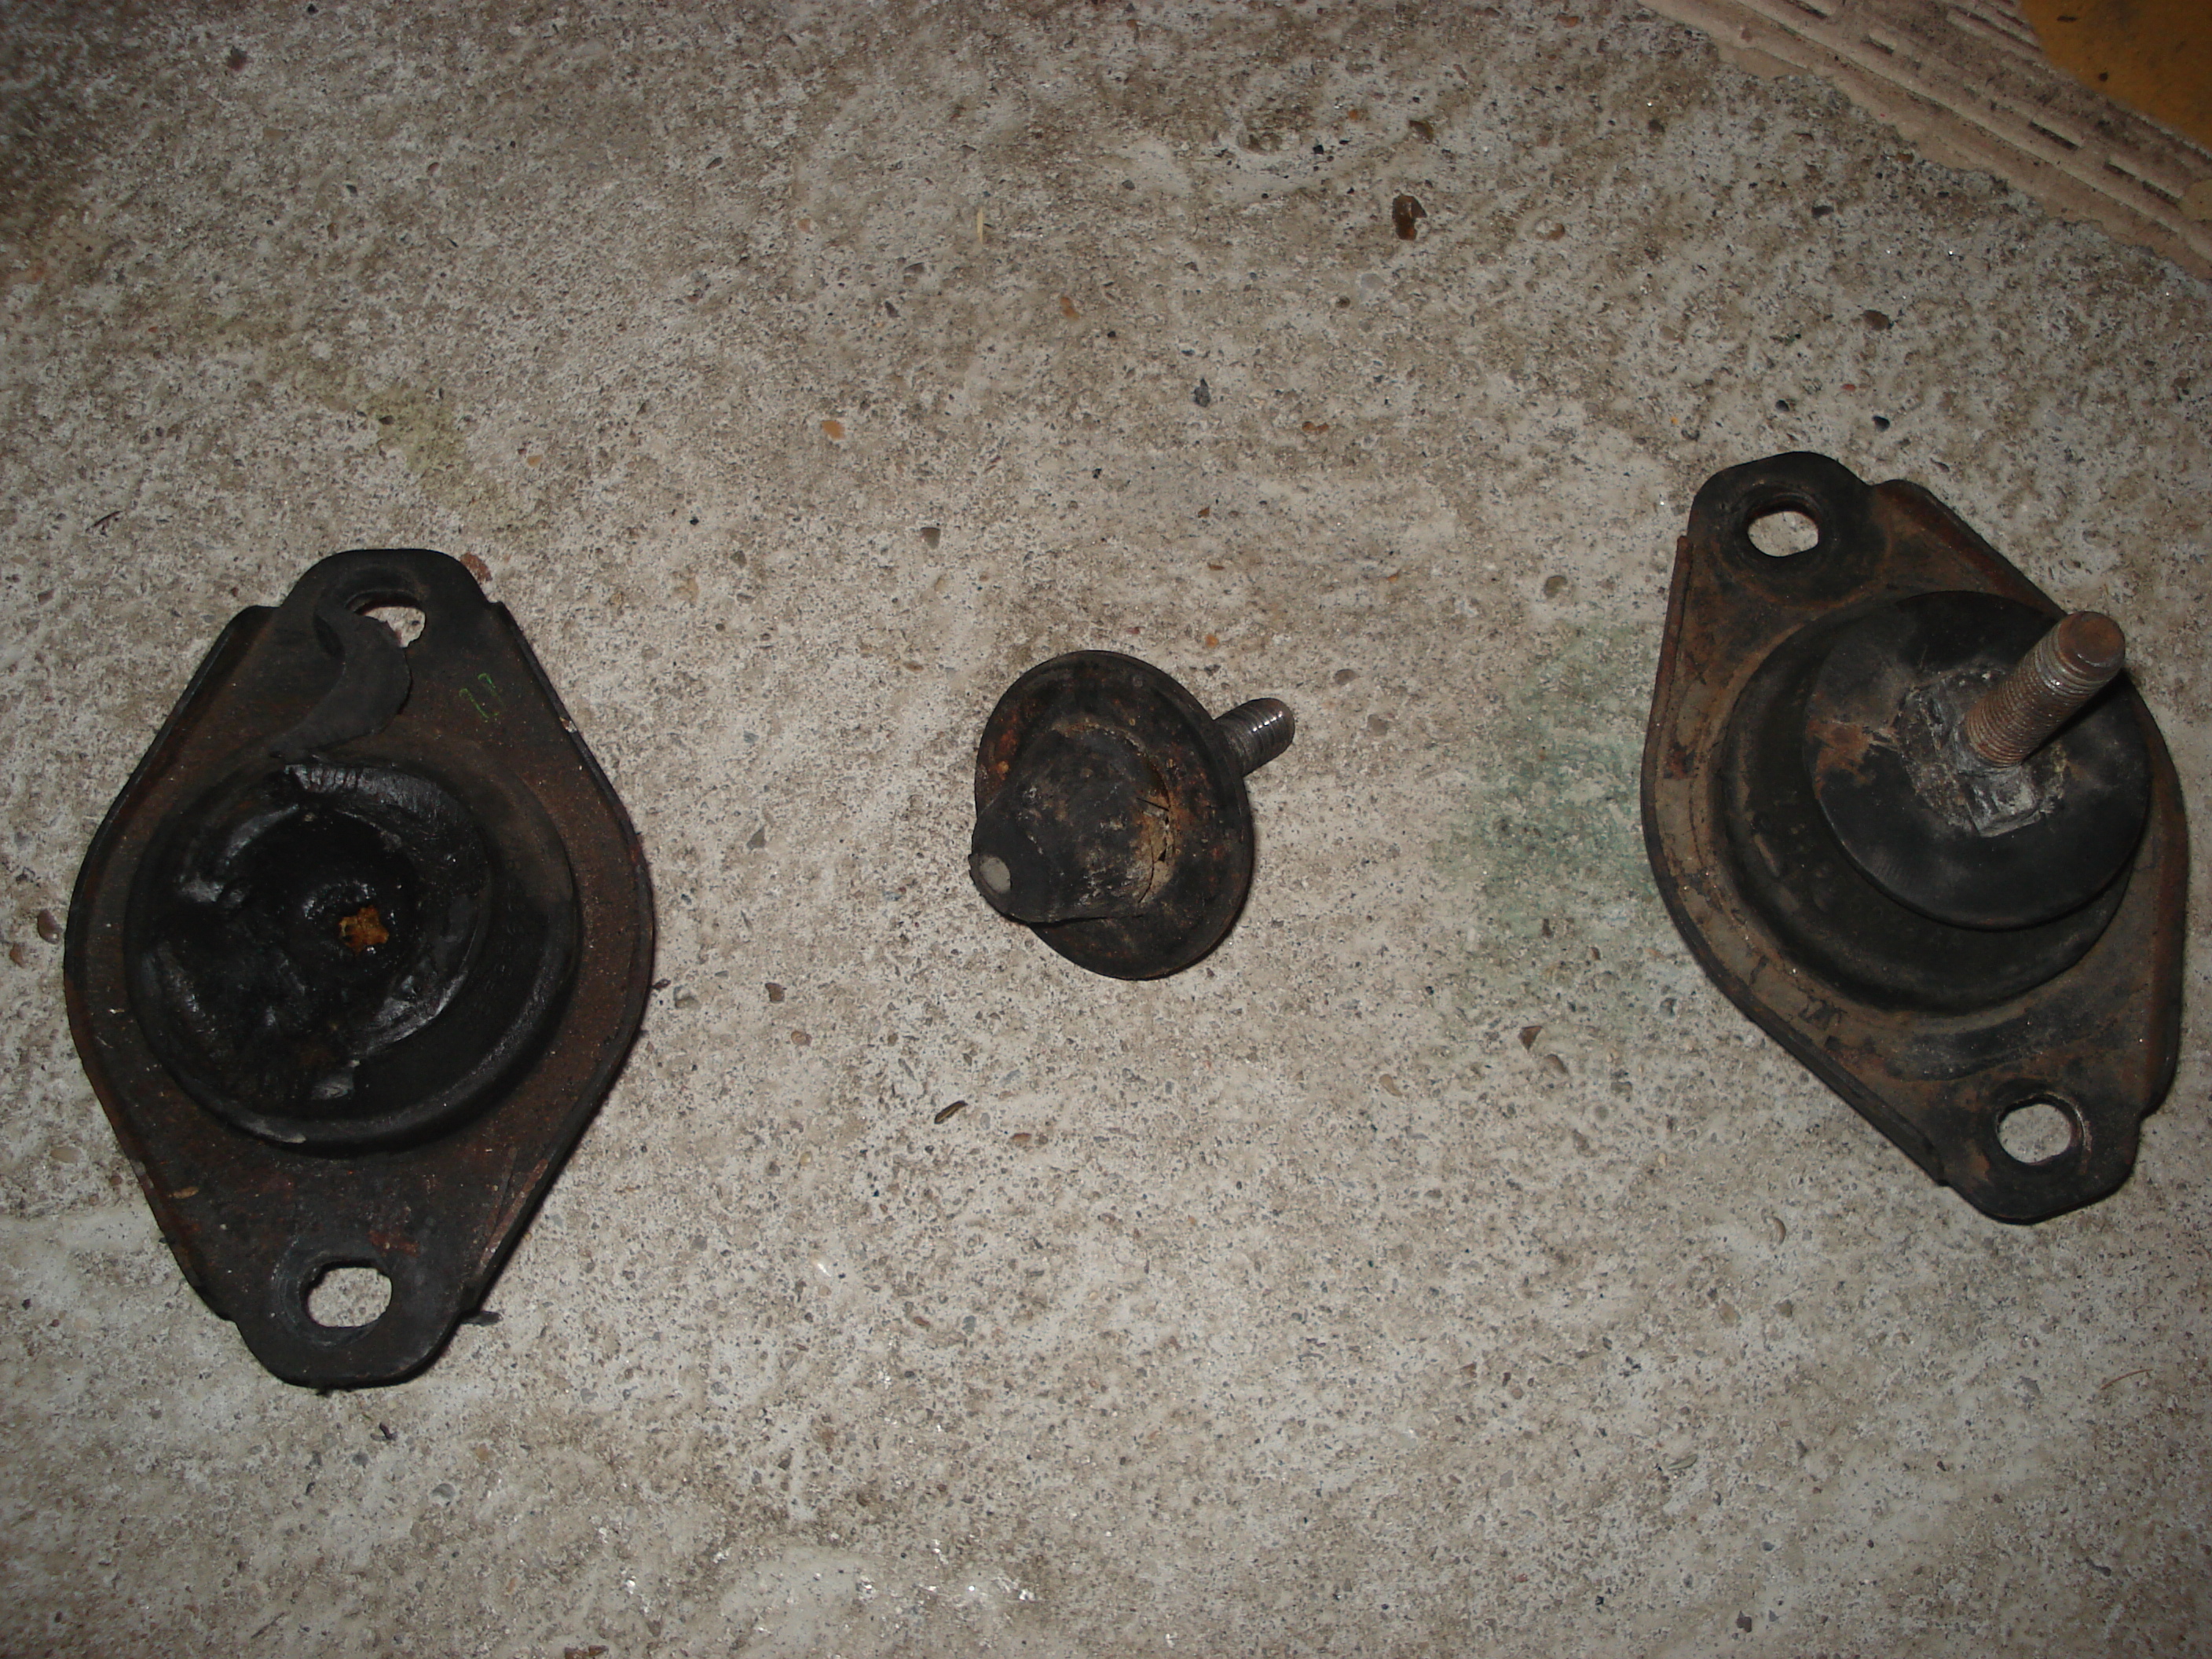
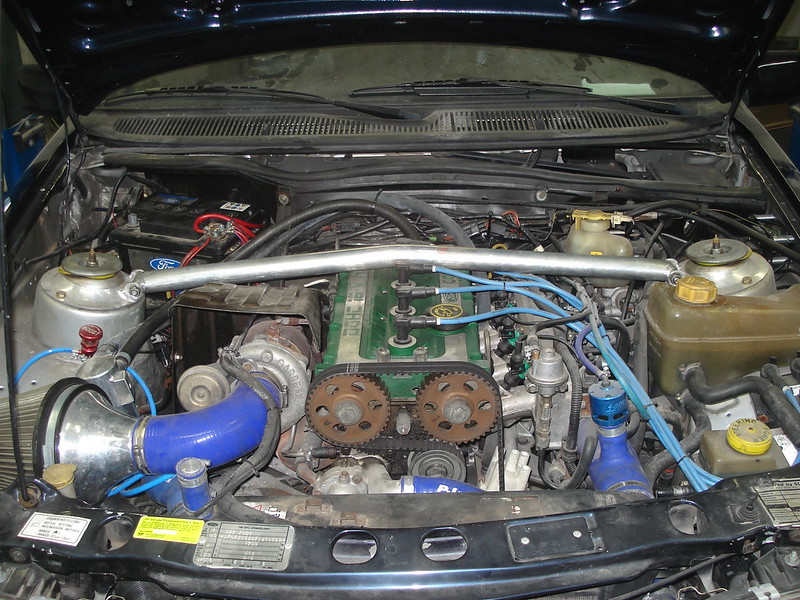
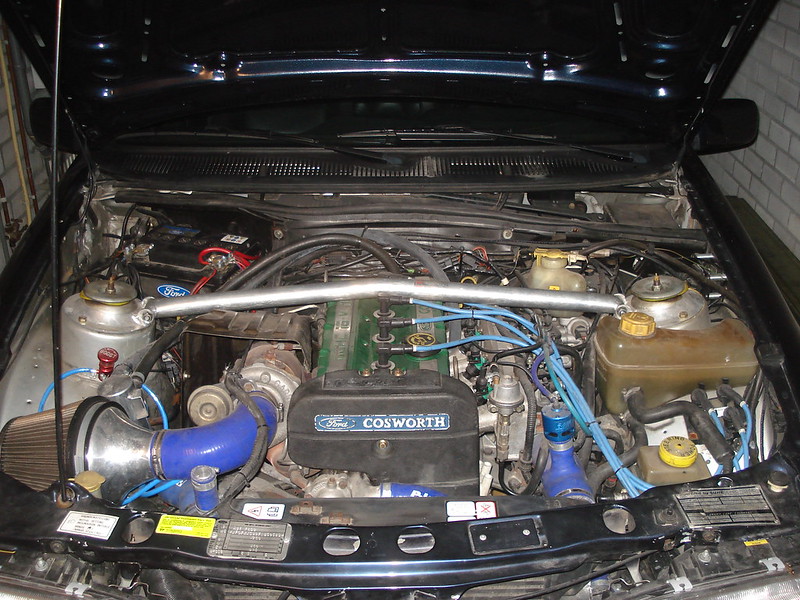
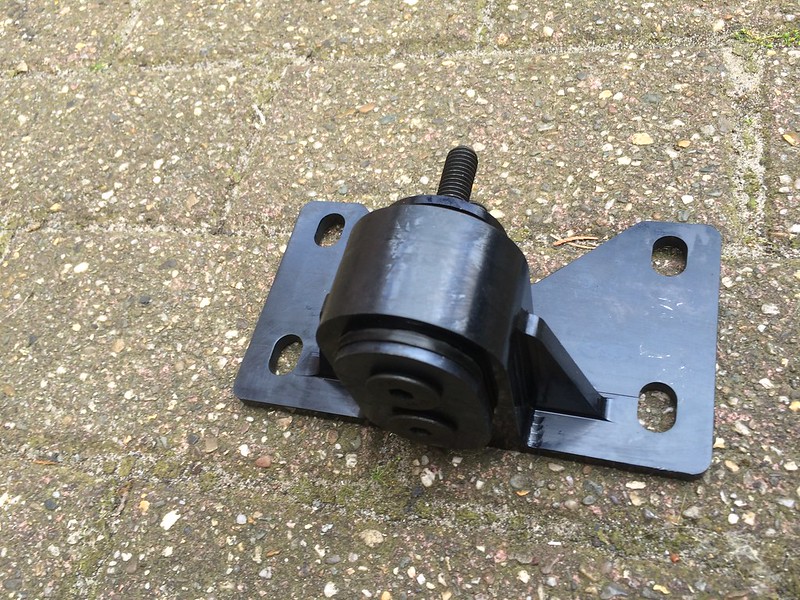
A while ago I noticed a vibration in the car. It turned out the engine mount underneath the turbo was broken. So I ordered a set of Collins uprated engine mounts from MSD.

And fitted the new mounts.
Turbo side:
Inlet side:

And the old mounts. The turbo side was torn in two pieces! :shock:
And fitted the new mounts.
Turbo side:
Inlet side:
And the old mounts. The turbo side was torn in two pieces! :shock:
Last edited by Marc sierra; 27-07-2017 at 11:58 AM.
Trending Topics

 11-11-2011, 06:22 AM
#10
Glennvestite
iTrader: (1)
Join Date: Jul 2006
Location: Darlington county durham
Posts: 62,755
Received 1,042 Likes
on
996 Posts
Very nice.what does it drive like now with the konis.on.Ive got a set to but on my cossie.
My engine mounts were the same as yours.Its mad to think that the engine was just resting on the engine bed.
My engine mounts were the same as yours.Its mad to think that the engine was just resting on the engine bed.
11-11-2011, 09:59 AM
#11
I think it's a lot better with the Koni's and Ahmed springs. It's now firm and but not really uncomfortable, while with the AVO coilovers it was simply very stiff. Maybe better on track, but I only use it on the road so prefer the new setup.
11-11-2011, 12:25 PM
#13
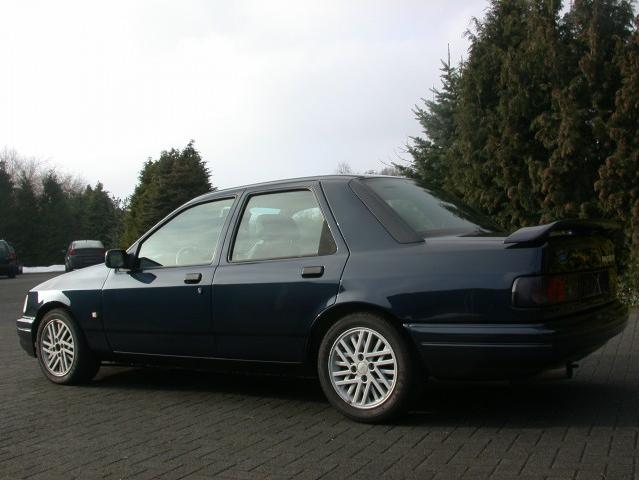
Since the front splitter was missing when I bought the car I went looking for an RS500 splitter as I think that suits it better. I also changed the fog light surrounds to silver, like they are originally.

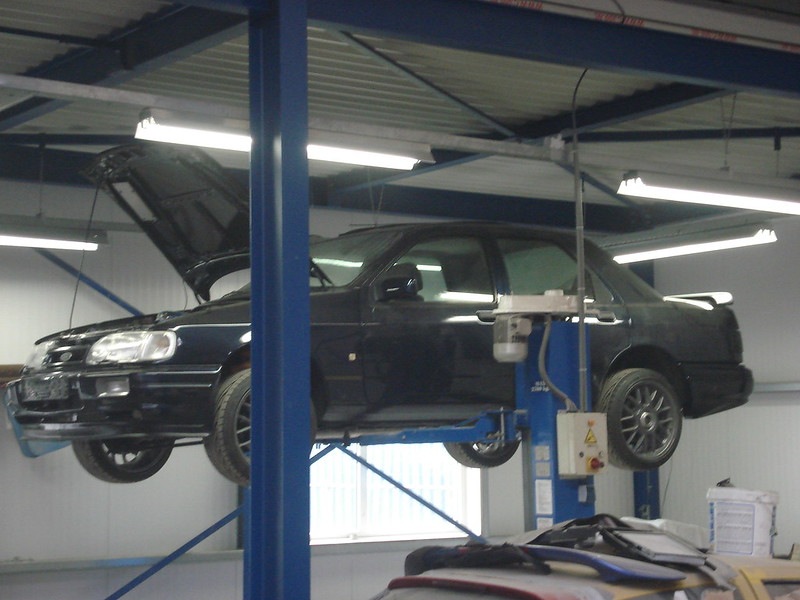
As I got a headache from the exhaust (it only had a rear 'silencer') I ordered a stainless steel Mongoose with 3" rolled out tail pipe from the UK. Postage was quite expensive, but in total it was still a lot cheaper than buying one in Holland.
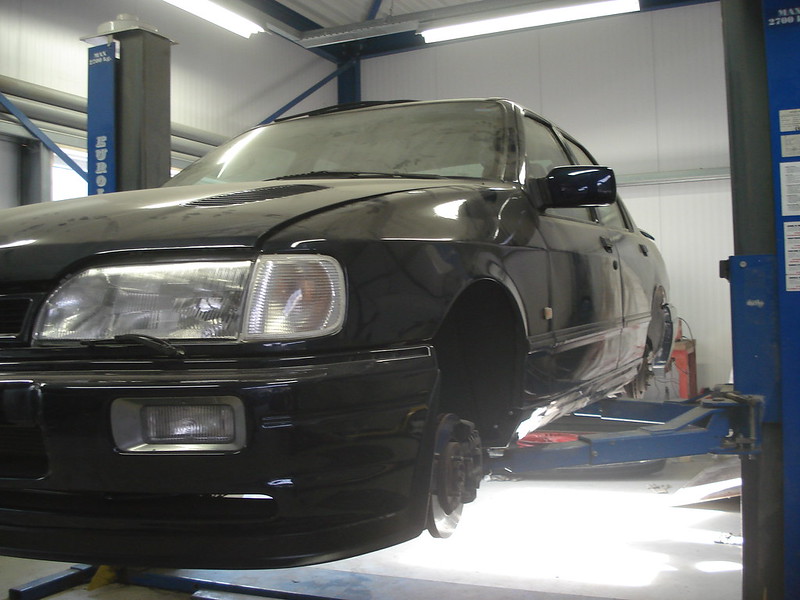
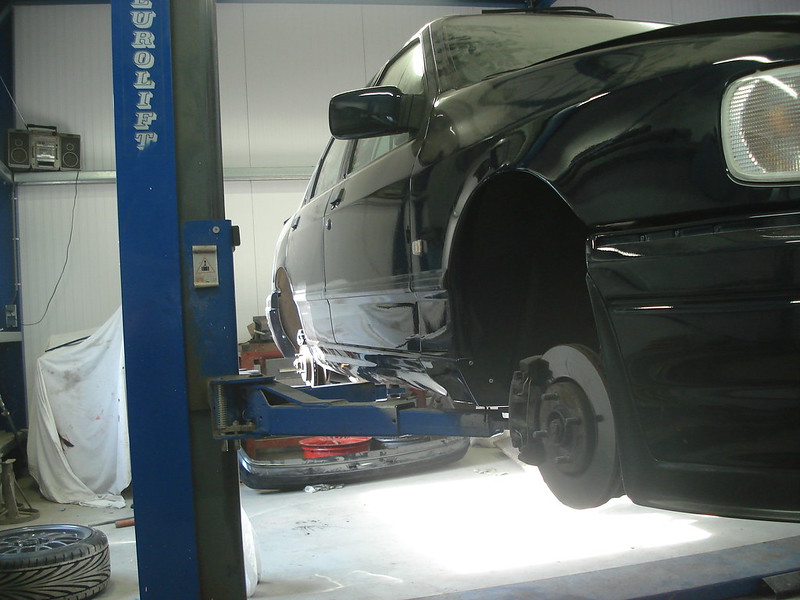
For fitting I put the car on the two post lift at a local garage.
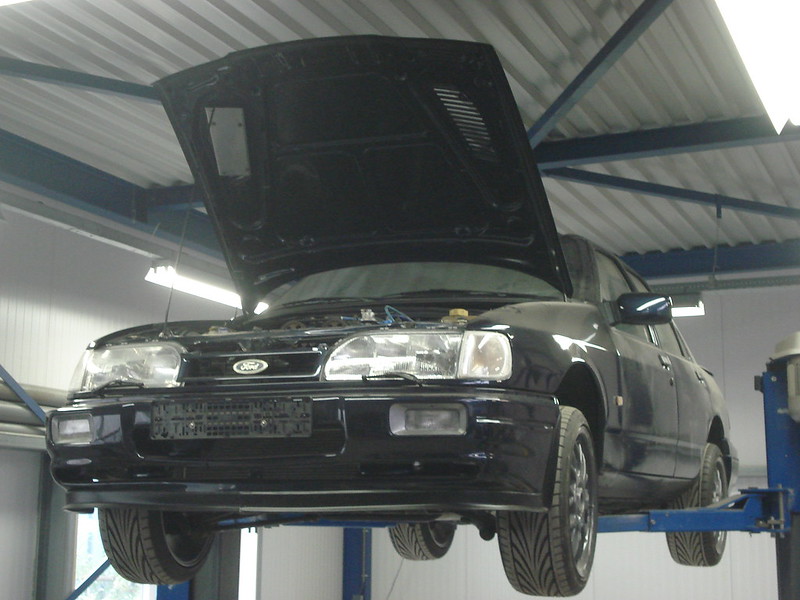
The complete exhaust besides the rear silencer fitted.
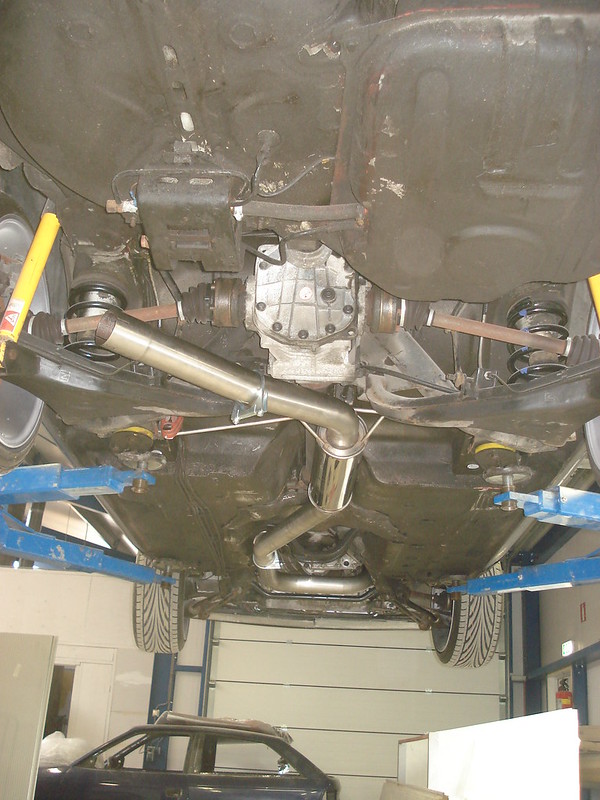
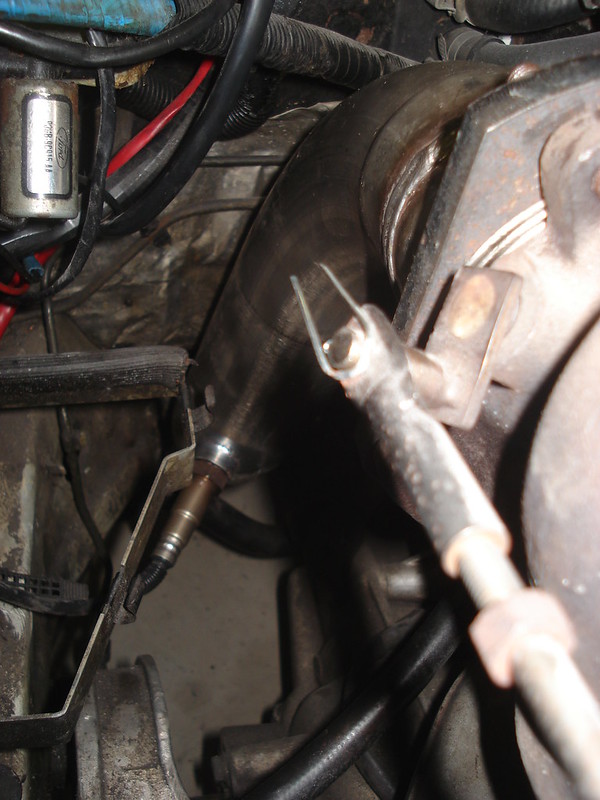
I had a hole made in the downpipe and a bung welded to it for the wideband hego sensor.
Refitted the heat shield and strut brace.
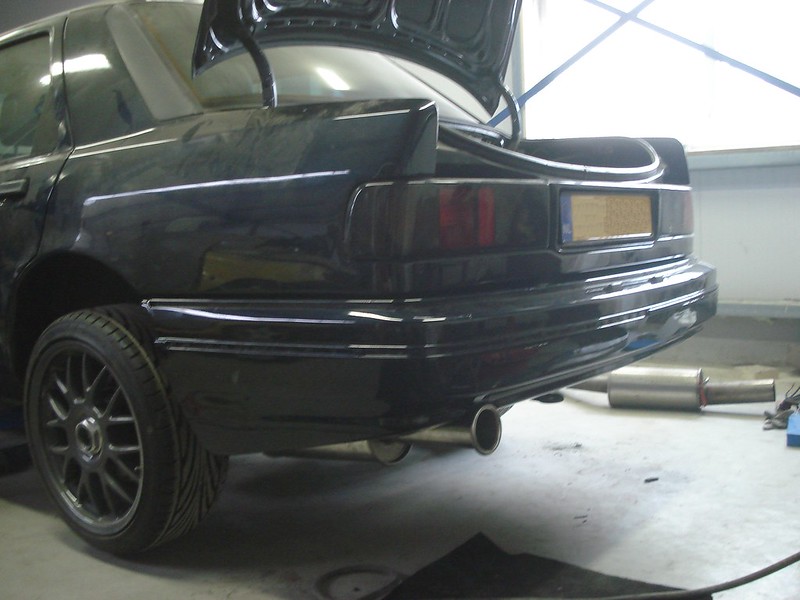
And the rear silencer fitted.
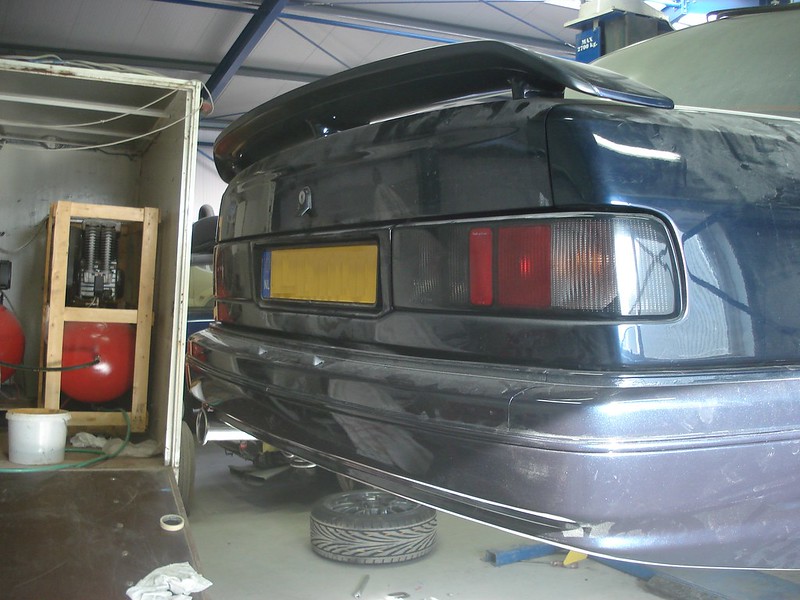
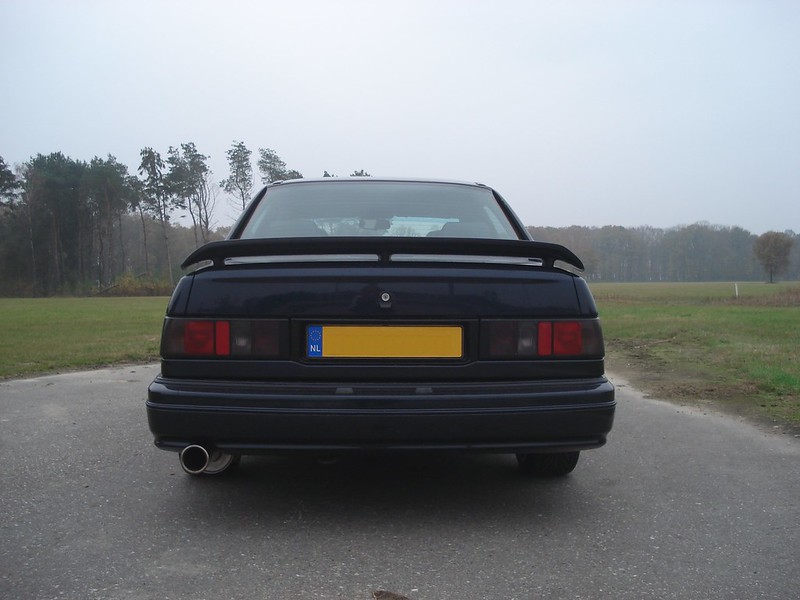
As always found the rear bumper a little 'thin' looking, I fitted a rear RS bumper.
And with the new exhaust.
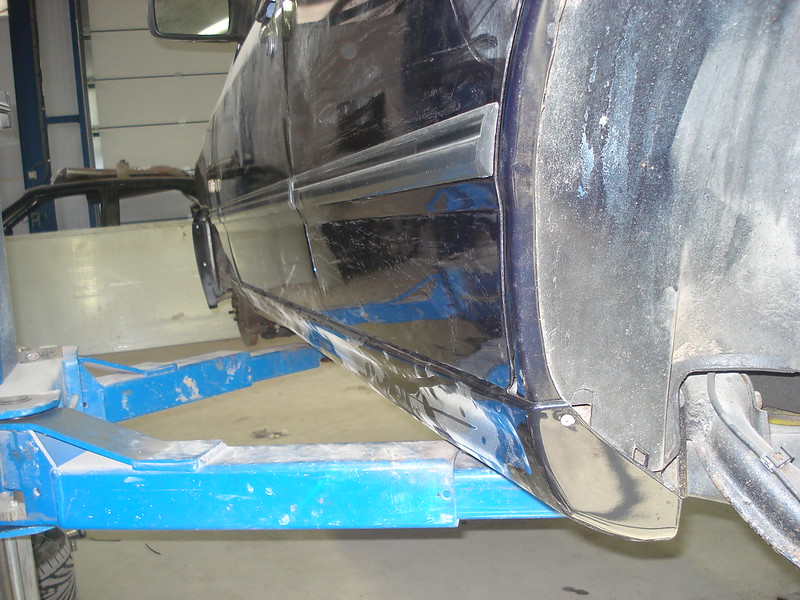
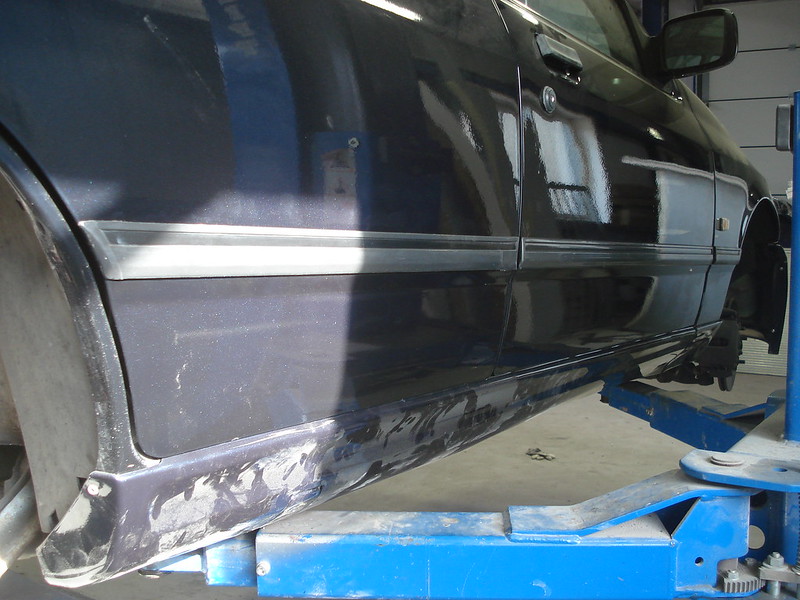
When I bought it the side strips and skirts were also missing. Those are also fitted now.
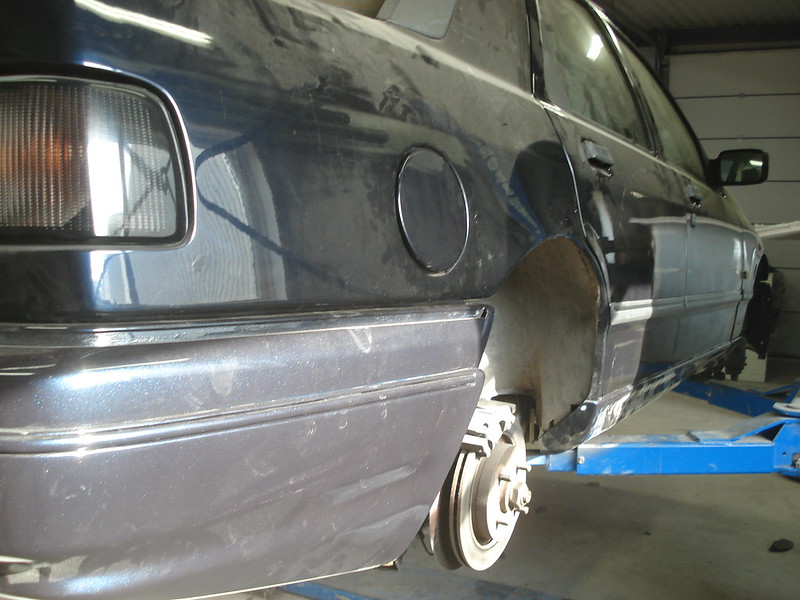
Unfortunately the rear bumper was not the exact same colour and had to be painted again.
As I got a headache from the exhaust (it only had a rear 'silencer') I ordered a stainless steel Mongoose with 3" rolled out tail pipe from the UK. Postage was quite expensive, but in total it was still a lot cheaper than buying one in Holland.
For fitting I put the car on the two post lift at a local garage.
The complete exhaust besides the rear silencer fitted.
I had a hole made in the downpipe and a bung welded to it for the wideband hego sensor.
Refitted the heat shield and strut brace.
And the rear silencer fitted.
As always found the rear bumper a little 'thin' looking, I fitted a rear RS bumper.
And with the new exhaust.
When I bought it the side strips and skirts were also missing. Those are also fitted now.
Unfortunately the rear bumper was not the exact same colour and had to be painted again.
Last edited by Marc sierra; 27-07-2017 at 01:17 PM.
13-11-2011, 12:31 PM
#14
When I bought the car the timing cover was missing. As I don't really find that a safe idea I got a second hand one and fitted that. IMO it looks better too.
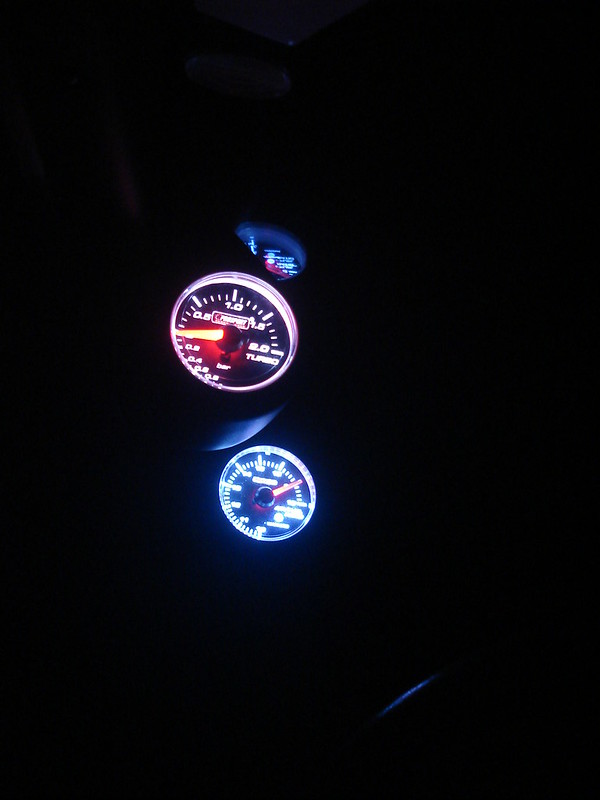
And as the AFR gauge was fitted to such a lousy place I got a double pillar pod from the UK.
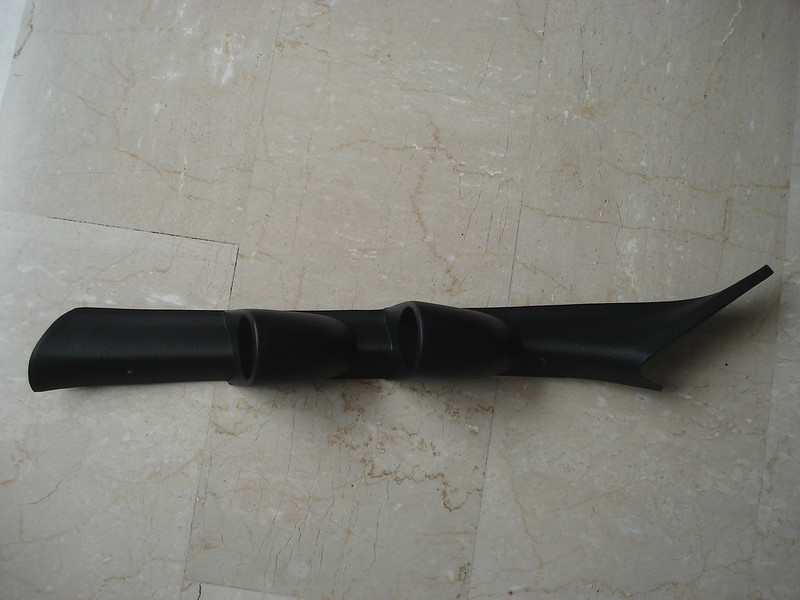

So I fitted that together with the AFR gauge. And as the boost gauge gave false readings I got a new boost gauge too. In the end I found which manufacturer made the AFR gauge, so I got a boost gauge from them too so that they look better together.
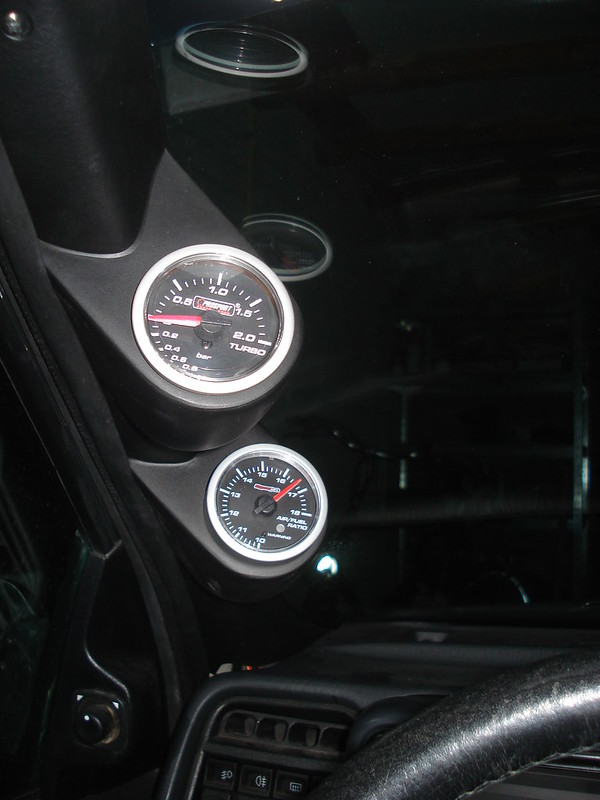
And in the dark.
And as the AFR gauge was fitted to such a lousy place I got a double pillar pod from the UK.
So I fitted that together with the AFR gauge. And as the boost gauge gave false readings I got a new boost gauge too. In the end I found which manufacturer made the AFR gauge, so I got a boost gauge from them too so that they look better together.
And in the dark.
Last edited by Marc sierra; 27-07-2017 at 01:19 PM.

 13-11-2011, 08:44 PM
#17
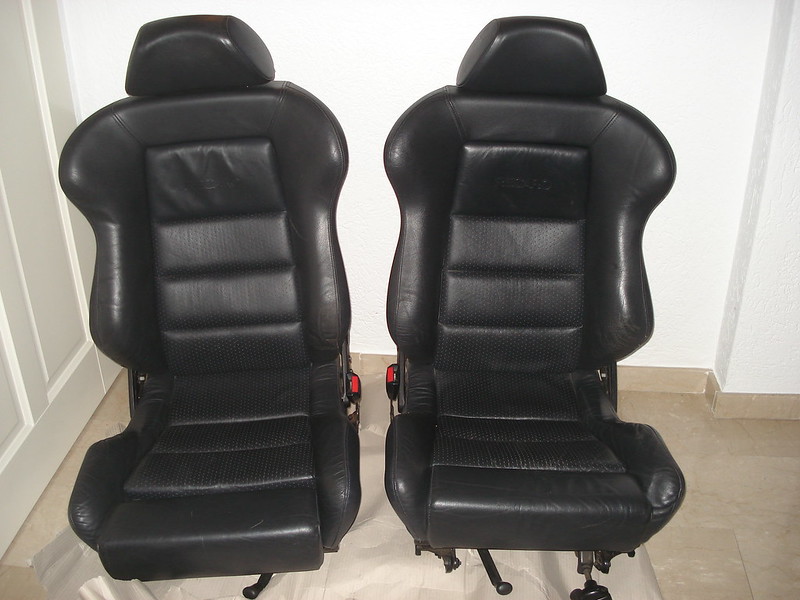
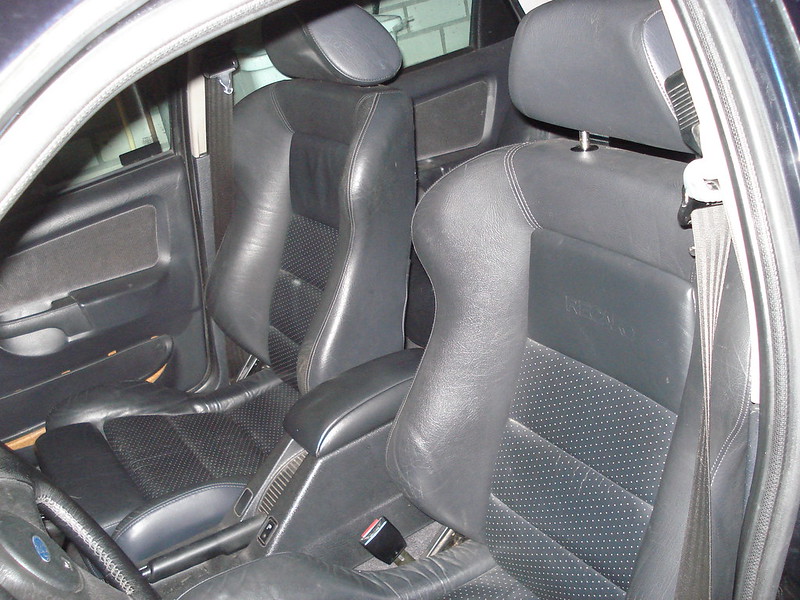
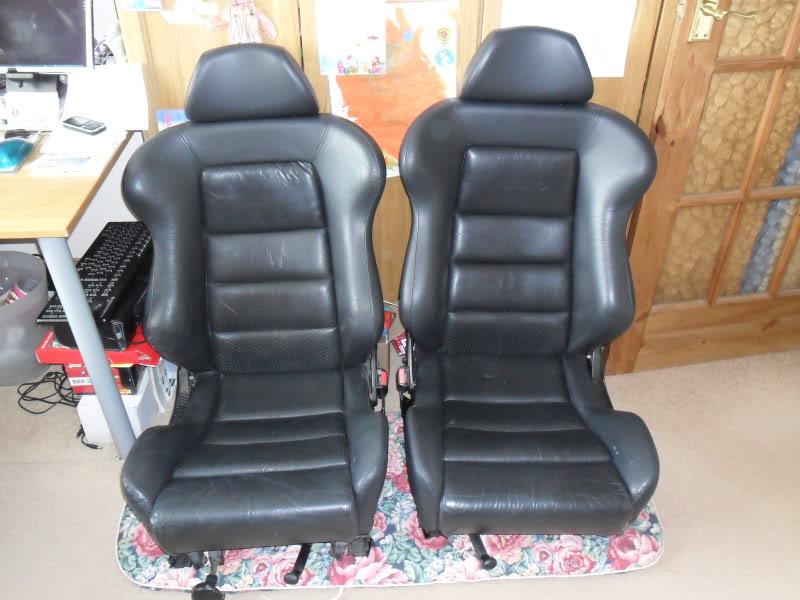
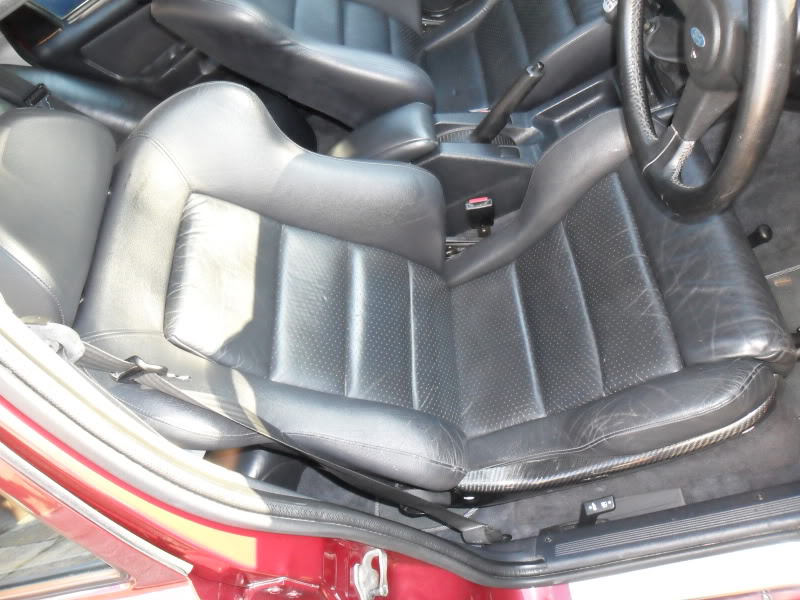
PassionFord Post Whore!!
Snap mate, very comfy seats indeed.
15-11-2011, 09:01 PM
#18
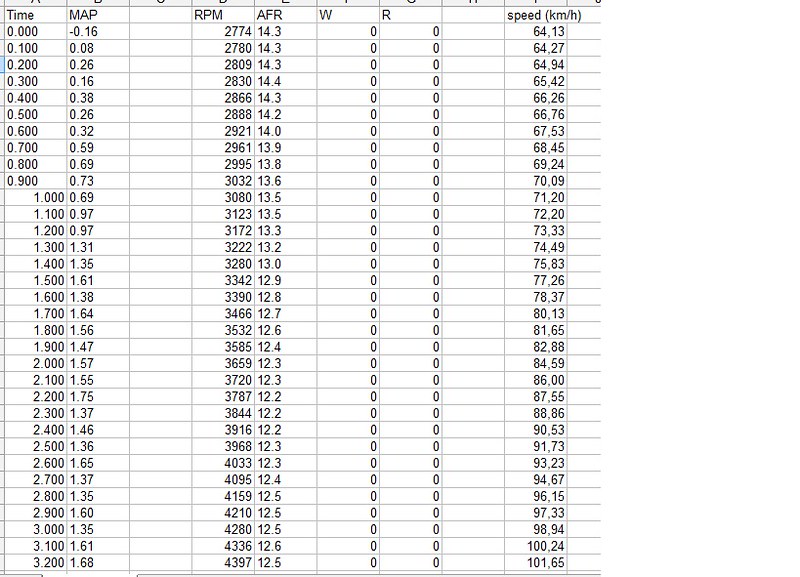
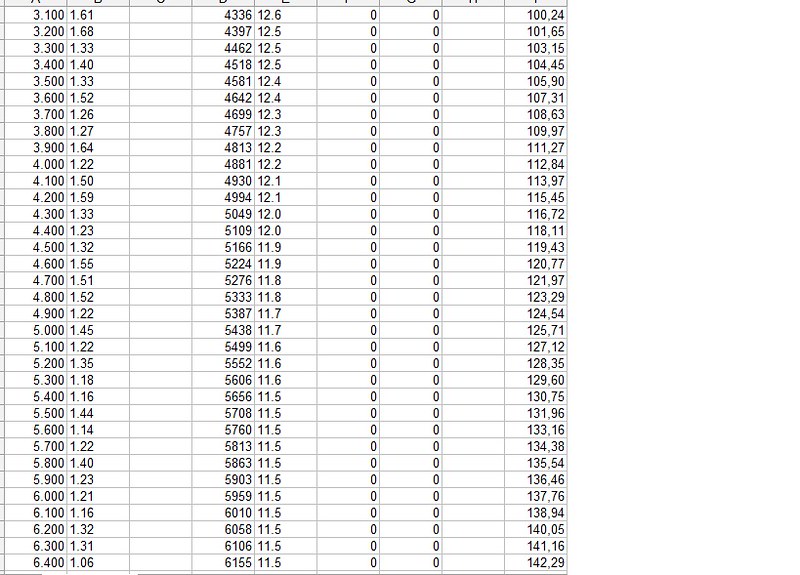
I also set the boost pressure to the value that suits the spec of the car, which is about 1.6 bar. With the dynojet I can log the AFR, boost and rpm as a function of time. With the gearbox ratios, diff ratio and tyre size I can calculate the speed from the rpm.
Sometimes they test 80-120 km/h (50-75mph) in 3rd gear in car magazines, I find it a good way to compare how fast cars are. In the past I measured my 2.9 12v (6.2 sec on LPG) and 2.9 24v (4.8 sec on petrol, 5.1 sec on LPG) that way. With the dynojet I can simply check the logfile to see how quick it is. And I must say I was really surprised to see how fast it is, 2.9 sec. :shock: The logfile went on to 87.5 mph (140 km/h), from 50 to 87.5 in 4.5 sec, quite happy with it!
Piccy of the logfile:
Also took some pictures.
Last edited by Marc sierra; 27-07-2017 at 01:25 PM.


 02-06-2012, 08:20 AM
#26
Since the dashboard still had a hole above the glove box because the previous owner installed a gauge there  I still had to search for a neat looking dash. But it seems like this type of dash is nowhere to be found. They're either damaged or costing mega money. Therefore I decided to fit the later type dashboard as those are quite easily found in the correct colour.
Removed the dash.
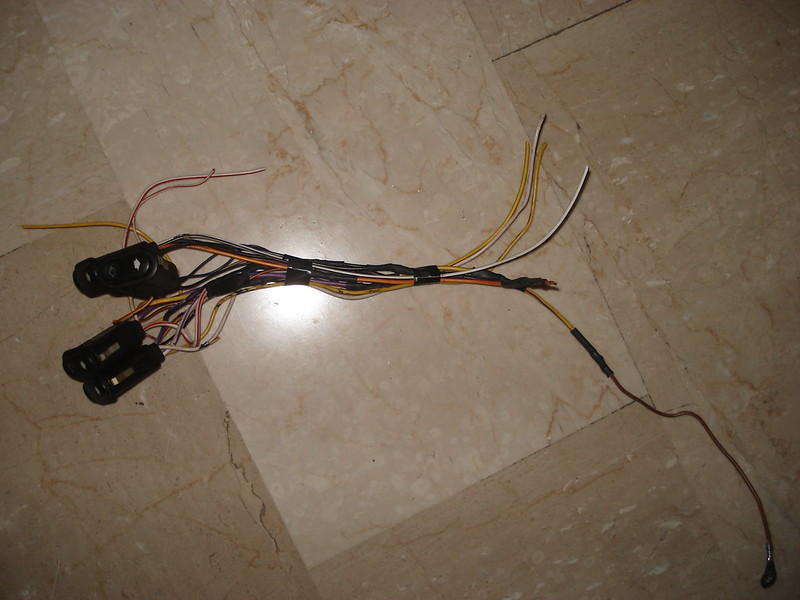
At the same time a made a small loom so I could fit the Mondeo/Scorpio window switches. The Sierra ones get stuck once in a while, which I find really annoying.
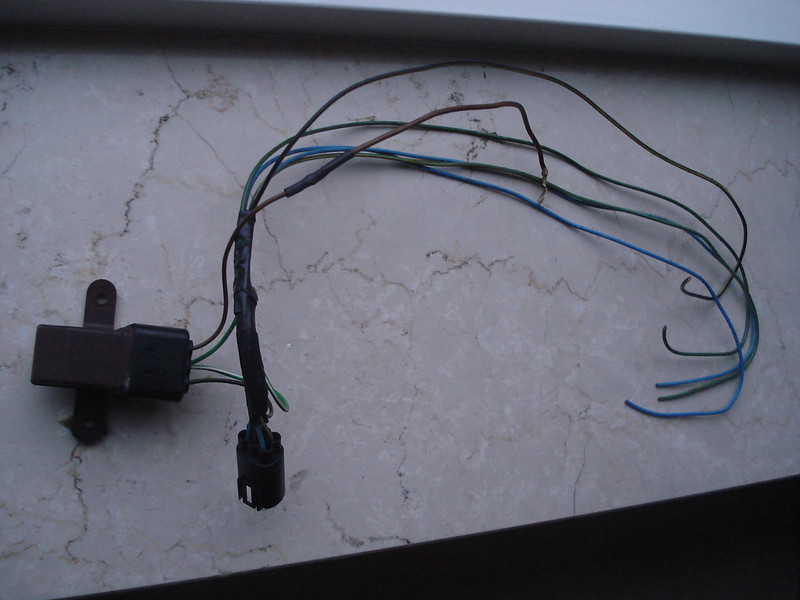
Also fitted the Granada relais for the 'one-touch-down' function of the driver's window.
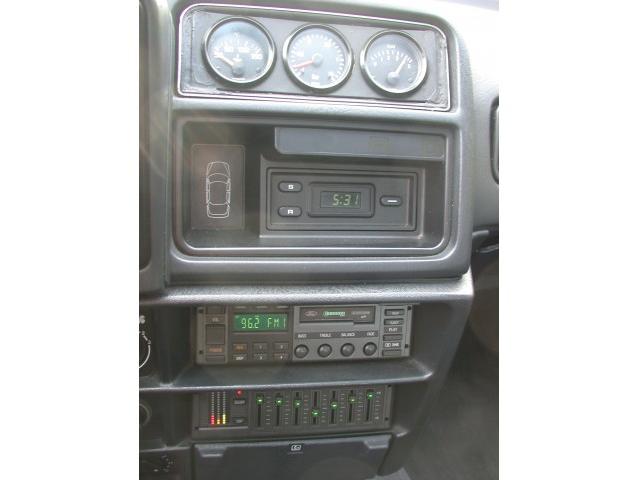
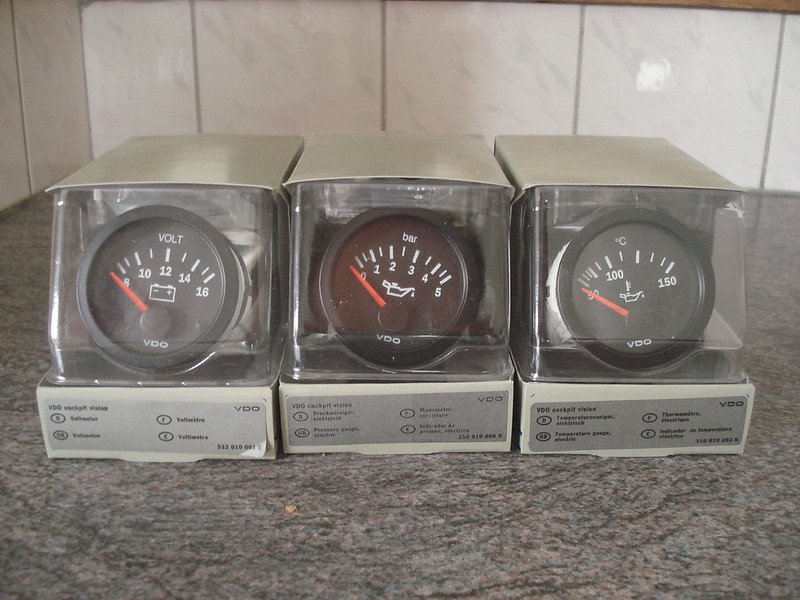
And new VDO gauges for oil pressure, oil temperature and volt.
Fitted the biggest part of the dash. At the same time I replaced the standard stereo for something a bit newer. At least it can play CDs now.
And a couple more pieces of dash installed.
Removed the dash.
At the same time a made a small loom so I could fit the Mondeo/Scorpio window switches. The Sierra ones get stuck once in a while, which I find really annoying.
Also fitted the Granada relais for the 'one-touch-down' function of the driver's window.
And new VDO gauges for oil pressure, oil temperature and volt.
Fitted the biggest part of the dash. At the same time I replaced the standard stereo for something a bit newer. At least it can play CDs now.
And a couple more pieces of dash installed.
Last edited by Marc sierra; 27-07-2017 at 01:33 PM.
06-06-2012, 08:55 PM
#30
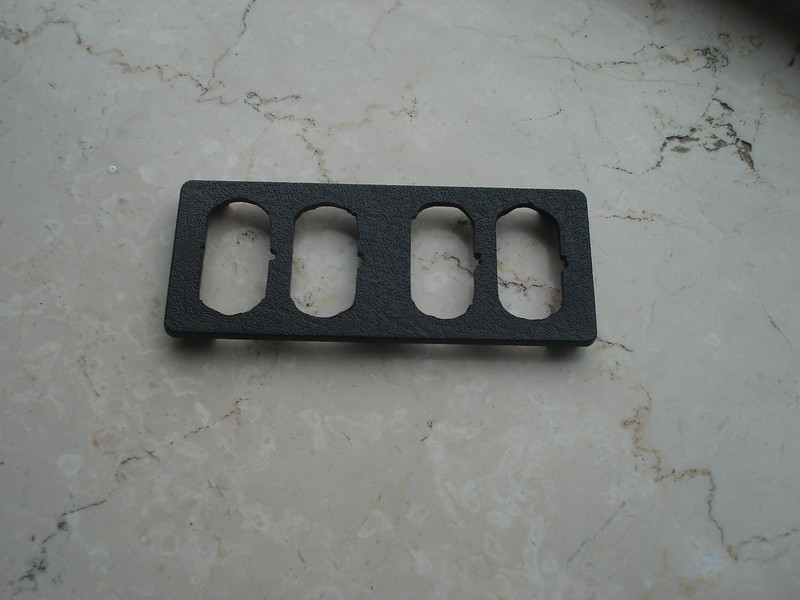
I modded a blanking plate out of a base Sierra to fit the Scorpio window switches.
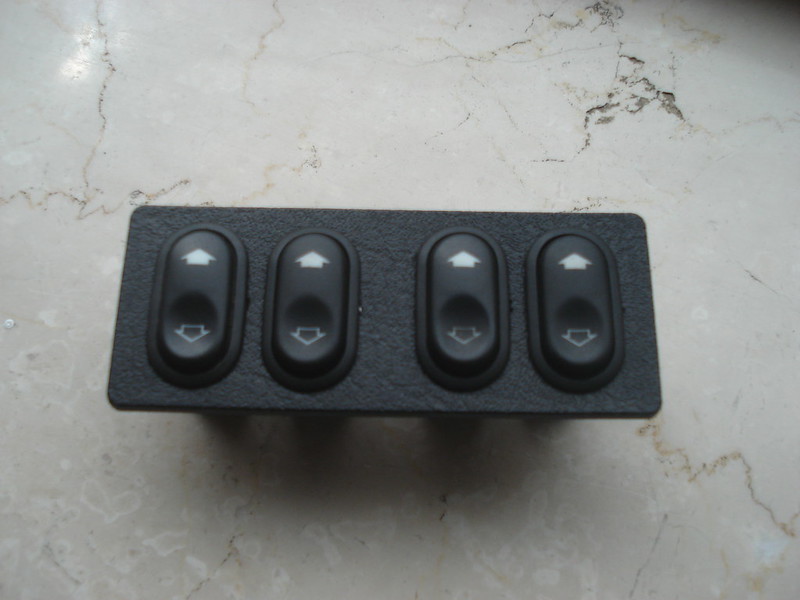
No problems anymore with windows that won't open or close due to the crappy Sierra switches.
No problems anymore with windows that won't open or close due to the crappy Sierra switches.
Last edited by Marc sierra; 27-07-2017 at 01:35 PM.
07-06-2012, 08:04 PM
#31
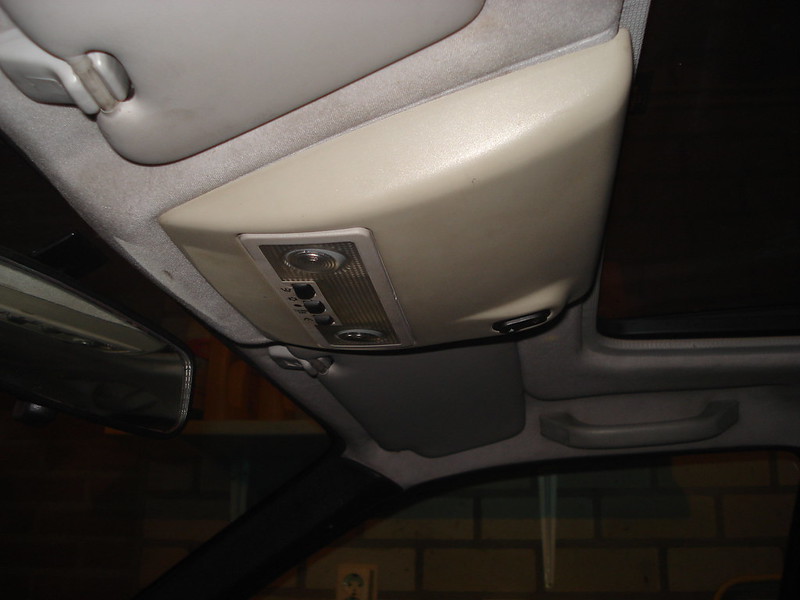
While I was at it I also converted the sunroof to the later electric type.
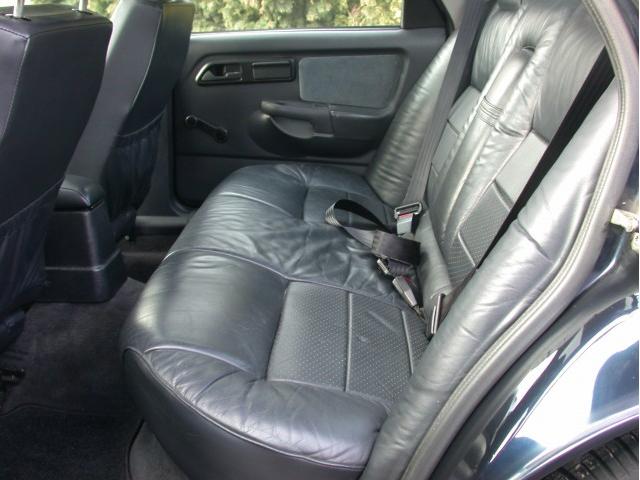
And fitted electric windows to the rear doors. The Sierras on the main land only got those with the last facelift in 1991. But instead of the Sierra switches I fitted the Scorpio switches in between the door handle and the ash tray. At the same time I fitted the rear door panels with the leather part on it and without the holes for the window thingies.
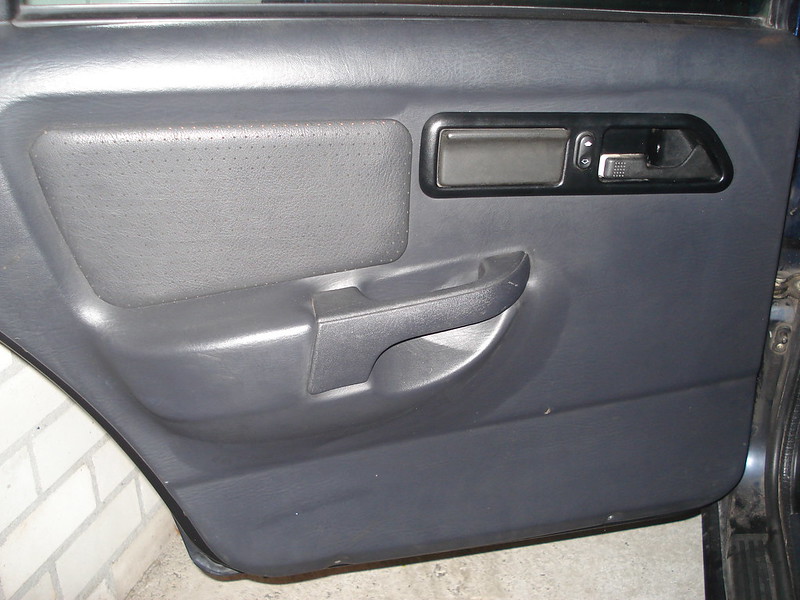
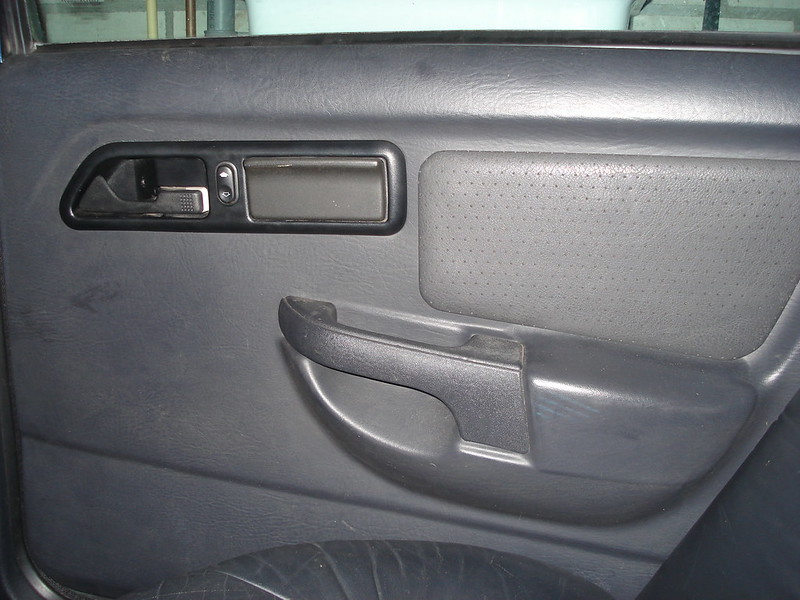
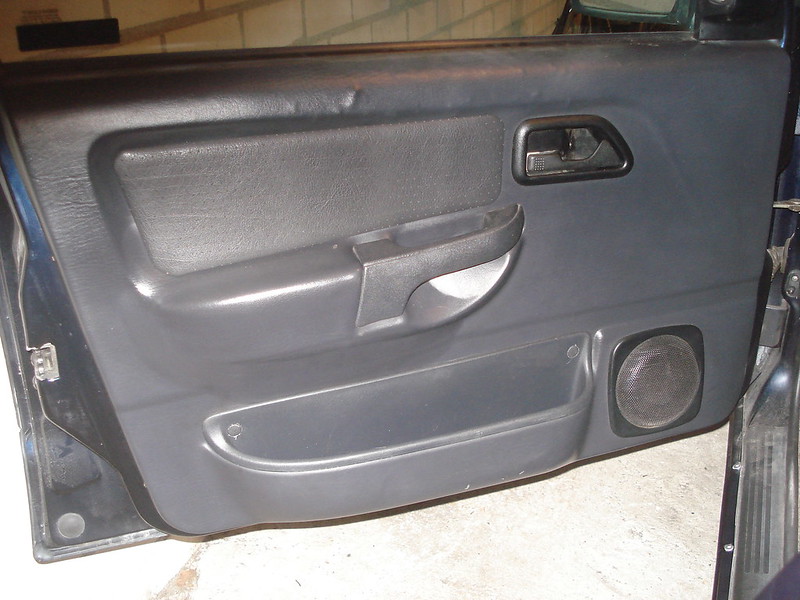
I also replaced the front door panel. The old one had the venyl pull away at the top and at the lower card box and didn't have the leather part above the arm rest. I did have to glue the new ones a bit, but it looks a lot better now.
Also finished the dash conversion and fitted the new window switches. The car looks a lot nicer on the inside now.

And fitted electric windows to the rear doors. The Sierras on the main land only got those with the last facelift in 1991. But instead of the Sierra switches I fitted the Scorpio switches in between the door handle and the ash tray. At the same time I fitted the rear door panels with the leather part on it and without the holes for the window thingies.
I also replaced the front door panel. The old one had the venyl pull away at the top and at the lower card box and didn't have the leather part above the arm rest. I did have to glue the new ones a bit, but it looks a lot better now.
Also finished the dash conversion and fitted the new window switches. The car looks a lot nicer on the inside now.
Last edited by Marc sierra; 27-07-2017 at 01:39 PM.
25-06-2014, 06:18 PM
#33
Last year I went to the Nurburgring together with some friends. I drove for on the GP circuit for 20 minutes and later also did 2 laps on the Norfschleife. But taking the car on track really showed that the brakes aren't all that good. And also there's some play in the rear suspension bushes, which makes the car wander around at high speed (above 200 km/h). Especially braking from that speed was interesting as the play in the rear suspension makes the rear wheels toe out under braking, causing the car to be very unstabile.
Anyway, some pictures of the car on track.
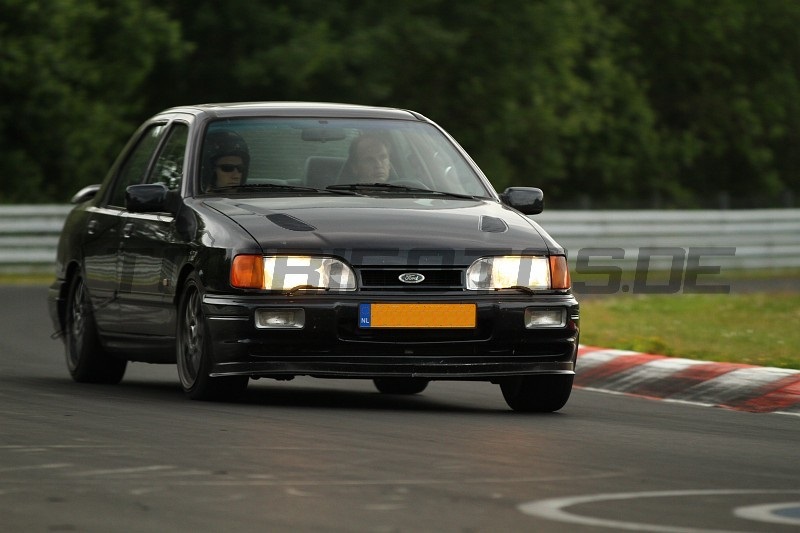
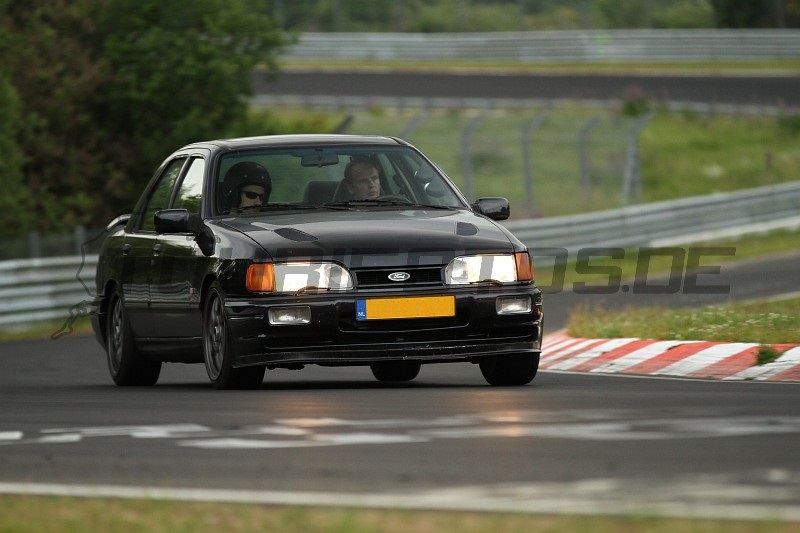

Anyway, some pictures of the car on track.
Last edited by Marc sierra; 27-07-2017 at 01:50 PM.
26-06-2014, 09:09 AM
#35
Just the original ones. The play wasn't much, it was hardly noticable when forcing the arm away from the subframe with a screwdriver, but it was very much noticable when driving at high speeds, and especially during braking!
30-06-2014, 08:23 PM
#38
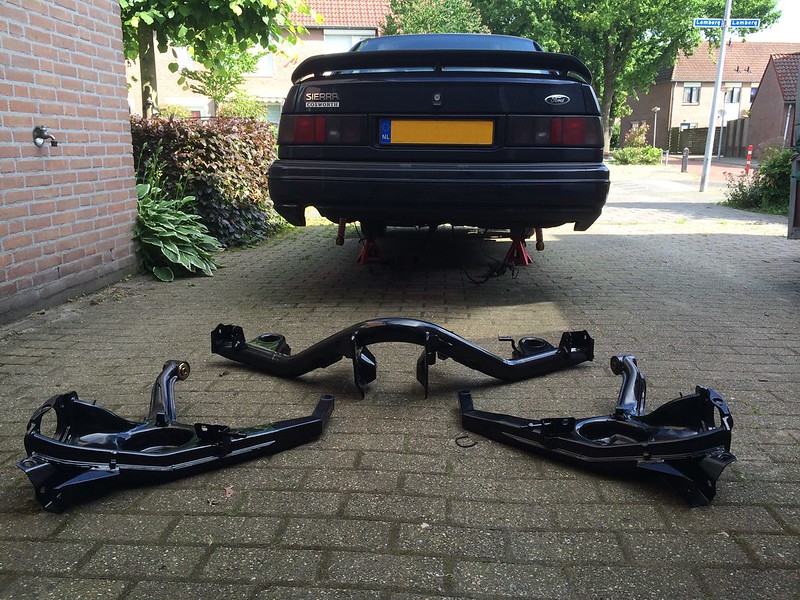
I had another 6 degree rear beam made, just like the one on my 24v sapph. The only difference is that on this one the toe is not adjustable. The toe adjusters didn't stay fixed during driving, so it wasn't a good solution.
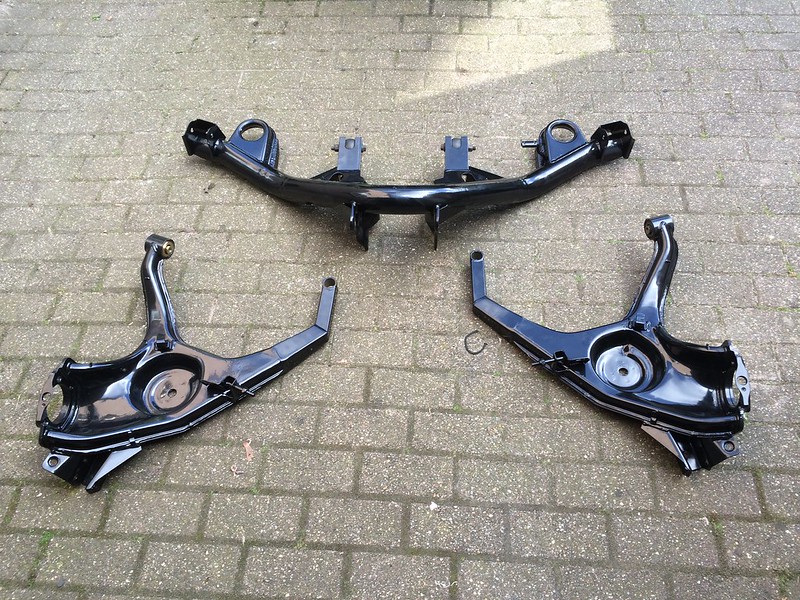
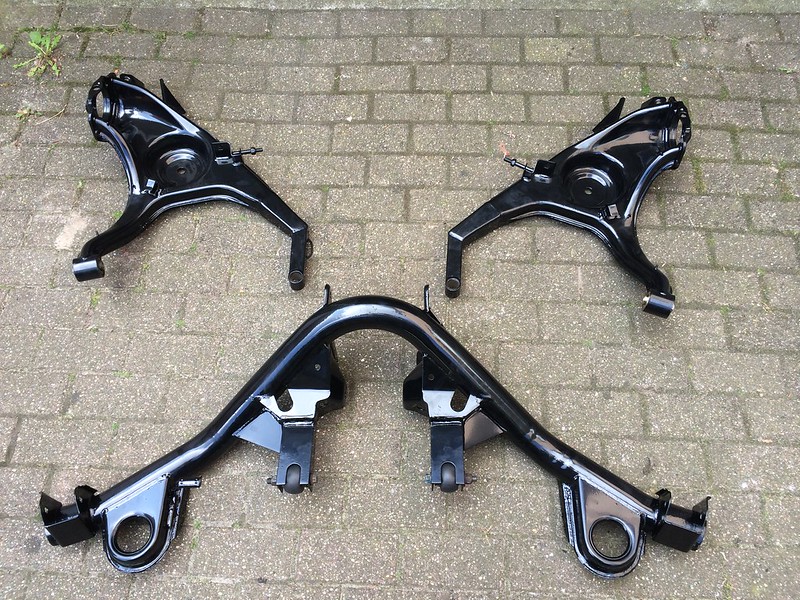
I also ordered a poly diff mount from MSD.
Ready to fit the new beam.
Since the wheels stay a lot straighter during bump, I wanted to check that the wheels still cleared the arches. So I jacked up the arm until it hit the bump stop. It's very tight, I cannot put my finger in between, but it doesn't catch.
Last edited by Marc sierra; 27-07-2017 at 02:06 PM.
