moonstone 3 door tidy supra diff, zeitronix, rota gtr's


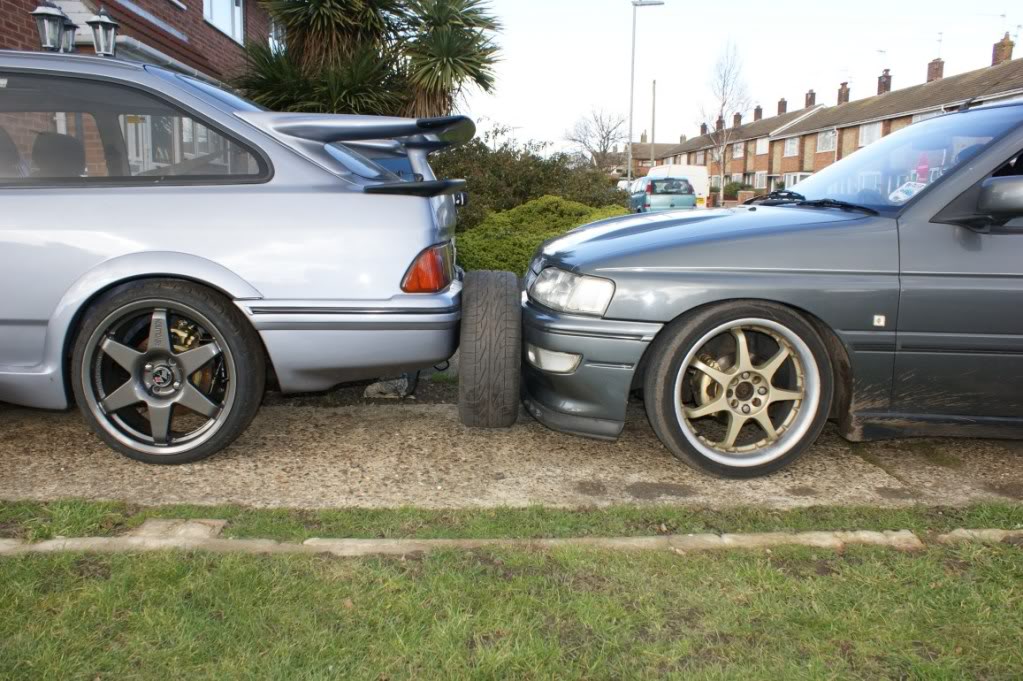
 i have wondered if i made the right choice & maybe black would have been better


 25-02-2012, 05:08 PM
#132
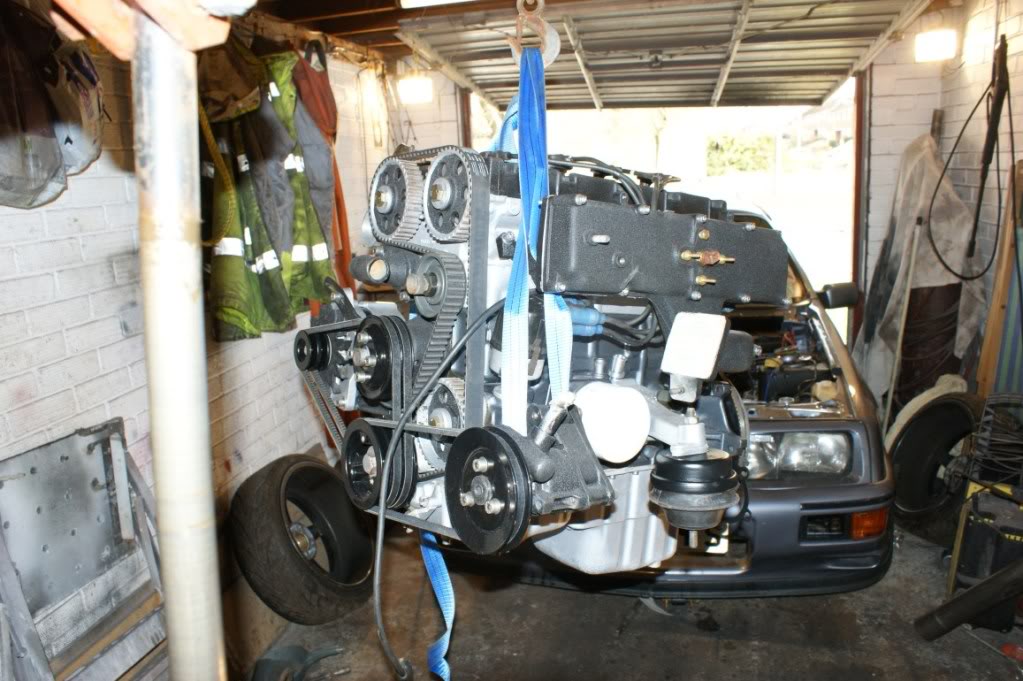
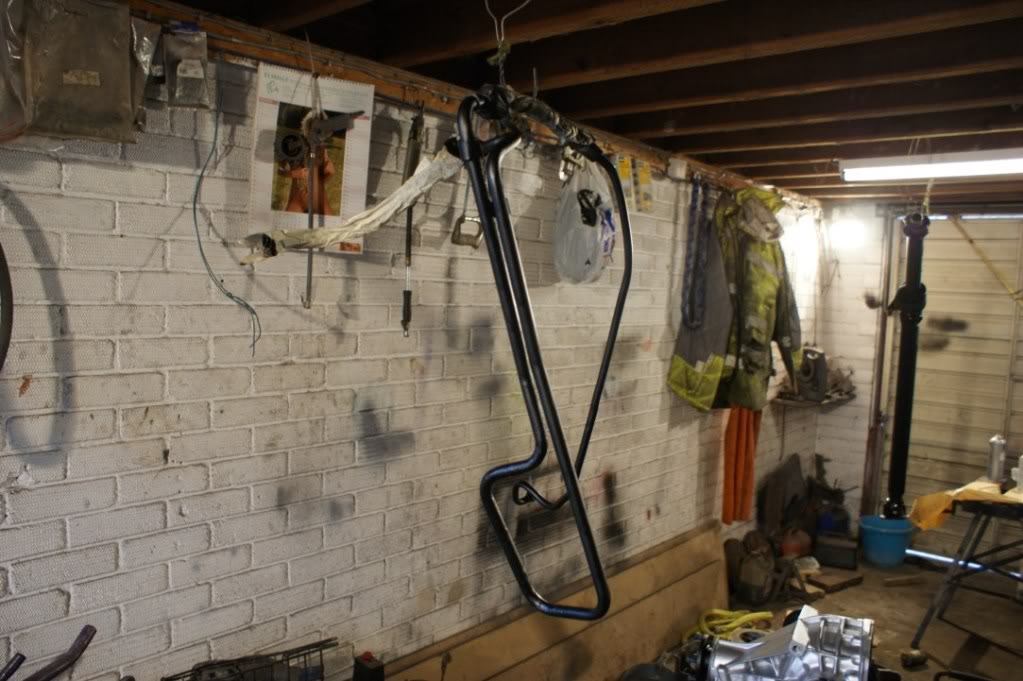
done some more
before
after
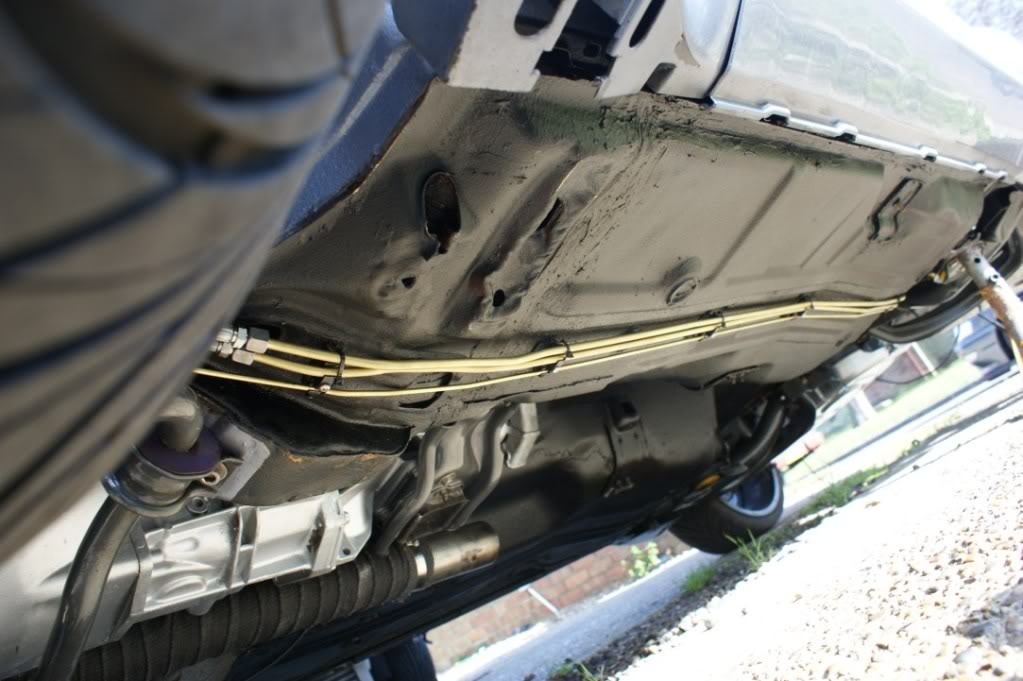
painted fuel lines
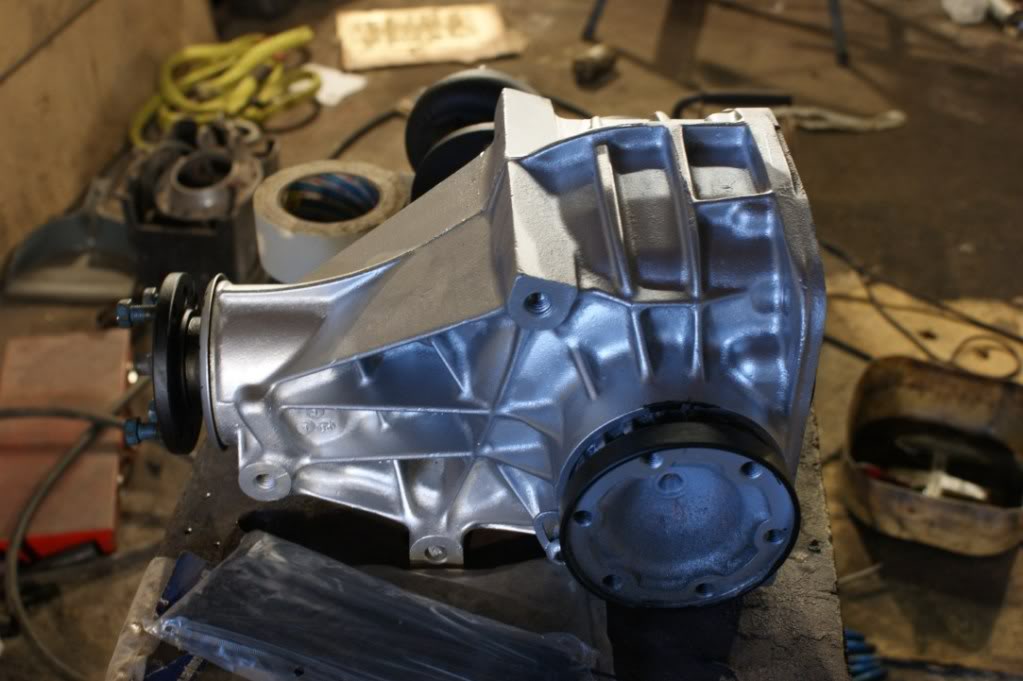
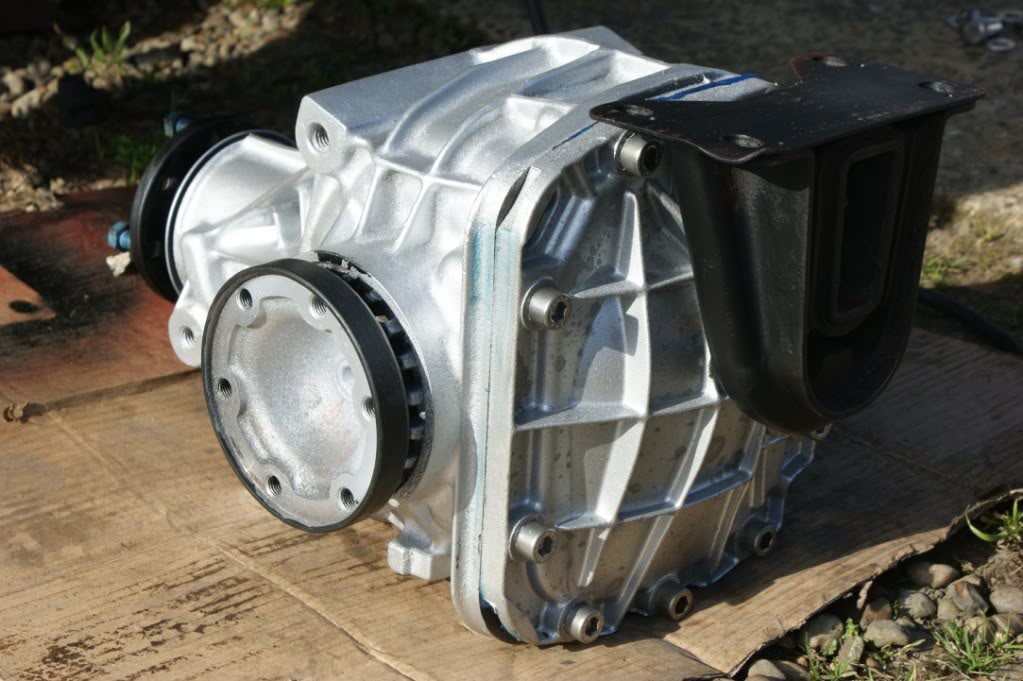
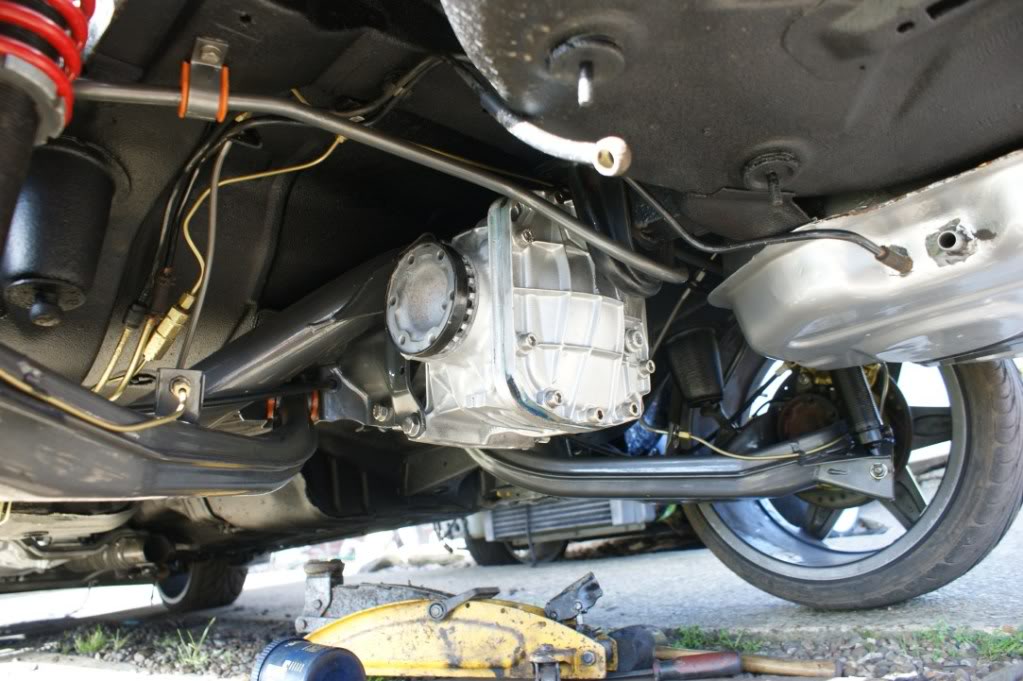
got a weleded diff off j1mbo, should meake life interesting lol

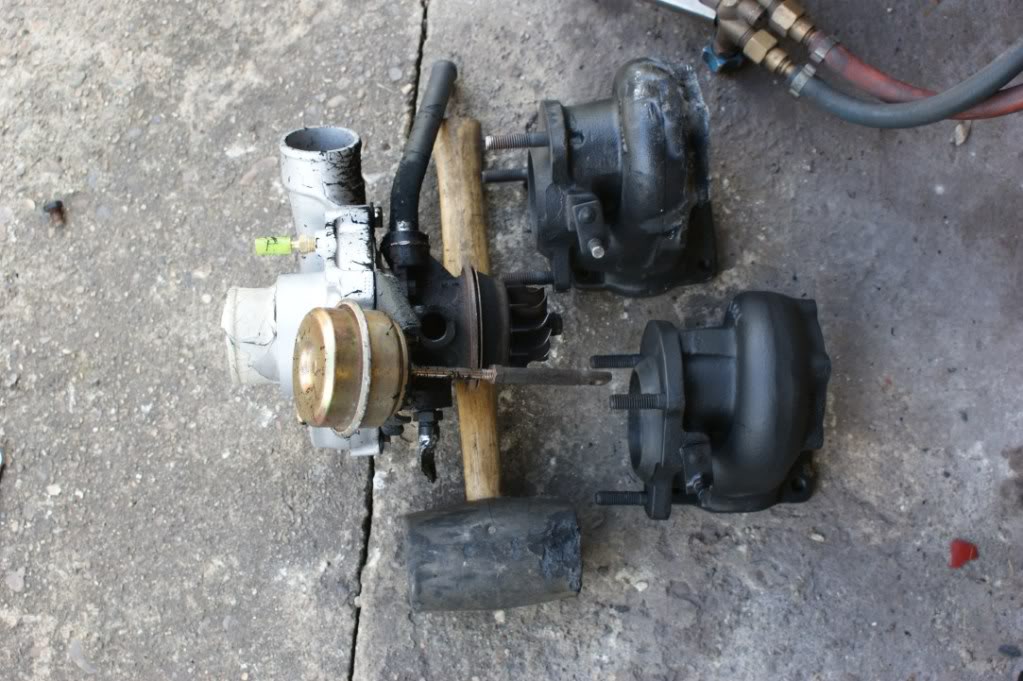
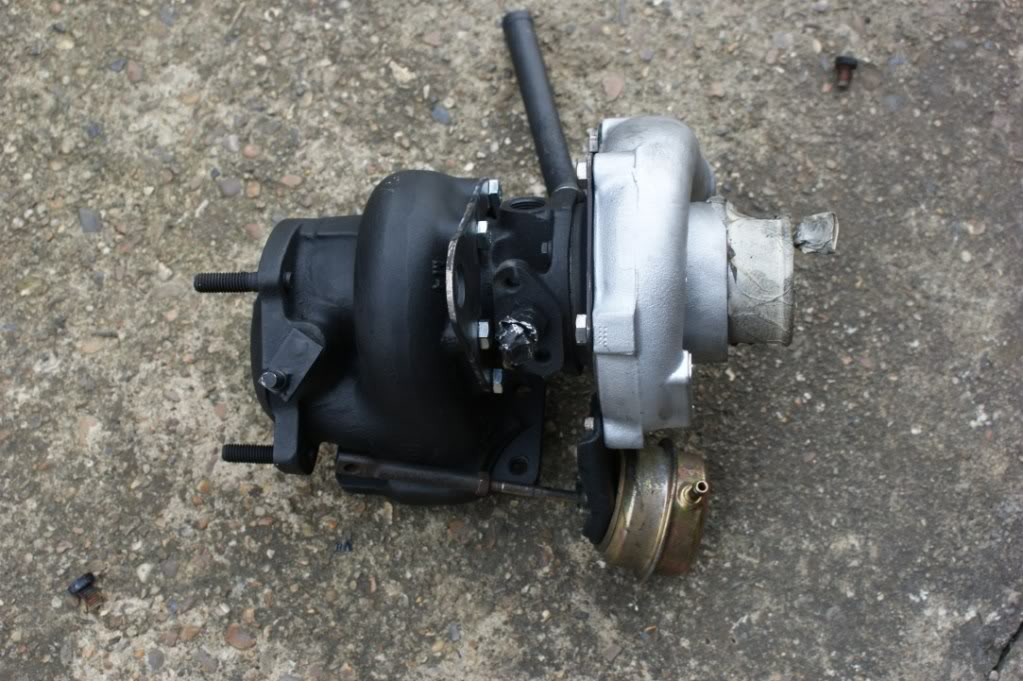
changed the .48 exhaust housing for a .63
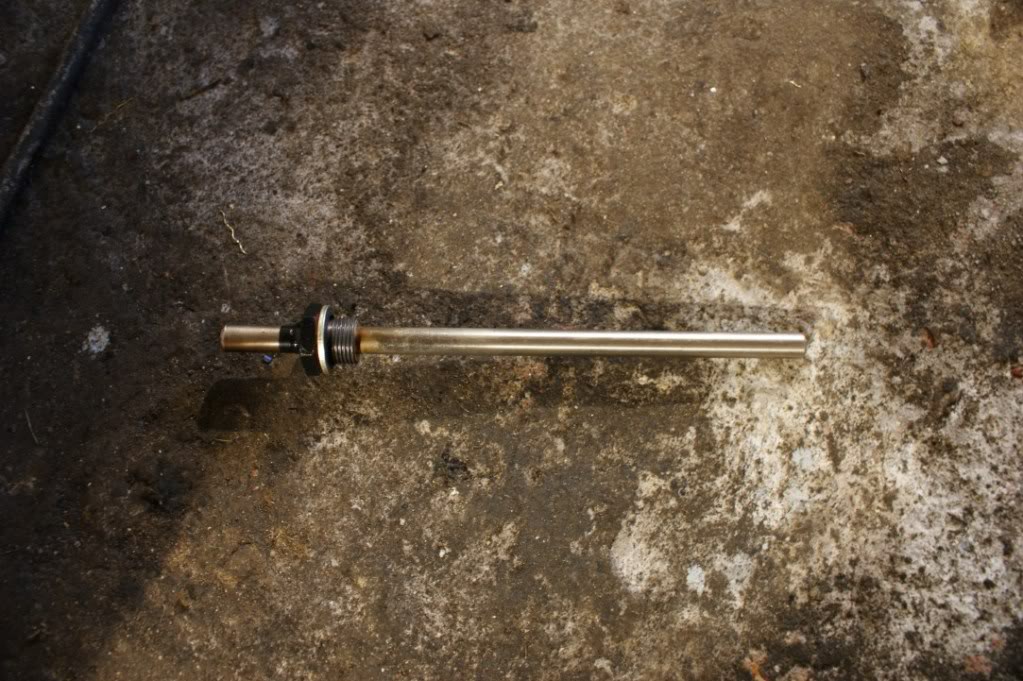
new speedo cable
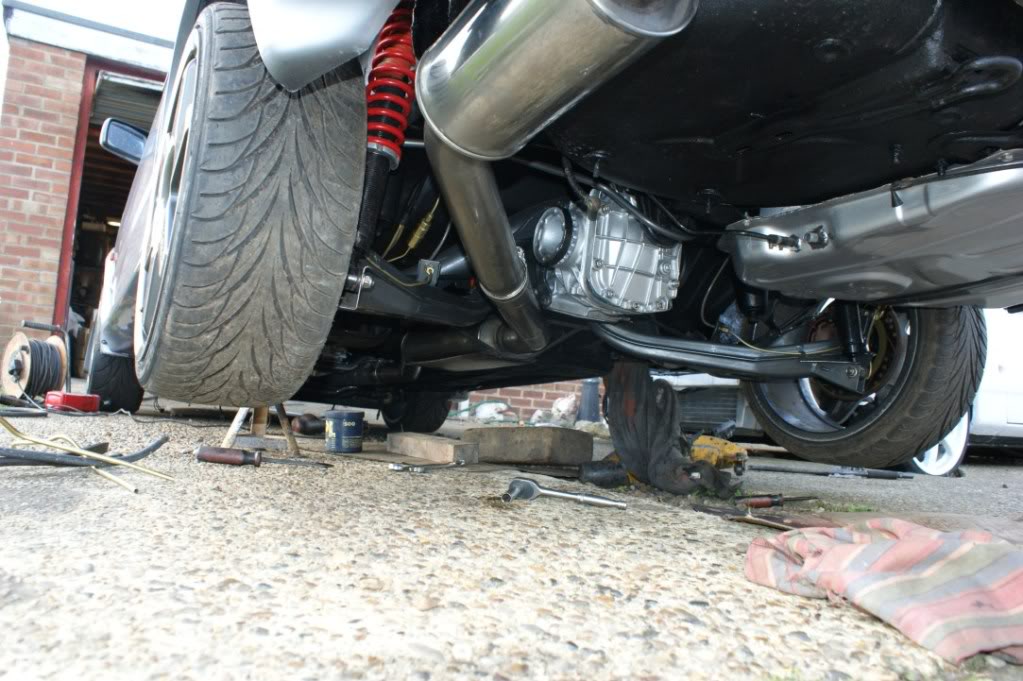
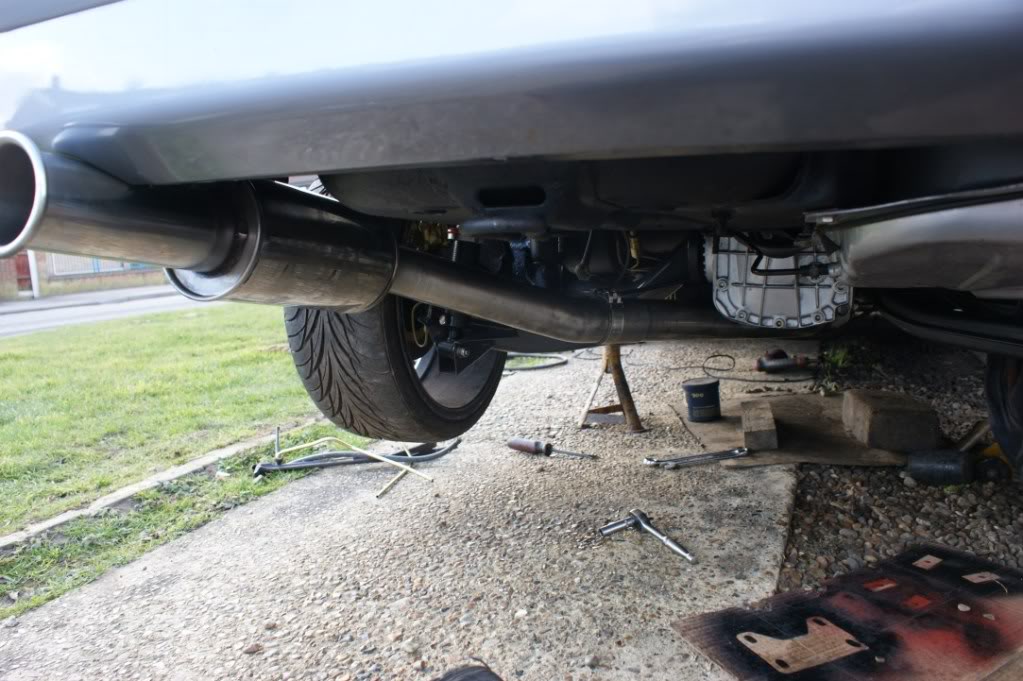
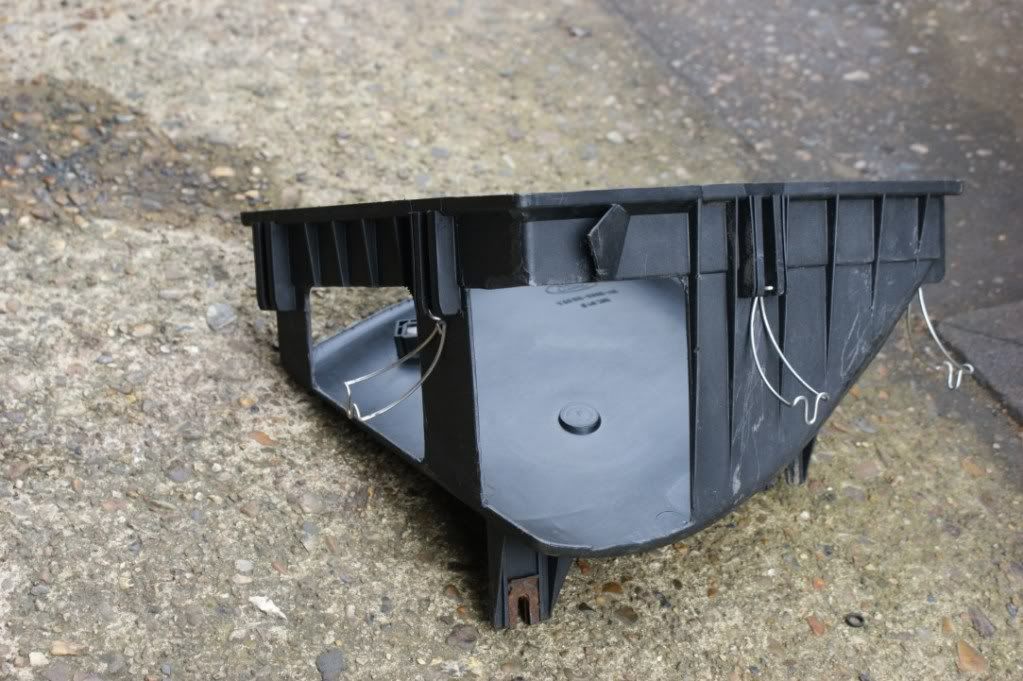
welded a skid plate to the centre box
mikalor clamps for the exhaust
new turbo oil feed
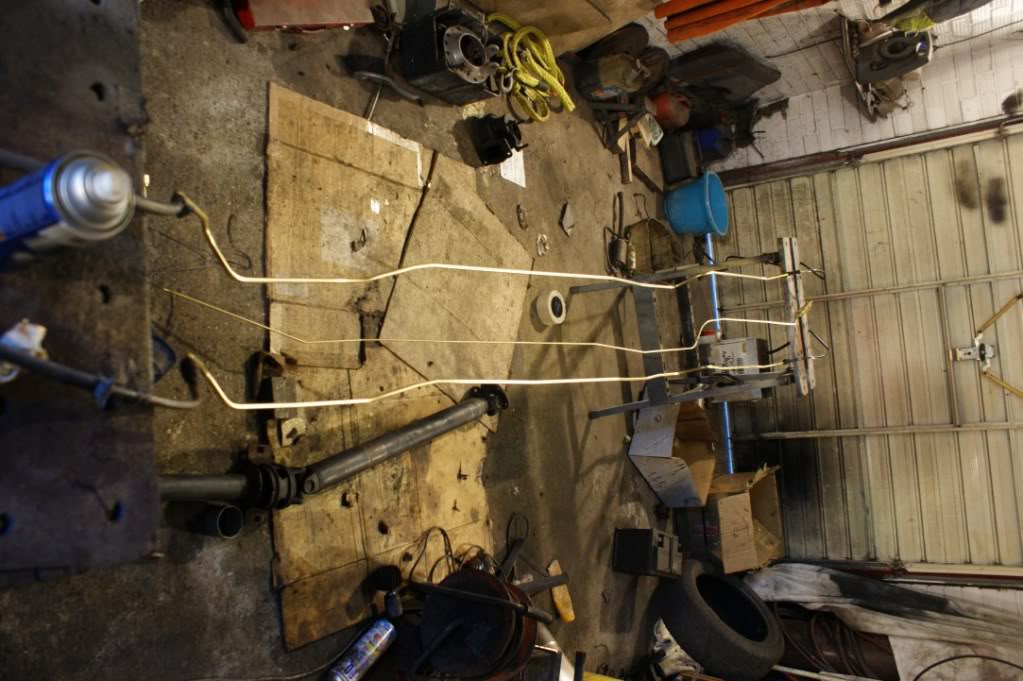
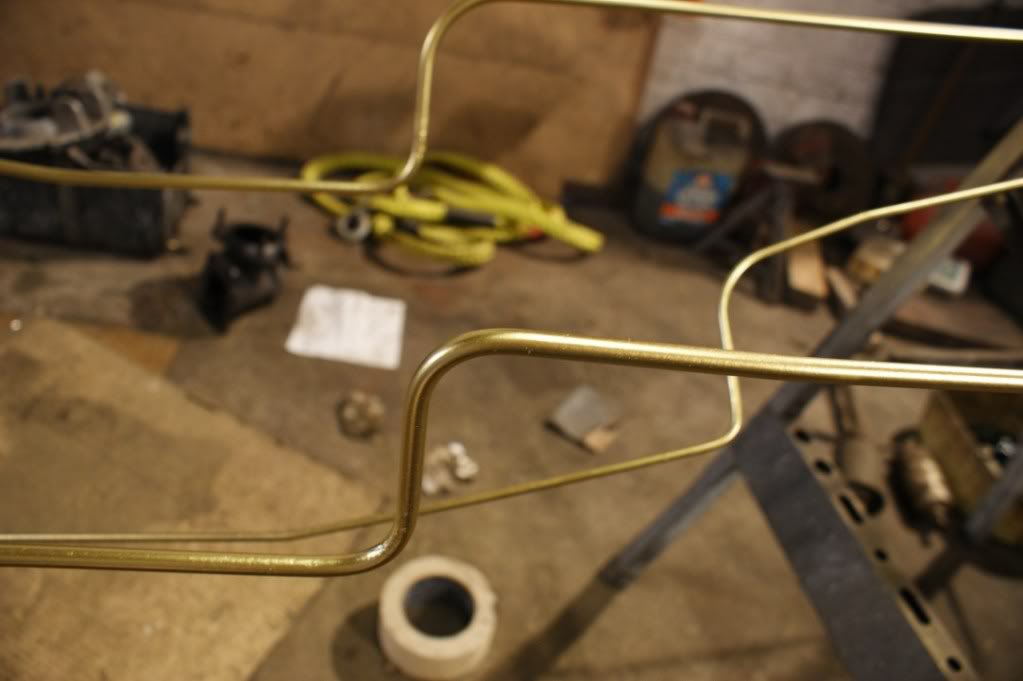
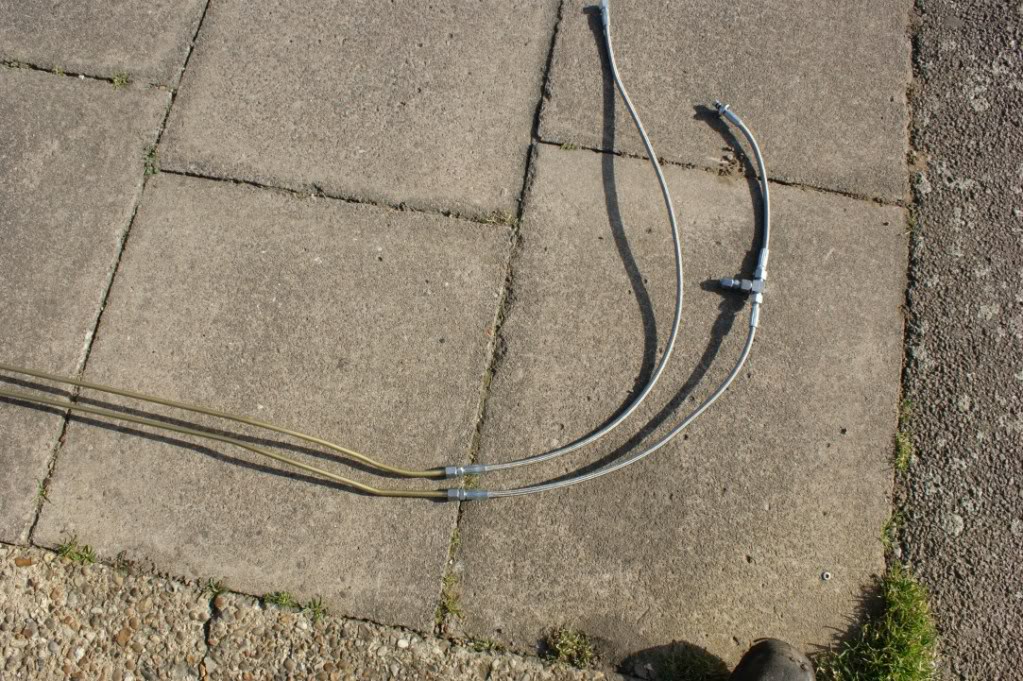
had a stainless pipe made from the pump to the filter

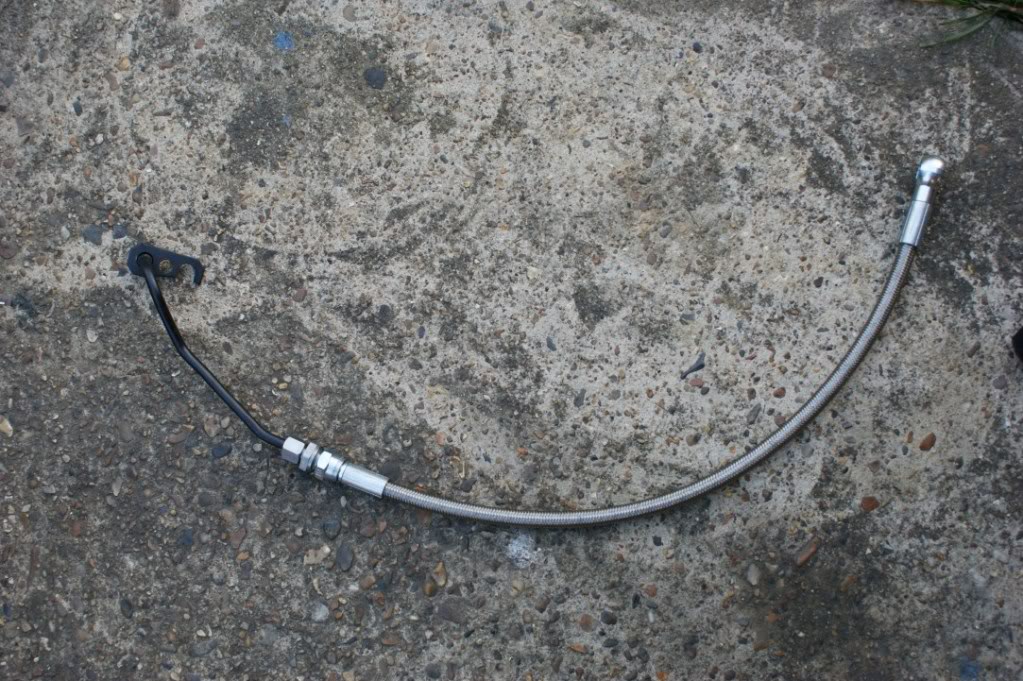
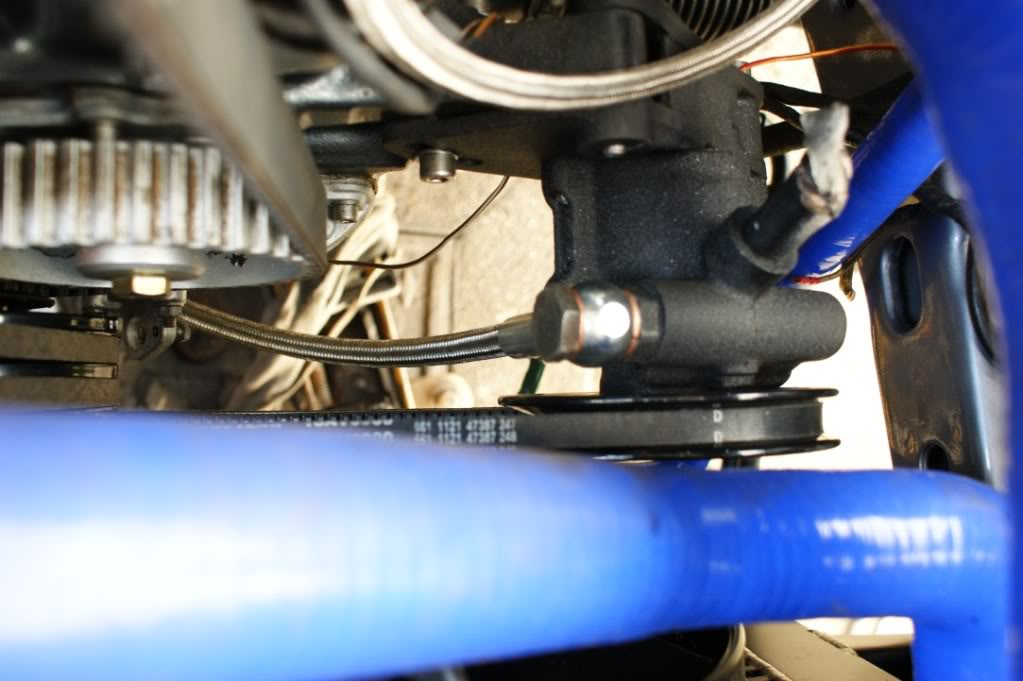
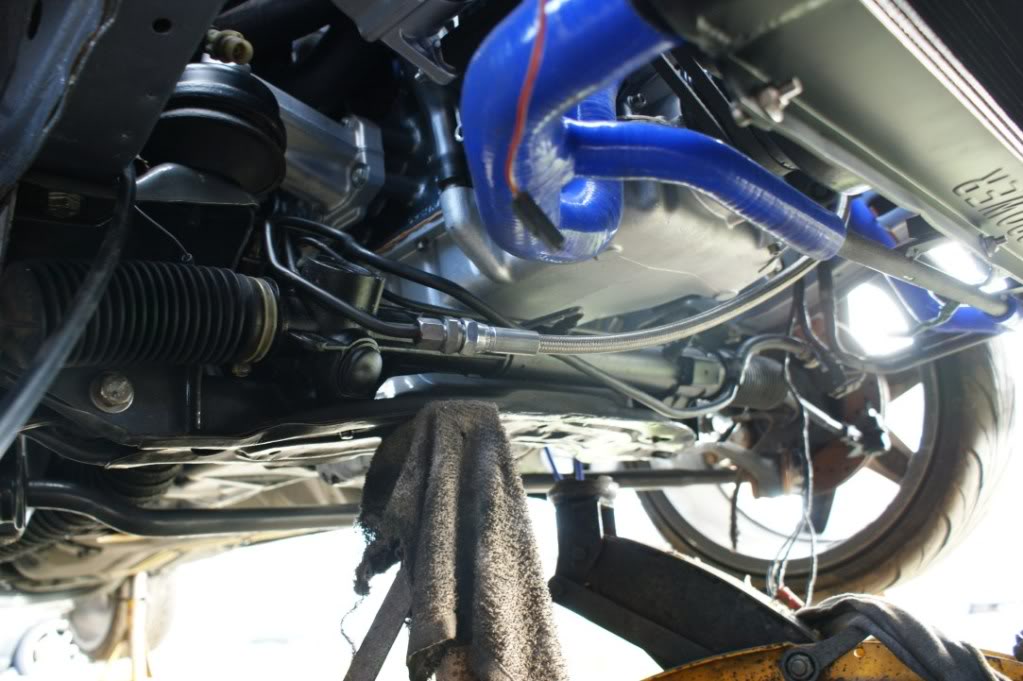
new power steering pipe
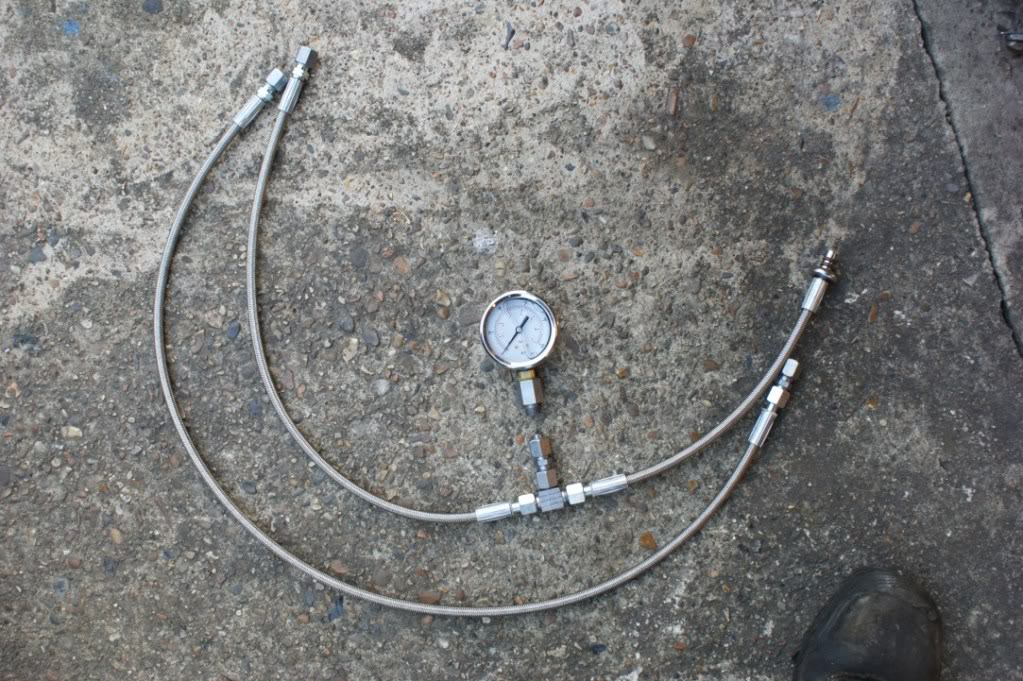
fuel feed & return pipes. there is a pressure gauge to go in the feed pipe, once the pressure has been checked & adjusted if need be, it will be removed & blanked
swirl pot painted
prop painted

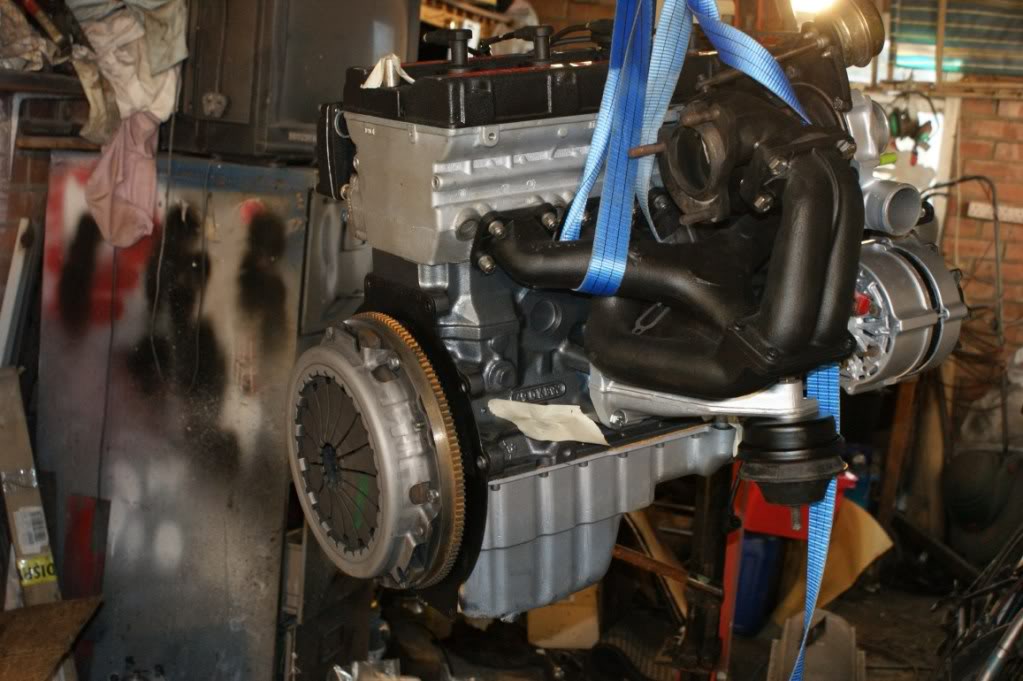
before
after
painted fuel lines
got a weleded diff off j1mbo, should meake life interesting lol
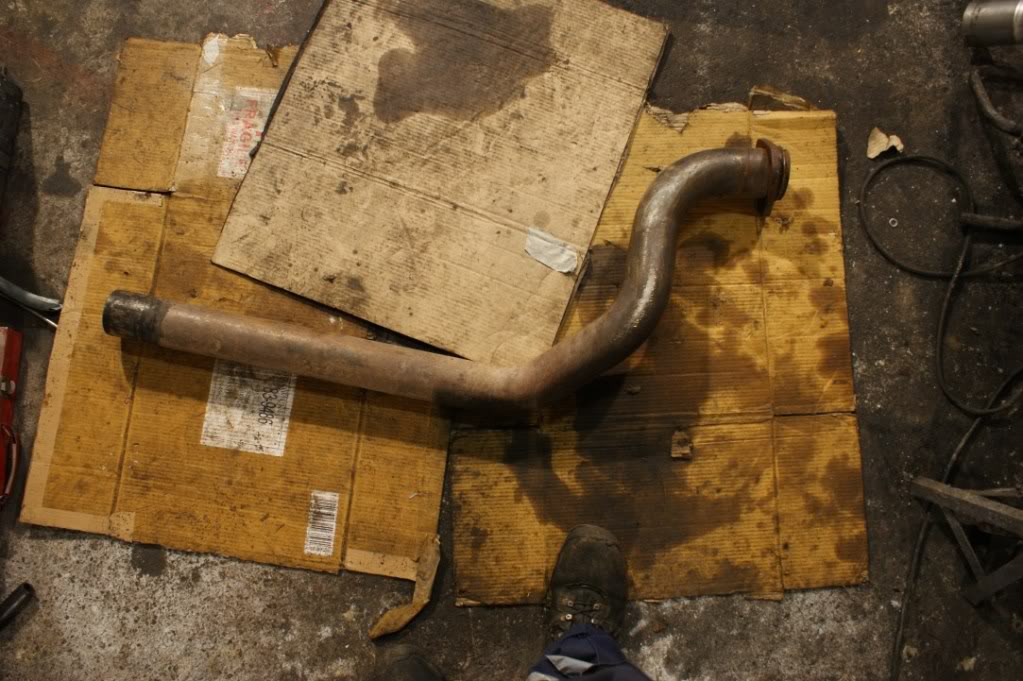
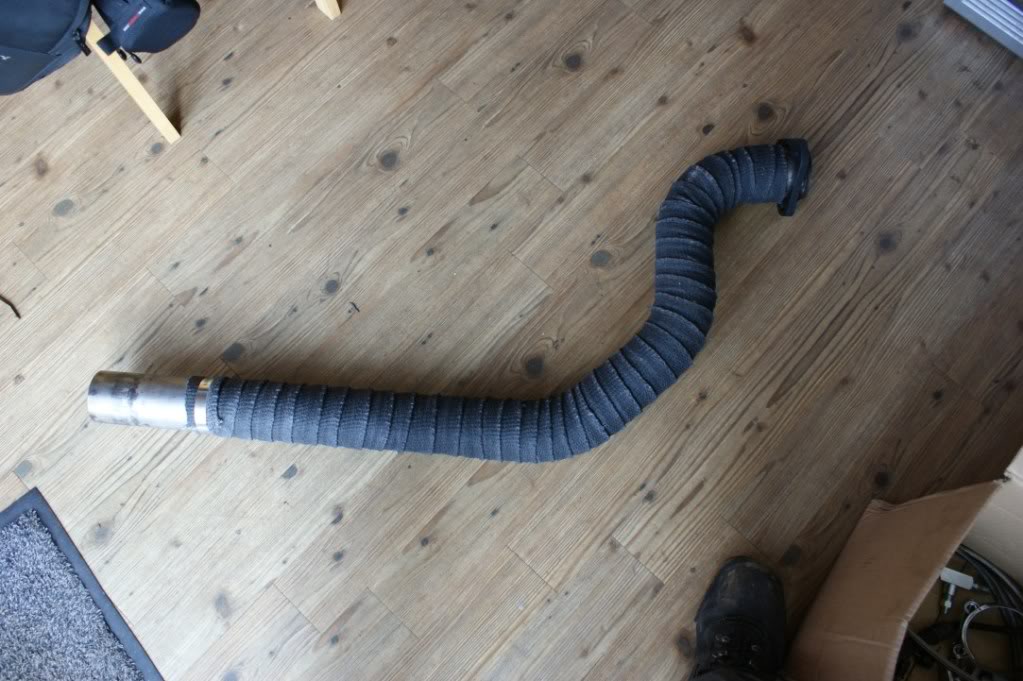
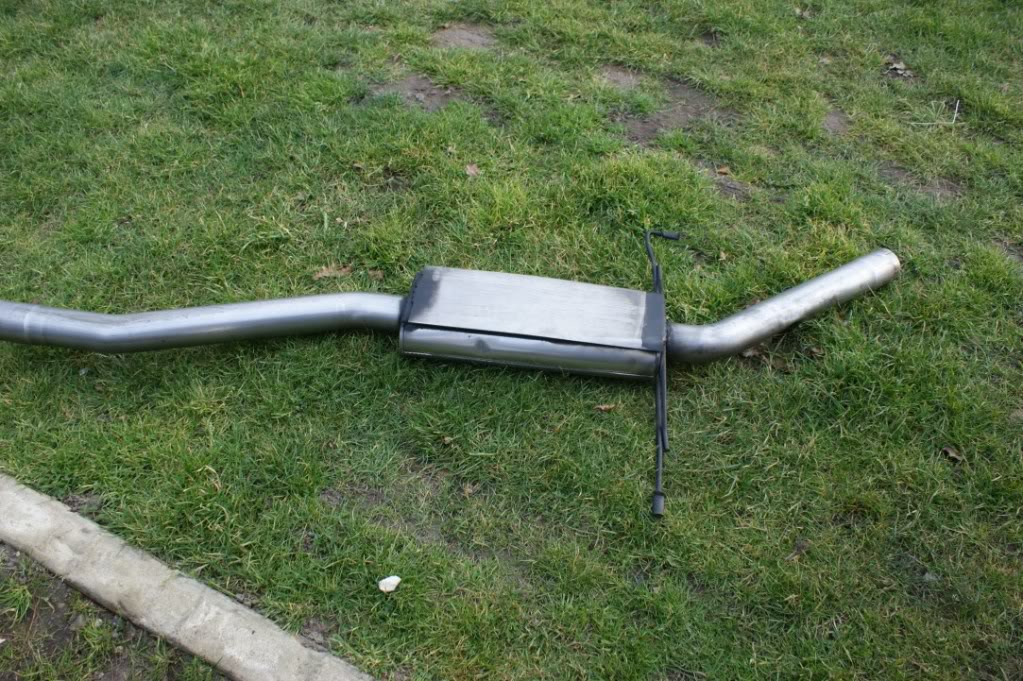
changed the .48 exhaust housing for a .63
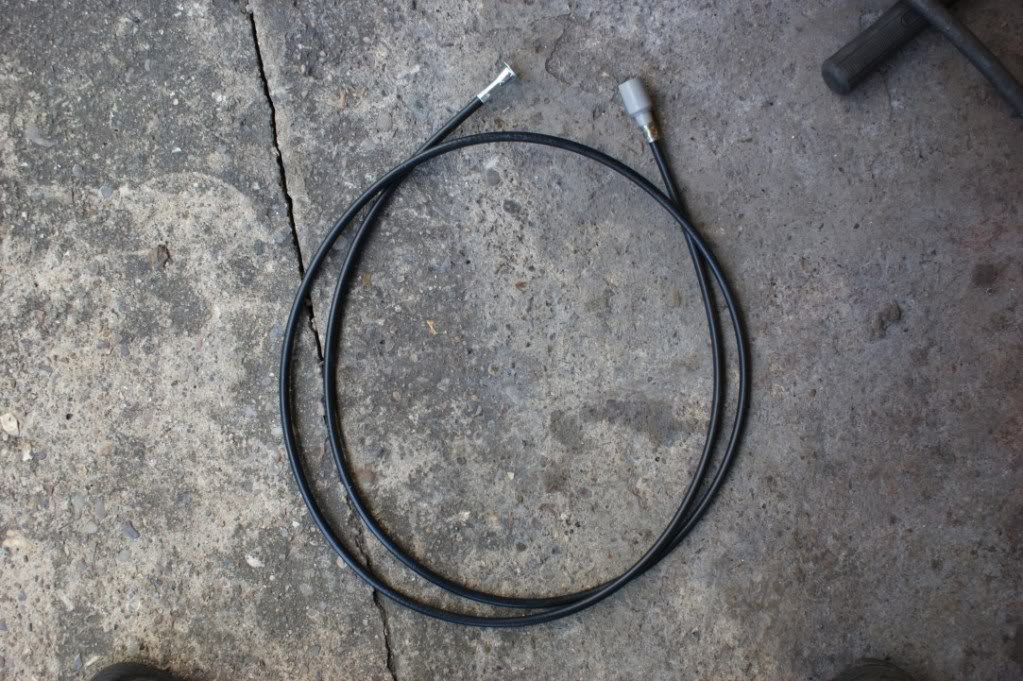
new speedo cable
welded a skid plate to the centre box
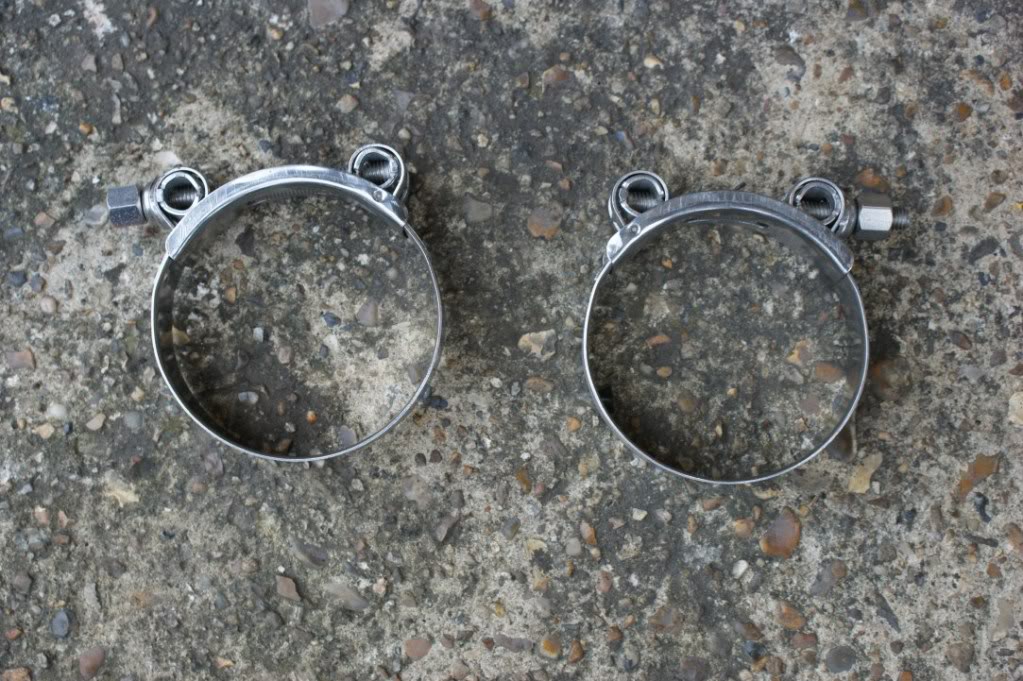
mikalor clamps for the exhaust
new turbo oil feed
had a stainless pipe made from the pump to the filter
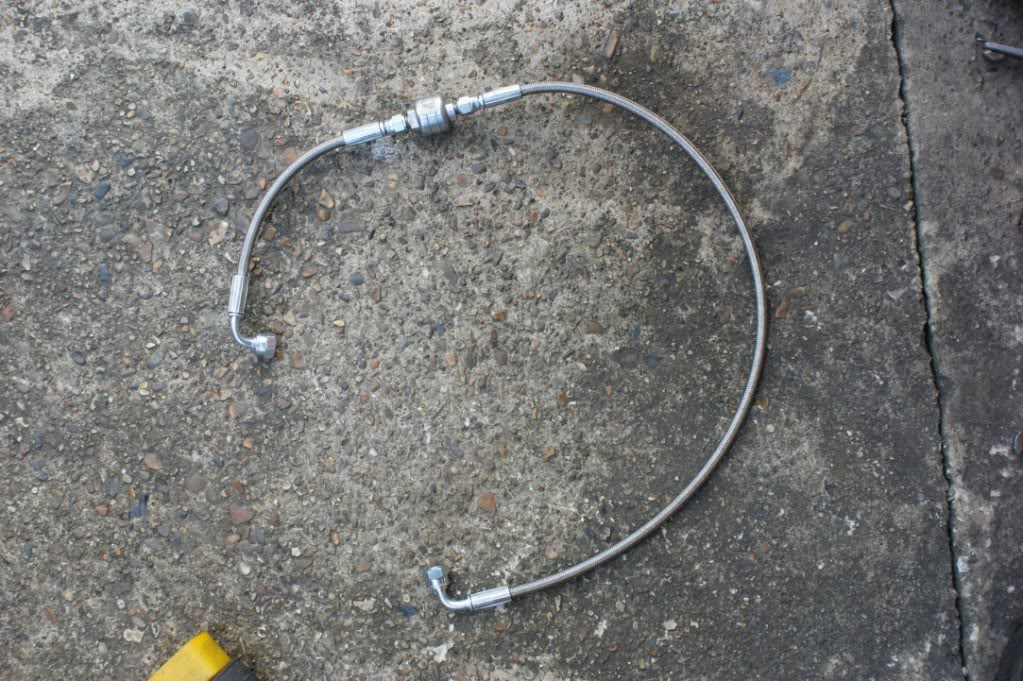
new power steering pipe
fuel feed & return pipes. there is a pressure gauge to go in the feed pipe, once the pressure has been checked & adjusted if need be, it will be removed & blanked
swirl pot painted
prop painted
 26-02-2012, 04:50 PM
#137
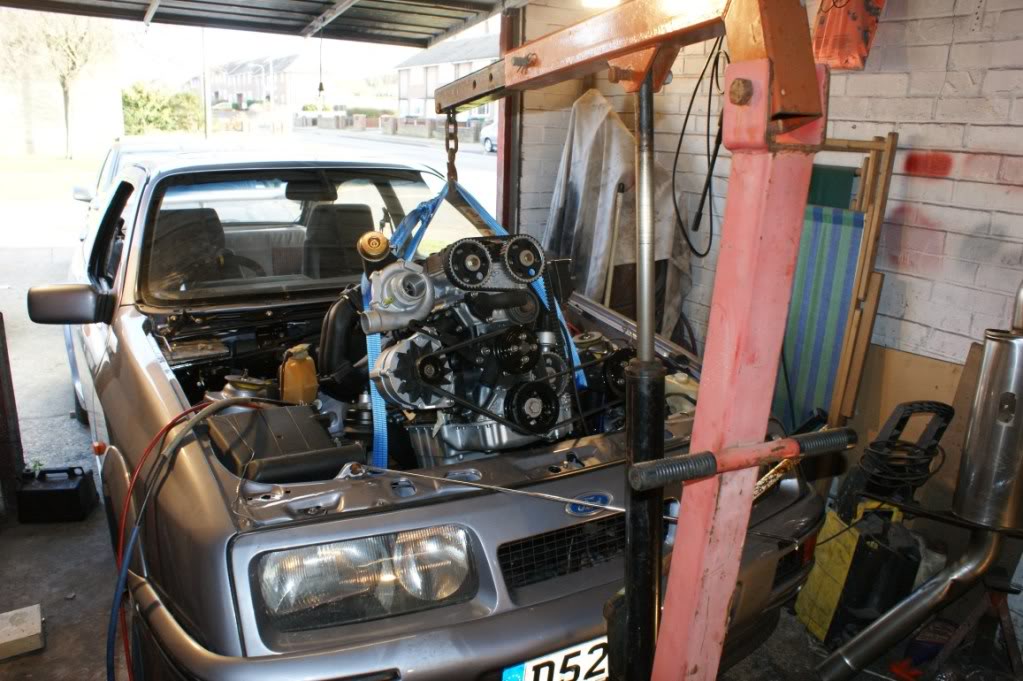
spent most of today working on the 3dr
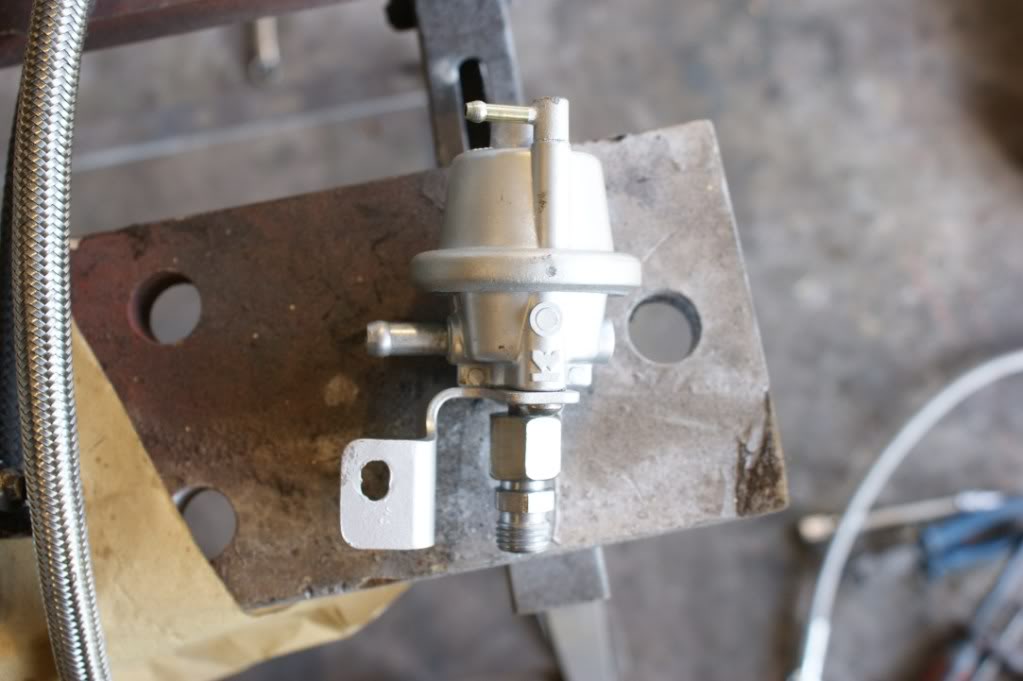
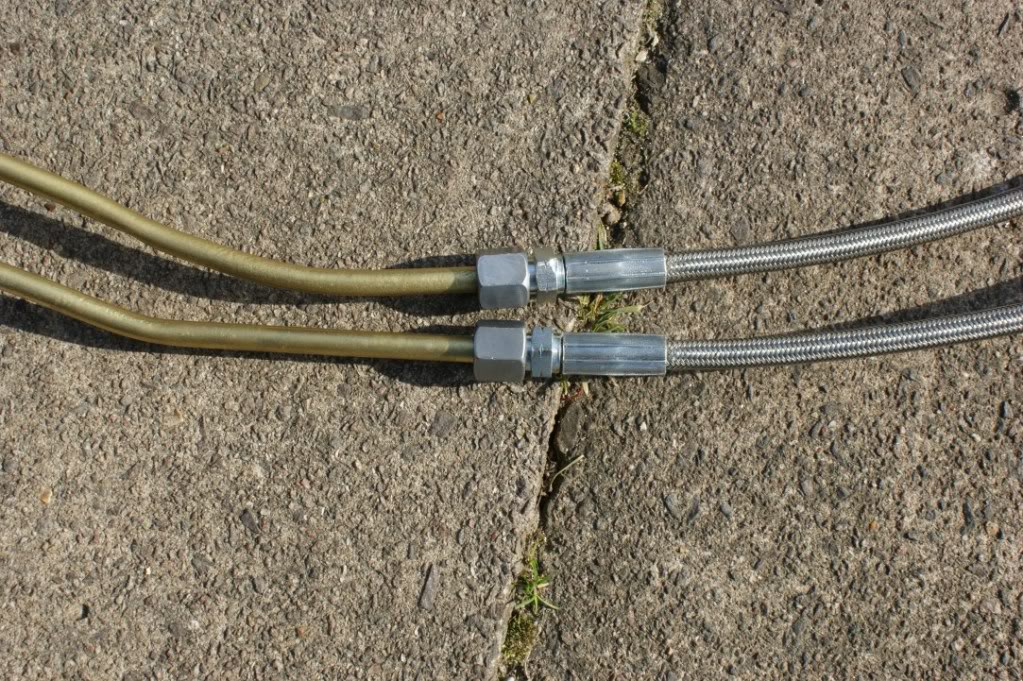
fittings on the fuel pressure regulator to take the braided hose
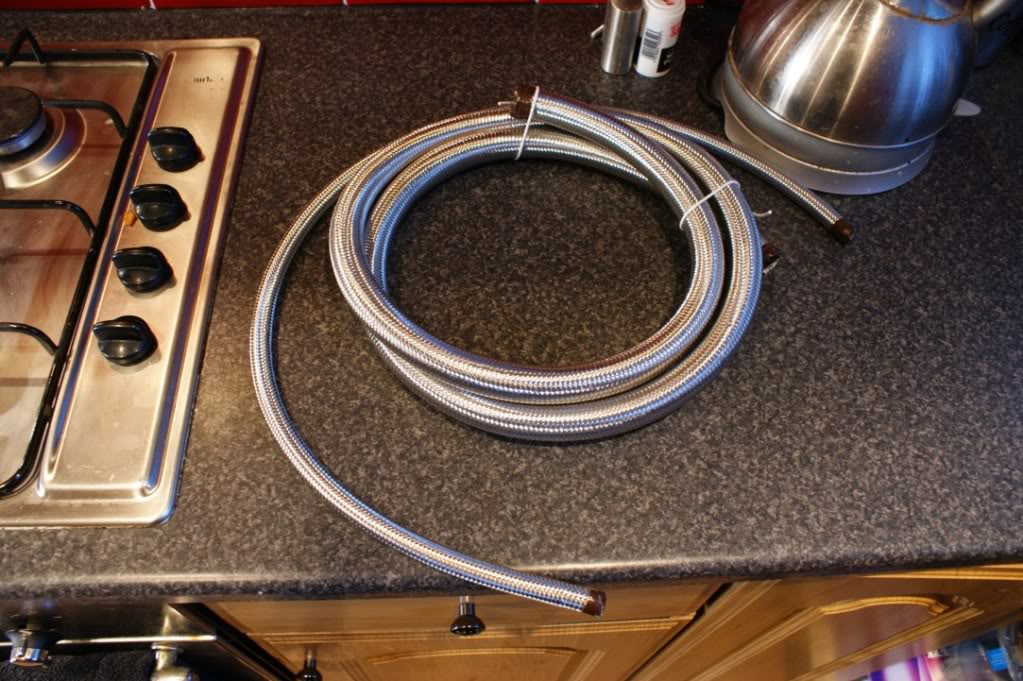
braided hose fitted to the hard lines
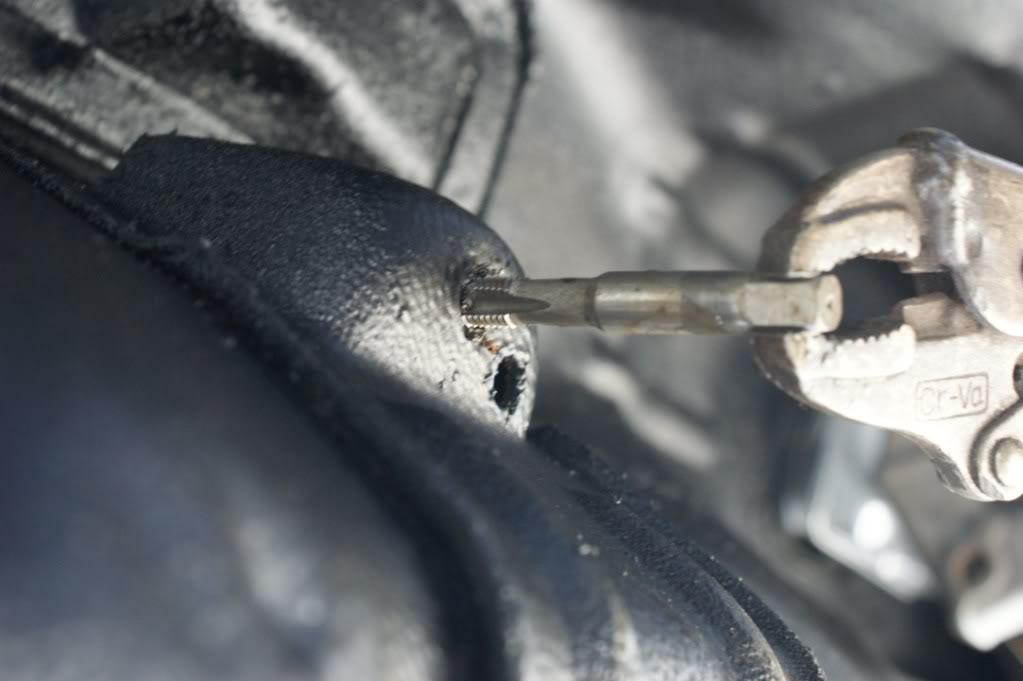
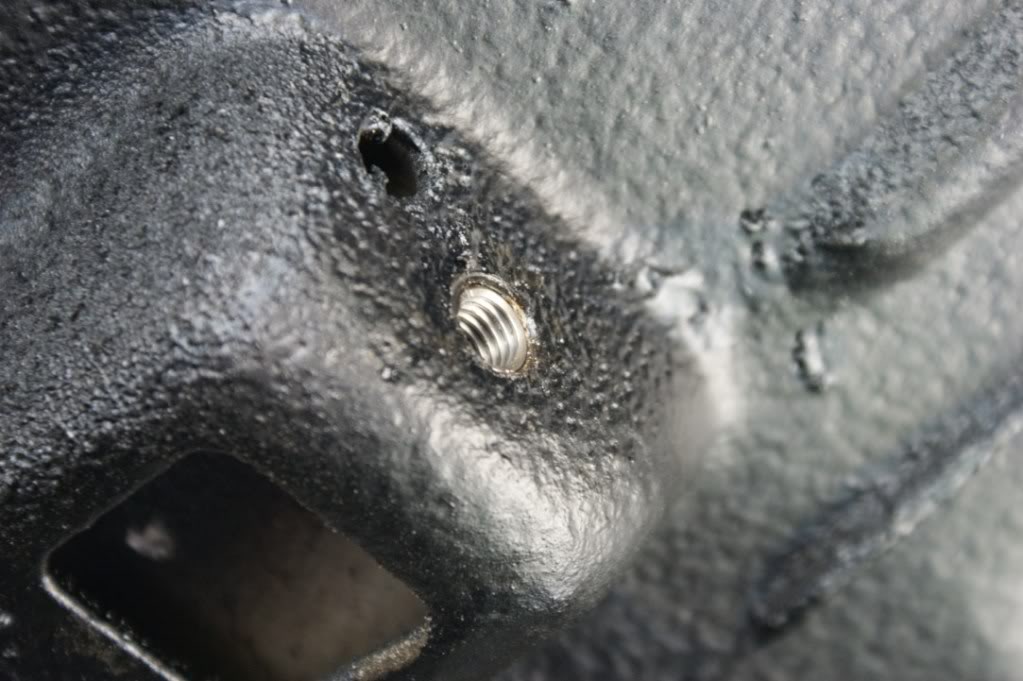
the threads were gone for the prop centre bearing so they were drilled, tapped & helicoiled
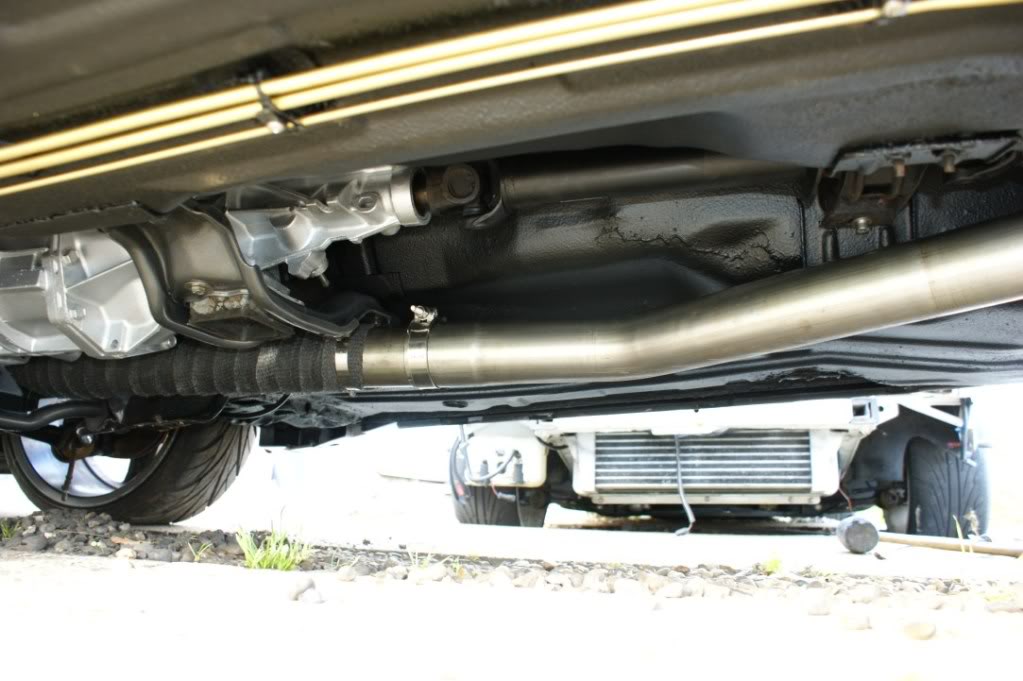
braided powersteering hose fitted
swirl pot fitted
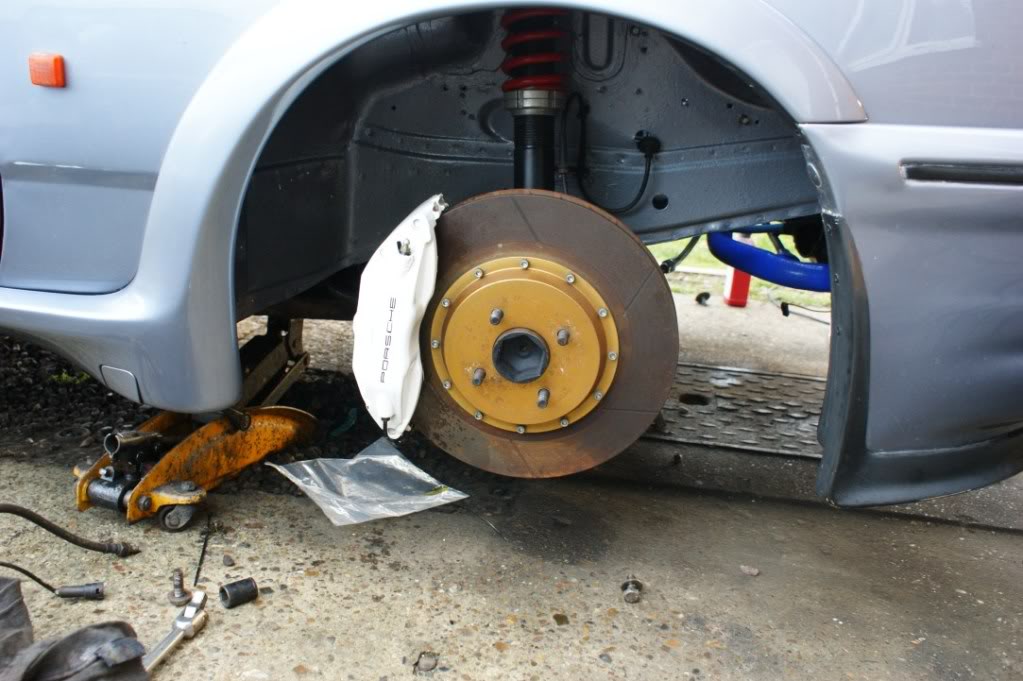
taken the front braked off the saff, the diskes were going rusty so i thougt the 3dr could clean them up untill the saff goes back on the road (if it ever does )
)
fittings on the fuel pressure regulator to take the braided hose
braided hose fitted to the hard lines
the threads were gone for the prop centre bearing so they were drilled, tapped & helicoiled
braided powersteering hose fitted
swirl pot fitted
taken the front braked off the saff, the diskes were going rusty so i thougt the 3dr could clean them up untill the saff goes back on the road (if it ever does


 29-02-2012, 06:22 PM
#145
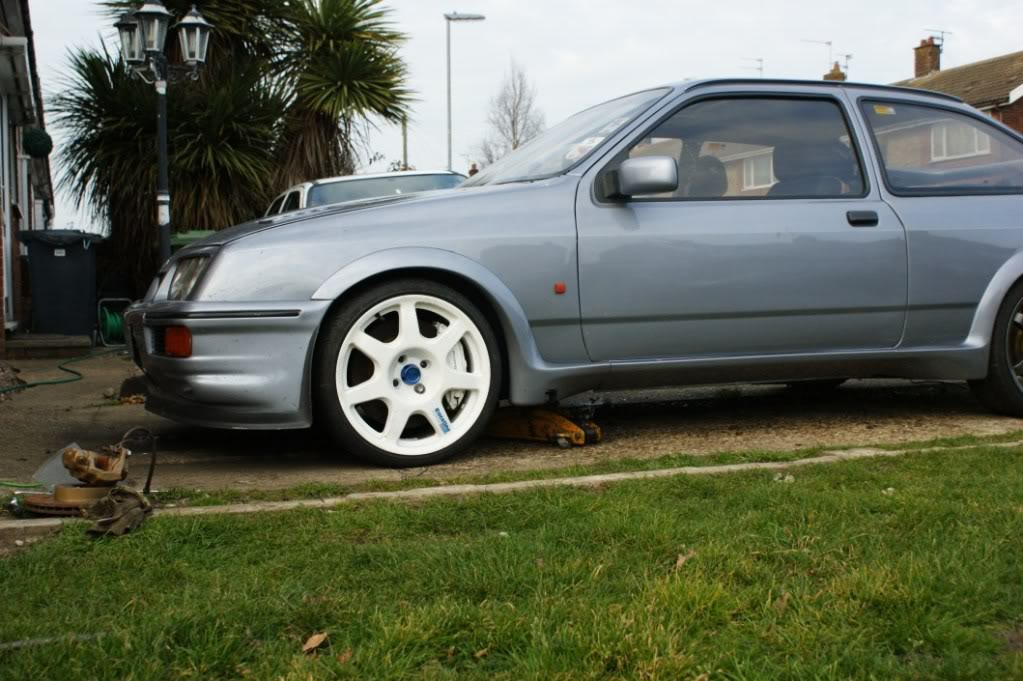
Oh no my fav colour 3 door with fav wheel I'll be selling the escos to buy another! Sadly sold my rl7s last week as said I'd never have another 3 door or saff as after the escos getting a focus. I need an rocket cover like yours please sell it to me lol
29-02-2012, 06:37 PM
#146
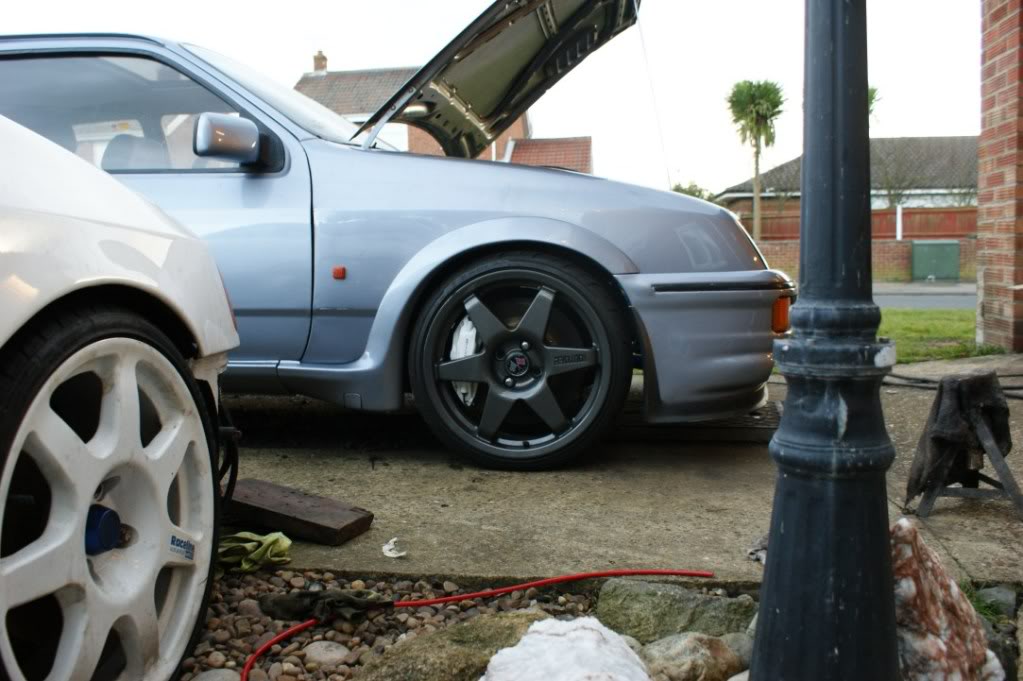
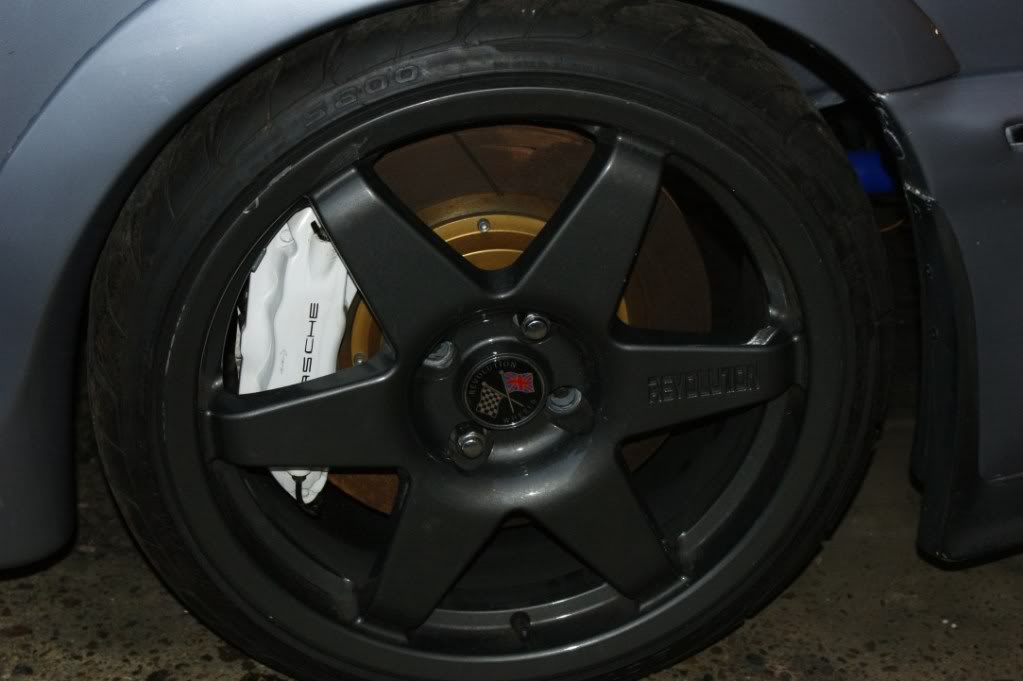
i was originally going to use the rl7's on the 3dr but the offset isnt really that good & they dont clear the front shocks. the cam cover is really easy to do. just mask up the silver & letters & paint in wrinkle black then brush paint the letters after. if you really want, send me your cam cover & ill do it for you
03-03-2012, 05:20 PM
#147
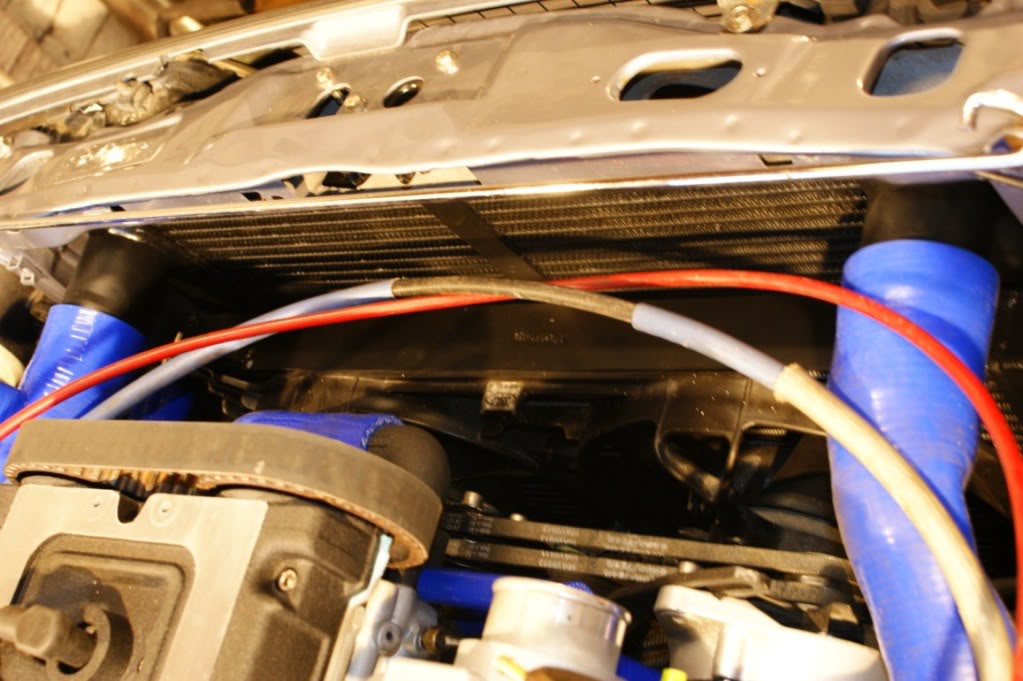
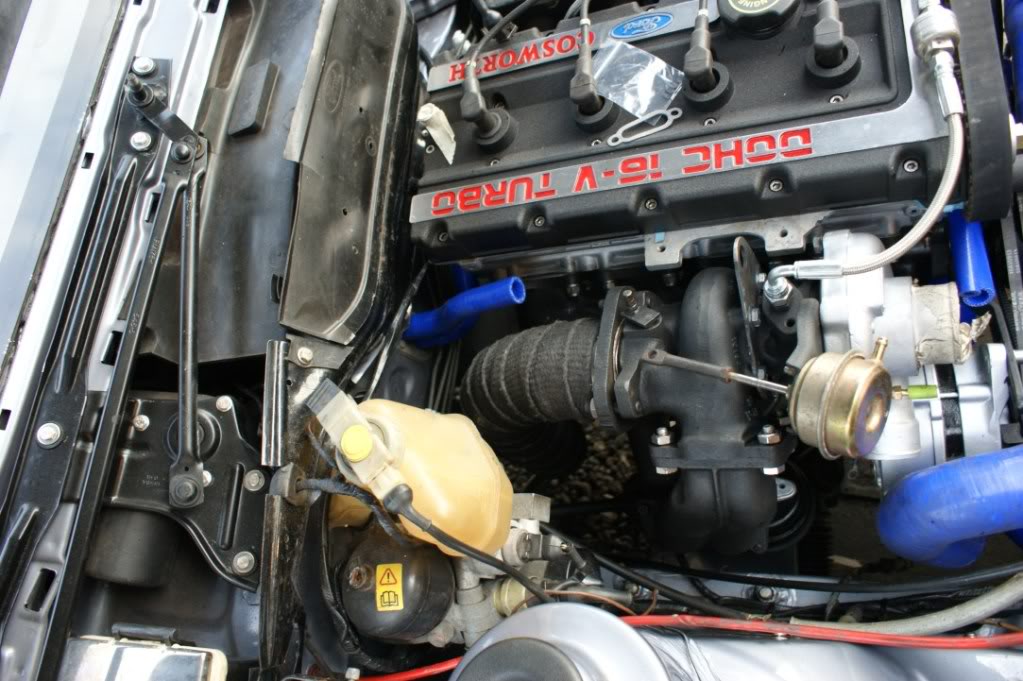
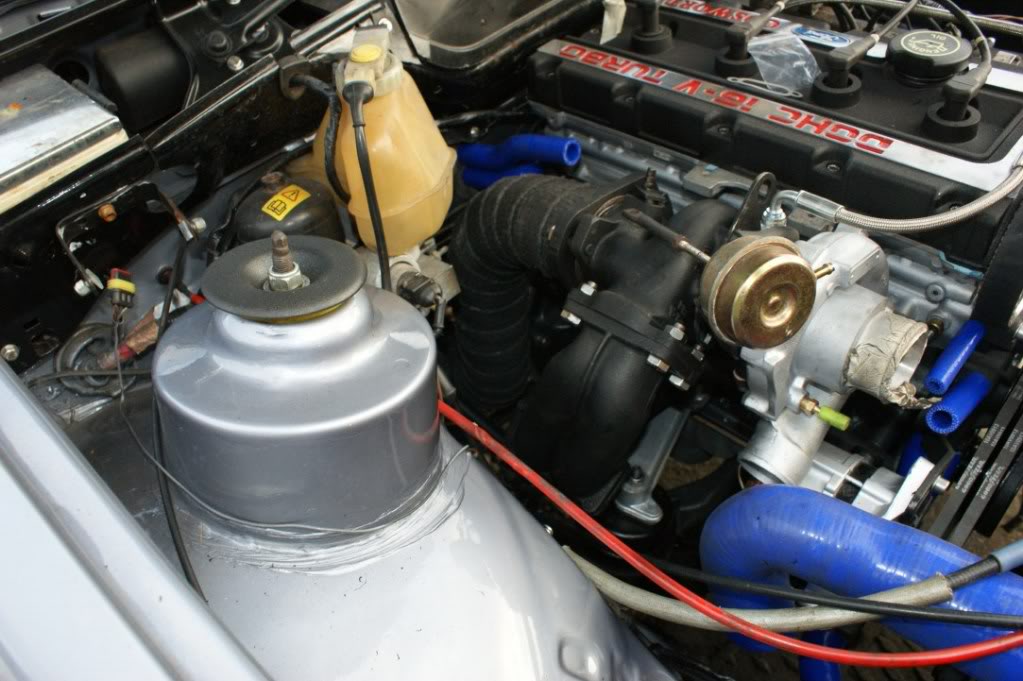
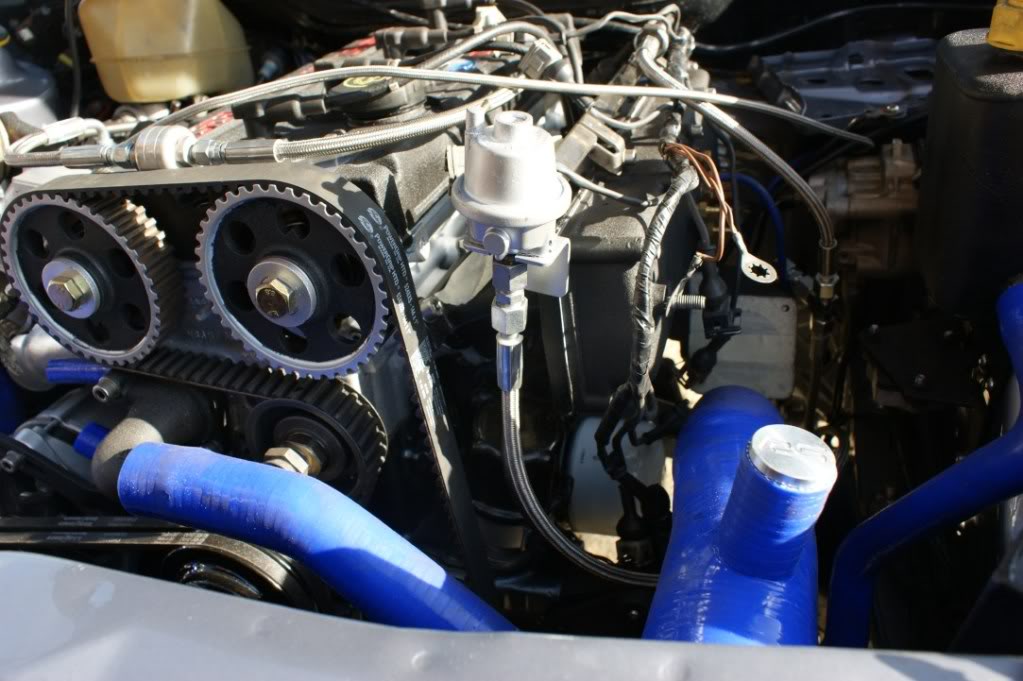
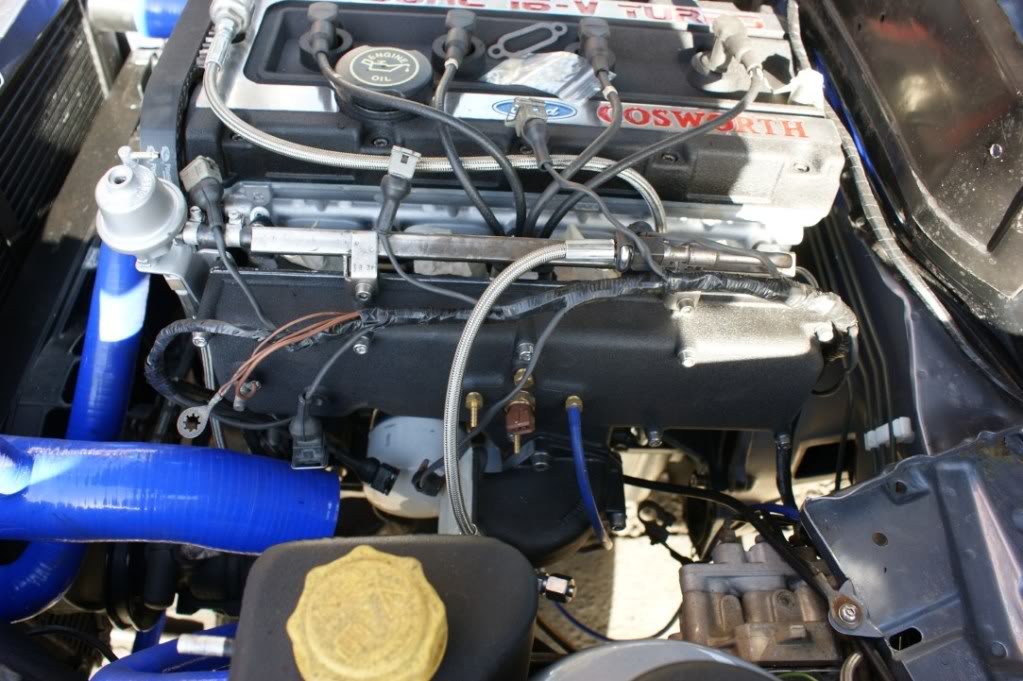
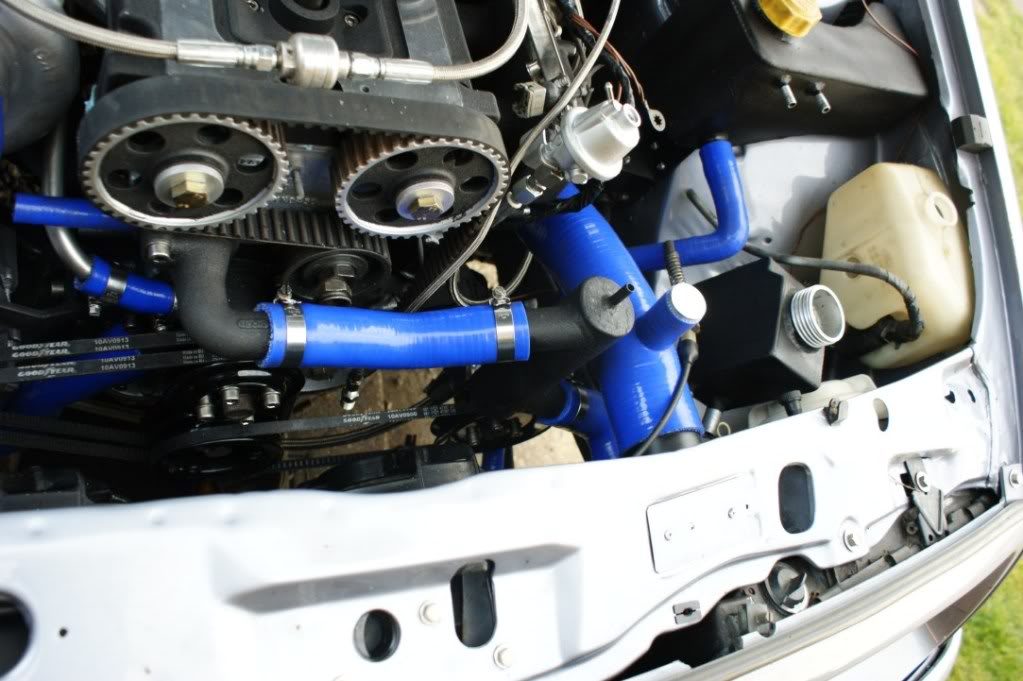
added some extra cut outs to the air box
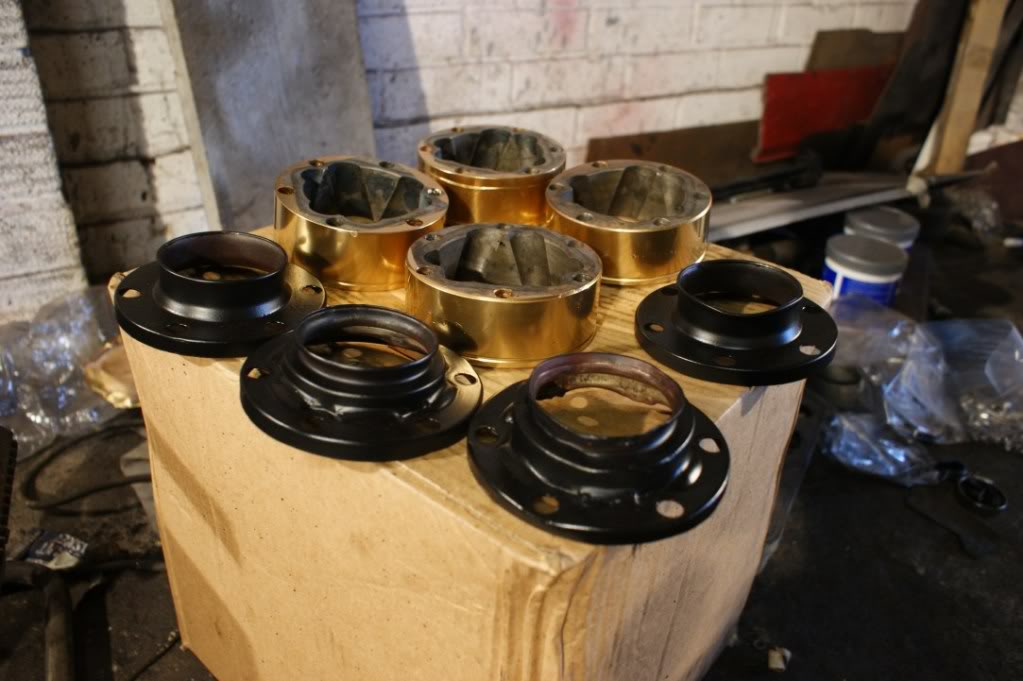
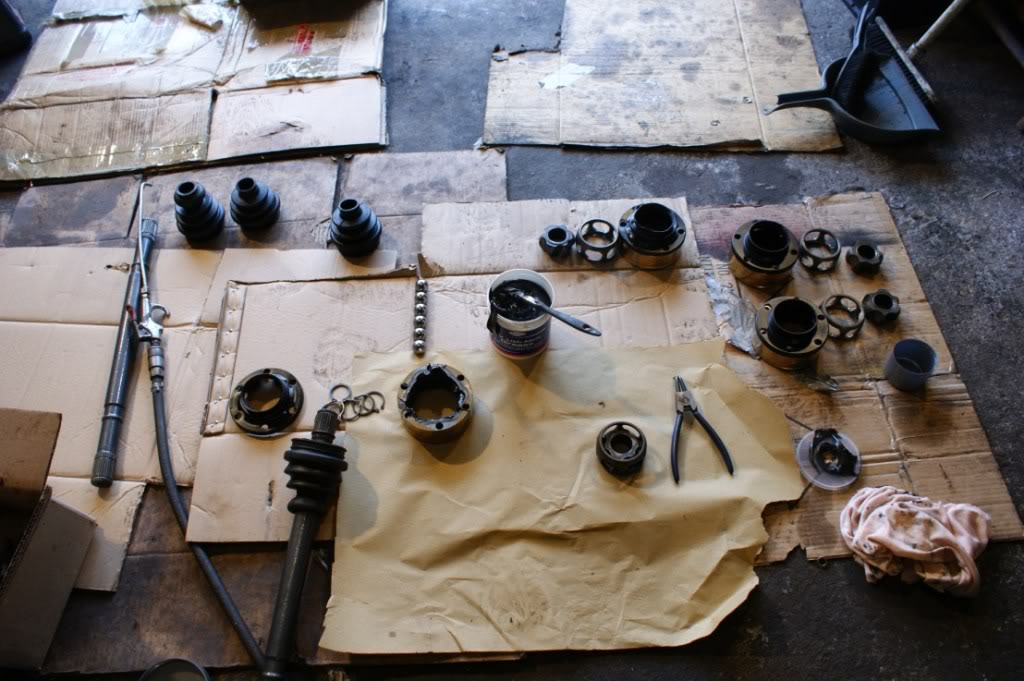
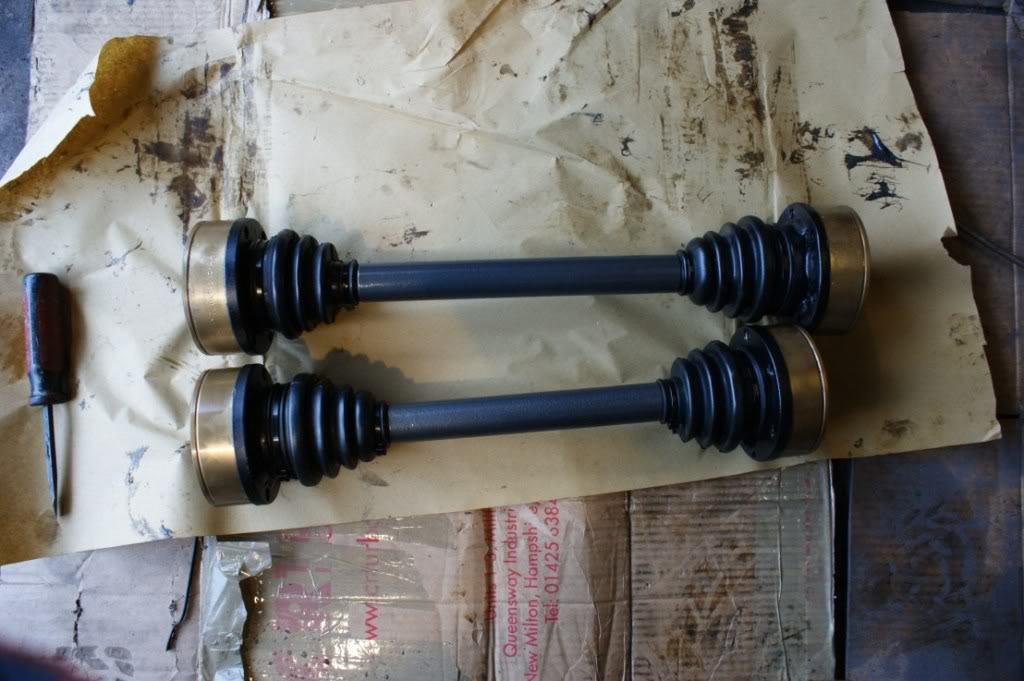
cv joints cleaned & painted, rady for re assembly
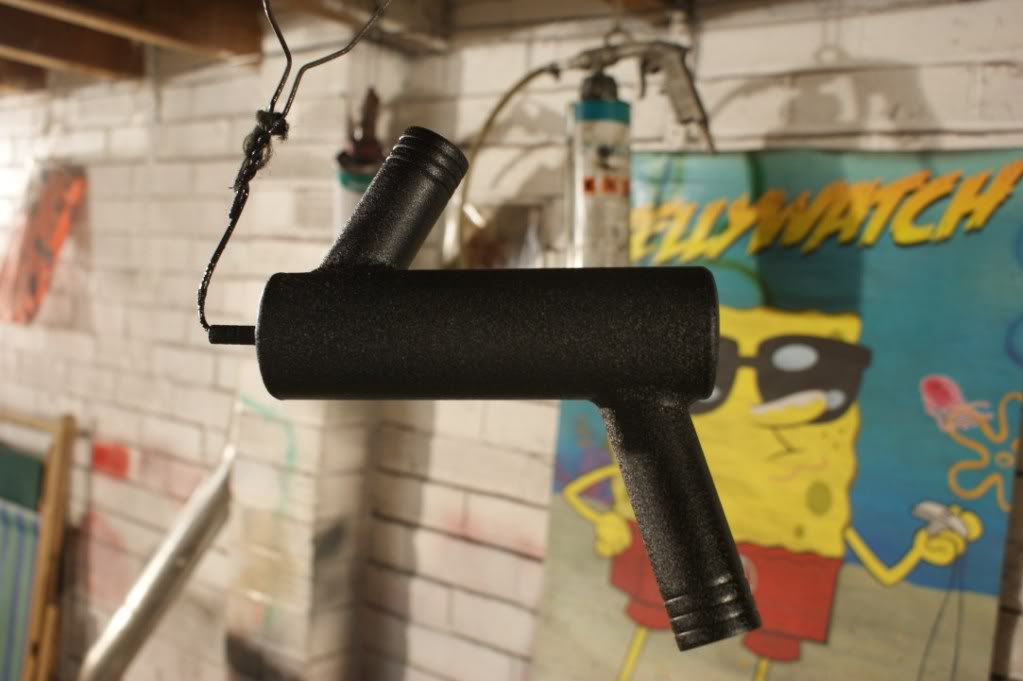
a mate, tony, made me this. its for the oil return on the breather. it will return the oil under the oil level in the sump to stop it trying to breath up it
braided hose for the breather
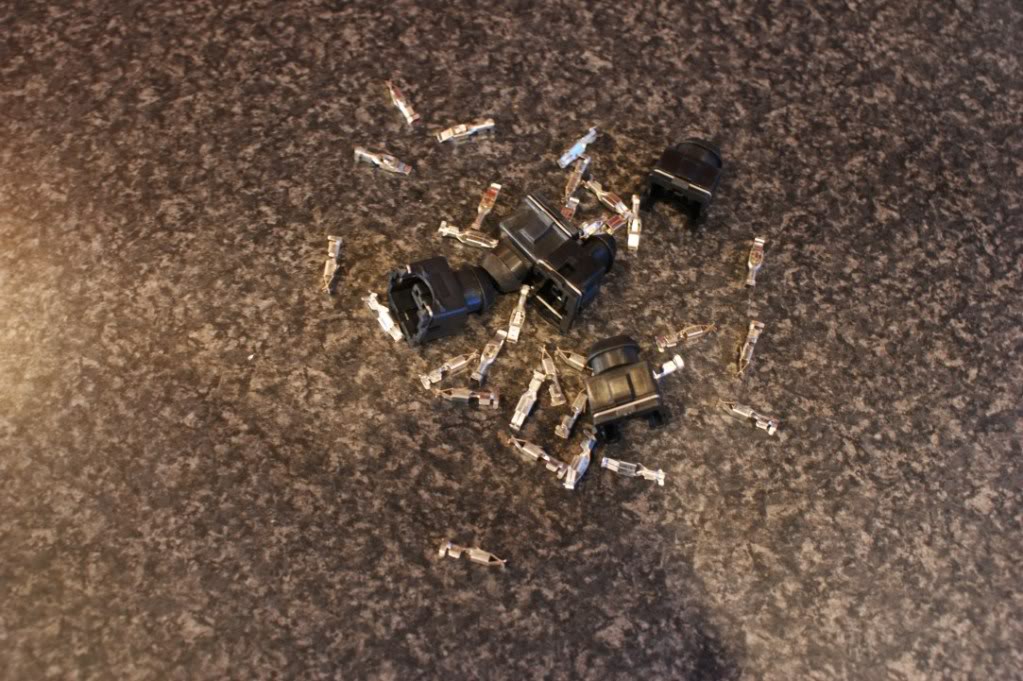
got some new plugs for the injectors & new pins to replace any damaged ones
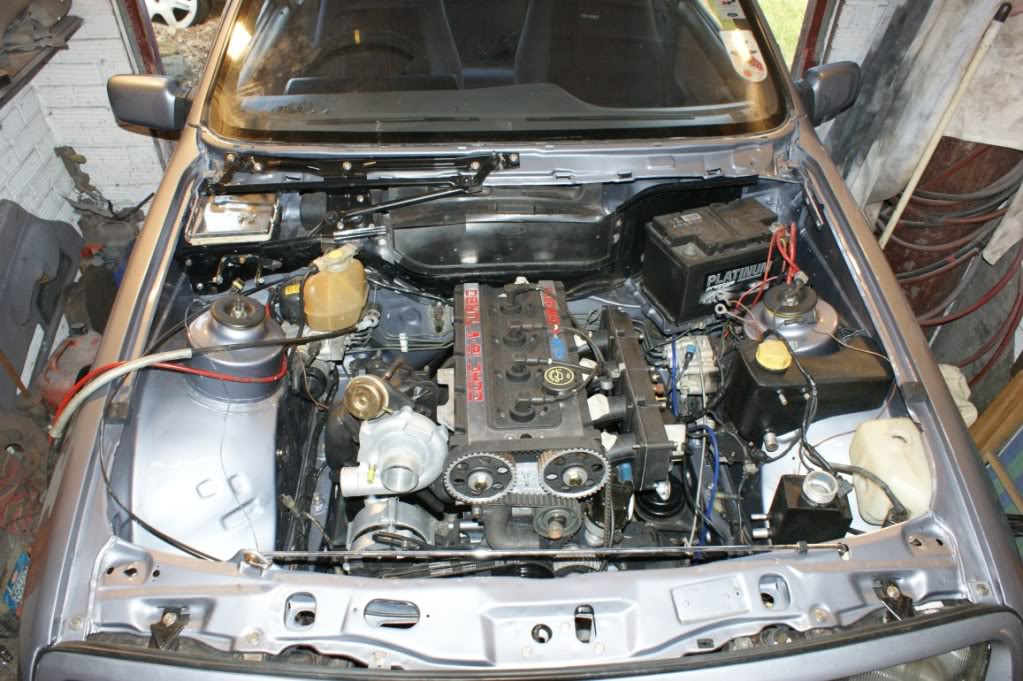
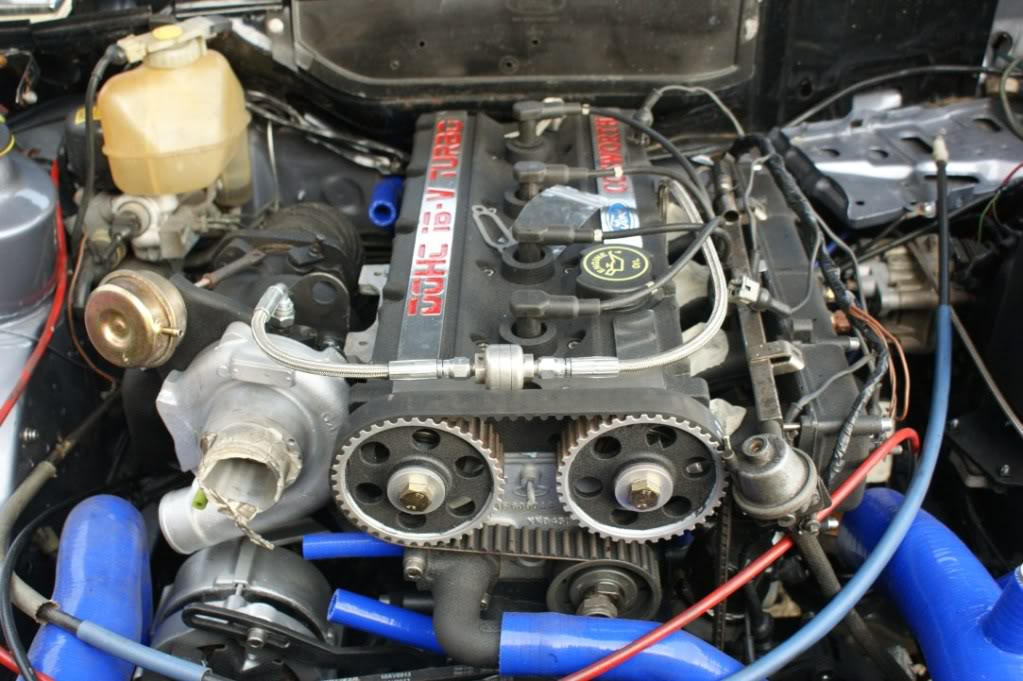
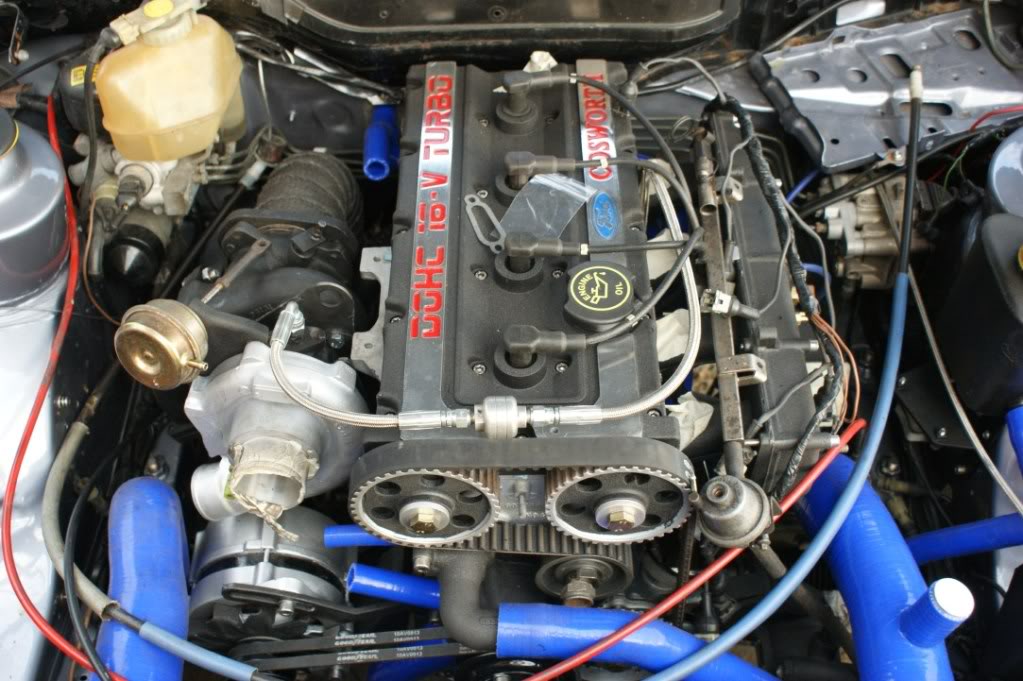
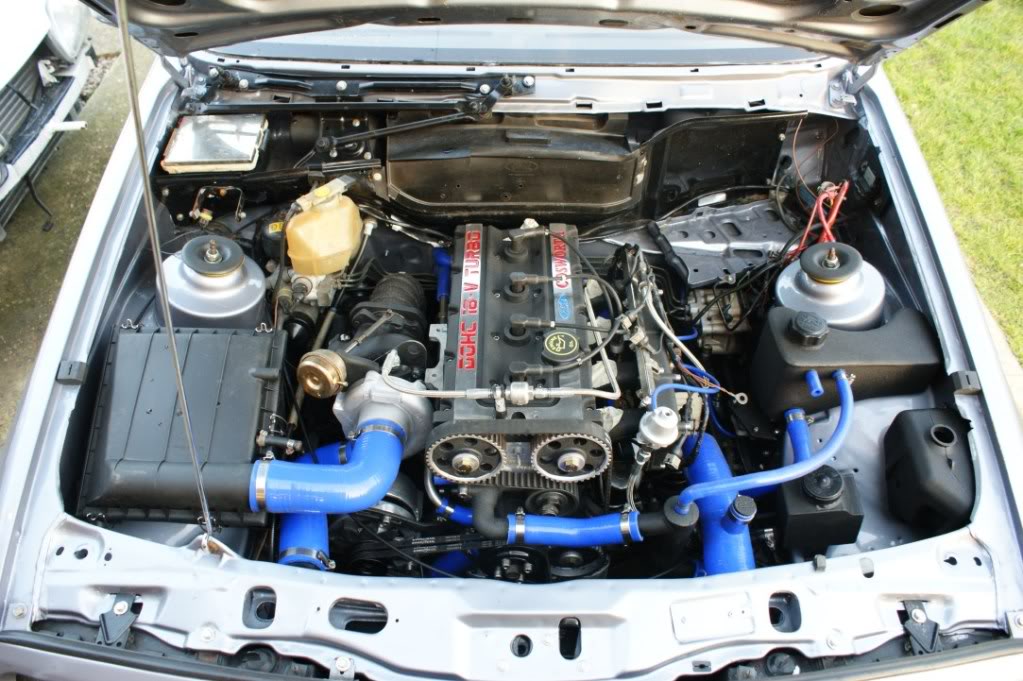
finally this is how the bay is now looking. ive painted the windscreen washer bottle as i didnt like it looking mankey
cv joints cleaned & painted, rady for re assembly
a mate, tony, made me this. its for the oil return on the breather. it will return the oil under the oil level in the sump to stop it trying to breath up it
braided hose for the breather
got some new plugs for the injectors & new pins to replace any damaged ones
finally this is how the bay is now looking. ive painted the windscreen washer bottle as i didnt like it looking mankey
Last edited by jaimesdna; 03-03-2012 at 05:22 PM.

 04-03-2012, 12:43 PM
#155
Part of the Furniture

Hi mate fantastic work,how did you get your rear driveshafts plated on outside only i didnt realize it could be done that way was it easy to sort.......
 14-03-2012, 08:15 PM
#158
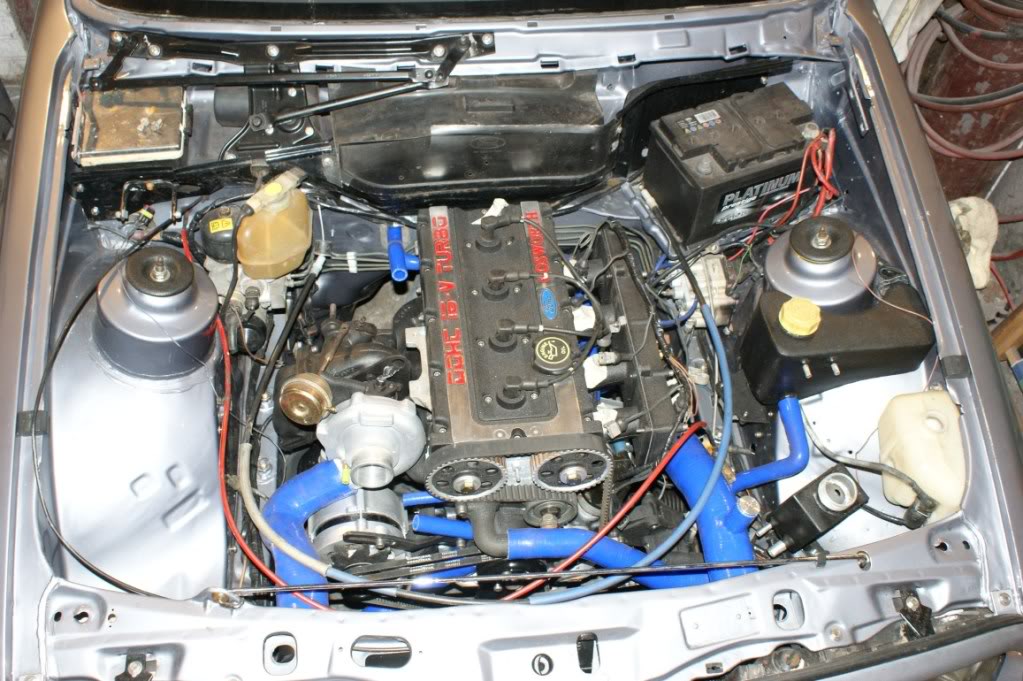
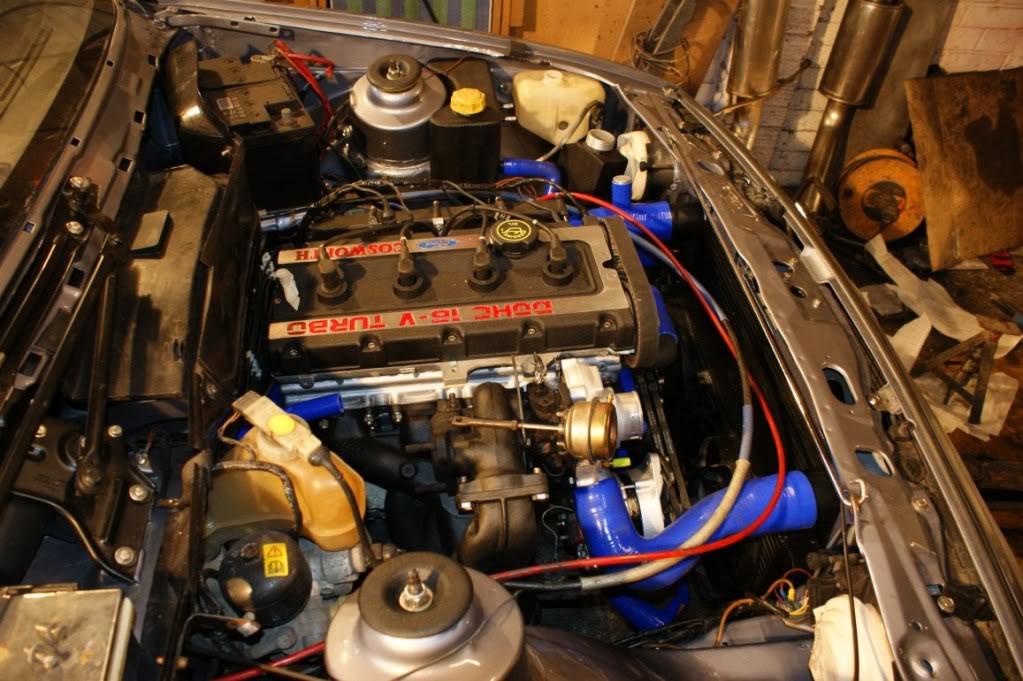
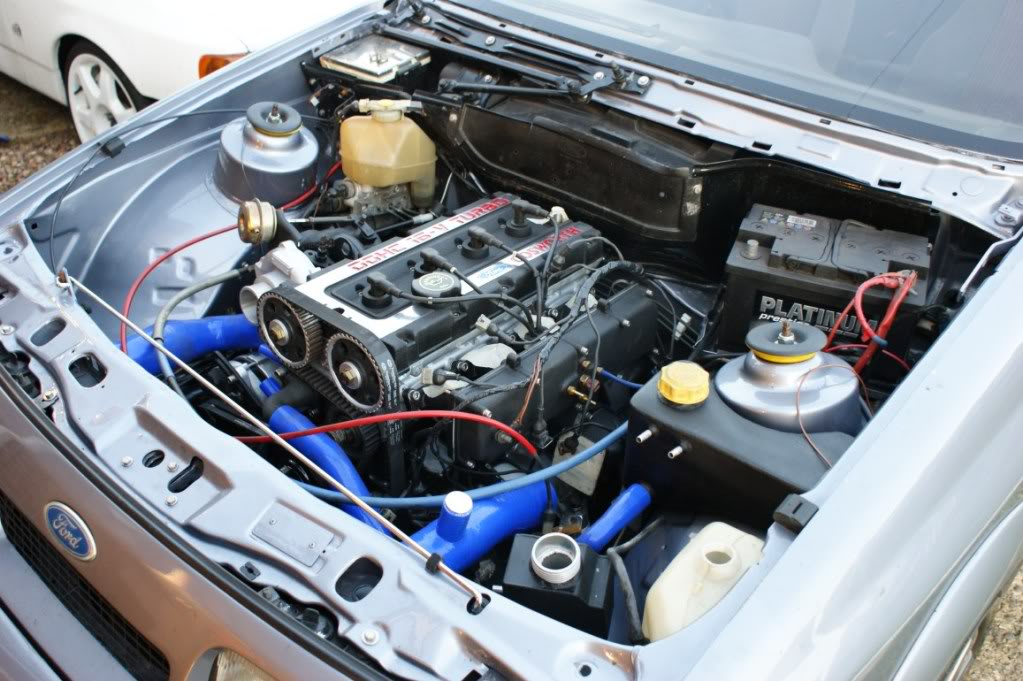
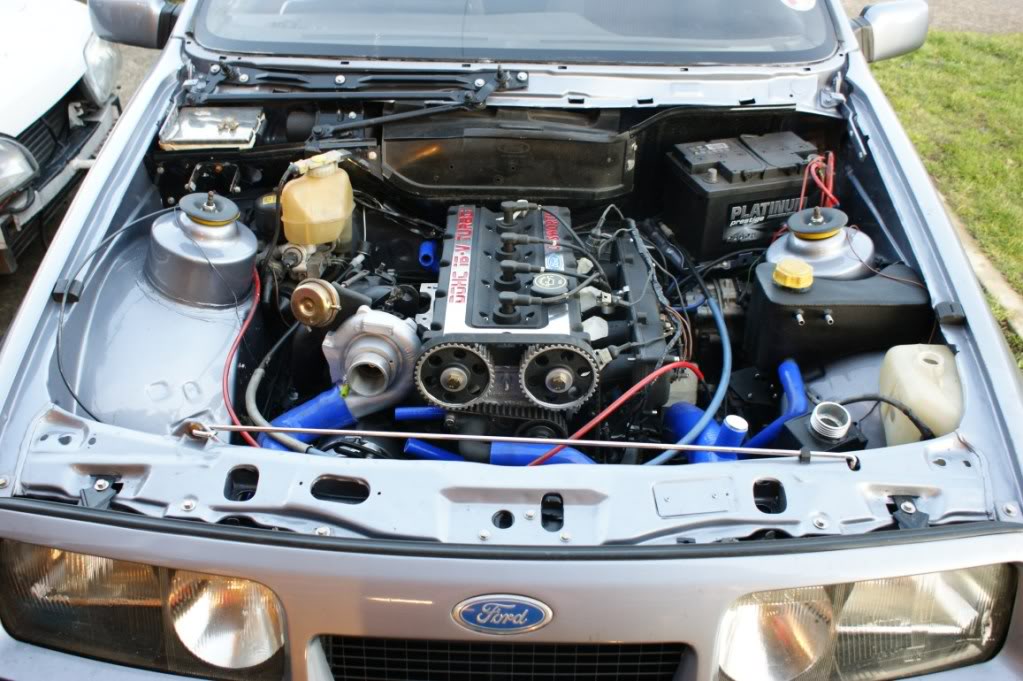
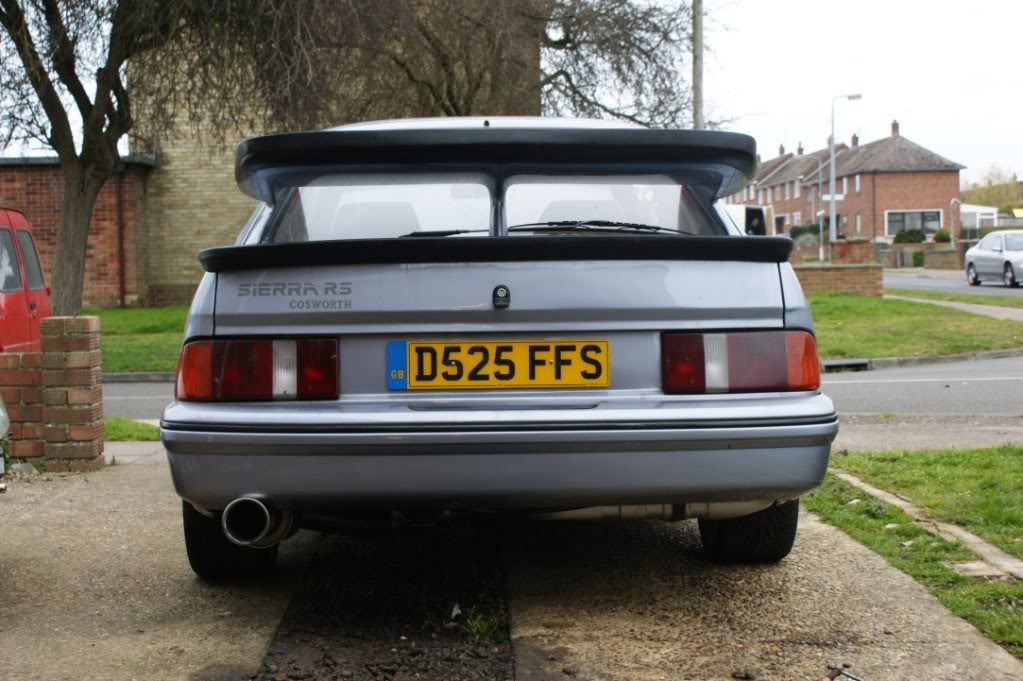
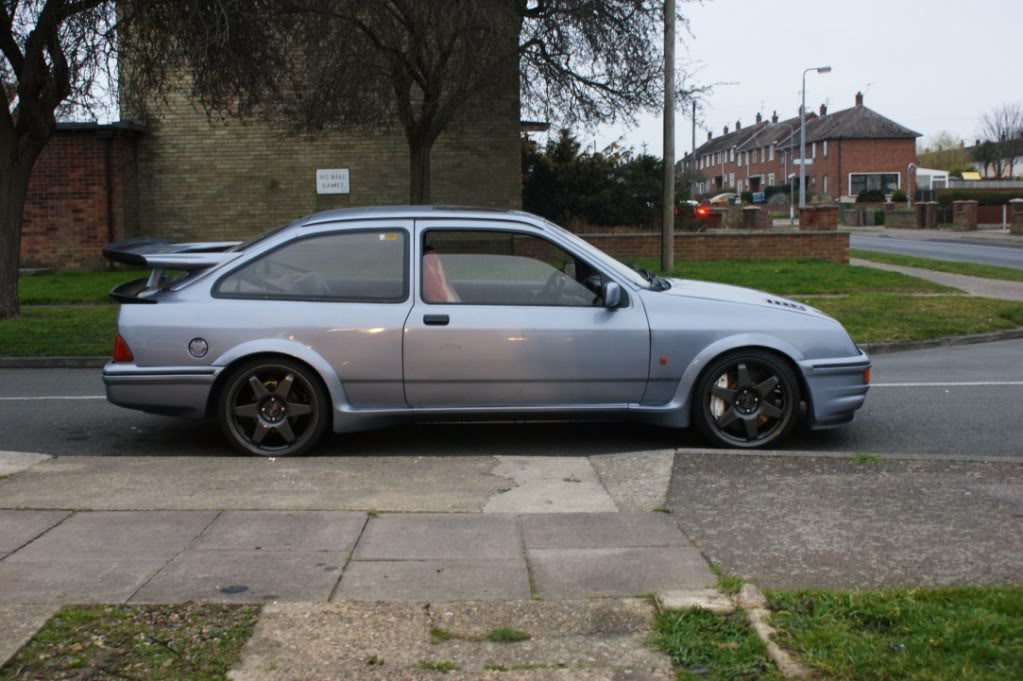
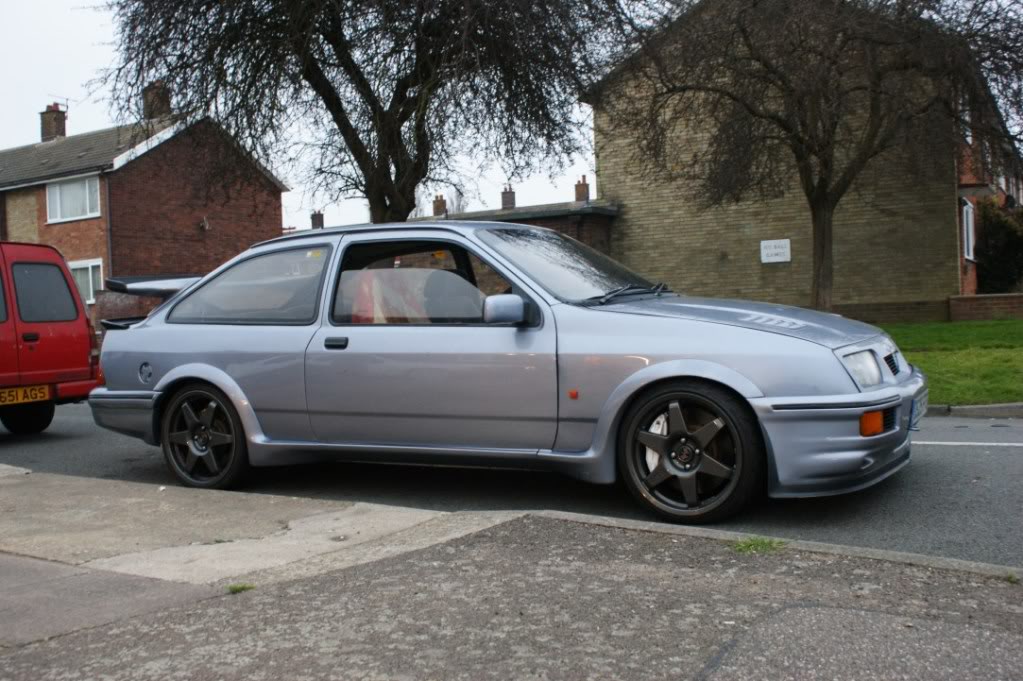
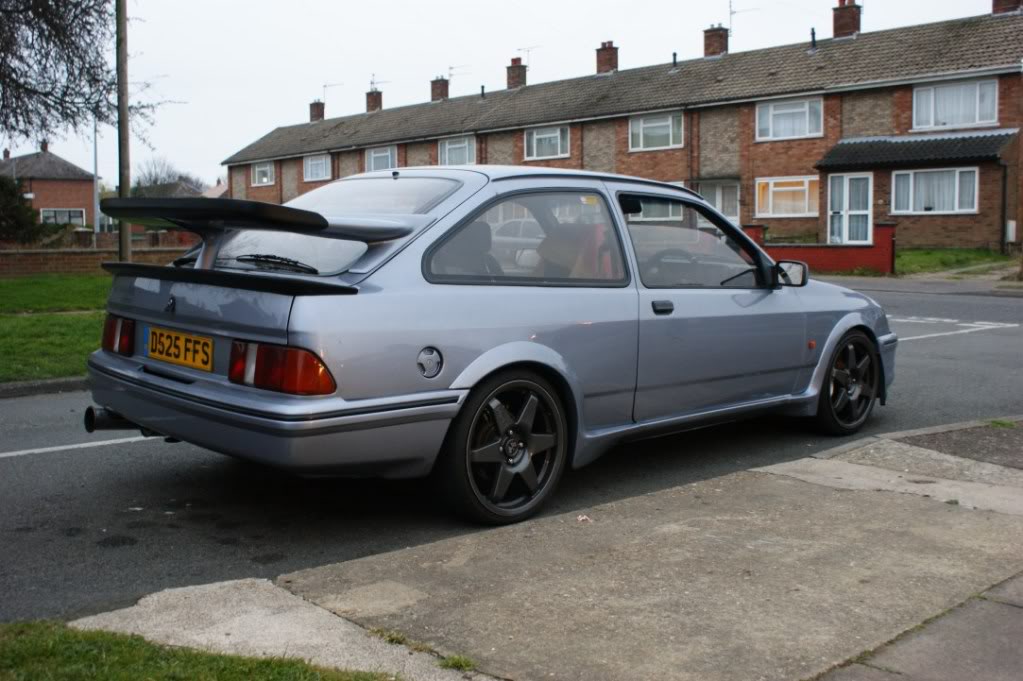
as of the weekend the cossy now runs & drives. i was happy that it started pretty much on the key. there's still loads of small jobs that need doing but ill be taxing it at the end of the month. anyway heres some pics.
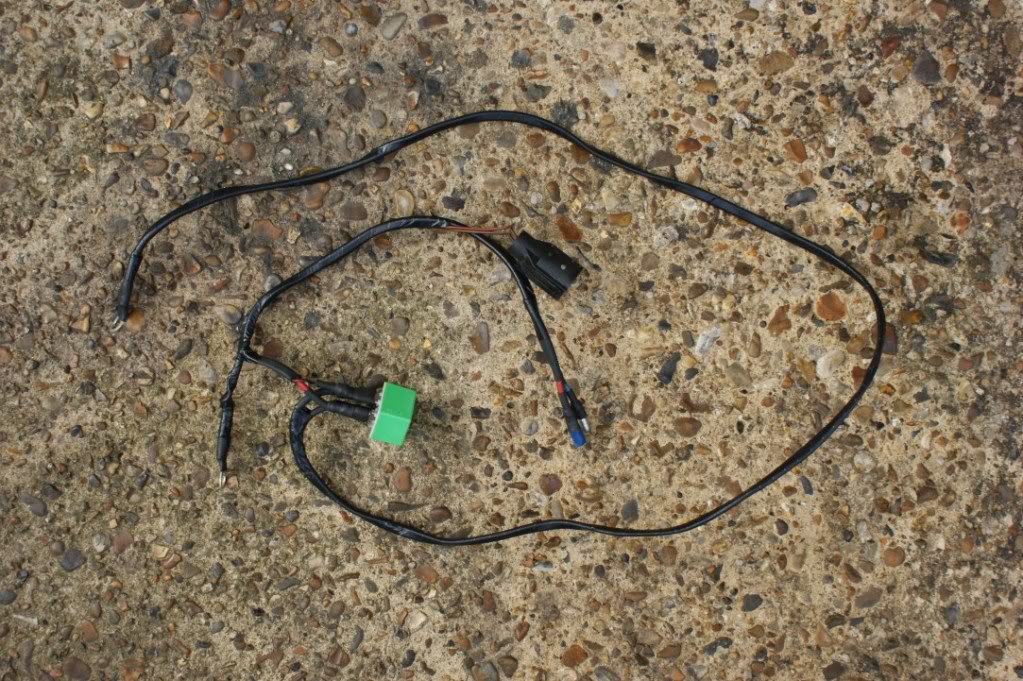
made a fan loom
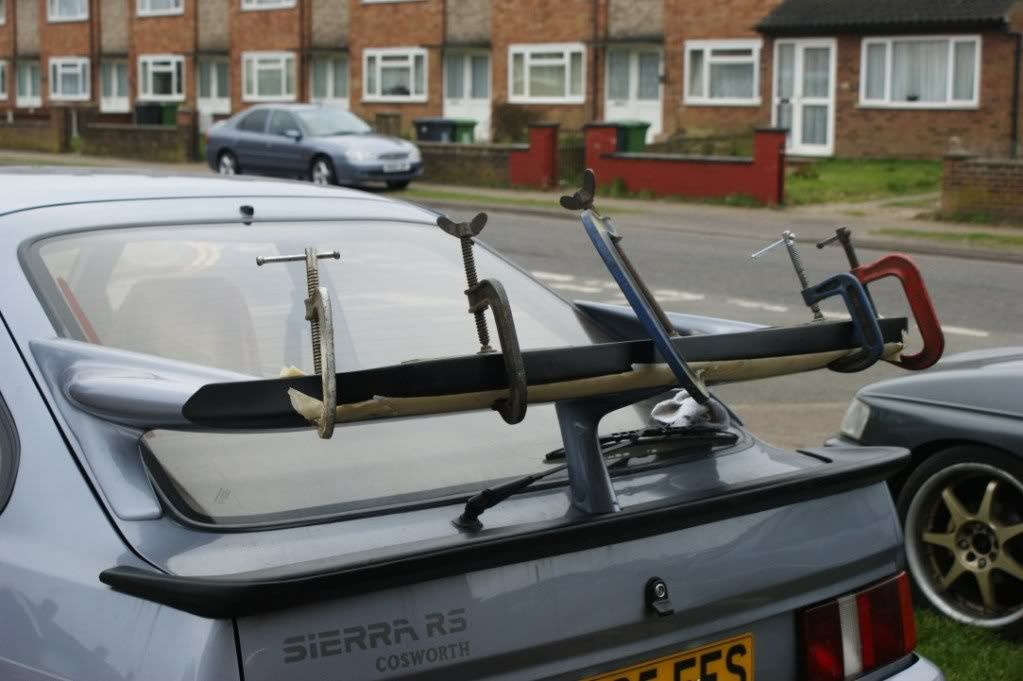
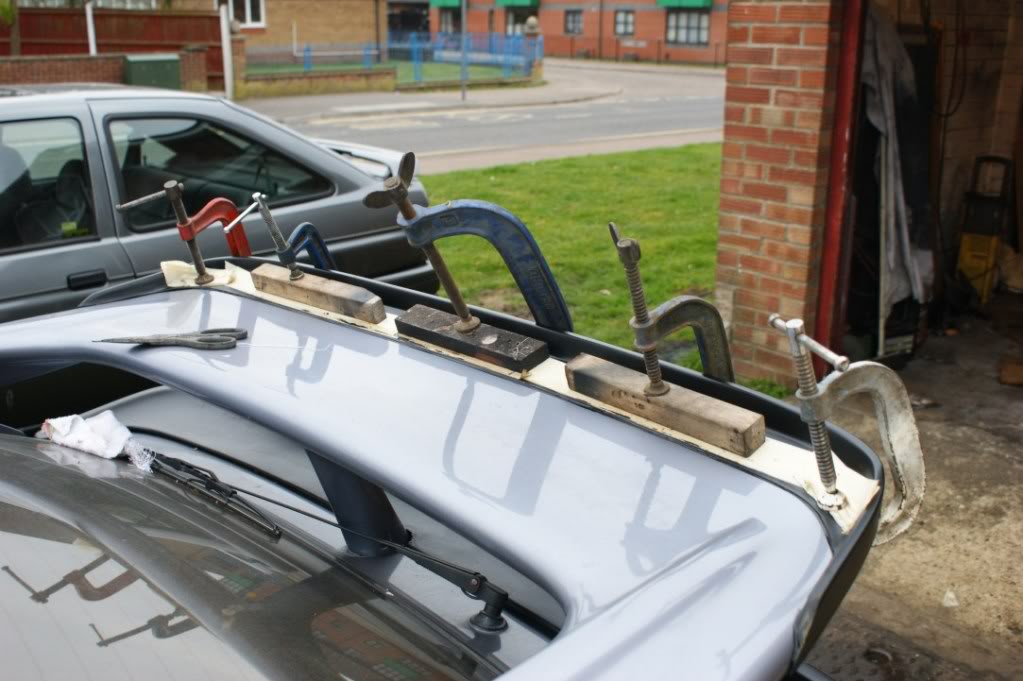
fitted the rs500 lip with tiger seal

ive also bought a fiberglass rs500 front bumper so im looking forward to getting that & getting it painted & fitted
made a fan loom
fitted the rs500 lip with tiger seal
ive also bought a fiberglass rs500 front bumper so im looking forward to getting that & getting it painted & fitted


