Ford 100e ST
 13-03-2012, 10:24 PM
#121
Ben

Missed the last update.
Glad things are back on their feet, hope it all pans out well
Looking forward to more updates.
Glad things are back on their feet, hope it all pans out well
Looking forward to more updates.
 30-03-2012, 05:18 PM
#122
Regular Contributor
Thread Starter

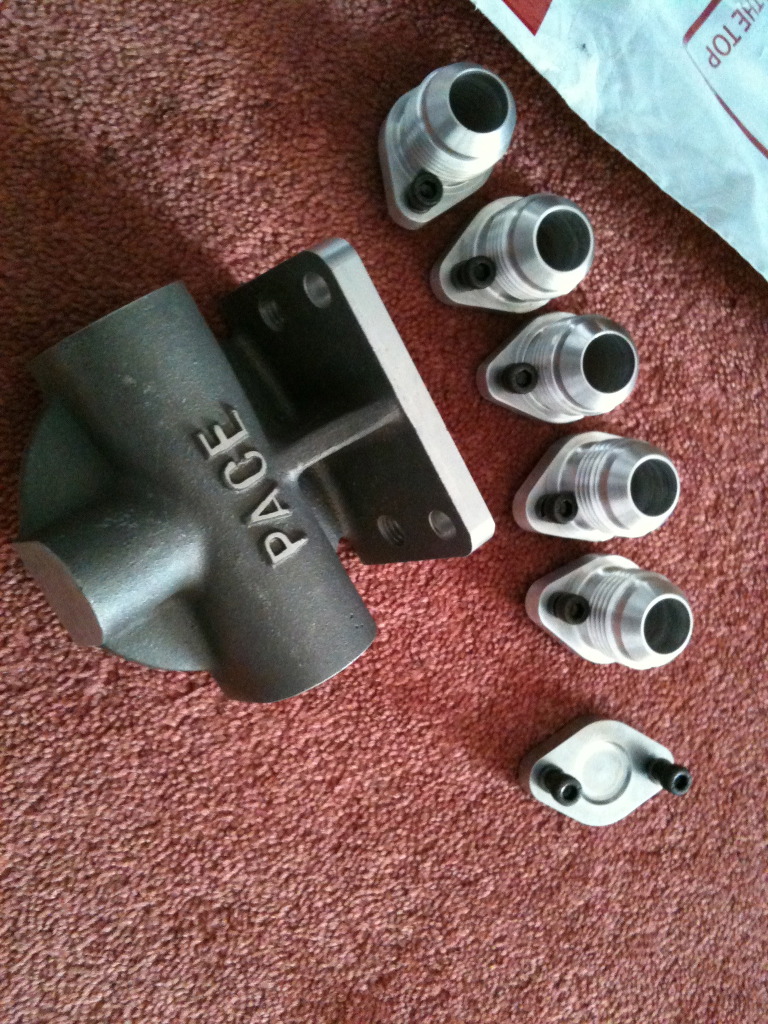
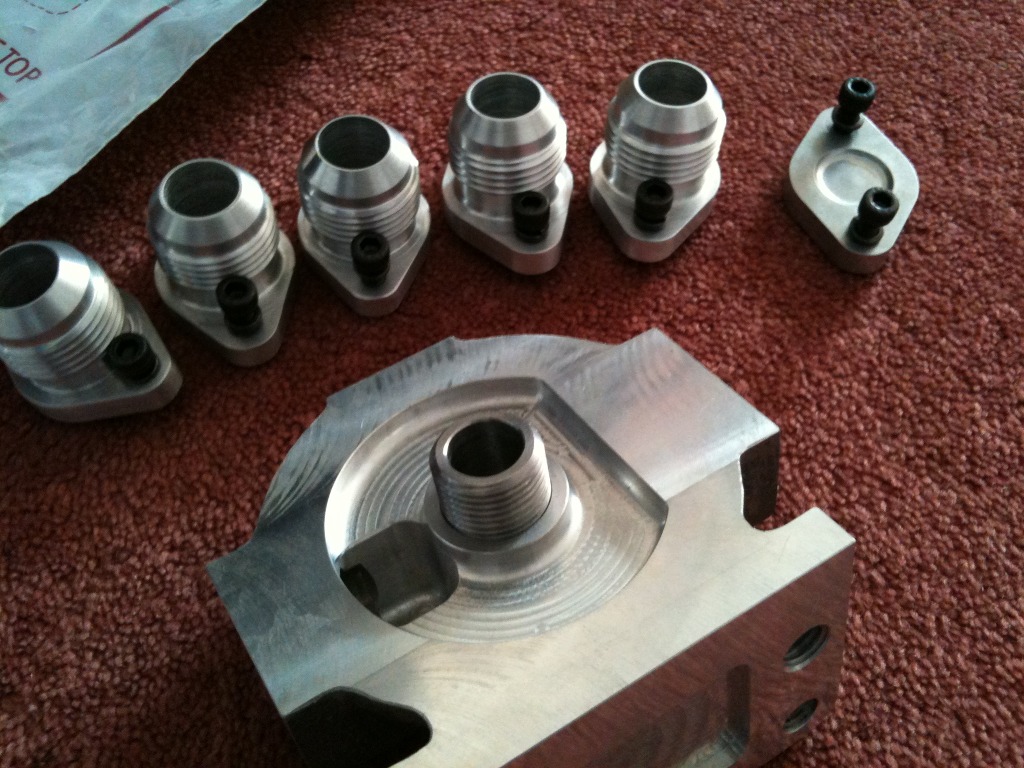
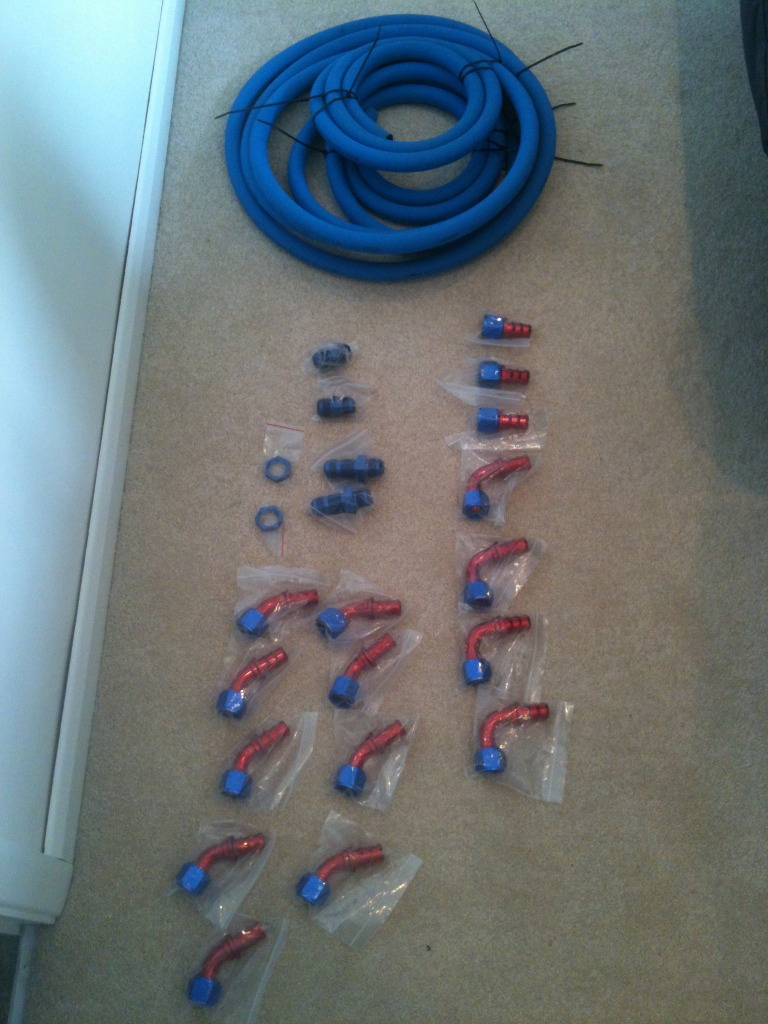
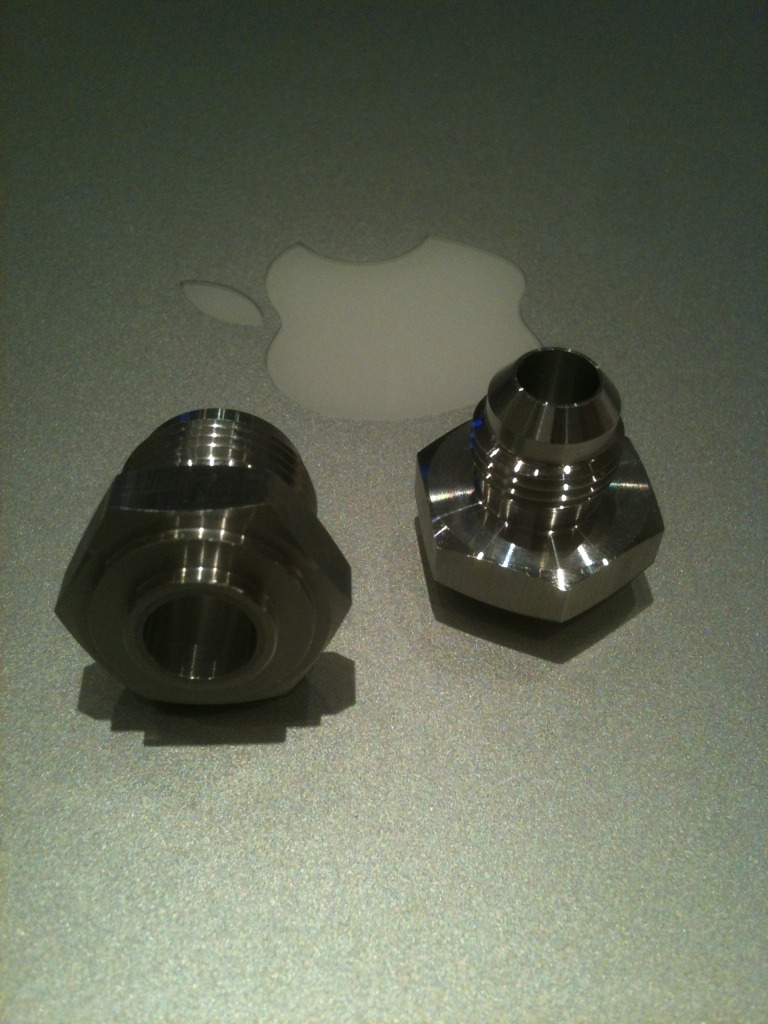
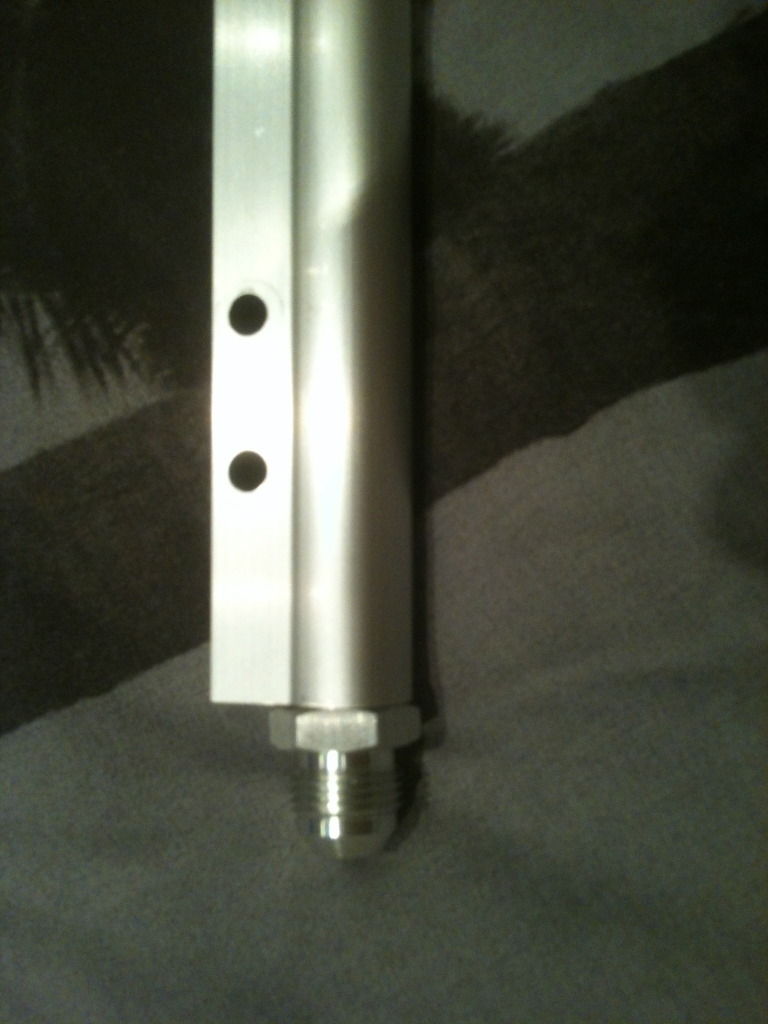
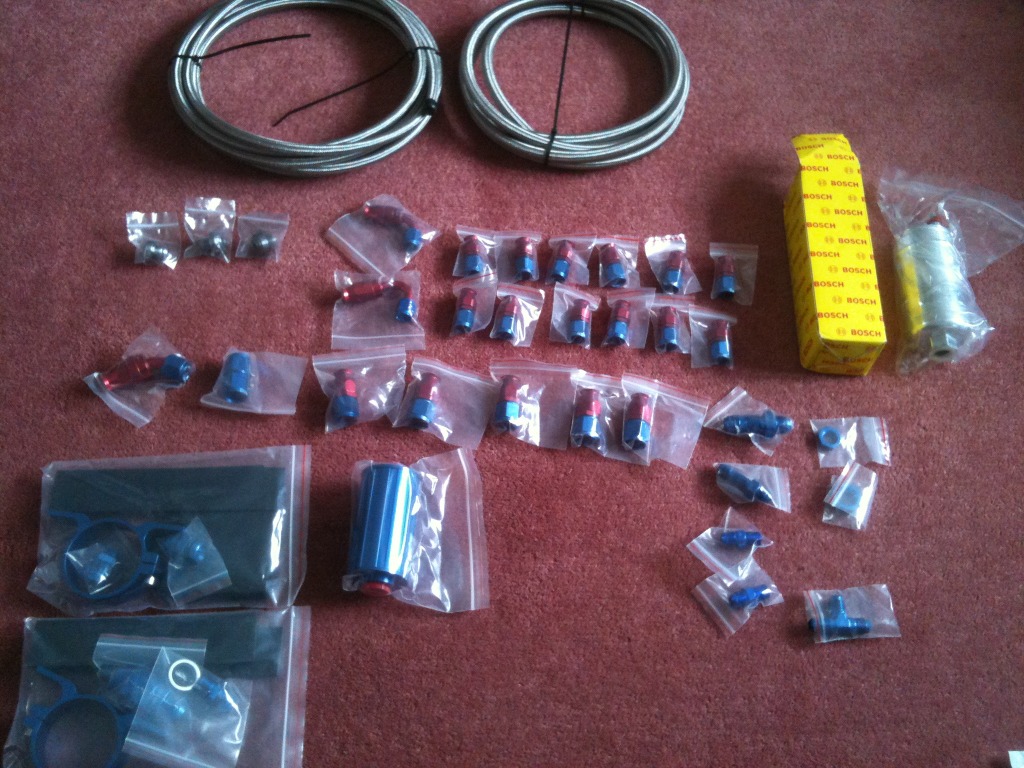
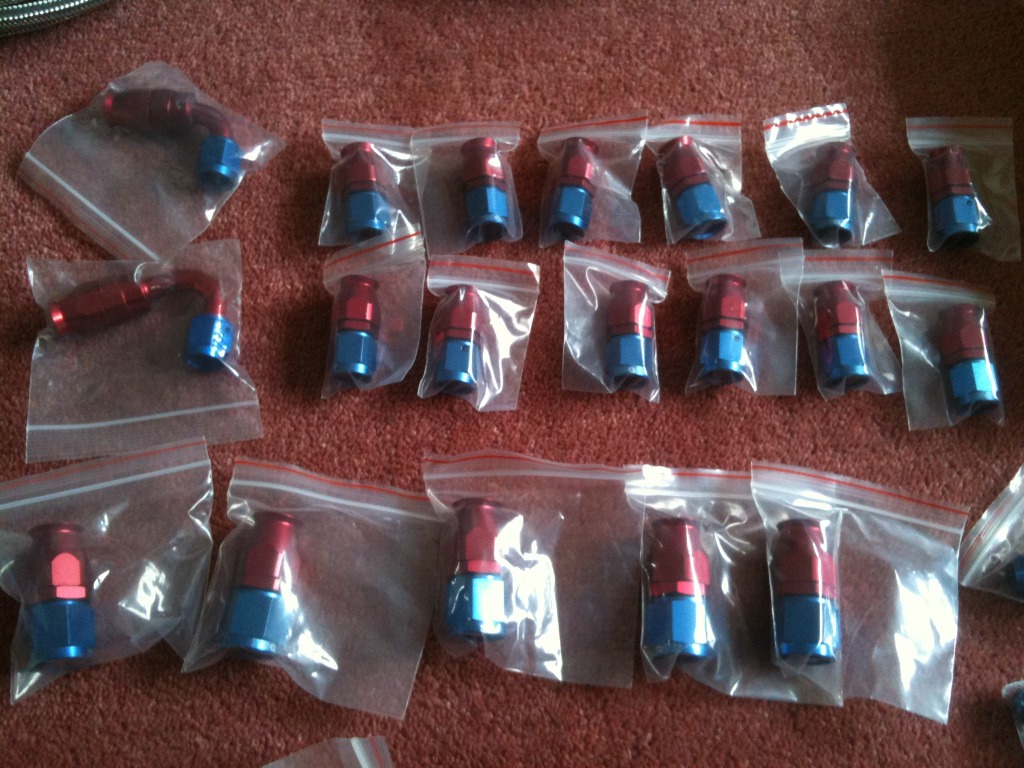
Just a brief update, these goodies arrived today, the start of all the fittings for the oil system. Cost an arm and a leg 
Will next update will be more productive..
Will next update will be more productive..
06-04-2012, 10:40 PM
#123
big floppy donkey dick
Join Date: May 2003
Location: Rouse Sport heaven ;)
Posts: 4,514
Likes: 0
Received 3 Likes
on
3 Posts
That sir, is an absolute, without doubt, masterpiece of engineering!
true labour of love that is stunning, with the best still to come, no doubt!
gladly seeking more work
true labour of love that is stunning, with the best still to come, no doubt!
gladly seeking more work
 06-04-2012, 11:18 PM
#126
big floppy donkey dick
Join Date: May 2003
Location: Rouse Sport heaven ;)
Posts: 4,514
Likes: 0
Received 3 Likes
on
3 Posts
ive already asked about this too
funny, i was at one of my centres last week to do a diag on some modern shitbox, and in for MOT work (front slave cyl and shoes) was a red/white splittie, i nearly pissed myself lol
stunning bit of kit, funny thing was, the splitty was in the car park next to a F430 spyder, everyone was crowded round the splitty
Last edited by Cossie Sean; 06-04-2012 at 11:20 PM.


 07-04-2012, 02:55 PM
#128
Too many posts.. I need a life!!


 19-04-2012, 02:18 AM
#129
PassionFord Post Troll
20-04-2012, 12:52 PM
#130
Regular Contributor
Thread Starter
small update, went shopping today, this should now be everything i need to finish plumbing in the dry sump system....word of advice, never do a dry sump system!
more updates to follow, just waiting on the brake lines and seat to install
more updates to follow, just waiting on the brake lines and seat to install
 09-05-2012, 11:03 PM
#134
Regular Contributor
Thread Starter
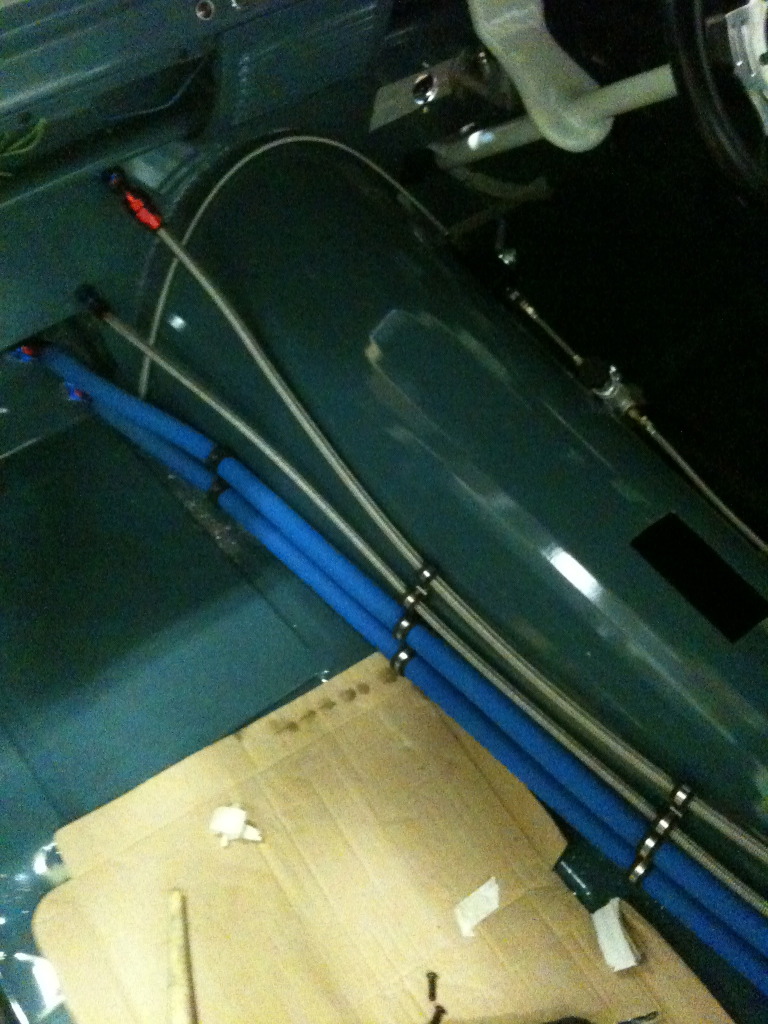
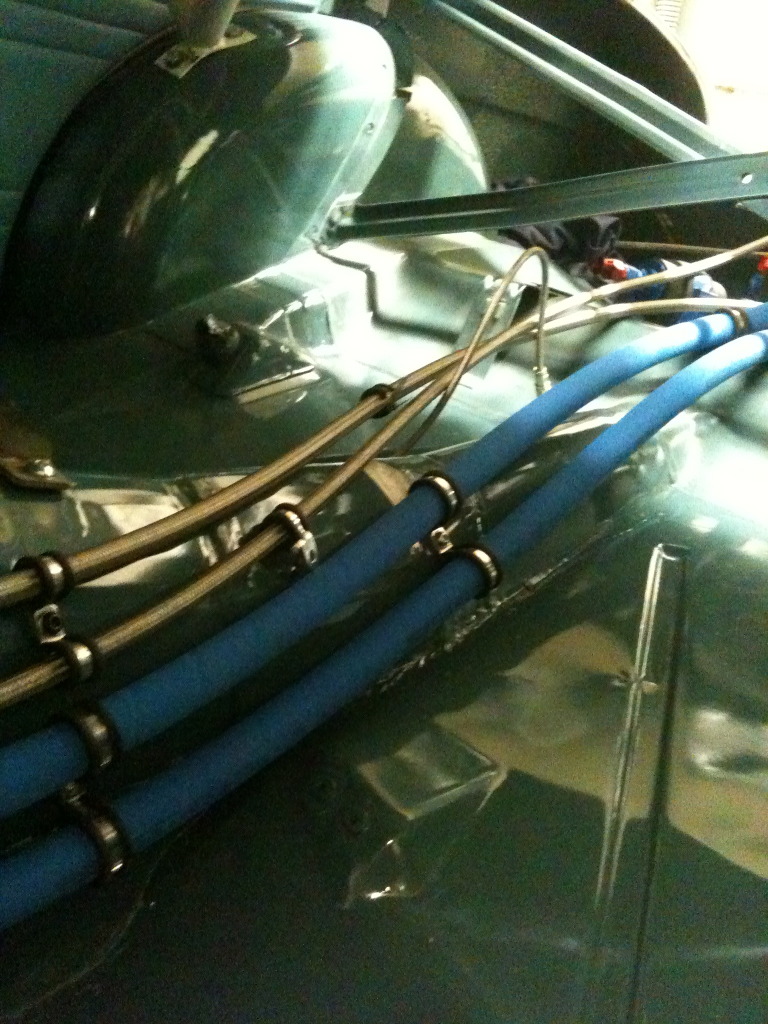
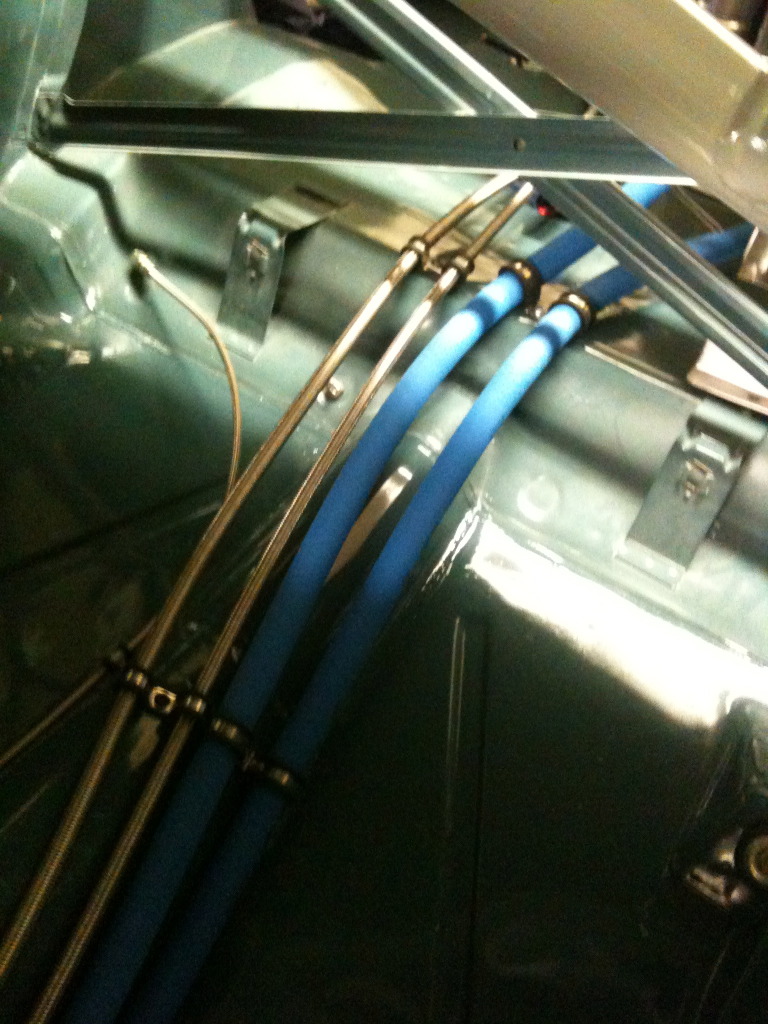
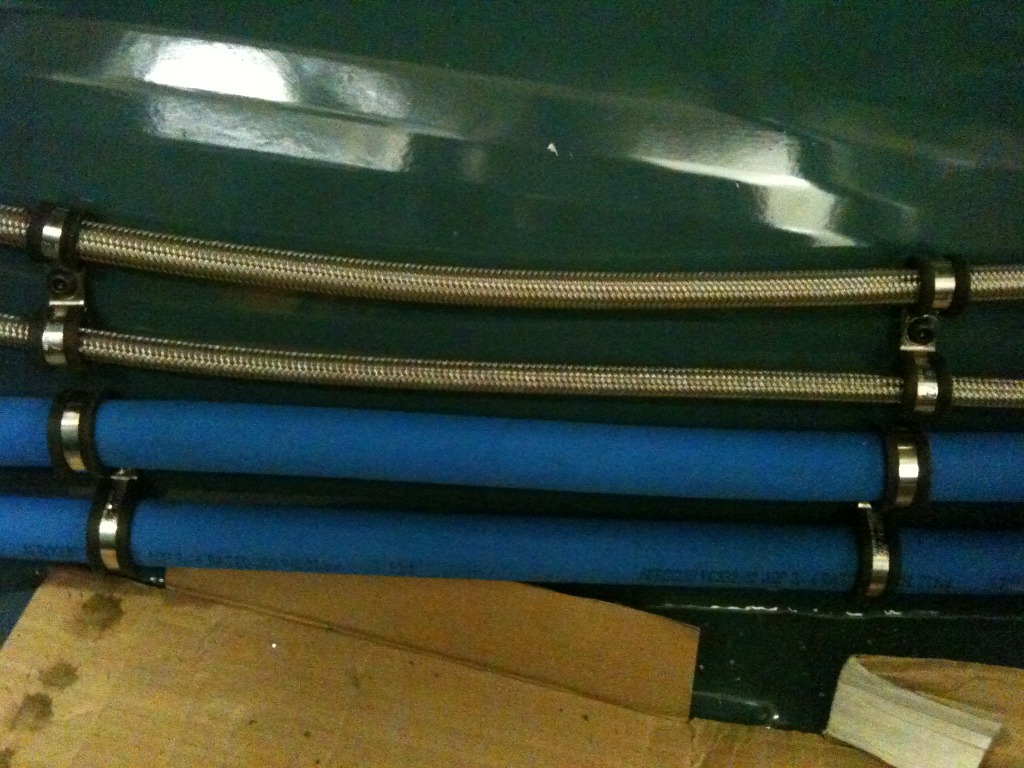
brief update, had another small delivery, this is everything for the brake system until its up and running and put disks on the rear.
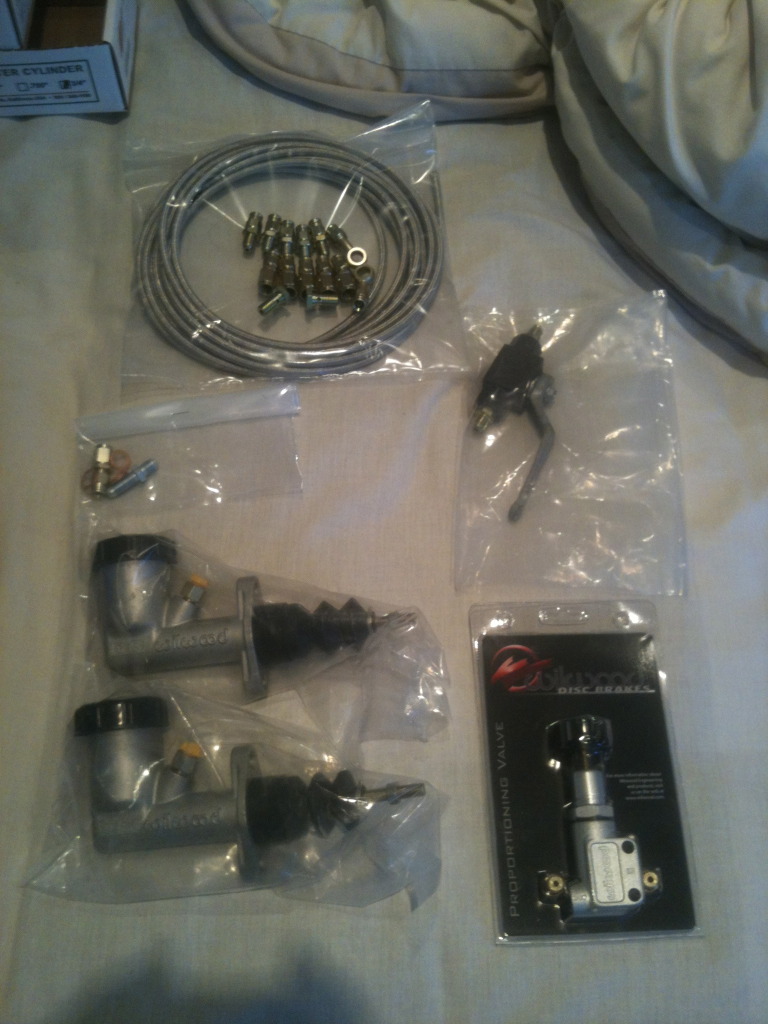
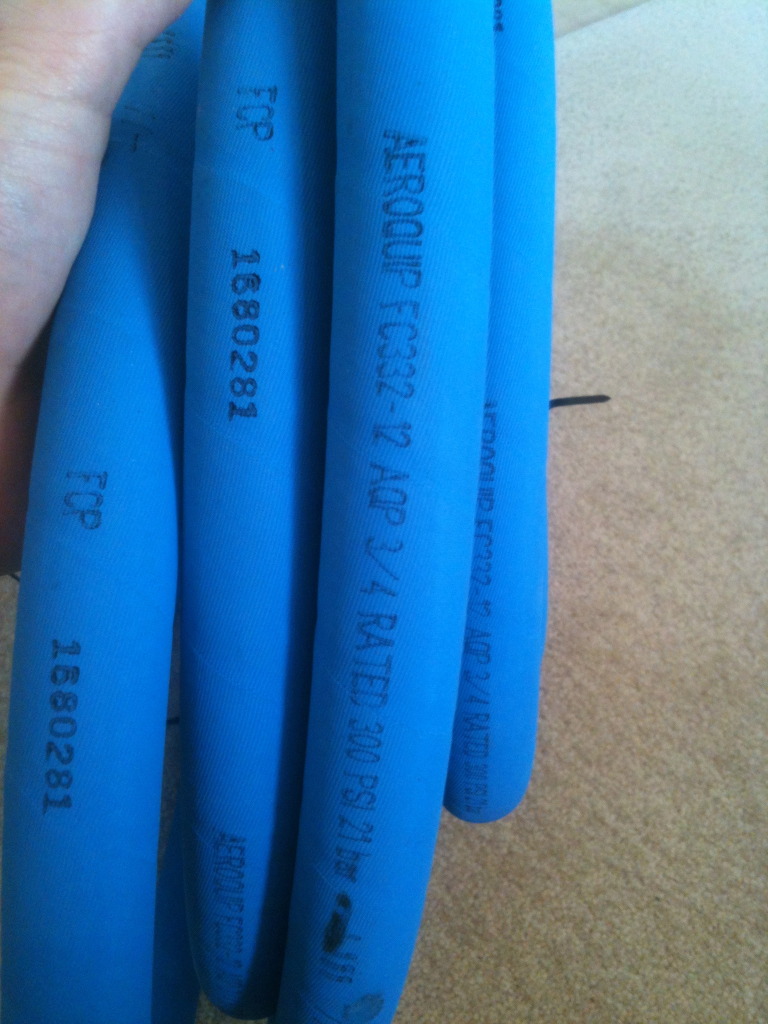
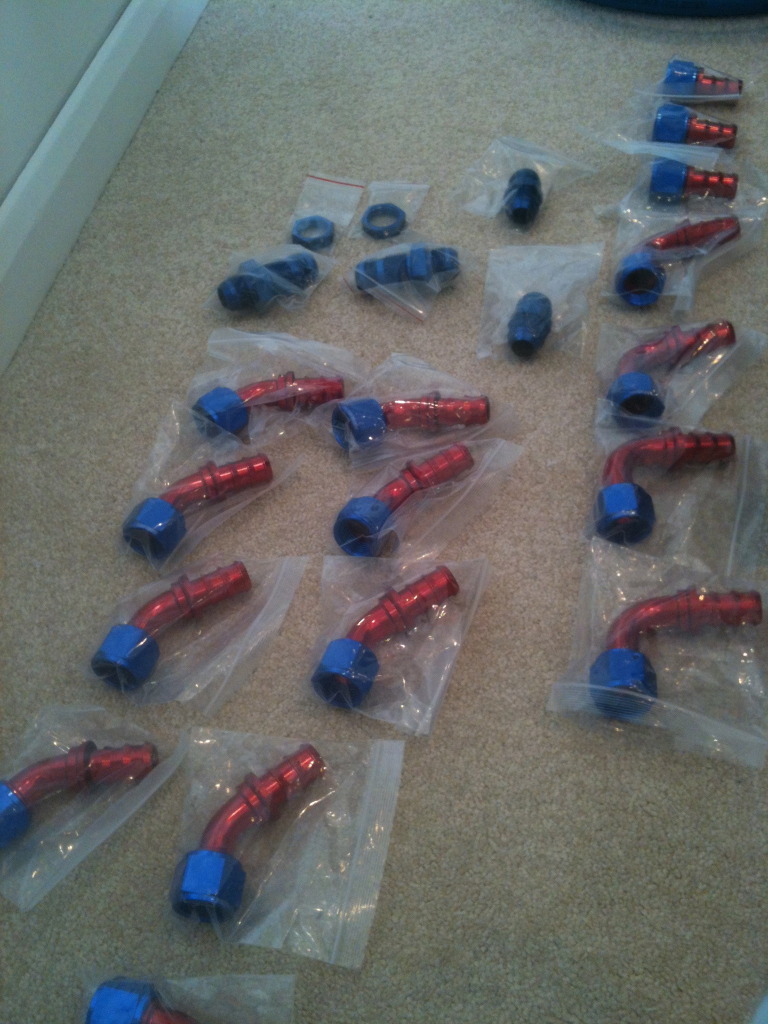
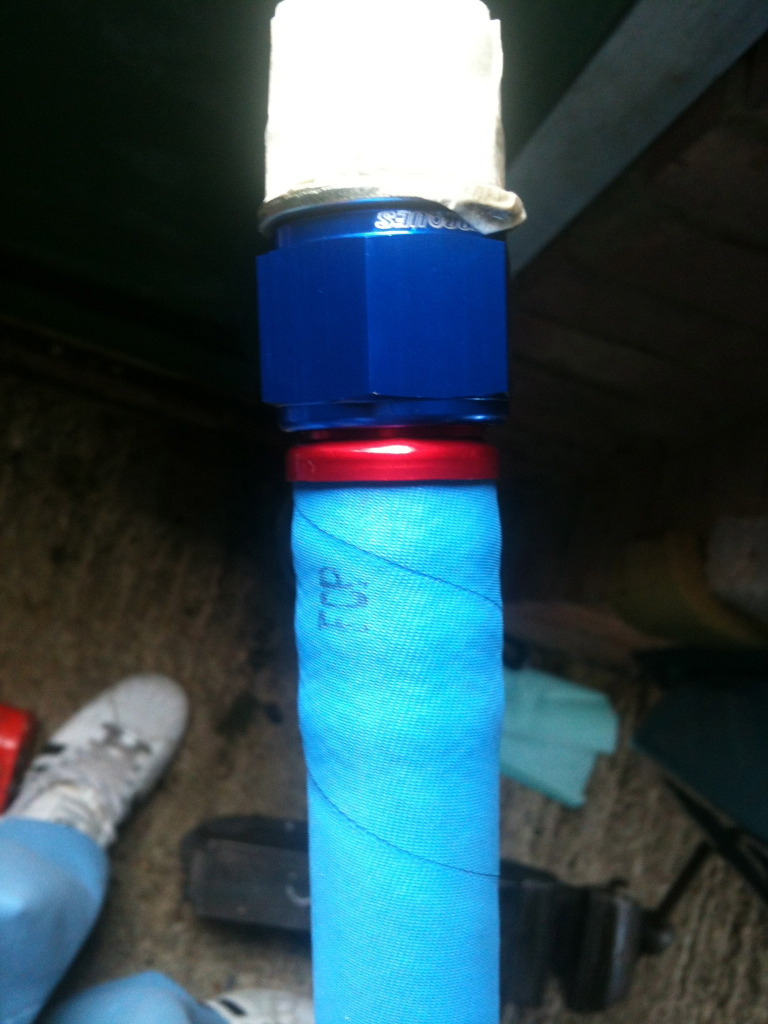
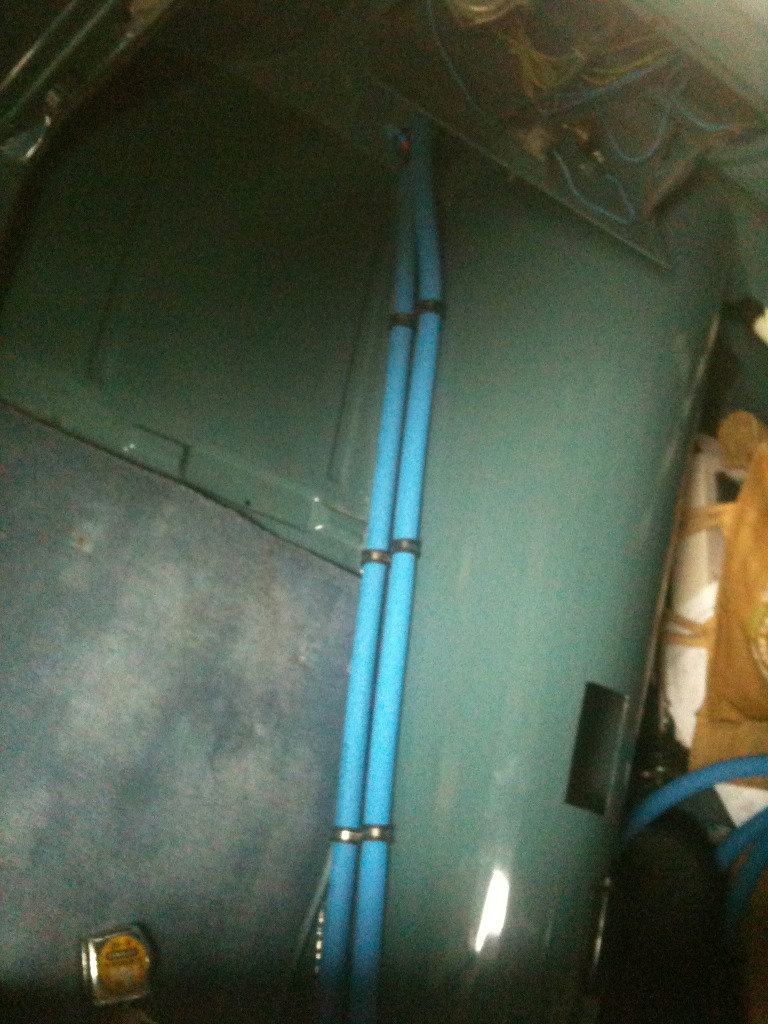
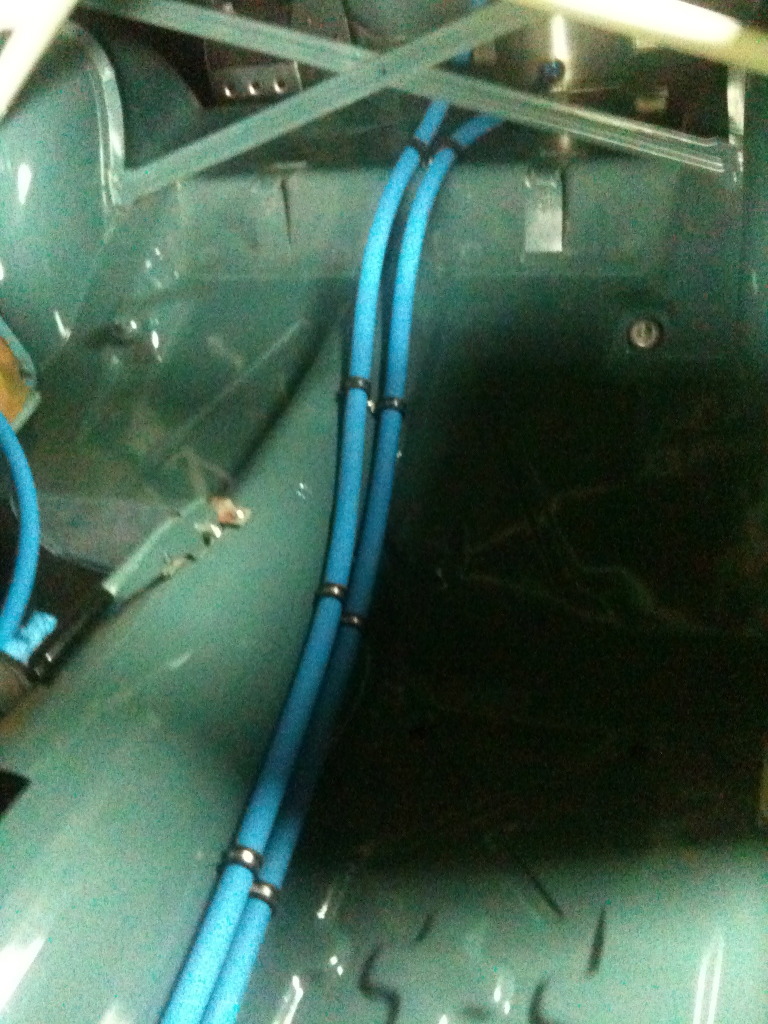
Started running the aeroquip hose for the dry sump system. The socketless fittings are hard to get on but i found if you put the ends in hot water, they then go over a treat. The fittings from torques seem spot on, and their service is great will be getting all the fuel fittings from them too
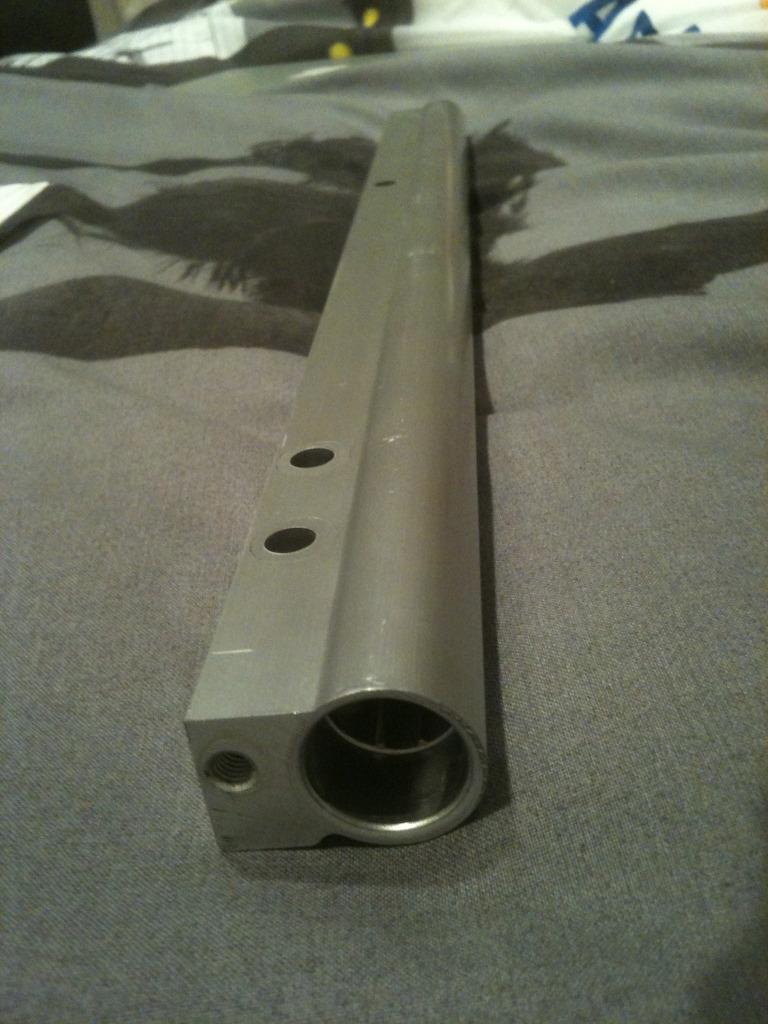
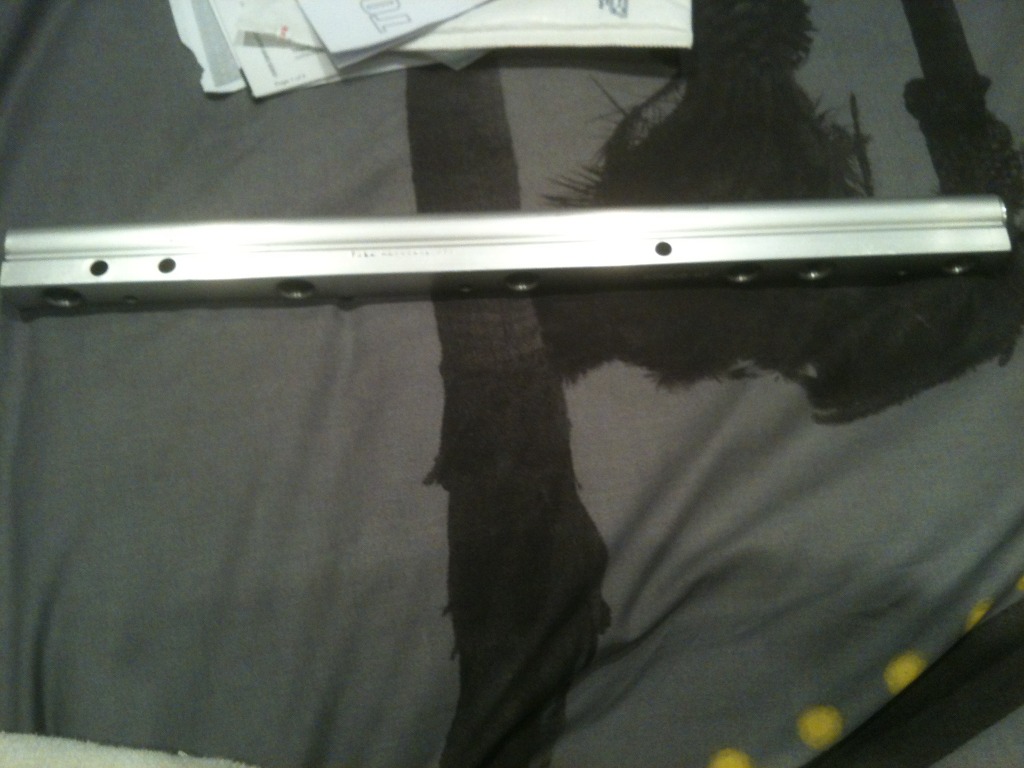
Also started modifying the fuel rail and sorting out fueling.
Im modifying the fuel tank and adding an extra one so will be running twin tanks.
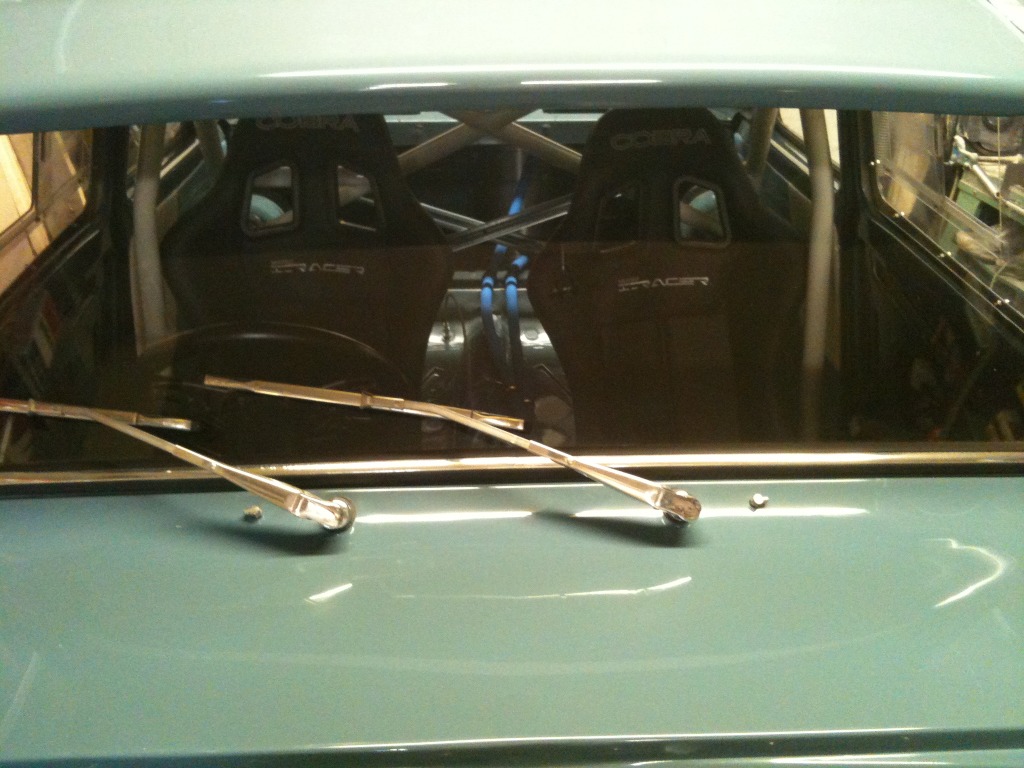
Also waiting on my seats, i went for the cobra historic type in the end (not the colour)
Started running the aeroquip hose for the dry sump system. The socketless fittings are hard to get on but i found if you put the ends in hot water, they then go over a treat. The fittings from torques seem spot on, and their service is great
will be getting all the fuel fittings from them tooAlso started modifying the fuel rail and sorting out fueling.
Im modifying the fuel tank and adding an extra one so will be running twin tanks.
Also waiting on my seats, i went for the cobra historic type in the end (not the colour)
01-06-2012, 08:51 PM
#136
Regular Contributor
Thread Starter
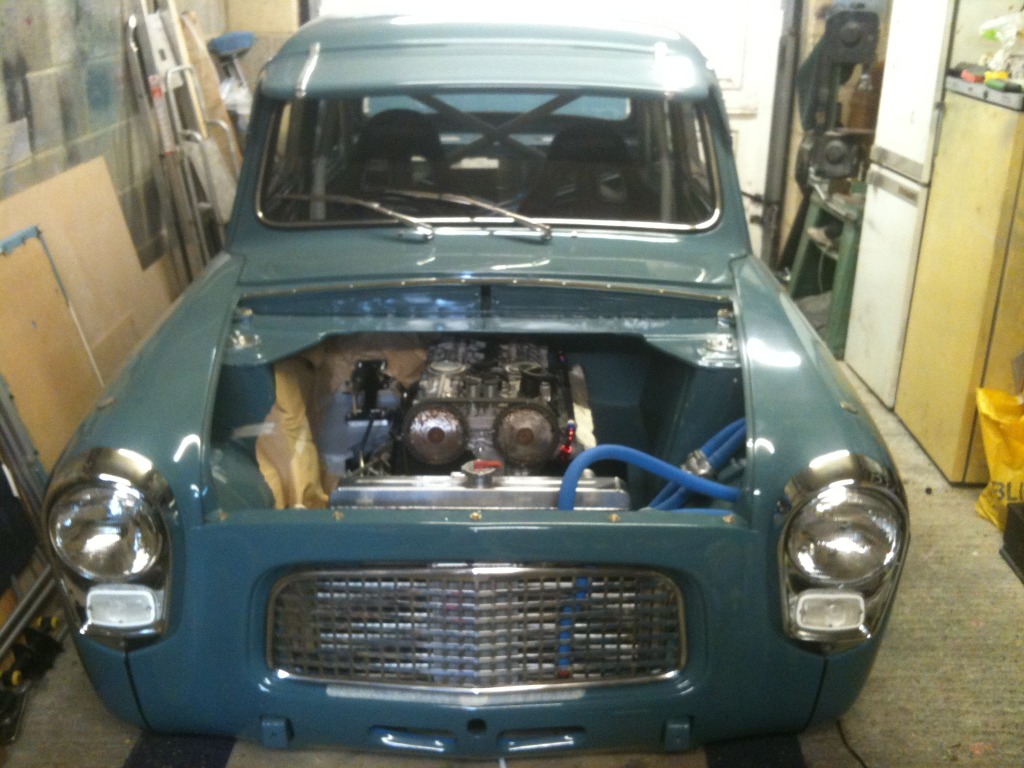
here we go again...
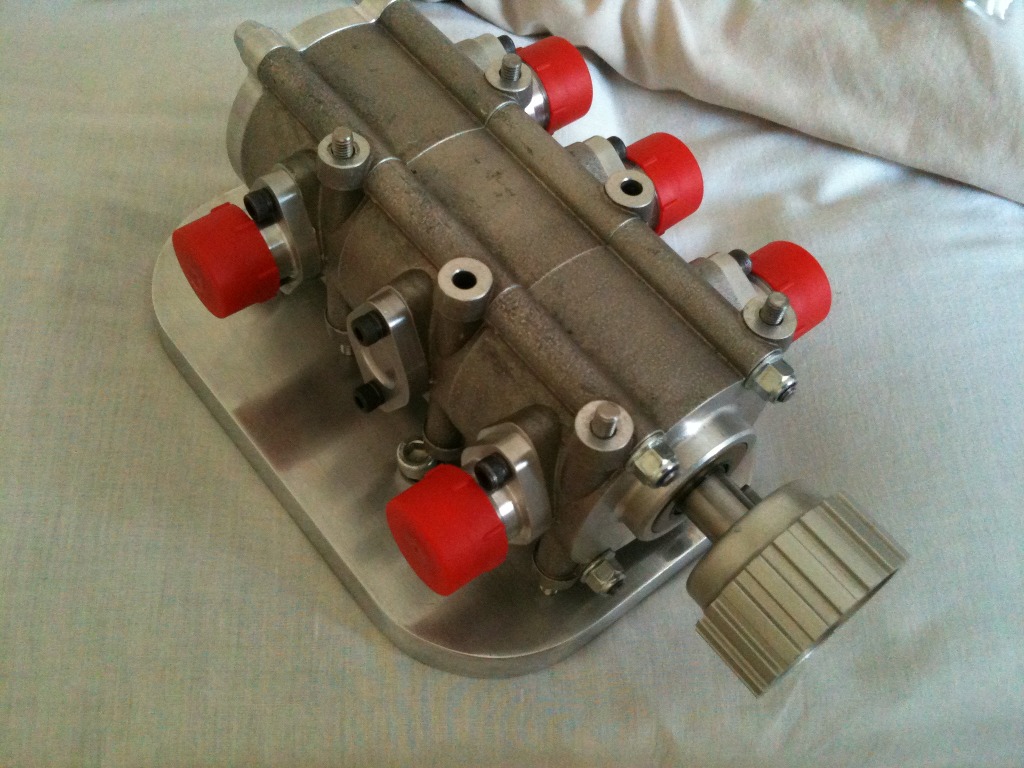
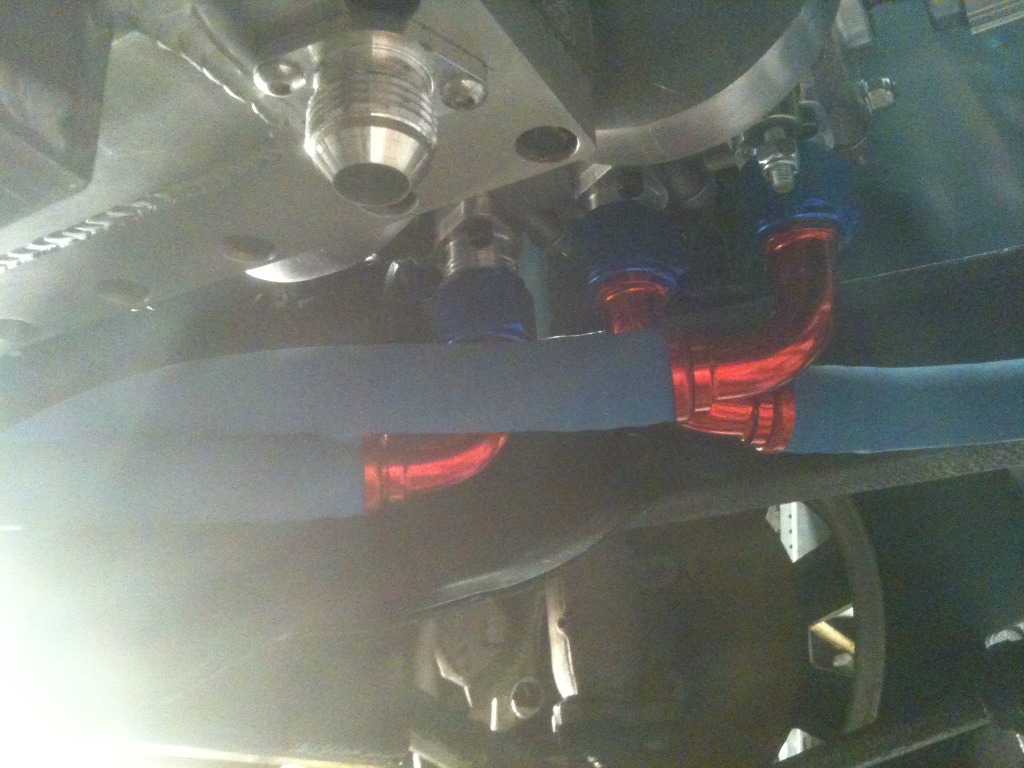
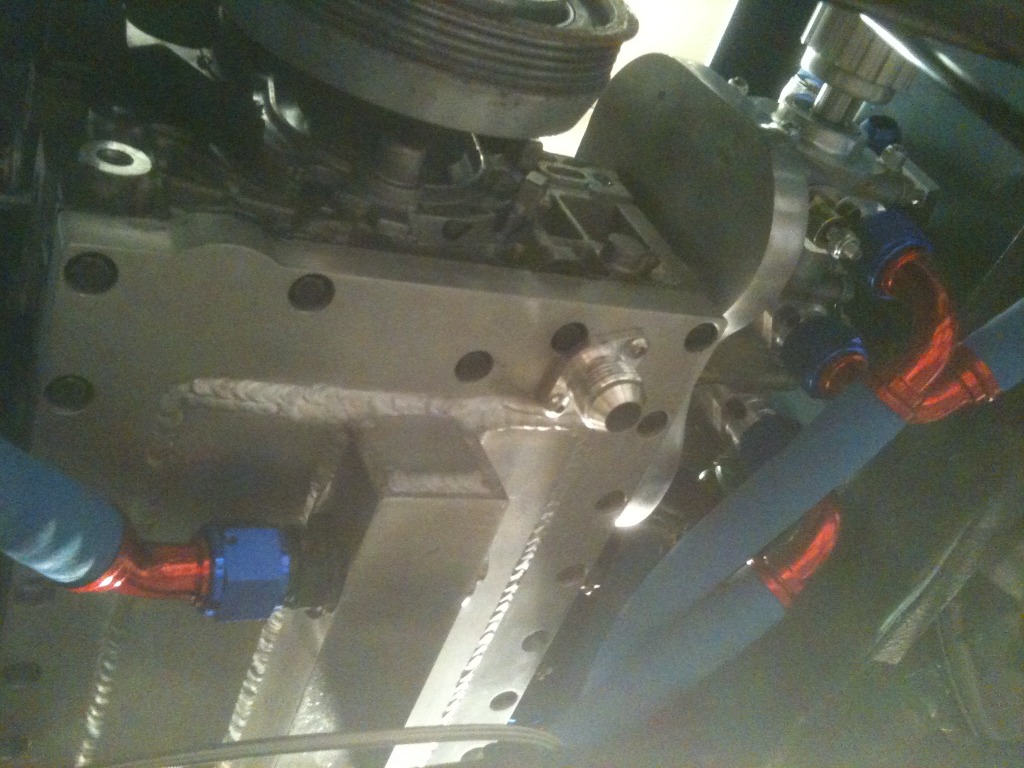
Oil system is now pretty much finished

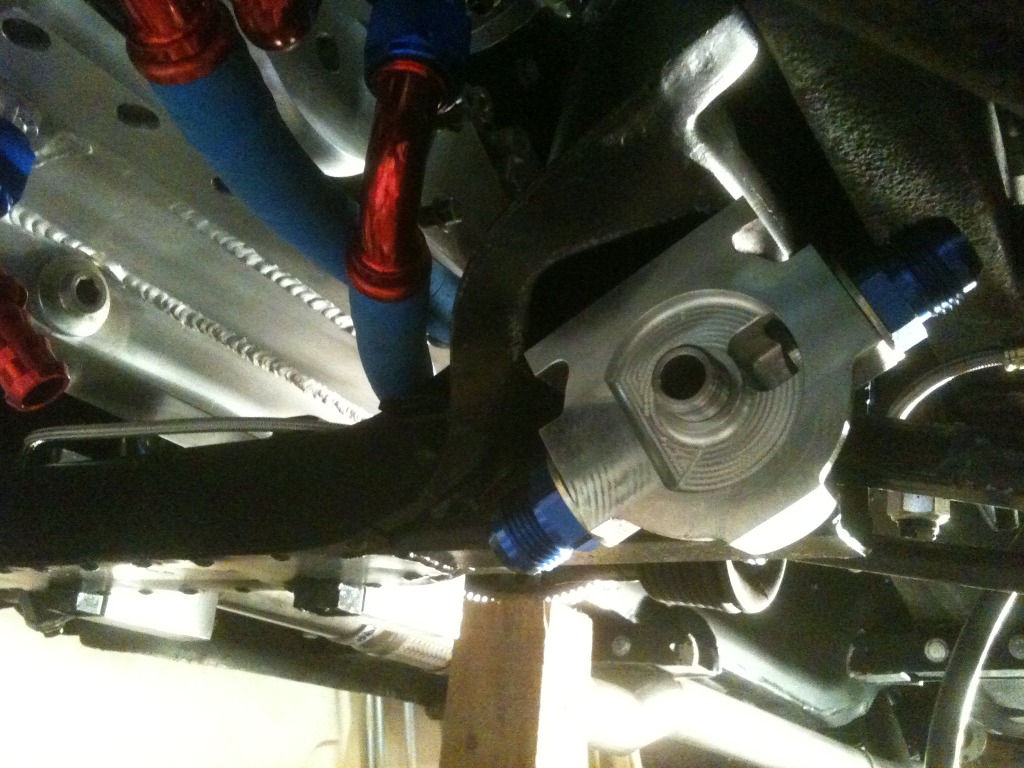
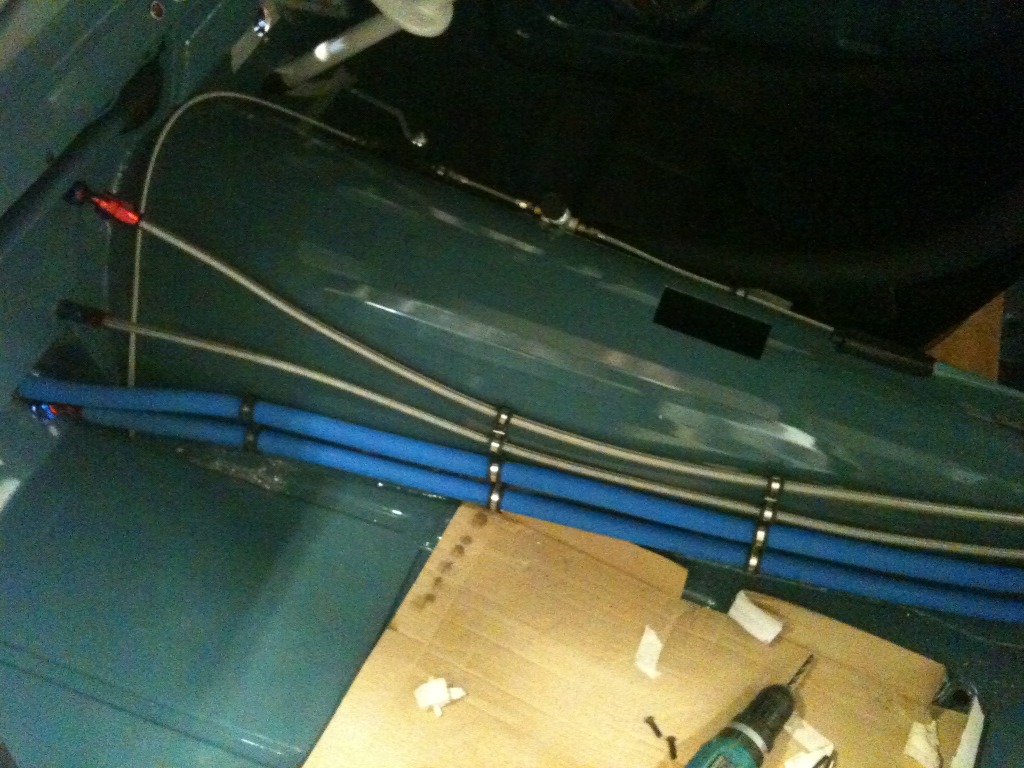
Finished all the brake lines, full stainless steel front to back. Will get photos of underneath at somepoint.

Also have redesigned my pedal box, more photos to follow,
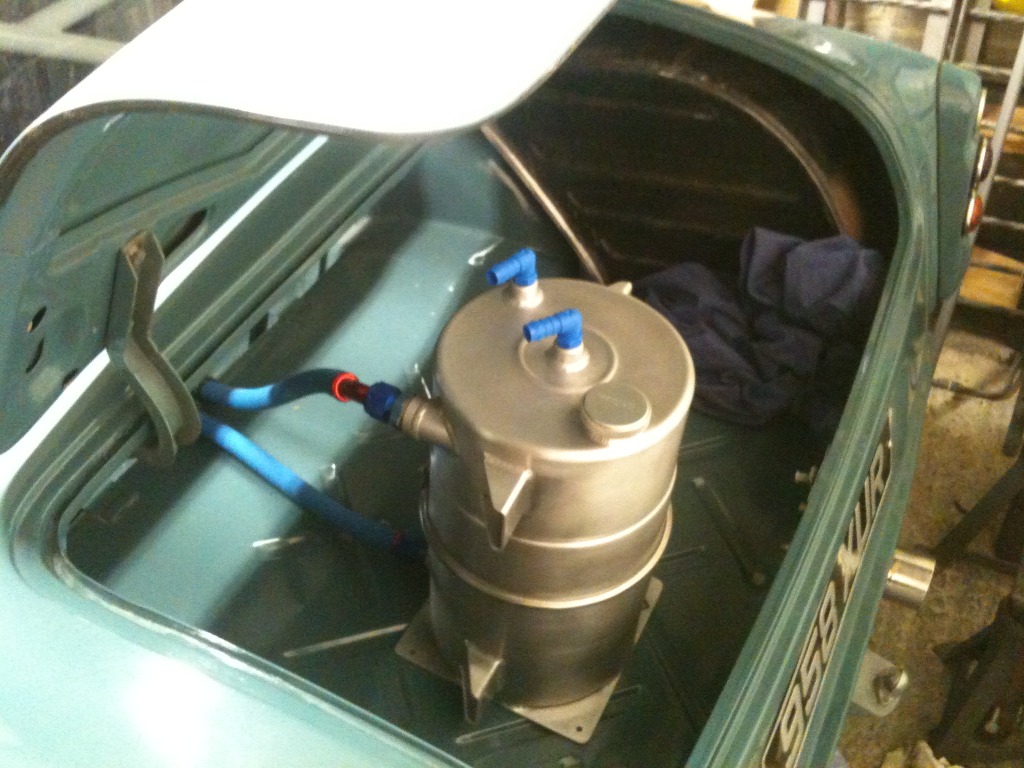
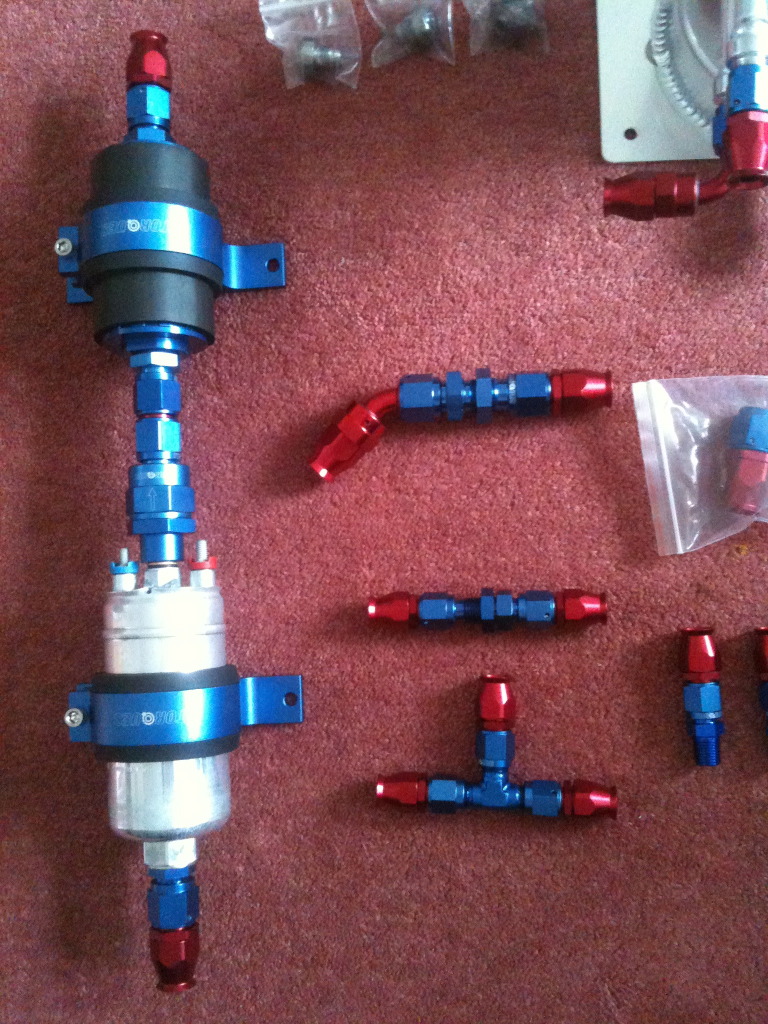
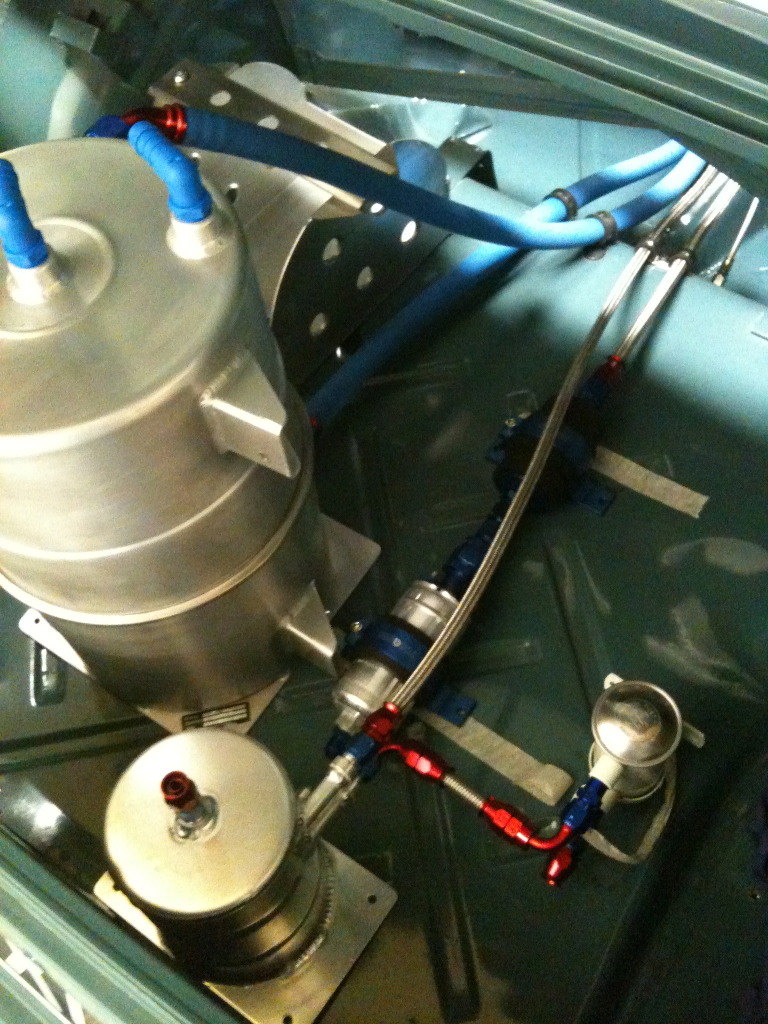
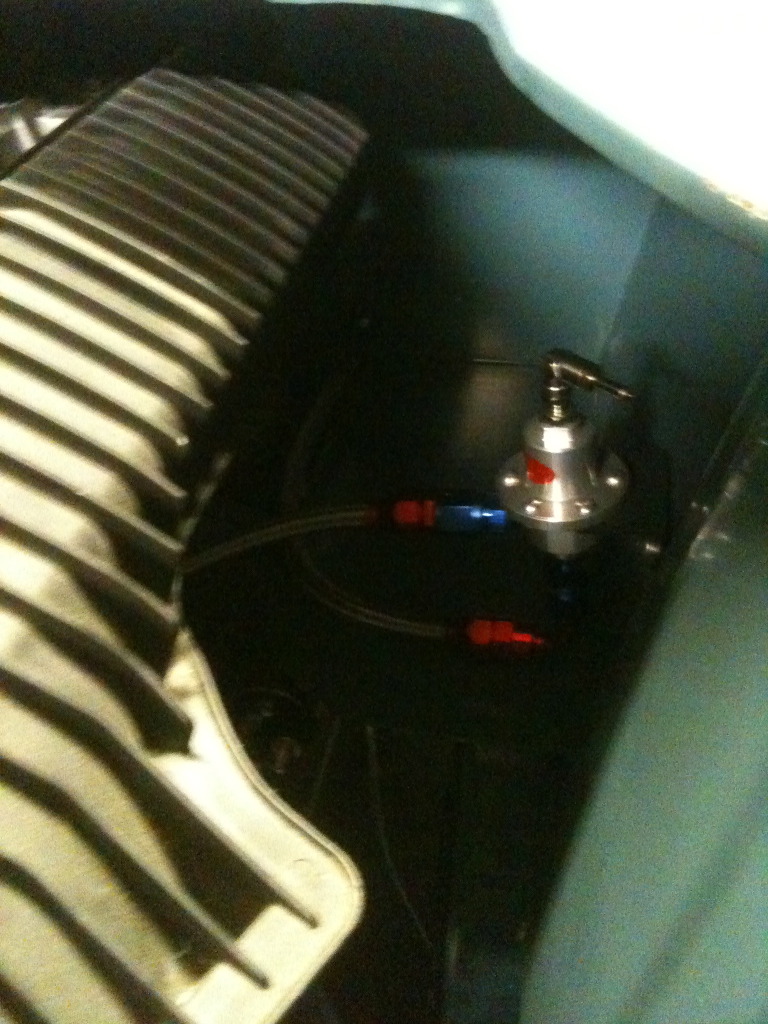
Had all my fuel fittings delivered this evening, this is everything except the fuel regulator which is on its way from Japan
2 ltr swirl pot
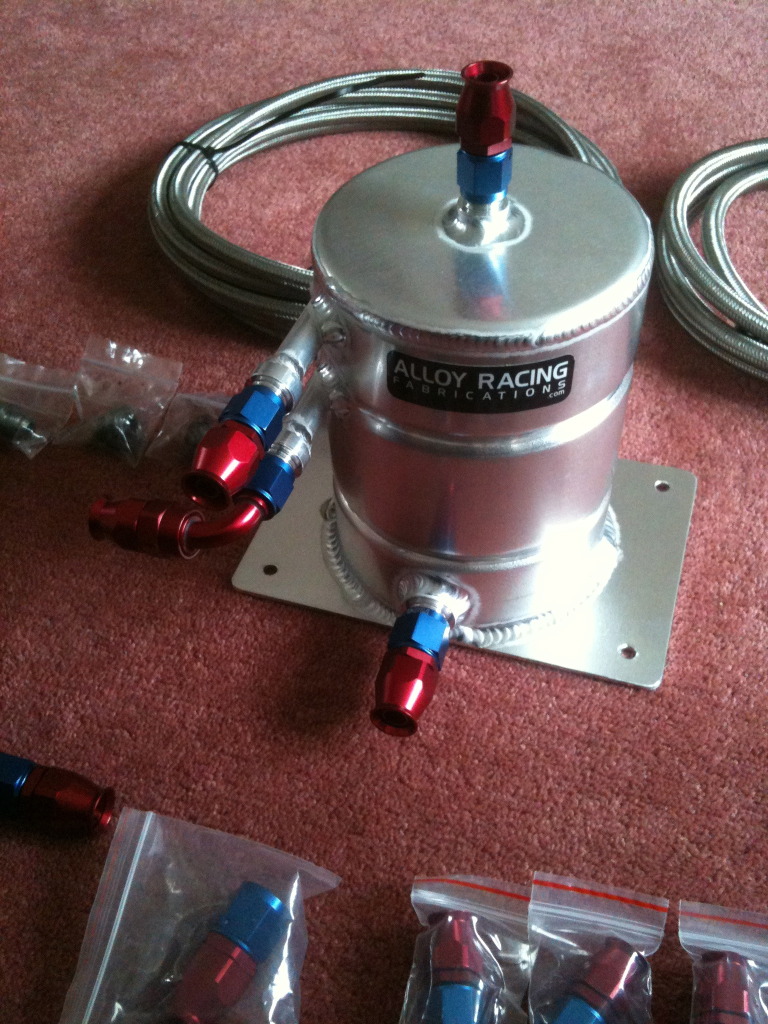
Bosch 044 fuel pump, non return valve and high flow billet filter for some serious bhp
Chucked the second tank in for size, will get the new unions welded on this weekend along with the filler neck.
Oh and the seats, not bolted in just yet but they are really comfy and supportive..... if you can fit in them
Just want it finished now , but i can see the end so will plod away 
Oil system is now pretty much finished
Finished all the brake lines, full stainless steel front to back. Will get photos of underneath at somepoint.
Also have redesigned my pedal box, more photos to follow,
Had all my fuel fittings delivered this evening, this is everything except the fuel regulator which is on its way from Japan
2 ltr swirl pot
Bosch 044 fuel pump, non return valve and high flow billet filter for some serious bhp
Chucked the second tank in for size, will get the new unions welded on this weekend along with the filler neck.
Oh and the seats, not bolted in just yet but they are really comfy and supportive..... if you can fit in them
Just want it finished now
, but i can see the end so will plod away
02-06-2012, 01:54 PM
#137
Ben
Cracking job mate, it's a real credit to you! Can't wait to see it up and running.
02-06-2012, 02:02 PM
#138
Too many posts.. I need a life!!
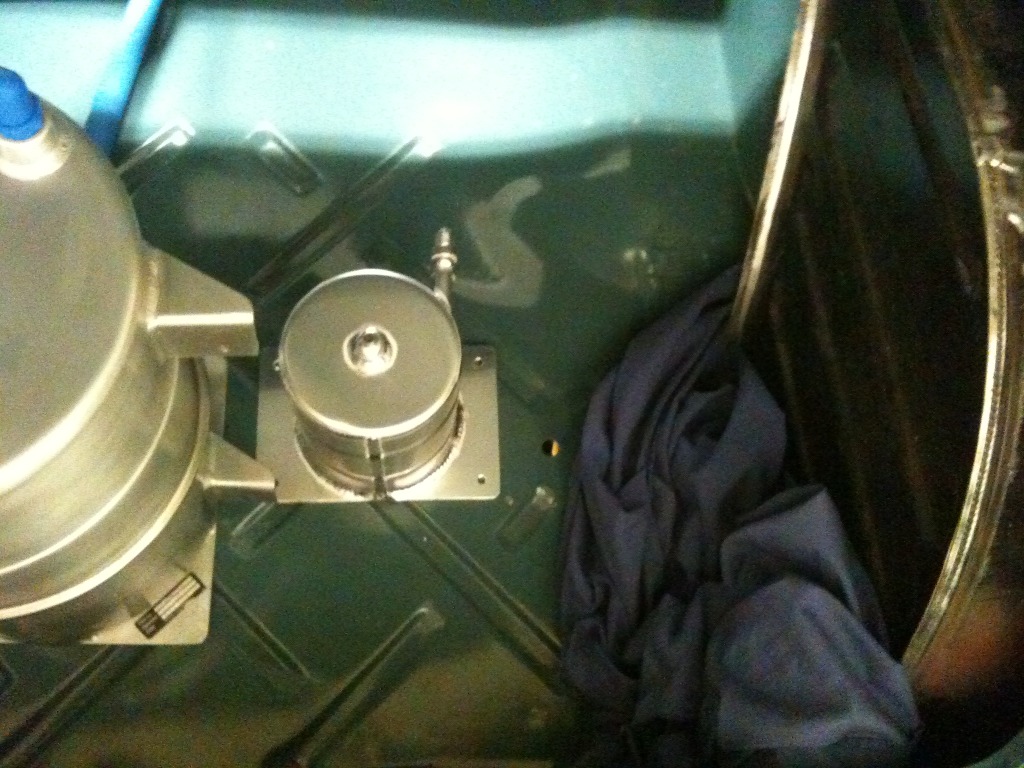
Cracking work mate, only criticsm I have is that the oil container for the dry sump should as close to the engine as poss and not in the boot.
So either in the engine bay somewhere or tucked up in the passenger foot well
So either in the engine bay somewhere or tucked up in the passenger foot well
 02-06-2012, 04:29 PM
#140
Wahay!! I've lost my Virginity!!

Join Date: Feb 2010
Location: Wolverhampton
Posts: 67
Likes: 0
Received 0 Likes
on
0 Posts
Not questioning your logic, I'd just like to learn why thats all
02-06-2012, 05:08 PM
#141
Too many posts.. I need a life!!
The tank should be as low as possible to help with centrifugal forces.
Also weight distribution, as the tank will help level the weight from the driver across the axle
02-06-2012, 08:29 PM
#142
Regular Contributor
Thread Starter
Yeah thats as close as possible. Its way too big for underbonnet & soaking myself in hot oil if something happens, isn't really something i want to experience.
With the pump and size of hose im using ive been assured i will have no problems. Plus its only a small car so its really not that far, think about 2mtrs on that pipe run.
02-06-2012, 08:33 PM
#143
Too many posts.. I need a life!!
Cheers.
Yeah thats as close as possible. Its way too big for underbonnet & soaking myself in hot oil if something happens, isn't really something i want to experience.
With the pump and size of hose im using ive been assured i will have no problems. Plus its only a small car so its really not that far, think about 2mtrs on that pipe run.
 02-06-2012, 08:48 PM
#145
PassionFord Post Troll

amazing thread and lovely splitty! was brought up with them my old man was on of the first in the split screen owners club! keep the pics comeing 
 10-06-2012, 10:02 PM
#148
Regular Contributor
Thread Starter
updates keep coming, been working over the bank holidays so not much progress but got abit done last sunday.
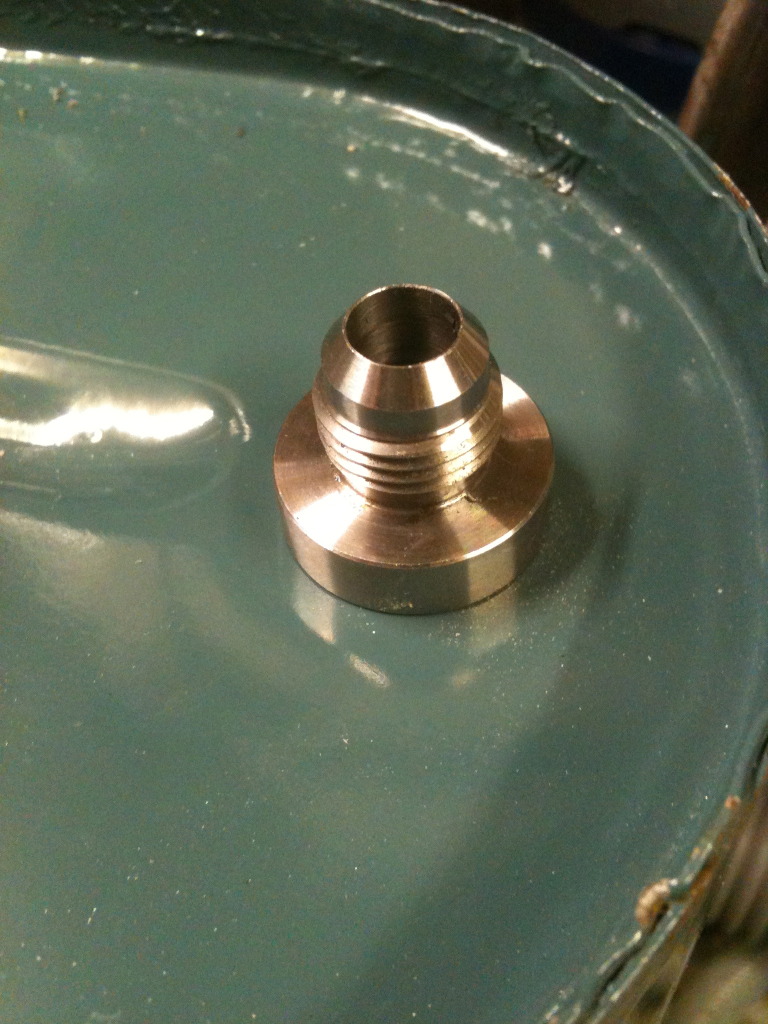
Work on the fuel tanks
sweated out the original oulets on both as i wont be using them as they are too small and im having the fuel lines inside.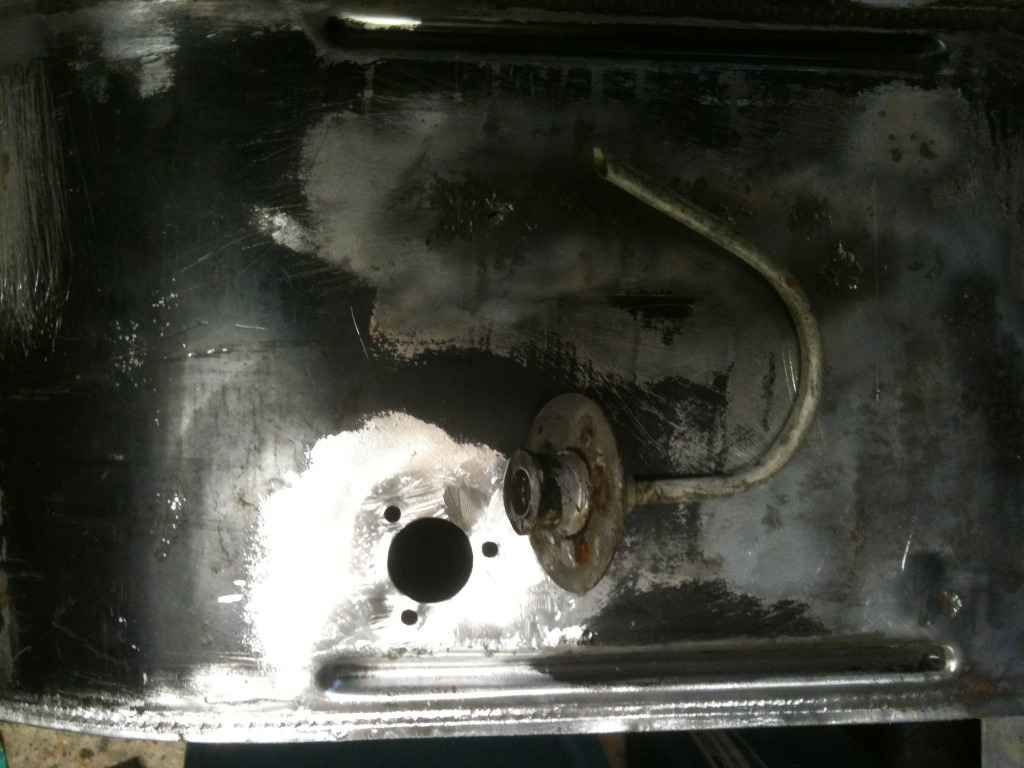
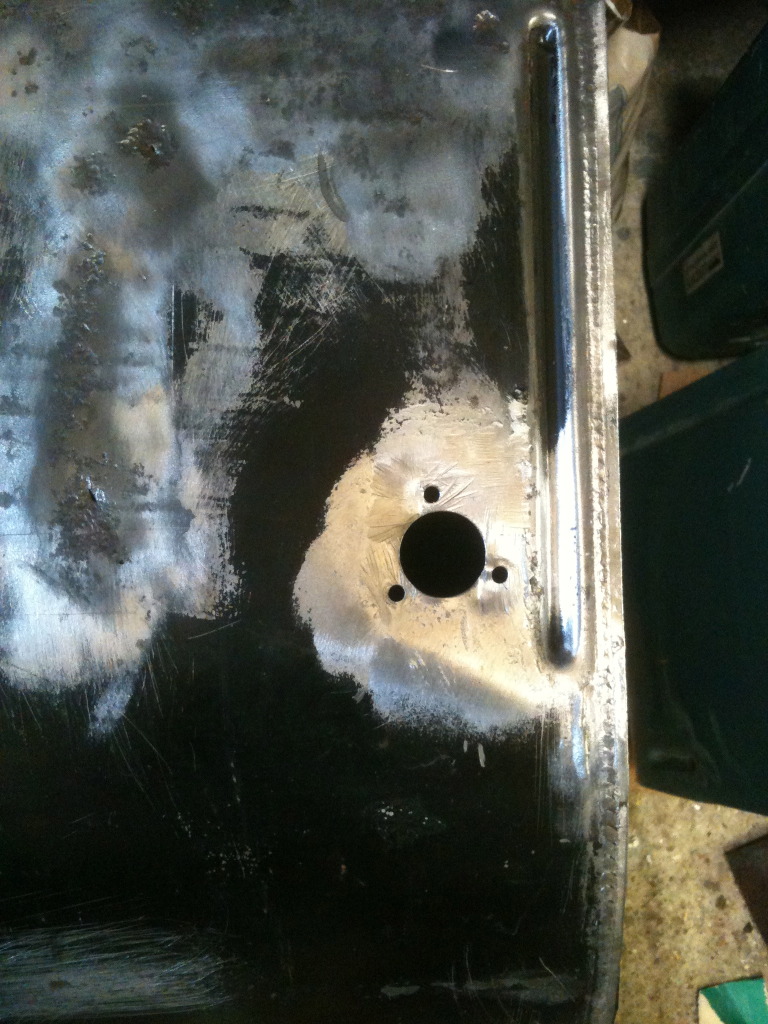
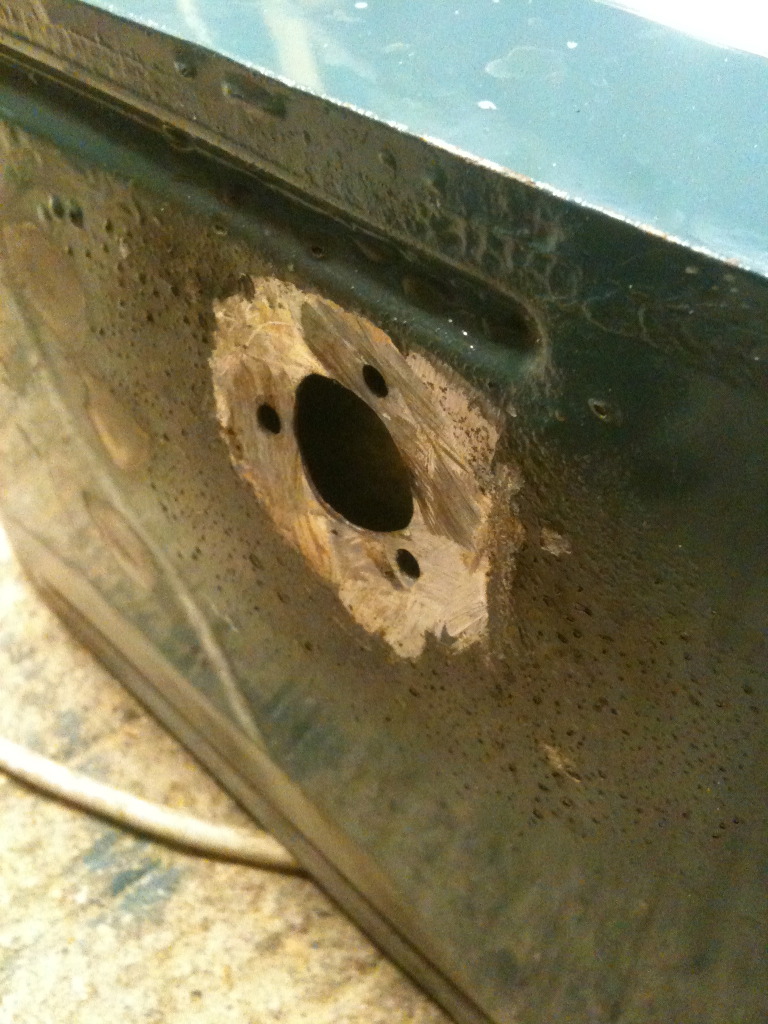
Drilled the holes for the new outlets
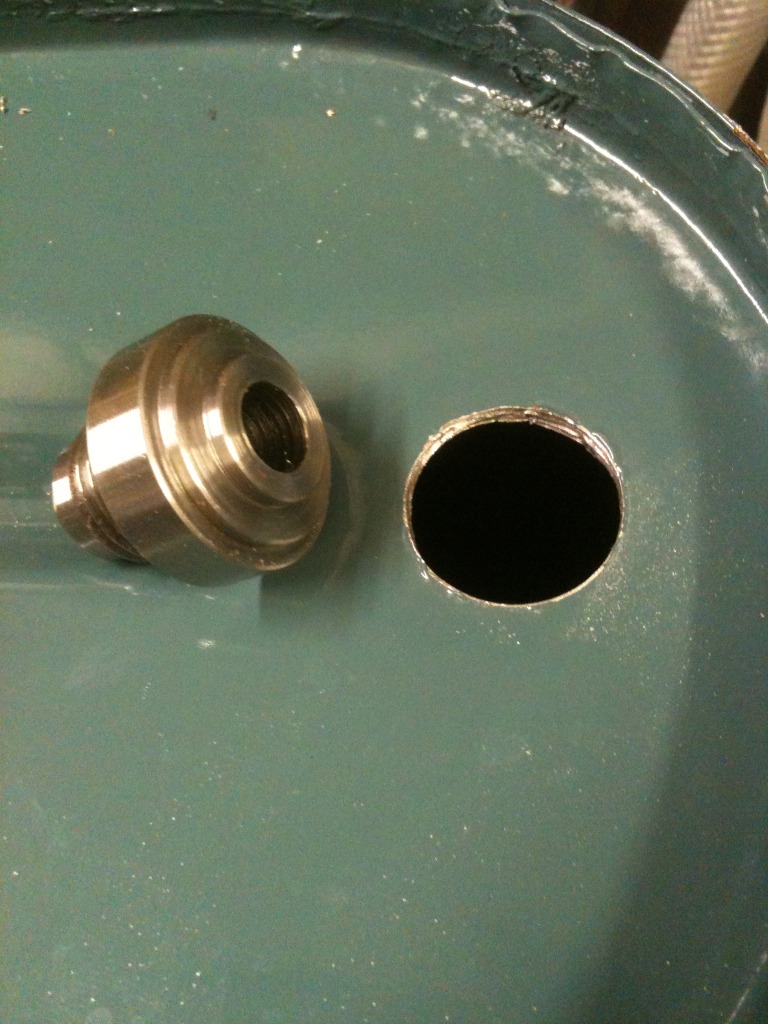
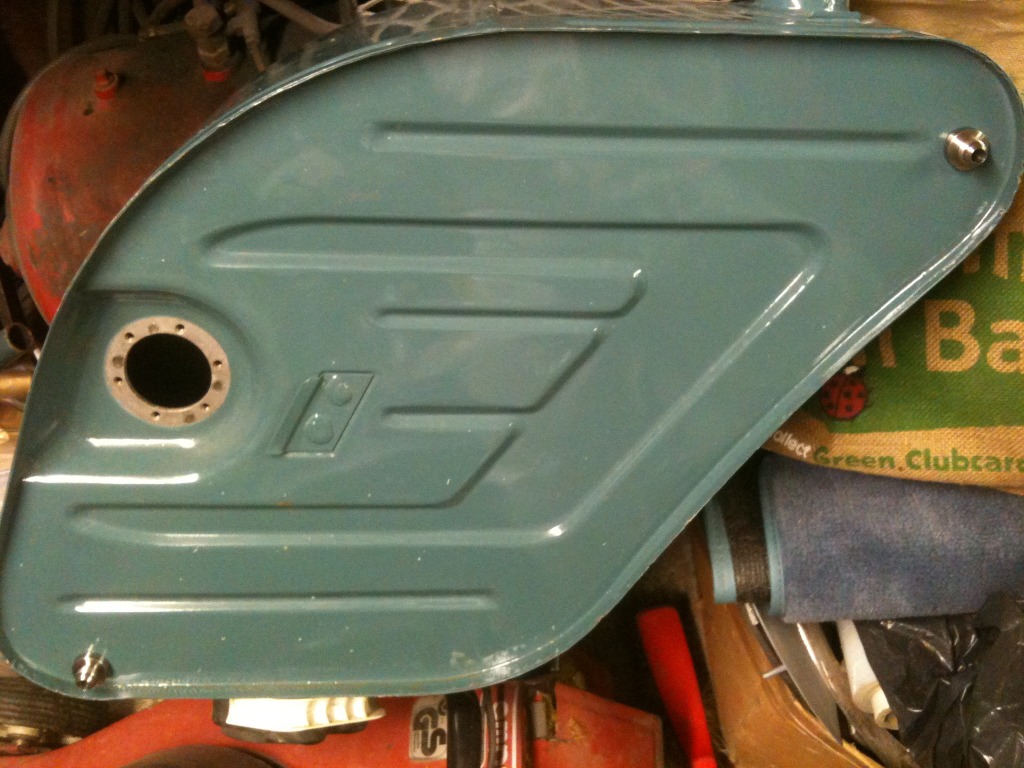
As i dont want to cut the bodywork, the second tank will be filled from inside the boot. This has now been revised an am going to cut the shell to put the filler on the outside.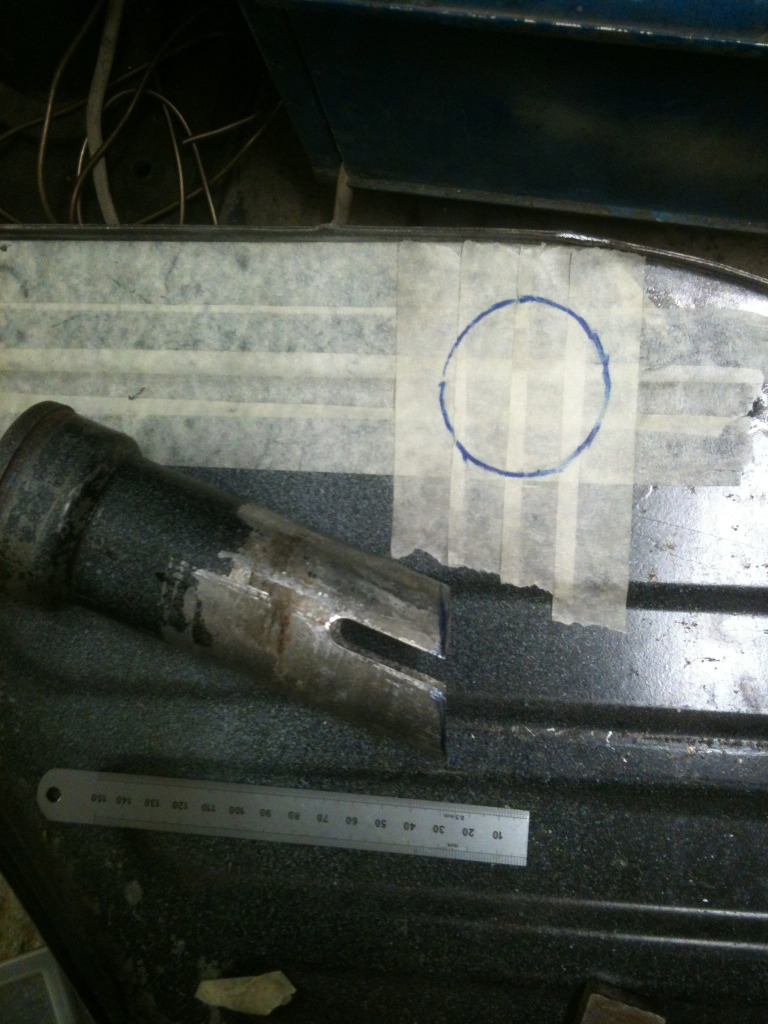
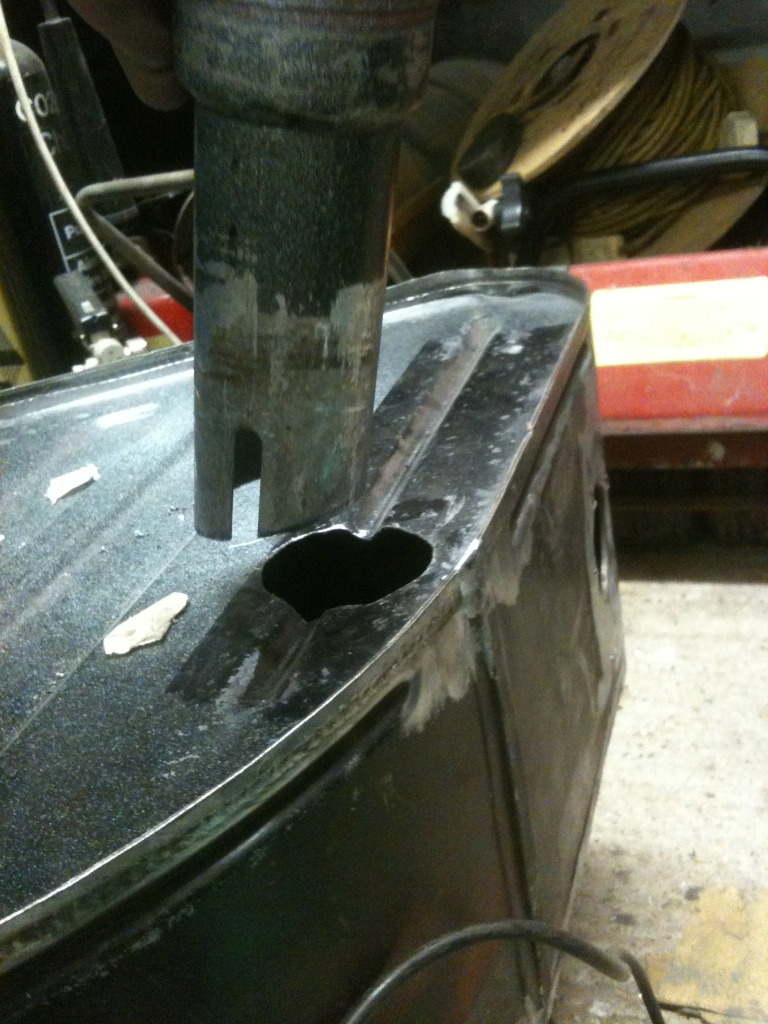
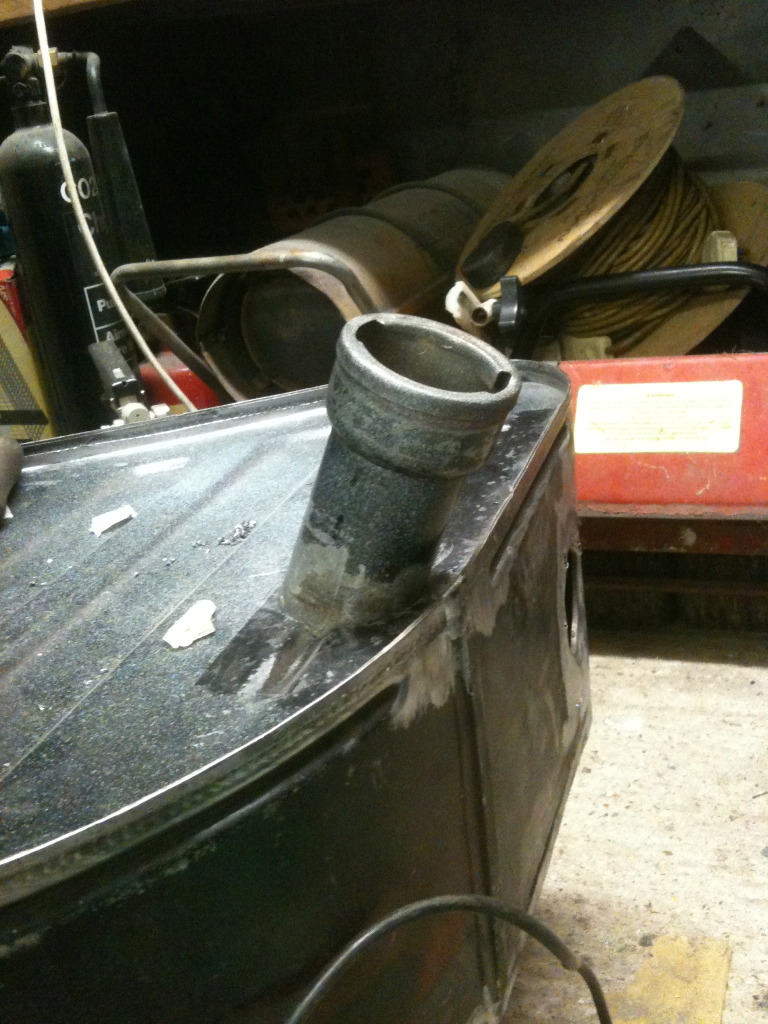
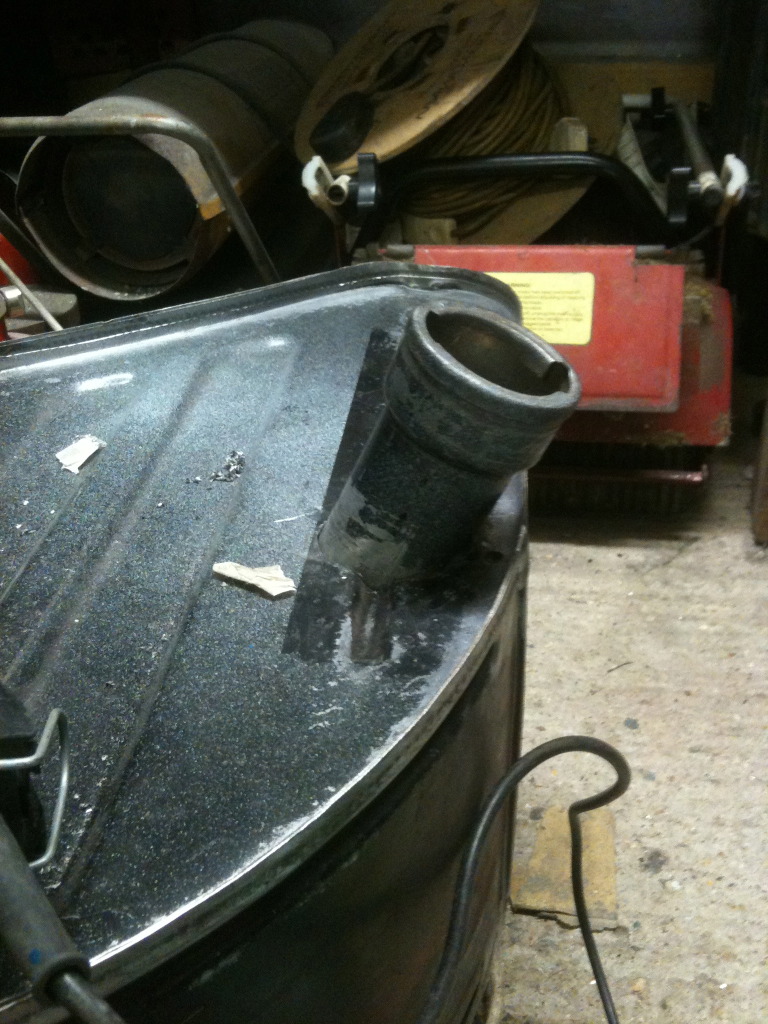
Just got to braze it all together now and spray them up.
Few random pics
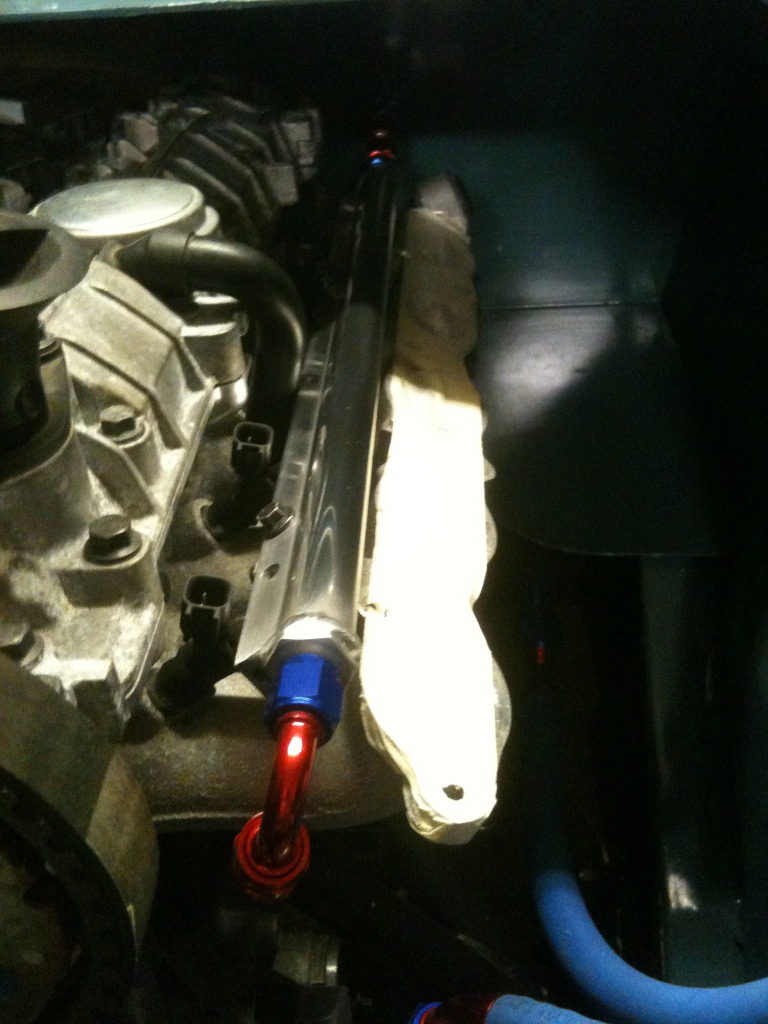
Yesterday started running the fuel lines
Work on the fuel tanks
sweated out the original oulets on both as i wont be using them as they are too small and im having the fuel lines inside.
Drilled the holes for the new outlets
As i dont want to cut the bodywork, the second tank will be filled from inside the boot. This has now been revised an am going to cut the shell to put the filler on the outside.
Just got to braze it all together now and spray them up.
Few random pics
Yesterday started running the fuel lines
16-06-2012, 08:02 PM
#152
Regular Contributor
Thread Starter
Oh so this has happened ...
plus
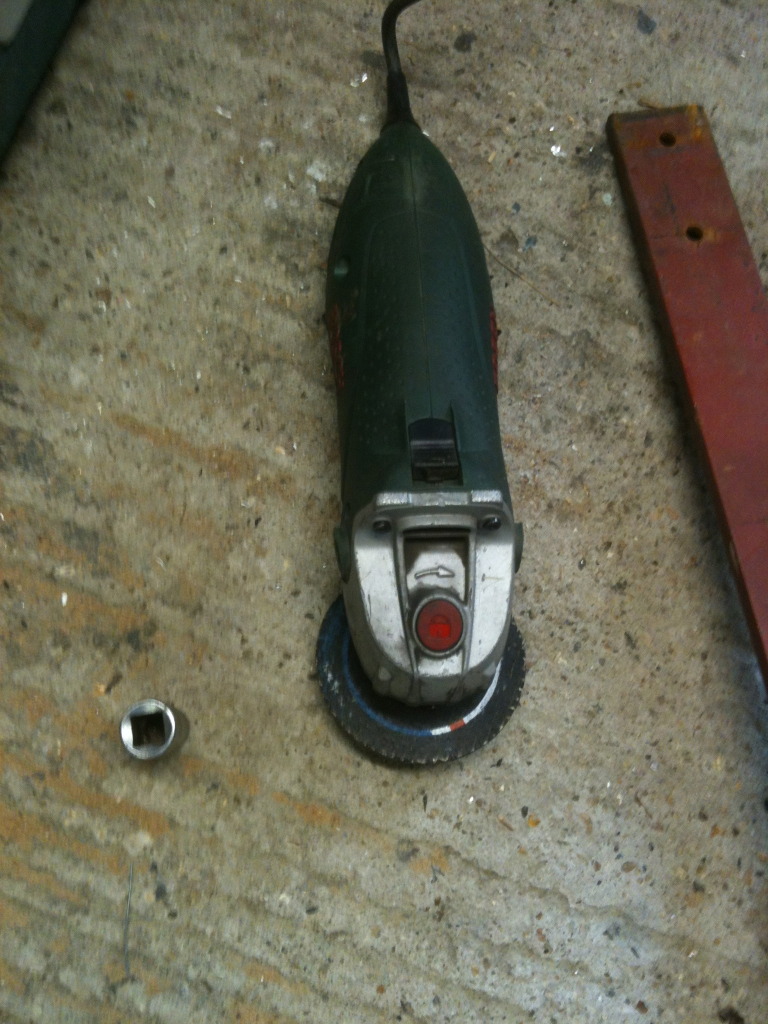
and
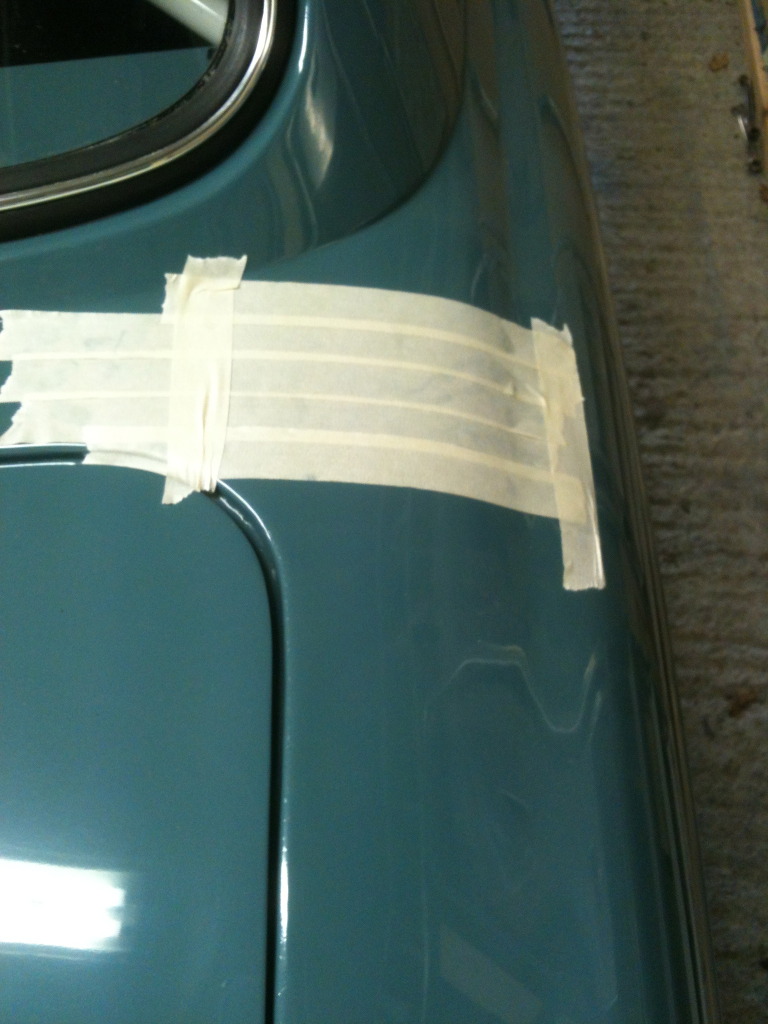
i think so can see whats coming...

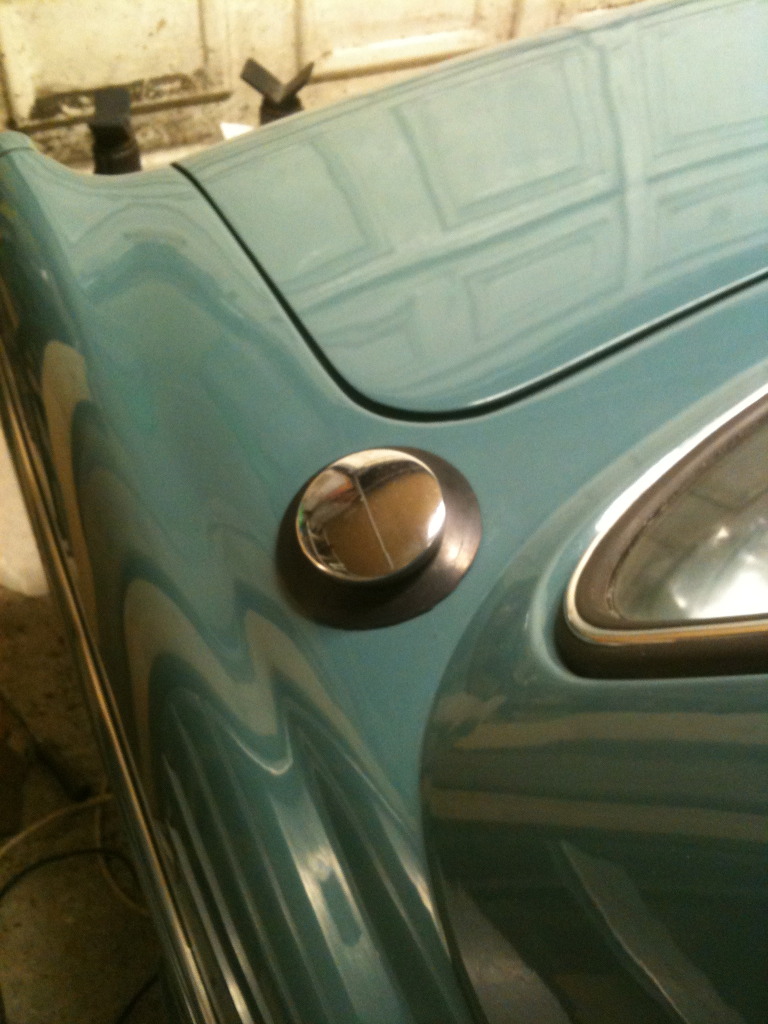
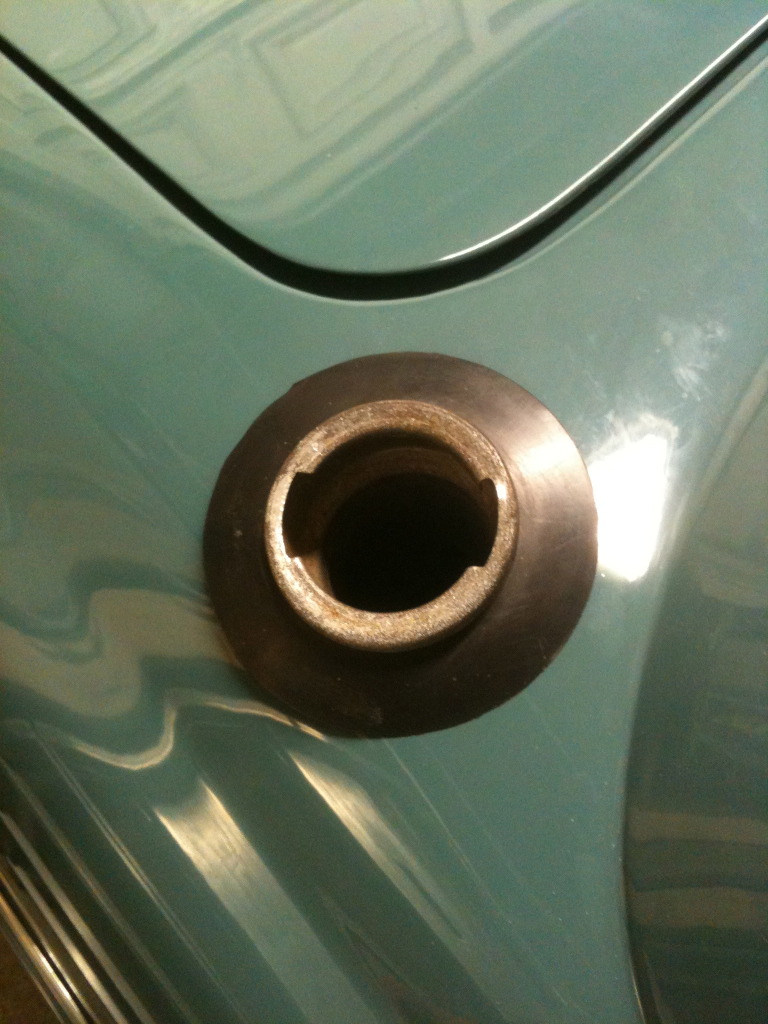
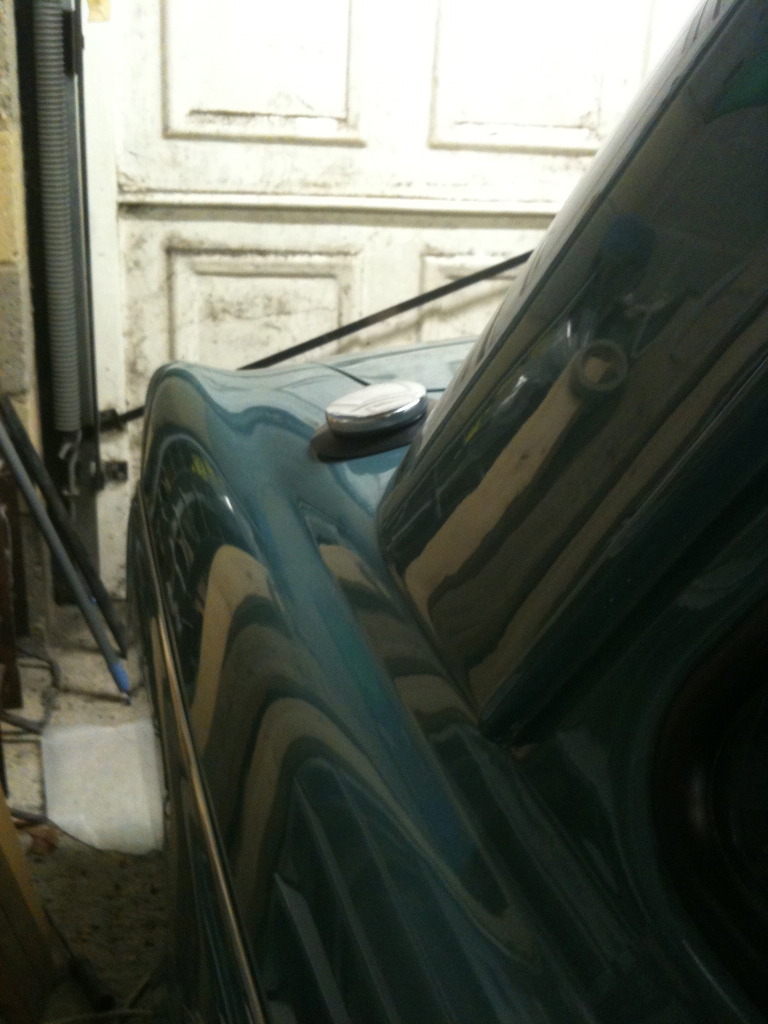
muuuuuuch better
Just need another fuel cap and filler neck grommet now!
plus
and
i think so can see whats coming...
muuuuuuch better
Just need another fuel cap and filler neck grommet now!

 04-07-2012, 09:58 PM
#157
Regular Contributor
Thread Starter
aghh updates updates updates
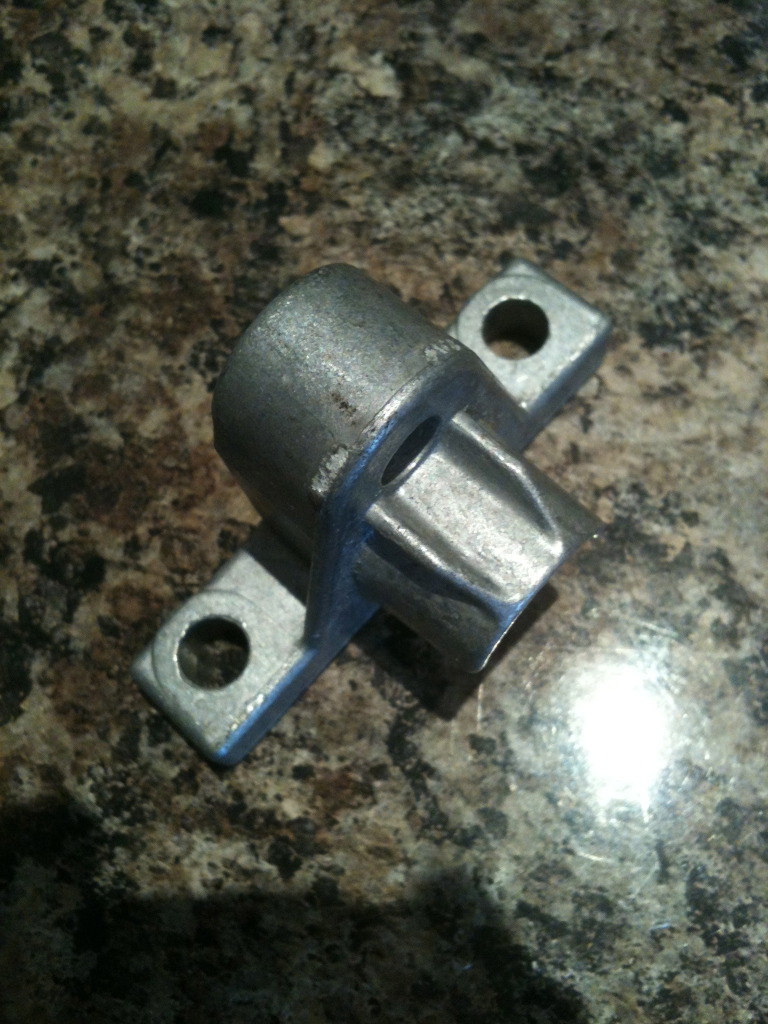
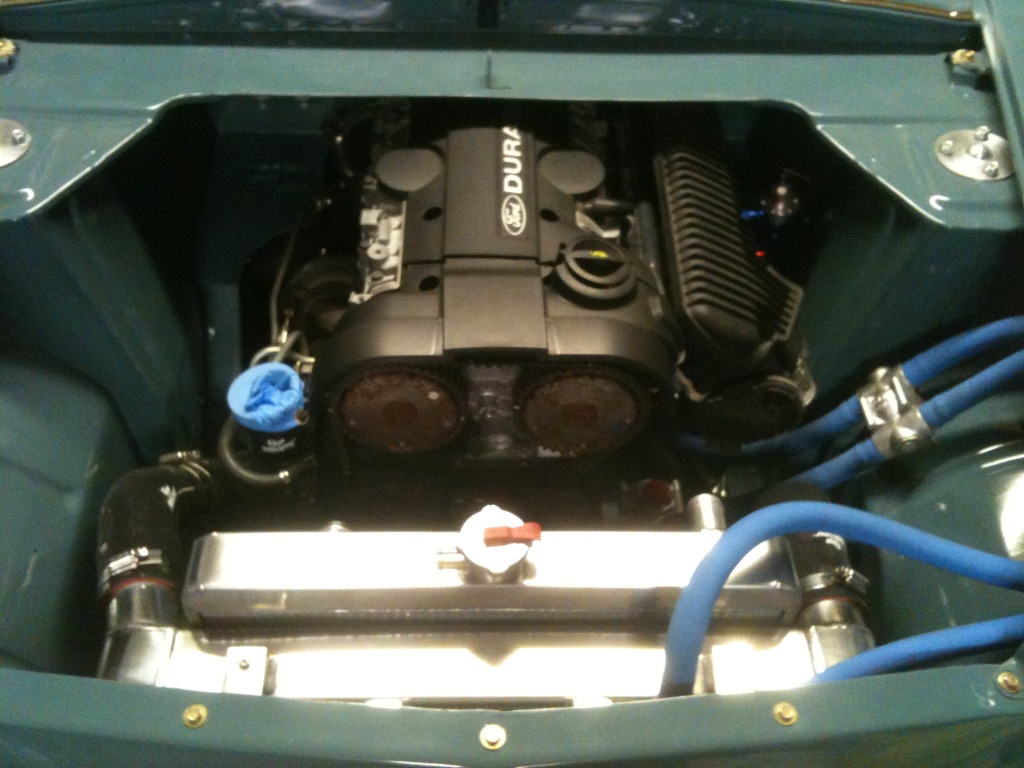
crank sensor bracket purchased for the bargin of �10, ford wanted �70 plus vat
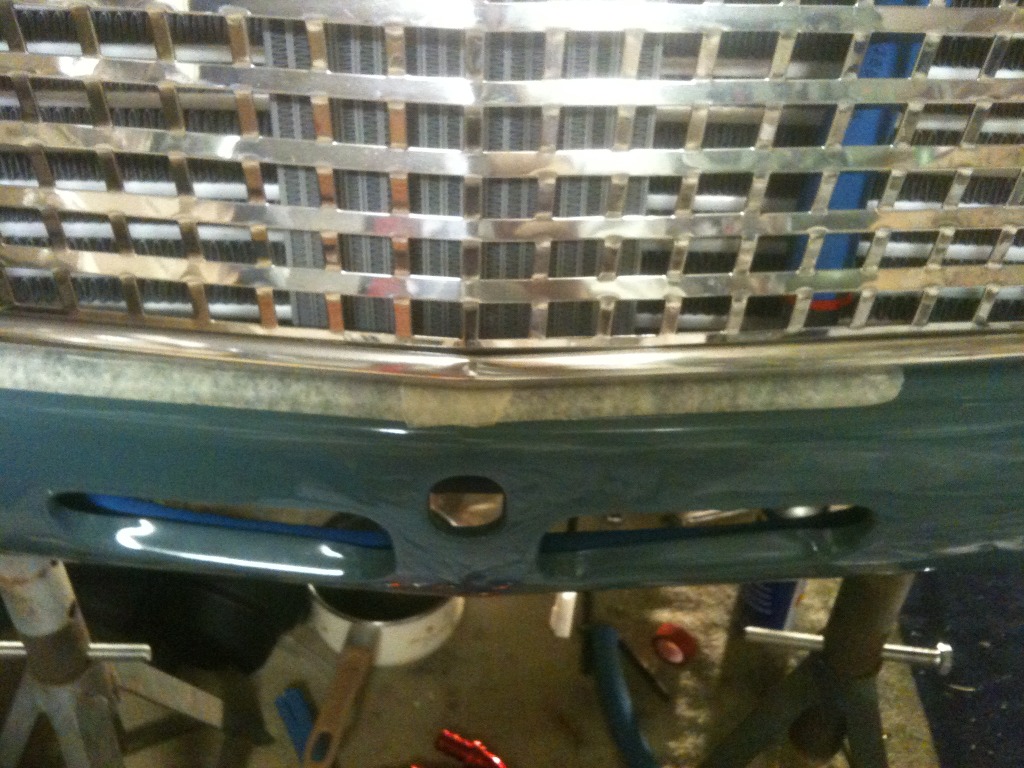
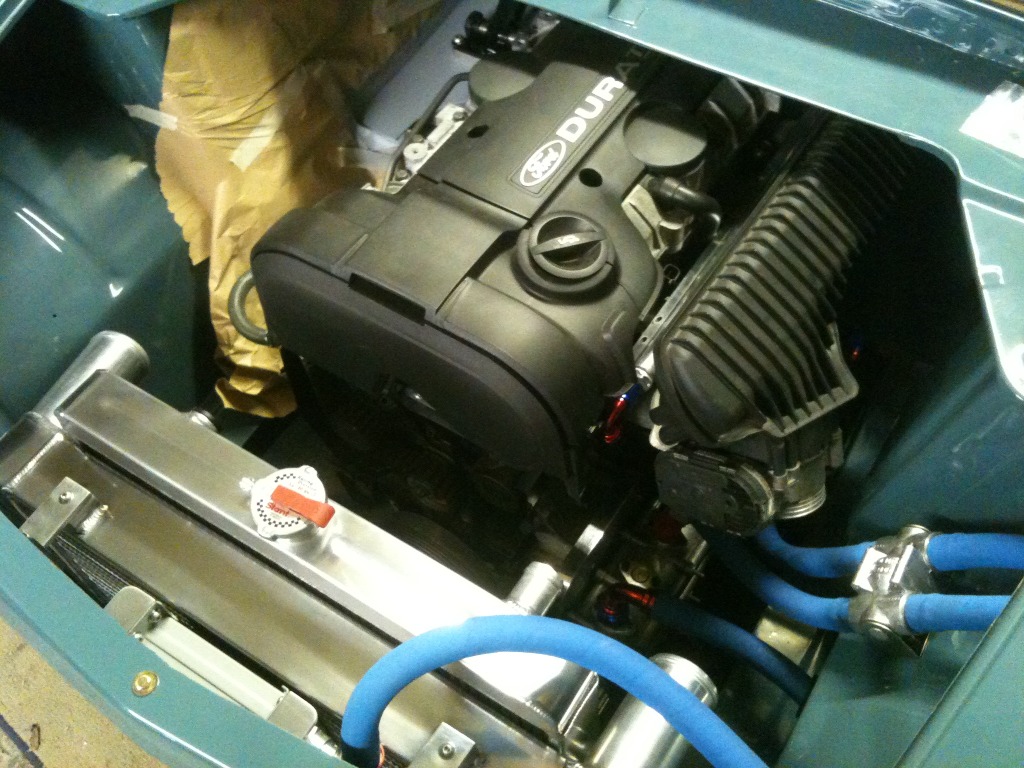
Had to modify the floor pan to fit the starter, all painted and fitted up now
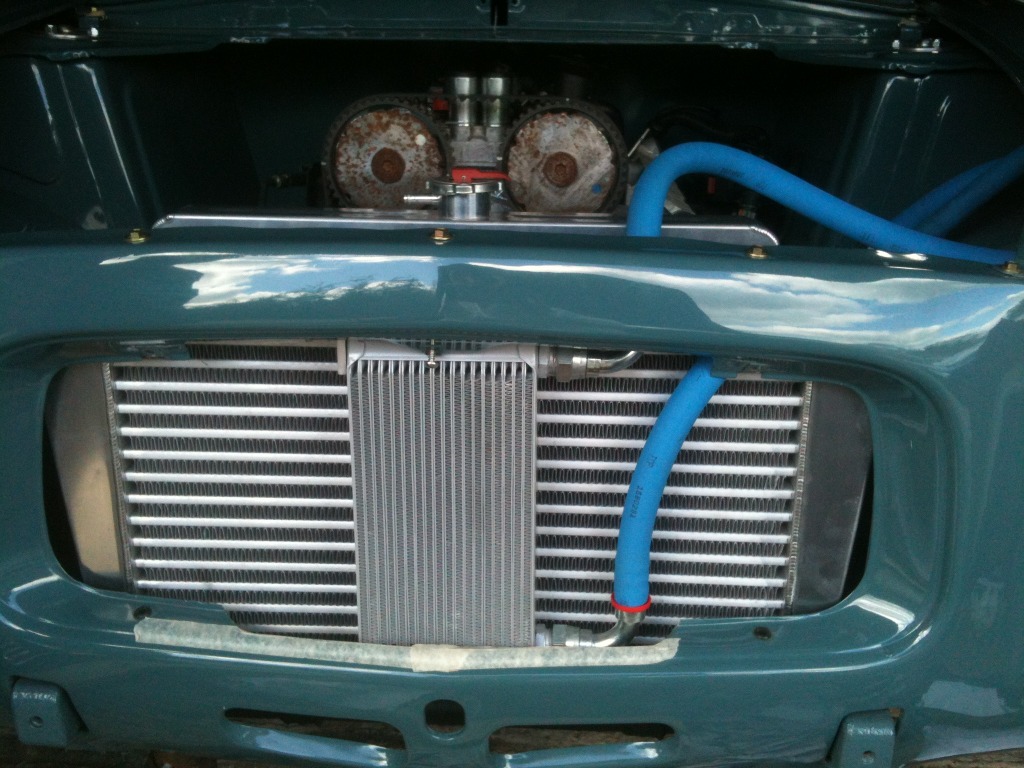
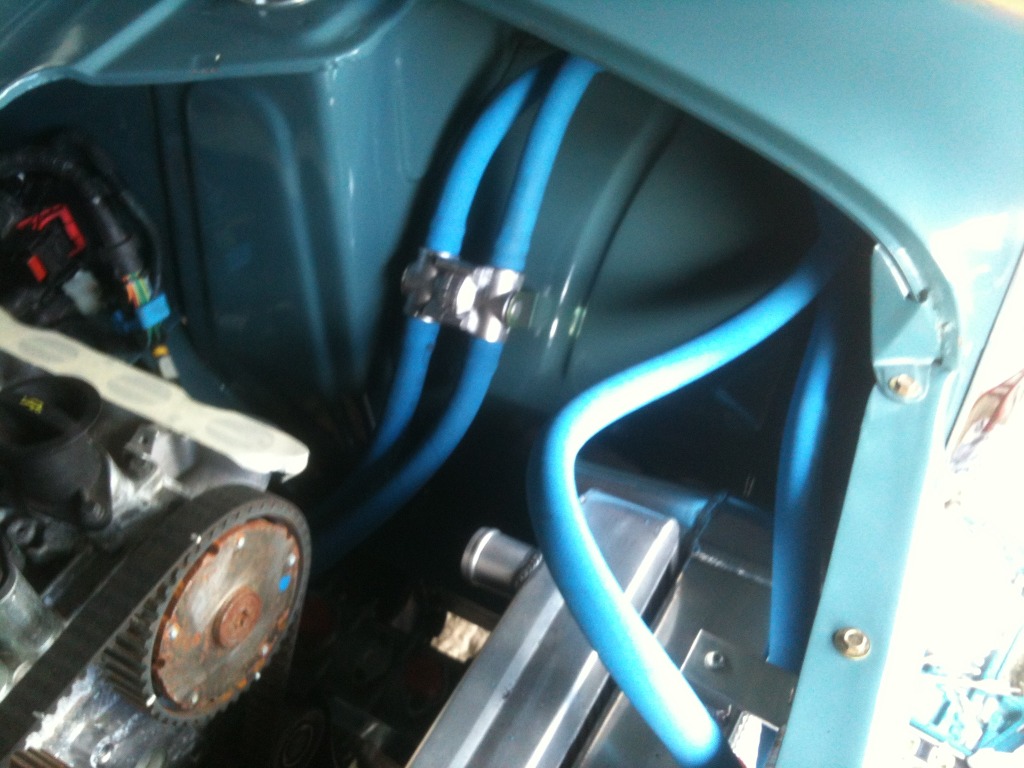
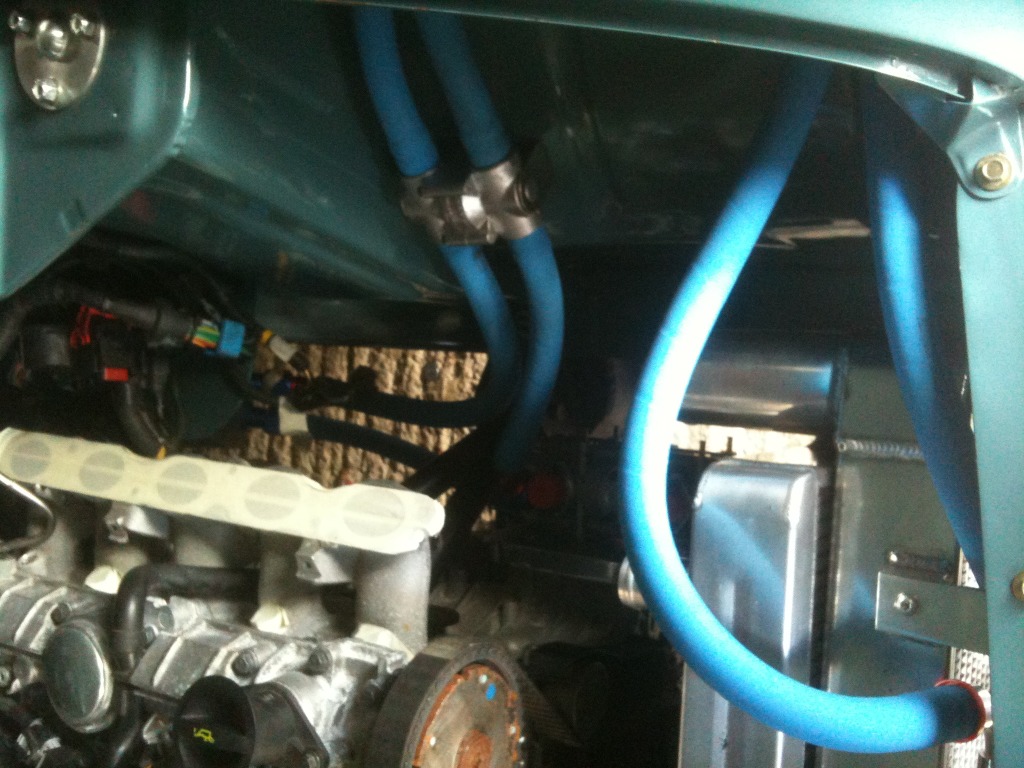
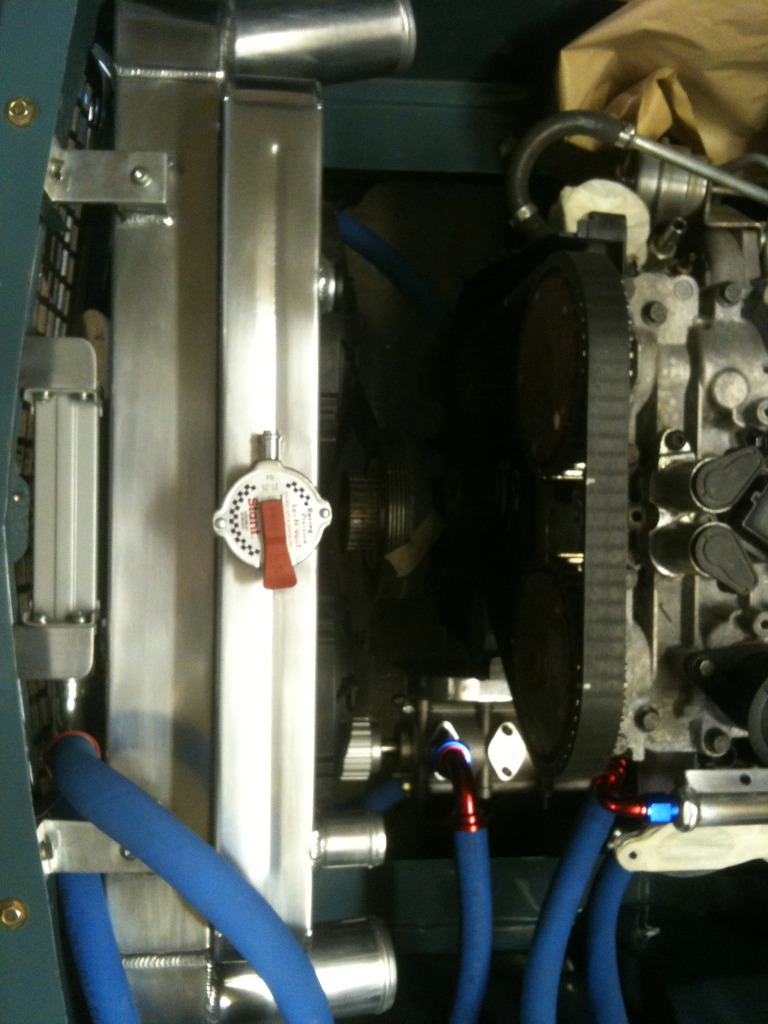
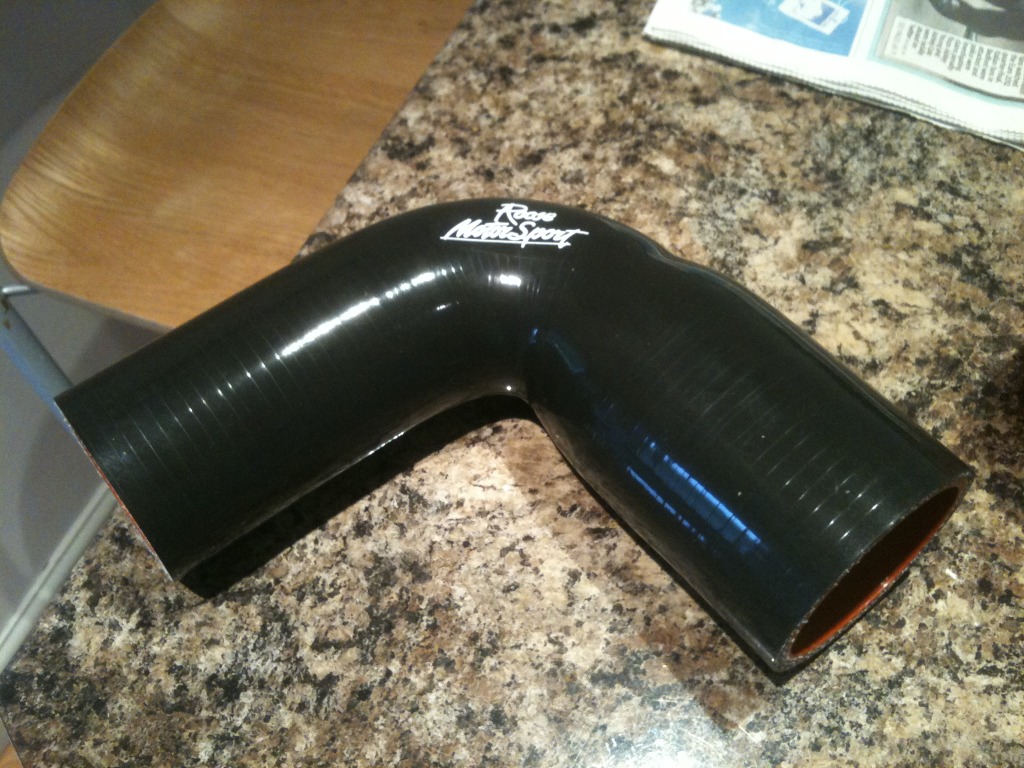
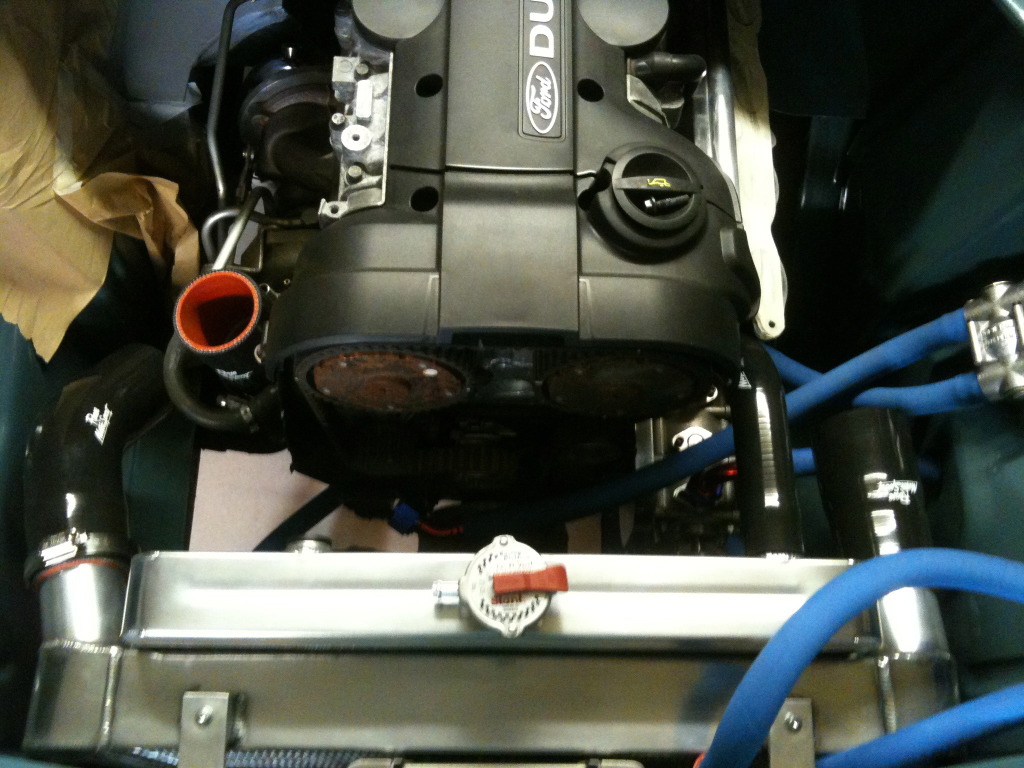
Ordered all the silicone hoses thanks to Paul at Roose motorsport
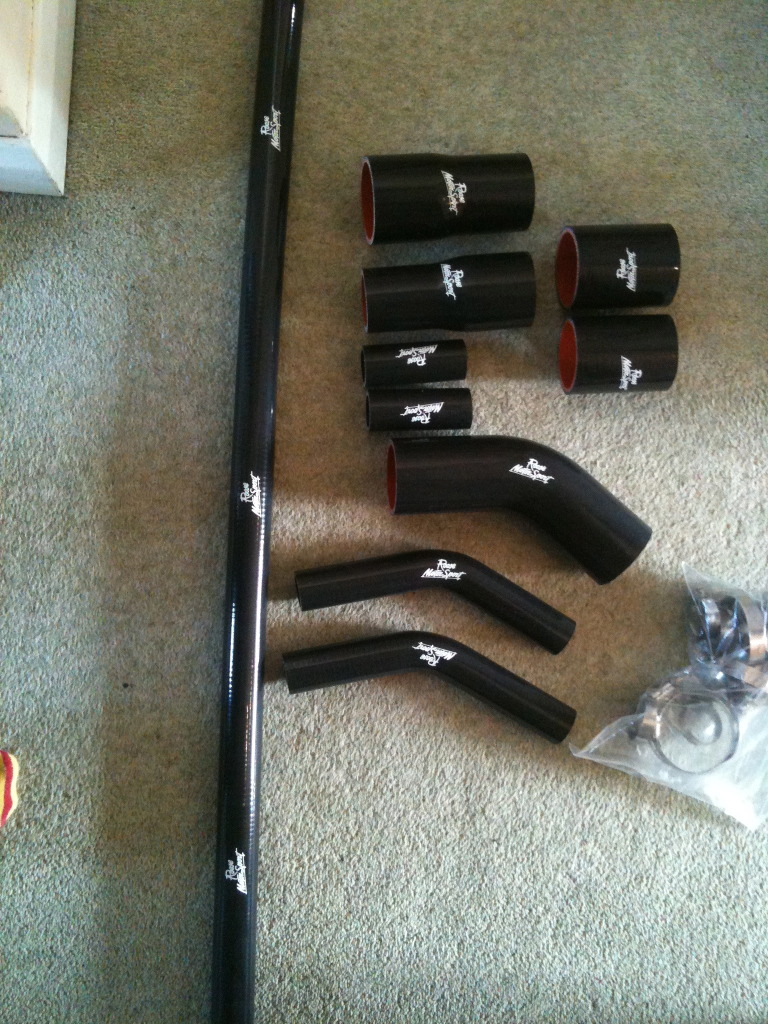

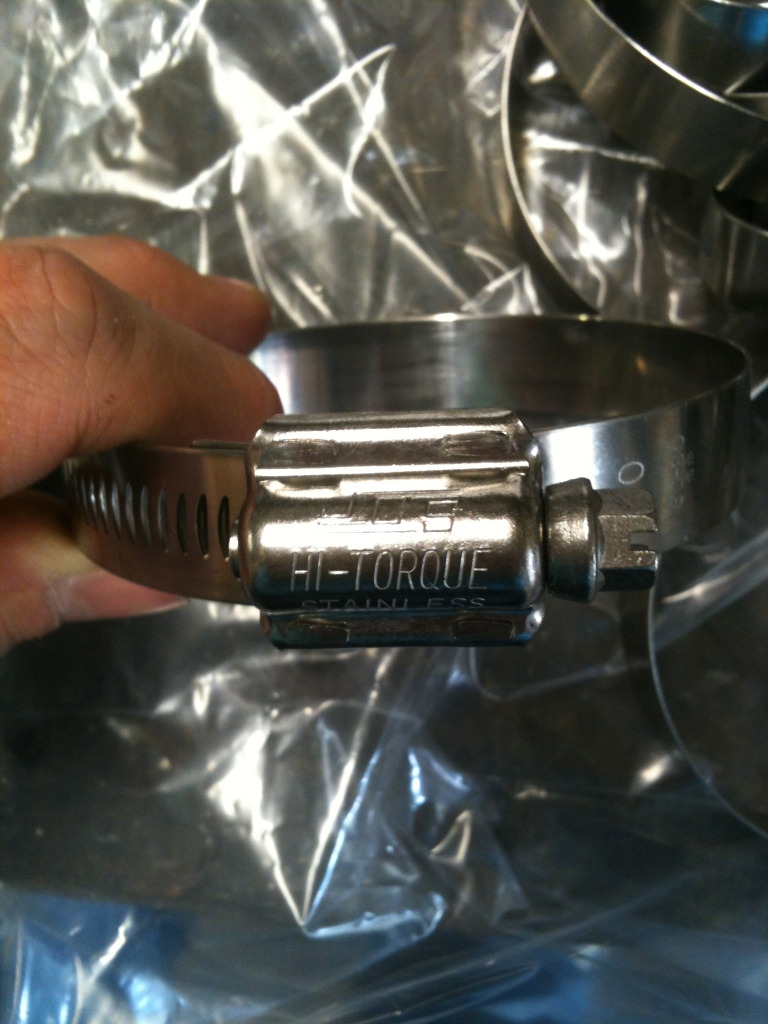
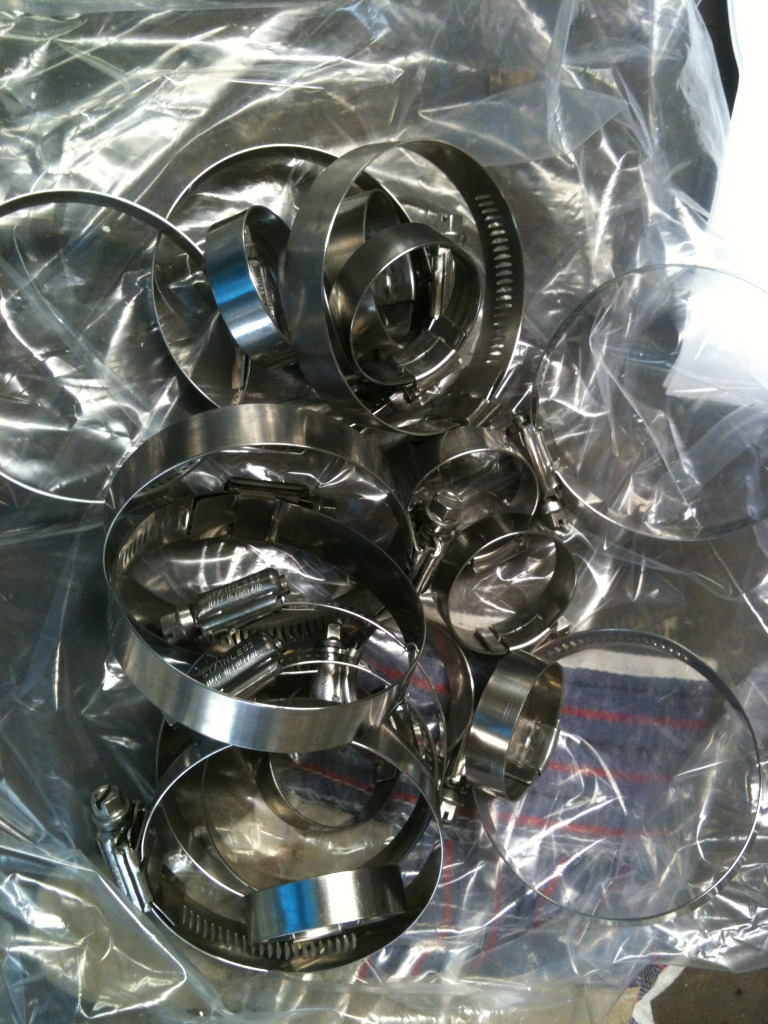
JCS clips... not cheap
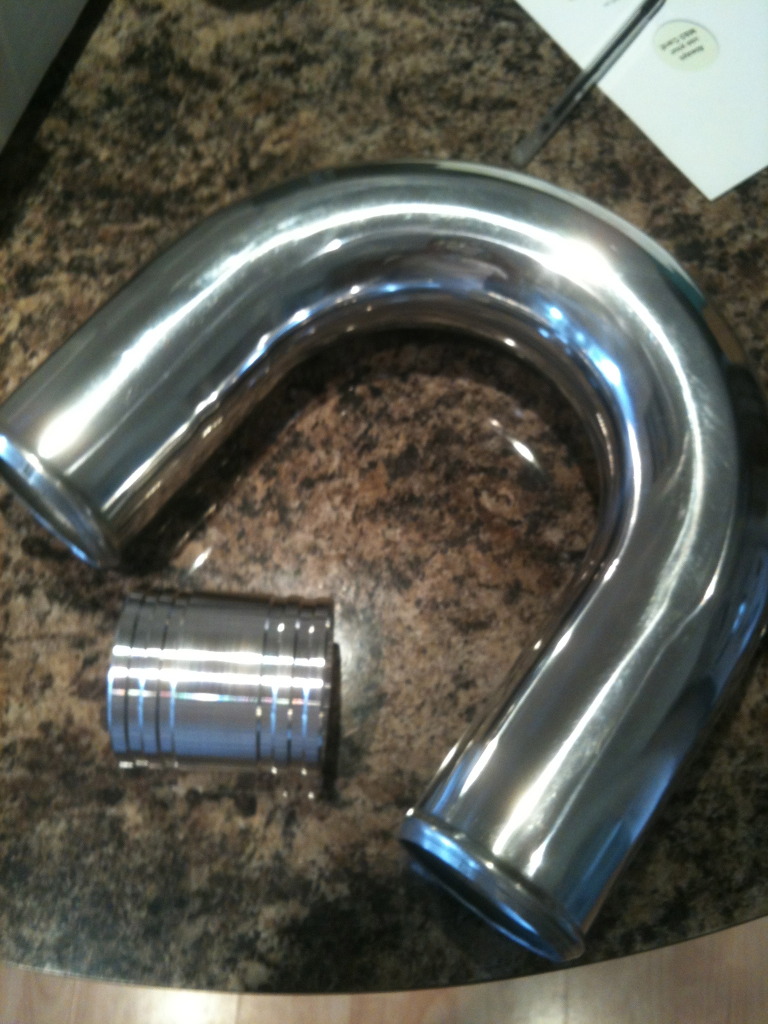
Now got to make the pipe between the intercooler and the inlet plenum
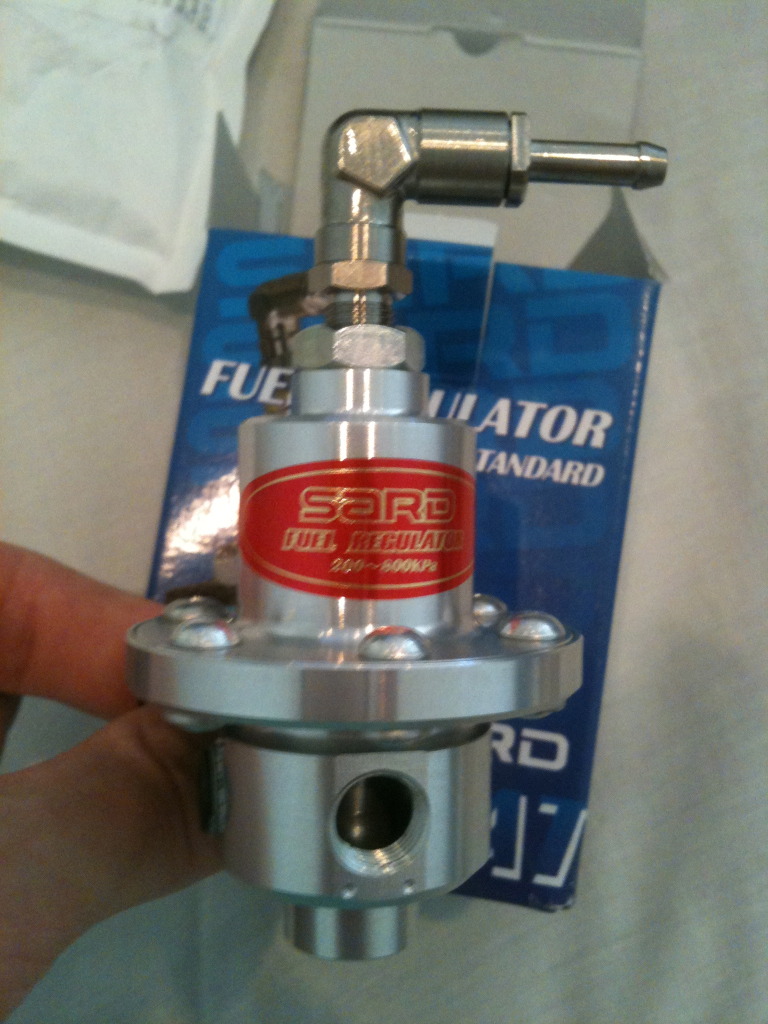
Sard fuel regulator from Japan
Finally manned up and ordered the ecu from Mark Shead @ M A Developments, vipec v88 just waiting for it to arrive.

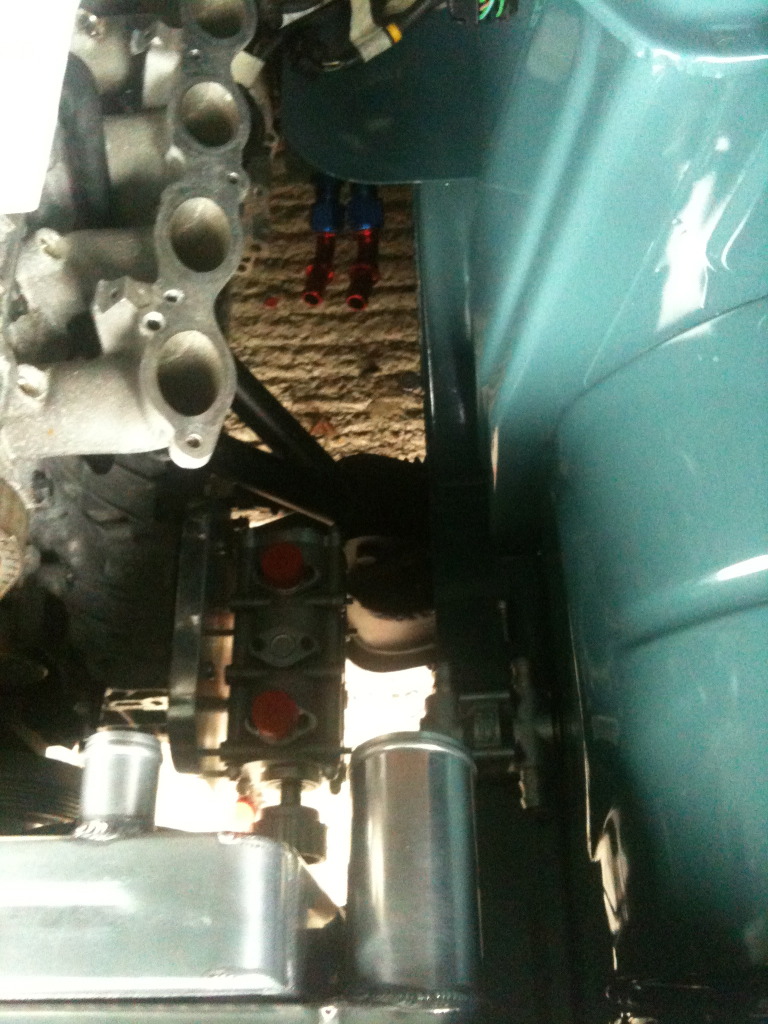
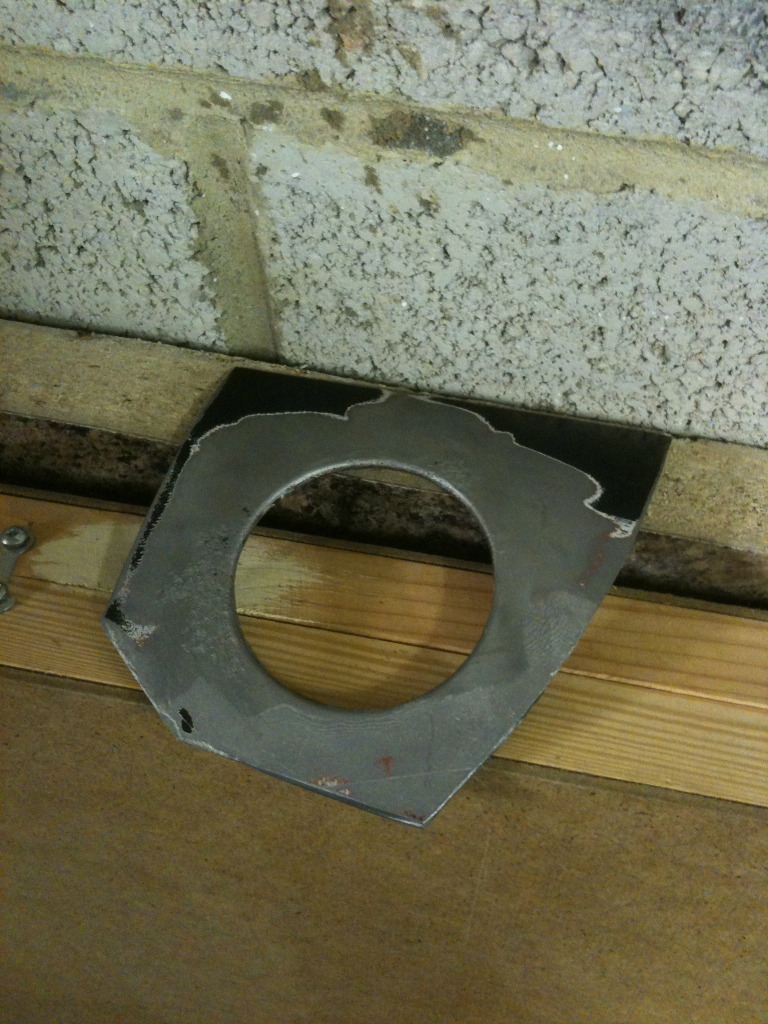
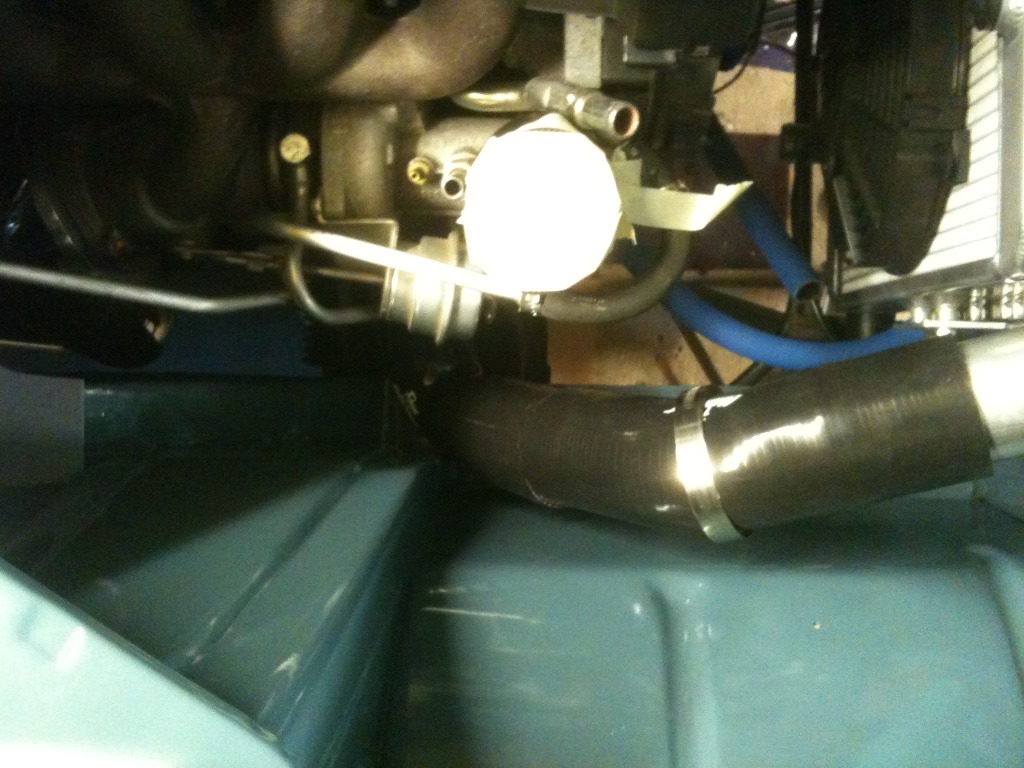
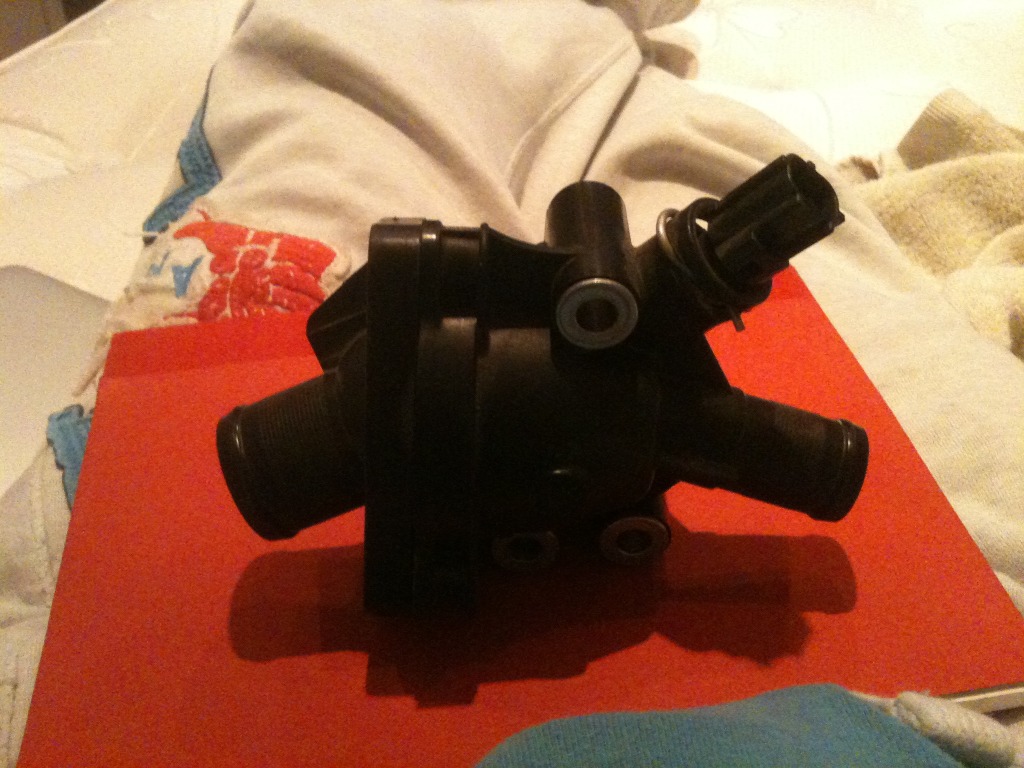
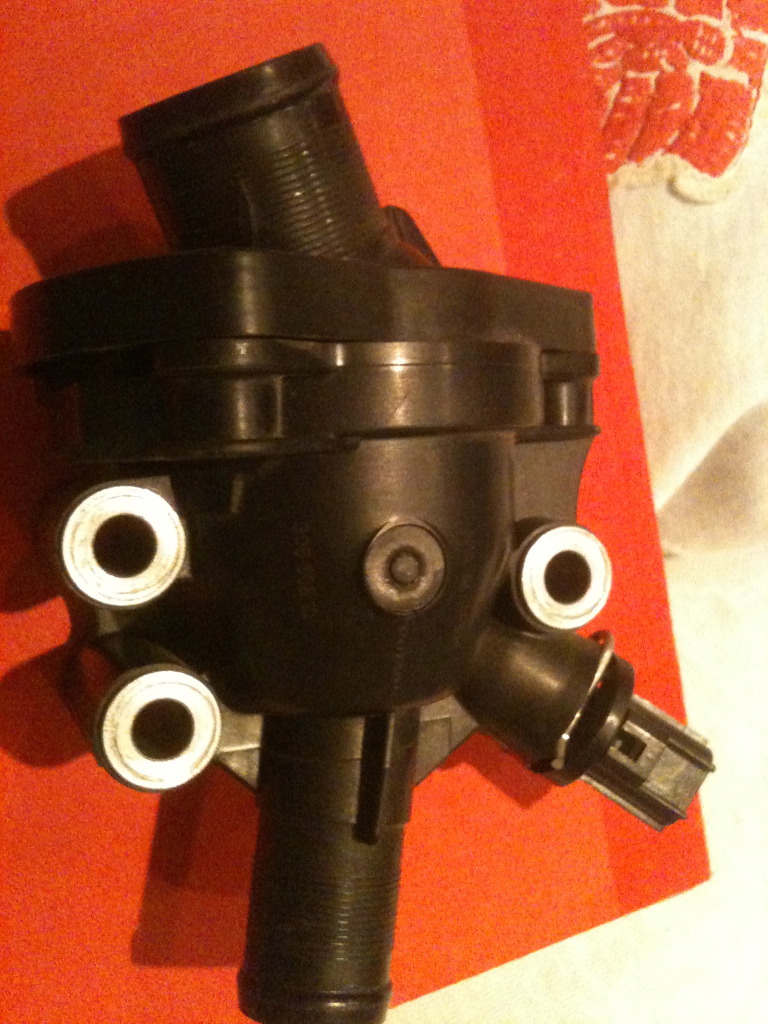
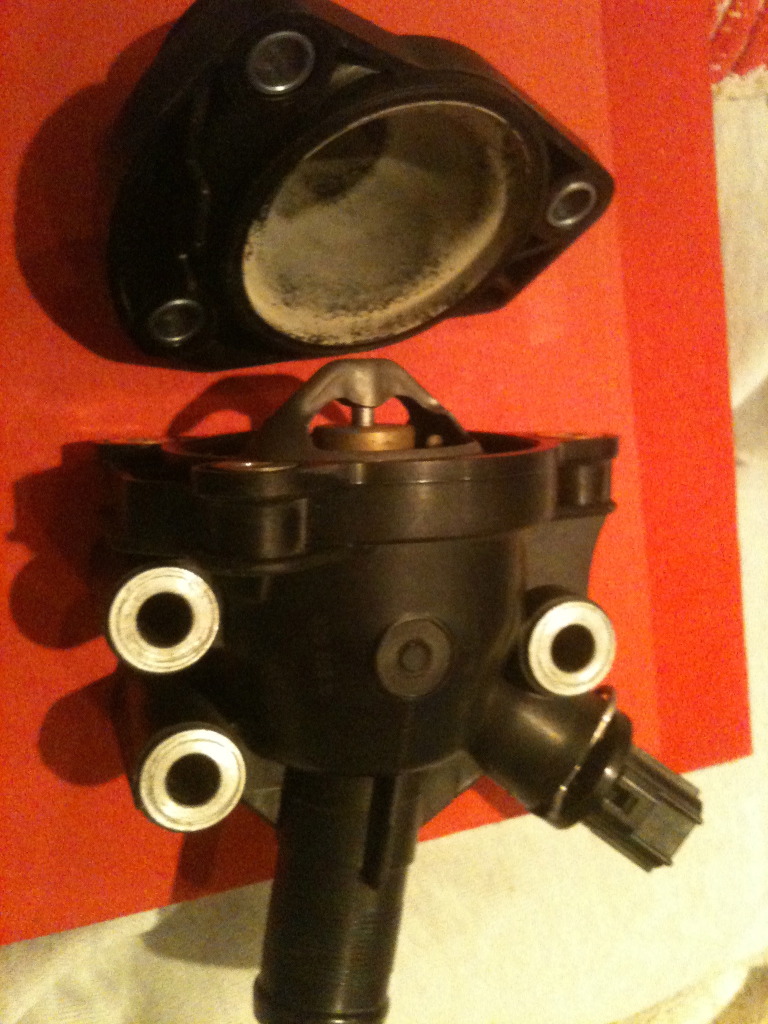
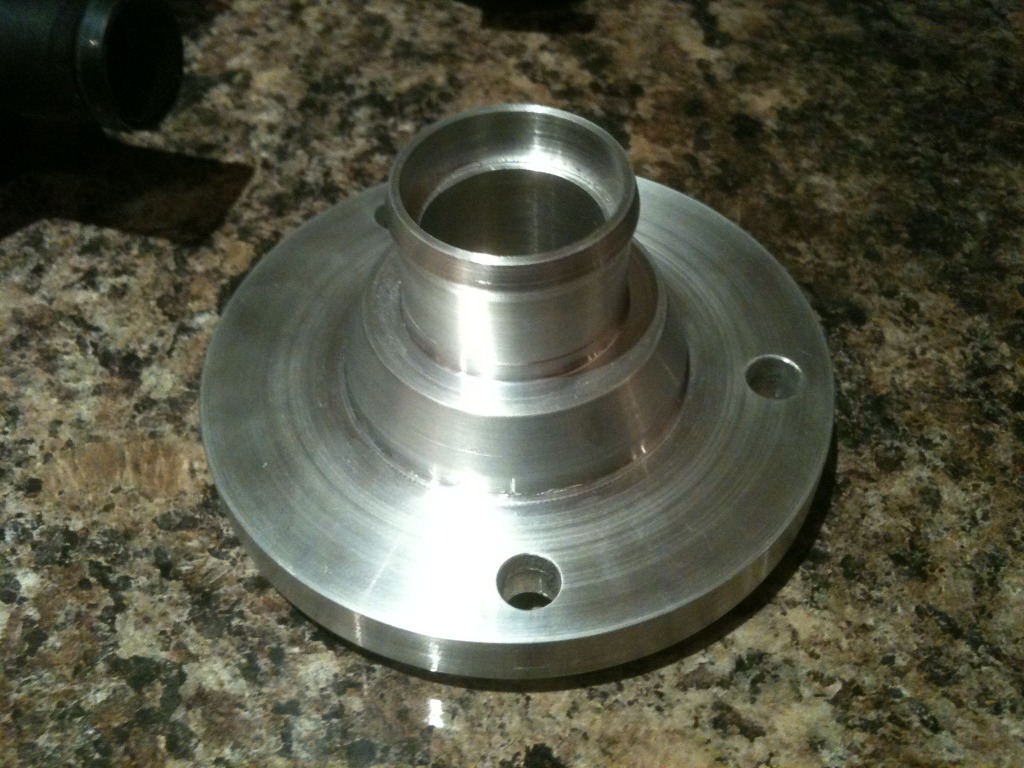
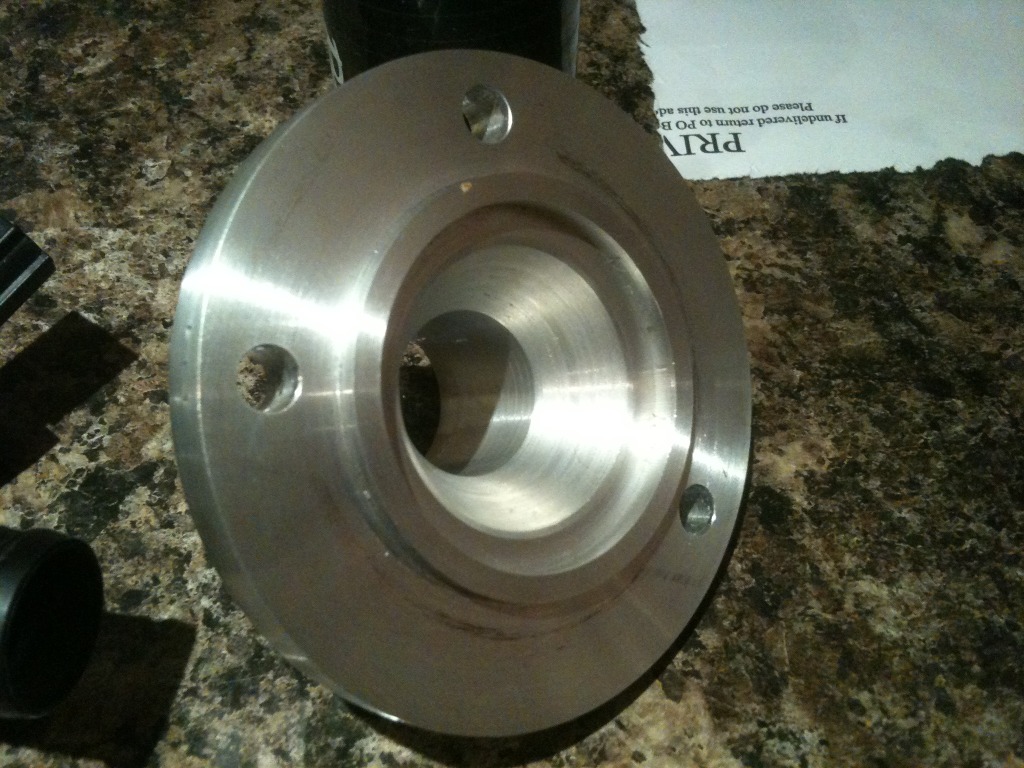
Also had to get creative, made this thermostat housing to bring the hose out straight down the side of the block, lathe + block of ally and ta da
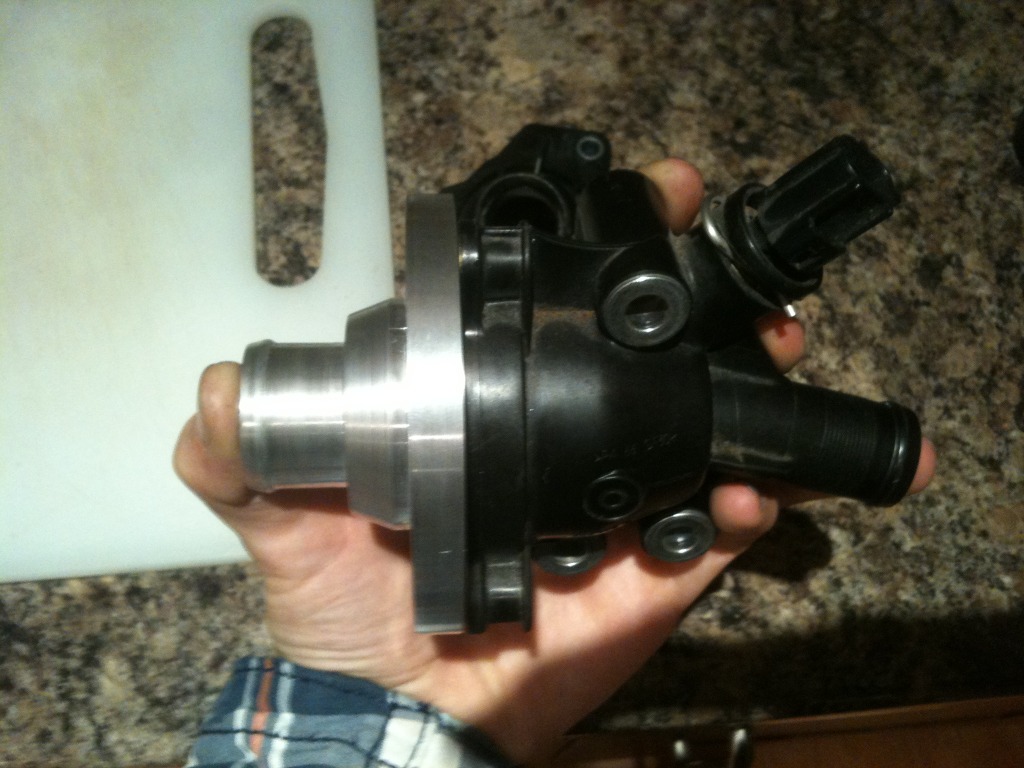
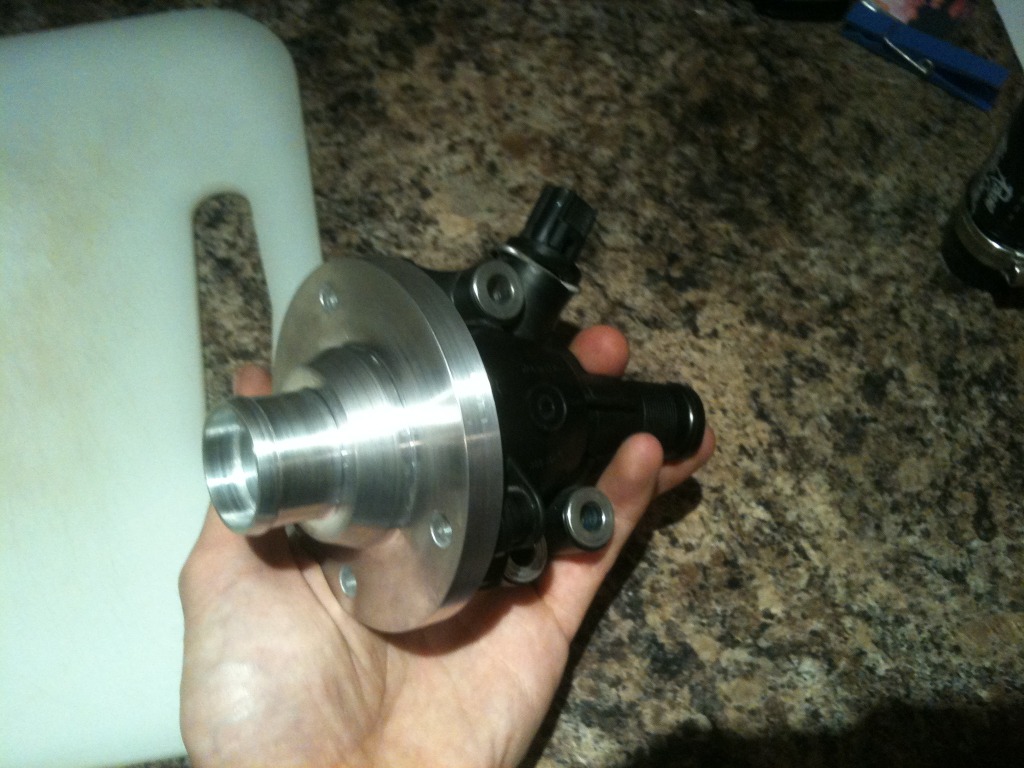
Just resprayed the boot and floor pans where ive made modifications, now just need to finish off the fuel tanks and spray them then can refit all the fuel pump etc
That all for now, hopefully more to follow shortly,
crank sensor bracket purchased for the bargin of �10, ford wanted �70 plus vat
Had to modify the floor pan to fit the starter, all painted and fitted up now
Ordered all the silicone hoses thanks to Paul at Roose motorsport
JCS clips... not cheap
Now got to make the pipe between the intercooler and the inlet plenum
Sard fuel regulator from Japan
Finally manned up and ordered the ecu from Mark Shead @ M A Developments, vipec v88
just waiting for it to arrive.Also had to get creative, made this thermostat housing to bring the hose out straight down the side of the block, lathe + block of ally and ta da
Just resprayed the boot and floor pans where ive made modifications, now just need to finish off the fuel tanks and spray them then can refit all the fuel pump etc
That all for now, hopefully more to follow shortly,
Last edited by surrey_100e; 04-07-2012 at 10:03 PM.
04-07-2012, 10:03 PM
#159
Ben
Awesome
What's left to do, off the top of your head?
What's left to do, off the top of your head?