My D reg S2 off road since 1994,05/10/2014 mile stone it's of the spit


 24-05-2011, 08:47 AM
#87
Regular Contributor
Thread Starter

only regret no before pictures,only recently wife got a digital camera. Taken all thread photos on my phone.it wasn't in that bad nic when i got it,not that much to get it through an mot. It was while i was looking round it for the test ,that i realised how good and original it was,so decided to restore it . Was very tempted to convert it to rwd but its too original. Maybe one day i will do an rs1700t replica from a basic mk3 that's wot i really would like in my garage. Day off to day got something to do for a mate today, might get a bit of time on car this aft, thanks for kind replys nice to no people are following my thread.

 29-07-2011, 07:03 PM
#91
Regular Contributor
Thread Starter
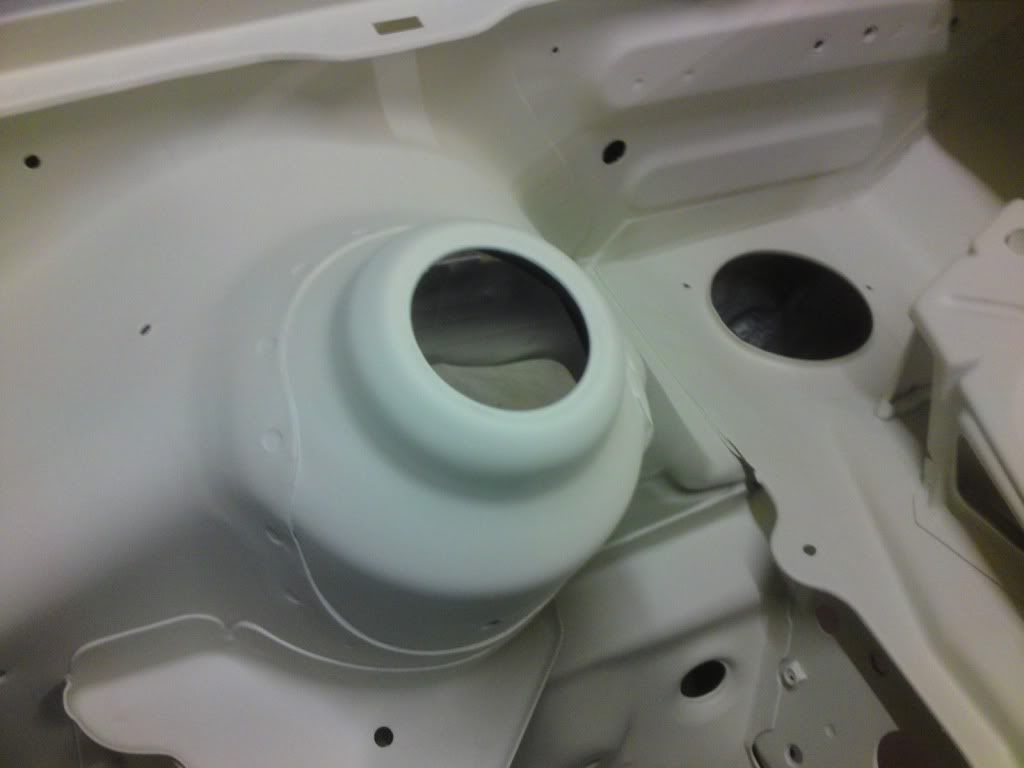
not posted fore a while,have had a lot of carnt be arssed much sickness,even been to croft for some insperation.done a little in engine bay,this will be my 3rd prep in there and last.nearly time for some etch primer,my mate martin been giving me some help preping out side of shell. hopefully soon rest of car ready for high build primer.here are some of the engine bay shell to follow soon

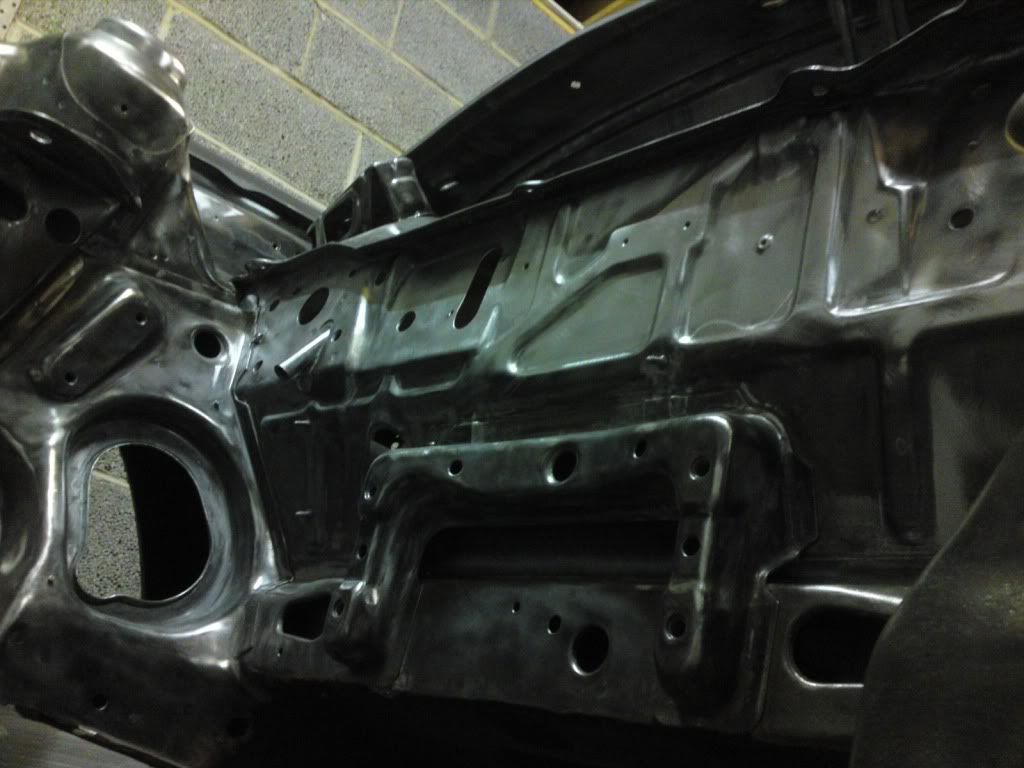
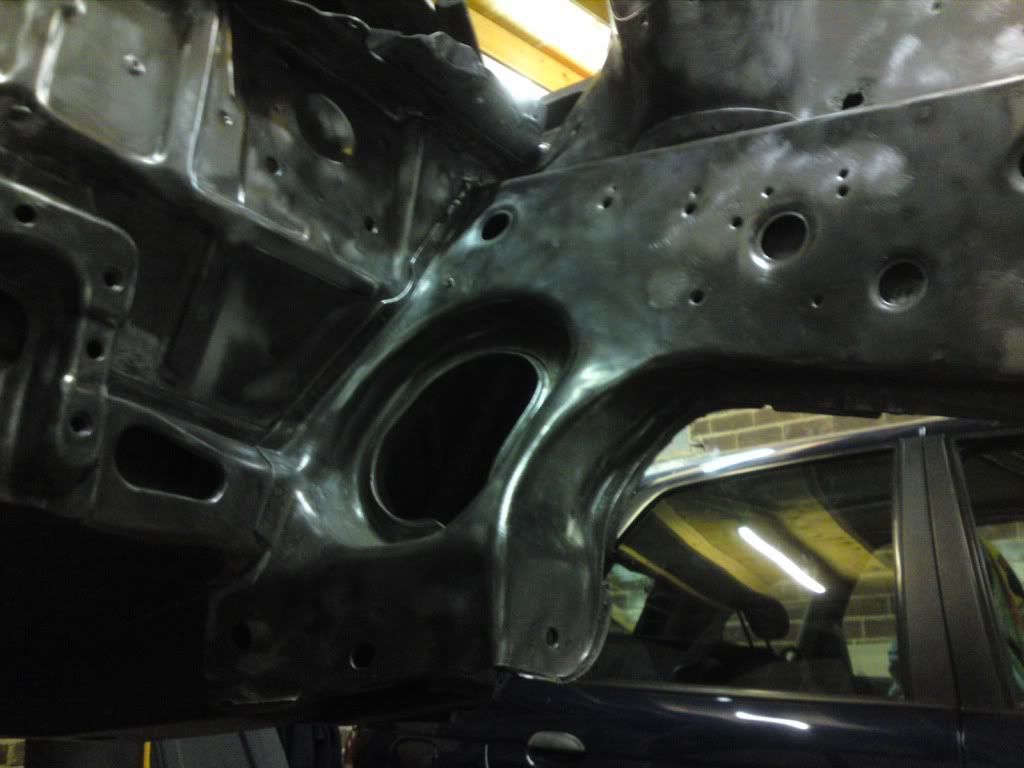
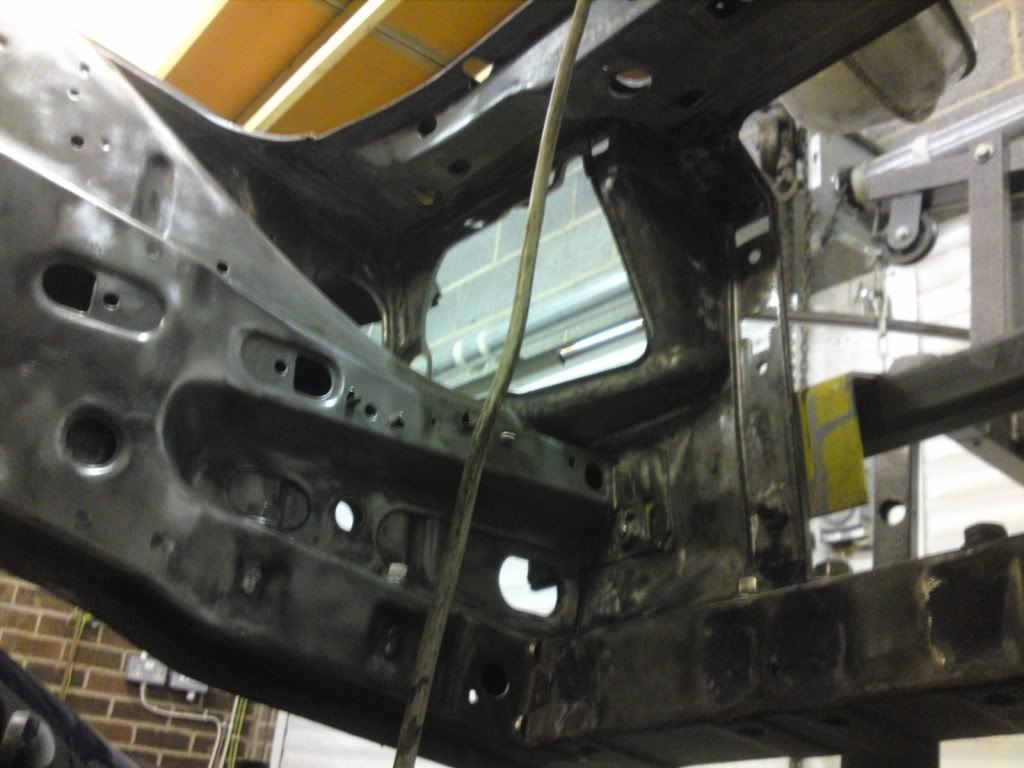
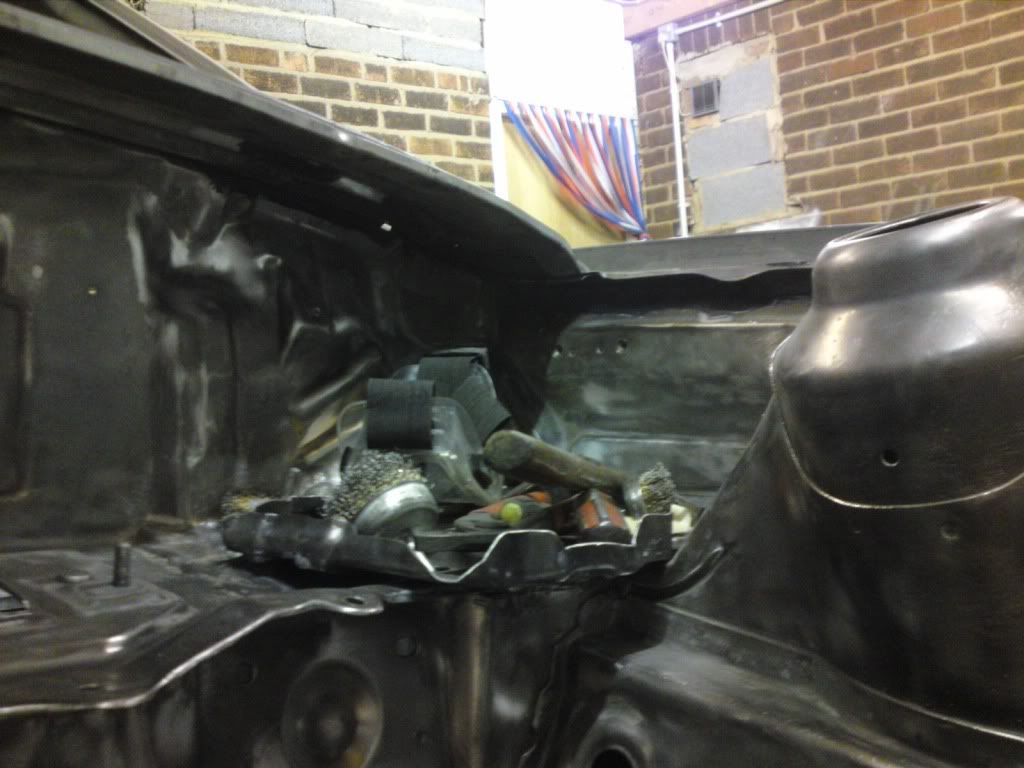
this took ages to get it back to bare metal ,but finish is only as good as the prep
this took ages to get it back to bare metal ,but finish is only as good as the prep
 12-10-2011, 11:18 AM
#95
Regular Contributor
Thread Starter
Thanks for comments chaps.Have'nt done much with it for a wile, hope to have a day on it next week with my mate,same lad who is going to eventually paint it.Its hard to get started all kids toys have slowly found there way out of the shed and live under car takes half hour to move everything out . Carnt be bothered after we get kids to bed and had tea its too to do anything.Now weather turning will get shed filled up again.Hopefully get some paint on it.
18-10-2011, 11:25 PM
#97
Regular Contributor
Thread Starter
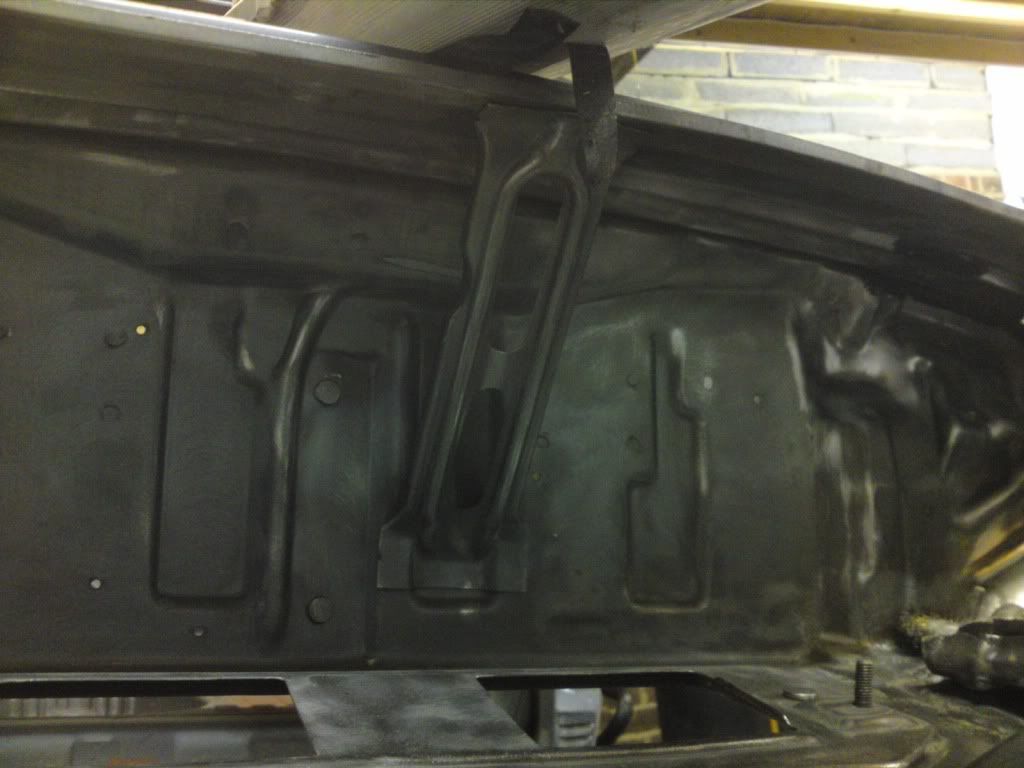
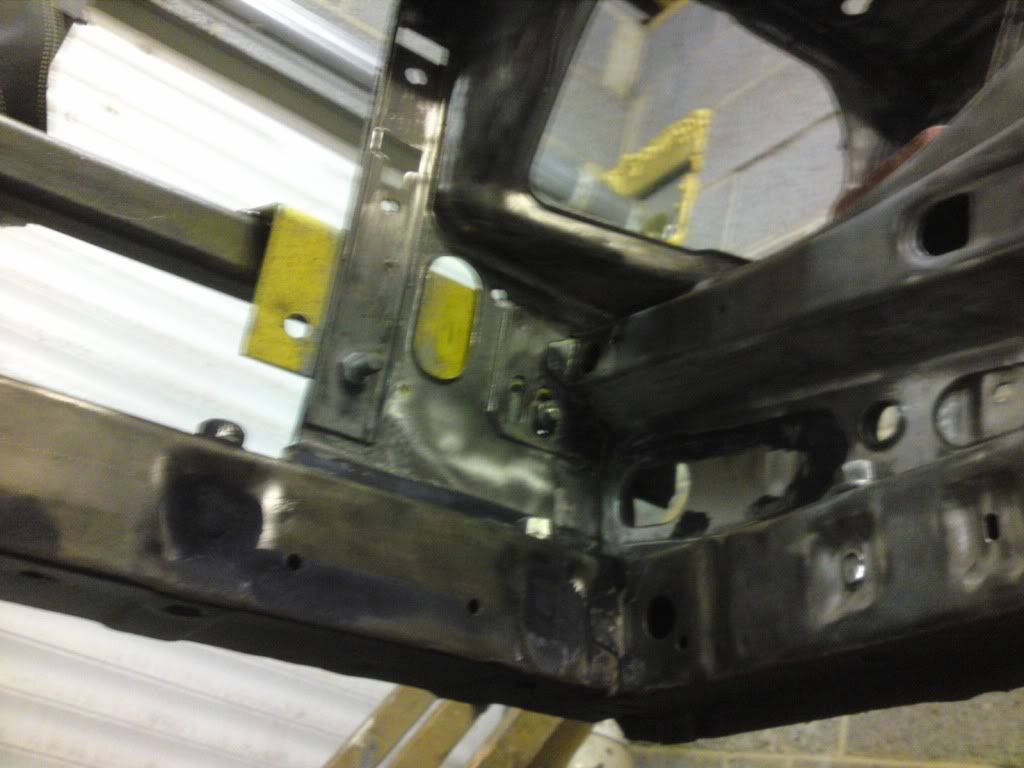
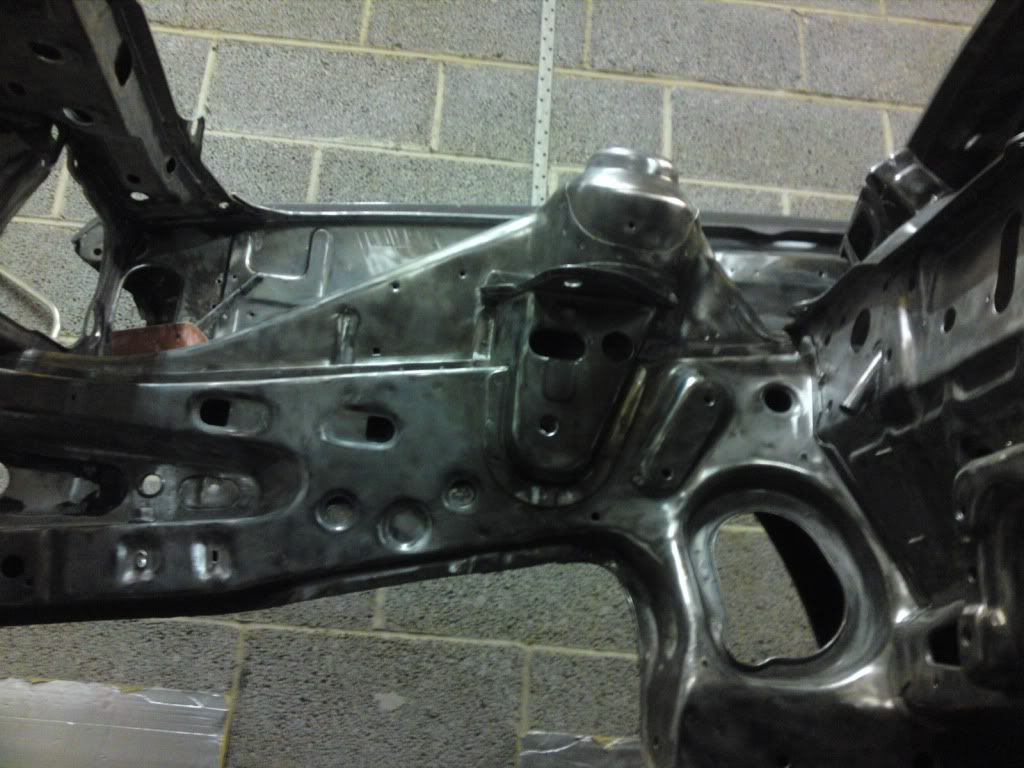
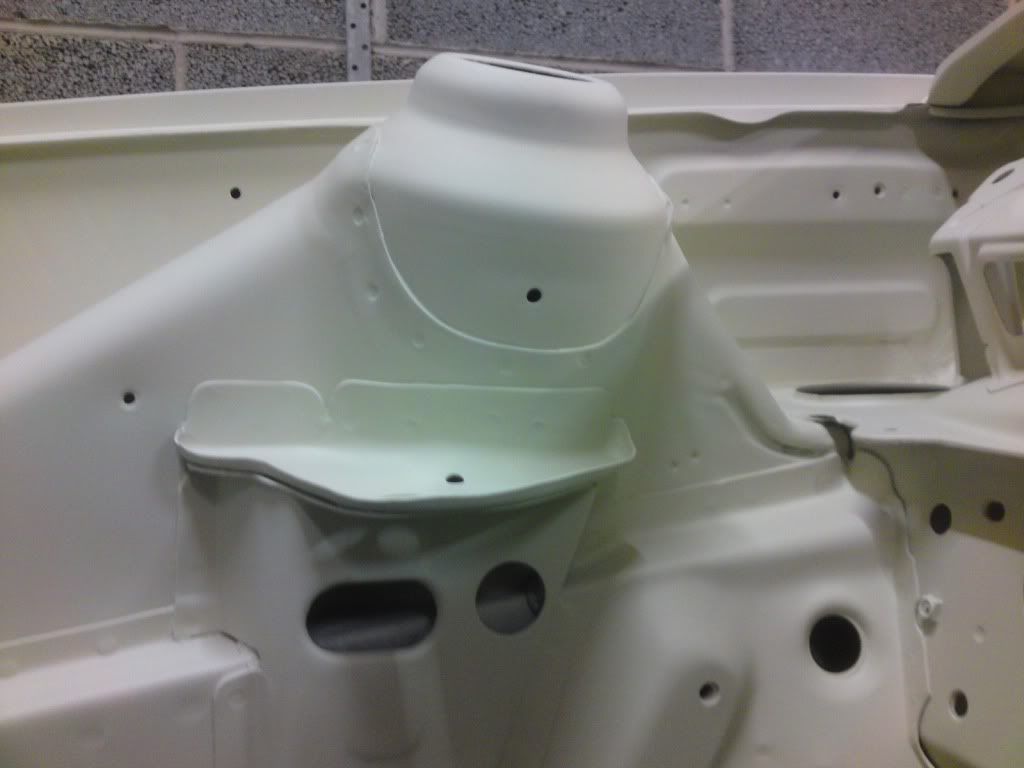
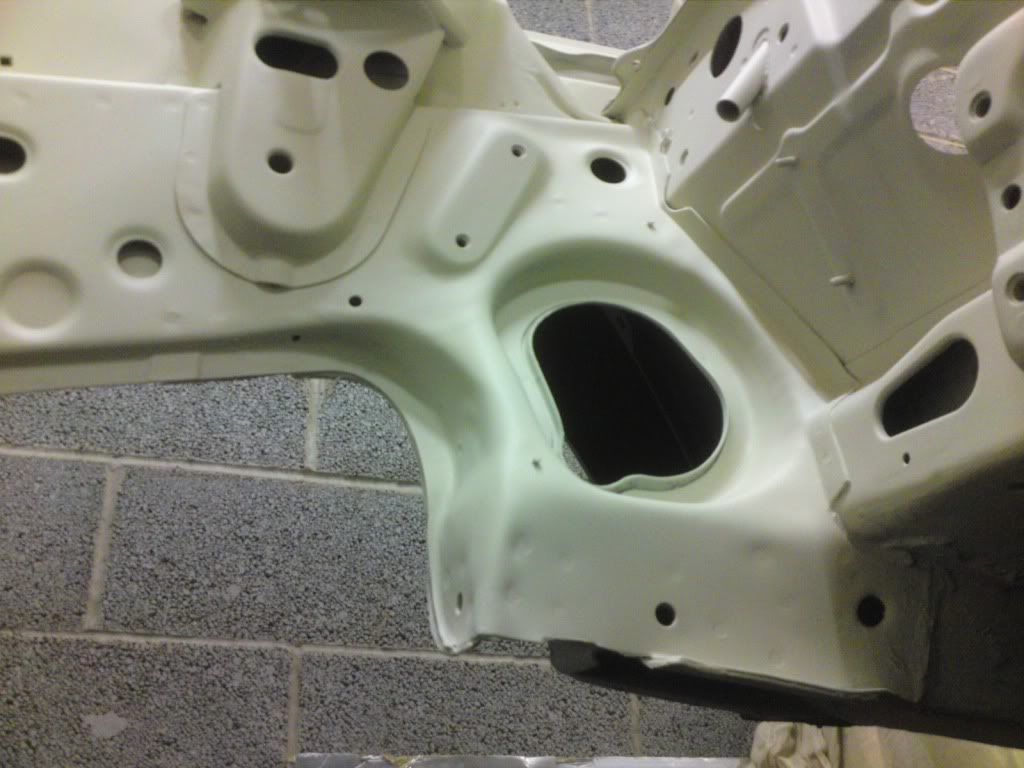
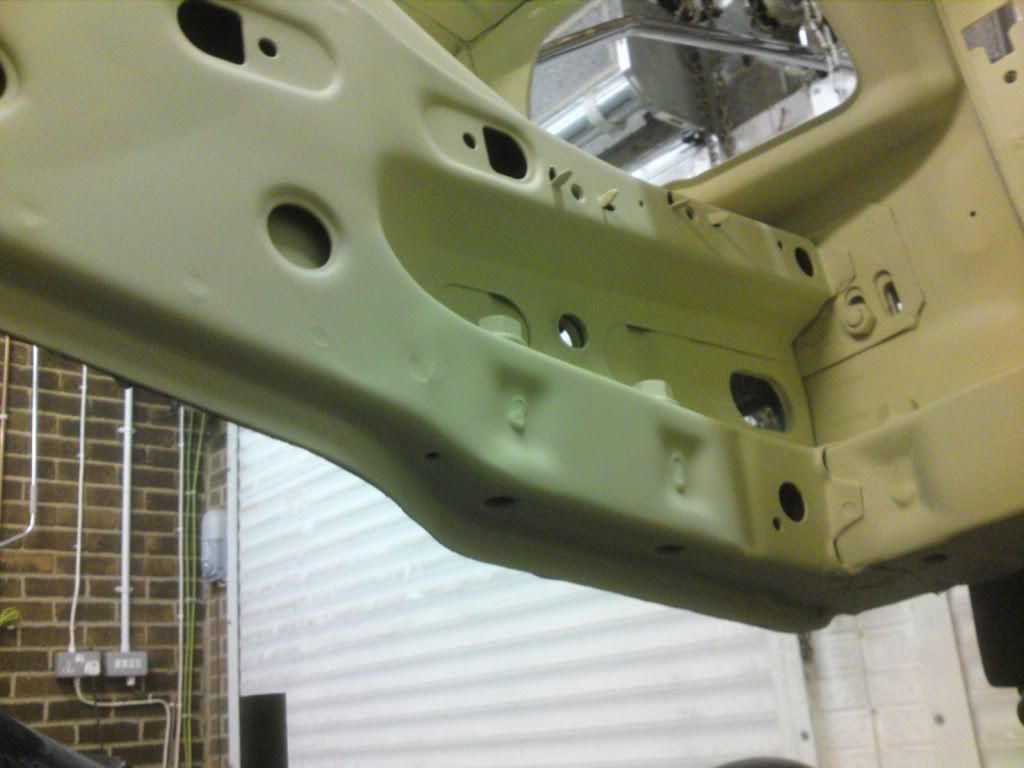
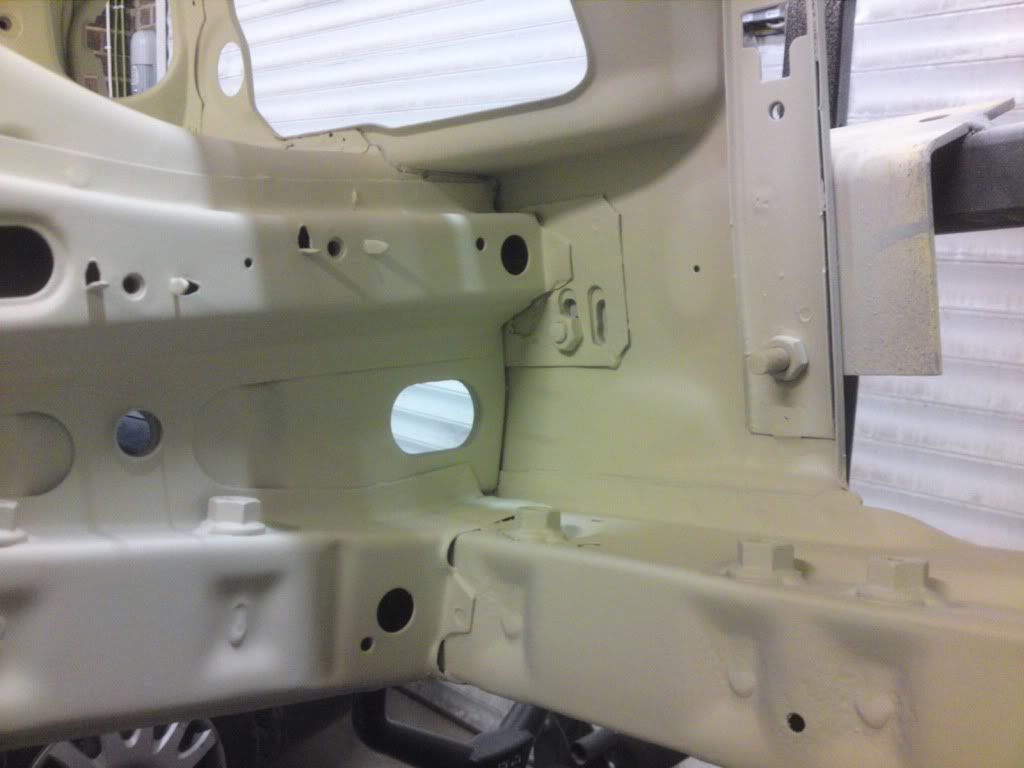
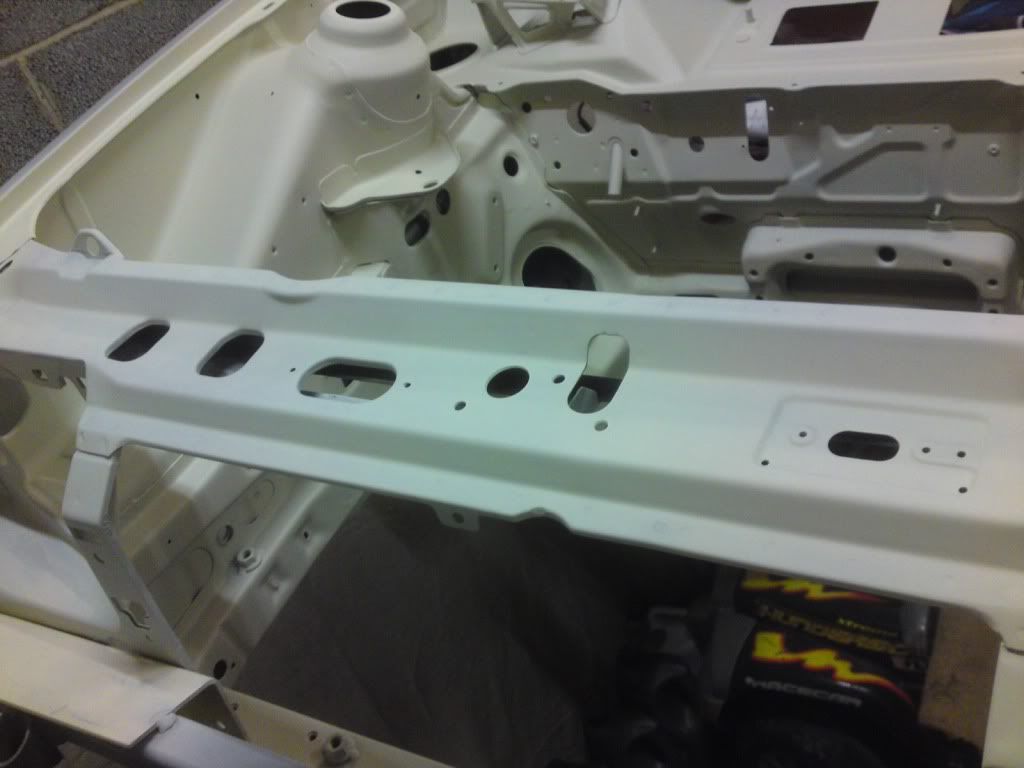
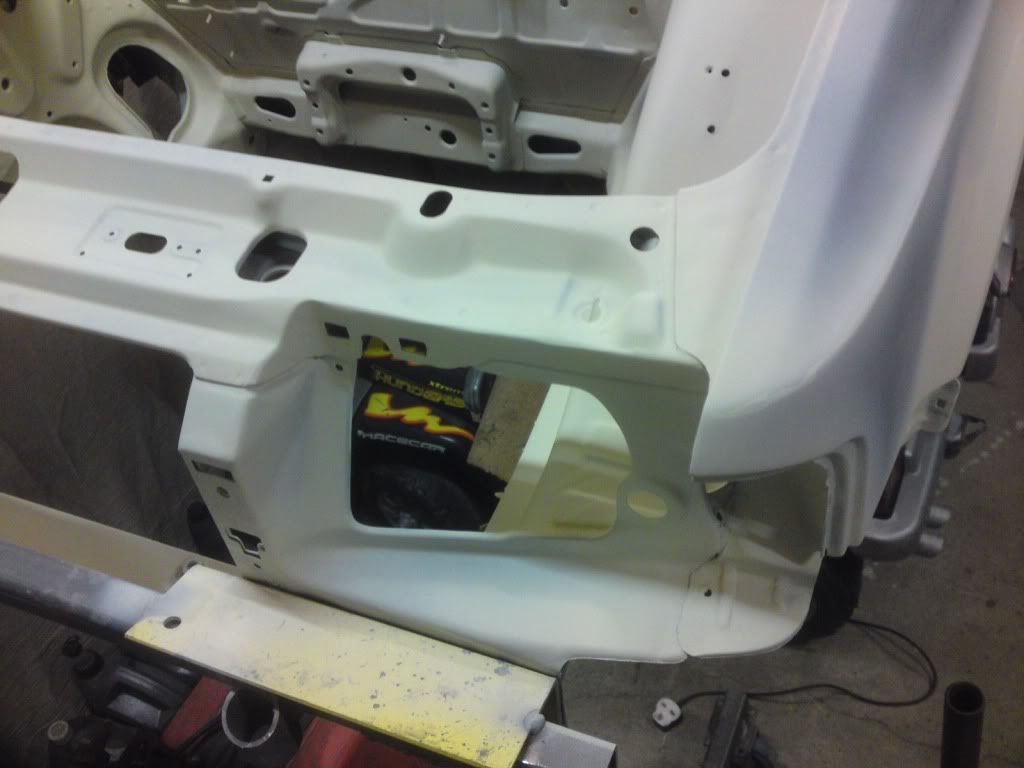
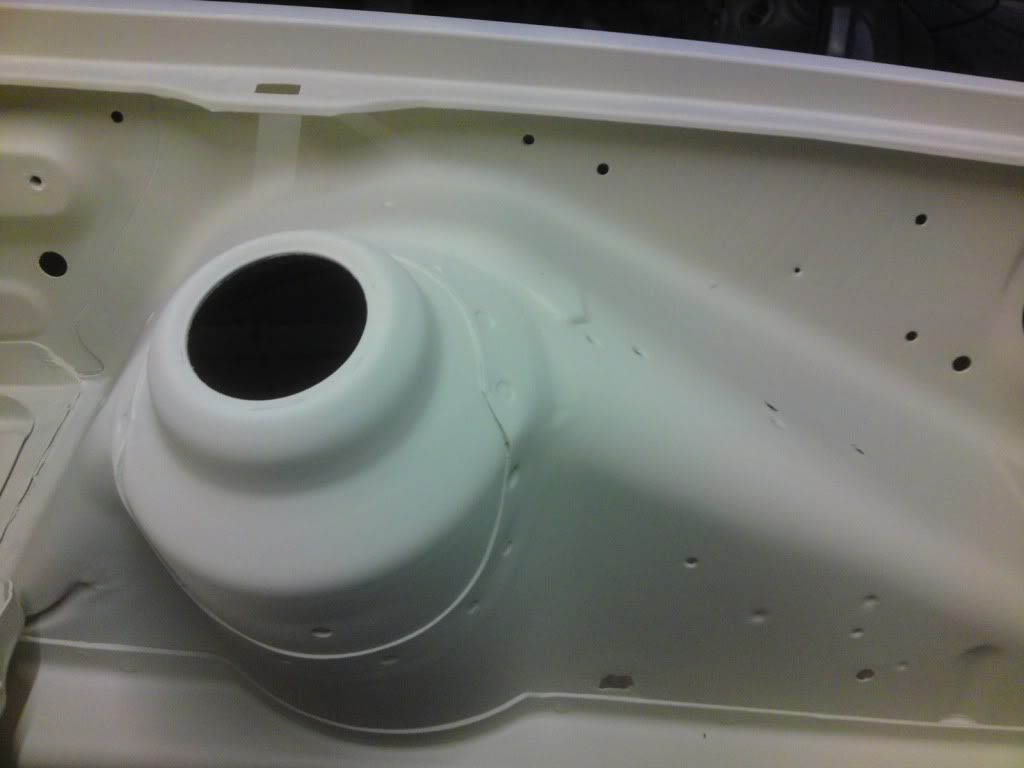
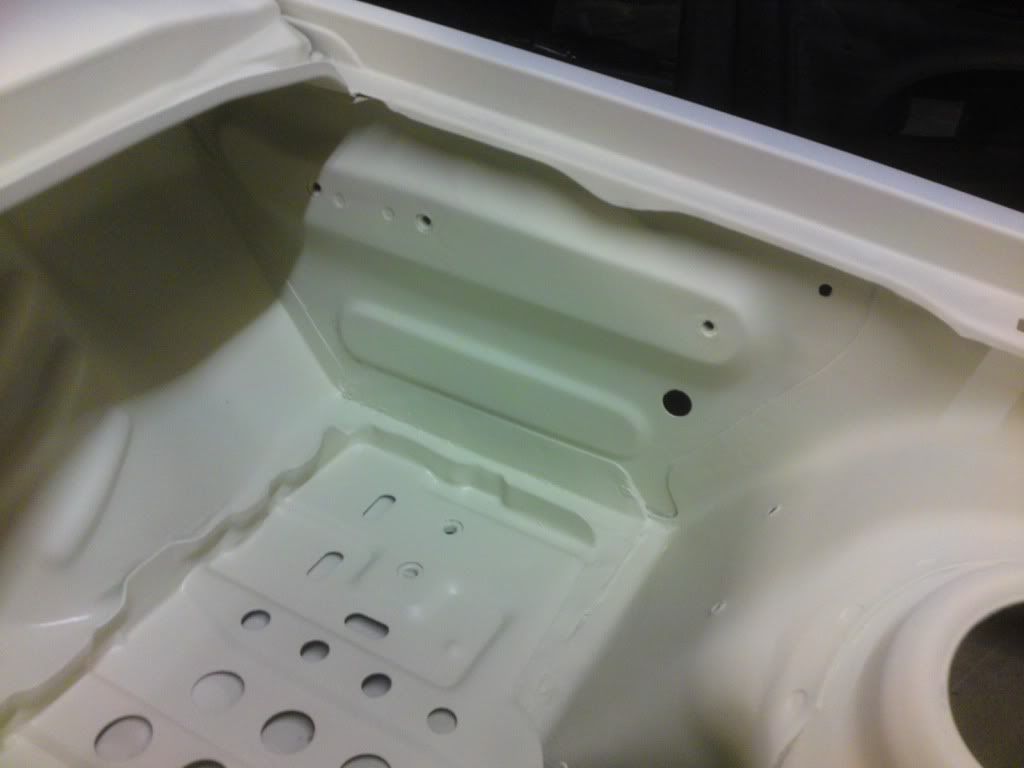
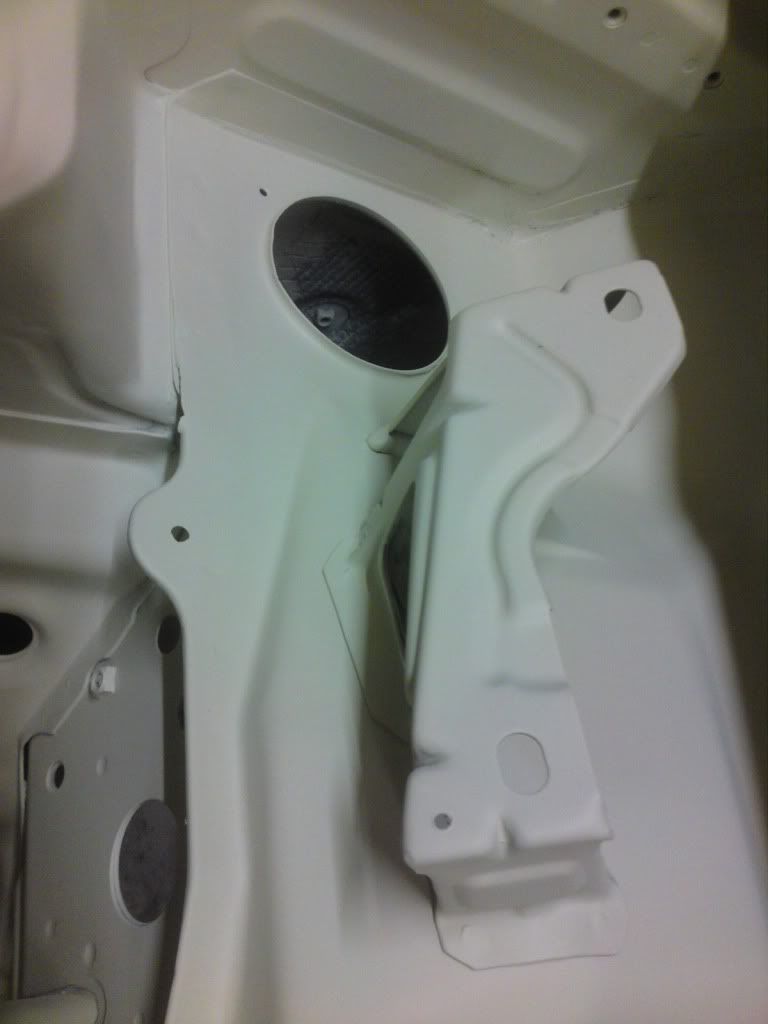
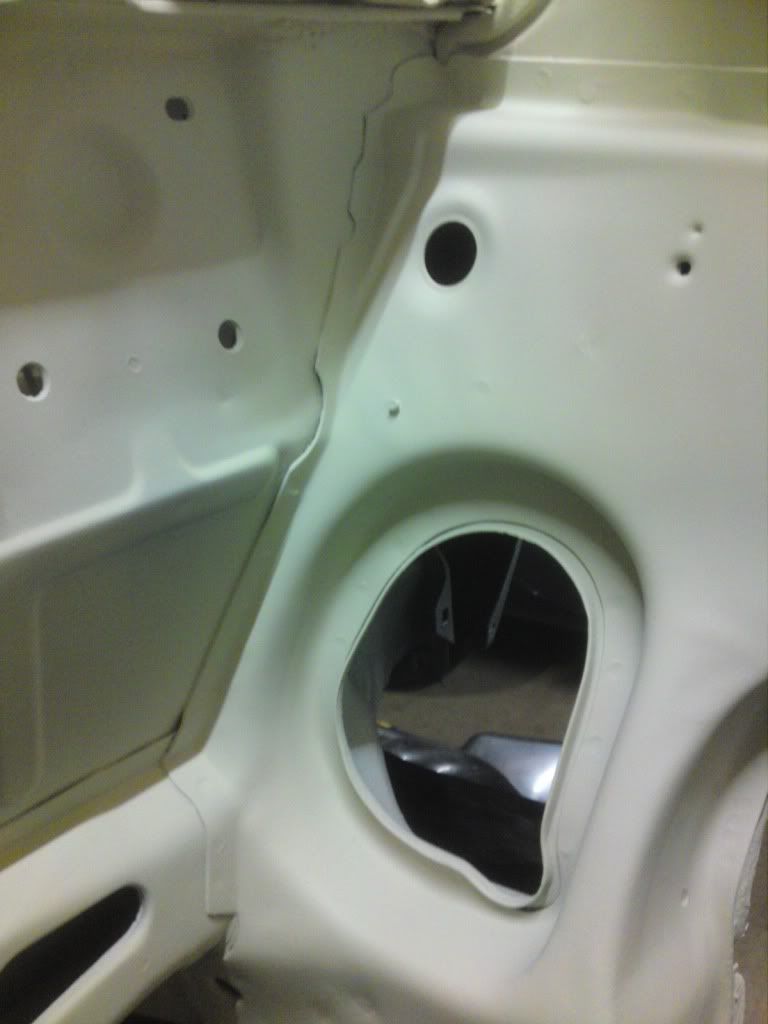
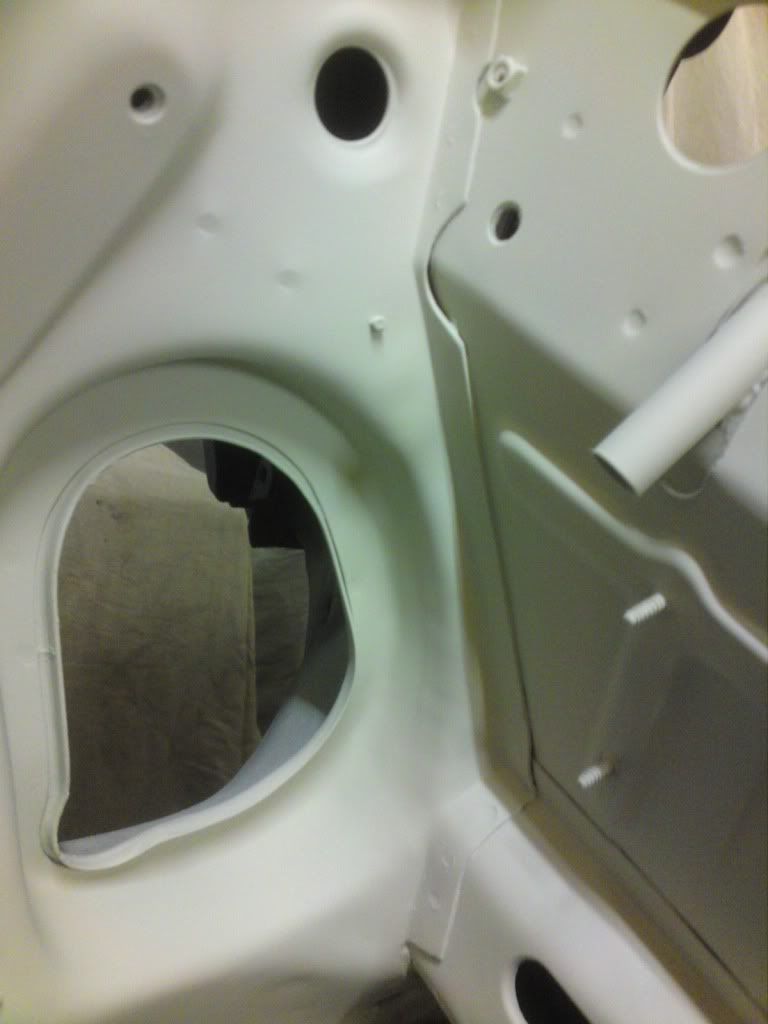
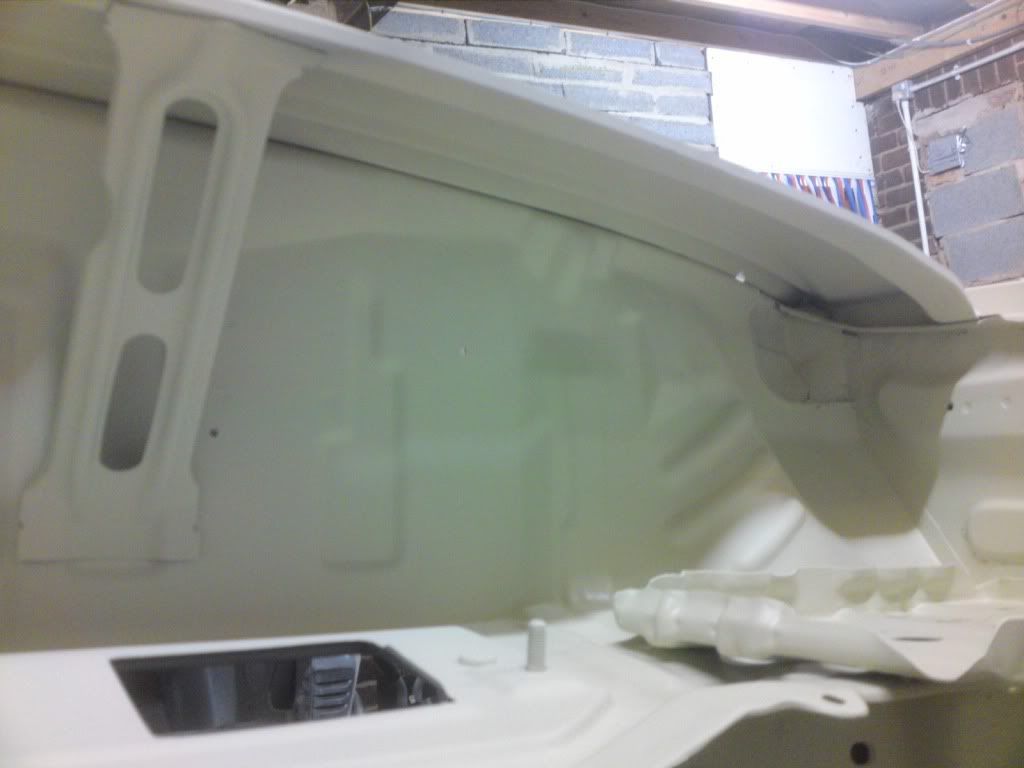
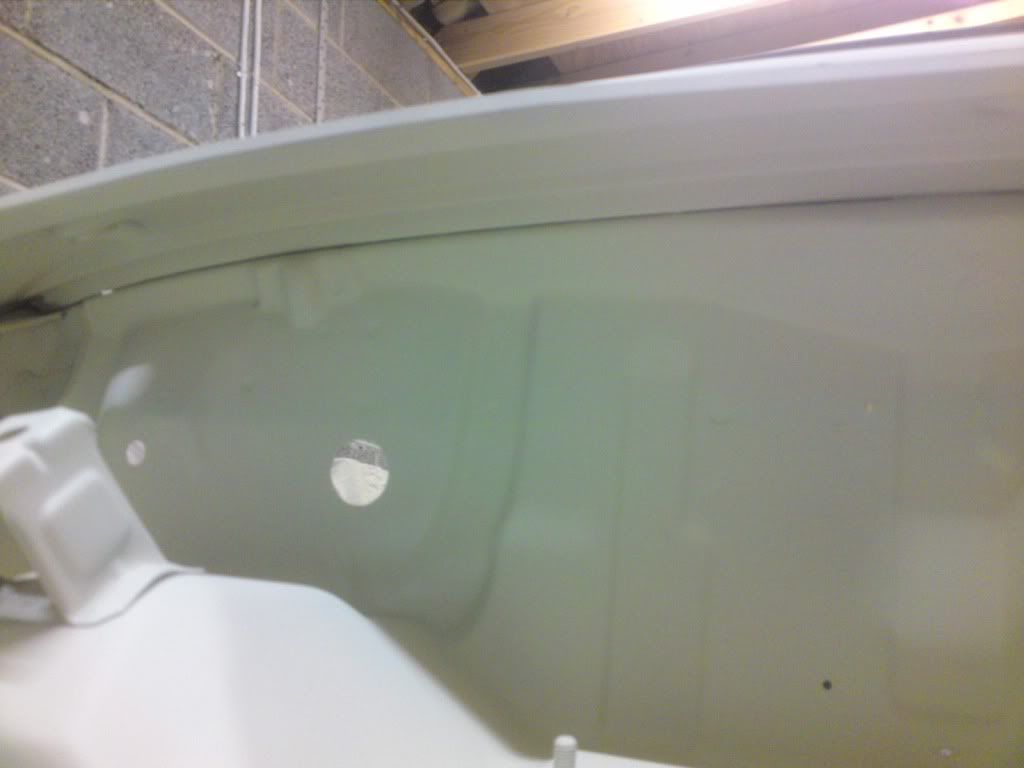
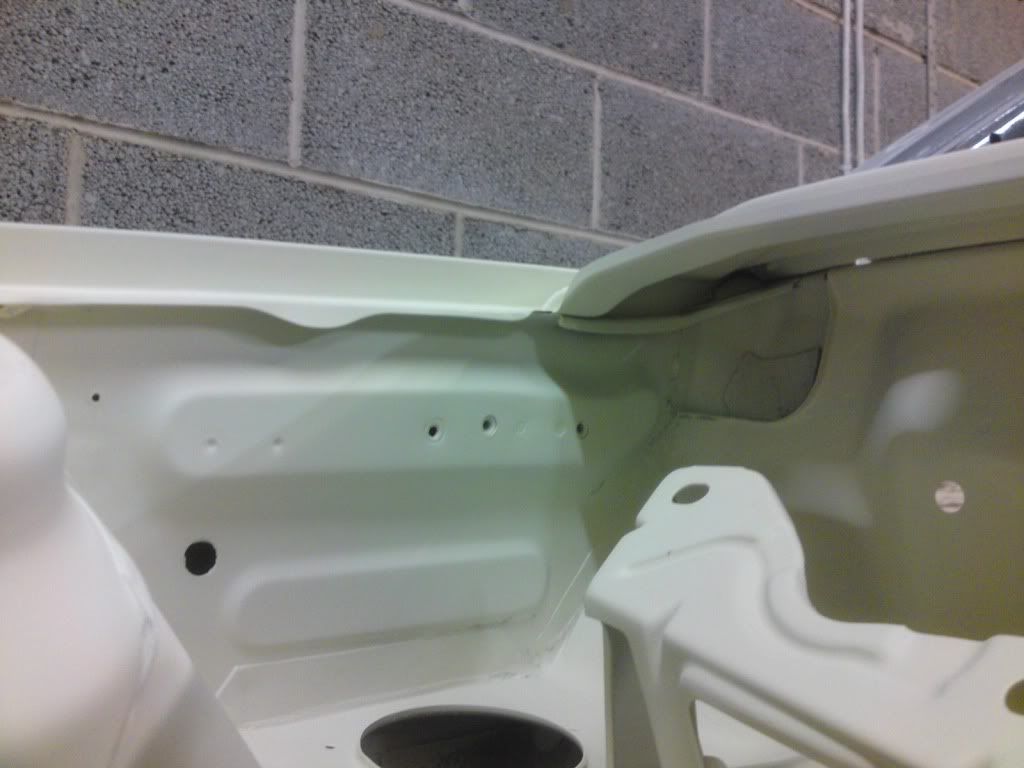
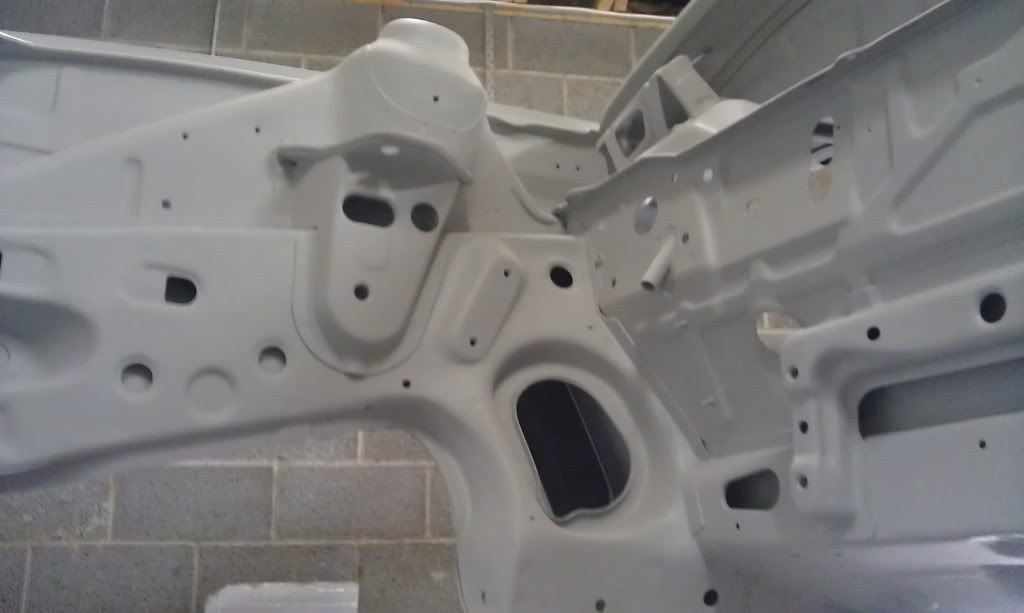
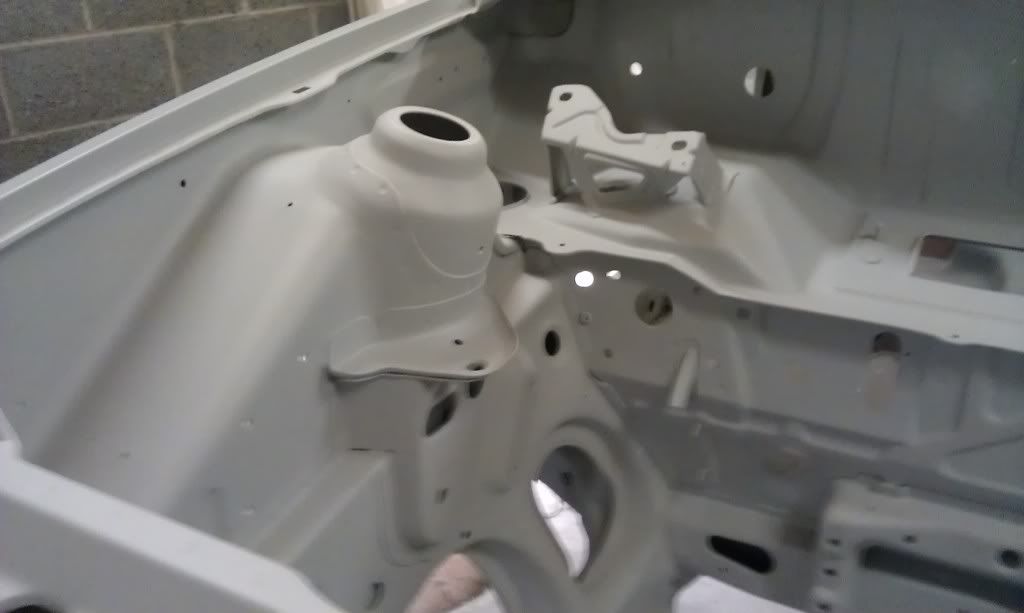
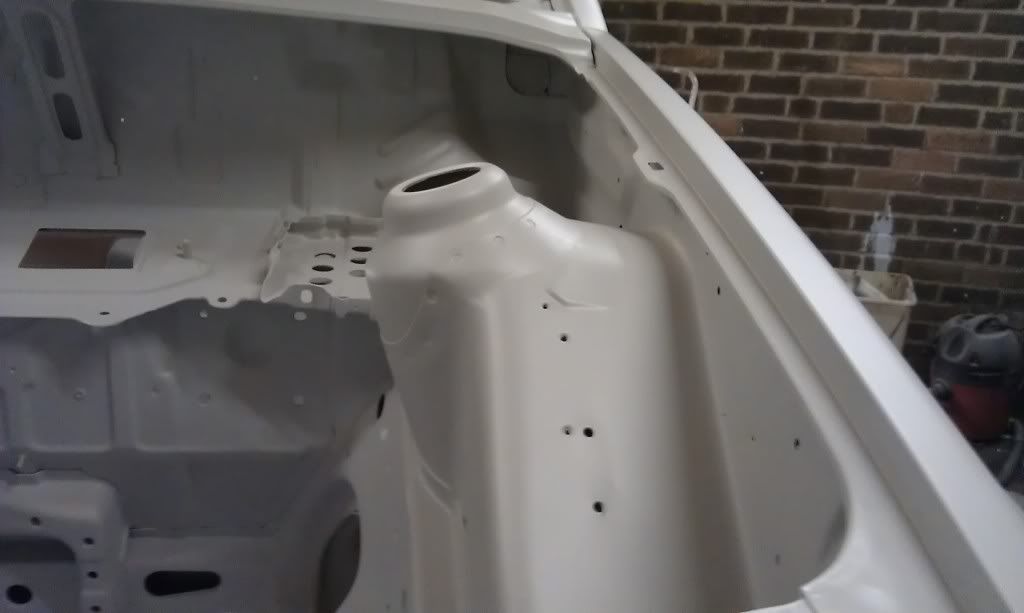
18/10/2011 engine bay in etch primer
Hi all just a few pictures to show how it is coming along.Me and my mate colin had a full day on it today.Sounds along time for a bit of paint but a lot of prep went into it to get it to that level.Dont want to rush it.And regret it when its finished.Now engine bay is in etch i will try to replicate factory seam sealer.Taken a lot of pictures of concourse cars at the shows over the years, so will be studying these and having some practice to get it as close factory as possible.Dont no about you guys but factory seam sealer to me looks rushed and dorbed on by workers that didnt give a fook.

Hi all just a few pictures to show how it is coming along.Me and my mate colin had a full day on it today.Sounds along time for a bit of paint but a lot of prep went into it to get it to that level.Dont want to rush it.And regret it when its finished.Now engine bay is in etch i will try to replicate factory seam sealer.Taken a lot of pictures of concourse cars at the shows over the years, so will be studying these and having some practice to get it as close factory as possible.Dont no about you guys but factory seam sealer to me looks rushed and dorbed on by workers that didnt give a fook.

 19-10-2011, 07:43 AM
#99
Regular Contributor
Thread Starter
Thanks mark. Every thing that was etched was sanded again yesterday as its been a couple of months since i last did any thing .All bare metal areas were panel wiped down then applied primed .
19-10-2011, 09:03 AM
#101
Regular Contributor
Thread Starter
Its been inside nice and dry for years mate. It was in the kwik fit training warehouse for years before i got it.And i have had it six years in my garage.
06-11-2011, 02:19 PM
#103
Regular Contributor
Thread Starter
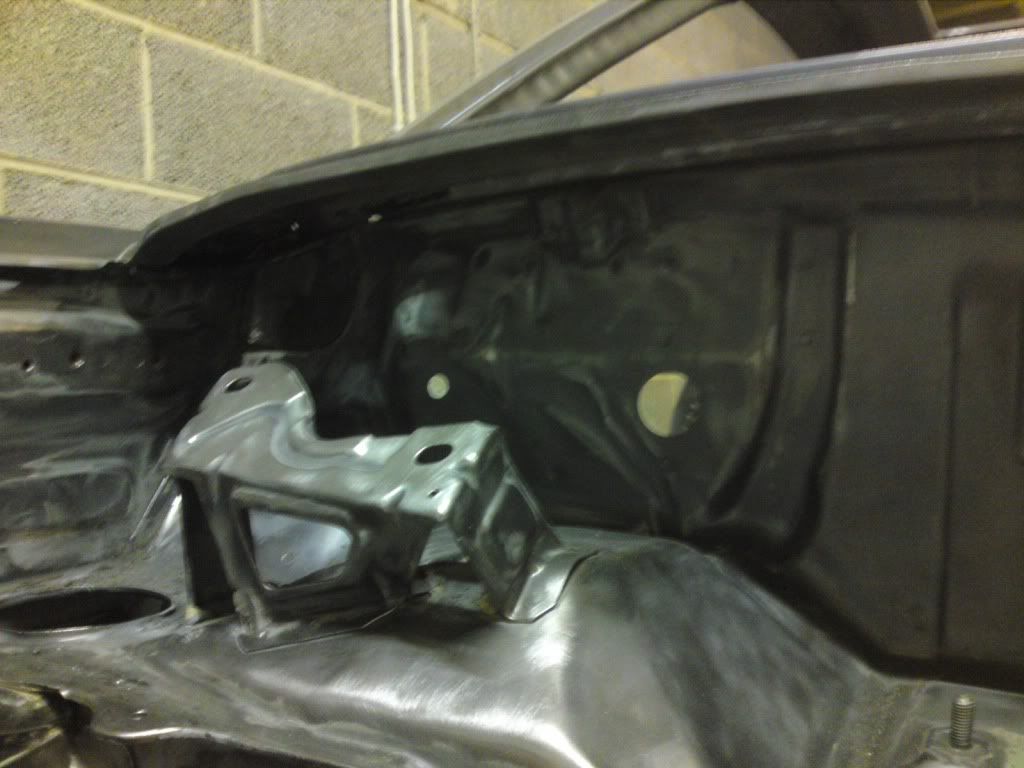
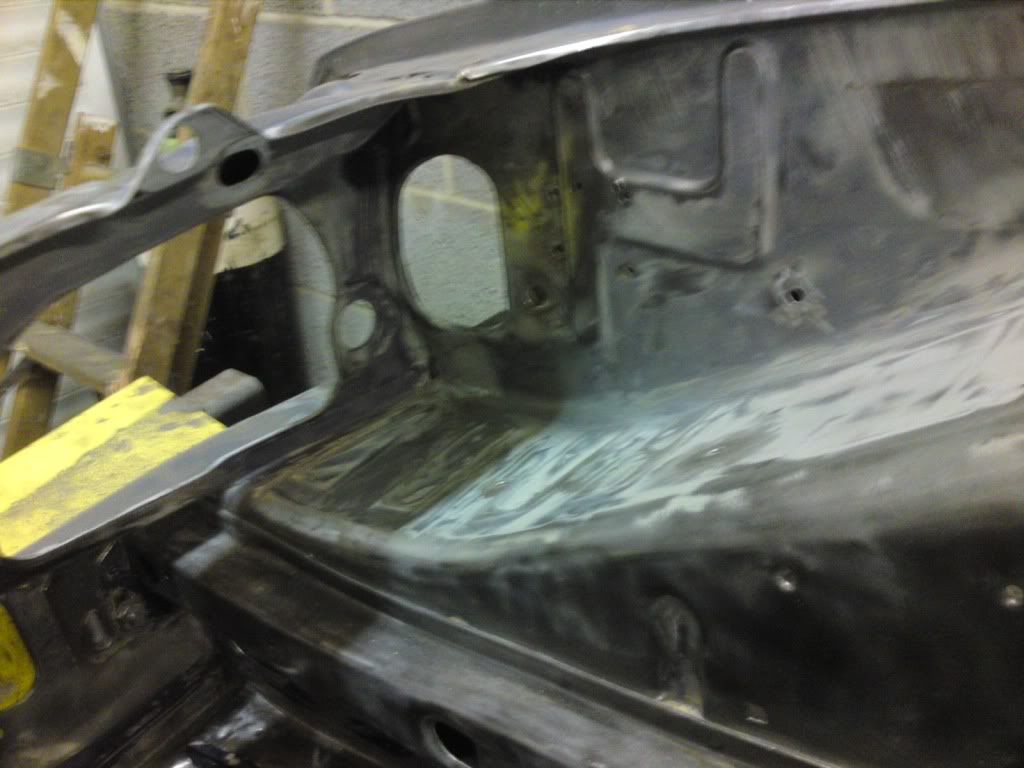
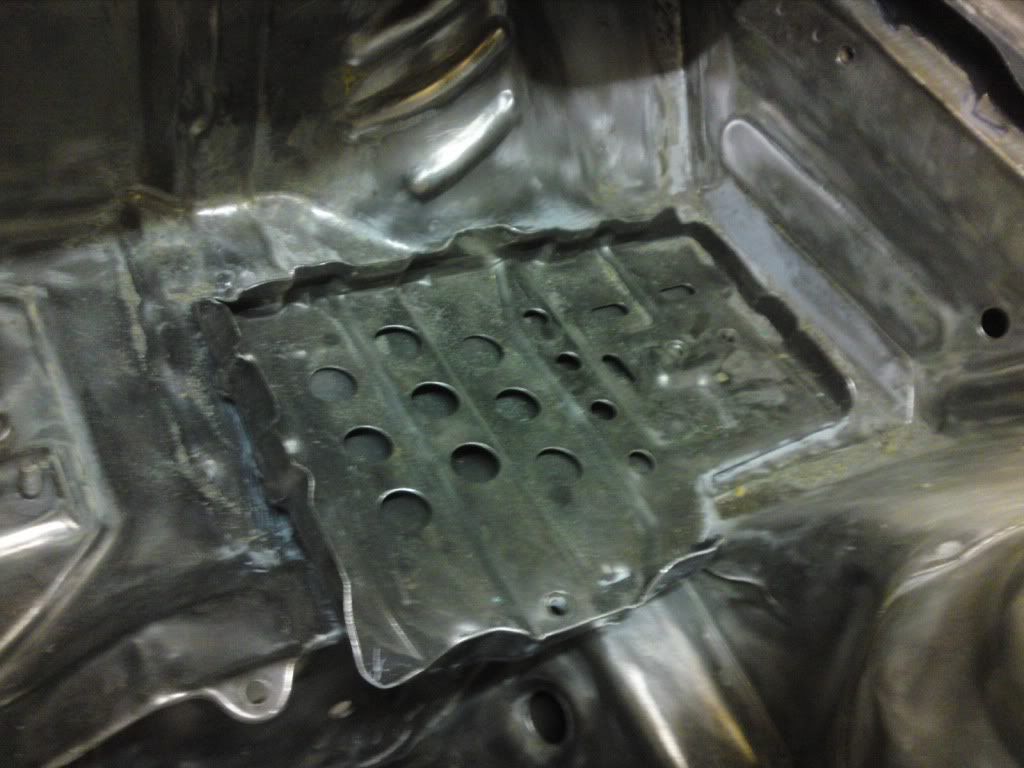
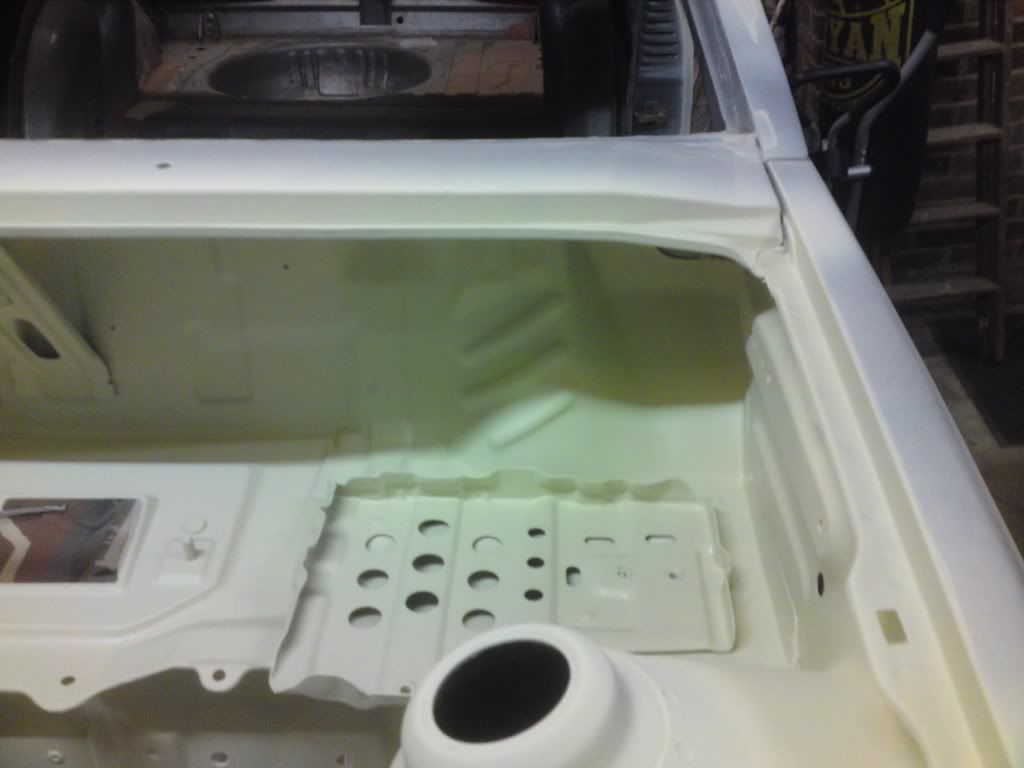
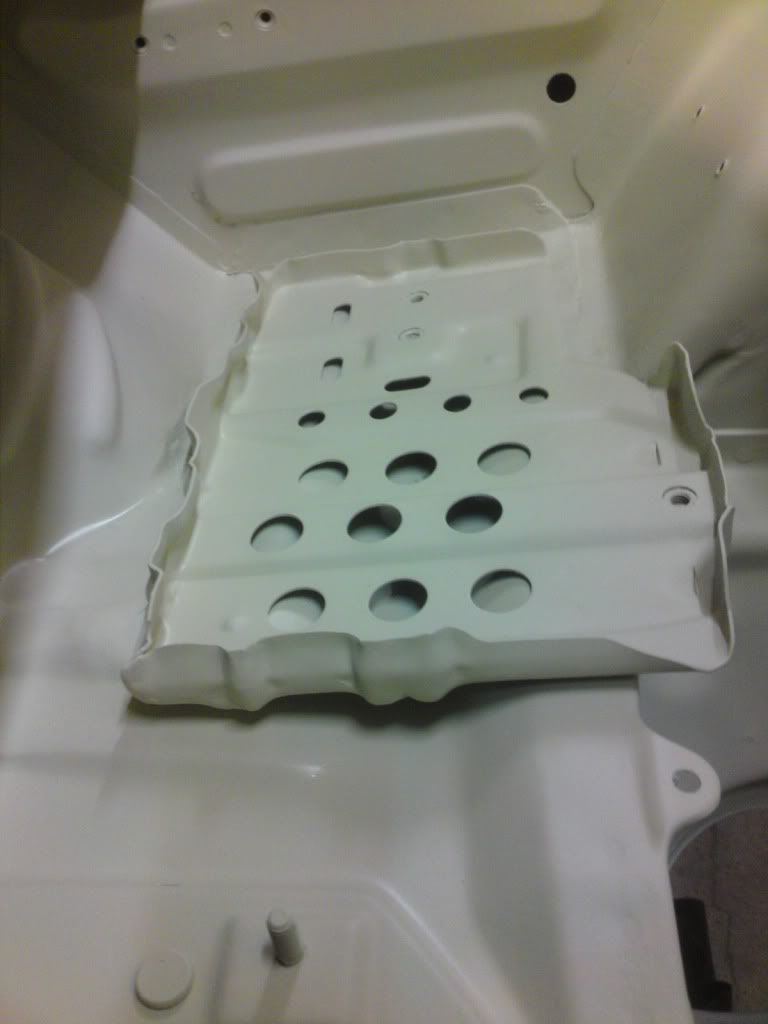
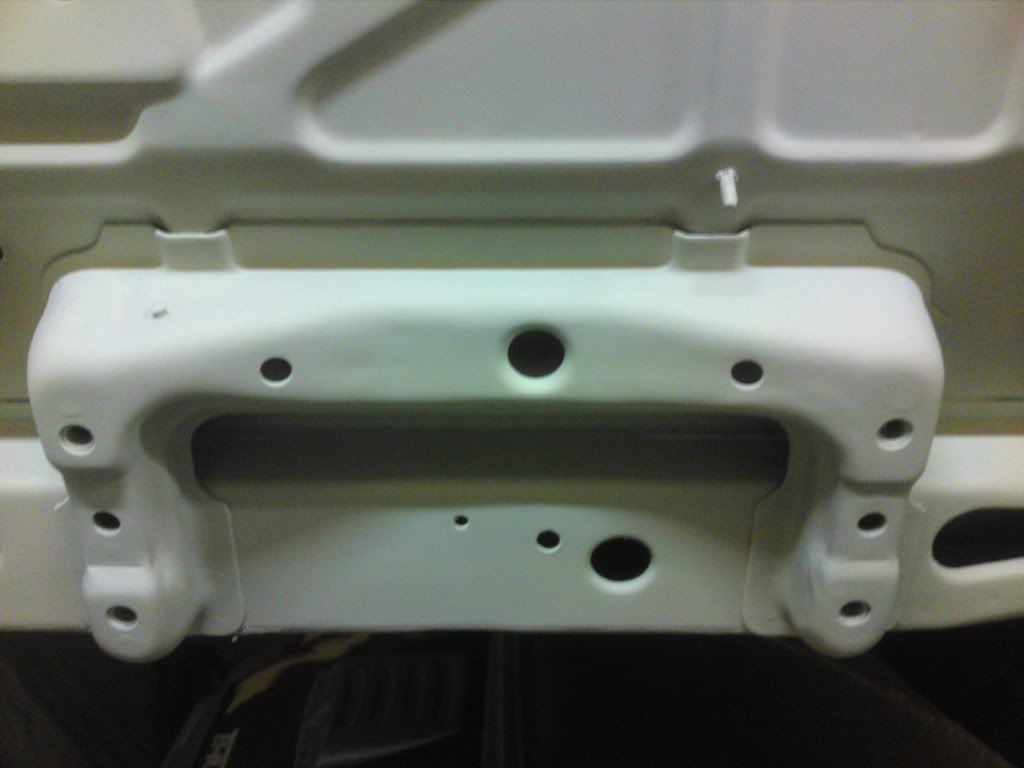
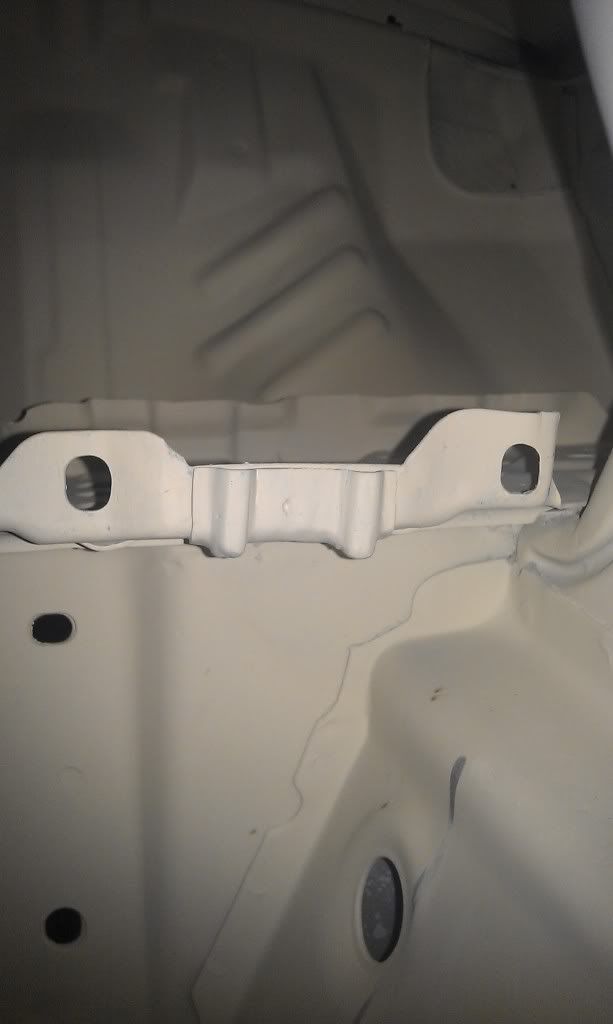
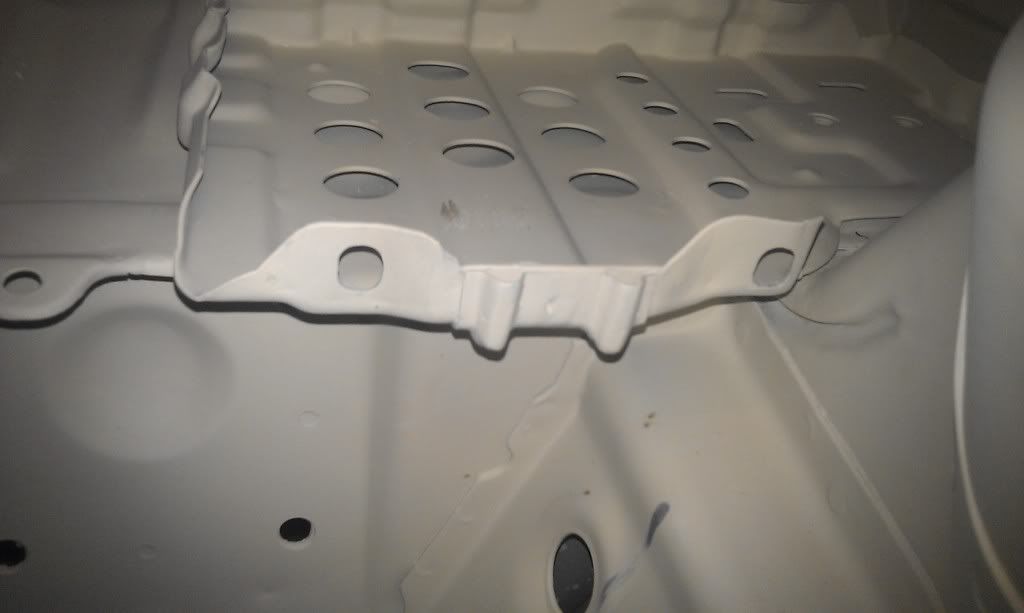
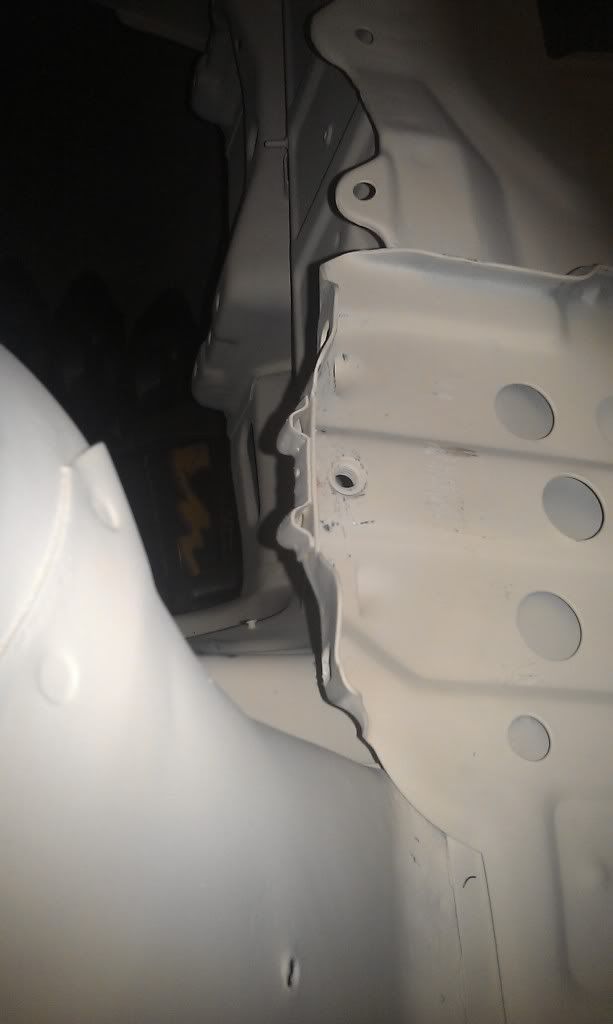
Sorry R013 not much of an update but this is wot i did last tuesday.When i put the battery tray in,i hadn't take much notice of the ford one.but if you look at my new pictures it was missing the captive nut spot welded to the front.The anoying thing is i cut off the captive nut on the original tray and put it in a safe place to tack on later but i have looked every where and carnt find it so i made on from scratch.A bit sad really as the tray fit very well and doesnt look bad, but i want it to look original not that i am that bothered that it isnt a genuine ford part.Not many mk3/4 escorts have got there original battery trays anyway.so here are the pictures
Before
After
thats all i got at mo wont be doing anything this week hopefully a week on tuesday should have some more to post.thank paul
Before
After
thats all i got at mo wont be doing anything this week hopefully a week on tuesday should have some more to post.thank paul
23-11-2011, 05:30 PM
#107
Regular Contributor
Thread Starter
Evening ro13 had a day on it yesterday.my mate colin came to give me some help preping shell for paint not quite there yet roof and boot floor to finish would have done it last night but take little lad swimming after school.so no pics yet was going to take a few but had to tidy garage quickly.so if all goes to plan primer and pics next Tuesday night thanks for the intrest Paul
30-11-2011, 08:31 PM
#108
Regular Contributor
Thread Starter
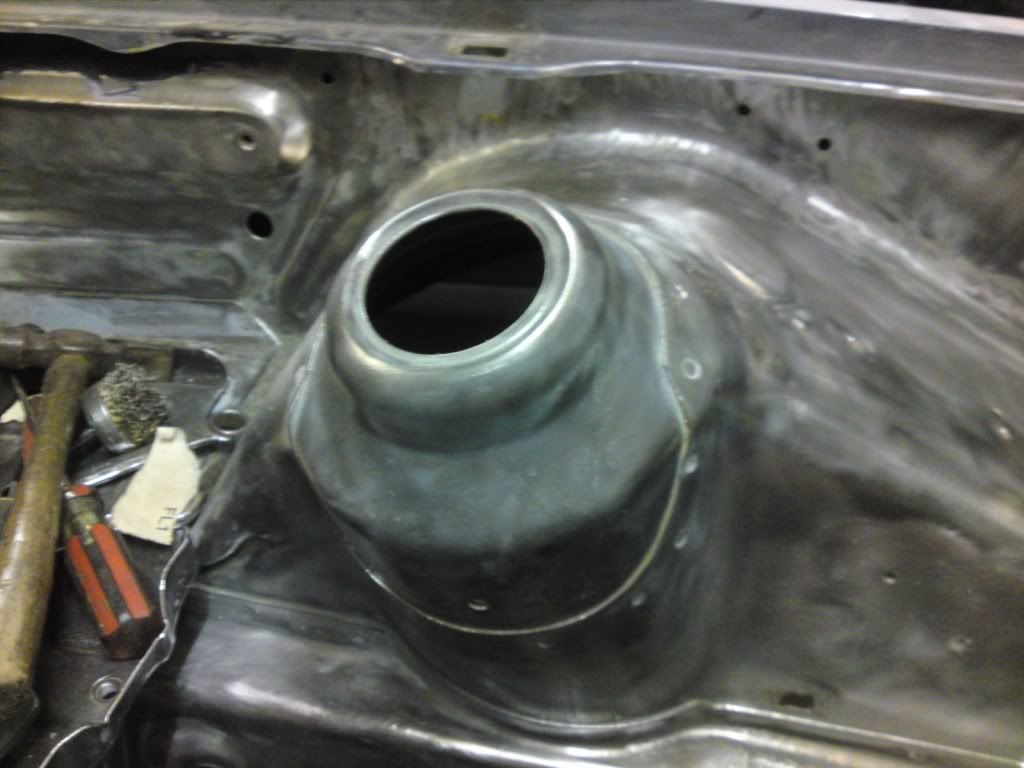
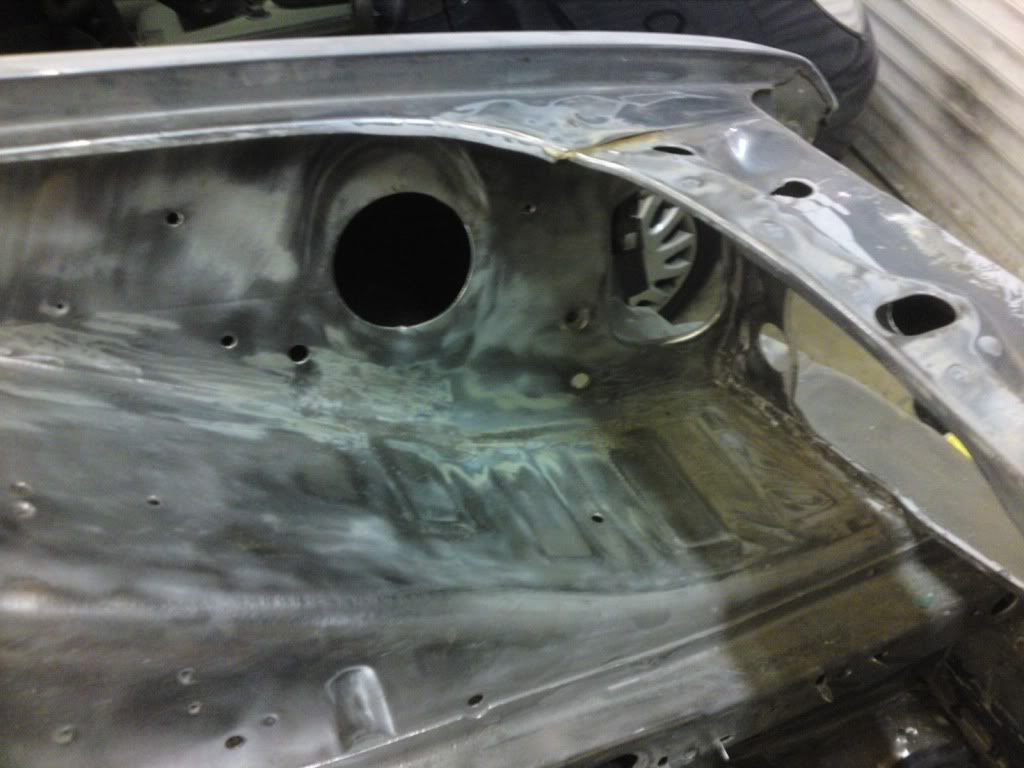
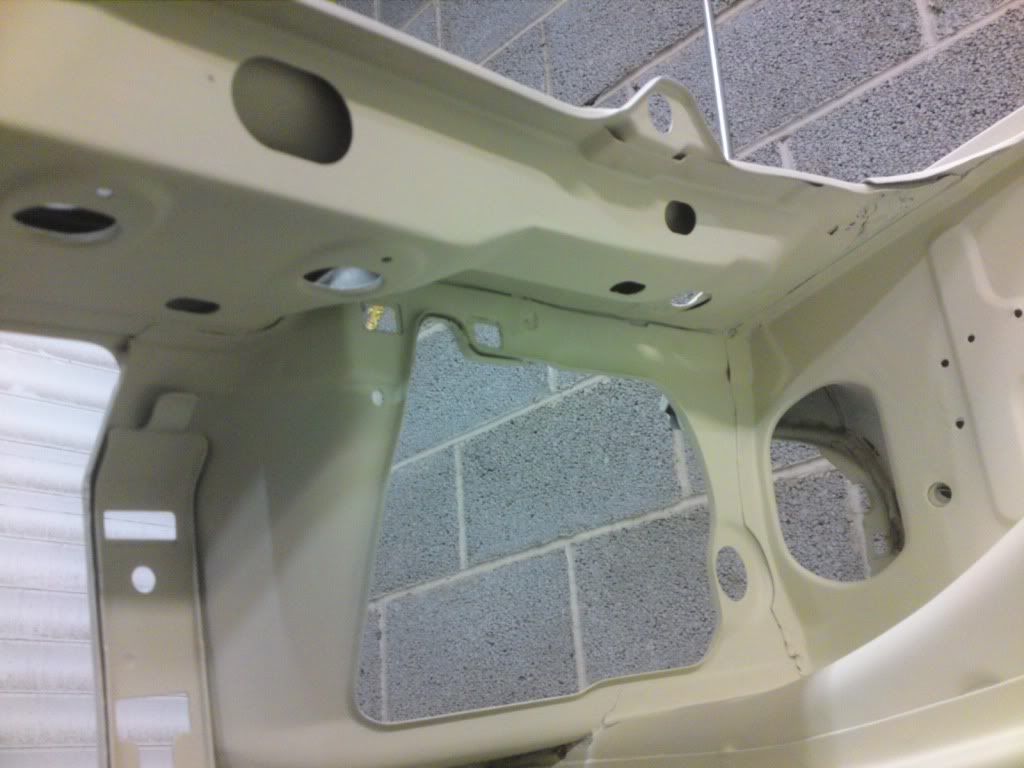
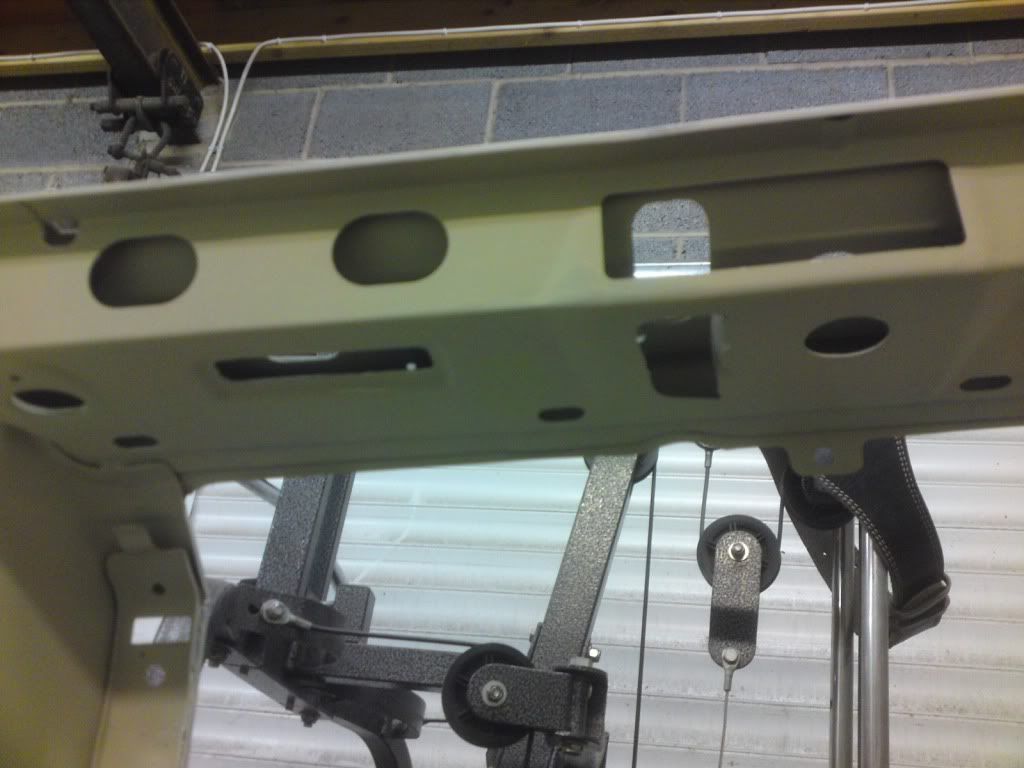
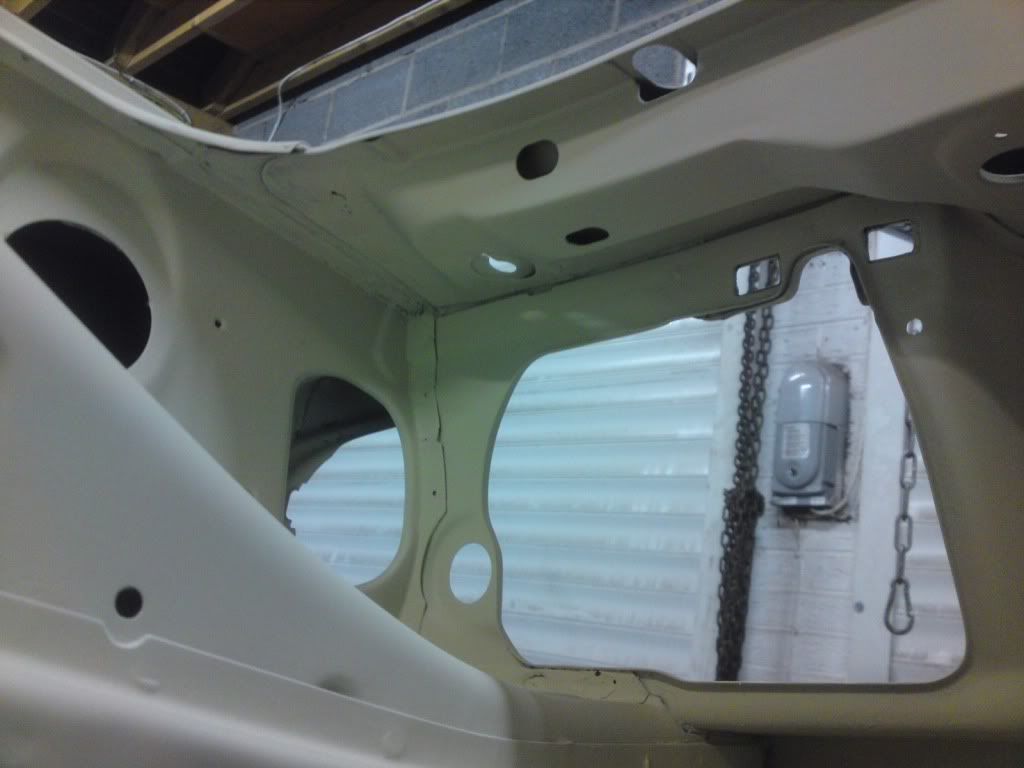
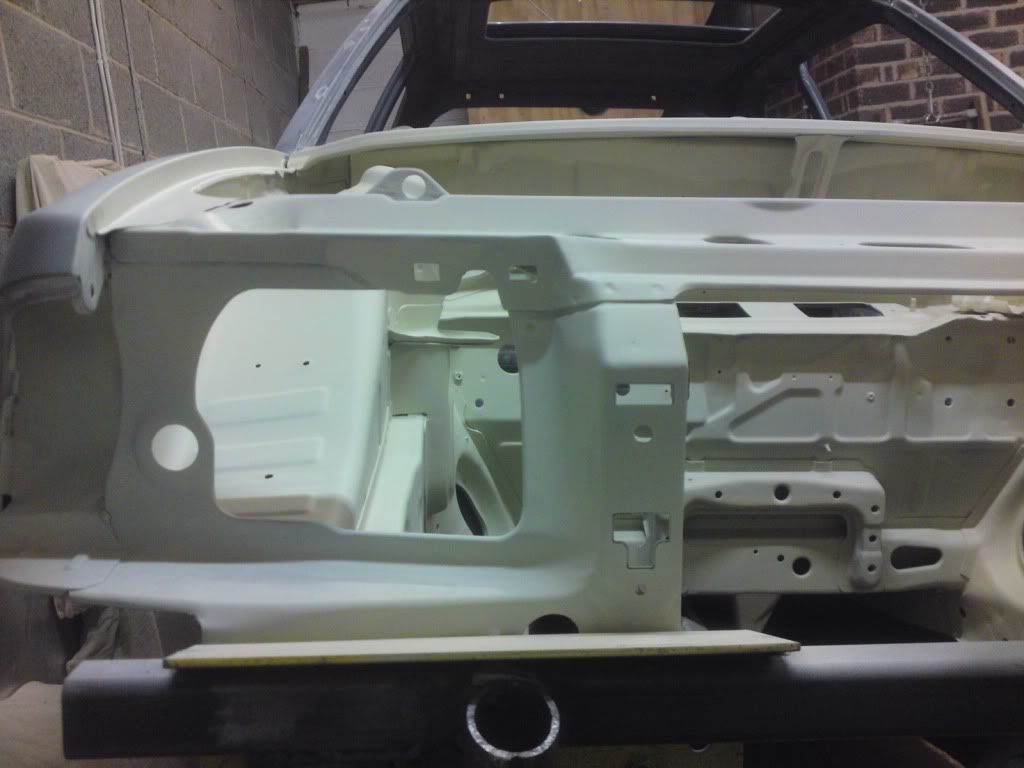
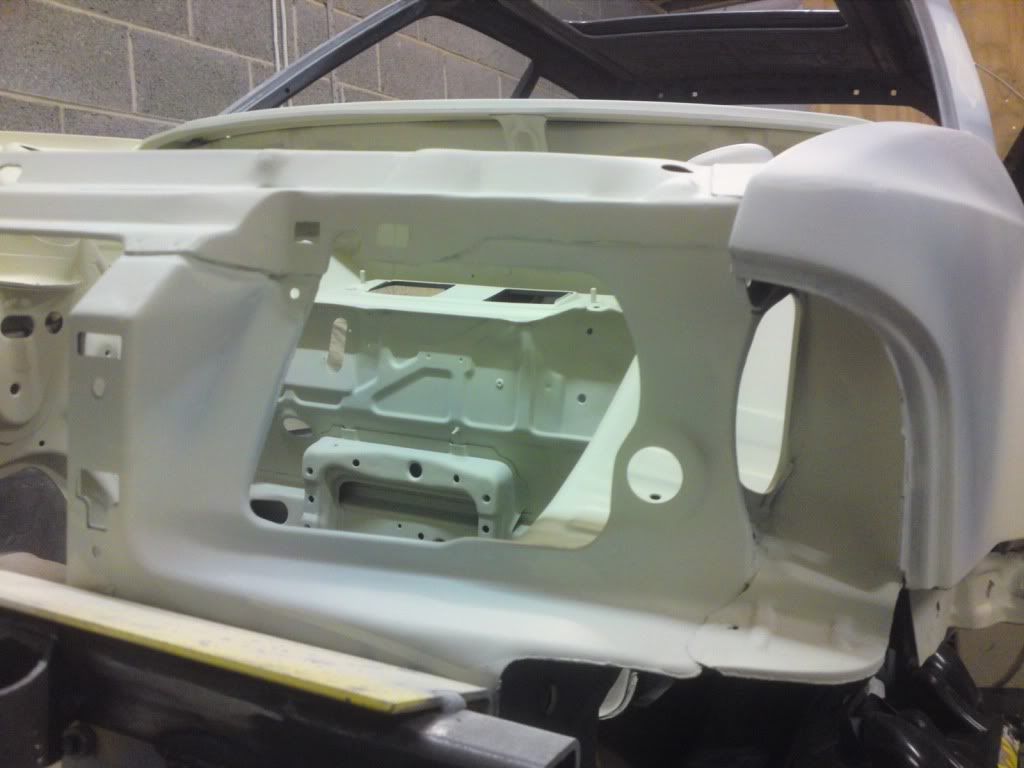
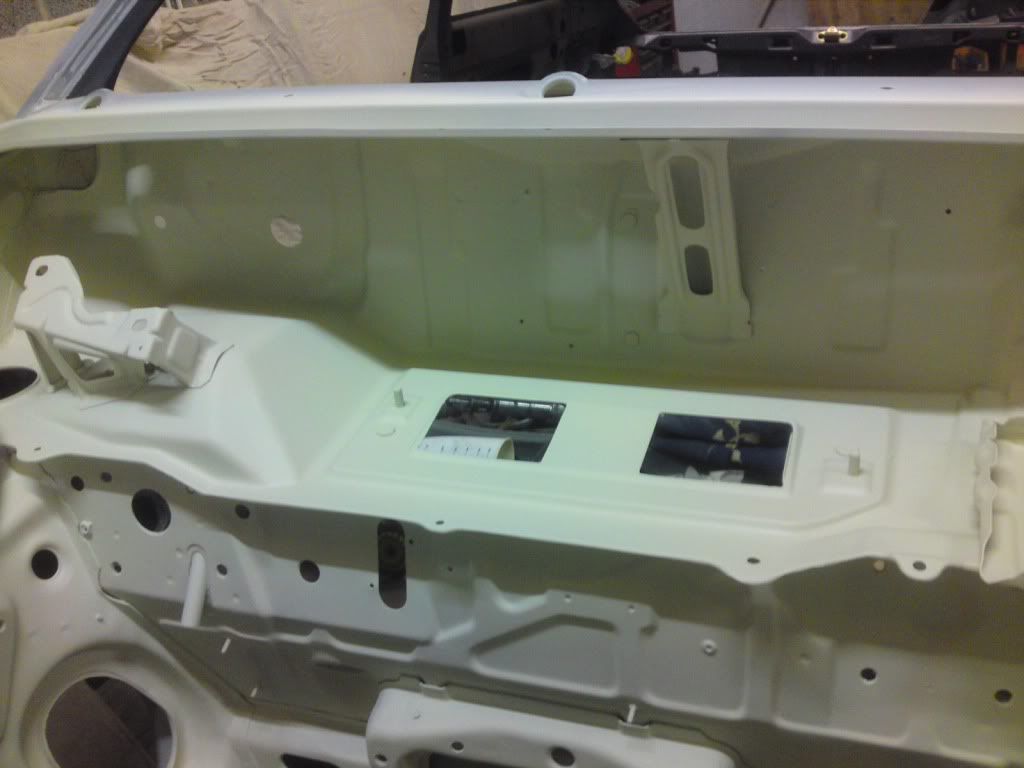
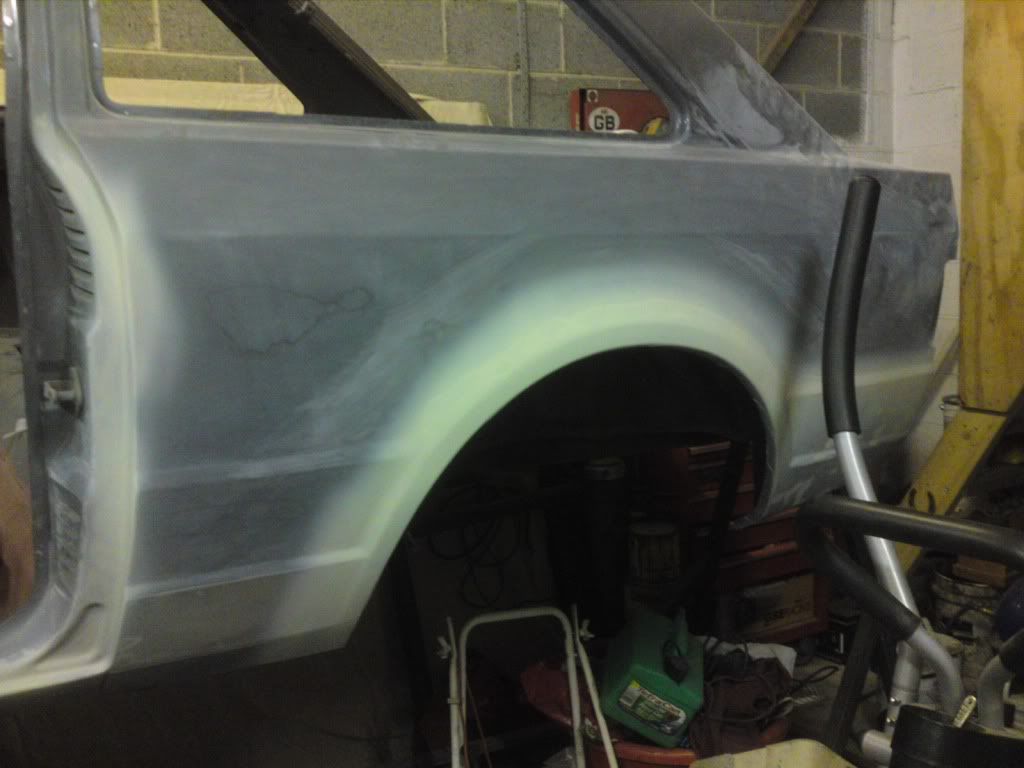
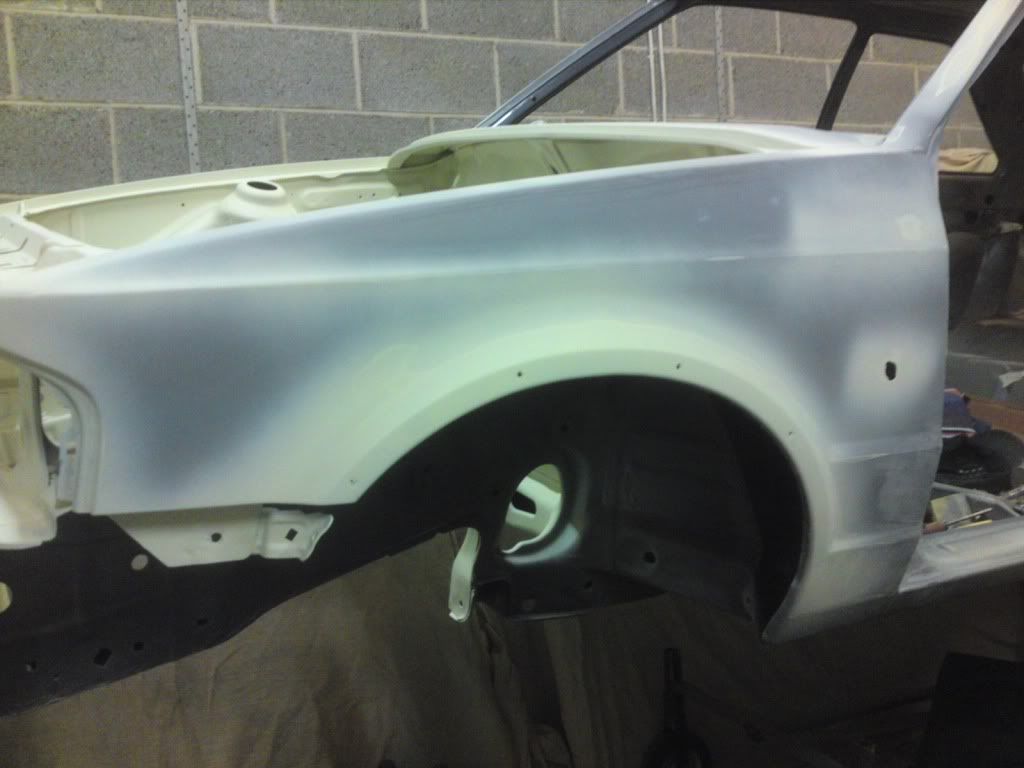
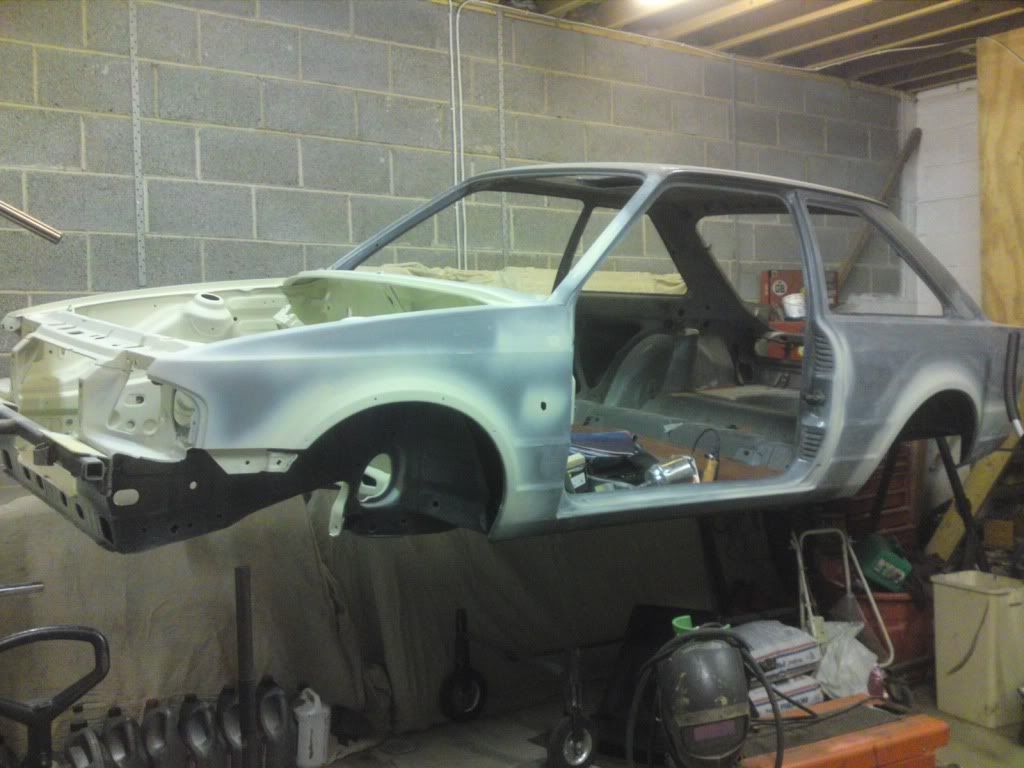
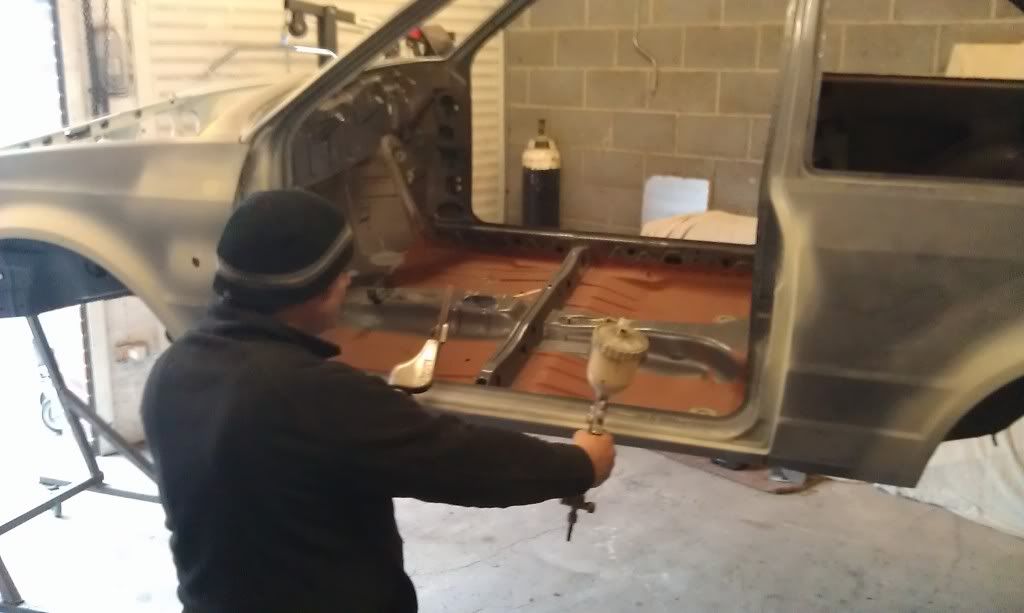
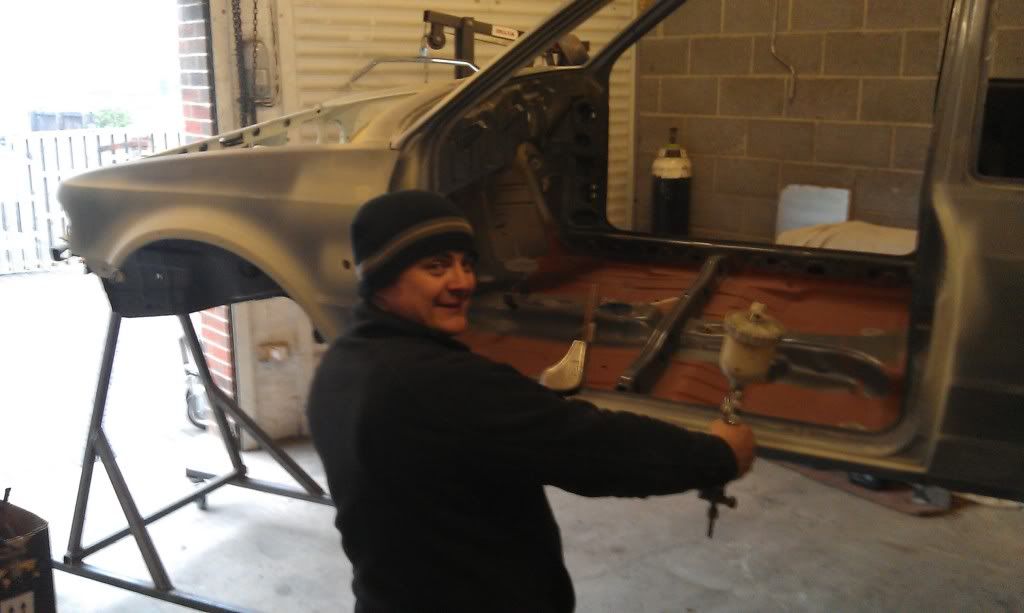
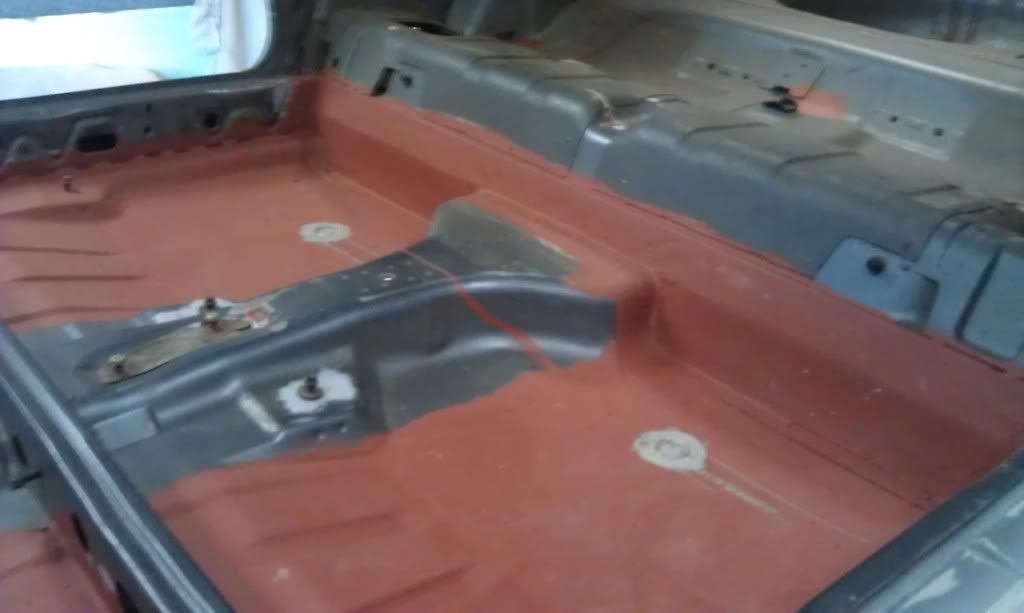
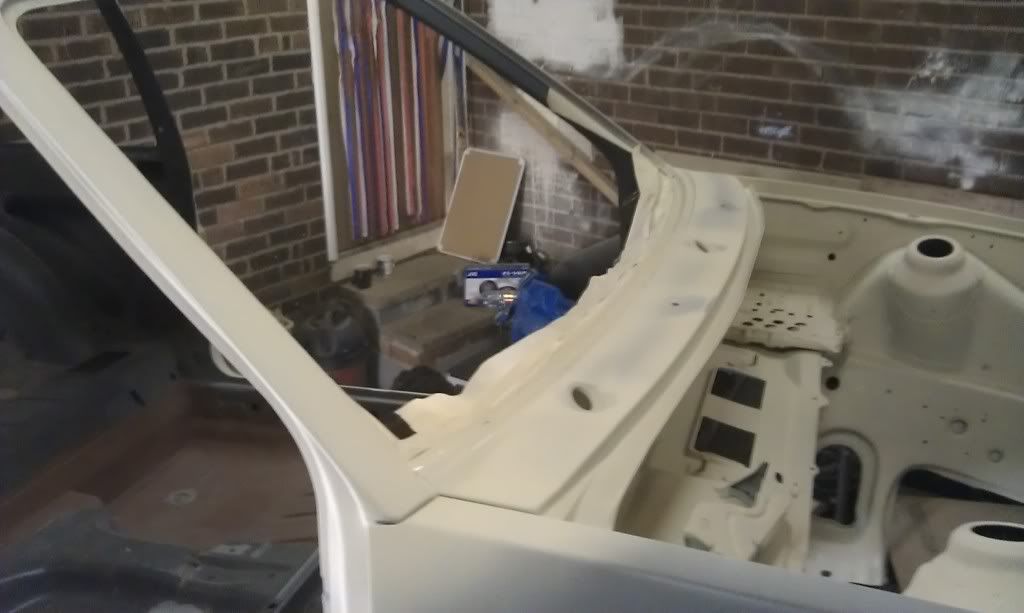
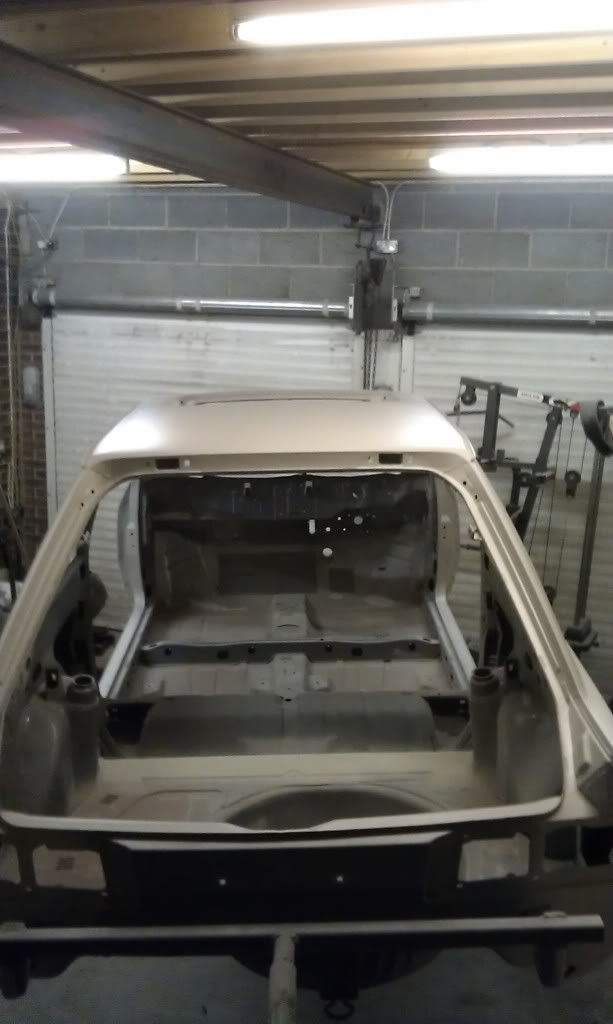
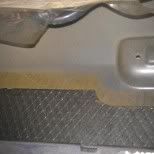
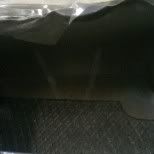
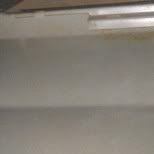
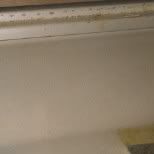
30/11/11 evening people update time.over last couple of weeks me and my mate colin been getting shell ready for primer.hope you enjoy the pics
my mate taking piss
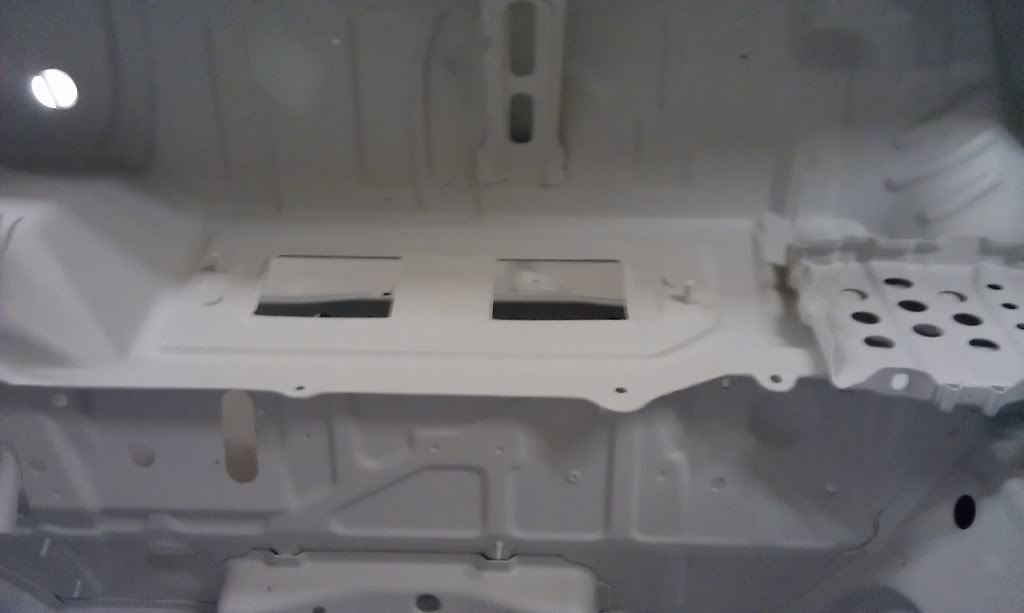
Preping pics inside cleaned

outside flatted with 150
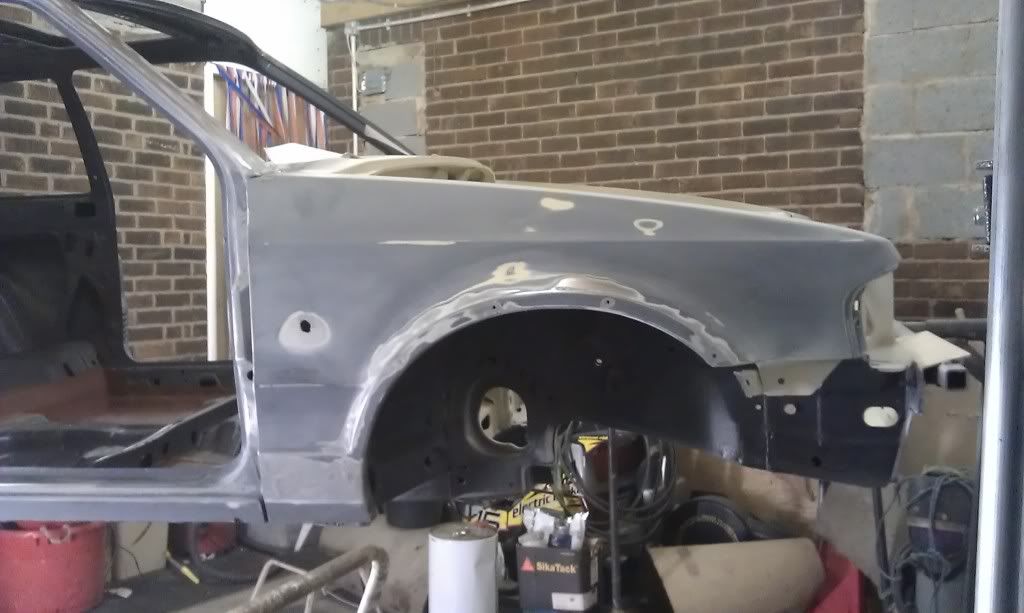
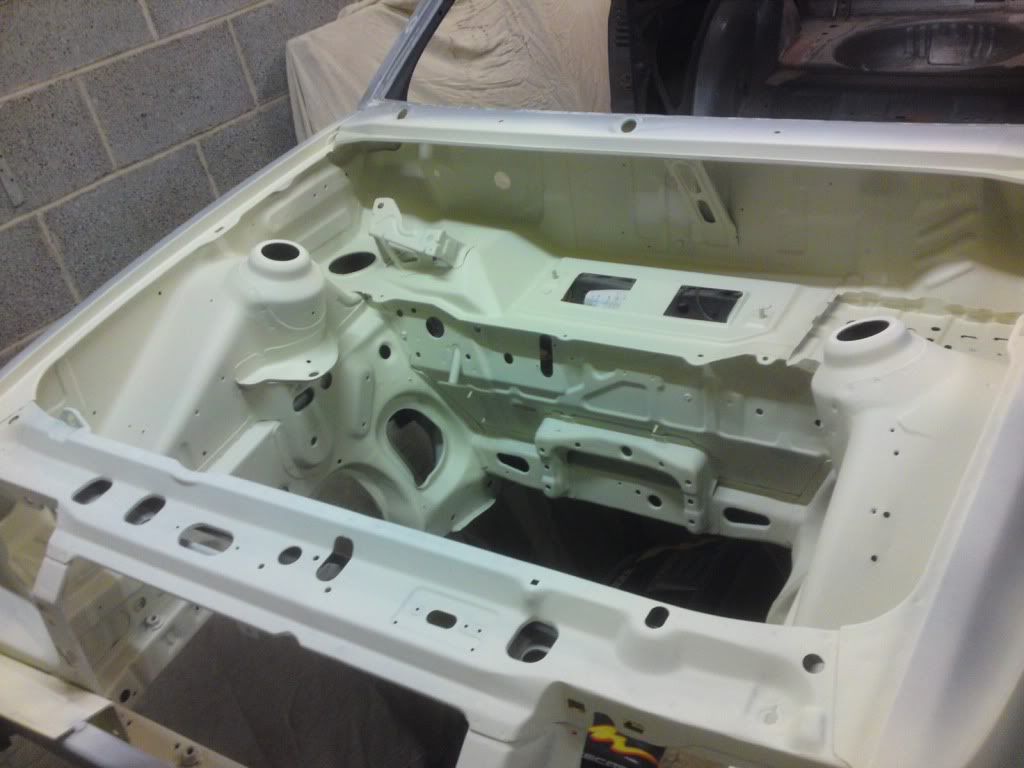
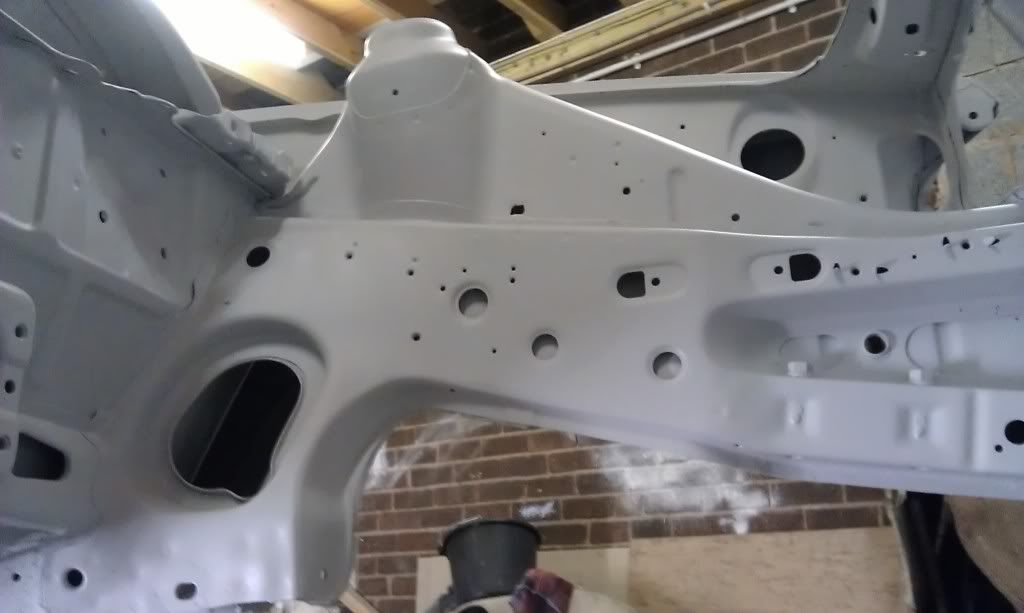
etch prime time on bare metal
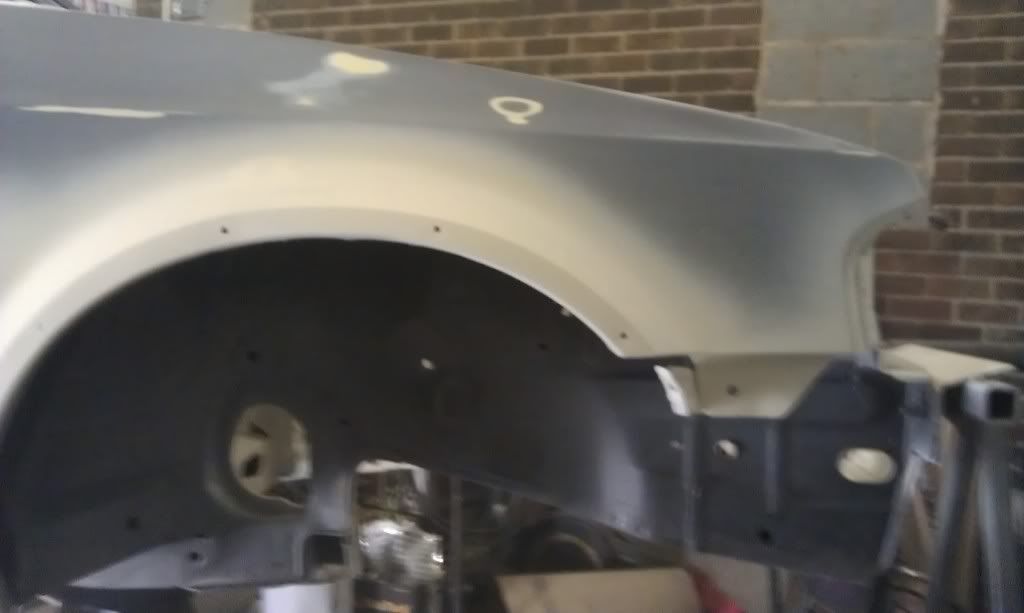
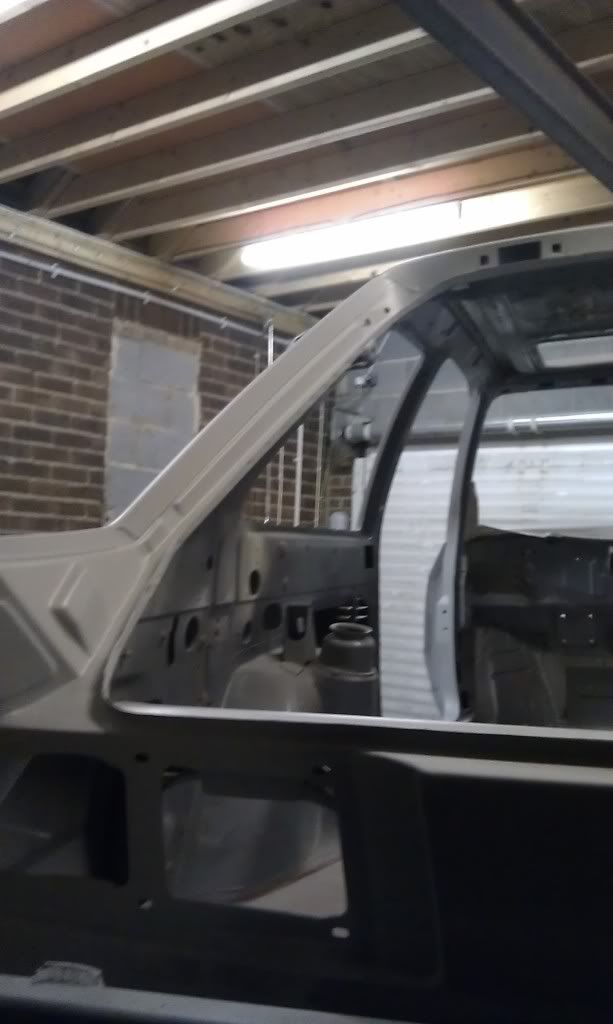
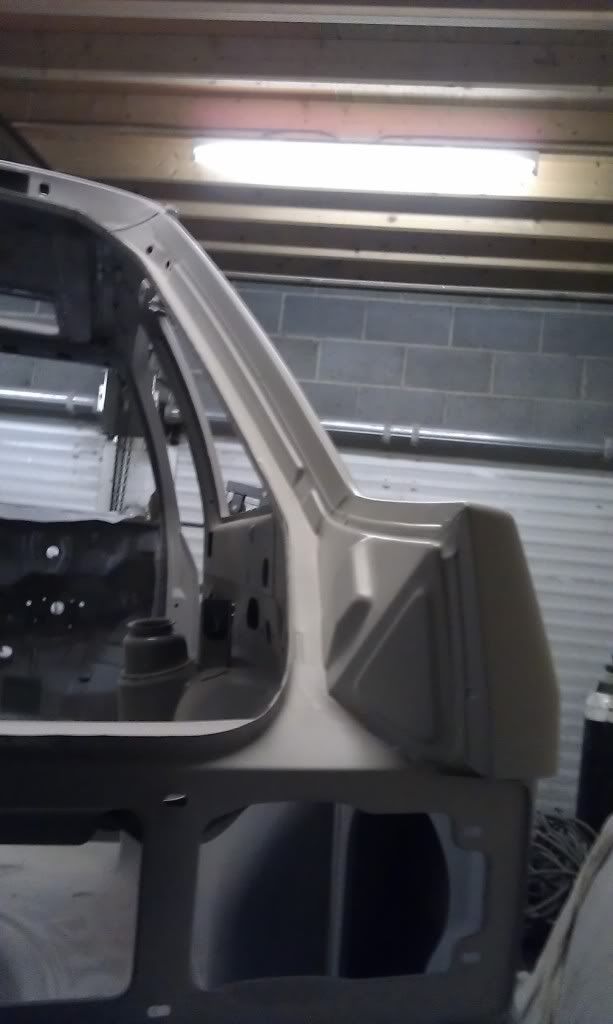

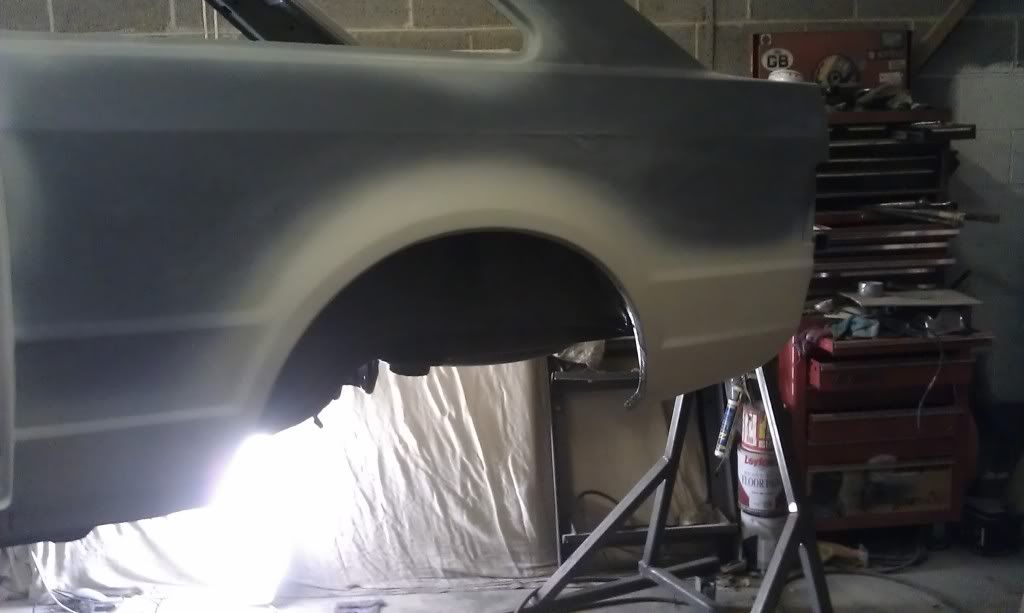

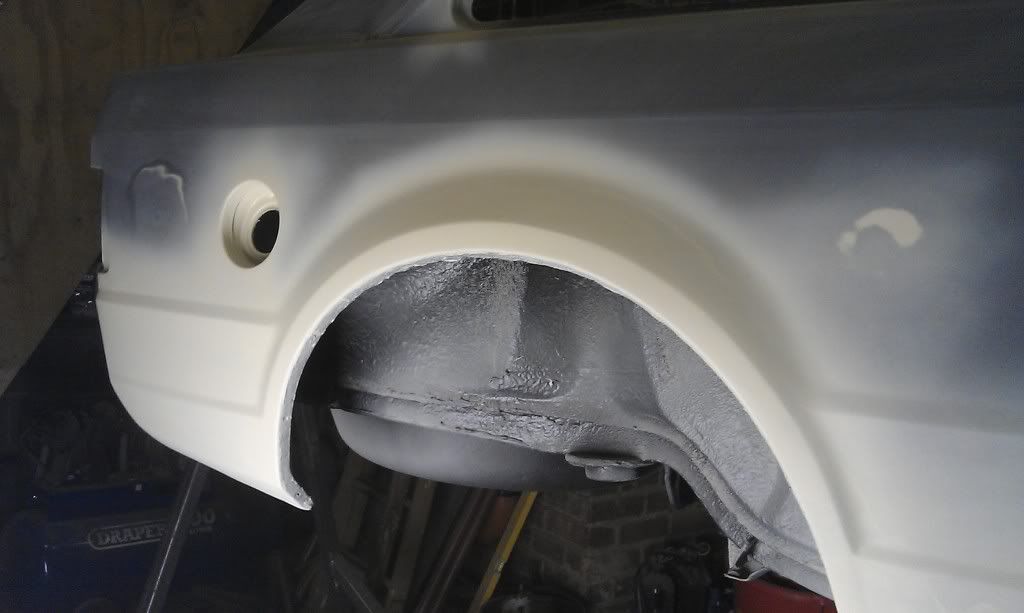
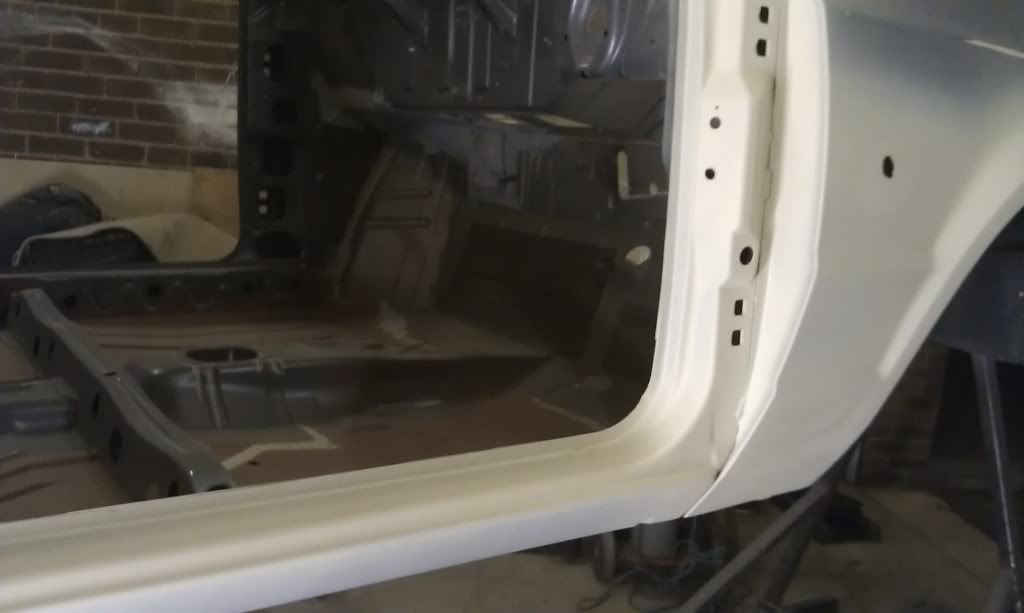
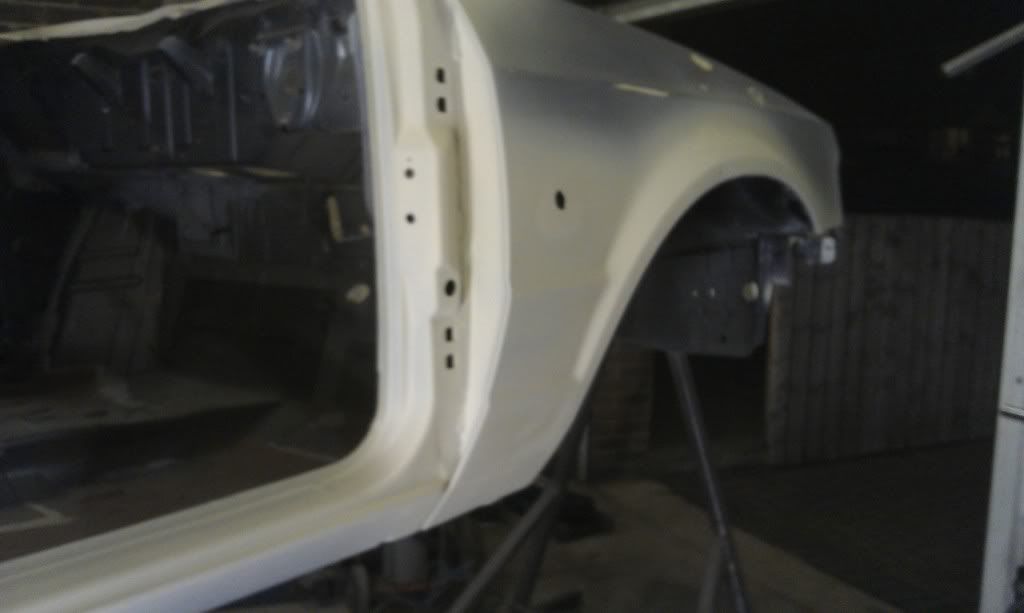
high build time
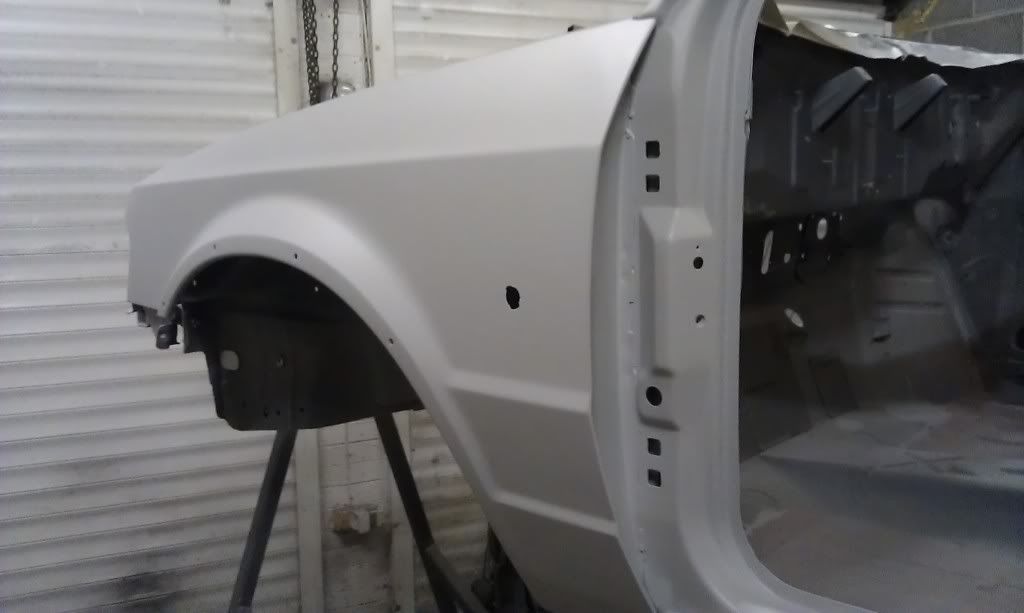
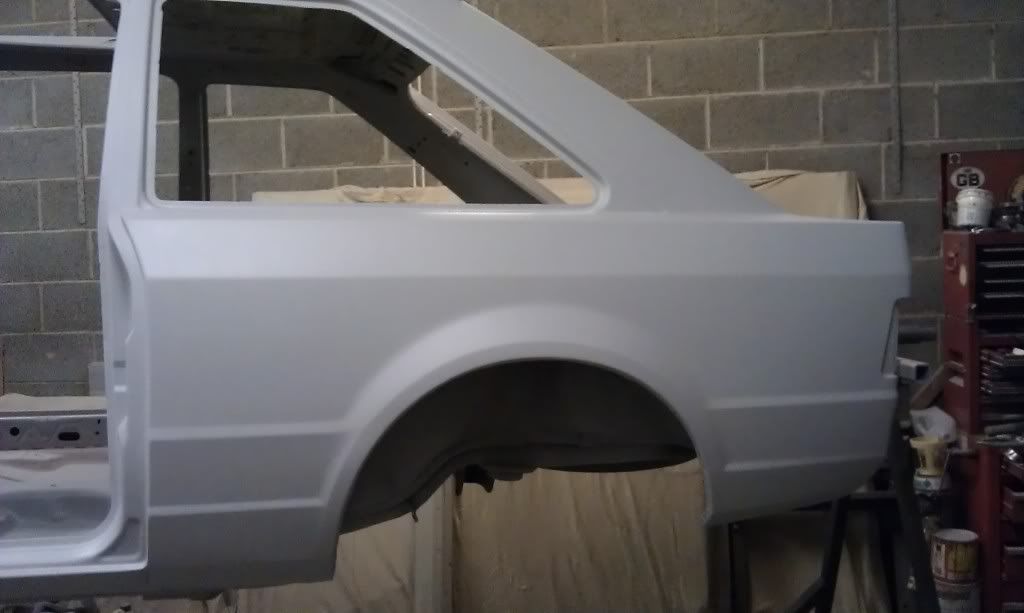
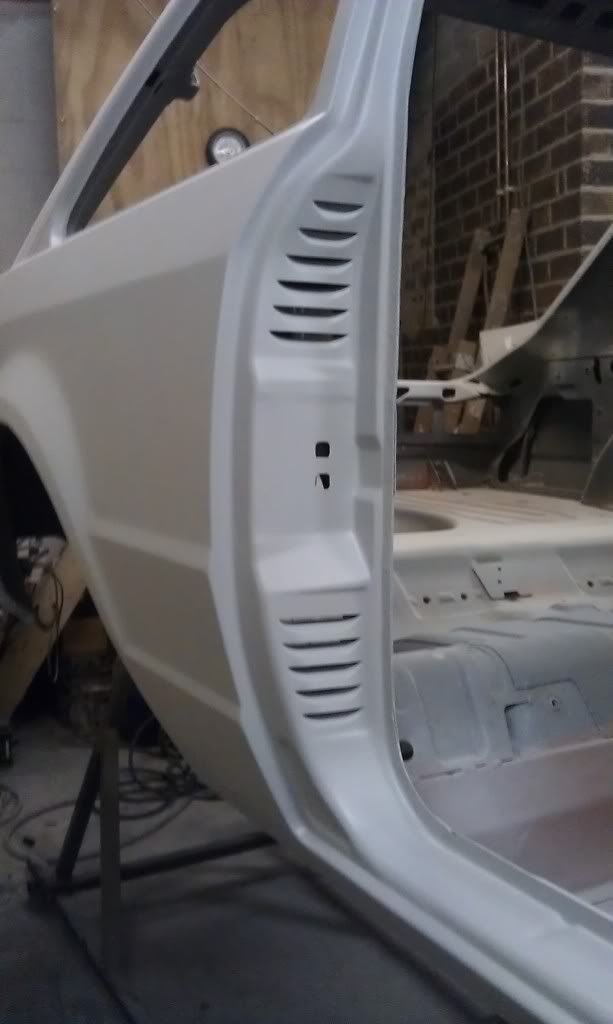
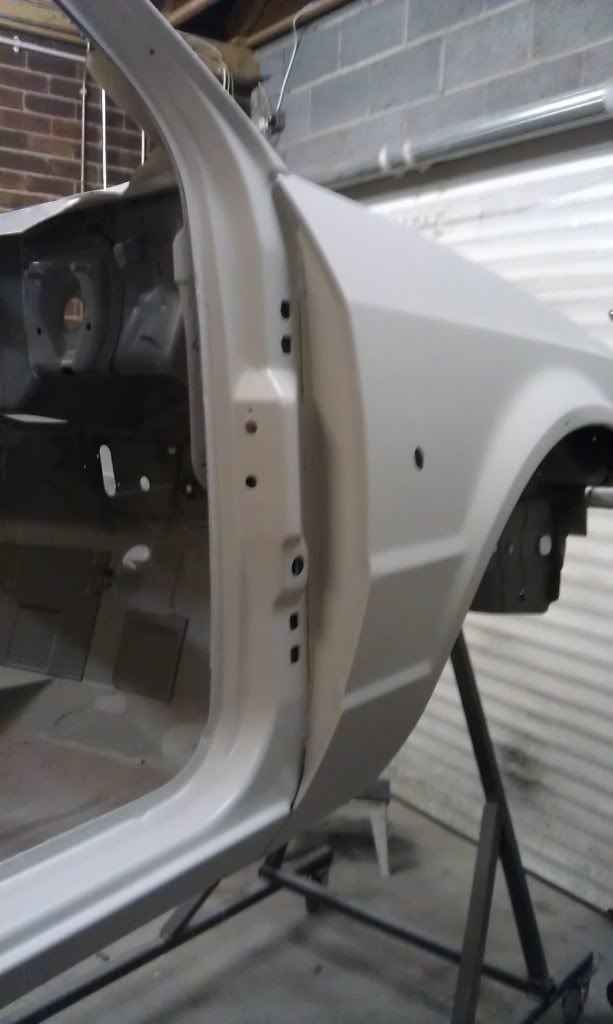
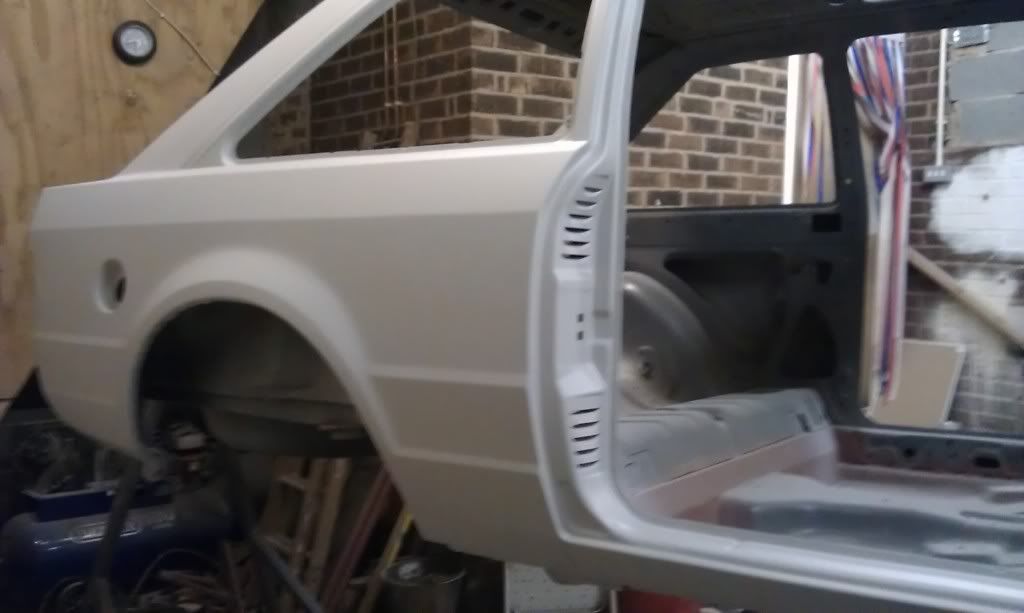
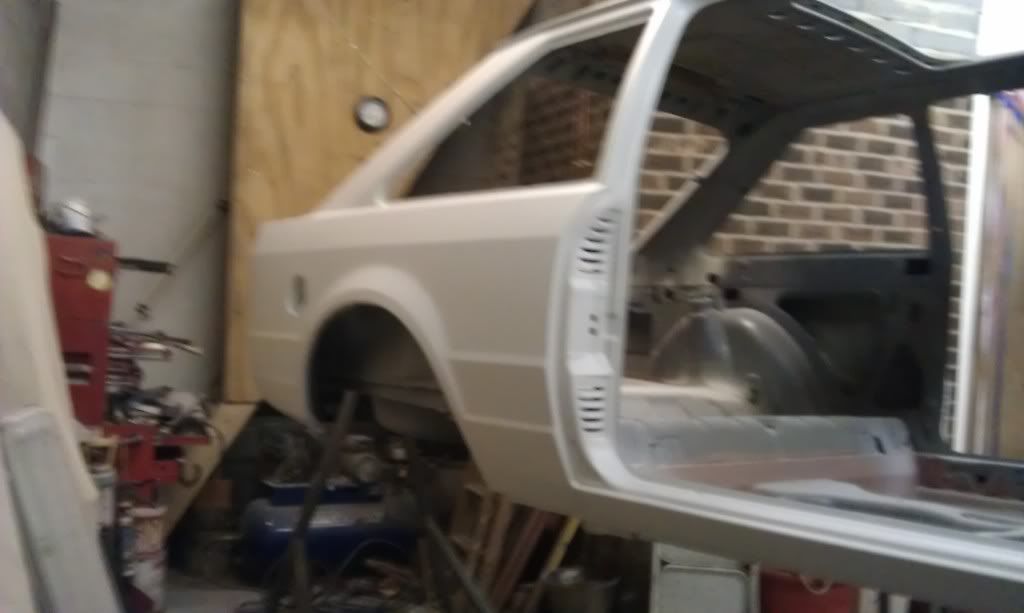


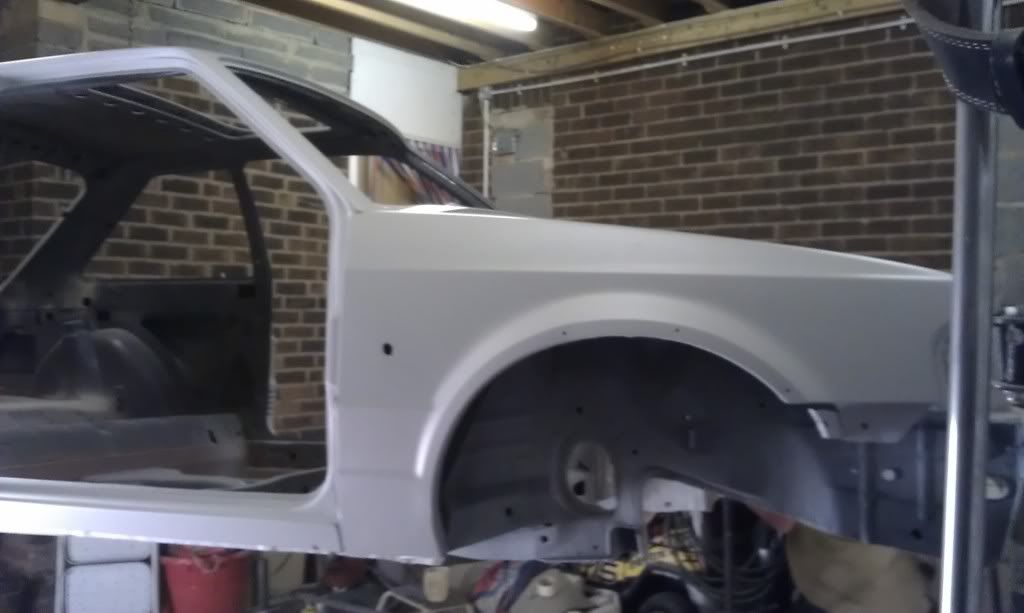


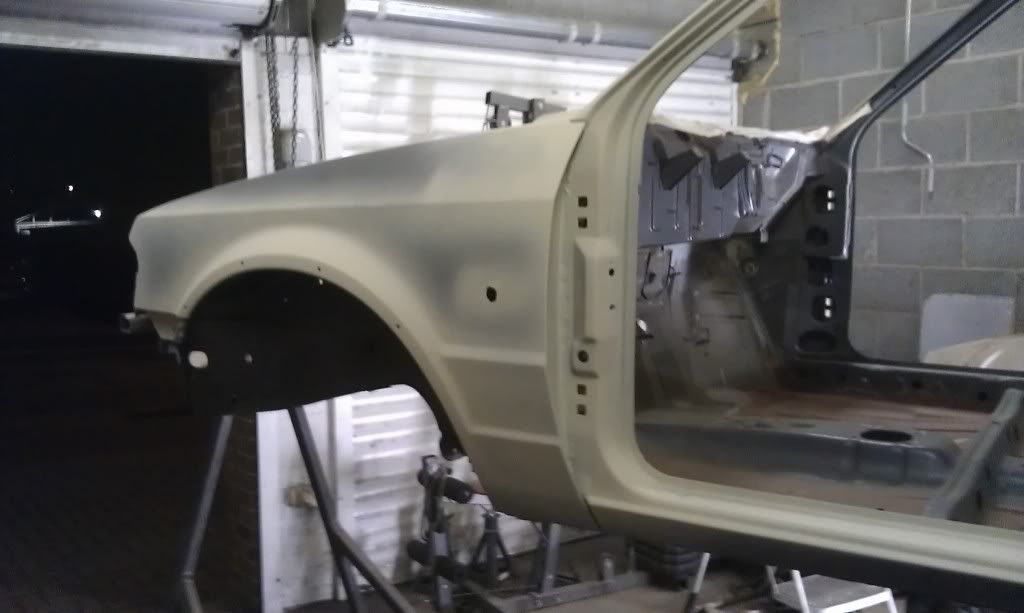
as you can see, apart from were spit mounts to front and back panels,full shell now in primer. pics dont do it justice looks the dogs really happy the way it has turned out big thanks to my mate colin.
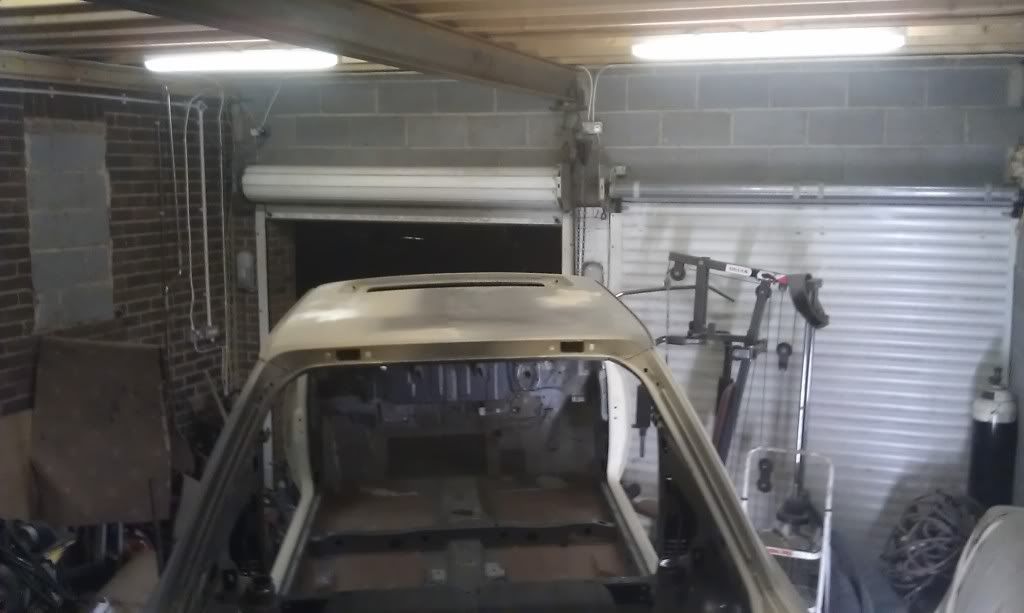
primer will be left for a week to settle and sink into any imperfections ,then it will be flatted off and another coat applied,then,same again left again to settle then flat/base coat and laquer time
underside will be painted first so i can take it off the spit and mount it on the dolly,then finish off front and back panels.and then hopefully my big milestone shell in mercury grey.thanks for looking paul
my mate taking piss
Preping pics inside cleaned
outside flatted with 150
etch prime time on bare metal
high build time
as you can see, apart from were spit mounts to front and back panels,full shell now in primer. pics dont do it justice looks the dogs really happy the way it has turned out big thanks to my mate colin.
primer will be left for a week to settle and sink into any imperfections ,then it will be flatted off and another coat applied,then,same again left again to settle then flat/base coat and laquer time
underside will be painted first so i can take it off the spit and mount it on the dolly,then finish off front and back panels.and then hopefully my big milestone shell in mercury grey.thanks for looking paul
Last edited by paul rs1700t; 30-11-2011 at 08:56 PM. Reason: missed of pictures
 01-12-2011, 08:10 PM
#113
Regular Contributor
Thread Starter
Evening all.Thanks for replys nice to see people still interested to how in is progressing.
colour will be original as it left factory mate mercury grey as the good ford intended.updates to follow when i can thanks paul
colour will be original as it left factory mate mercury grey as the good ford intended.updates to follow when i can thanks paul
14-12-2011, 12:00 PM
#117
Regular Contributor
Thread Starter
Sorry no updates at minute going to be after xmas now.My boiler packed in on friday,my mate coming to fit if tonight.Will be nice to have hot water and heating again.Got a bit to do before Christmas so car will have to wait a while.Will update soon as i can thanks for kind replys. paul
 06-01-2012, 10:52 PM
#120
Regular Contributor
Thread Starter
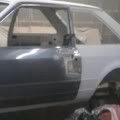
06.01.2012 small up date. Started work on doors.osf door is mint just needs flatting and will be ready for primer.
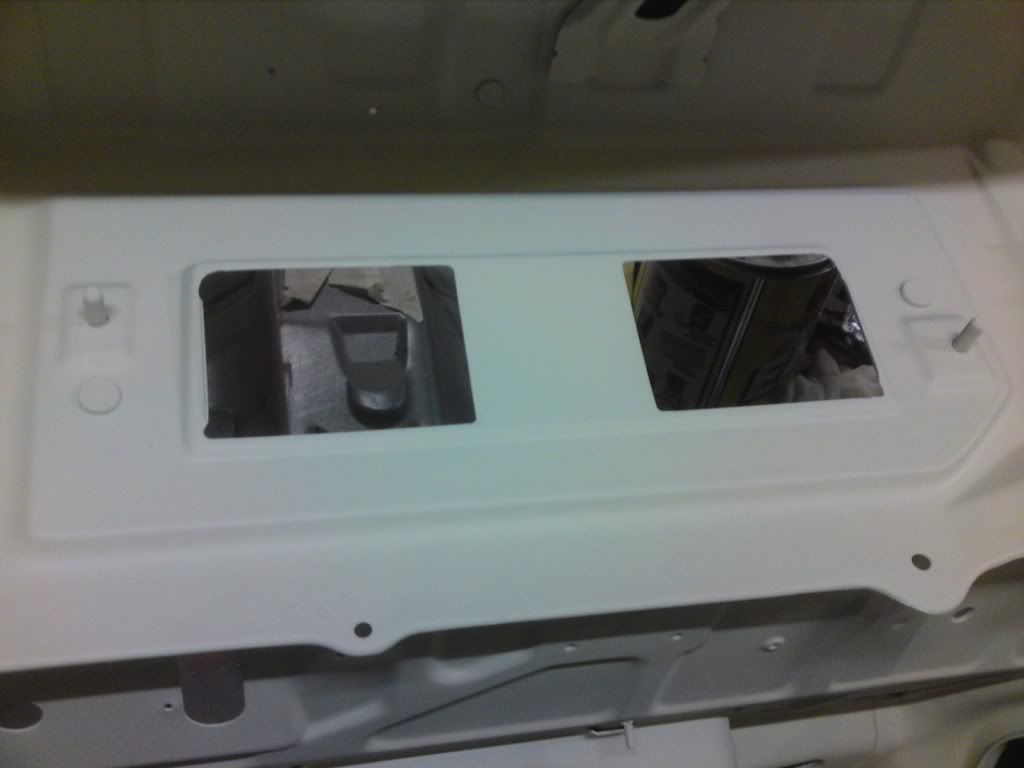
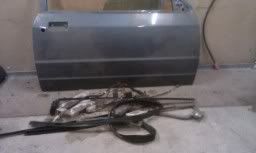
nsf door is a little bit different.before car went to the kwik fit training in derby some twat decided to prize out the door lock and make a nice mess of the door skin.Now it was my turn to see if i could salvage it.i have two spare doors a ns and an os so decided to strip them of all glass,seals,electrics and see witch door to use.
spare door at first glance appeared the favourite,but inside is starting to rust on section under door glass,few small pin holes could be fixed but not as good inside as the original door.even with hole were lock used to be
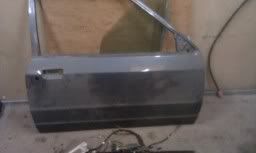
here is how far i have got so far

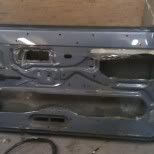
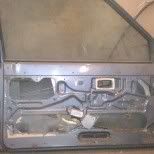
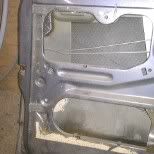
inside door pics
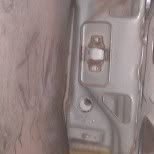
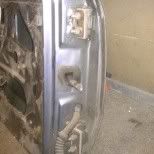
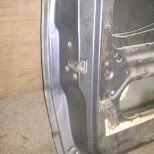
repair pics
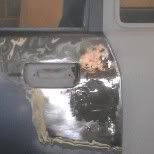
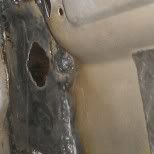
Started by cutting out bad bit then but welded in new repair piece.Used a hole cutter to drill out for lock,Filed shape copied from drivers door lock,ground down welds on outside then ran out of time.
Just need to grind down welds on inside,have a final prep on out side ,then time for a skim of filler.
pleased with how it has turned out considering mess it was in,but more pleased i am using original door as everything i have done to car so far is to keep as much original metal as i can
thats all for now updates to follow.paul
nsf door is a little bit different.before car went to the kwik fit training in derby some twat decided to prize out the door lock and make a nice mess of the door skin.Now it was my turn to see if i could salvage it.i have two spare doors a ns and an os so decided to strip them of all glass,seals,electrics and see witch door to use.
spare door at first glance appeared the favourite,but inside is starting to rust on section under door glass,few small pin holes could be fixed but not as good inside as the original door.even with hole were lock used to be
here is how far i have got so far
inside door pics
repair pics
Started by cutting out bad bit then but welded in new repair piece.Used a hole cutter to drill out for lock,Filed shape copied from drivers door lock,ground down welds on outside then ran out of time.
Just need to grind down welds on inside,have a final prep on out side ,then time for a skim of filler.
pleased with how it has turned out considering mess it was in,but more pleased i am using original door as everything i have done to car so far is to keep as much original metal as i can
thats all for now updates to follow.paul