S2 rs turbo resto, **LET THE DETAILING BEGIN!!!!**
 15-02-2010, 10:37 AM
#41
Cheers mate, wearing a tea shirt two jumpers and a coat lol and still bloody freezing!
Just been to ford..... they have put their prices up
�49 head gasket
�55 Bolts
�150 oil pump
�185 water pump
�50 rear hand brake cable!
Bastards, only bought the bolts in the end. Think i may buy the oil pump too if i can't find a really really good pattern part
Rob,
Just been to ford..... they have put their prices up
�49 head gasket
�55 Bolts
�150 oil pump
�185
water pump�50 rear hand brake cable!
Bastards, only bought the bolts in the end. Think i may buy the oil pump too if i can't find a really really good pattern part
Rob,
 15-02-2010, 12:17 PM
#42
All bushes removed, just leaving for the powder coaters, then its fuel/brake lines out.
***Just came back, really good bloke that does it, the company is caller Formost coatings and they are in Lingfield (near crawley) so if any one is near by and needs some stuff doing he is probably your man, well recommended, going to take some alloys there next weekend to get them sand blasted, �12 a wheel which really isn't bad.
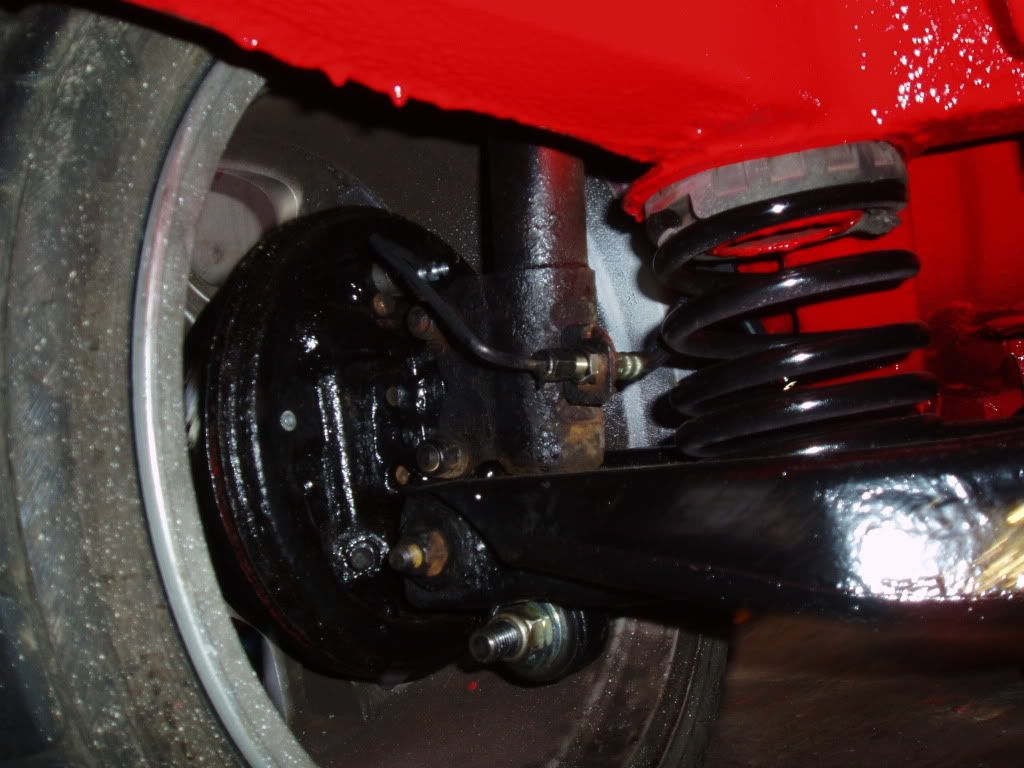
Any how, got the front and rear anti roll bars done in imperial blue, and all the suspension guff done in satin black (should look pretty OEM) with a primary coat of zinc, so shouldn't go peachy for a VERY long time.
Rob,
***Just came back, really good bloke that does it, the company is caller Formost coatings and they are in Lingfield (near crawley) so if any one is near by and needs some stuff doing he is probably your man, well recommended, going to take some alloys there next weekend to get them sand blasted, �12 a wheel which really isn't bad.
Any how, got the front and rear anti roll bars done in imperial blue, and all the suspension guff done in satin black (should look pretty OEM) with a primary coat of zinc, so shouldn't go peachy for a VERY long time.
Rob,
Last edited by Rob_DOHC; 15-02-2010 at 02:17 PM.
 18-02-2010, 06:09 PM
#44
I'm Finding My Feet Here Now
Join Date: Jun 2009
Location: Blackpool
Posts: 114
Likes: 0
Received 0 Likes
on
0 Posts
Going well need to put my resto up as never get chance!looking at other people doing the same as you just spurs me on to get mine finished top work mate
21-02-2010, 05:55 PM
#47
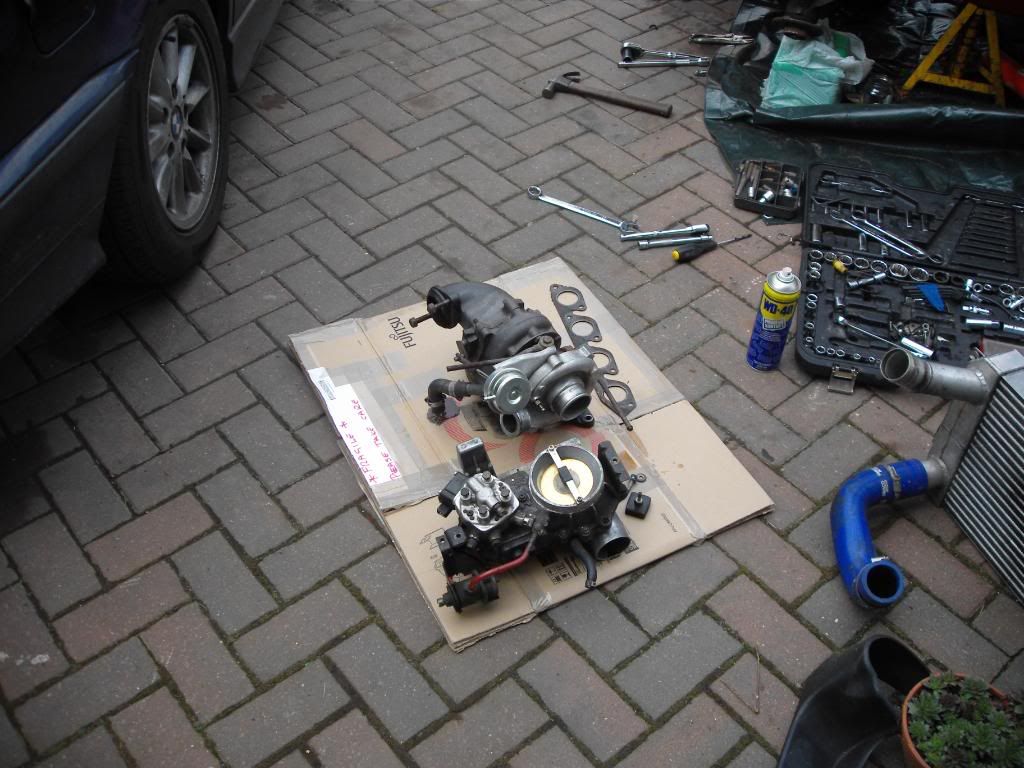
Right its been a cold weekend
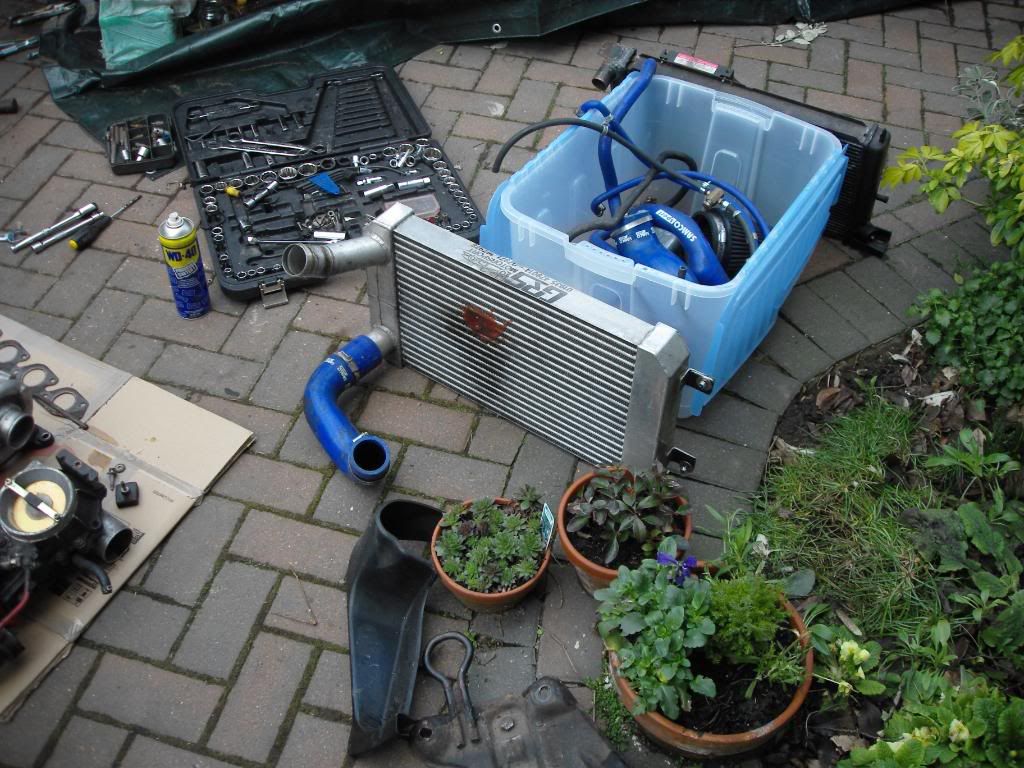
Bought some goodies which came on sat
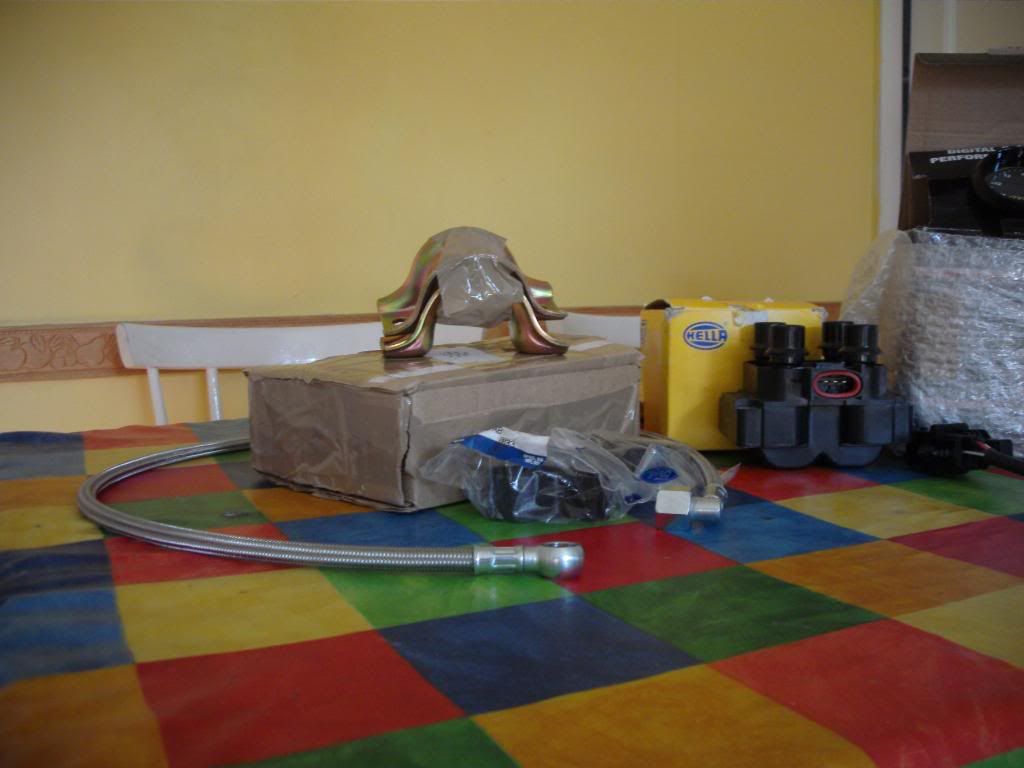
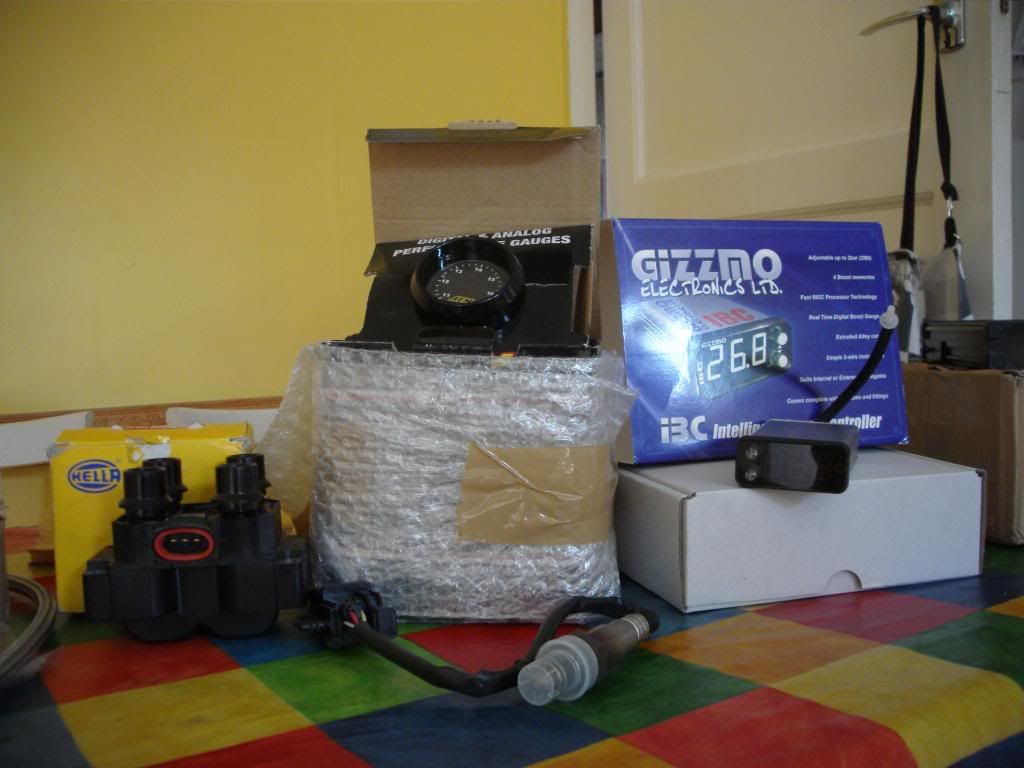

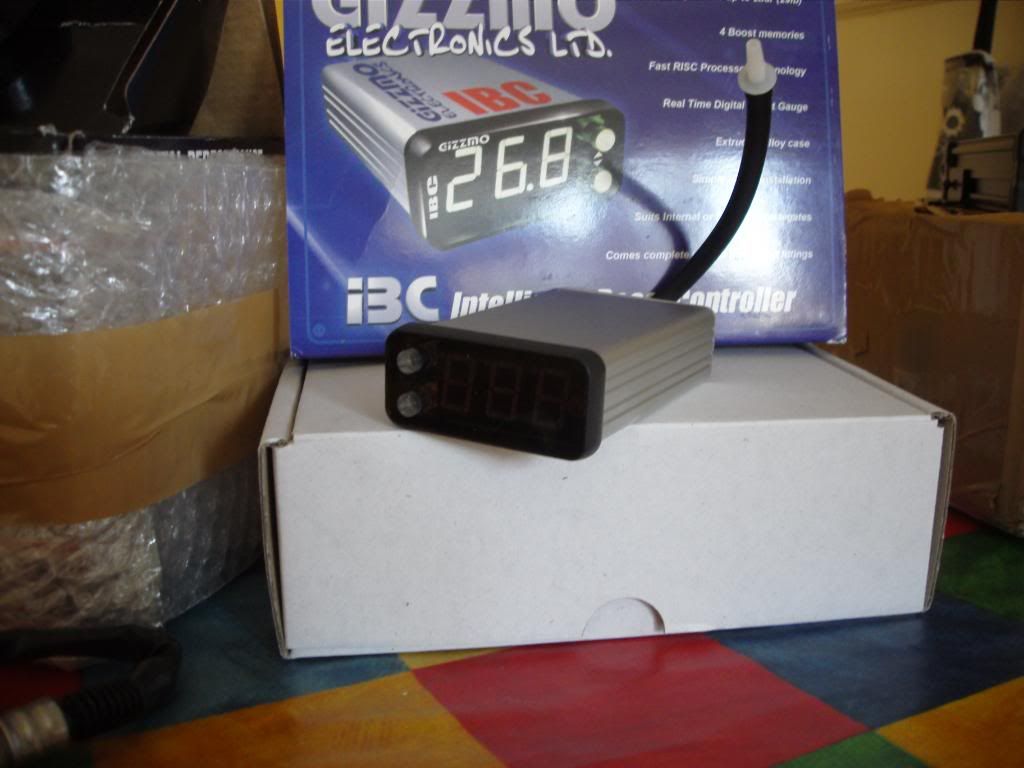
So thats the wb lambda with controller, megasquirt, gizzmo boost controller, new anti roll bar mounts (front and back), and a braided adapter hose from mfi fuel filter to efi fuel reg.
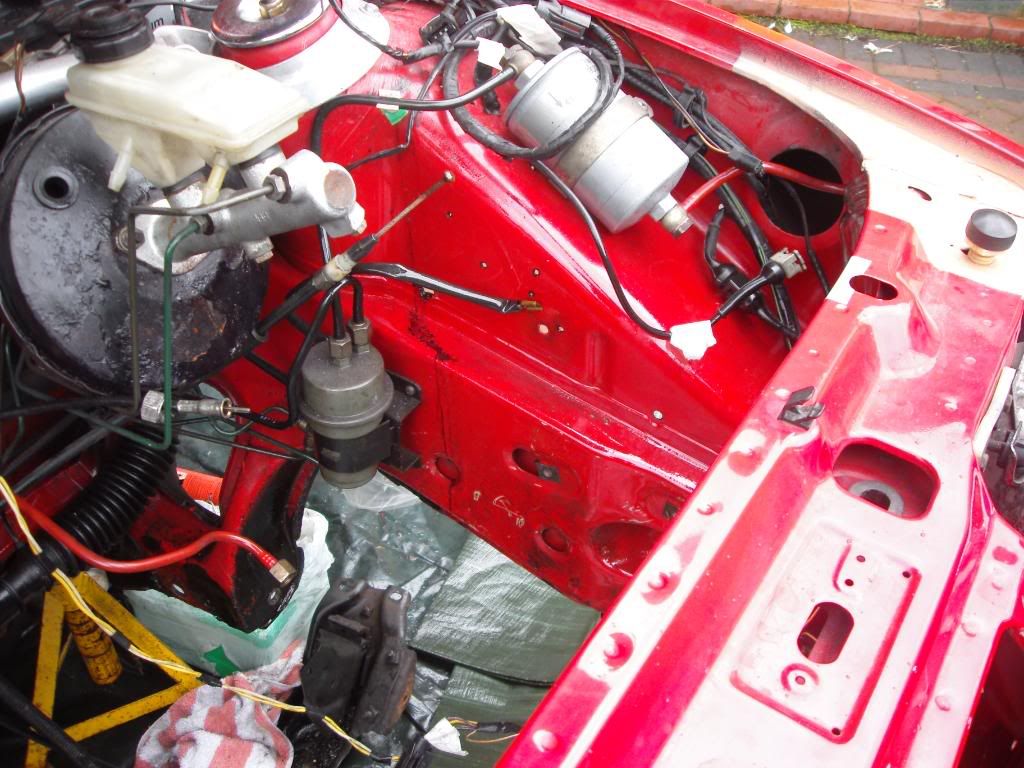
It begins:
Annoying badly repaired GRS
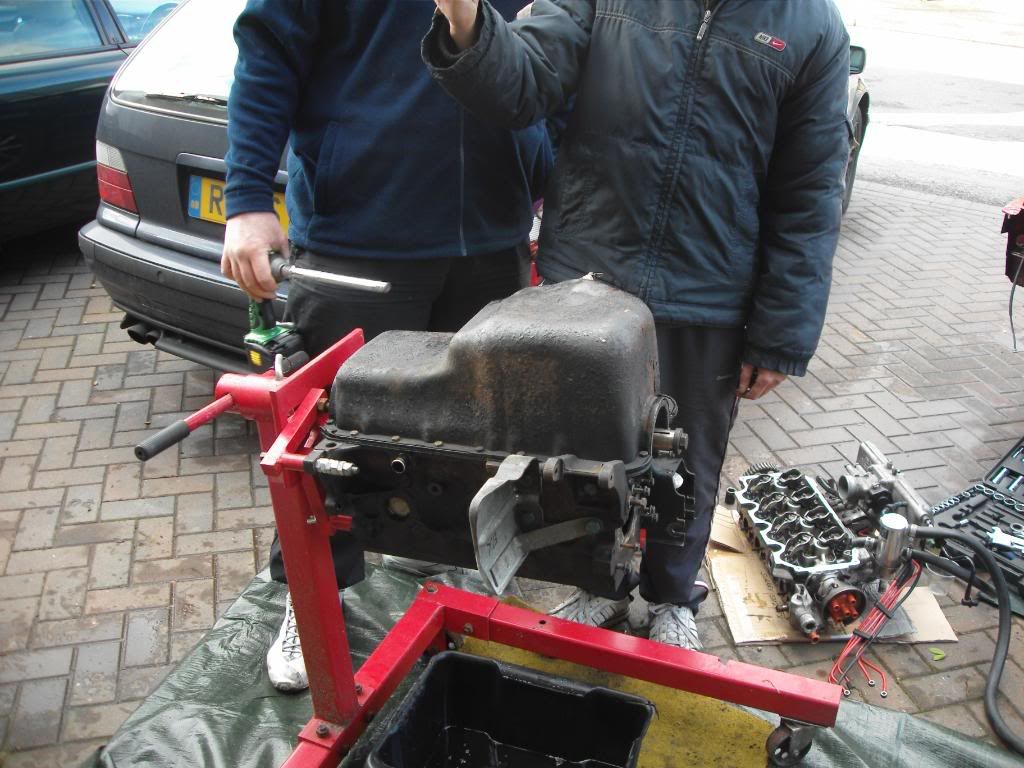
Engine ready to be lowered, taking it out the bottom.....
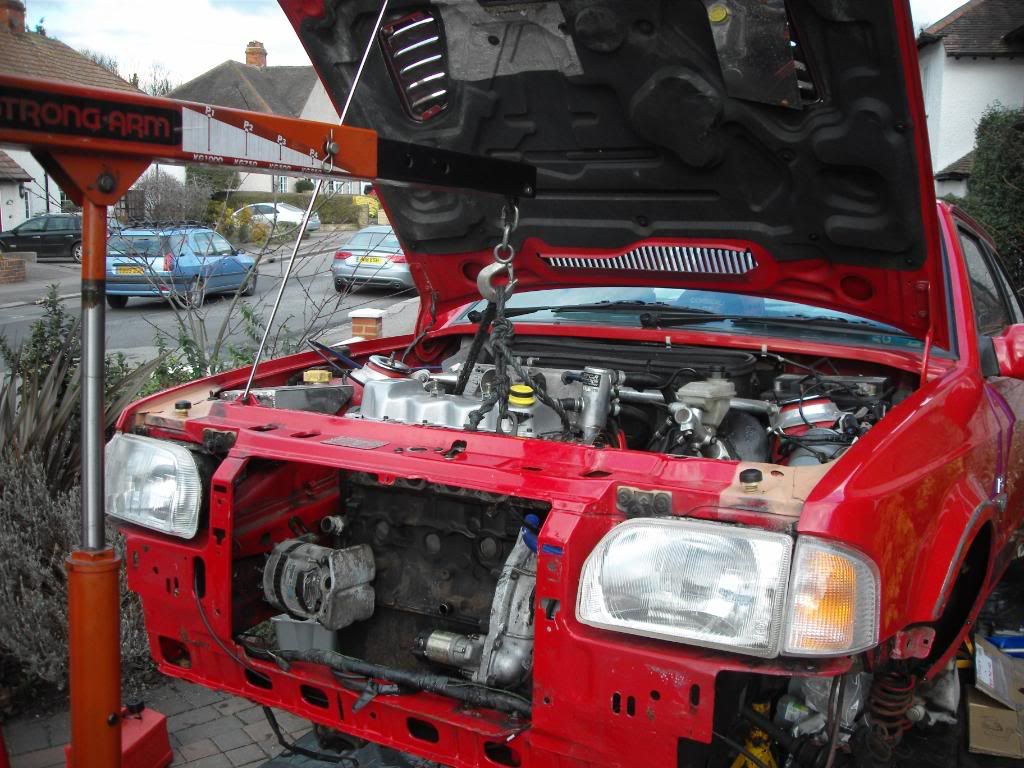
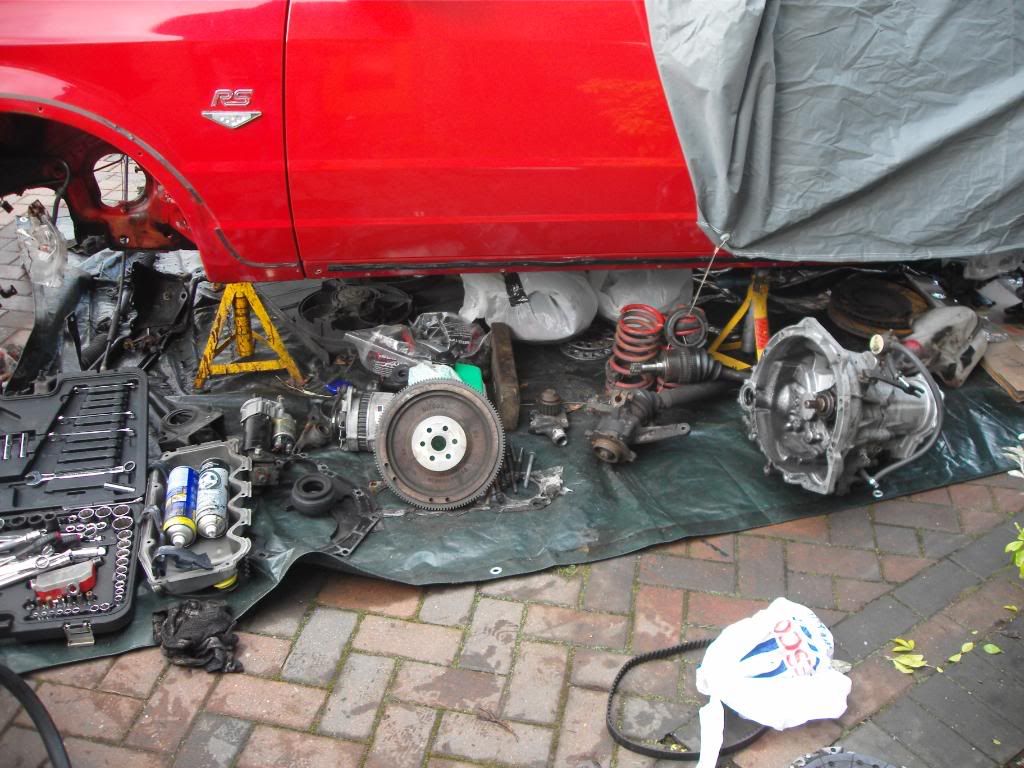
On the floor with all the ABS tosh taken off
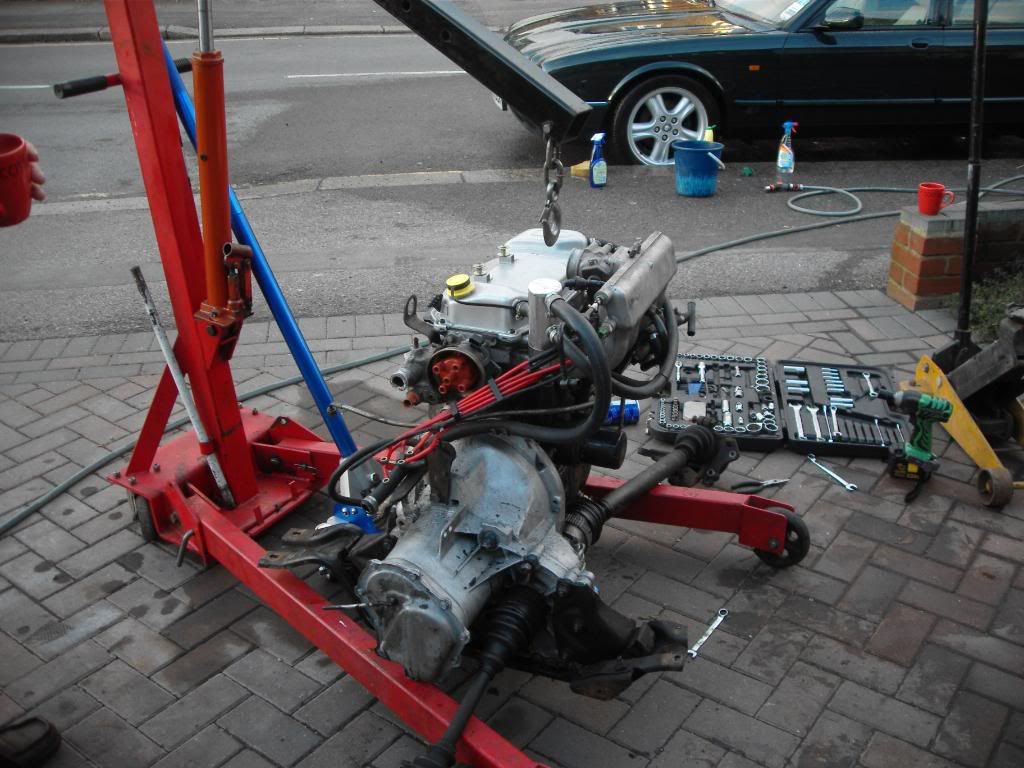
And thats pretty much as far as i got today (sat)
Big thanks to my mate James for lending me a hand.
Rob,
Bought some goodies which came on sat
So thats the wb lambda with controller, megasquirt, gizzmo boost controller, new anti roll bar mounts (front and back), and a braided adapter hose from mfi fuel filter to efi fuel reg.
It begins:
Annoying badly repaired GRS
Engine ready to be lowered, taking it out the bottom.....
On the floor with all the ABS tosh taken off
And thats pretty much as far as i got today (sat)
Big thanks to my mate James for lending me a hand.
Rob,
21-02-2010, 06:04 PM
#48
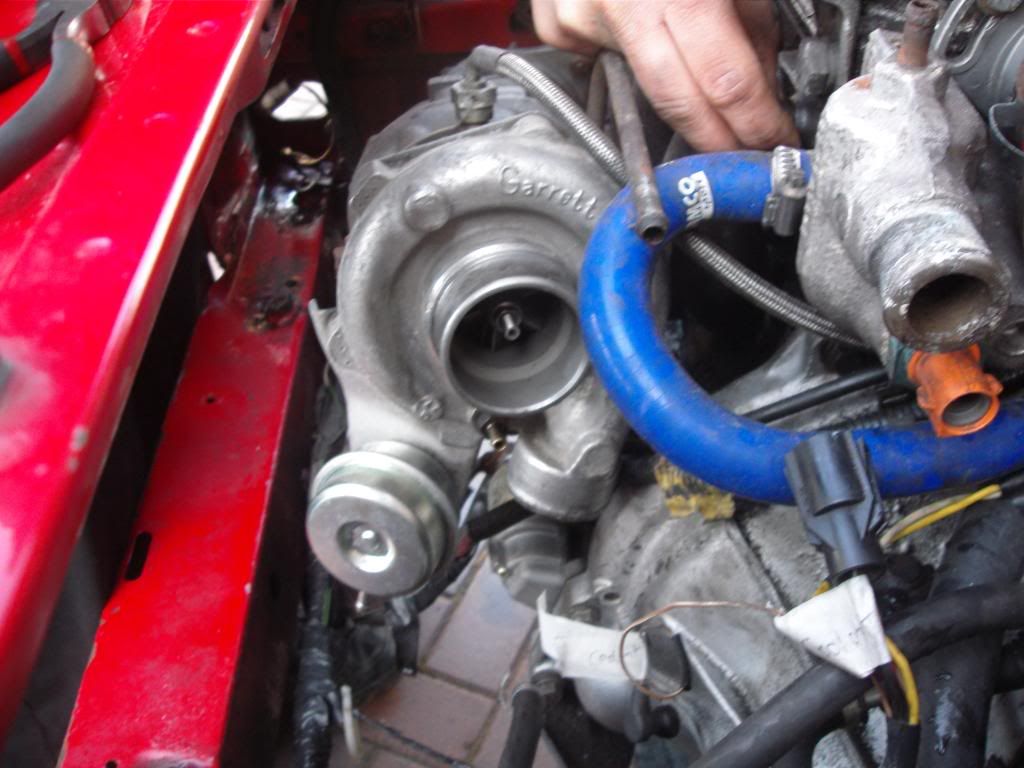
Sunday...
Started late as it was pissing it down
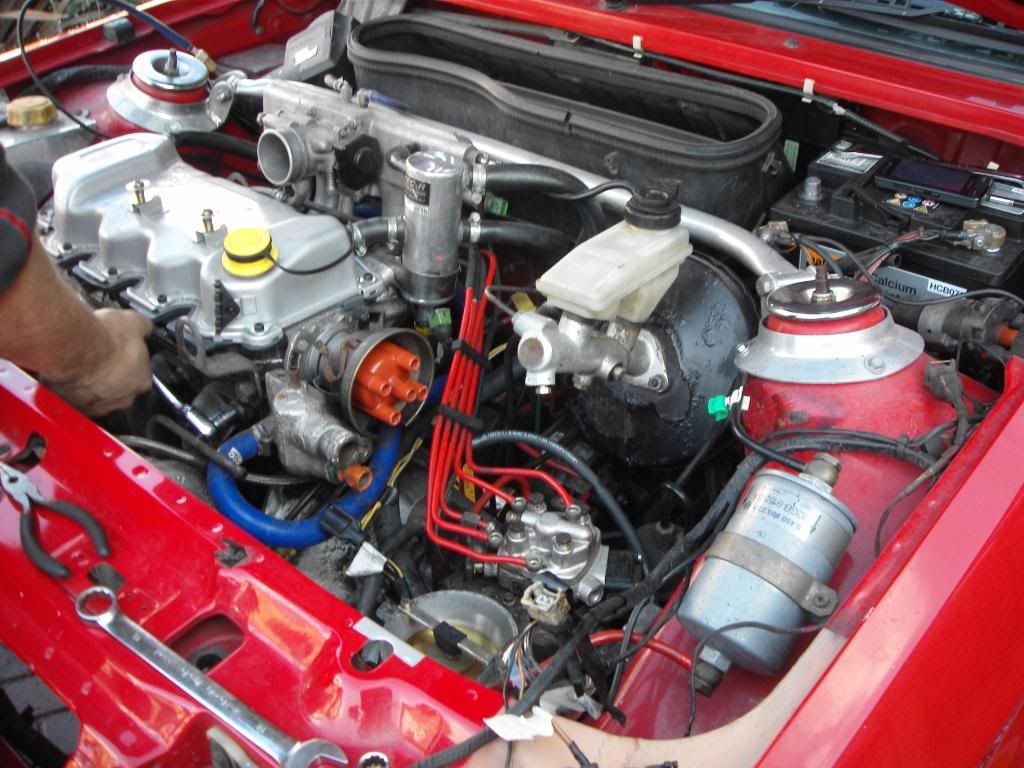
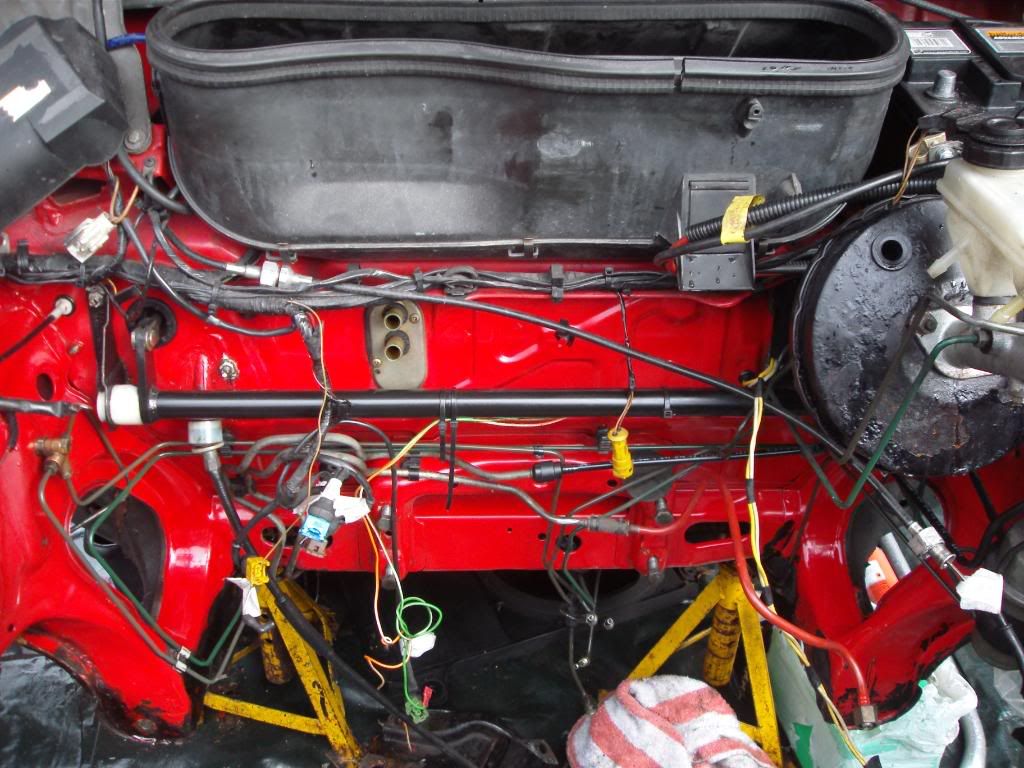
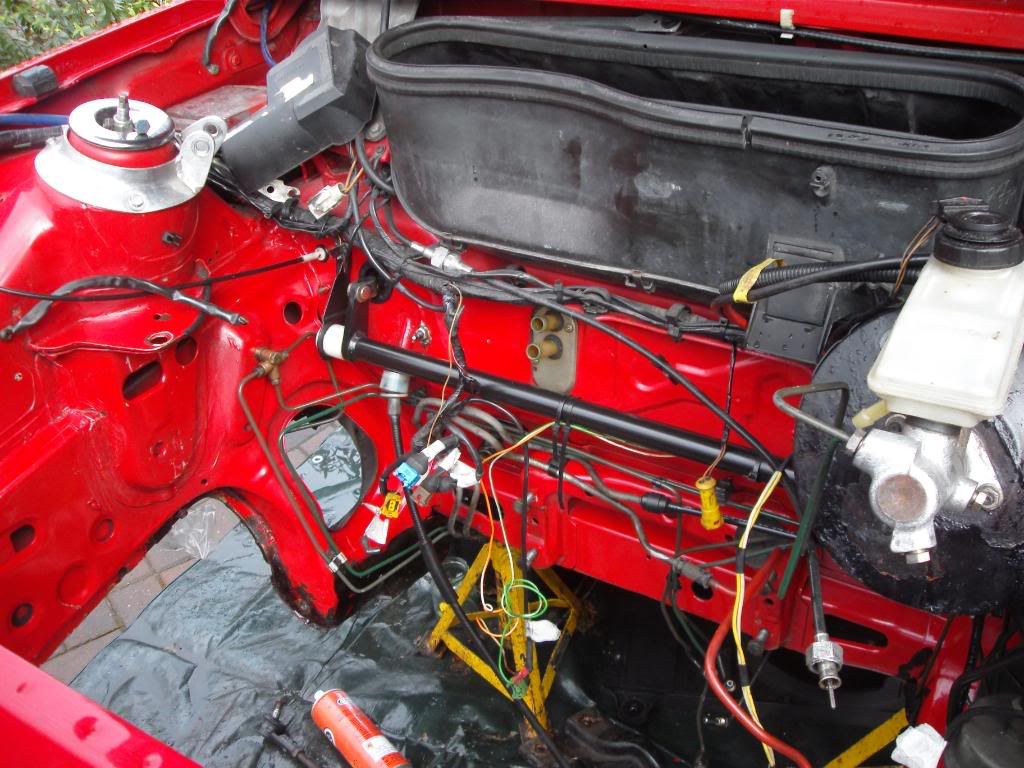
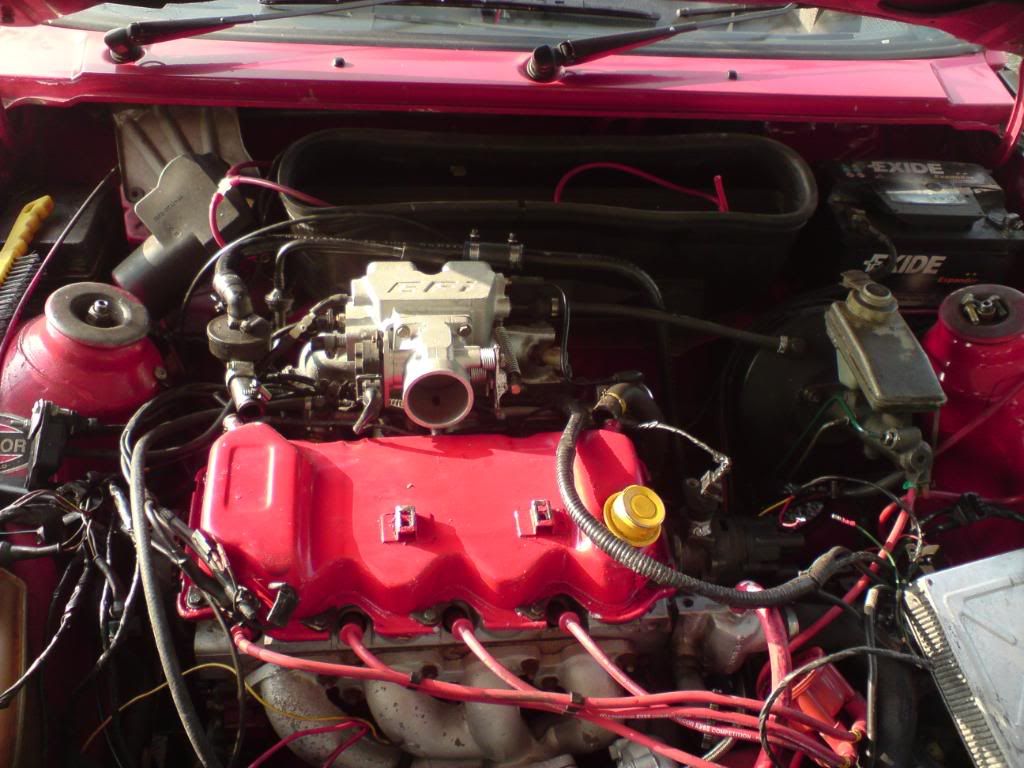
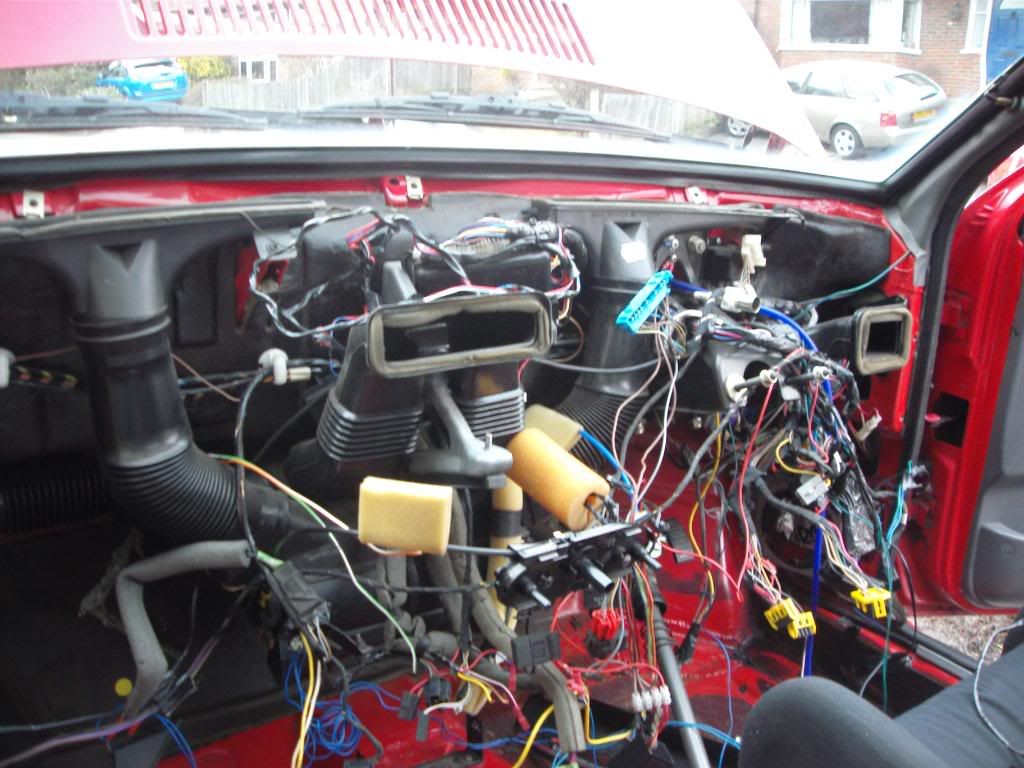
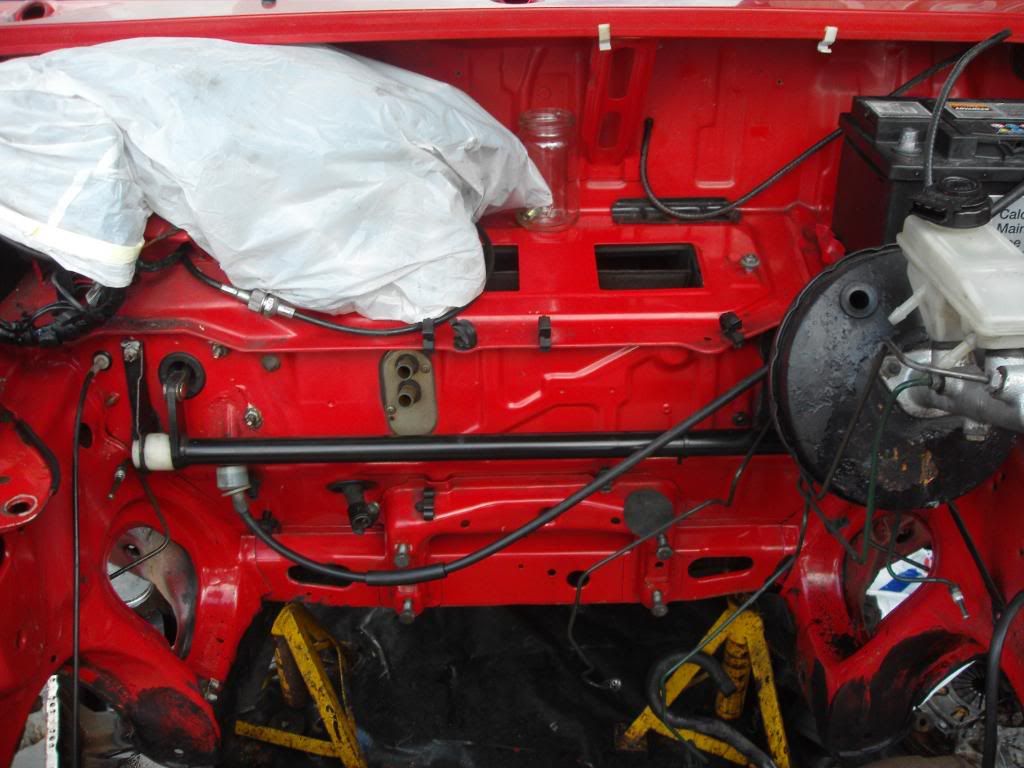
Today i wanted to tidy the engine bay, and totally label the wiring loom before cutting it up to make the MS loom.
This is how the bay looked before a clean and with the rack in etc.
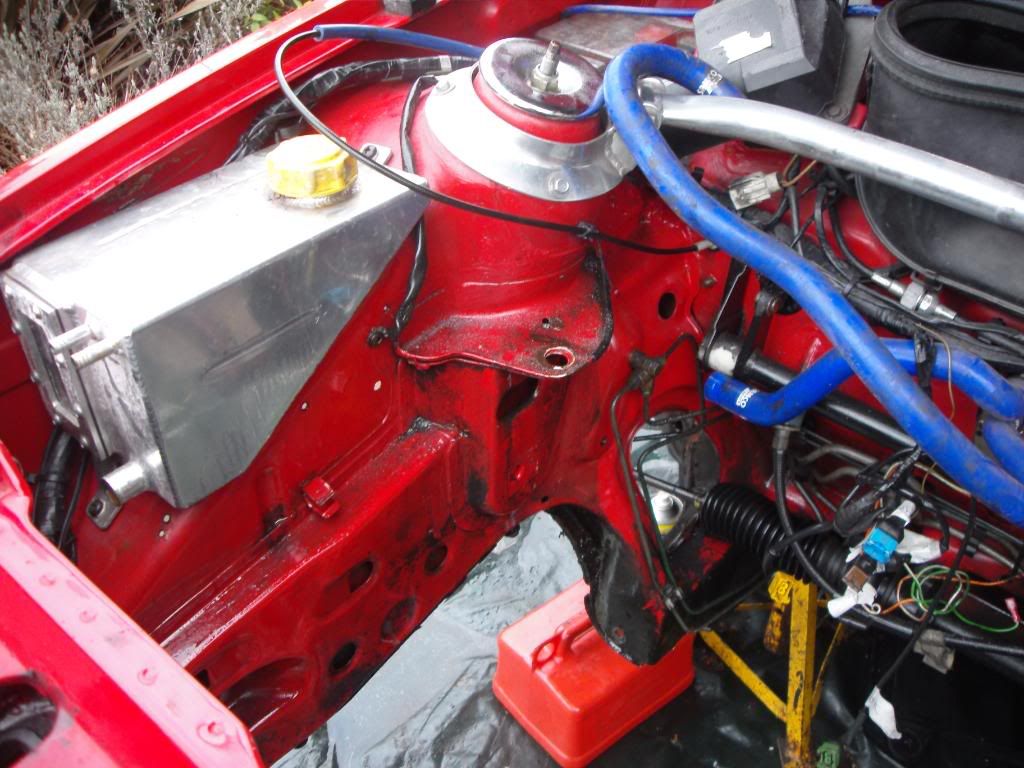
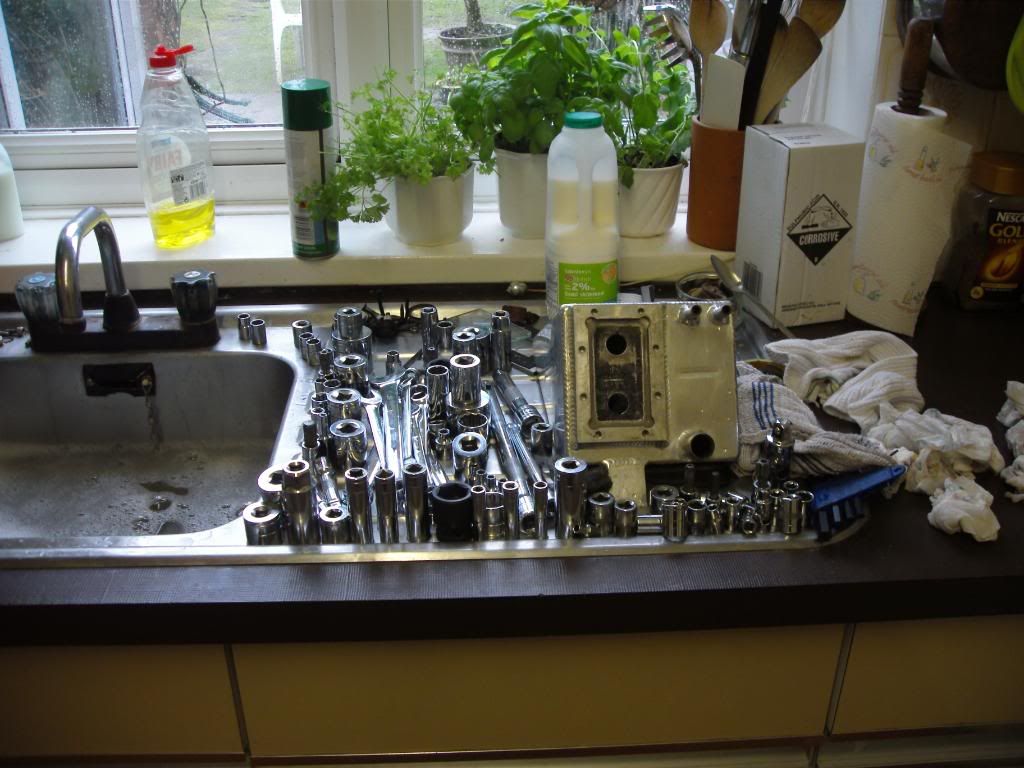
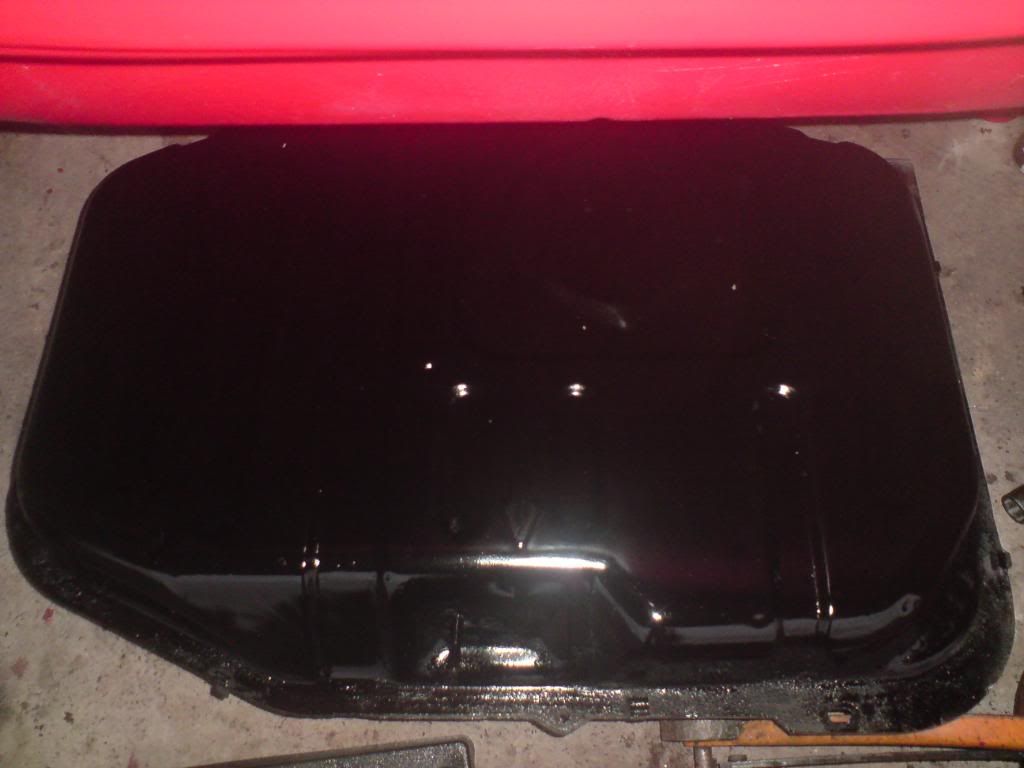
Then it rained.... alot, so i packed up, took the tools inside and gave them a wash, a long with the header tank.
Back out, armed with gunk and wd40
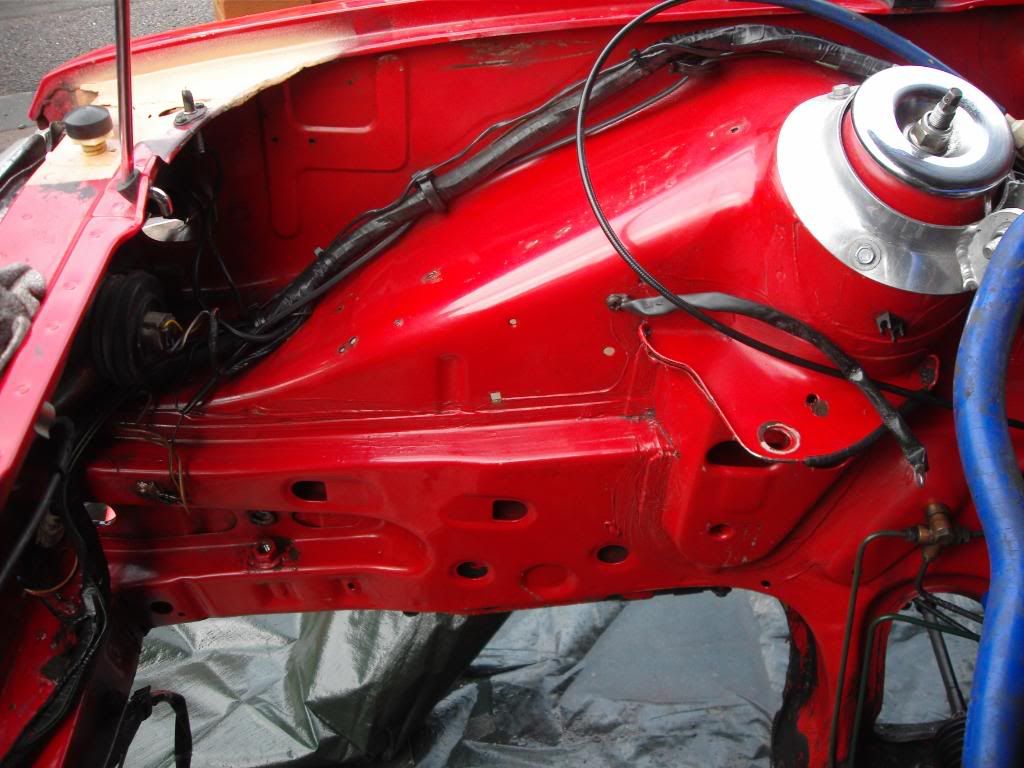
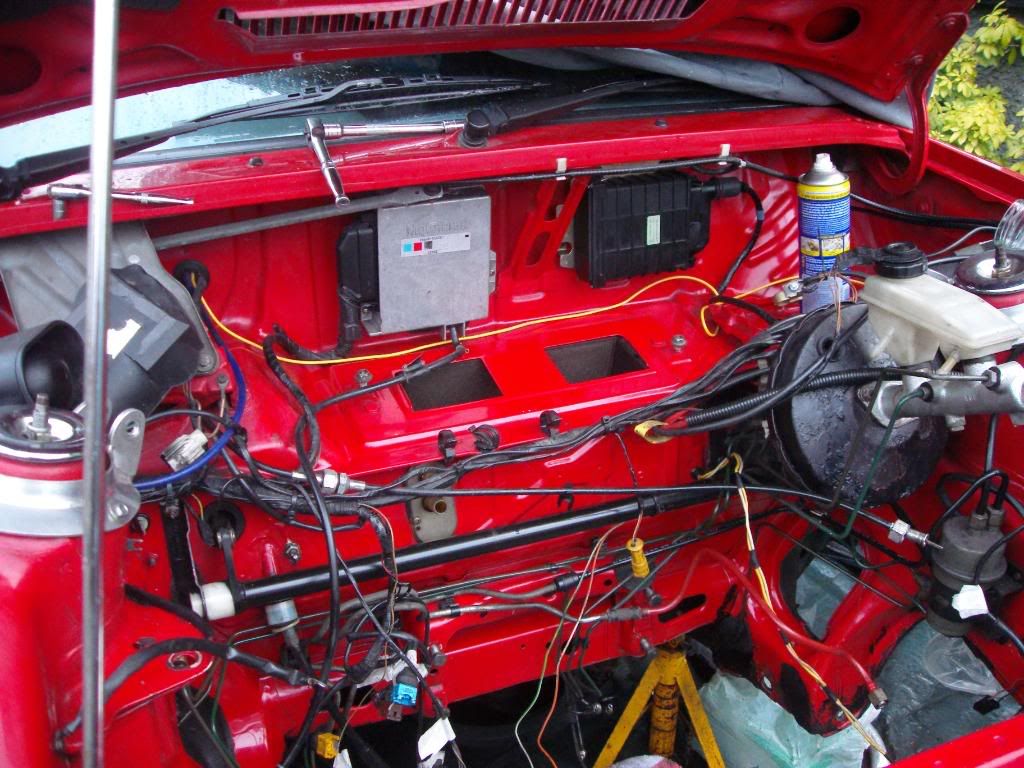
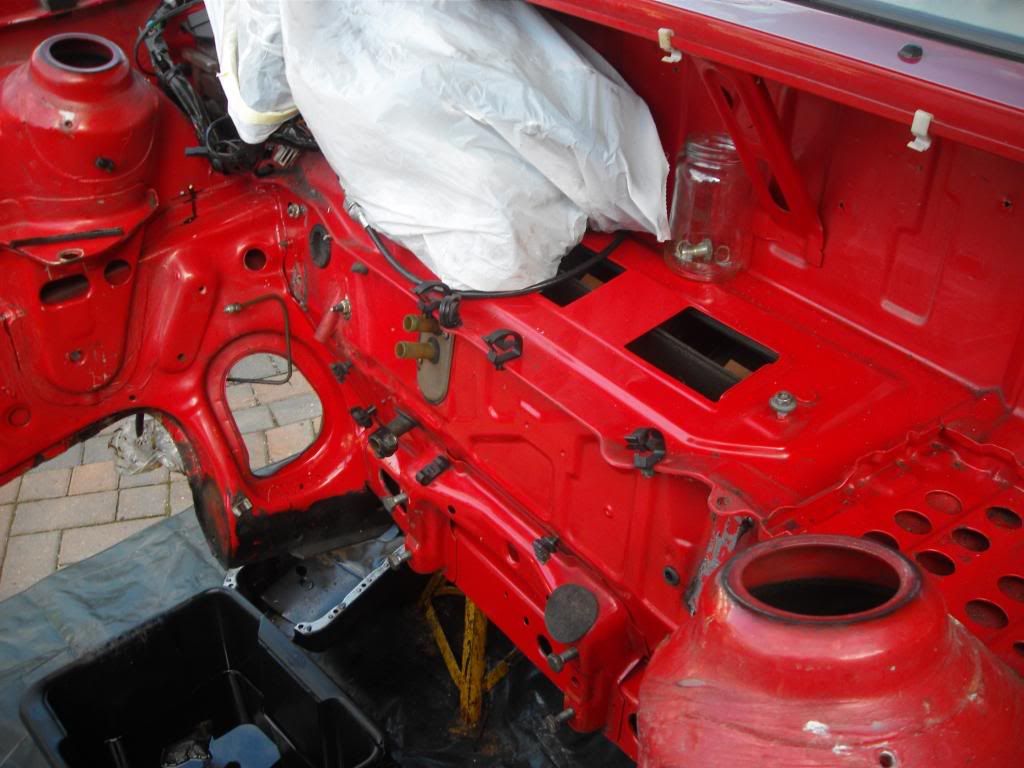
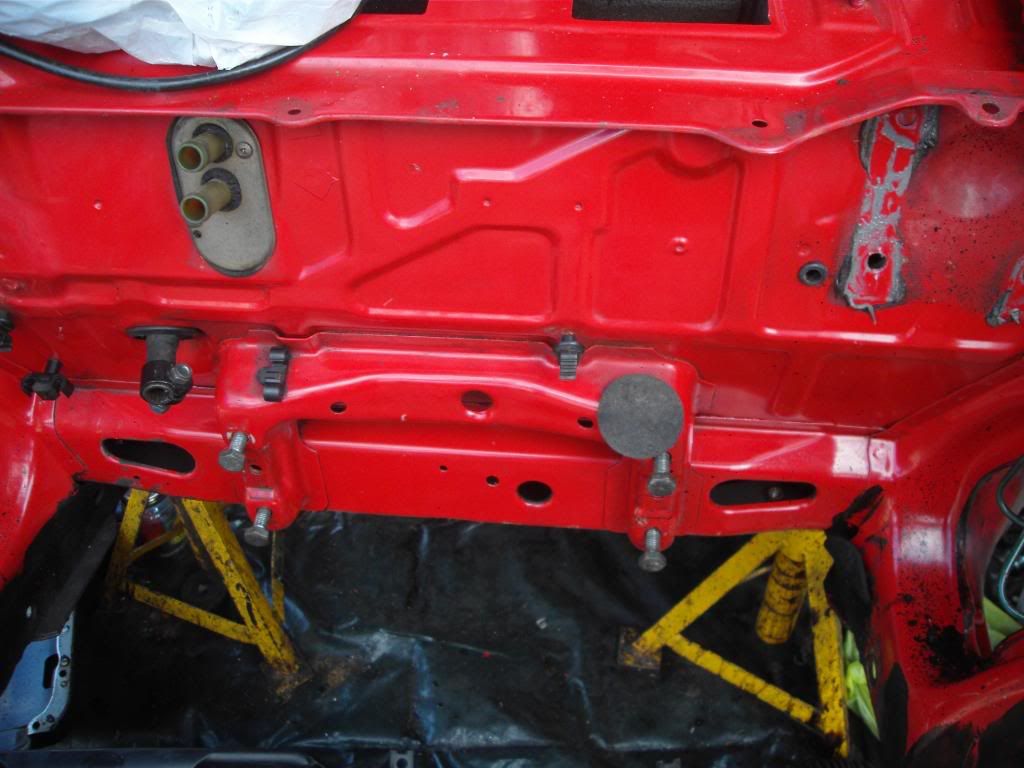
On the hole really happy with the engine bay condition, few scratches i want to blow in etc, battery tray looks good, chassis legs look good. Any black patches you can see are underseal/waxoil/grease that i haven't shifted yet.
May spray the inner wings but the bulk head is very good.
Cheers all knackered and wet. Next up other than the loom, its time to start removing the black shit from the under side, strip the engine and take it for machining and remove/replace the O/S rear sill section.
Rob,
Started late as it was pissing it down
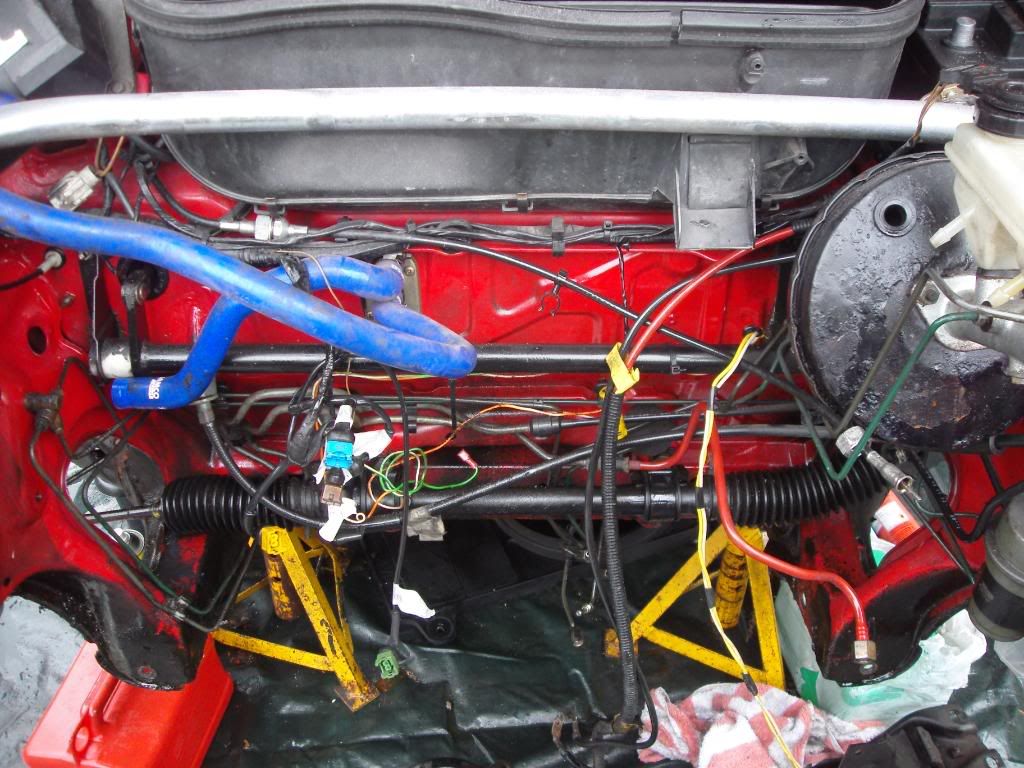
Today i wanted to tidy the engine bay, and totally label the wiring loom before cutting it up to make the MS loom.
This is how the bay looked before a clean and with the rack in etc.
Then it rained.... alot, so i packed up, took the tools inside and gave them a wash, a long with the header tank.
Back out, armed with gunk and wd40
On the hole really happy with the engine bay condition, few scratches i want to blow in etc, battery tray looks good, chassis legs look good. Any black patches you can see are underseal/waxoil/grease that i haven't shifted yet.
May spray the inner wings but the bulk head is very good.
Cheers all knackered and wet. Next up other than the loom, its time to start removing the black shit from the under side, strip the engine and take it for machining and remove/replace the O/S rear sill section.
Rob,
Last edited by Rob_DOHC; 21-02-2010 at 06:07 PM.
 21-02-2010, 08:36 PM
#52
Guest
Posts: n/a
Hi Rob its still going well i see , im doing the same thing at the moment to my red s2.
its good to see a nice clean shell like yours .i will keep watching this .But i was wondering do you know what make your strut brace is as i had a sparco one but it had the plates that went over the top of the strut.top nut .im looking to buy one like yours but cant seem to see one in the mags
its good to see a nice clean shell like yours .i will keep watching this .But i was wondering do you know what make your strut brace is as i had a sparco one but it had the plates that went over the top of the strut.top nut .im looking to buy one like yours but cant seem to see one in the mags
Last edited by uyo1972; 21-02-2010 at 08:39 PM.
22-02-2010, 01:03 PM
#53
Sorry mate i don't actually know who makes it  but a lot of the stuff was from autospecialists. I will have a good look over it and see if it has a logo any where. Its quite nice not having the adjuster in there as the bar is pretty stiff etc. Can only actually get it bolted in if the car is jacked up and you lever one end into position.
Get your project posted mate, be good to see how others are doing theirs.
Good luck
Rob,
but a lot of the stuff was from autospecialists. I will have a good look over it and see if it has a logo any where. Its quite nice not having the adjuster in there as the bar is pretty stiff etc. Can only actually get it bolted in if the car is jacked up and you lever one end into position. Get your project posted mate, be good to see how others are doing theirs.
Good luck
Rob,
24-02-2010, 07:31 PM
#56
Regular Contributor
Join Date: Oct 2008
Location: birmingham
Posts: 265
Likes: 0
Received 0 Likes
on
0 Posts


hi mate few pics of mine coming along good your shell looking very nice keep up the hard work
if pics dont come how you post them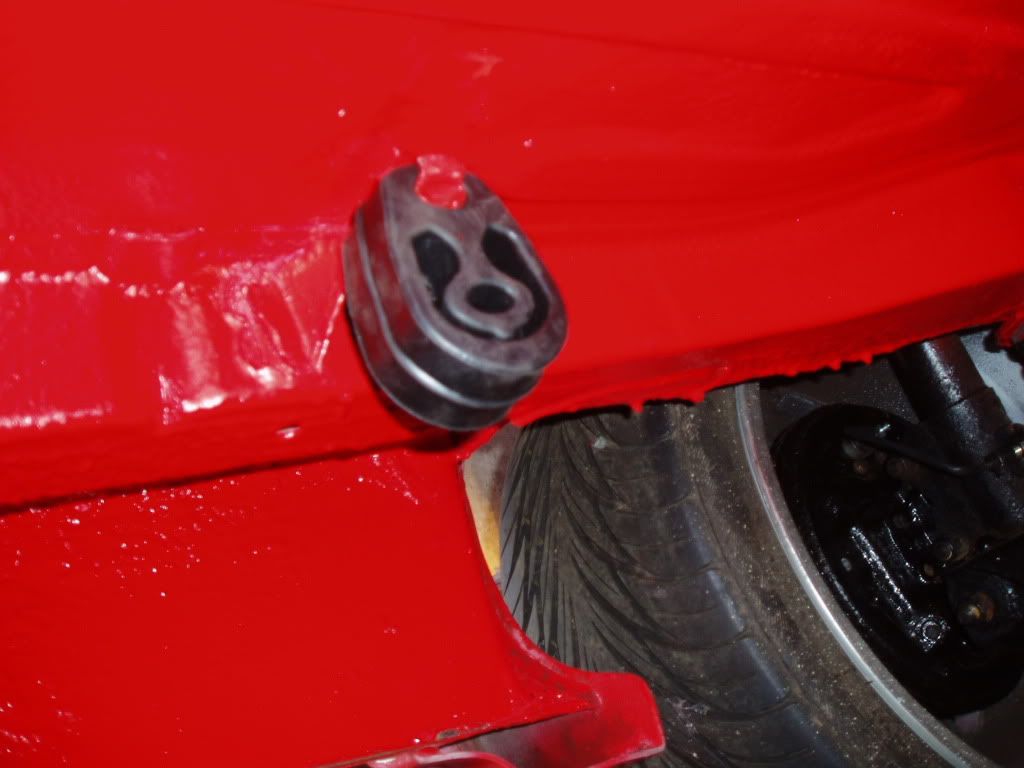
Last edited by rs_turbo_tony; 24-02-2010 at 07:43 PM. Reason: pics
25-02-2010, 05:04 PM
#59
Regular Contributor
Join Date: Oct 2008
Location: birmingham
Posts: 265
Likes: 0
Received 0 Likes
on
0 Posts
mine were really corroded mate i wana have them powder coated but have painted then in brush hammerite then i flated them and then painted in high build primer then black spray hammerite not the best job but will do till next year when i get sum new ones and have them powder coated i am having all front powder coated when i get them off twin anti roll bars mounts the lot all parts on rear new other than arms they are too expencive new
 25-02-2010, 05:56 PM
#61
mine were really corroded mate i wana have them powder coated but have painted then in brush hammerite then i flated them and then painted in high build primer then black spray hammerite not the best job but will do till next year when i get sum new ones and have them powder coated i am having all front powder coated when i get them off twin anti roll bars mounts the lot all parts on rear new other than arms they are too expencive new
And Deerhunter its not going too badly, just working around the rain and propper work lol
Cheers
Rob,
 27-02-2010, 09:09 AM
#63
Great work Rob!! 
New Recaro bolsters are available from here http://www.capitalseating.co.uk/prod...e&rid=61&mid=2
If you really want to clean your seats then this is what I did...

Really easy to strip down and after a few cycles through the washing machine they came up like new!
Did the back seat too but no pics of that.
New Recaro bolsters are available from here http://www.capitalseating.co.uk/prod...e&rid=61&mid=2
If you really want to clean your seats then this is what I did...
Really easy to strip down and after a few cycles through the washing machine they came up like new!
Did the back seat too but no pics of that.
27-02-2010, 08:17 PM
#64
Regular Contributor
Join Date: Oct 2008
Location: birmingham
Posts: 265
Likes: 0
Received 0 Likes
on
0 Posts
Great work Rob!!
New Recaro bolsters are available from here http://www.capitalseating.co.uk/prod...e&rid=61&mid=2
If you really want to clean your seats then this is what I did...
Really easy to strip down and after a few cycles through the washing machine they came up like new!
Did the back seat too but no pics of that.

 28-02-2010, 02:08 AM
#67
ffoc.co.uk
Good project, you have your work cut out for you there. Best of luck with it.
28-02-2010, 07:43 PM
#68
Regular Contributor
Join Date: Oct 2008
Location: birmingham
Posts: 265
Likes: 0
Received 0 Likes
on
0 Posts
Cheers mate, wearing a tea shirt two jumpers and a coat lol and still bloody freezing!
Just been to ford..... they have put their prices up
�49 head gasket
�55 Bolts
�150 oil pump
�185 water pump
�50 rear hand brake cable!
Bastards, only bought the bolts in the end. Think i may buy the oil pump too if i can't find a really really good pattern part
Rob,
Just been to ford..... they have put their prices up
�49 head gasket
�55 Bolts
�150 oil pump
�185
water pump�50 rear hand brake cable!
Bastards, only bought the bolts in the end. Think i may buy the oil pump too if i can't find a really really good pattern part
Rob,
28-02-2010, 09:13 PM
#69
Great work Rob!!
New Recaro bolsters are available from here http://www.capitalseating.co.uk/prod...e&rid=61&mid=2
If you really want to clean your seats then this is what I did...
Really easy to strip down and after a few cycles through the washing machine they came up like new!
Did the back seat too but no pics of that.
New Recaro bolsters are available from here http://www.capitalseating.co.uk/prod...e&rid=61&mid=2
If you really want to clean your seats then this is what I did...
Really easy to strip down and after a few cycles through the washing machine they came up like new!
Did the back seat too but no pics of that.
Got some more pictures from this weekend i will post up in a bit, removed most of the waxoil from the front arches, but most of my time was spent stripping and cleaning the engine, so not too many pics as my hands were a state for most of the day.
Rob,
 Sweeet as
04-03-2010, 11:16 PM
Sweeet as
04-03-2010, 11:16 PM
#71
Wahay!! I've lost my Virginity!!

hi i no this may be a silly question but how do you take the front arches off as iv got abit of rust showing and want to repaitr it, as for the front wind screen rubber strip. cheers
07-03-2010, 10:41 PM
#72
Cheers mate, just wish i had a garage so so much, few more bits done need to post an update tomorrow.
And in case i didn't say but that seat cleaning tip is a gem, cheers Karlos
And Daz,
The front arches are bolted on with tiny m3/m4's but that was a few weekends ago and tbh its all getting a bit fuzzy, its straight forward enough tho.
Cheers all
Rob,
And in case i didn't say but that seat cleaning tip is a gem, cheers Karlos
And Daz,
The front arches are bolted on with tiny m3/m4's but that was a few weekends ago and tbh its all getting a bit fuzzy, its straight forward enough tho.
Cheers all
Rob,
21-03-2010, 08:29 PM
#77
Bananas!
Join Date: Aug 2008
Location: South Lincs RSOC
Posts: 1,199
Likes: 0
Received 0 Likes
on
0 Posts
Well done rob, just read though it all, shell looks so much better than mine! Very jealous if you have yours done by central day. Don't think mine will be painted by central day. Going to keep a close eye on your resto, to keep looking out for ideas.
27-03-2010, 10:38 PM
#78
Thanks very much mate,
Don't think the car will be making it to central day but i probably will be. Shell seems to be pretty good so far, think one of the chassis legs will need replacing though seems to have collapsed looks like the noddy who owned the car before me has bottomed that side out at the rear and crushed the spring platform/leg,
Oh well, any one replaced a chassis leg on an escort?
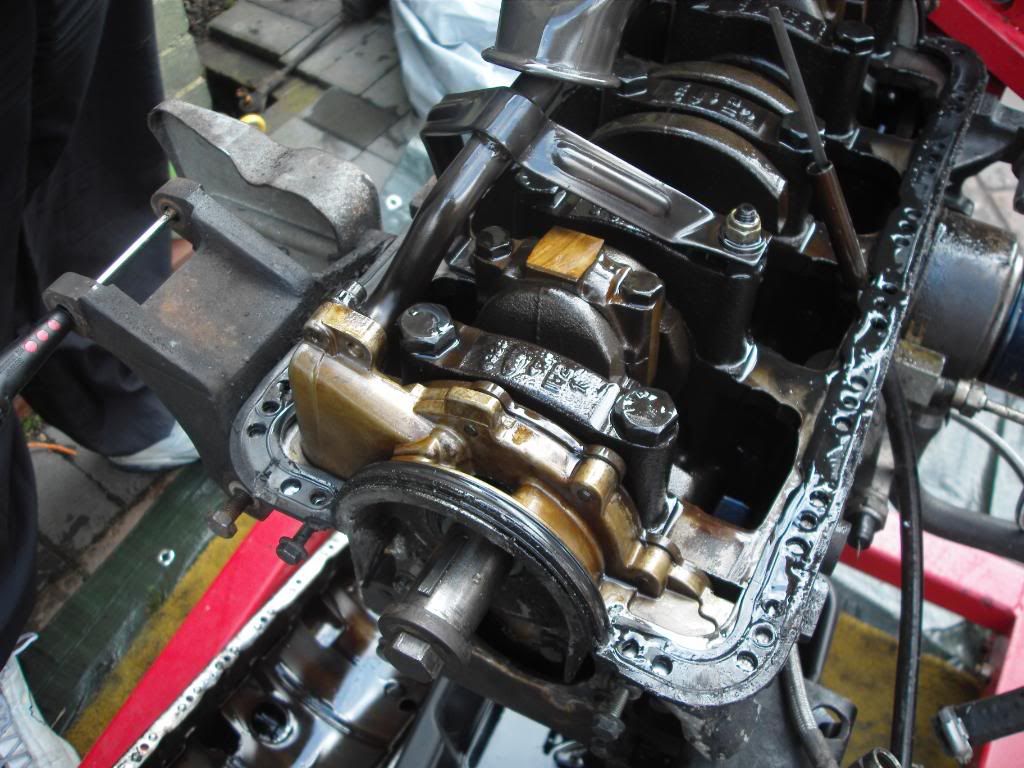
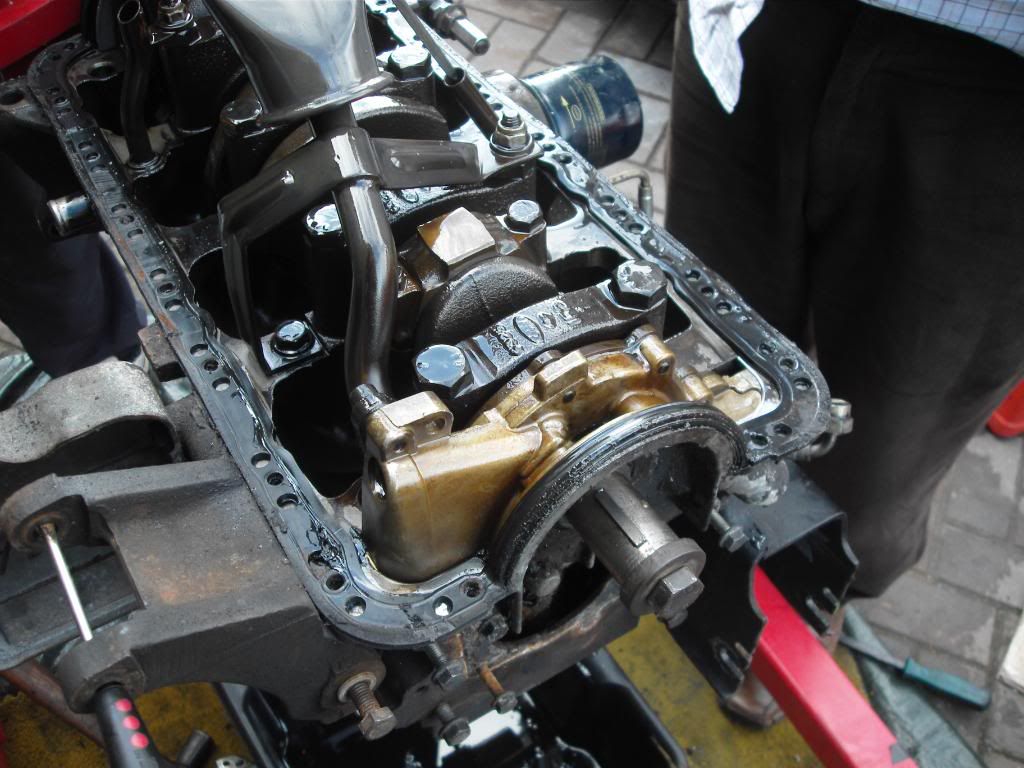
Here is a very overdue picture update,
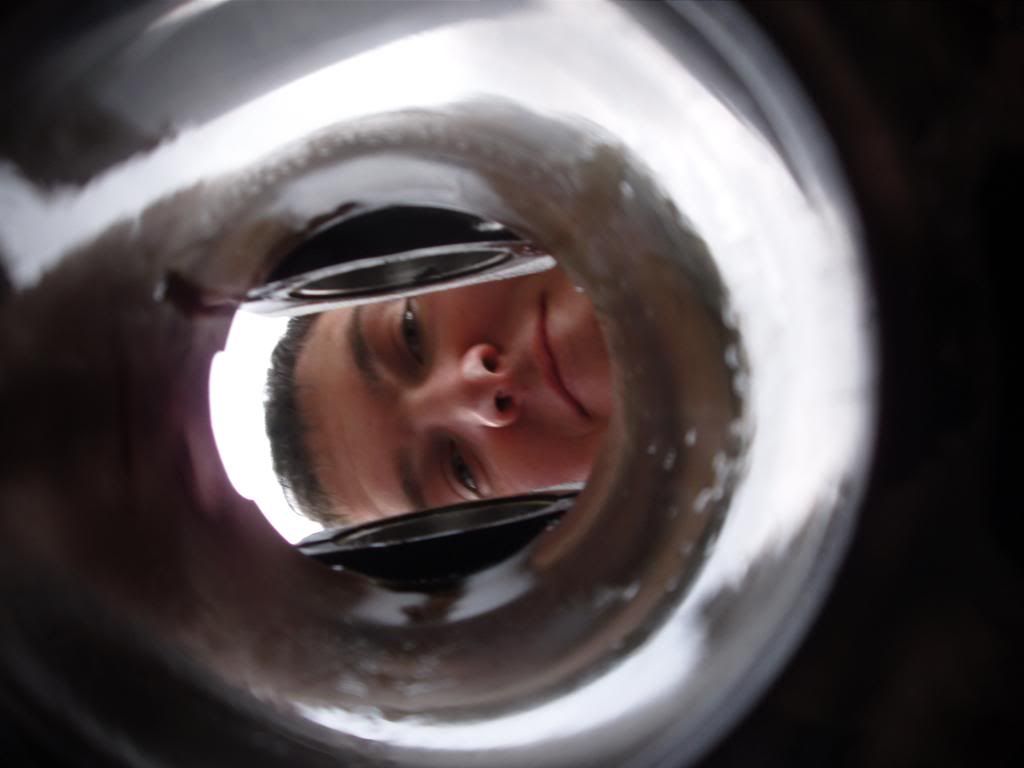
Proof that Ghigo is unable to fit his face through a cvh bore
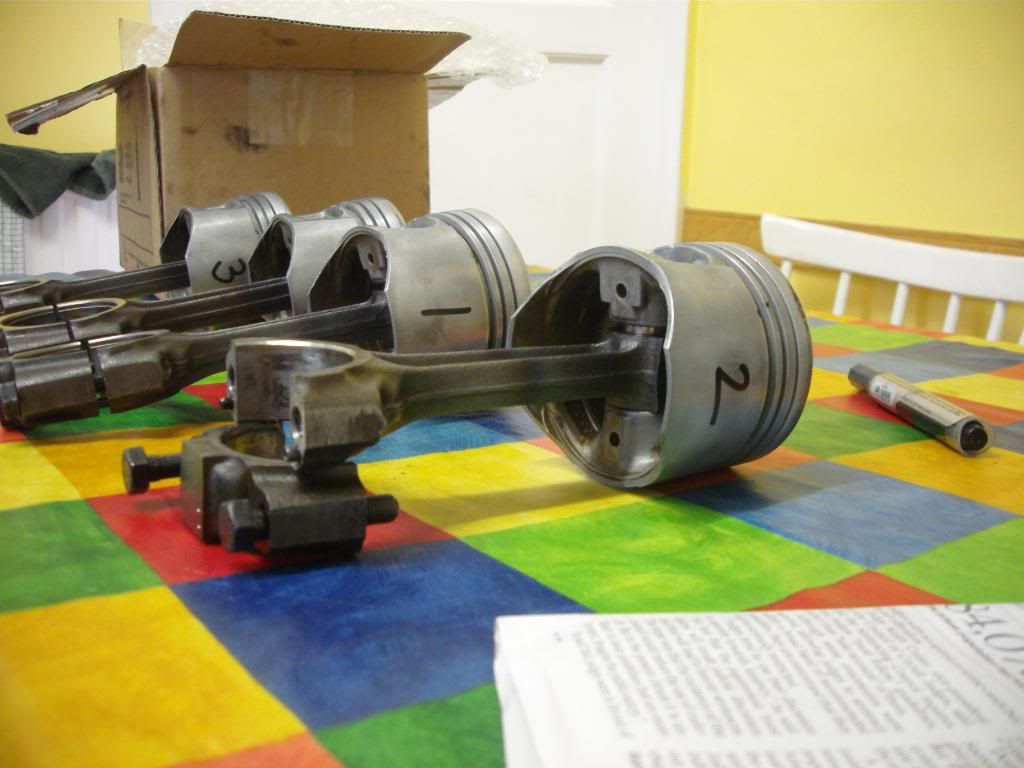
Clean pistons
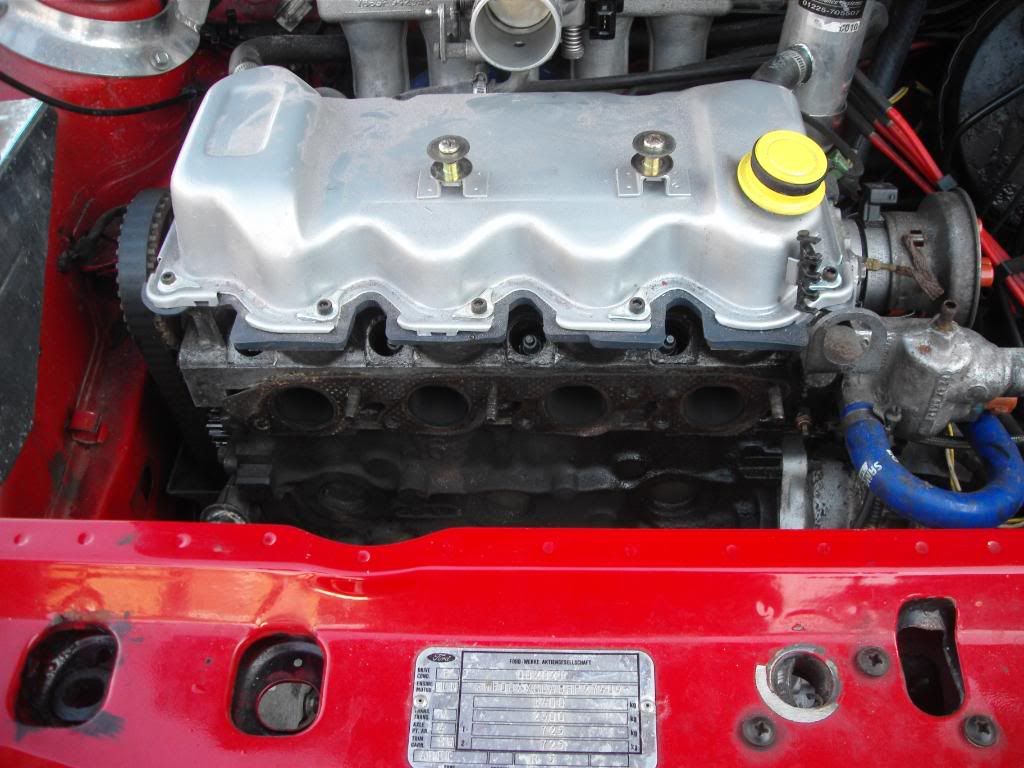
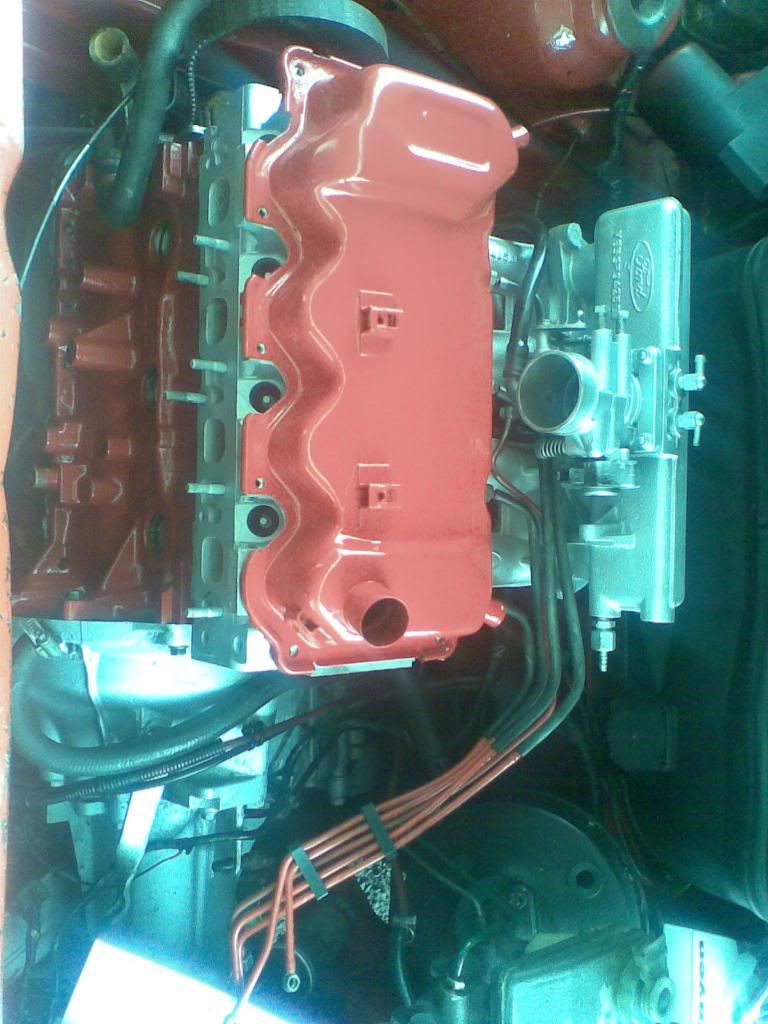
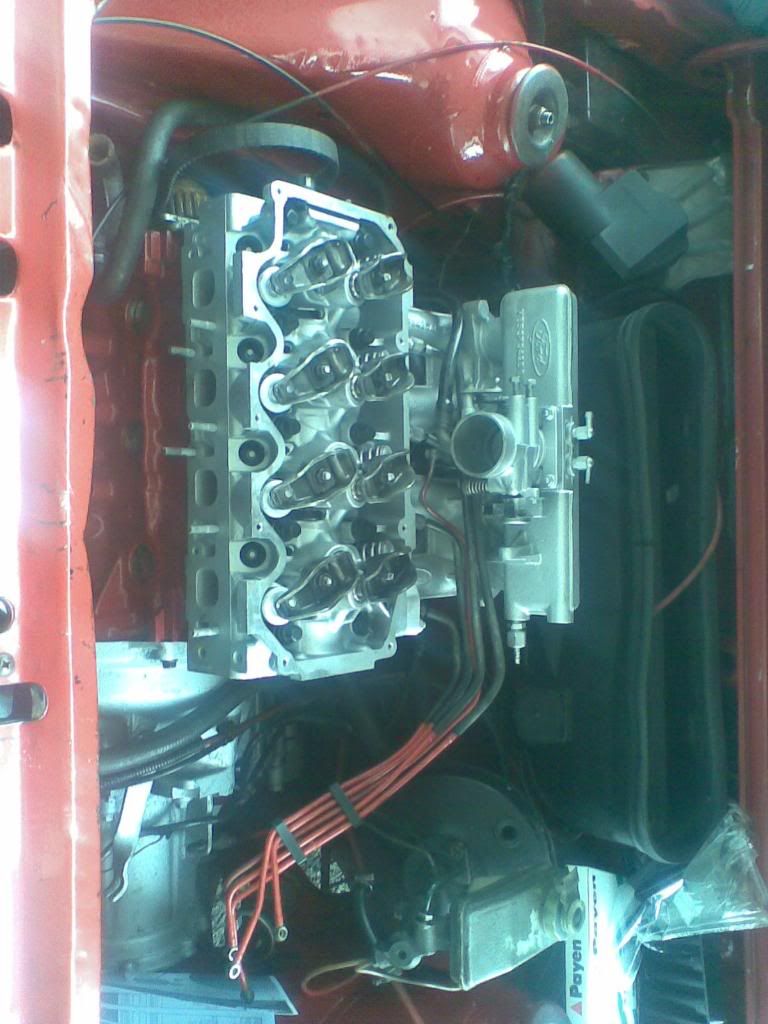
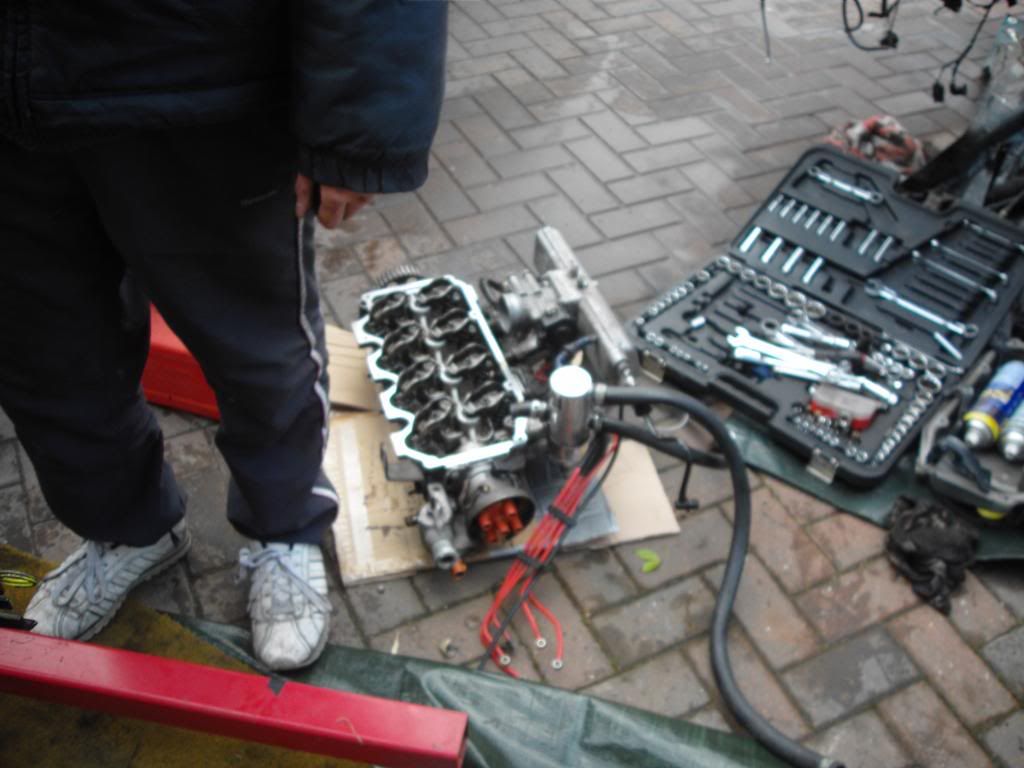
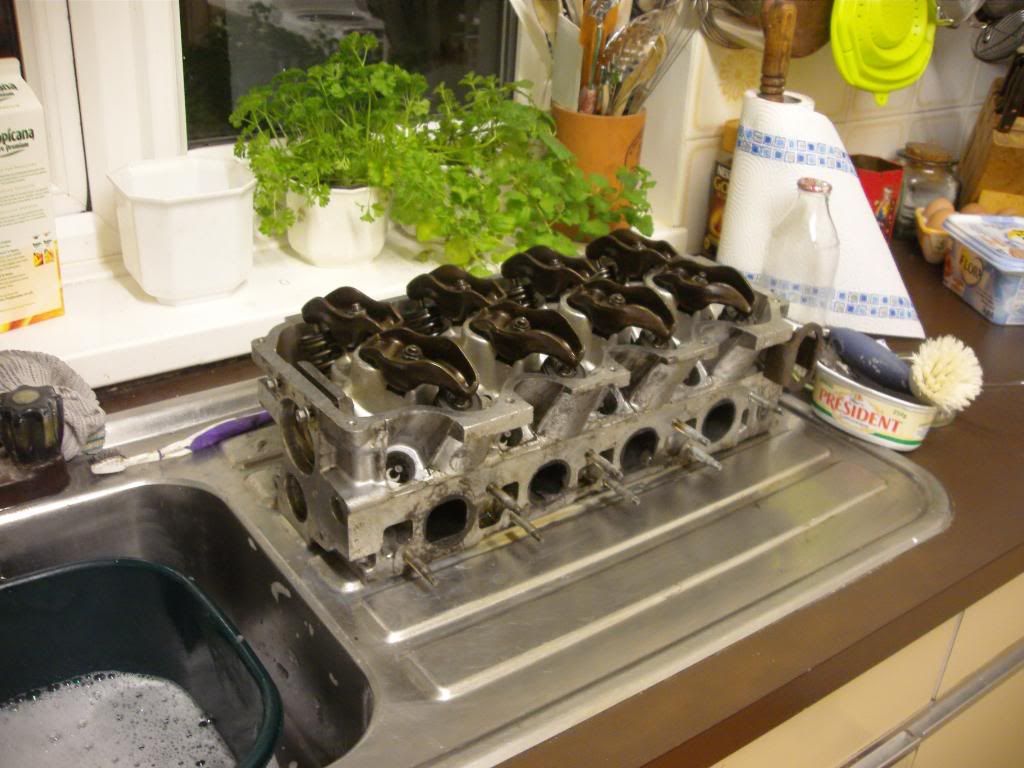
Efi head i picked up
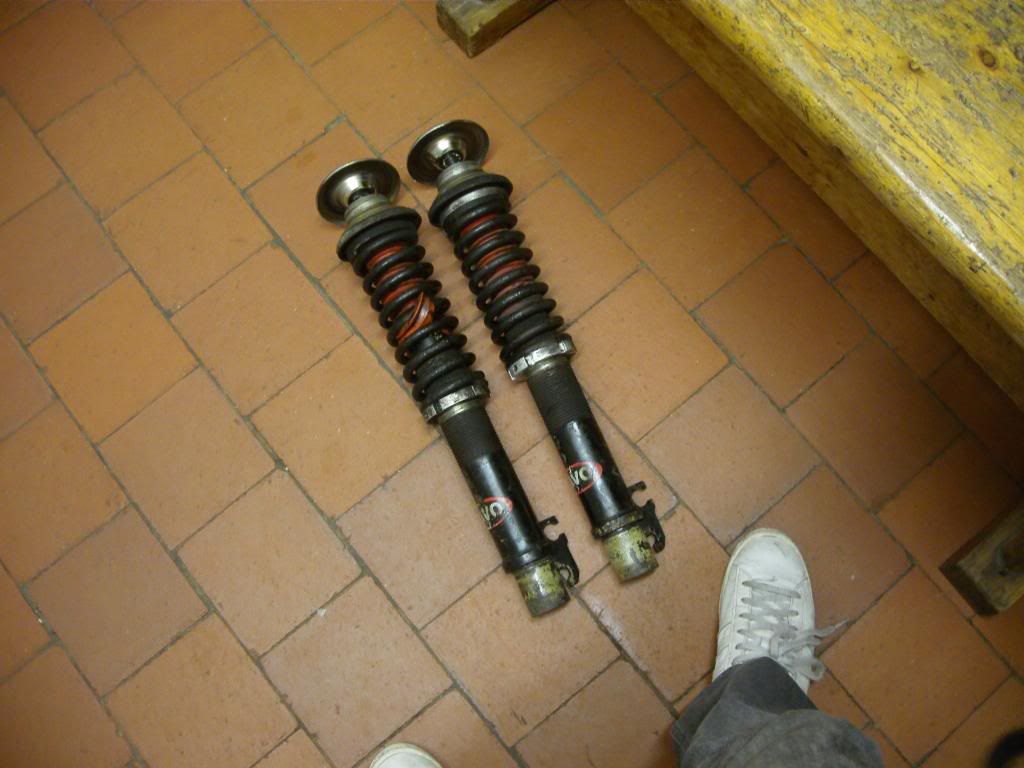
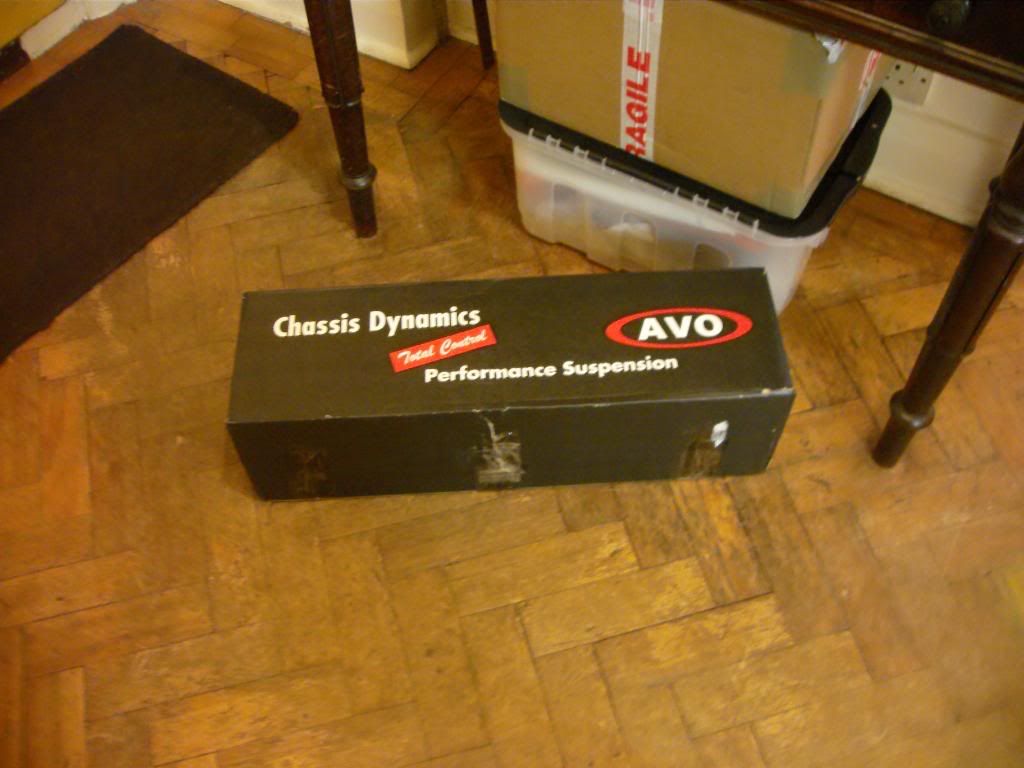
Avos sent off for rebuild
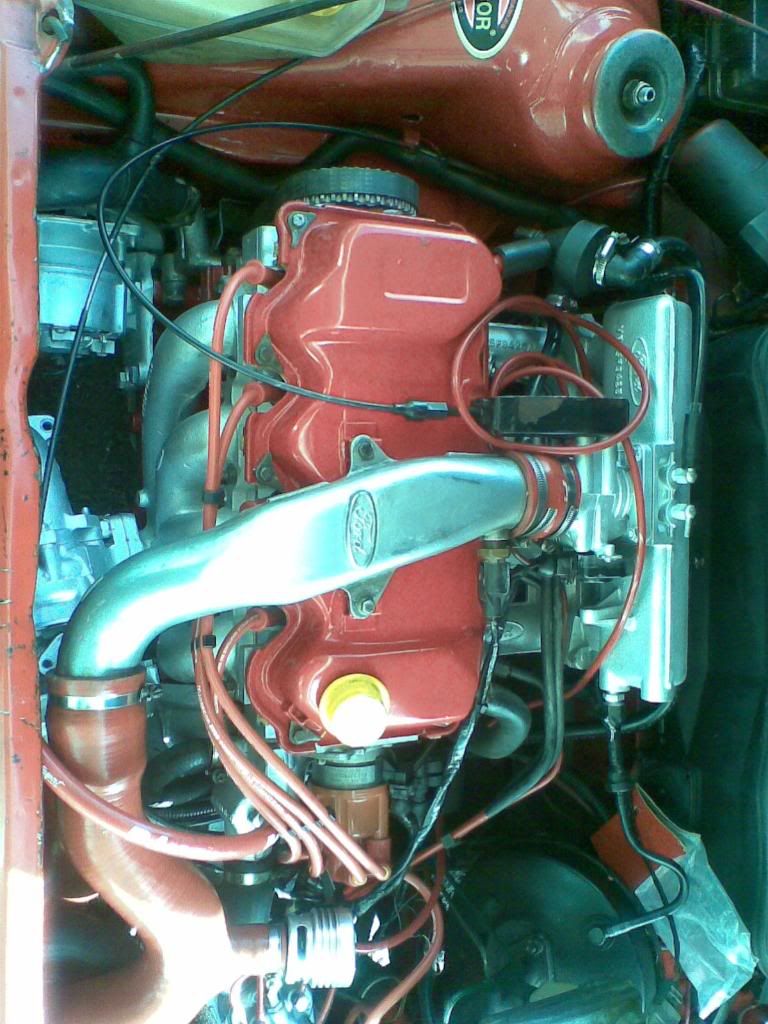
Nice and tidy
FUCK WHAT HAVE I DONE
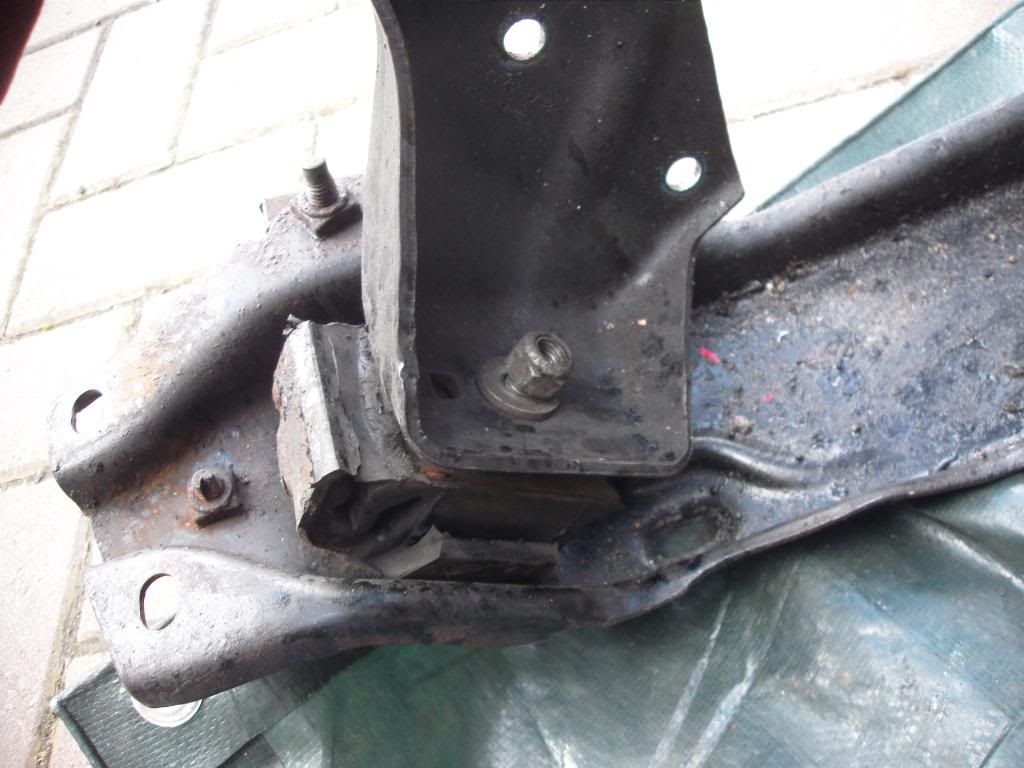
Had a lot of slack in the drive line, some wanked mounts may well be why
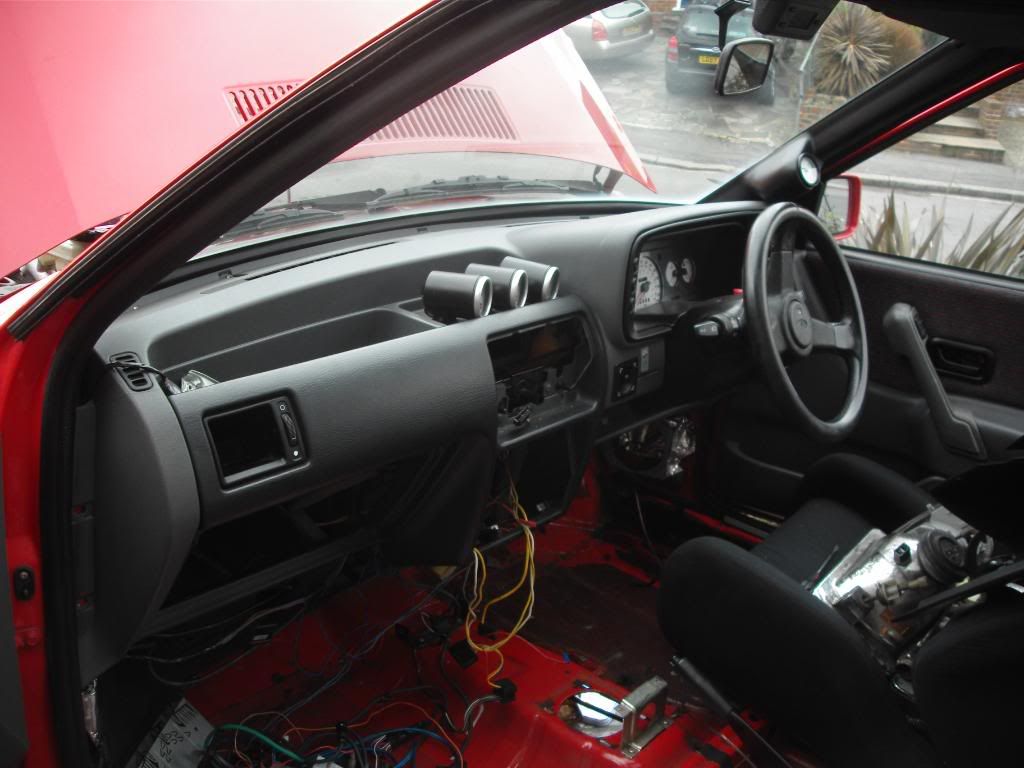
Wiring loom in a bag, not going to totally remove it as i can't see the need to, clean bulk head
Got some presents through the post
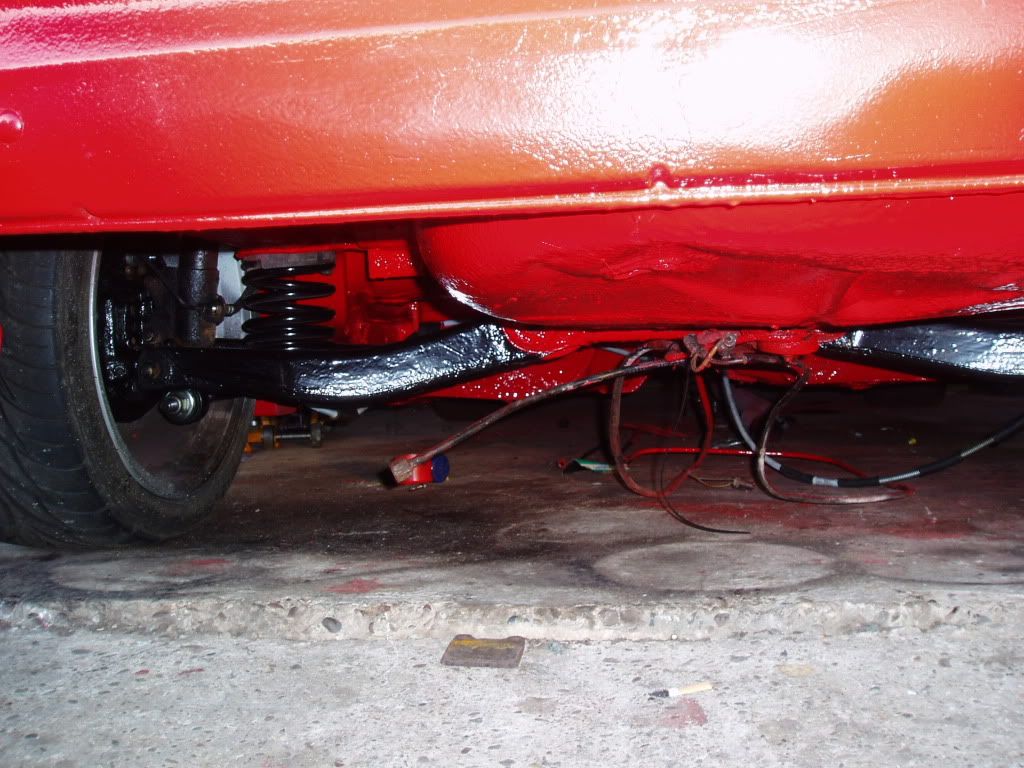
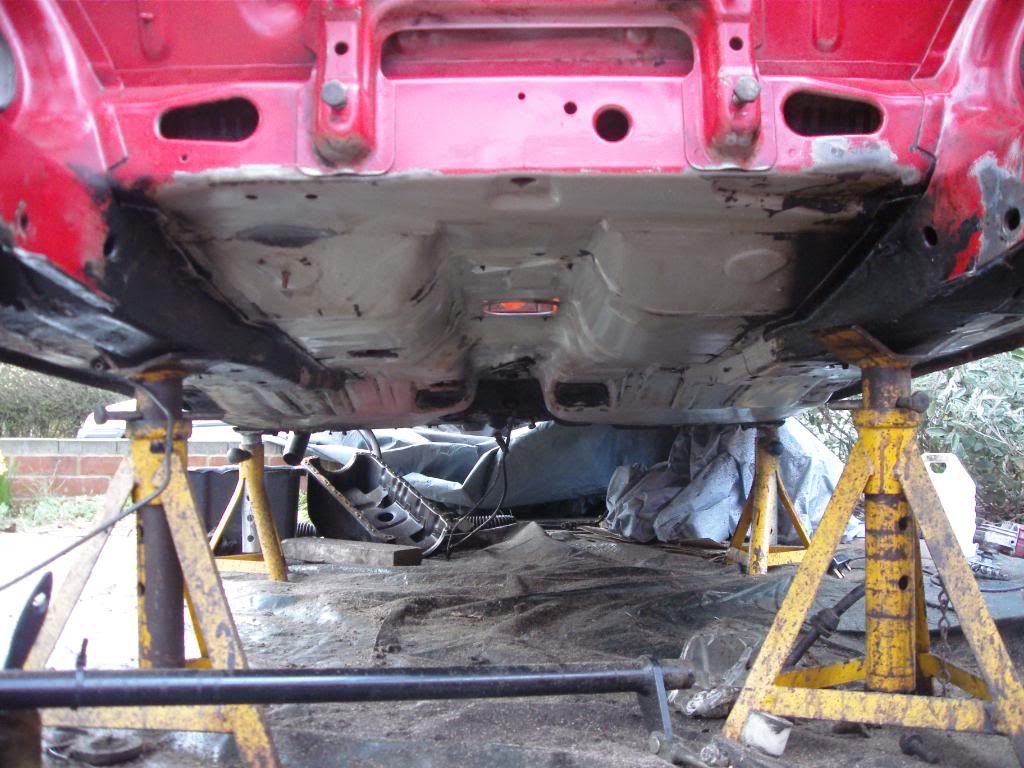
Then attacked the underside with a wire brush, quite nice as you can remove the shite wax oil and the stone chip and just leave the original primer
First few are as was (pretty damn good) the last ones are after i sprayed primer over any bare metal parts (will come off again as i will be using 2k).
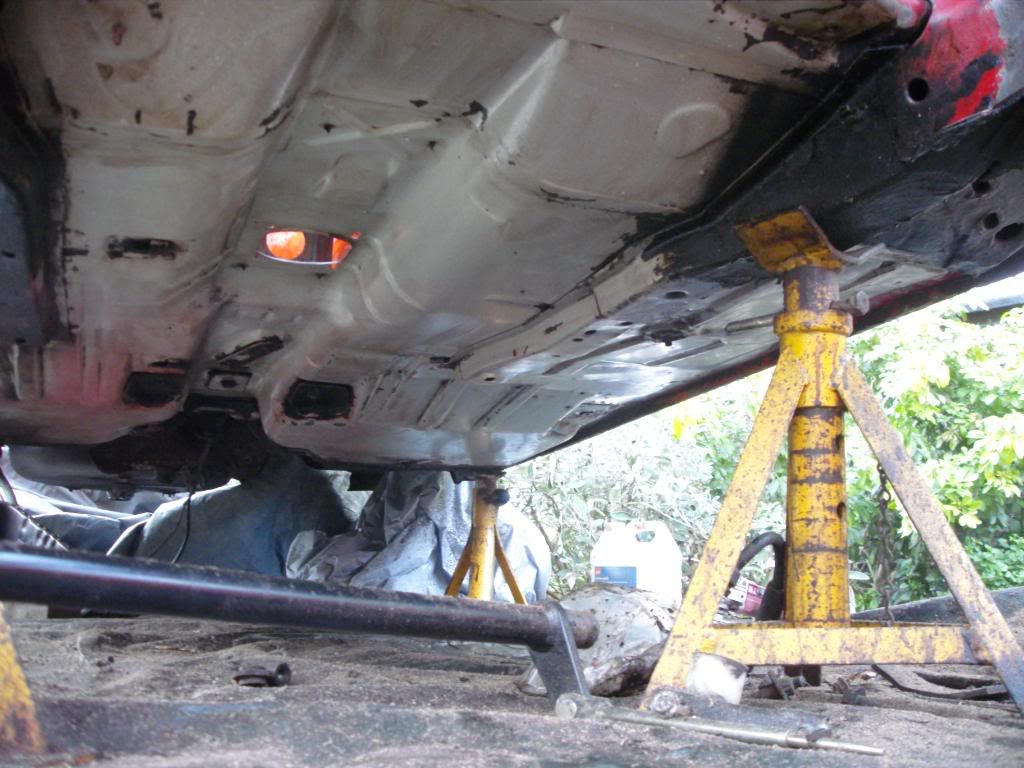
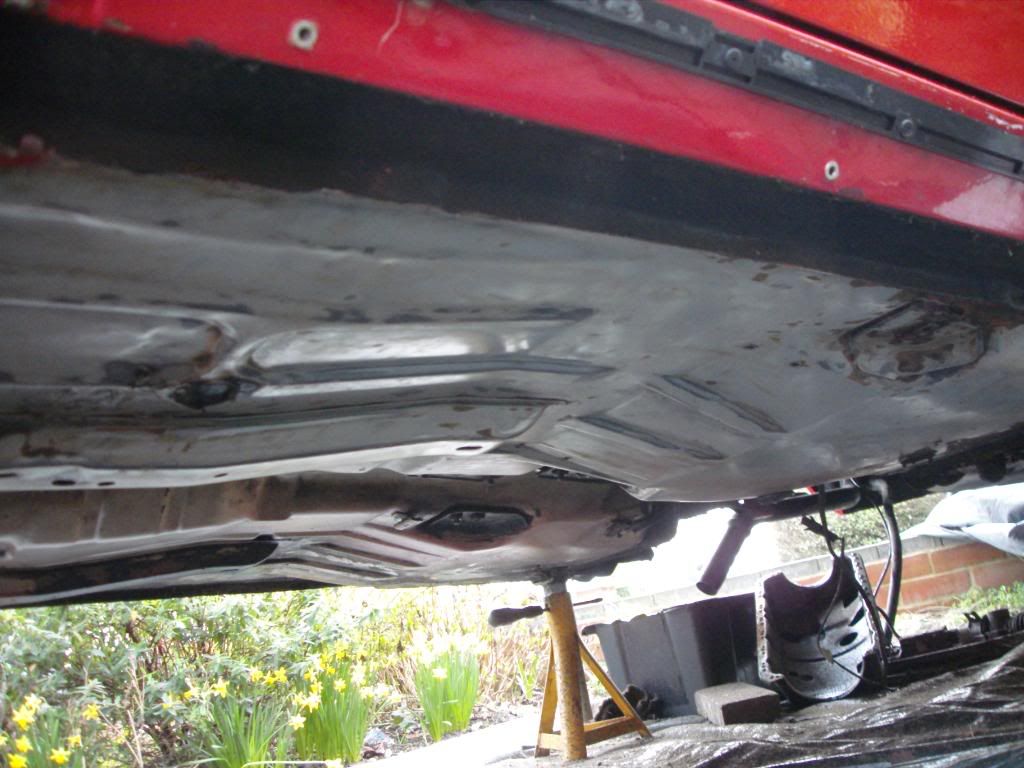
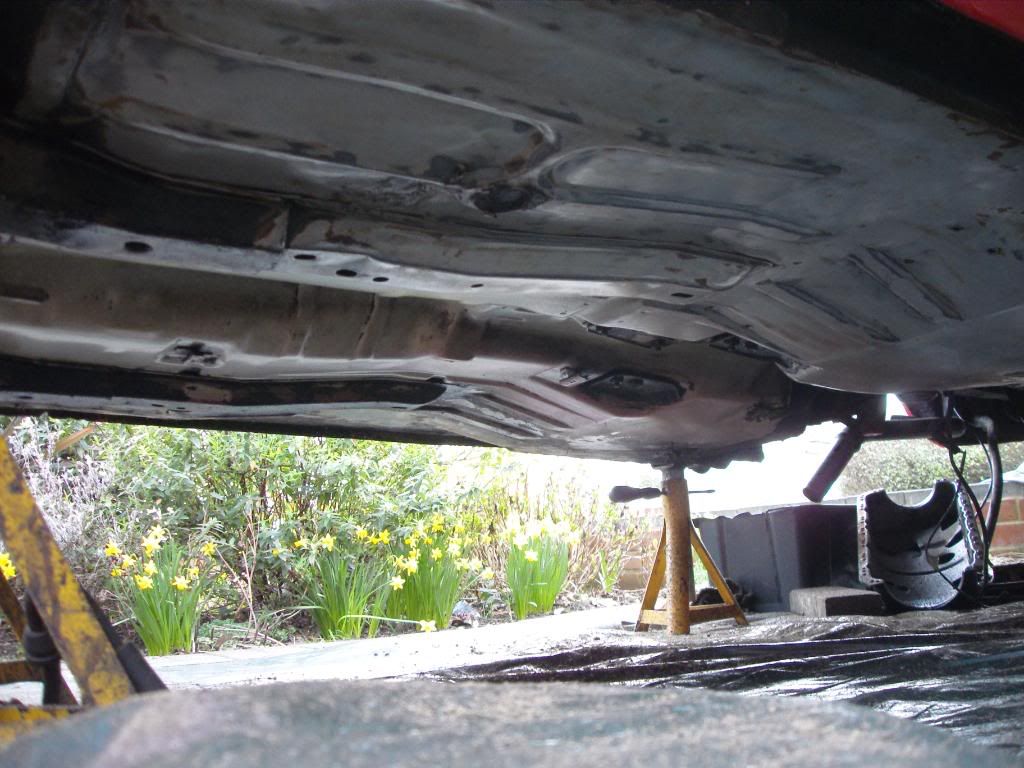
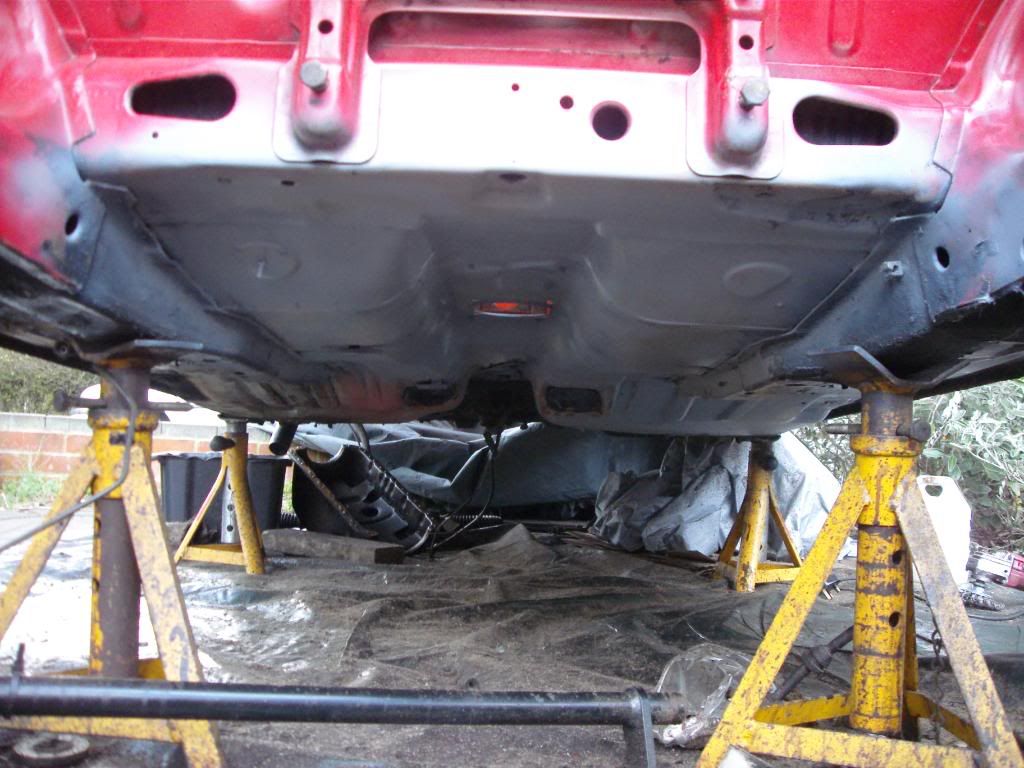
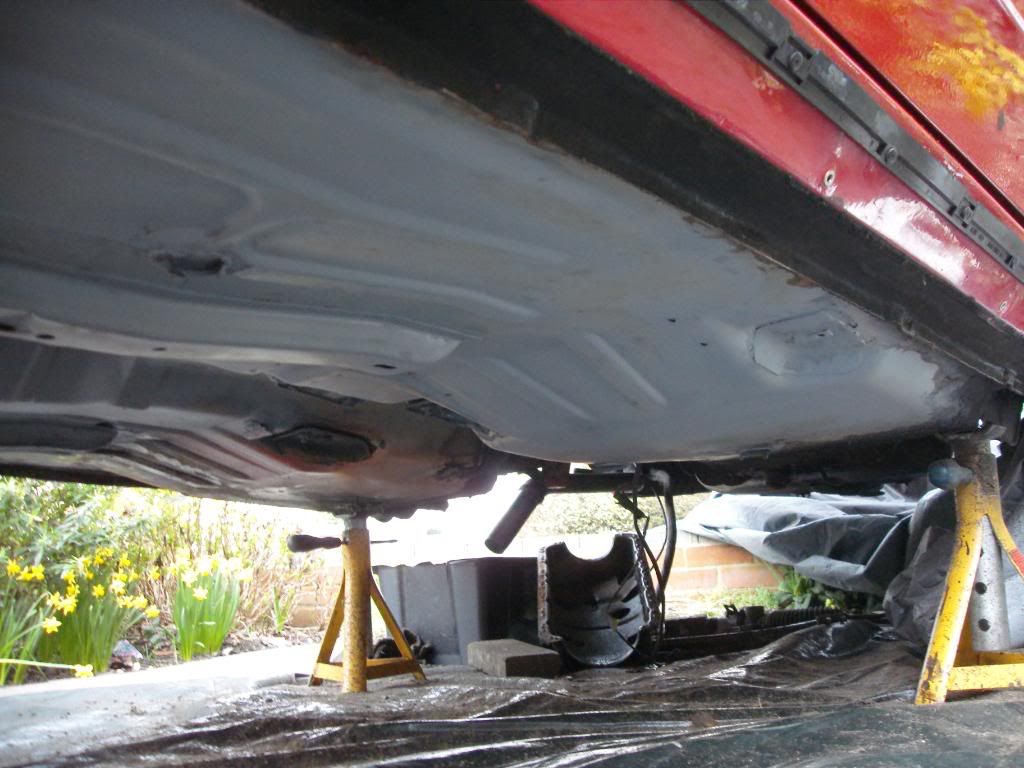
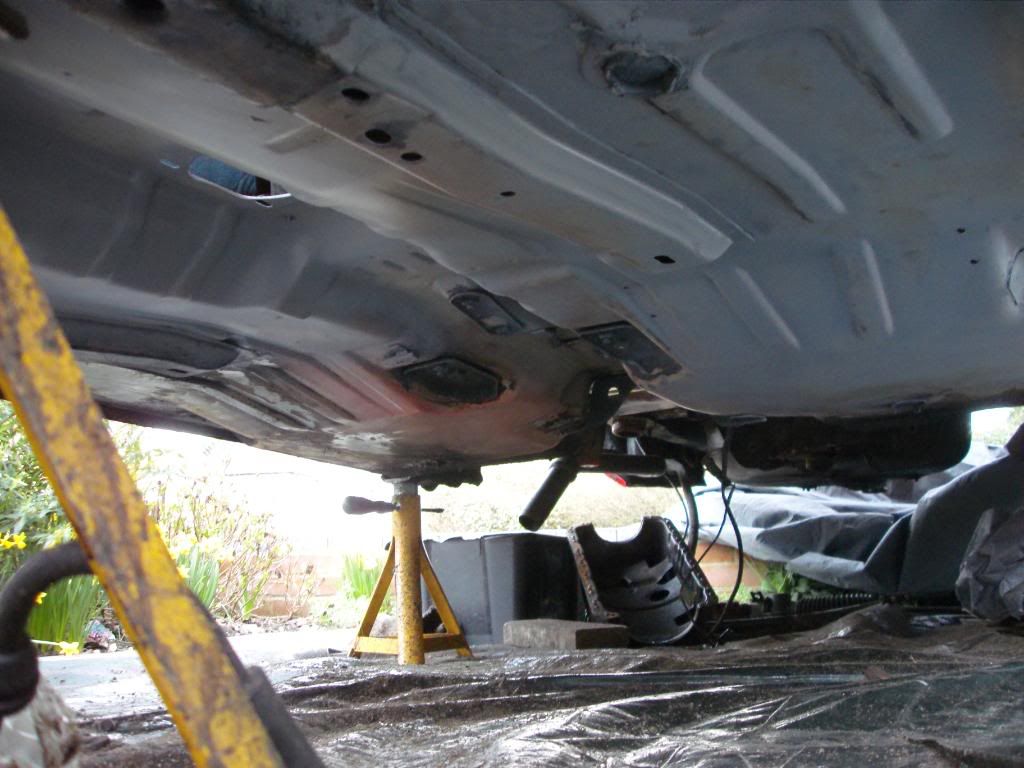
And thats it for today, bloody hard work! my only advise for today is to use goggles if you are using a wire brush on a grinder!
More tomorrow, attacking the spare wheel and boot floor.
Cheers
Rob,
Don't think the car will be making it to central day
Oh well, any one replaced a chassis leg on an escort?
Here is a very overdue picture update,
Proof that Ghigo is unable to fit his face through a cvh bore
Clean pistons
Efi head i picked up
Avos sent off for rebuild
Nice and tidy
FUCK WHAT HAVE I DONE
Had a lot of slack in the drive line, some wanked mounts may well be why
Wiring loom in a bag, not going to totally remove it as i can't see the need to, clean bulk head
Got some presents through the post
Then attacked the underside with a wire brush, quite nice as you can remove the shite wax oil and the stone chip and just leave the original primer
First few are as was (pretty damn good) the last ones are after i sprayed primer over any bare metal parts (will come off again as i will be using 2k).
And thats it for today, bloody hard work! my only advise for today is to use goggles if you are using a wire brush on a grinder!
More tomorrow, attacking the spare wheel and boot floor.
Cheers
Rob,