Ford Racing Puma - Underbody Restoration
 15-12-2009, 09:32 PM
#81
PassionFord Post Troll
Join Date: Apr 2004
Location: Shropshire.
Posts: 3,047
Likes: 0
Received 0 Likes
on
0 Posts
LOL at the rear dampers,your well hooked now ain't ya!!!!!
How deep is the pitting on those metal brake pipes?????
Its an MOT fail I'm pretty sure if theres any pitting in a metal brake pipe.
Might be worth popping them to your MOT tester and asking them,if they say they are ok,not badly pitted,I would rub your silver off,paint them with Epoxy Mastic then spray silver top coat on.
 17-12-2009, 01:25 PM
#82
Wahay!! I've lost my Virginity!!
Thread Starter

Join Date: Dec 2009
Location: Malvern
Posts: 69
Likes: 0
Received 0 Likes
on
0 Posts
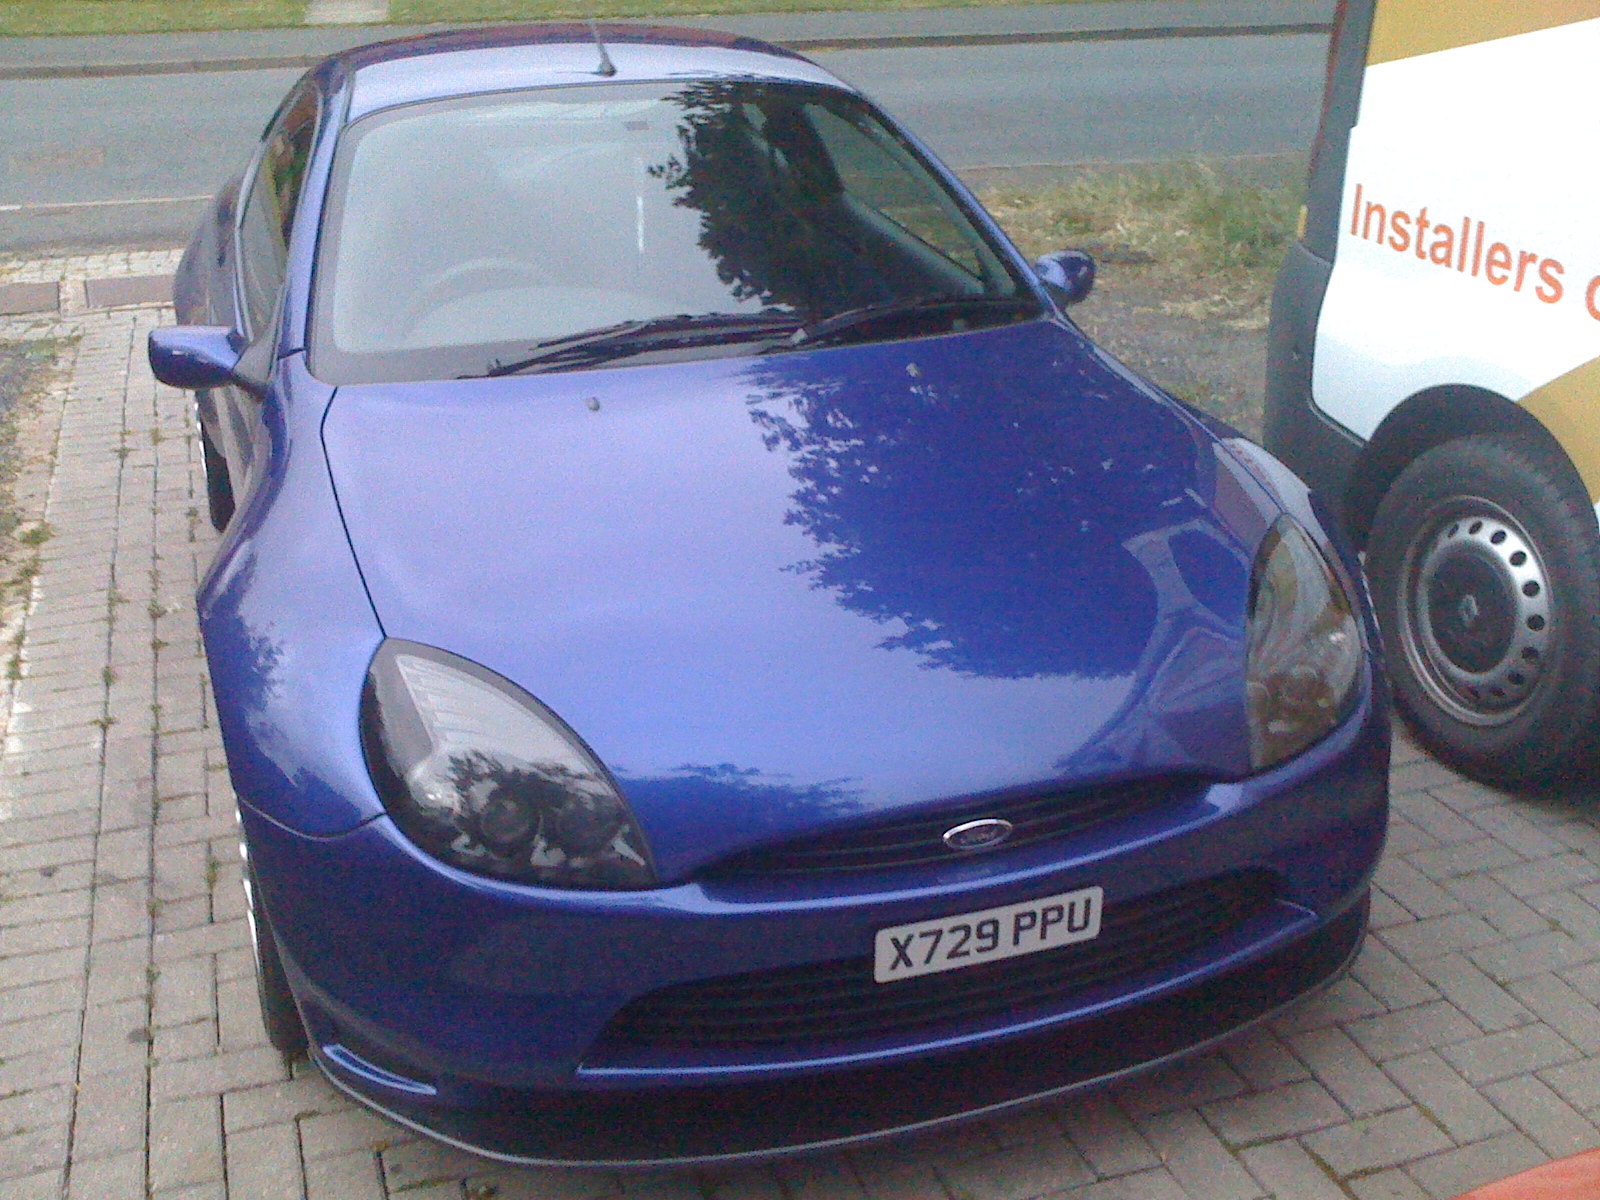
Lovely couple of shots of the motor the Police thought they would like to share with me lol
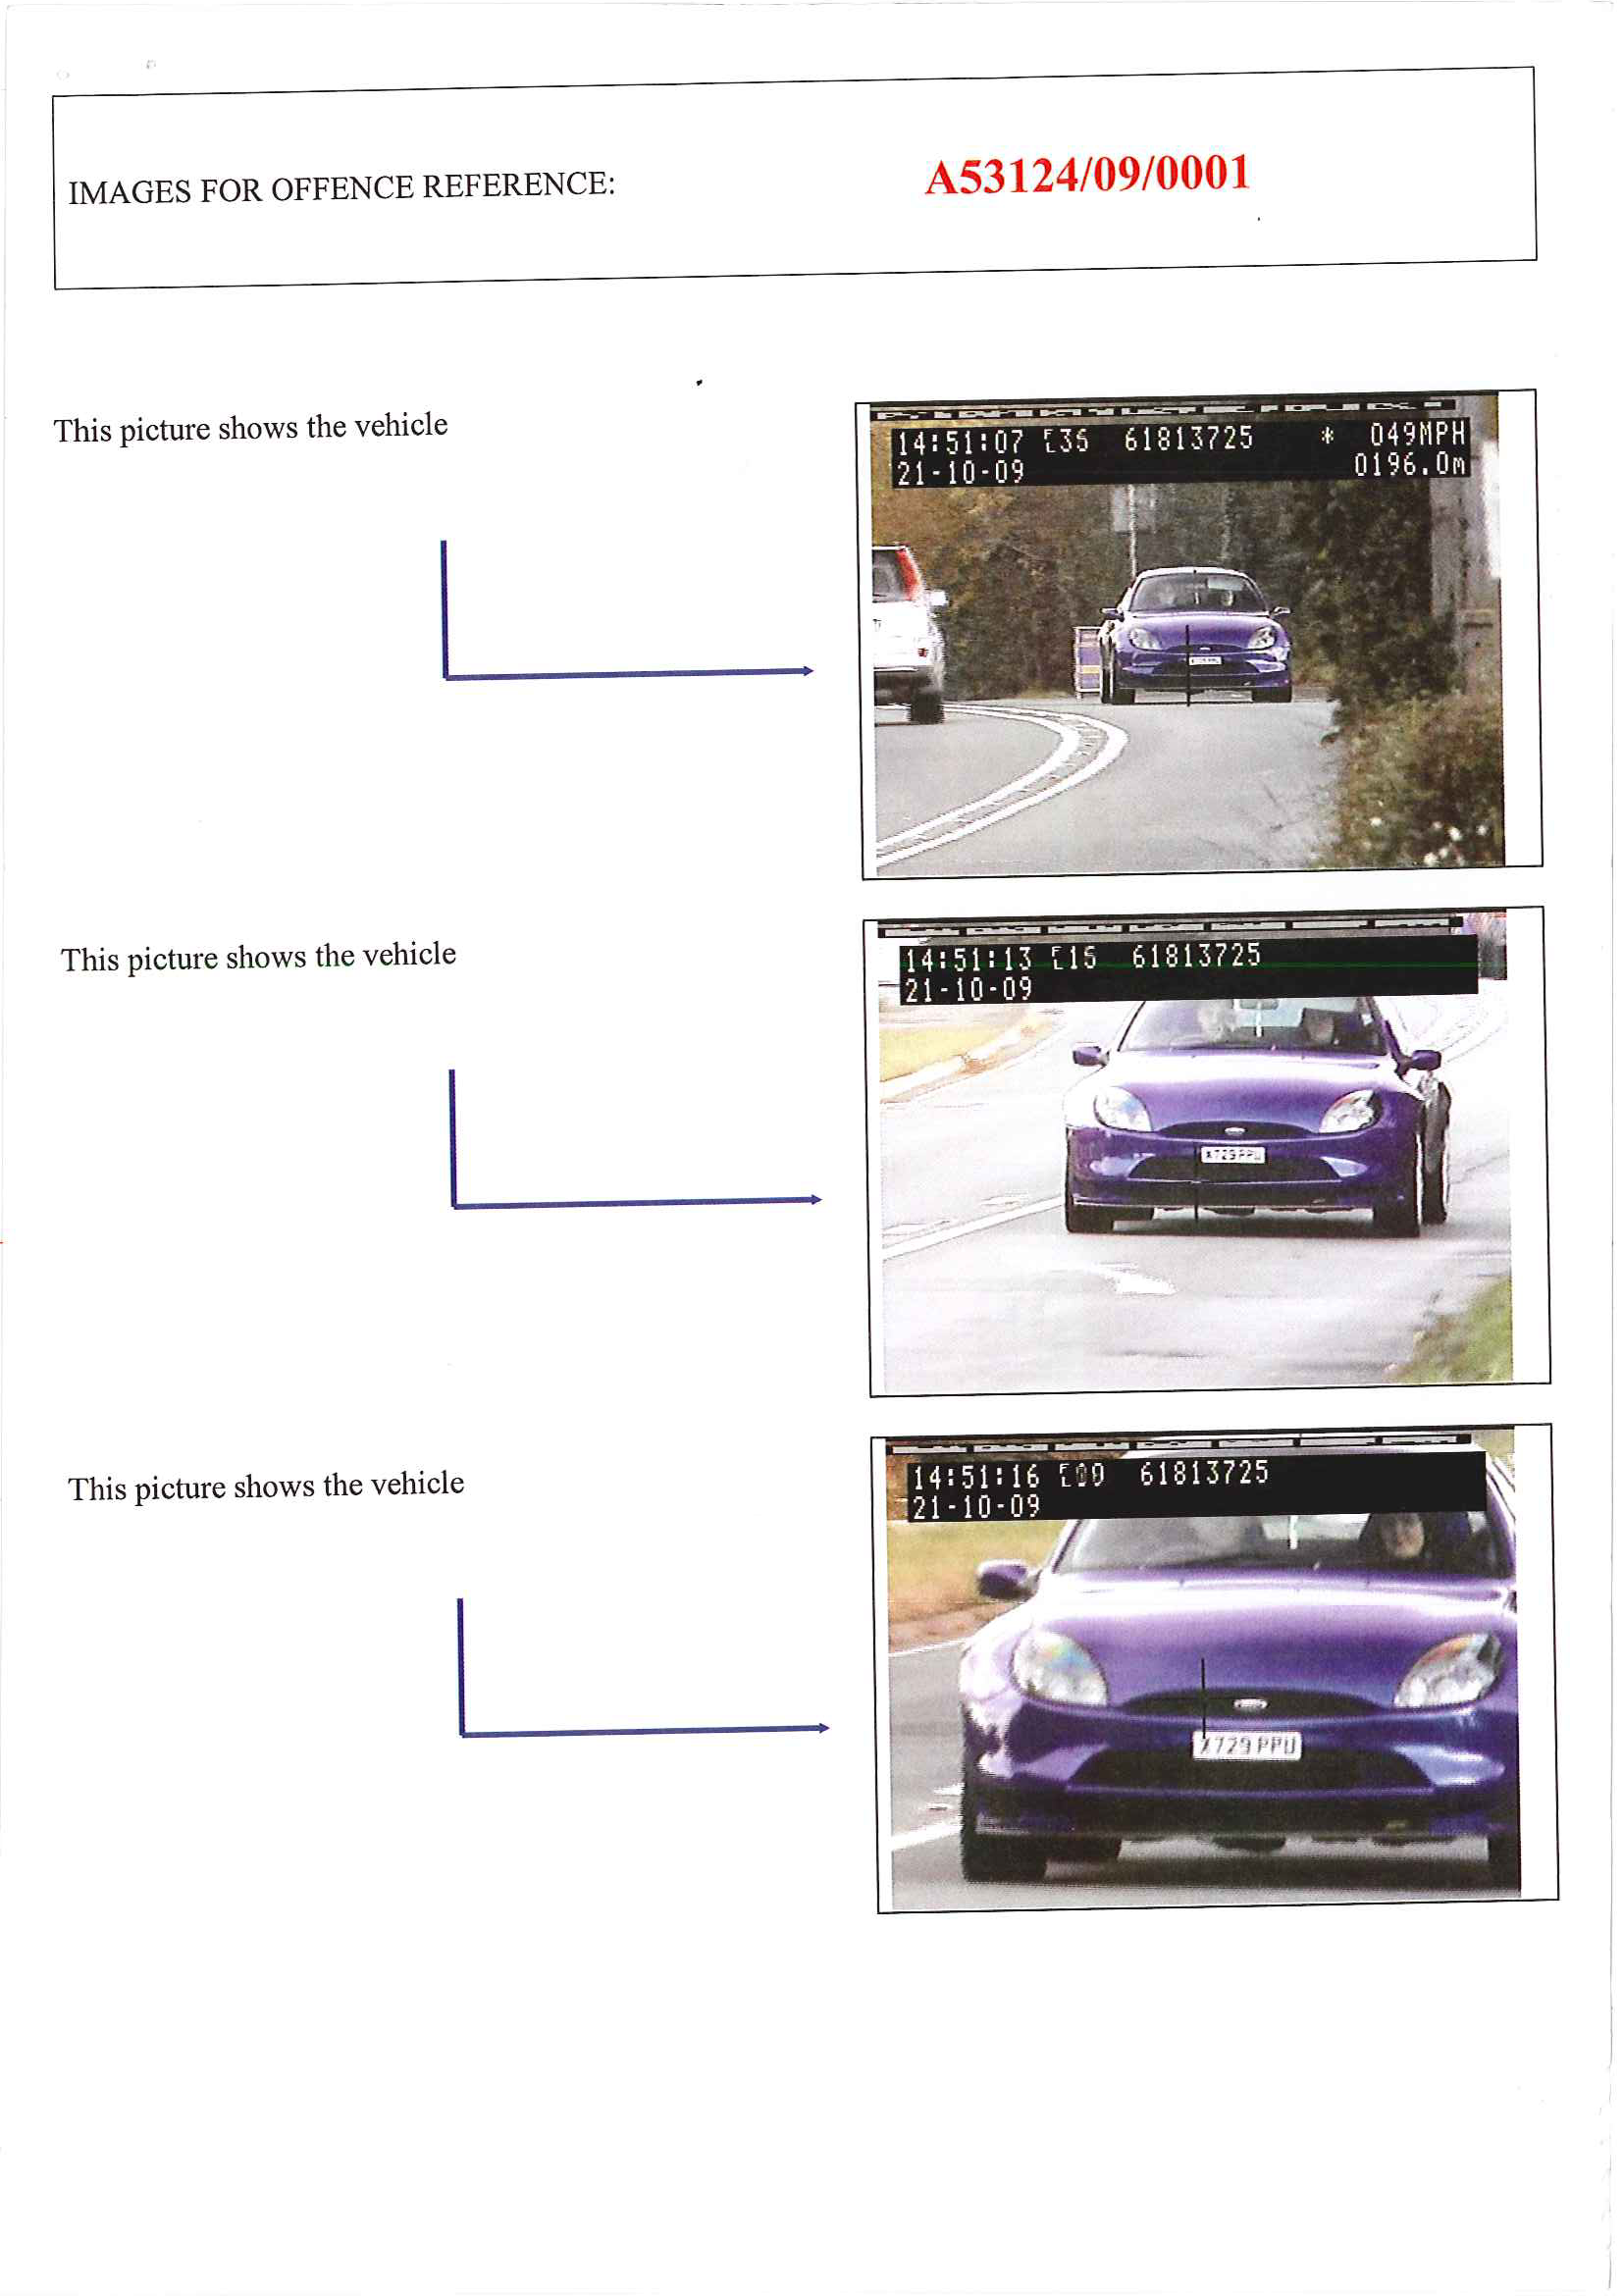
If you looks closely you can just make me out looking through my closed hand making out that i'd seen the camera early enough, if i remember correctly i was saying to the misses i saw ya, perhaps not lol
Usually very good and sensible when not on country roads , always stick to limits especially in 30 and 40's, really annoyed about this tho as its situated just 300 meters from the first 40 mph sign after about 10 miles of some very quick national speed limit zone.
�60 fine and TTC speed awareness course
David
If you looks closely you can just make me out looking through my closed hand making out that i'd seen the camera early enough, if i remember correctly i was saying to the misses i saw ya, perhaps not lol
Usually very good and sensible when not on country roads
, always stick to limits especially in 30 and 40's, really annoyed about this tho as its situated just 300 meters from the first 40 mph sign after about 10 miles of some very quick national speed limit zone.�60 fine and TTC speed awareness course
David
Last edited by williamsclio; 18-12-2009 at 06:55 PM.
 18-12-2009, 11:30 AM
#85
Wahay!! I've lost my Virginity!!
Thread Starter
Join Date: Dec 2009
Location: Malvern
Posts: 69
Likes: 0
Received 0 Likes
on
0 Posts
LOL at the rear dampers,your well hooked now ain't ya!!!!!
How deep is the pitting on those metal brake pipes?????
Its an MOT fail I'm pretty sure if theres any pitting in a metal brake pipe.
Might be worth popping them to your MOT tester and asking them,if they say they are ok,not badly pitted,I would rub your silver off,paint them with Epoxy Mastic then spray silver top coat on.
How deep is the pitting on those metal brake pipes?????
Its an MOT fail I'm pretty sure if theres any pitting in a metal brake pipe.
Might be worth popping them to your MOT tester and asking them,if they say they are ok,not badly pitted,I would rub your silver off,paint them with Epoxy Mastic then spray silver top coat on.
In some places it looks as tho its about a third of the way through the pipe

Will take them to my friends garage later today and see what he thinks, he also does MOT's so will see if he would be happy to put it through.

Once i get the Epoxy Mastic i'll do as suggested
David
18-12-2009, 06:52 PM
#86
Wahay!! I've lost my Virginity!!
Thread Starter
Join Date: Dec 2009
Location: Malvern
Posts: 69
Likes: 0
Received 0 Likes
on
0 Posts
Really should stop swapping xmas presents early with the other half 
Just the wax I was after
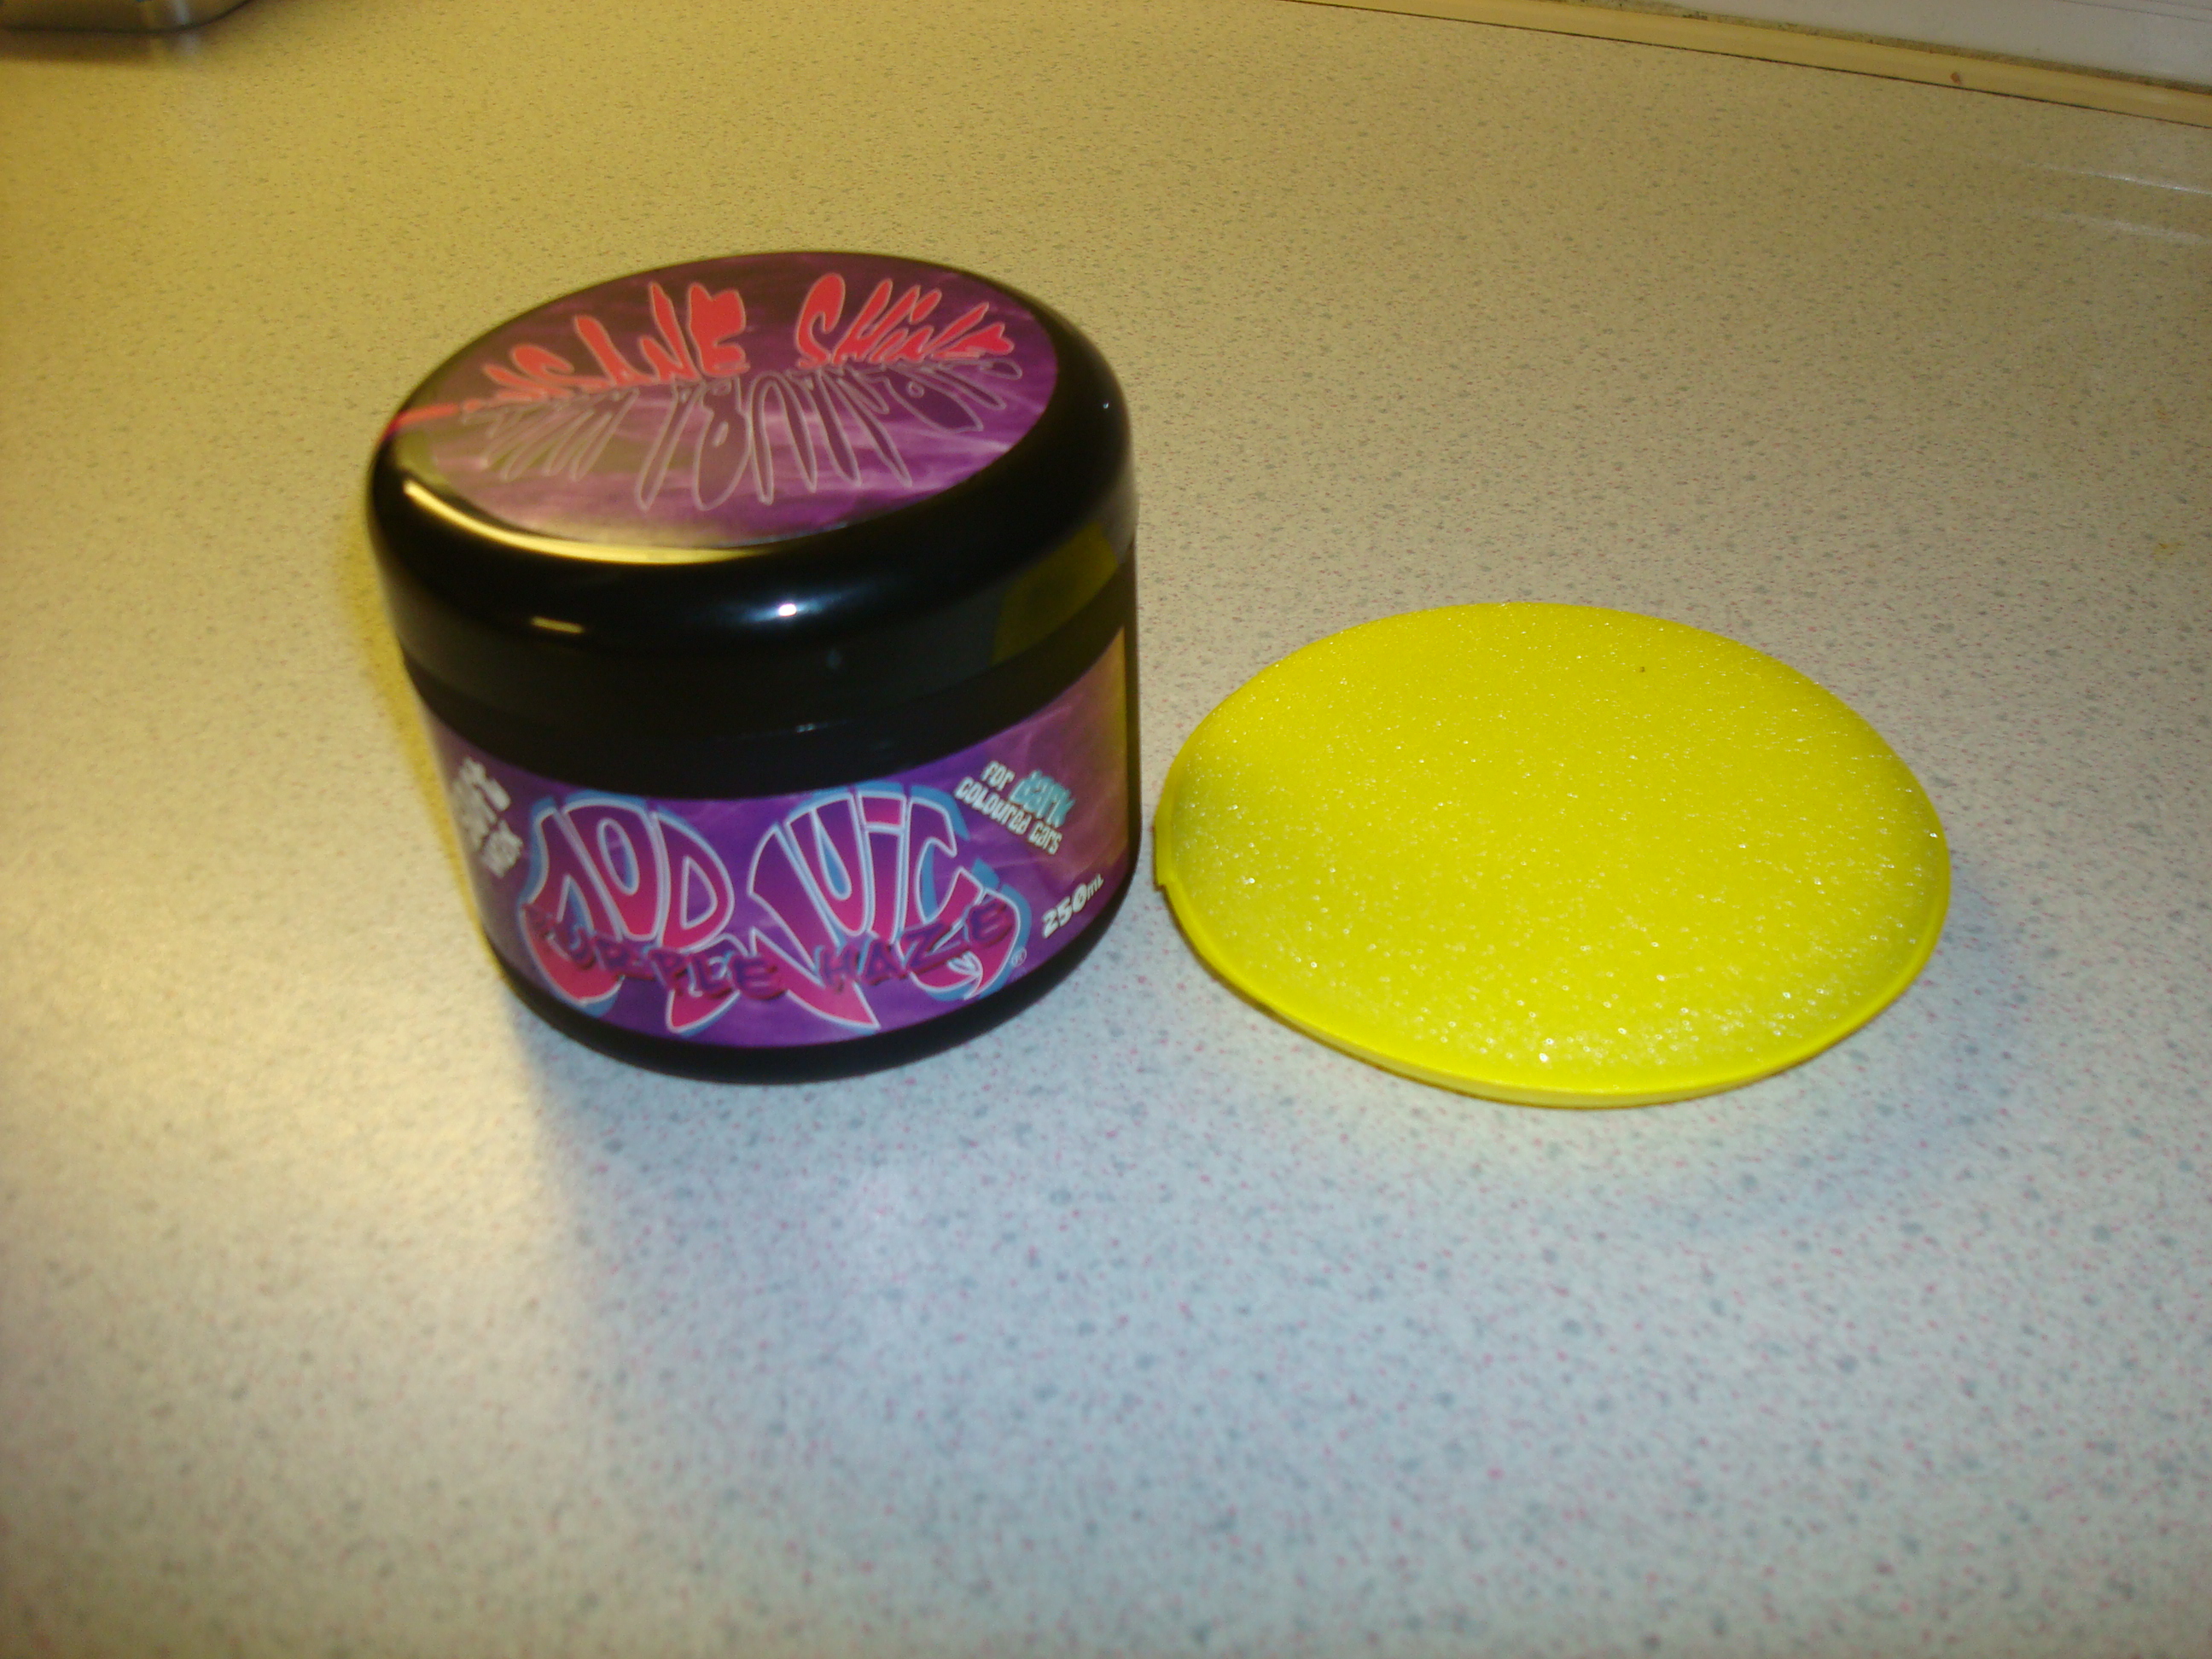
Last time I used this was the evening before the Castle Combe meet and loved the results
David
Just the wax I was after
Last time I used this was the evening before the Castle Combe meet and loved the results
David
Last edited by williamsclio; 18-12-2009 at 07:39 PM.


 19-12-2009, 10:28 PM
#90
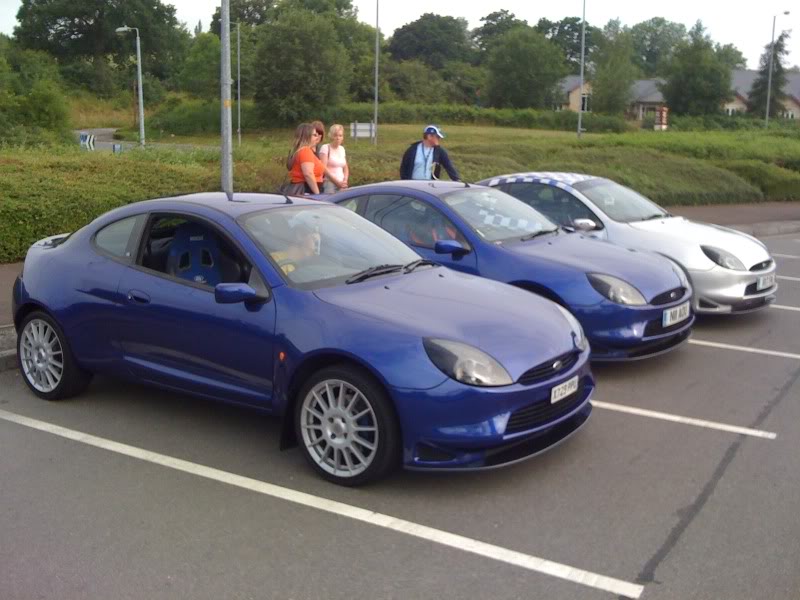
Looking spot on, dodo juice rocks, i use superenatural on my ST170. I rate dodo juice very highly but i found that blue velvet did not agree with some ford paints (mostly panther black) hence the swap to SN.
So much clarity and depth to the paint work on your puma good work.
So much clarity and depth to the paint work on your puma
28-12-2009, 08:23 PM
#91
Wahay!! I've lost my Virginity!!
Thread Starter
Join Date: Dec 2009
Location: Malvern
Posts: 69
Likes: 0
Received 0 Likes
on
0 Posts
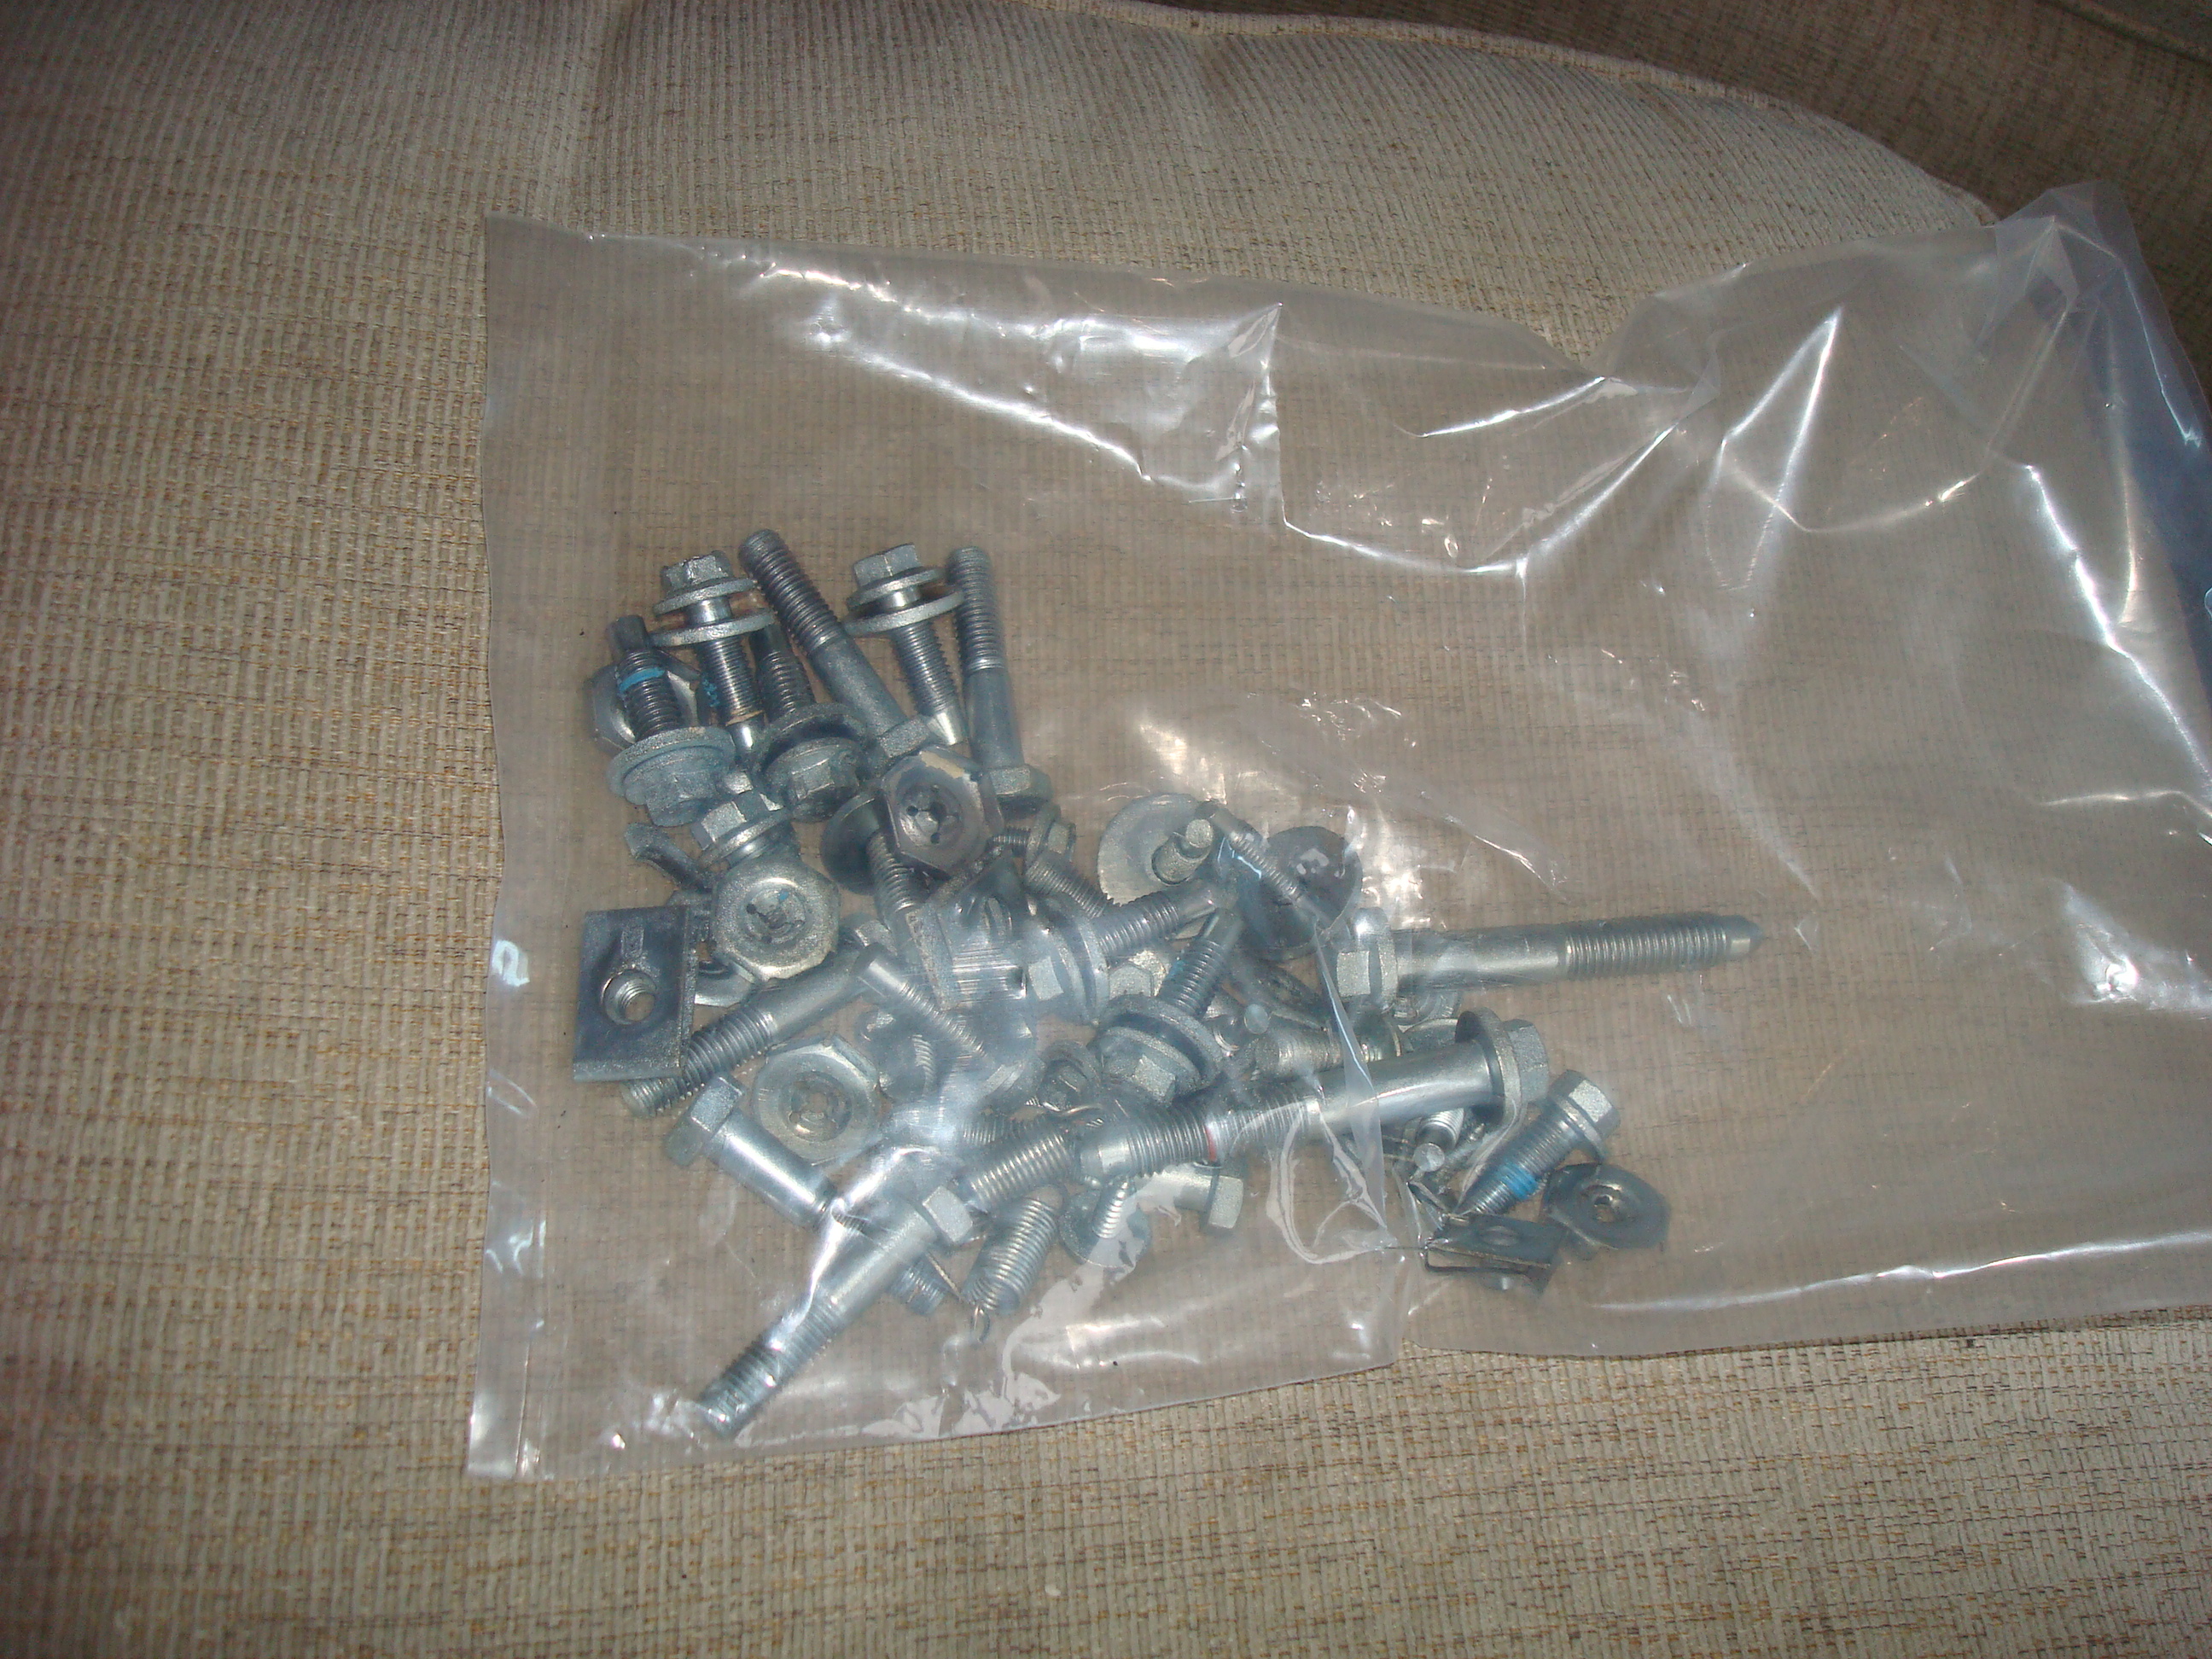
Monday 28/12/2009
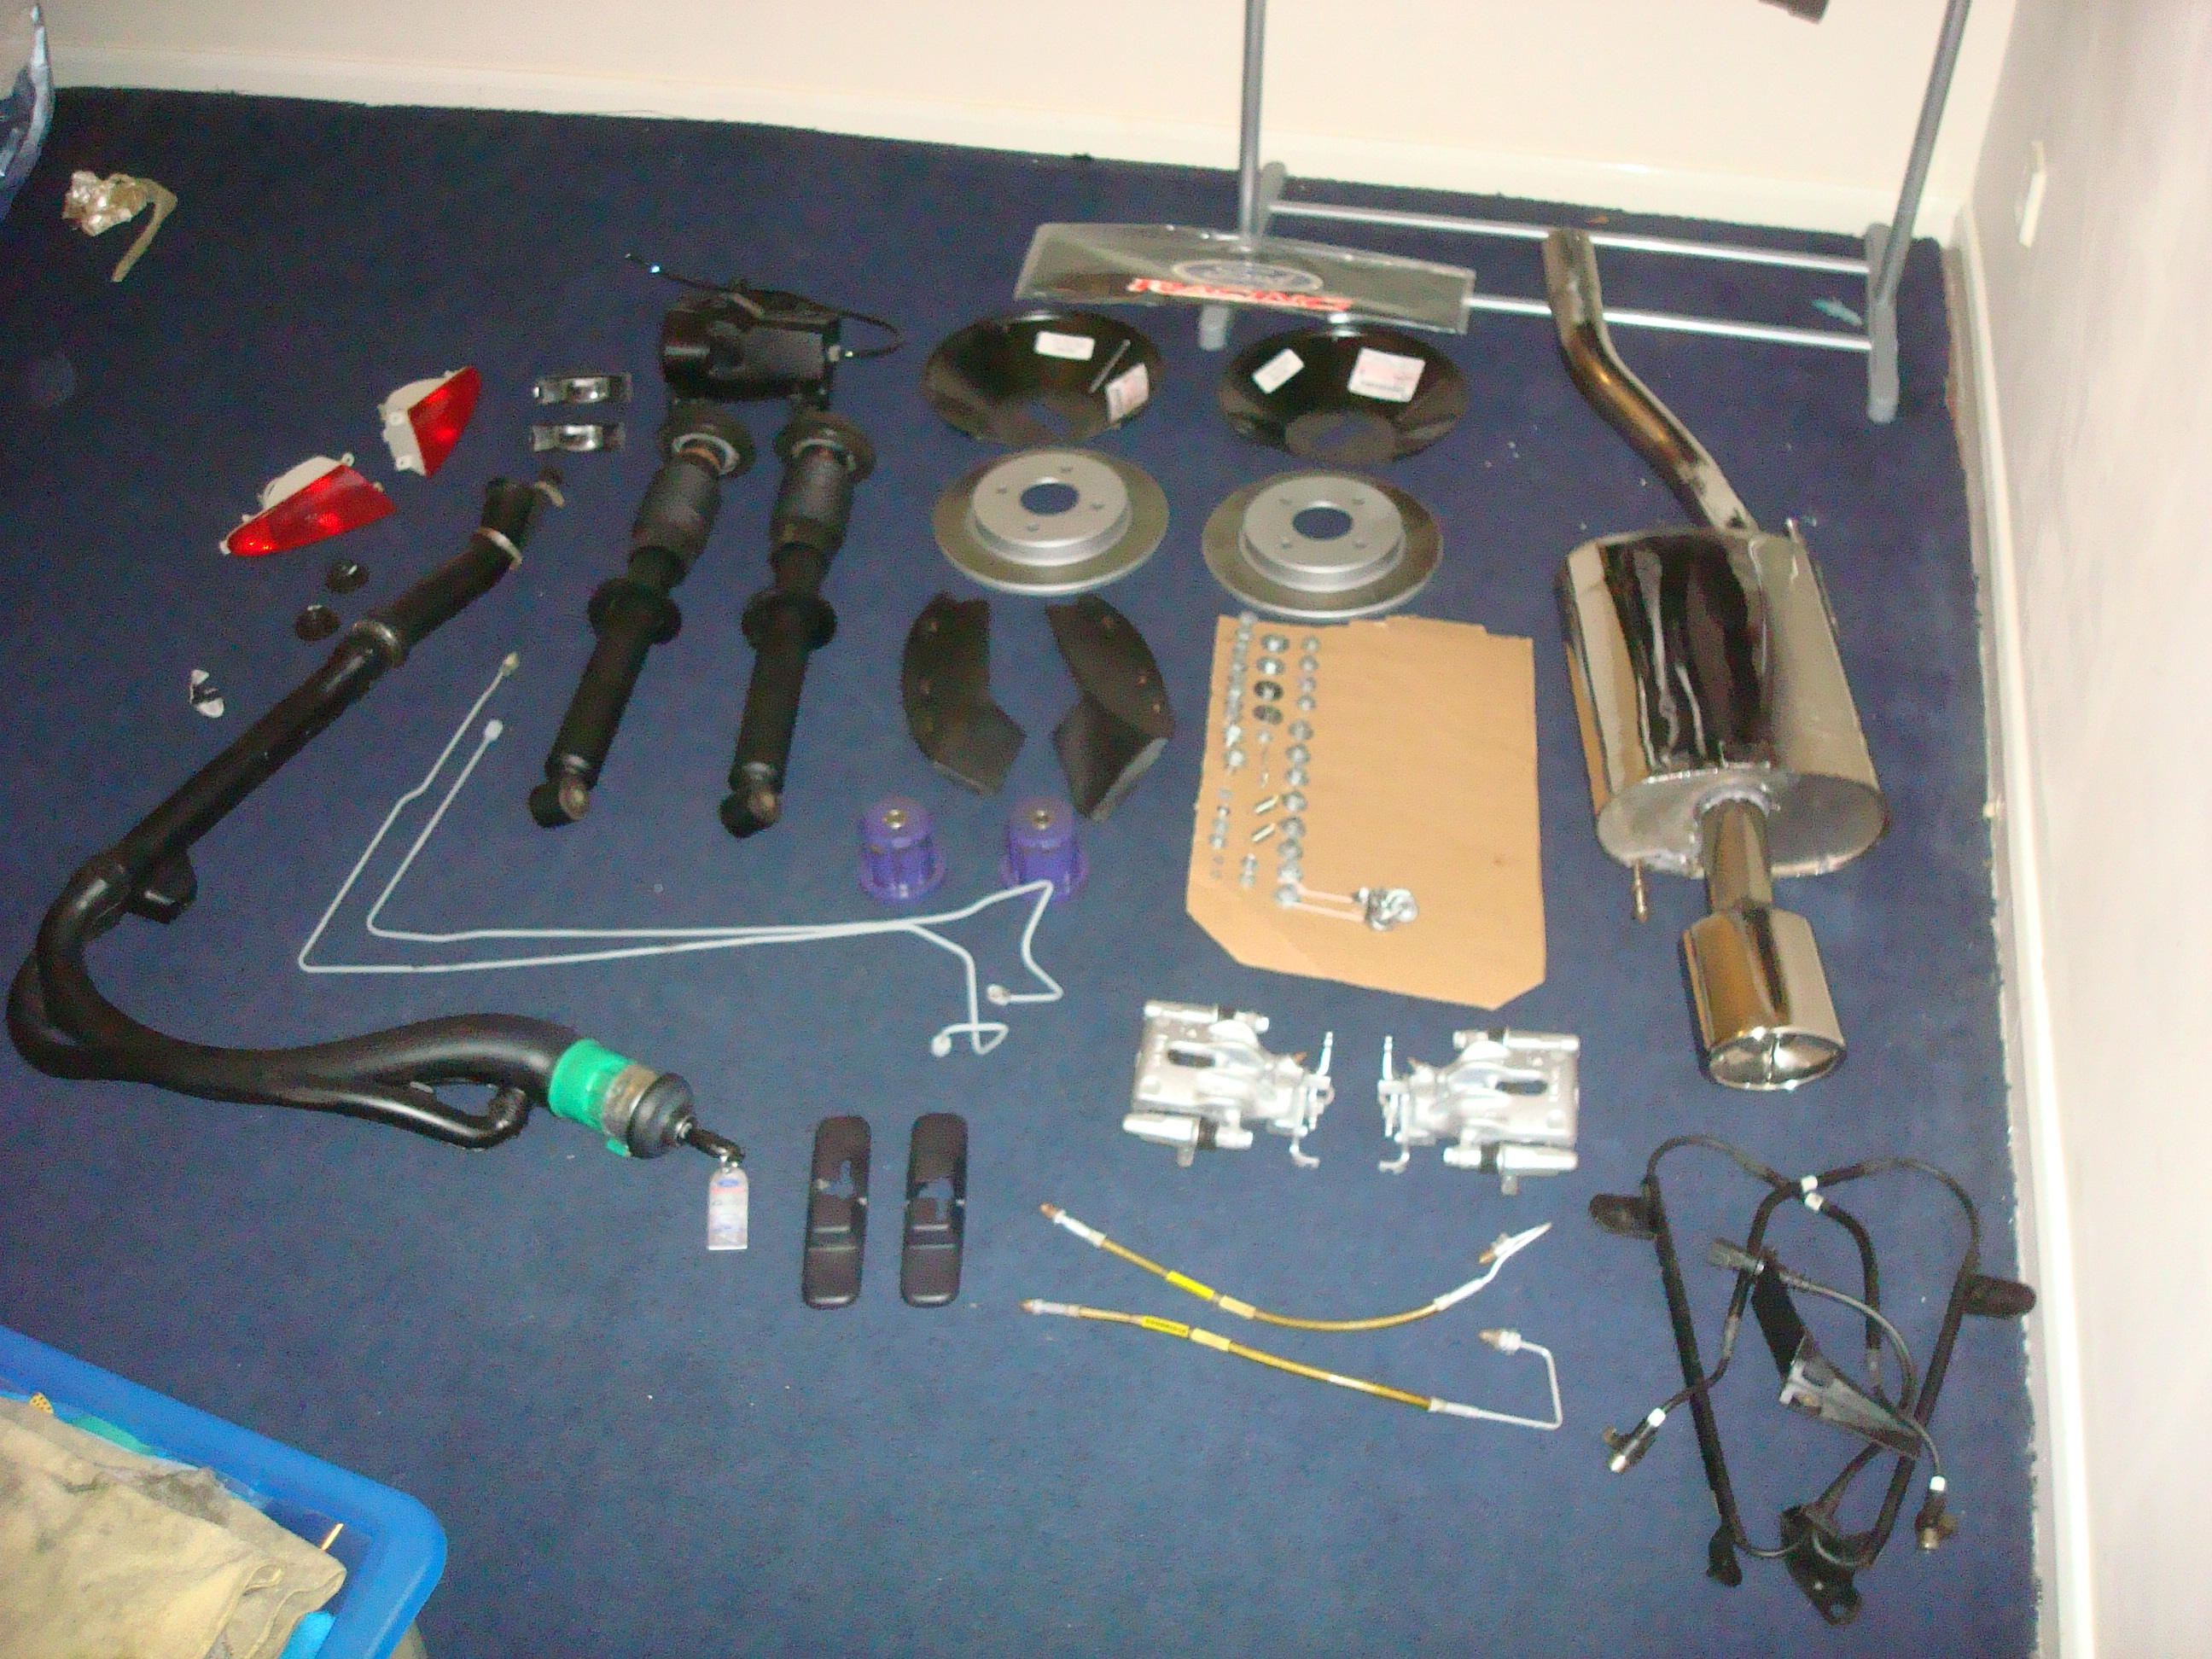
Been a while.... but here goes
Finally my mate dropped back my nuts bolts etc Looking brilliant
Before:
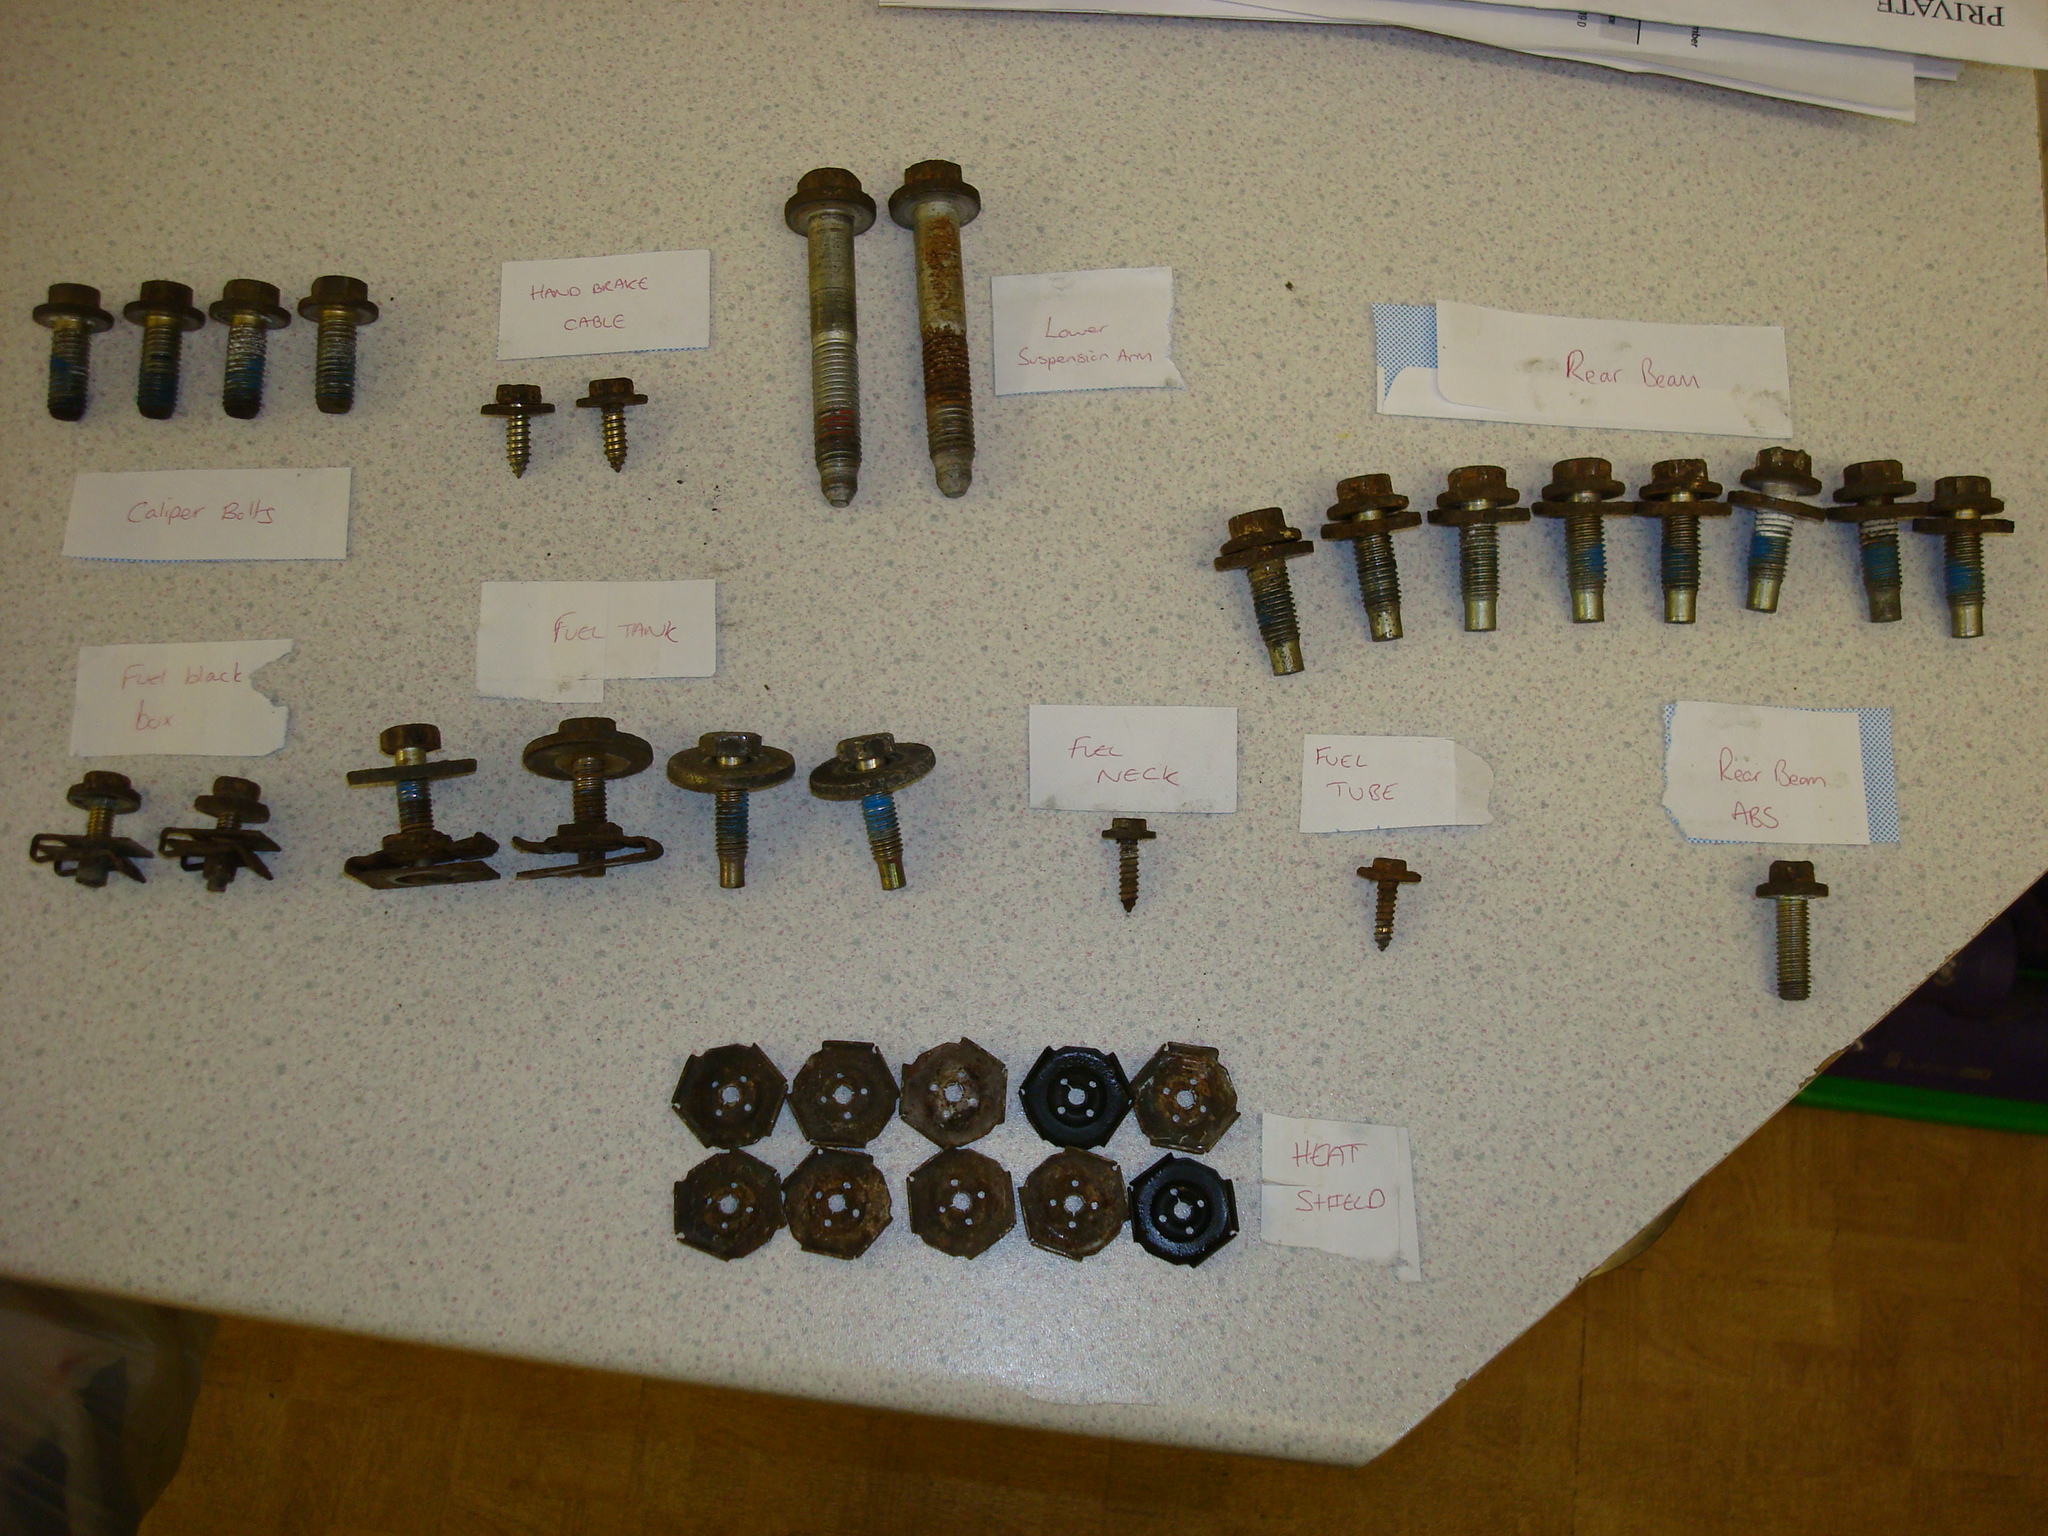
After:
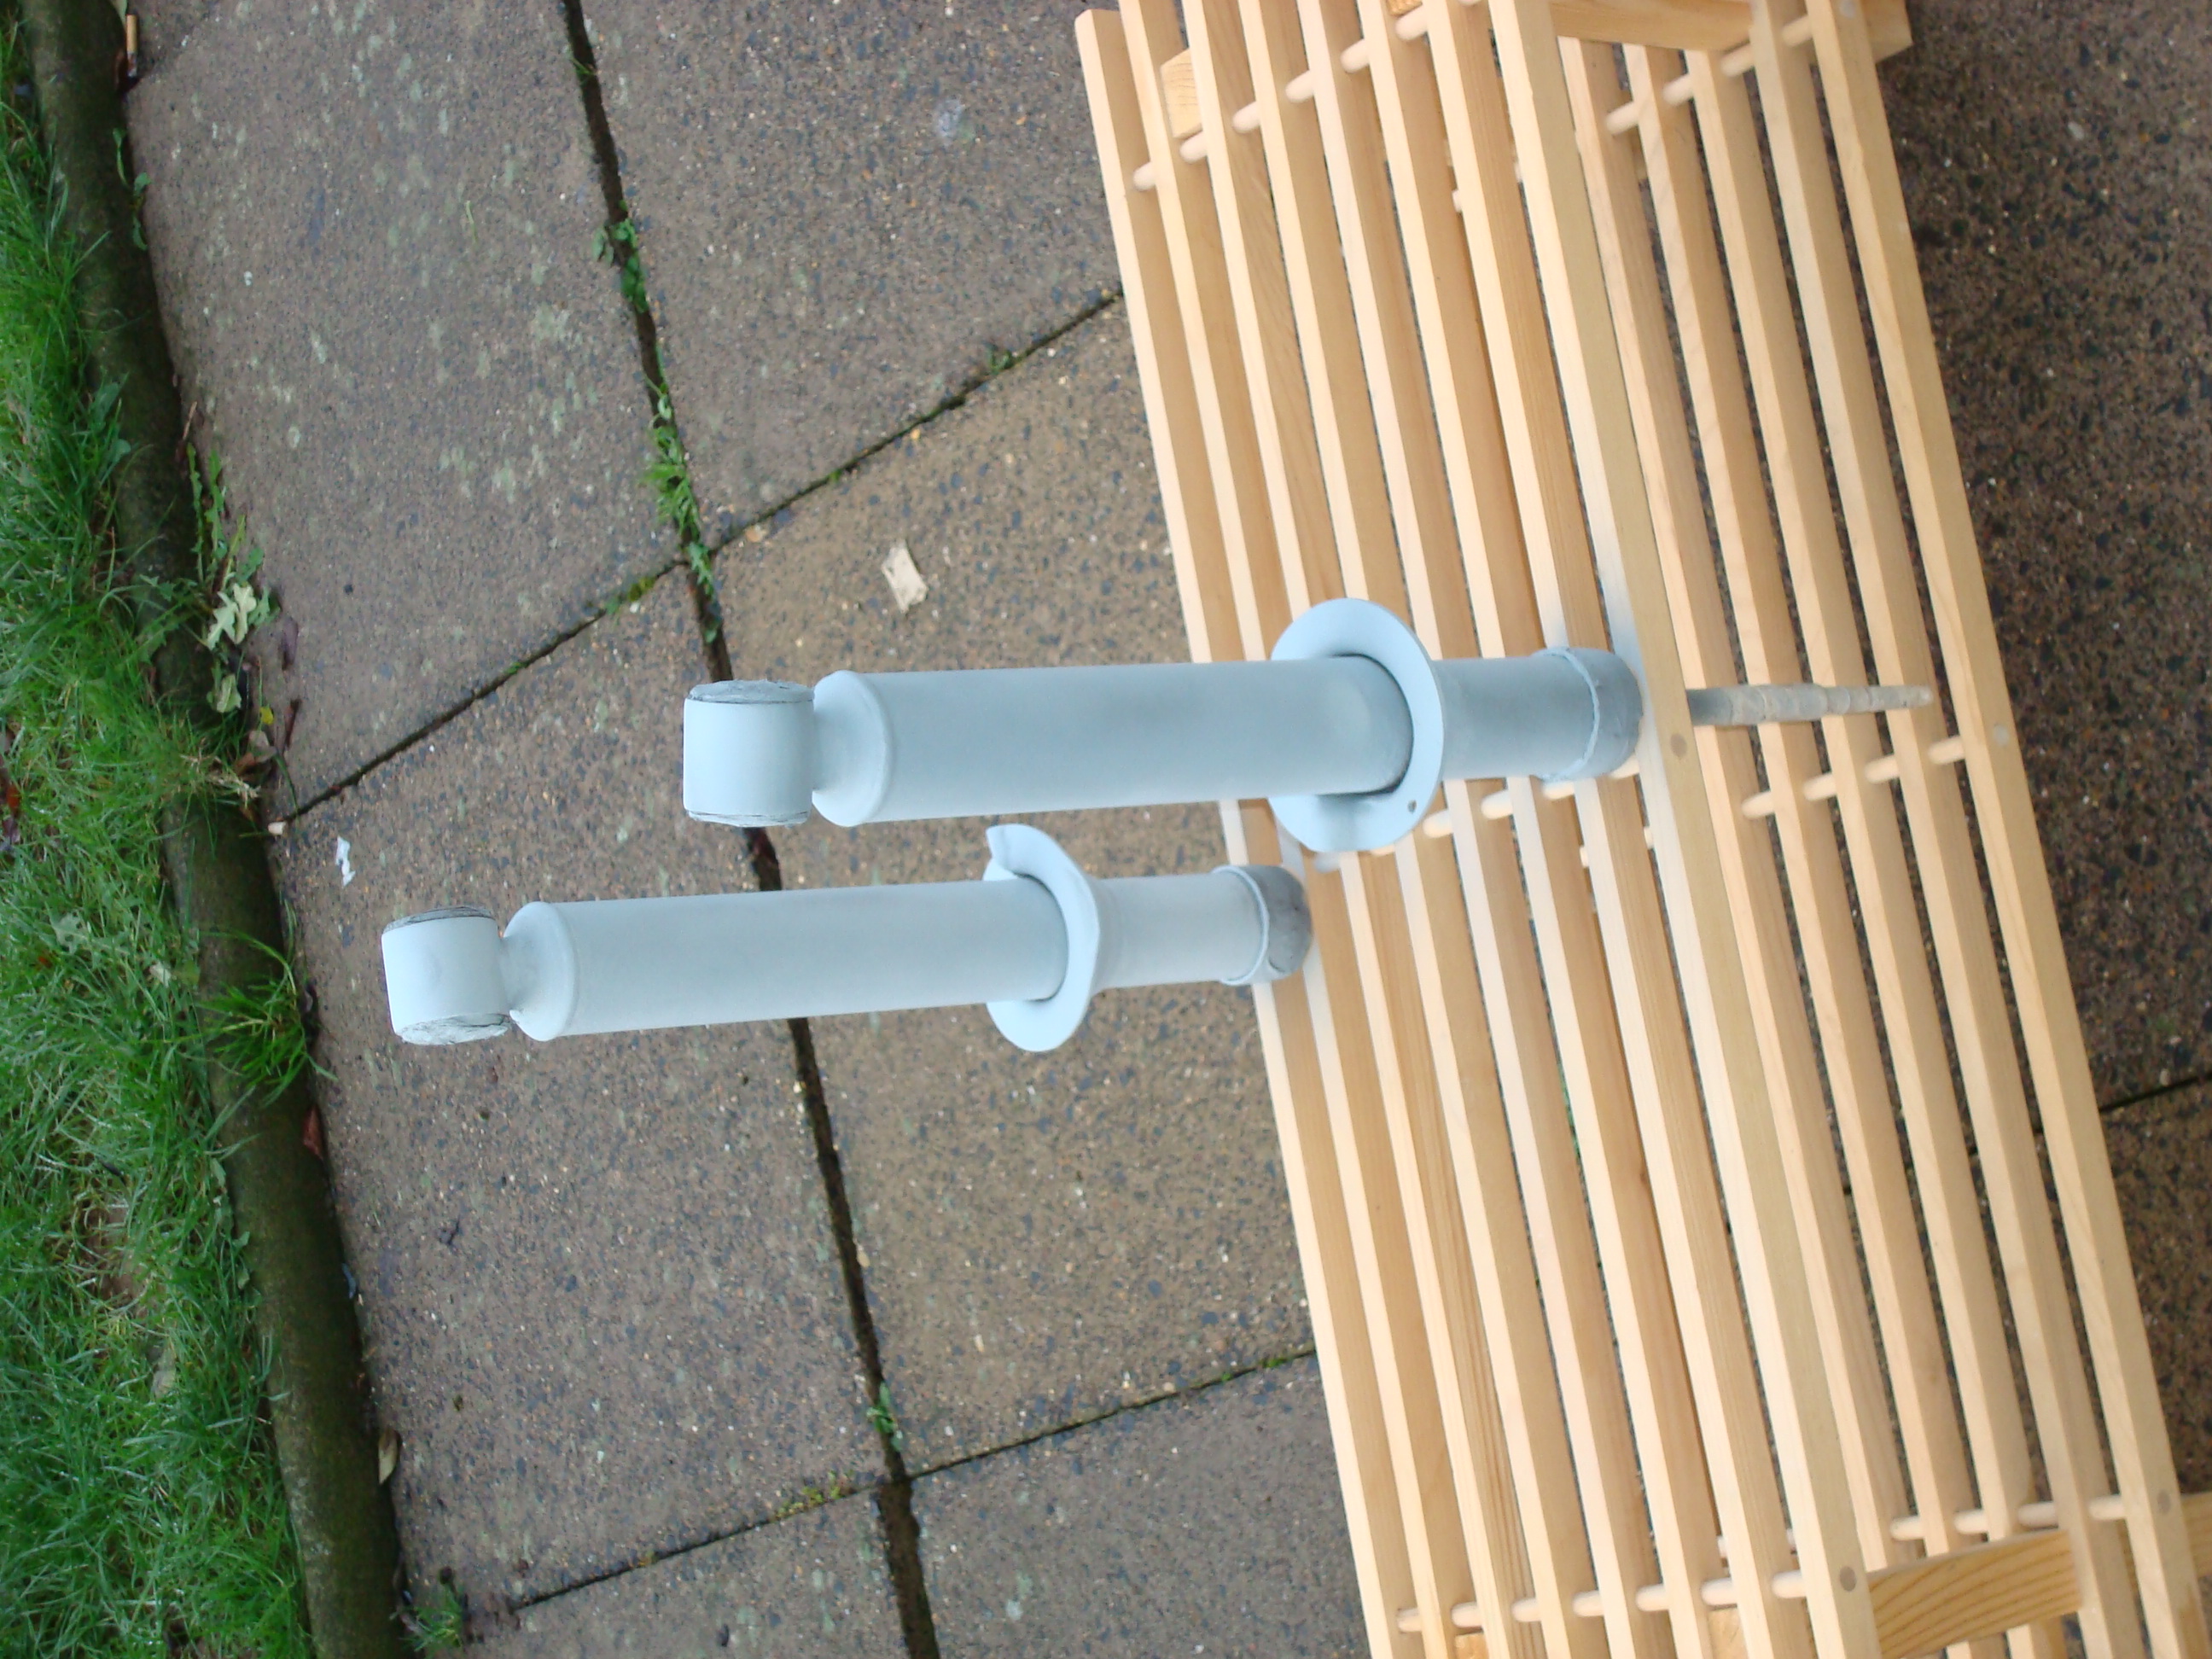
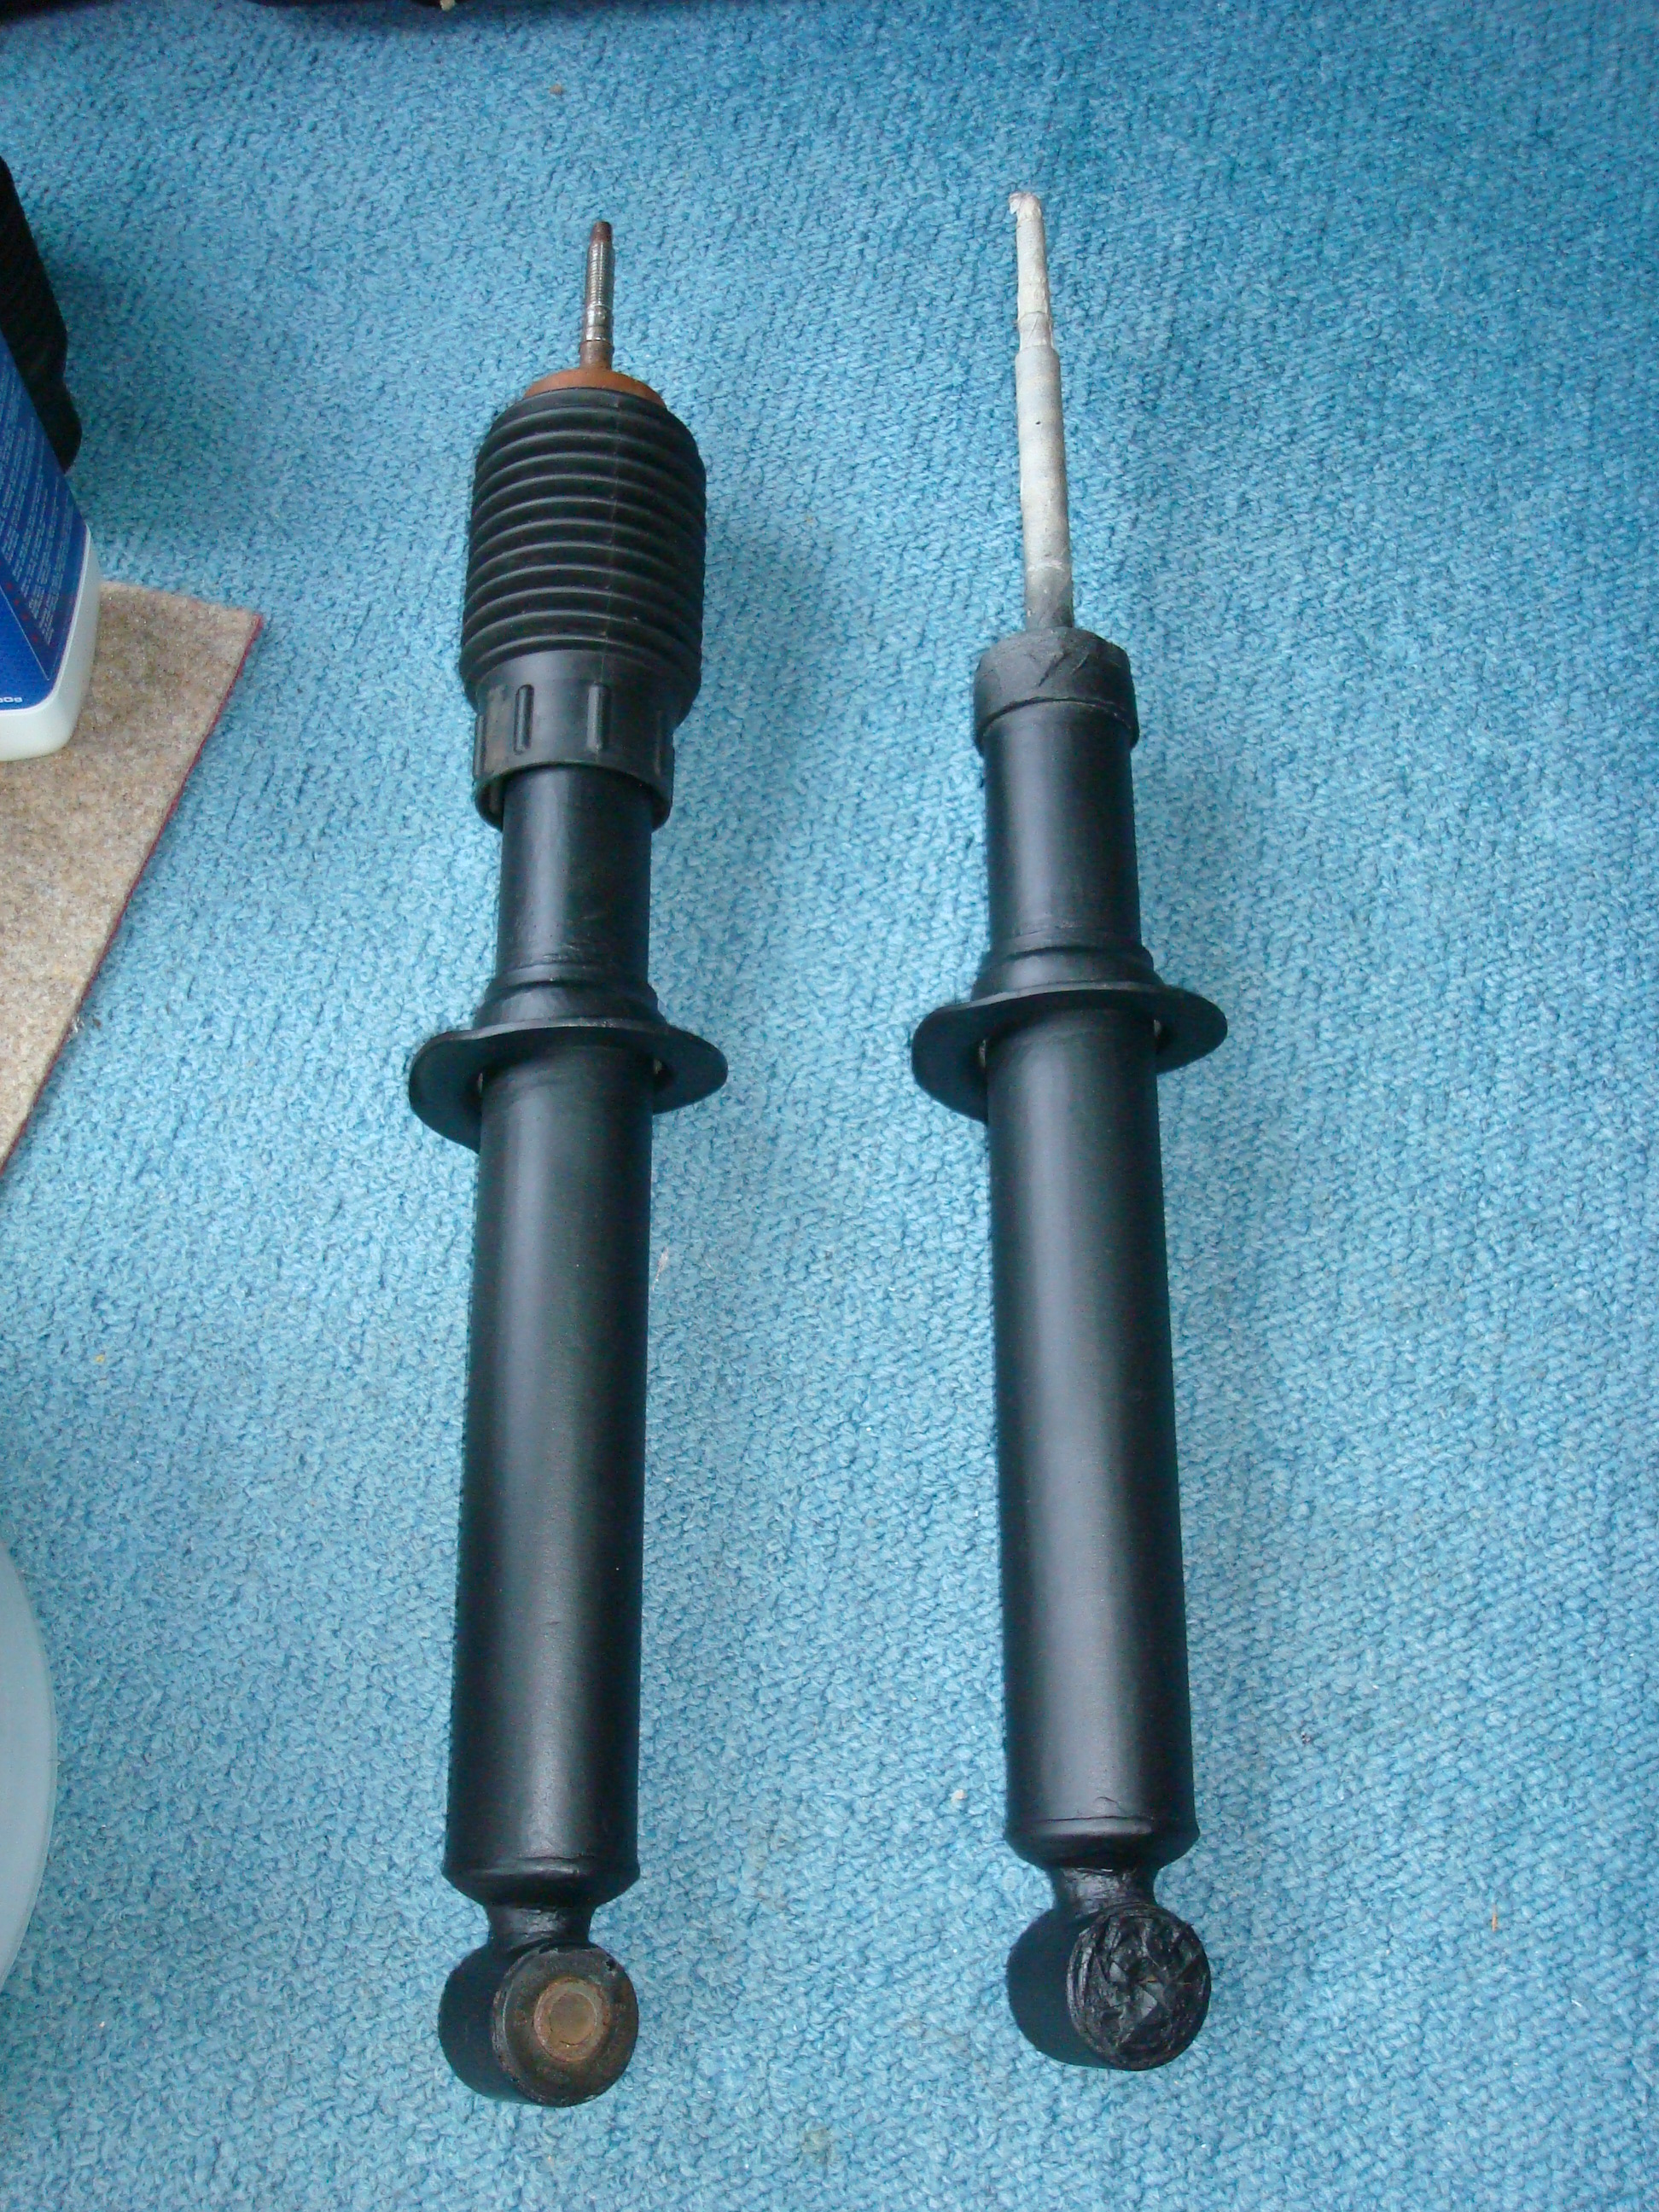
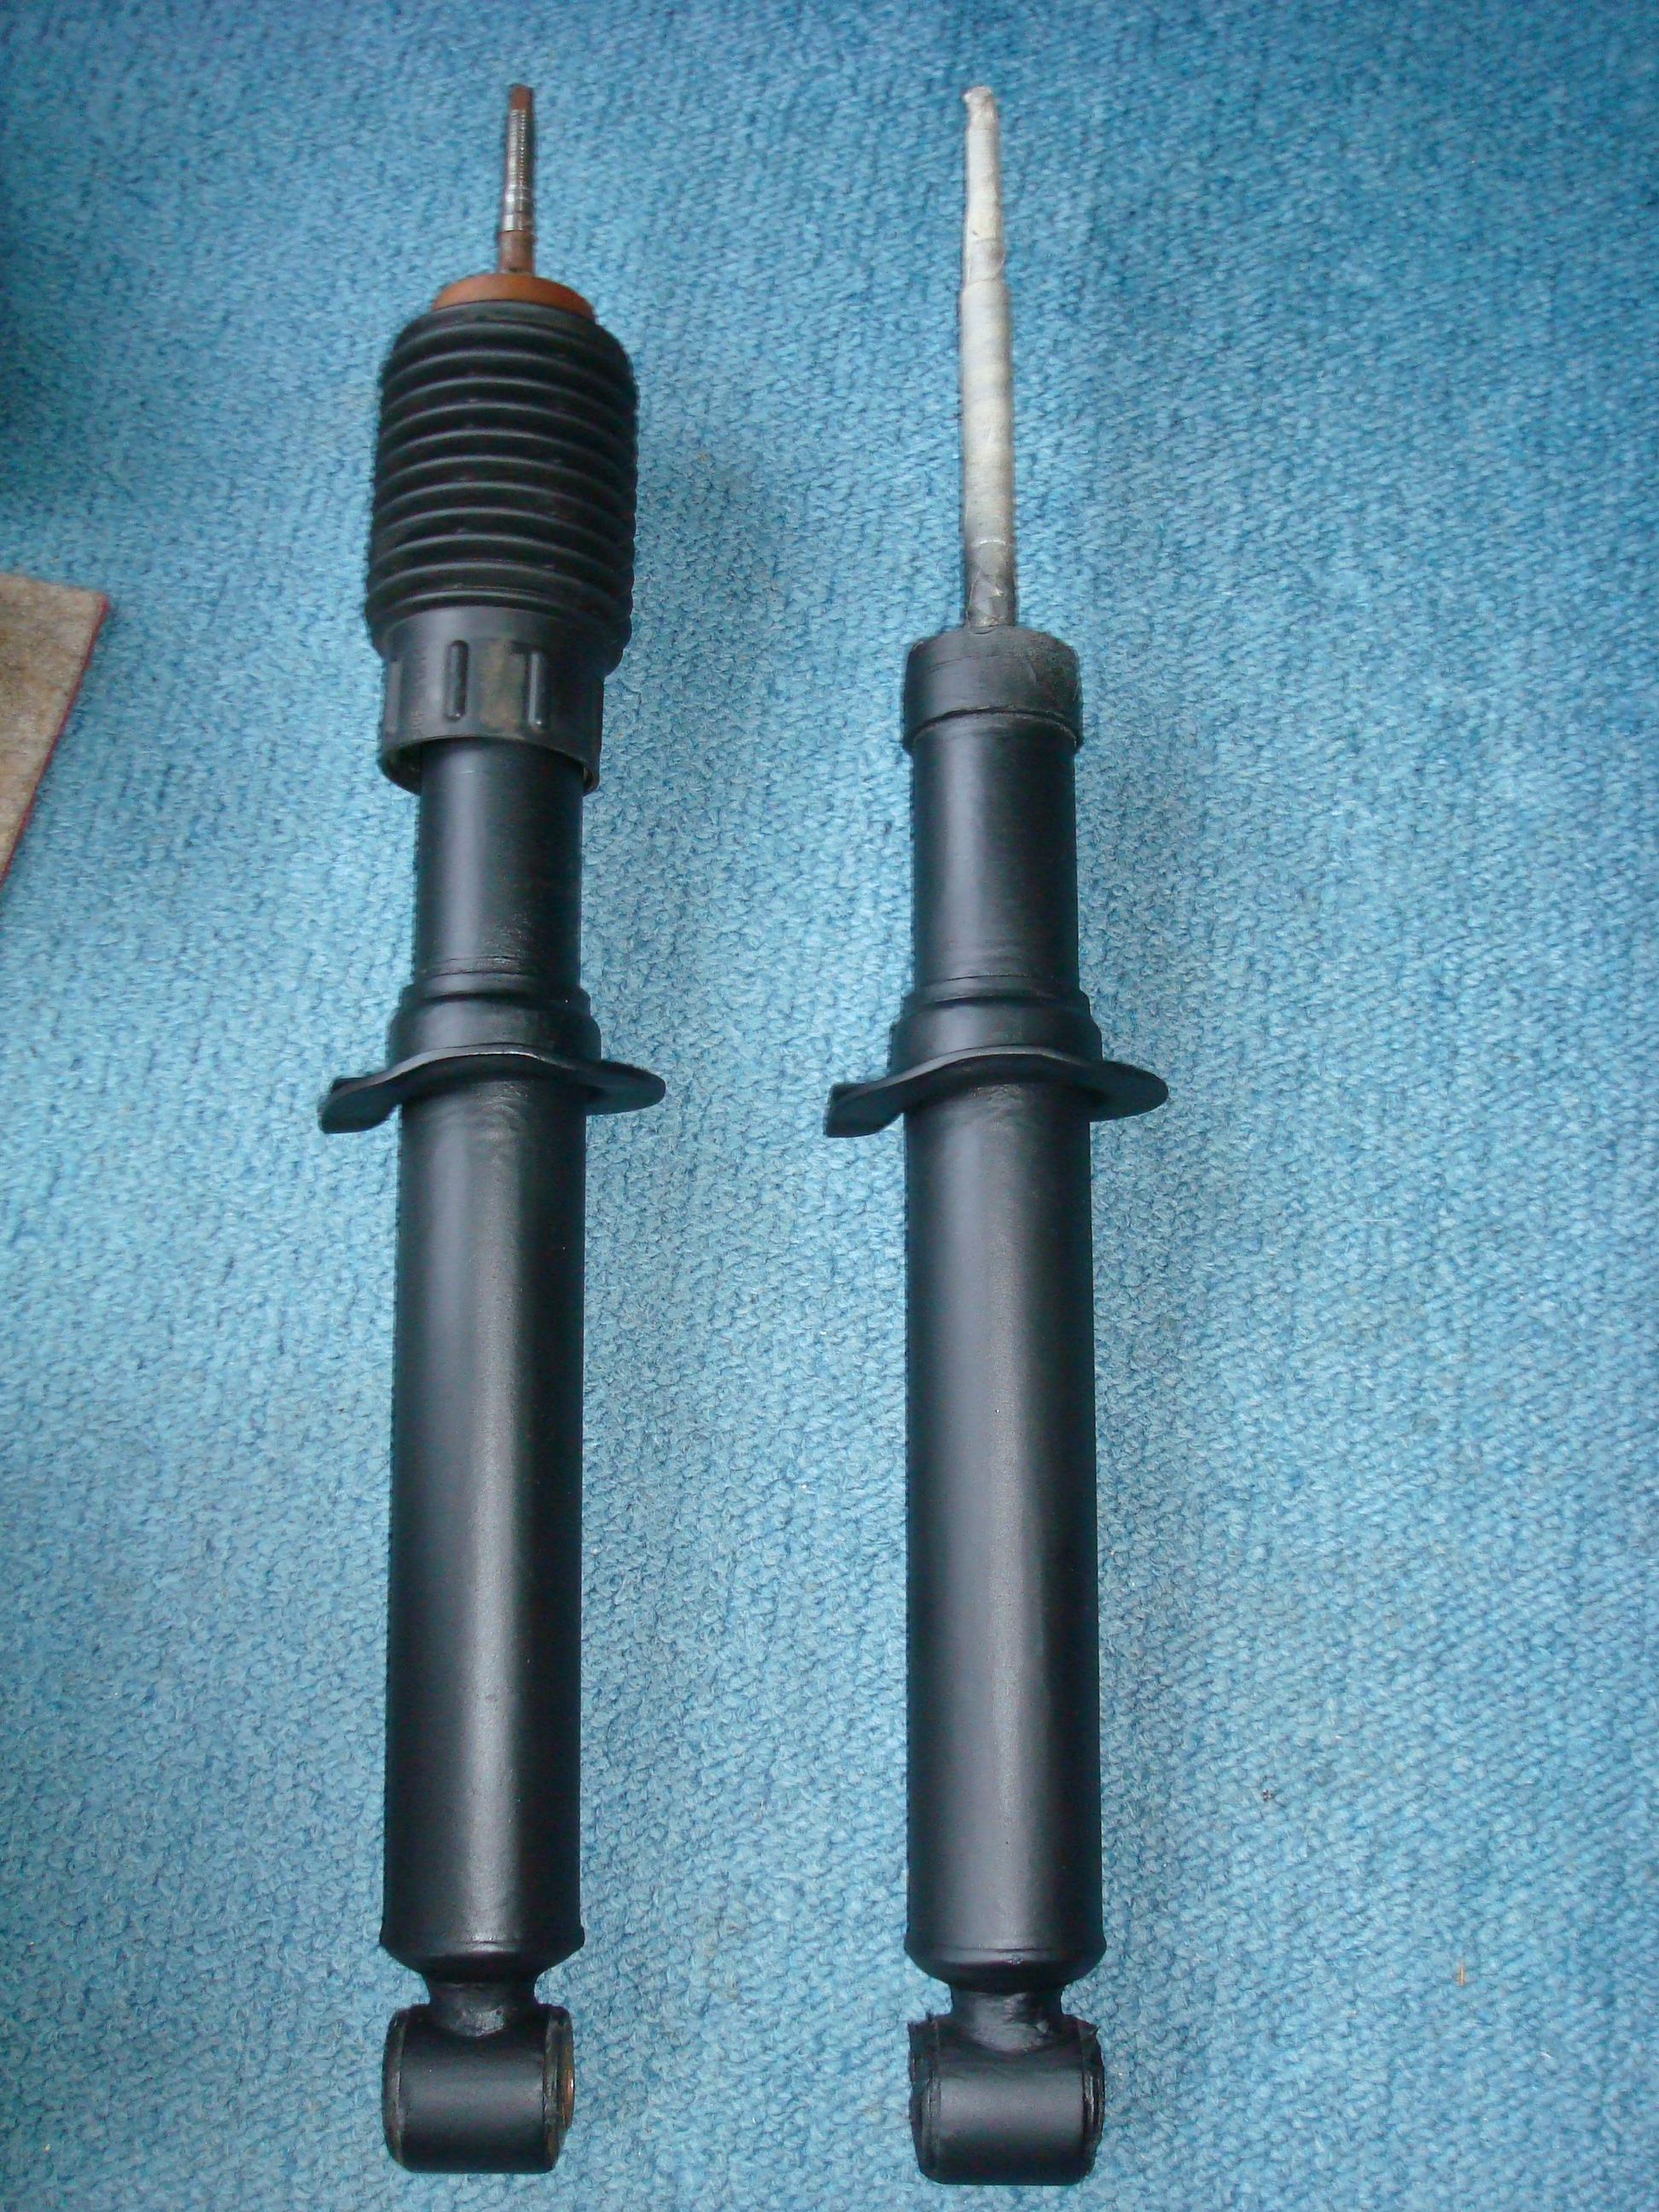
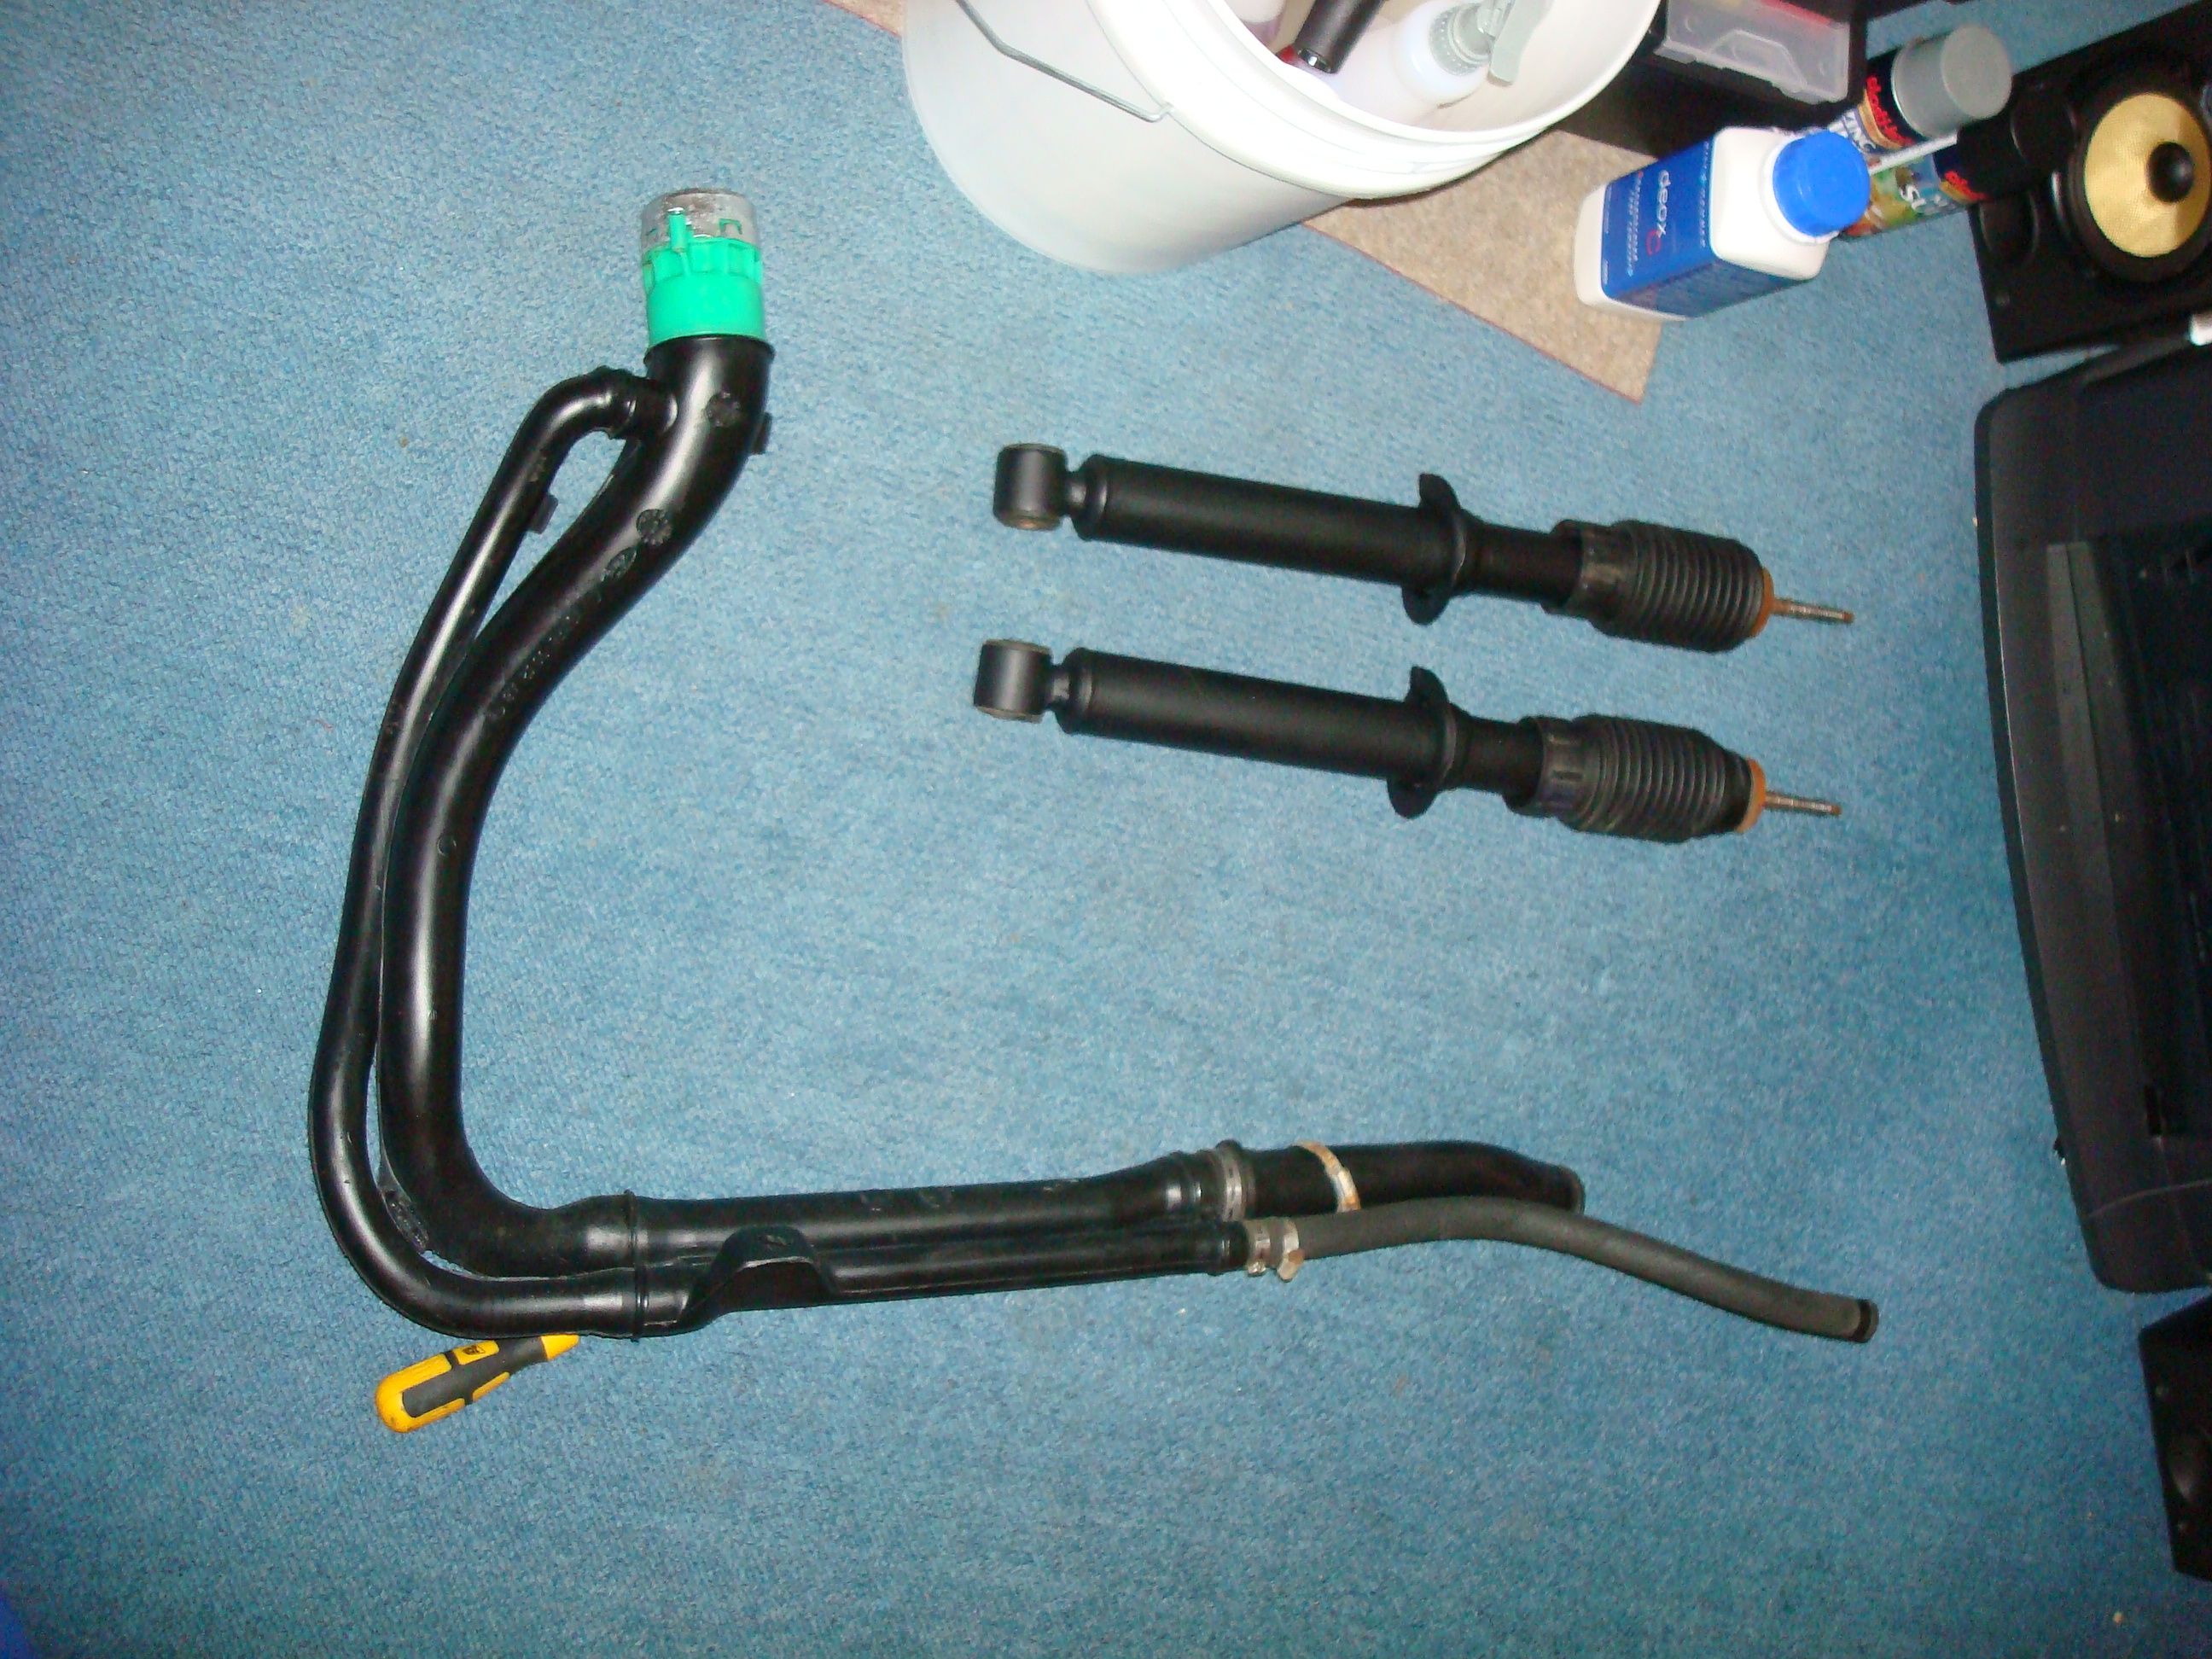
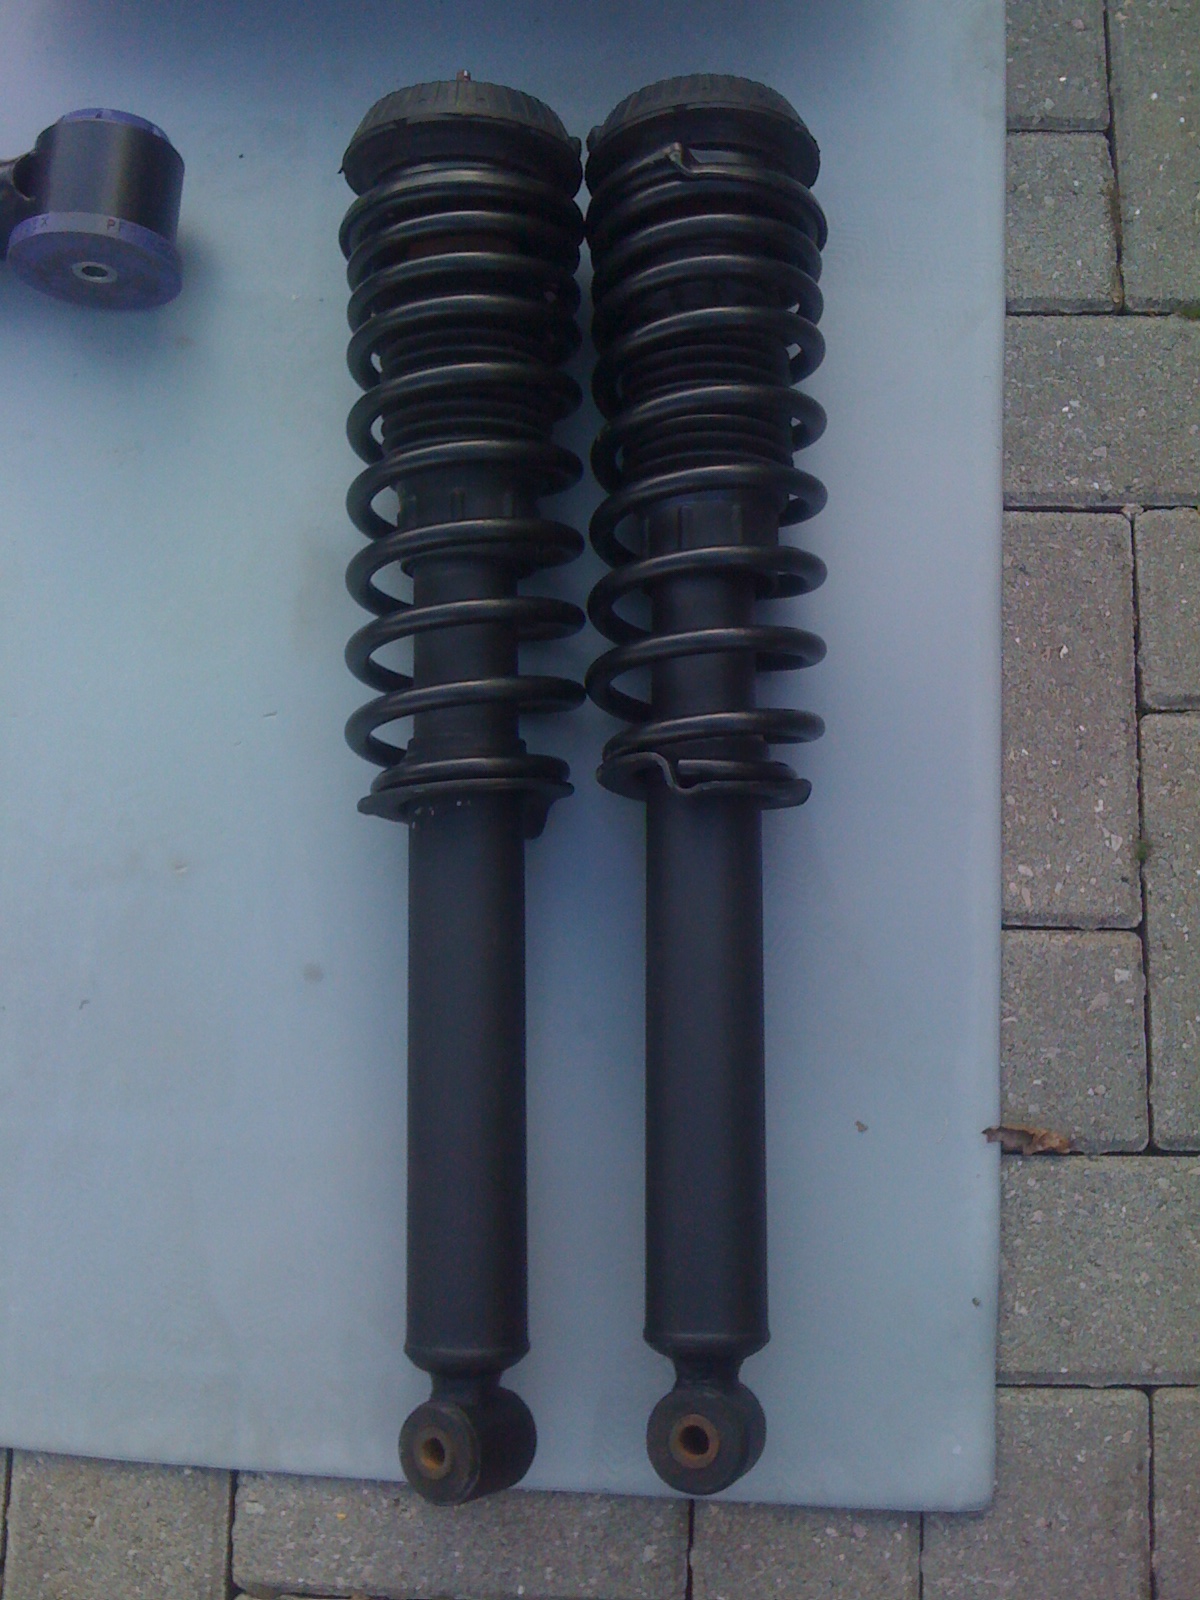
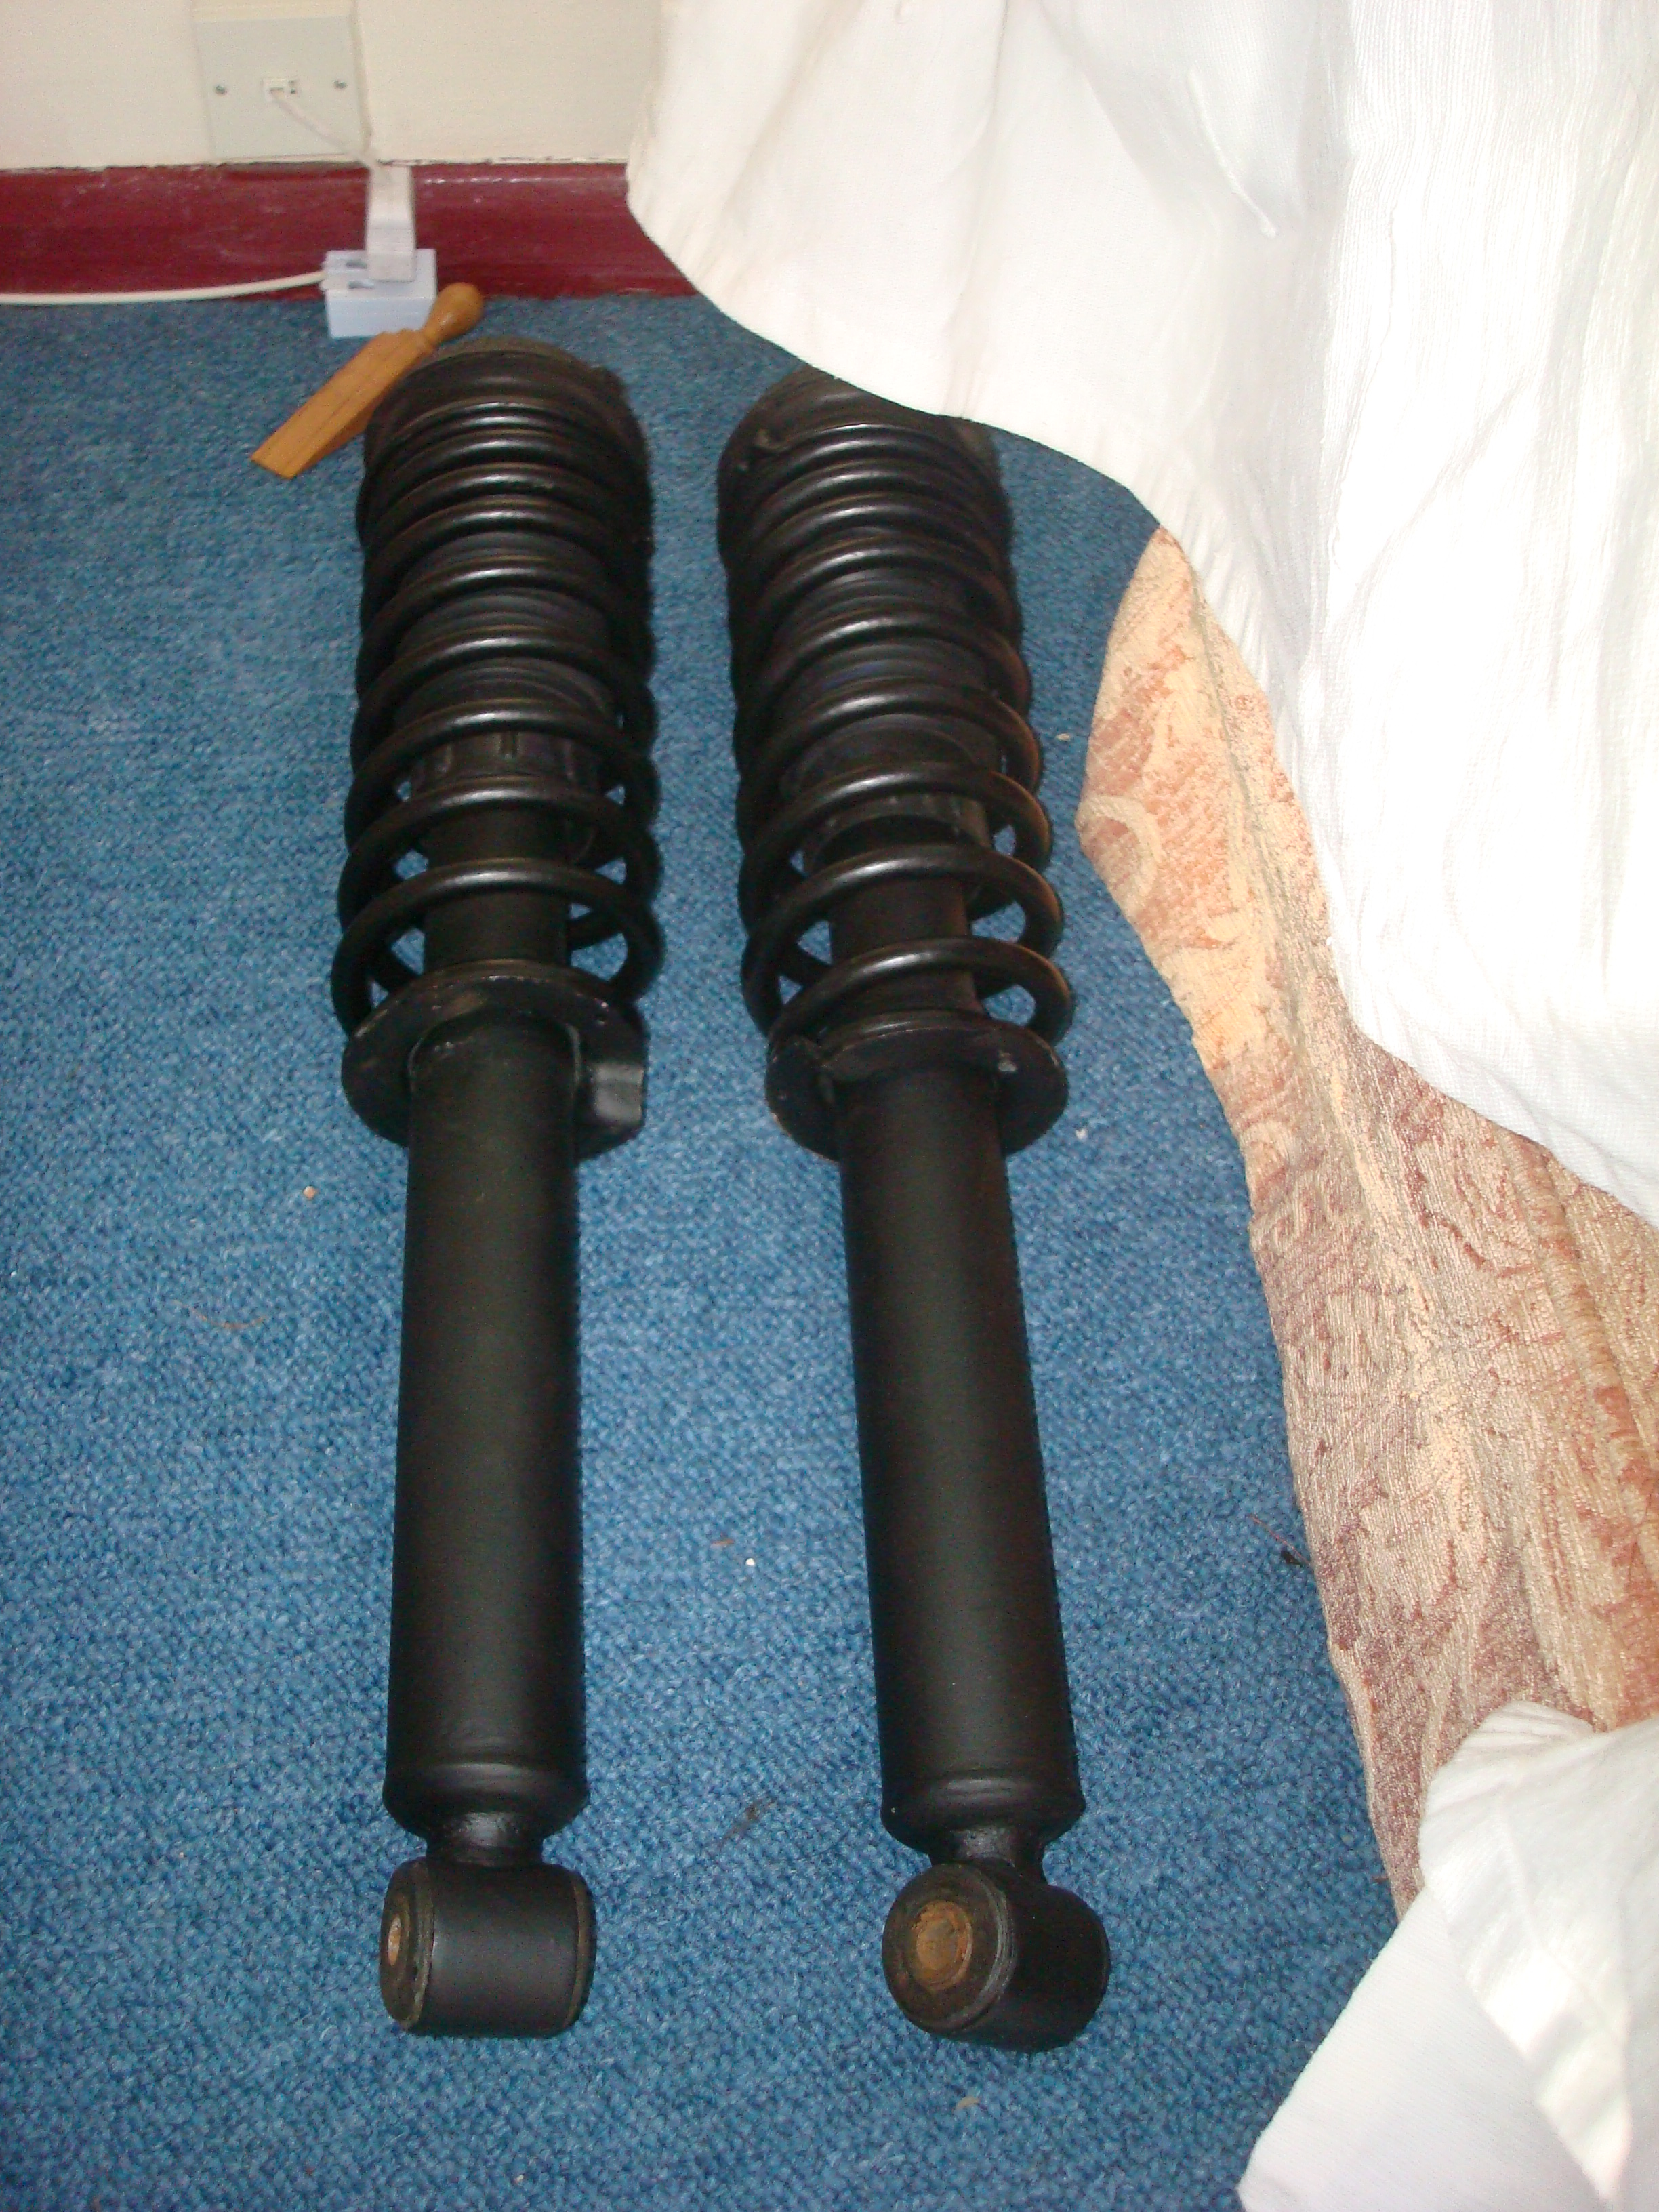
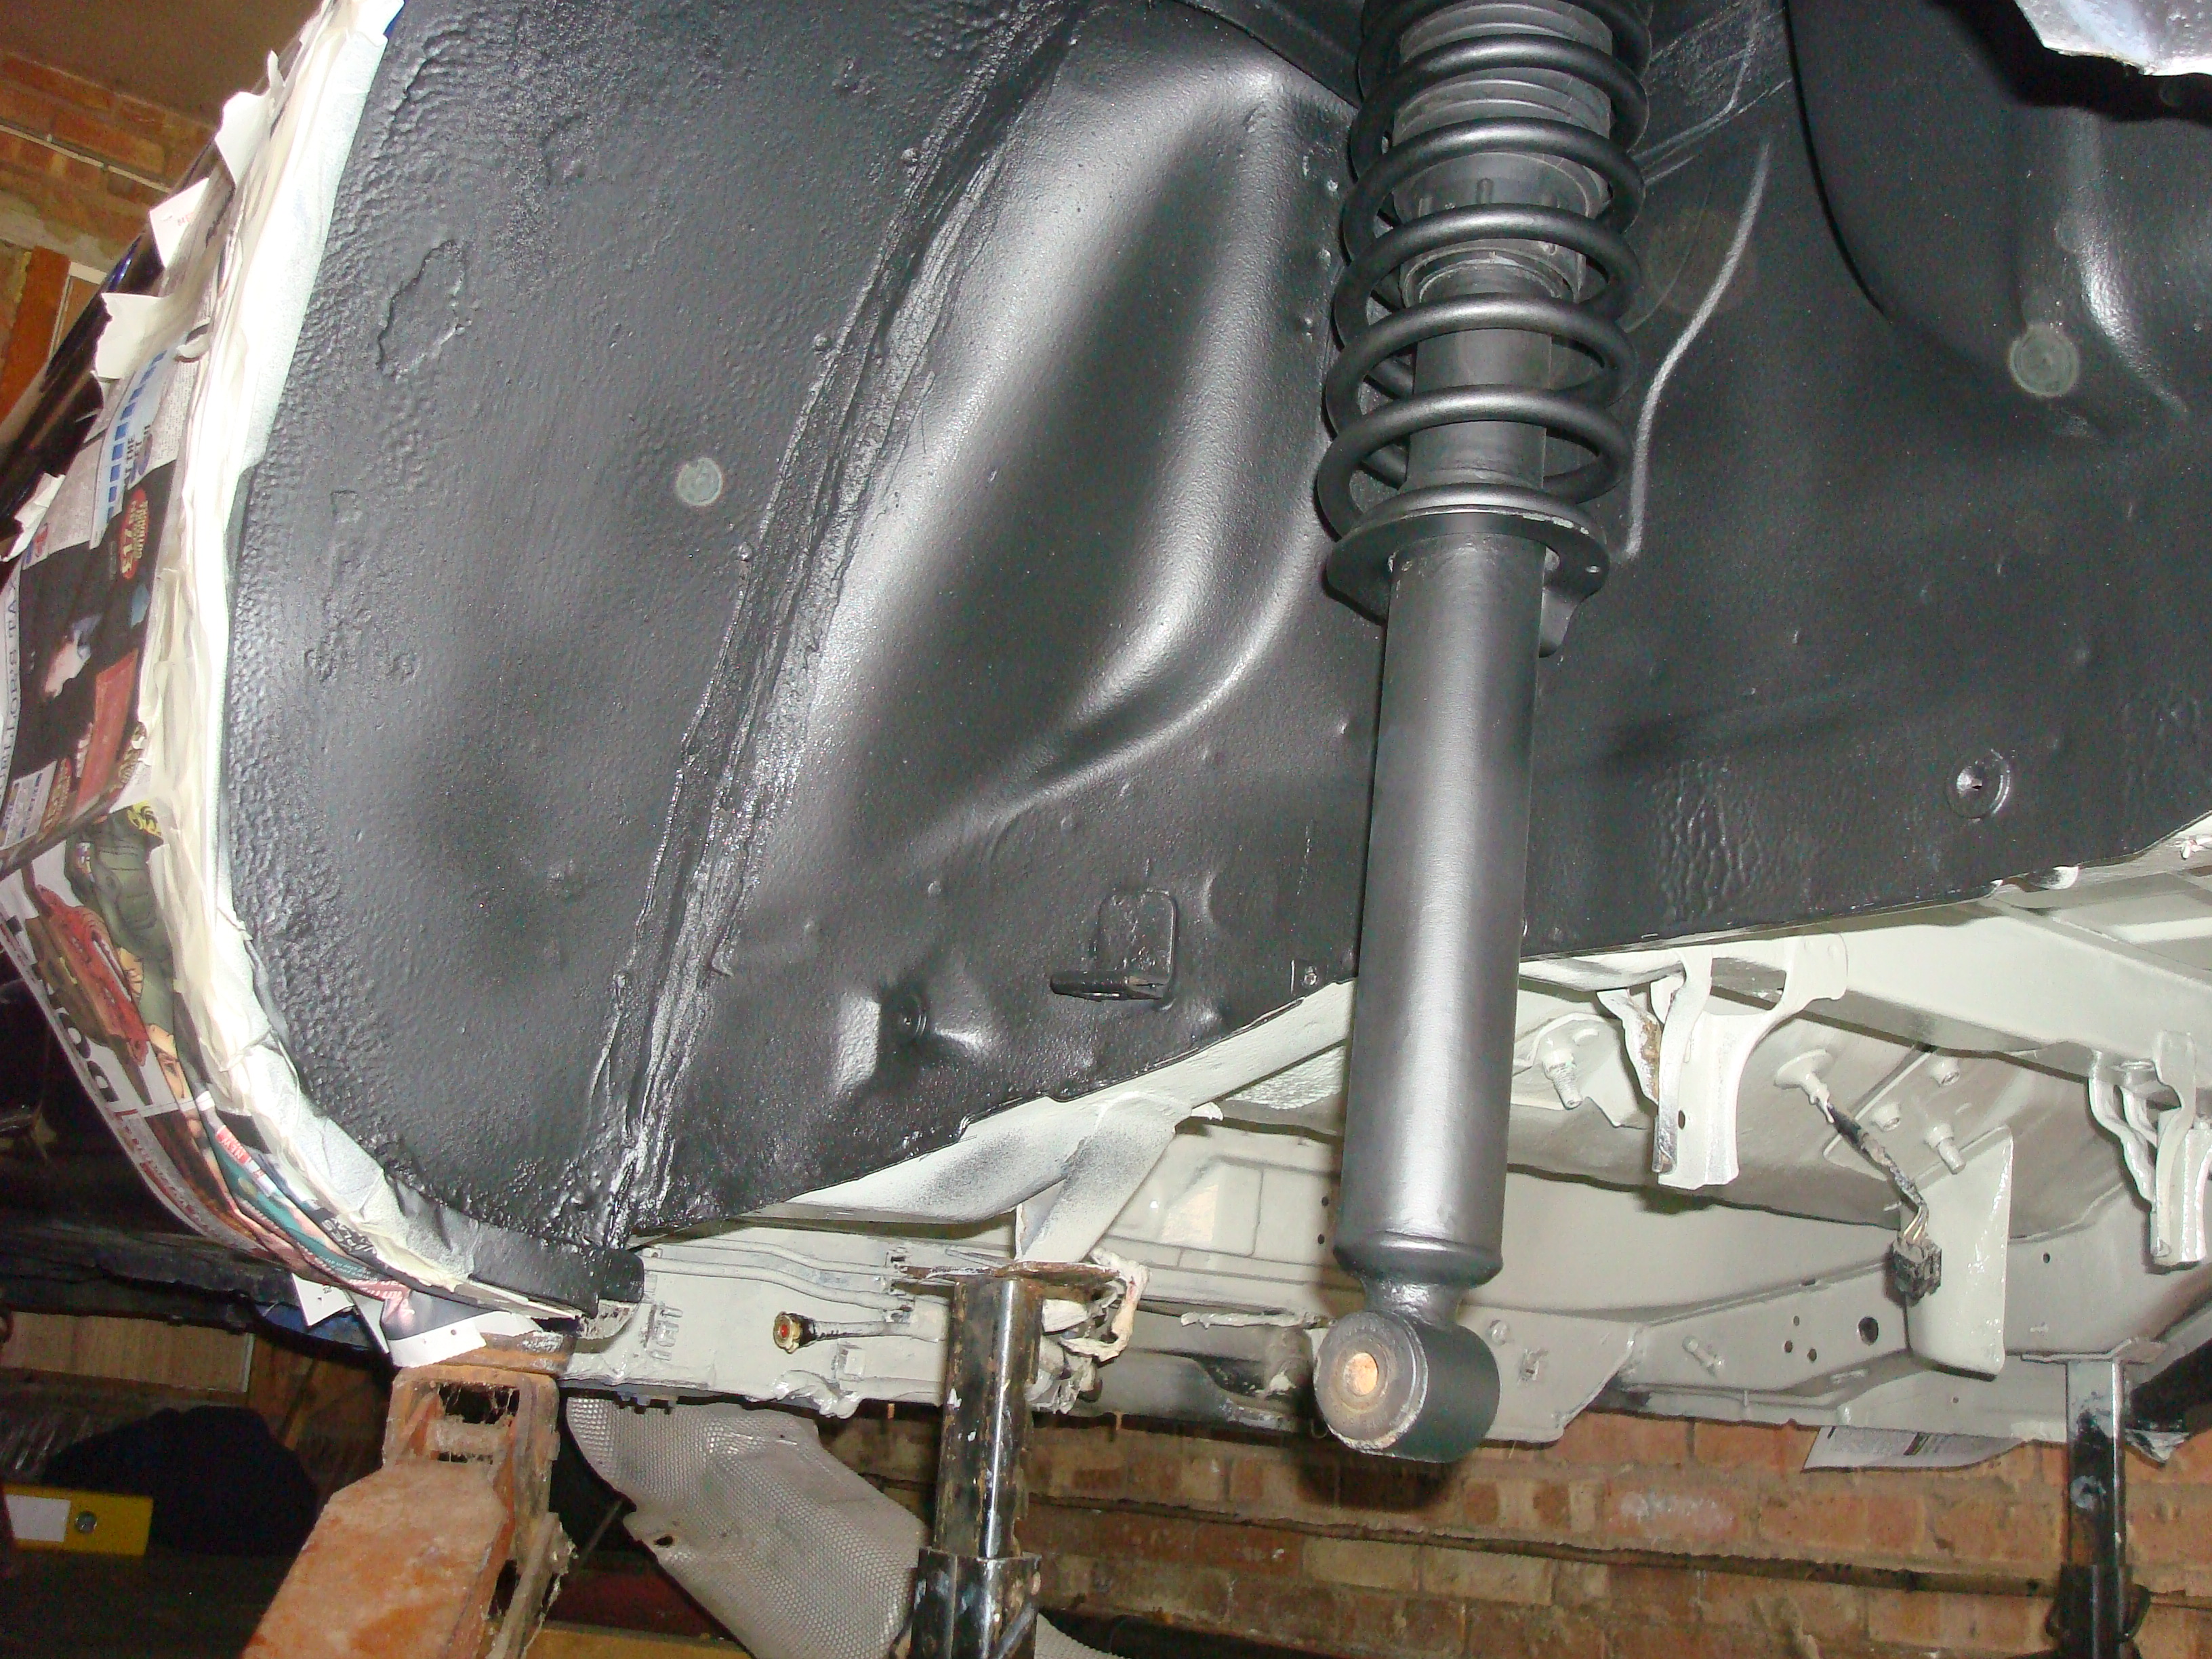
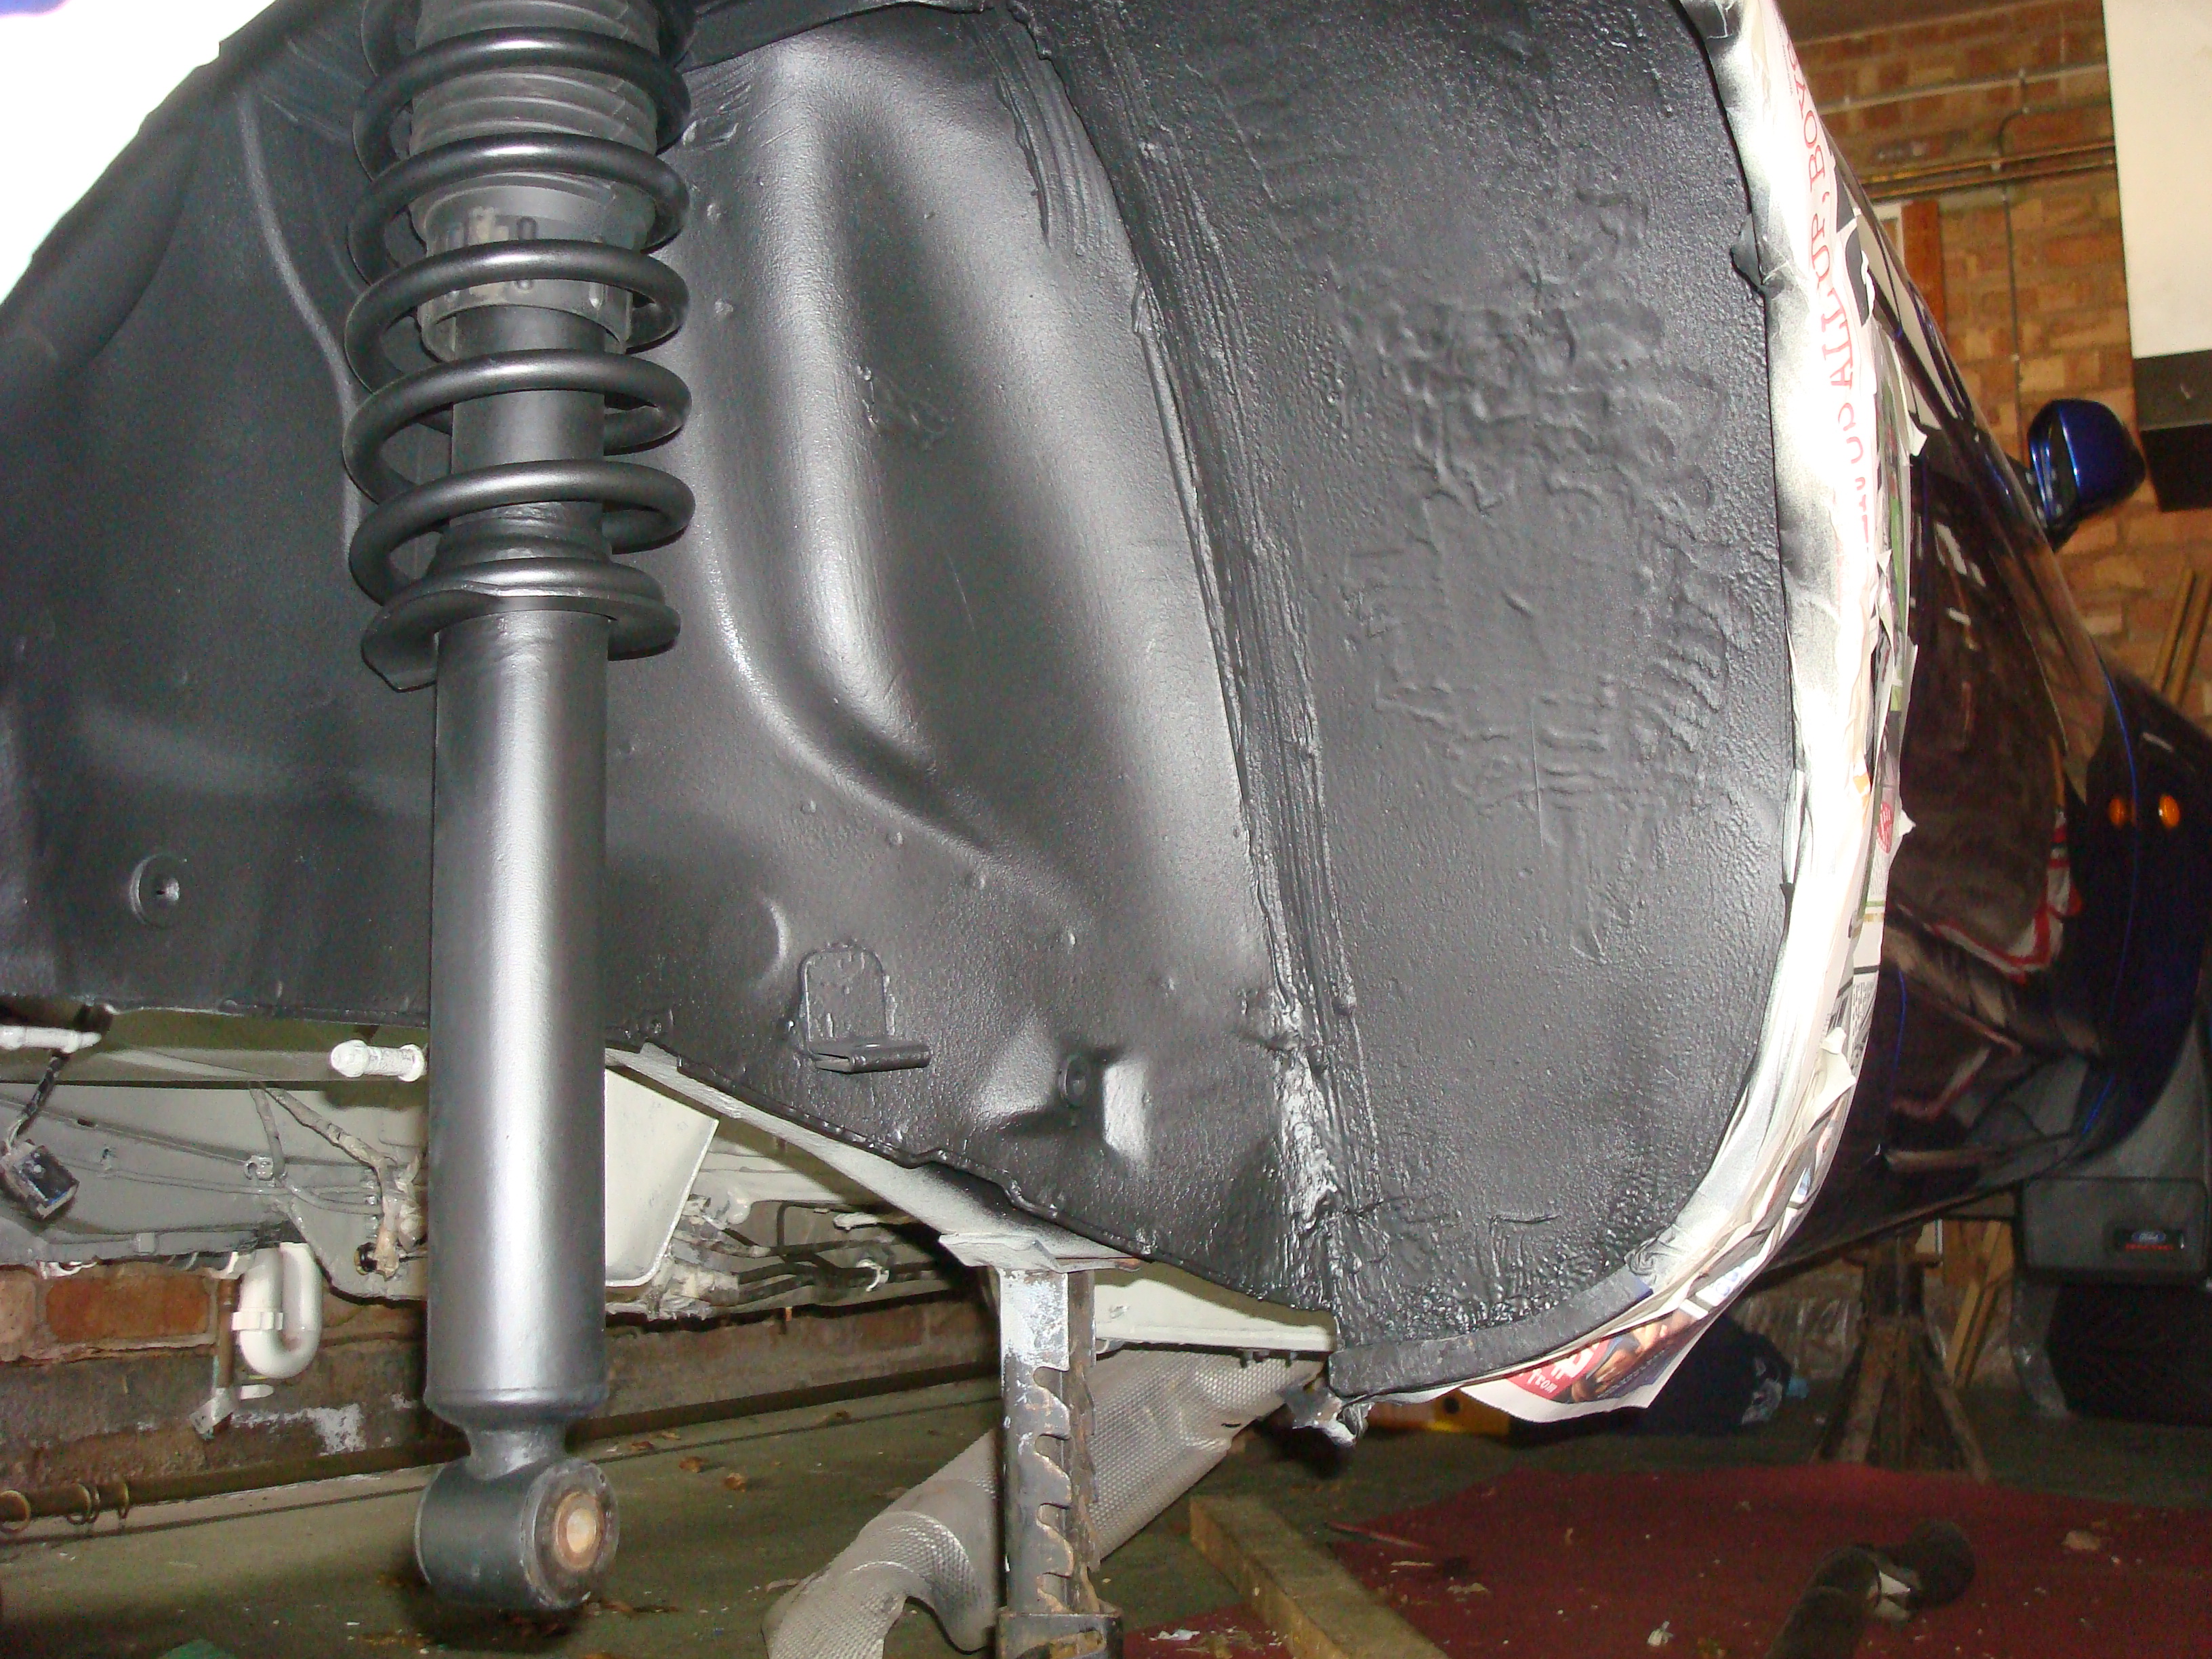
Finally finished spraying up the rear suspension dampers first in zinc primer and the a Matt finish black. Much happier with the results this time round
I have ordered the epoxy mastic http://www.rust.co.uk/epoxy-mastic.cfm expecting delivery any day now so i better start working on the underside.
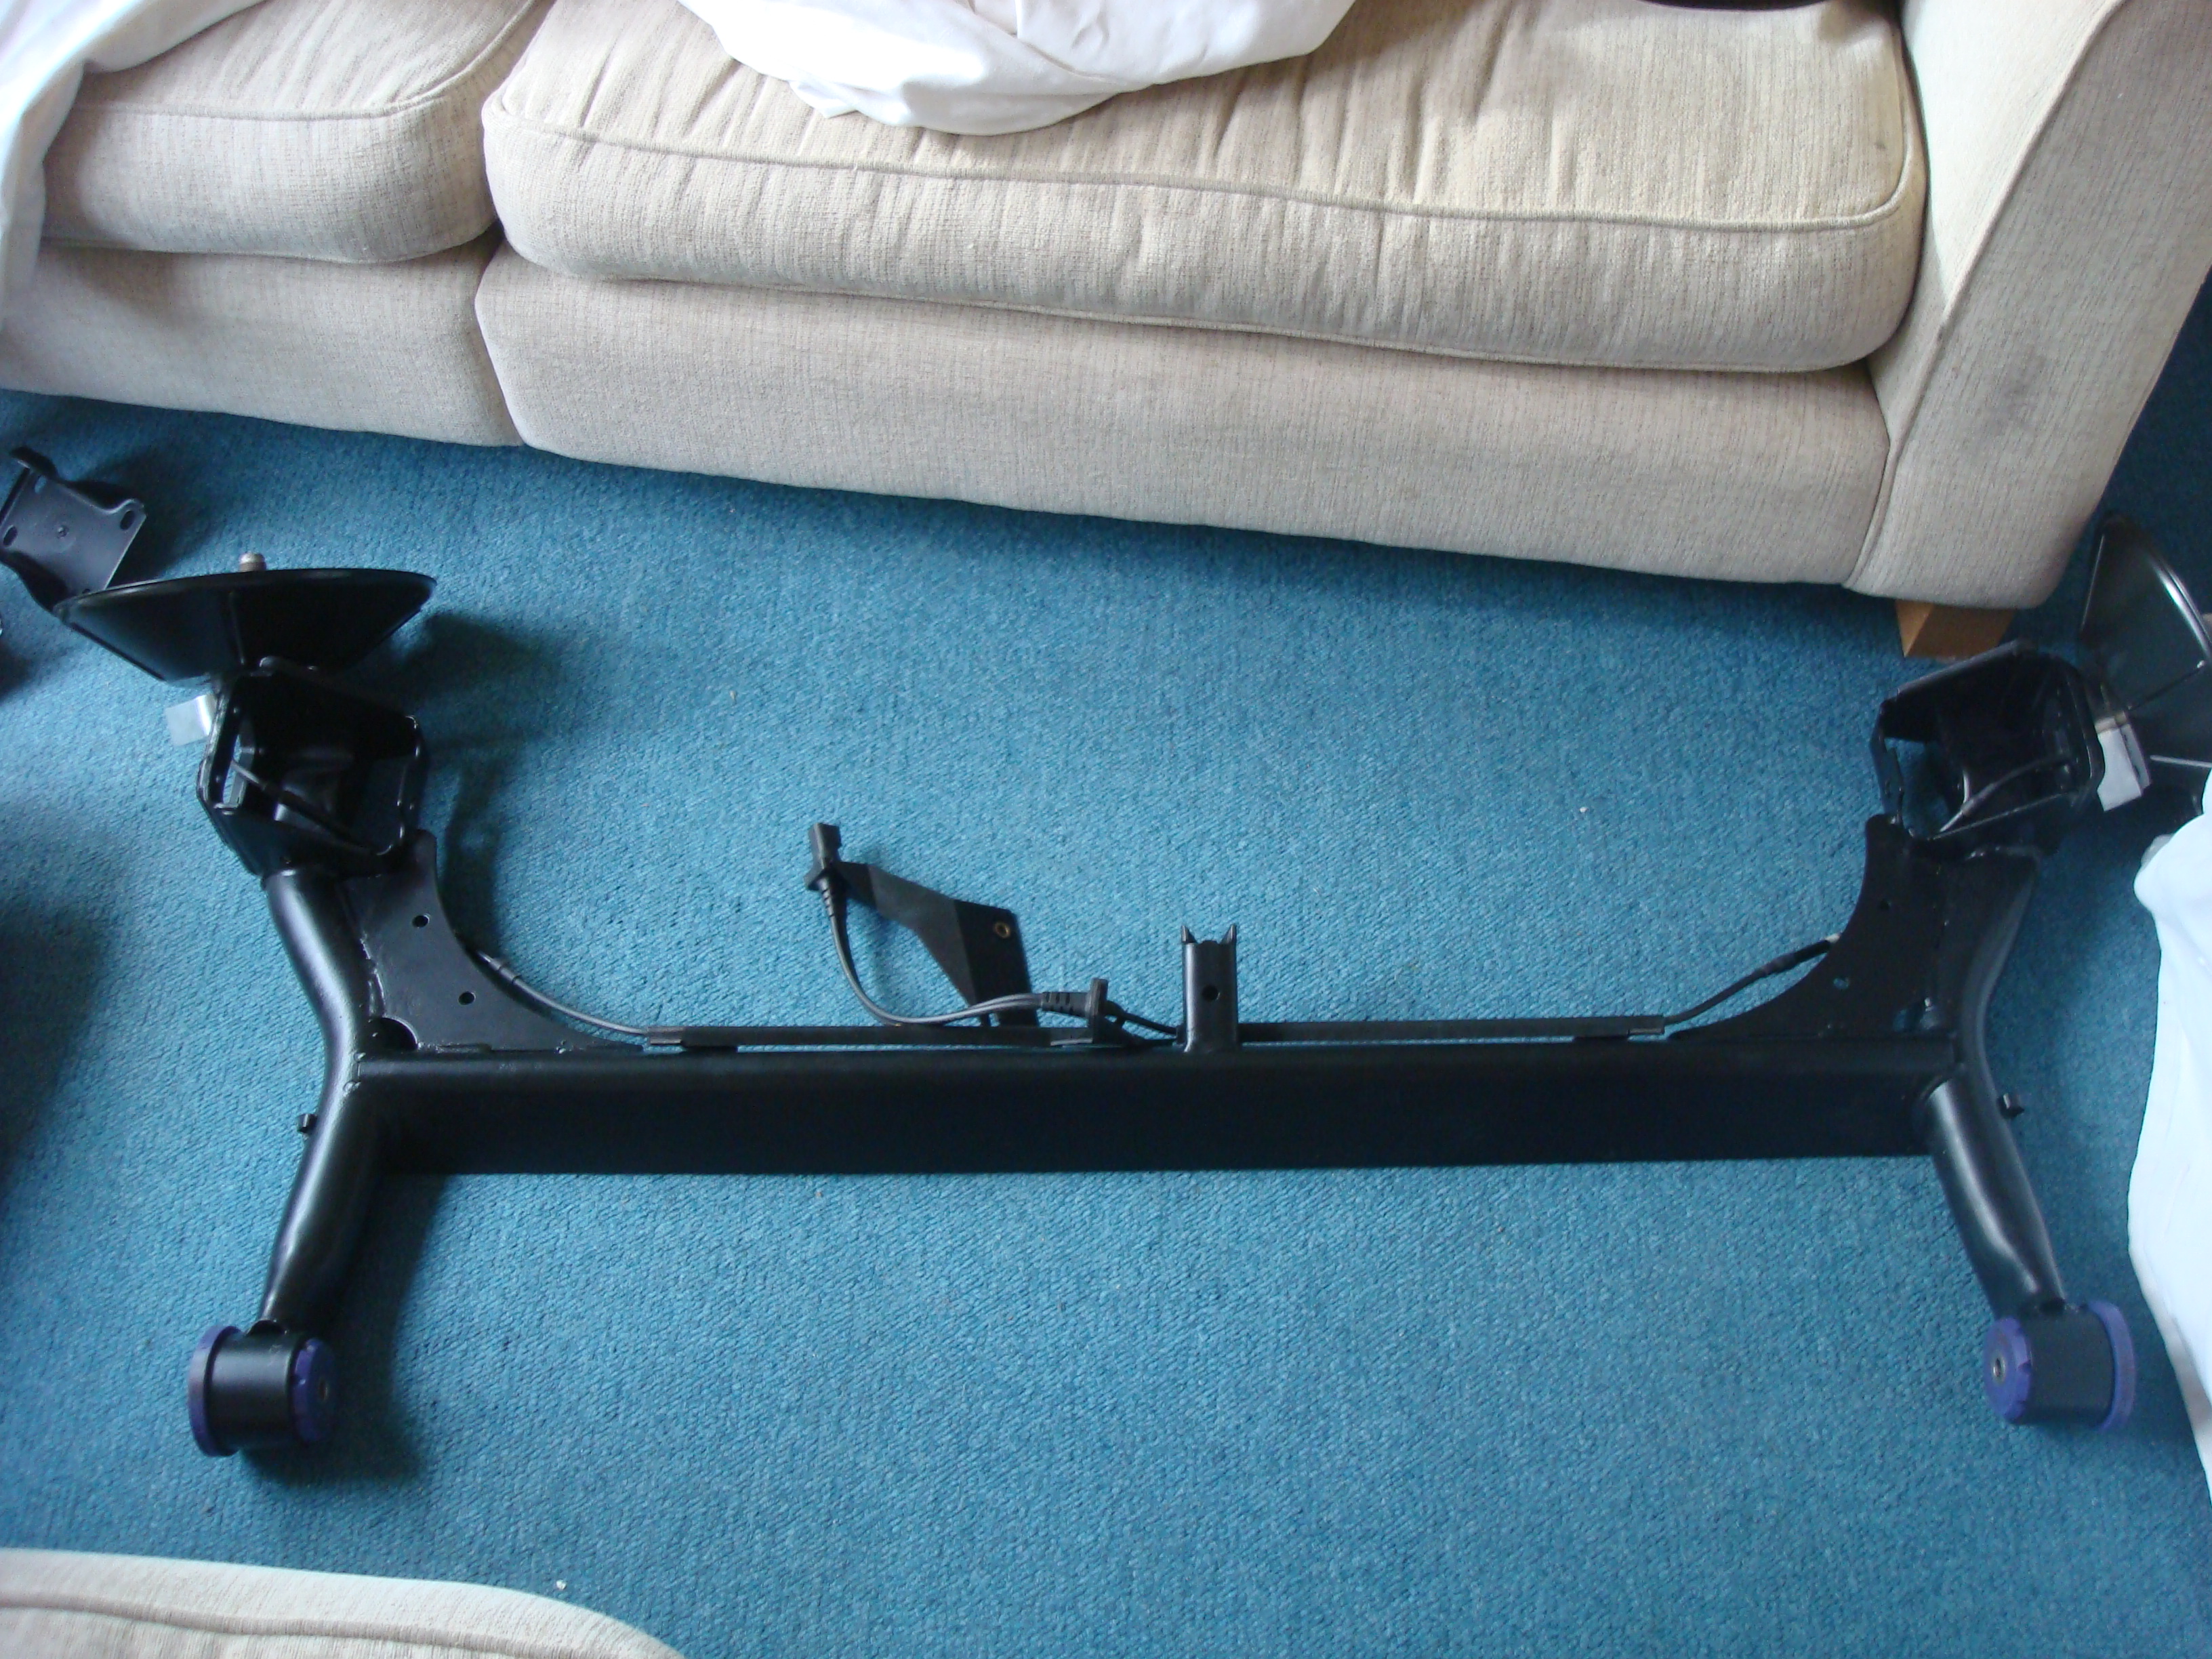
Dad gave me �200 for xmas so dropping the rear beam etc at powder coaters this week
David
Been a while.... but here goes
Finally my mate dropped back my nuts bolts etc
Before:
After:
Finally finished spraying up the rear suspension dampers first in zinc primer and the a Matt finish black. Much happier with the results this time round
I have ordered the epoxy mastic http://www.rust.co.uk/epoxy-mastic.cfm expecting delivery any day now so i better start working on the underside.
Dad gave me �200 for xmas so dropping the rear beam etc at powder coaters this week
David
Last edited by williamsclio; 28-12-2009 at 08:28 PM.
 28-12-2009, 09:33 PM
#94
Too many posts.. I need a life!!
ah jesus wouldn't want let any of ye c my st170 . usually just pay someone to vallet it twice a year. fair play to ya lad but just dont c the point id rather spend time using it for what ford intended and drive the stones off it
02-01-2010, 12:33 PM
#95
Wahay!! I've lost my Virginity!!
Thread Starter
Join Date: Dec 2009
Location: Malvern
Posts: 69
Likes: 0
Received 0 Likes
on
0 Posts
David
11-01-2010, 10:18 PM
#96
Wahay!! I've lost my Virginity!!
Thread Starter
Join Date: Dec 2009
Location: Malvern
Posts: 69
Likes: 0
Received 0 Likes
on
0 Posts
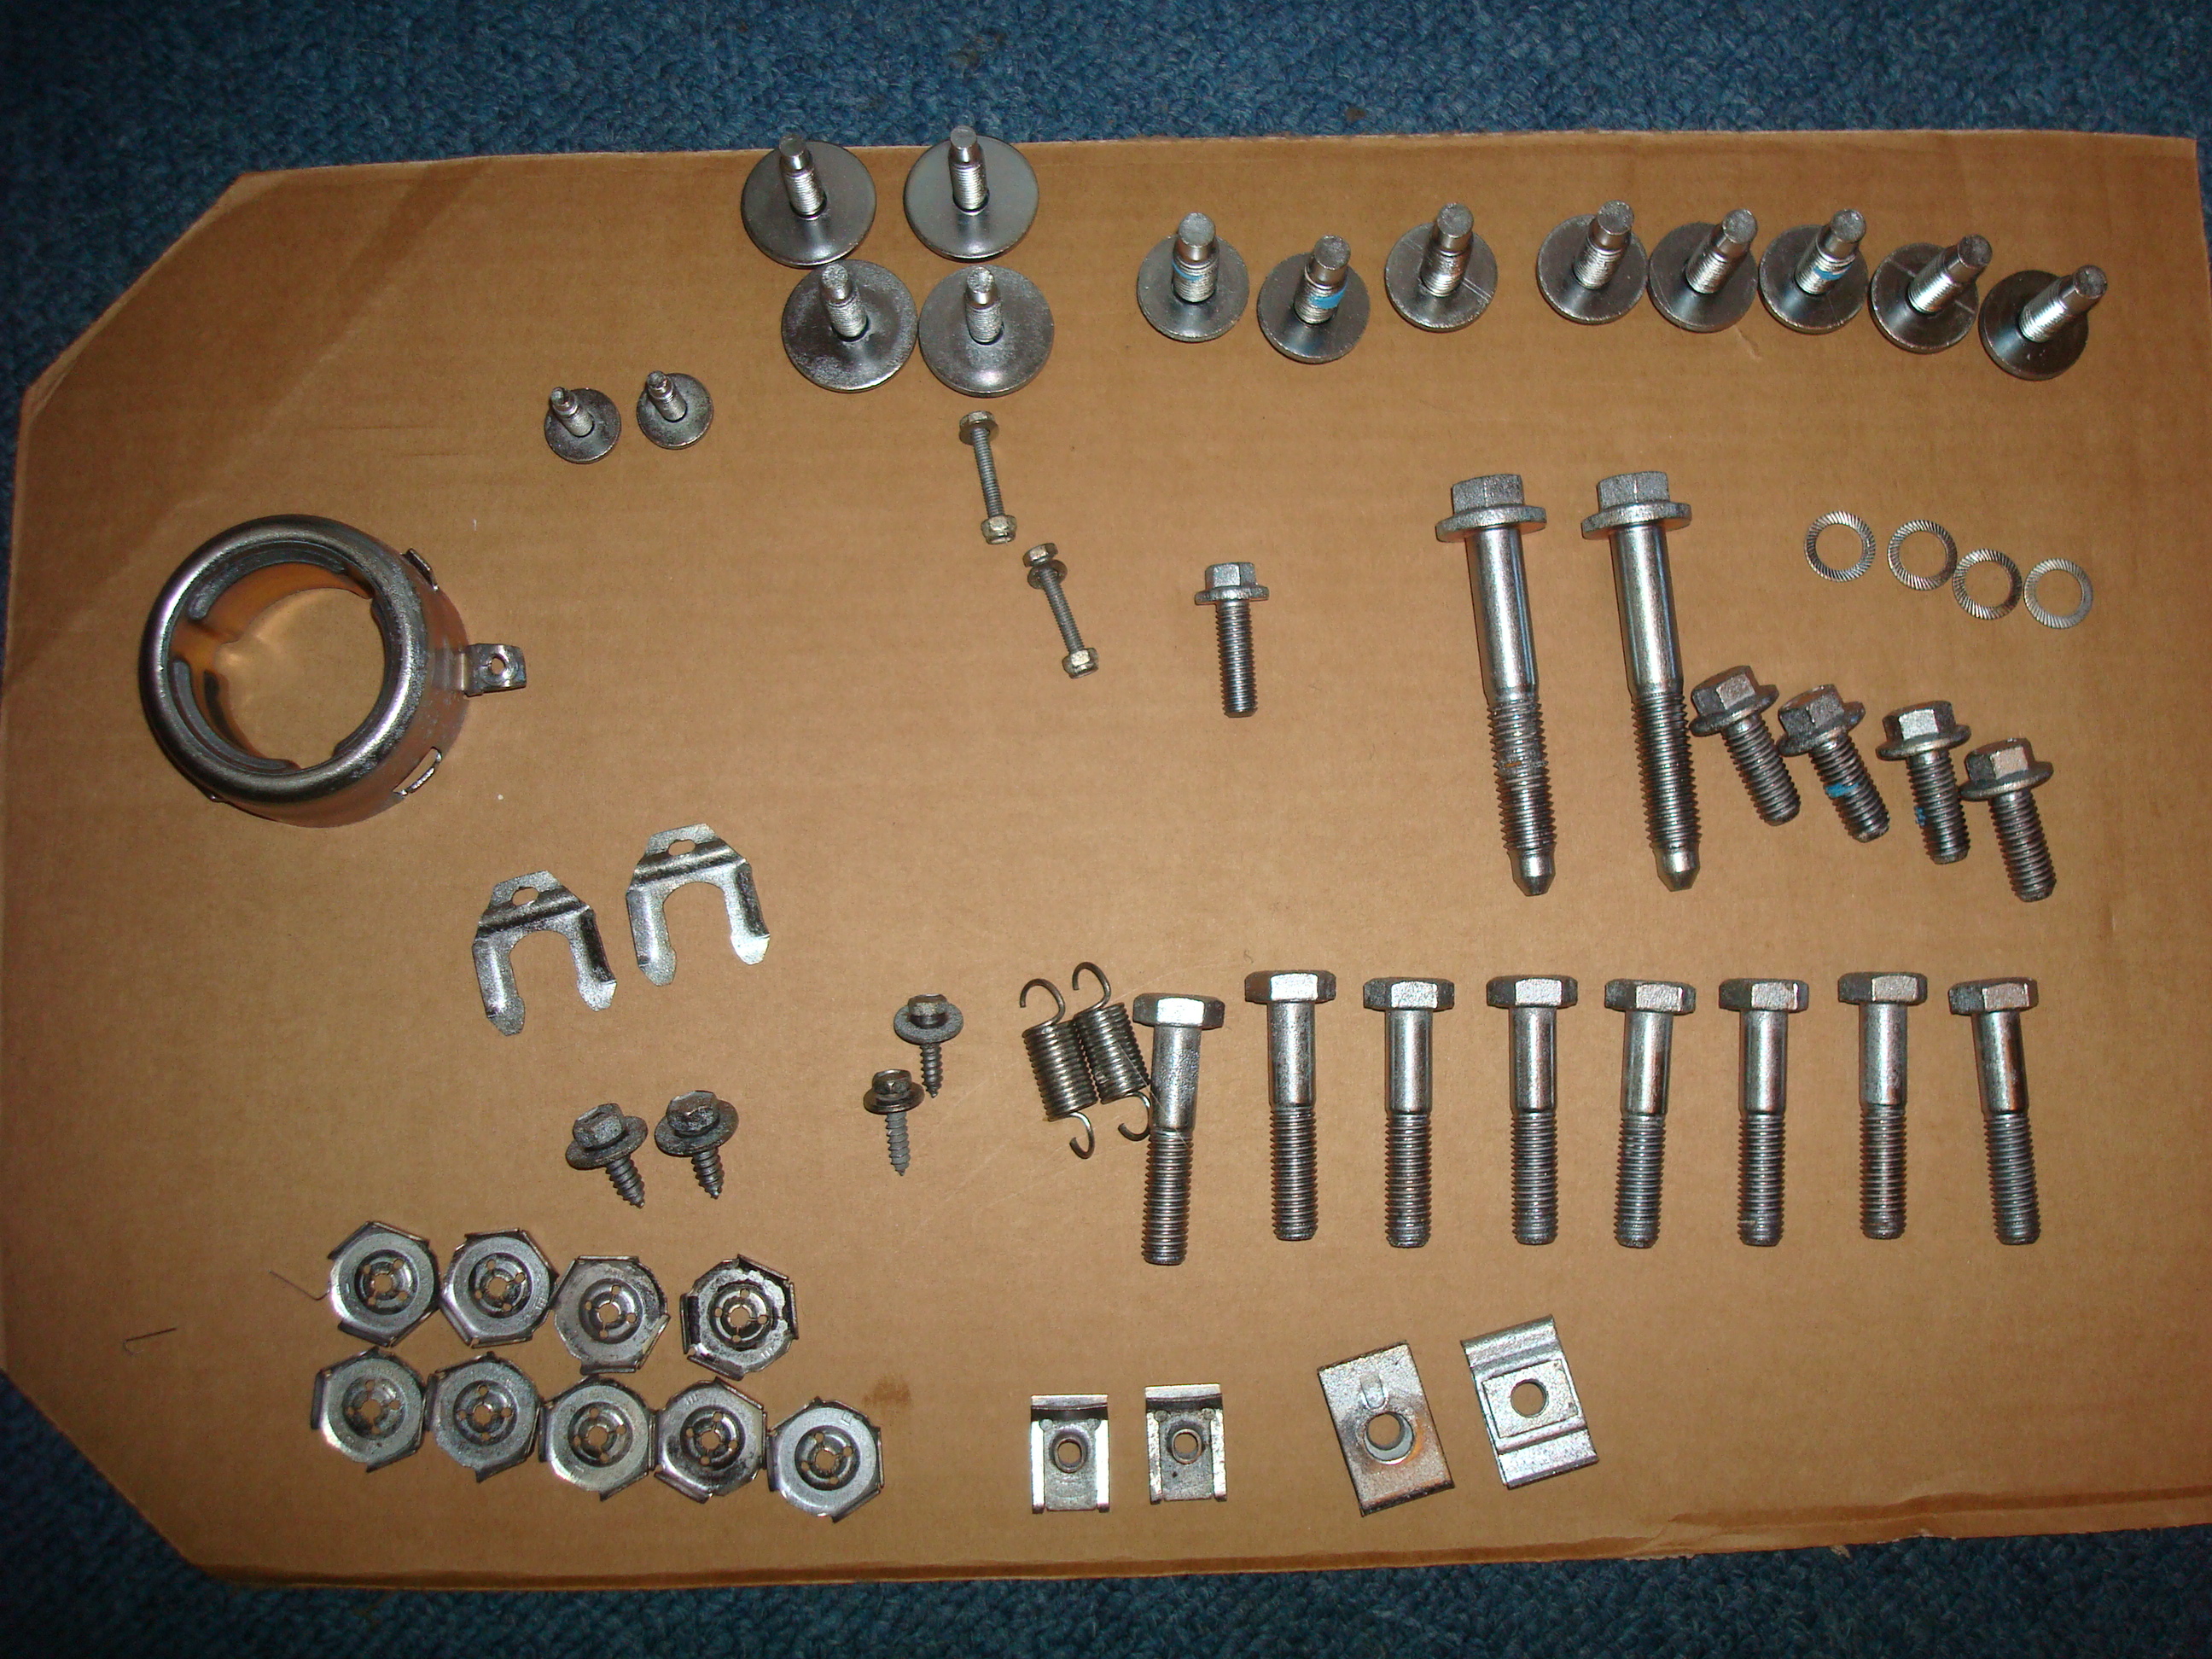
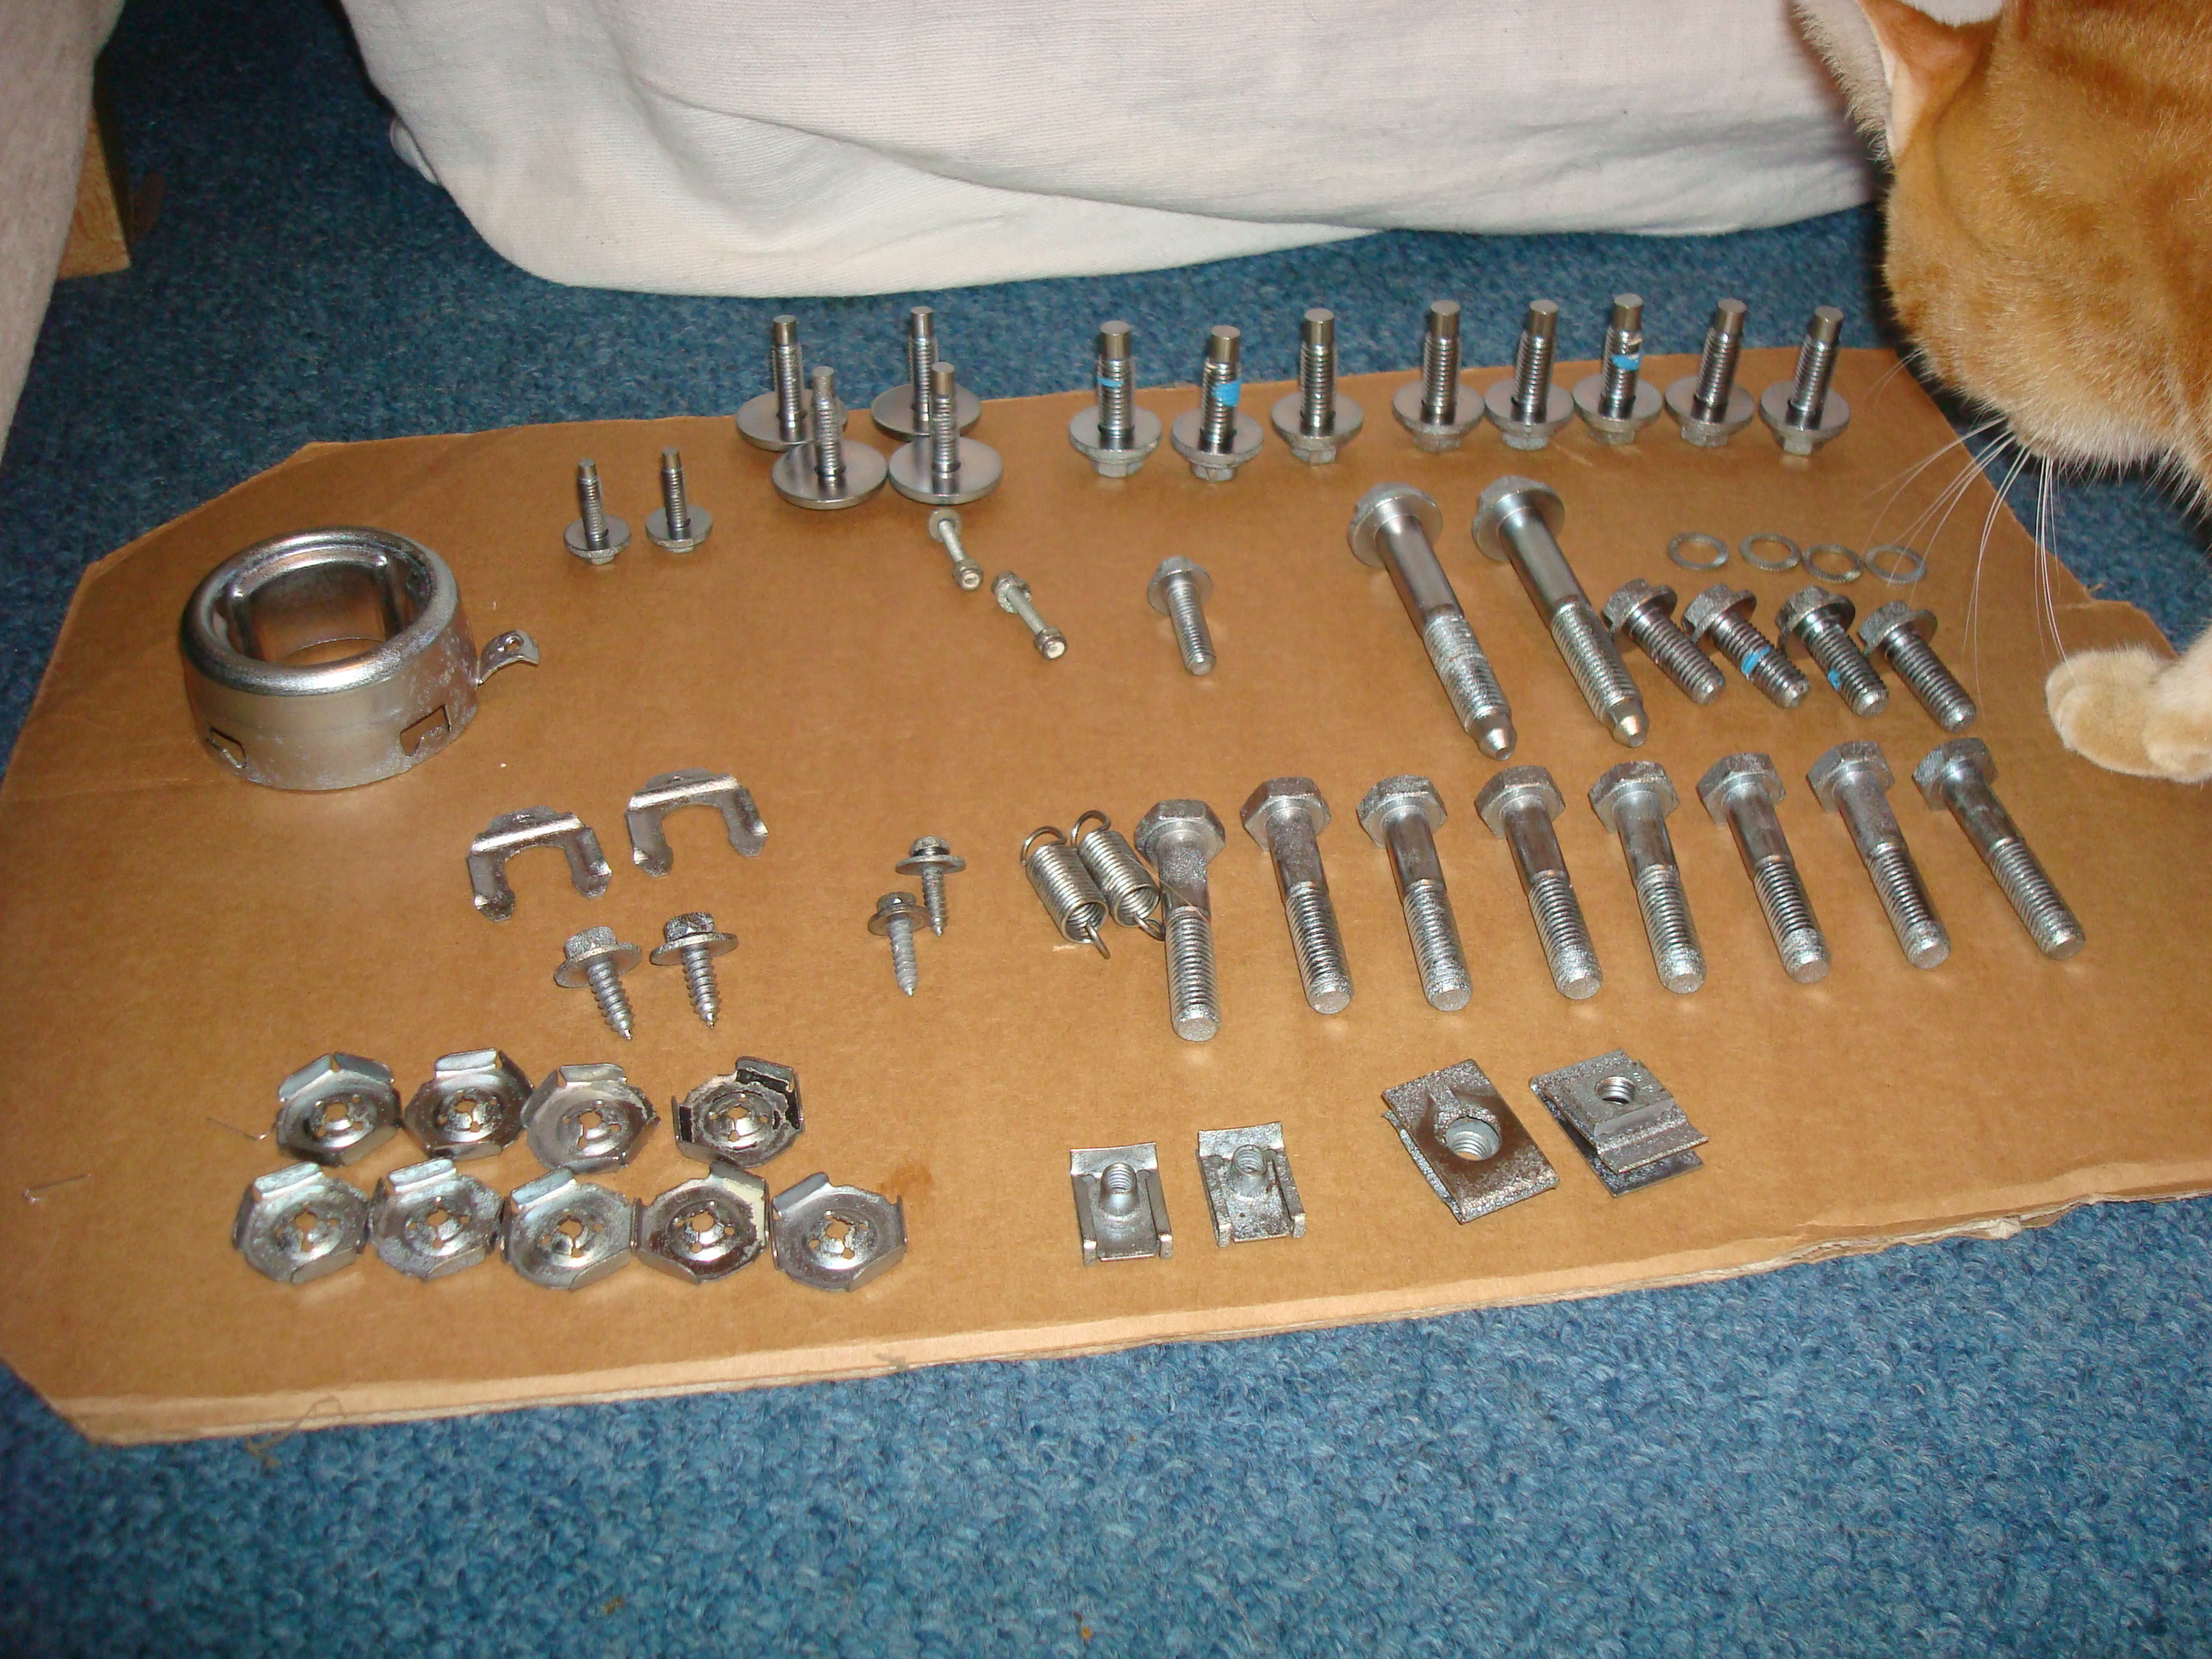
Monday 11/01/10
Been a while due to the Xmas period and New Years, unfortunately one day before new years me and the other half split up, so been sorting out living arrangements, bit of pressure on now to get the rear end of the car finished by the end of Feb as cant afford to stay here on my own, Trying to find someone to share with as its a rented three bedroom house. Anyway less of the misery back on with the car. Oh and before the hilarious comments fly it wasn't because I spent so much time with the car :!:
Bolts put on cardboard so that I don't loose any.

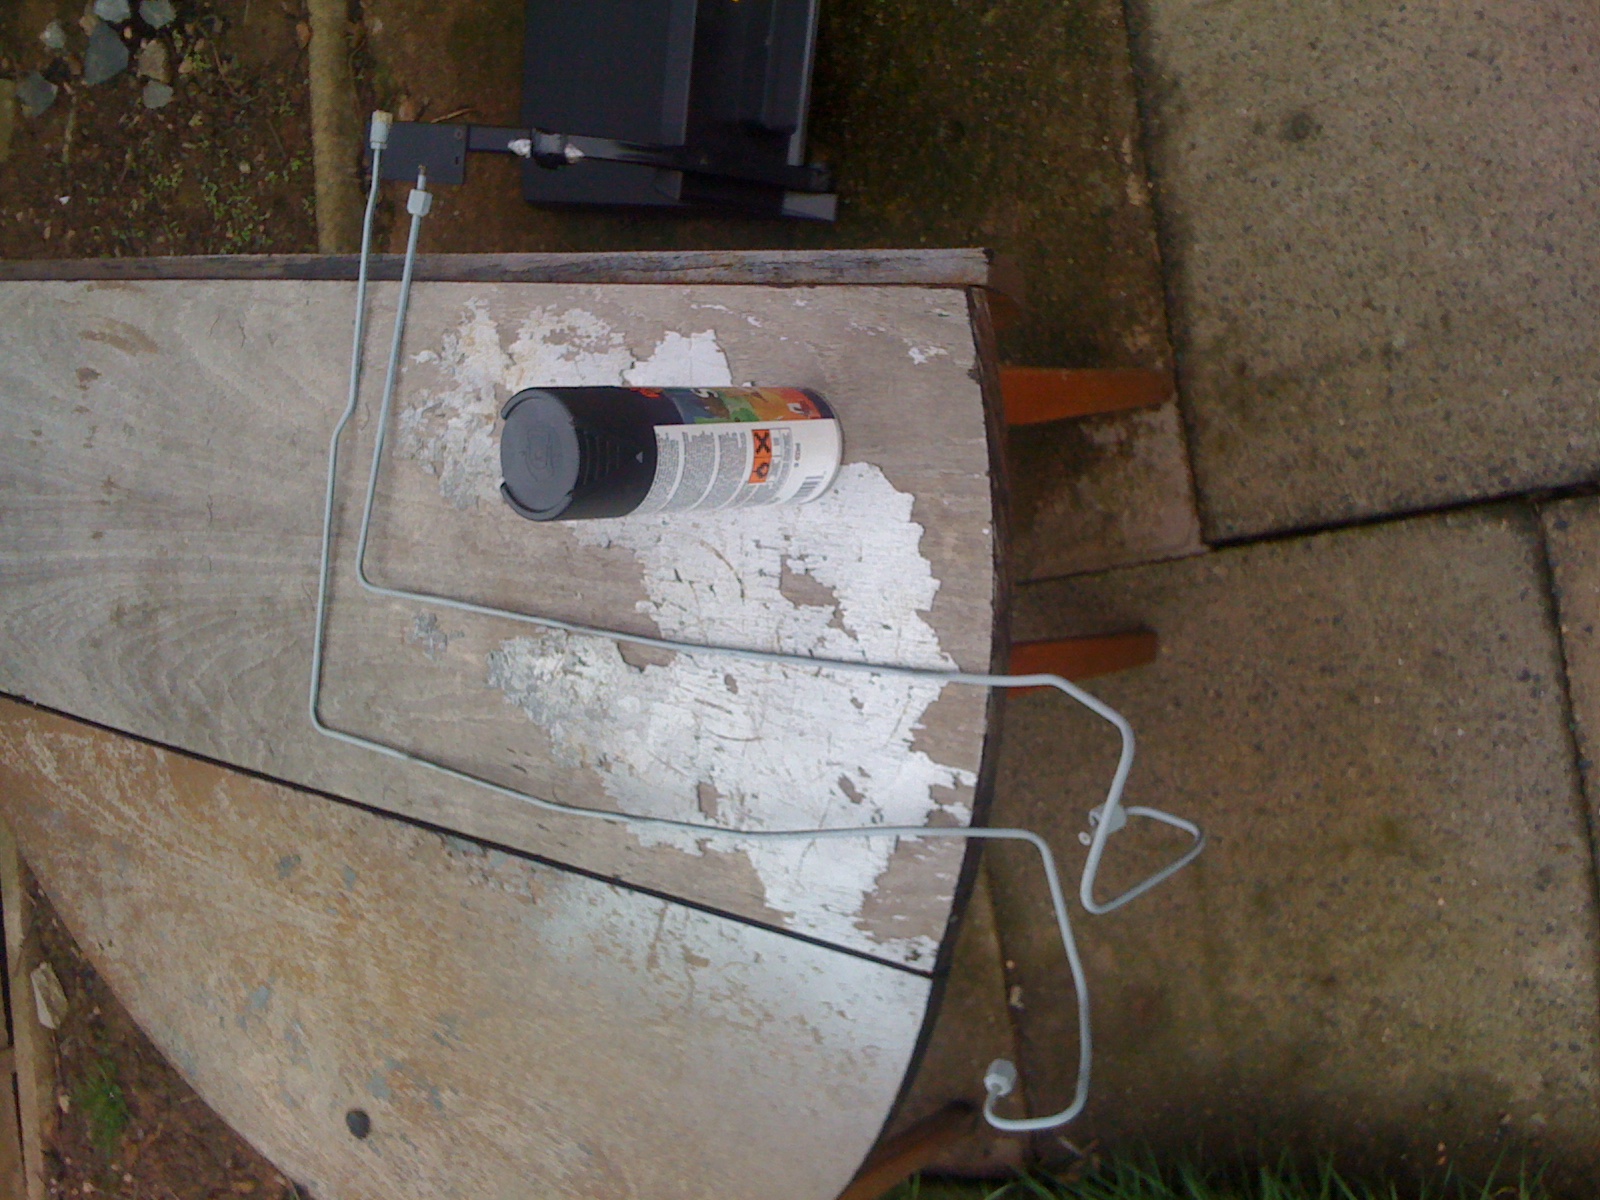
Rear brake lines before grey primer:
During whilst using the new work bench :
Now that most the furniture has gone with the ex the spare room has become the finished parts area instead of the kitchen
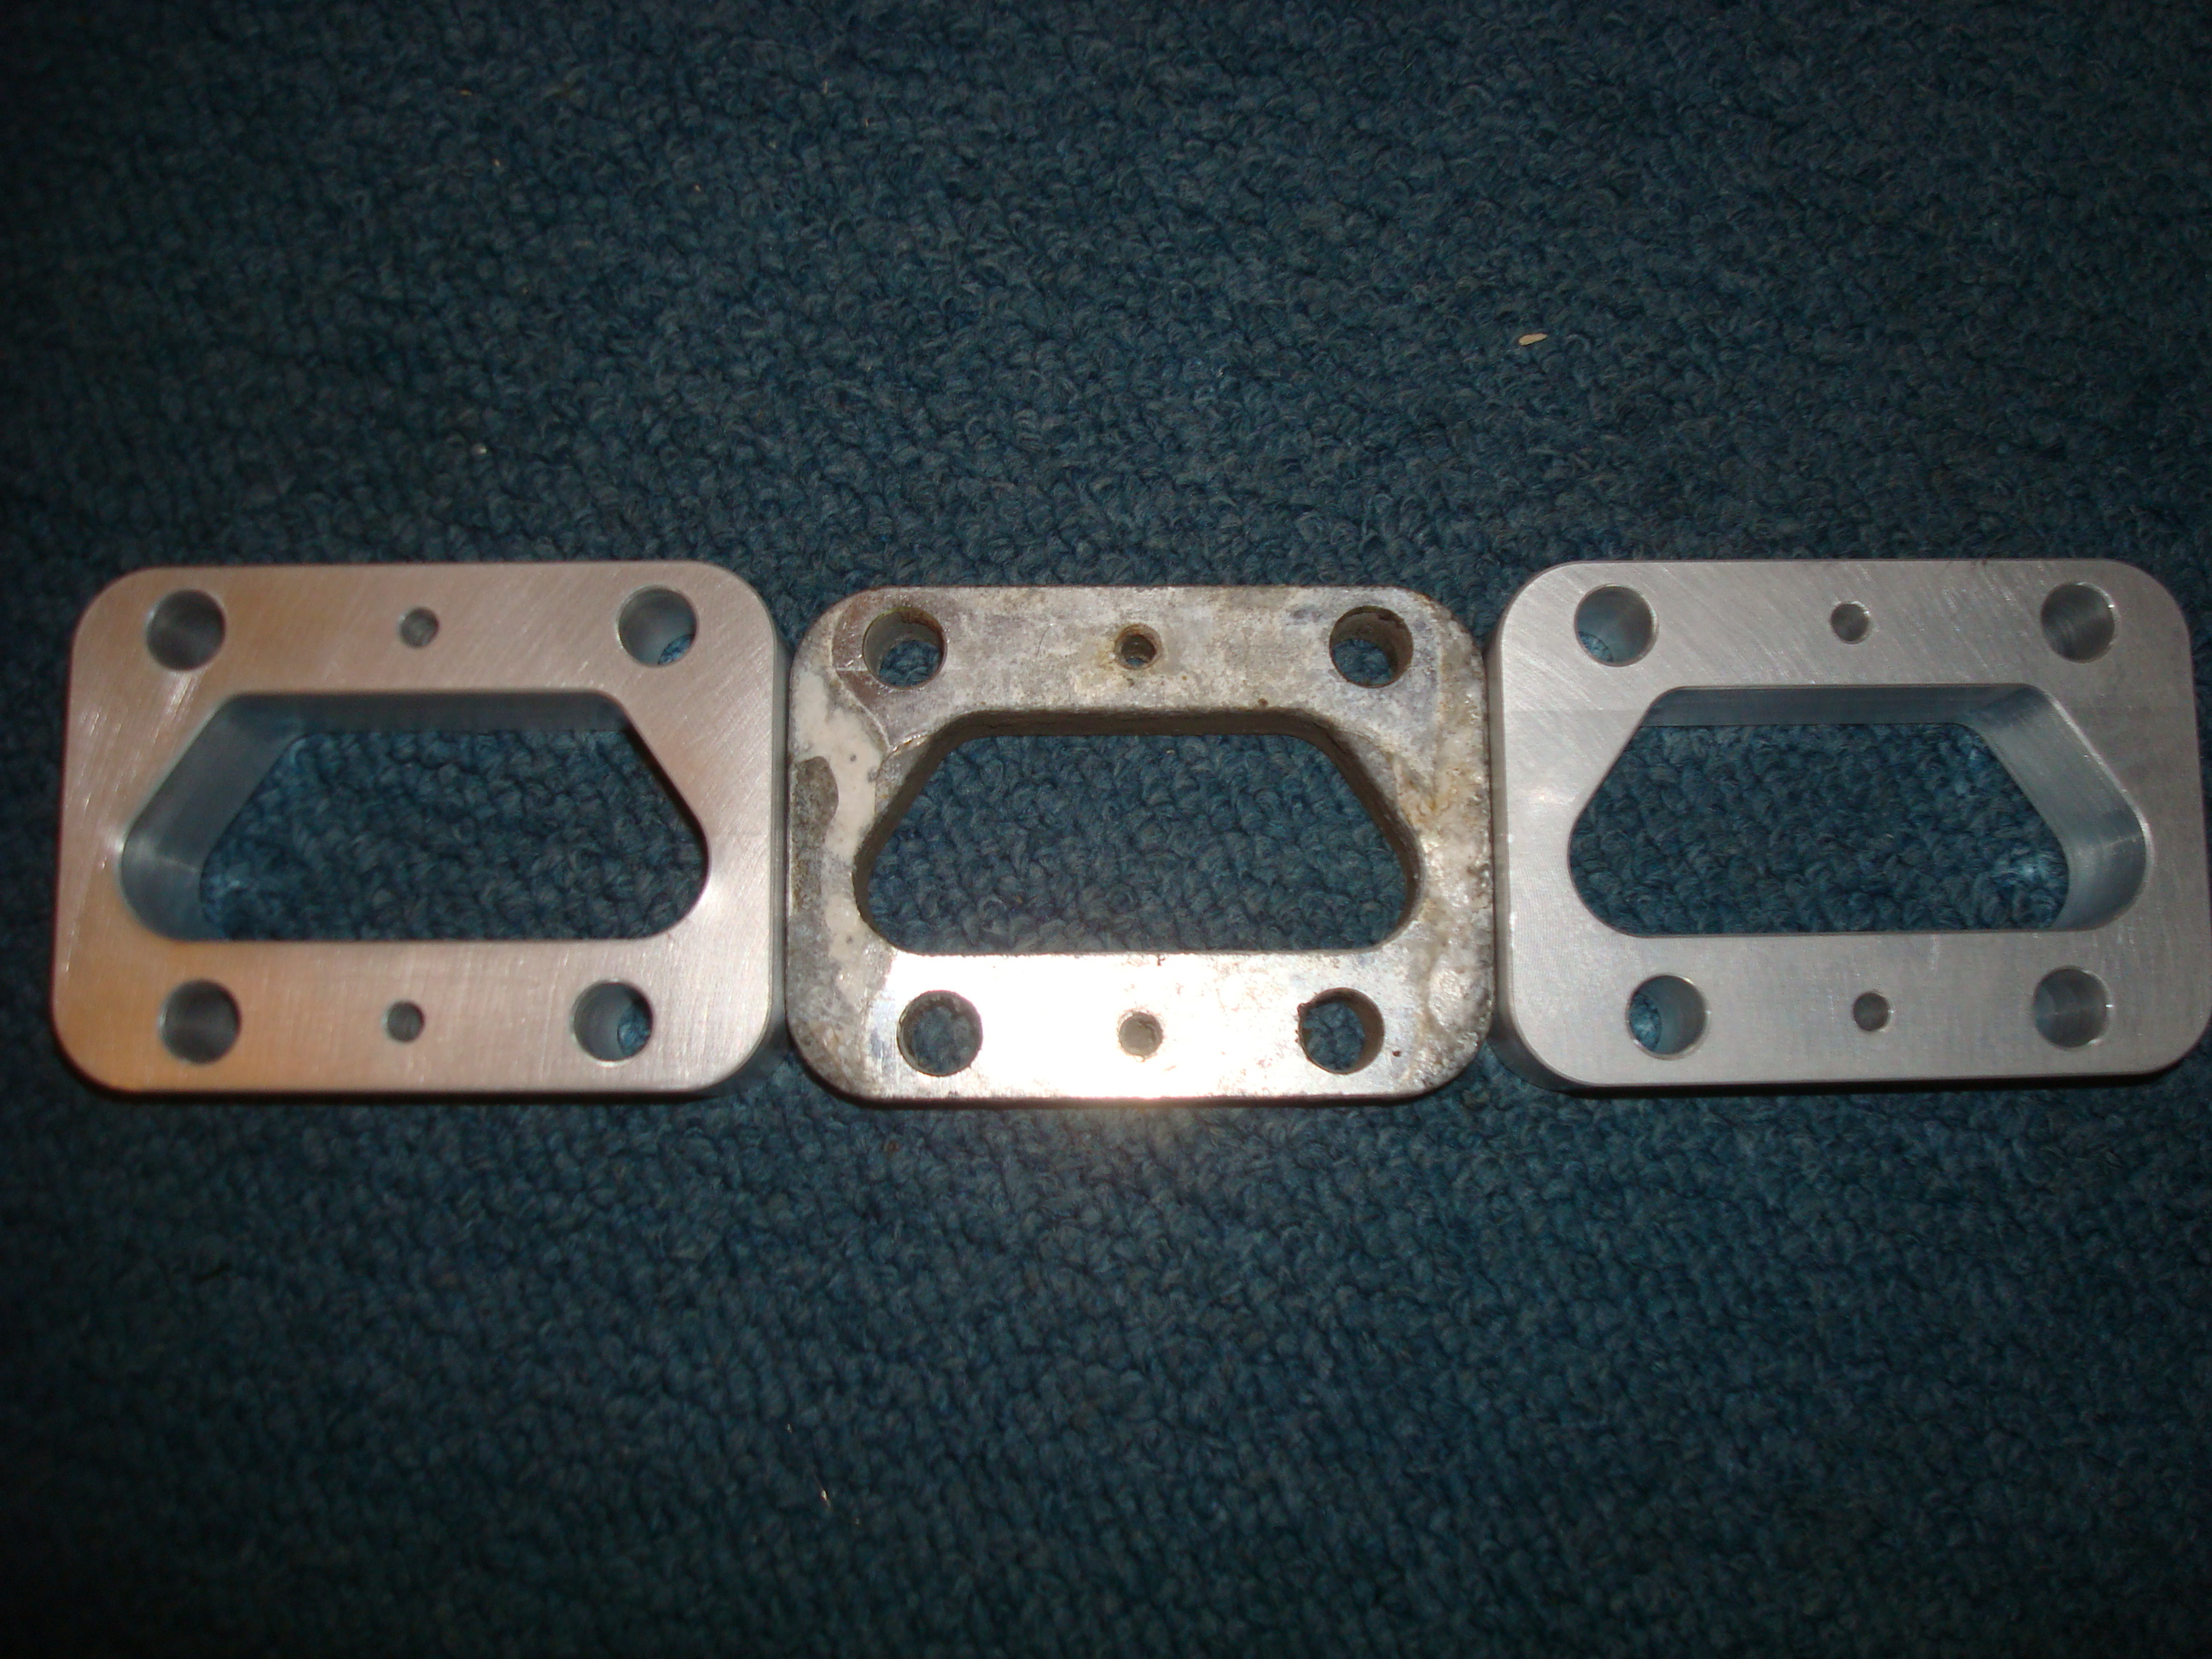
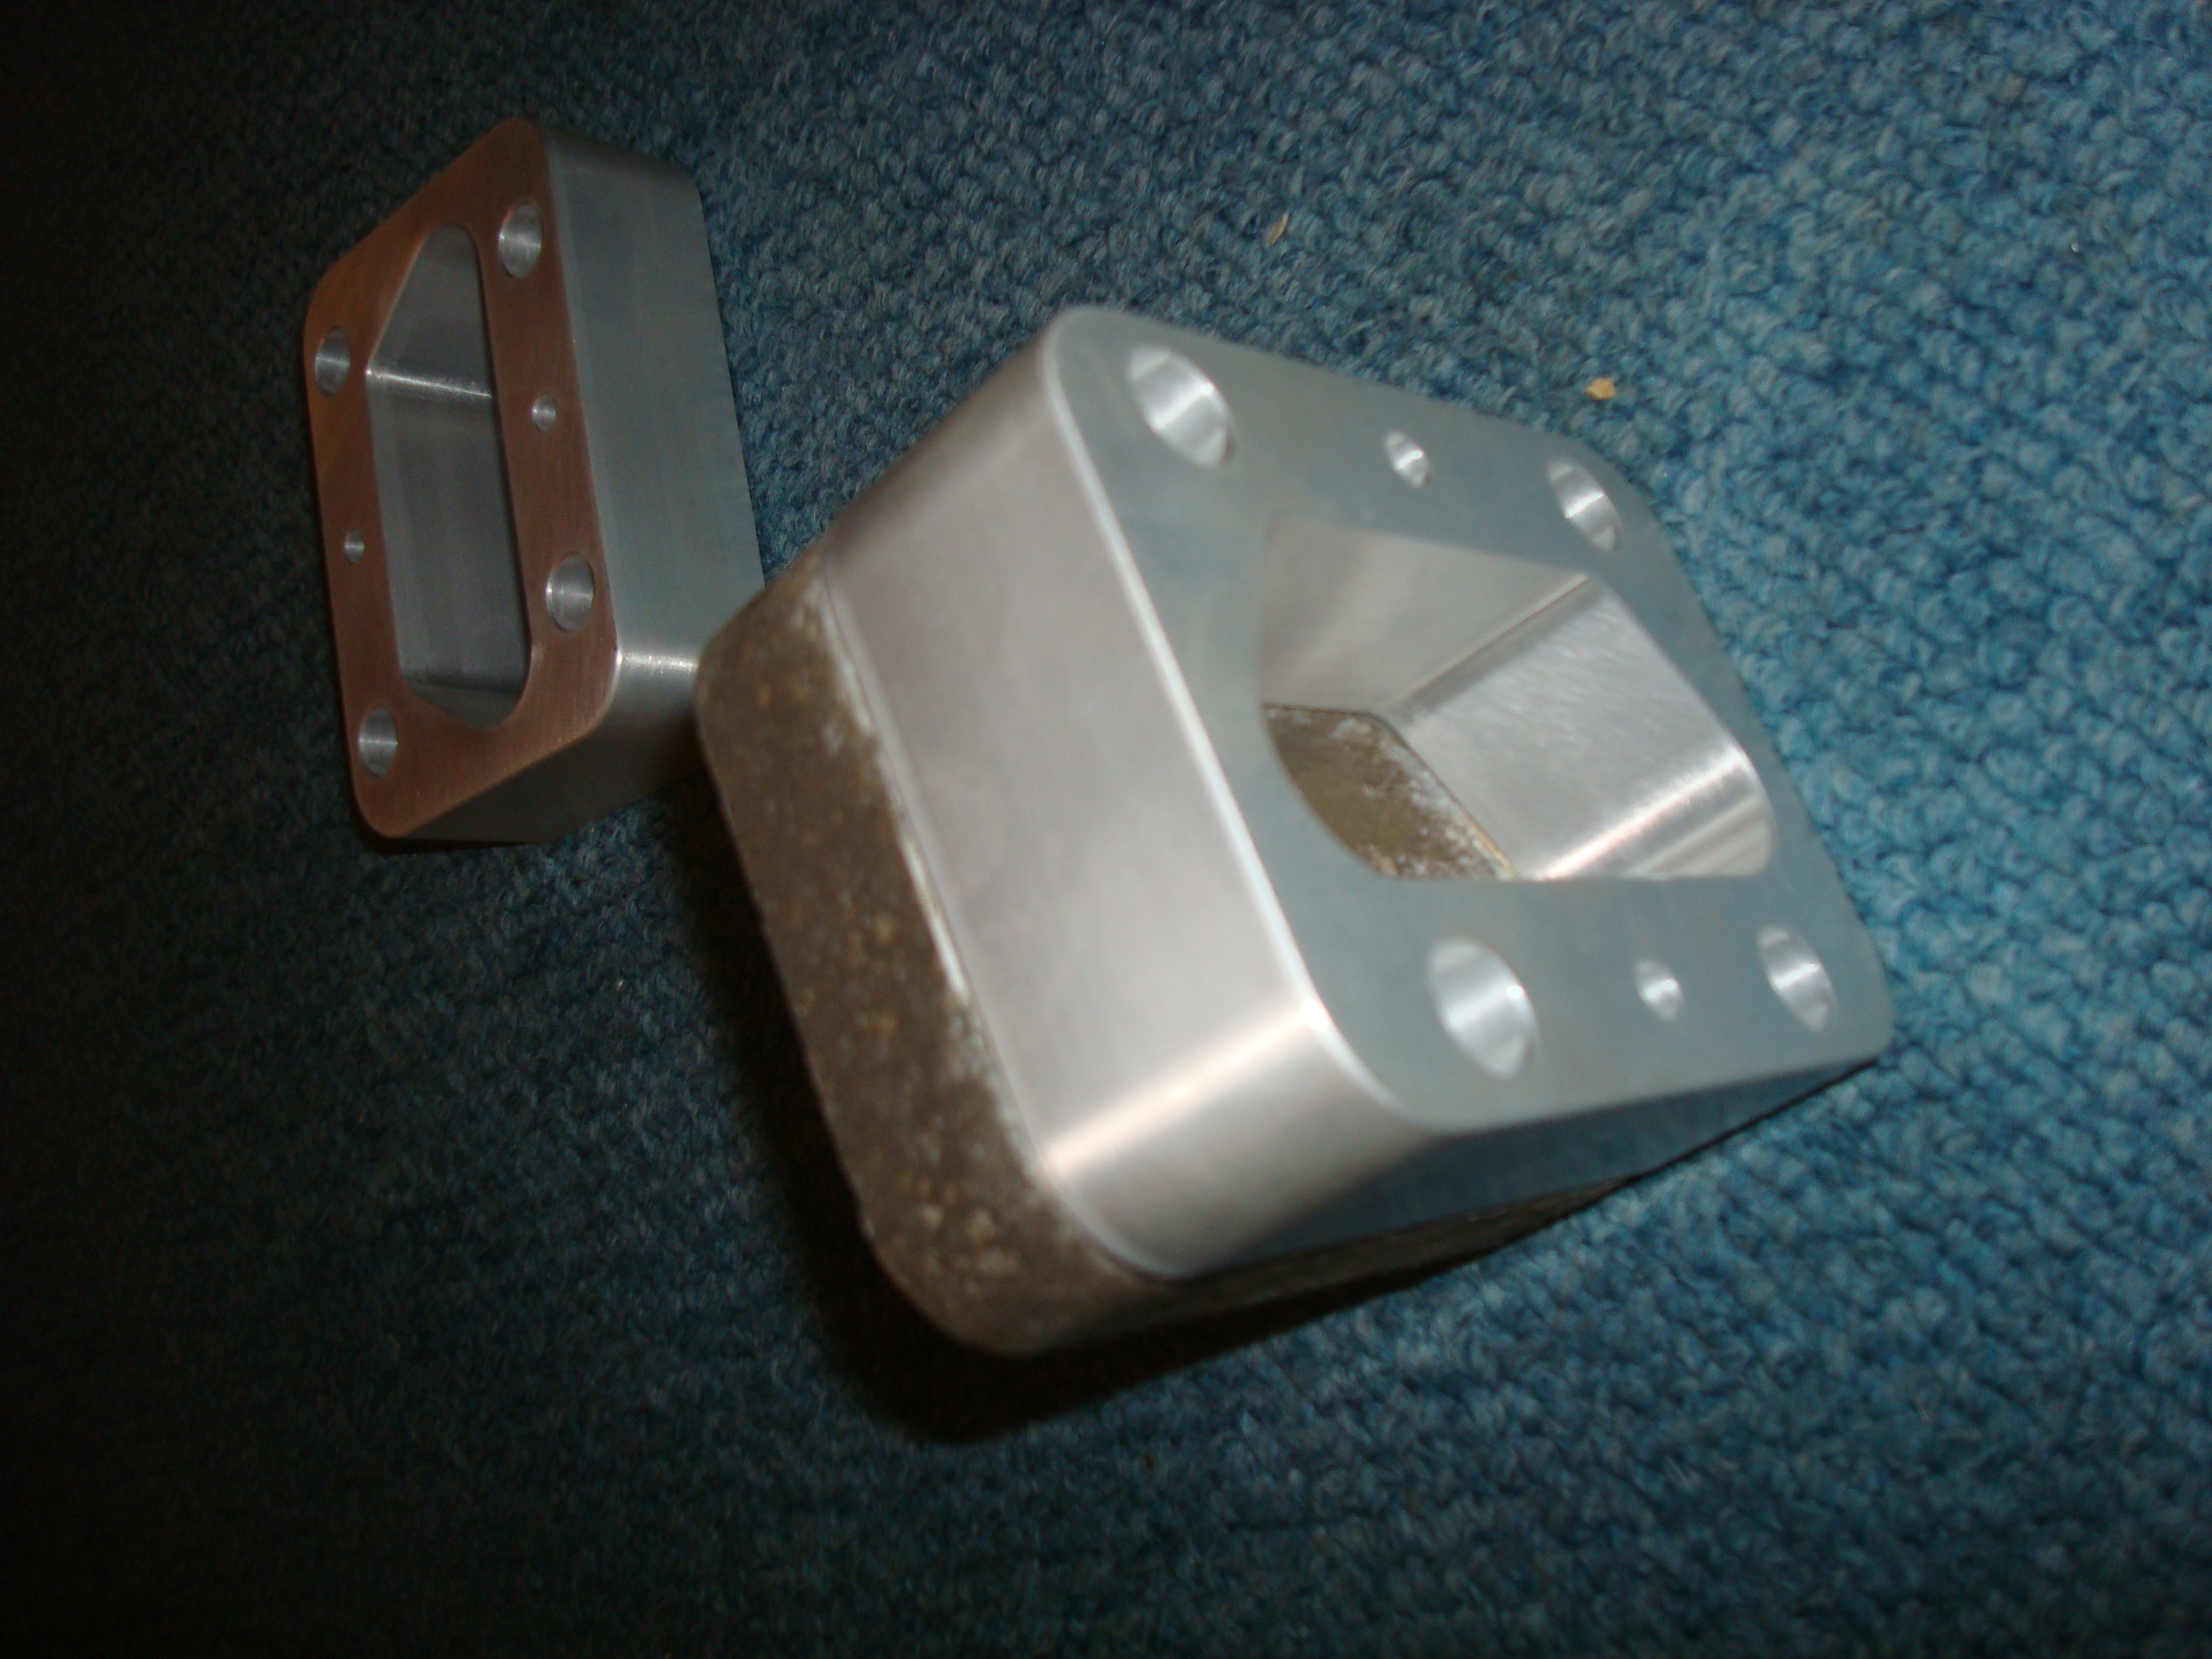
New 30mm Spacers knock up by a mate to match the press car width, if anyone else is interested, currently making more to order for �40 delivered for the pair.
Now struggling to get �100 together to get the rear beam shot blasted etc as spent the �200 off the old man on the chop in Nottingham New Years to drown my sorrows.
David
Been a while due to the Xmas period and New Years, unfortunately one day before new years me and the other half split up, so been sorting out living arrangements, bit of pressure on now to get the rear end of the car finished by the end of Feb as cant afford to stay here on my own, Trying to find someone to share with as its a rented three bedroom house. Anyway less of the misery back on with the car. Oh and before the hilarious comments fly it wasn't because I spent so much time with the car :!:
Bolts put on cardboard so that I don't loose any.
Rear brake lines before grey primer:
During whilst using the new work bench
:Now that most the furniture has gone with the ex the spare room has become the finished parts area instead of the kitchen
New 30mm Spacers knock up by a mate to match the press car width, if anyone else is interested, currently making more to order for �40 delivered for the pair.
Now struggling to get �100 together to get the rear beam shot blasted etc as spent the �200 off the old man on the chop in Nottingham New Years to drown my sorrows.
David
20-04-2010, 11:00 PM
#97
Wahay!! I've lost my Virginity!!
Thread Starter
Join Date: Dec 2009
Location: Malvern
Posts: 69
Likes: 0
Received 0 Likes
on
0 Posts
Right all, after being of the radar for a while, been covert for long enough back with an update.
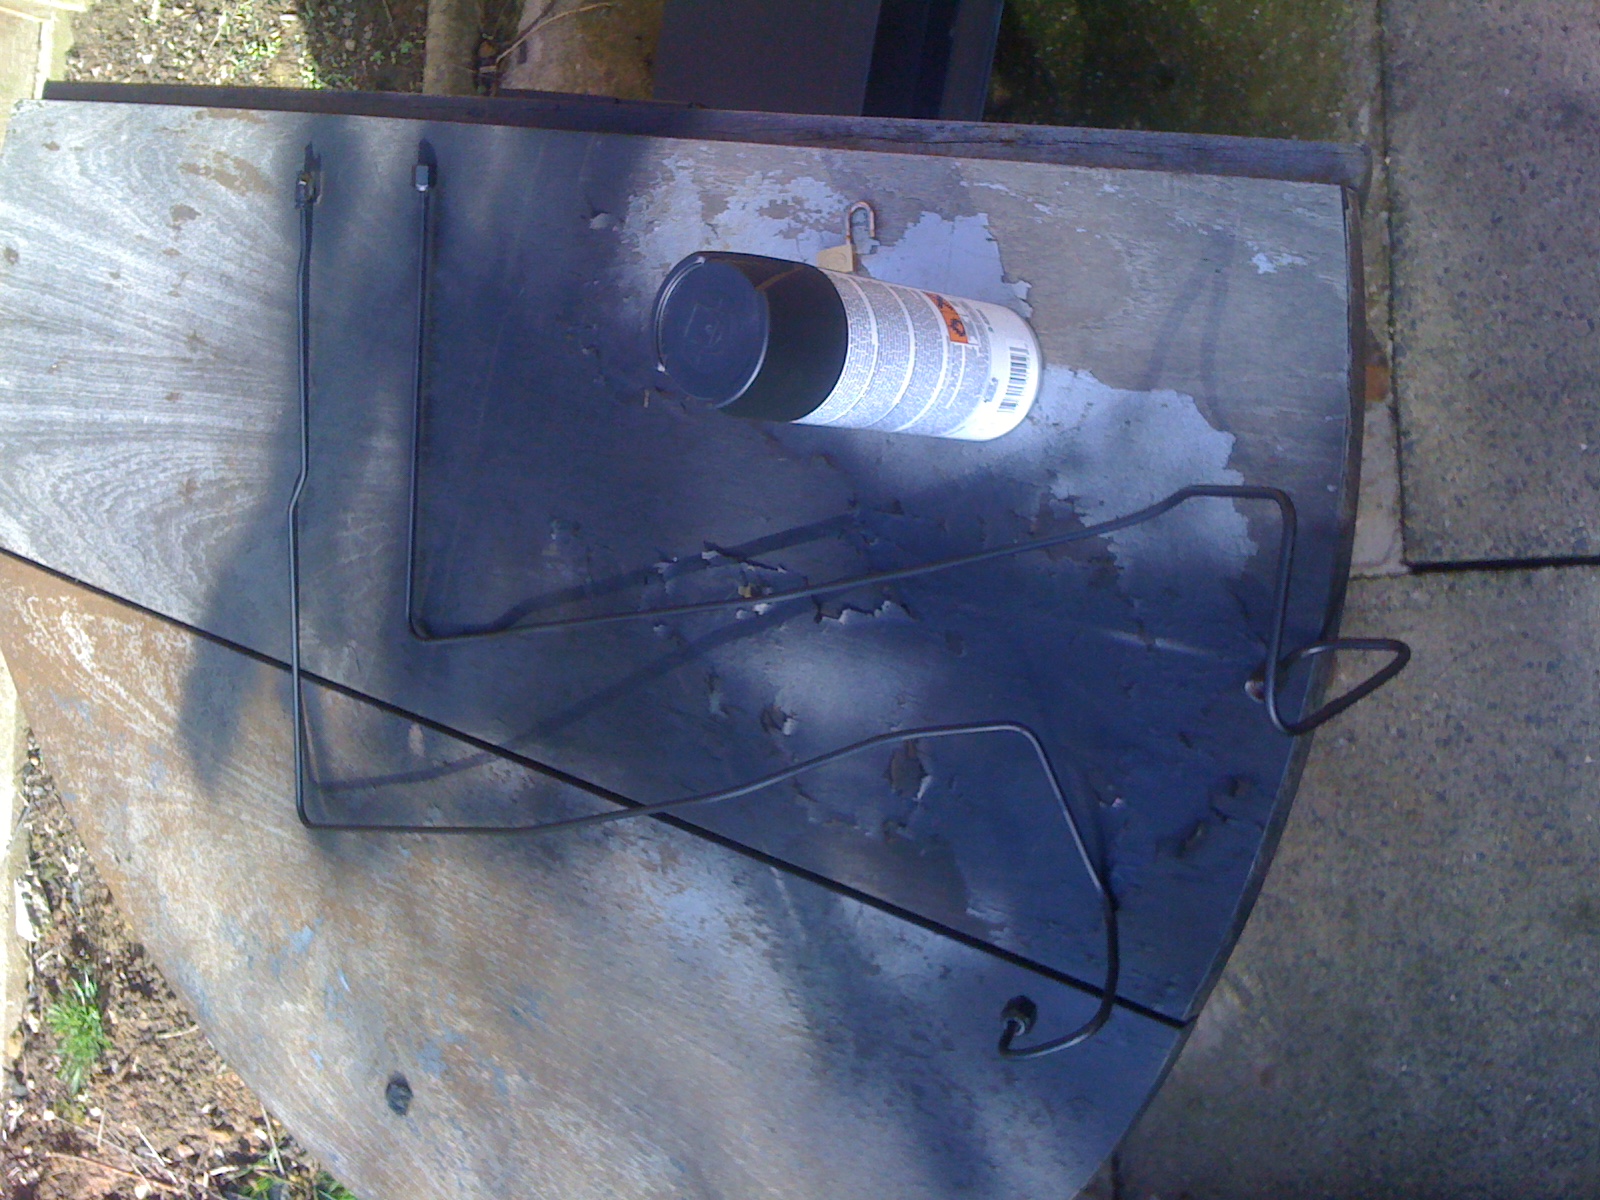
Sprayed up brake lines with some black spray paint I had left floating about.
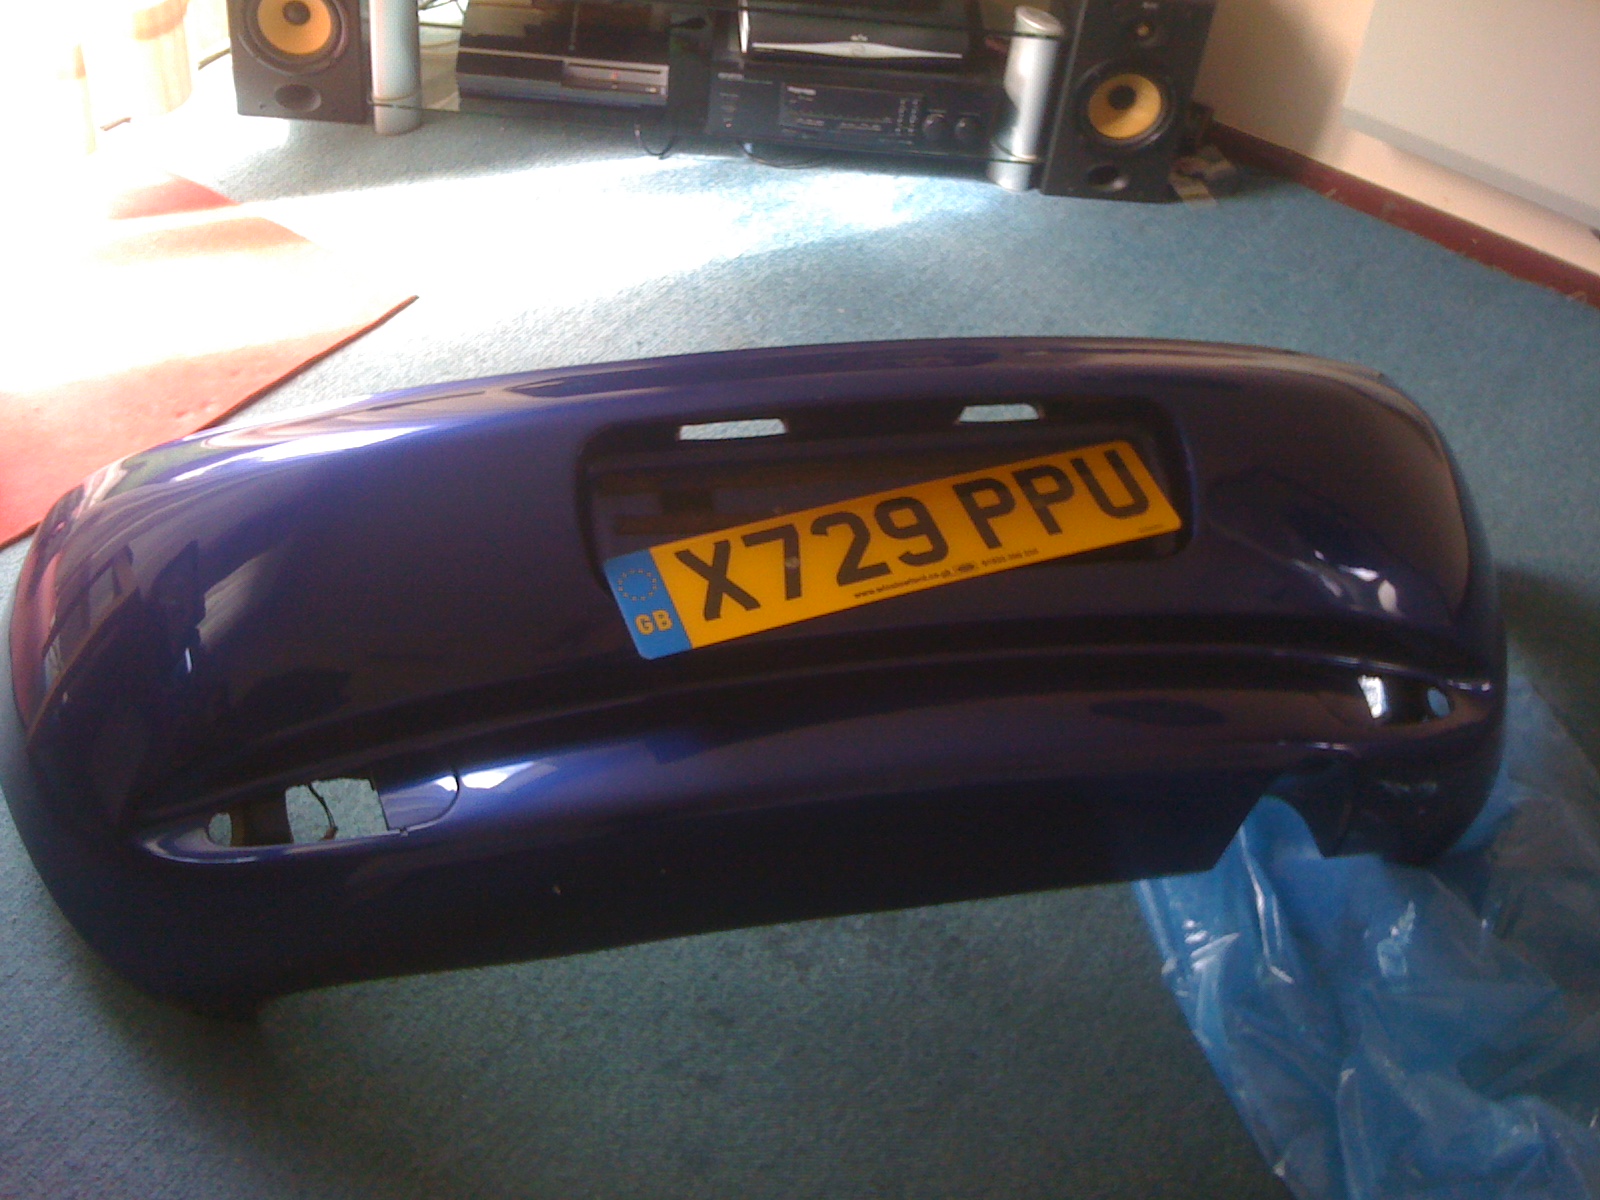
Took rear bumper out the shed to clean it up but decided that it could do with a respray so taking it to my mates at the start of next month Also replacing rear reg plate as dont like reg plates with screw holes in them
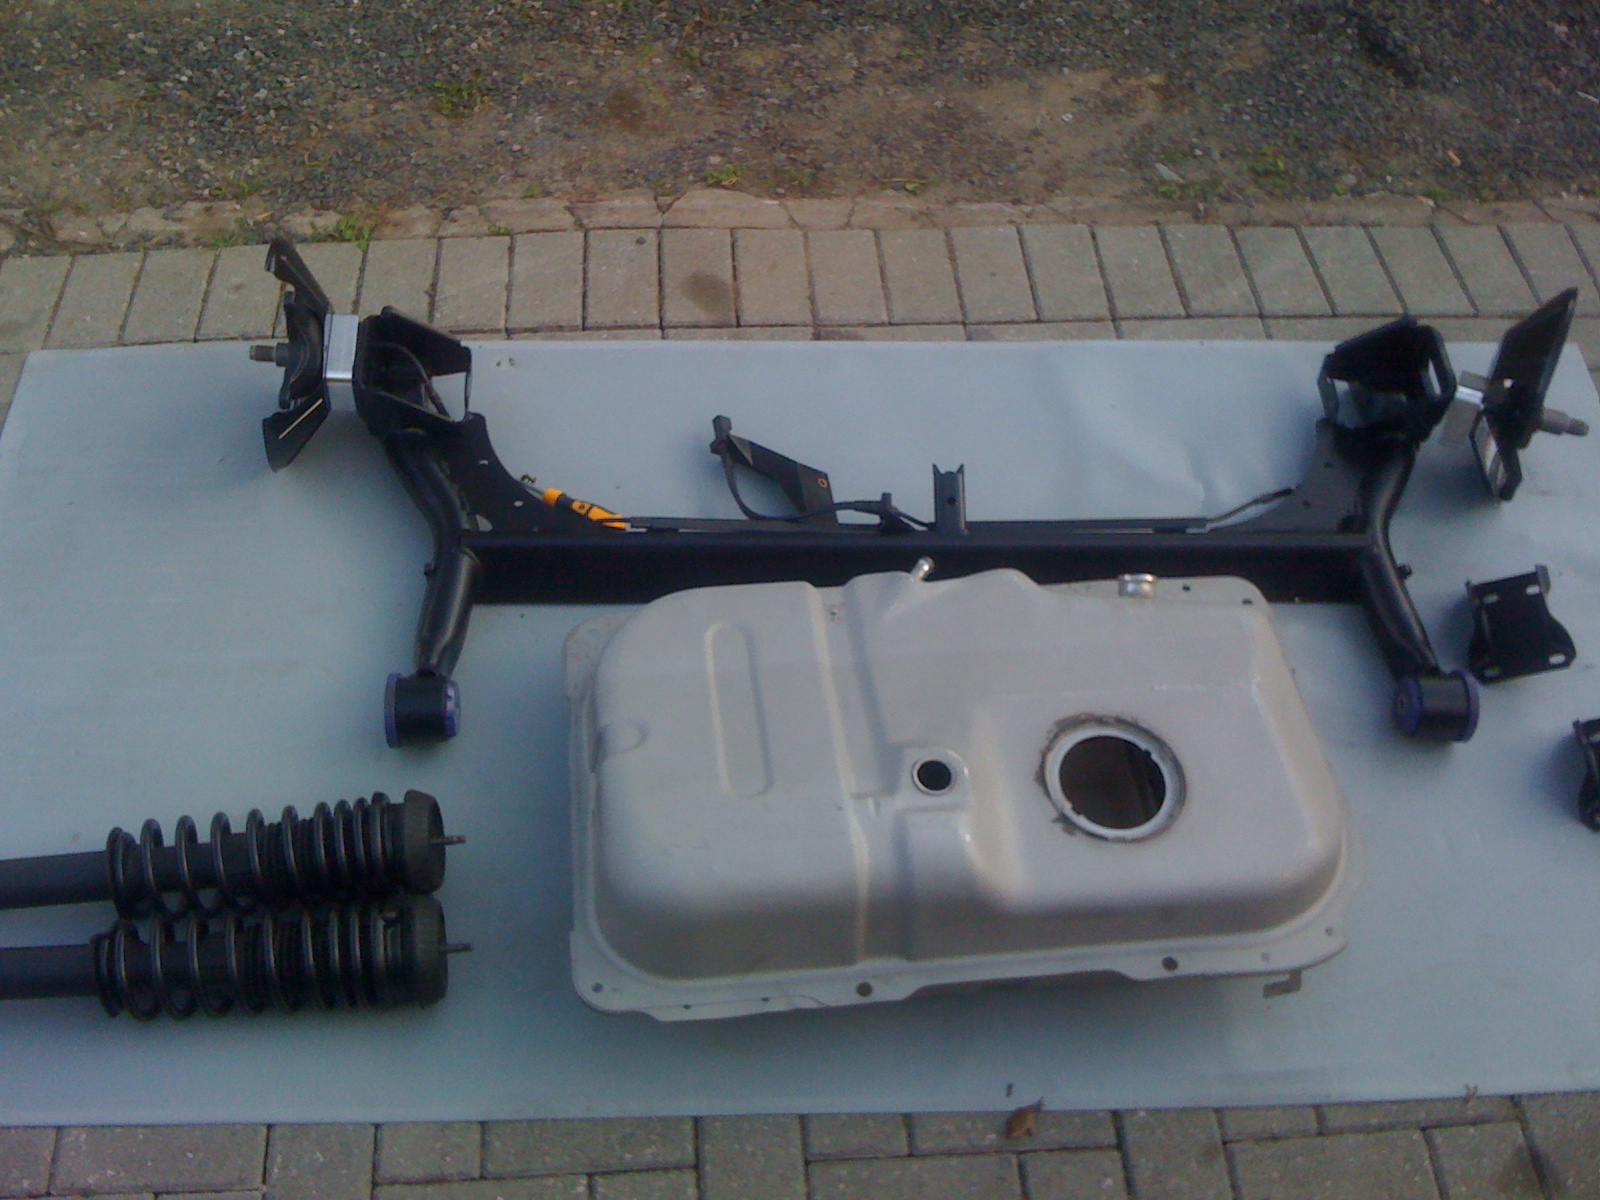
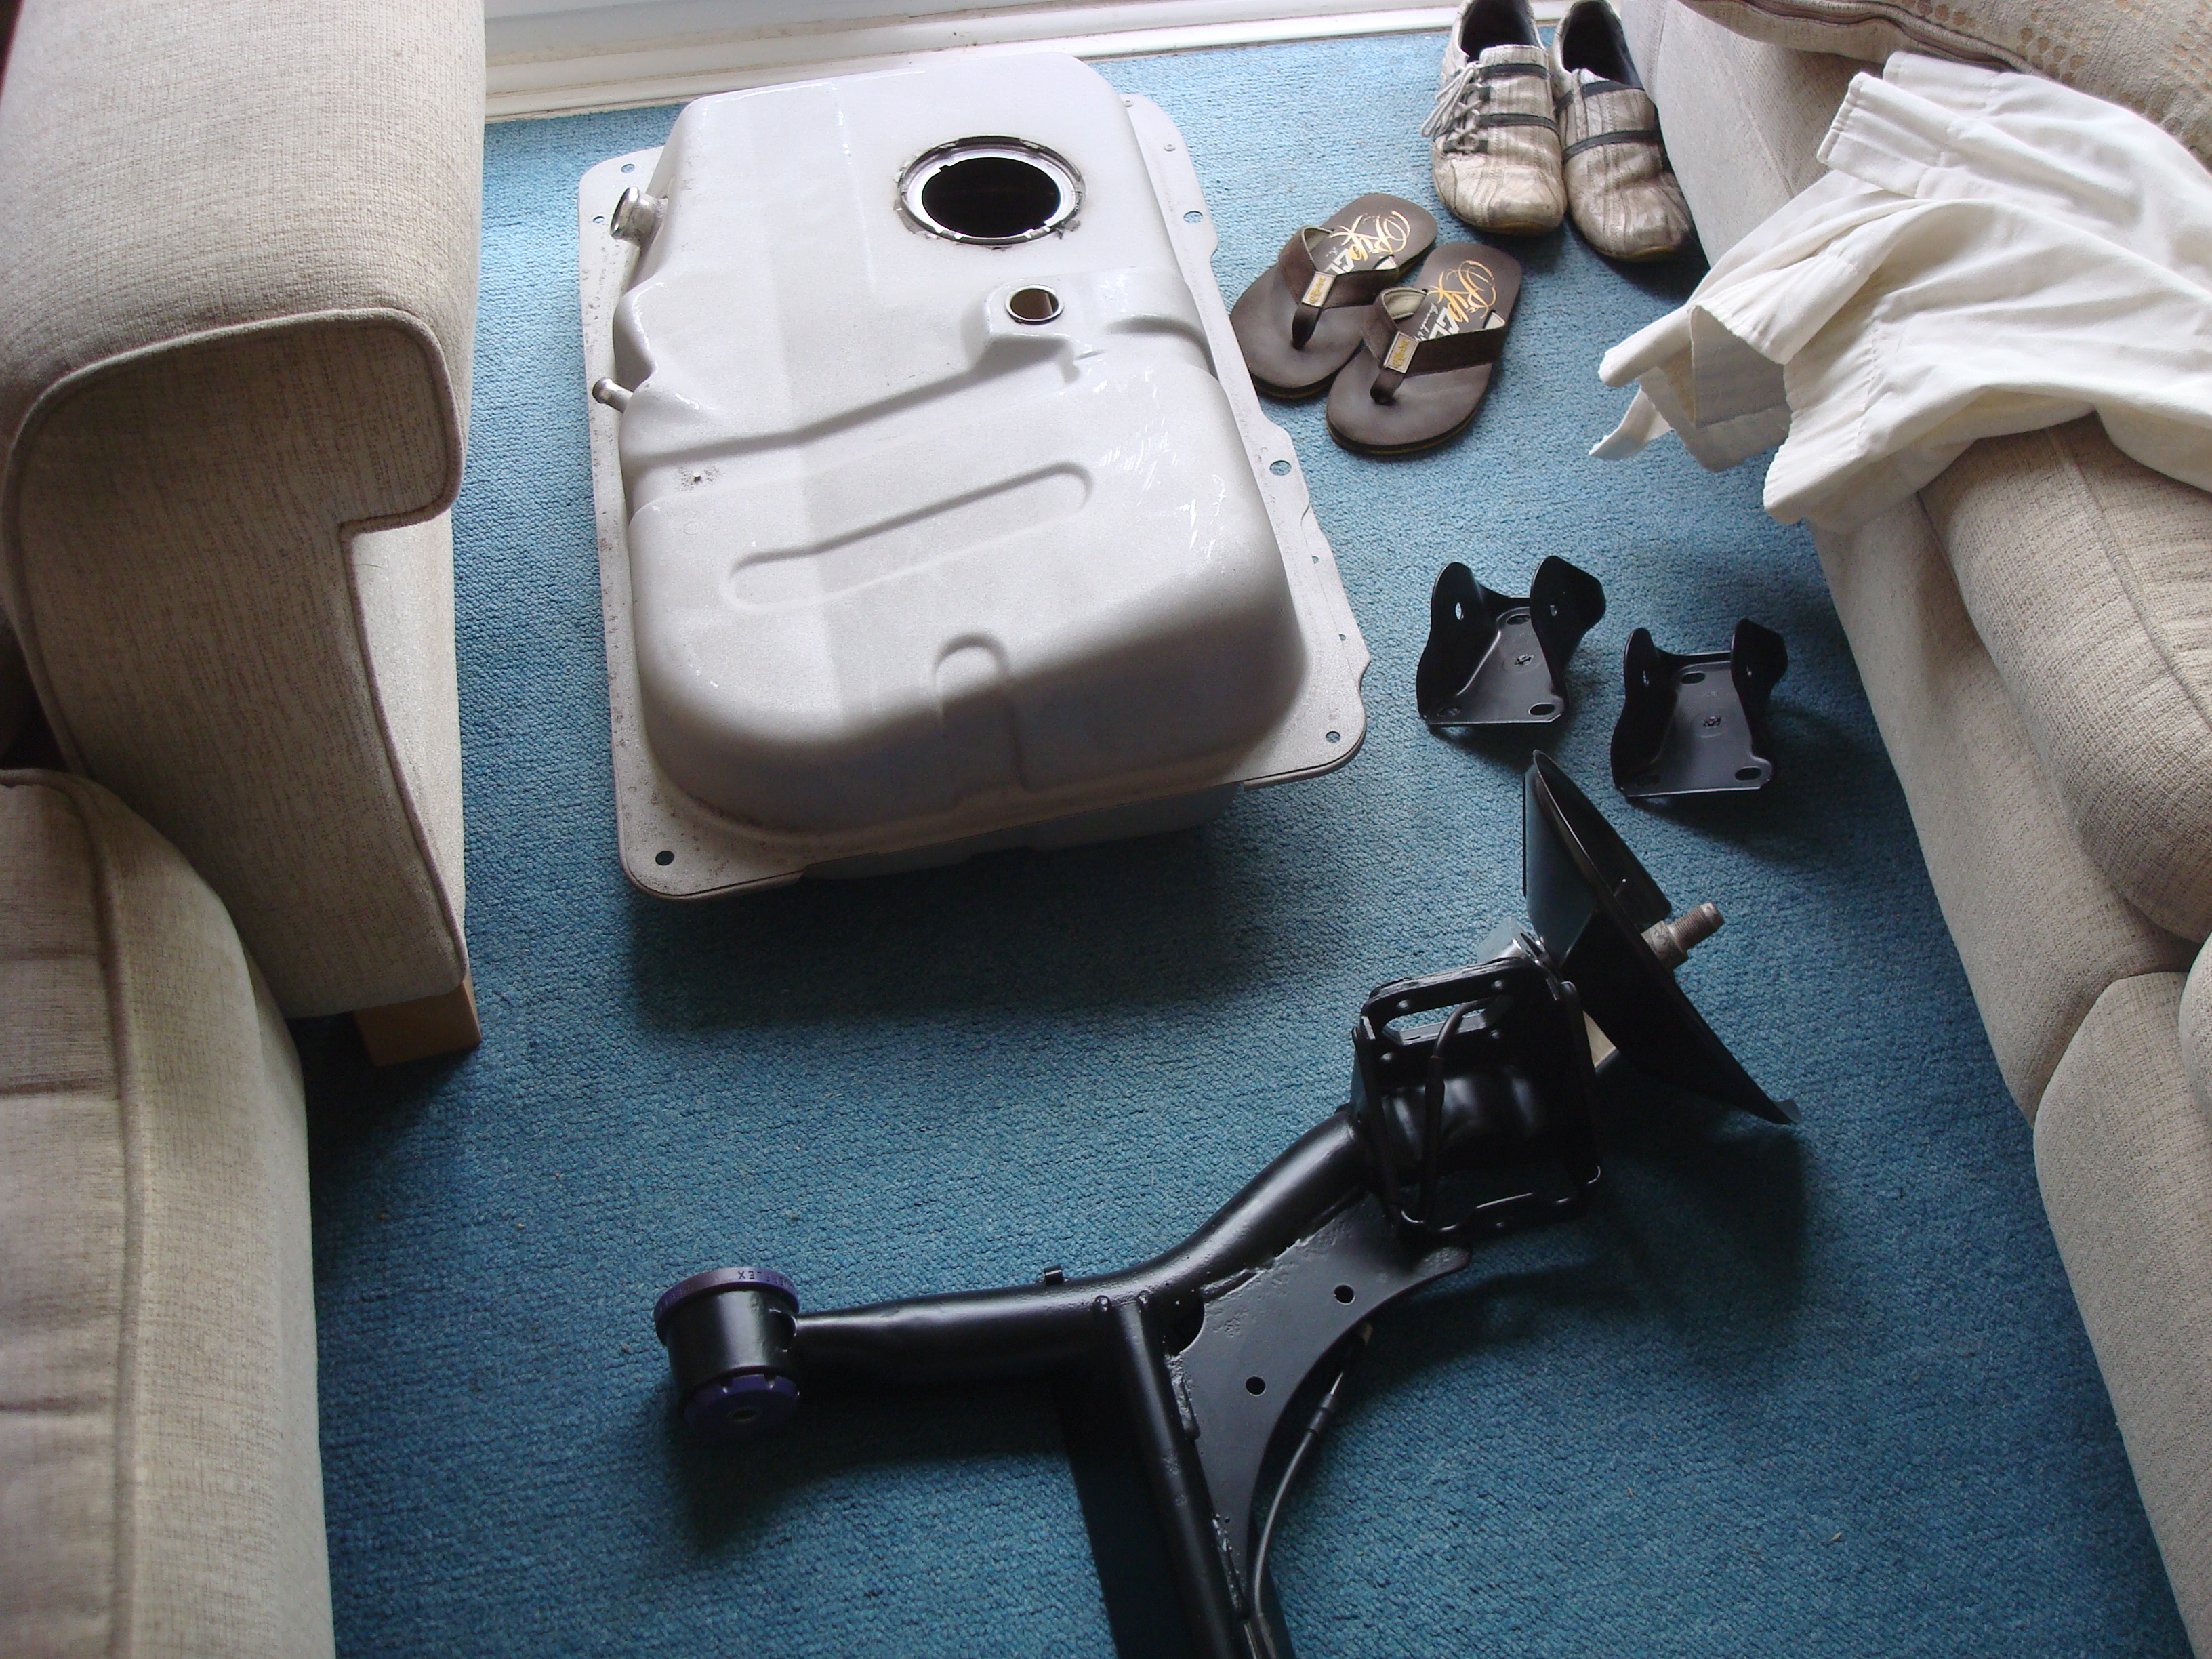
Couple of weeks back friend dropped my rear beam tank etc at the shot blasters / powder coaters collected them today and really happy with the results. Unfortunately the fuel tank has been shot blasted but not powder coated as it has a plastic baffle on the inside, so will be spraying in up over the weekend, thinking of just using hammer rite silver spray paint anyone suggest any alternatives or do we think hammer rite should be fine?
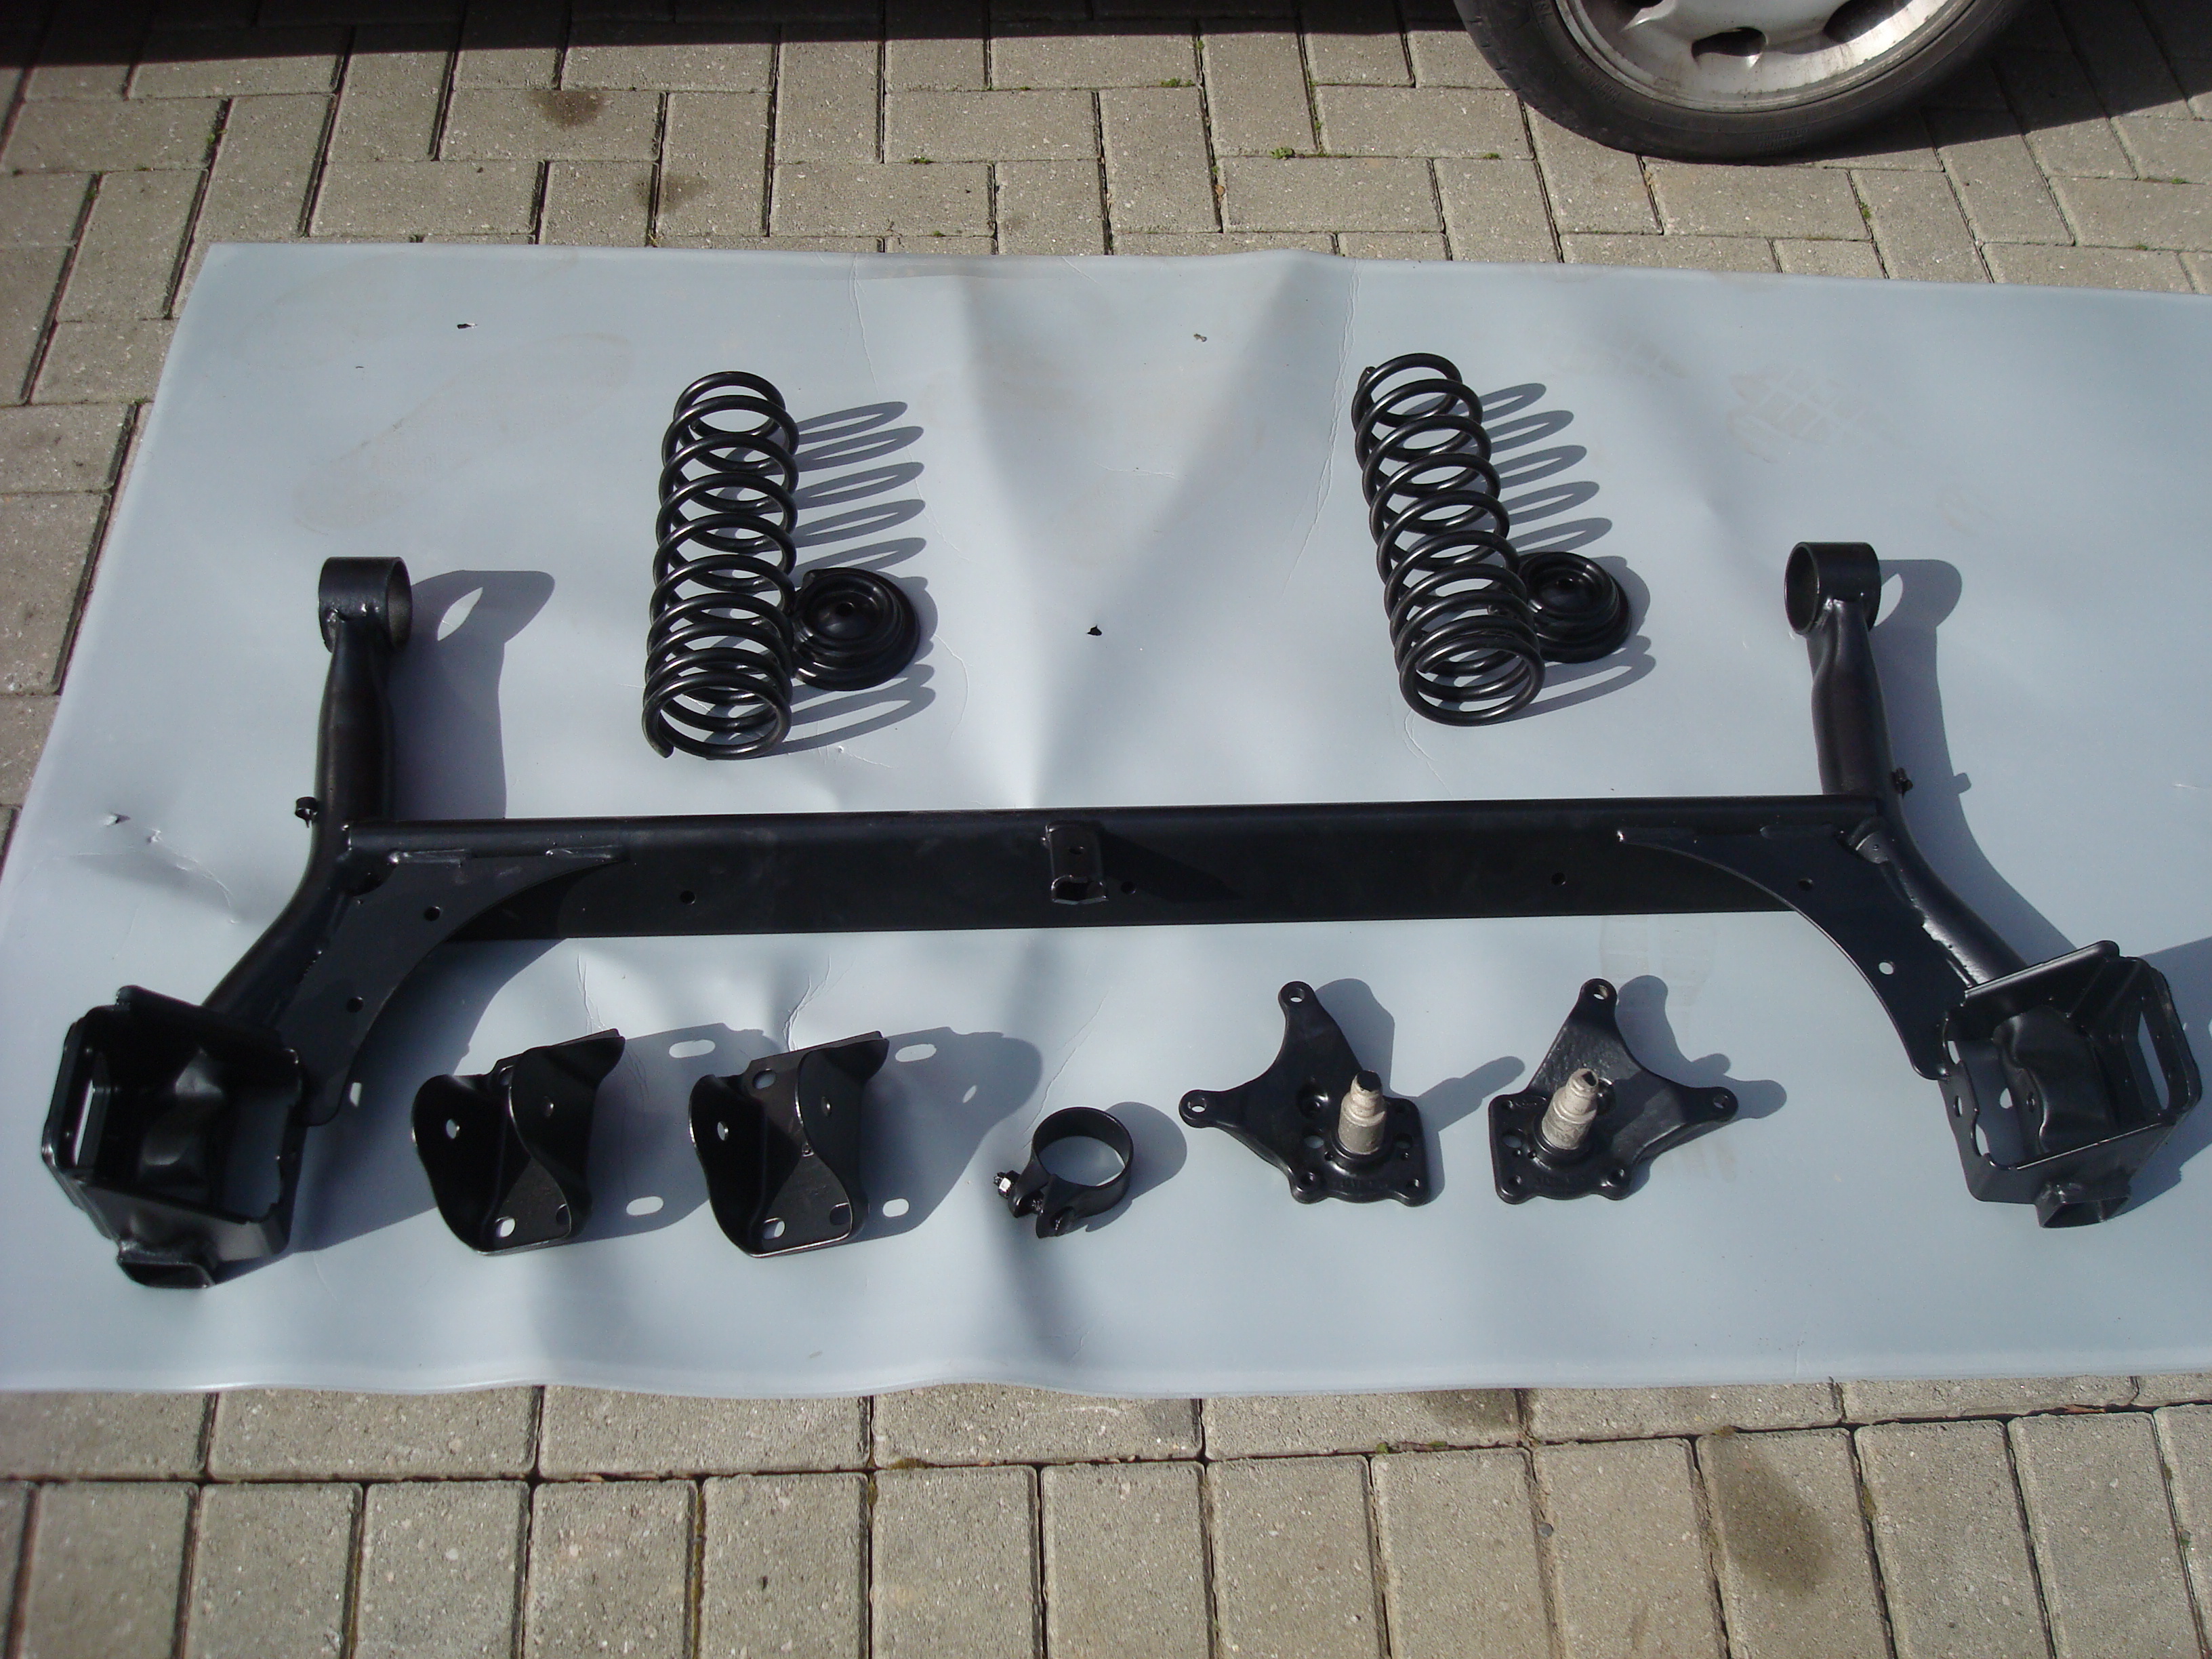
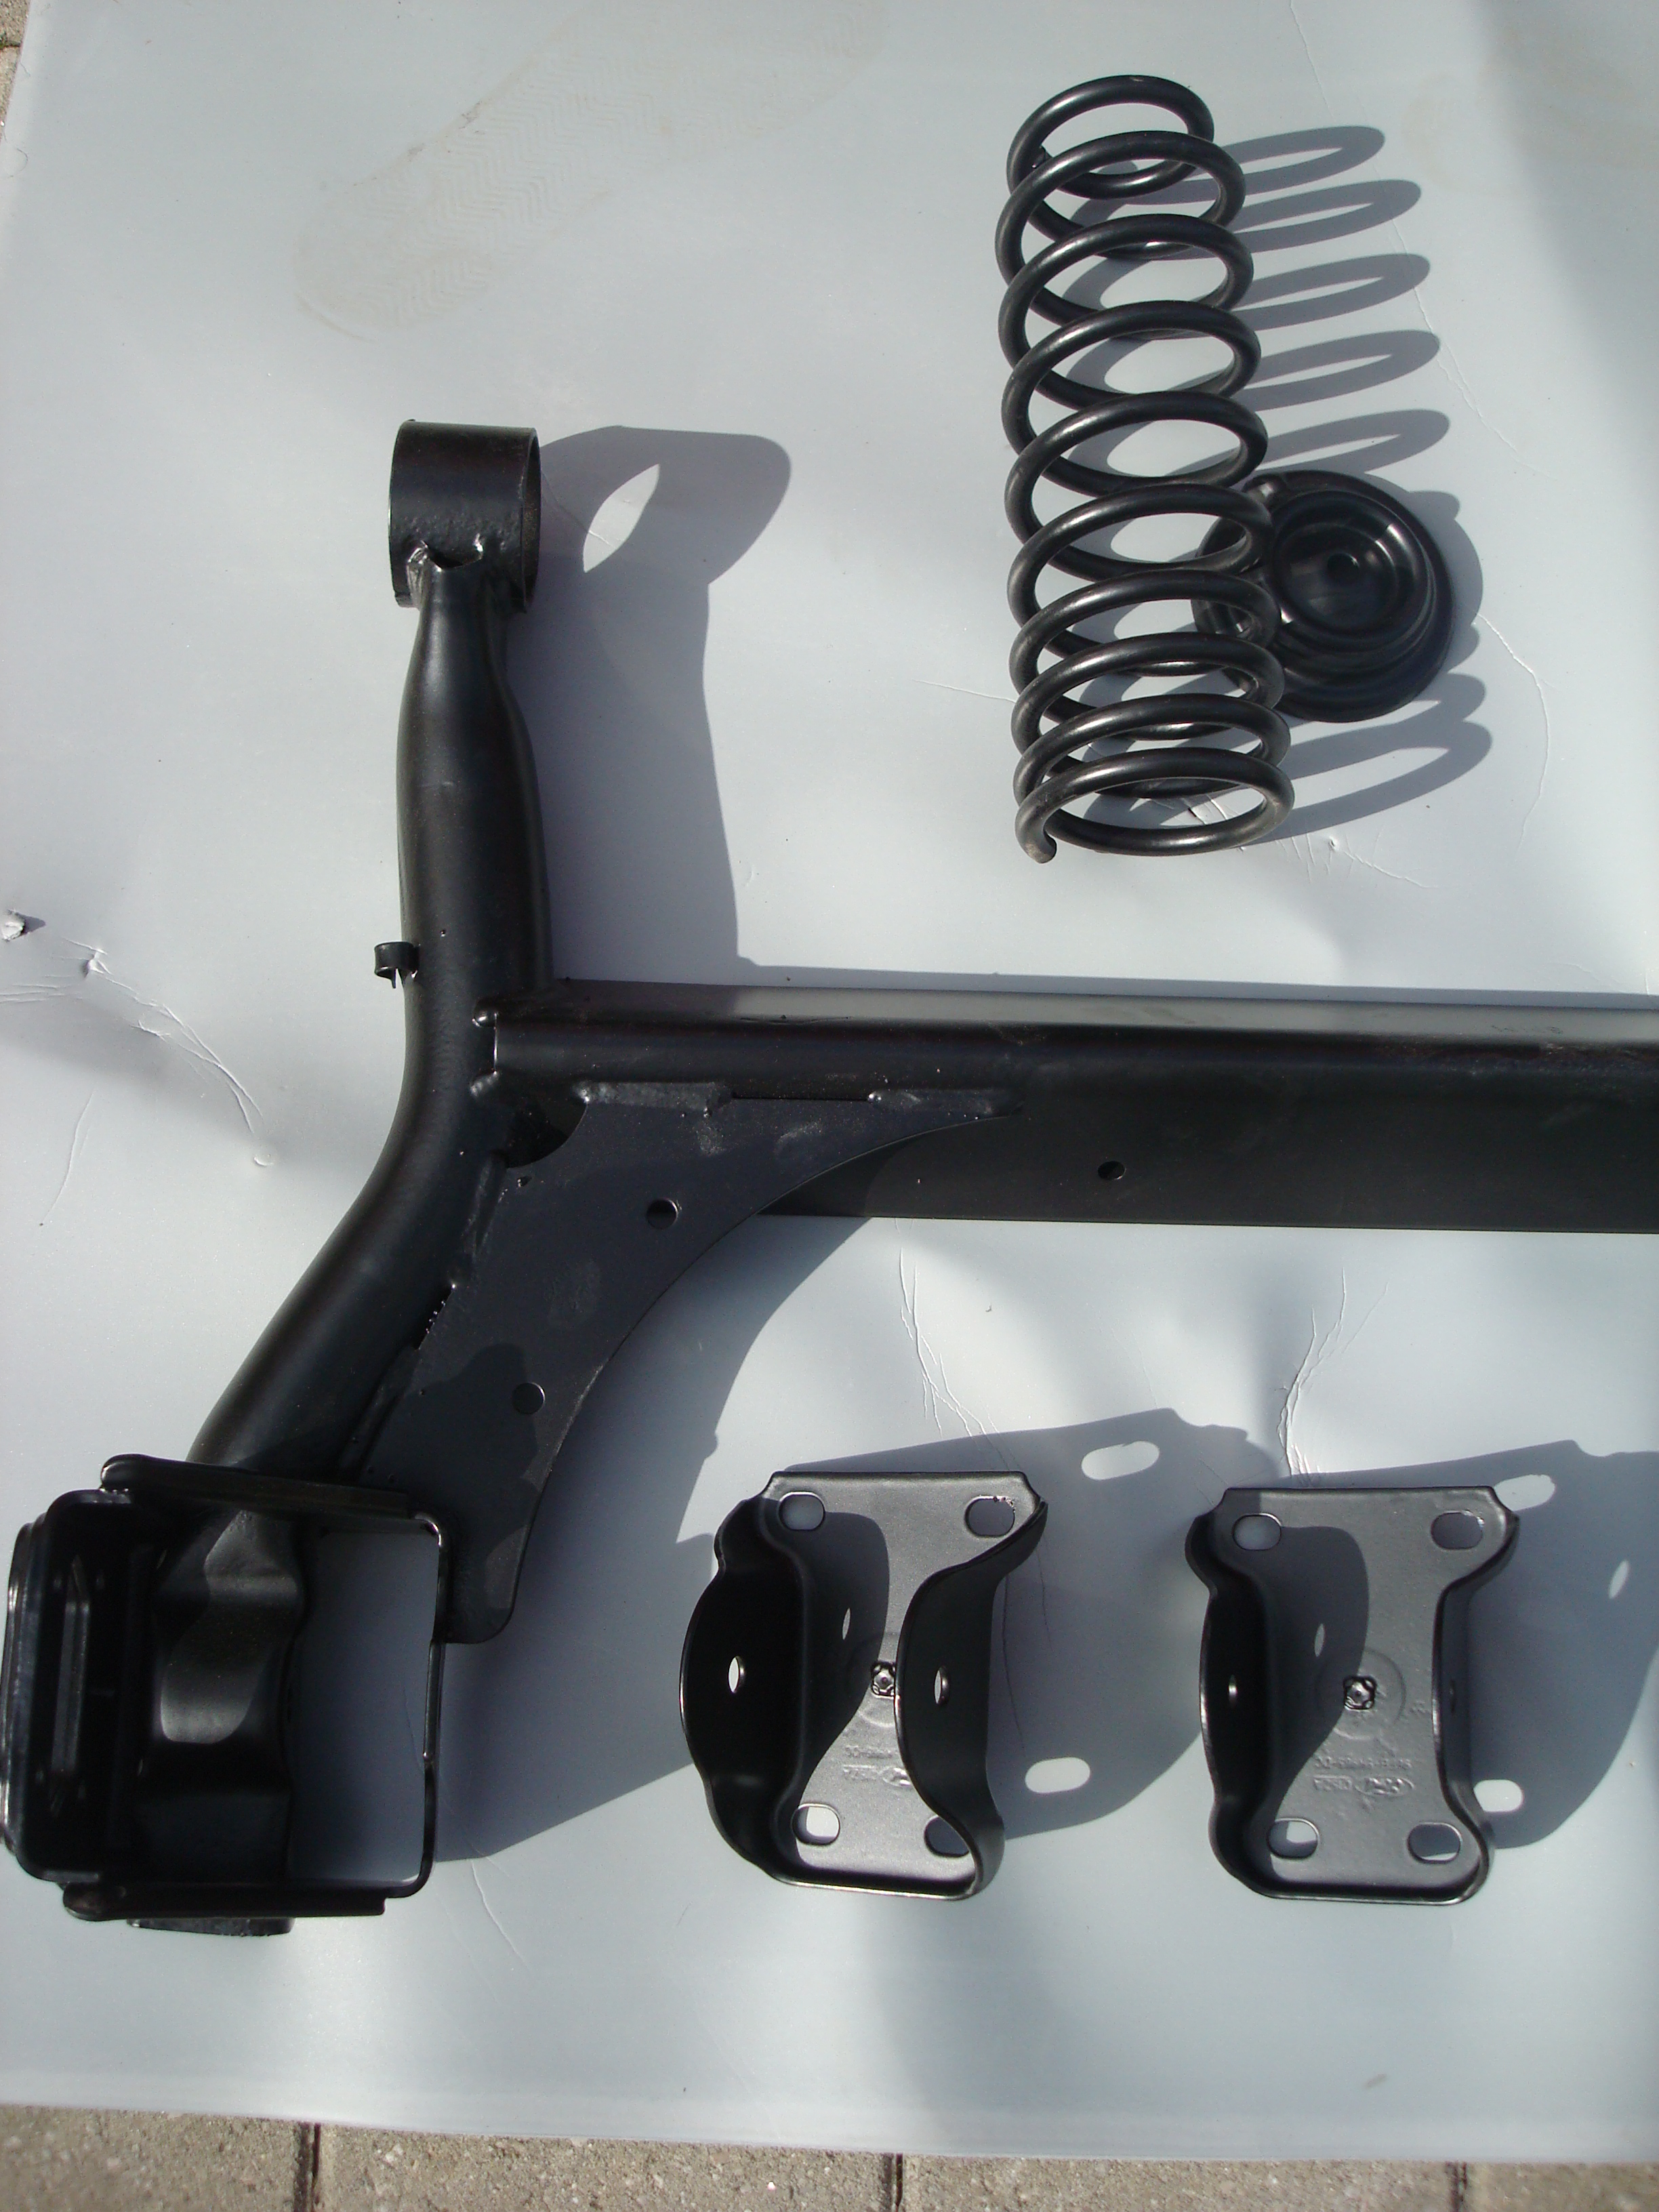
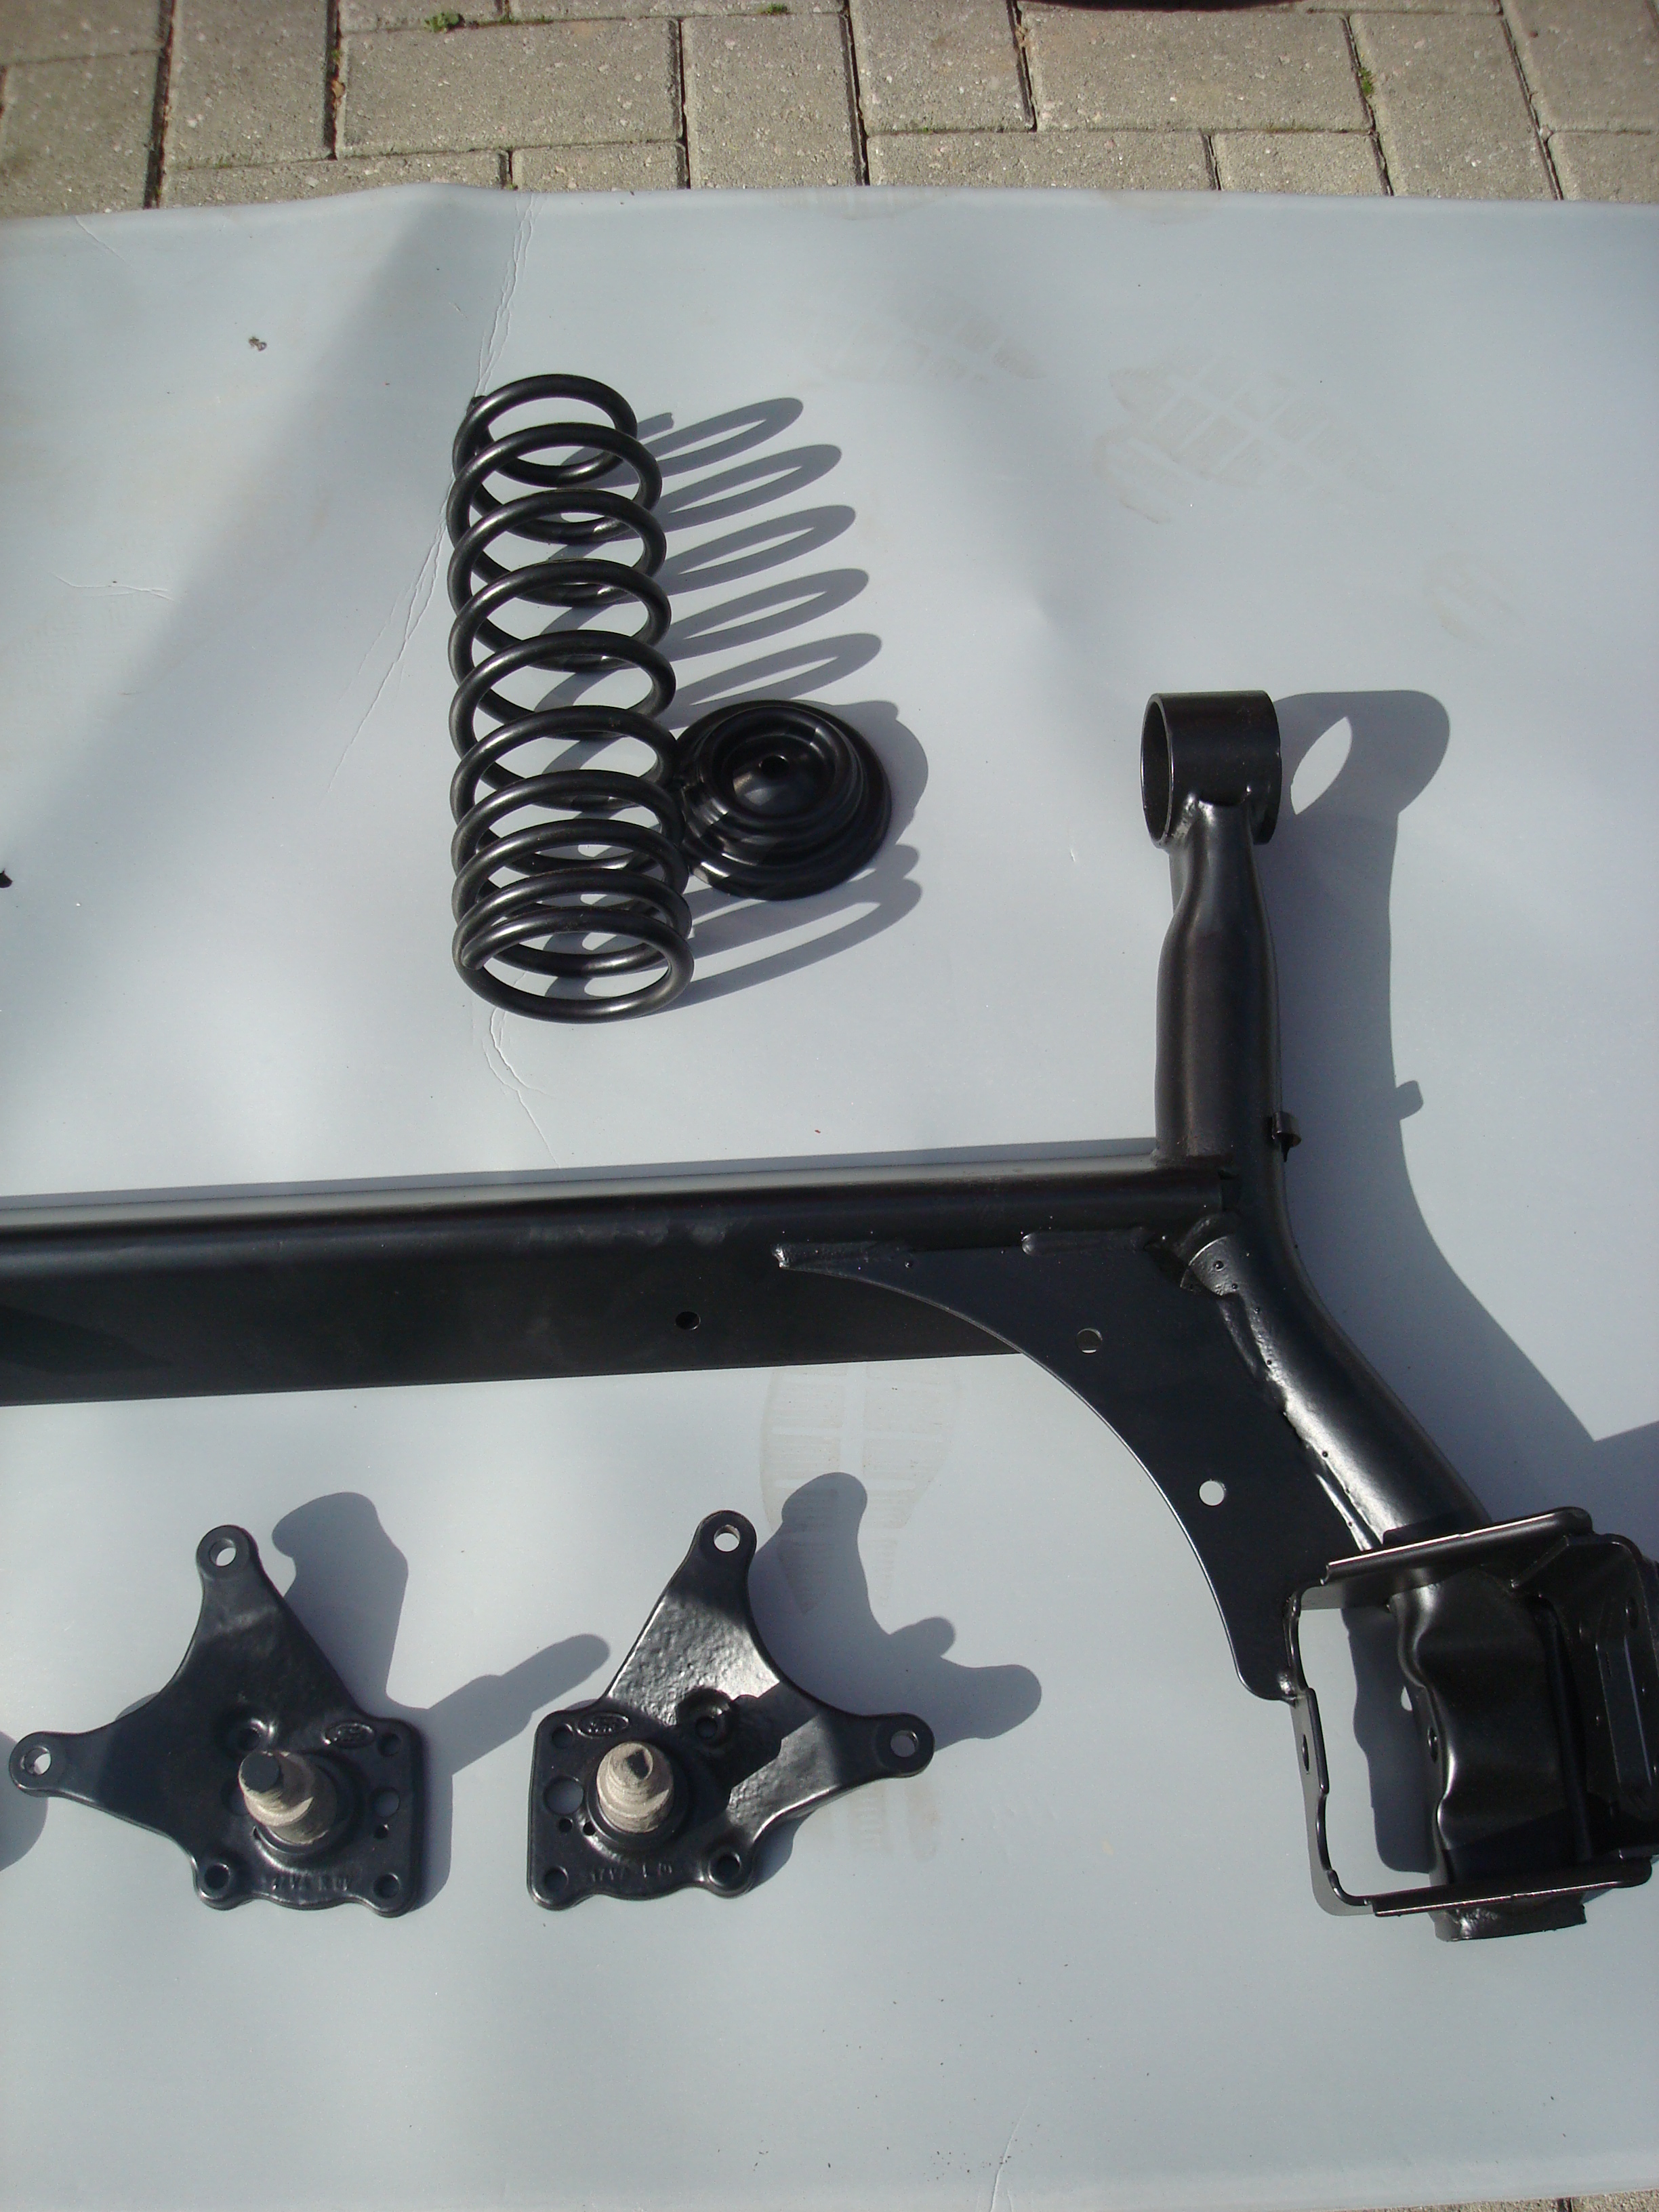
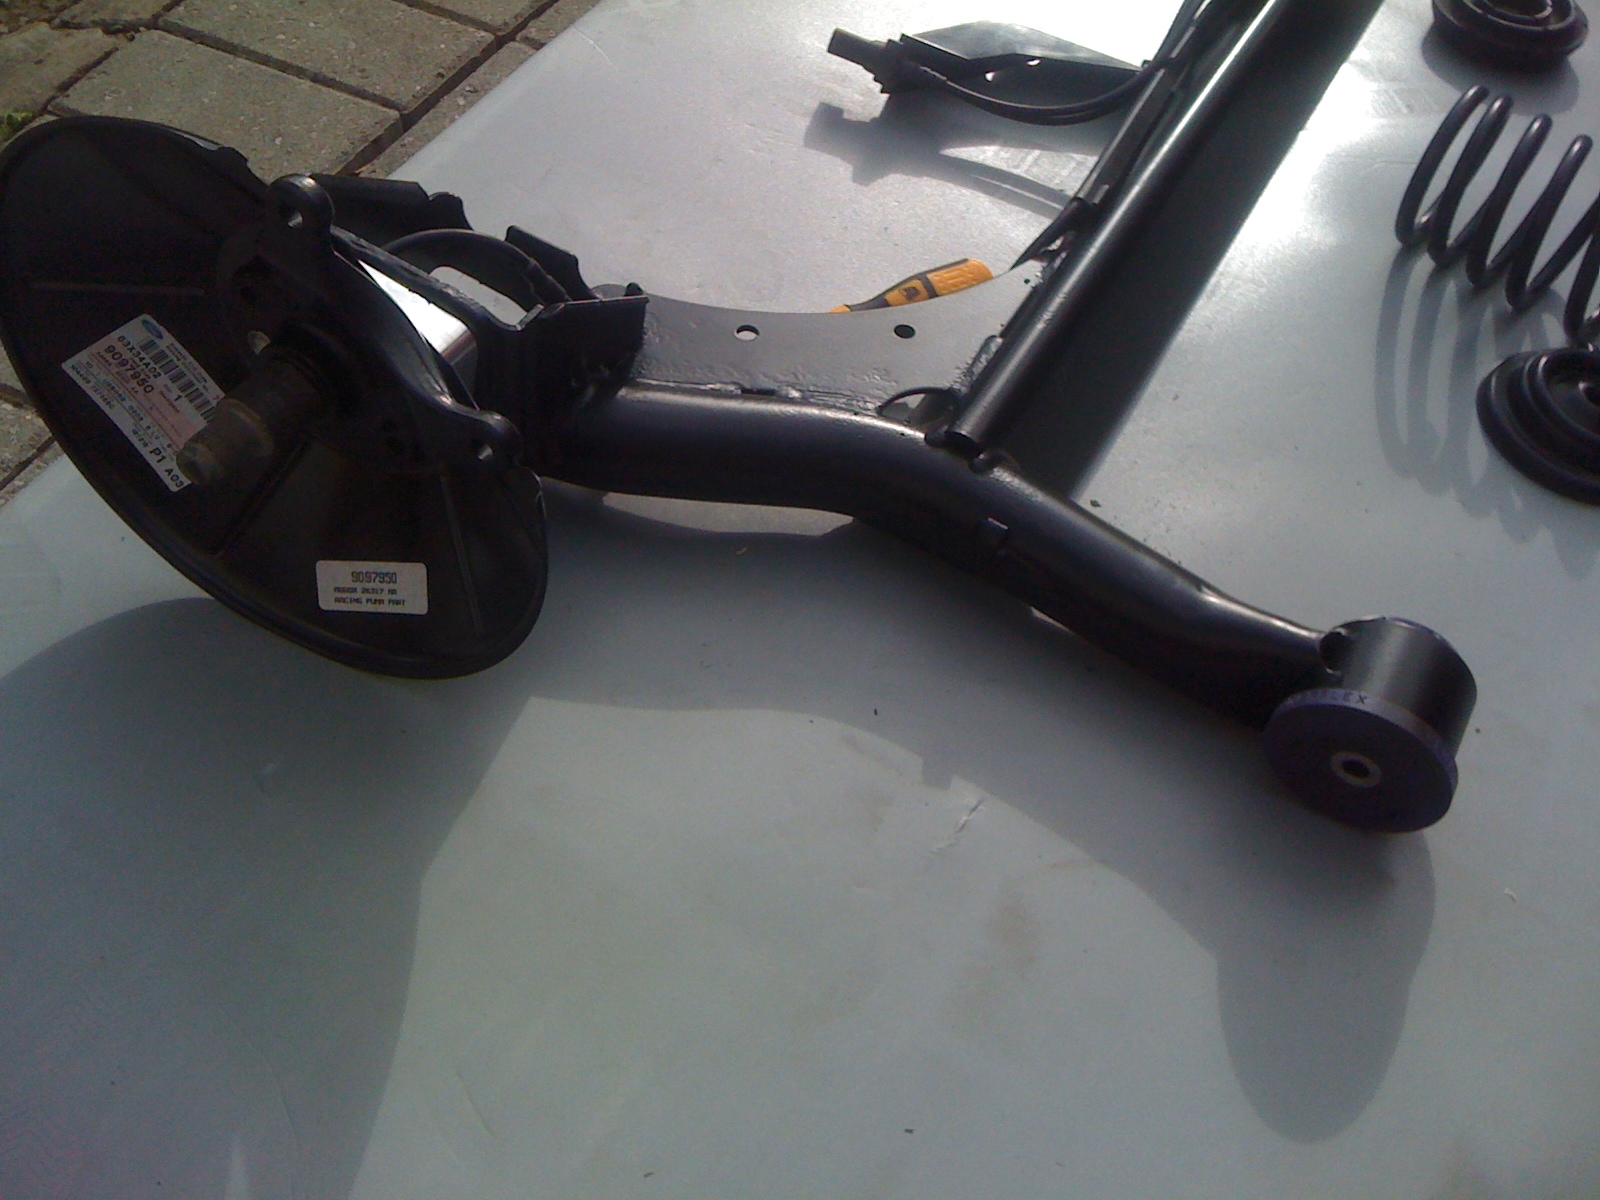
Took suspension down to friends garage to put springs back on.
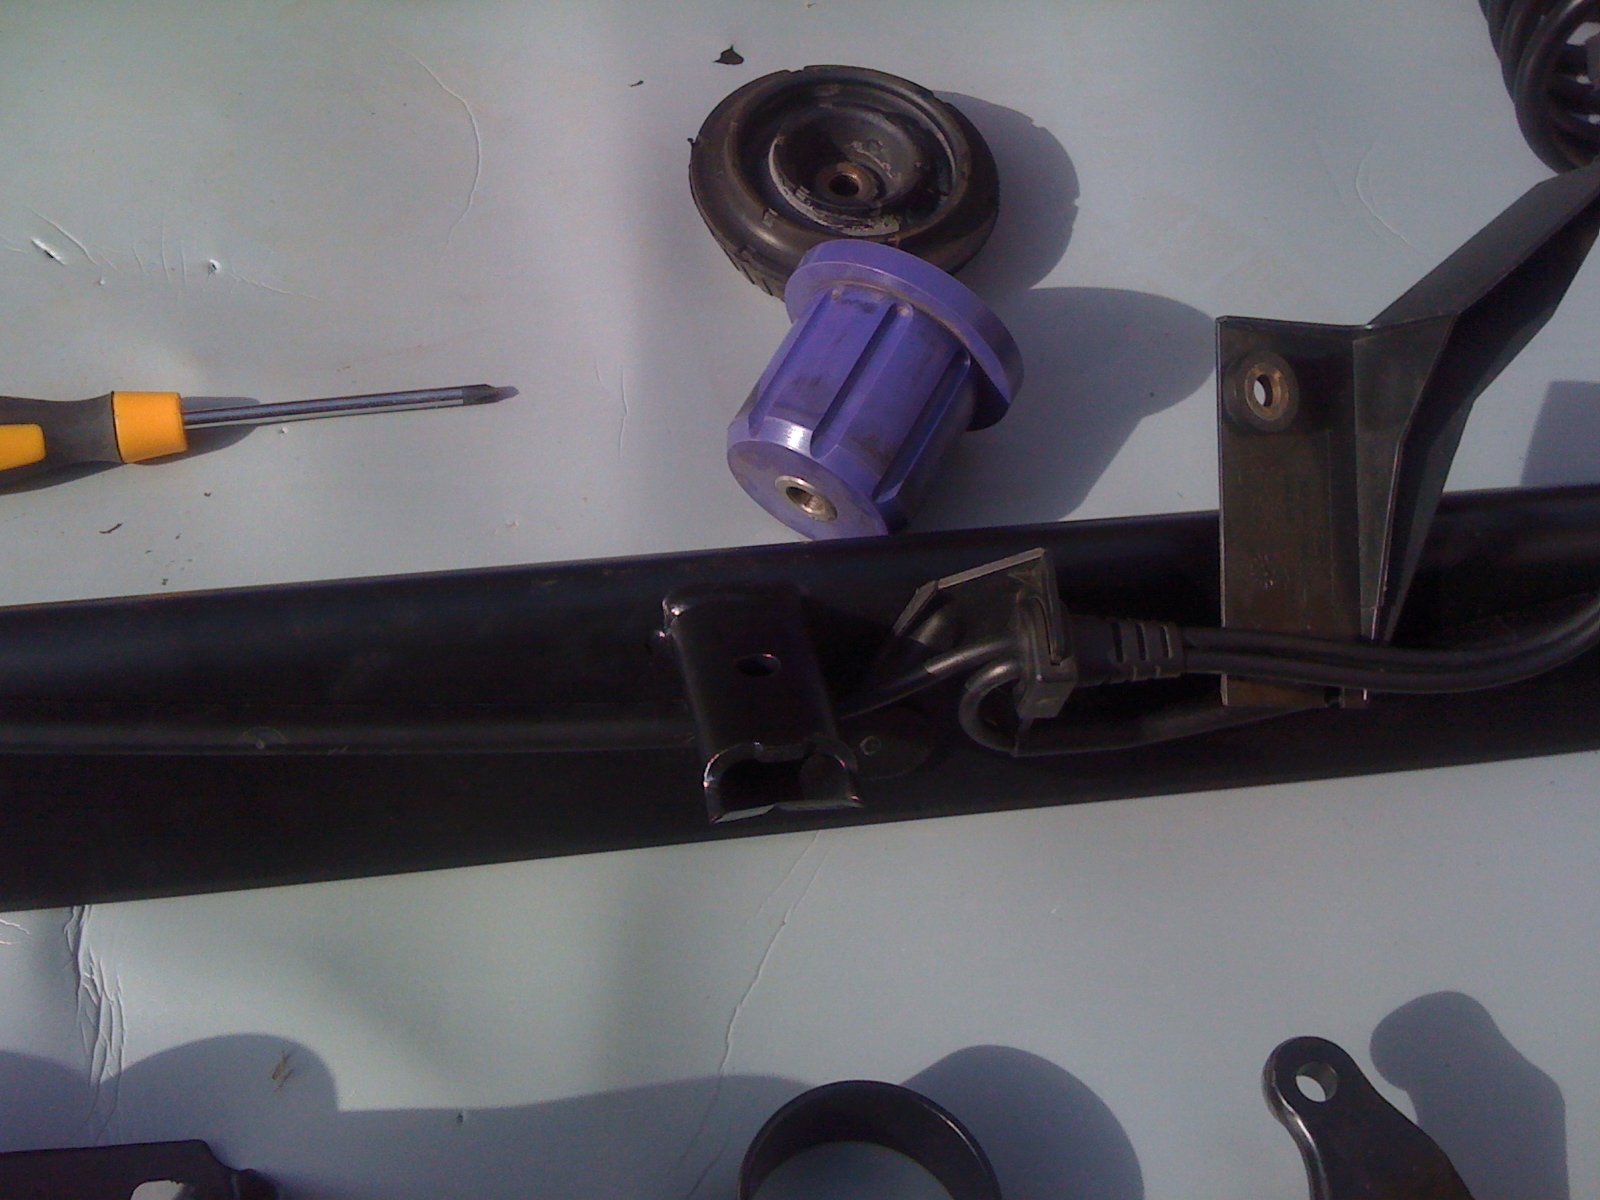
Started to put all the new parts back together and put ABS sensor and rear bushes back on. I still haven't ordered the longer bolts as now using the 30mm spacers instead of the standard 10.5mm spacers. (still two sets up for grabs if anyone wants a set - �40) so will be getting on to the local ford dealer tomorrow and get the order placed.
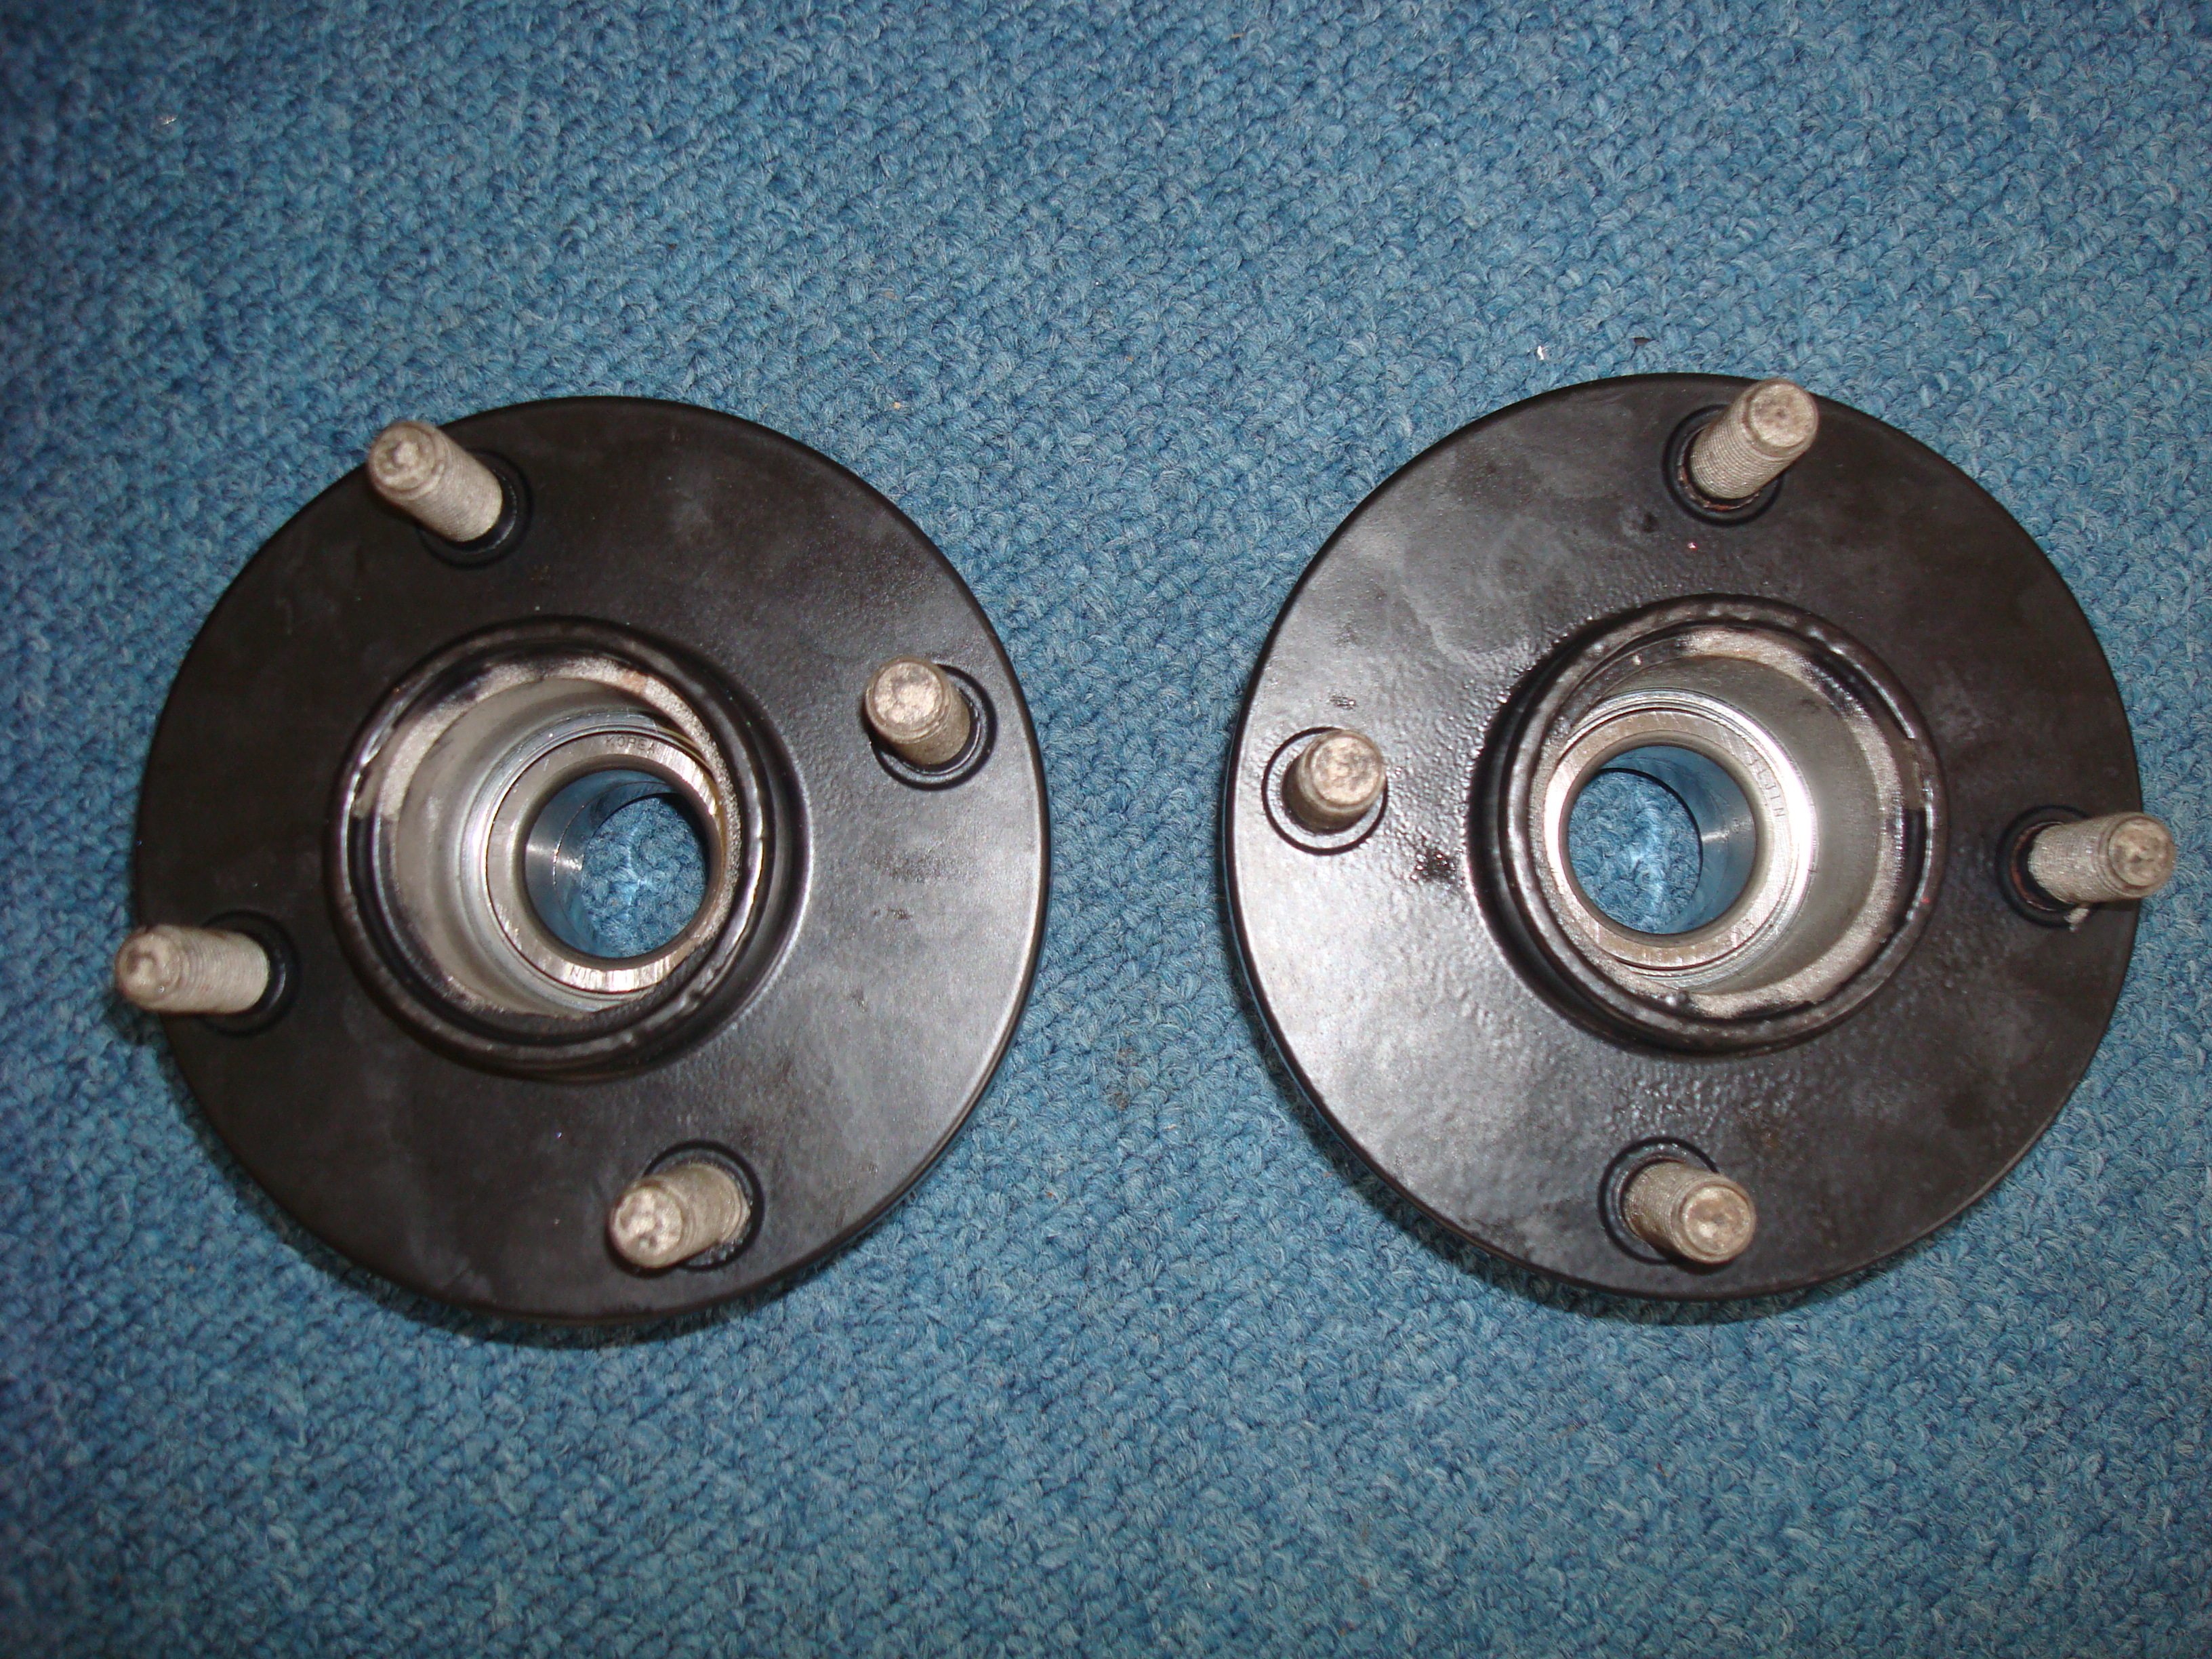
Whilst at friends garage I got him to remove my rear wheel bearings from the hubs as they have seized up due to the shot blasting, took 11.5 ton on the hydraulic press in the end :shock:
He's ordering another two new one's in for me tomorrow The local part dealer wasn't sure on the type for the FRP but they are picking it up in the morning to check with others they have on the shelf, I'm pretty certain that some one mentioned that focus's ones are the same. Took the measurements of the FRP and it seems its a 53mm outer and 23mm inner. Anyone shed any light?
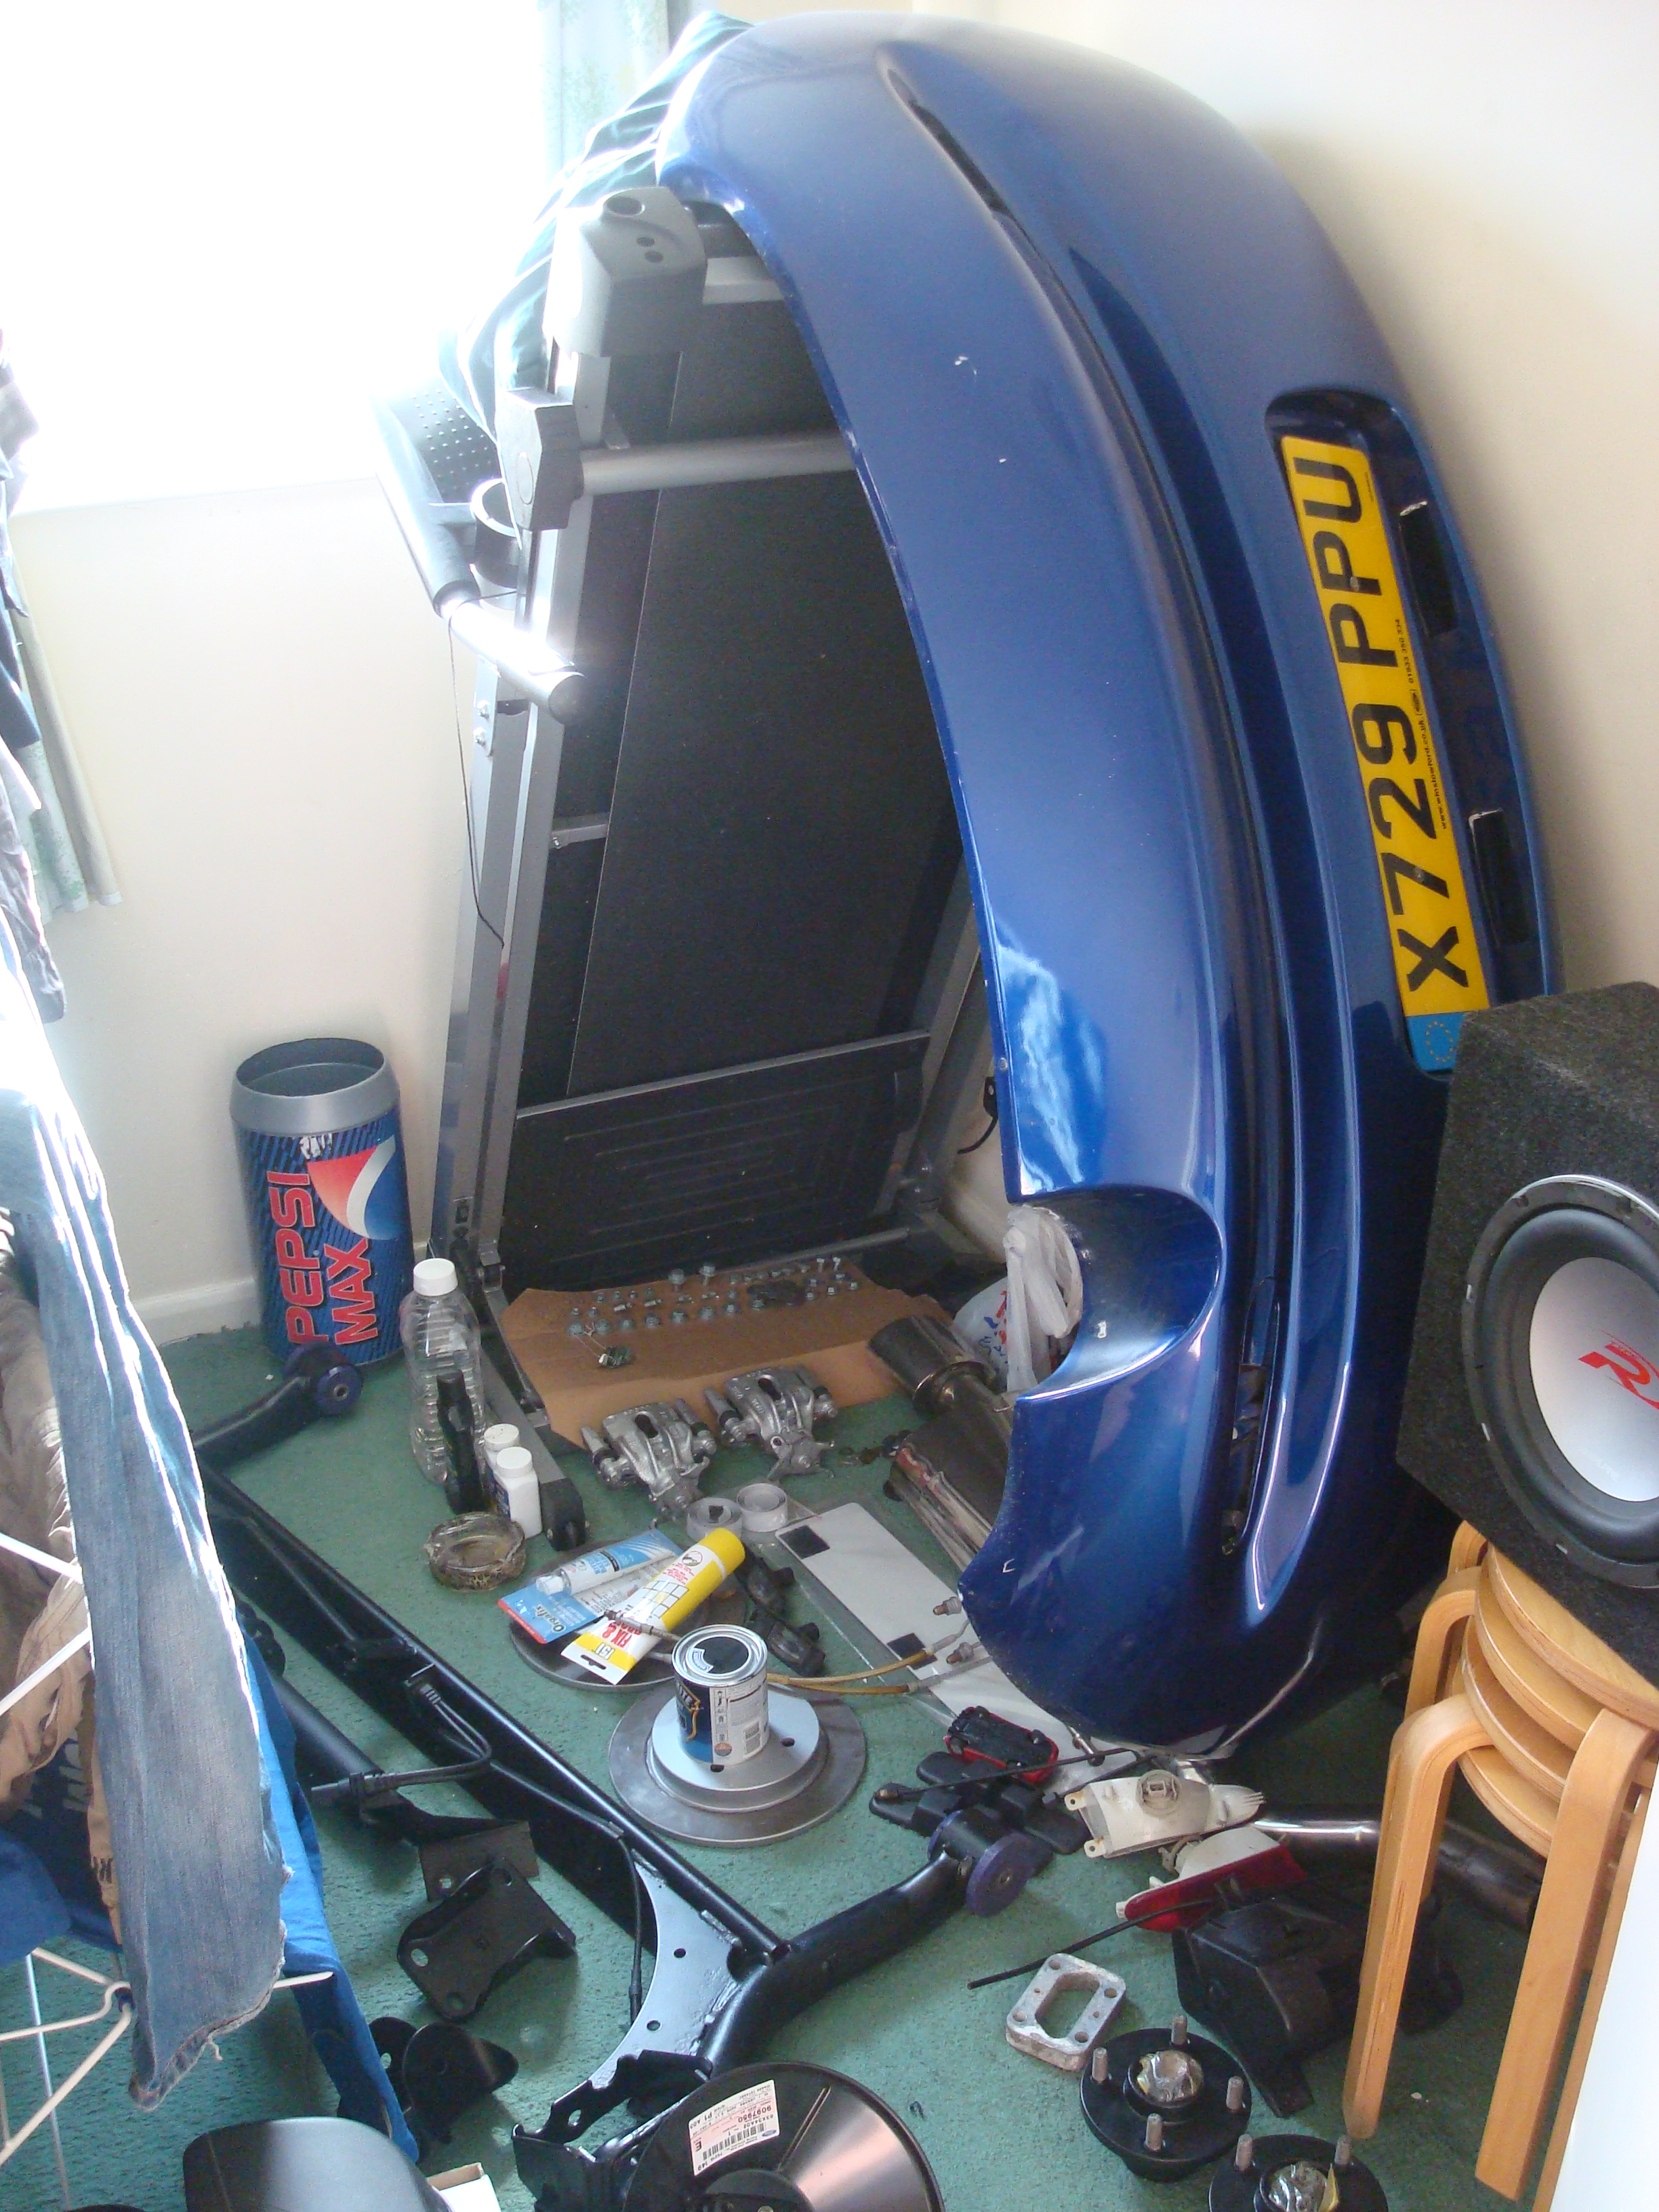
On Saturday hoping to get my house mate to help me start the painting of the underside and shift the remaining rust so that i can started rebuilding
But for now house full of parts AGAIN lol
David
Sprayed up brake lines with some black spray paint I had left floating about.
Took rear bumper out the shed to clean it up but decided that it could do with a respray so taking it to my mates at the start of next month
Couple of weeks back friend dropped my rear beam tank etc at the shot blasters / powder coaters collected them today and really happy with the results. Unfortunately the fuel tank has been shot blasted but not powder coated as it has a plastic baffle on the inside, so will be spraying in up over the weekend, thinking of just using hammer rite silver spray paint anyone suggest any alternatives or do we think hammer rite should be fine?
Took suspension down to friends garage to put springs back on.
Started to put all the new parts back together and put ABS sensor and rear bushes back on. I still haven't ordered the longer bolts as now using the 30mm spacers instead of the standard 10.5mm spacers. (still two sets up for grabs if anyone wants a set - �40) so will be getting on to the local ford dealer tomorrow and get the order placed.
Whilst at friends garage I got him to remove my rear wheel bearings from the hubs as they have seized up due to the shot blasting, took 11.5 ton on the hydraulic press in the end :shock:
He's ordering another two new one's in for me tomorrow
On Saturday hoping to get my house mate to help me start the painting of the underside and shift the remaining rust so that i can started rebuilding
But for now house full of parts AGAIN lol
David
21-04-2010, 08:36 AM
#98
Regular Contributor

Join Date: May 2009
Location: Wokingham
Posts: 231
Likes: 0
Received 0 Likes
on
0 Posts
Bloody hell. nice bit of progress.
I got some bearings off eBay for my FRP rear setup - exactly the same as the focus (thats all the rear brakes are; modified rear focus brakes)
I got some bearings off eBay for my FRP rear setup - exactly the same as the focus (thats all the rear brakes are; modified rear focus brakes)
21-04-2010, 12:14 PM
#102
Wahay!! I've lost my Virginity!!
Thread Starter
Join Date: Dec 2009
Location: Malvern
Posts: 69
Likes: 0
Received 0 Likes
on
0 Posts
Ok question to you all, I've decided to not spray the inner rear arches with the FRP blue any more and just stick to black, however I'm not sure what product to use, can anyone suggest a decent product?
Still going to be painting the underside in Apoxy Mastic 121 and the FRP blue but seems silly to paint arches when they will just stone chip after a few miles.
David
Still going to be painting the underside in Apoxy Mastic 121 and the FRP blue but seems silly to paint arches when they will just stone chip after a few miles.
David
21-04-2010, 04:37 PM
#103
Regular Contributor
Join Date: May 2009
Location: Wokingham
Posts: 231
Likes: 0
Received 0 Likes
on
0 Posts
with regards to the bearings needing 11.5 tonnes....One of mine needed over 12! Lol
And get some waxoyl. Spray it in the arches. Its said to draw moisture from the surfaces it touches. Then underseal it all. The underseal givea a good finish and is slightly rubbery I think
And get some waxoyl. Spray it in the arches. Its said to draw moisture from the surfaces it touches. Then underseal it all. The underseal givea a good finish and is slightly rubbery I think
21-04-2010, 05:22 PM
#104
Wahay!! I've lost my Virginity!!
Thread Starter
Join Date: Dec 2009
Location: Malvern
Posts: 69
Likes: 0
Received 0 Likes
on
0 Posts
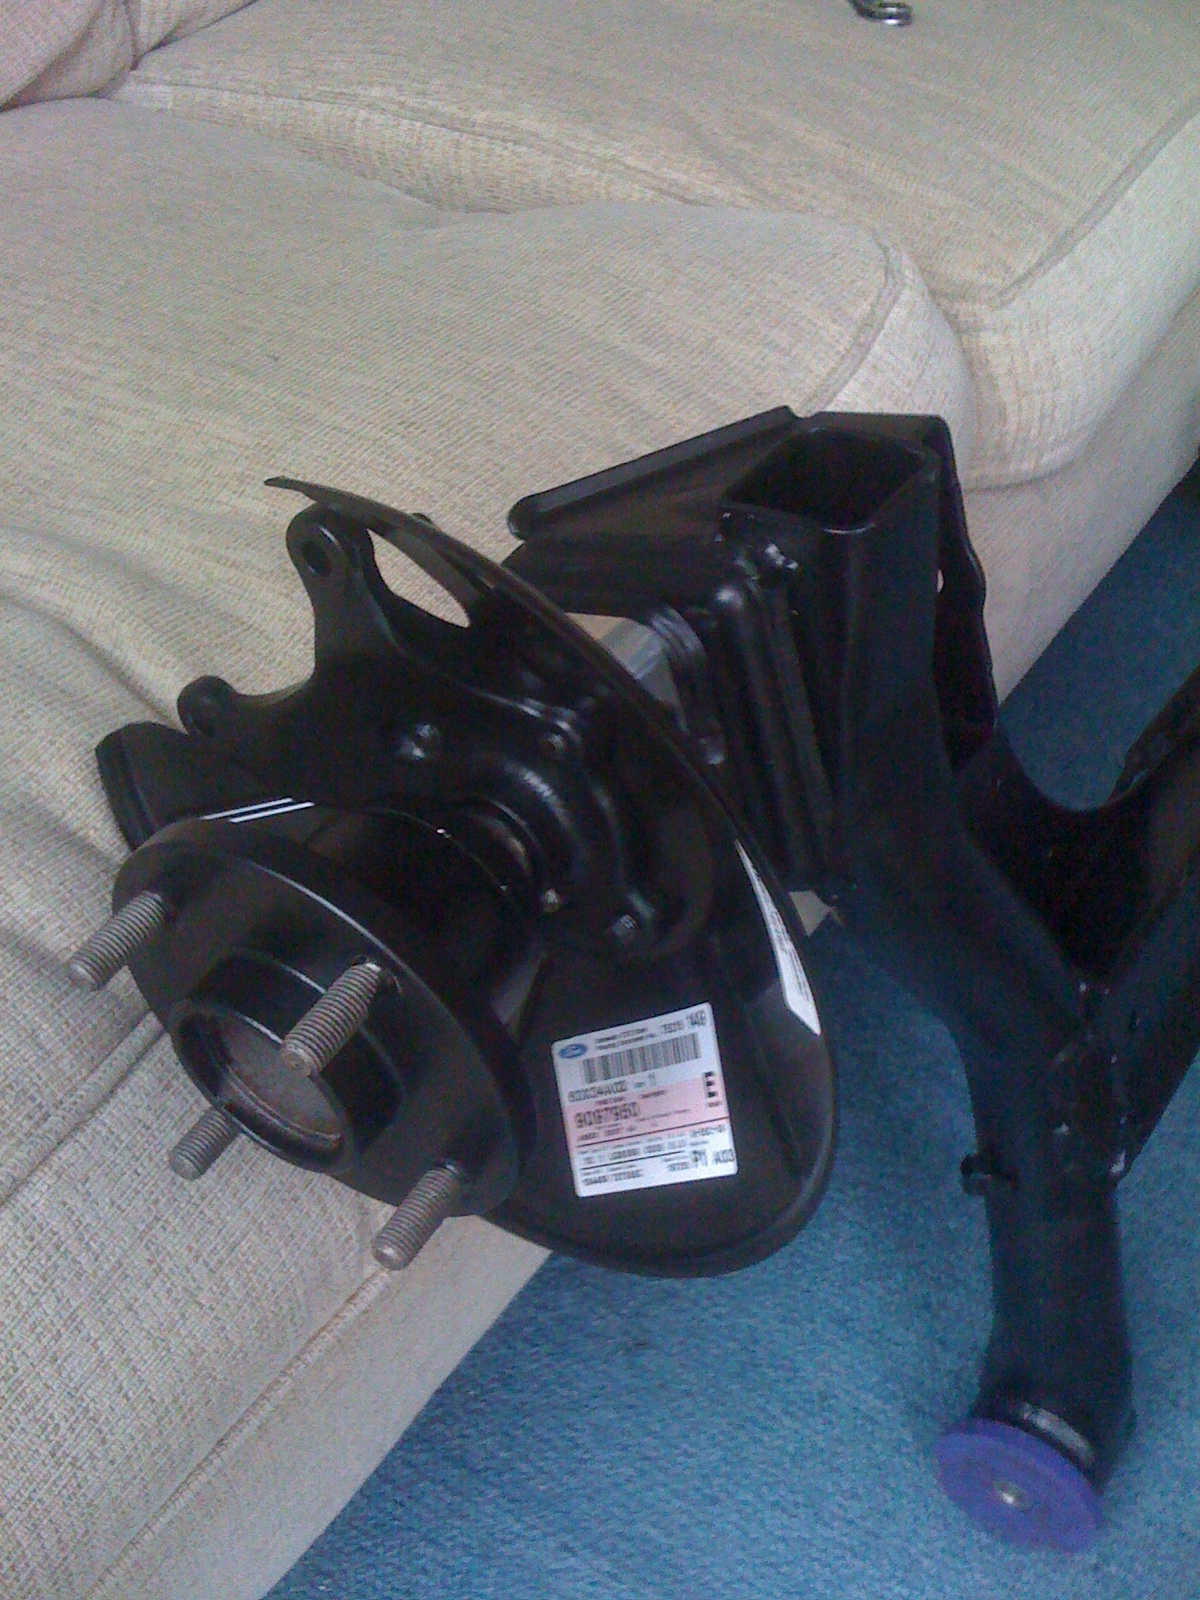
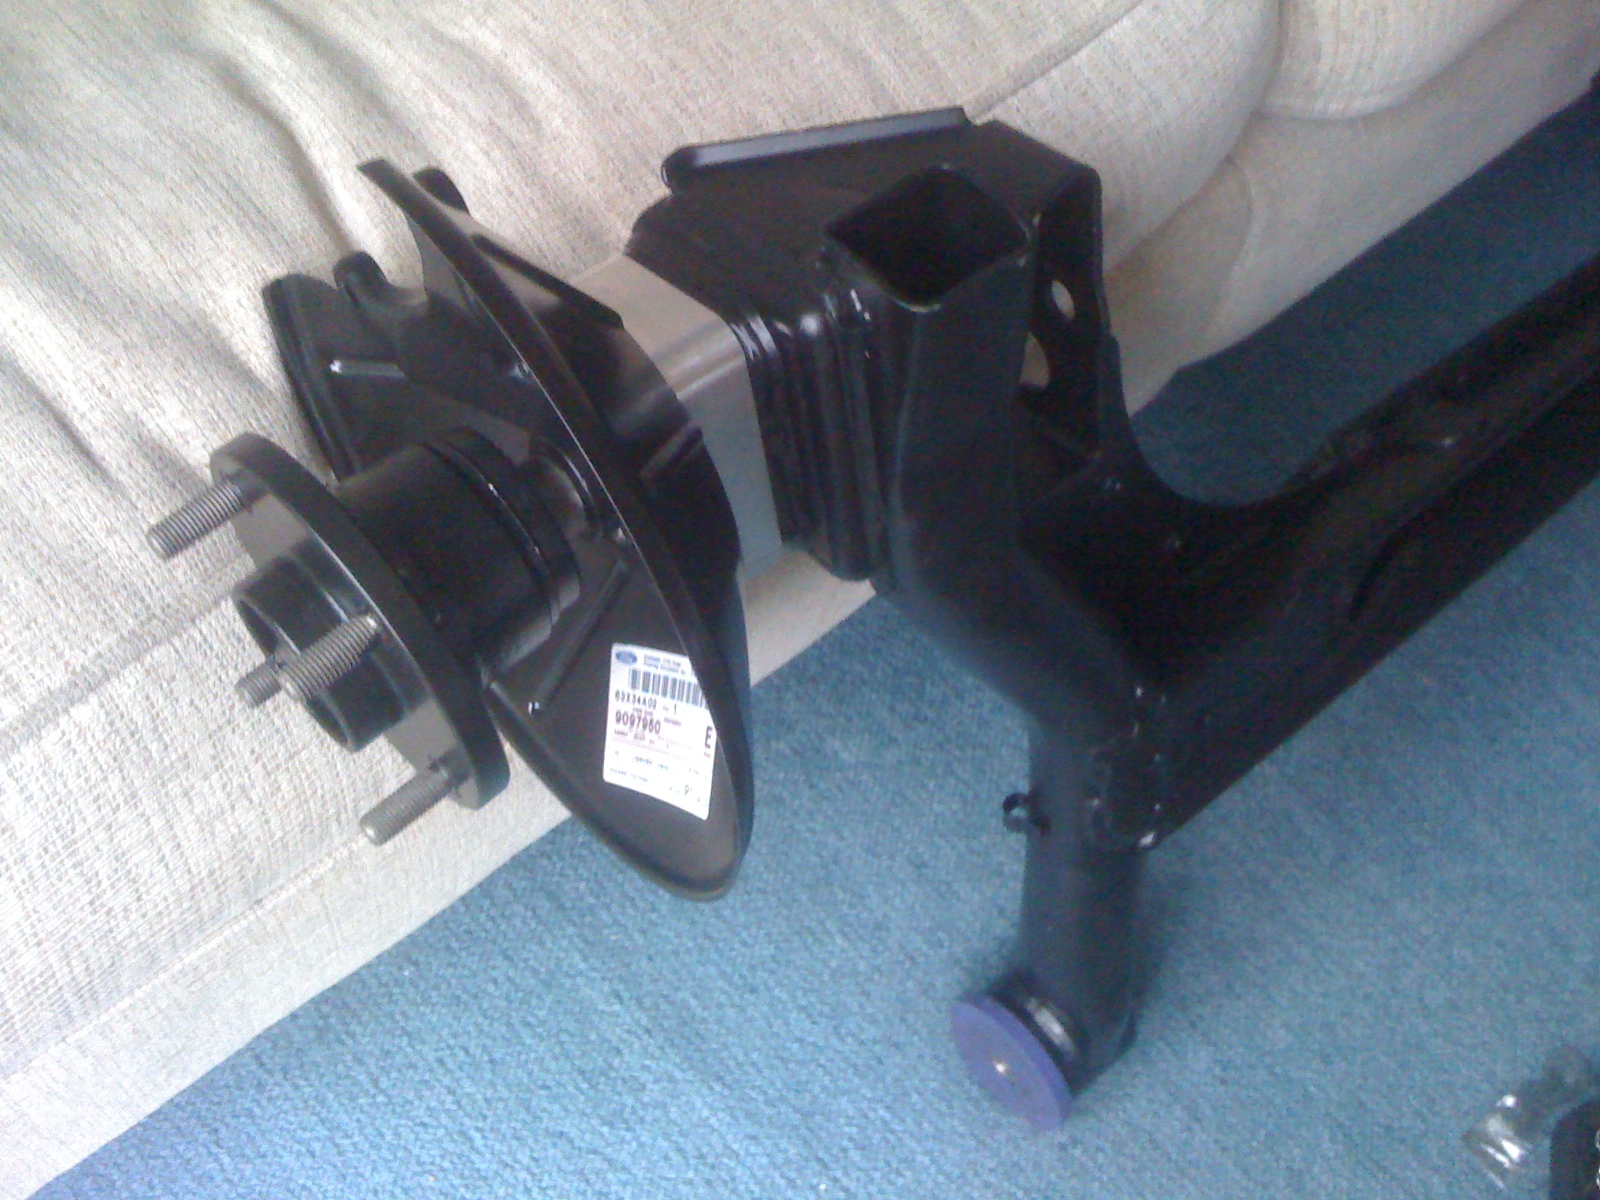
Picked up rear hubs from mate just few mins ago complete with new wheel bearings, cant find the bloody caps at the moment asked my mate to search his car so hoping they turn up. Member on another forum has kindly offered some of the longer bolts required for the wider spacers so that's saved me a few quid at ford, hoping to receive them in next few days.
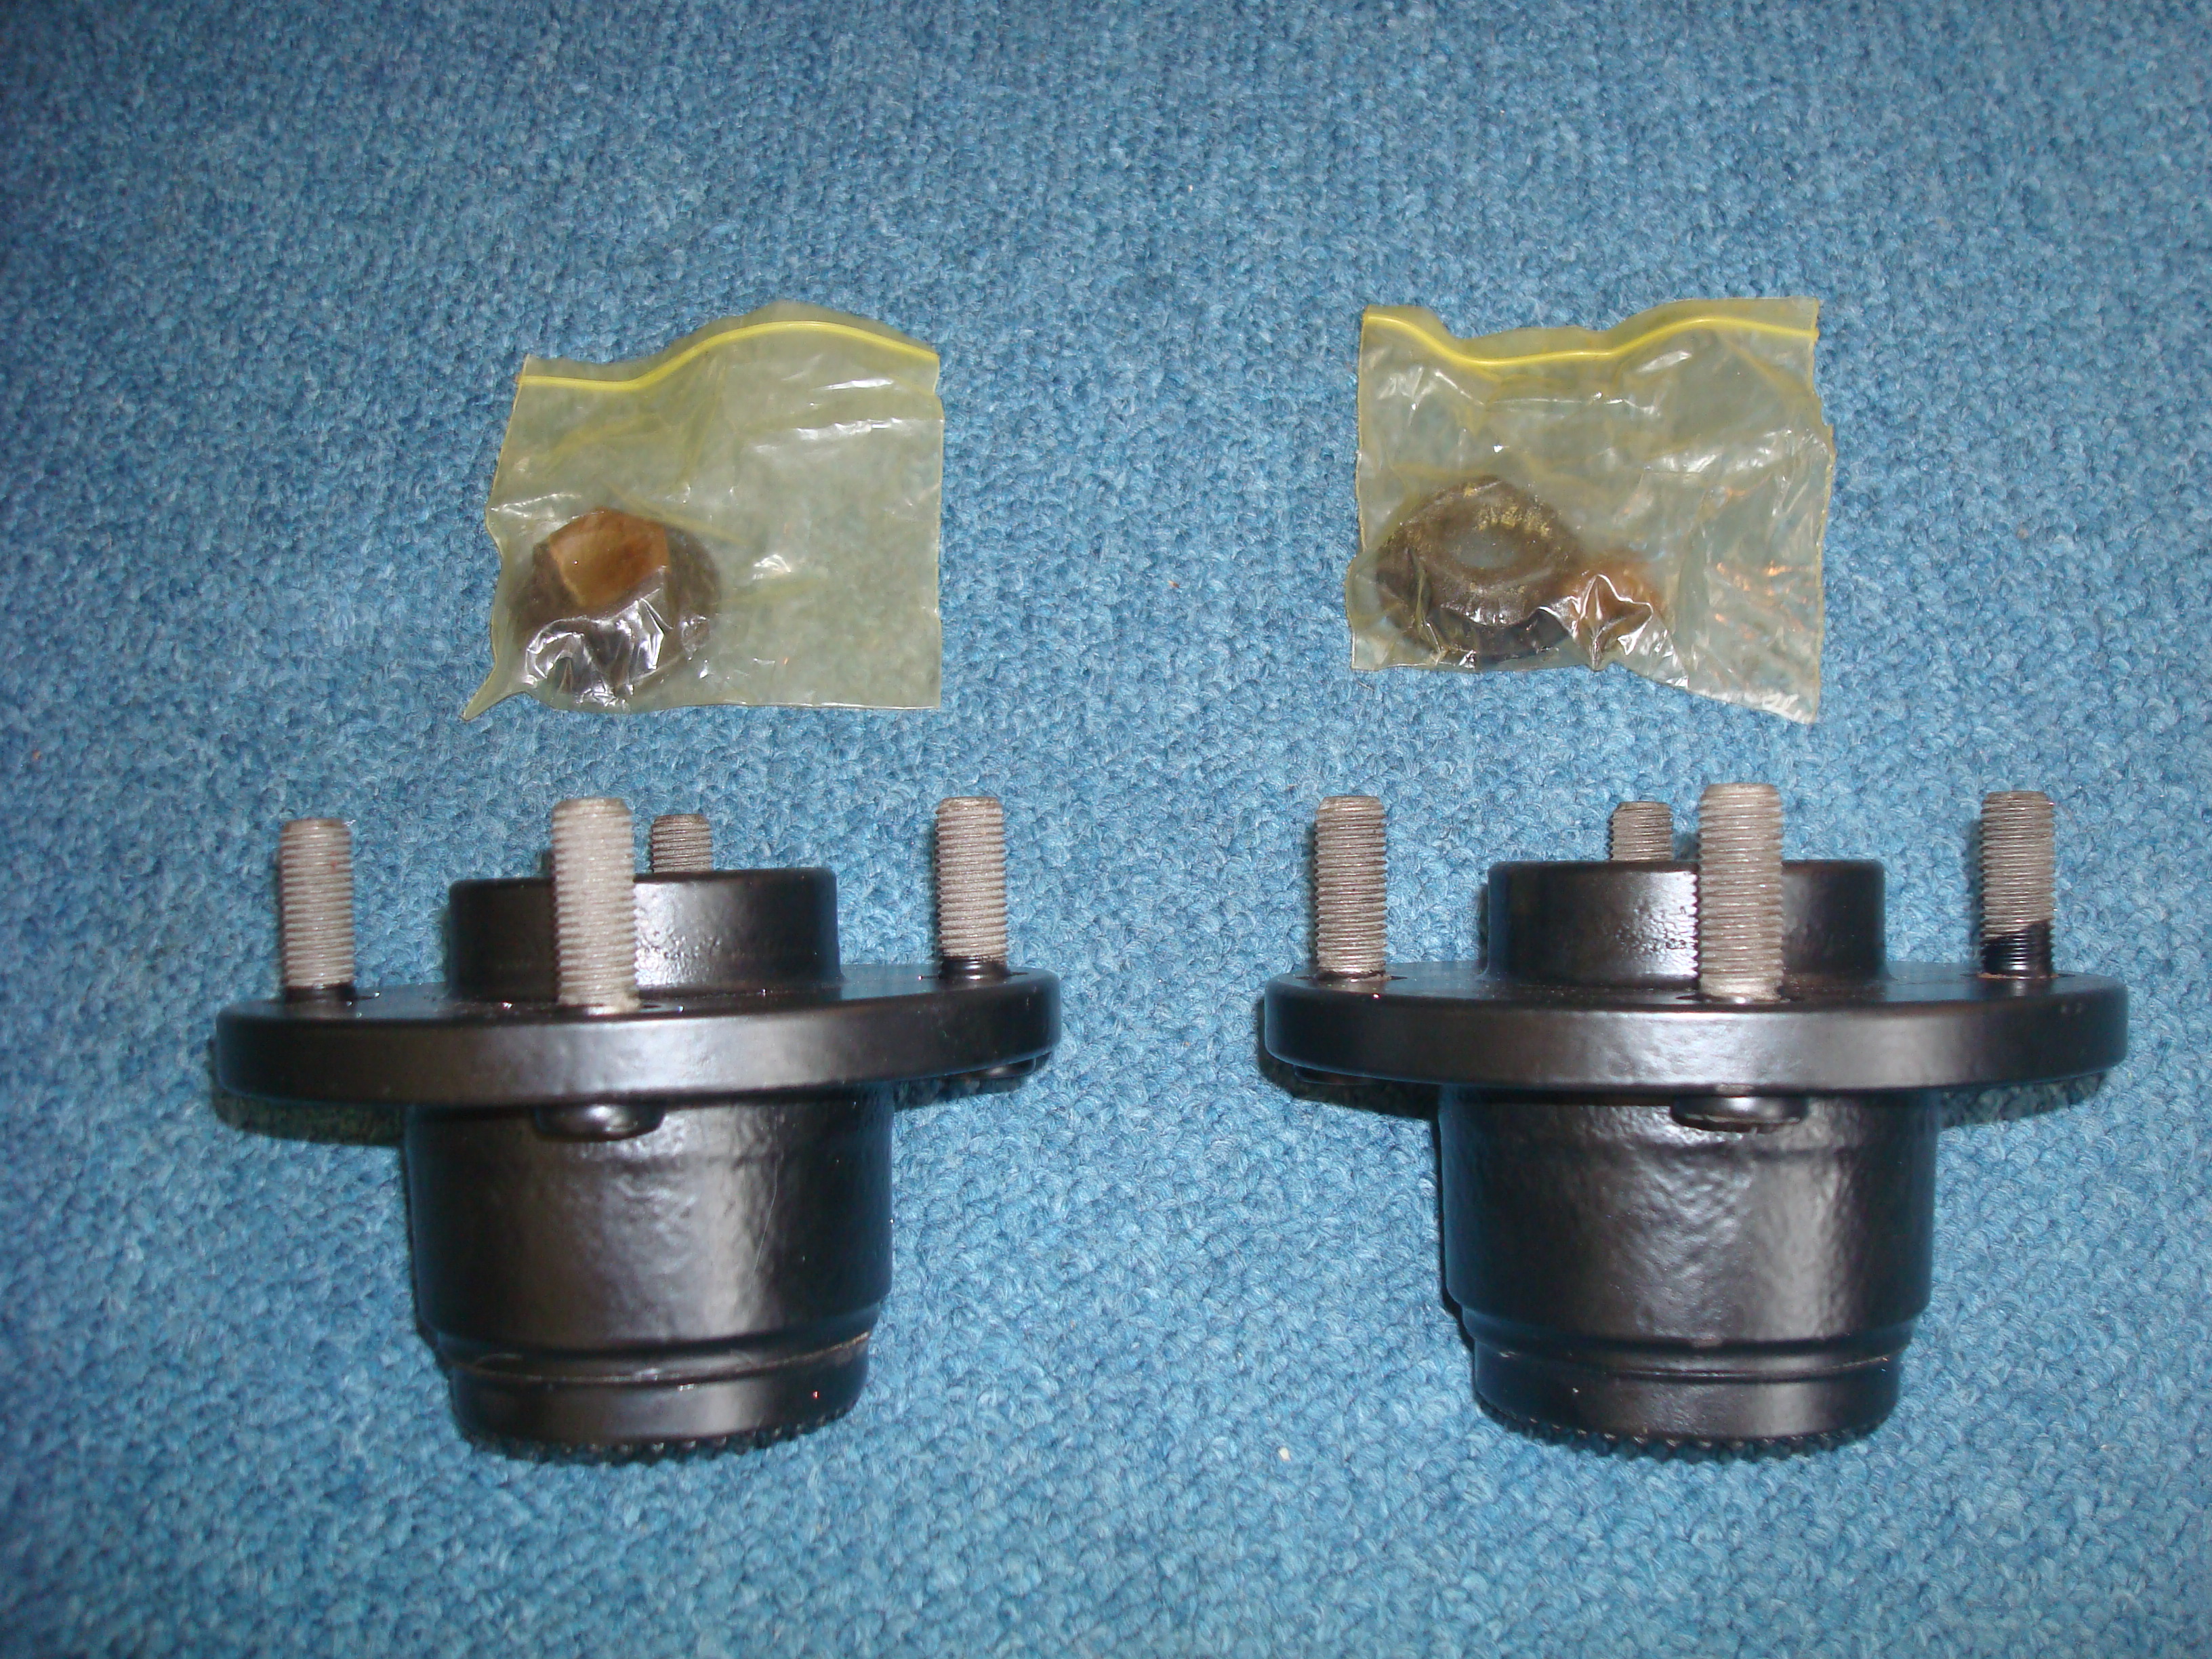
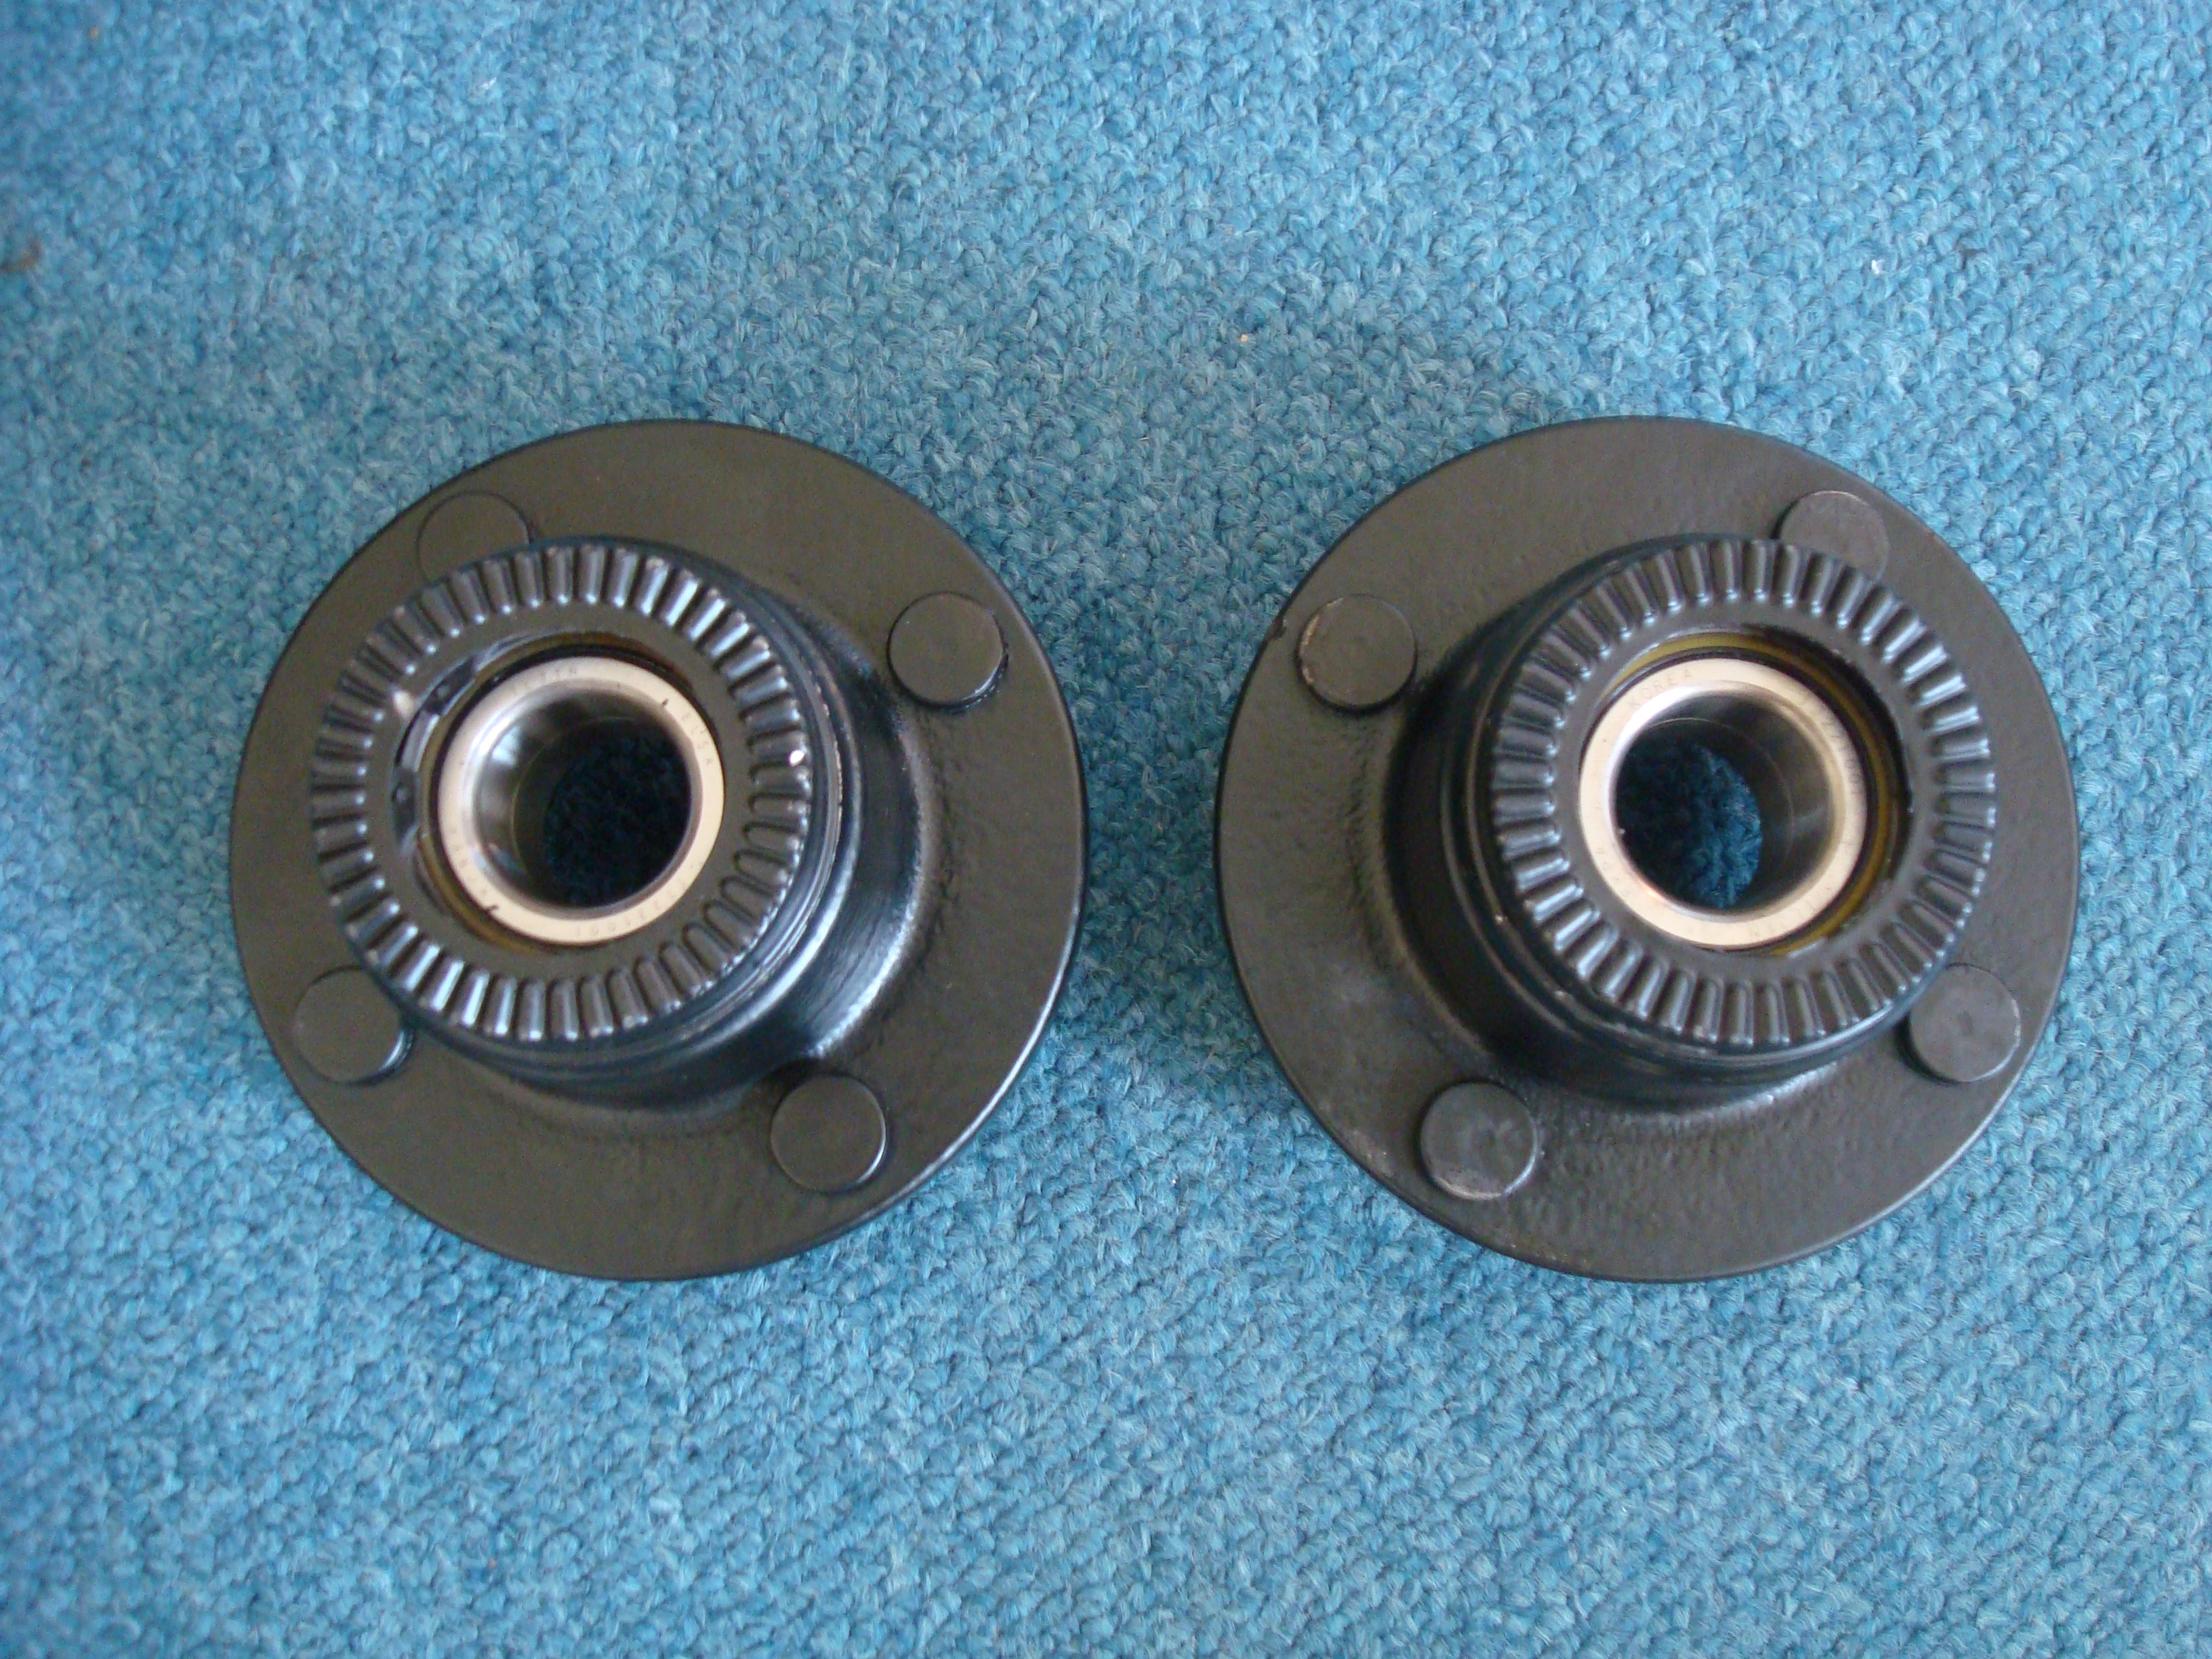

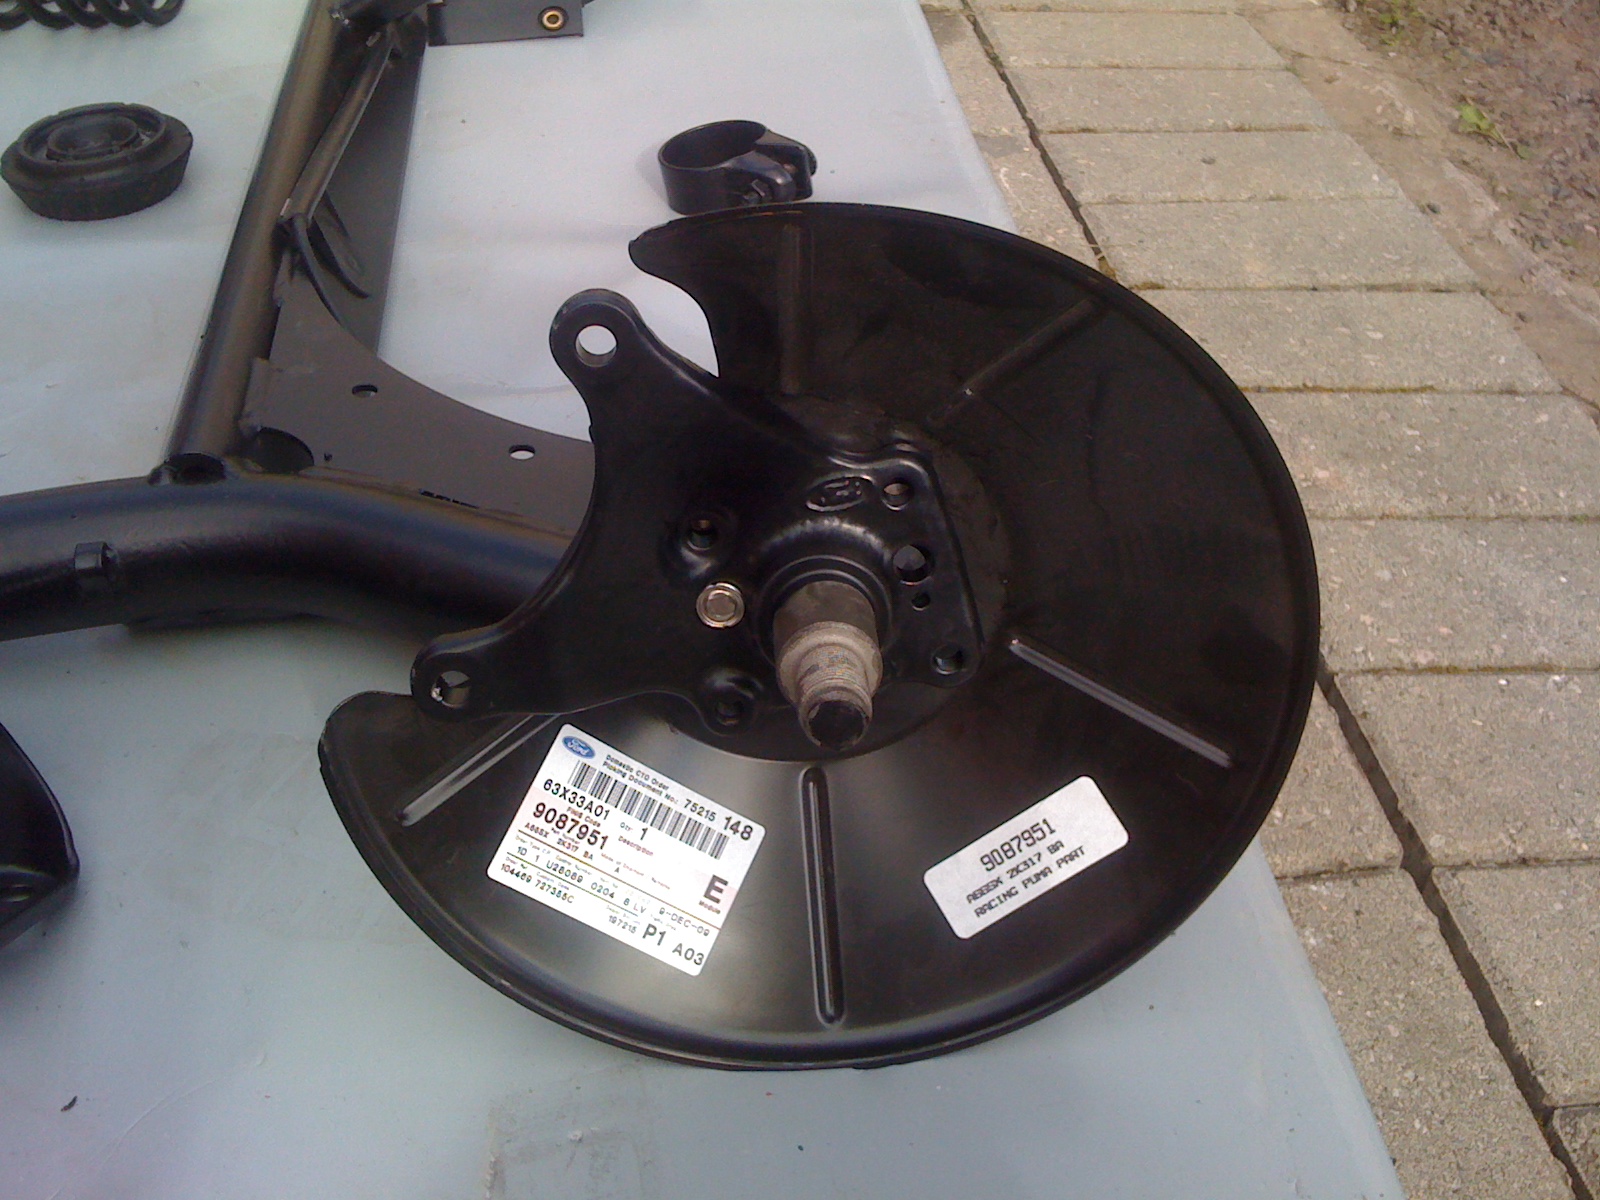
Hubs added to box room, ready to be put on the rear beam hopefully very soon.
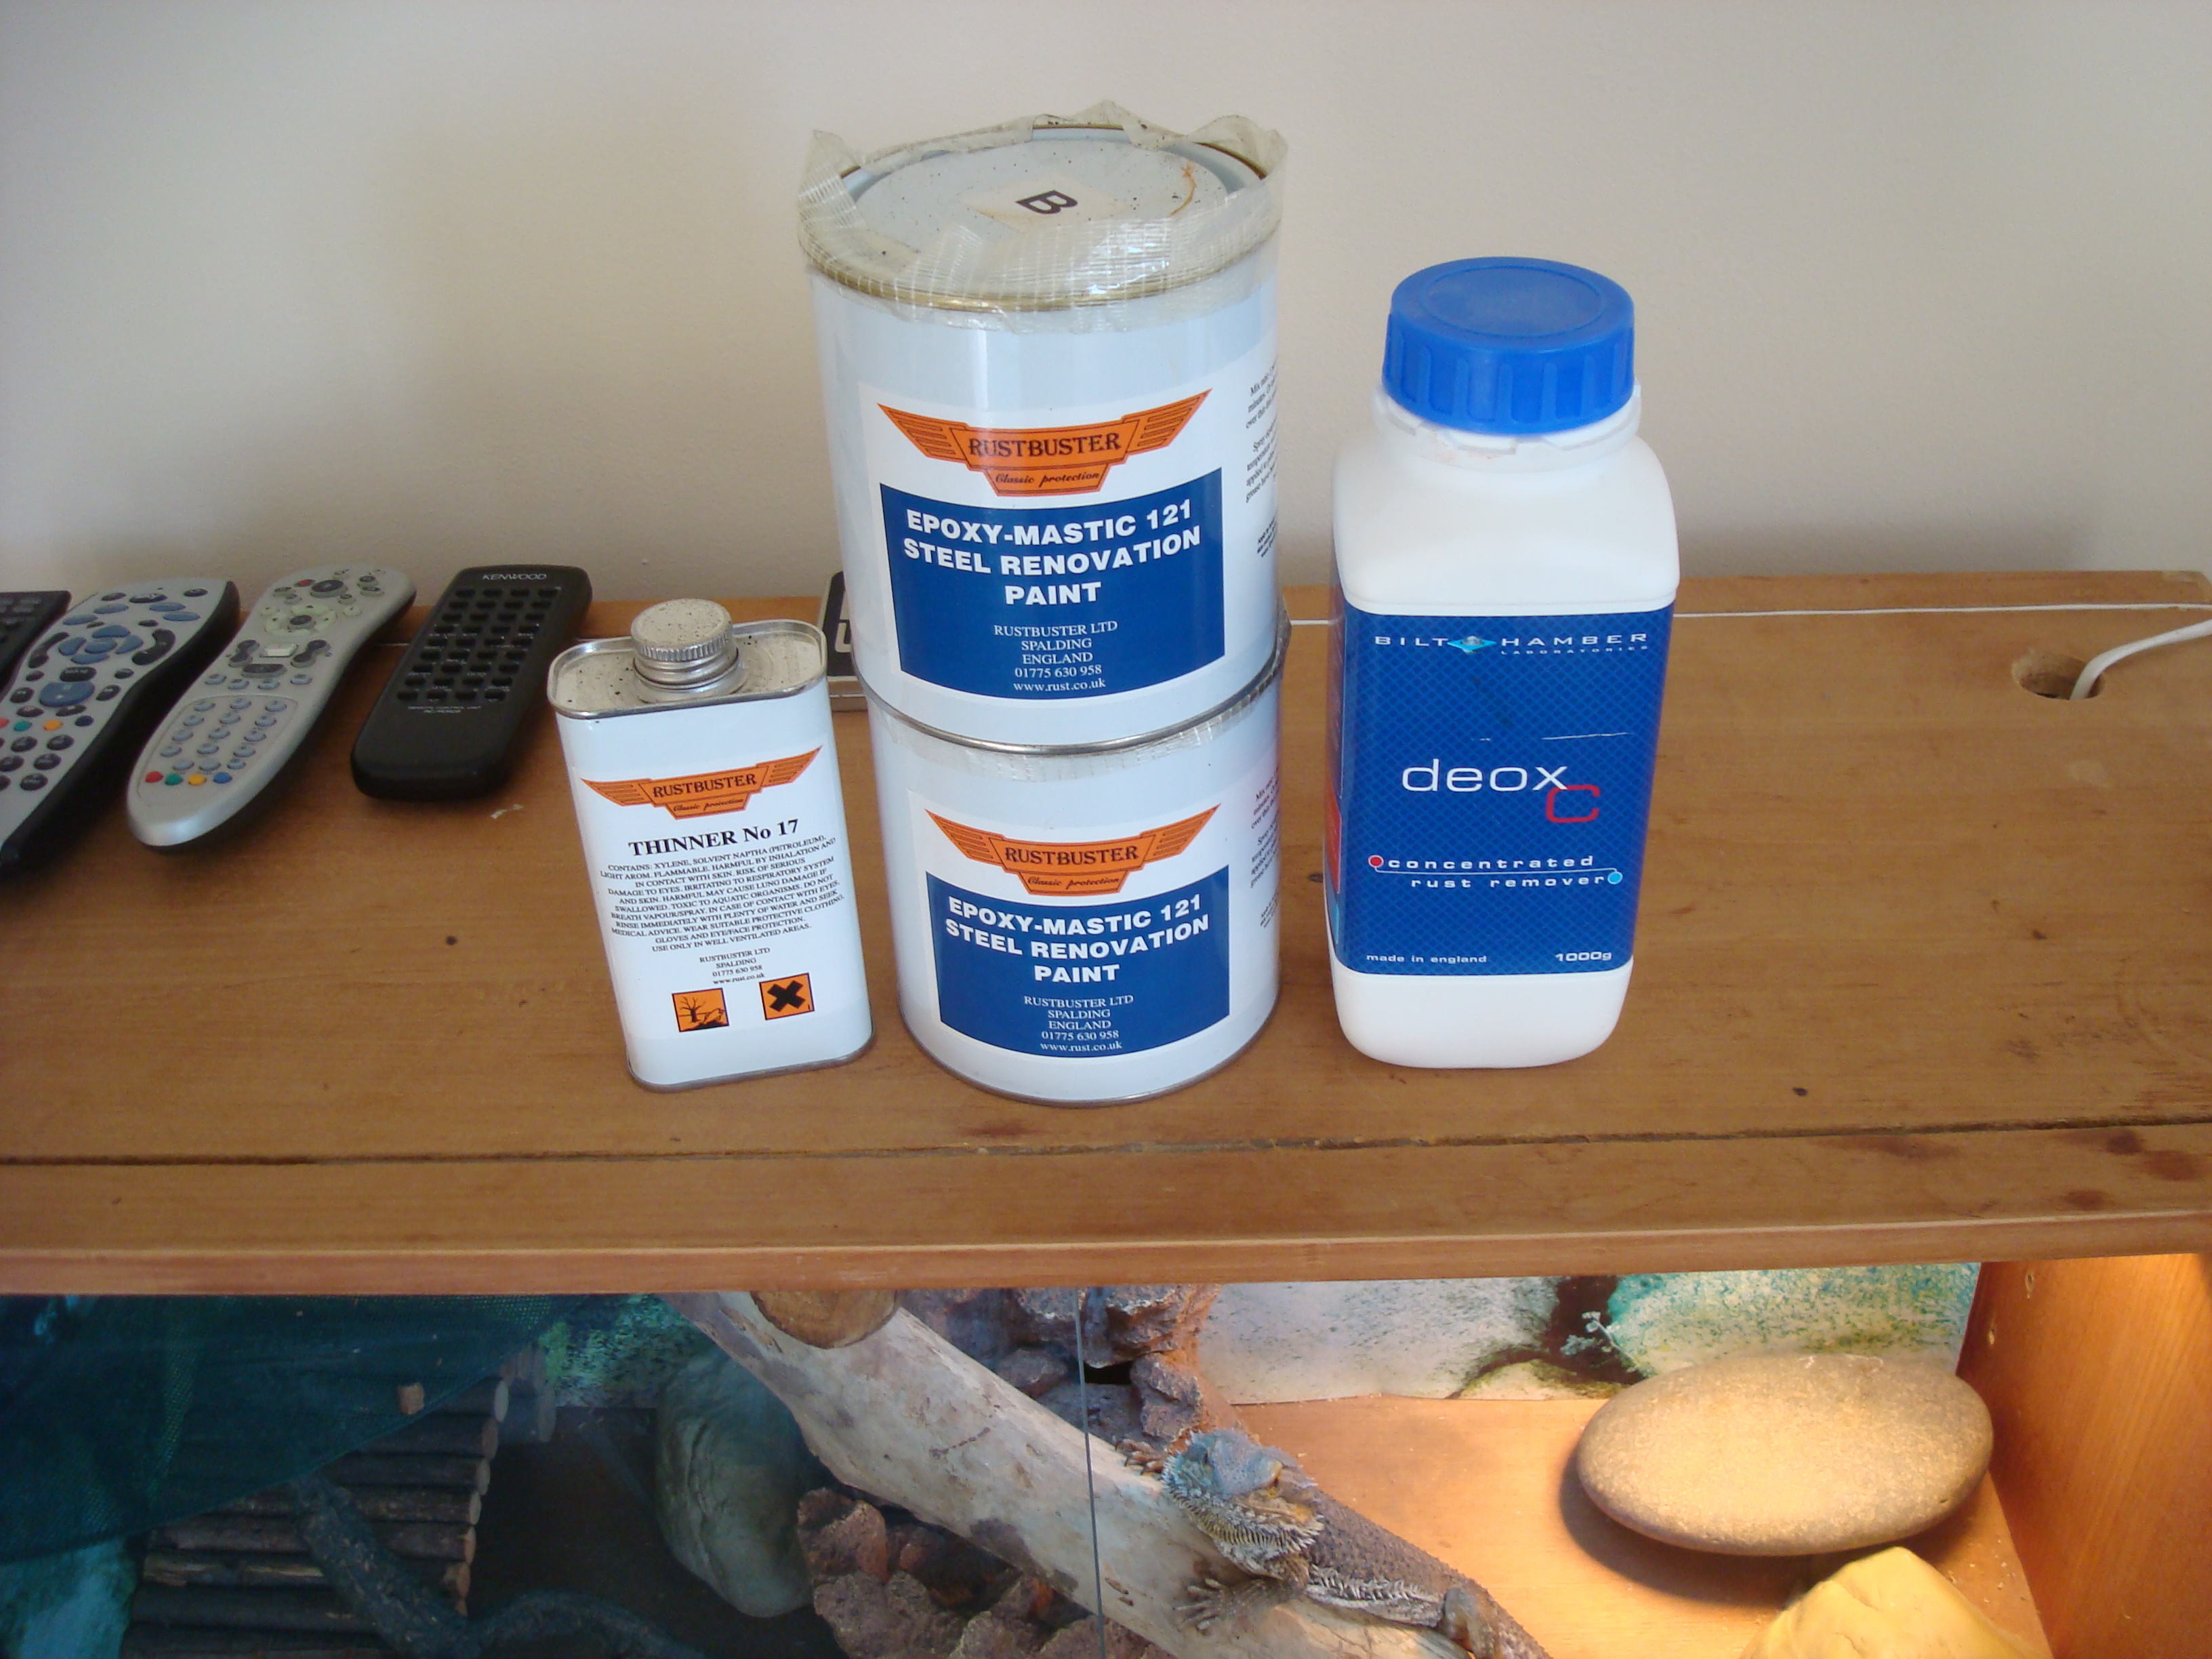
Got the rust remover and Epoxy Mastic ready for this weekends work
David
Hubs added to box room, ready to be put on the rear beam hopefully very soon.
Got the rust remover and Epoxy Mastic ready for this weekends work
David
22-04-2010, 09:11 PM
#105
Wahay!! I've lost my Virginity!!
Thread Starter
Join Date: Dec 2009
Location: Malvern
Posts: 69
Likes: 0
Received 0 Likes
on
0 Posts
Thursday 22/04/2010
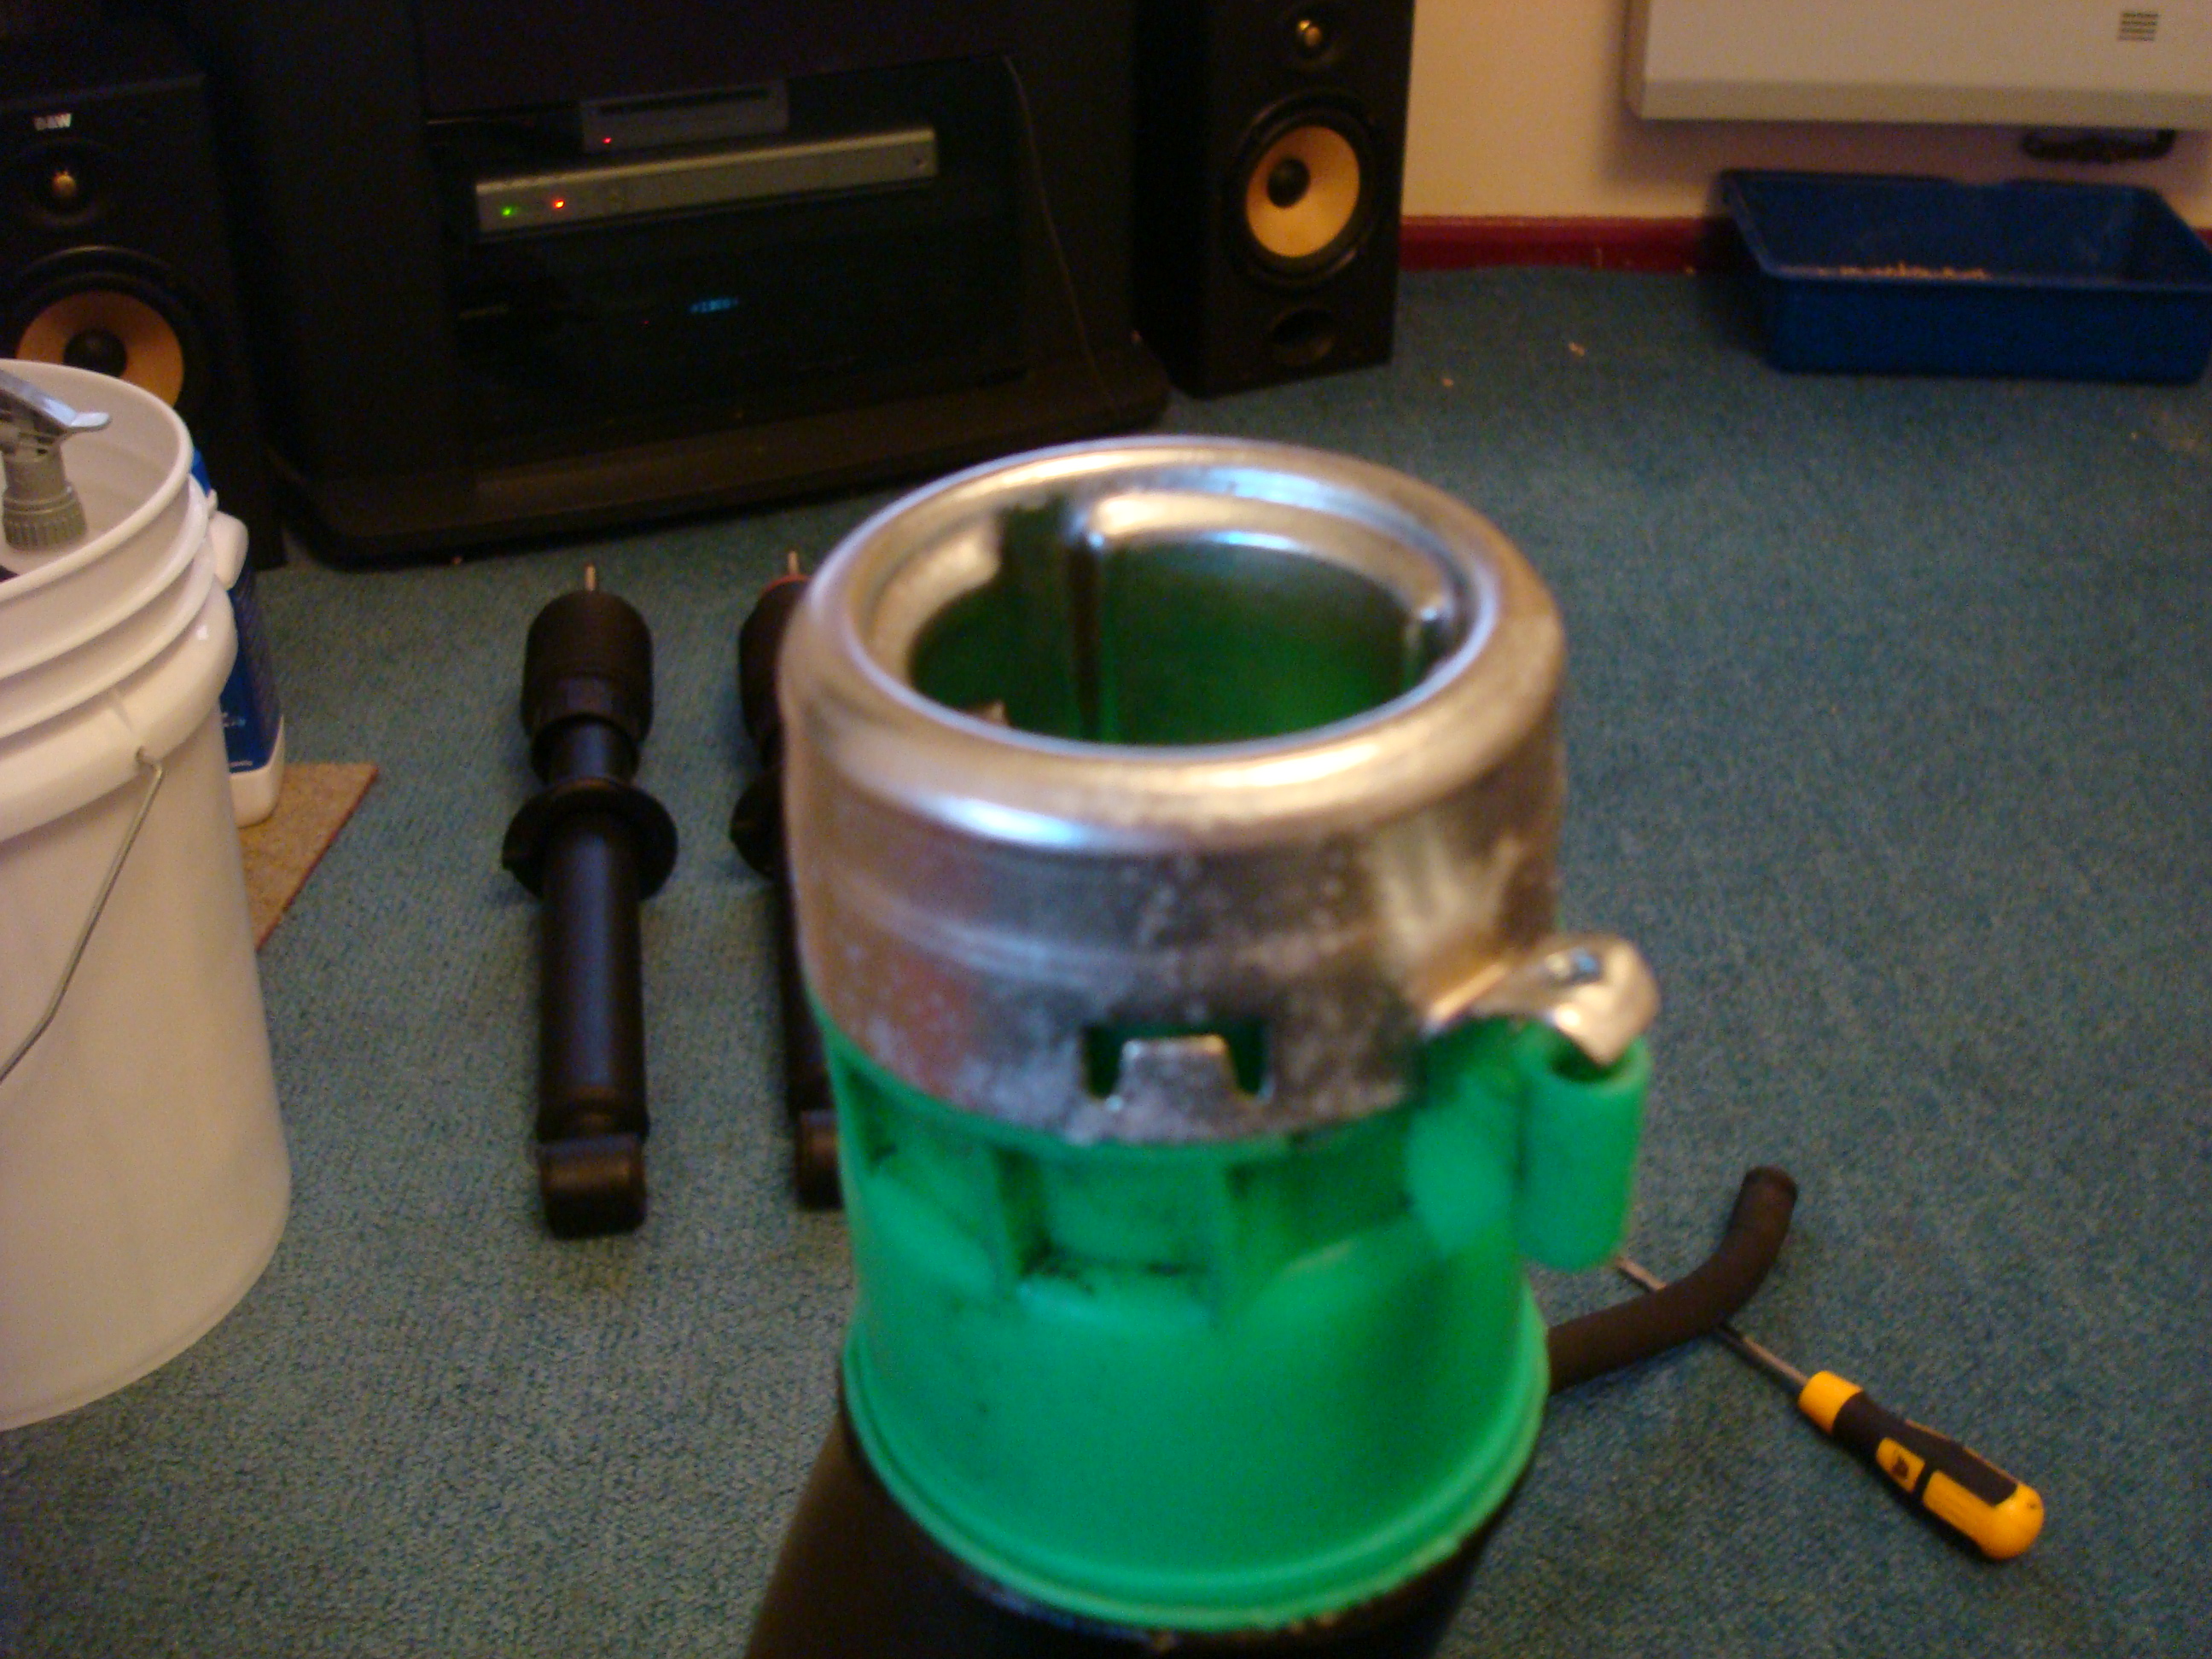
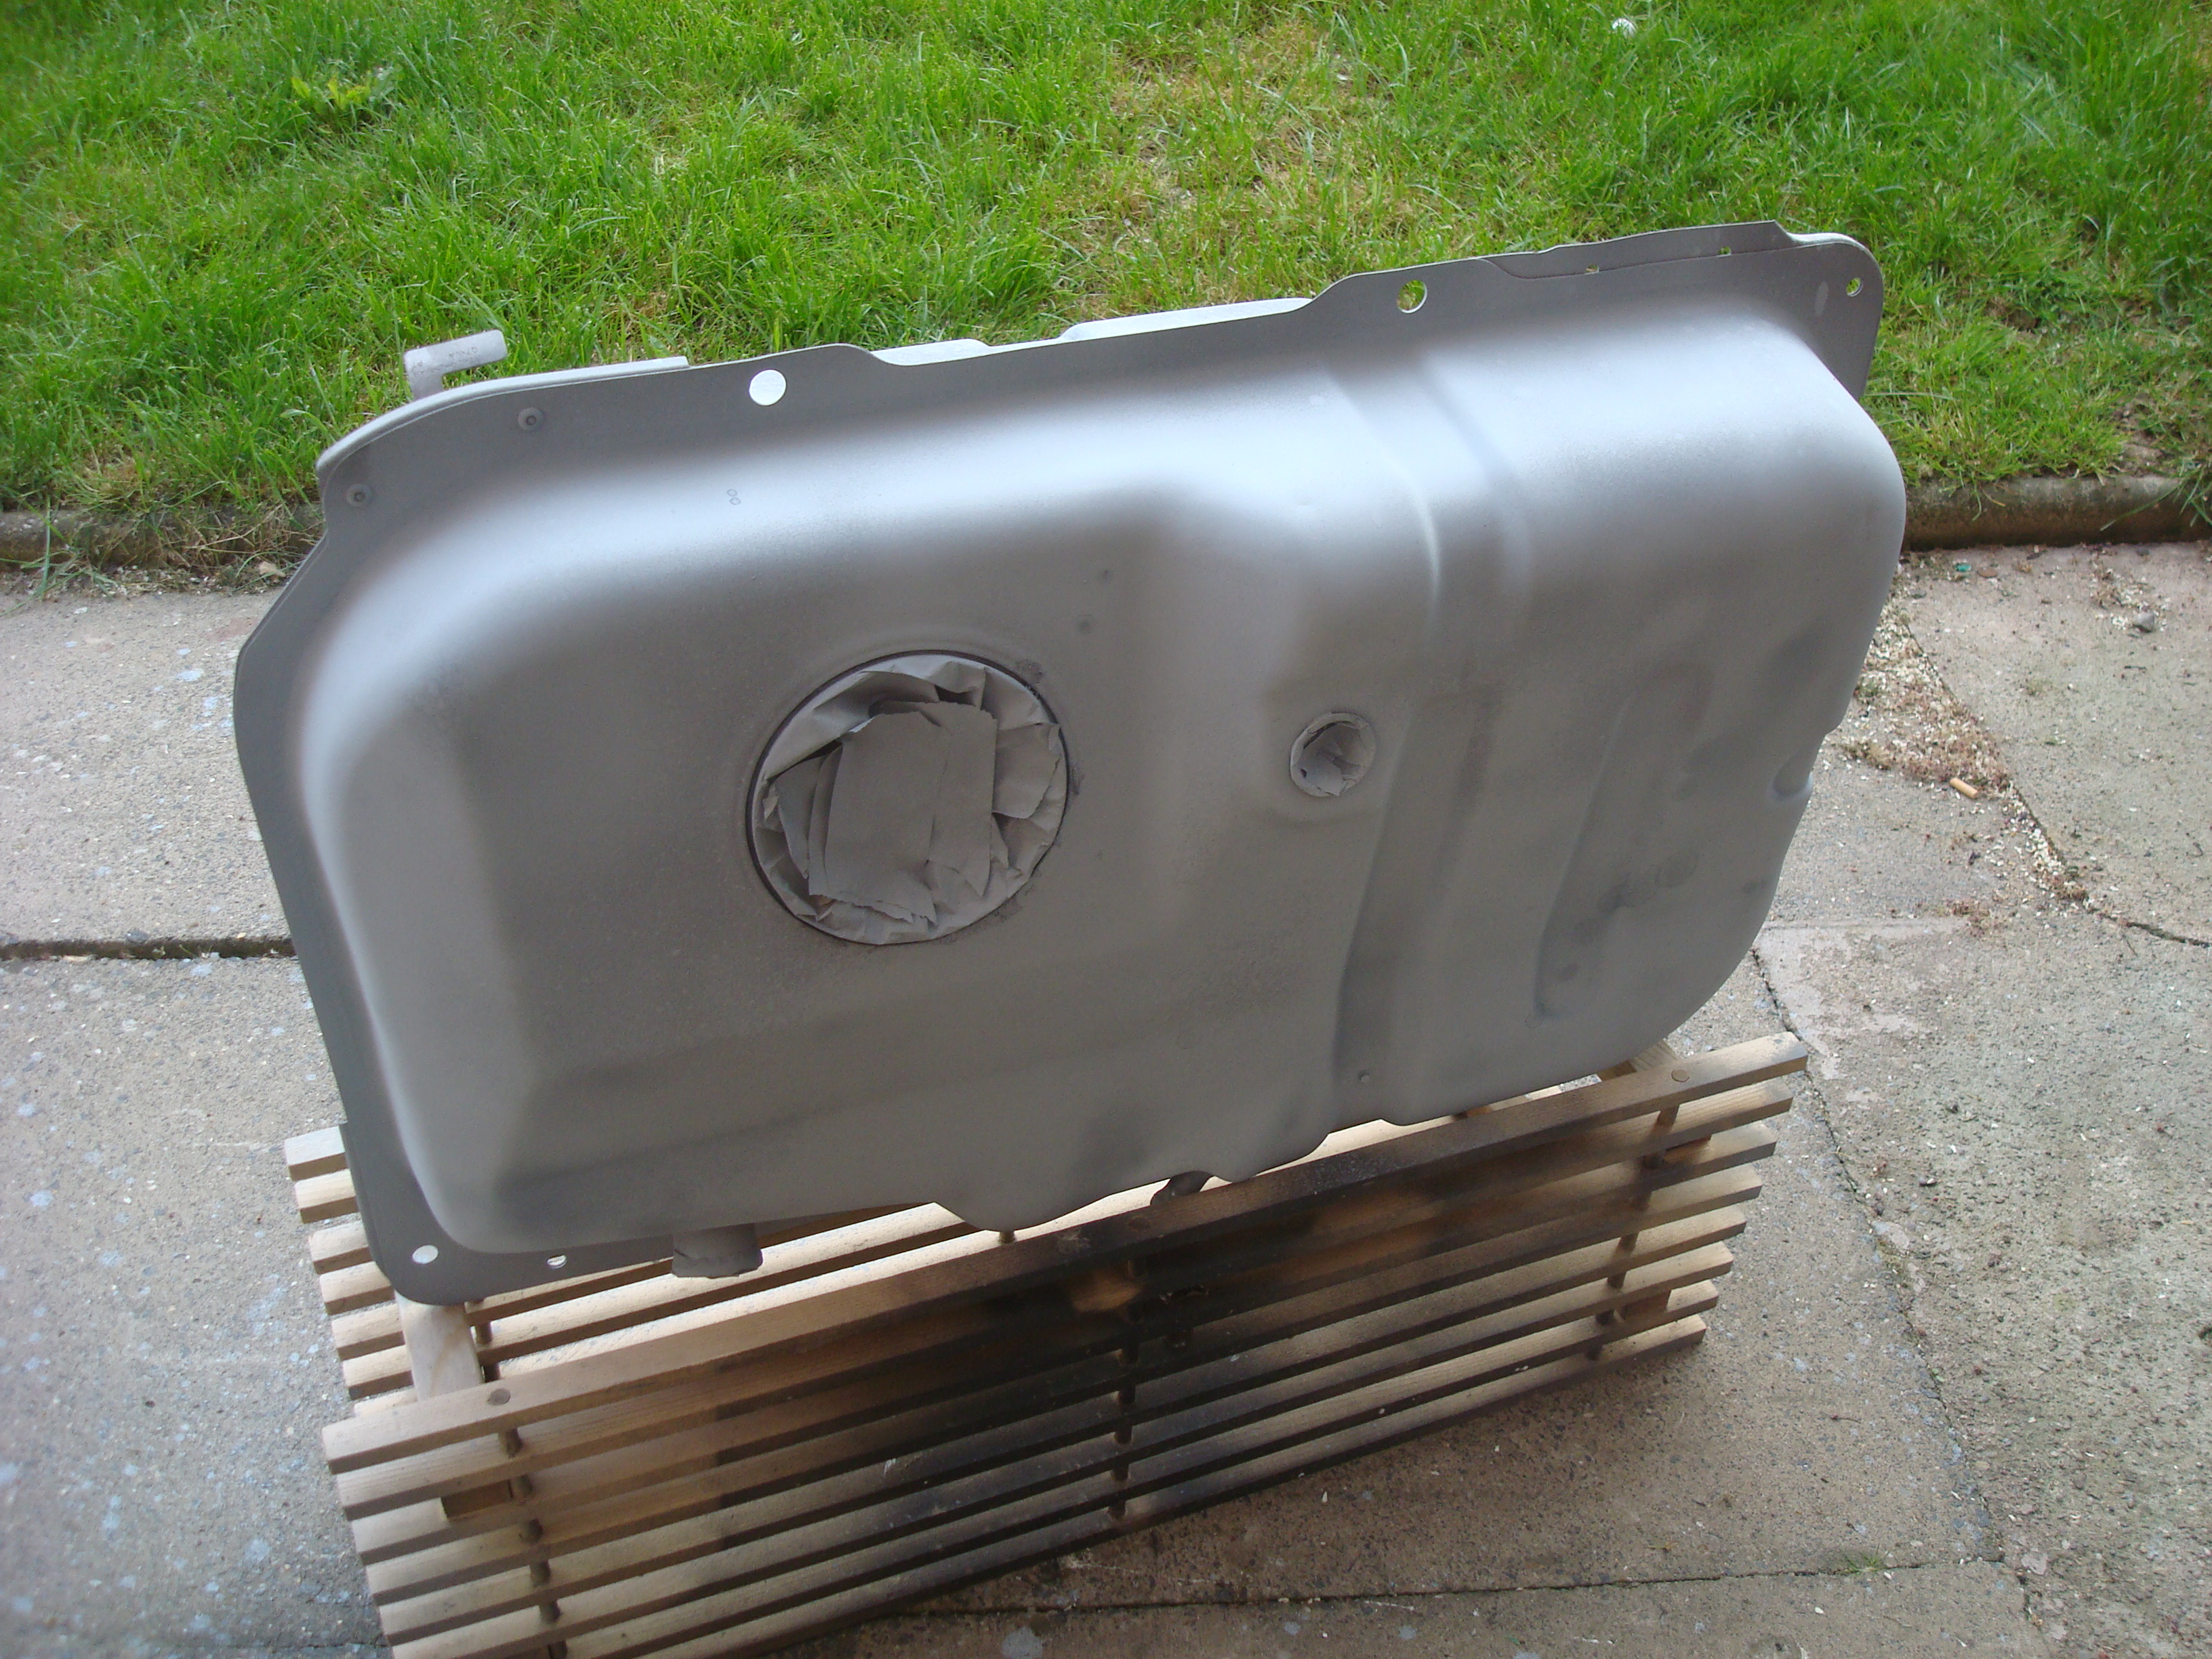
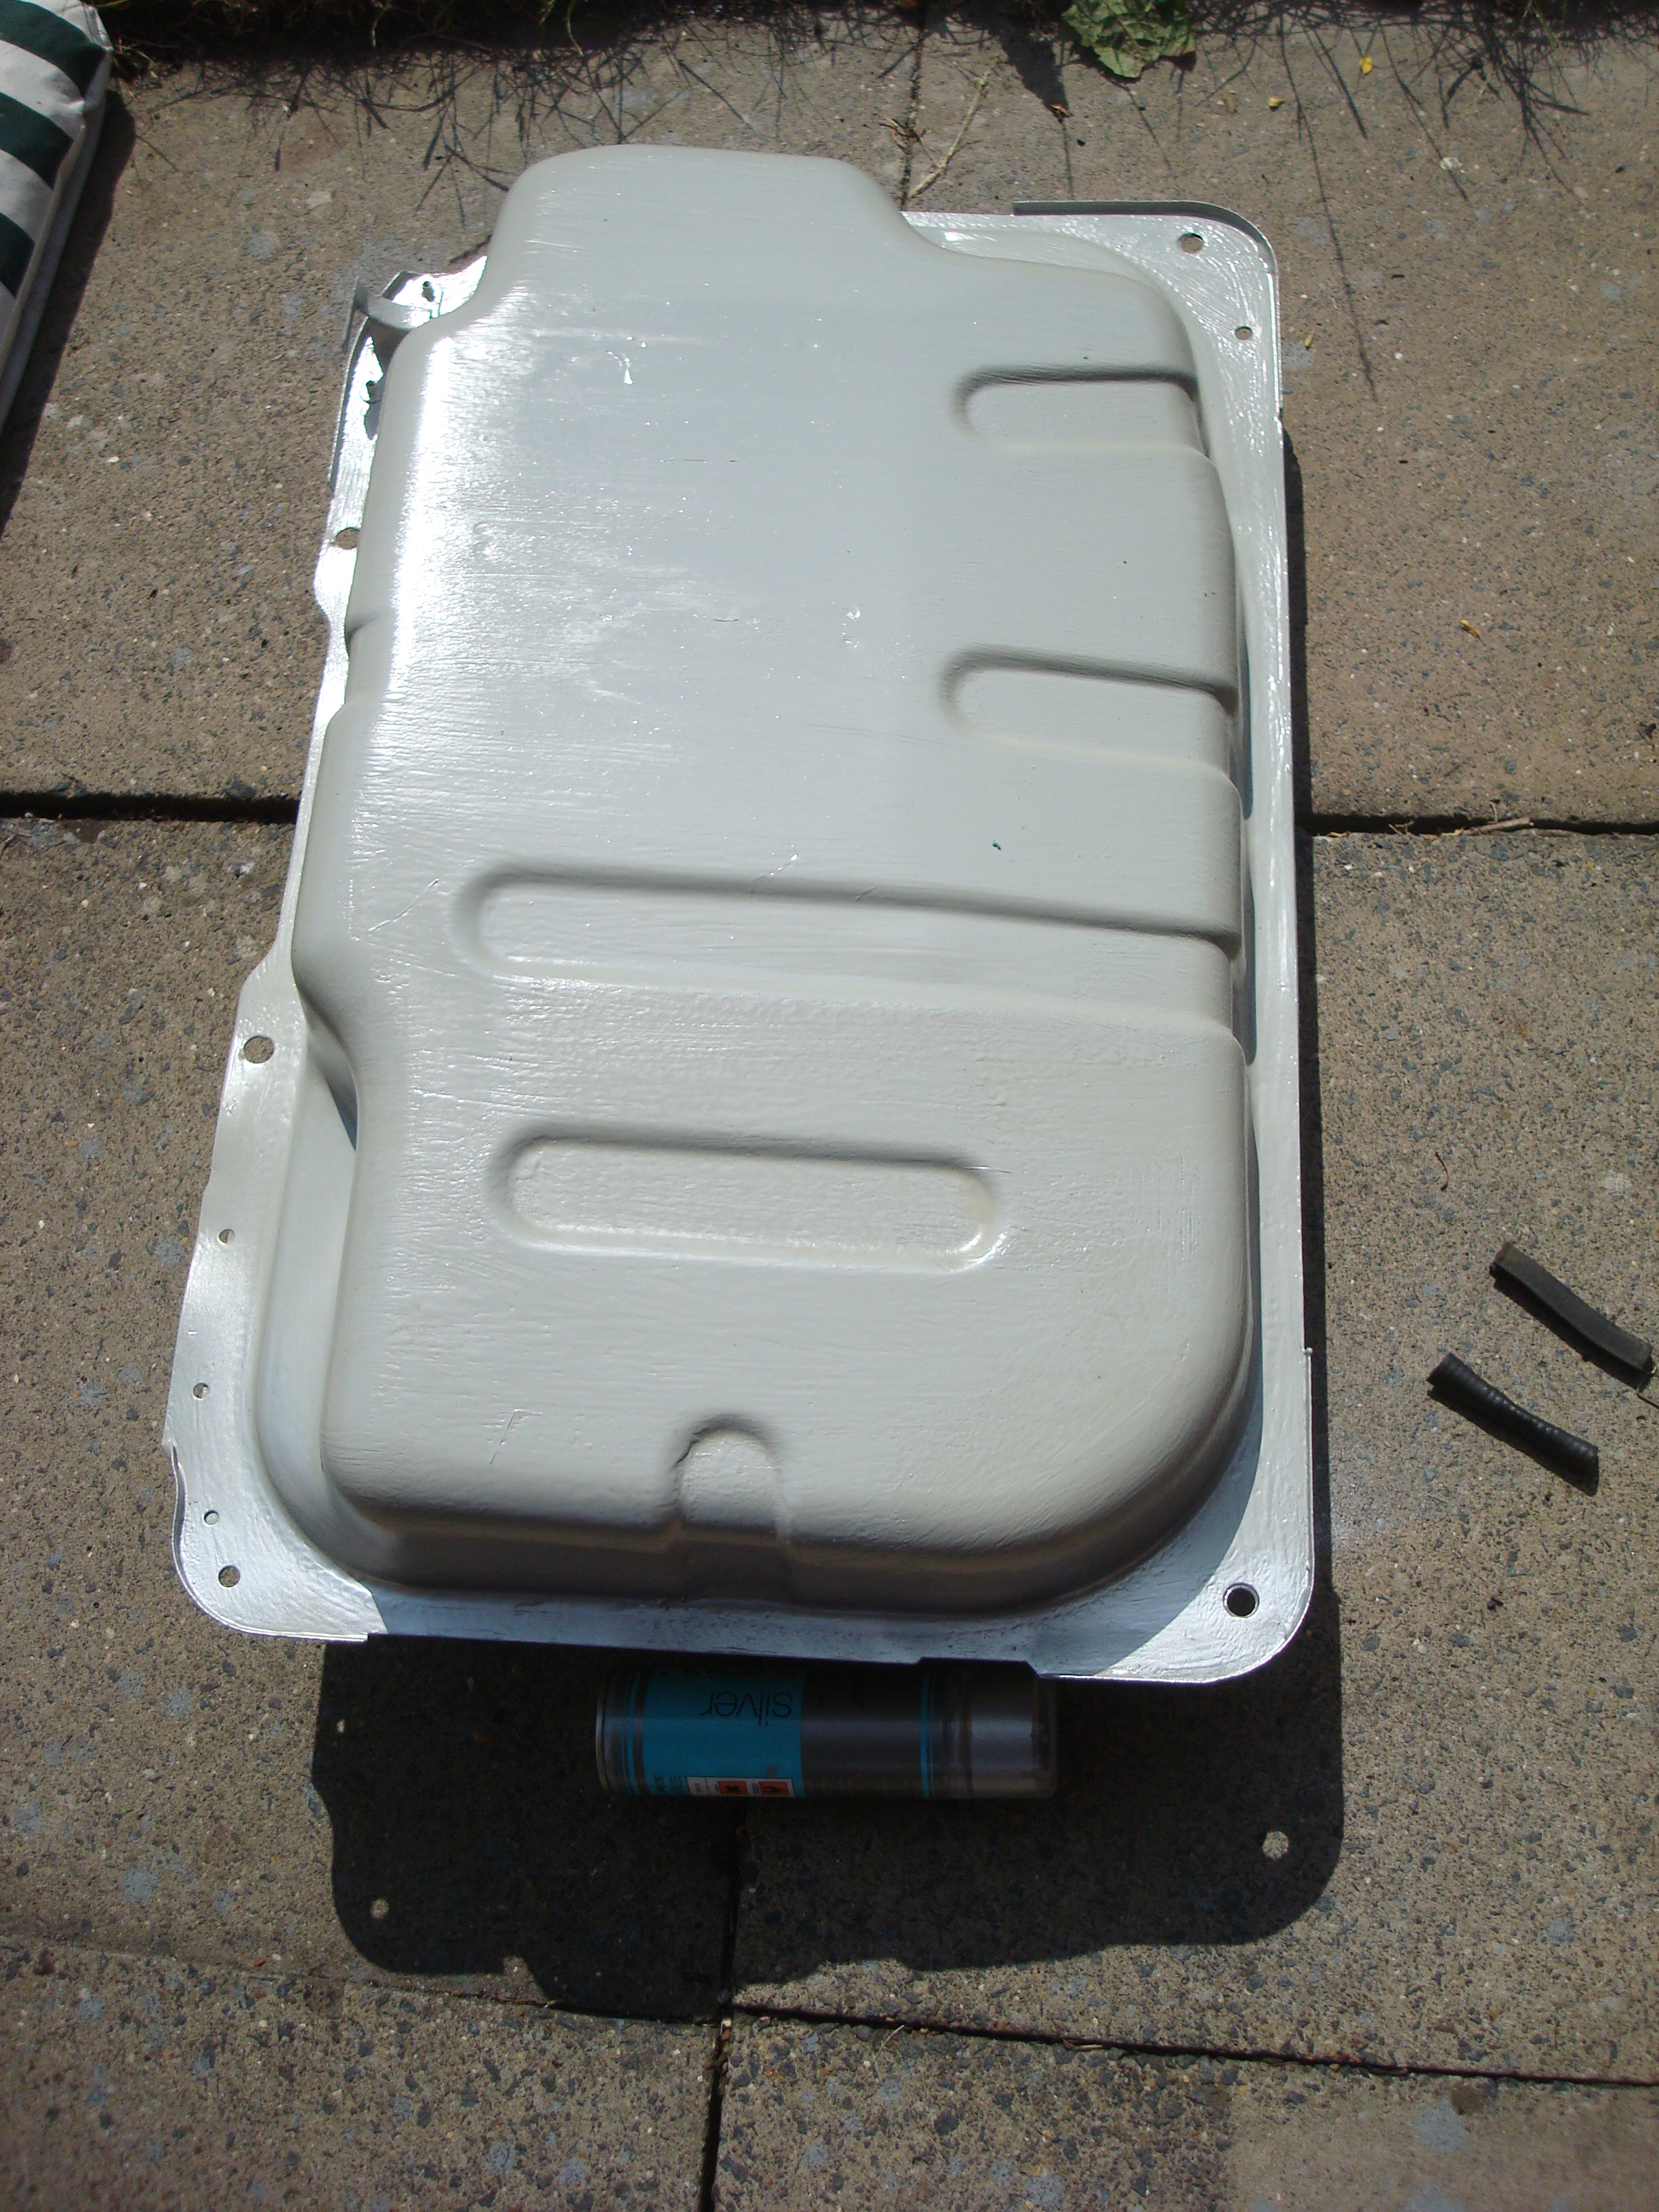
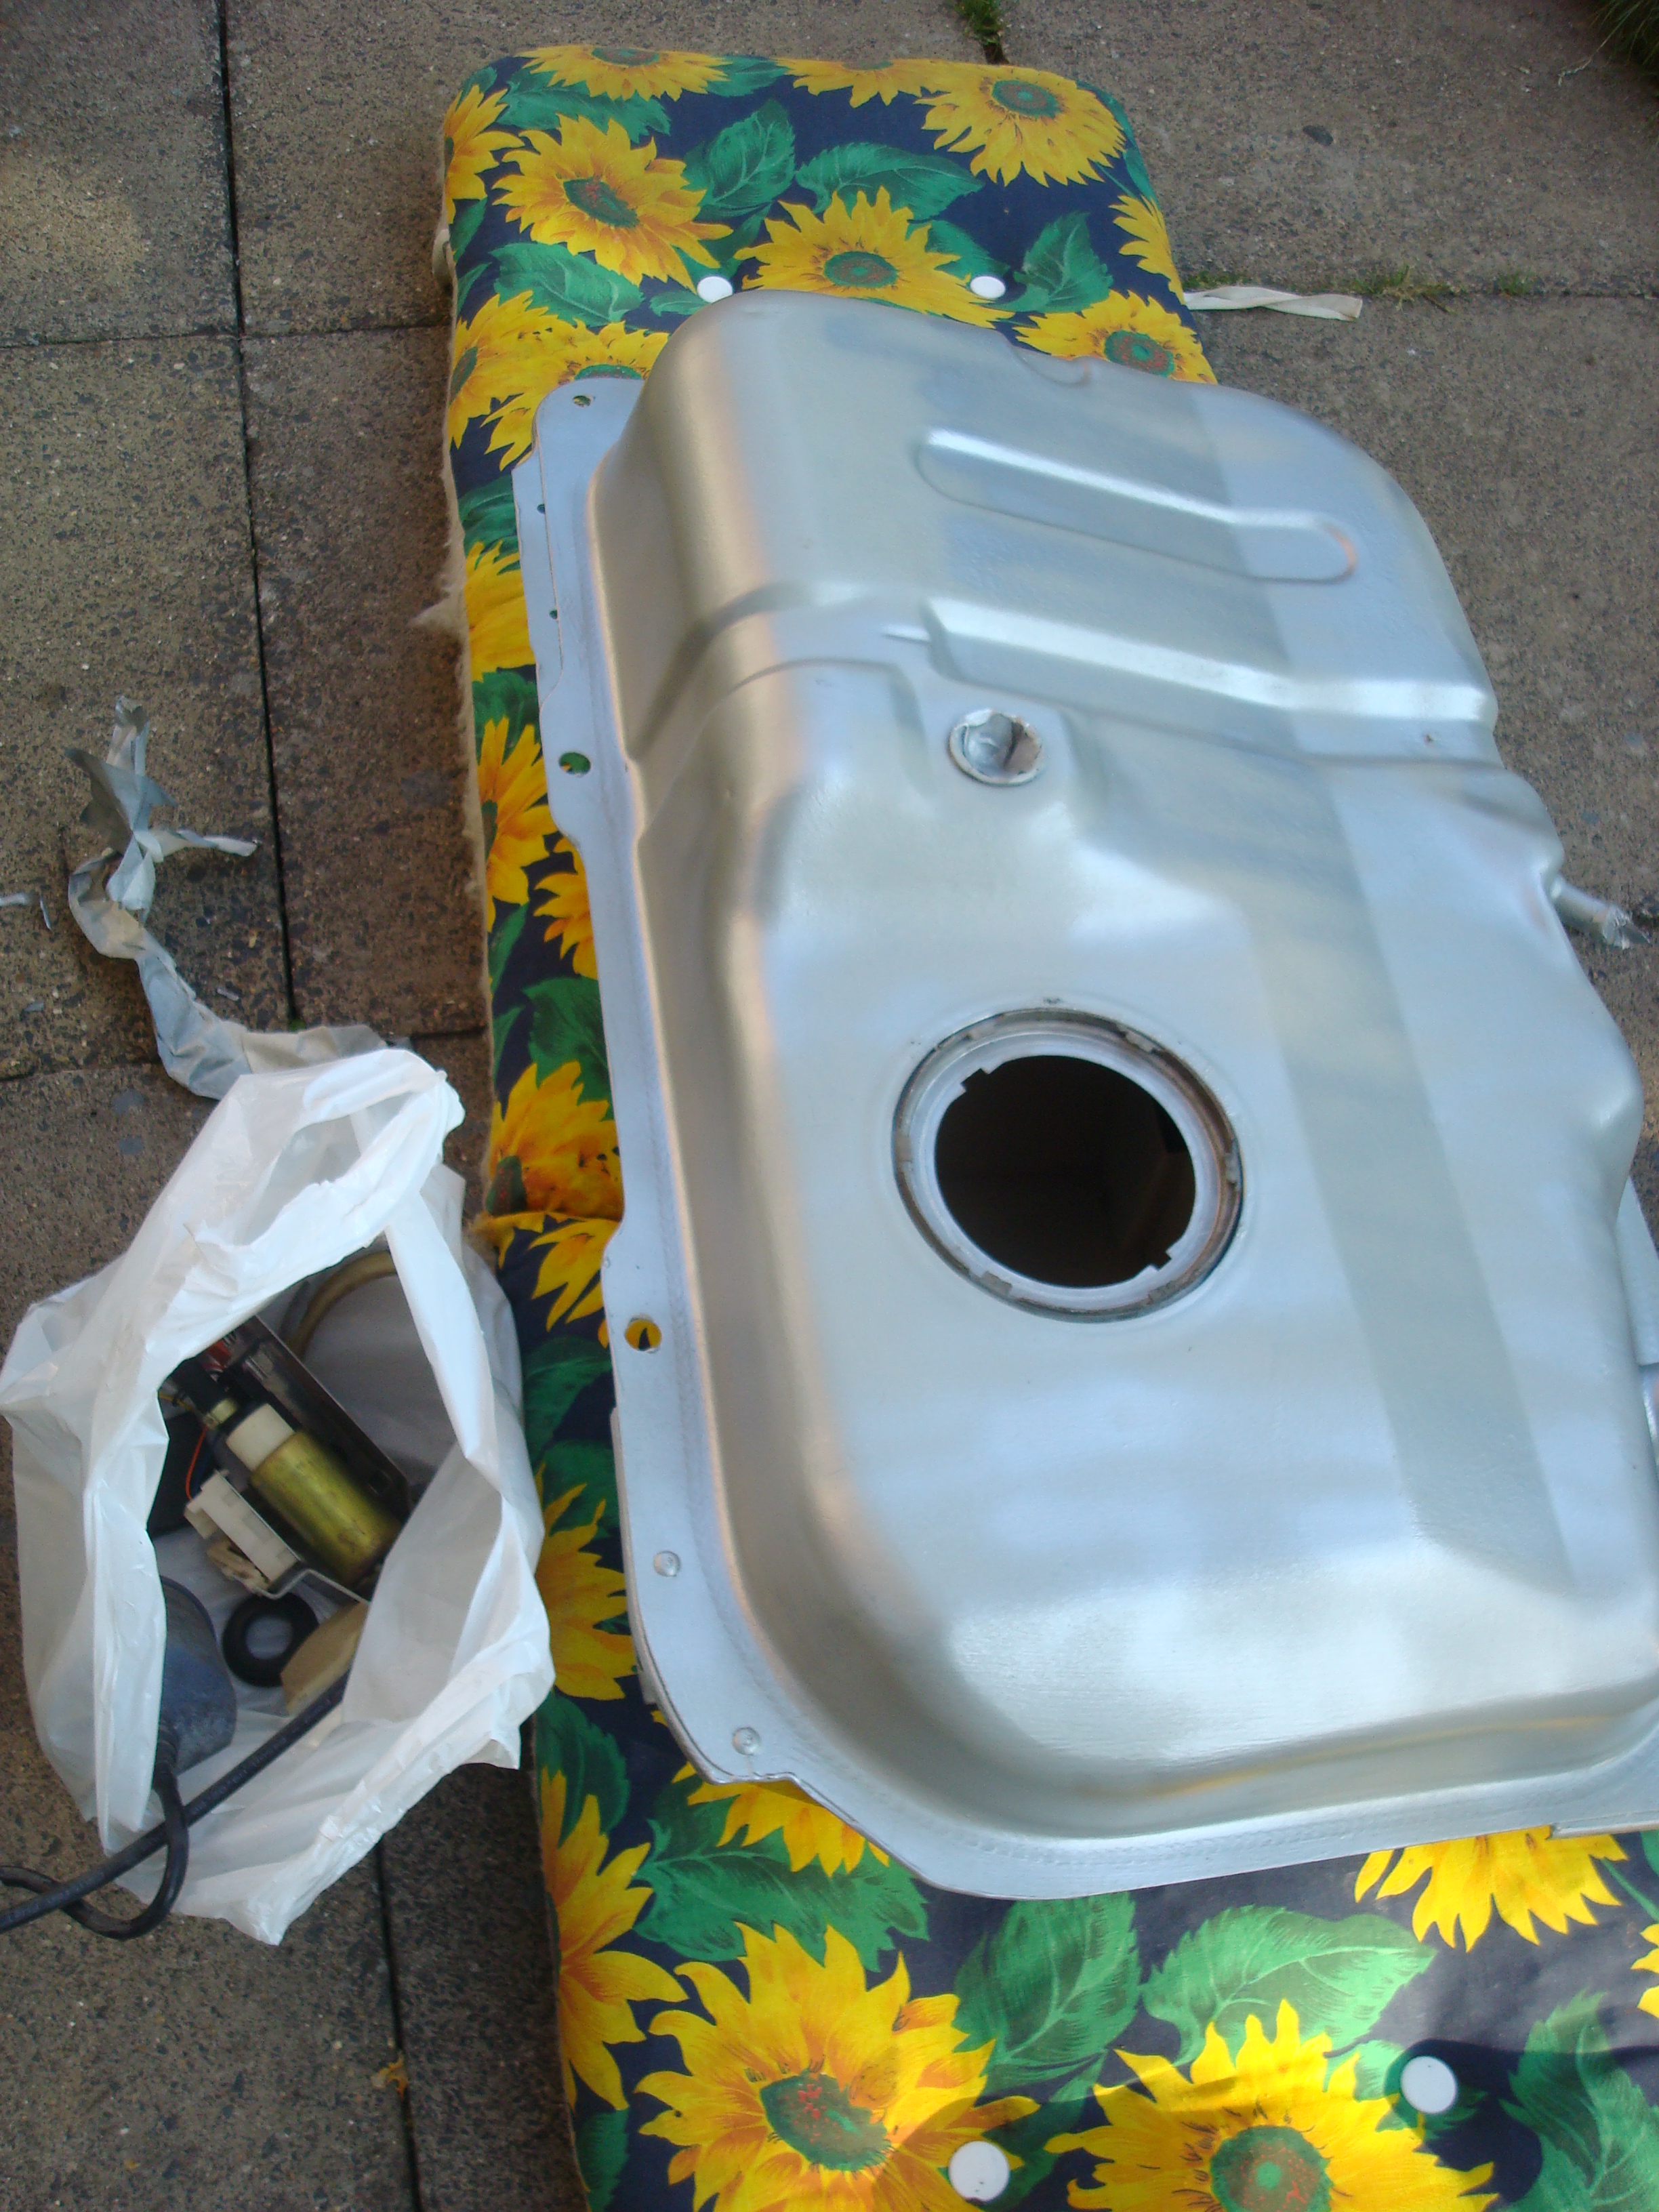
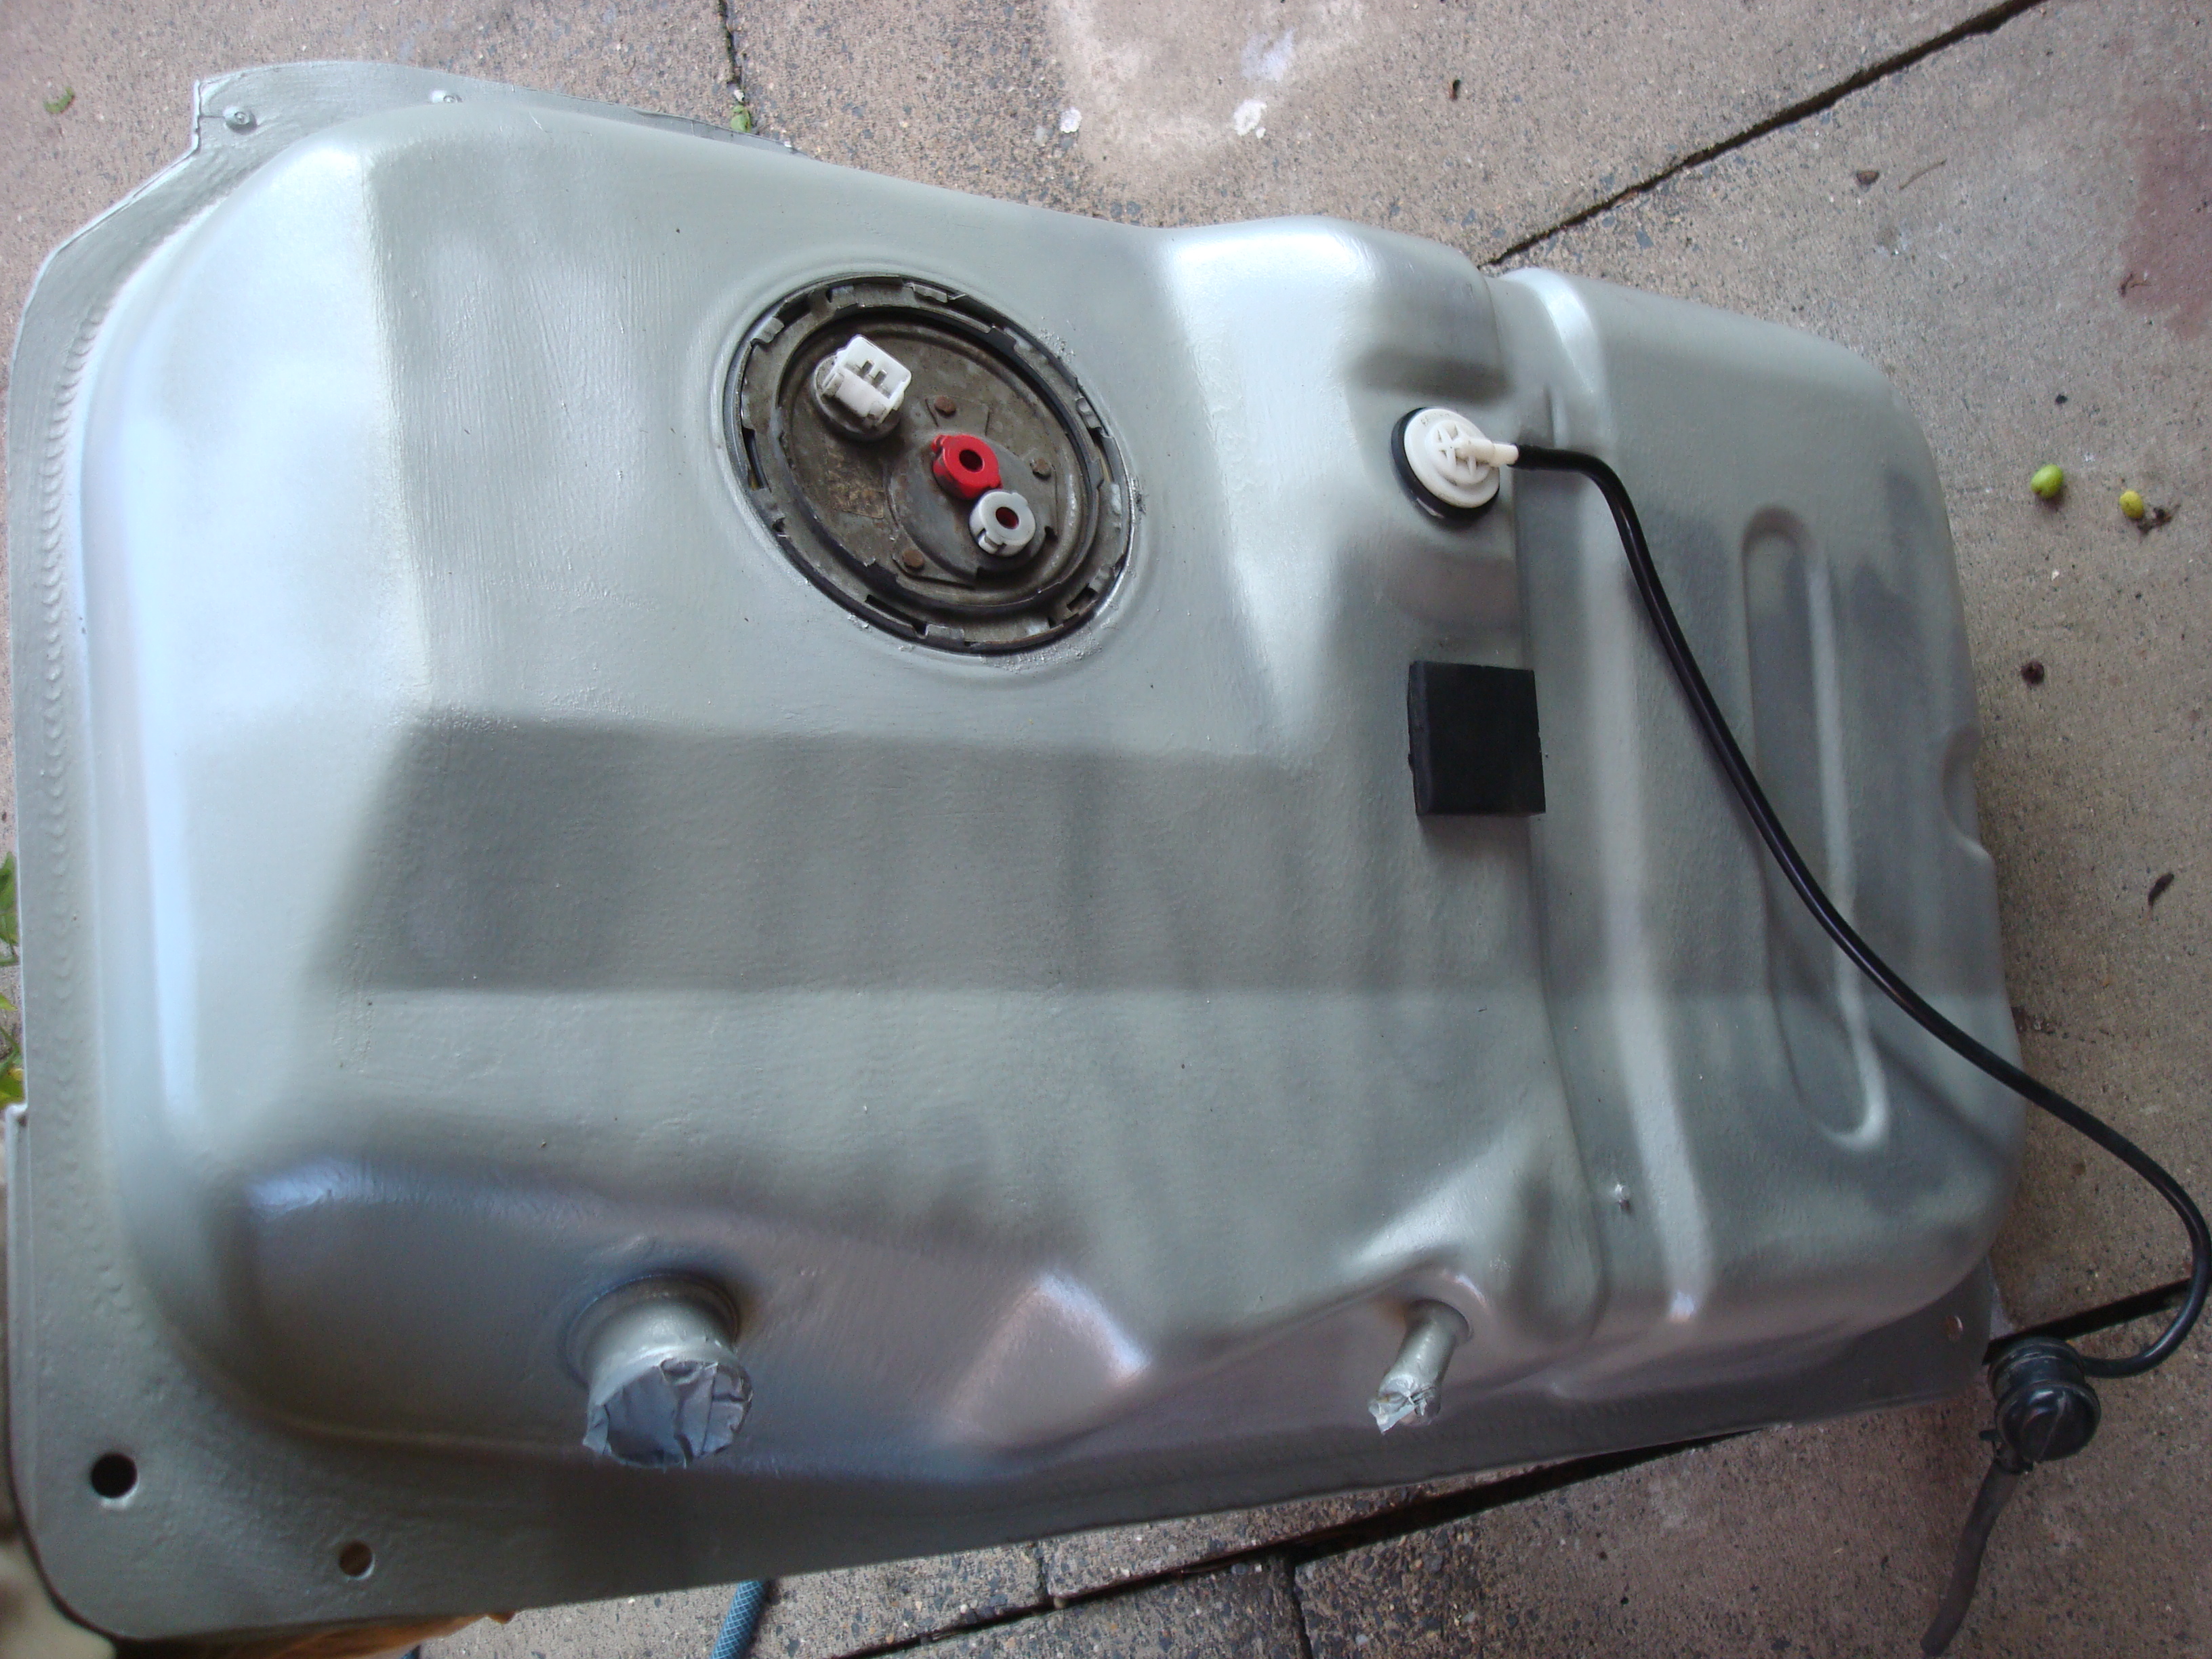
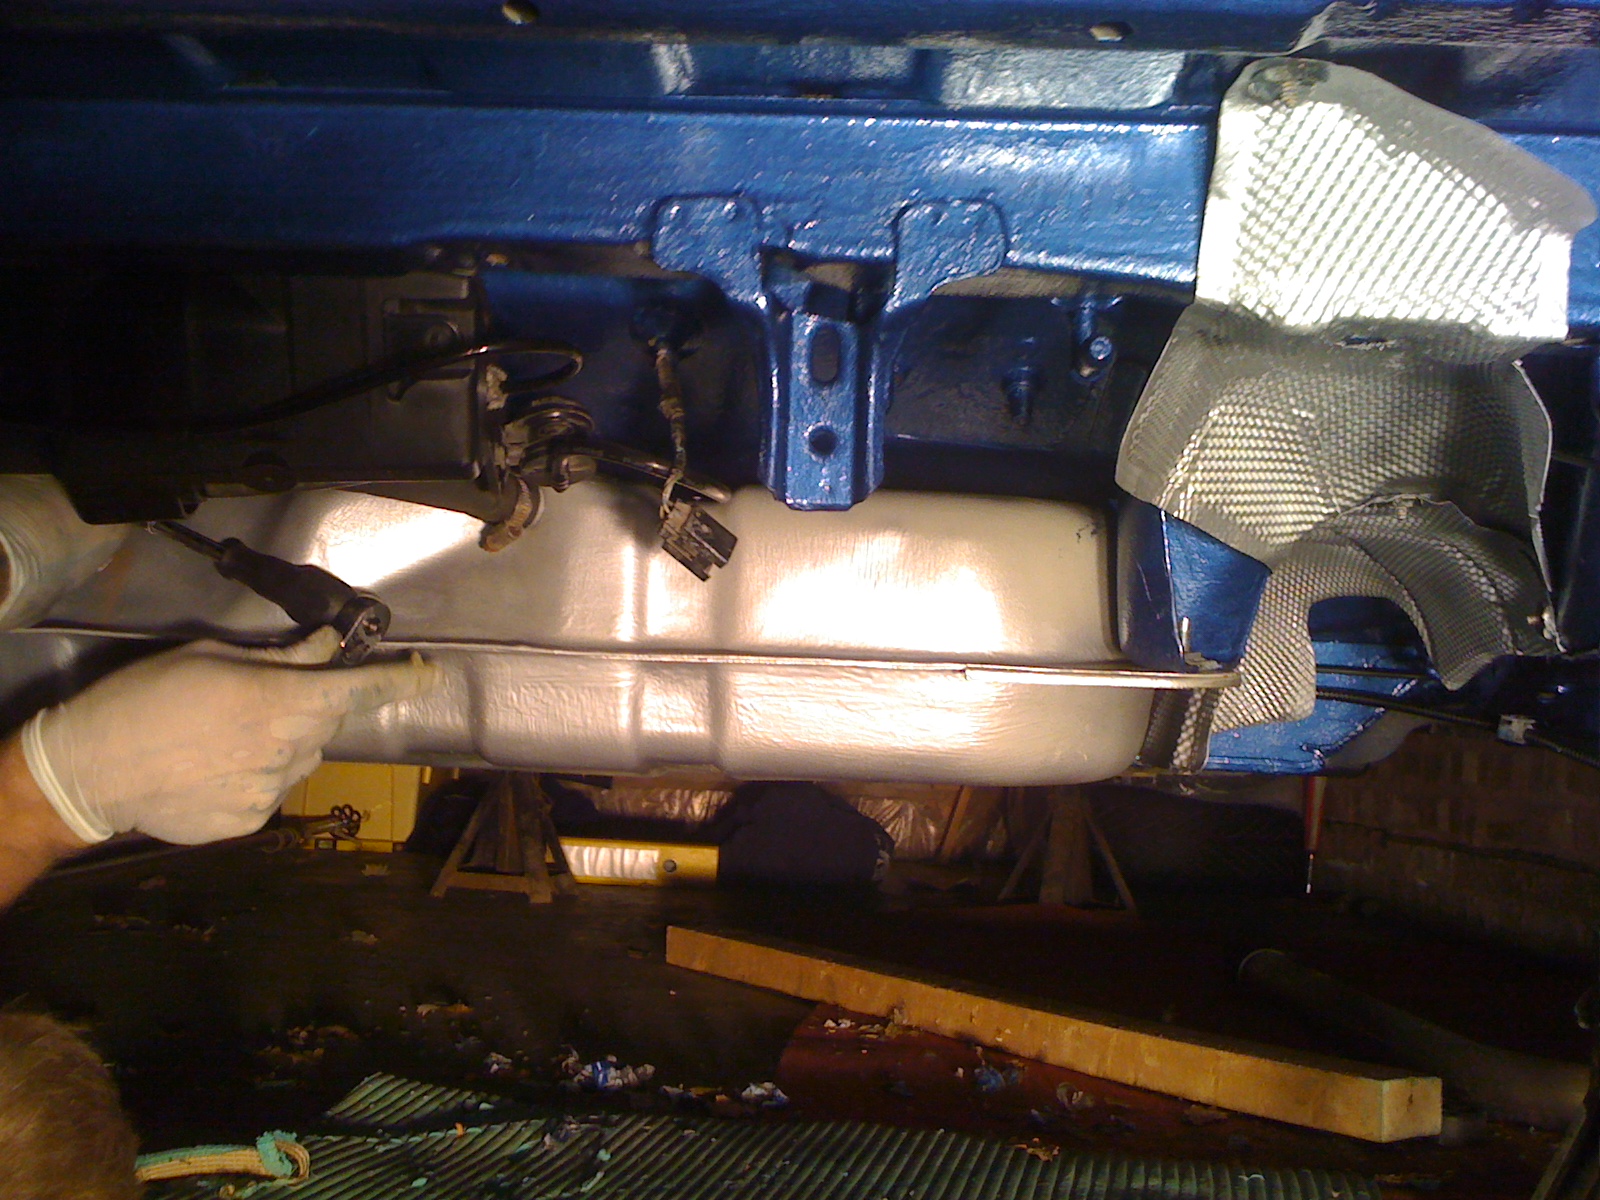
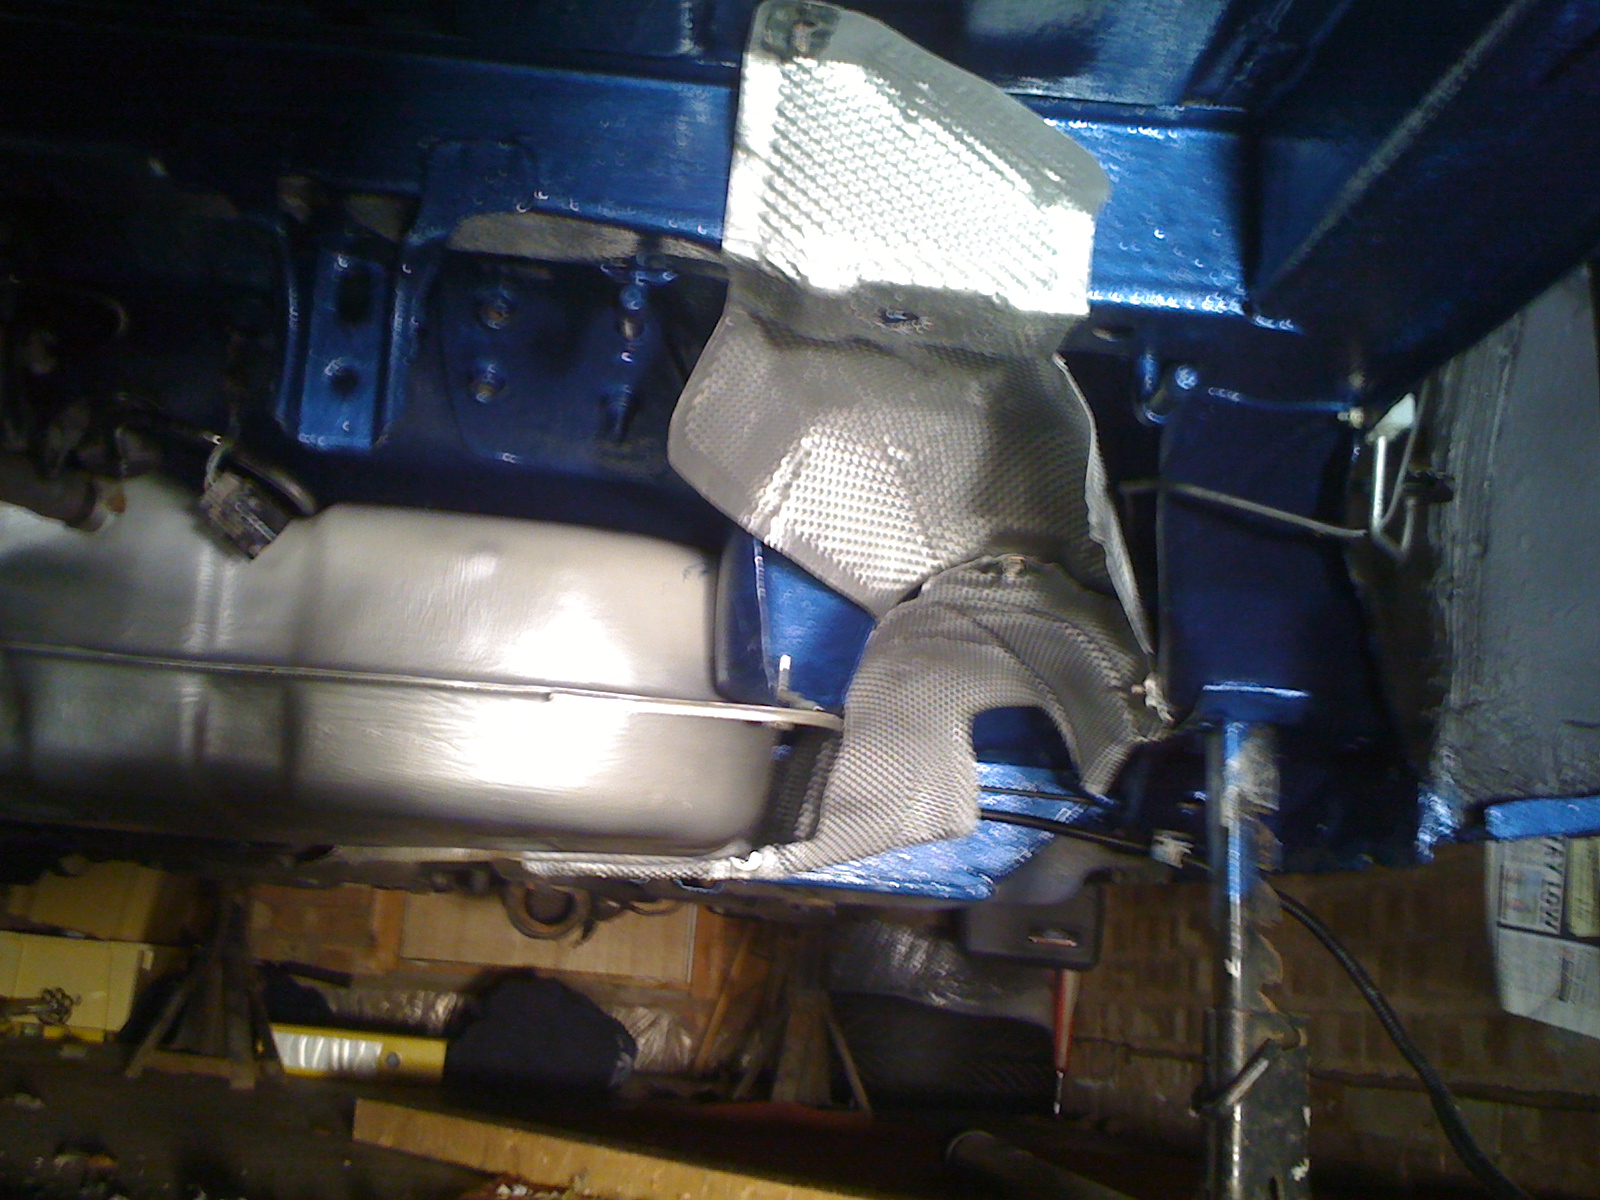
Whilst tidying the shed up this evening I found a can of zinc primer so decided to spray the fuel tank, hoping to get a can of hammer rite silver spray paint on Saturday to finish it off.
Before:
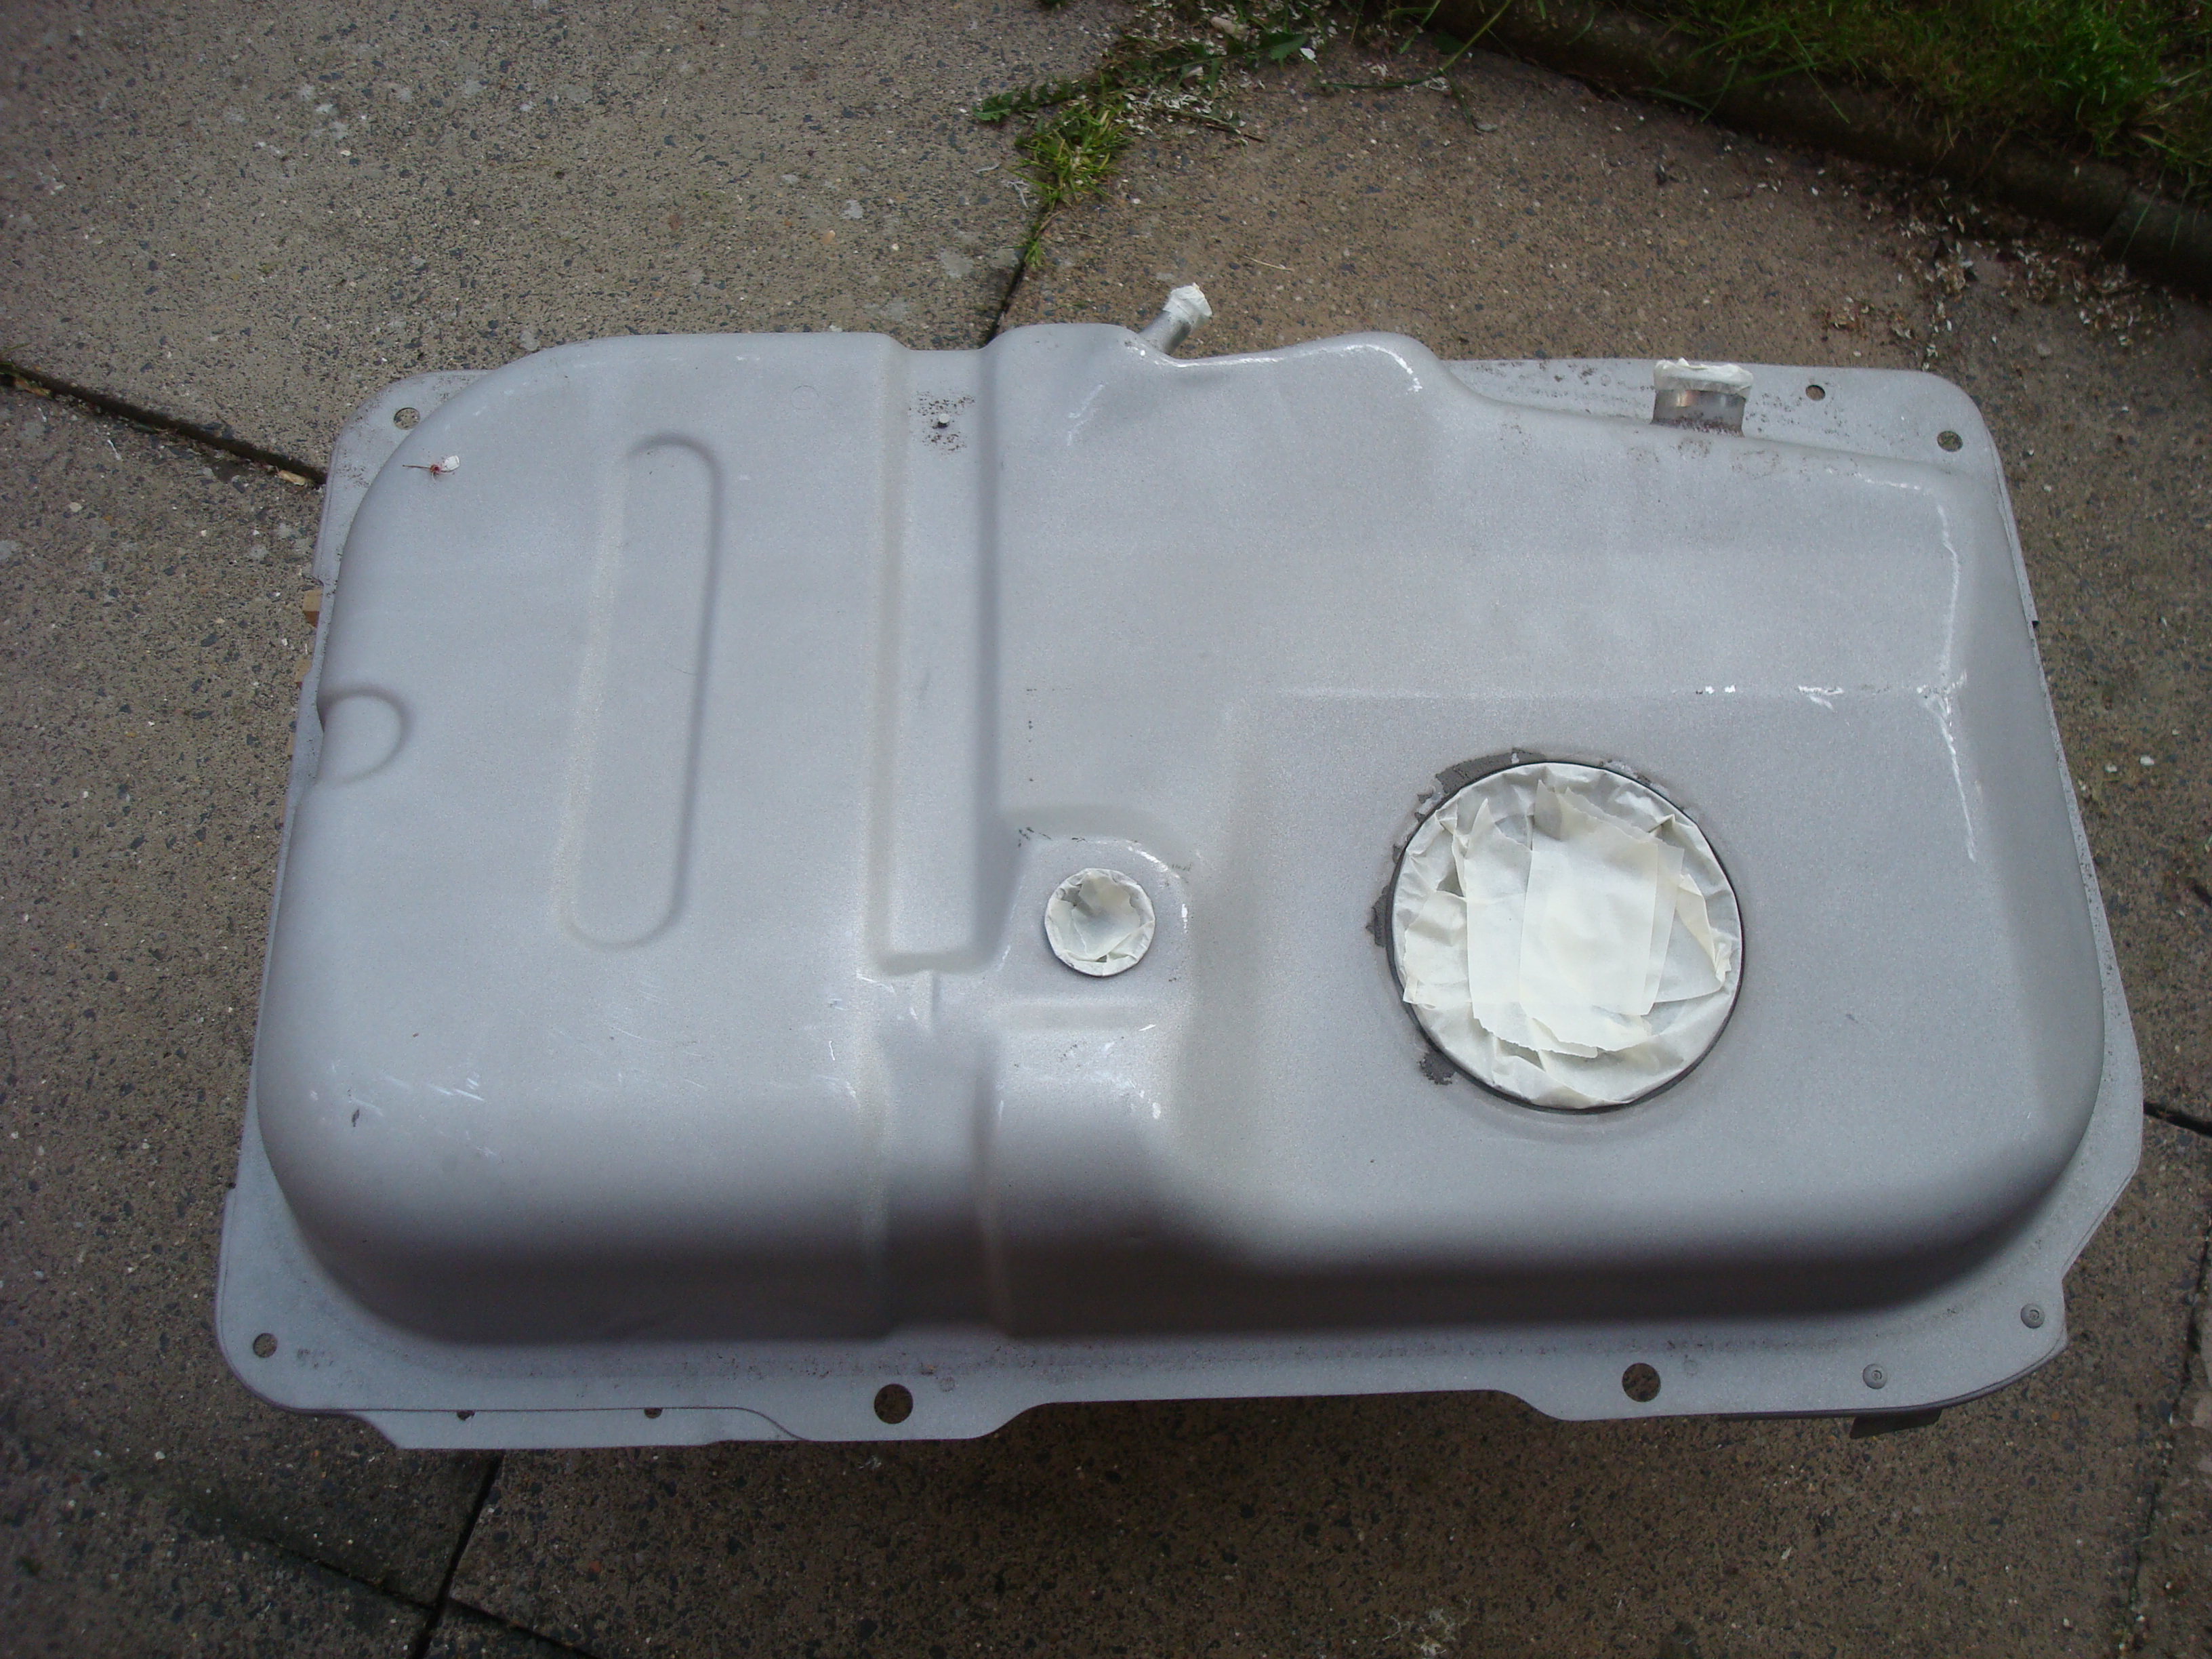
After:
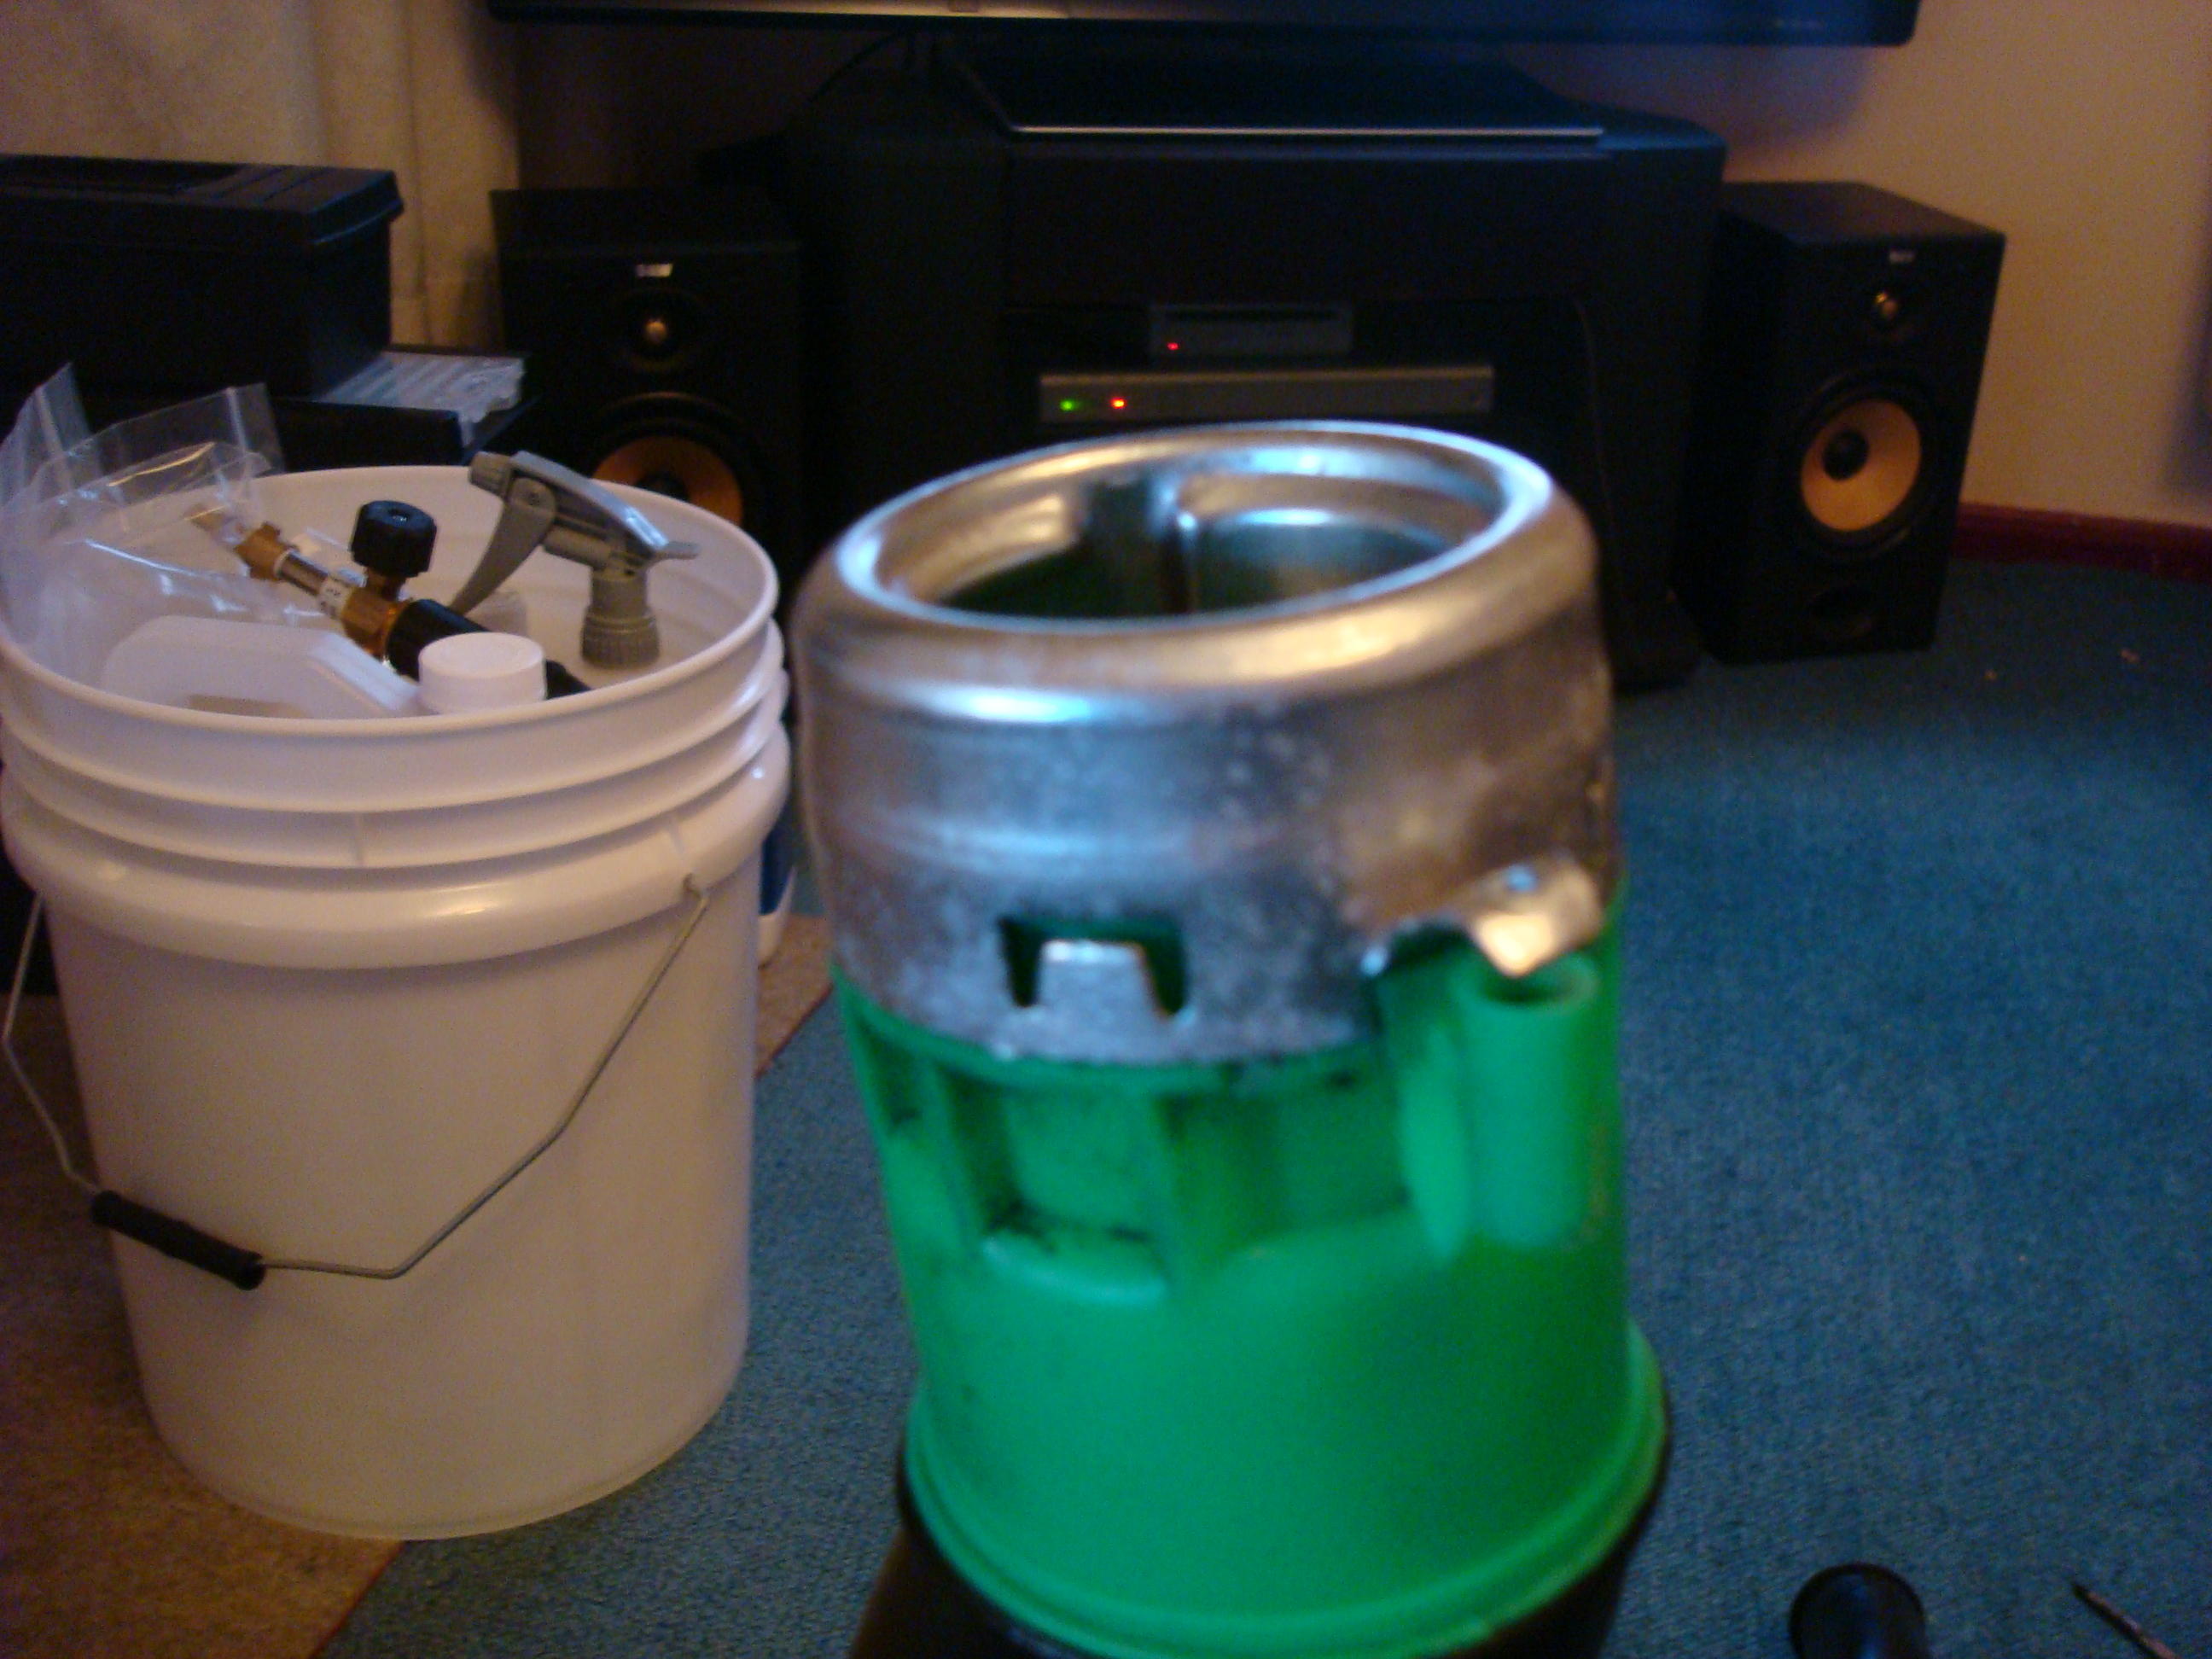
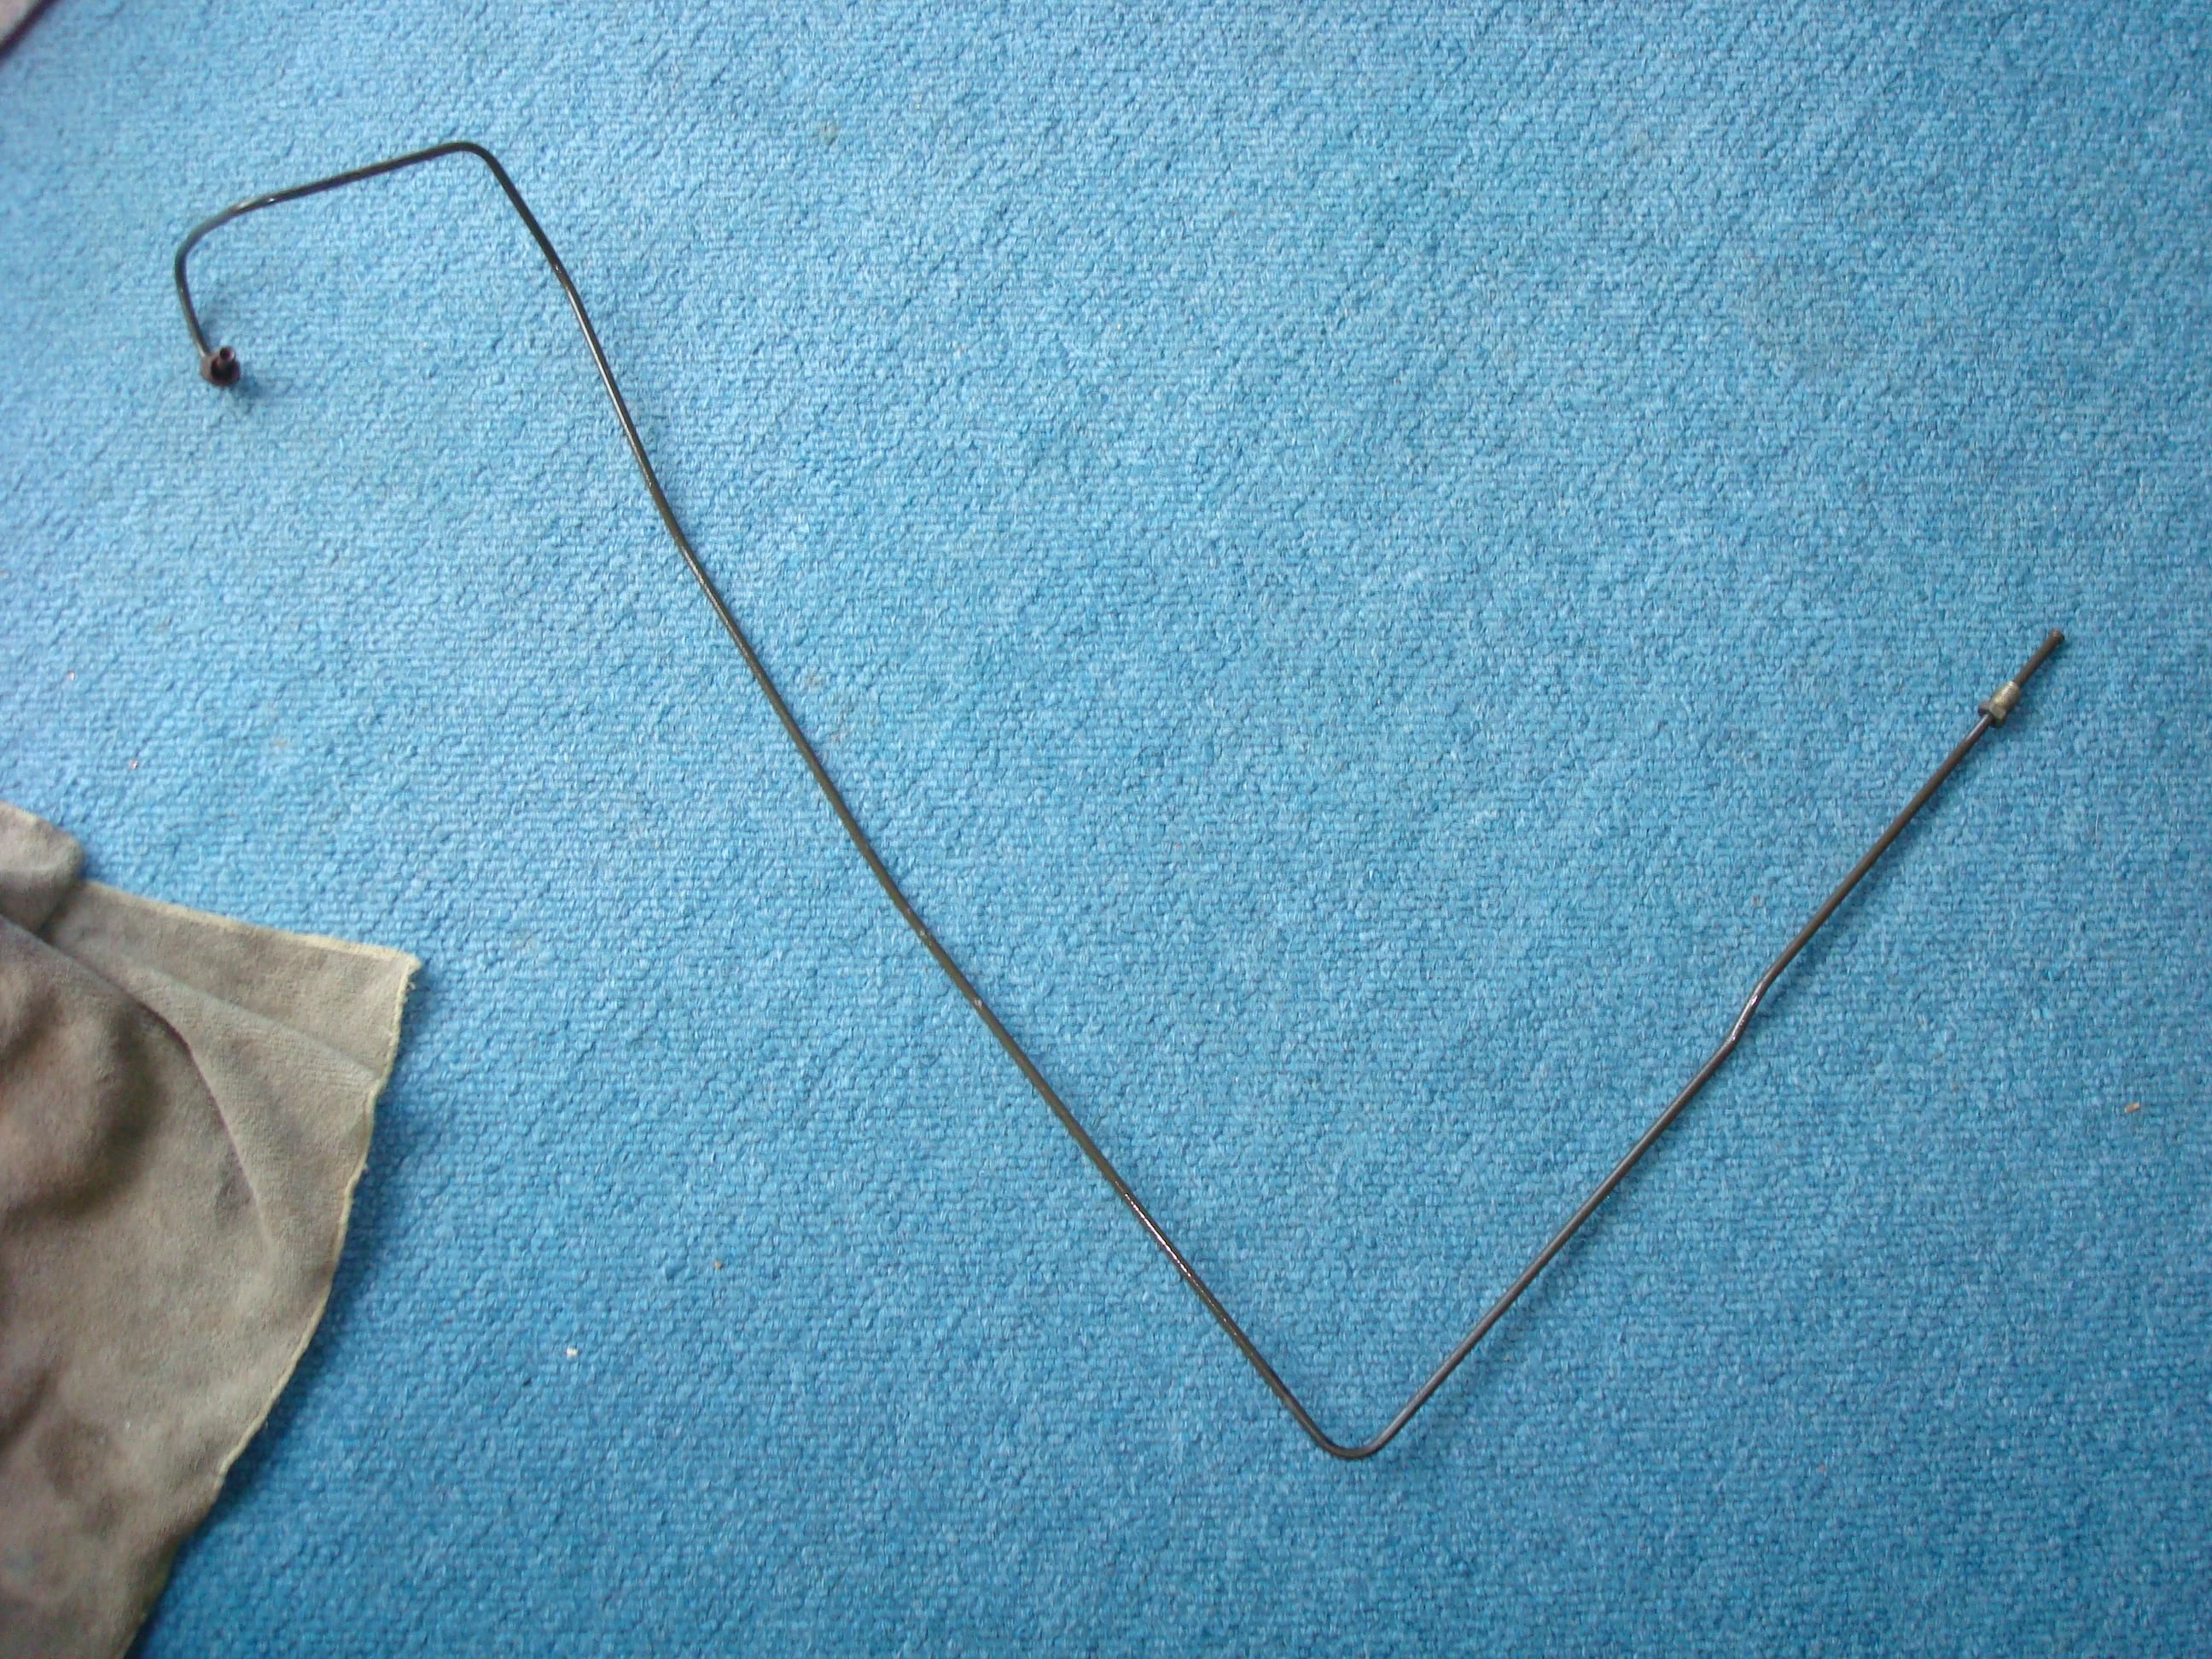
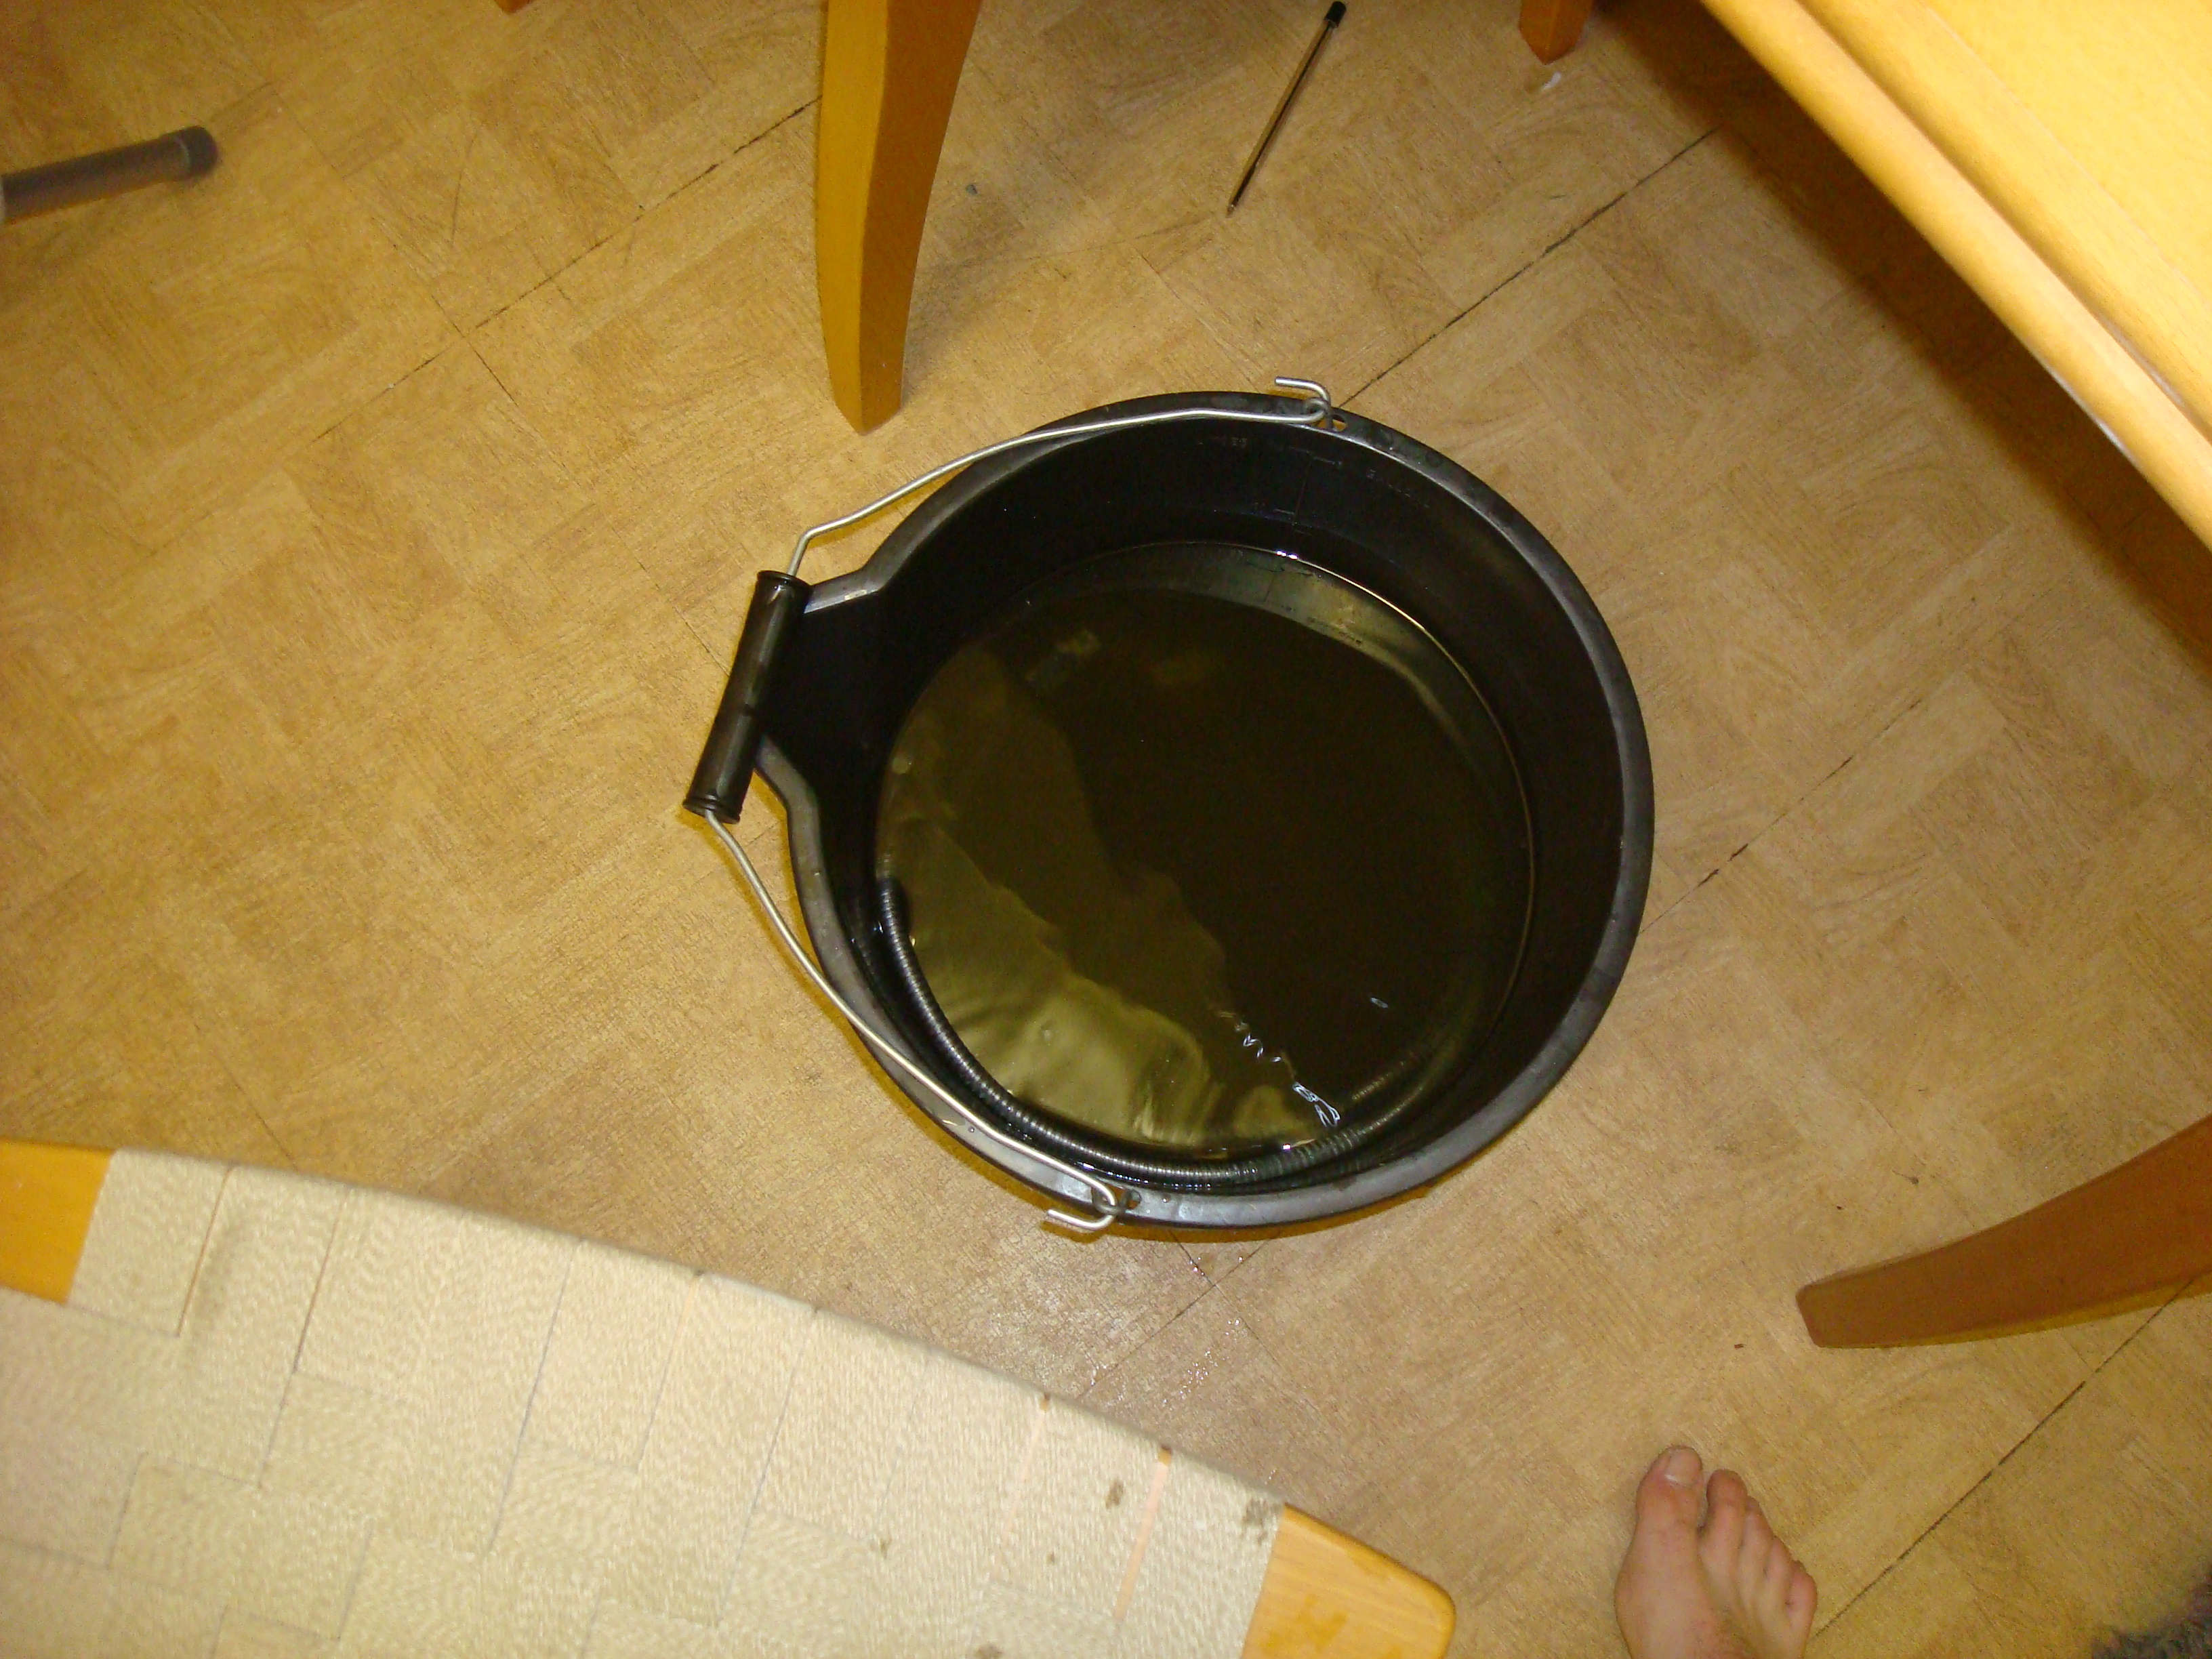
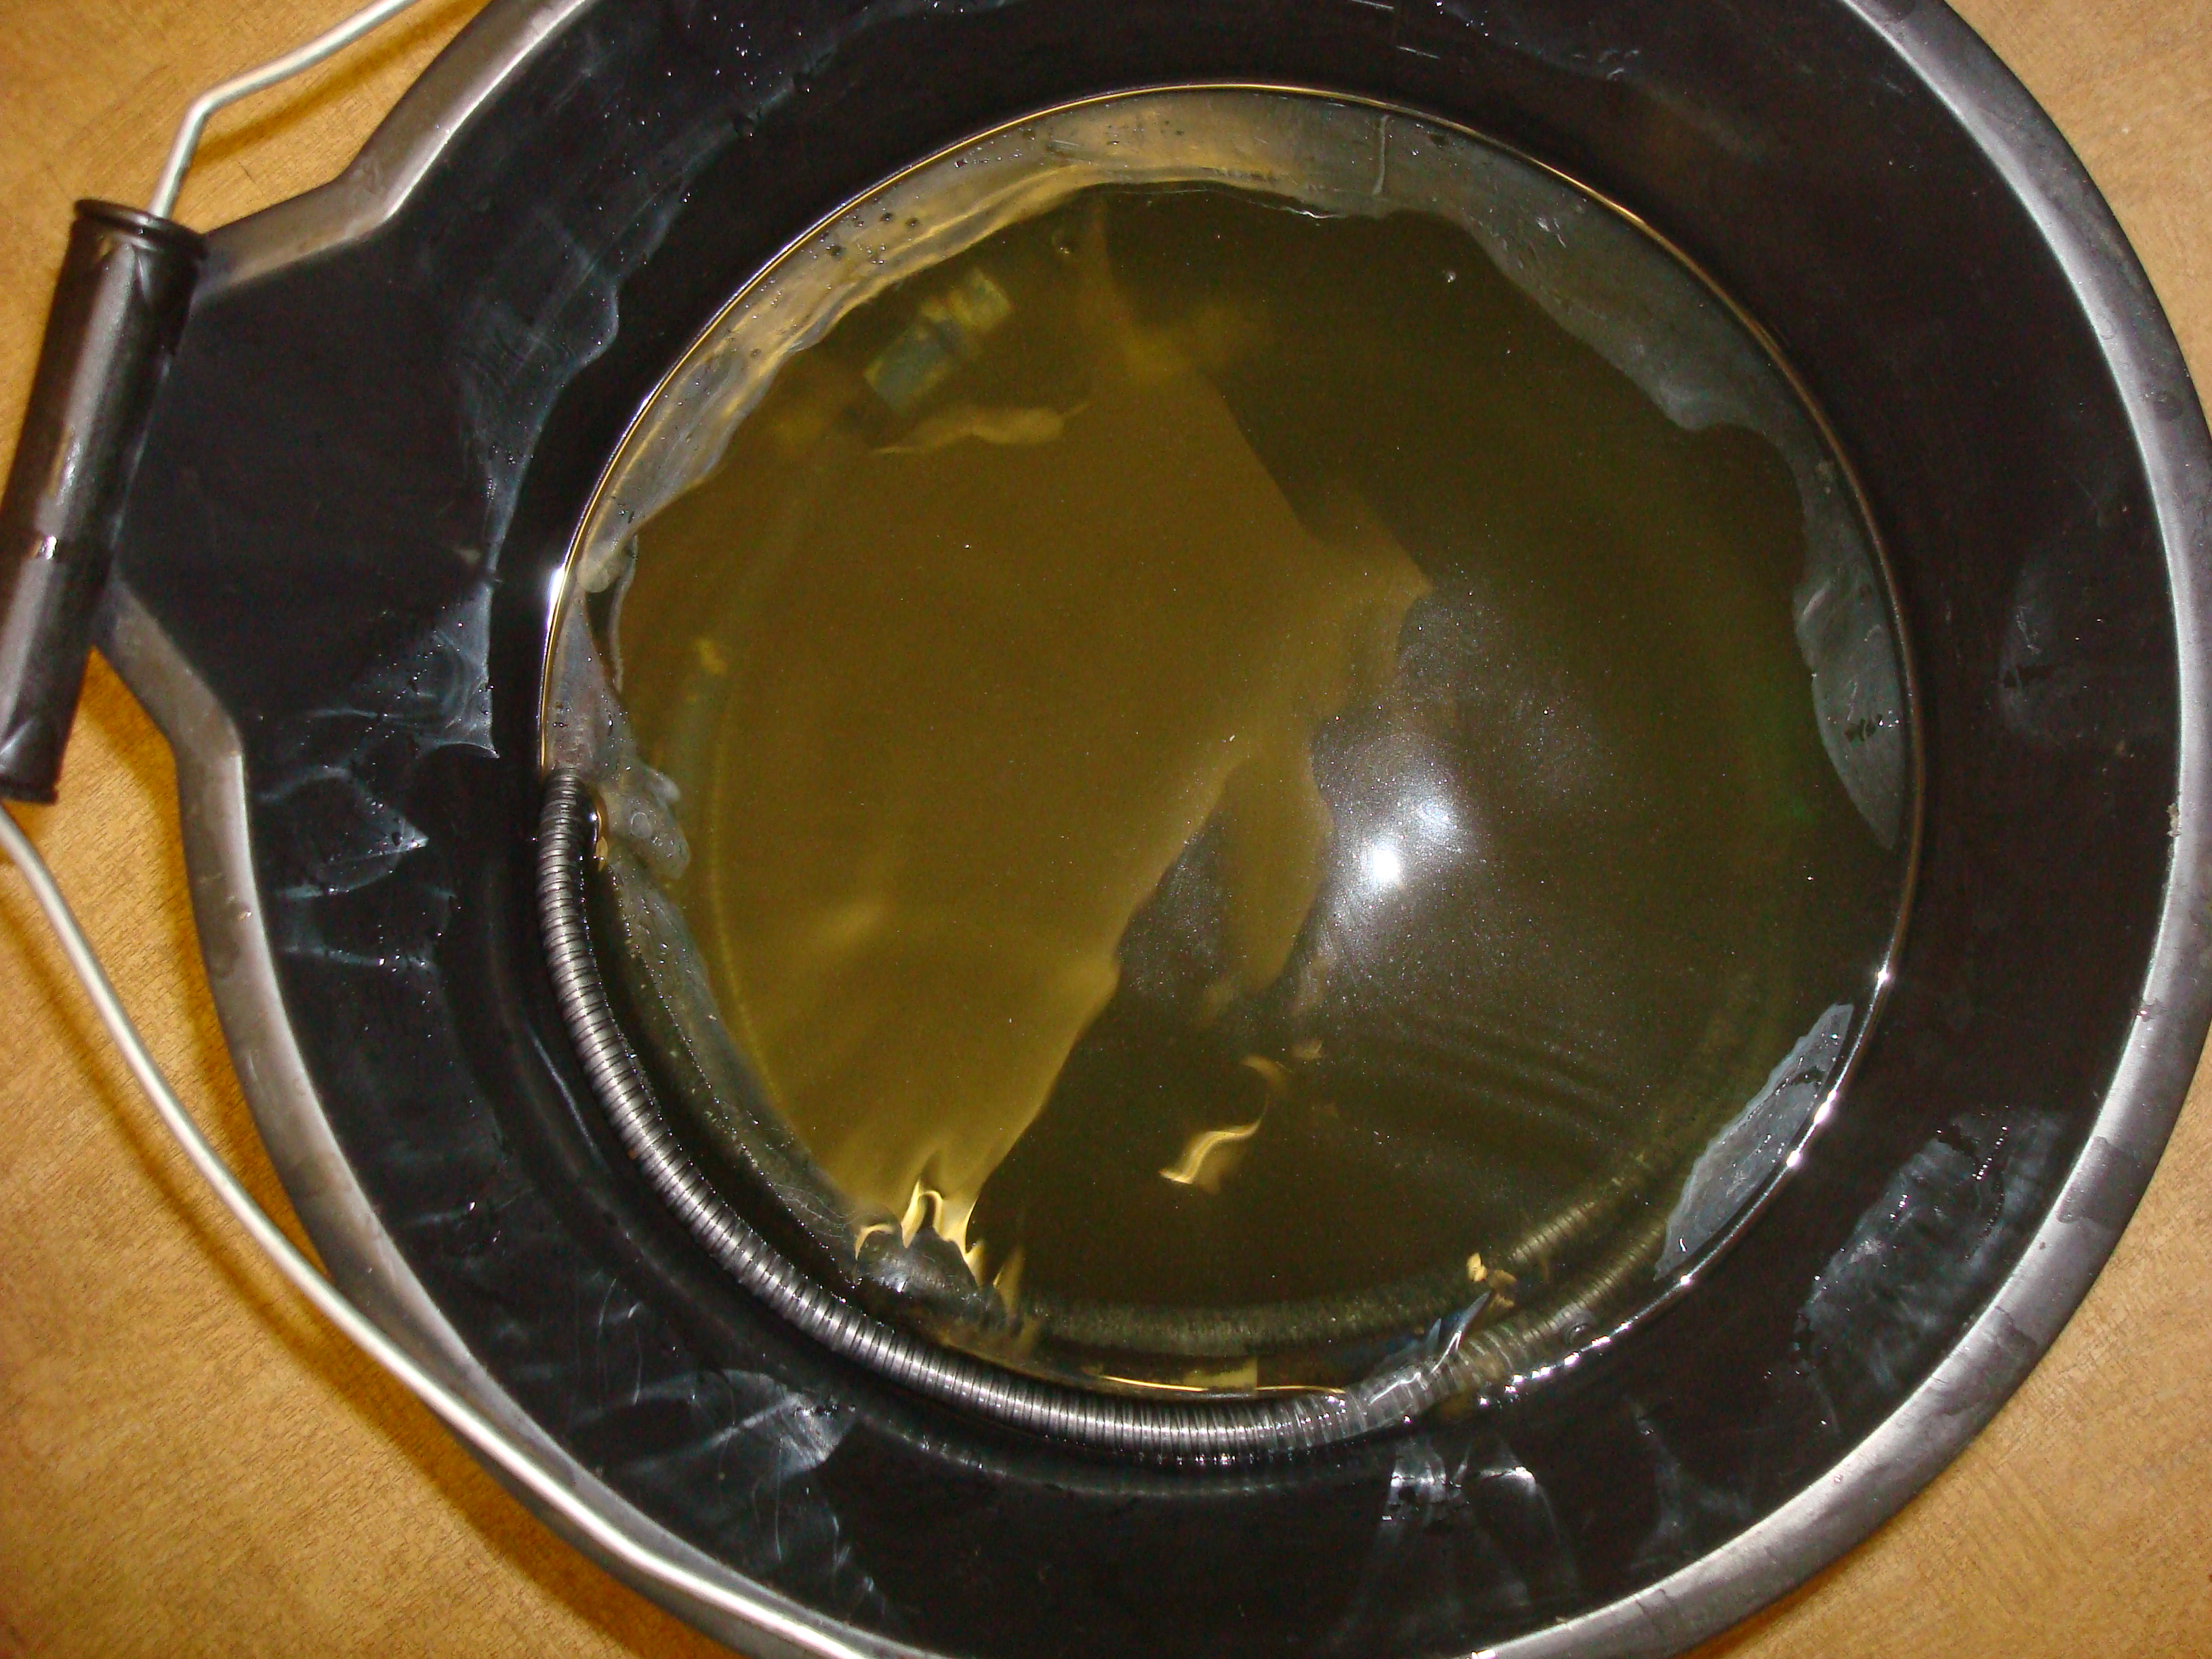
Whilst in the shed I noticed the hand brake cable so decided to put it in a bucket off hot water with some of the deox C, after just 10 mins its shifted loads of the rust so leaving it in over night. You can just see part of it sticking out the bucket, already really happy with the results, hope its as effective on the underside of the car J
David
Whilst tidying the shed up this evening I found a can of zinc primer so decided to spray the fuel tank, hoping to get a can of hammer rite silver spray paint on Saturday to finish it off.
Before:
After:
Whilst in the shed I noticed the hand brake cable so decided to put it in a bucket off hot water with some of the deox C, after just 10 mins its shifted loads of the rust so leaving it in over night. You can just see part of it sticking out the bucket, already really happy with the results, hope its as effective on the underside of the car J
David
29-04-2010, 07:35 PM
#107
Wahay!! I've lost my Virginity!!
Thread Starter
Join Date: Dec 2009
Location: Malvern
Posts: 69
Likes: 0
Received 0 Likes
on
0 Posts
29/04/2010
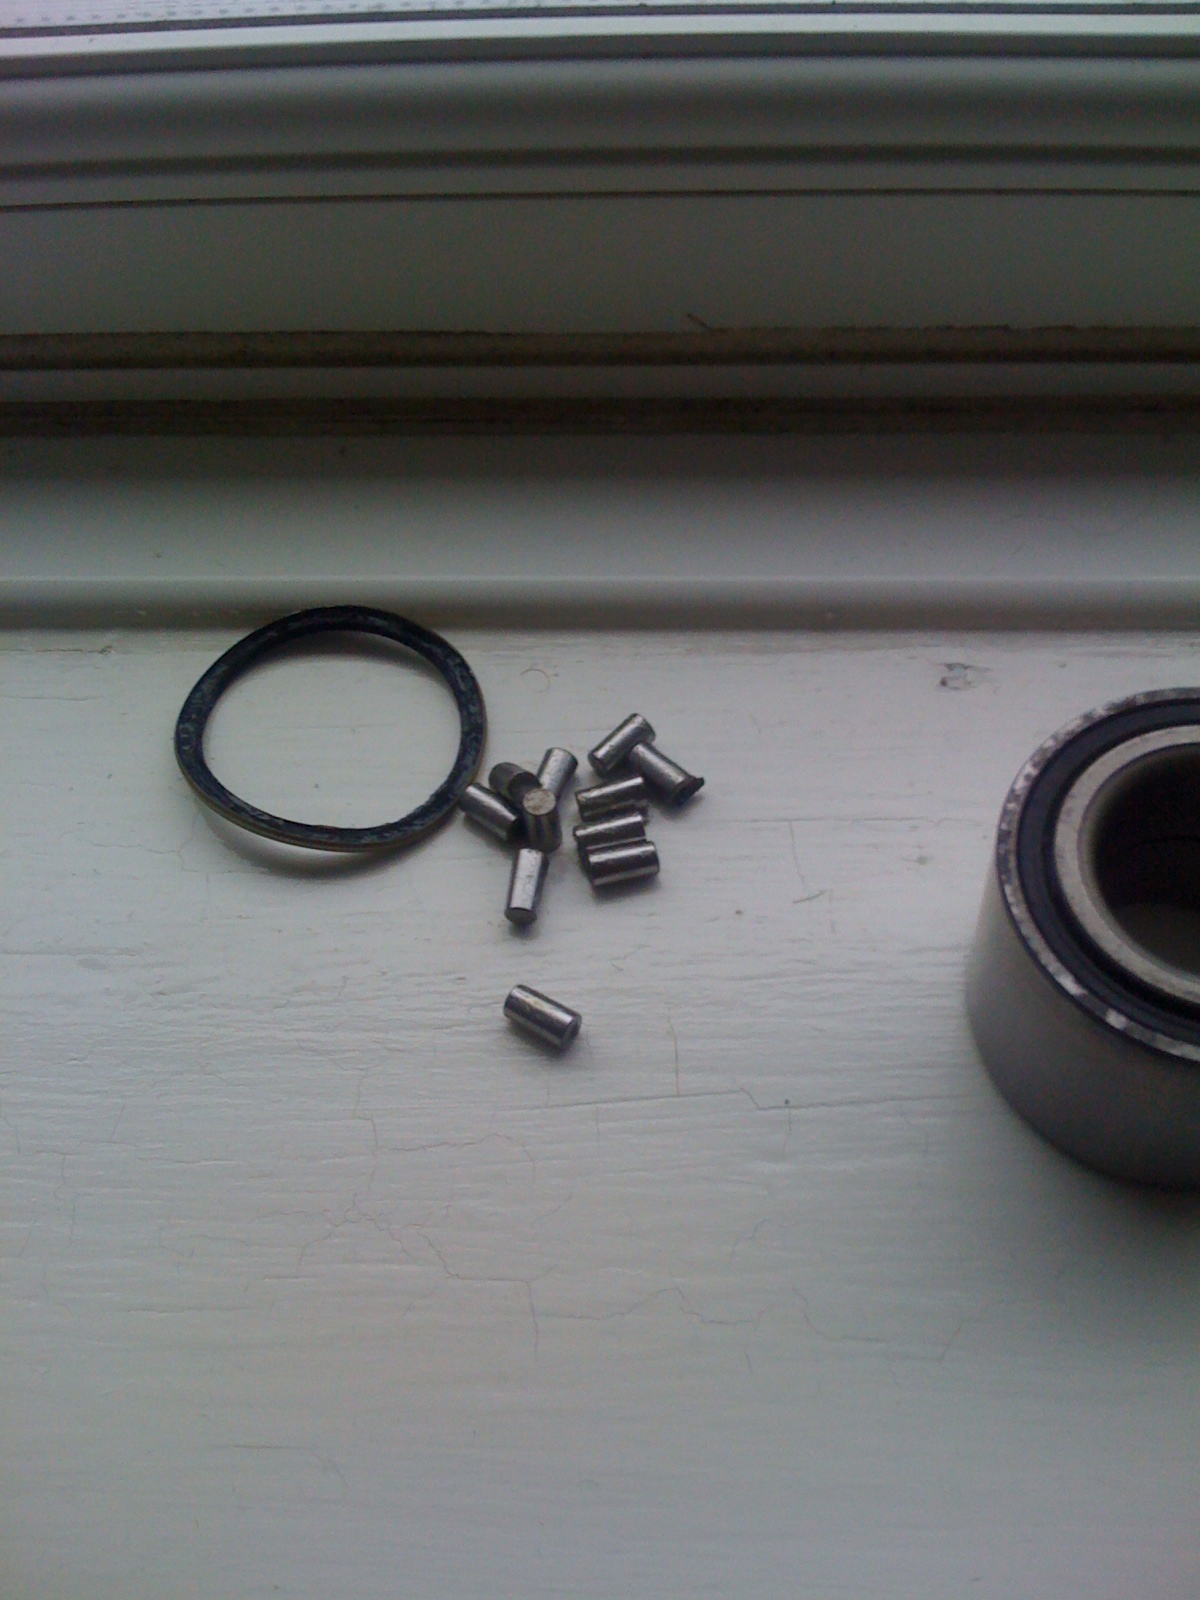
After trying to put my hubs on to the spindles I managed to get them wedged
Then when trying to remove them I broke the bearings argh!!! (My mean learning curve again)
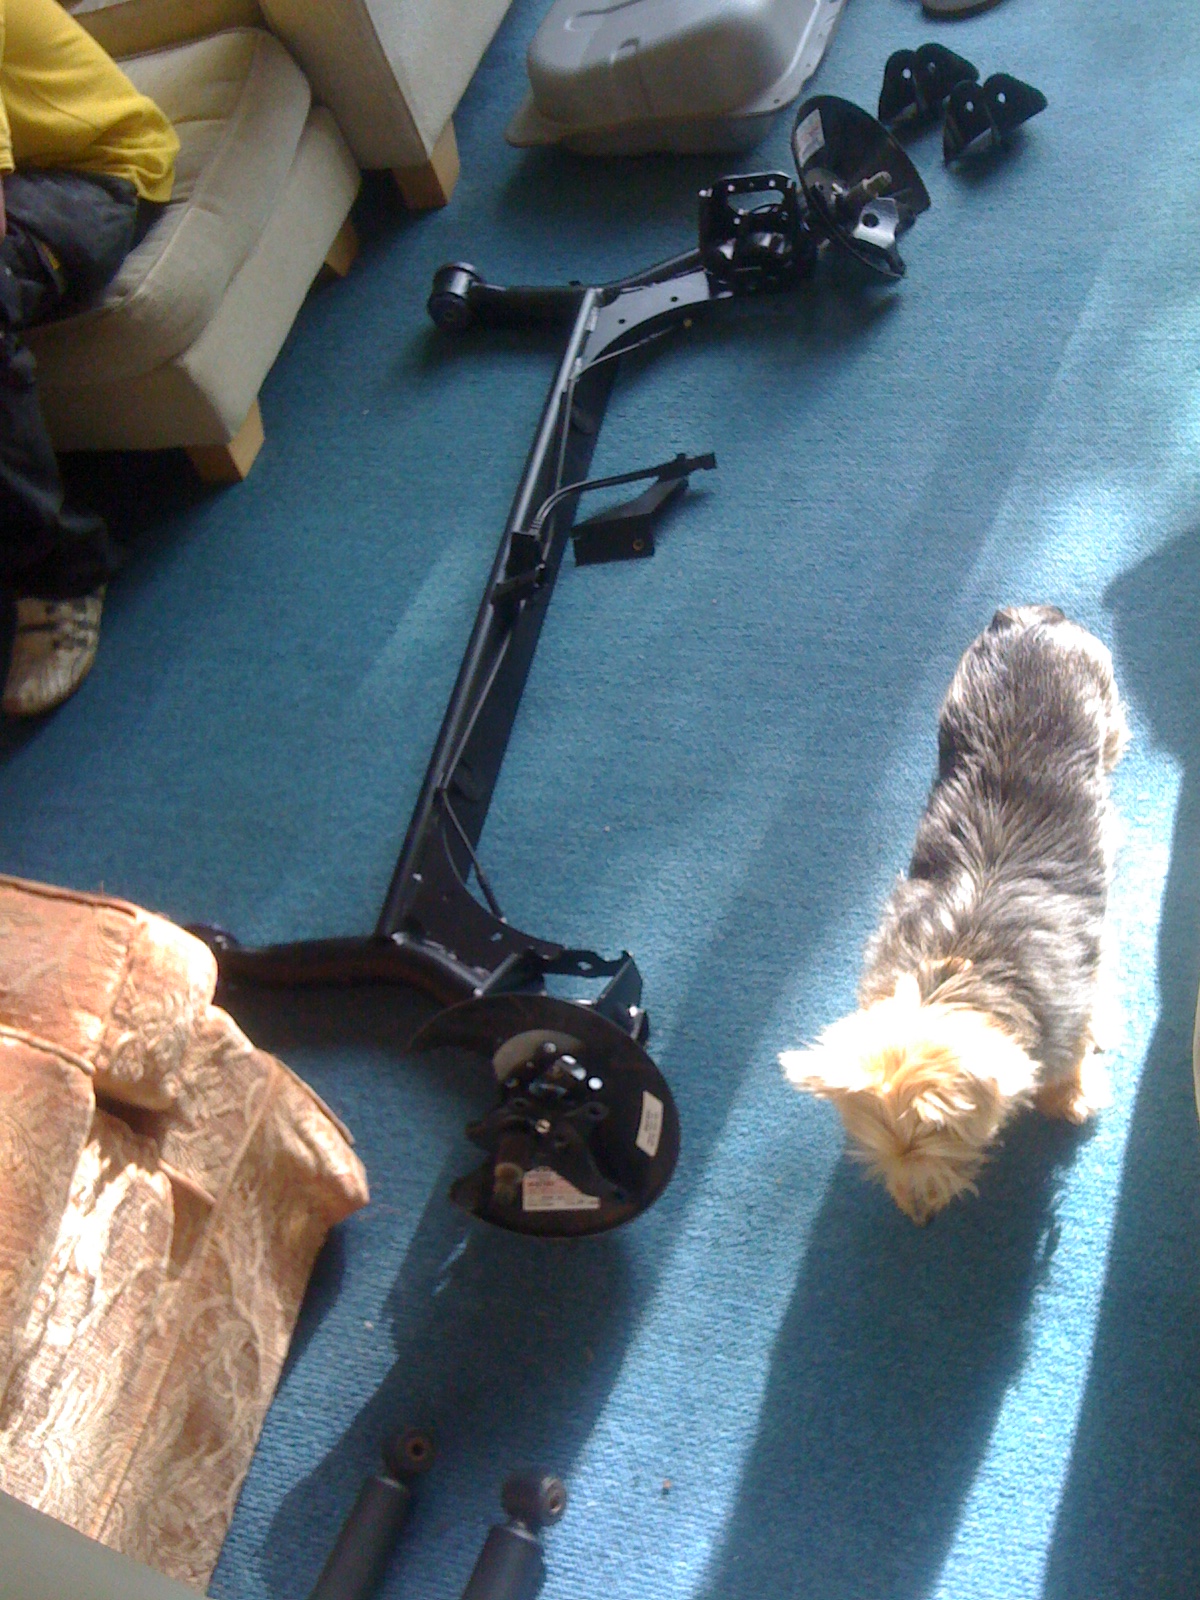
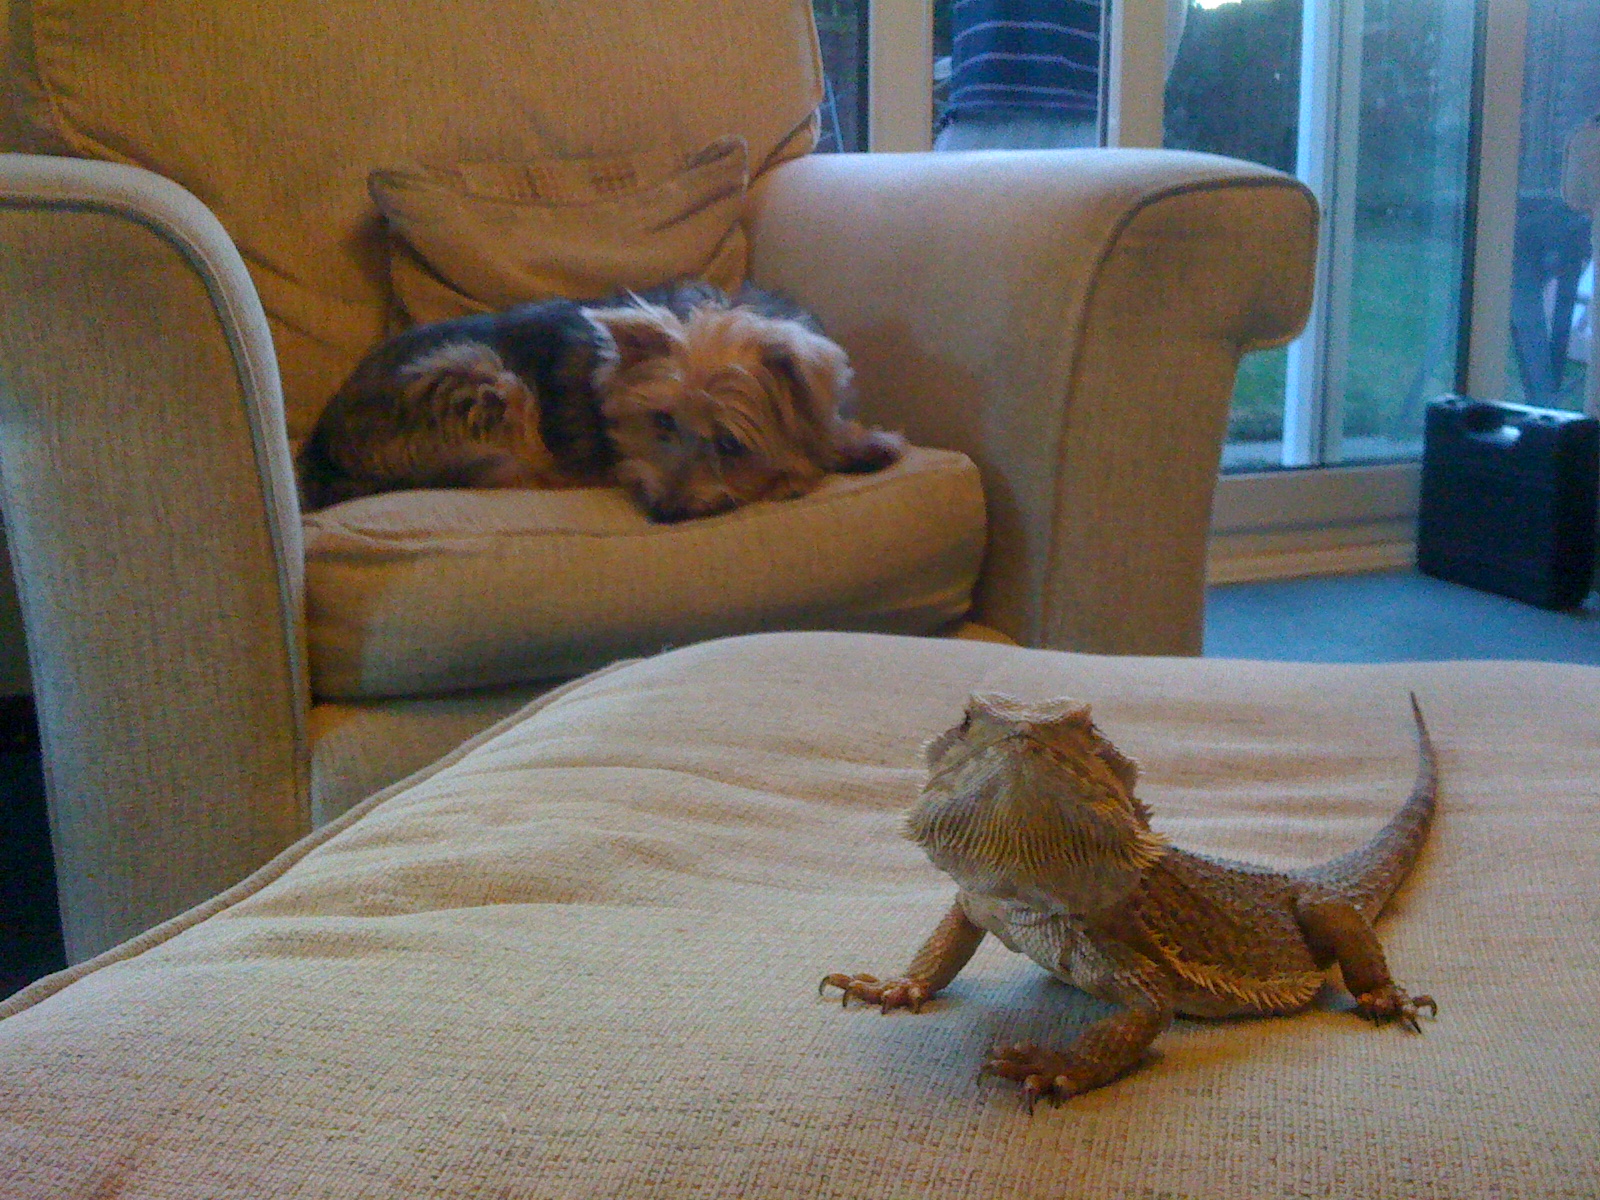
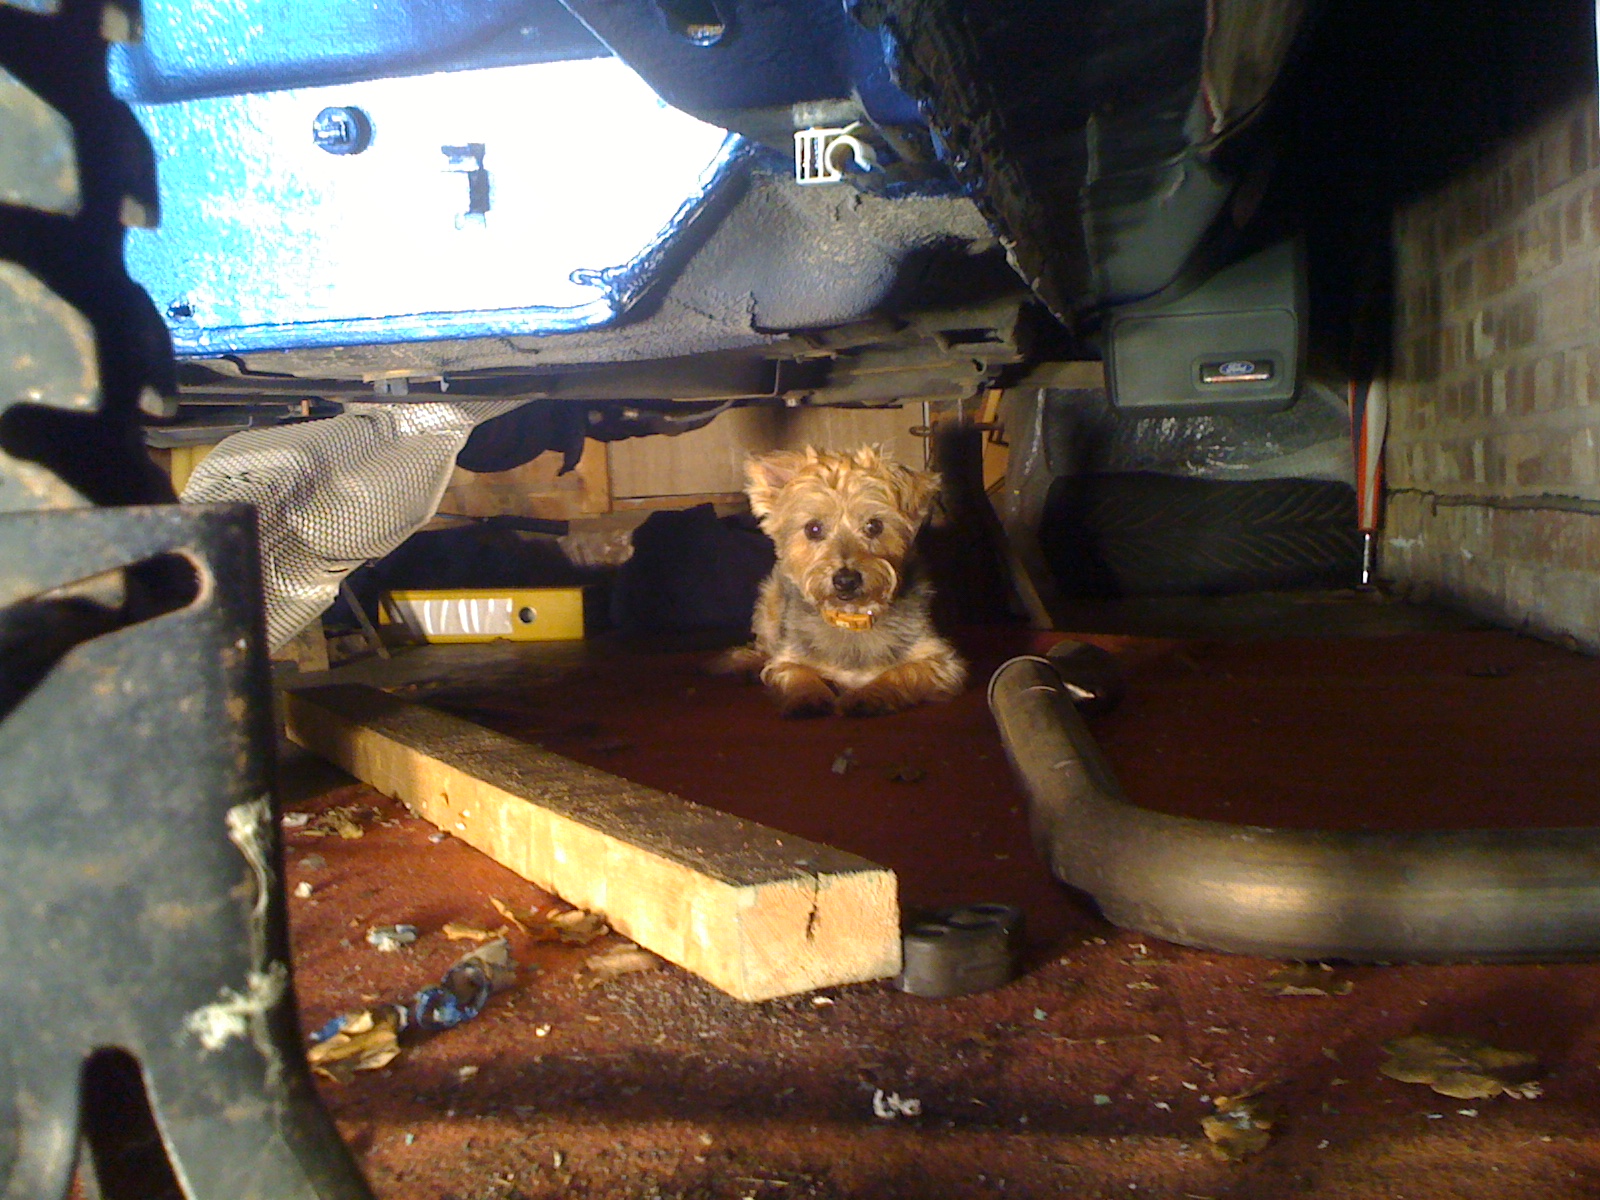
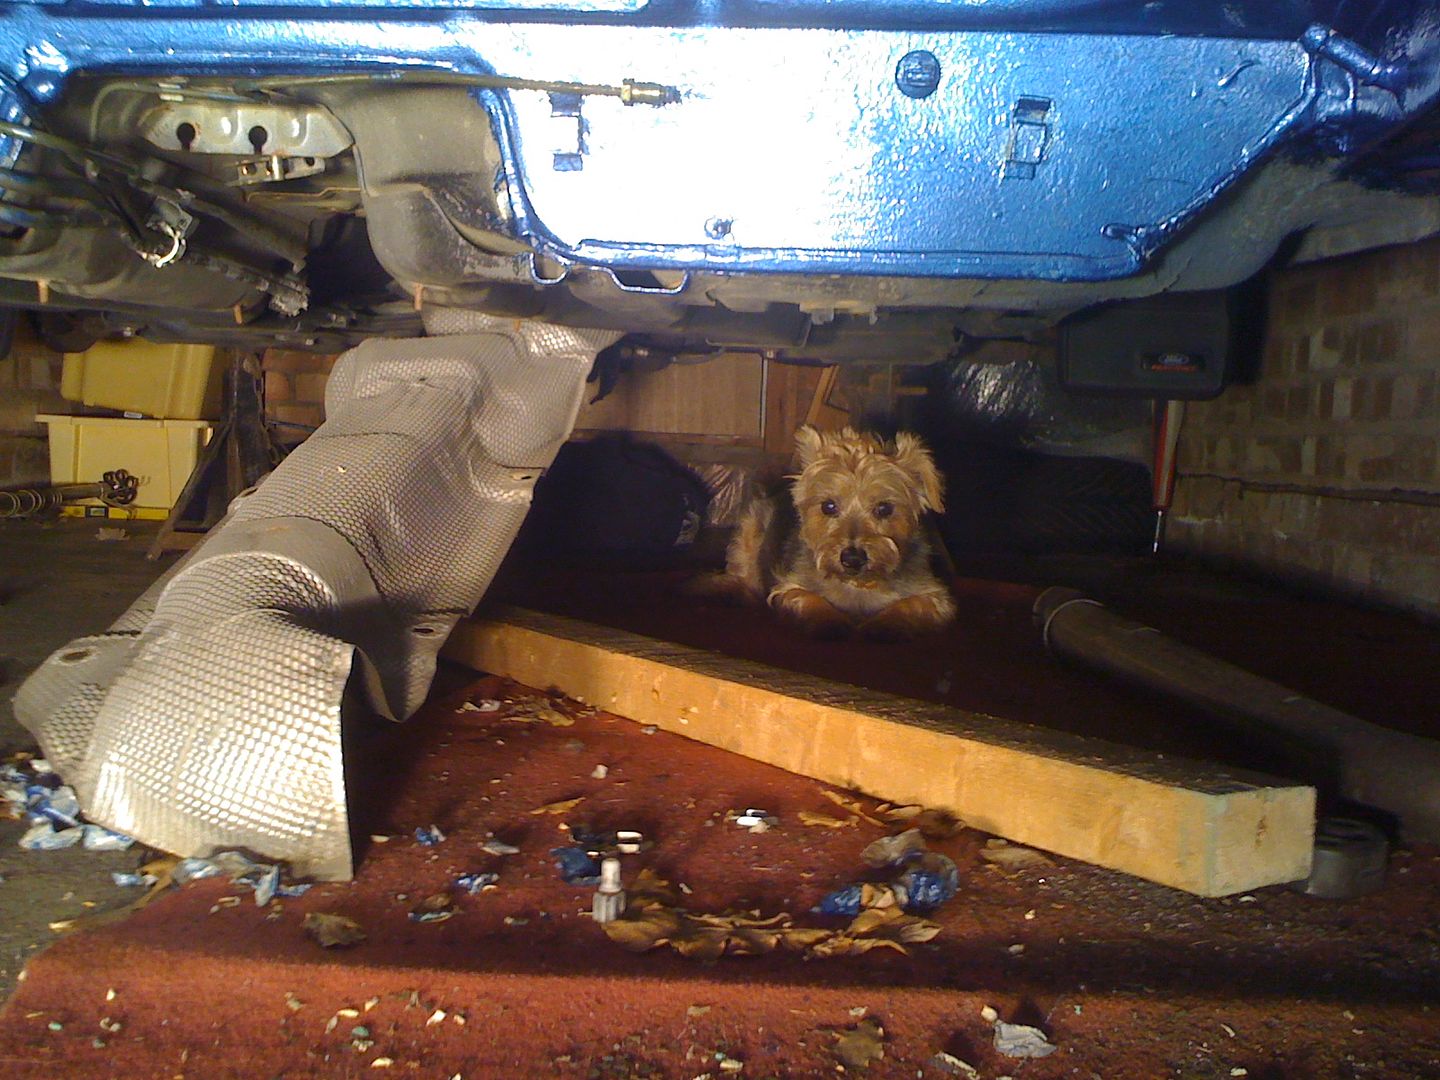
Dog and lizard didn’t seem to impressed with the massive error.
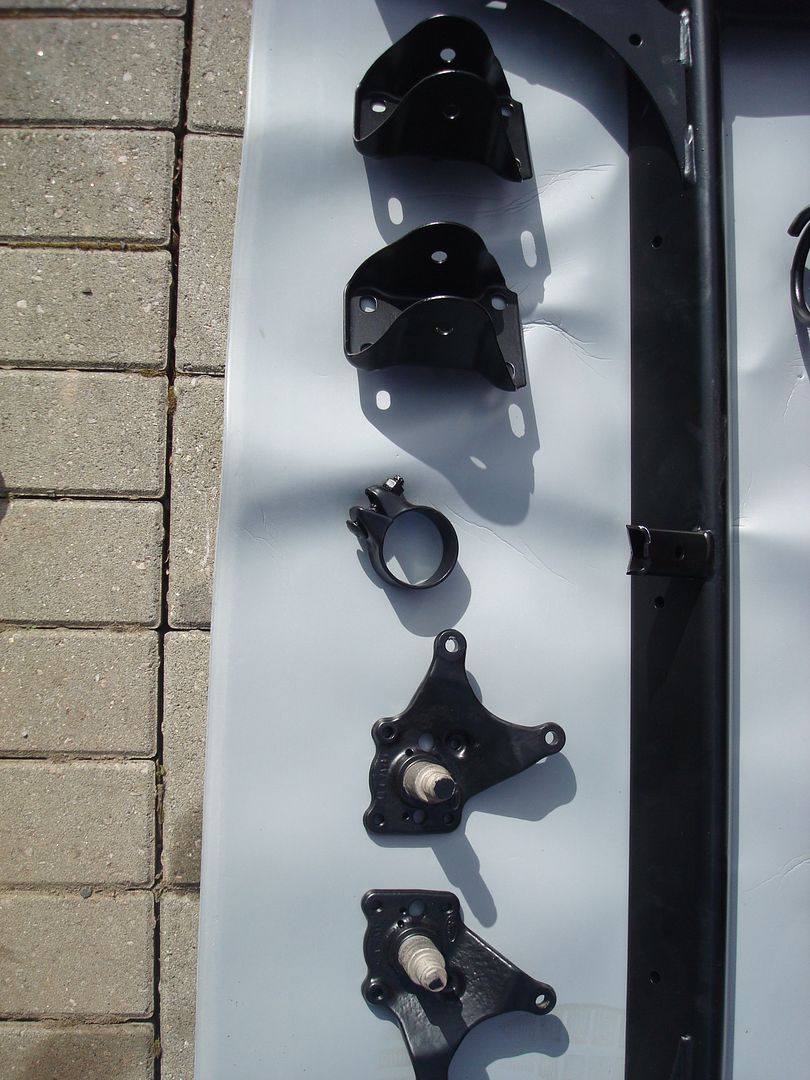
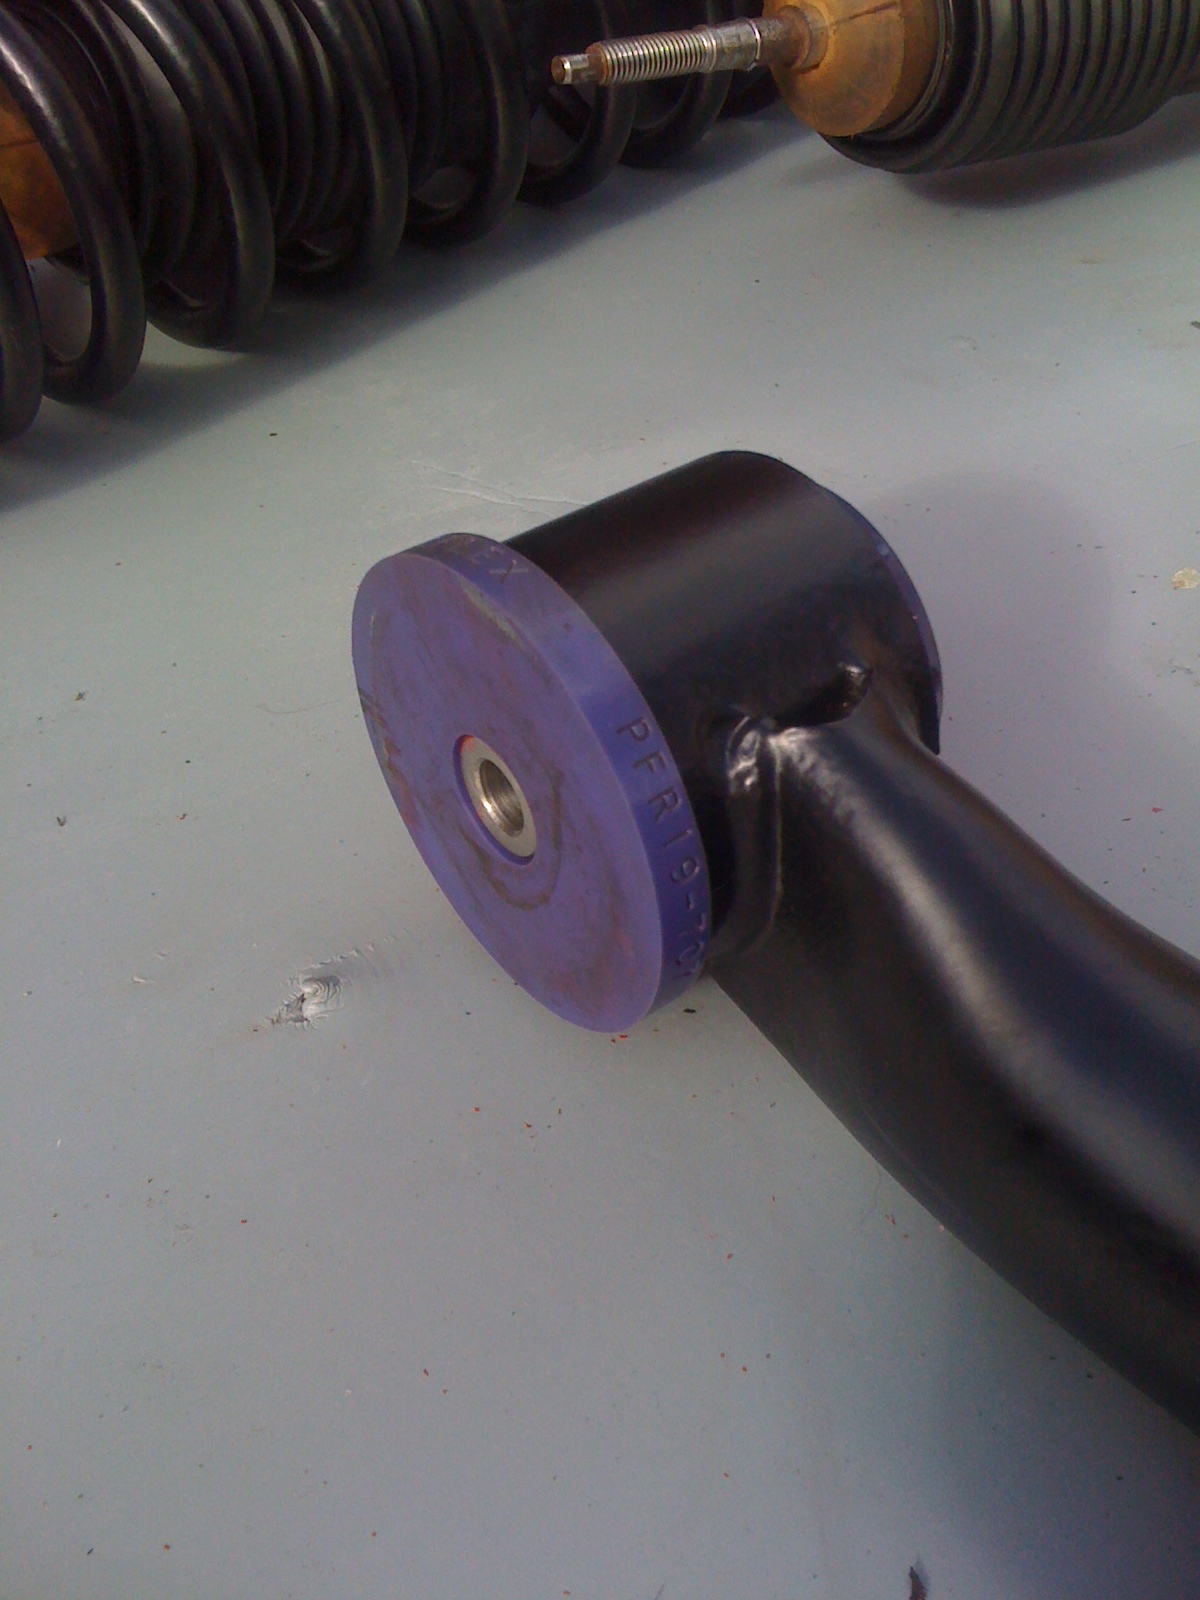
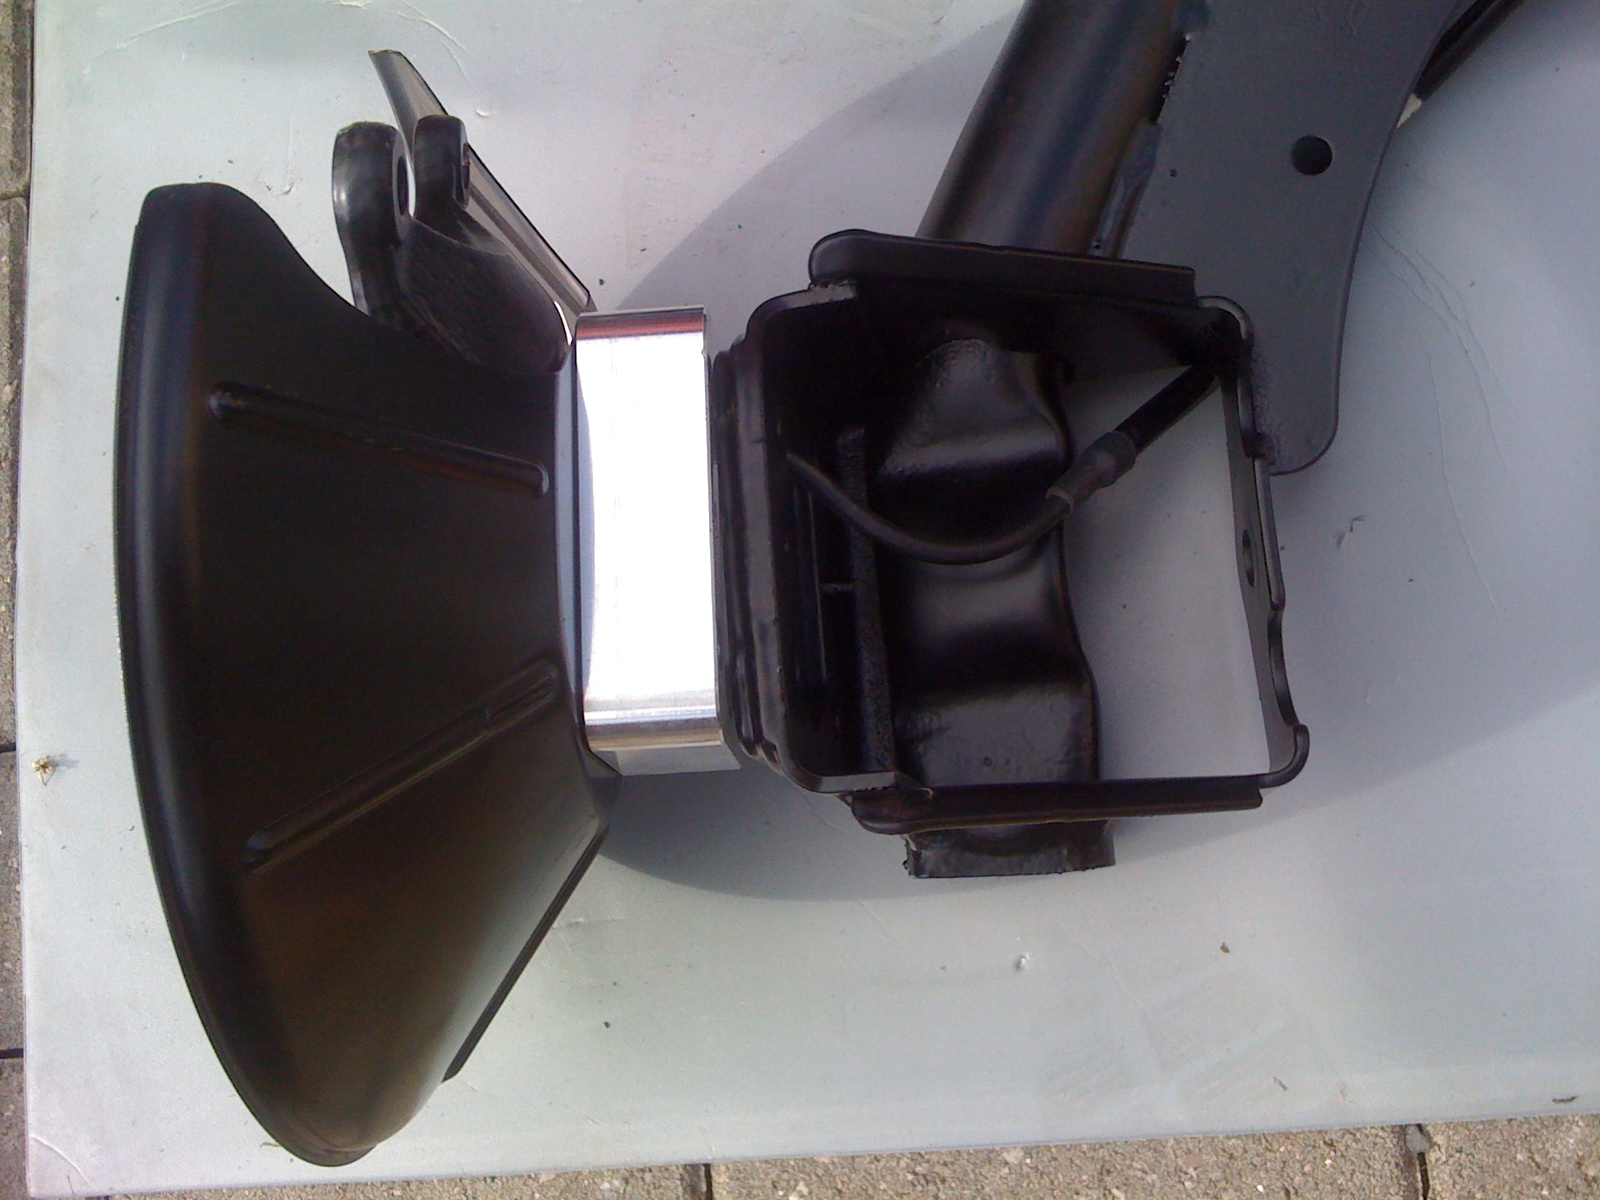
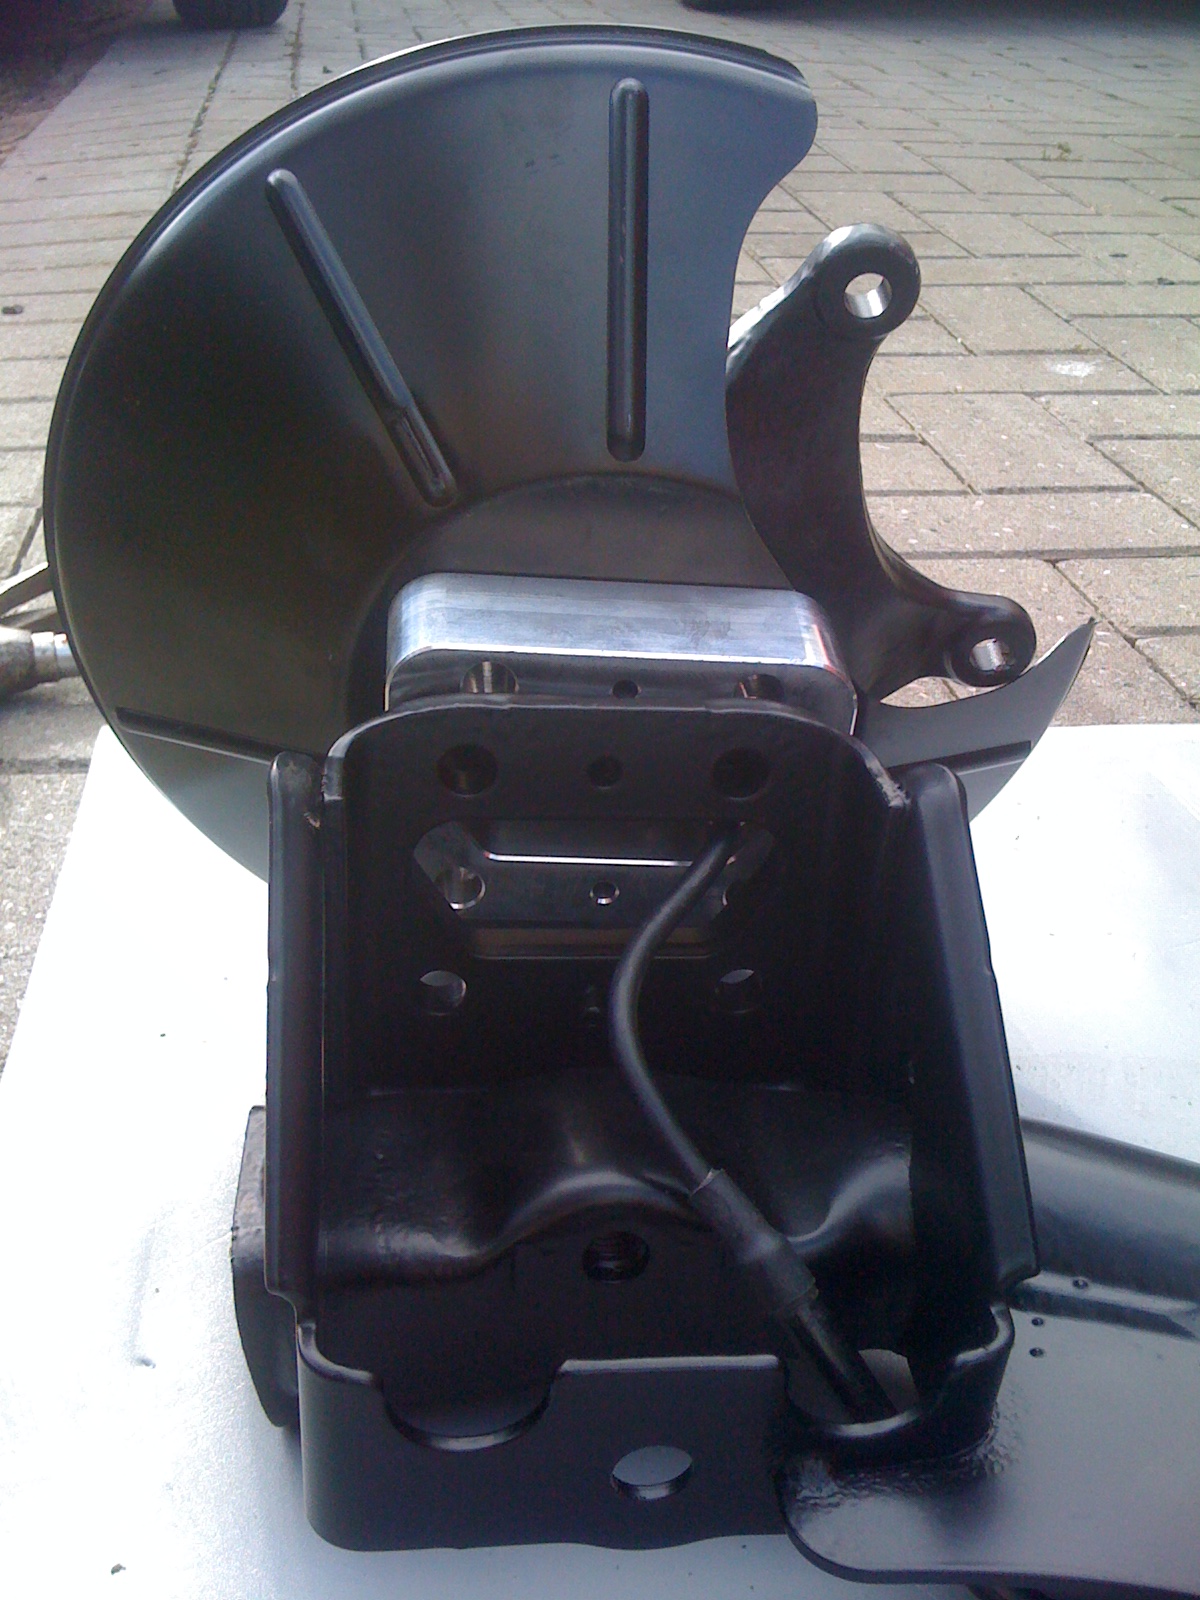
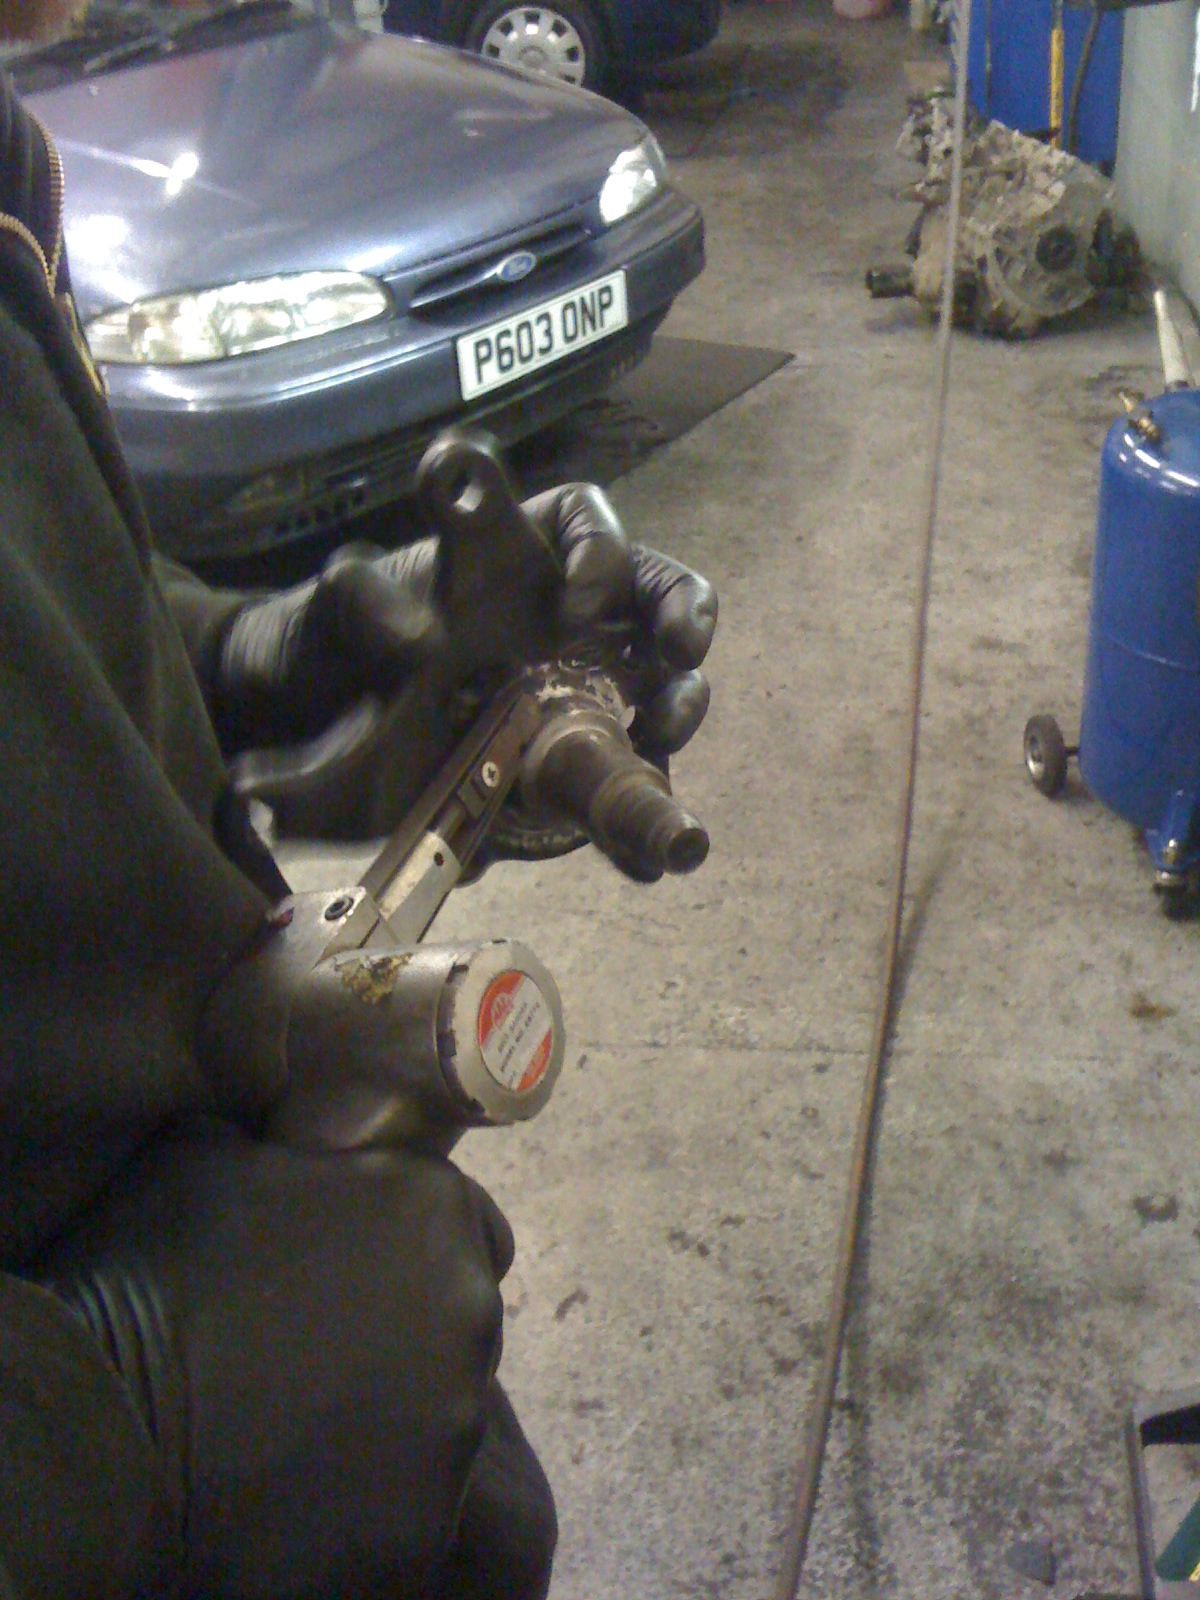
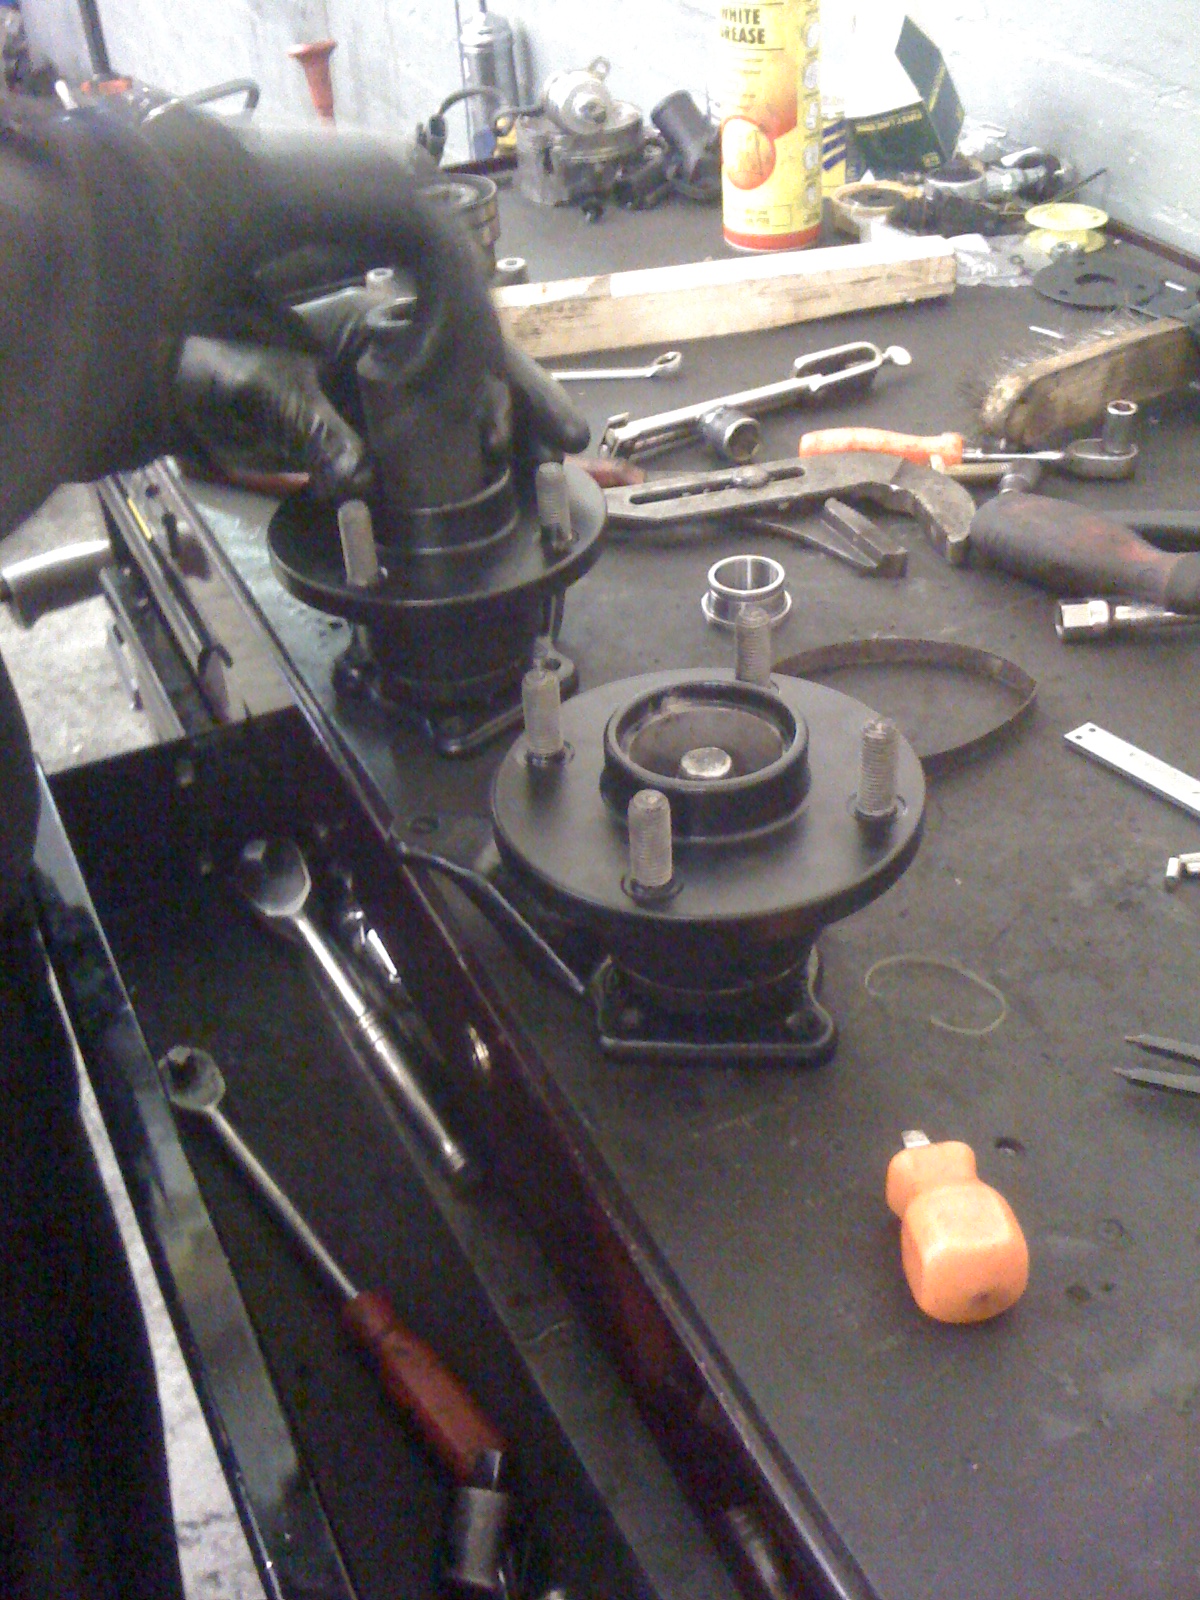
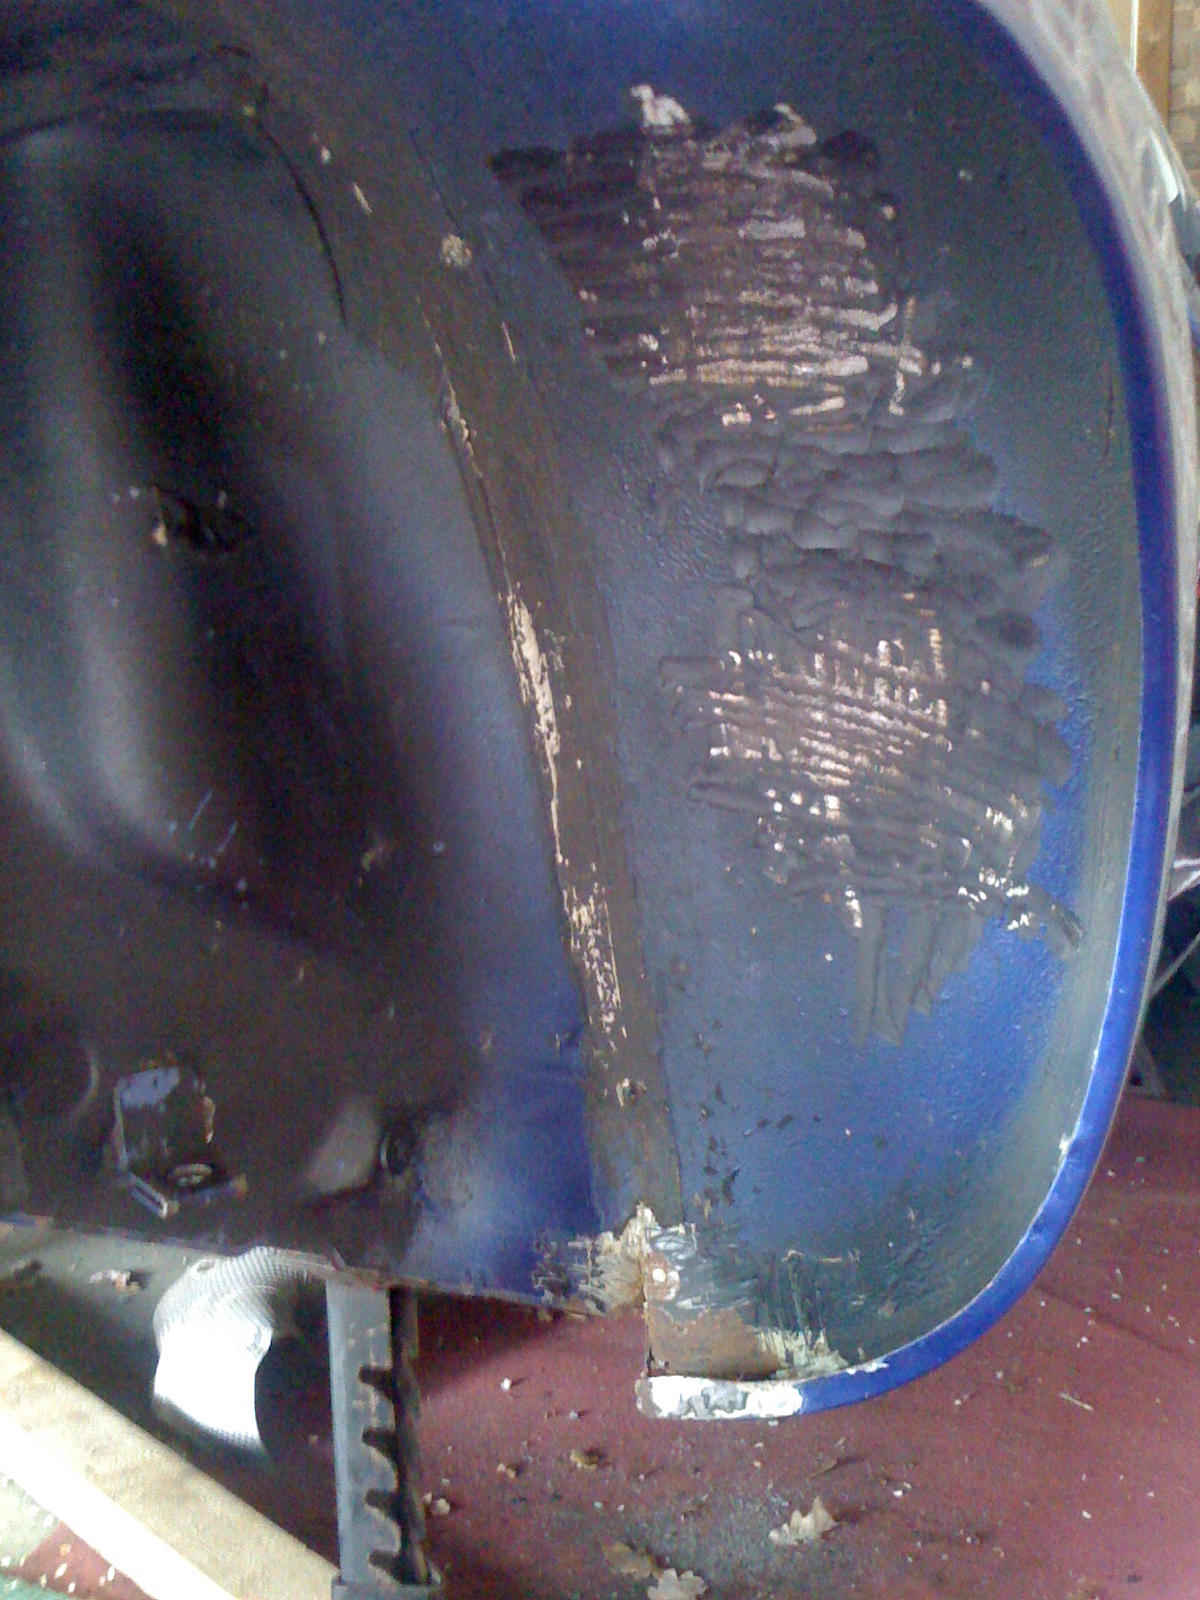
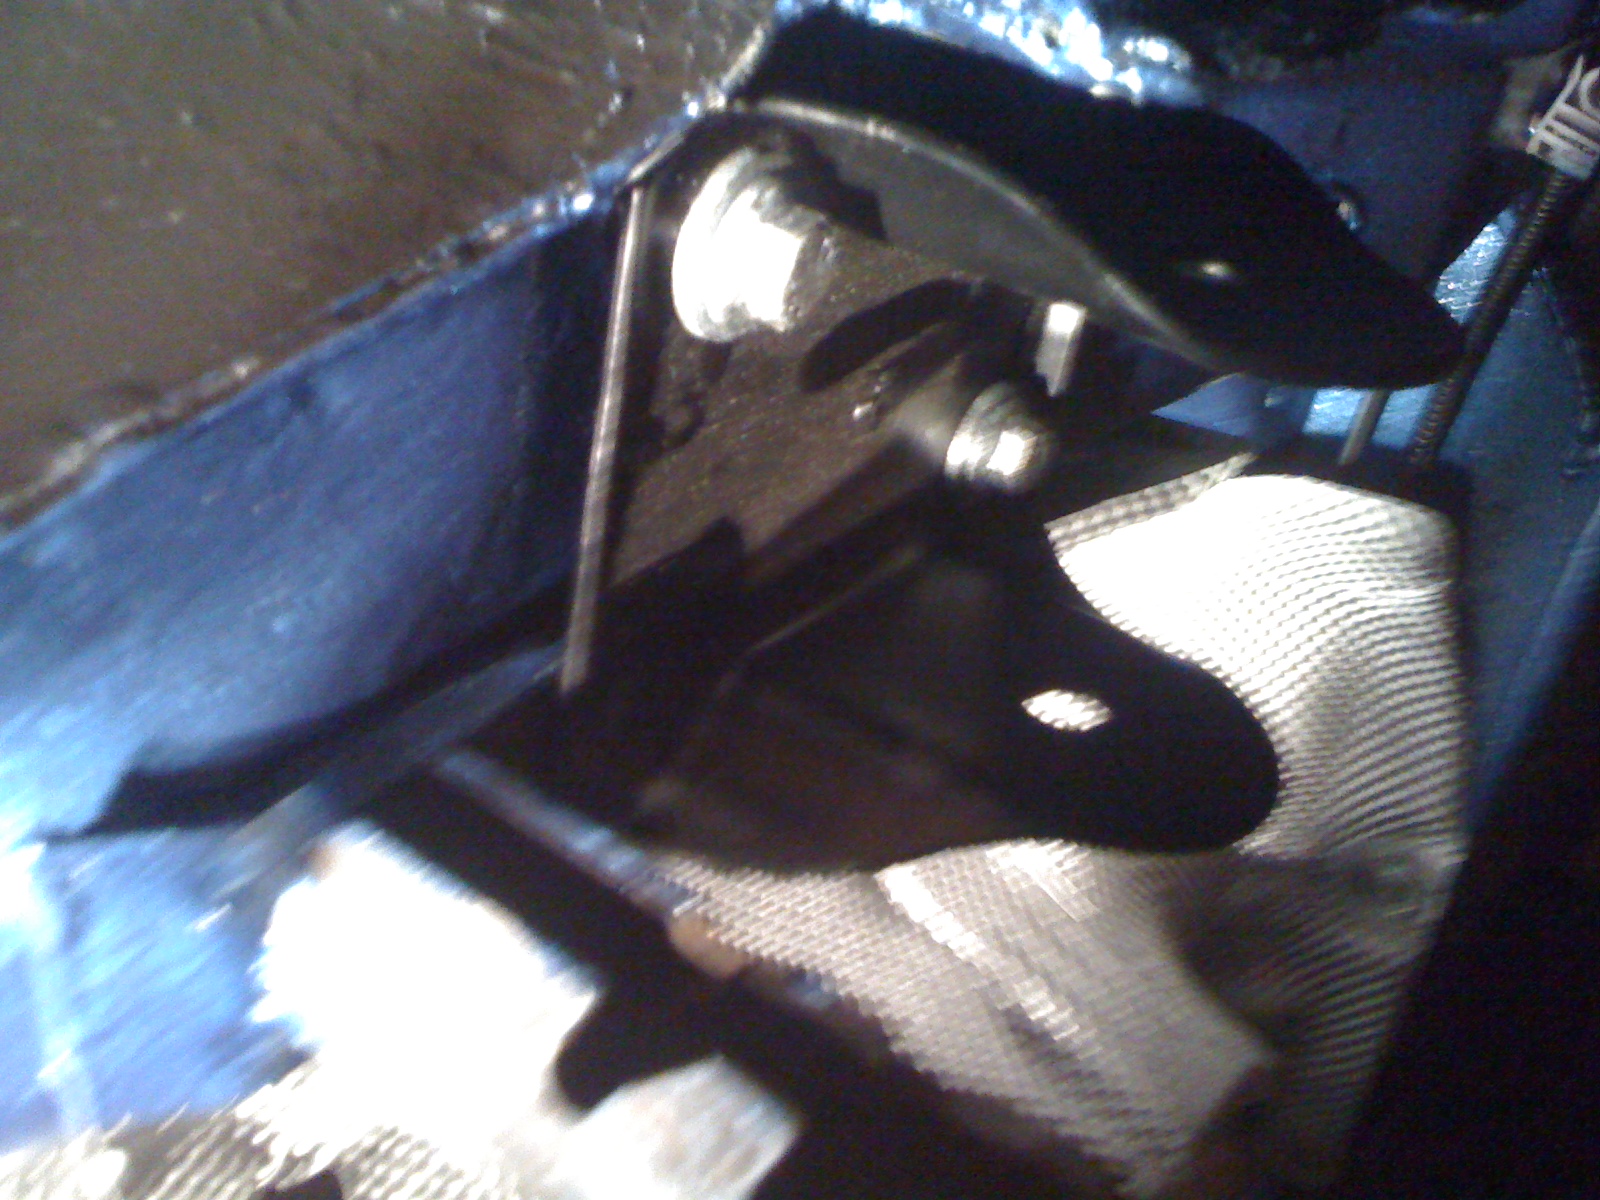
Sorted out some replacement bearings, I unscrewed the spindle from the rear beam and took it to my mates garage. He removed the damaged bearings and pressed the replacement ones in. He showed me that just a small amount of overspray or dirt on the spindle would make the hub / bearing stick and jam. So he removed the overspray from the spindles as shown
Then proceeded to tighten them up to 390nm
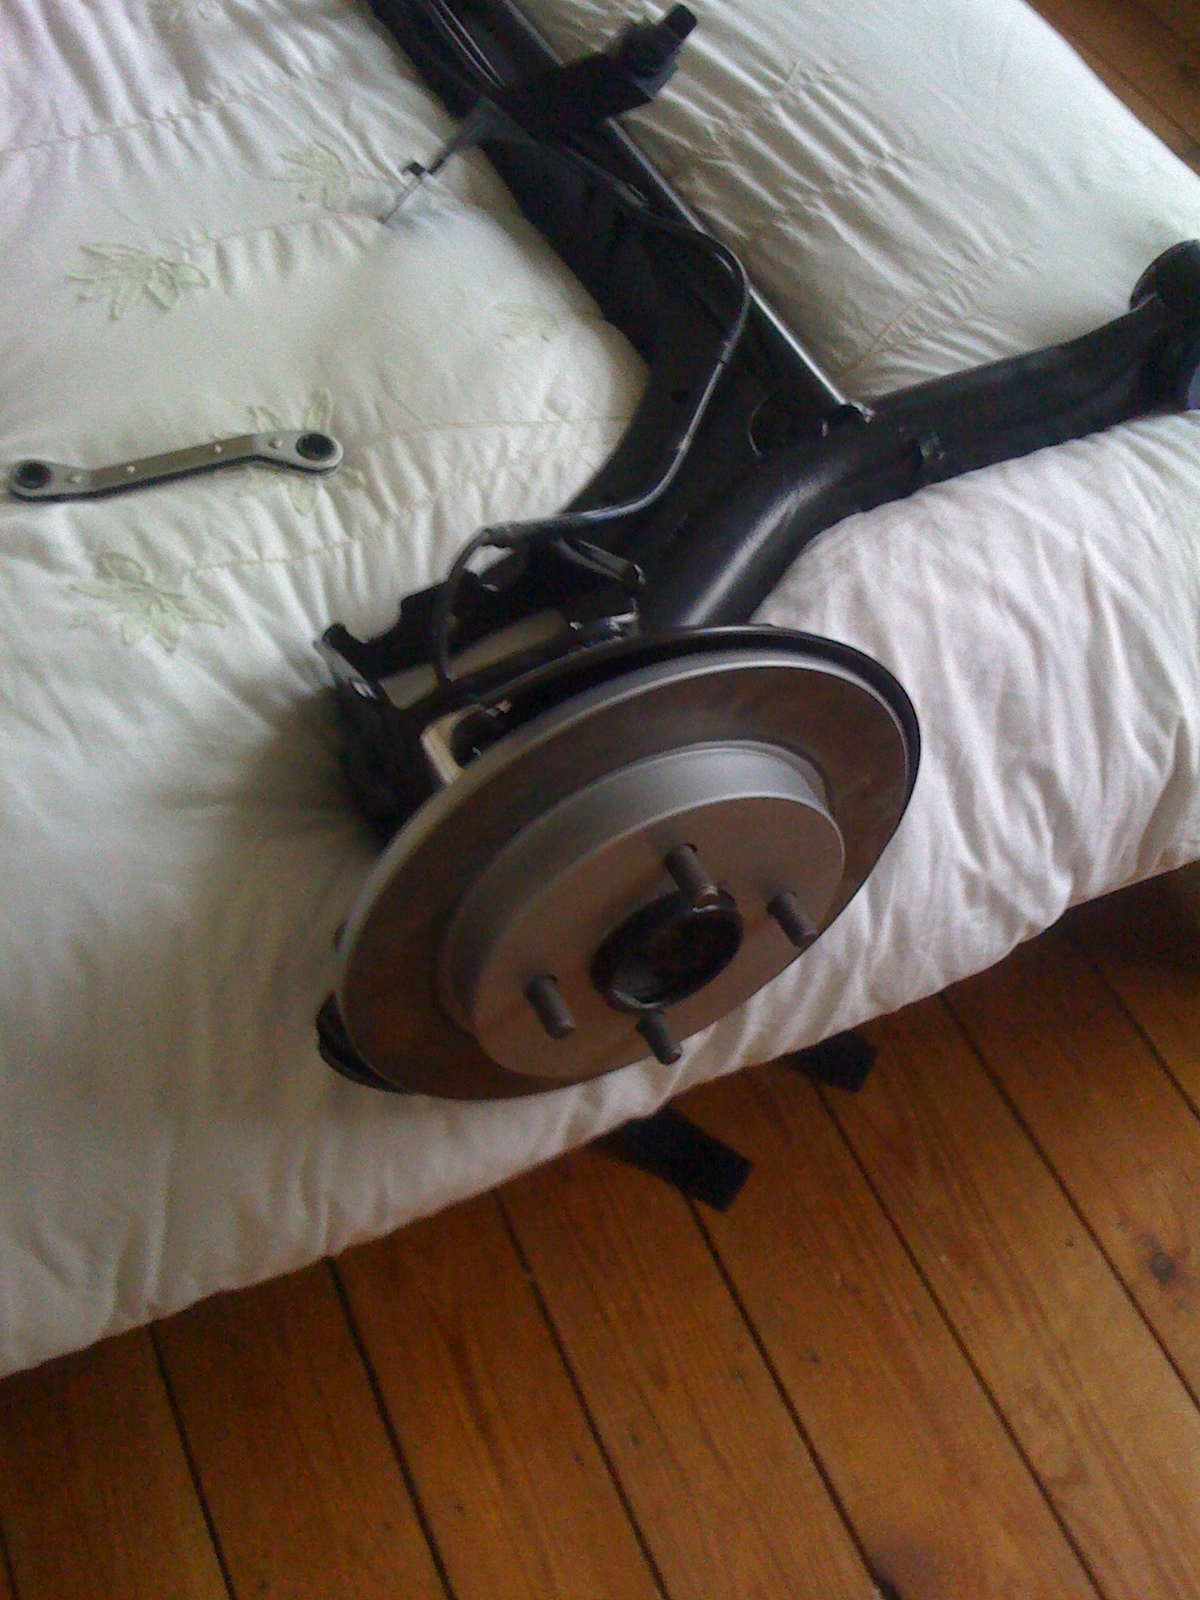
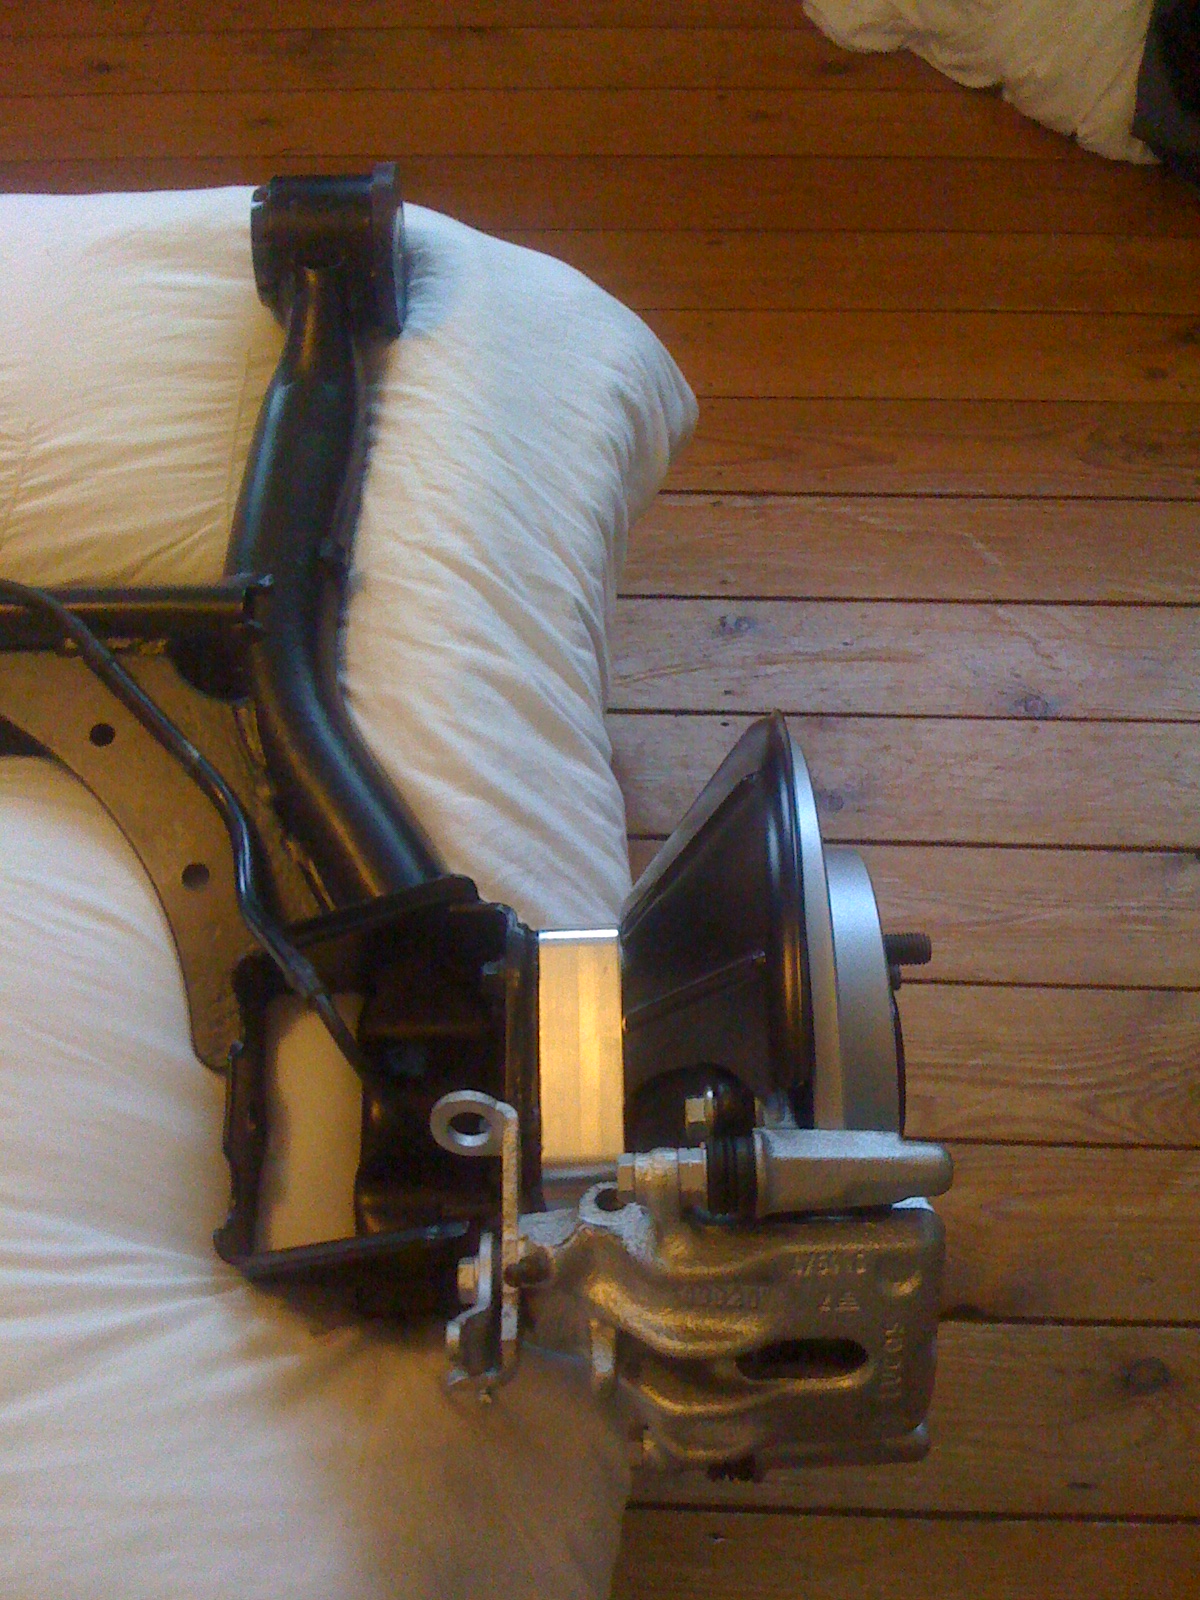
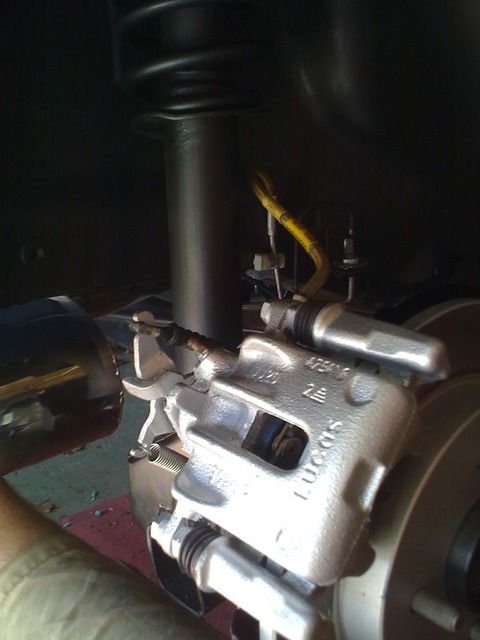
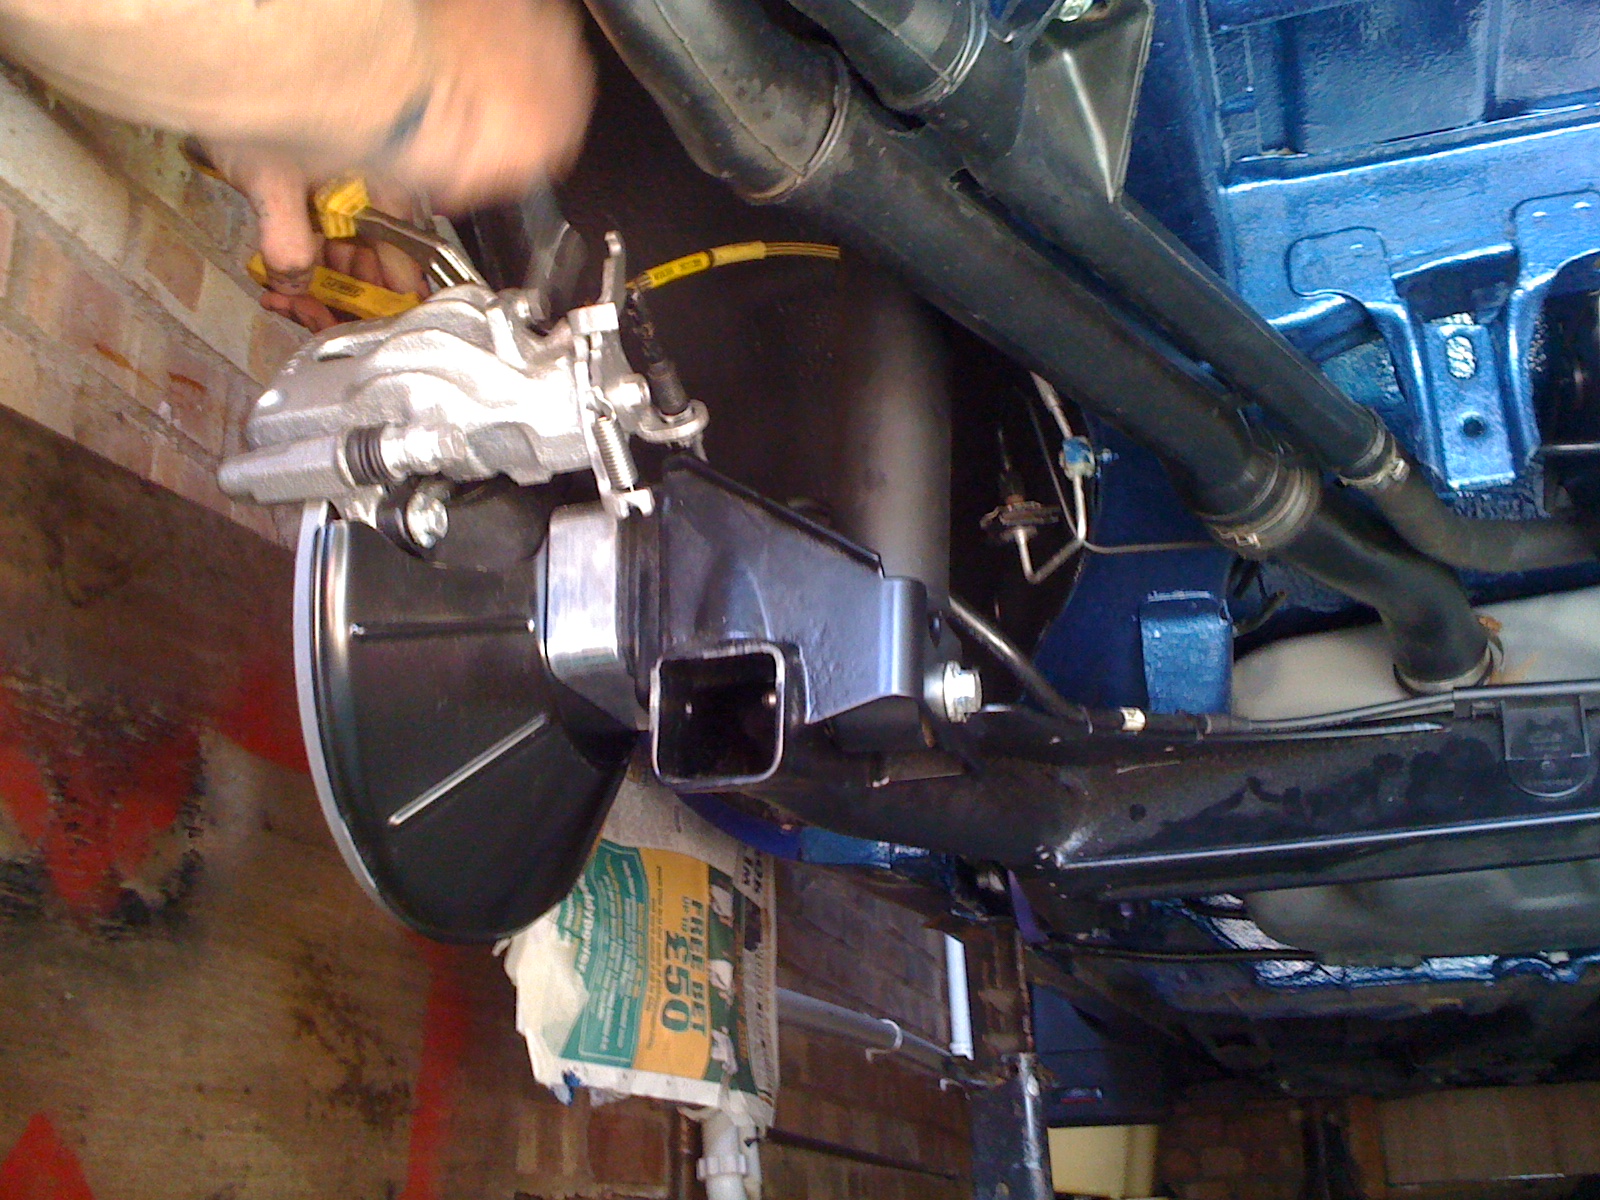
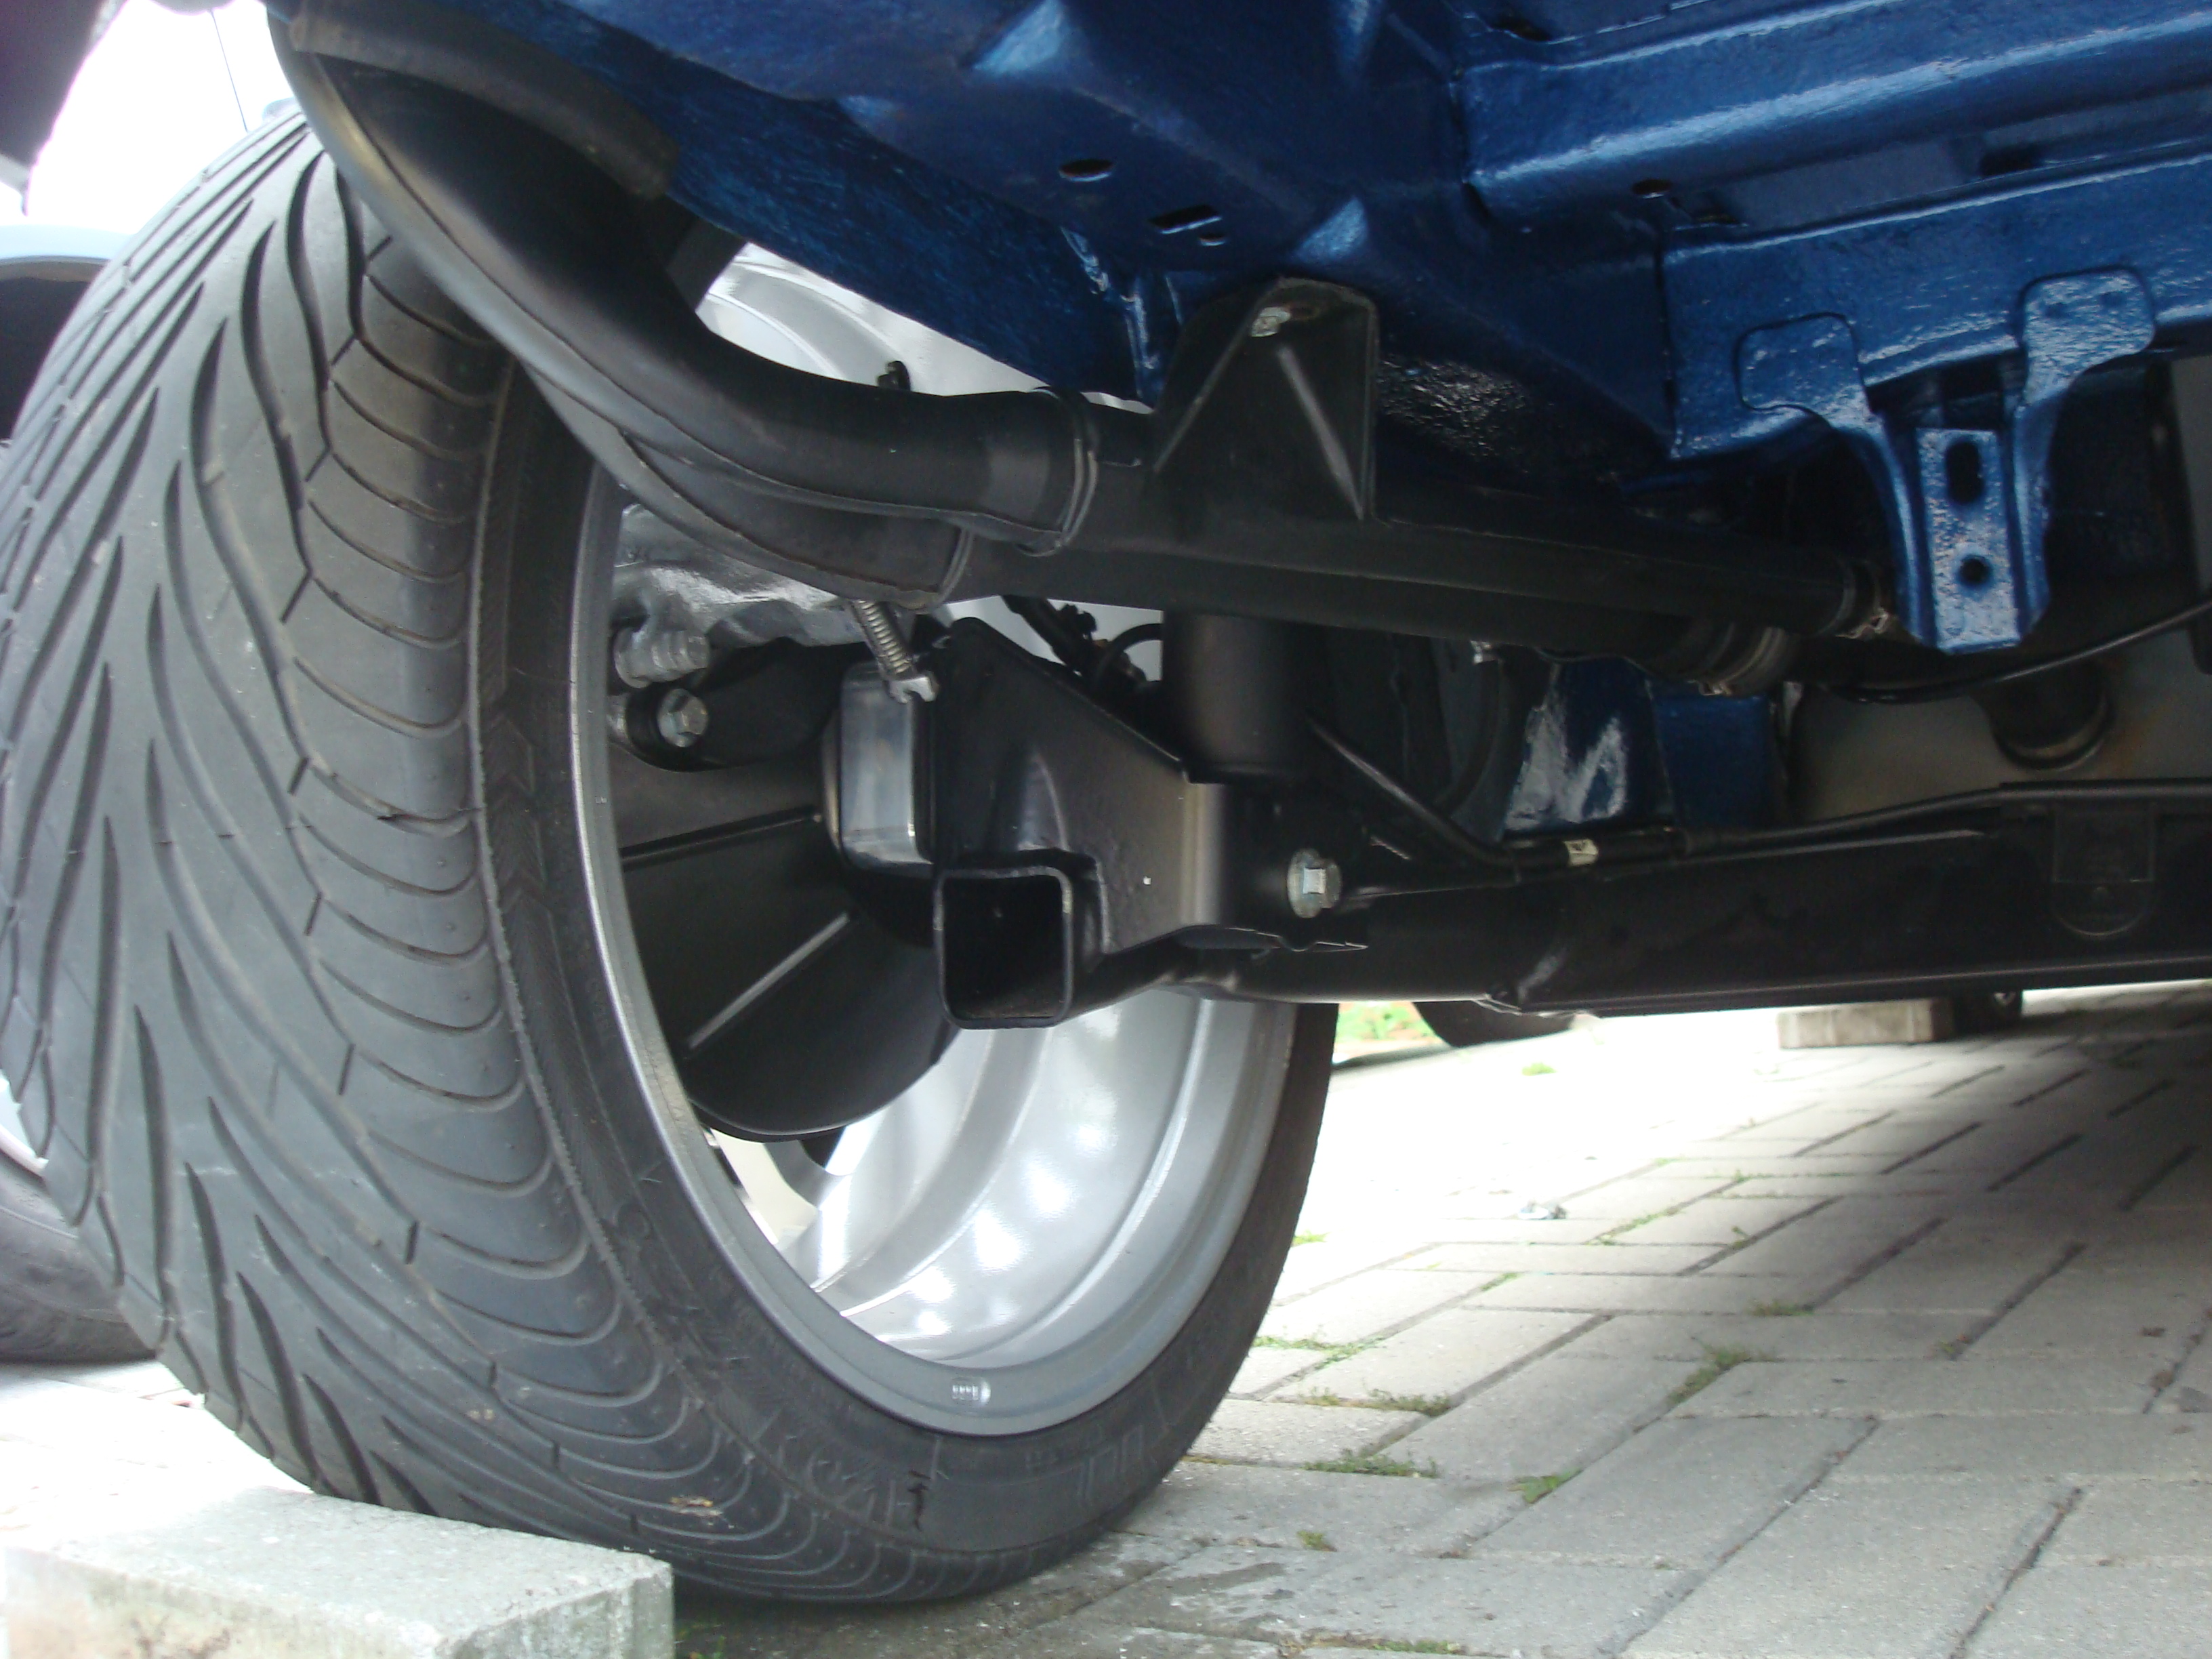
So finally back at home I put the spindle, hub, calliper, splash guard and spacer back on to the rear bean

Friends 205 GTI on the drive and his 309 GTI. Bought 205 GTI for �380 and its in excellent condition. Just needs rear bushes sorting to go through MOT and Tax and its ready for the road will upload some before and after photos, I’ve spent 5 hours cleaning it so far but still loads to do.
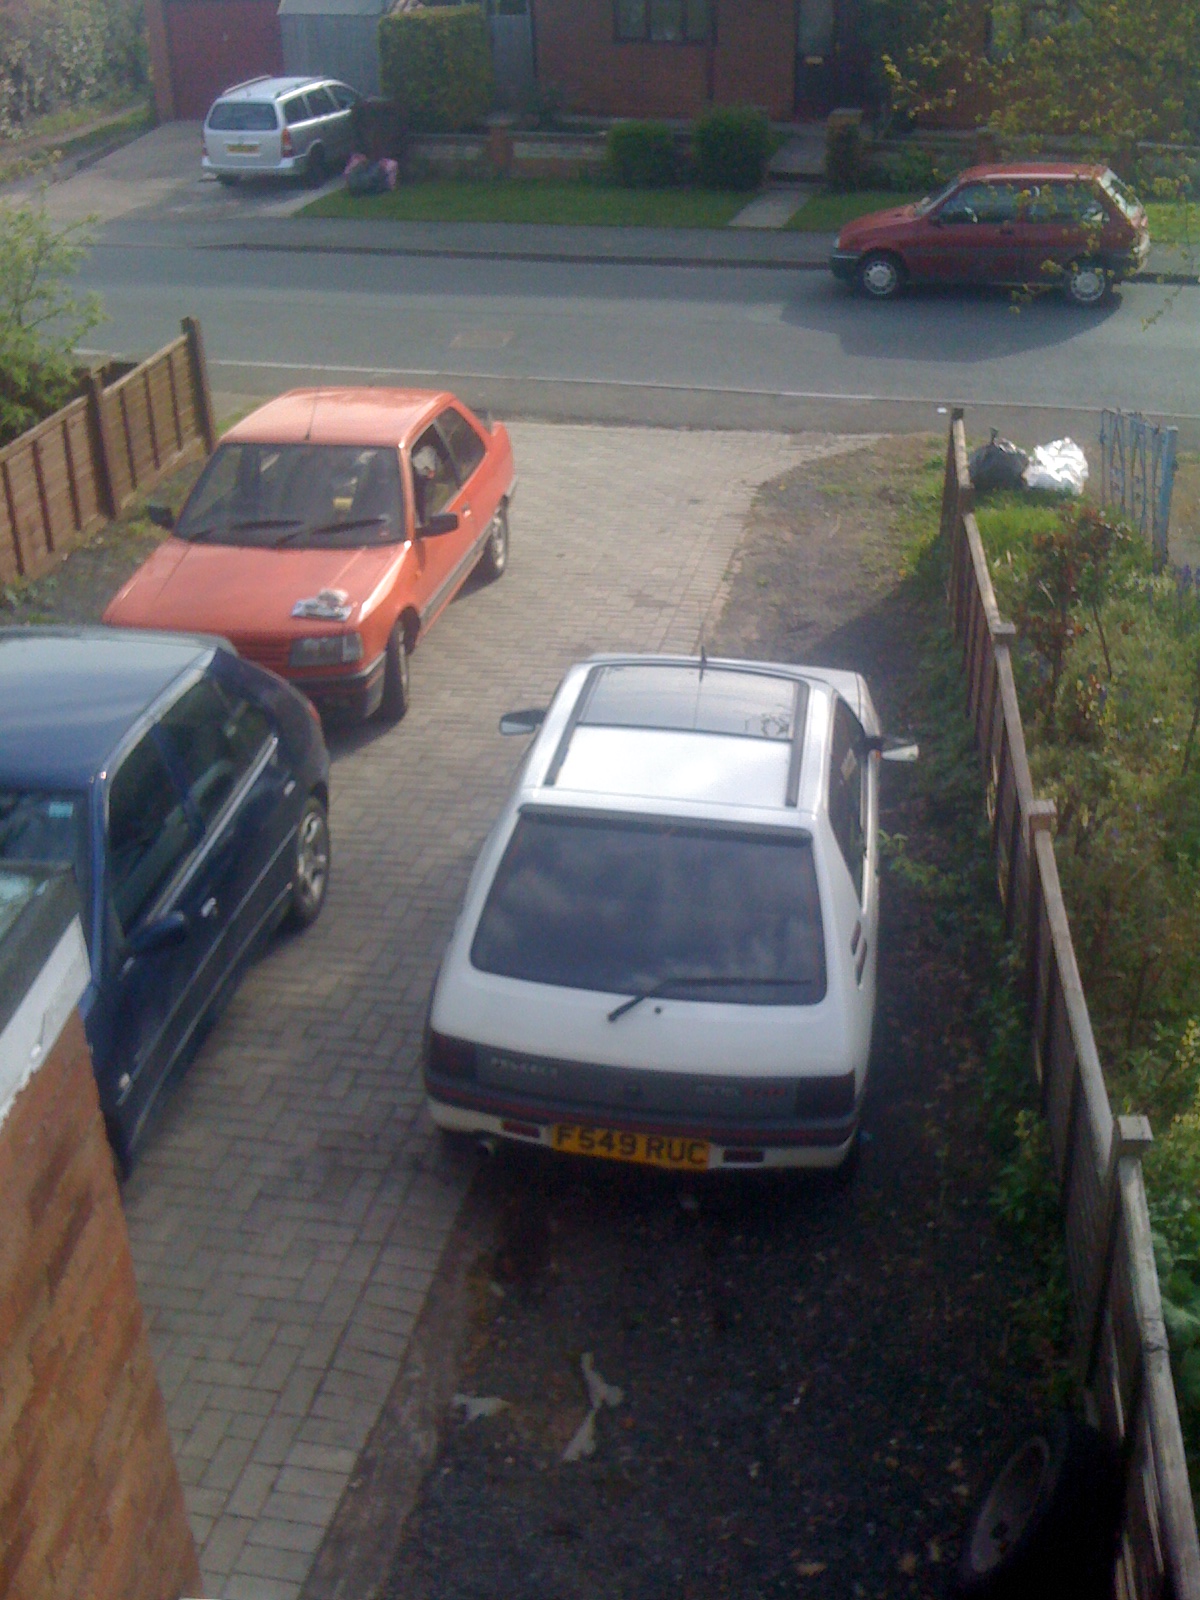
Then 309 GTI being stripped and used as a track toy, well mate saying he wants rear beam for the 205 but once I get a bucket seat in it, refurb the wheels get some good rubber on them and spray paint the car in matt black he’ll understand the need to keep her as she is as a toy for cheap track days. Will get a thread going for it once I start work on it
After trying to put my hubs on to the spindles I managed to get them wedged
Then when trying to remove them I broke the bearings argh!!! (My mean learning curve again)
Dog and lizard didn’t seem to impressed with the massive error.
Sorted out some replacement bearings, I unscrewed the spindle from the rear beam and took it to my mates garage. He removed the damaged bearings and pressed the replacement ones in. He showed me that just a small amount of overspray or dirt on the spindle would make the hub / bearing stick and jam. So he removed the overspray from the spindles as shown
Then proceeded to tighten them up to 390nm
So finally back at home I put the spindle, hub, calliper, splash guard and spacer back on to the rear bean
Friends 205 GTI on the drive and his 309 GTI. Bought 205 GTI for �380 and its in excellent condition. Just needs rear bushes sorting to go through MOT and Tax and its ready for the road will upload some before and after photos, I’ve spent 5 hours cleaning it so far but still loads to do.
Then 309 GTI being stripped and used as a track toy, well mate saying he wants rear beam for the 205 but once I get a bucket seat in it, refurb the wheels get some good rubber on them and spray paint the car in matt black he’ll understand the need to keep her as she is as a toy for cheap track days. Will get a thread going for it once I start work on it
 15-05-2010, 10:53 AM
#111
Virgin

Join Date: May 2010
Location: Royston
Posts: 1
Likes: 0
Received 0 Likes
on
0 Posts
Hi David
Got FRP 0202 here and I also lost my license for a year because of two seizures within five weeks caused by an AVM. Dislocated my shoulder with the second one and the hospital broke it trying to get it back in place.
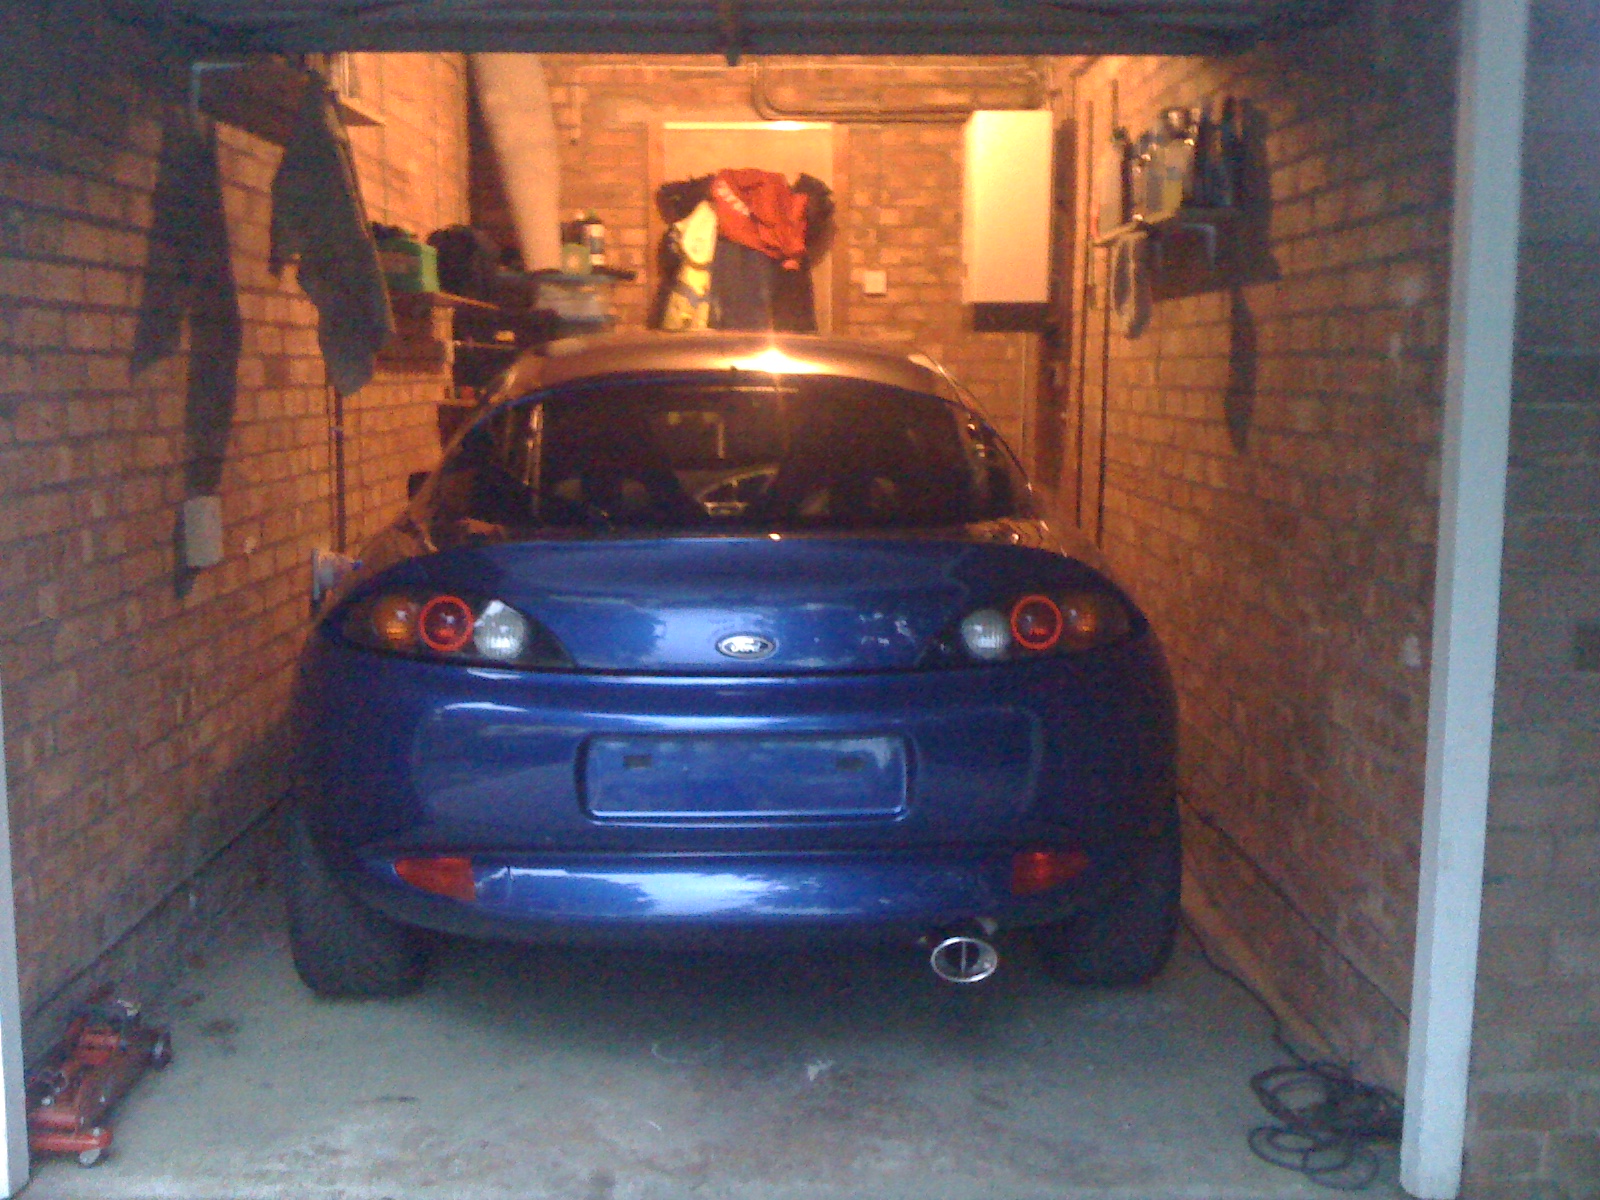
So I feel really lazy I did nothing with mine just kept it garaged.
Keep up the good work its amazing to watch.
Got FRP 0202 here and I also lost my license for a year because of two seizures within five weeks caused by an AVM. Dislocated my shoulder with the second one and the hospital broke it trying to get it back in place.
So I feel really lazy I did nothing with mine just kept it garaged.
Keep up the good work its amazing to watch.
18-05-2010, 01:01 PM
#113
15000
Join Date: Nov 2009
Location: Scotland
Posts: 19
Likes: 0
Received 0 Likes
on
0 Posts
Cracking thread my friend, keep up the good work.
You've added unknown value to your car with the effort put imo.
Look forward to seeing it finished, I personally would have done this before the respray tho just incase.
You've added unknown value to your car with the effort put imo.
Look forward to seeing it finished, I personally would have done this before the respray tho just incase.
01-07-2010, 11:39 AM
#114
Wahay!! I've lost my Virginity!!
Thread Starter
Join Date: Dec 2009
Location: Malvern
Posts: 69
Likes: 0
Received 0 Likes
on
0 Posts
Daves Log star date................29th June 2010
Been some time since an update, a lot been going on in the last few months, looks as tho I might have to move out of the house I�m in as mate decided he wants to move out and no one else yet able to move in. Therefore I have no option but to get car done, needed an excuse to pull my finger out my arse and get on with it anyway.
Today I went to the hospital for the result of my MRI scan and EEG scan and all looks clear and normal Whilst chatting to the specialist I asked again about driving and he mentioned that if you suffer a single seizure and your test results come back normal after 6 months you can drive again so as of today I�m back on the road, another reason to get the car finished now that I don�t have to wait till October 11th
So here goes�������(Mixture of iPhone and digital camera photos so not brilliant but you get the idea)
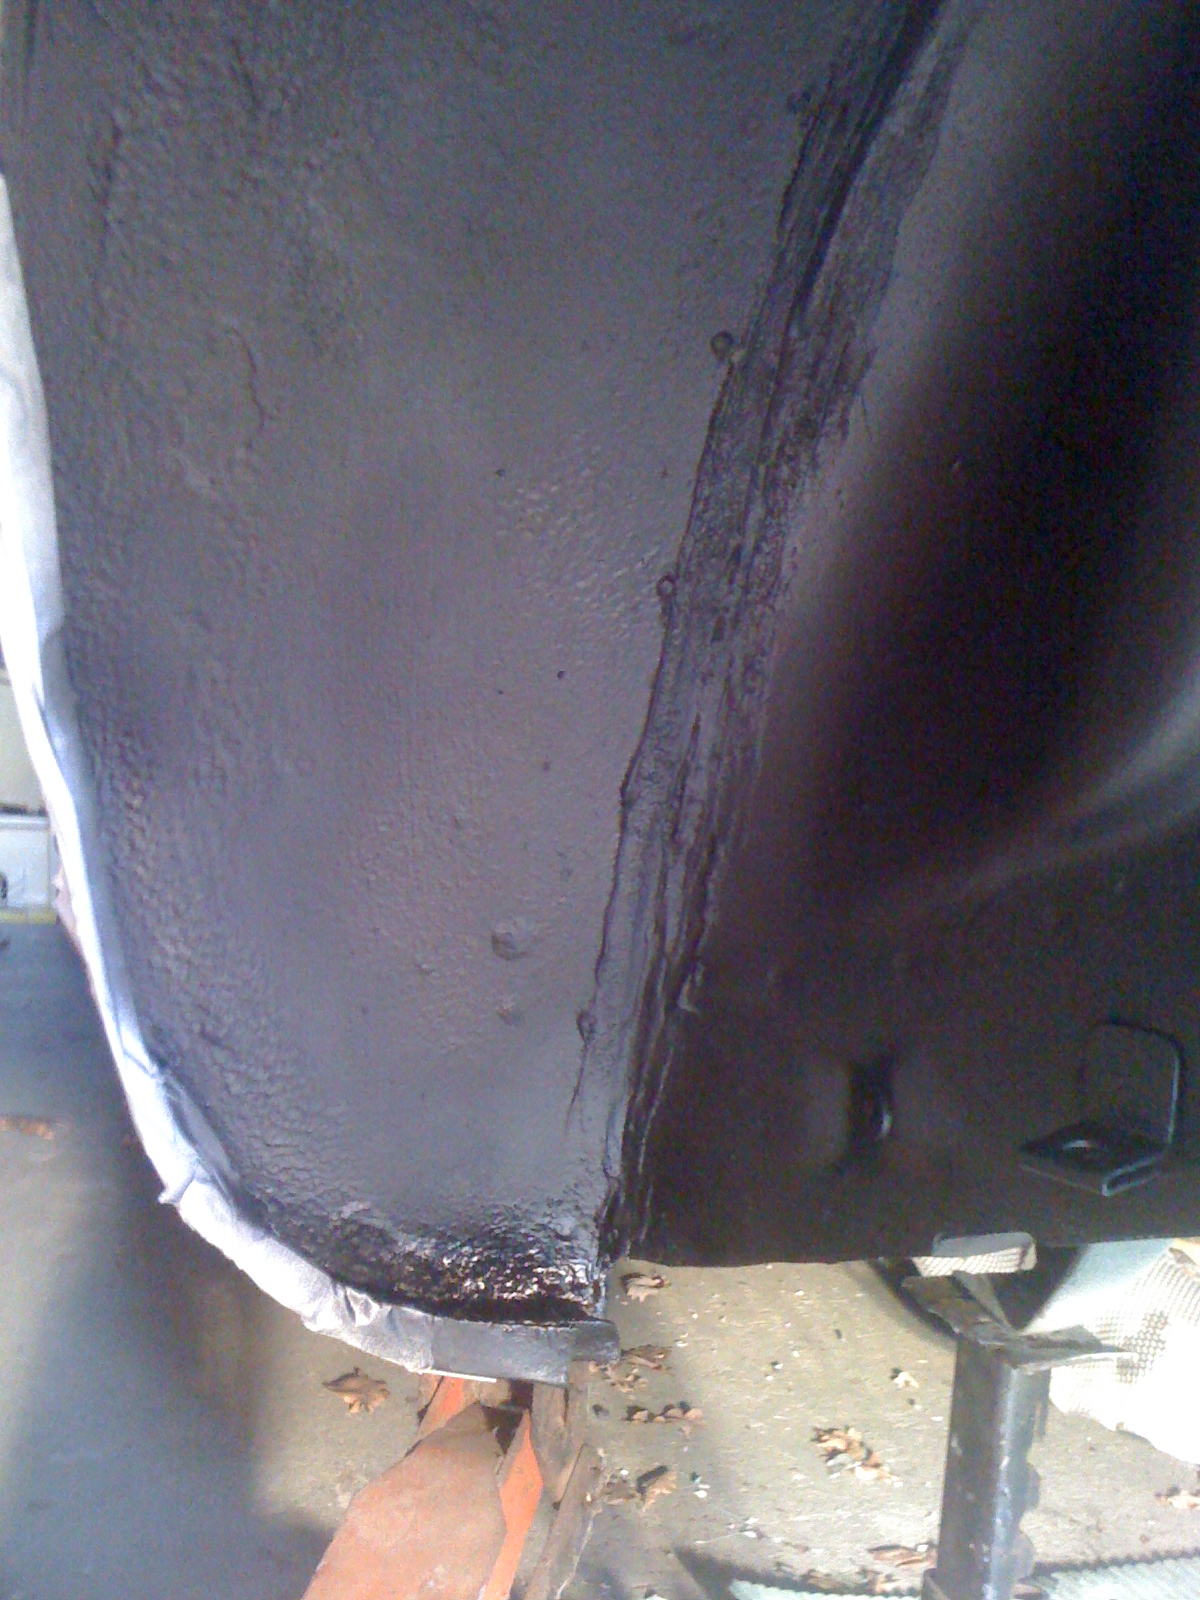
First off applied some brush able seam sealer to the areas I had stripped whilst assessing the rusty areas and then proceeded to paint the wheel arches with Hammerite black smooth finish, this unfortunately left a shiny finish which made the imperfections too obvious so decided I would need to use a different product (more on that later)
Arch before:
Arch after first coat of hammerite:
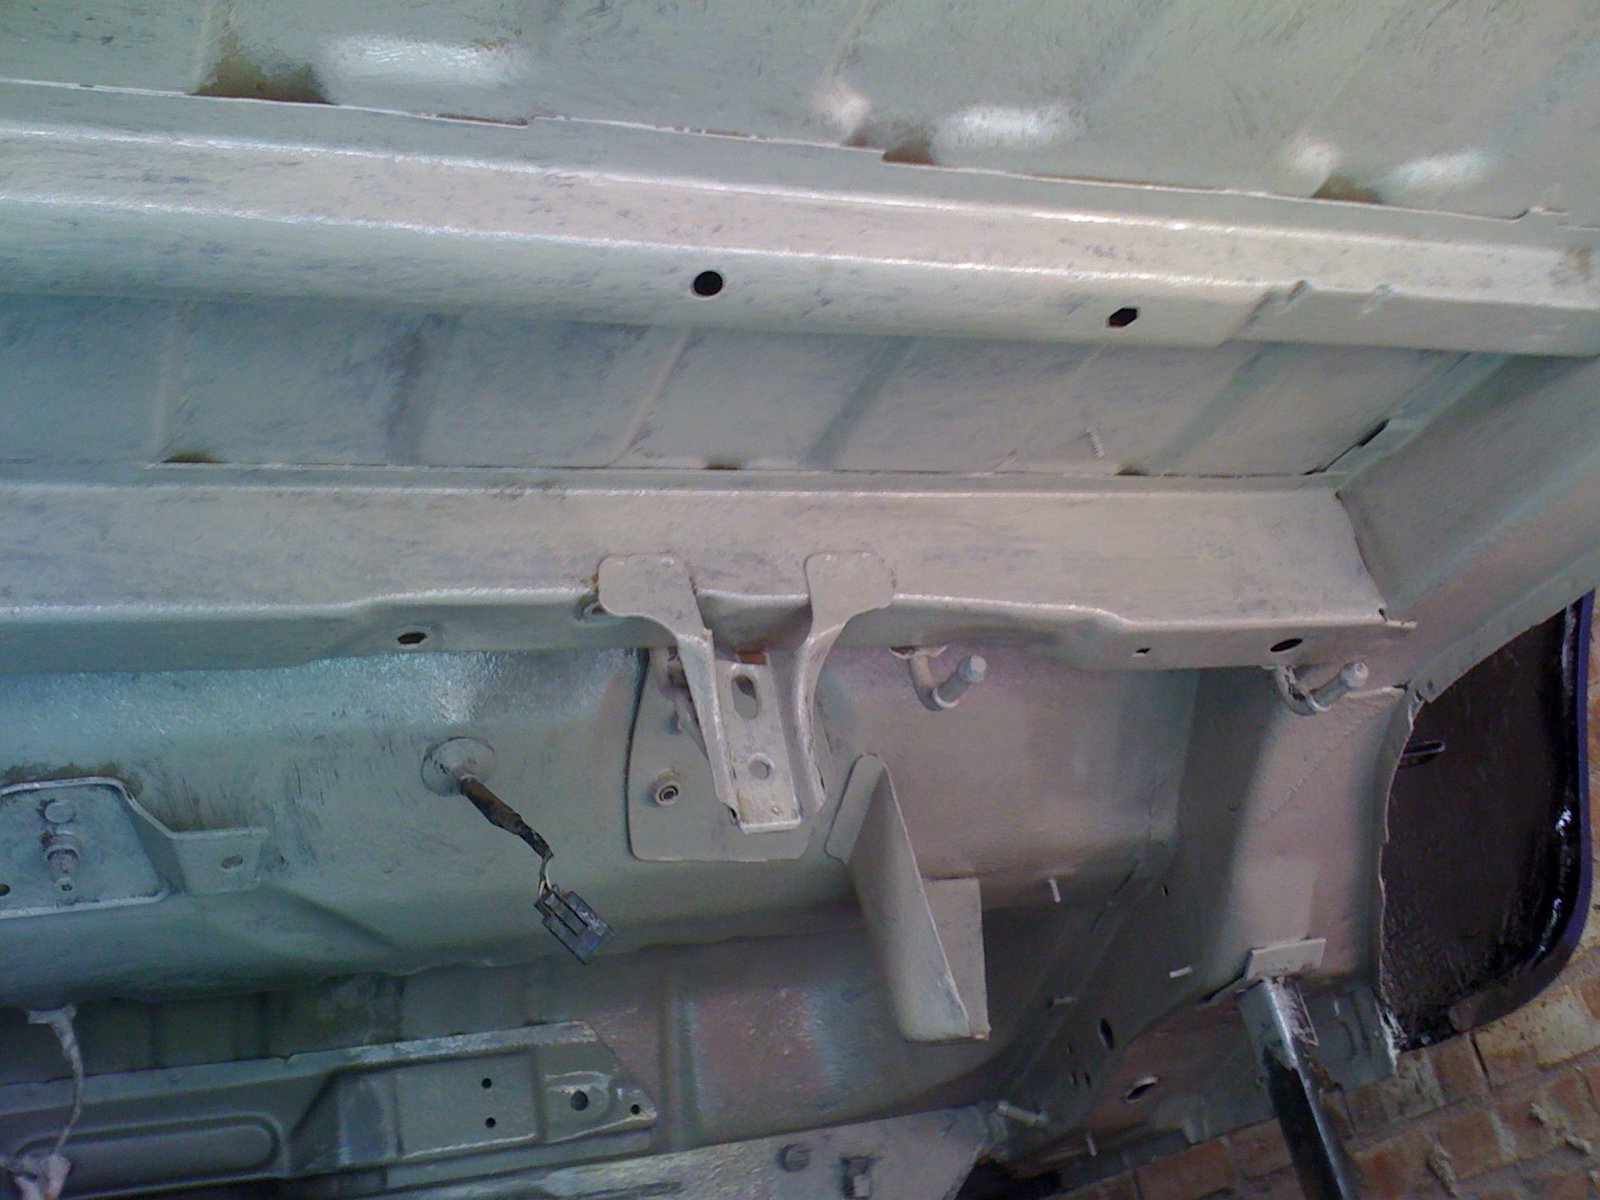
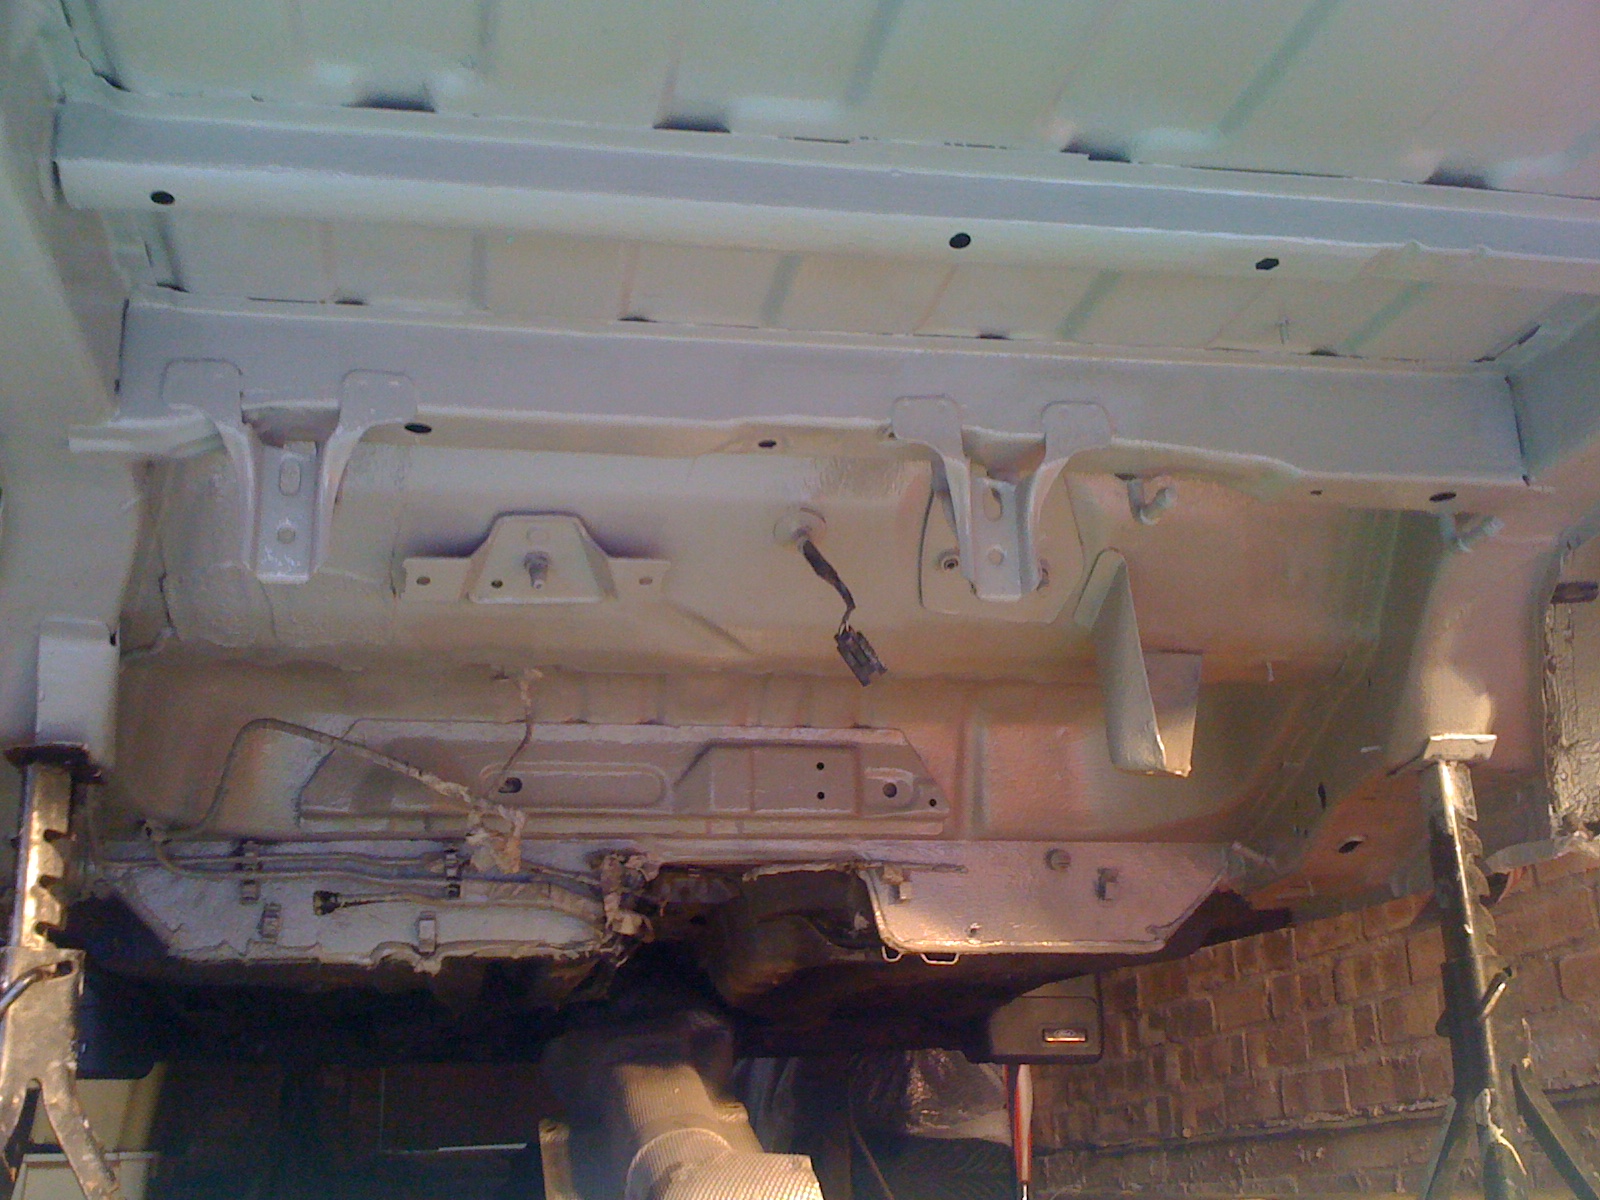
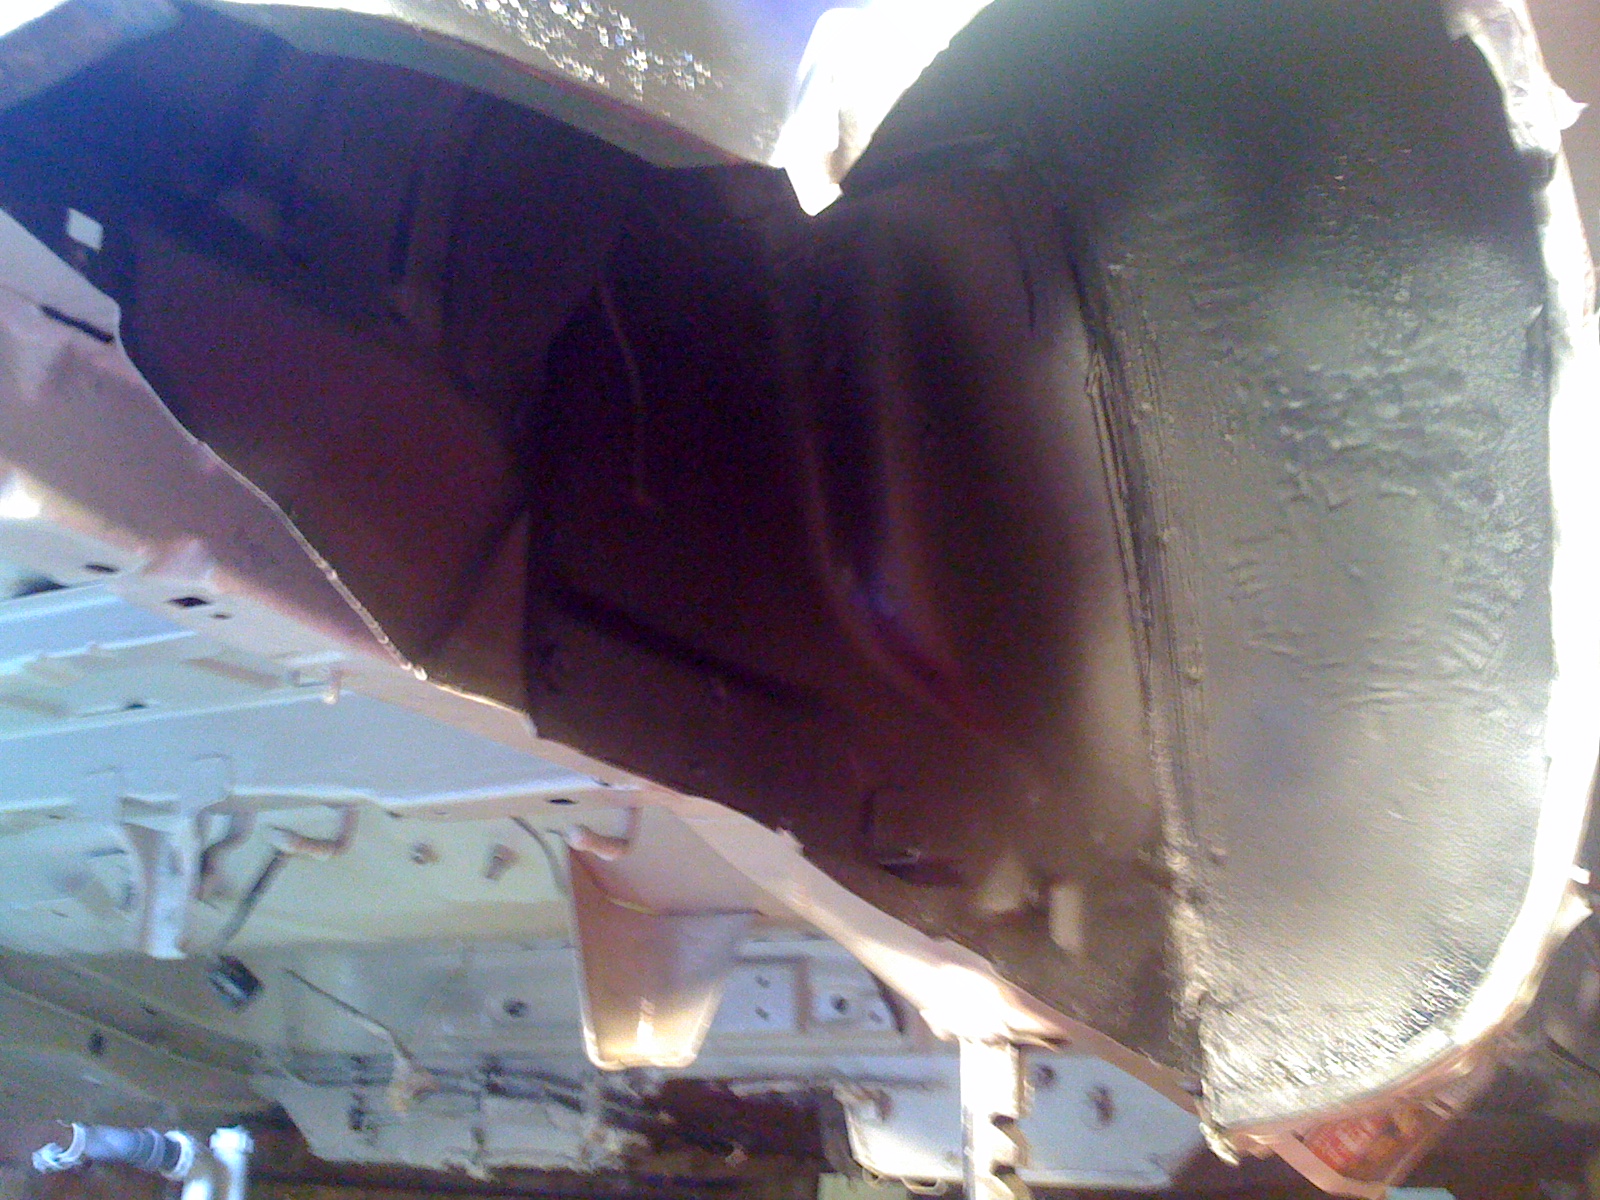
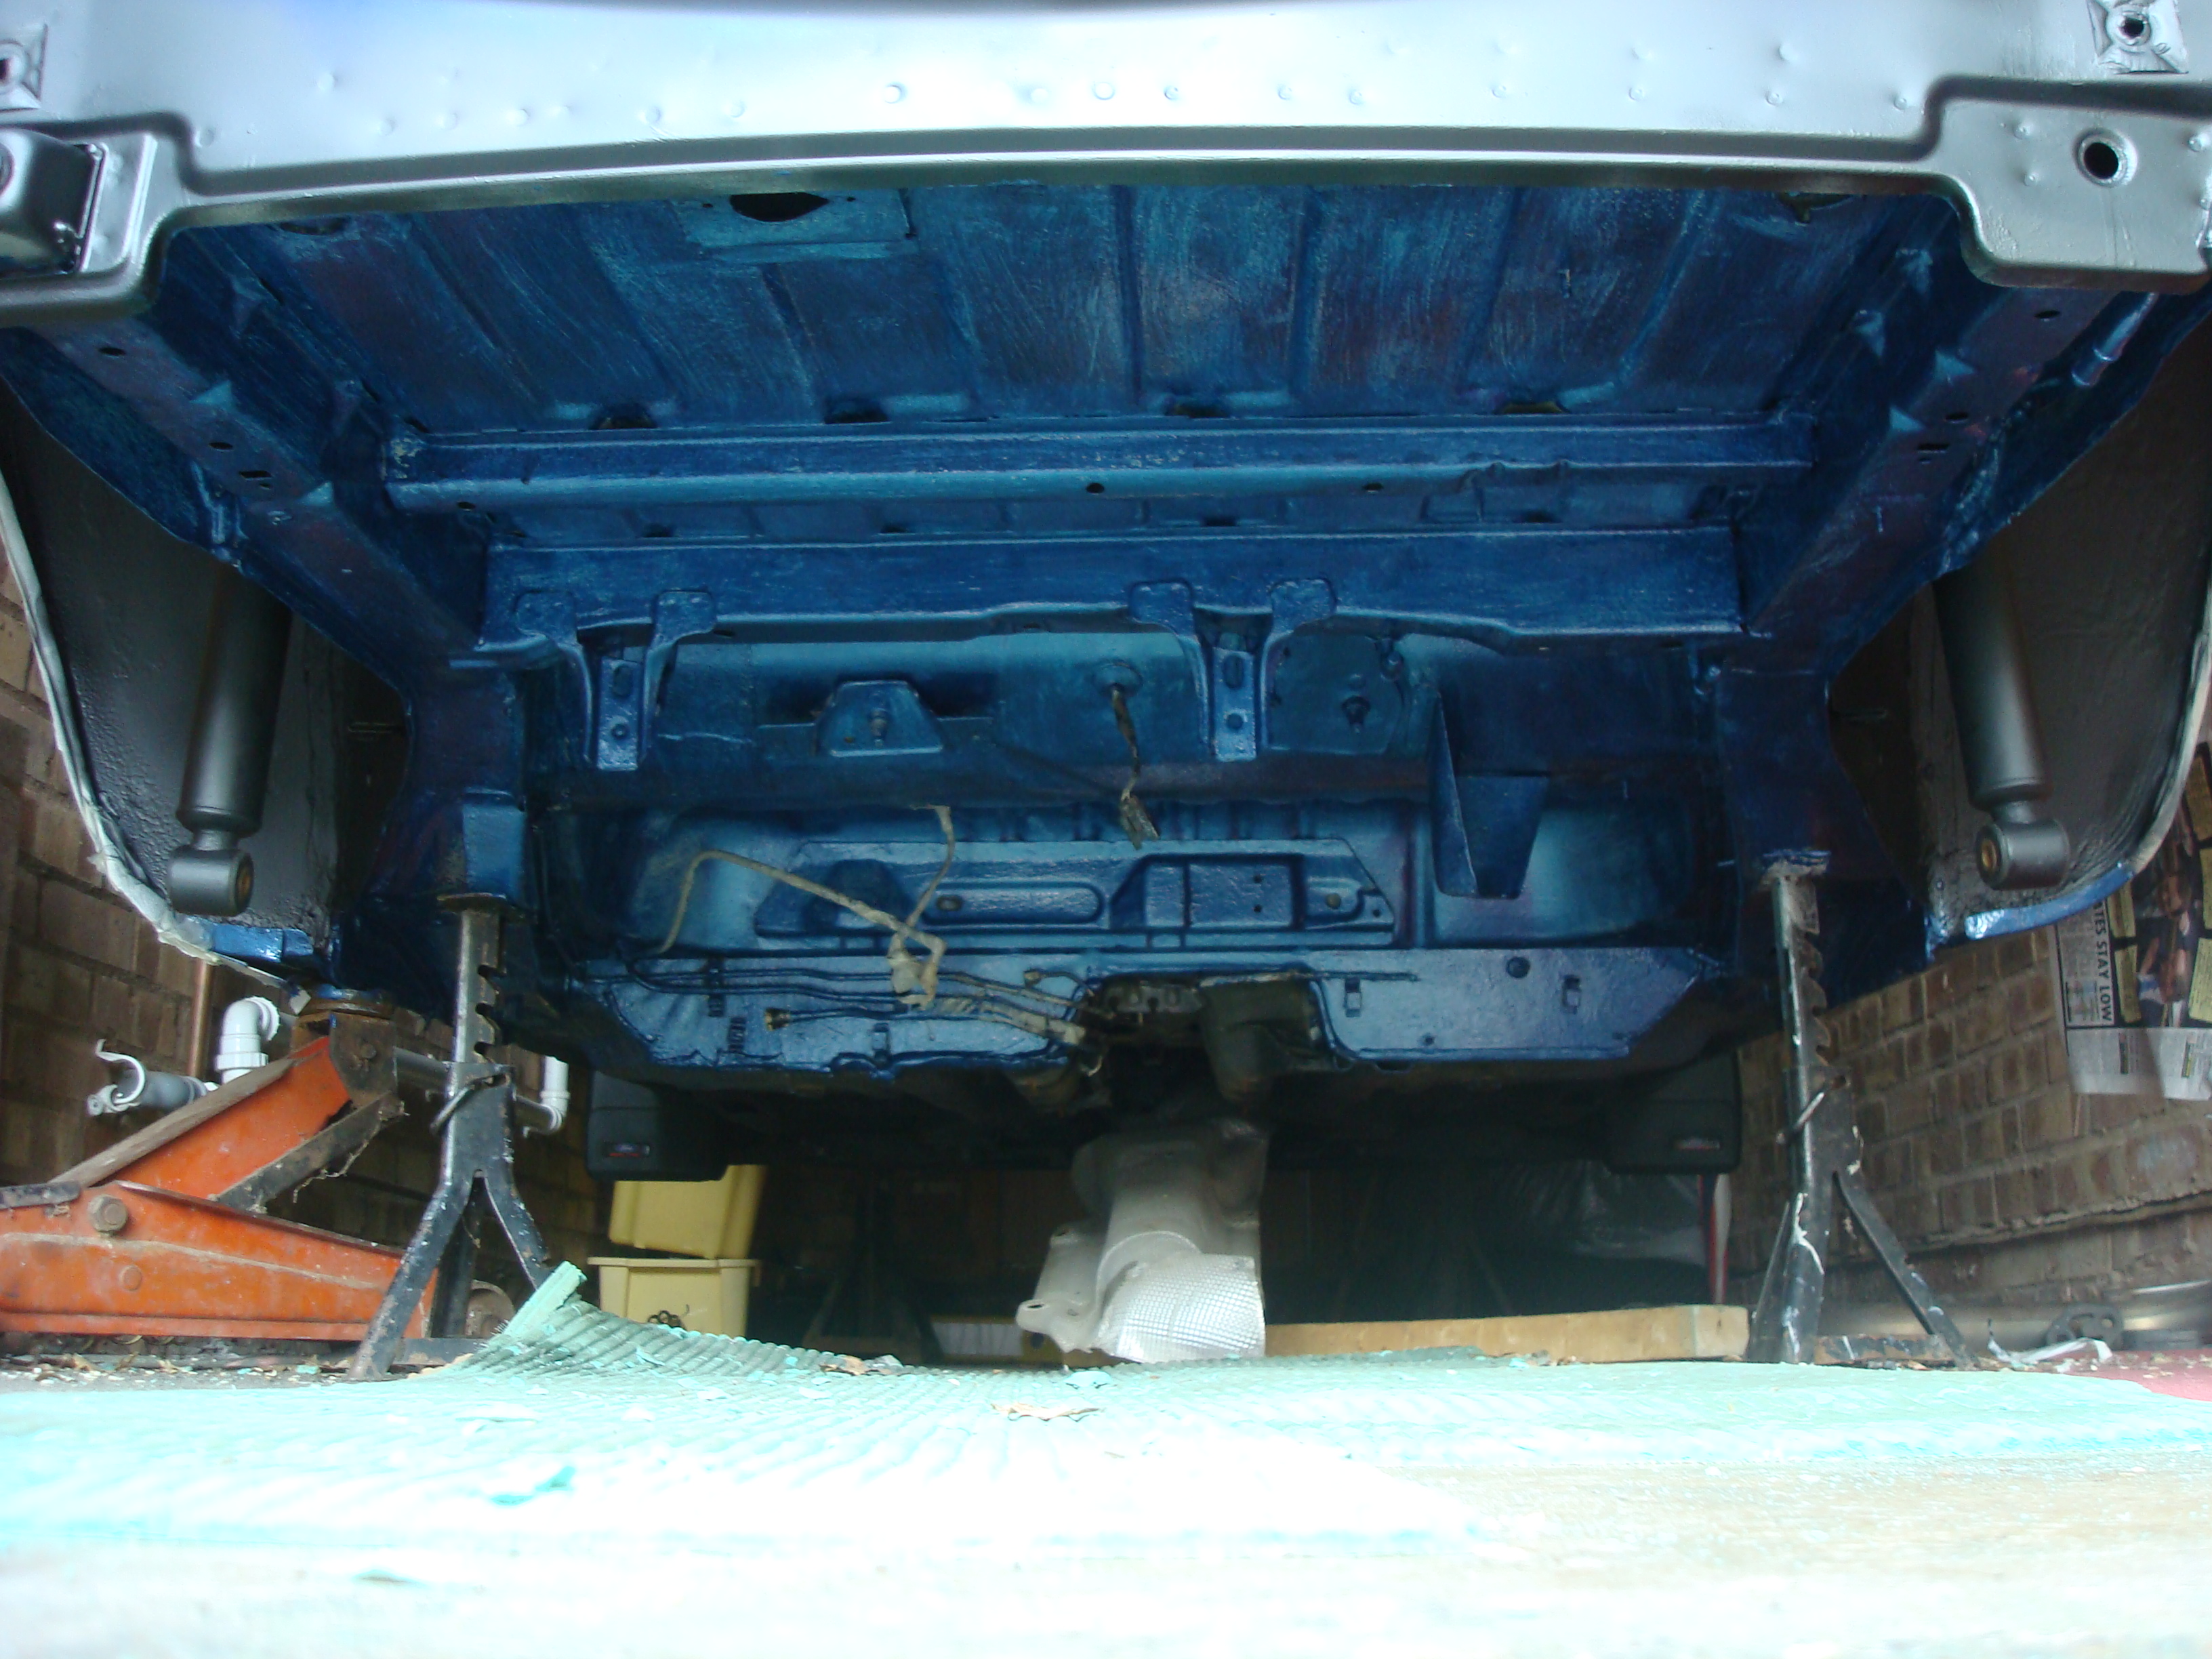
Whilst letting the arches dry I gave the underside its first coat of epoxy mastic and finished off giving the fuel tank another coat.
First Coat:
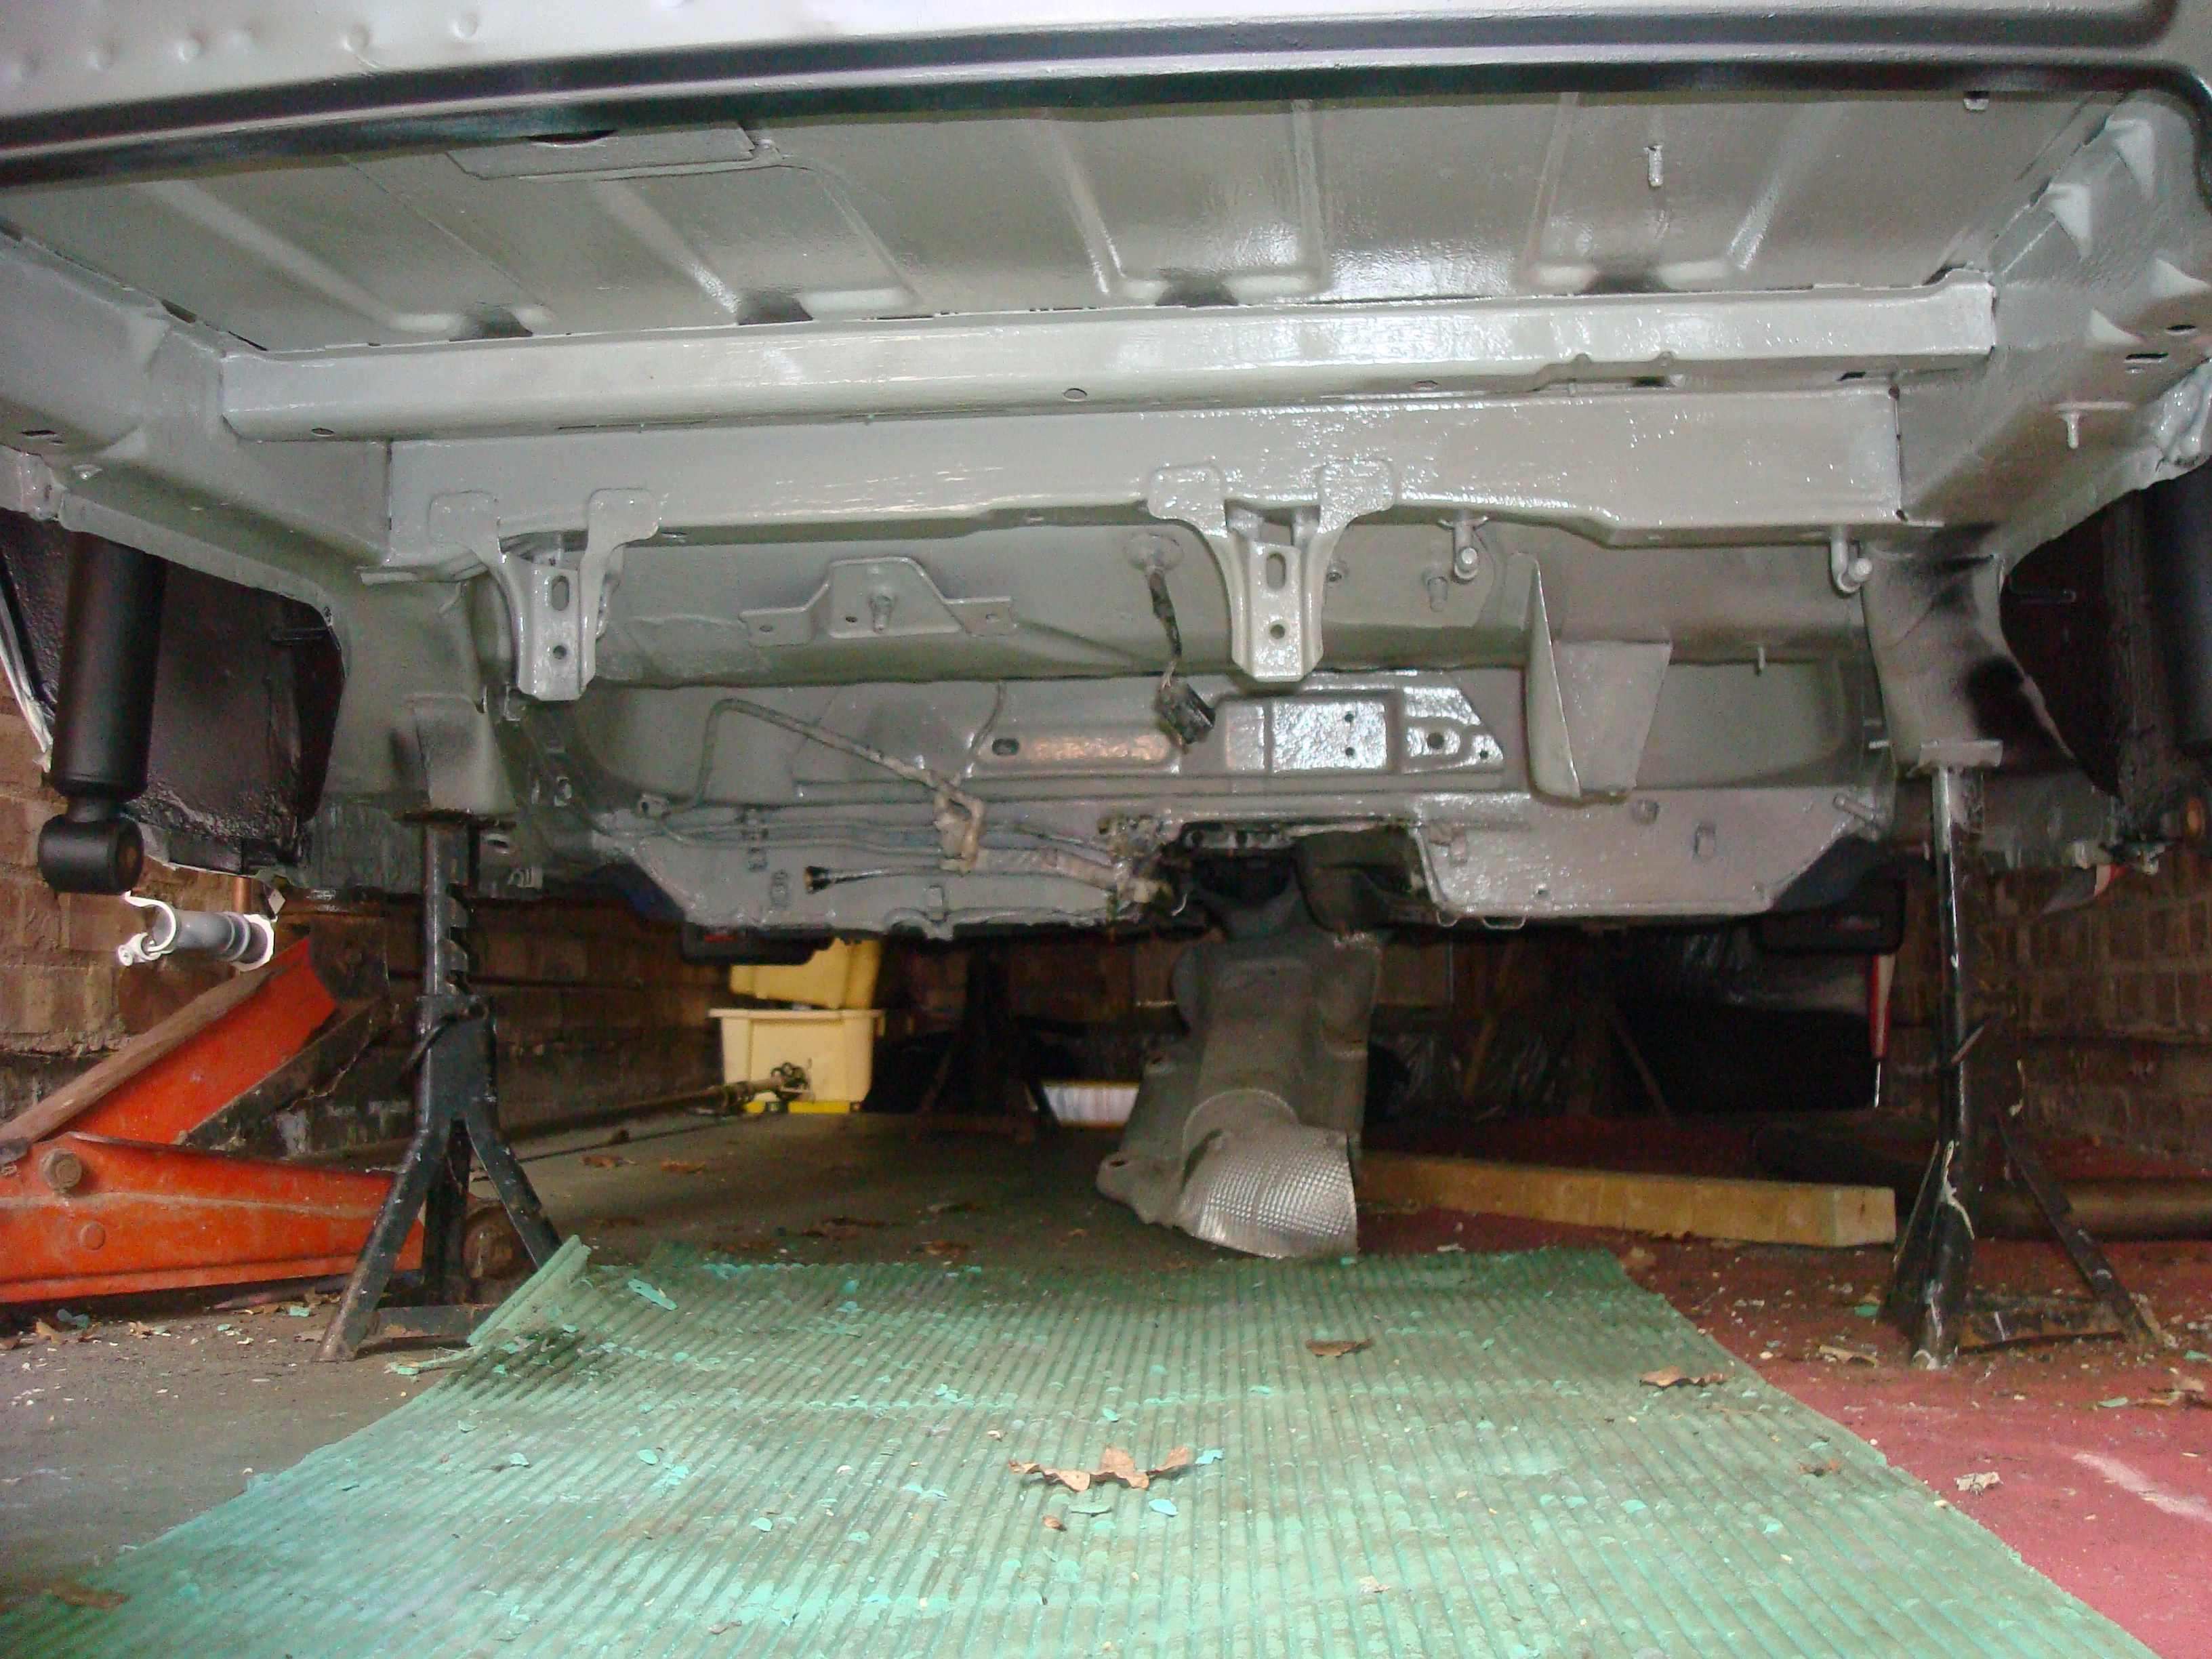
Second Coat:
Fuel tank after final coat:
Saturday afternoon popped to halfrauds and picked up some bits I needed to correct the shiney black arches, paint for the fuel tank and paint for the underside, I had orginaly planned to use the correct paint colour but want to get it finished and decided a coat of hammerite hammered finish blue would be tougher and still look great.
Products:

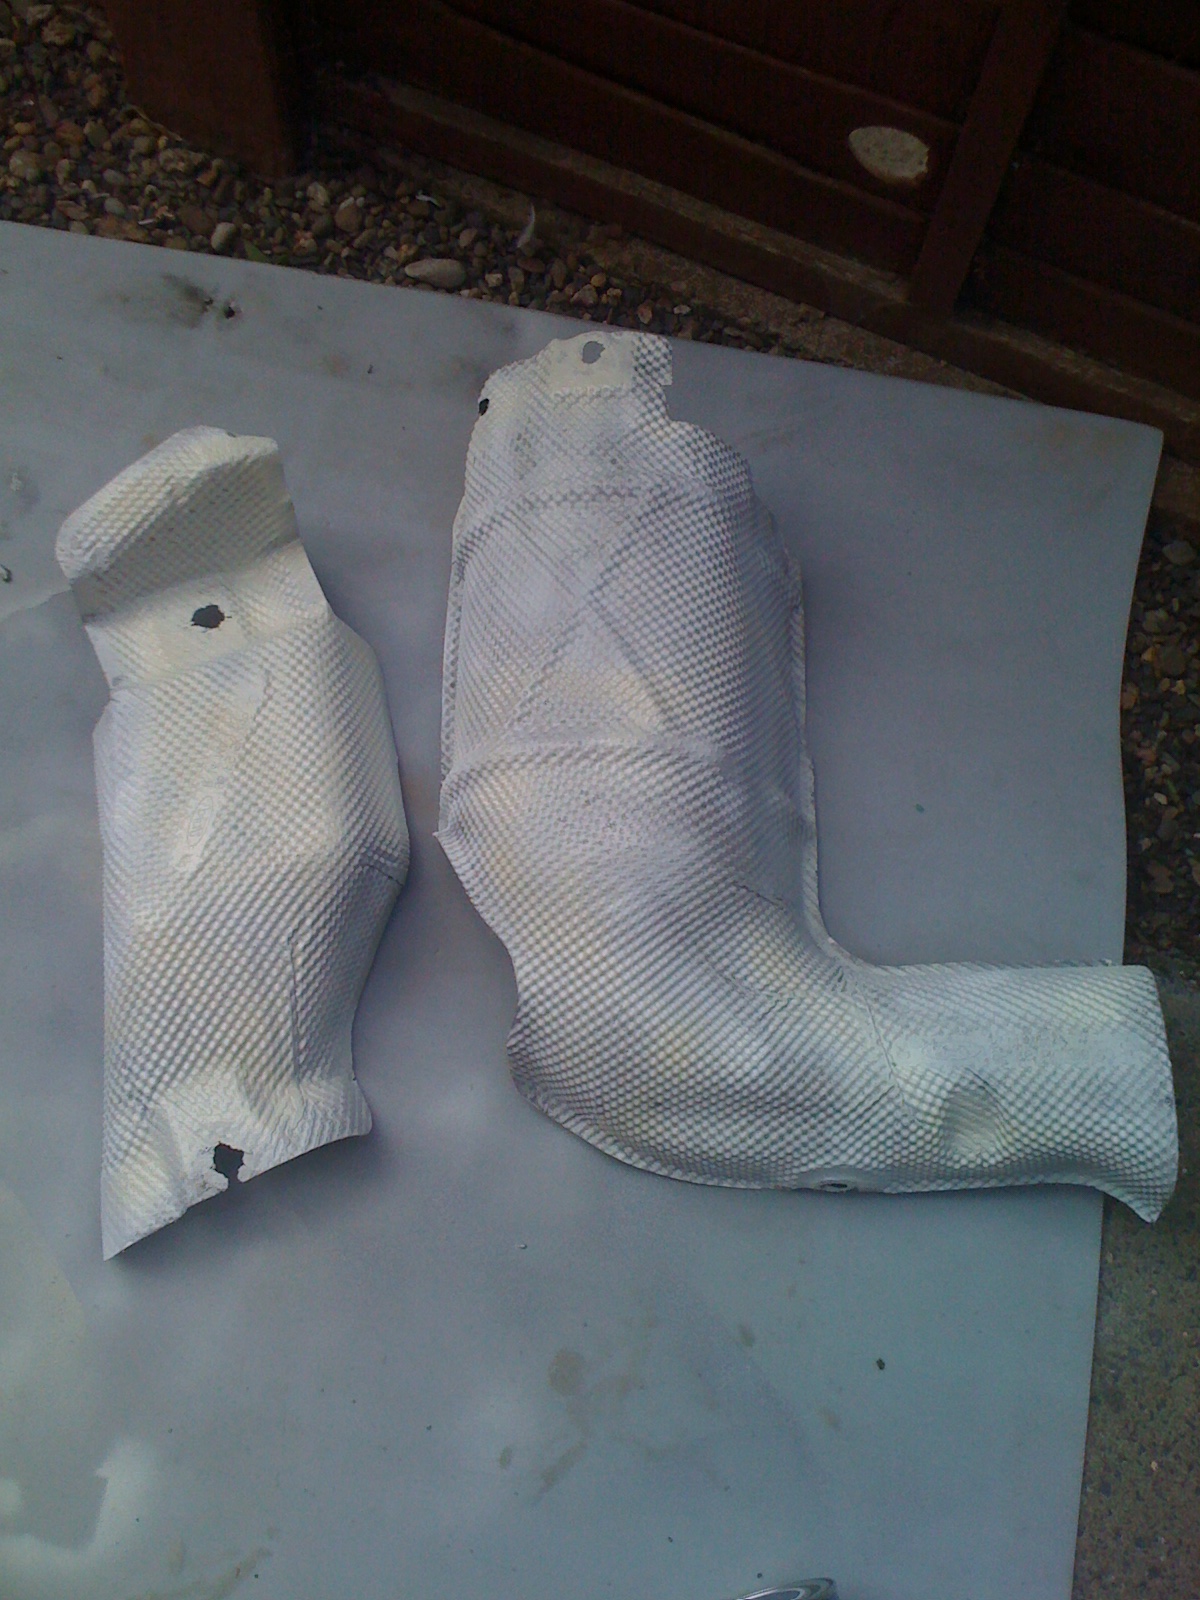
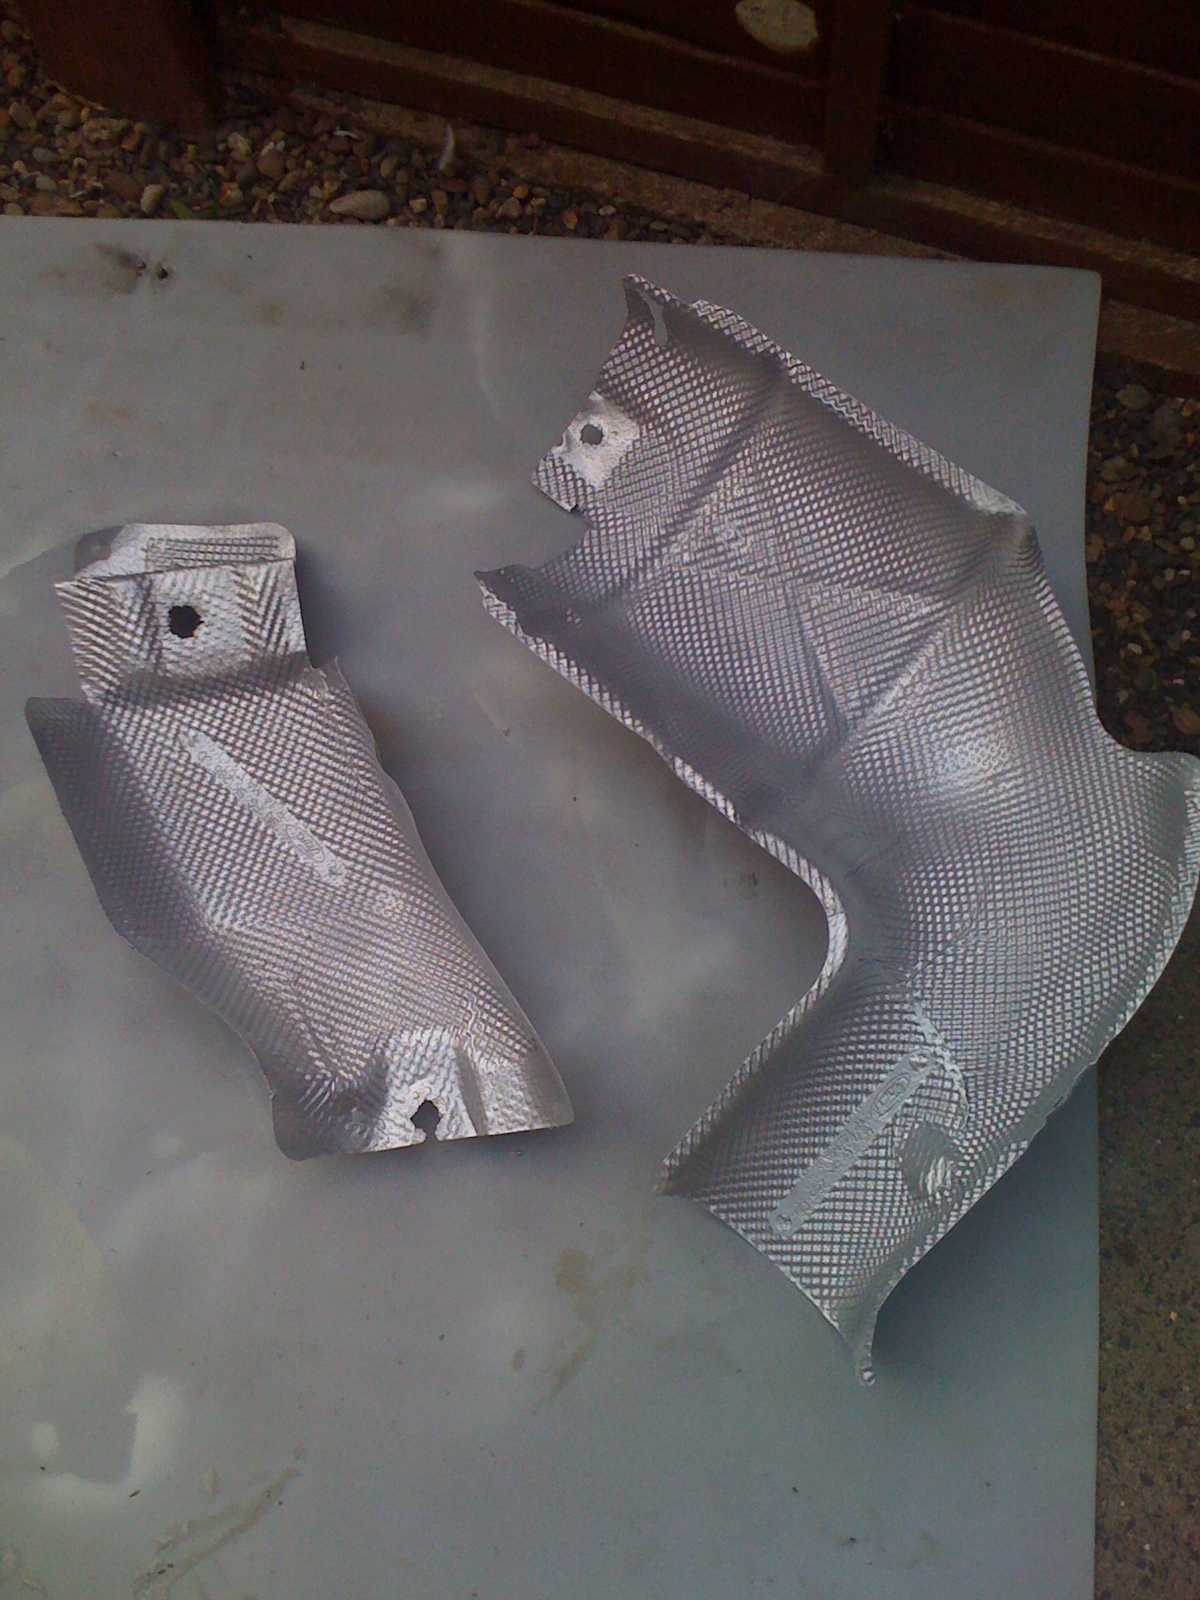
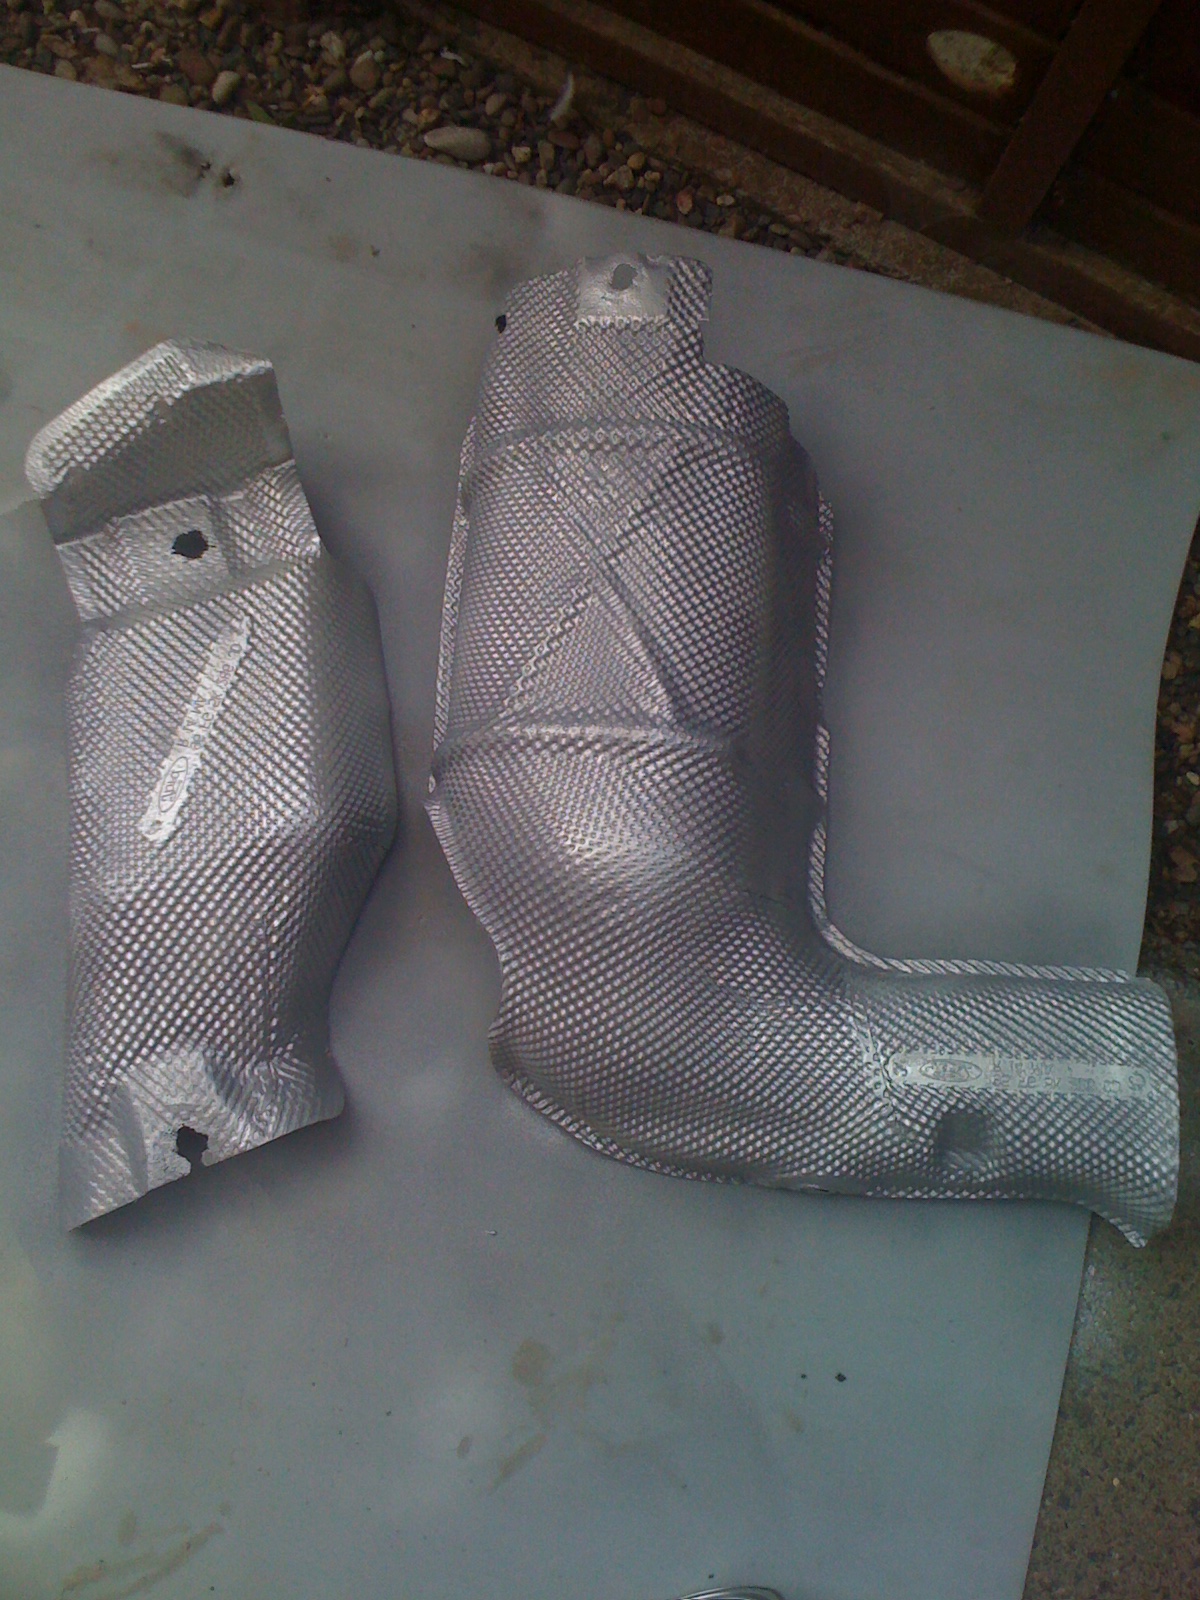
Started to paint the heat shields, started with a small amount of white primer then topped off with the calliper paint.
Primer:
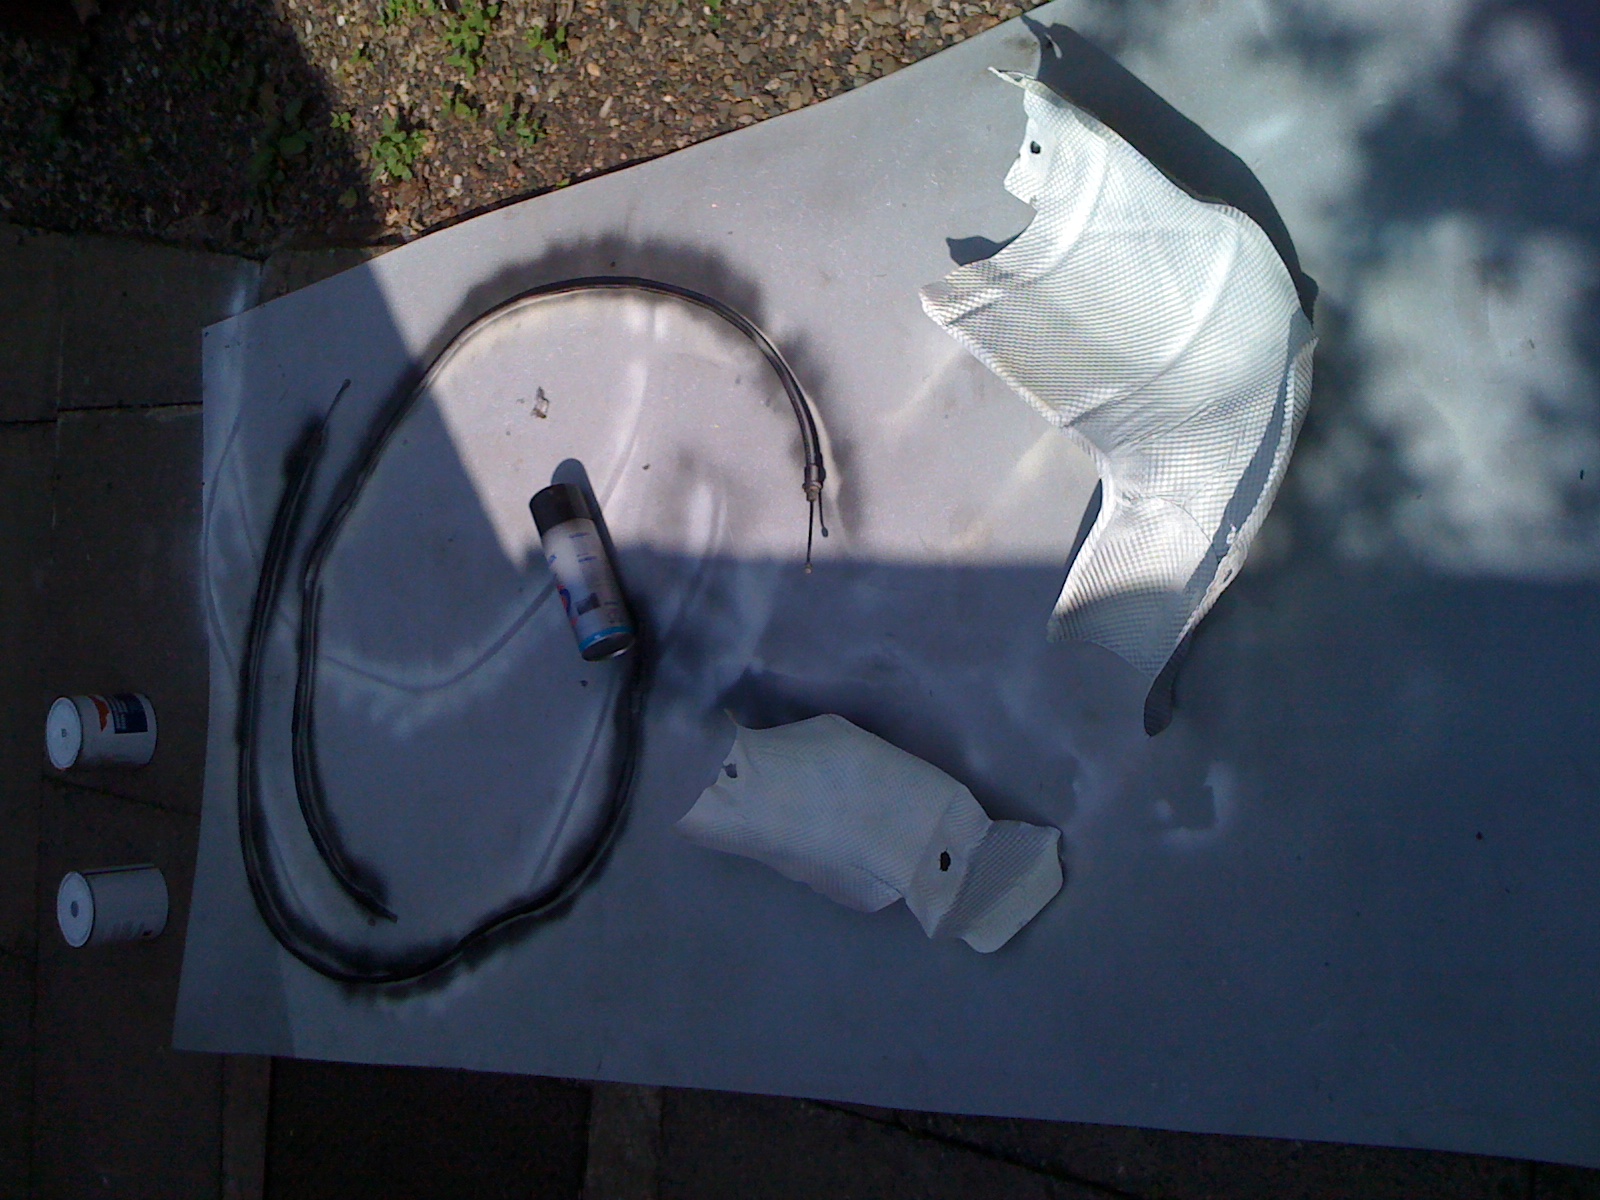
Finished:
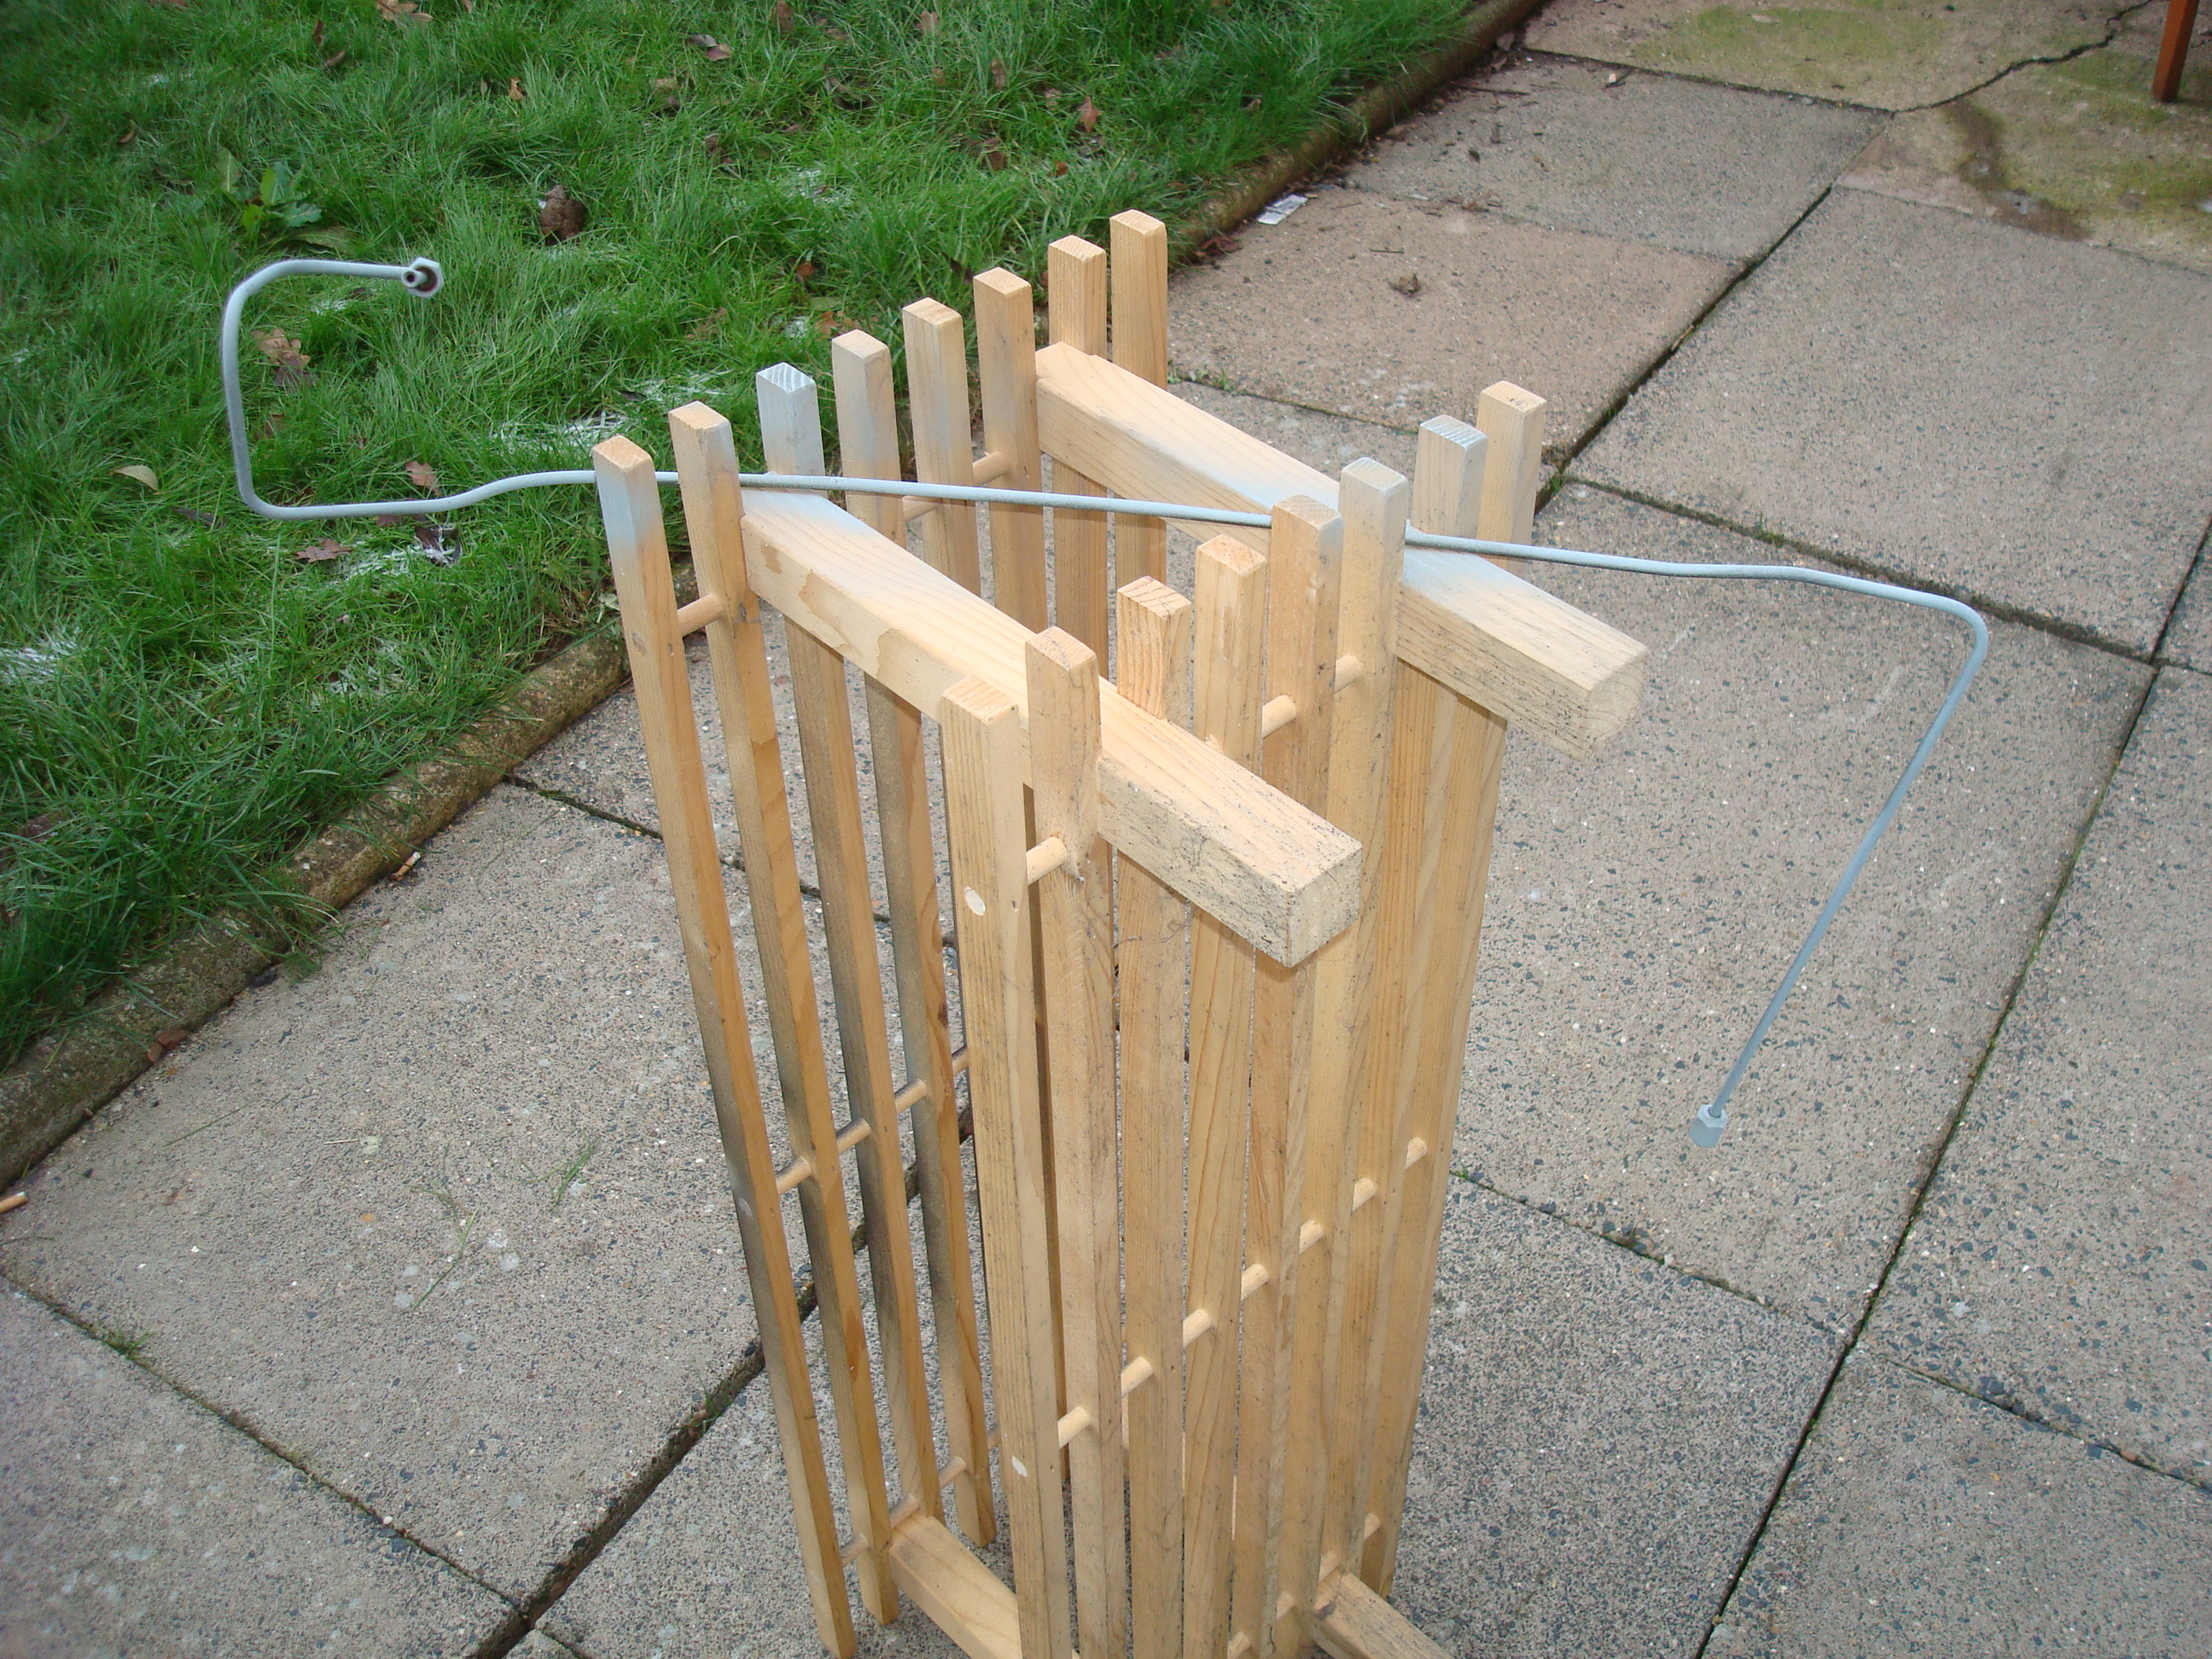
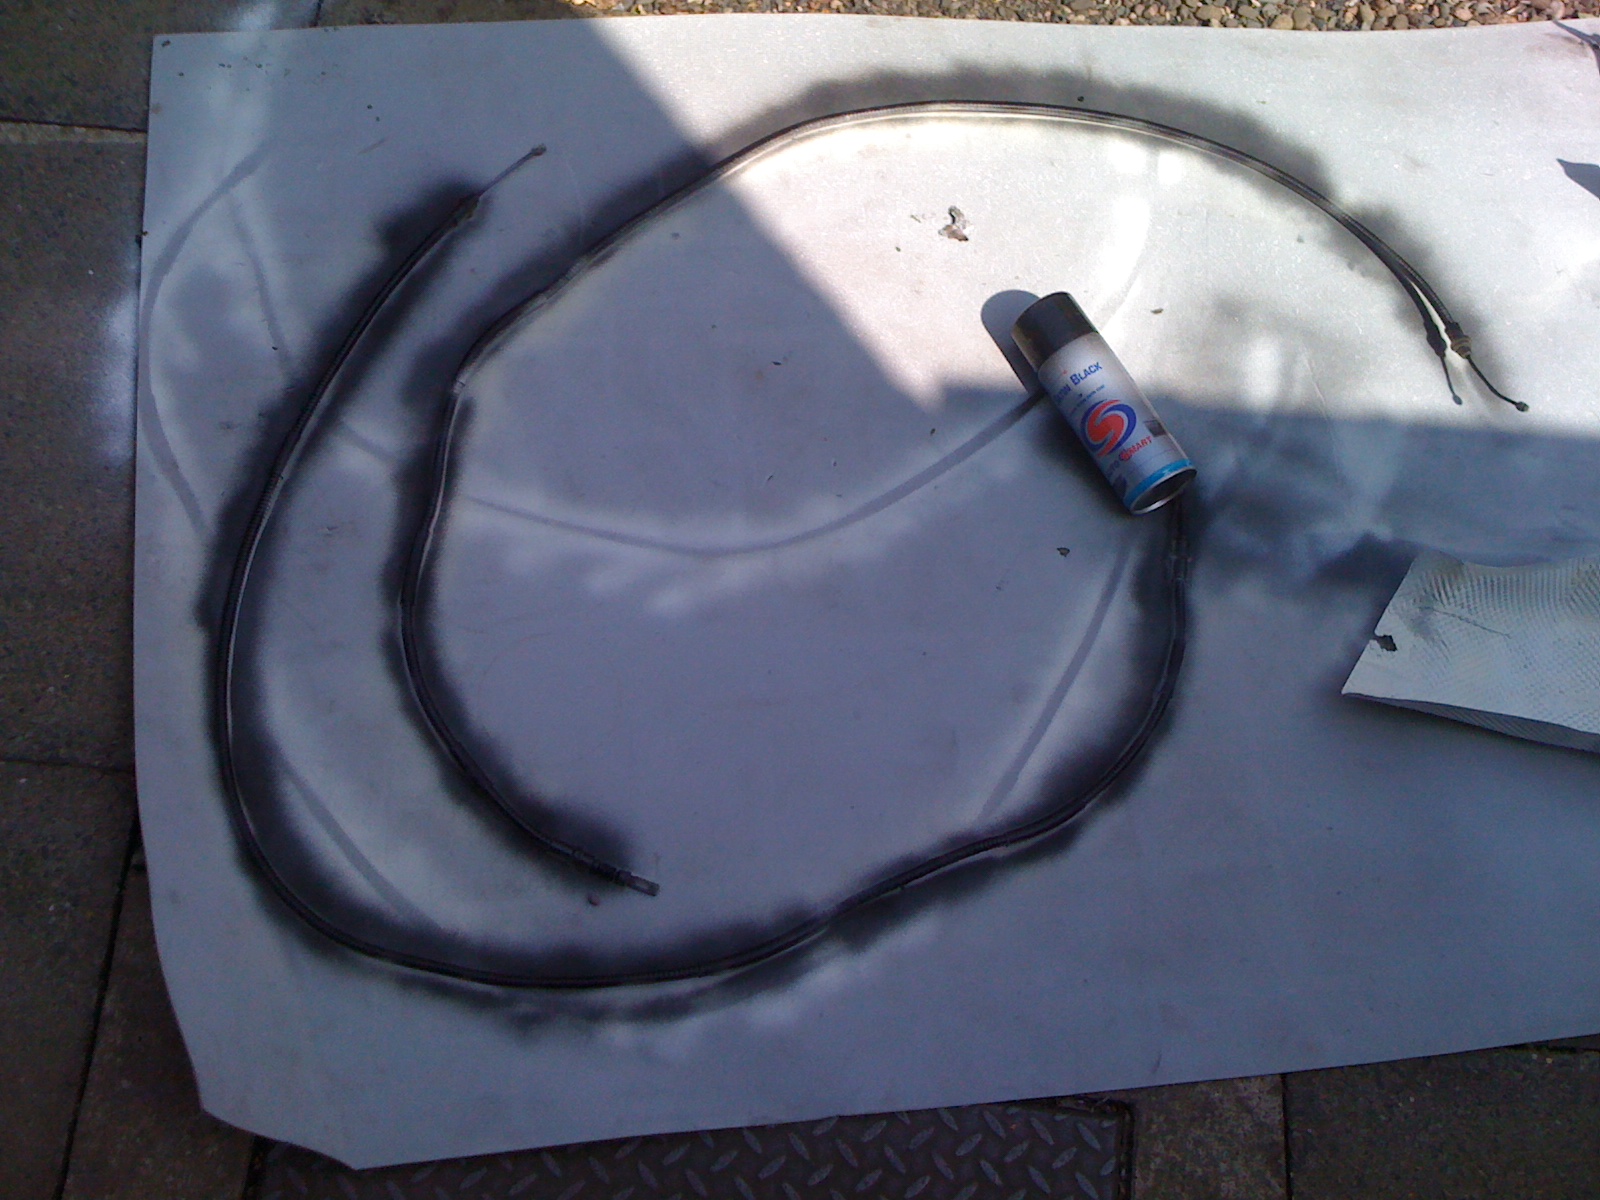
Spread painted up the hand brake cable instead of buying new ones

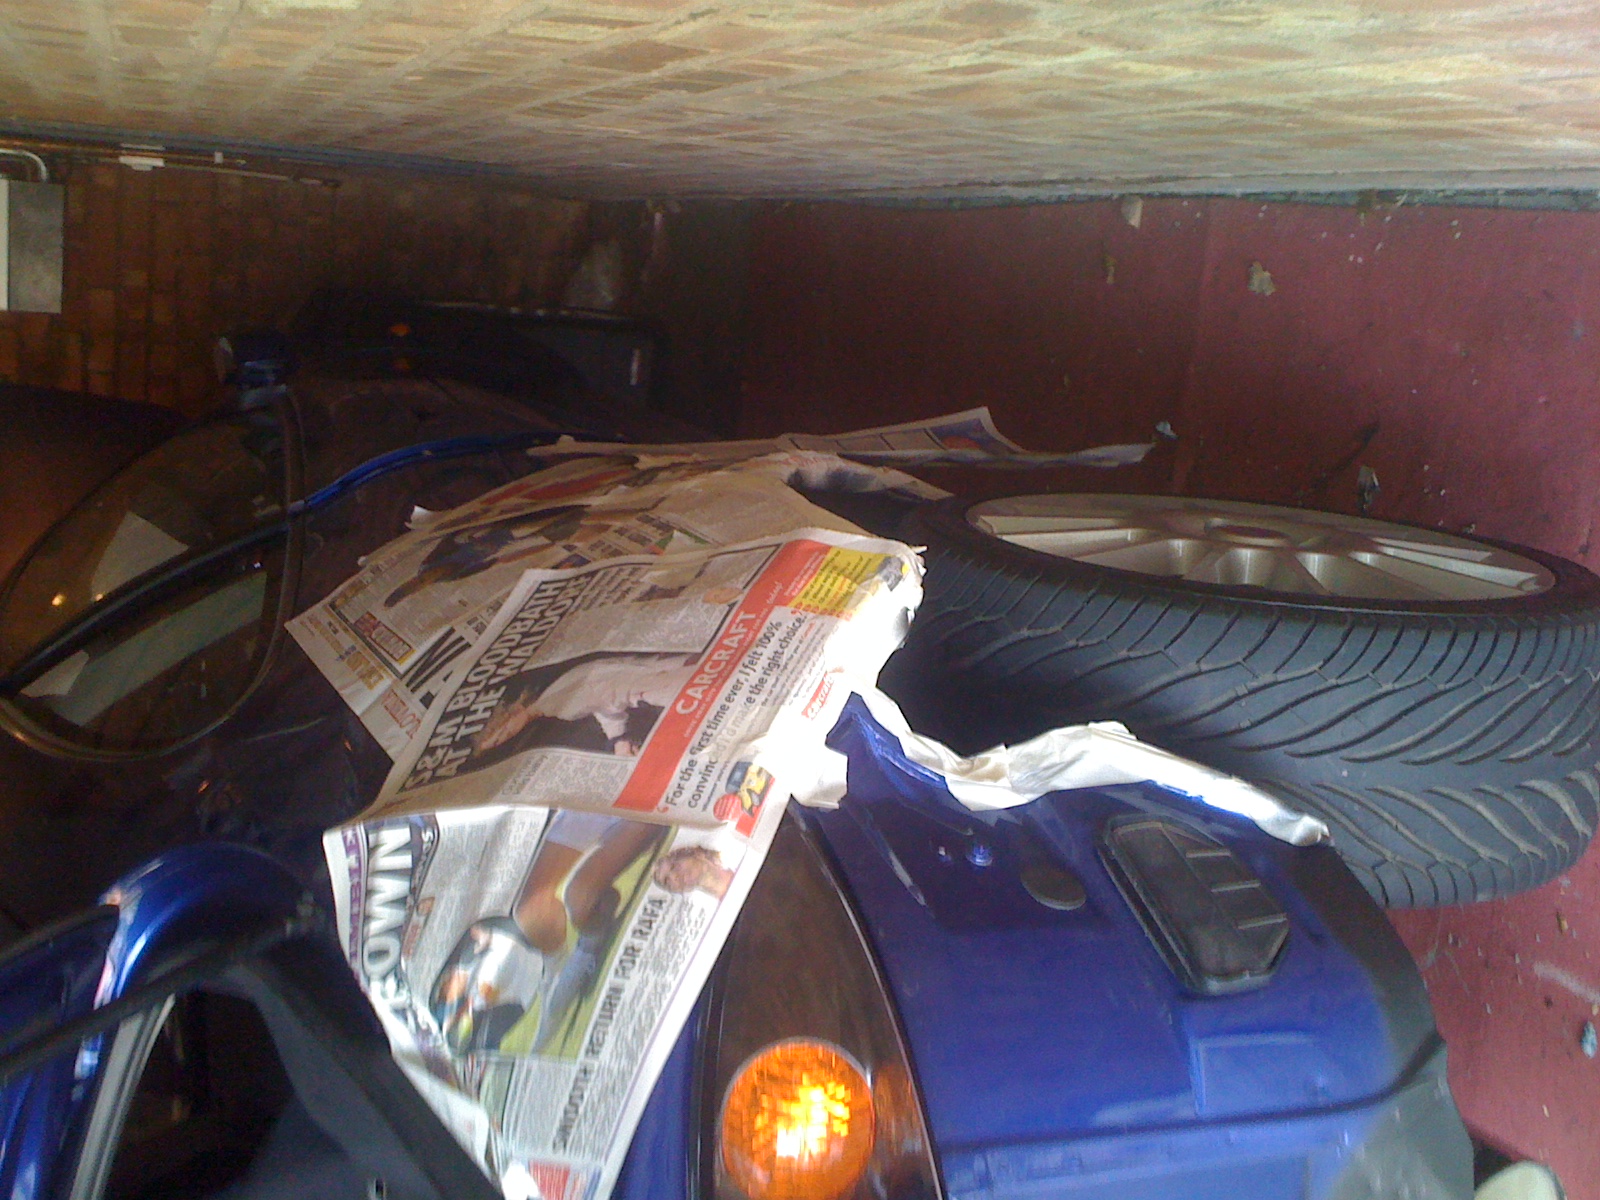
Hit up the arches with some stone chip to get rid of the shiny finish, but first masked up the car in case of overspray.

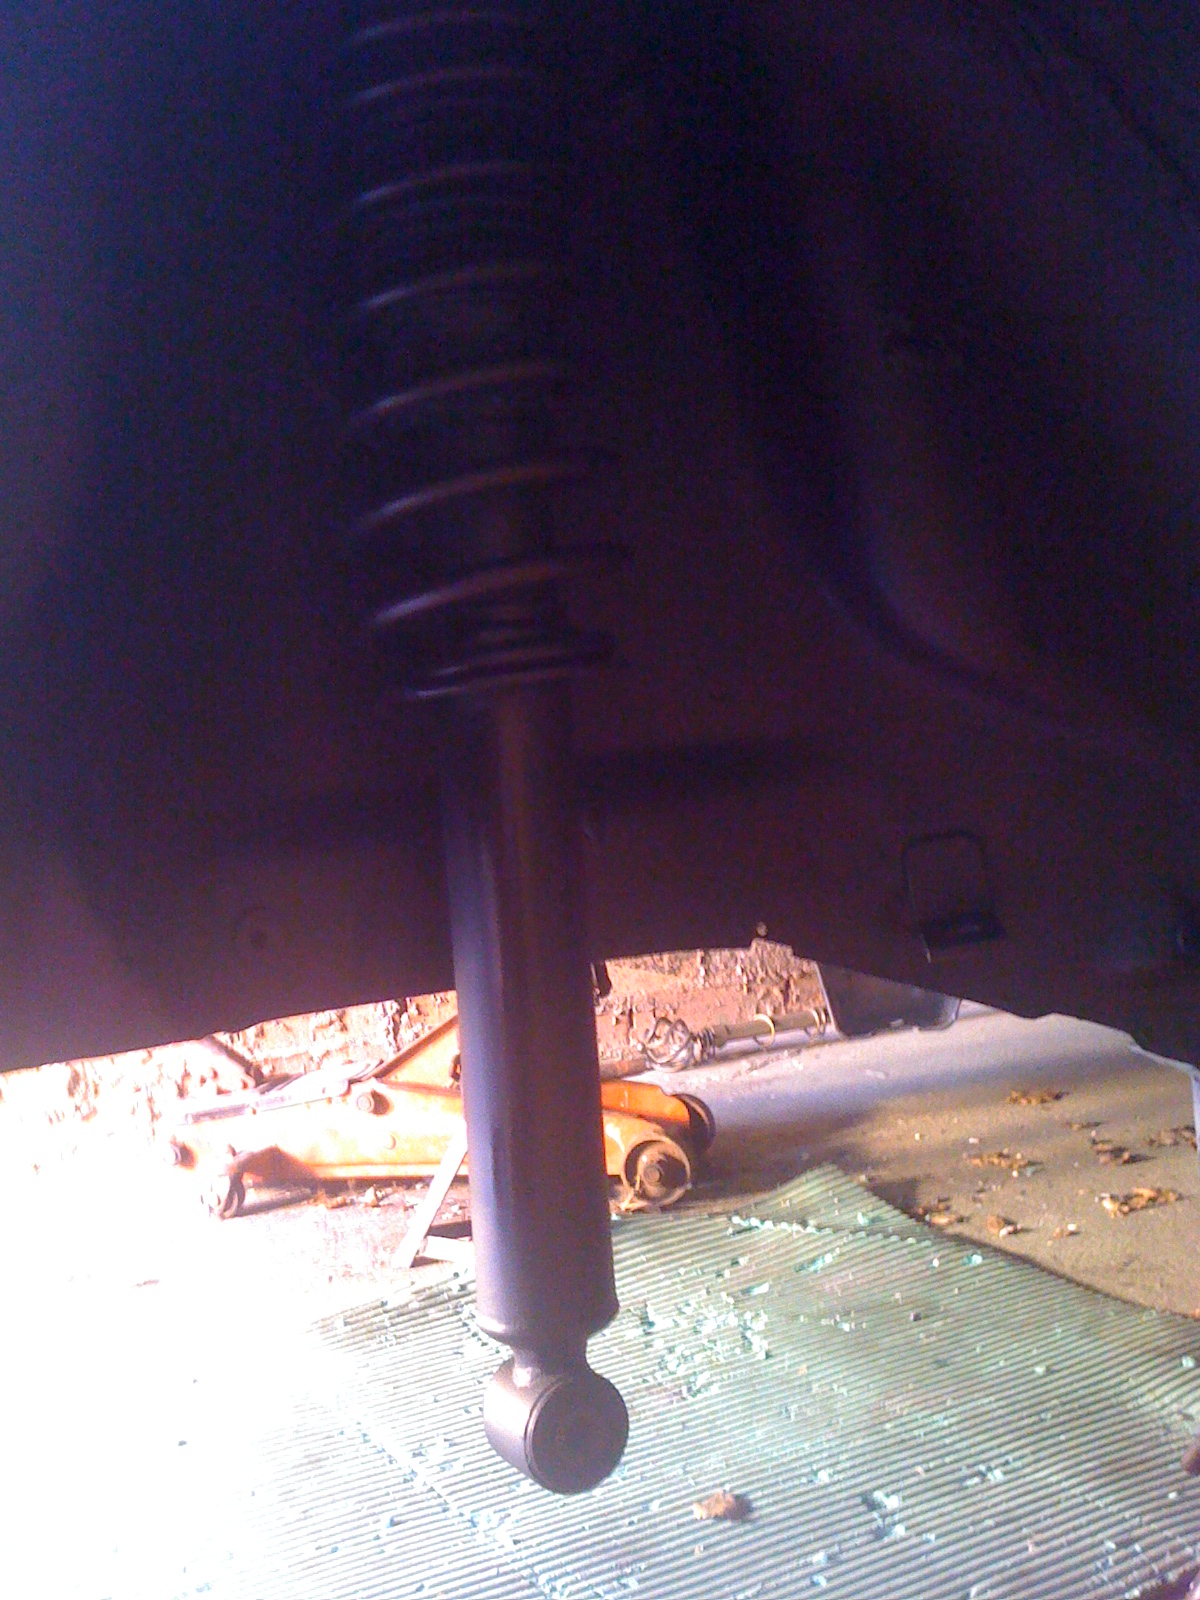
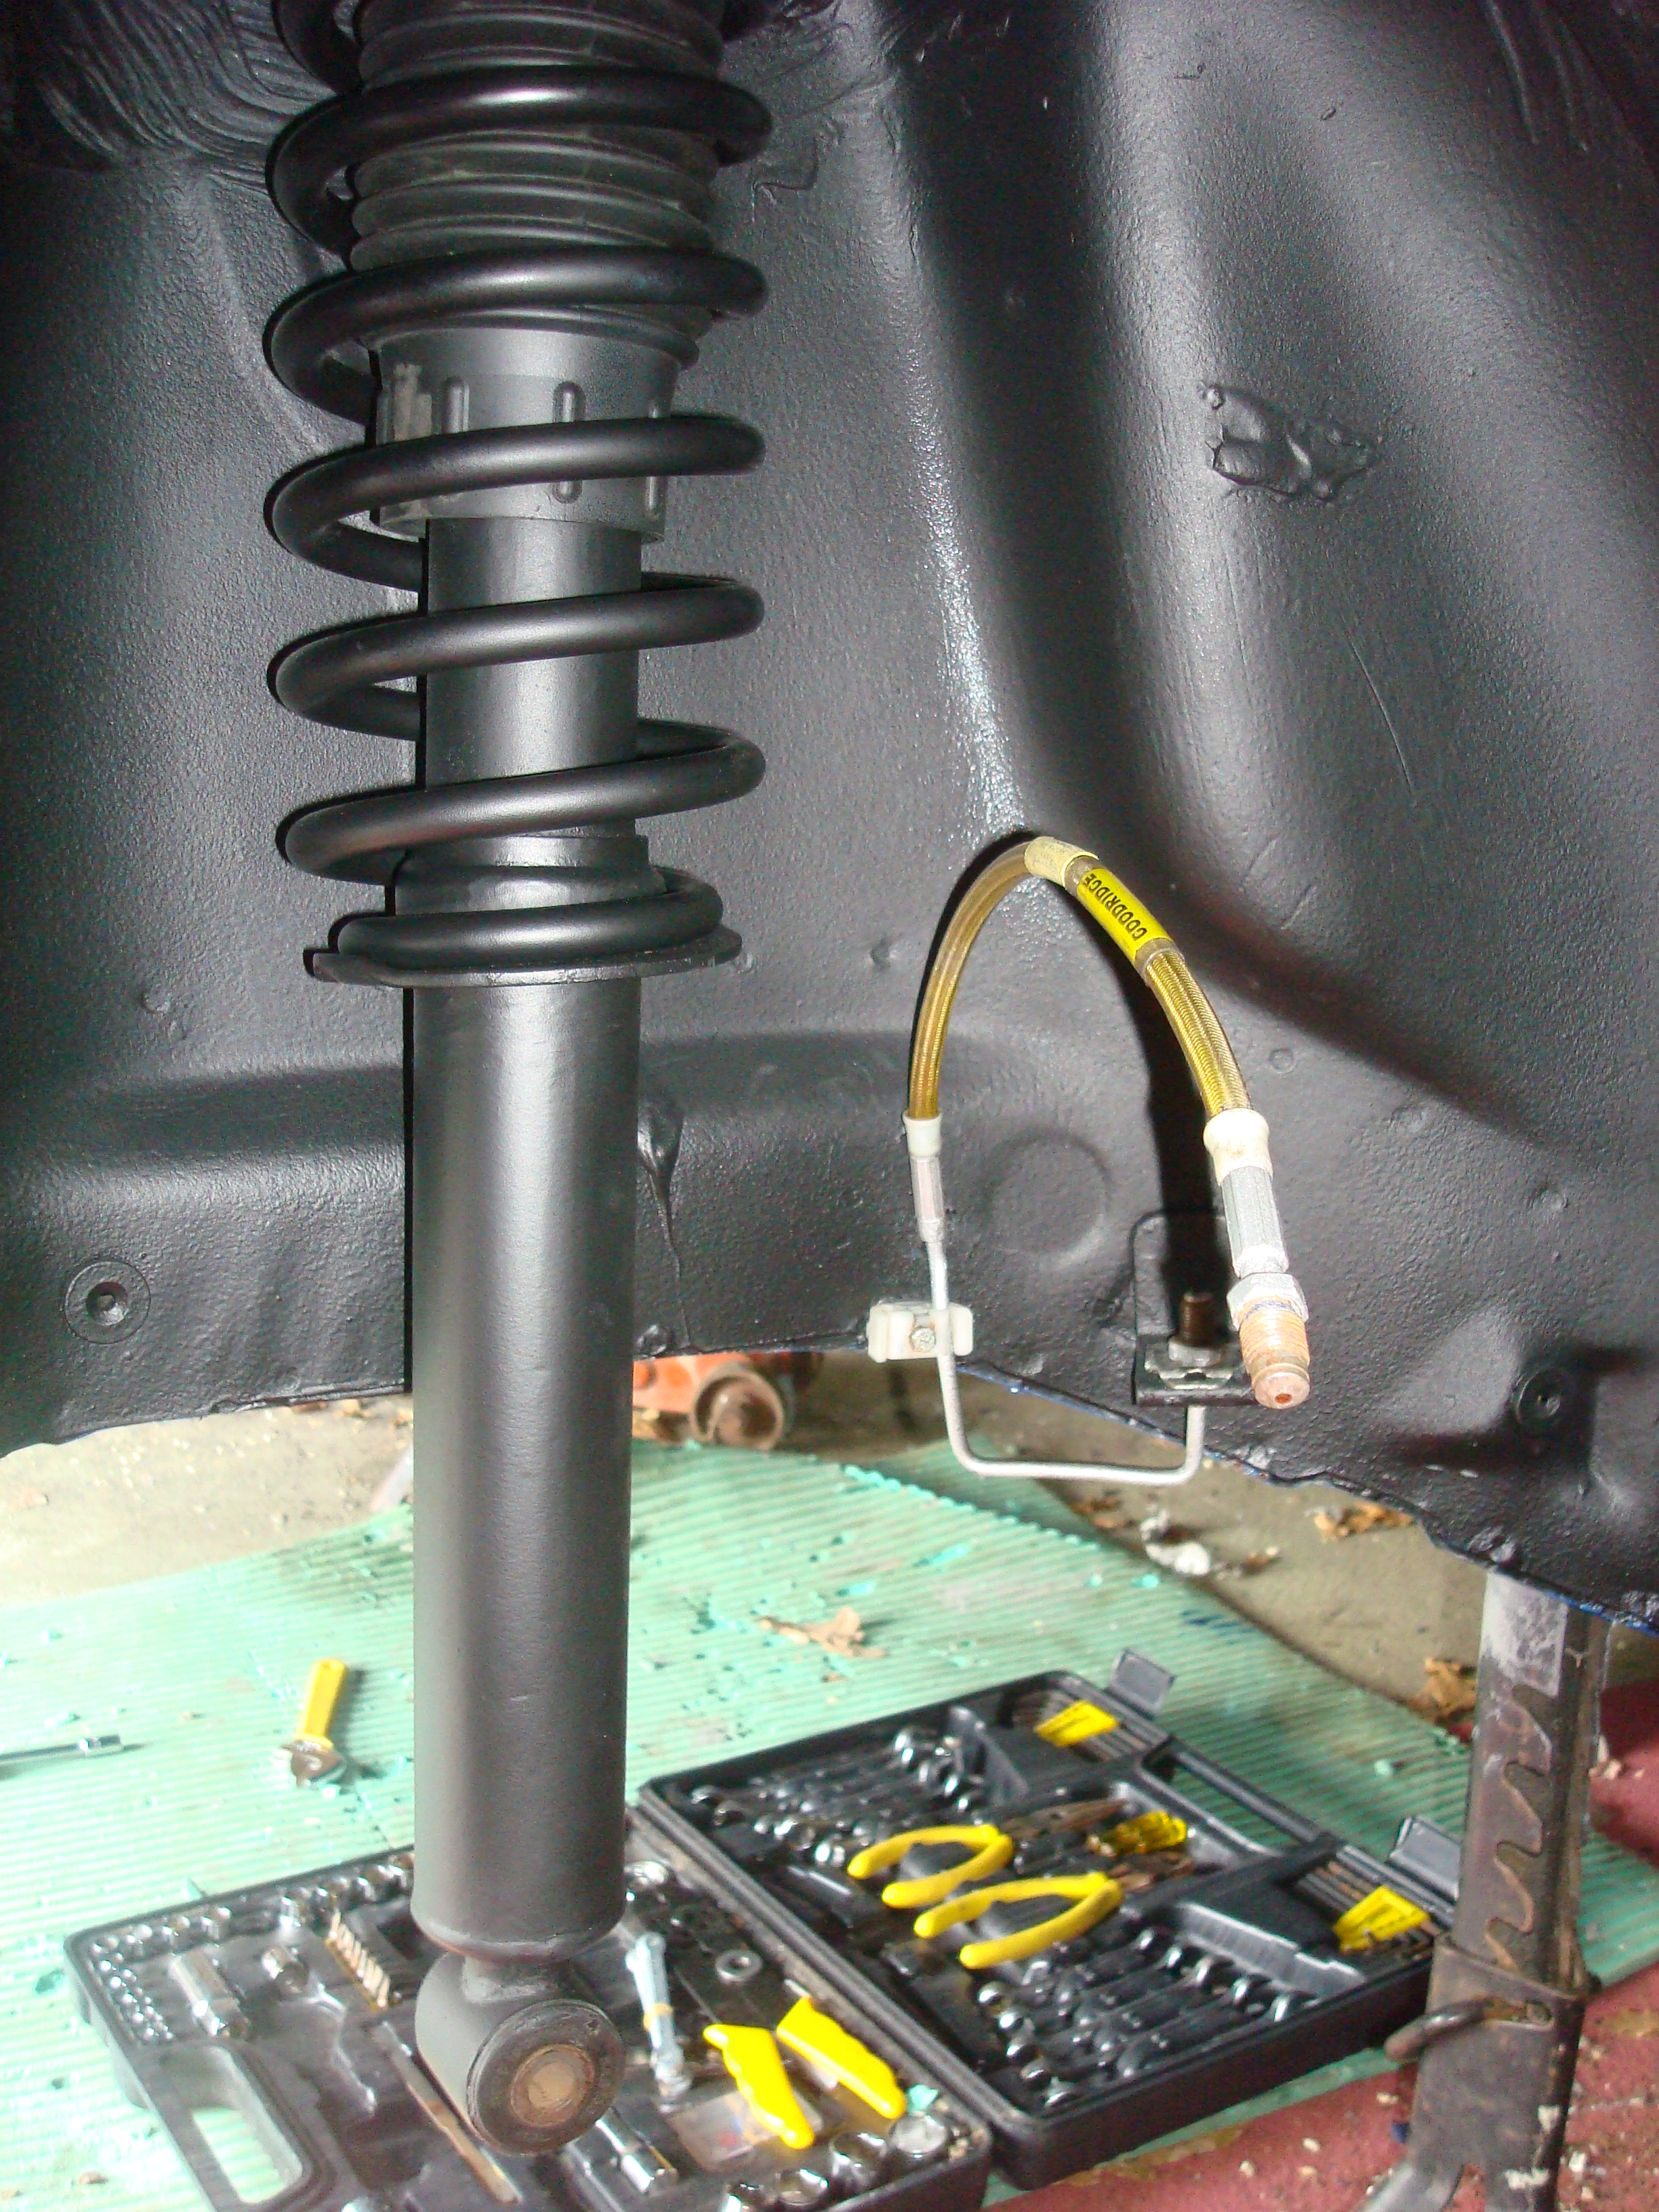
Finished arch and put suspension dampers back in
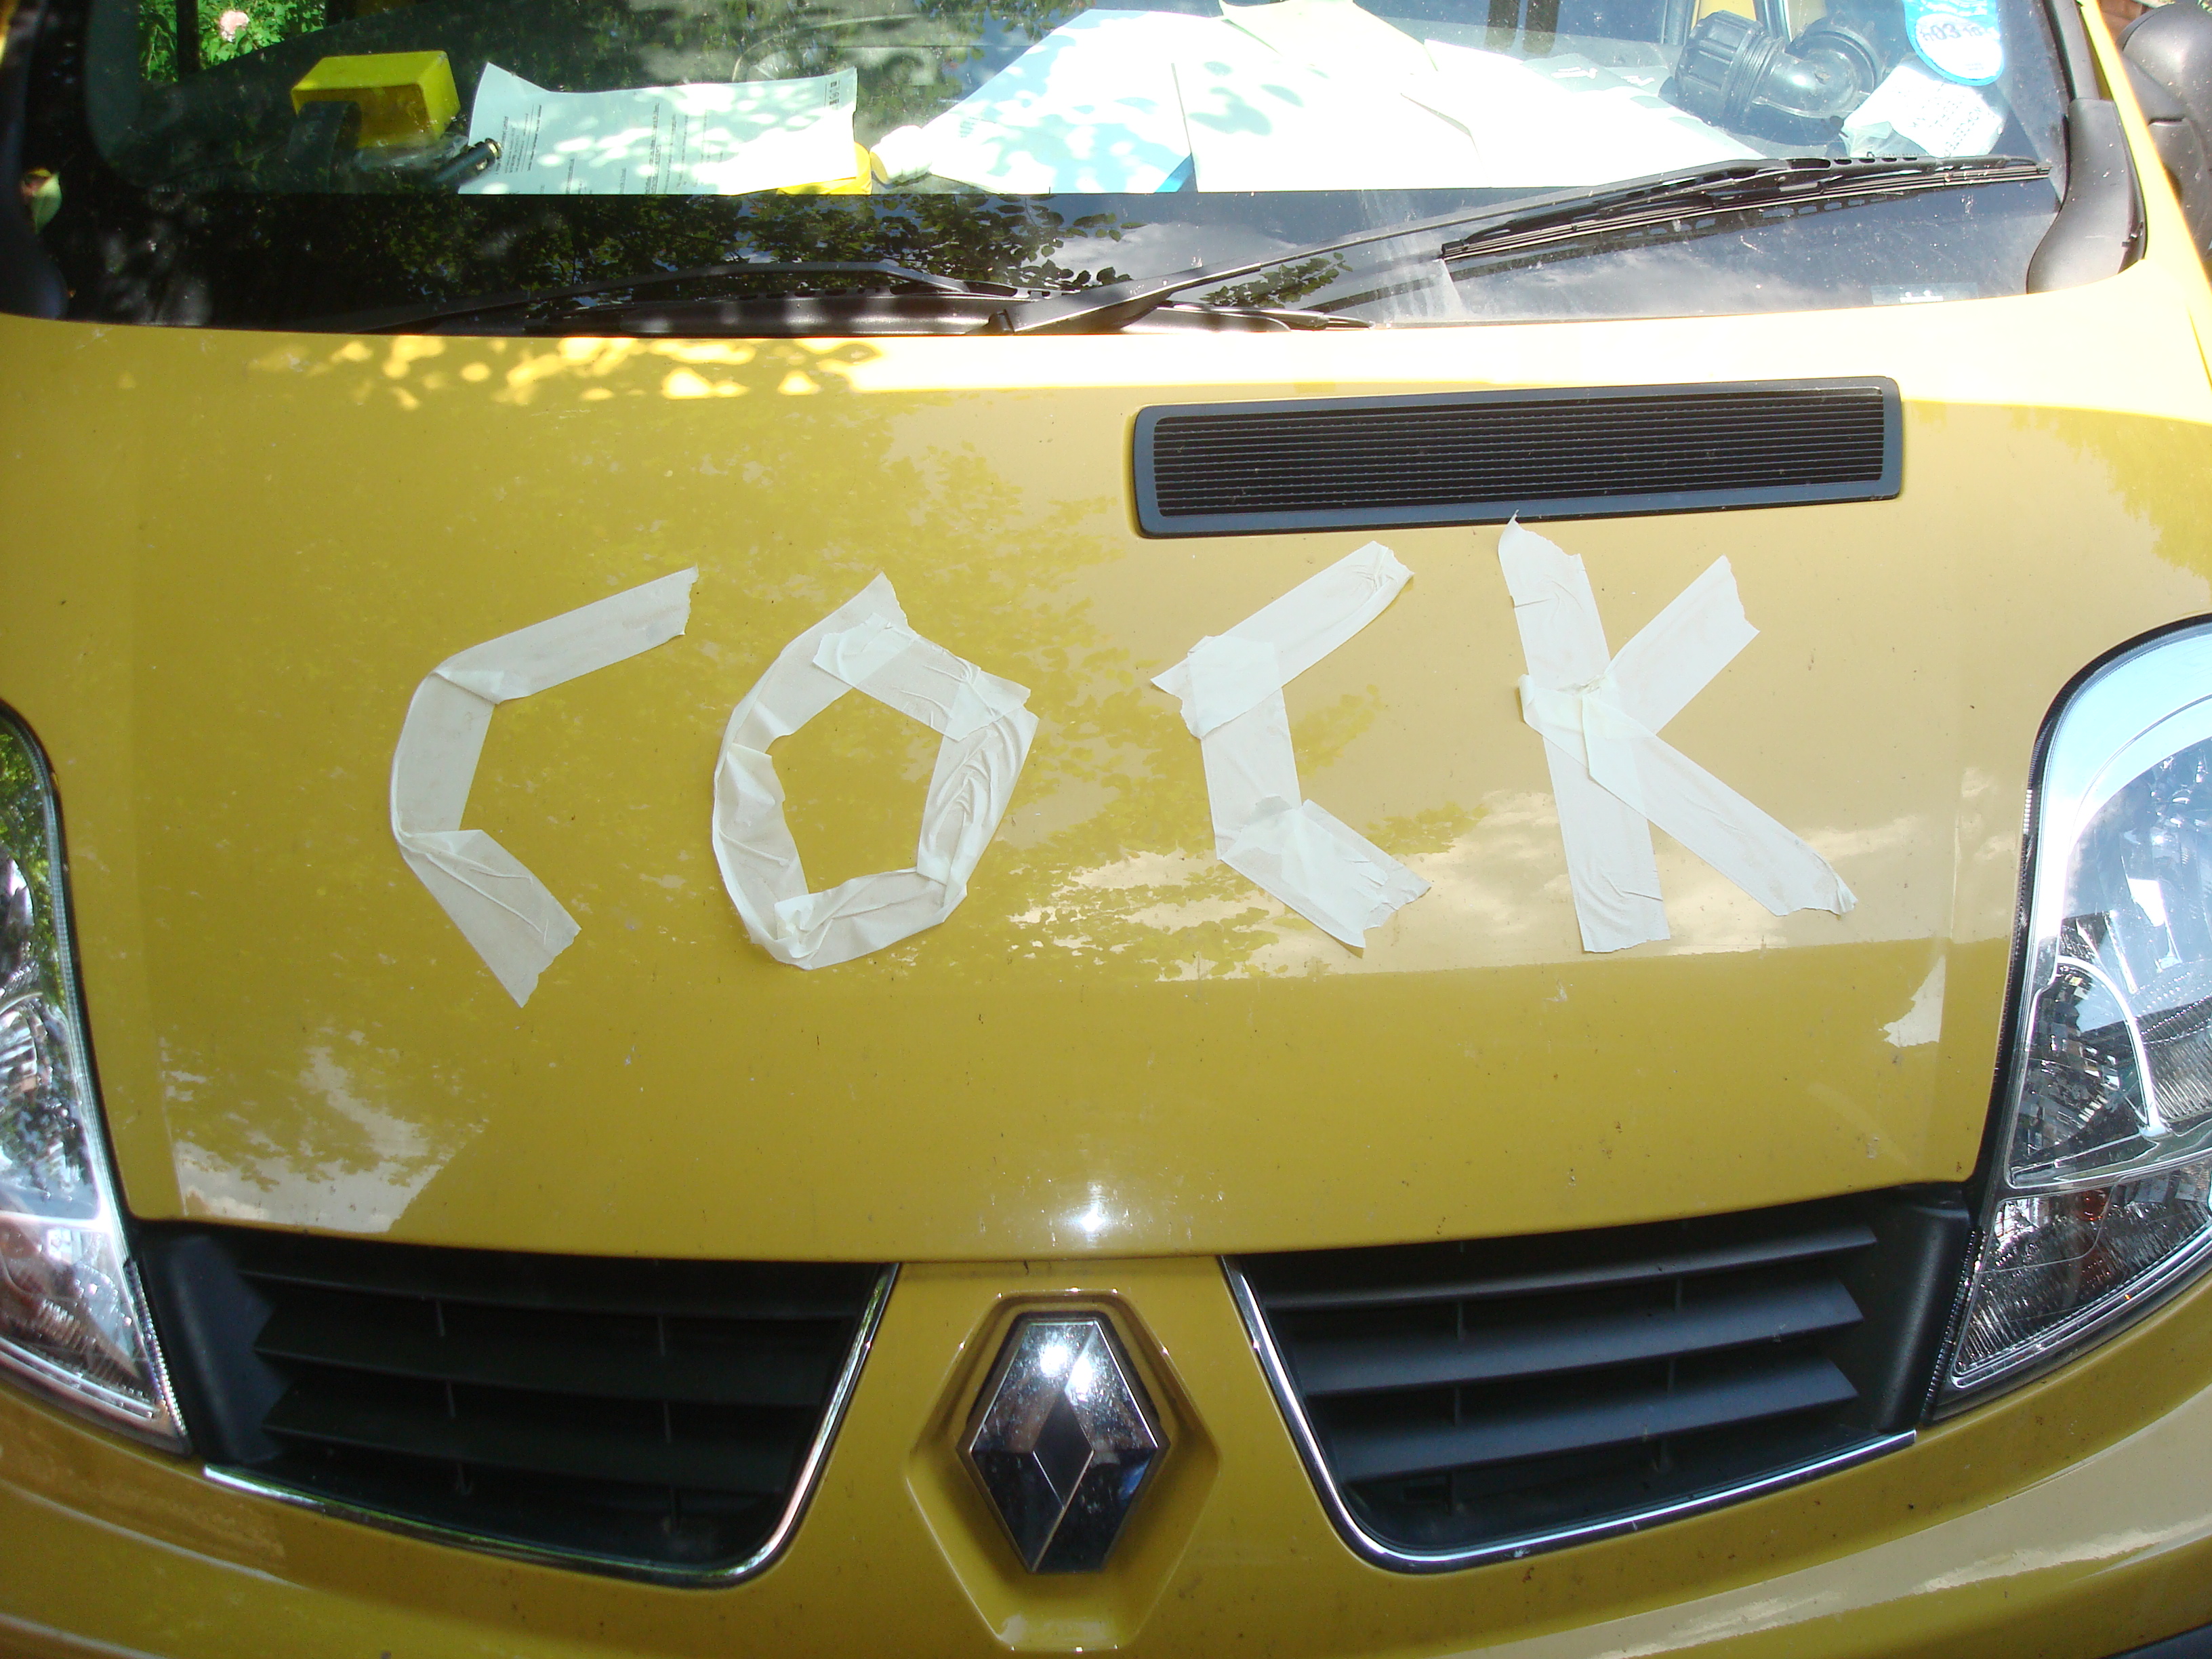
Couldn�t resist being childish and defacing house mates van
Applied some of the stone chip paint to the rear edge were I had stripped the small sections of rust.
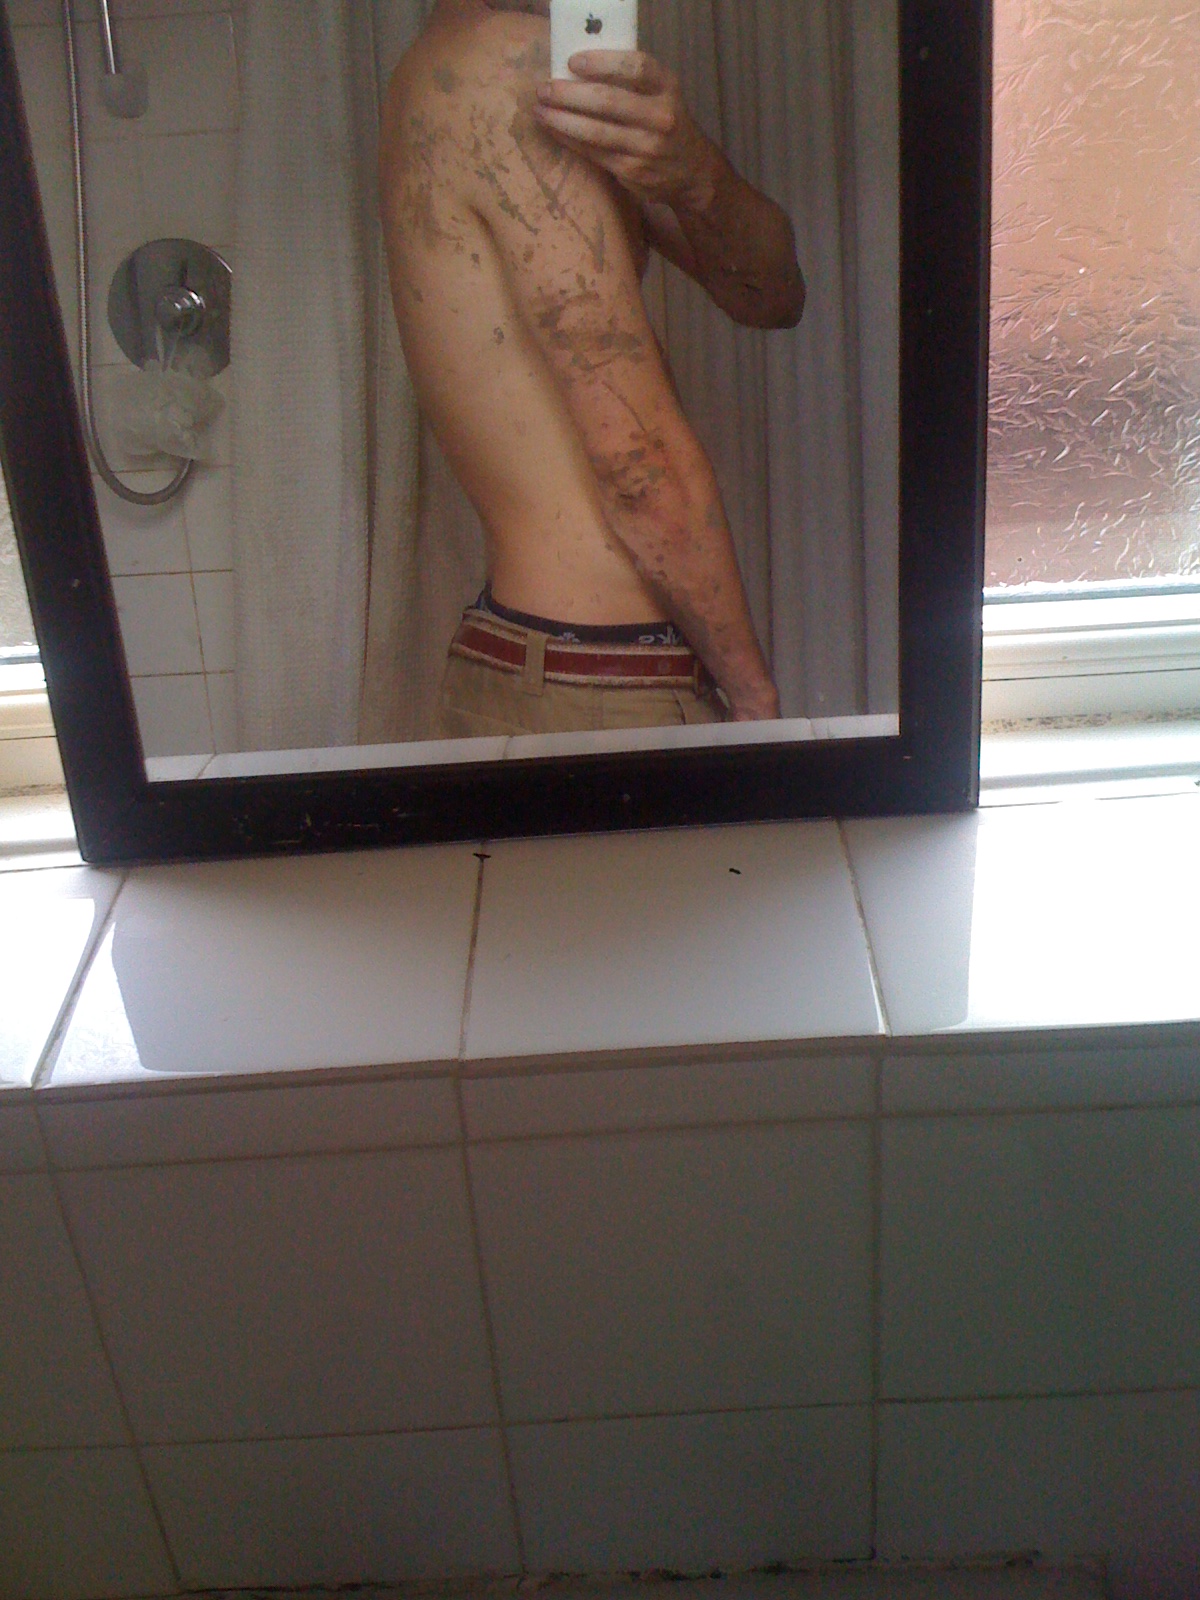
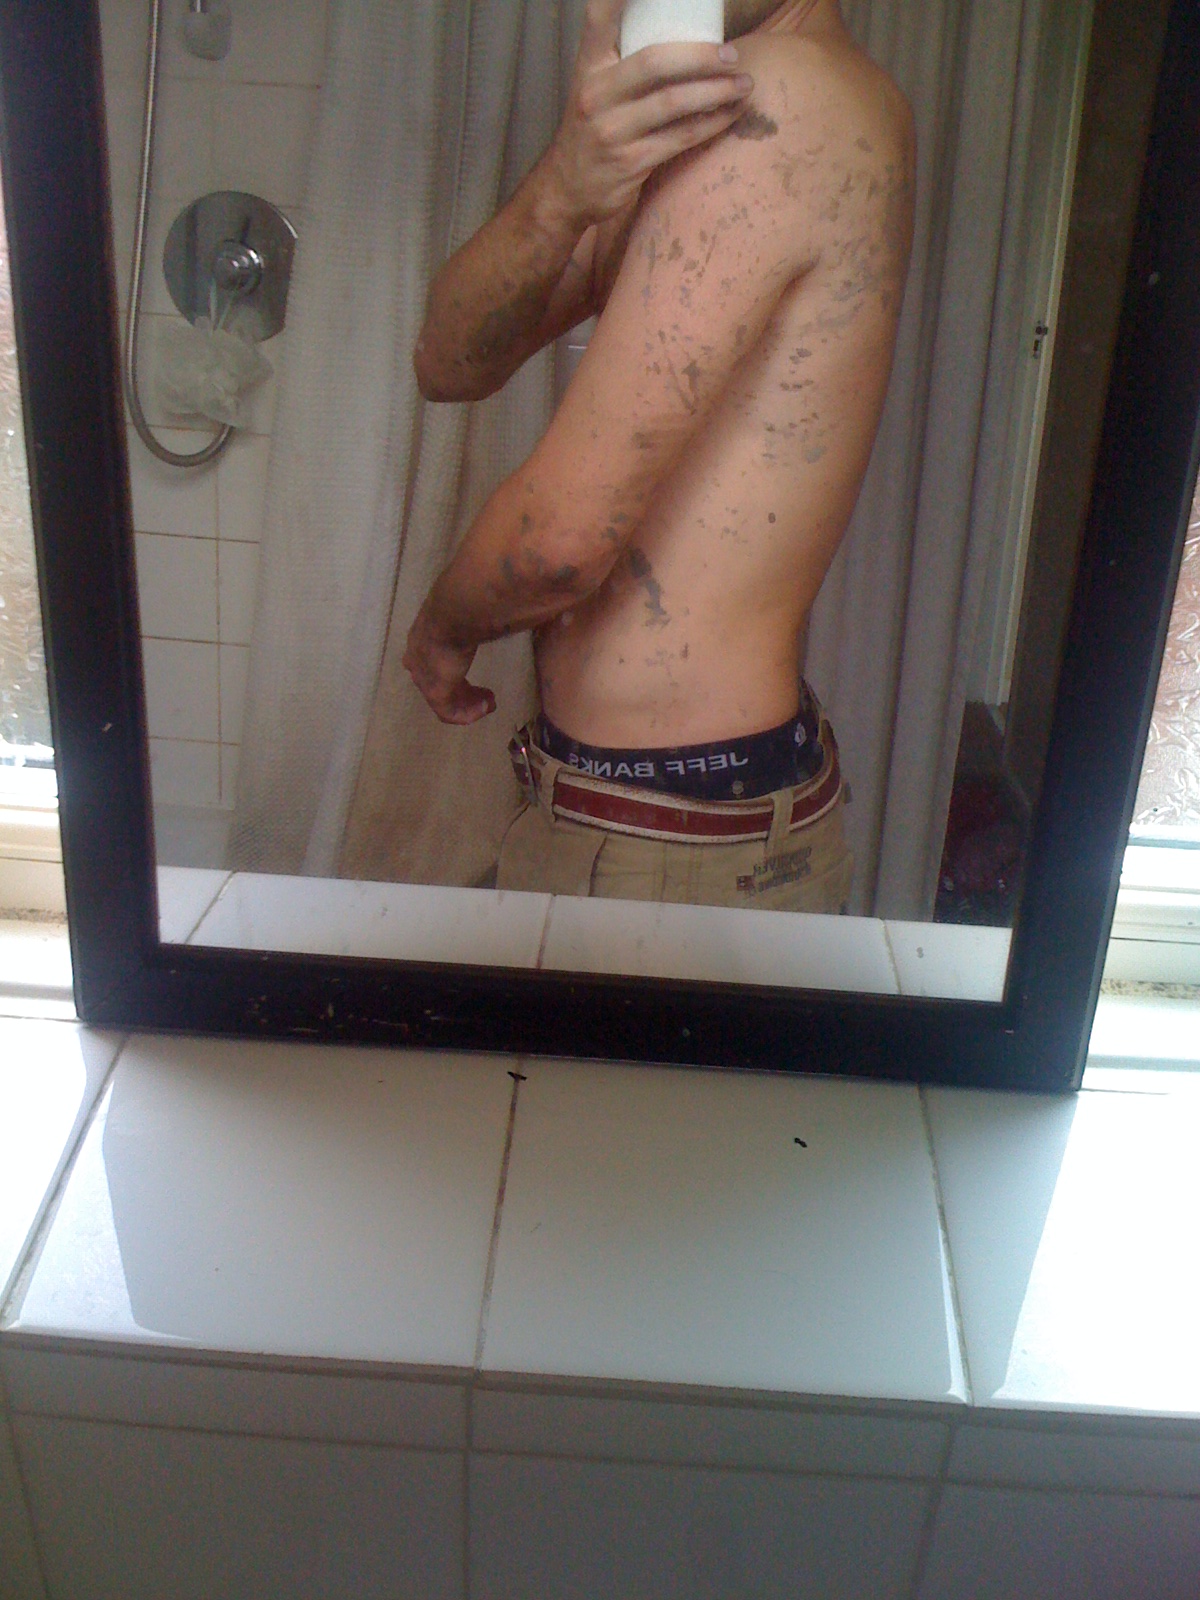
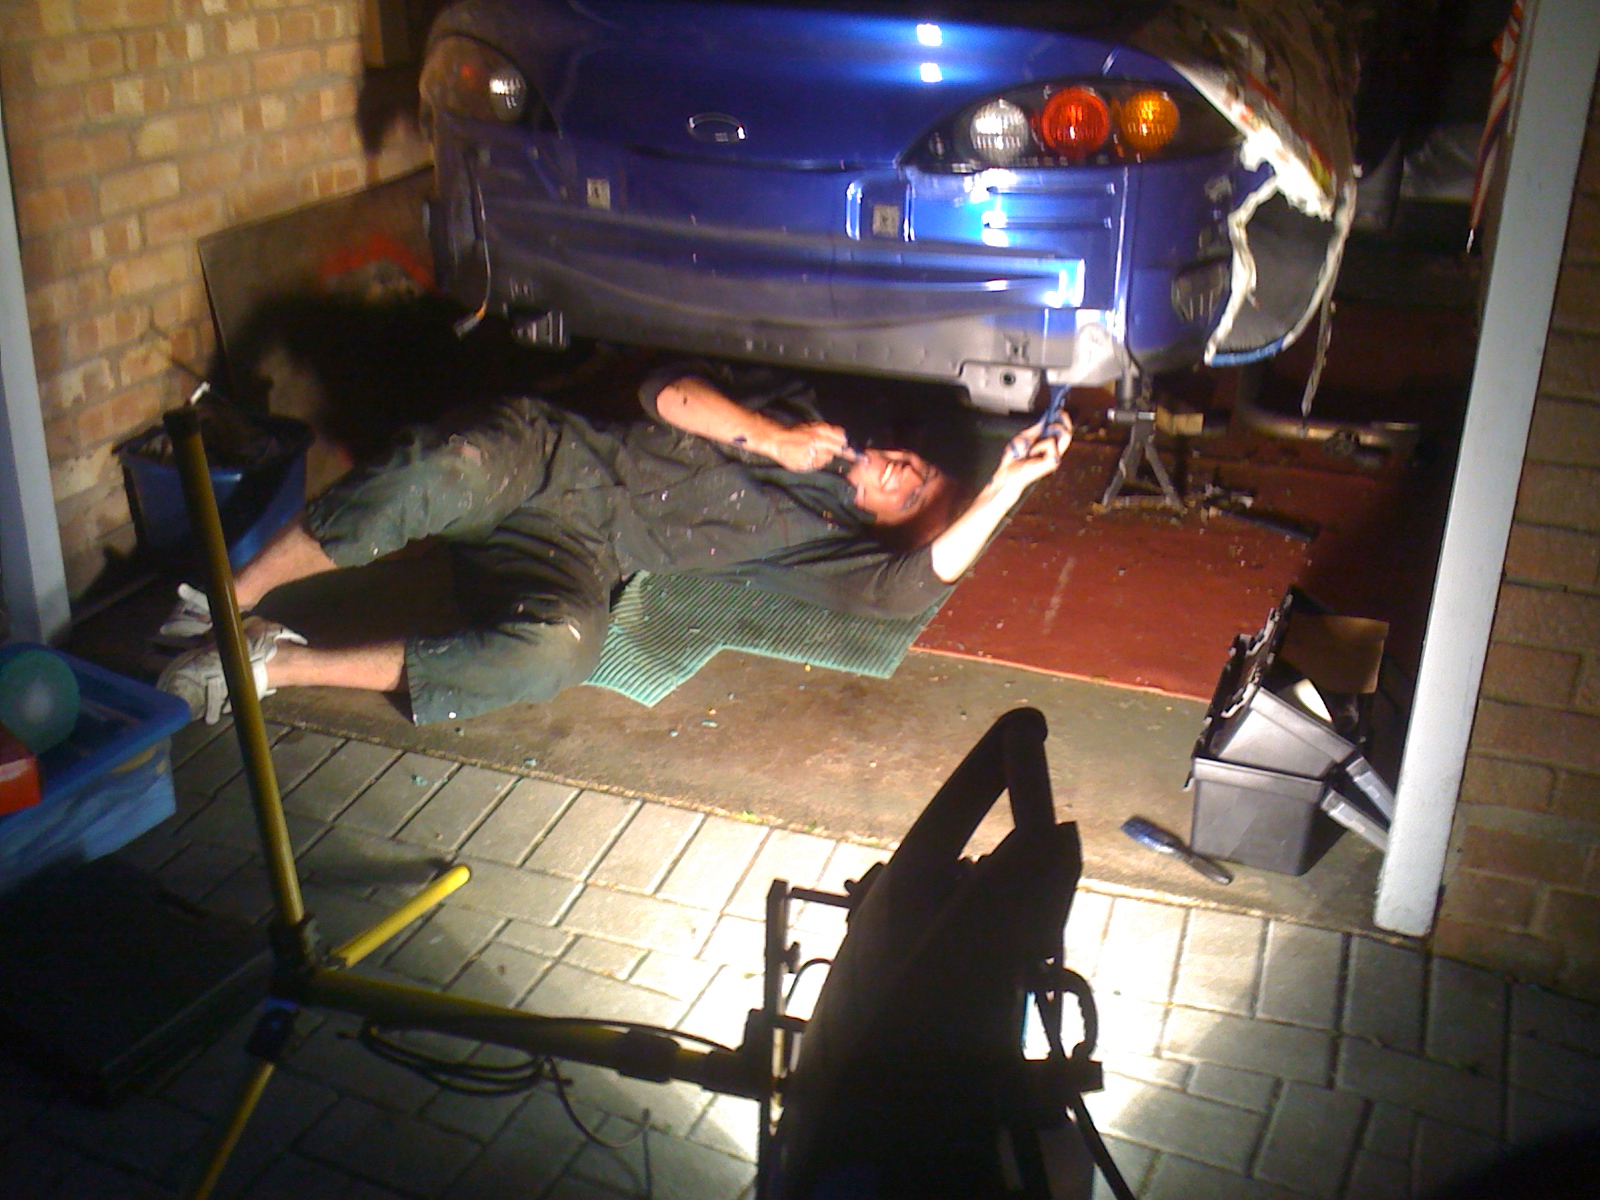
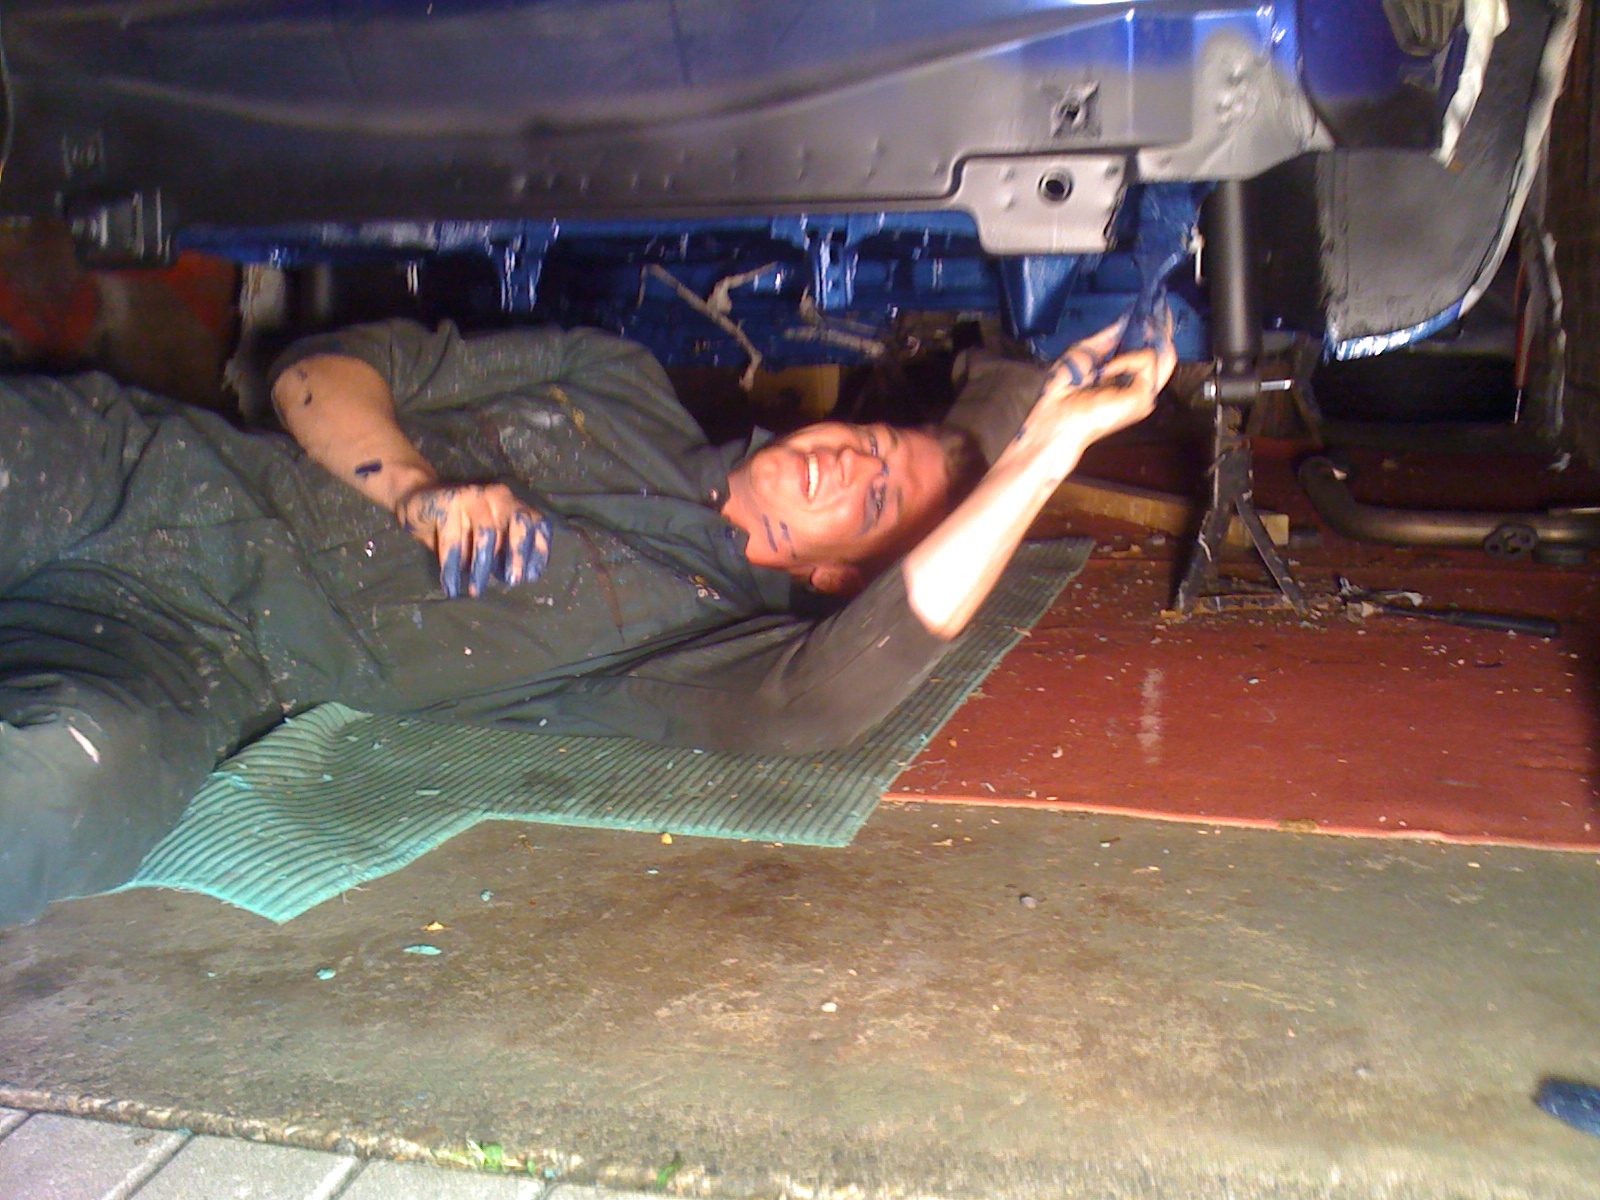
Quick suggestion, no matter how hot it is in the garage on one of the hottest days of the year make sure you wear a top, this is after two showers lol
So that takes us to Sunday.
Been some time since an update, a lot been going on in the last few months, looks as tho I might have to move out of the house I�m in as mate decided he wants to move out and no one else yet able to move in. Therefore I have no option but to get car done, needed an excuse to pull my finger out my arse and get on with it anyway.
Today I went to the hospital for the result of my MRI scan and EEG scan and all looks clear and normal Whilst chatting to the specialist I asked again about driving and he mentioned that if you suffer a single seizure and your test results come back normal after 6 months you can drive again so as of today I�m back on the road, another reason to get the car finished now that I don�t have to wait till October 11th
So here goes�������(Mixture of iPhone and digital camera photos so not brilliant but you get the idea)
First off applied some brush able seam sealer to the areas I had stripped whilst assessing the rusty areas and then proceeded to paint the wheel arches with Hammerite black smooth finish, this unfortunately left a shiny finish which made the imperfections too obvious so decided I would need to use a different product (more on that later)
Arch before:
Arch after first coat of hammerite:
Whilst letting the arches dry I gave the underside its first coat of epoxy mastic and finished off giving the fuel tank another coat.
First Coat:
Second Coat:
Fuel tank after final coat:
Saturday afternoon popped to halfrauds and picked up some bits I needed to correct the shiney black arches, paint for the fuel tank and paint for the underside, I had orginaly planned to use the correct paint colour but want to get it finished and decided a coat of hammerite hammered finish blue would be tougher and still look great.
Products:
Started to paint the heat shields, started with a small amount of white primer then topped off with the calliper paint.
Primer:
Finished:
Spread painted up the hand brake cable instead of buying new ones
Hit up the arches with some stone chip to get rid of the shiny finish, but first masked up the car in case of overspray.
Finished arch and put suspension dampers back in
Couldn�t resist being childish and defacing house mates van
Applied some of the stone chip paint to the rear edge were I had stripped the small sections of rust.
Quick suggestion, no matter how hot it is in the garage on one of the hottest days of the year make sure you wear a top, this is after two showers lol
So that takes us to Sunday.
01-07-2010, 11:46 AM
#115
Wahay!! I've lost my Virginity!!
Thread Starter
Join Date: Dec 2009
Location: Malvern
Posts: 69
Likes: 0
Received 0 Likes
on
0 Posts
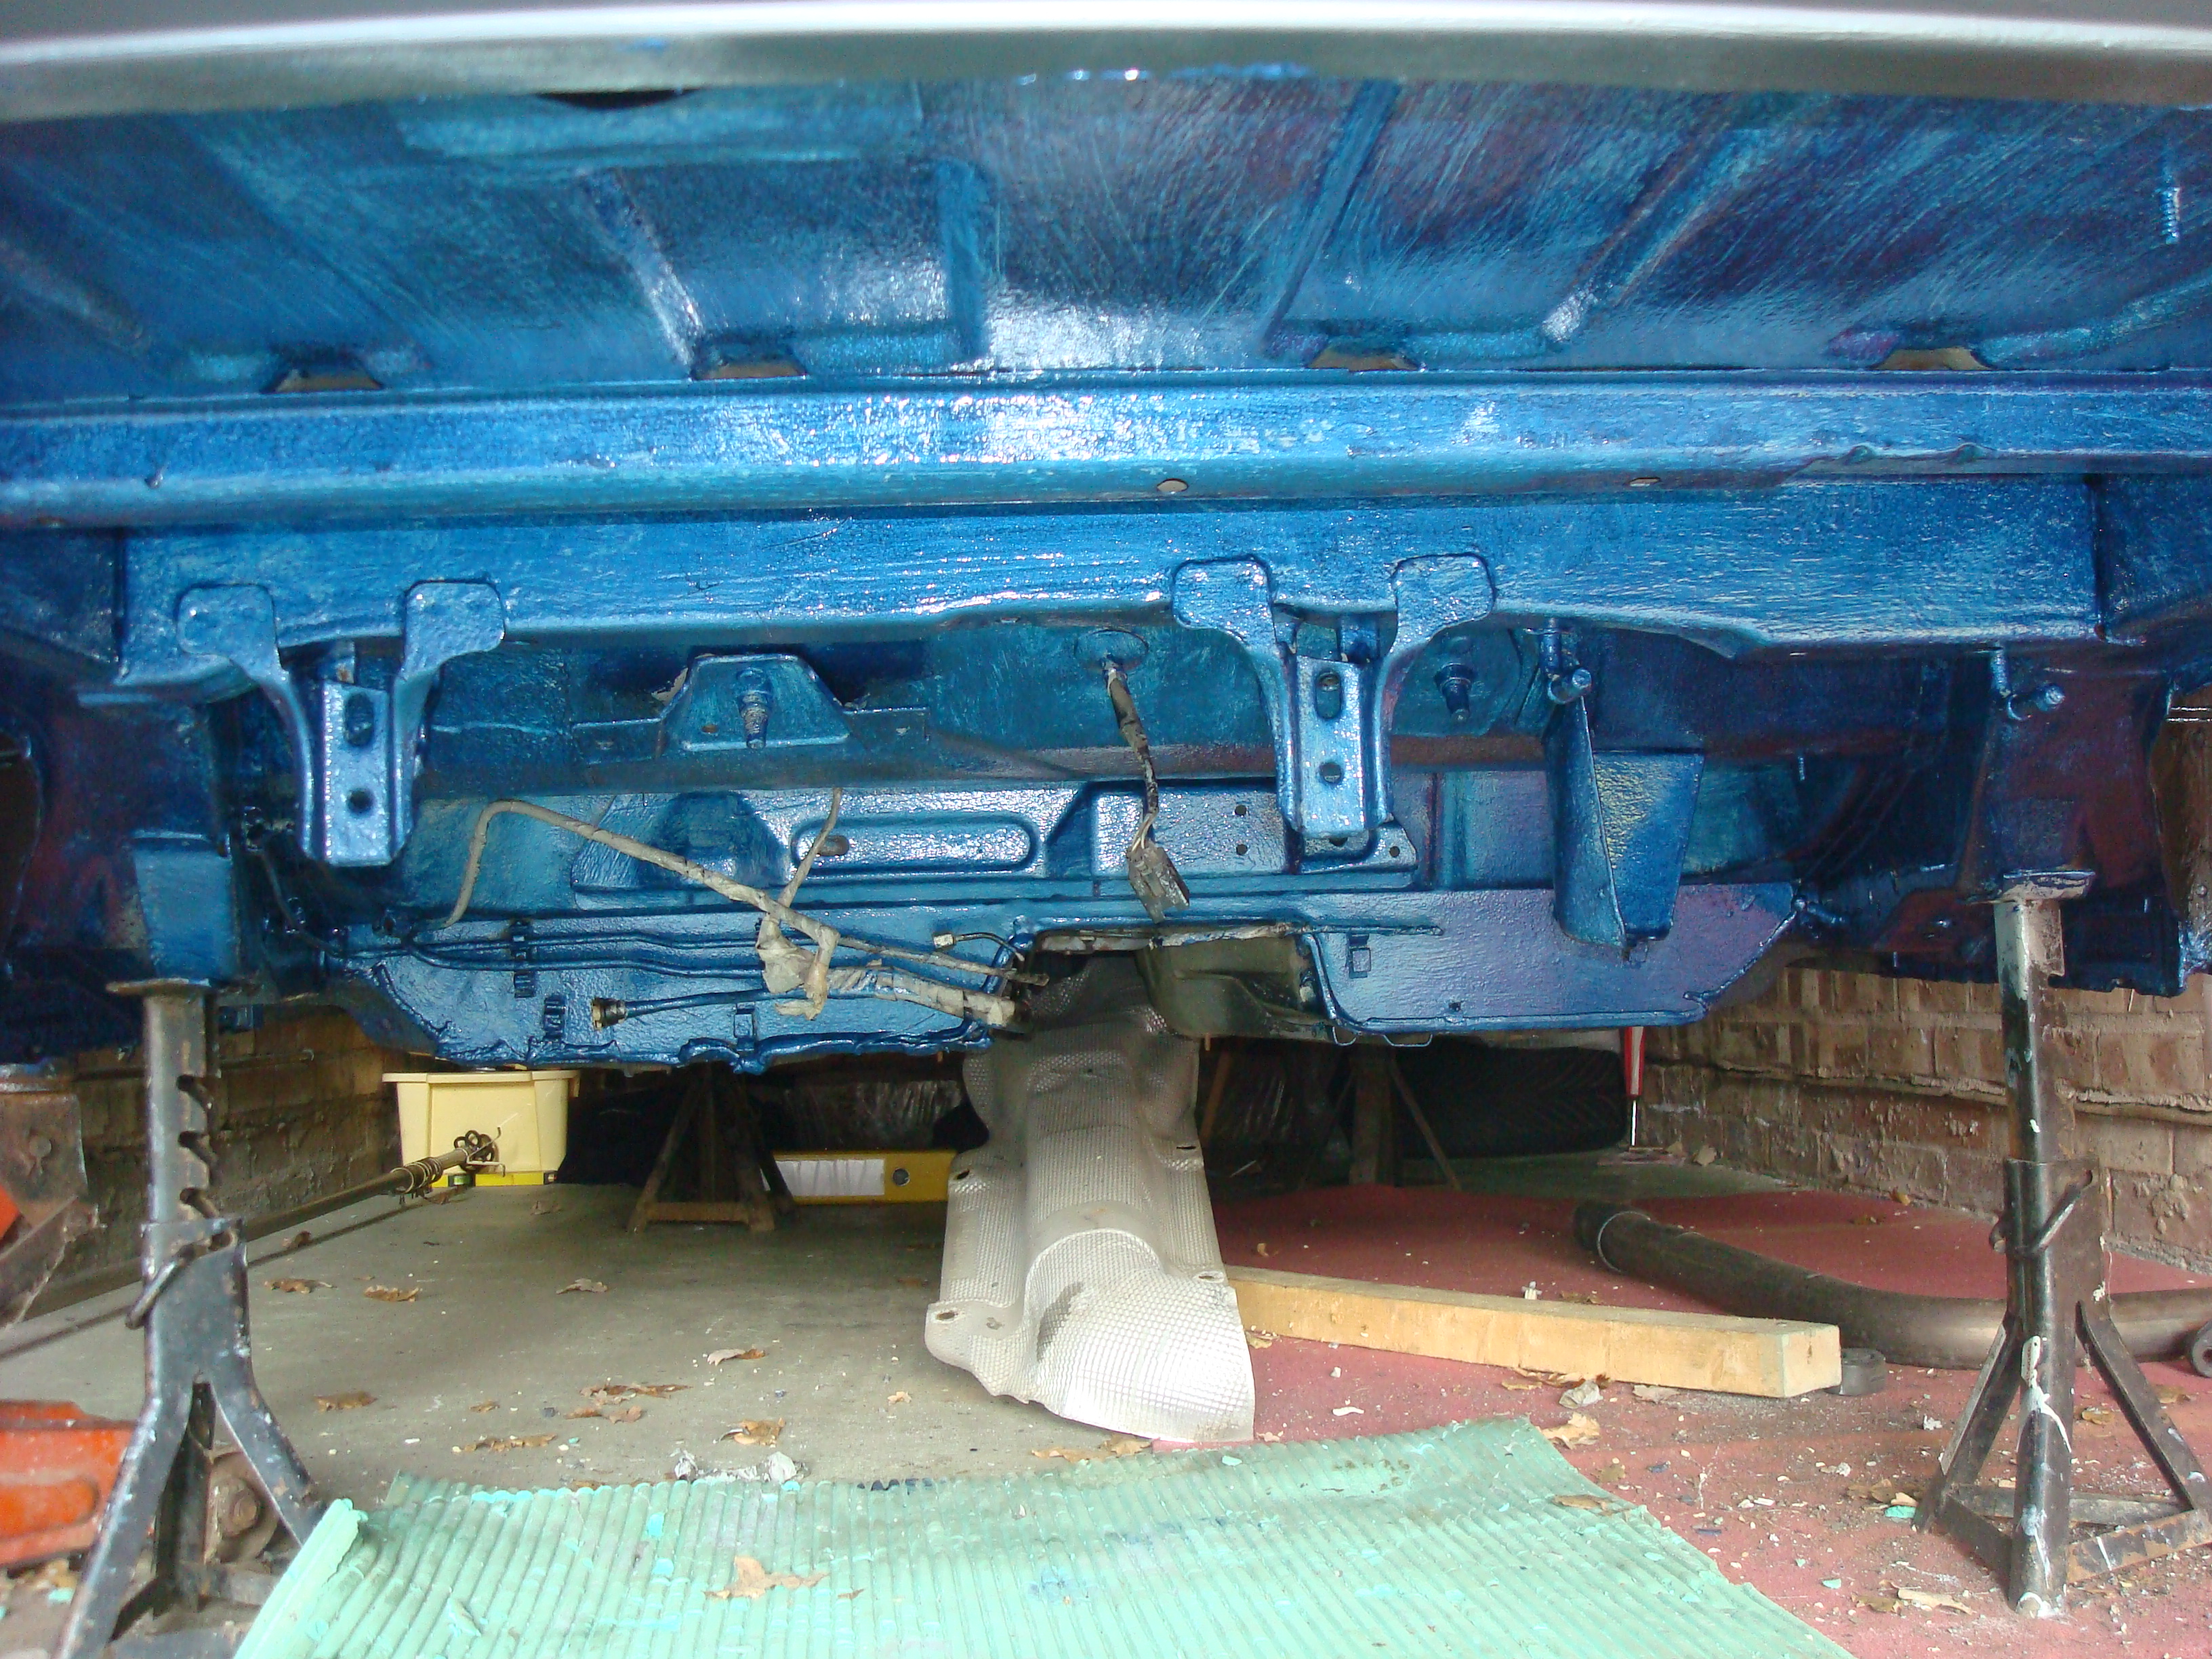
Sunday:
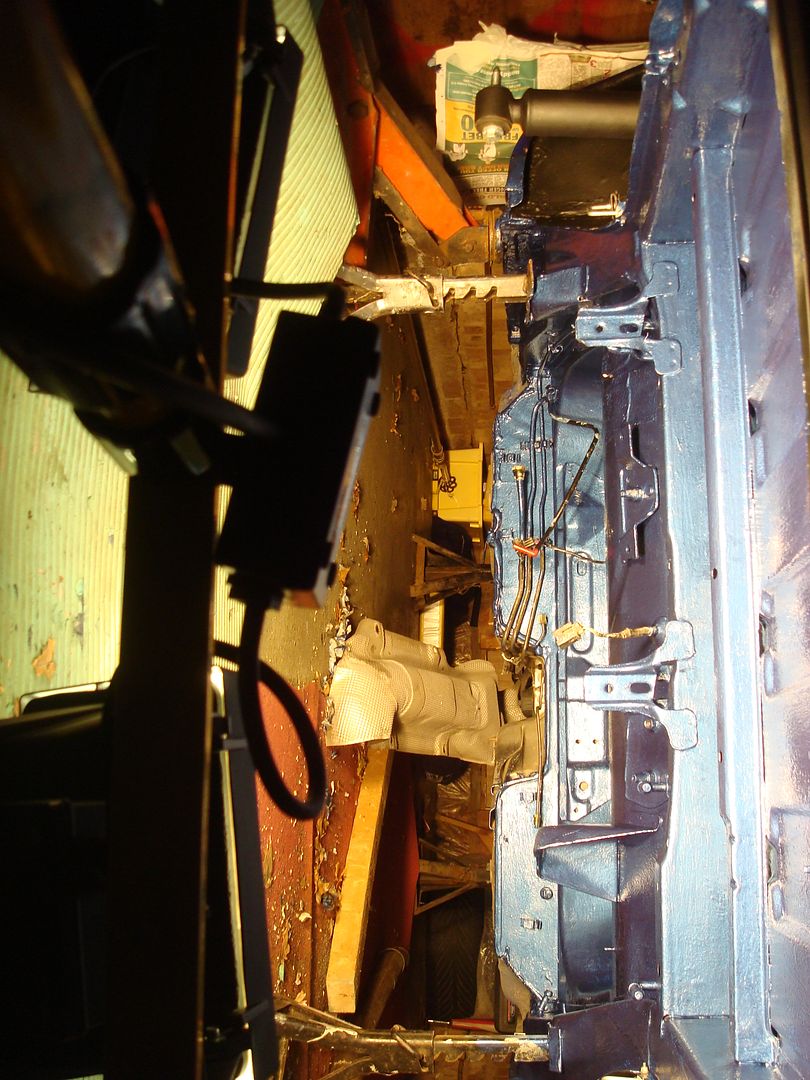
Up at 7am and cracked on with the first coat of Hammerite hammered blue
Fitted rear brake hoses

Put fuel pump back into tank along with the other bits and bobs
That was all for Sunday
Up at 7am and cracked on with the first coat of Hammerite hammered blue
Fitted rear brake hoses
Put fuel pump back into tank along with the other bits and bobs
That was all for Sunday
01-07-2010, 11:52 AM
#116
Wahay!! I've lost my Virginity!!
Thread Starter
Join Date: Dec 2009
Location: Malvern
Posts: 69
Likes: 0
Received 0 Likes
on
0 Posts
Monday: (Some stages missed like fuel lines etc didn’t take pictures of it all as we were cracking on)
Mate again came round at 9pm and we finished off the last coat of blue.
He managed a pretty good job of painting himself as well
Let the paint dry for an hour then cracked on with fitting some bits and bobs
Not without help from Santa’s little helper of course (Oban)
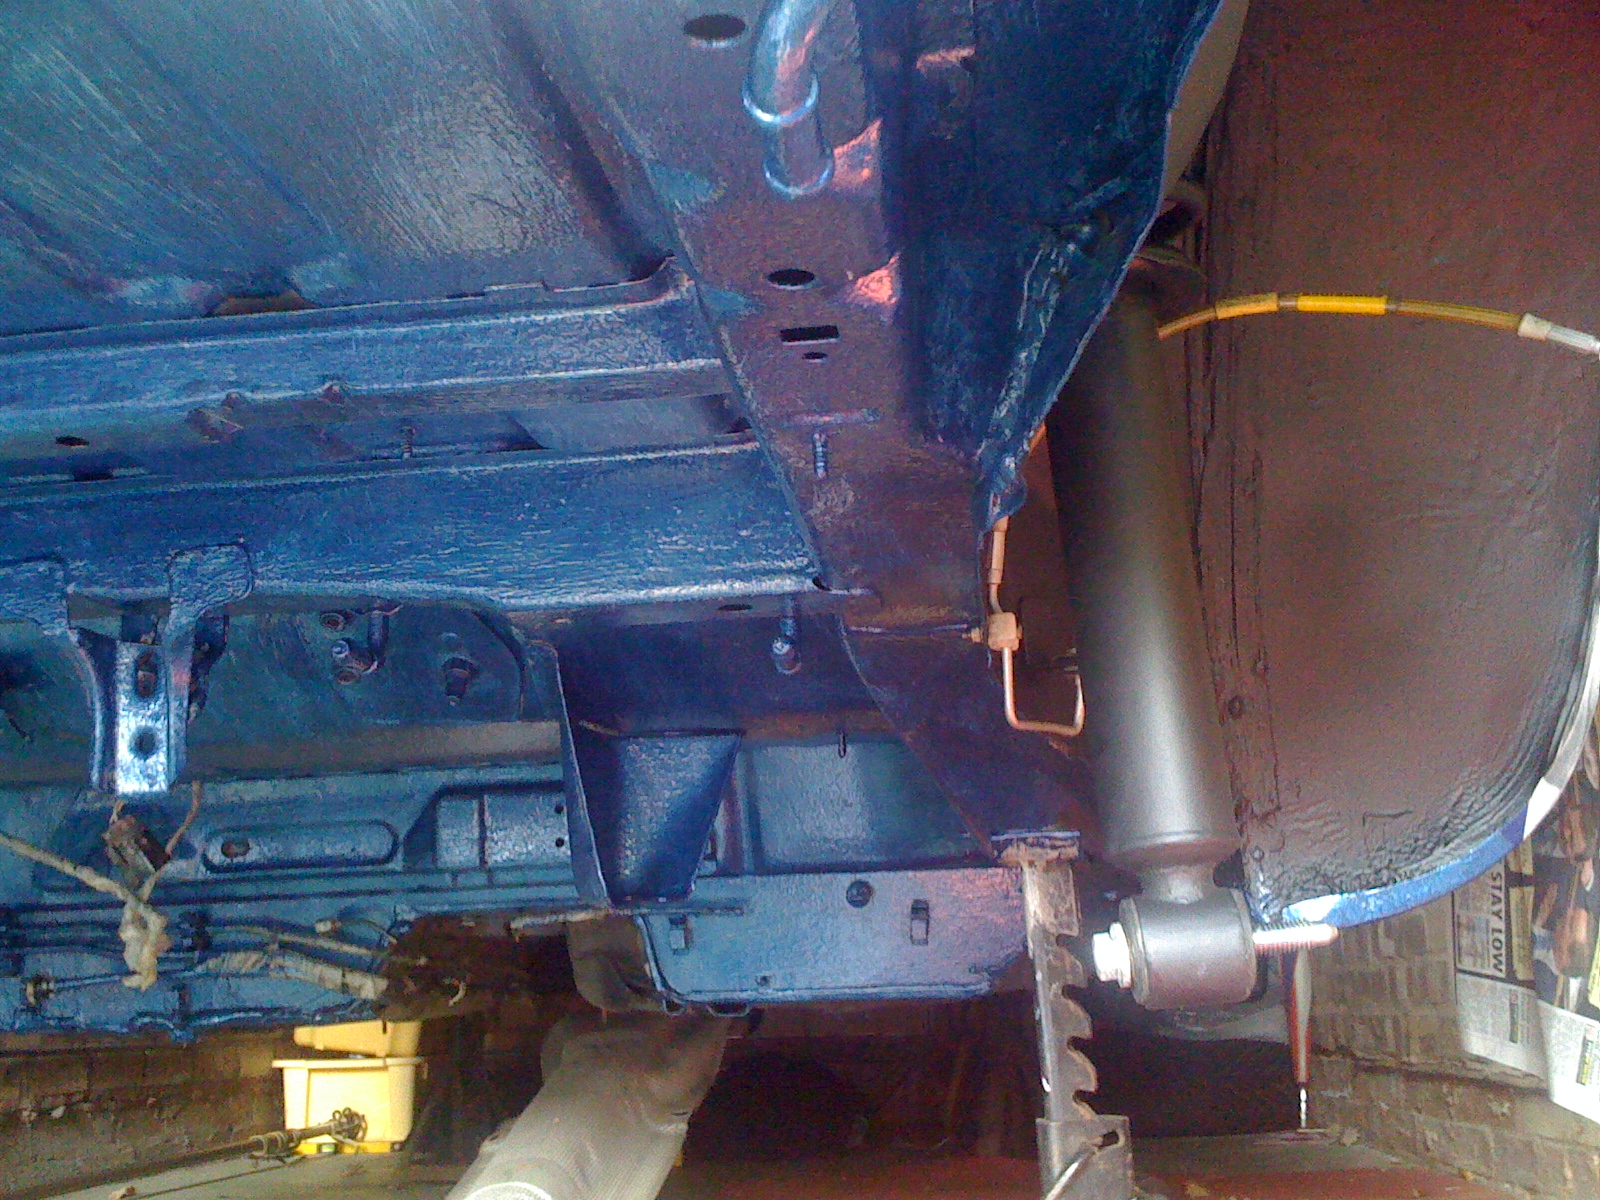
First fuel tank

Then heat shield
Proceeded to but on rear beam supports to the underside:

Tools down at 11:55pm then went inside to clean ourselves up ready for the morning stint:
Took us through to Tuesday morning, will update Tuesdays events tomorrow evening but for now time for bed.
Sorry for the sudden lack in detail from previous posts but if anyone’s got a questions just ask away.
David
Mate again came round at 9pm and we finished off the last coat of blue.
He managed a pretty good job of painting himself as well
Let the paint dry for an hour then cracked on with fitting some bits and bobs
Not without help from Santa’s little helper of course (Oban)
First fuel tank
Then heat shield
Proceeded to but on rear beam supports to the underside:
Tools down at 11:55pm then went inside to clean ourselves up ready for the morning stint:
Took us through to Tuesday morning, will update Tuesdays events tomorrow evening but for now time for bed.
Sorry for the sudden lack in detail from previous posts but if anyone’s got a questions just ask away.
David
01-07-2010, 08:54 PM
#118
Wahay!! I've lost my Virginity!!
Thread Starter
Join Date: Dec 2009
Location: Malvern
Posts: 69
Likes: 0
Received 0 Likes
on
0 Posts
Tuesday Afternoon:
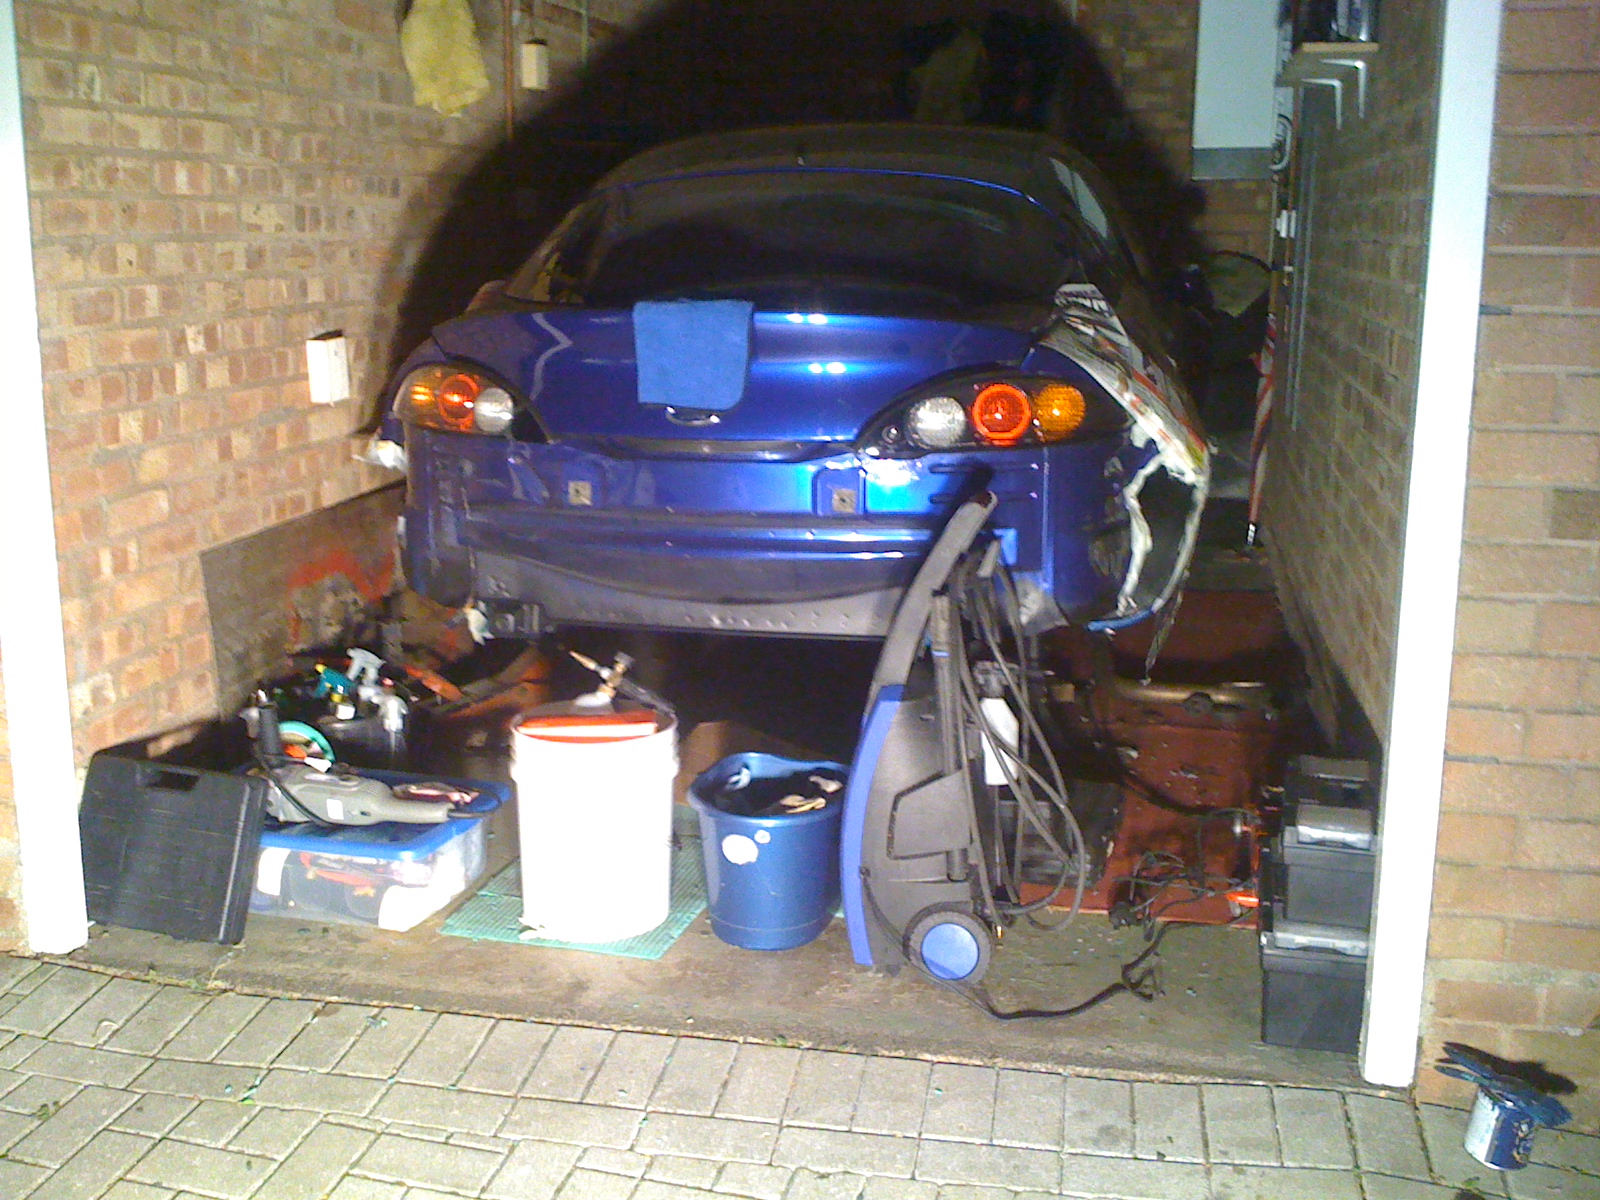
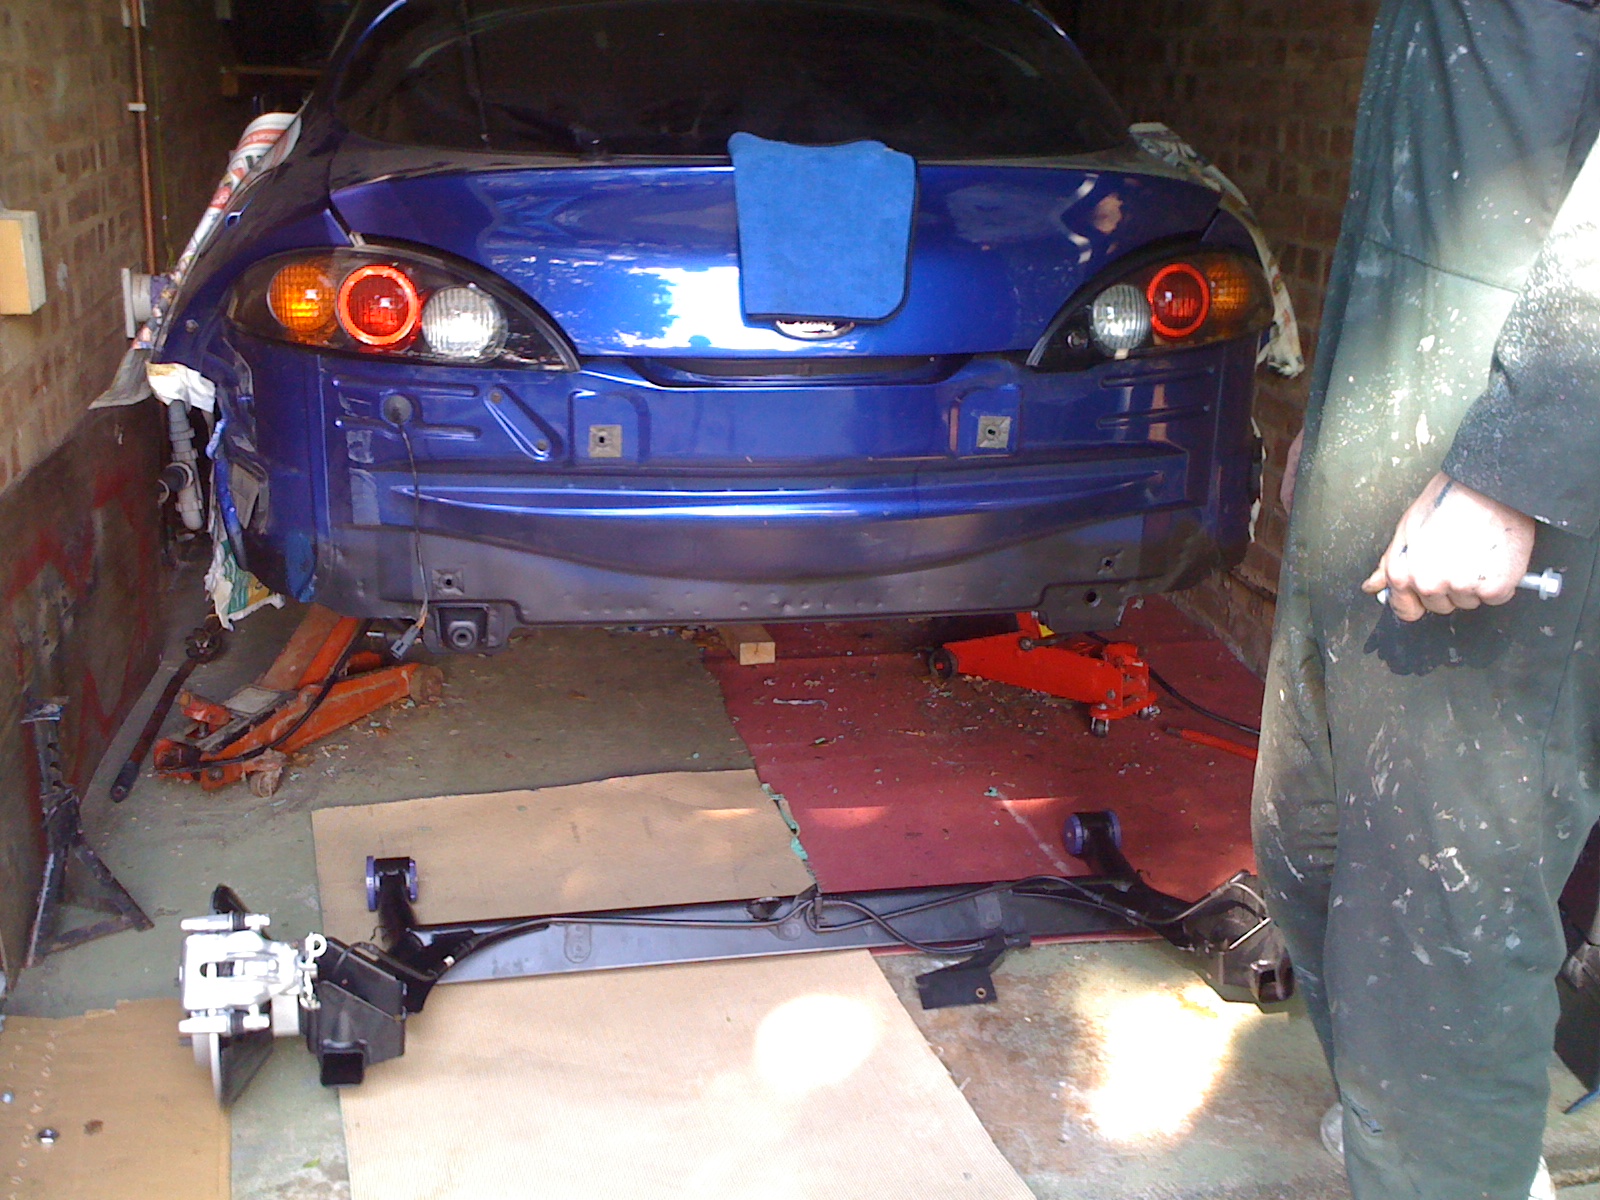
Finally took the rear beam out the bedroom and place in position under the car.
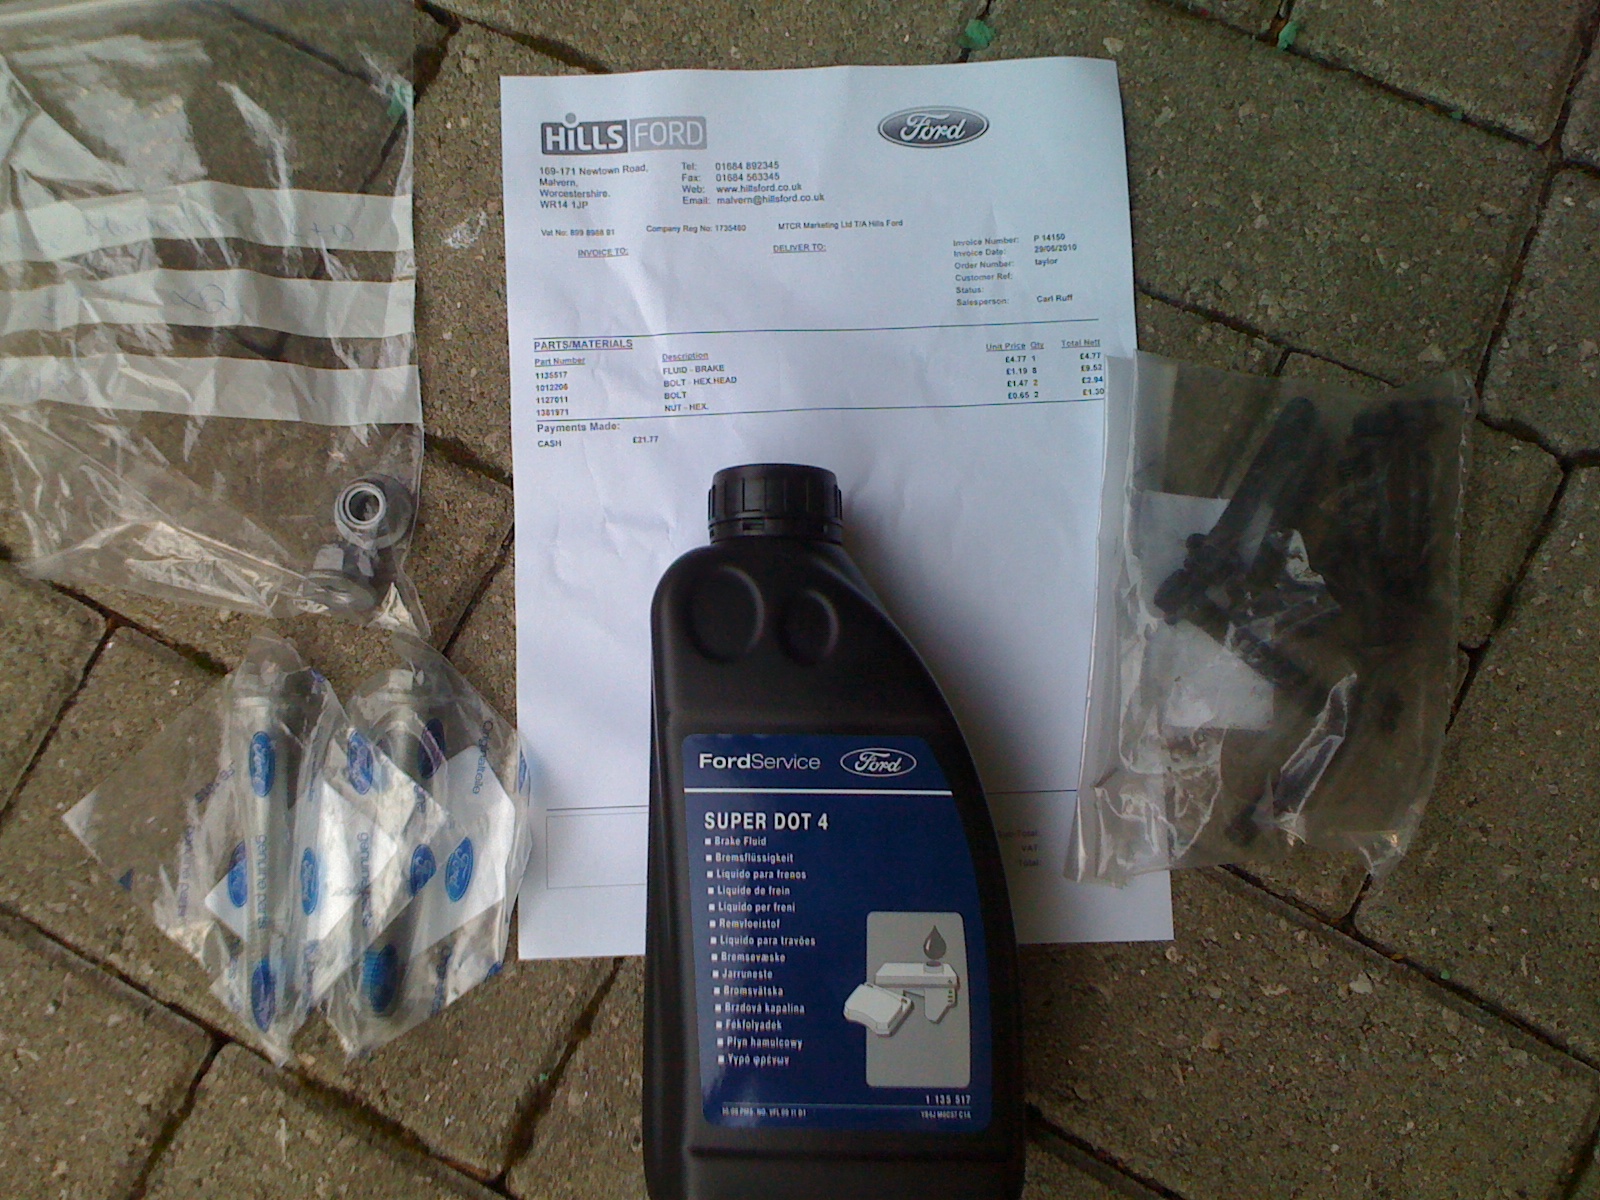
Poped up to the Ford garage, just a few hundred yards up the road to collect the replacement bolts for the beam as well as some spacer bolts and some DOT4 brake fluid
Jacked it up in to position and tighten up
Fitted fuel box fully.
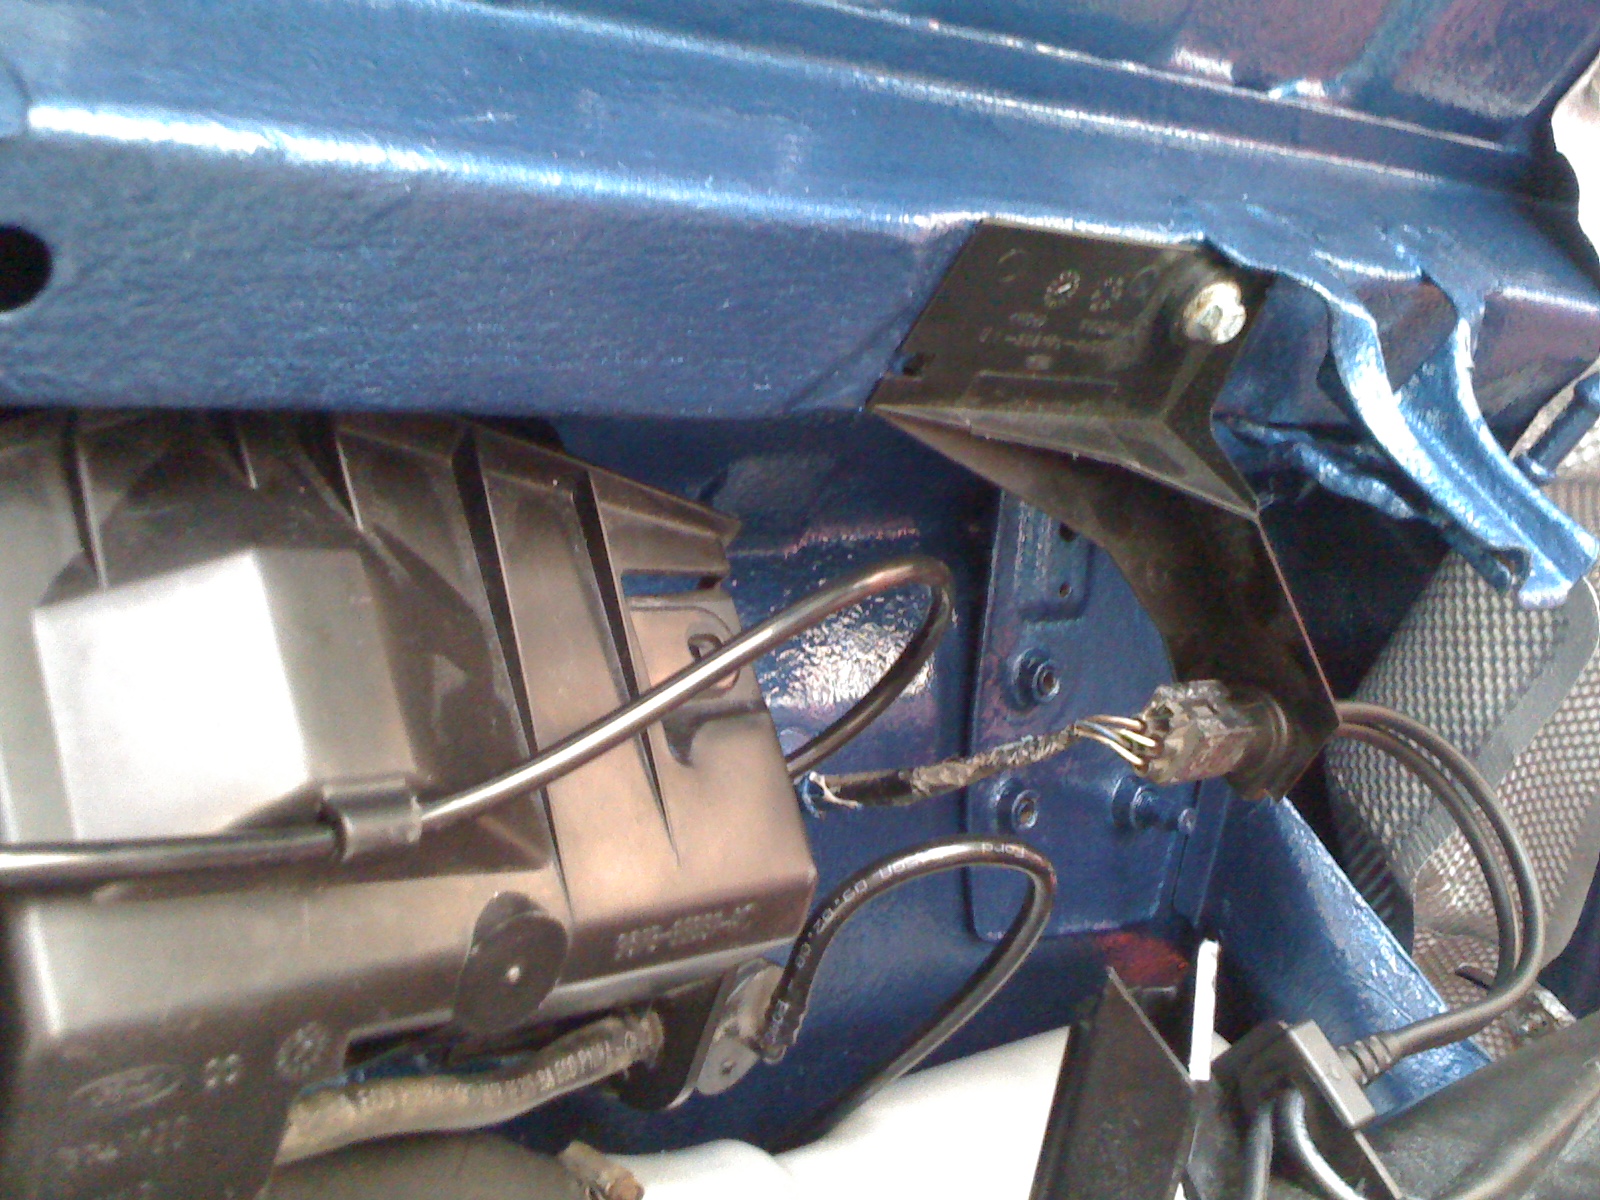
Started to connected brake lines
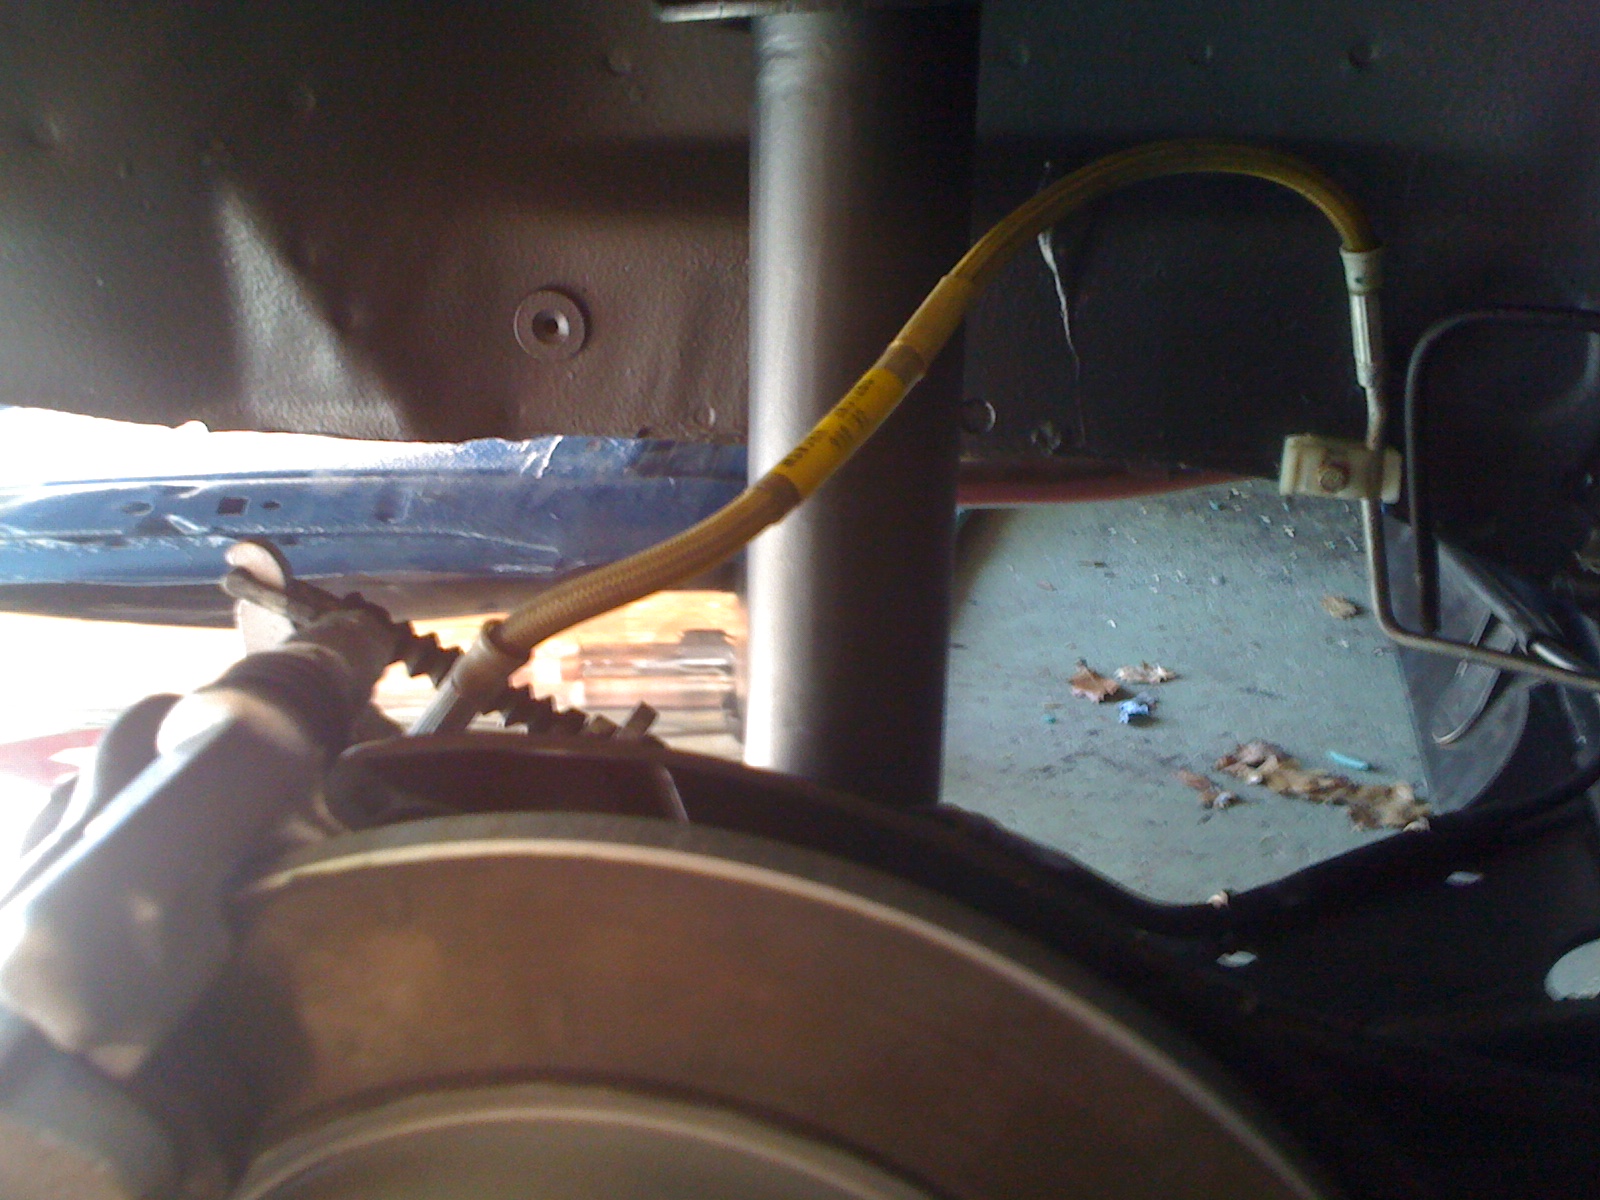
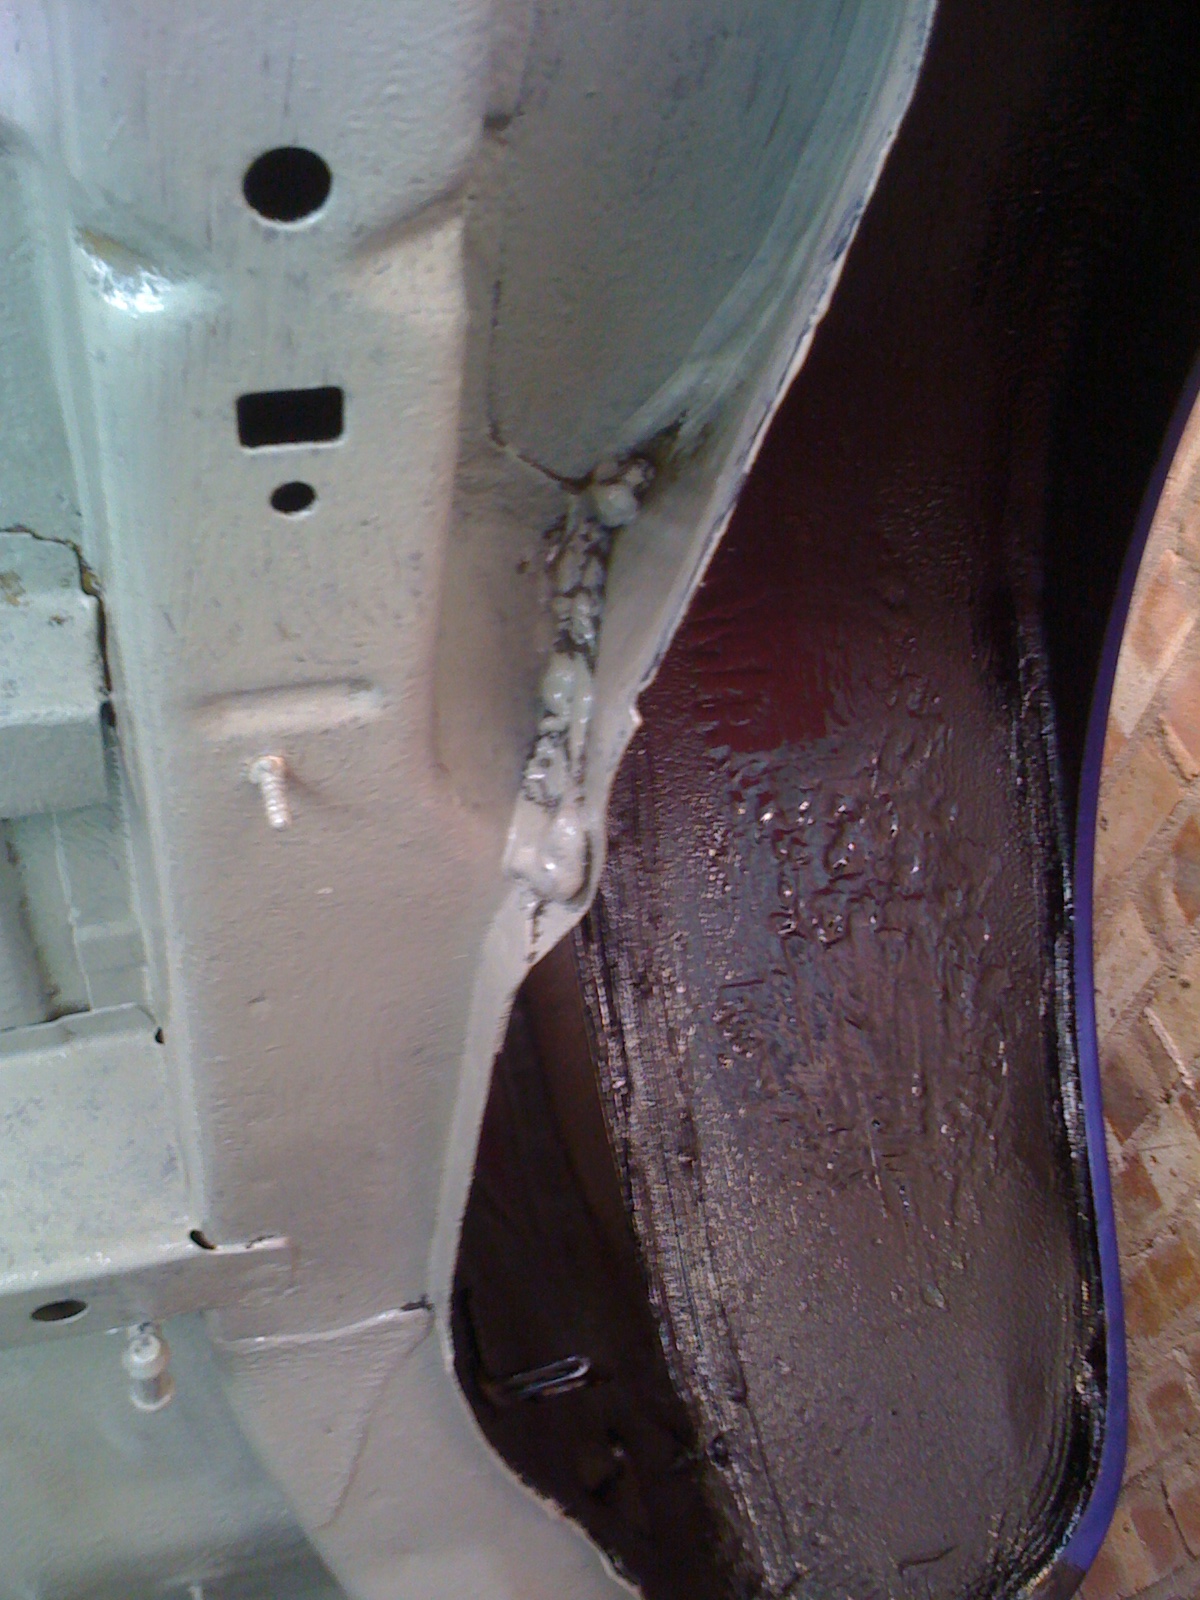
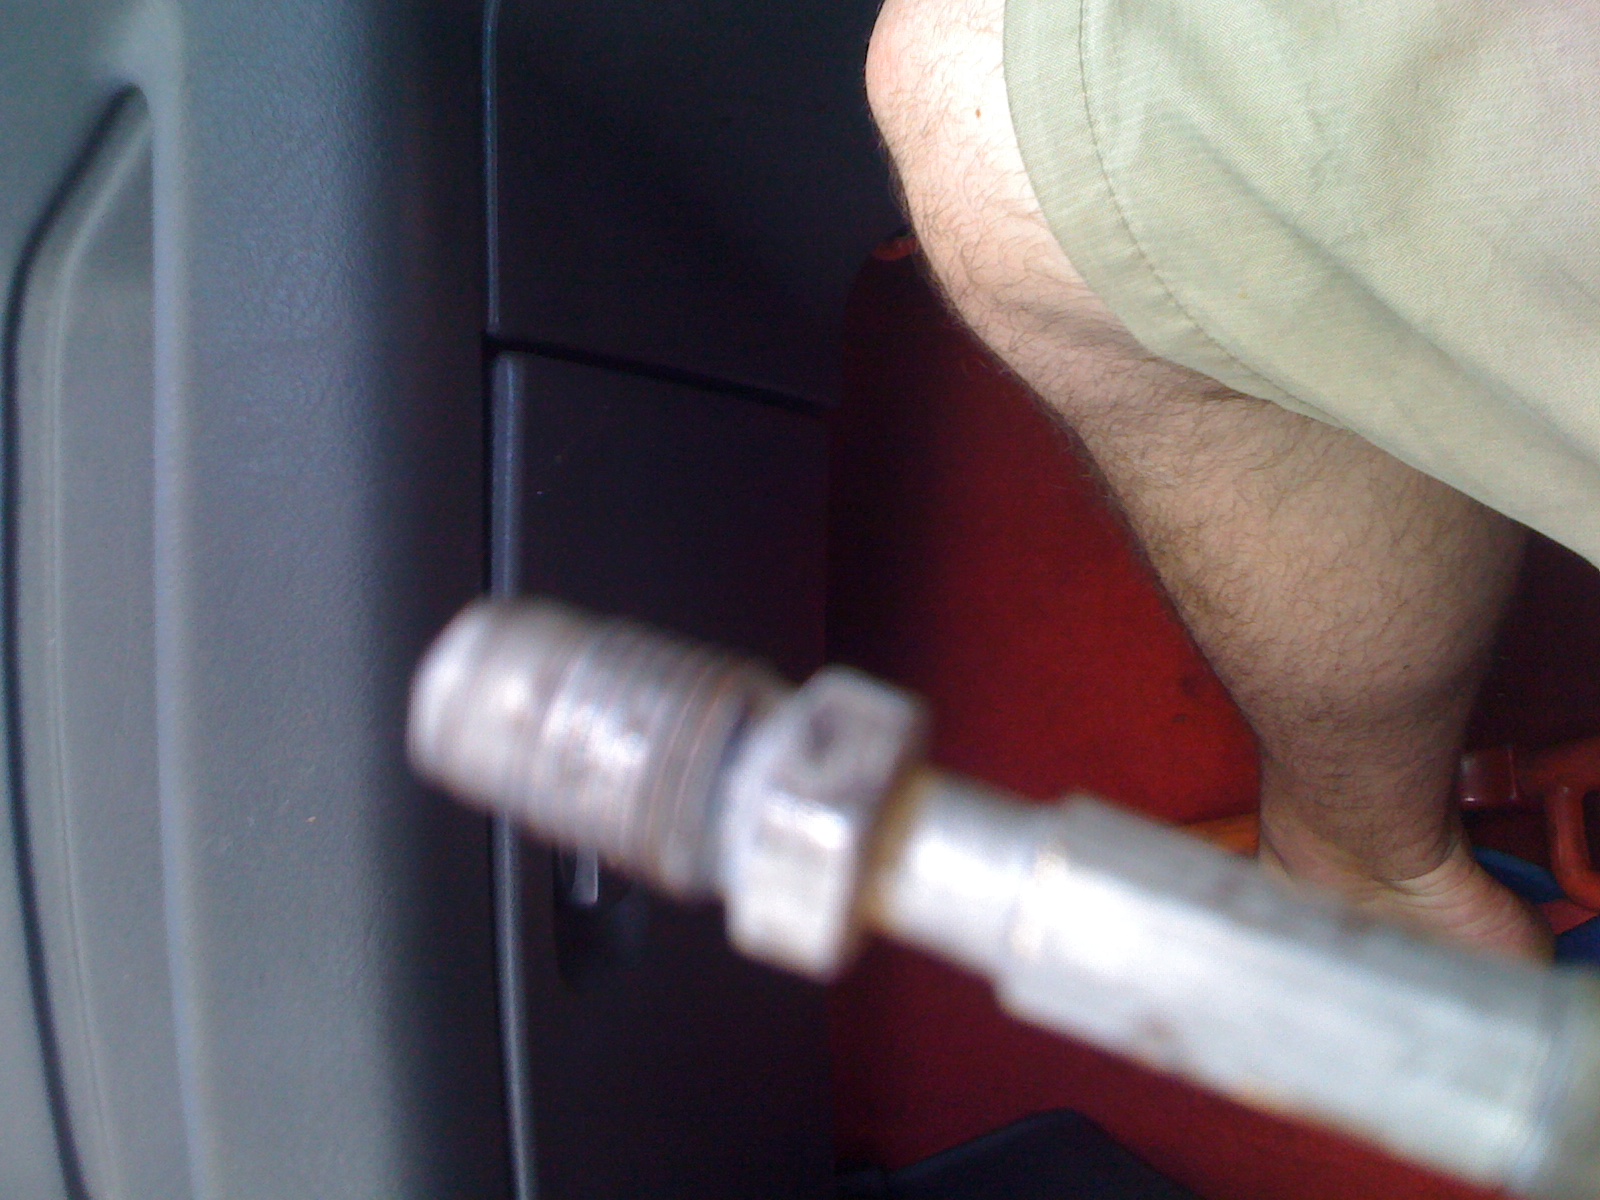
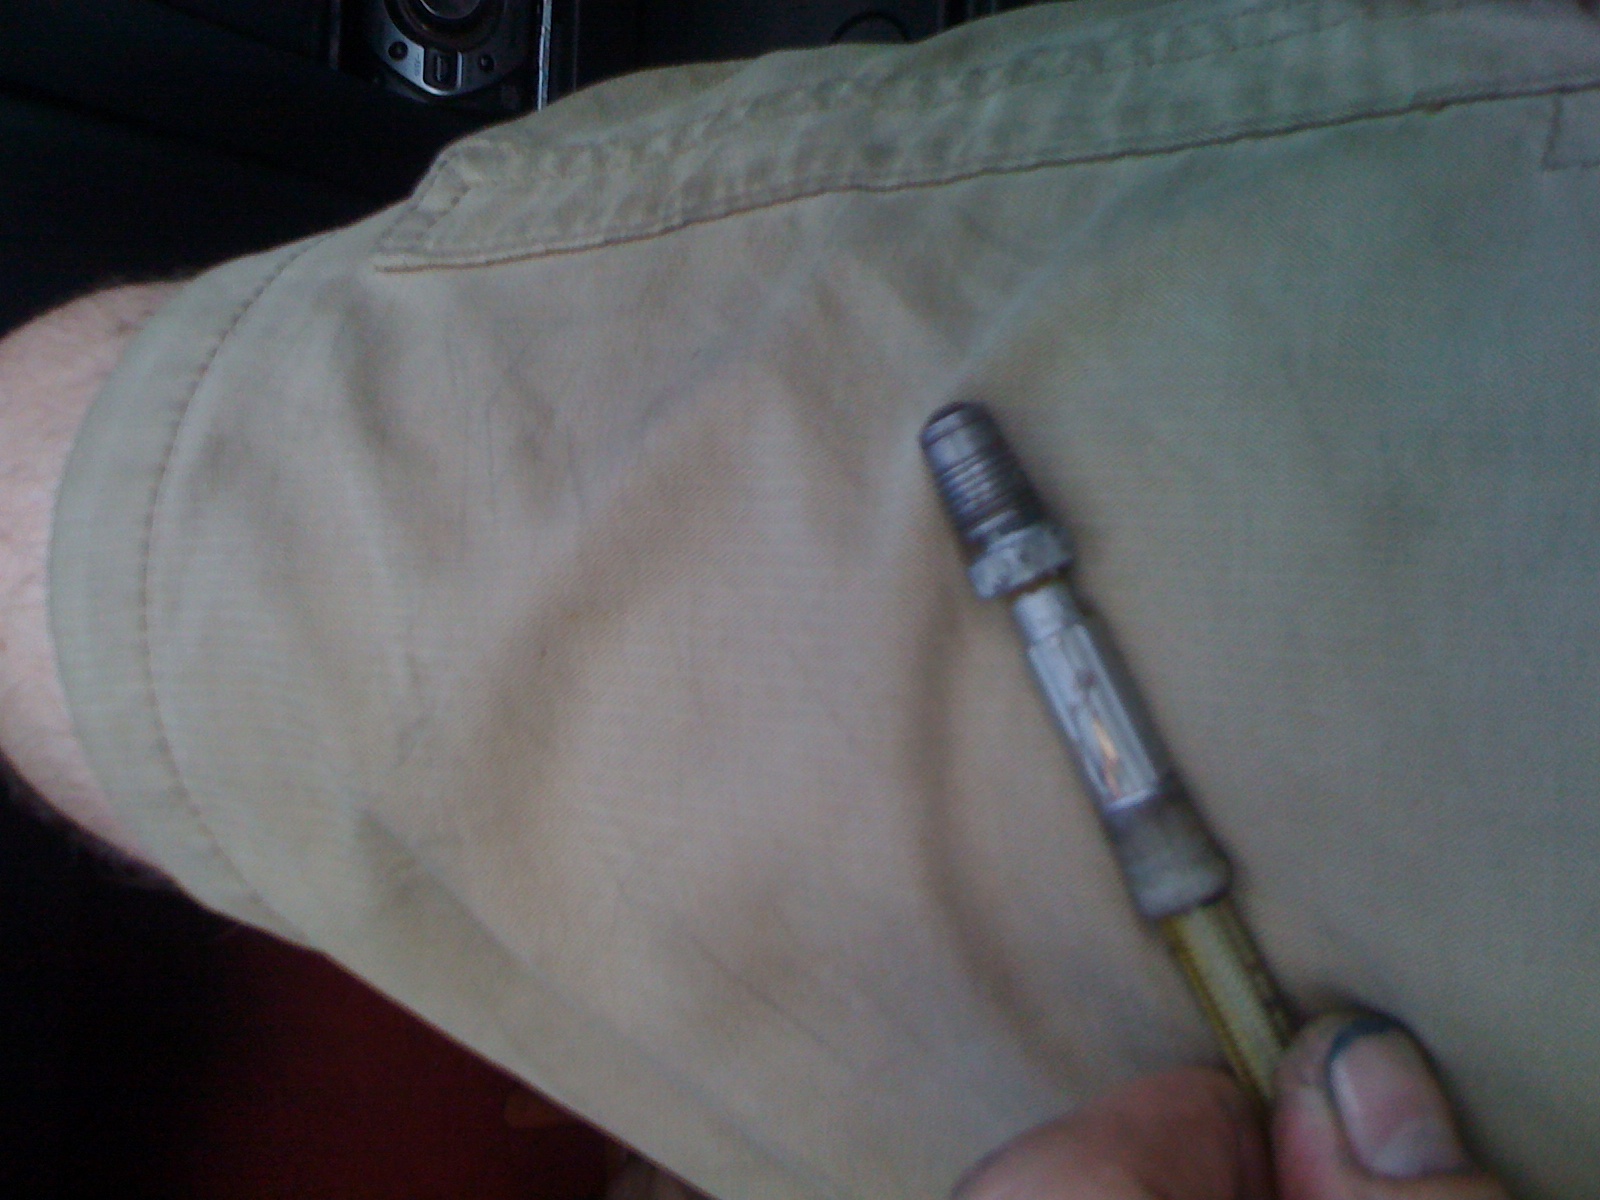
Unfortunately whilst tightening up the rear left brake line the thread cross threaded Fortunately the calliper was still ok but as can been seen below the thread was buggered
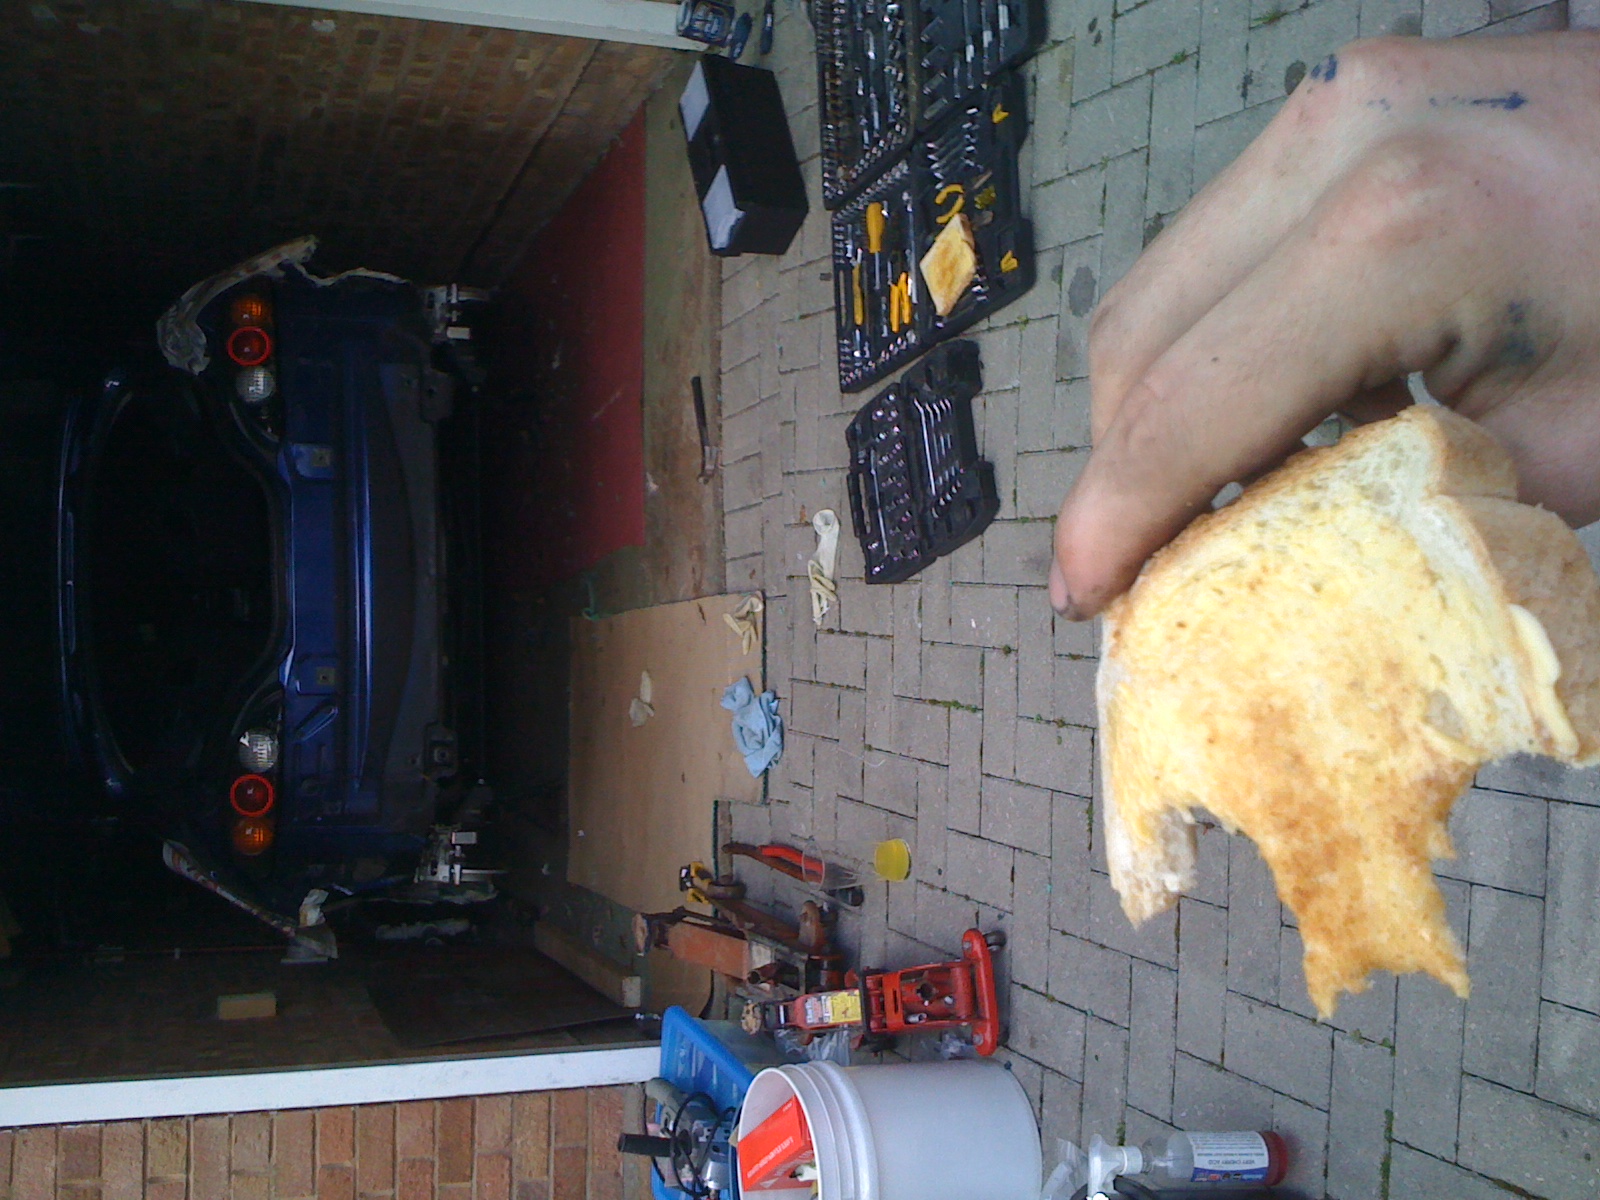
So before heading off to mates garage to see if he had any suggestions we stopped for a quick snack
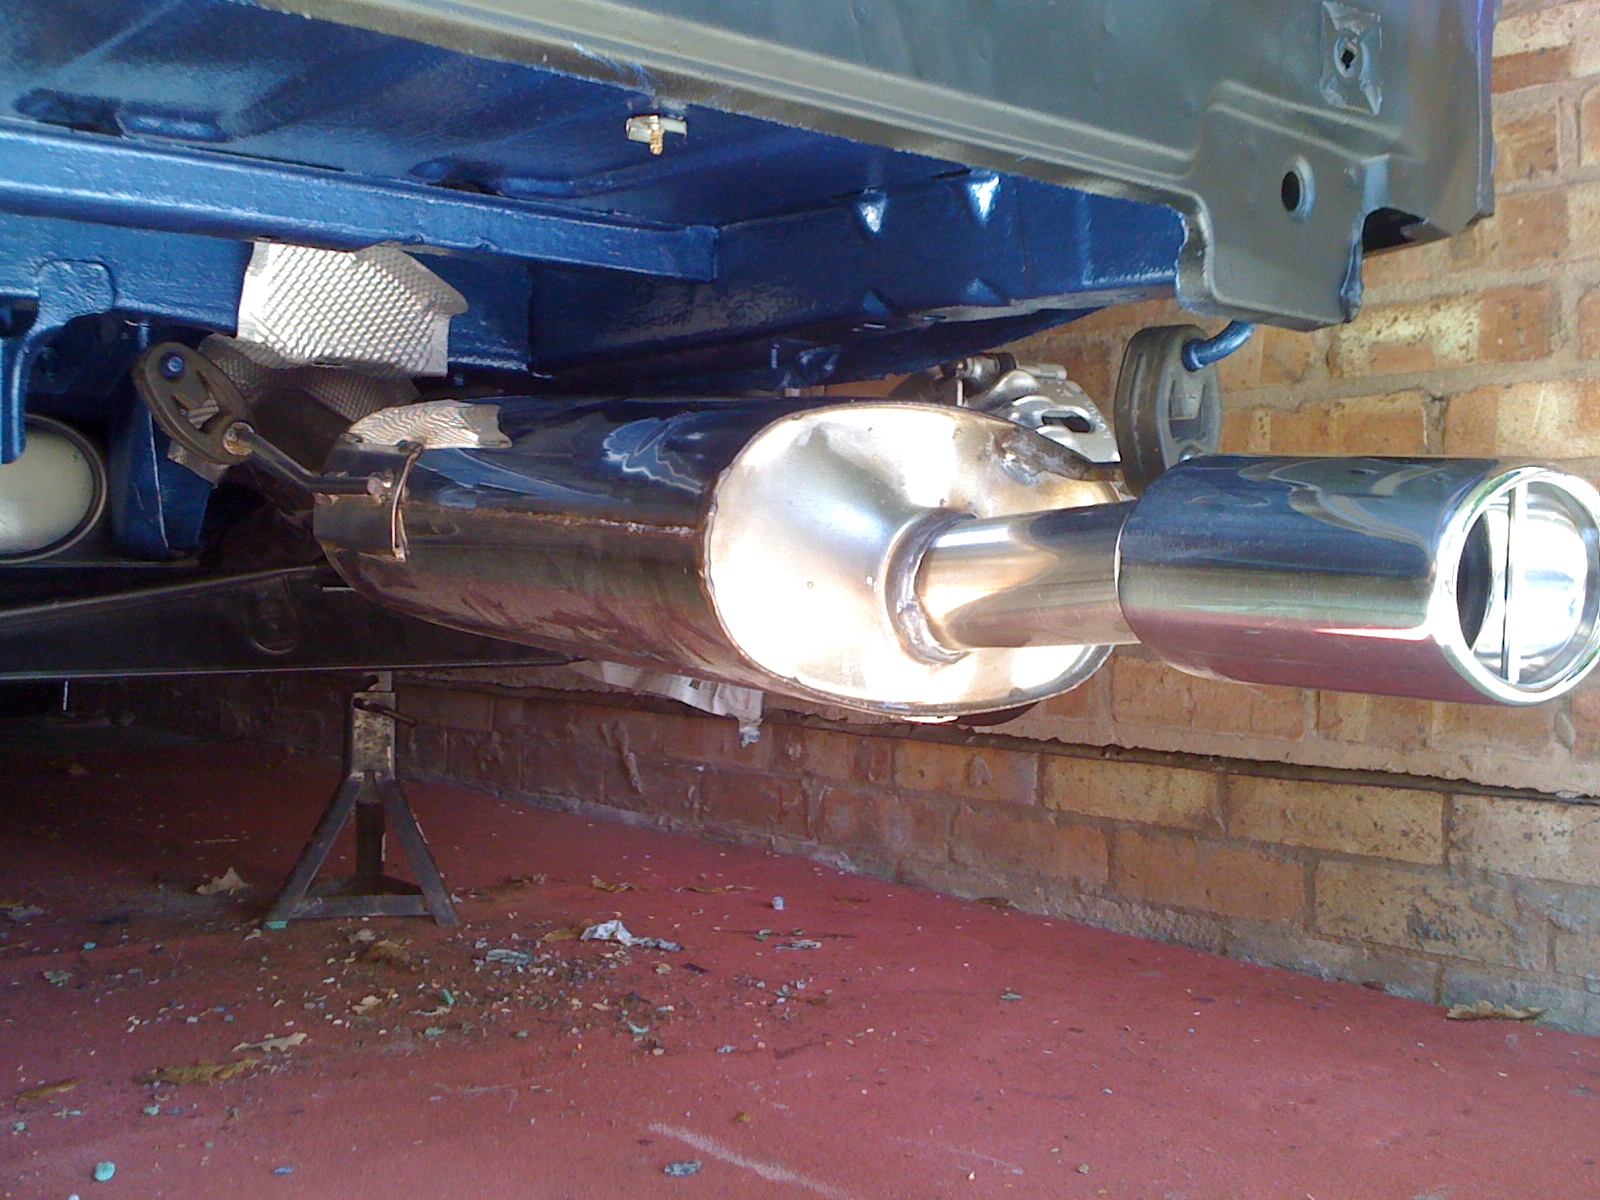
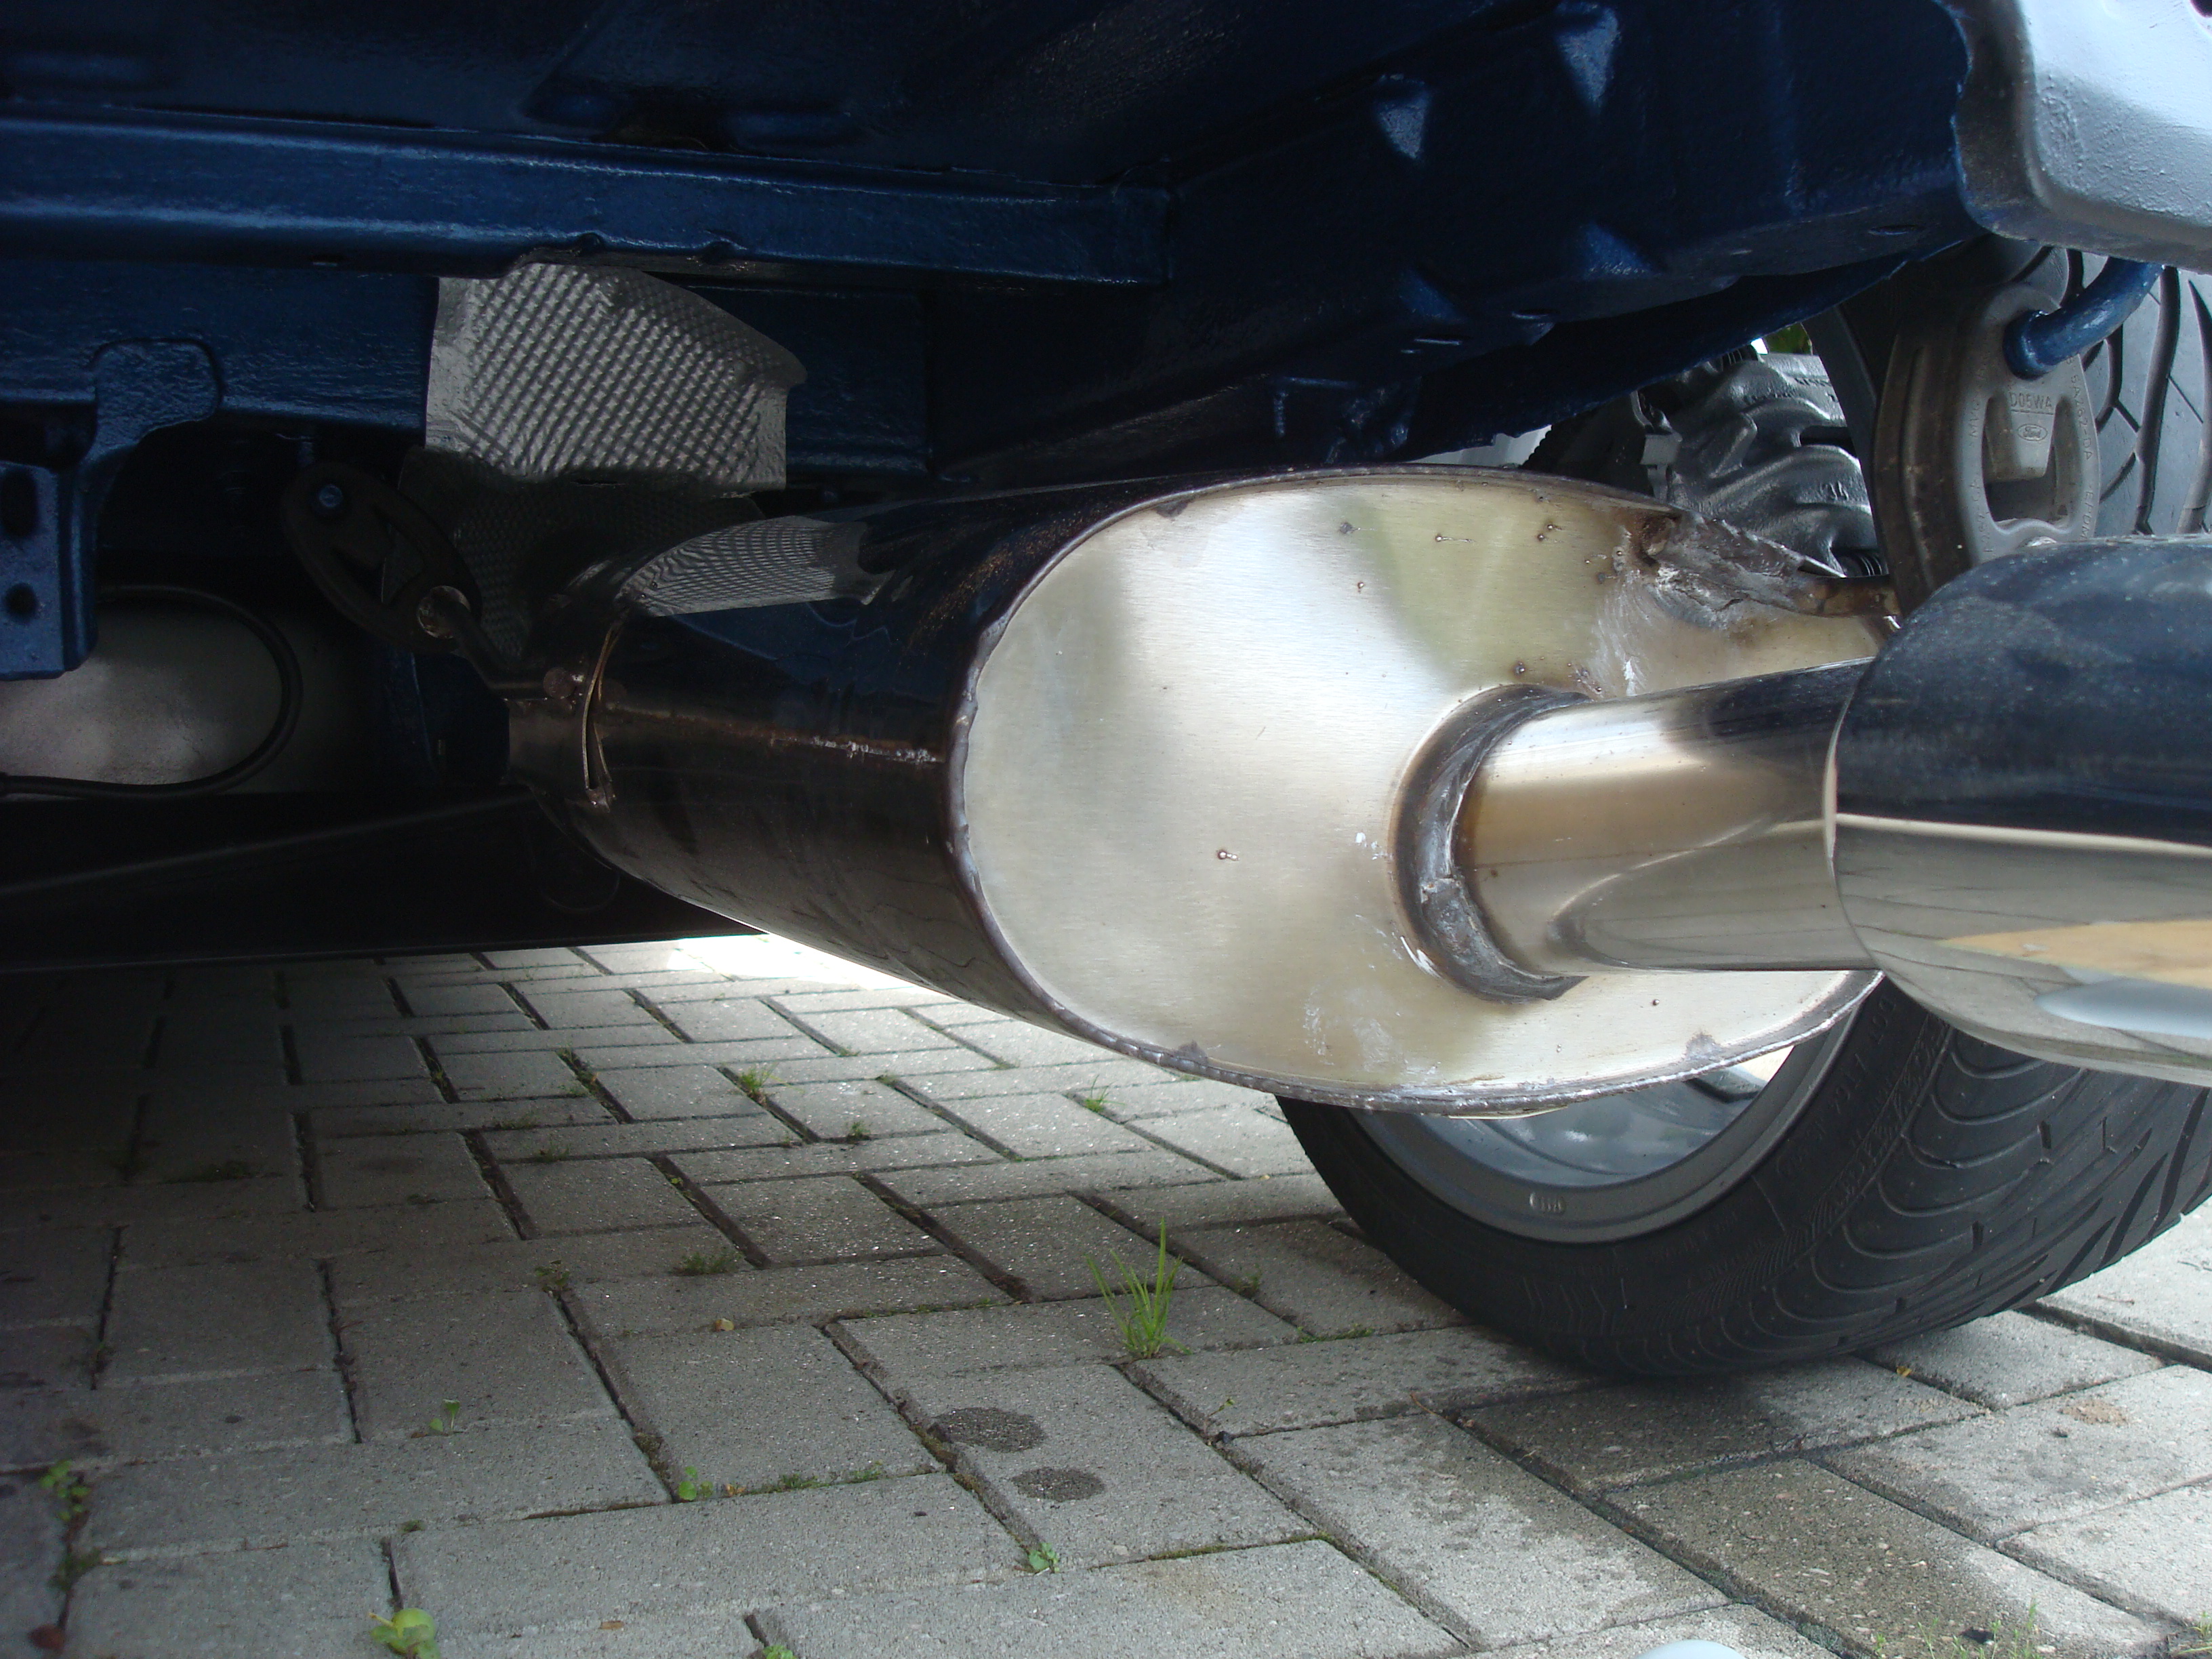
Just before we went decided to fit the centre section and the back box, just need to get a replacement back box heat shield
Oh and attached the hand brake cable.
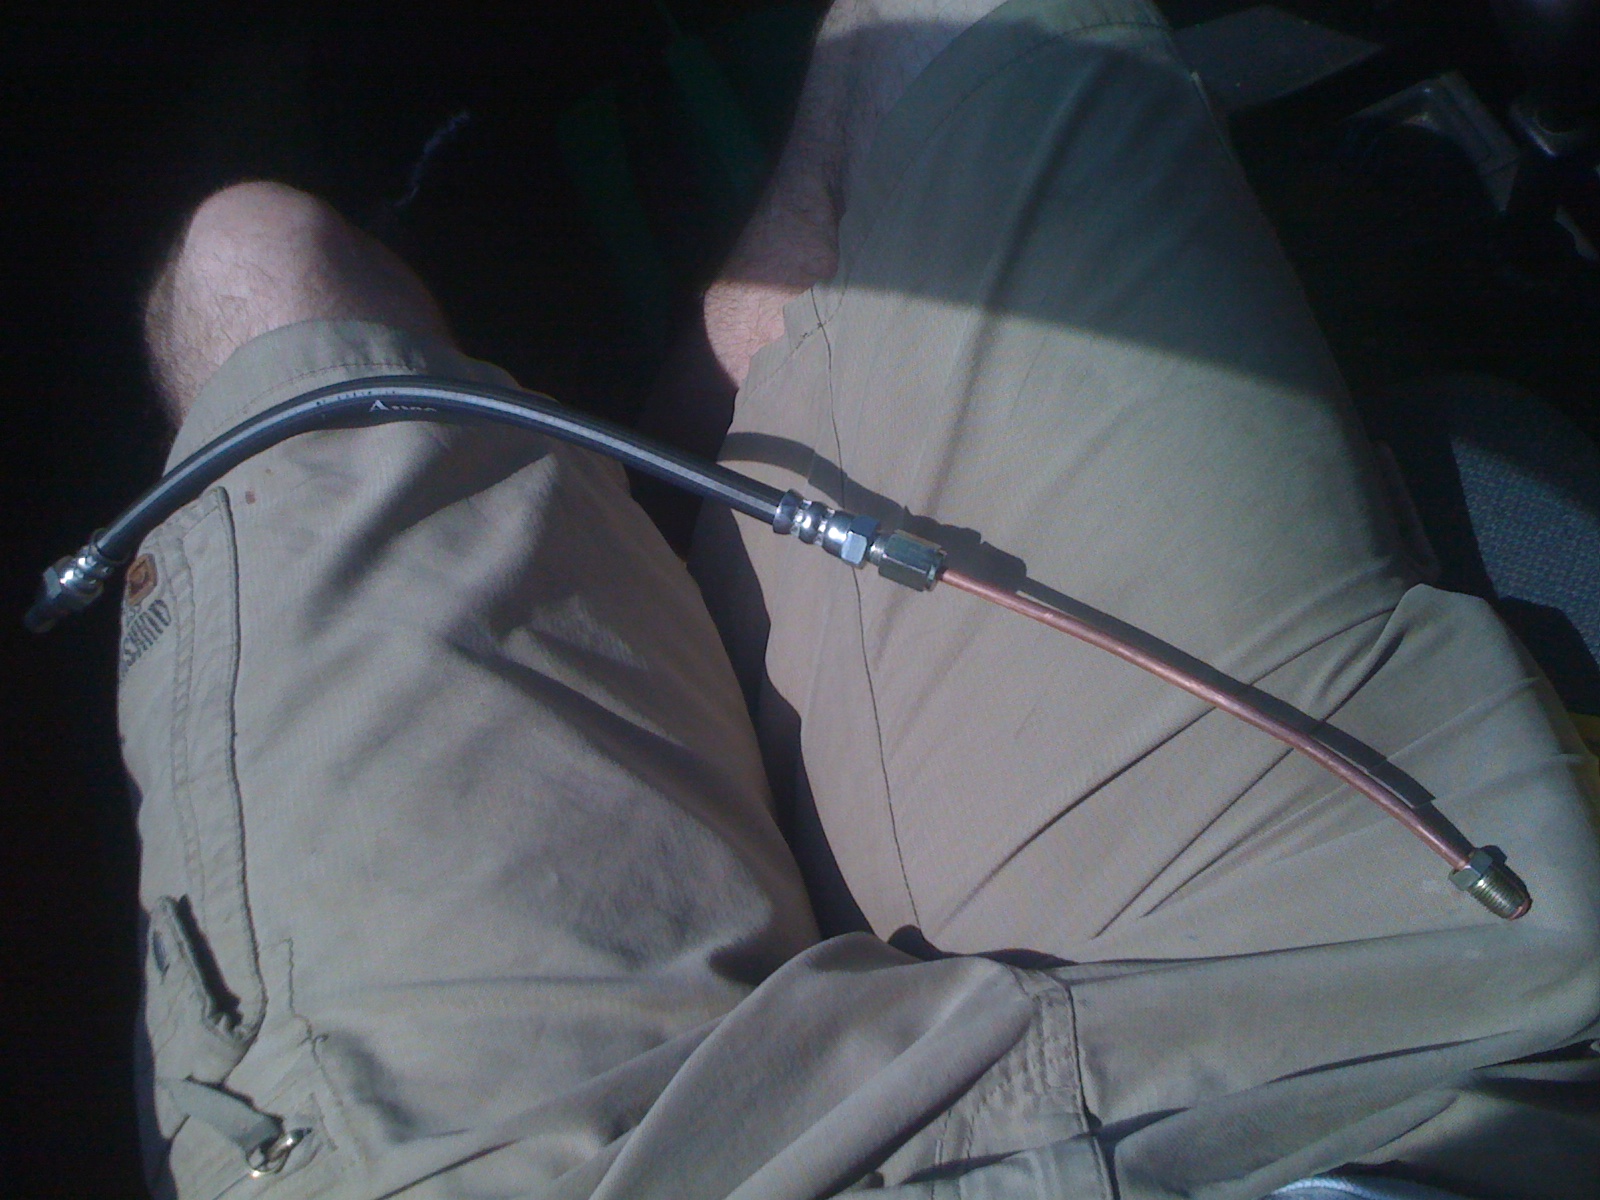
Popped to mates garage and he had a go at fixing the rear brake line but to no avail, so he rang a supplier and got a part ordered with the correct ends, unfortunately it was a bit short in length but he managed to attached an extra bit to make it long enough.
Finally once all the brake lines were attached we went round the car and top up the brake fluid.
Then at this point I was getting rather excited as it was time to put the wheels back on
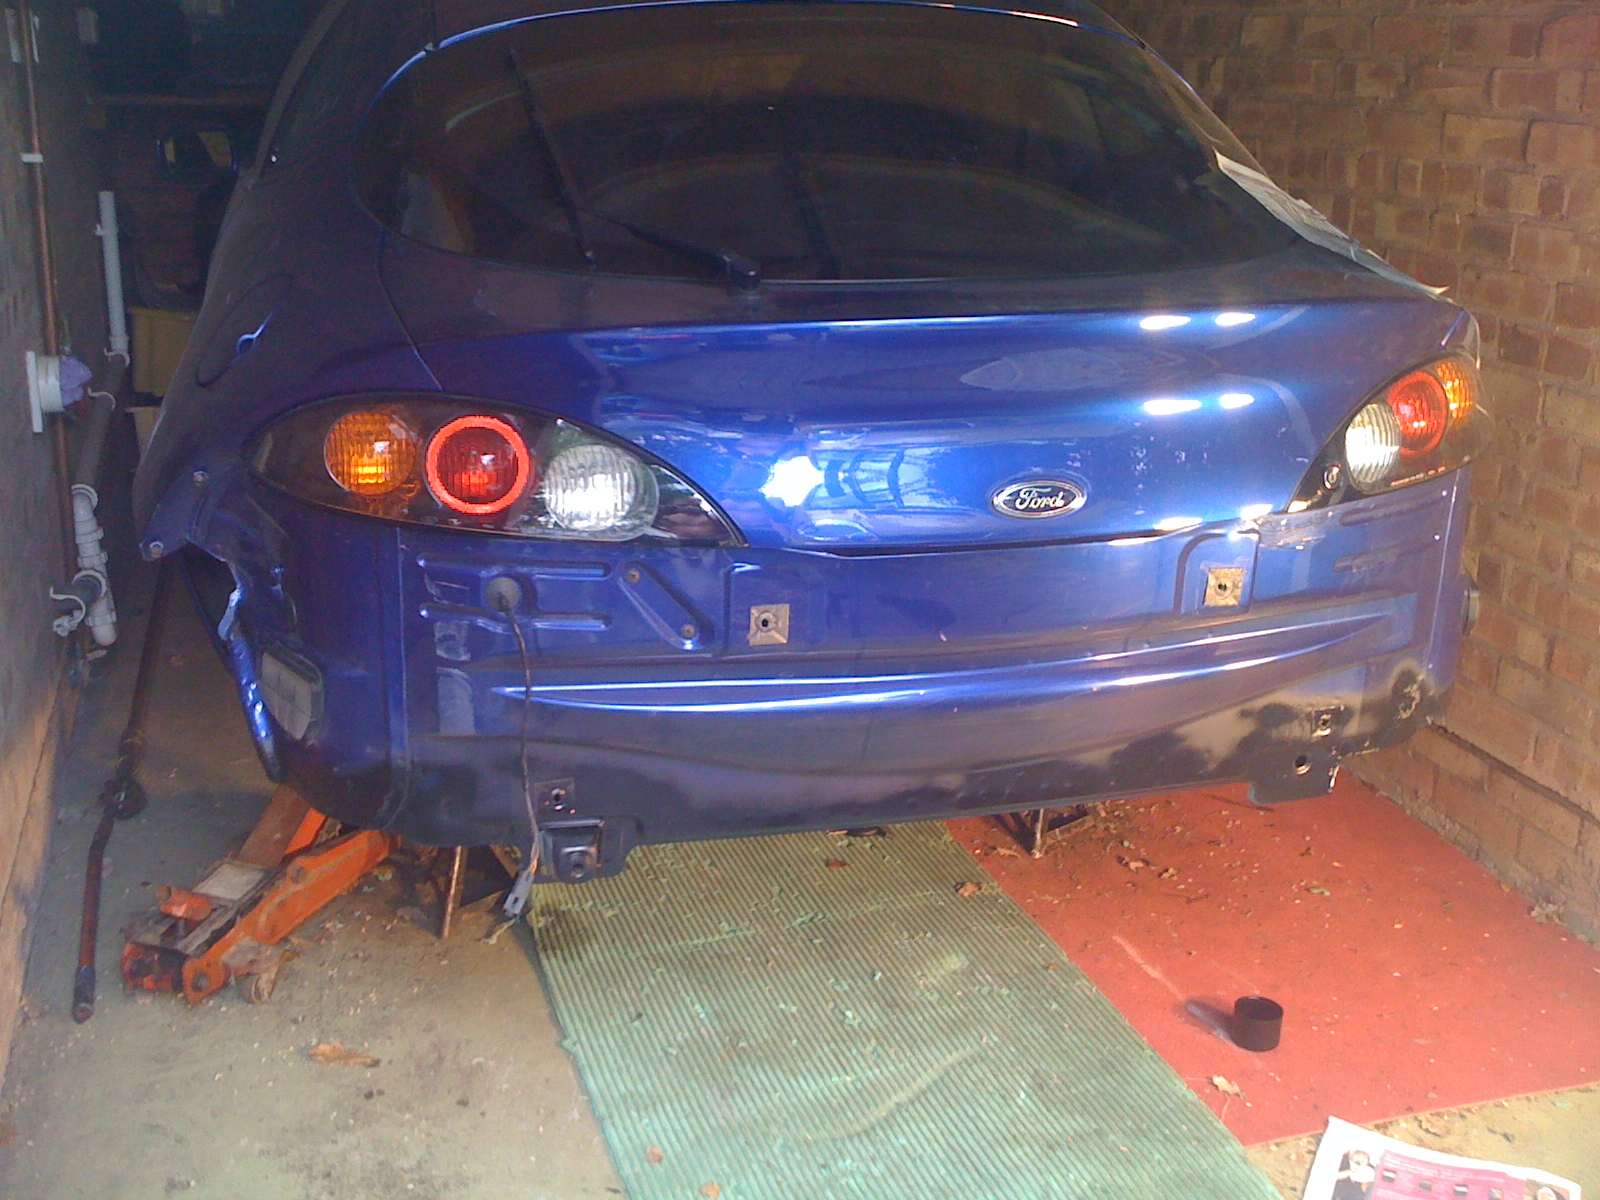
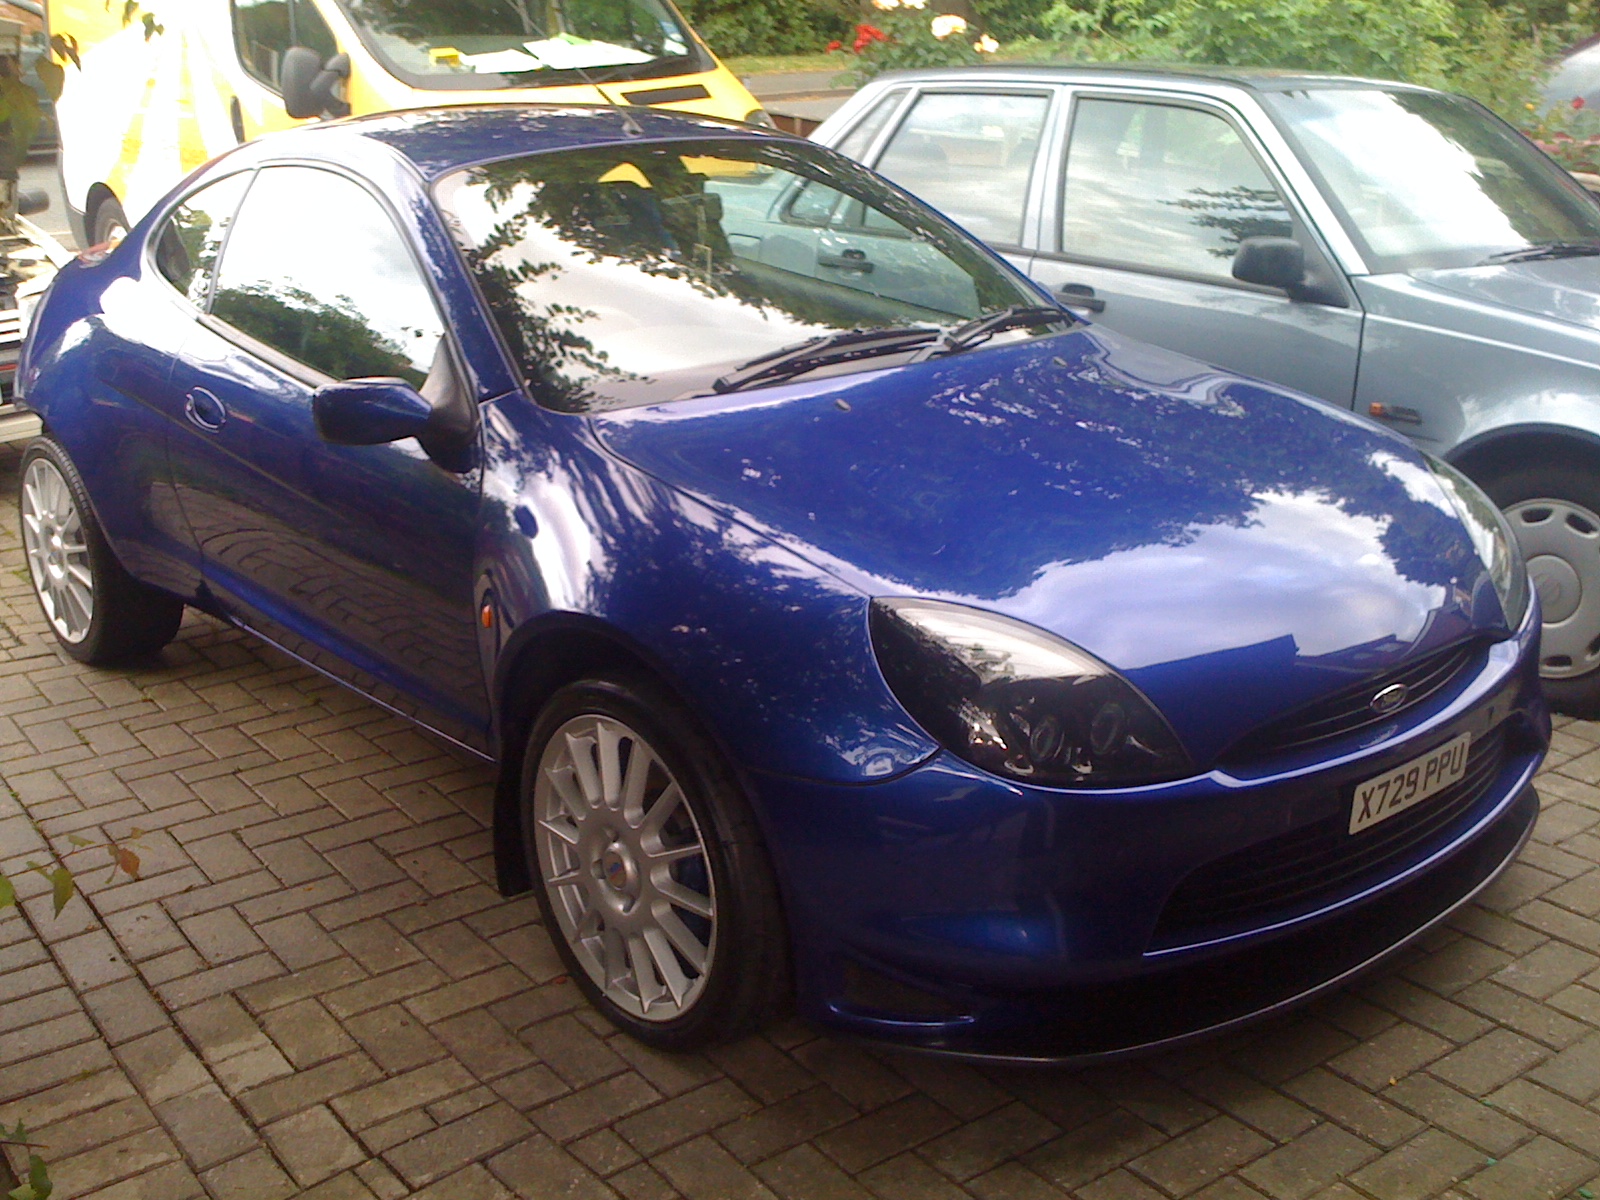
So the moment cam to reverse it out the garage and get it on the drive for the first time in ages.
Silly gay photo was a must due to sheer excitement
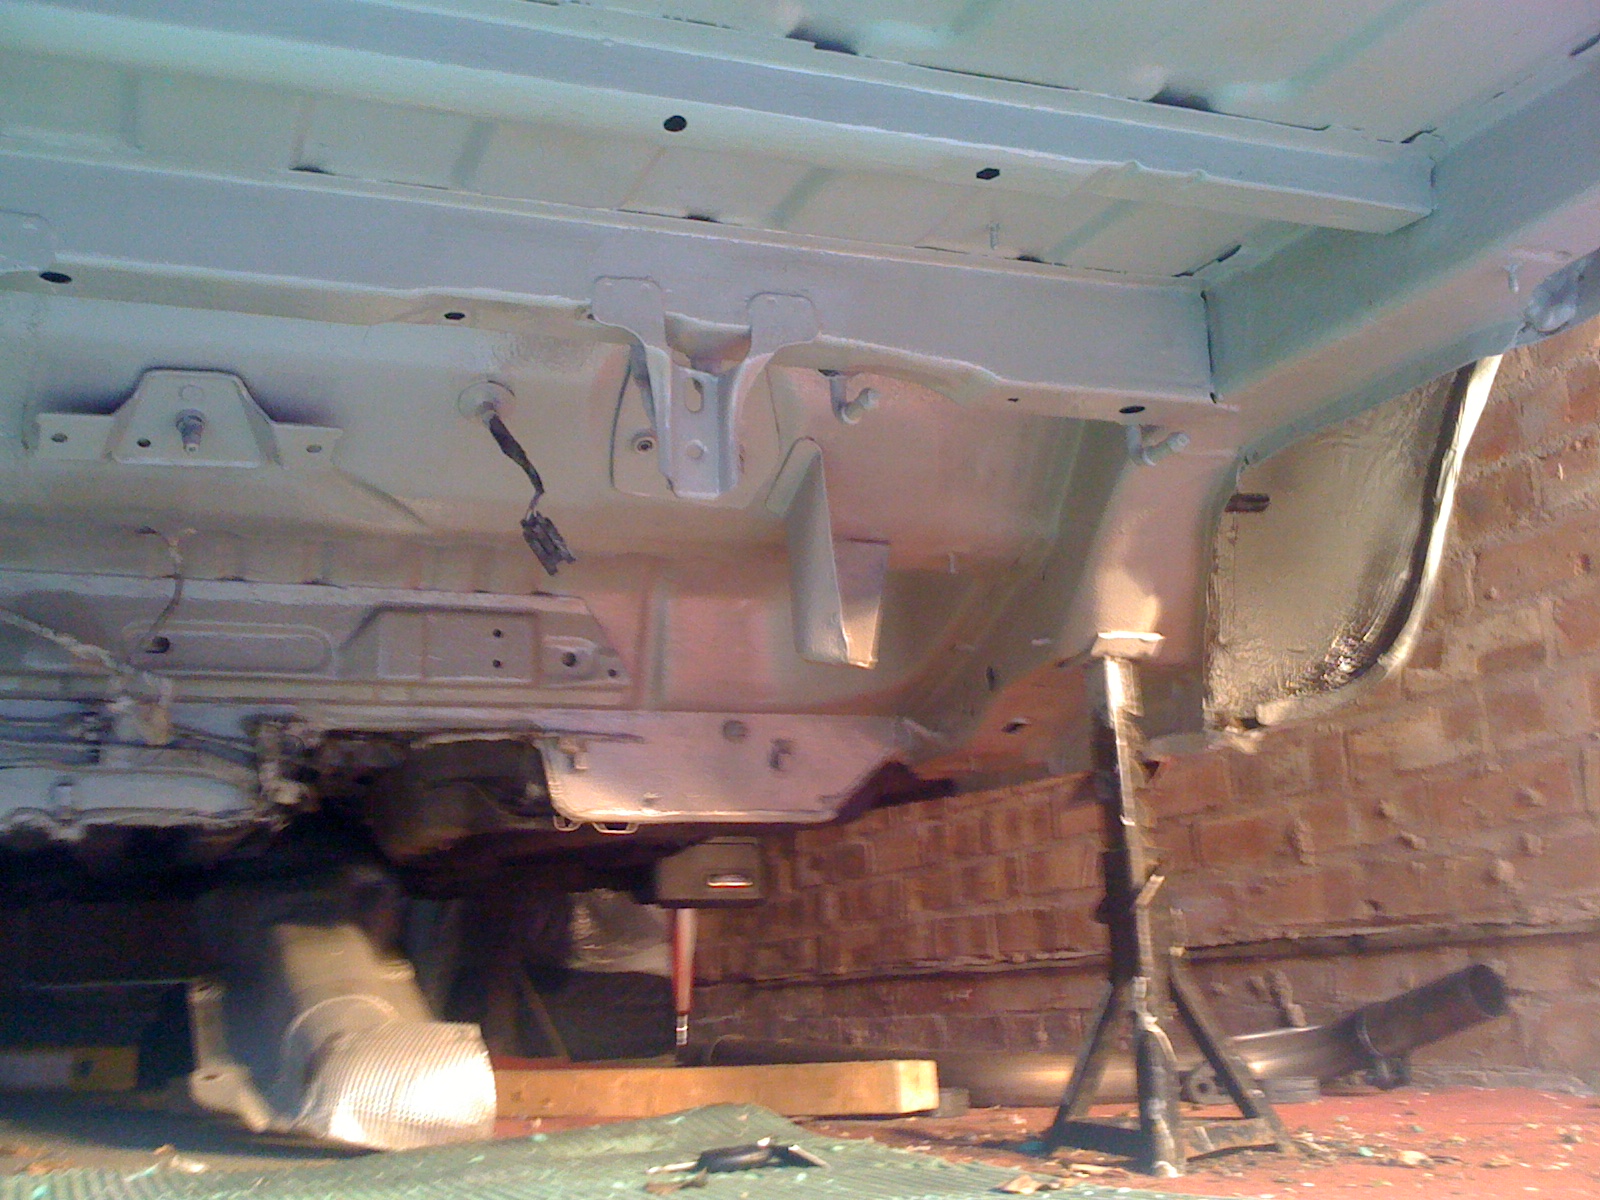
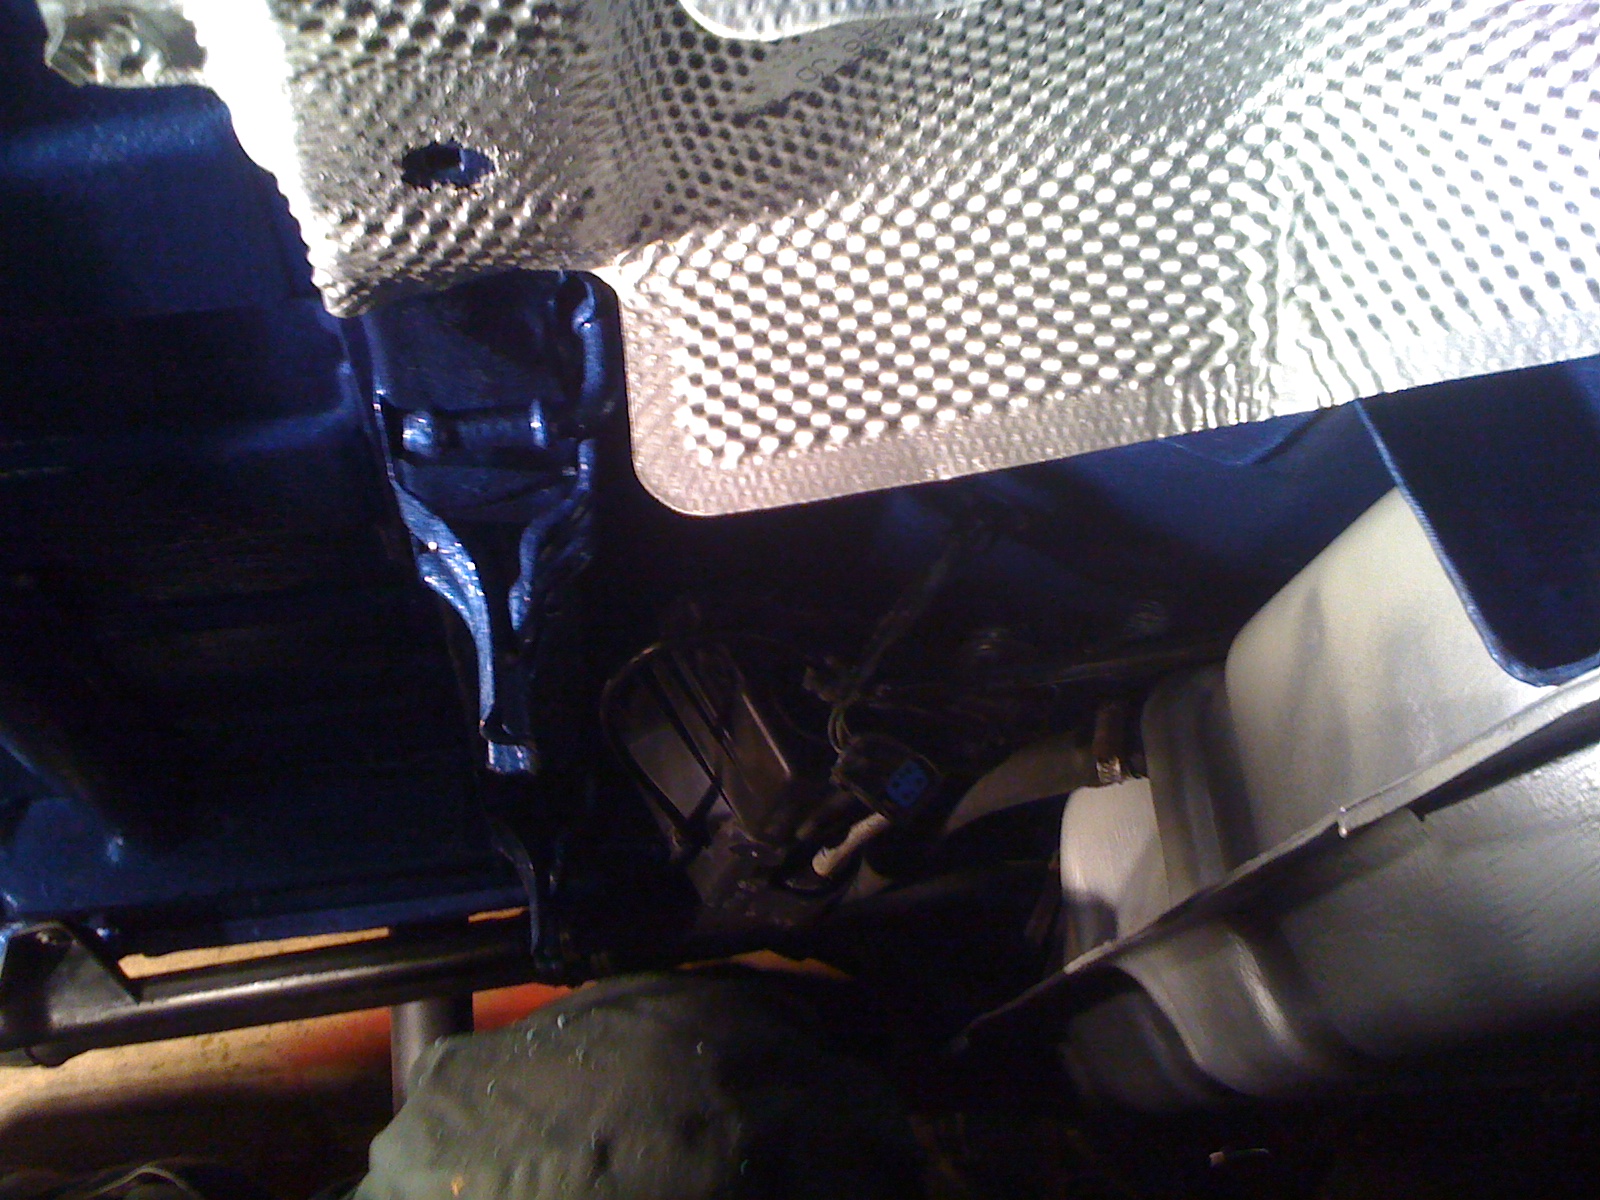
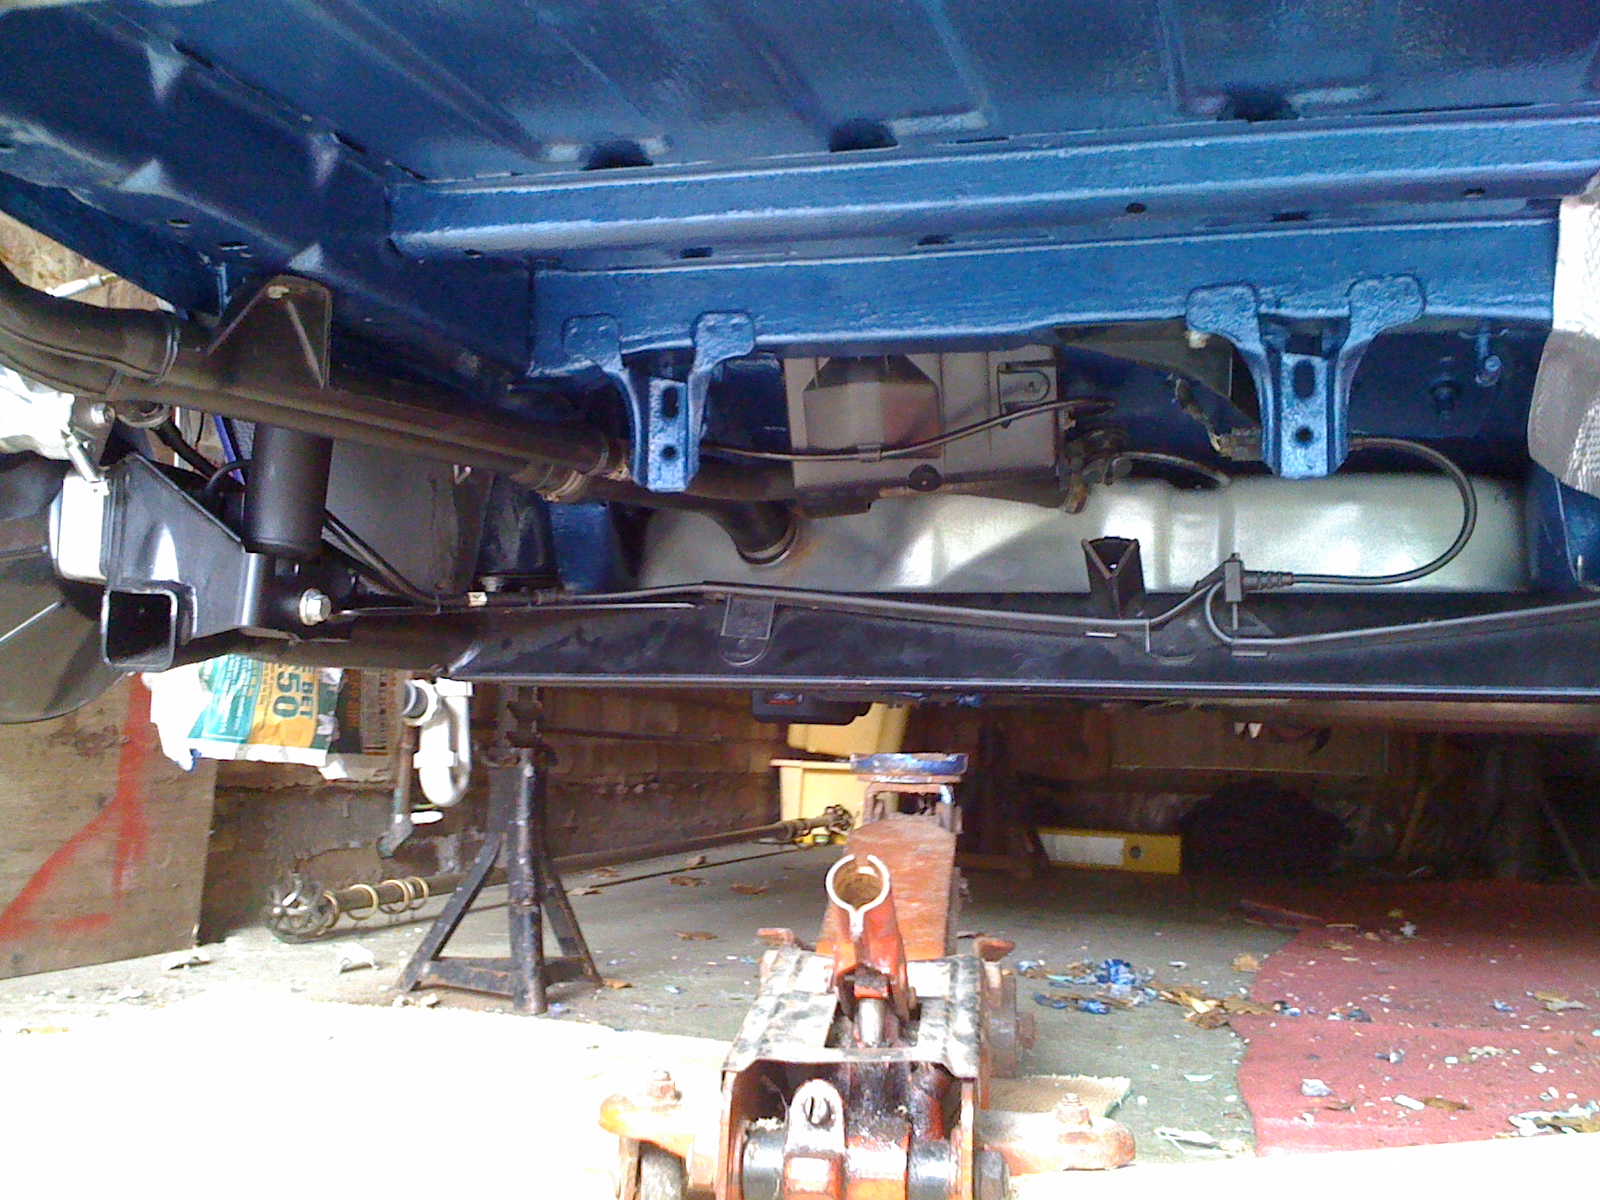
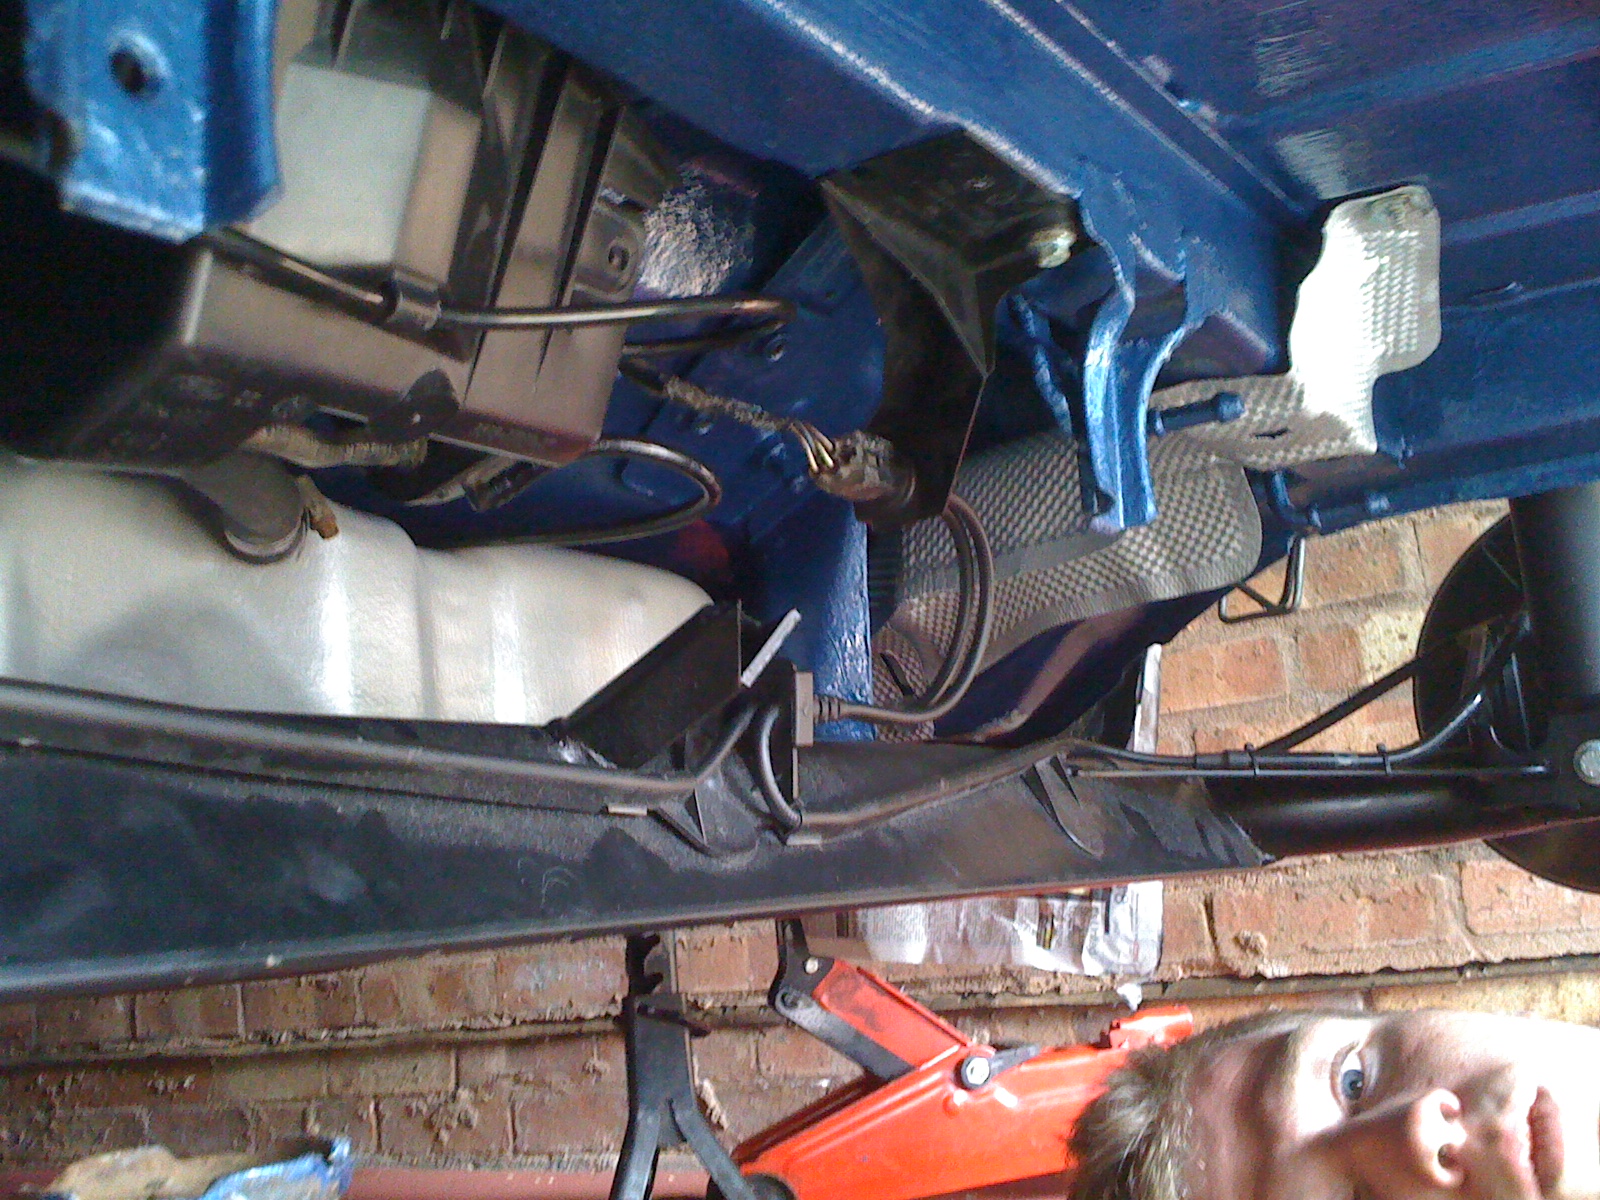
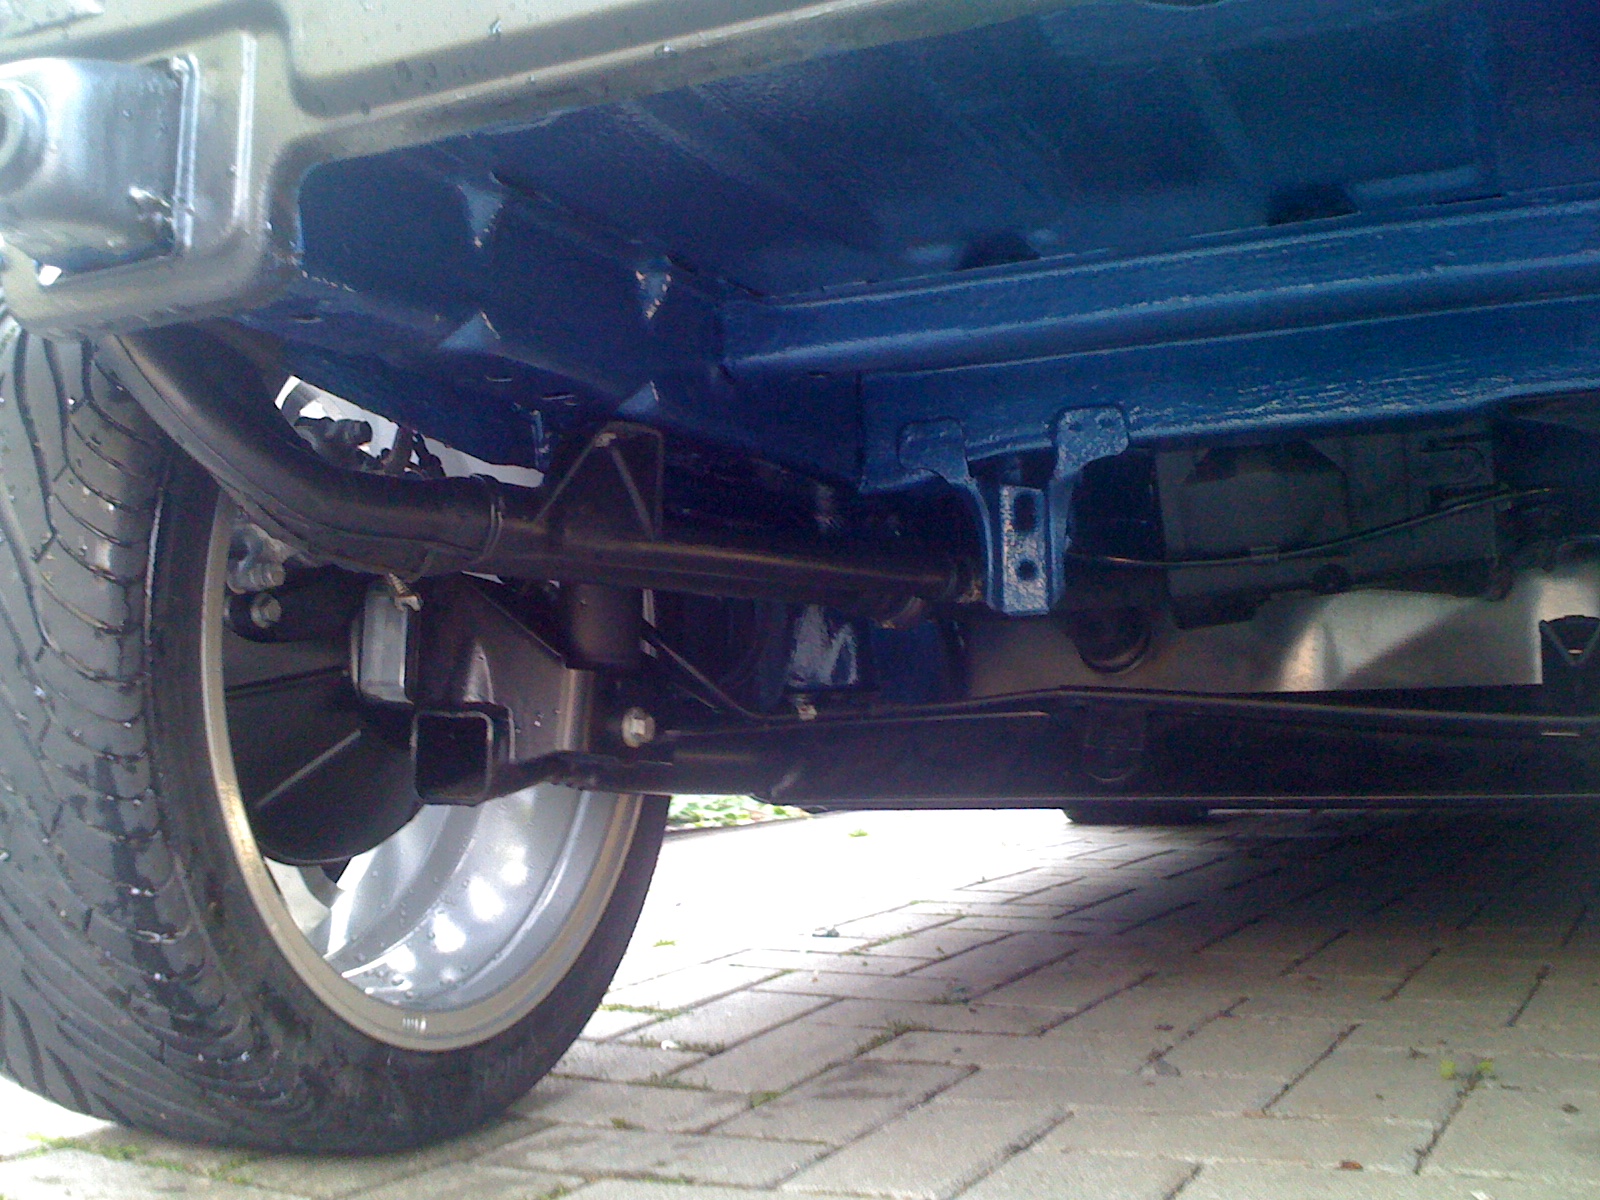
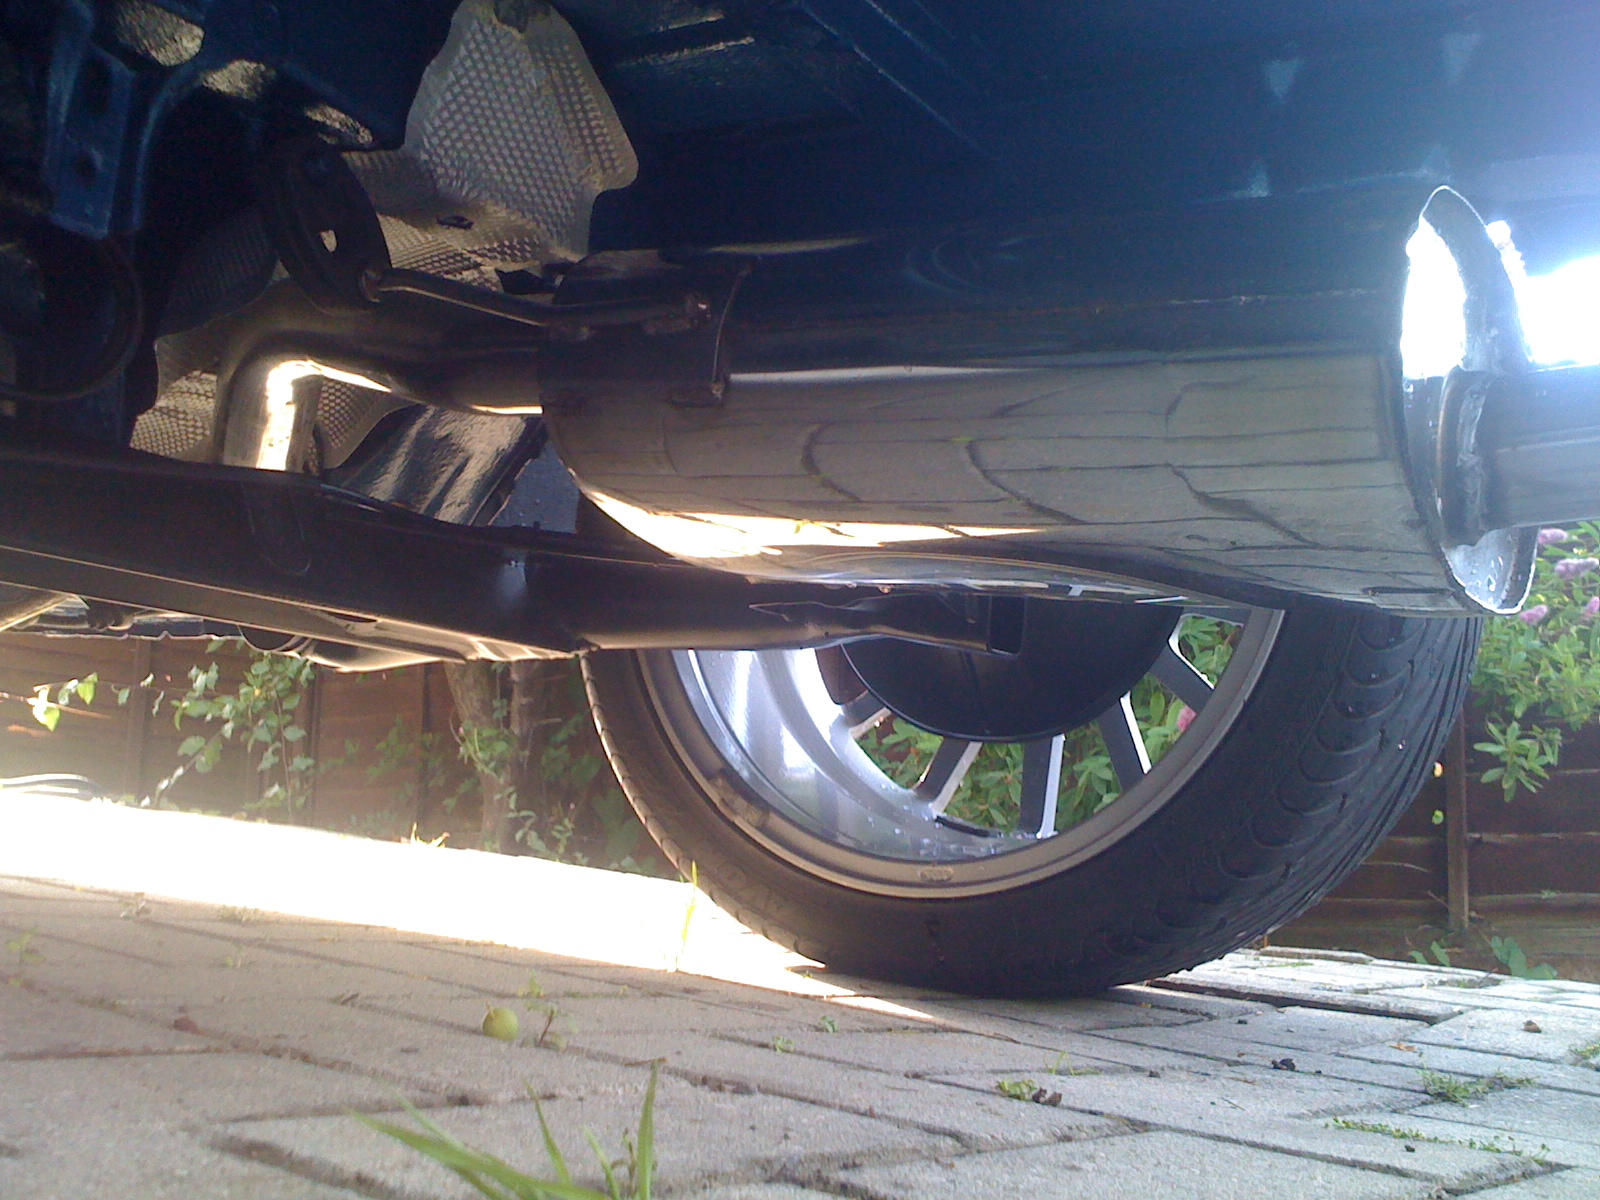
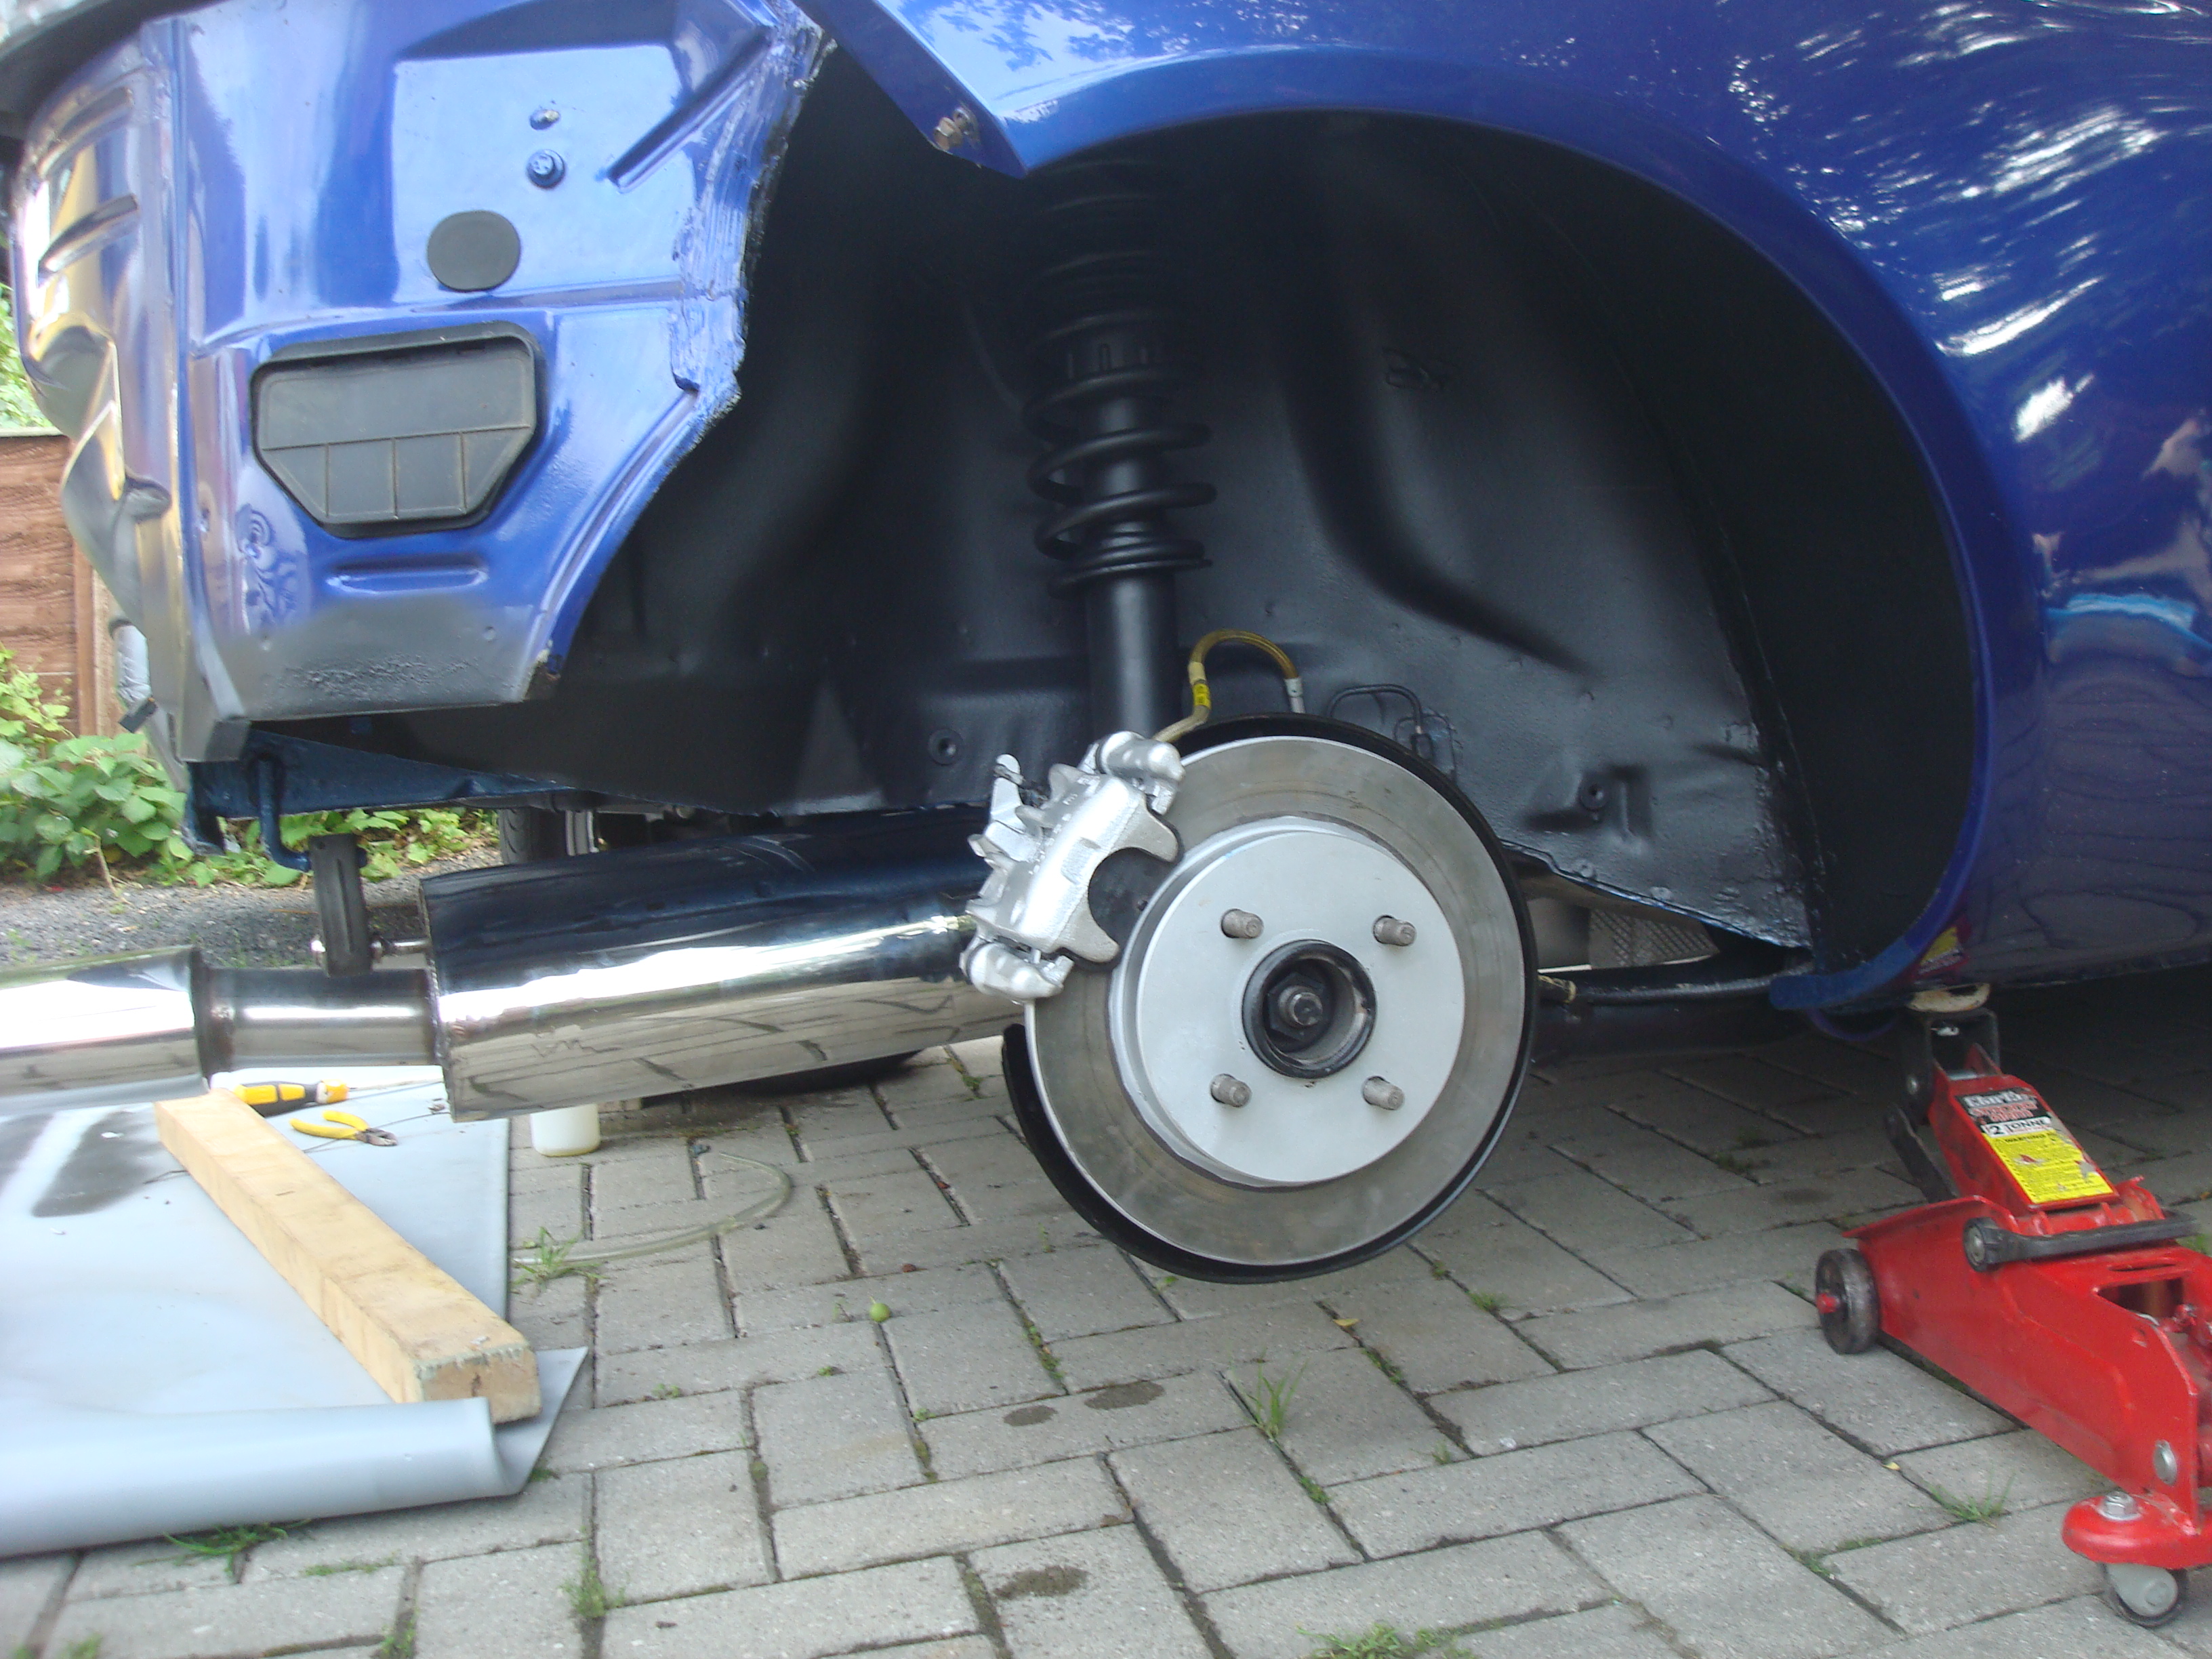
Some photos of the underside in the daylight
Removed rear wheel to re-bleed brakes
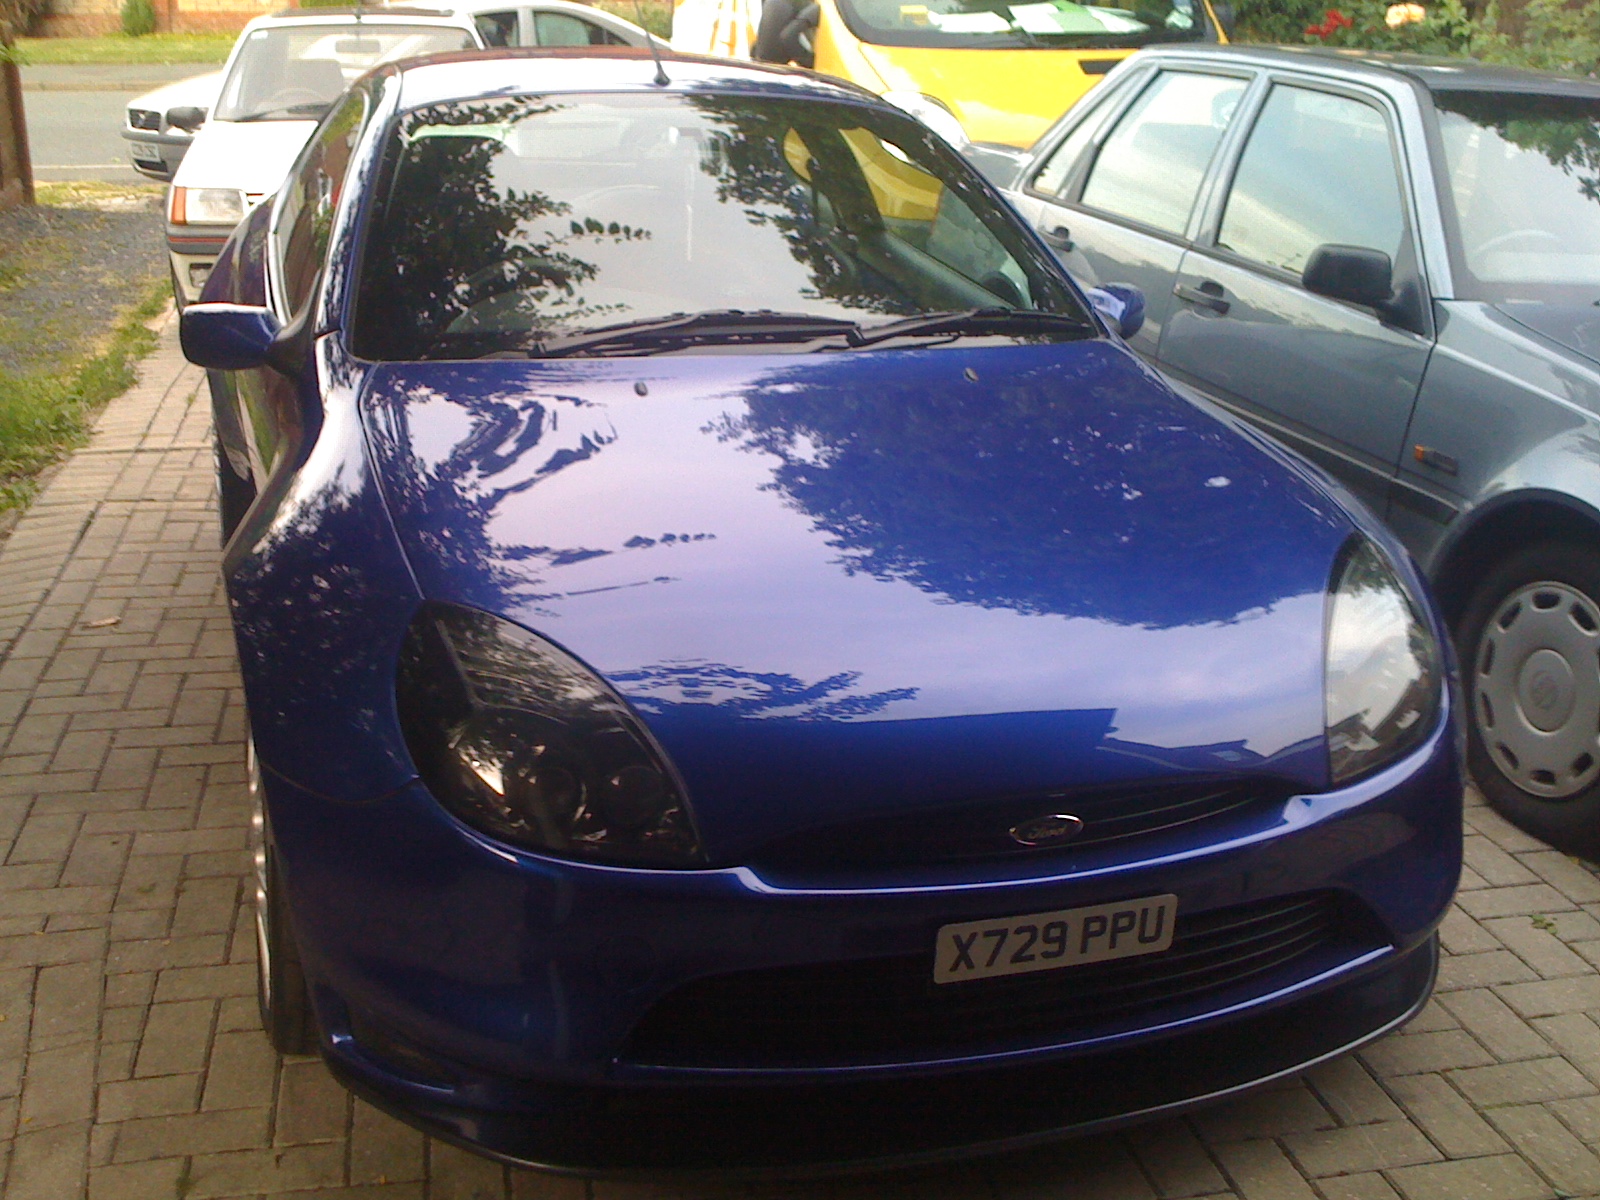
Couldn’t resist a quick wash to get rid of all the dust build up
Just need to collect the rear bumper from my mate on Wednesday, insurance now sorted so waiting for certificate to take to DVLA to get Tax and then MOT on Thursday at mates garage just down the road
Then next week going to scrub the underside of the car to get shot of the dirt build up then going to paint the middle section with some more hammerite blue, this just then leaving the front end of the car.
So still to do:
Fit rear bumper
MOT
Tax
Replacement back box heat shield
Look at sorting the rear brake line
New interior floor mats
Paint middle section
Buy 1m of alcantara
Re-trim steering wheel and seat base (Got a friend who works at Morgan garage in the interior team so he’s going to do it for me)
Refurbish Alcons
……………………………. and im sure theres a hell of a lot more but for now really happy
Finally took the rear beam out the bedroom and place in position under the car.
Poped up to the Ford garage, just a few hundred yards up the road to collect the replacement bolts for the beam as well as some spacer bolts and some DOT4 brake fluid
Jacked it up in to position and tighten up
Fitted fuel box fully.
Started to connected brake lines
Unfortunately whilst tightening up the rear left brake line the thread cross threaded Fortunately the calliper was still ok but as can been seen below the thread was buggered
So before heading off to mates garage to see if he had any suggestions we stopped for a quick snack
Just before we went decided to fit the centre section and the back box, just need to get a replacement back box heat shield
Oh and attached the hand brake cable.
Popped to mates garage and he had a go at fixing the rear brake line but to no avail, so he rang a supplier and got a part ordered with the correct ends, unfortunately it was a bit short in length but he managed to attached an extra bit to make it long enough.
Finally once all the brake lines were attached we went round the car and top up the brake fluid.
Then at this point I was getting rather excited as it was time to put the wheels back on
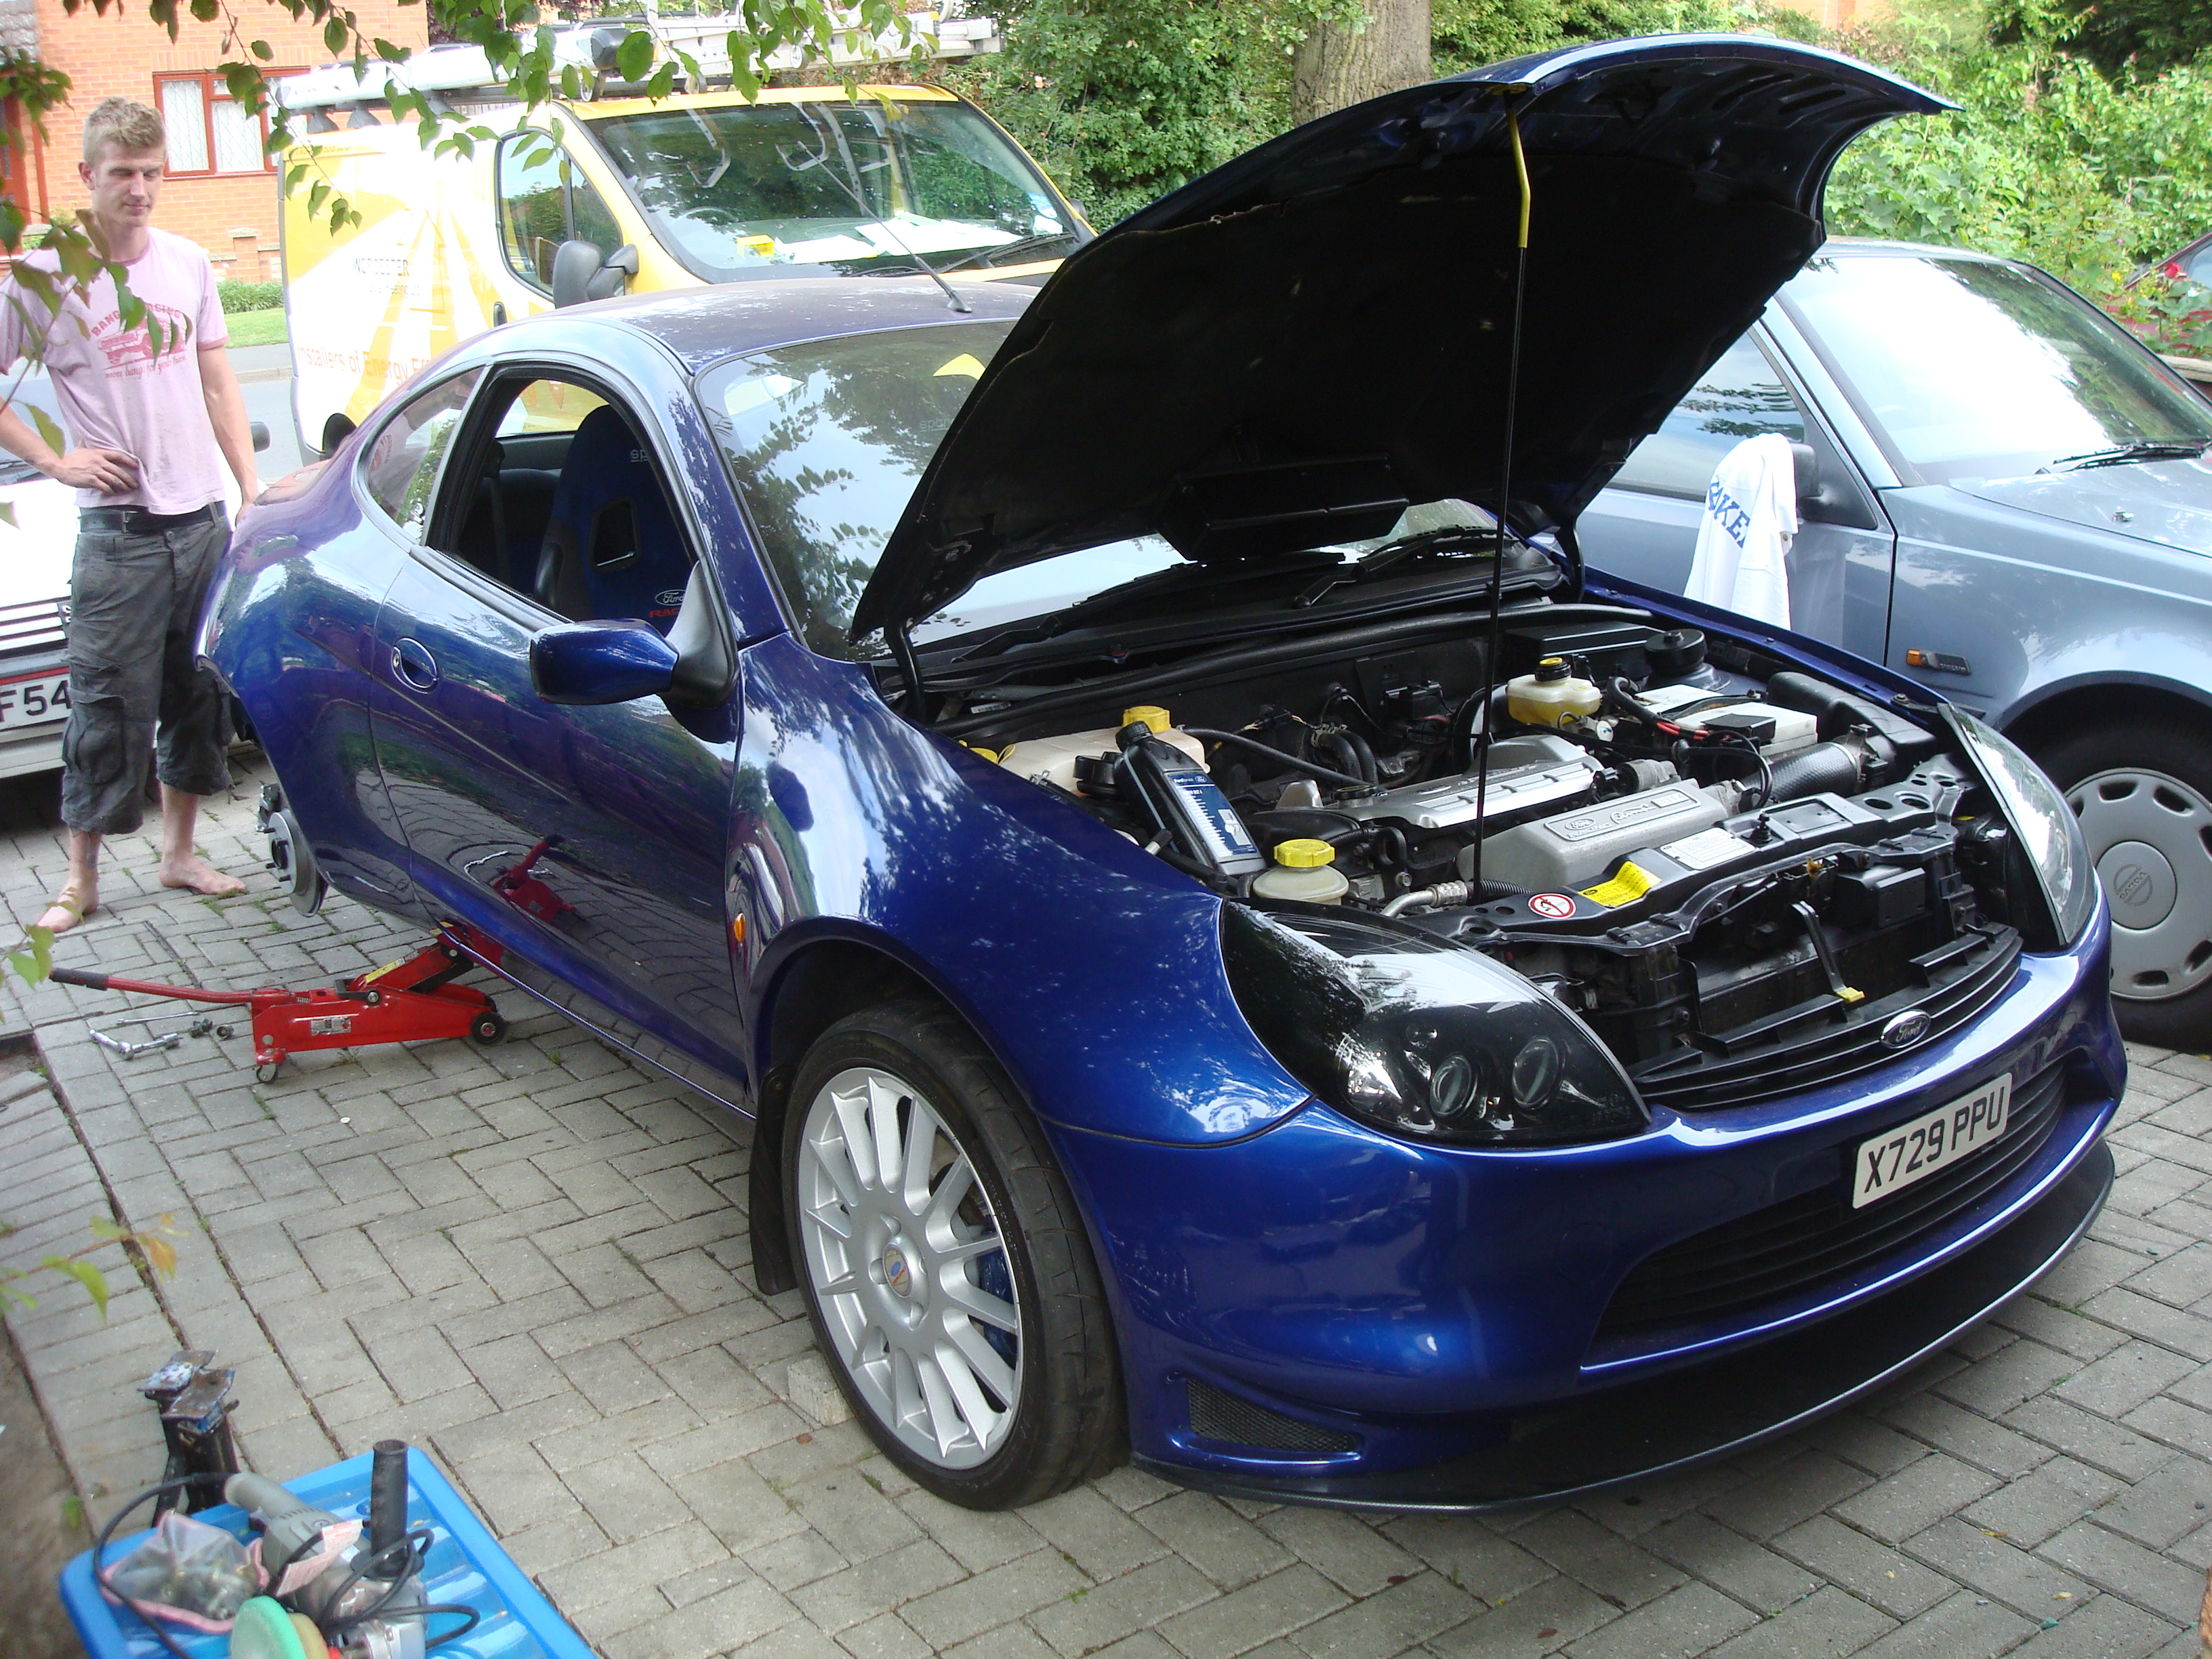
So the moment cam to reverse it out the garage and get it on the drive for the first time in ages.
Silly gay photo was a must due to sheer excitement
Some photos of the underside in the daylight
Removed rear wheel to re-bleed brakes
Couldn’t resist a quick wash to get rid of all the dust build up
Just need to collect the rear bumper from my mate on Wednesday, insurance now sorted so waiting for certificate to take to DVLA to get Tax and then MOT on Thursday at mates garage just down the road
Then next week going to scrub the underside of the car to get shot of the dirt build up then going to paint the middle section with some more hammerite blue, this just then leaving the front end of the car.
So still to do:
Fit rear bumper
MOT
Tax
Replacement back box heat shield
Look at sorting the rear brake line
New interior floor mats
Paint middle section
Buy 1m of alcantara
Re-trim steering wheel and seat base (Got a friend who works at Morgan garage in the interior team so he’s going to do it for me)
Refurbish Alcons
……………………………. and im sure theres a hell of a lot more but for now really happy
08-07-2010, 12:07 PM
#120
Wahay!! I've lost my Virginity!!
Thread Starter
Join Date: Dec 2009
Location: Malvern
Posts: 69
Likes: 0
Received 0 Likes
on
0 Posts
Wednesday 07/07/2010
Little update, sorted out insurance and finalised the first payment, so I could take the car down to mates body shop to fit the rear bumper.
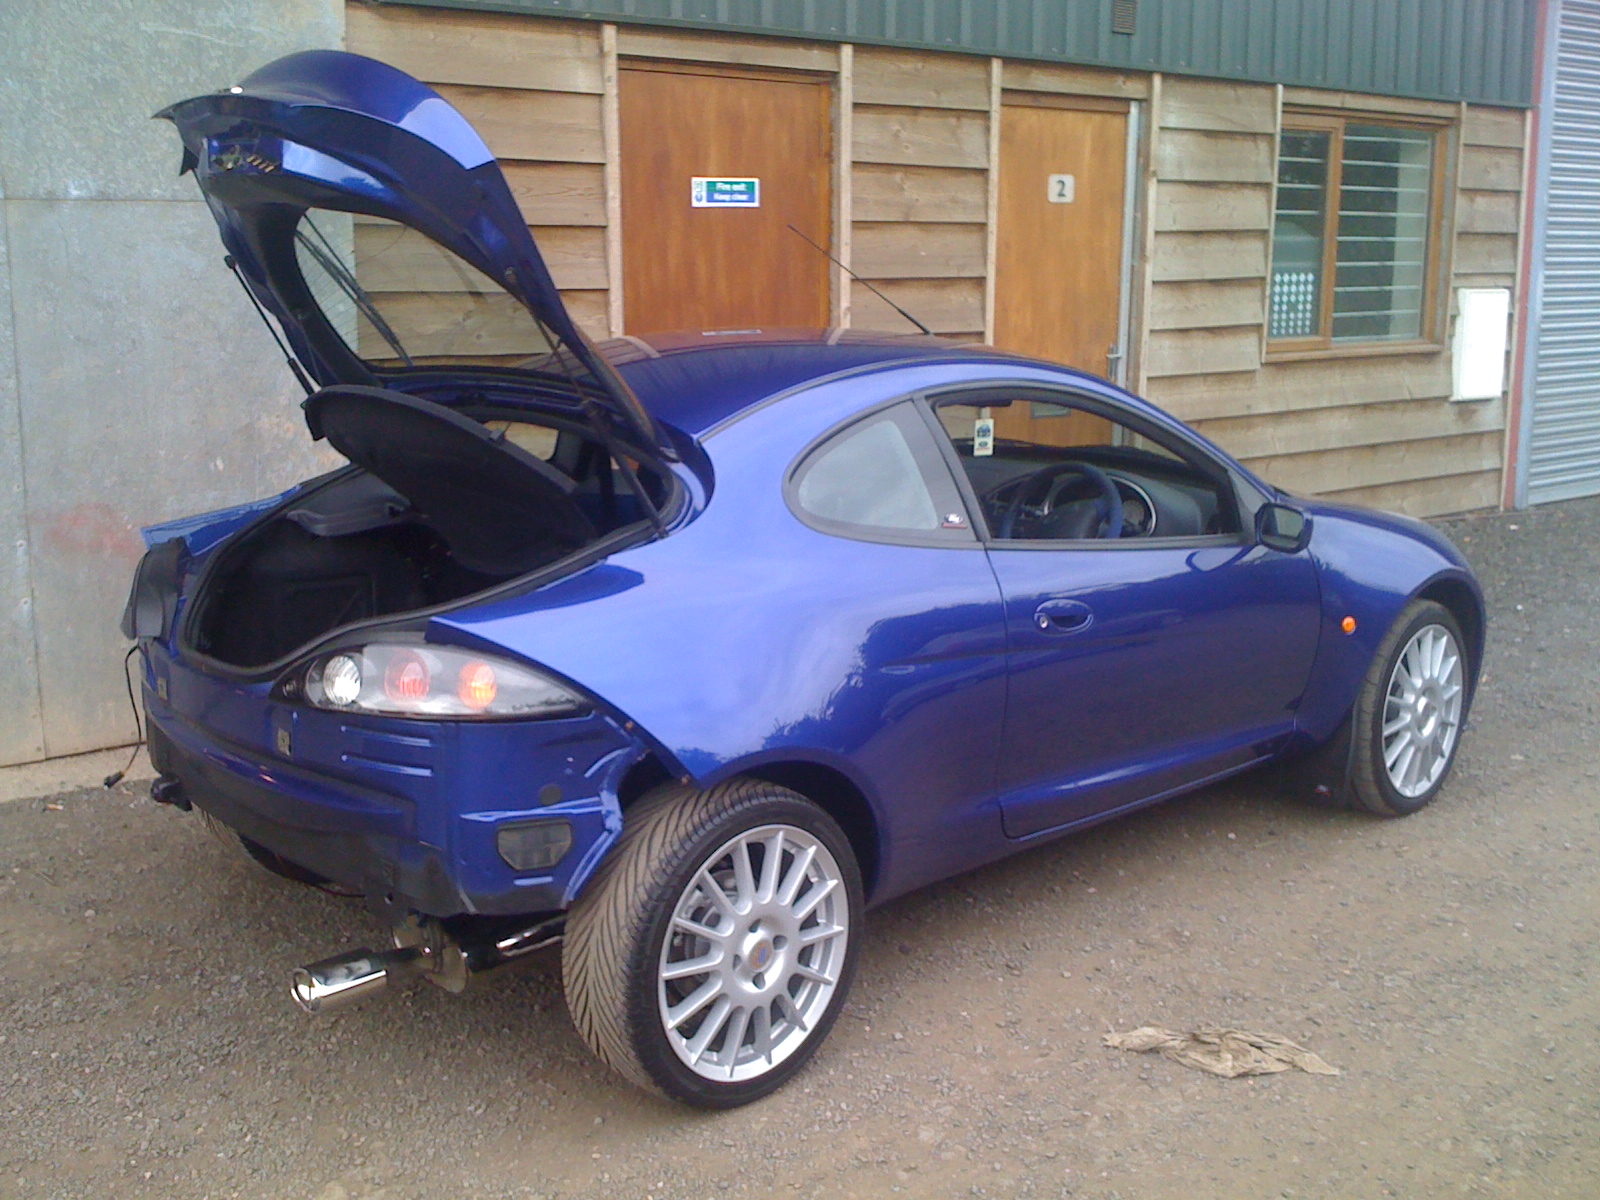
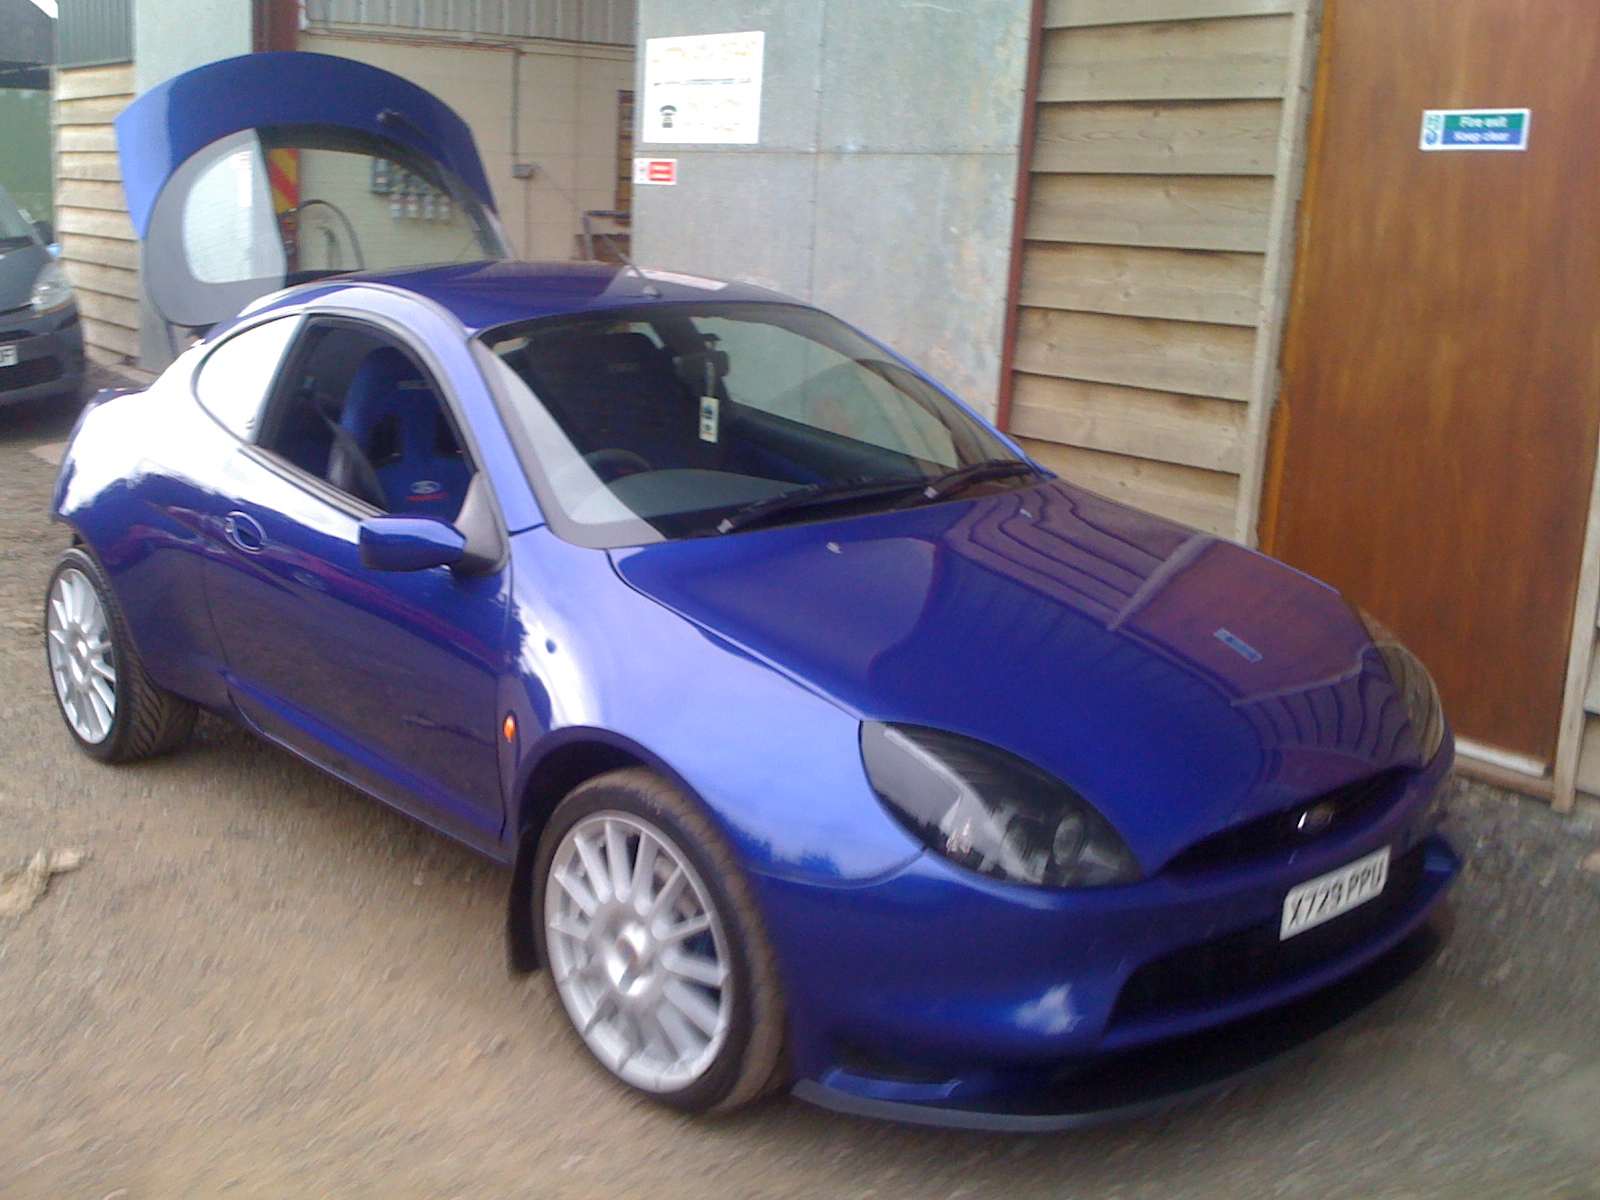
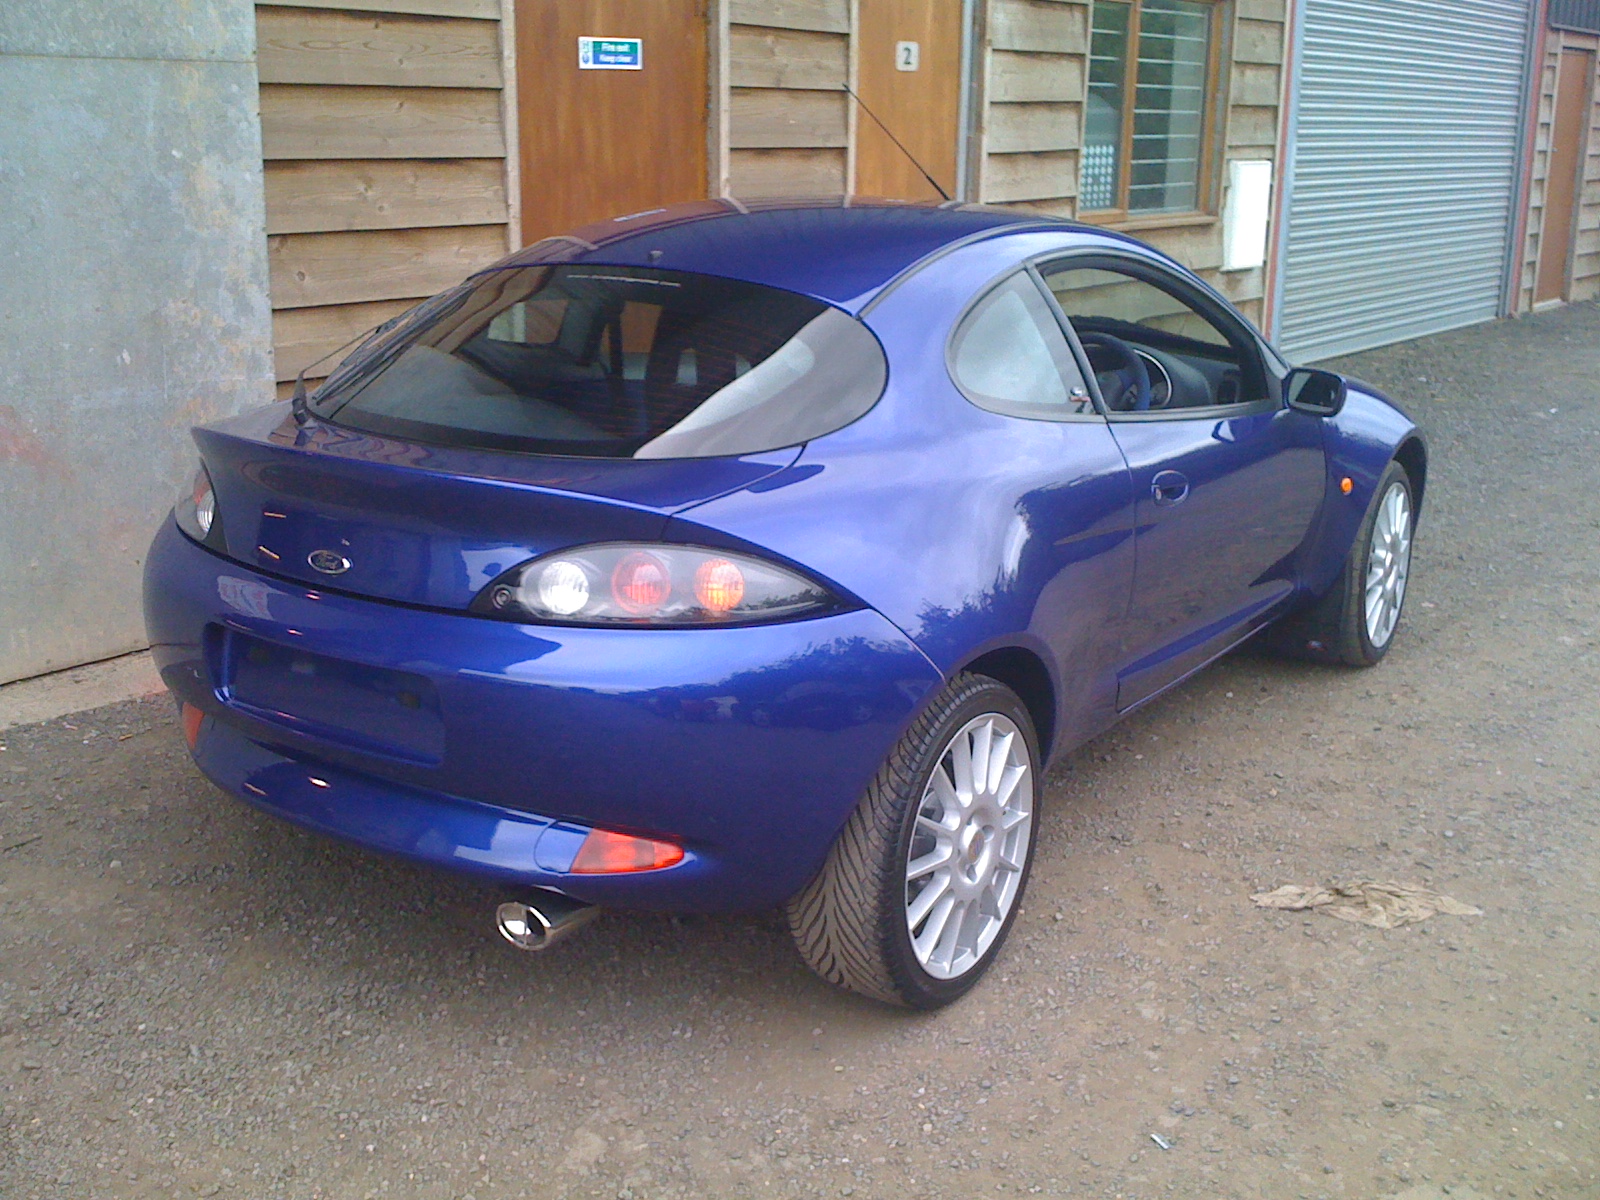
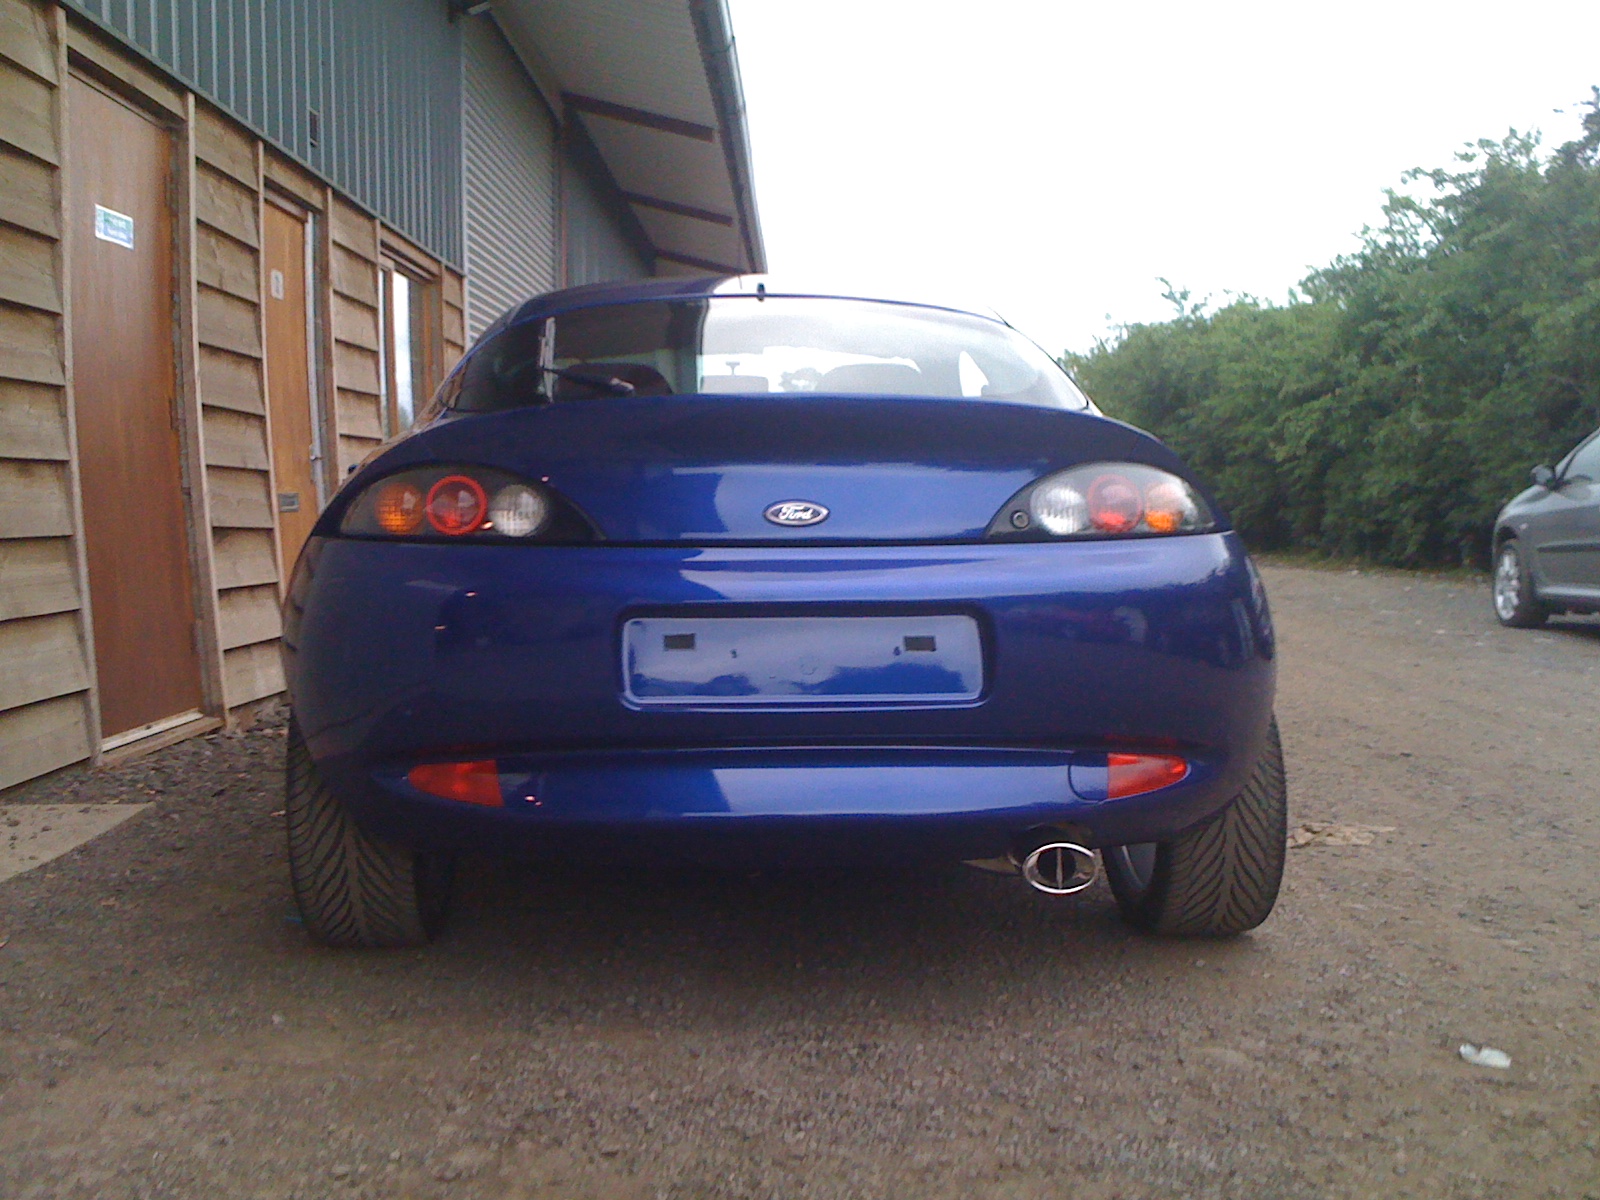
Attached rear bumper:
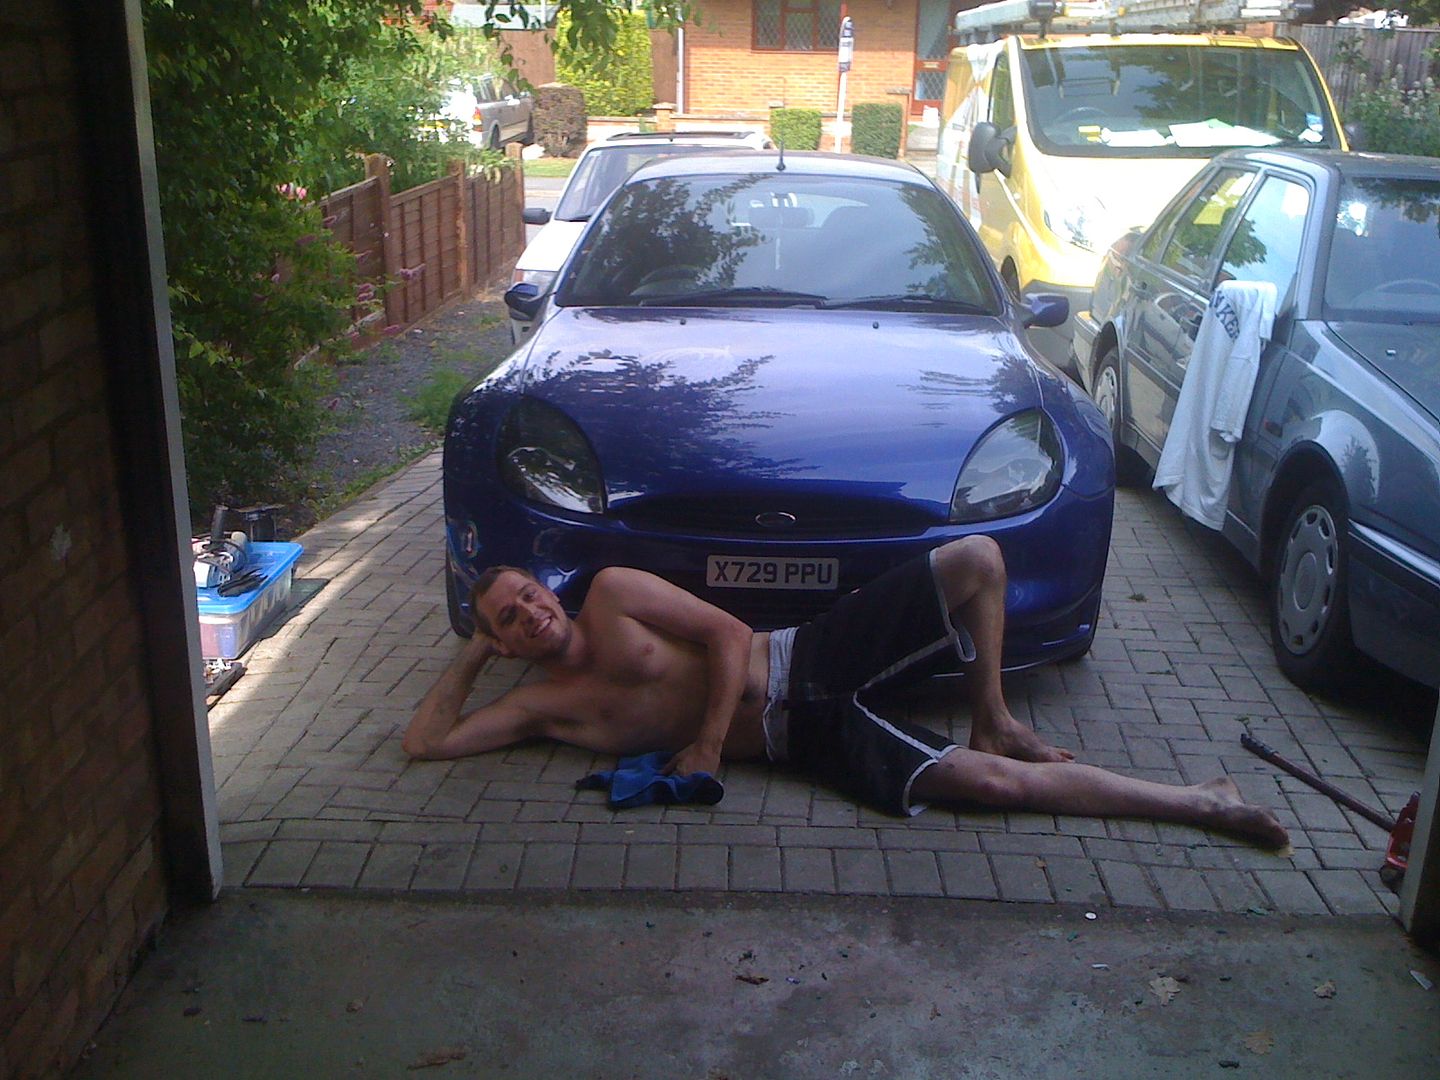
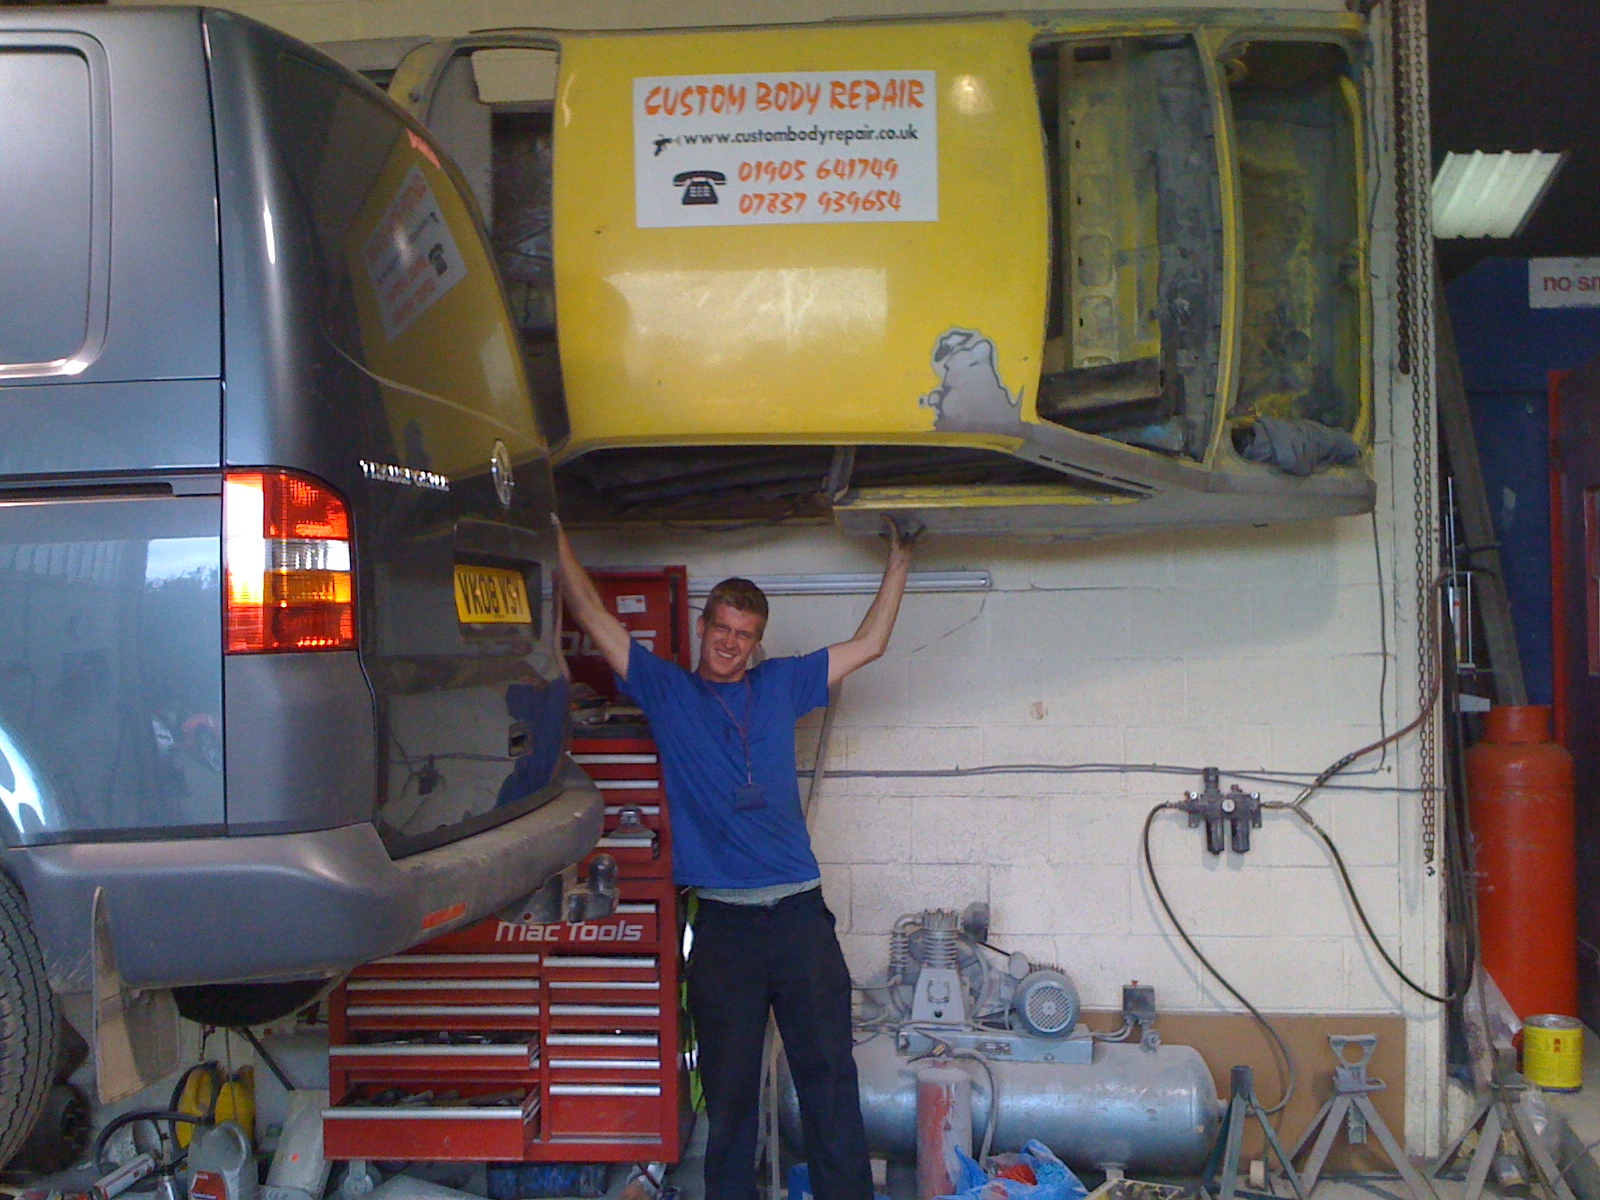
Dan decided to bench press another Ford
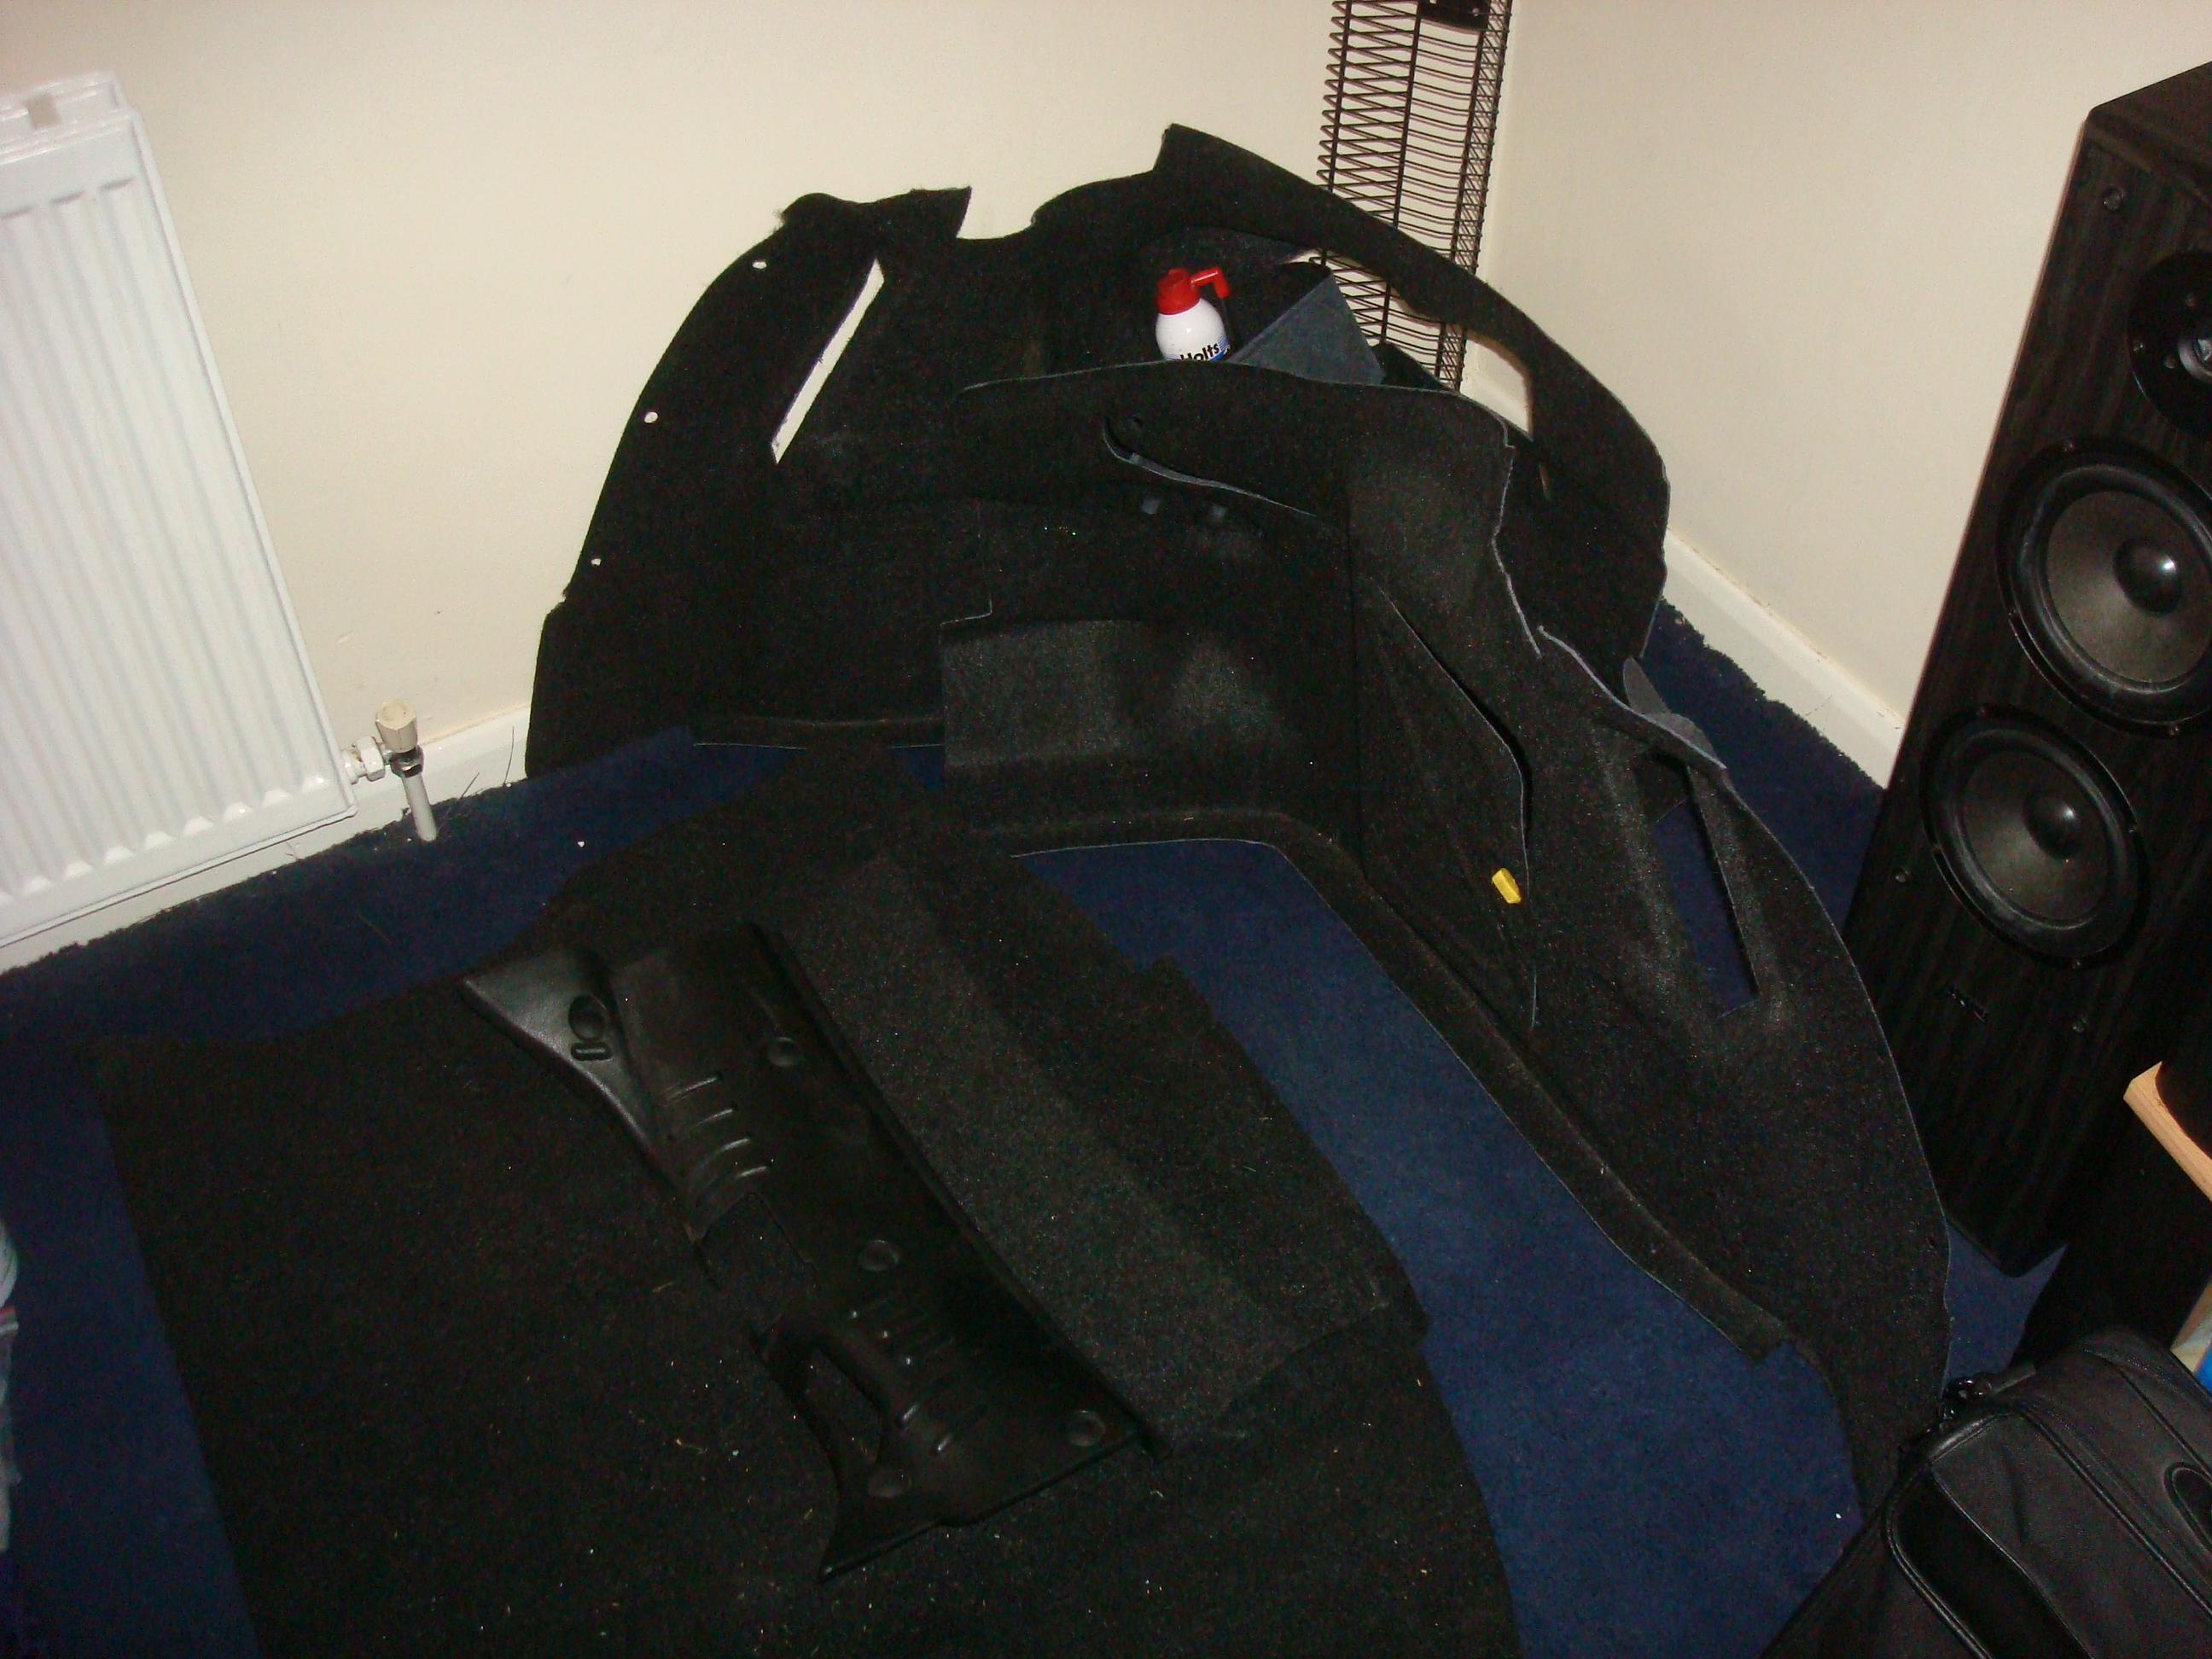
Took the car home and fitted the rear splash guards and put the carpet back in the boot as well as checking all the bumper bolts:
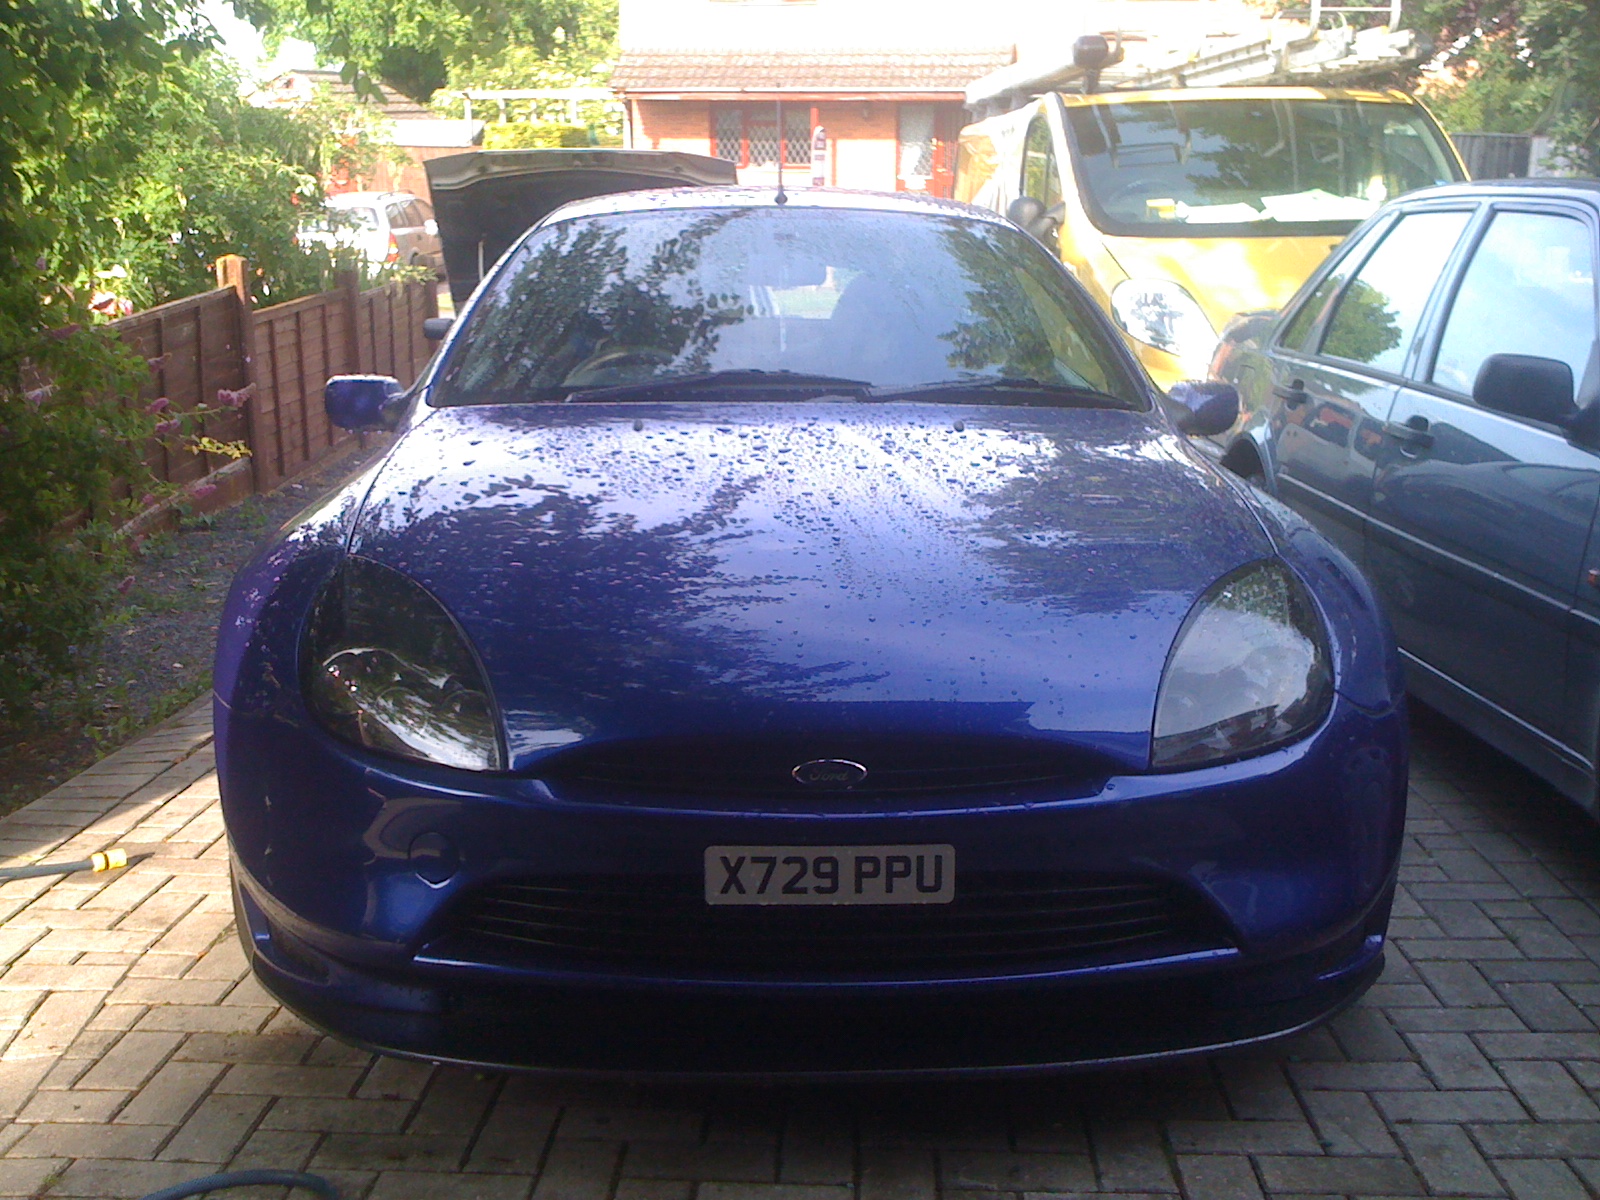
Popped it in the garage for this morning MOT, not forgetting to put the reg plate back on of course.
David
Little update, sorted out insurance and finalised the first payment, so I could take the car down to mates body shop to fit the rear bumper.
Attached rear bumper:
Dan decided to bench press another Ford
Took the car home and fitted the rear splash guards and put the carpet back in the boot as well as checking all the bumper bolts:
Popped it in the garage for this morning MOT, not forgetting to put the reg plate back on of course.
David