Mk2 Orion - The Rebuild
 05-03-2009, 03:49 PM
#1
Too many posts.. I need a life!!
Thread Starter

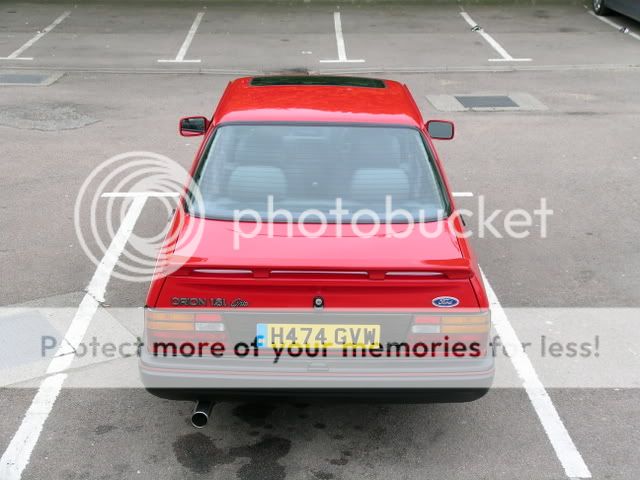
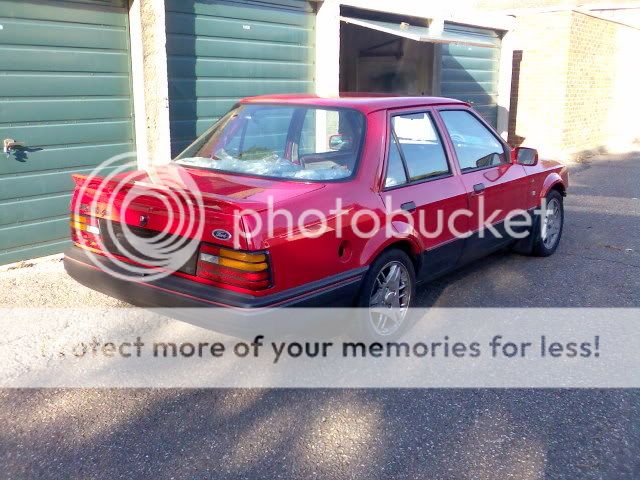
Hello peeps, I dont post very much on here but as i cant see any orions this is just to show that theres actually still some around 
right original plan was to completly restore it to show room condition, it got stripped and then ended up just getting stored for a long time. now i am working to get her back on the road
I am a bit of an amature when it comes to this so any advise is always welcome
(copied from another forum)
Parked up on way to a show a couple of years ago
on to the rebuild, this is consisting of body work, referbing some parts, cleaning and/or either replacing parts for now just to get her back on the road. this by anymeans isnt how it will stay as it still needs alot more work to get it how i would actually like but actually having an mot is better than without one
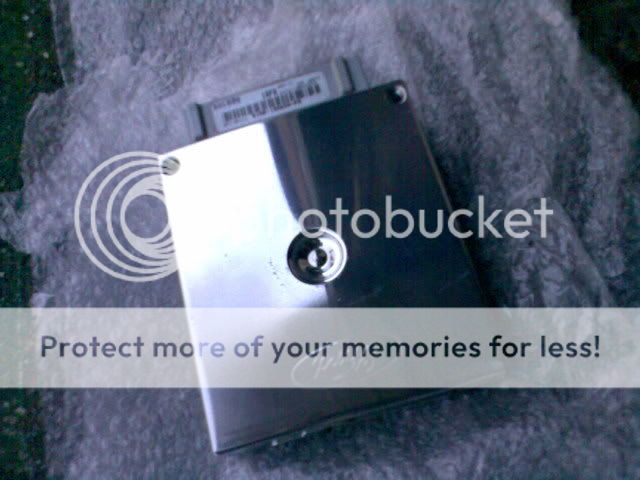
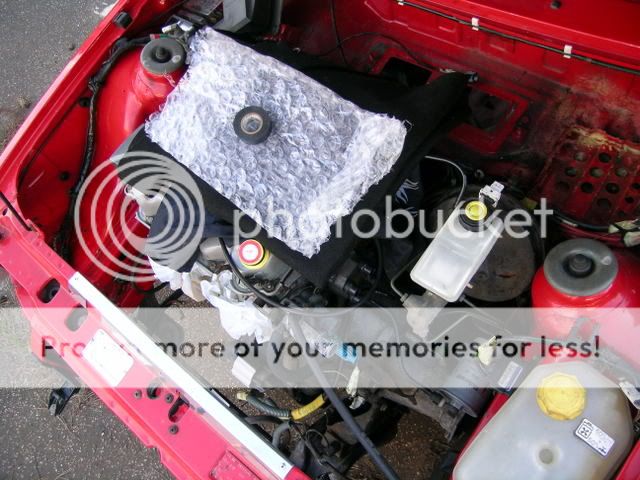
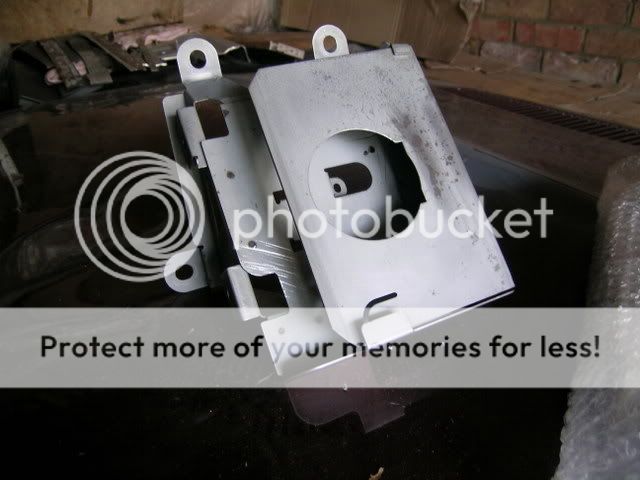
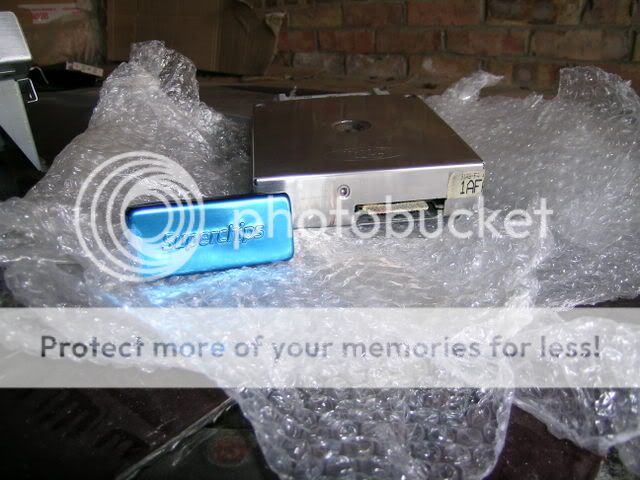
ecu had a quick polish
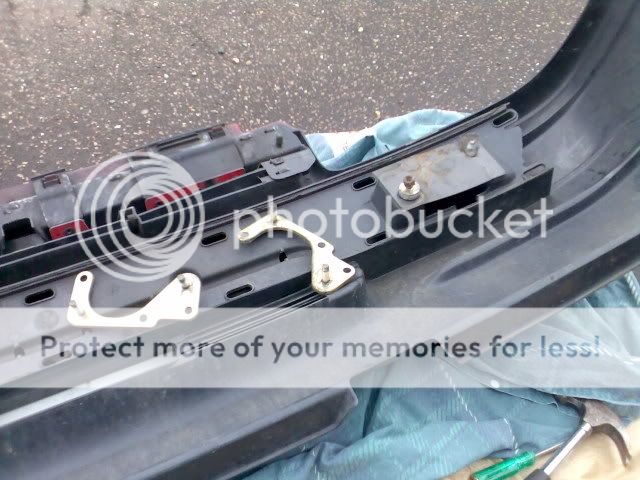
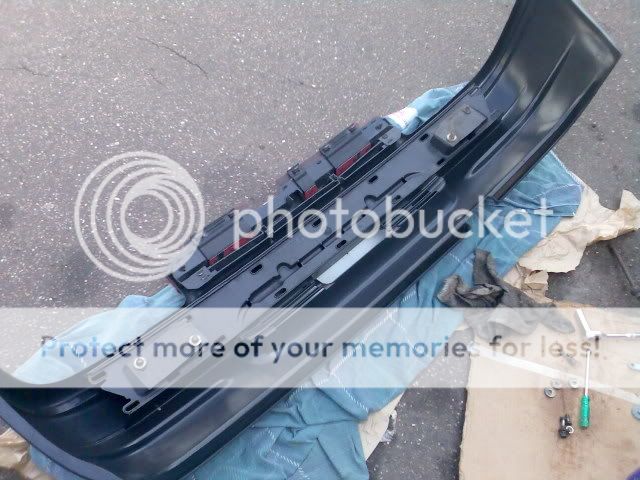
Front bumper needed new mounts and a clean
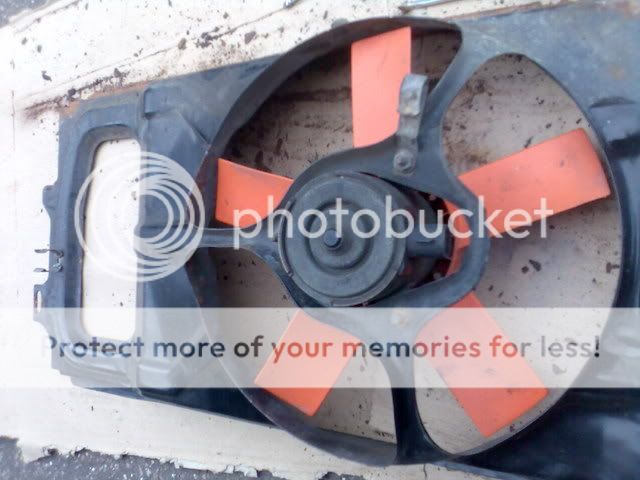
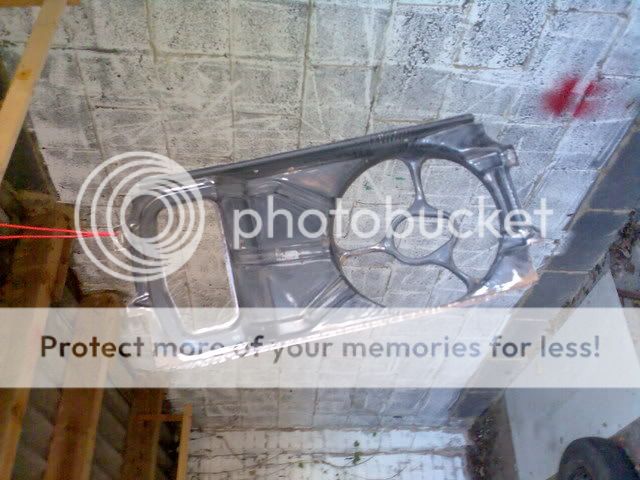
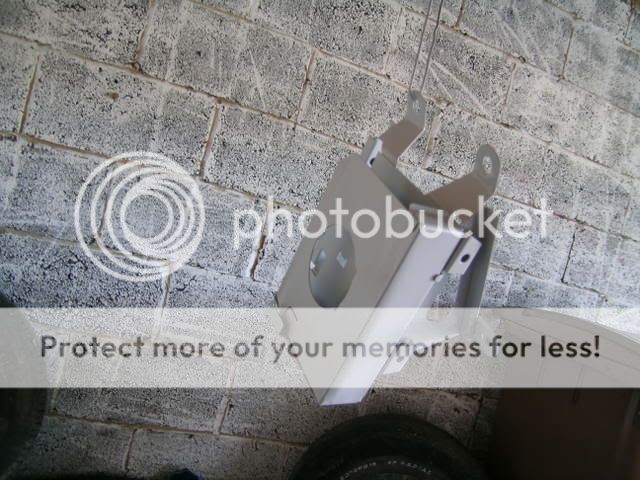
also the radiator cowling was looking a lil tired so stripped down zinc primed and awaiting a coat of black paint
needed to be replaced
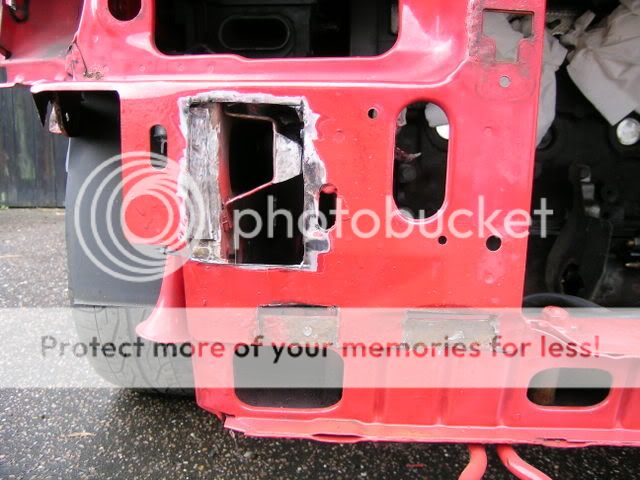
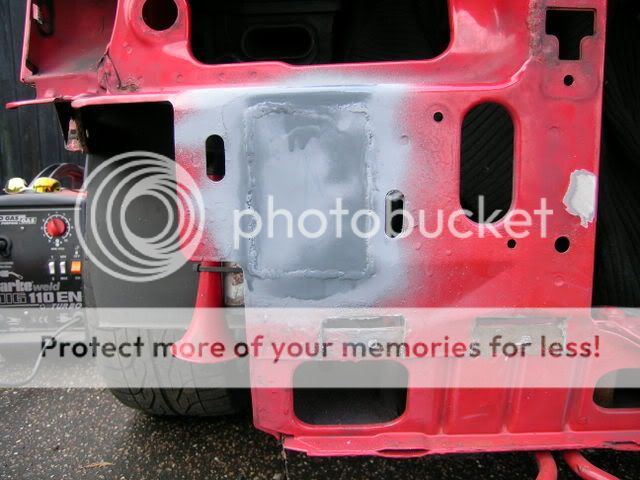
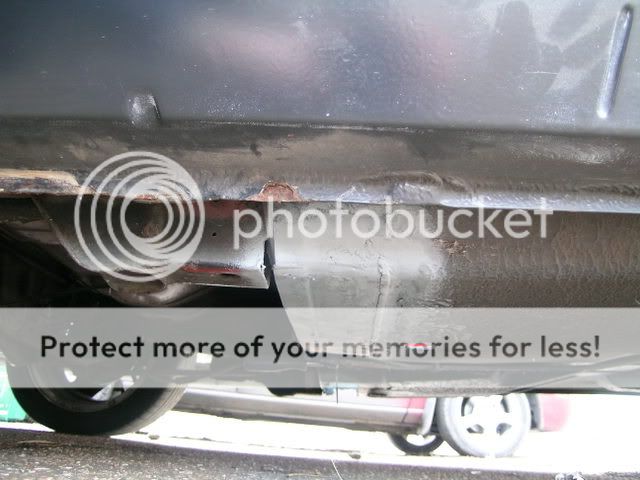
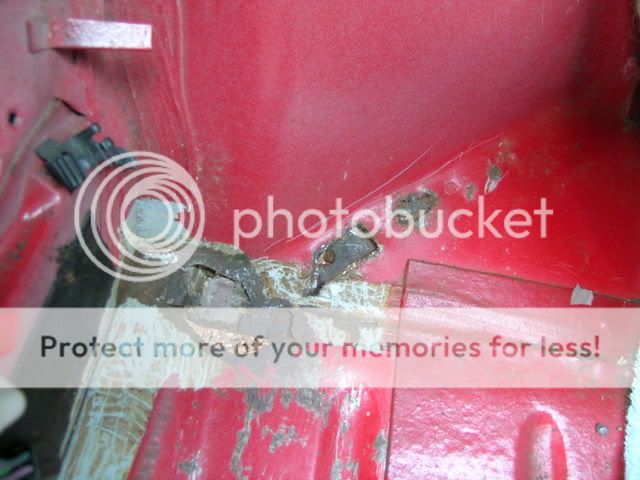
the rust to be sorted first
(a very poor attempt form a previous owner/garage)


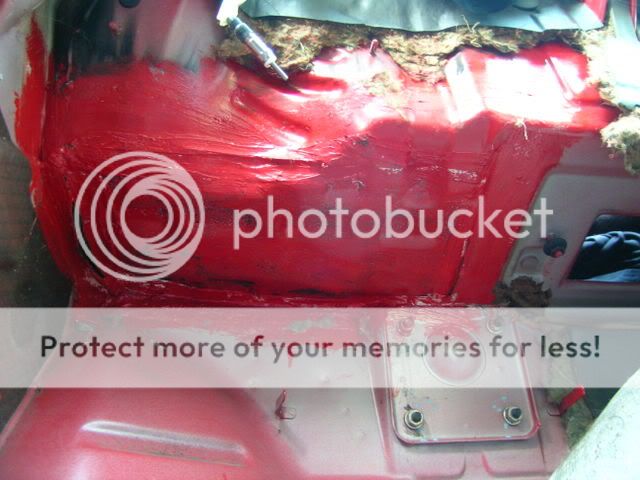
6 patches in total
some of the metal;


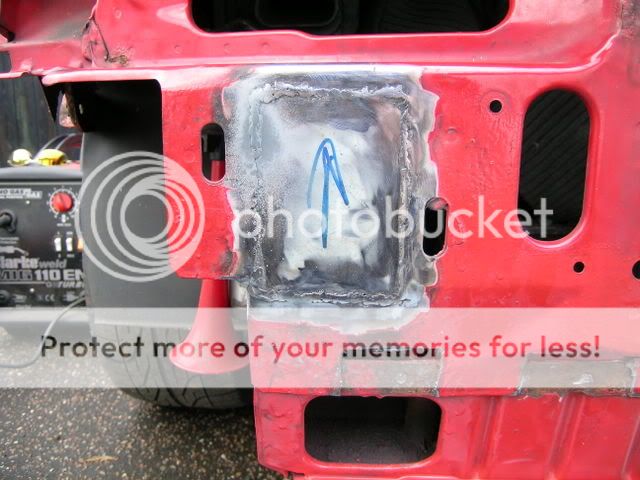
and this is only a temp job i have another to recon when the cars up and running that is in better shape

the finish isnt the best as i was only just trying to get it covered in paint but itll do for now.
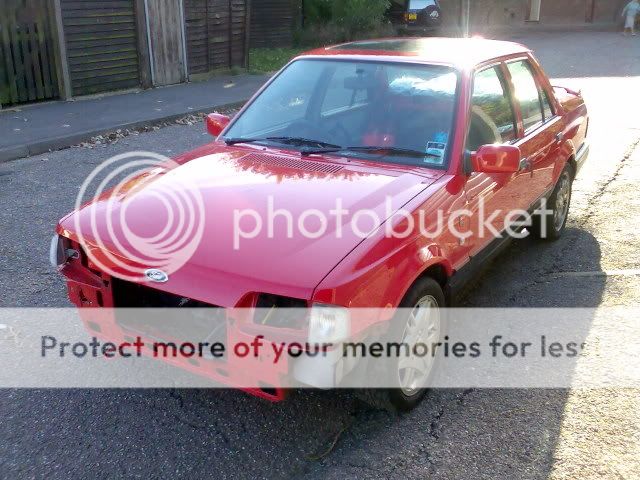
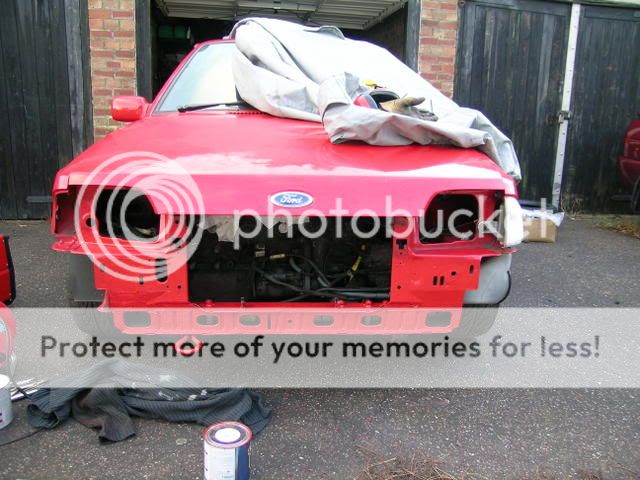
(at this point i had to move the car finally to start work on it)
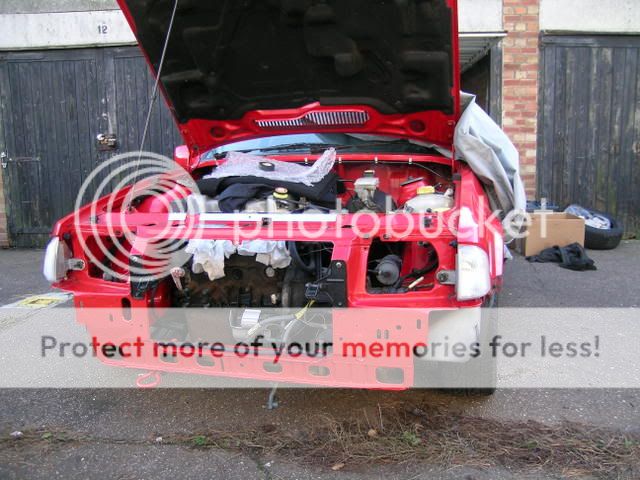
but anyway she is out of storage and seen the sun for the first time in 2 years, ready to be worked on
really hate the wheels its on but there only while i work on it, and it really needs a clean!
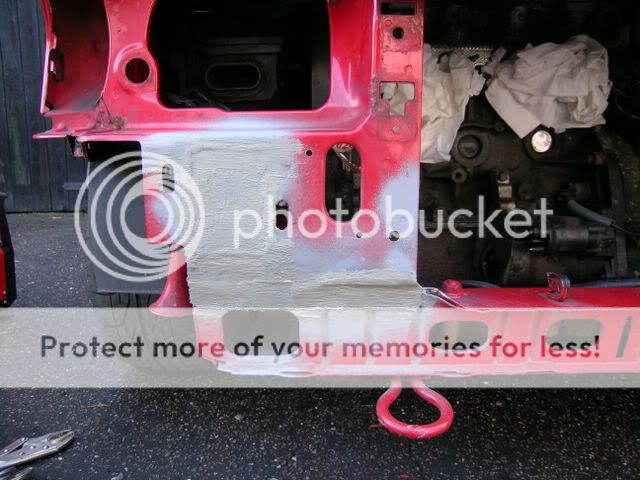
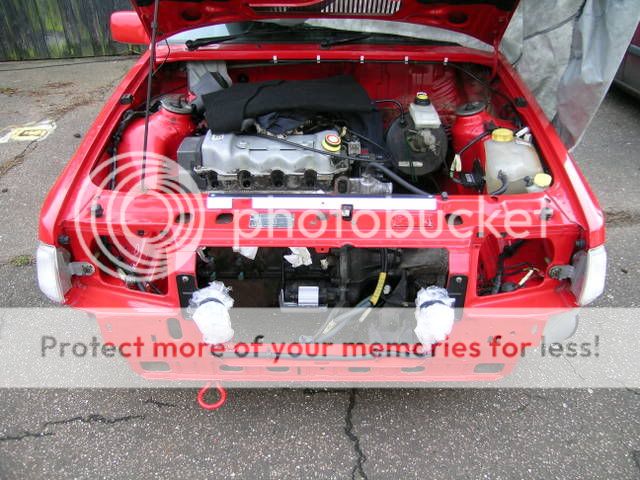
Well the front panel is now done, its only a temporary job as i will put a new panel on there in some time but atleast itll allow me to build up the engine bay

and prepared another hole to be done
bit of an update
other side (previous repair) mostly cut out

before a cleaning
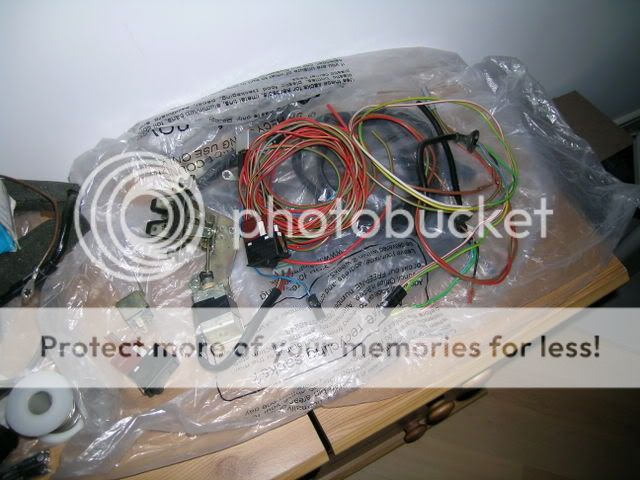
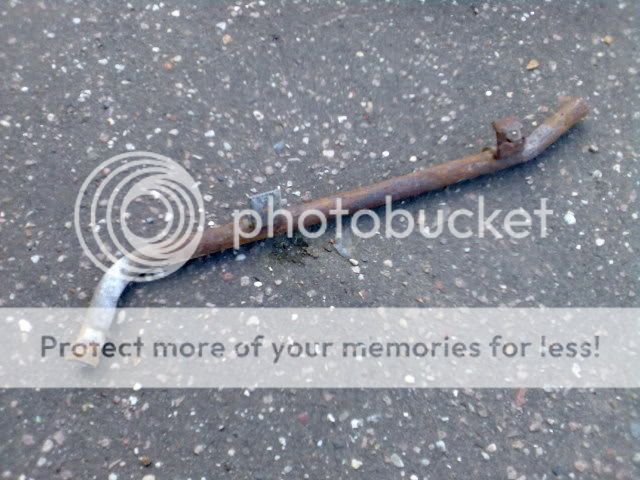
mk1 boot popper loom to be made up
spot light brackets

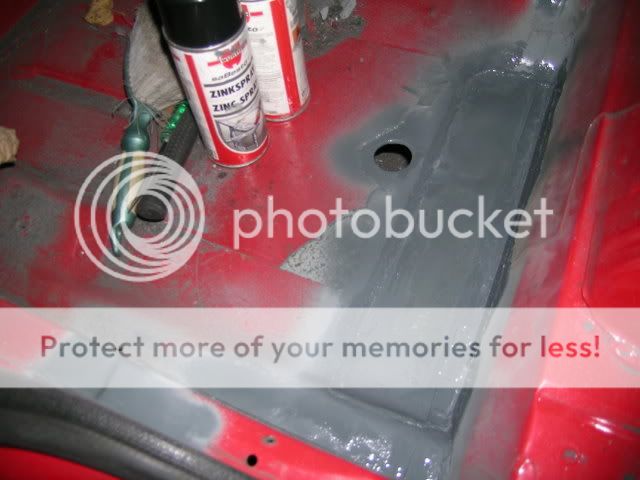
Floor patch to be chopped up
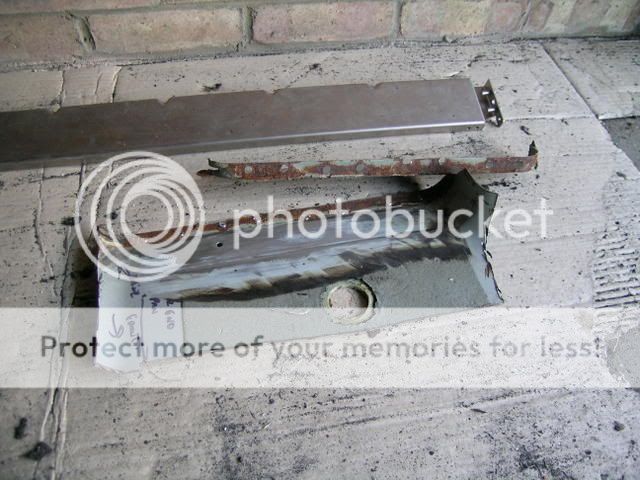
then seperated and as you can see the rust on the panel over laps were a bit much even after cleaning so i chopped it at the next crease
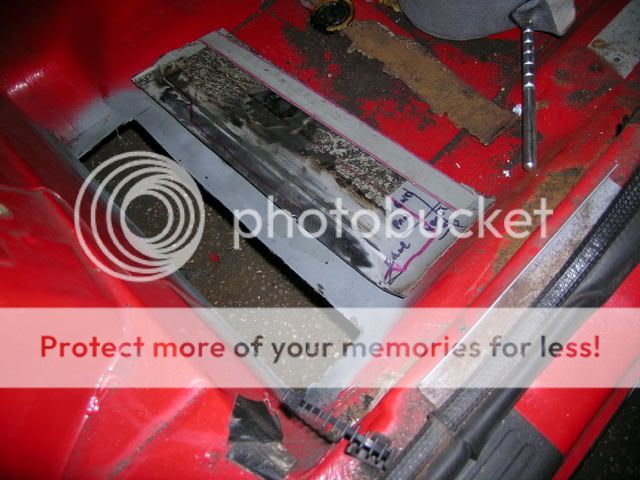
i had to sit and thnk about how i was going to do this as this needs to take the wait of a person and also made so it follows the shape of the floor
to take any warping out of the panel and joins
still needs a little more shaping but its basically there

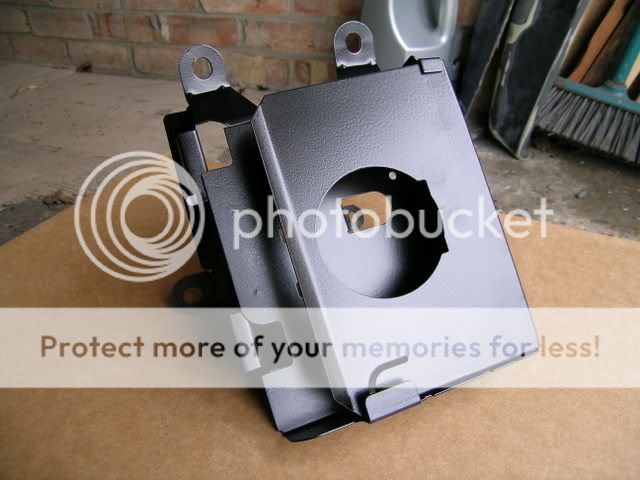
ecu cover cleaned
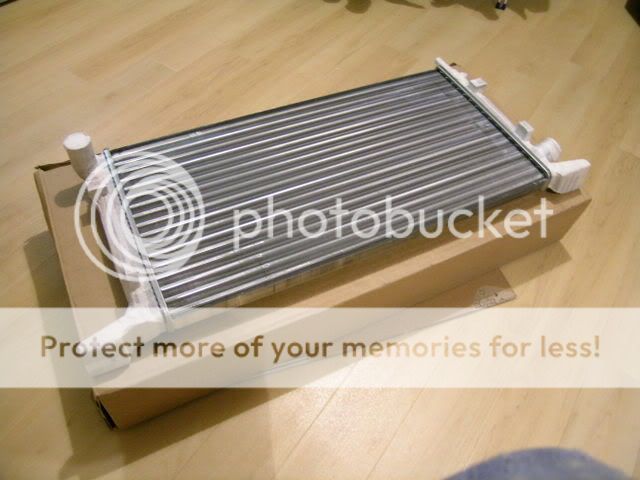
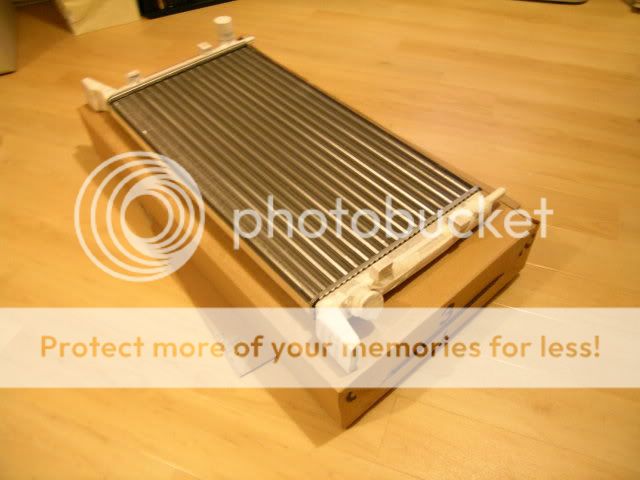
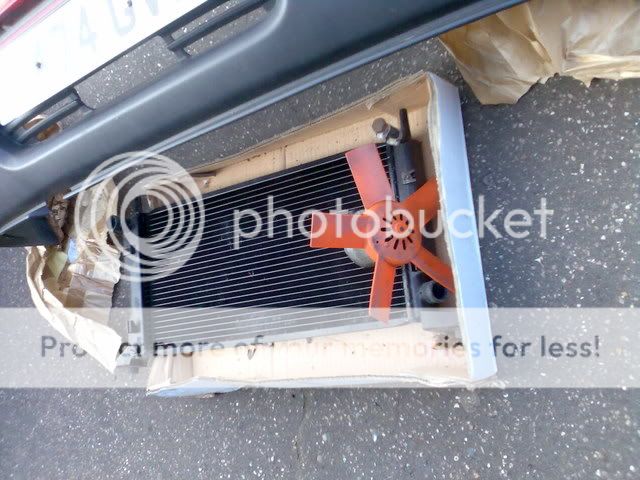
new radiator all taped ready for painting
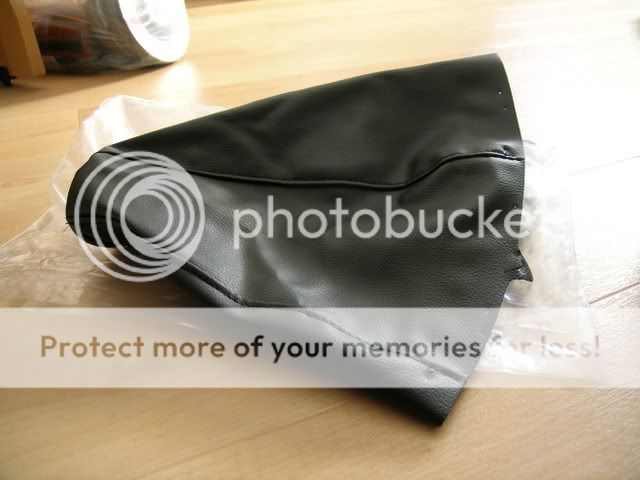
new gear gaitor
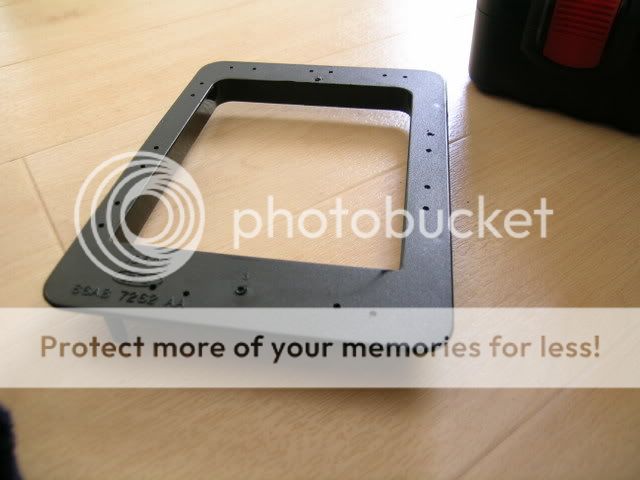


ecu mount now with hole to accept chip


ready for a coat of paint
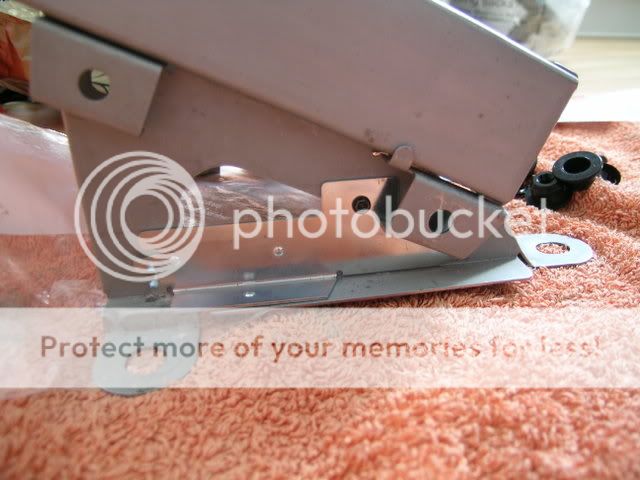
ecu cover plate made to fit the mount so it doent go missing
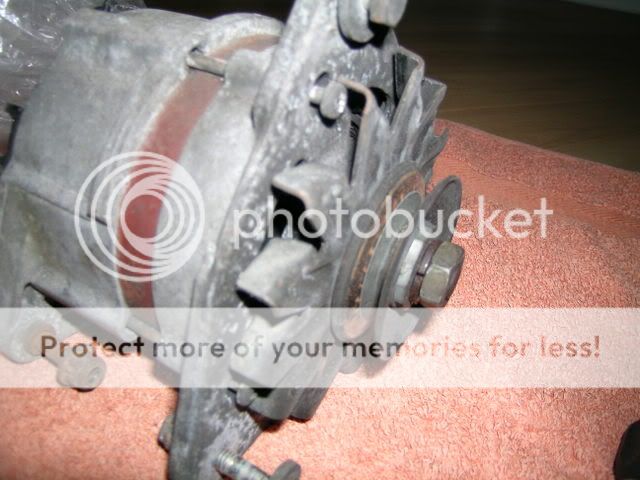
alternator needs cleaning up
other side done both need a little triming and shaping still, was getting on abit by the time i had finished.
ecu cover in primer

same with the rad
quickly cleaned, will do properly later on.
lil update
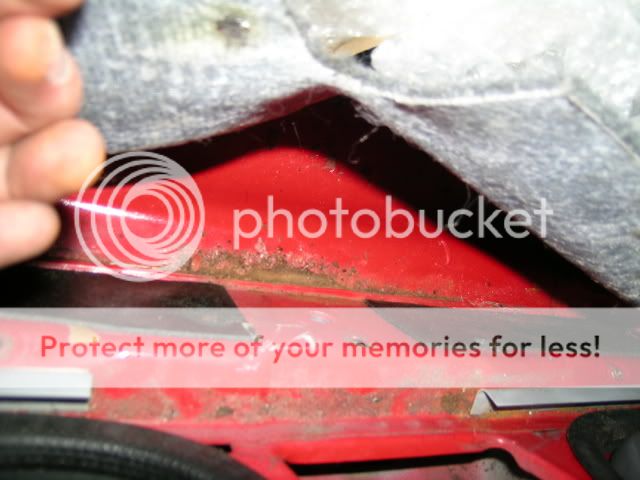
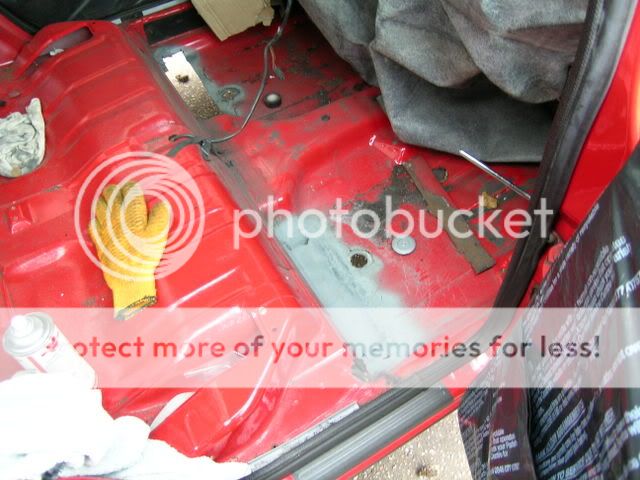
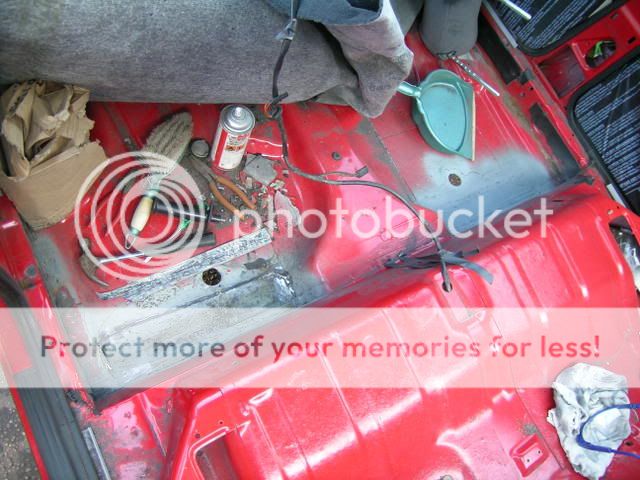
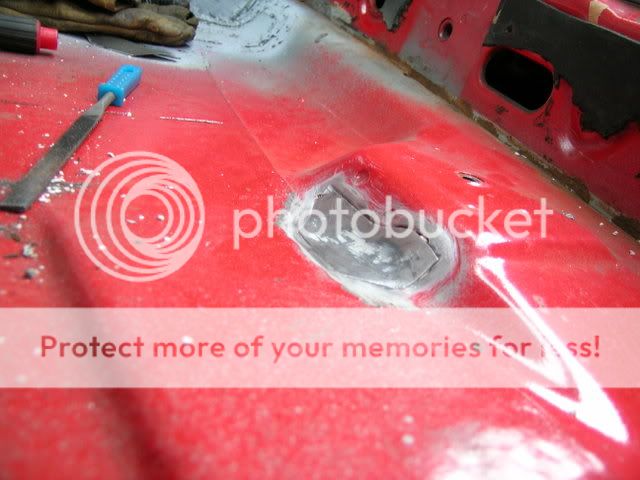
i had decided to fully inspect the floor and came up with 3 more holes i have one more seam i want to check under the sound proofing of the n/s/f floor so hoping thats not too rusty.
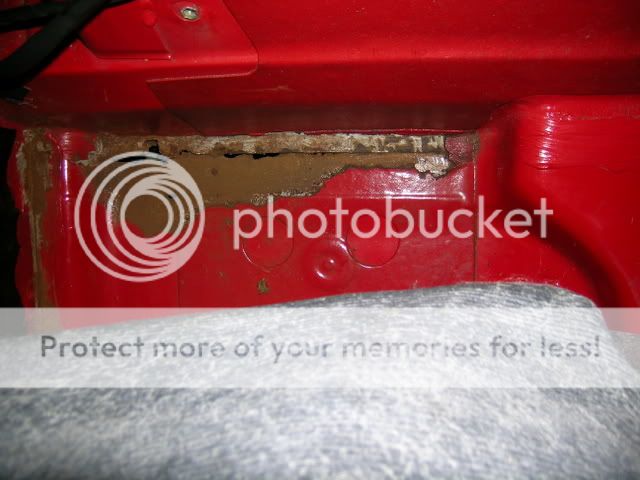
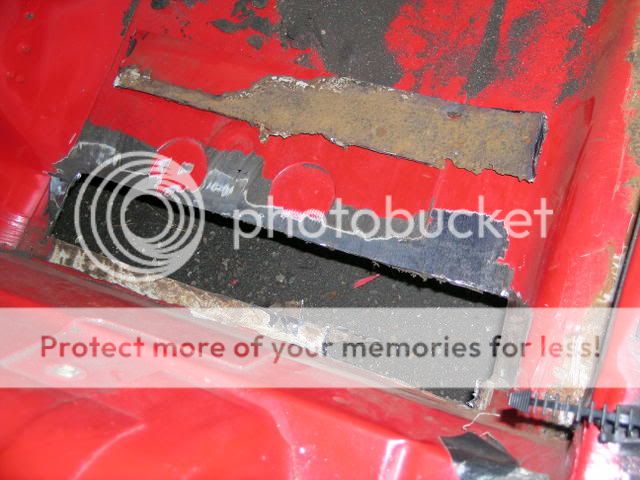
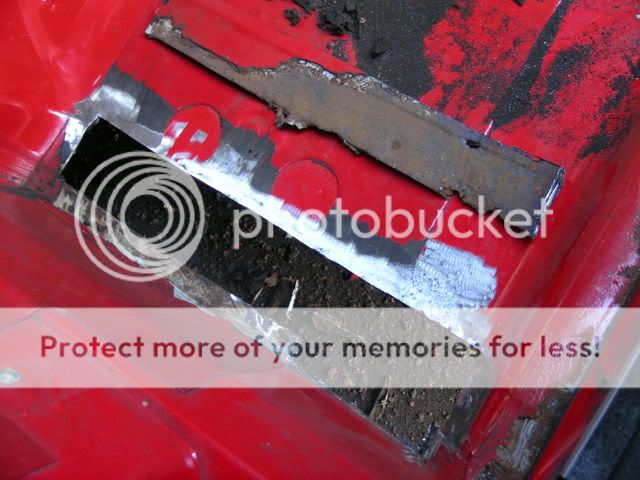
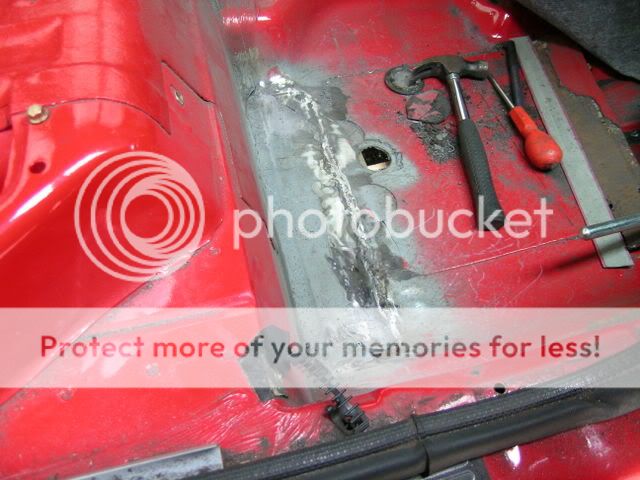
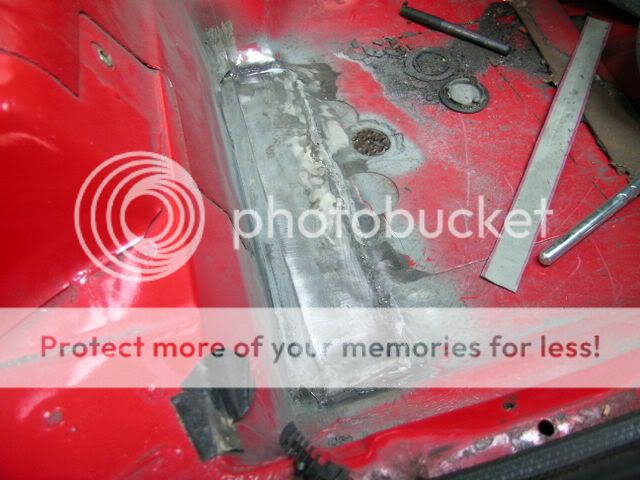
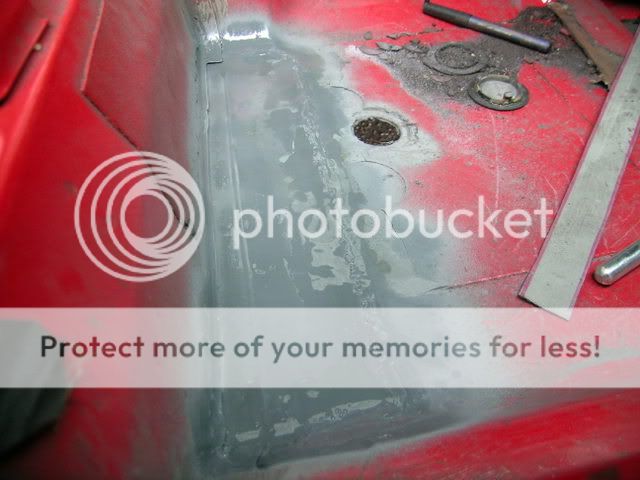
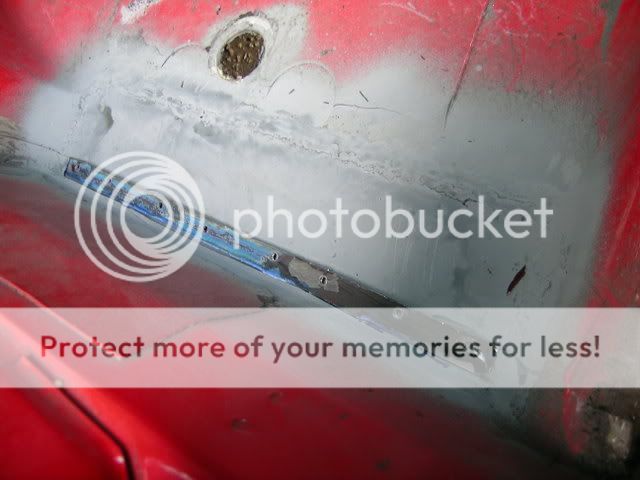
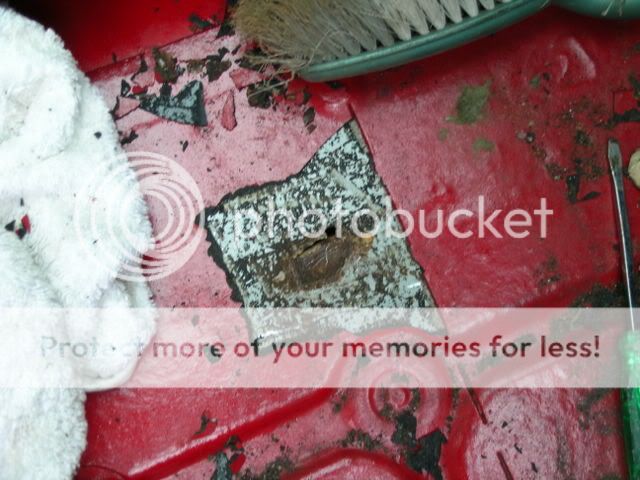
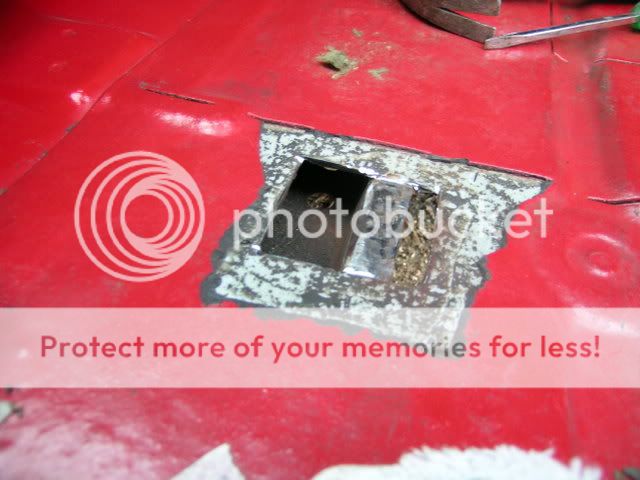
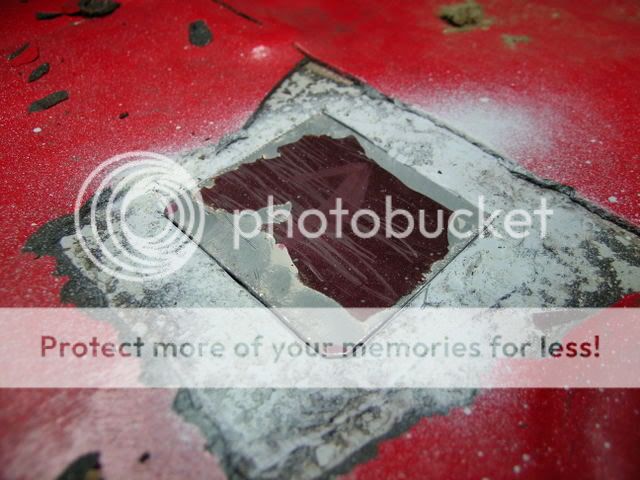
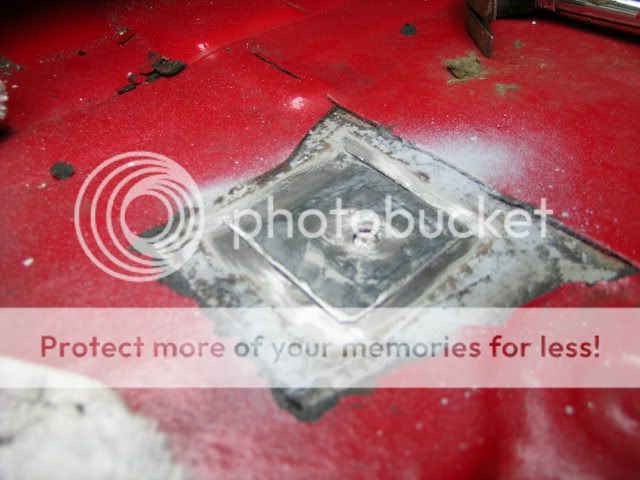
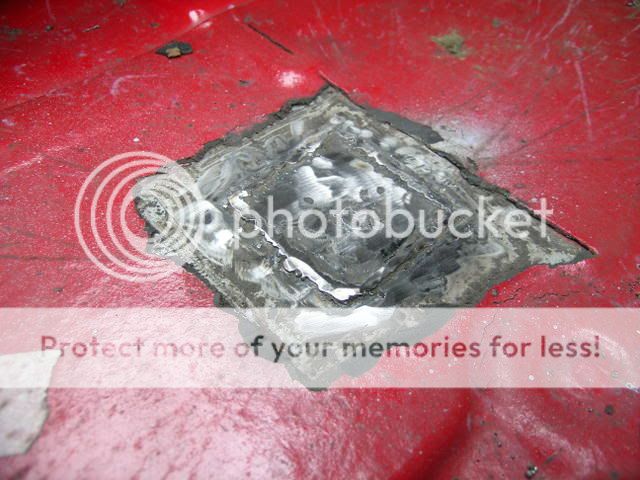
this had a lil metal plate stuck in the hole!
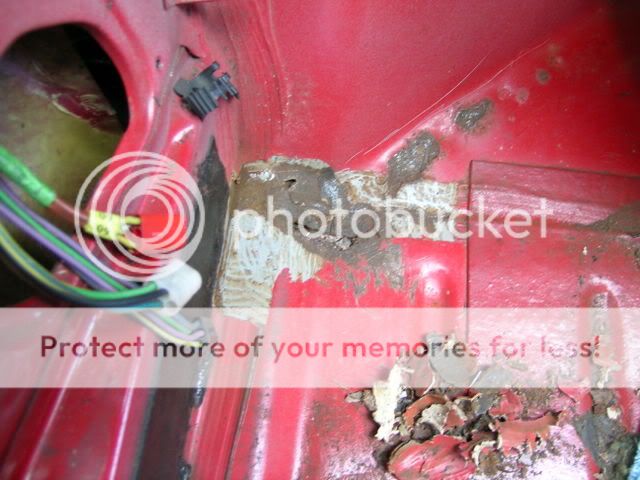

looks worse than it is really
this is a previous repair, just needs tidying up for now (hopefully) then i will replace it at a later date
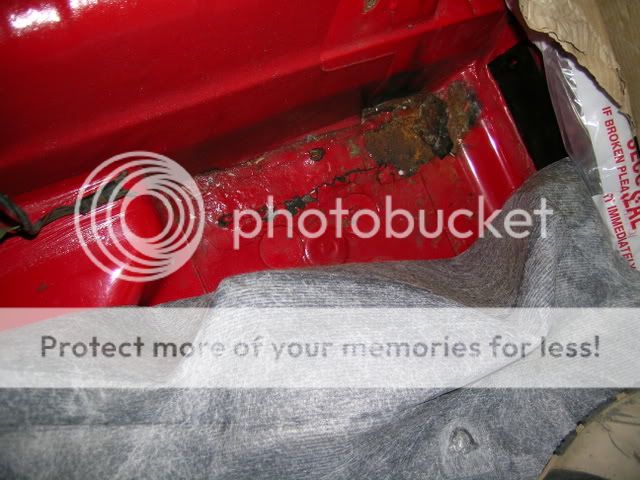
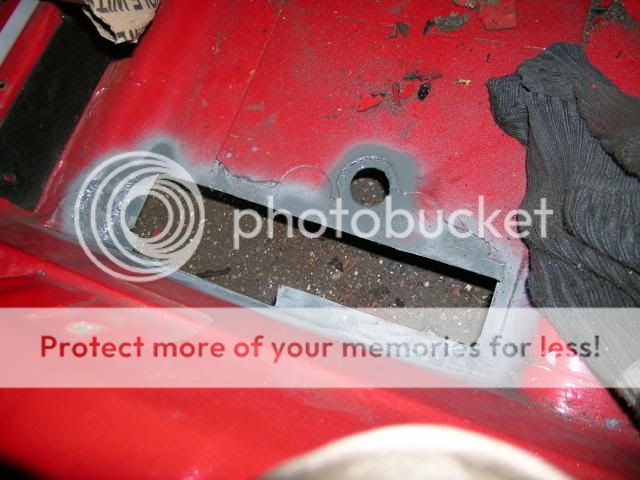
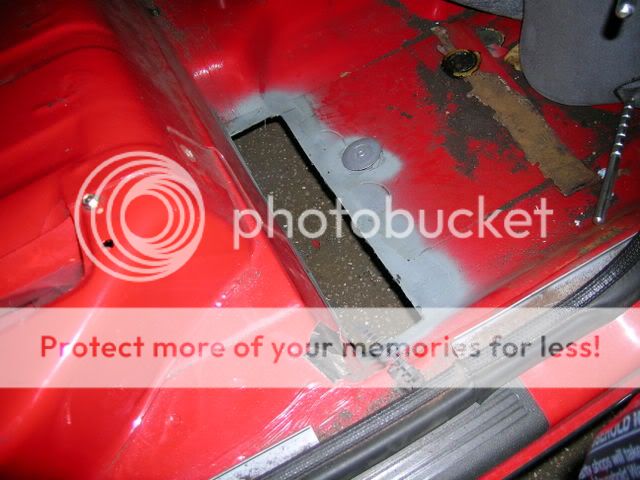
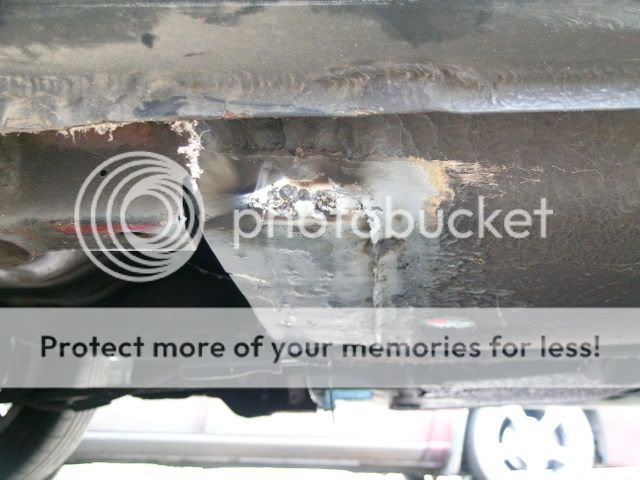
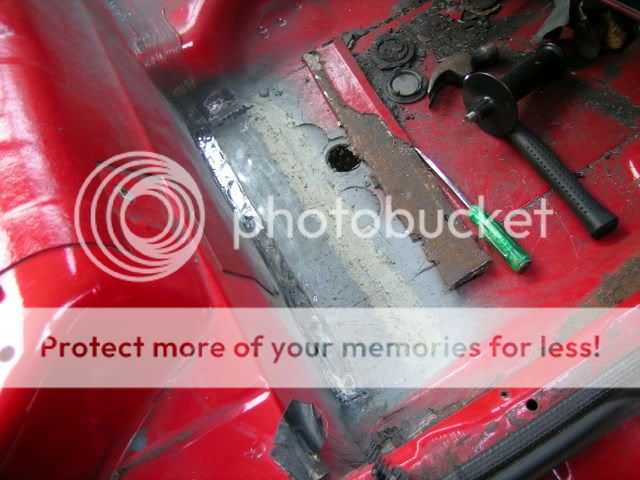
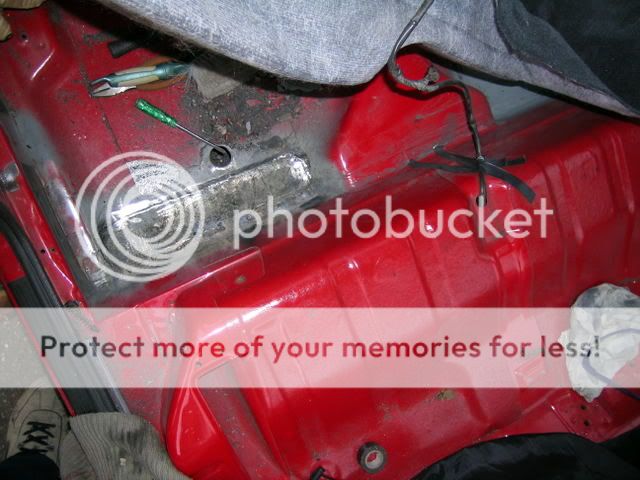
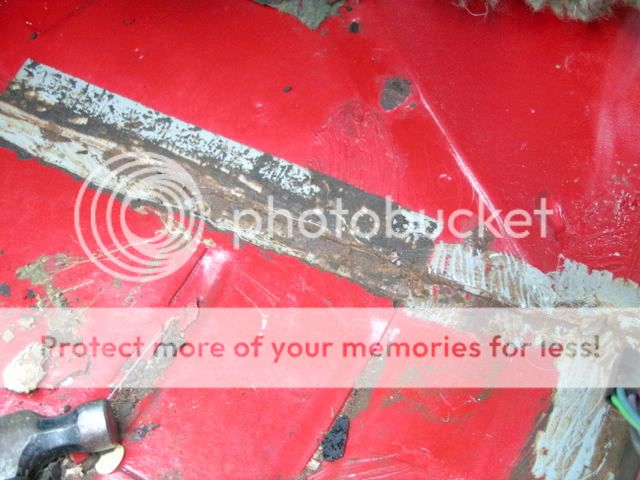
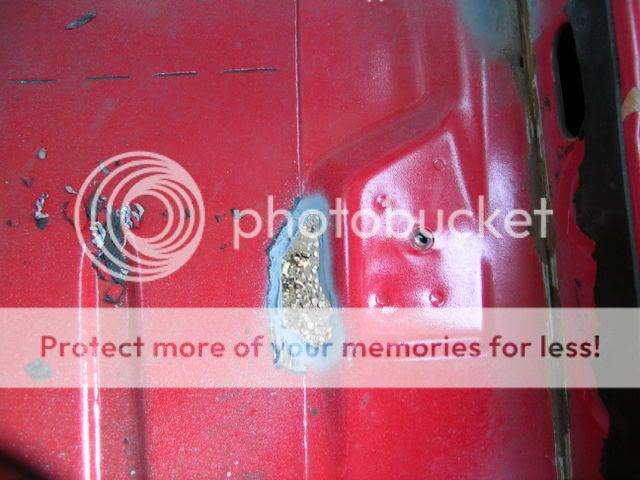
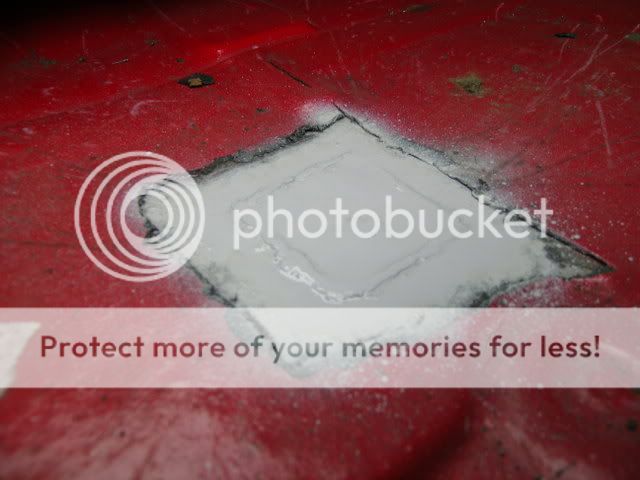
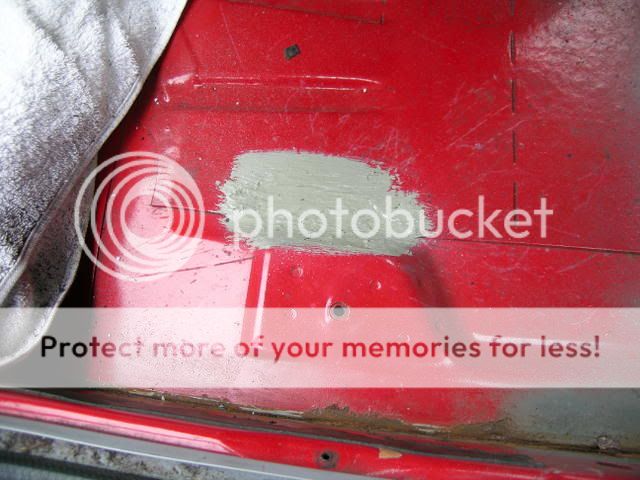
this is in the middle of the drivers side floor over the chassis rail, but the chassis rail is fine its just the floor metal that gone luckily
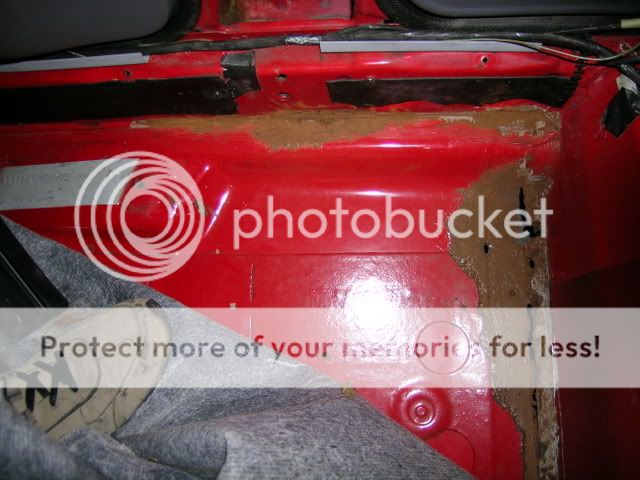
this ill just clean and paint for now as there is no holes
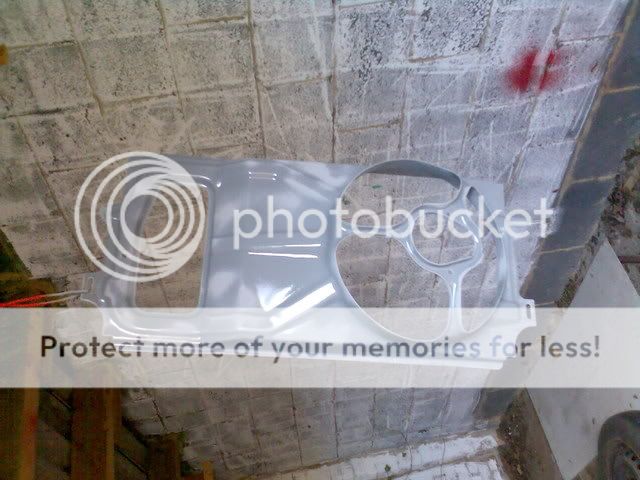
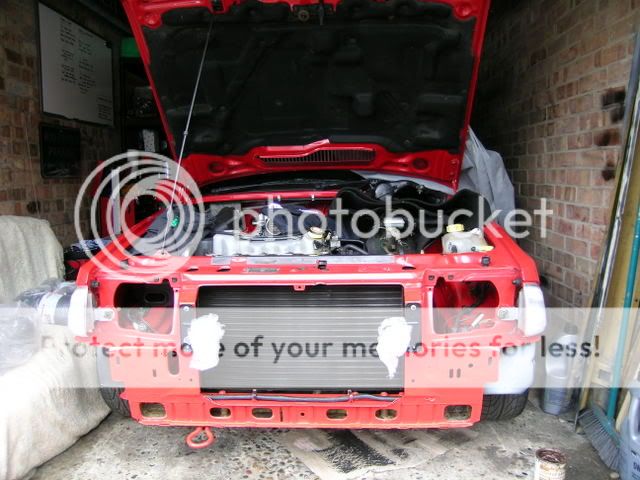
all painted
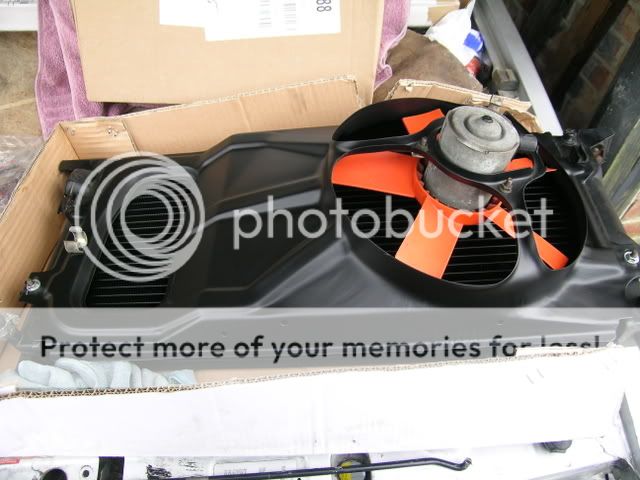
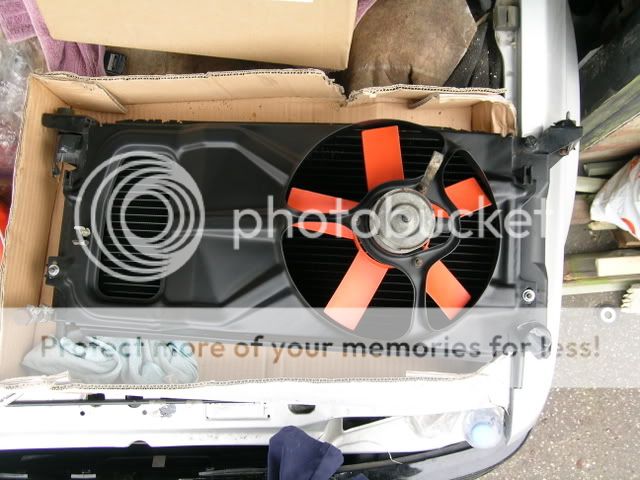
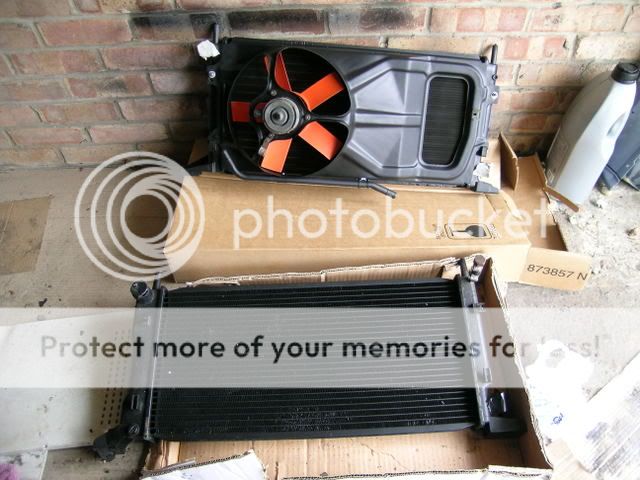
new radiator painted, i cant believe the weight difference in them
fitted
right a lil update
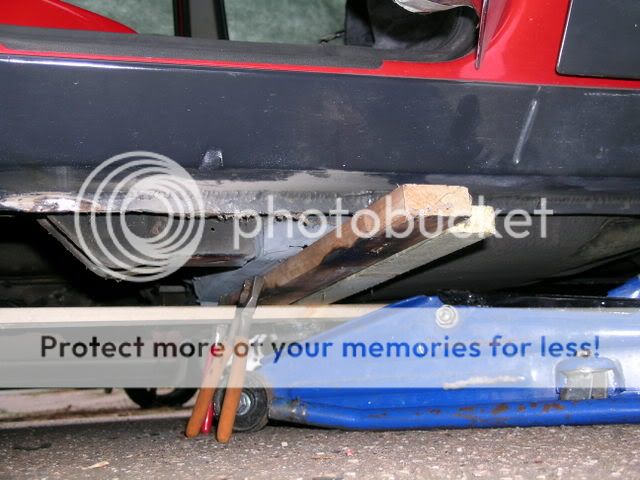
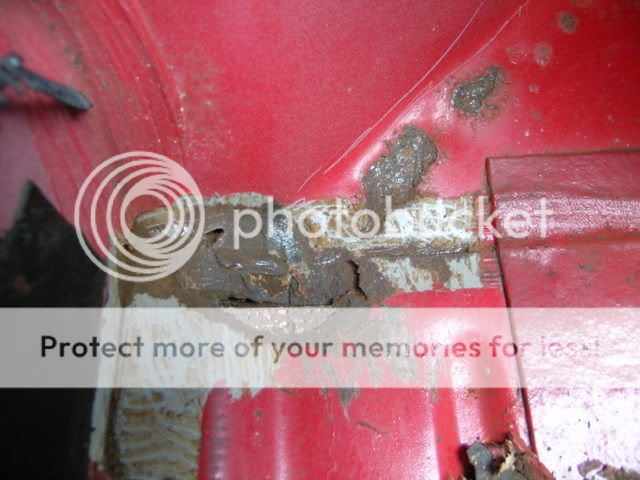
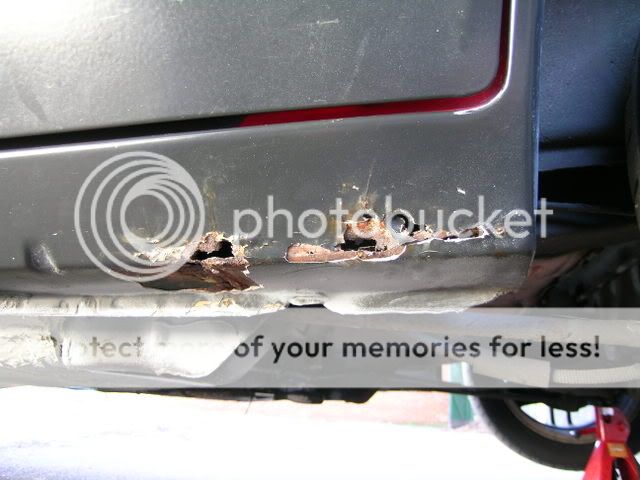
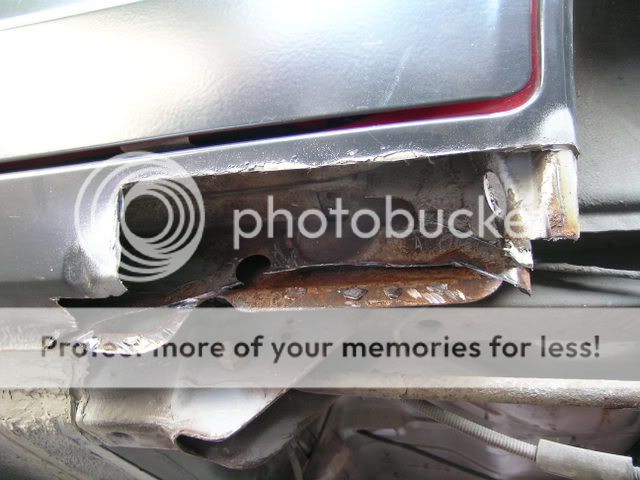
more holes to be done grrrr, i knew these needed some attention but not this extent.
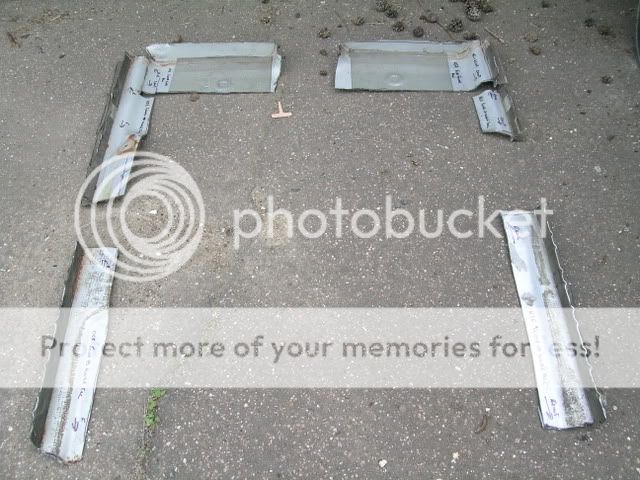
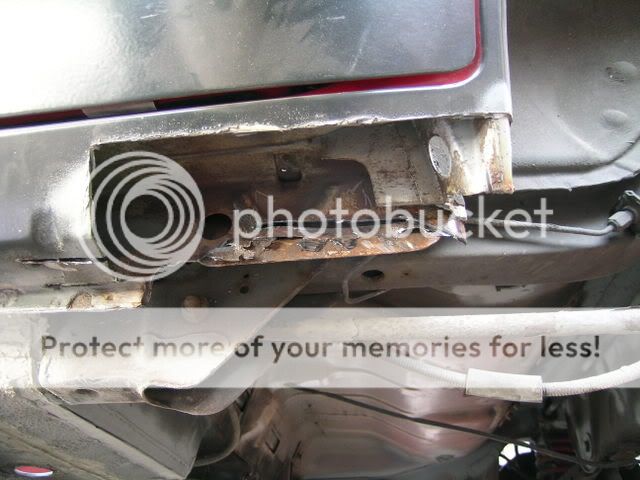
So now ive gotta order up some sill panels for the ends and build them up, as the inners have gone too.
Im kinda lucky in away as the rust in the sills is very self contained and not lots of surface rust everywhere.
What it started like

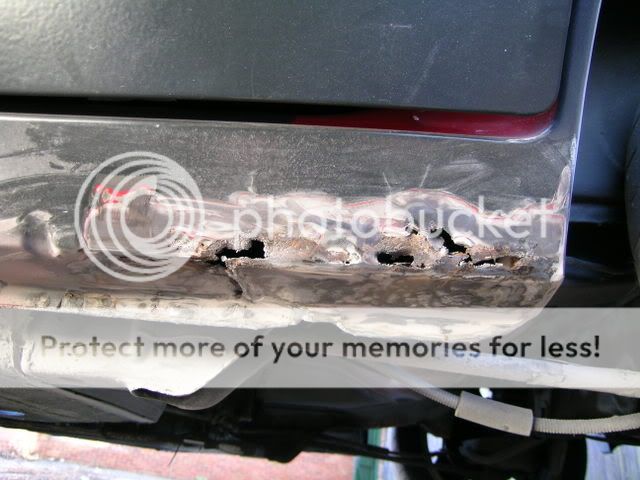
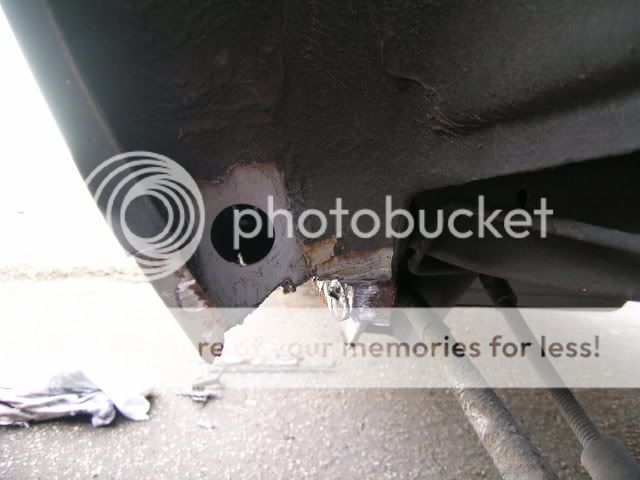
a bit more poking
i then started grinding away the ton of filler that was over it to revel a patch that had been welded over rust ffs! so i just cut it out
still needs trimming but no point till i get the panels

the other side was exactly the same except what looked like the end of an arch panel riveted over a cack patch and rust and then more filler
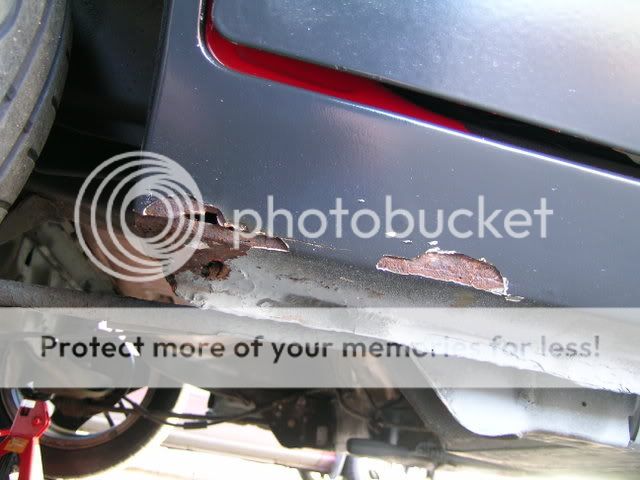

cut these out too
got a lil more done;
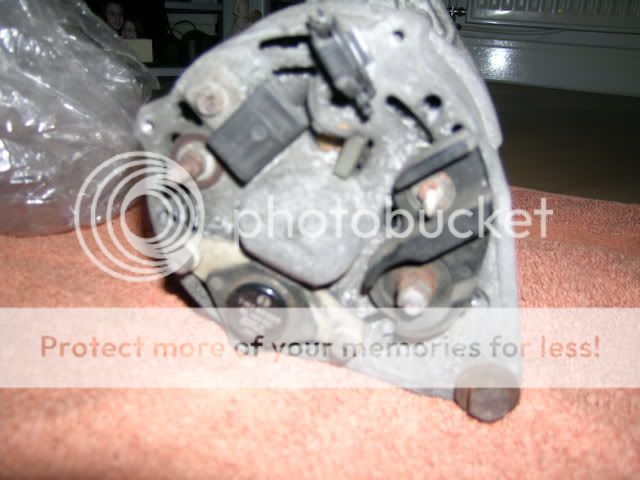
New Alternator as my old one was looking a lil warn
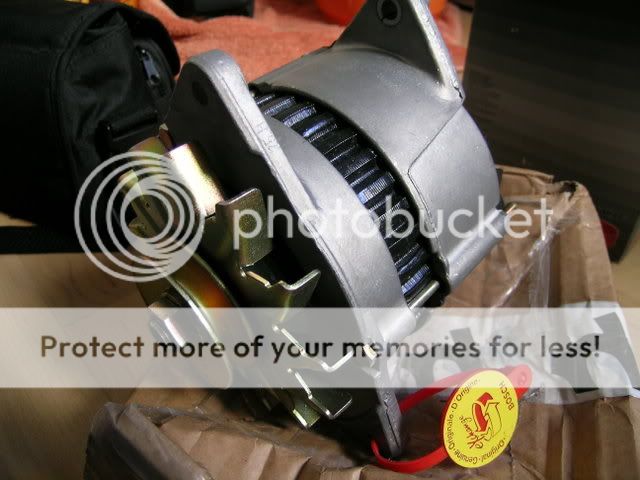
aparently bosch refeb lucas ones now so that what you get on exchnage
Tidying up one sill section
I need a photo of how the second photo of the sill should look if anyone can help im unsure on if the arch lip goes right to the bottom or is left flat
excatly the same as the otherside
more to come
right original plan was to completly restore it to show room condition, it got stripped and then ended up just getting stored for a long time. now i am working to get her back on the road
I am a bit of an amature when it comes to this so any advise is always welcome
(copied from another forum)
Parked up on way to a show a couple of years ago
on to the rebuild, this is consisting of body work, referbing some parts, cleaning and/or either replacing parts for now just to get her back on the road. this by anymeans isnt how it will stay as it still needs alot more work to get it how i would actually like but actually having an mot is better than without one
ecu had a quick polish
Front bumper needed new mounts and a clean
also the radiator cowling was looking a lil tired so stripped down zinc primed and awaiting a coat of black paint
needed to be replaced
the rust to be sorted first
(a very poor attempt form a previous owner/garage)
6 patches in total
some of the metal;
and this is only a temp job i have another to recon when the cars up and running that is in better shape
the finish isnt the best as i was only just trying to get it covered in paint but itll do for now.
(at this point i had to move the car finally to start work on it)
but anyway she is out of storage and seen the sun for the first time in 2 years, ready to be worked on
really hate the wheels its on but there only while i work on it, and it really needs a clean!
Well the front panel is now done, its only a temporary job as i will put a new panel on there in some time but atleast itll allow me to build up the engine bay
and prepared another hole to be done
bit of an update
other side (previous repair) mostly cut out
before a cleaning
mk1 boot popper loom to be made up
spot light brackets
Floor patch to be chopped up
then seperated and as you can see the rust on the panel over laps were a bit much even after cleaning so i chopped it at the next crease
i had to sit and thnk about how i was going to do this as this needs to take the wait of a person and also made so it follows the shape of the floor
to take any warping out of the panel and joins
still needs a little more shaping but its basically there
ecu cover cleaned
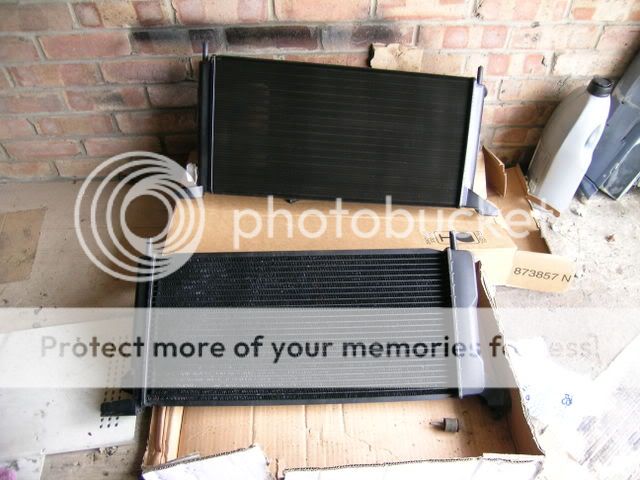
new radiator all taped ready for painting
new gear gaitor
ecu mount now with hole to accept chip
ready for a coat of paint
ecu cover plate made to fit the mount so it doent go missing
alternator needs cleaning up
other side done both need a little triming and shaping still, was getting on abit by the time i had finished.
ecu cover in primer
same with the rad
quickly cleaned, will do properly later on.
lil update
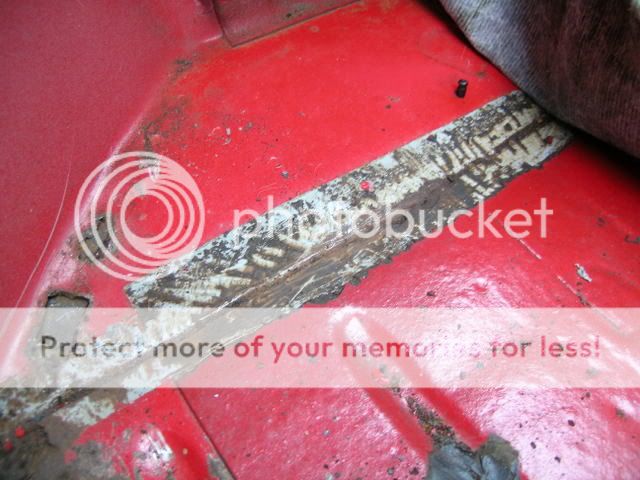
i had decided to fully inspect the floor and came up with 3 more holes
this had a lil metal plate stuck in the hole!
looks worse than it is really
this is a previous repair, just needs tidying up for now (hopefully) then i will replace it at a later date
this is in the middle of the drivers side floor over the chassis rail, but the chassis rail is fine its just the floor metal that gone luckily
this ill just clean and paint for now as there is no holes
all painted
new radiator painted, i cant believe the weight difference in them
fitted
right a lil update
more holes to be done grrrr, i knew these needed some attention but not this extent.
So now ive gotta order up some sill panels for the ends and build them up, as the inners have gone too.
Im kinda lucky in away as the rust in the sills is very self contained and not lots of surface rust everywhere.
What it started like
a bit more poking
i then started grinding away the ton of filler that was over it to revel a patch that had been welded over rust ffs! so i just cut it out
still needs trimming but no point till i get the panels
the other side was exactly the same except what looked like the end of an arch panel riveted over a cack patch and rust and then more filler
cut these out too
got a lil more done;
New Alternator as my old one was looking a lil warn
aparently bosch refeb lucas ones now so that what you get on exchnage
Tidying up one sill section
I need a photo of how the second photo of the sill should look if anyone can help im unsure on if the arch lip goes right to the bottom or is left flat
excatly the same as the otherside
more to come


Trending Topics
07-03-2009, 09:53 AM
#8
PassionFord Post Whore!!
You work looks great mate... keep it up, hope to see it at some shows this year


Thread
Thread Starter
Forum
Replies
Last Post
nicodinho
Ford Non RS / XR / ST parts for sale.
6
07-10-2015 12:56 PM
Mc5506
Ford Escort RS Turbo
6
05-10-2015 09:57 PM