Mk2 Fiesta trackcar,12/10/10 update,ST170 6 speed mounts
 17-11-2008, 05:18 PM
#1
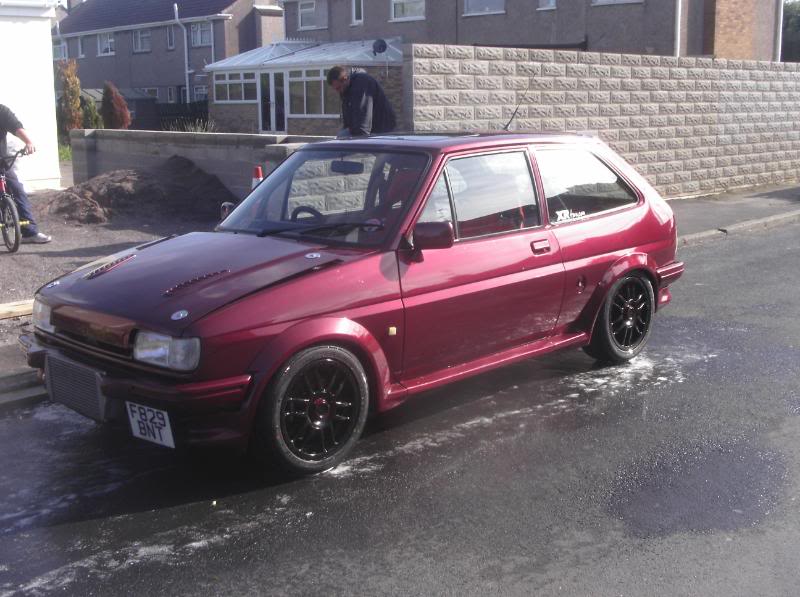
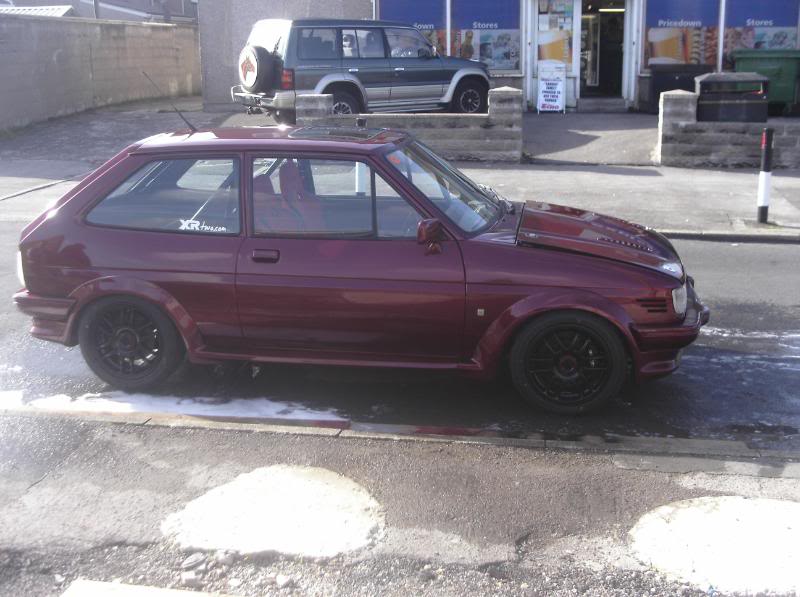
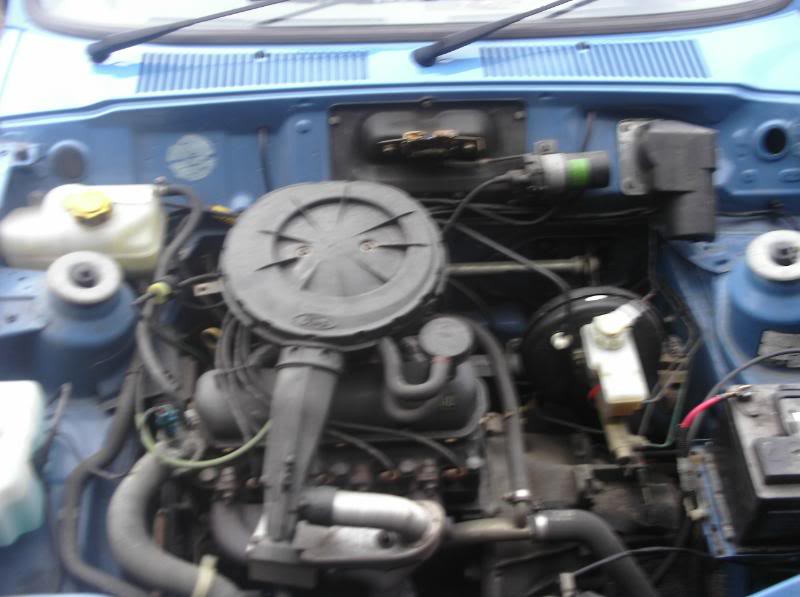
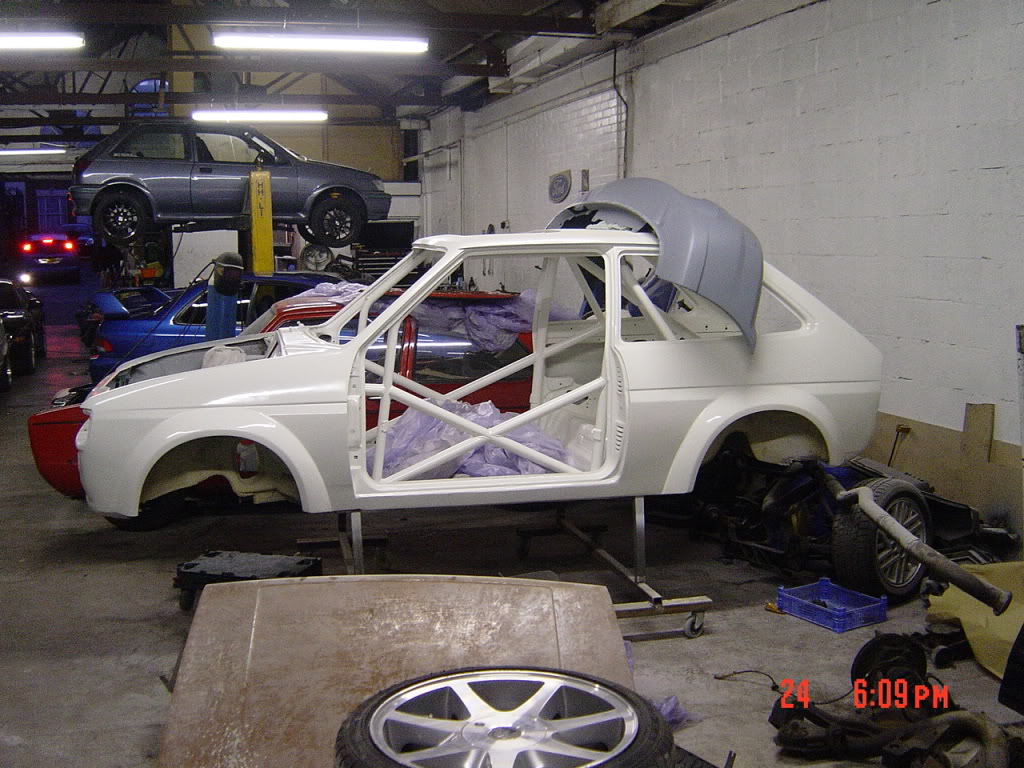
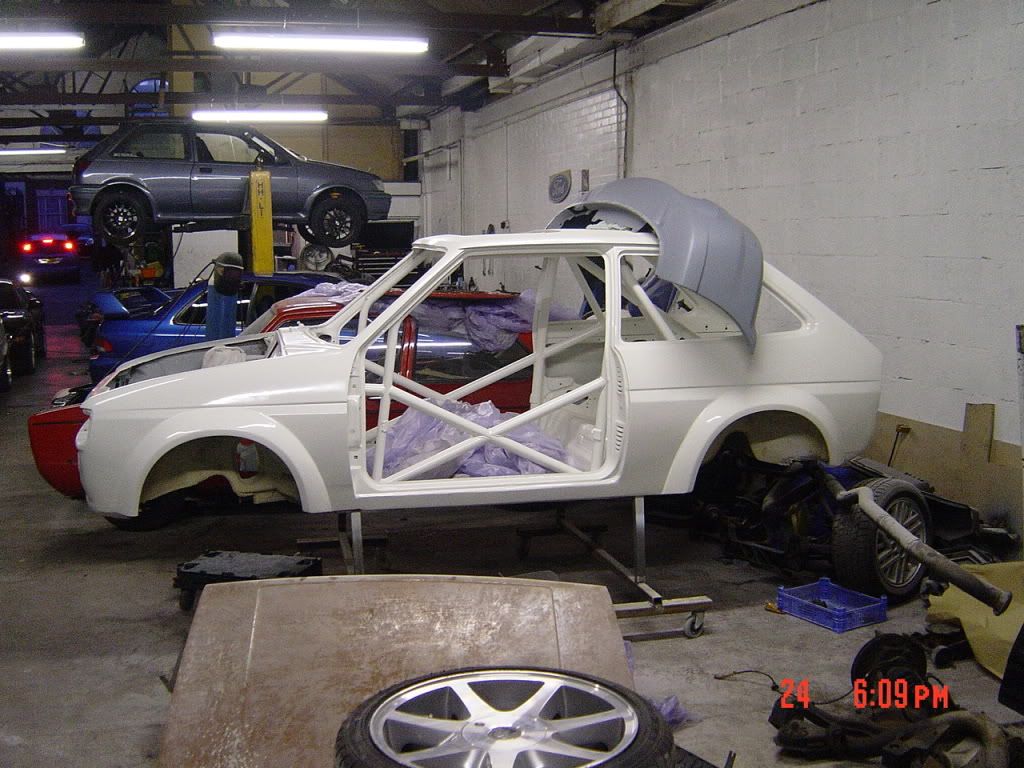
Started the new project a few weeks back so thought i'd get some info up for those who are interested, First off this is the current XR2Turbo
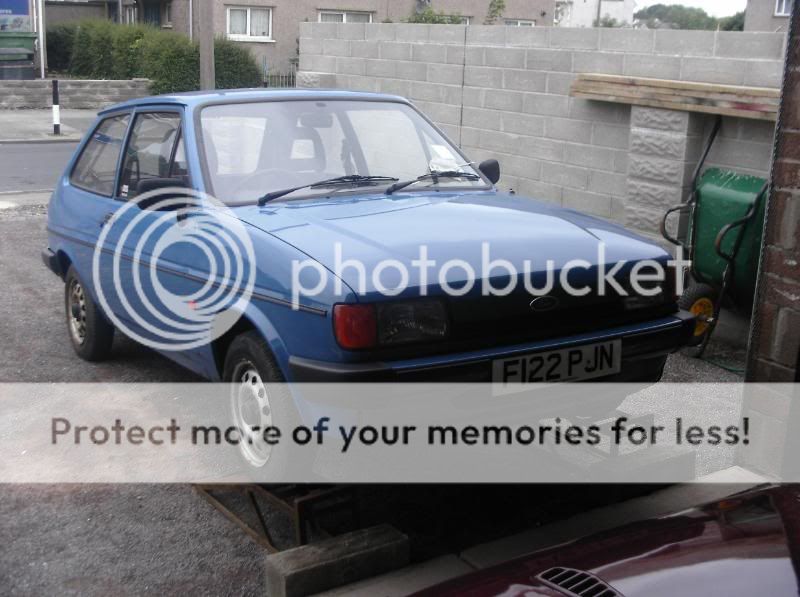
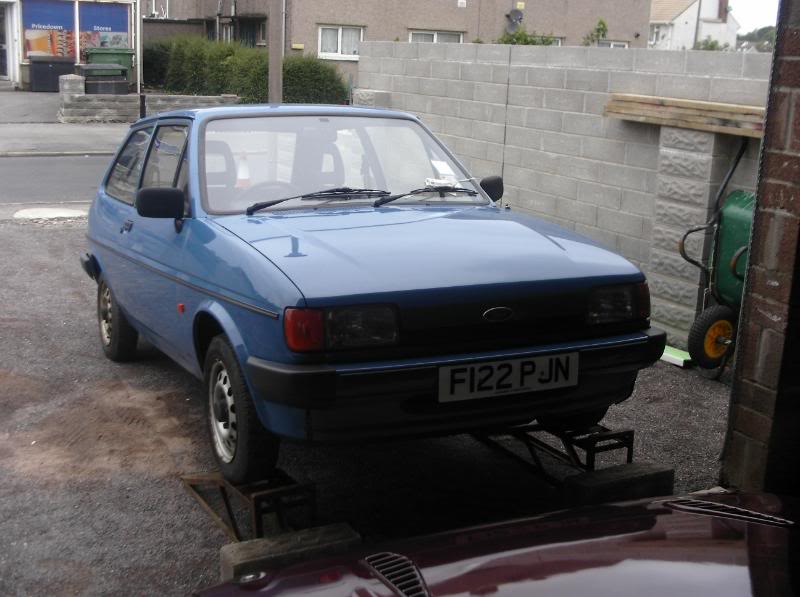
As the car looks ok i thought i'd start with another shell to save cutting this one up as it's gonna have the Fiesta Rally MCR arches, so i bought a very nice base model 17k miler 1.1 popular plus of a guy on xrtwo.com a few months back and after trailering it back from Newcastle to Cardiff it got tucked away in my garage ready for a rainy winters day, well the winters day and rain came so i thought it was new project time .
After a lot of ummmming and arrrring a plan has come together in the form of a PROPER track car.
Reason for this is easy, the XRT as a track car is awesome, but as a road car with 600&550 lbs springs it's a bit "dangerous" and not very nice.
So
The Magenta one will be used as a road car, running a Zetec, and the new shell will be the track car (but road legal). There are various reasons for this that will become clear later.
I could quite easily just sell up and go for something different like Jap, German or something else, but i'll be sticking to the Mk2 Fezzy as i LOVE um.
I've learnt a few things over the last 4 trackdays so this will help with the new build to make a very track usable car.
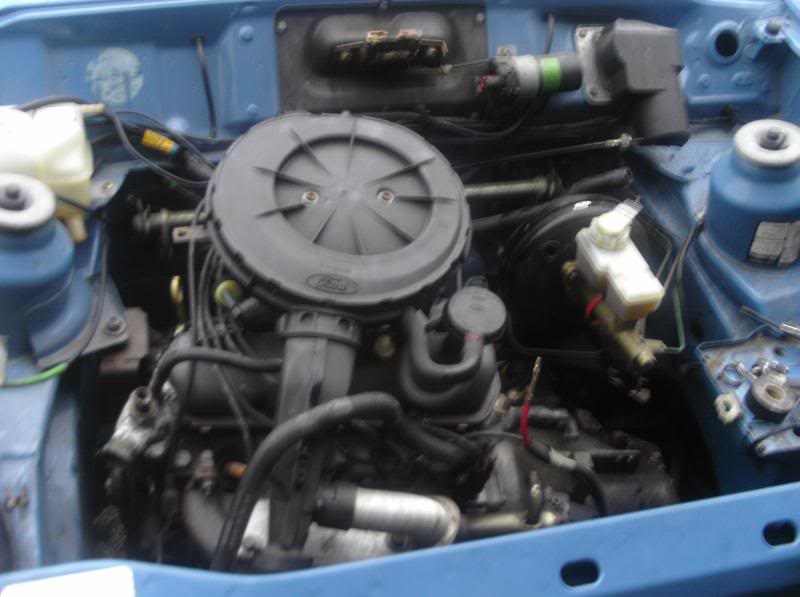
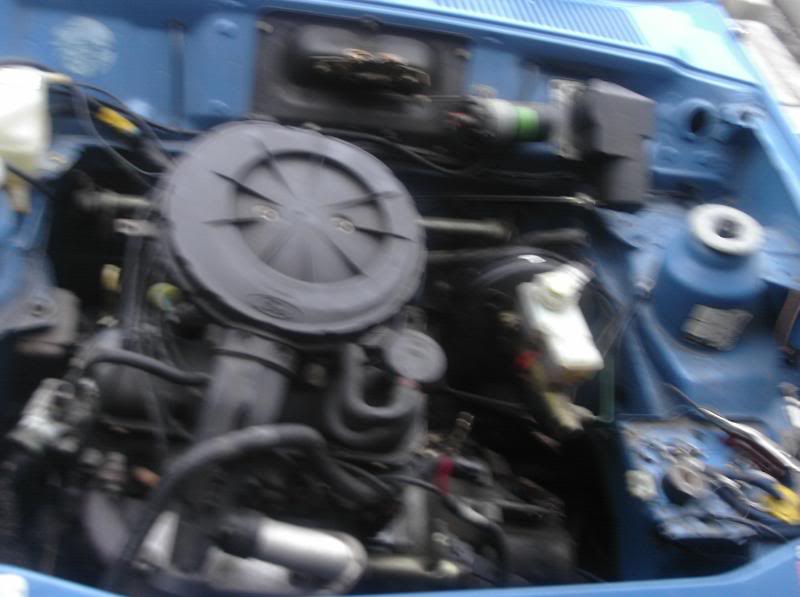
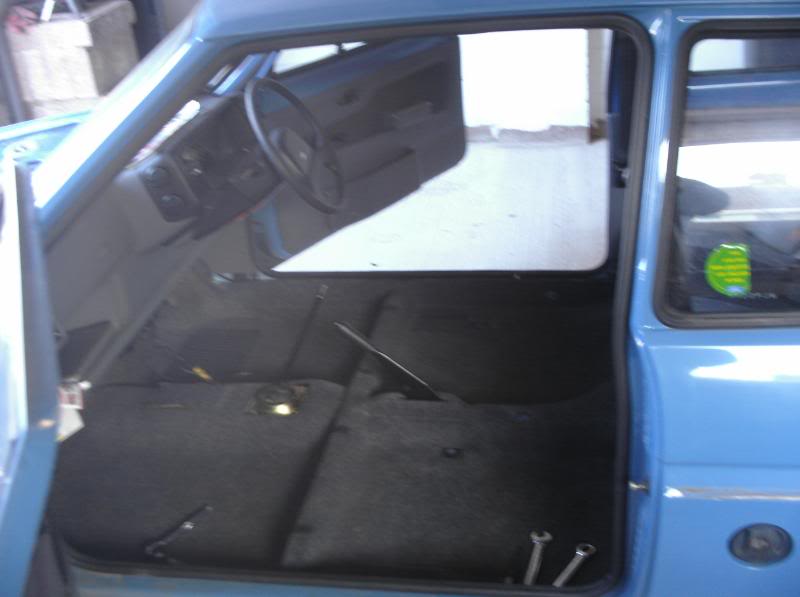
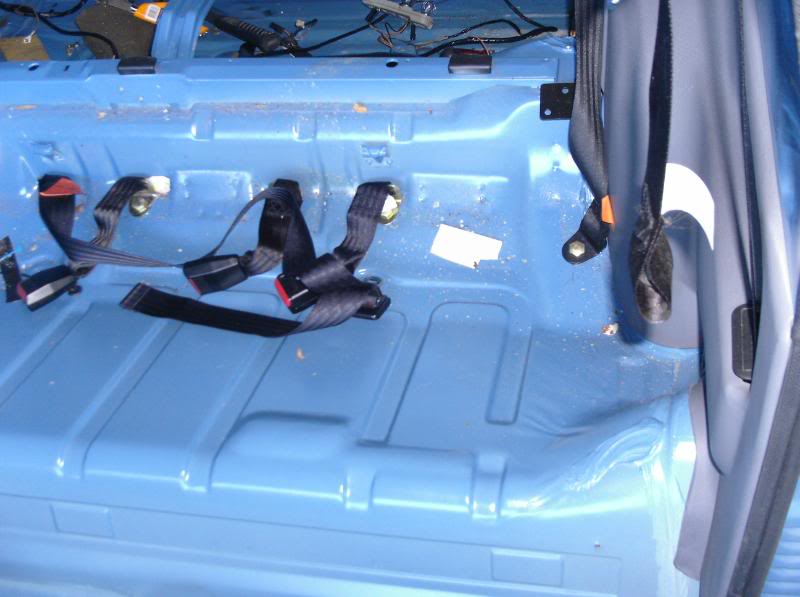
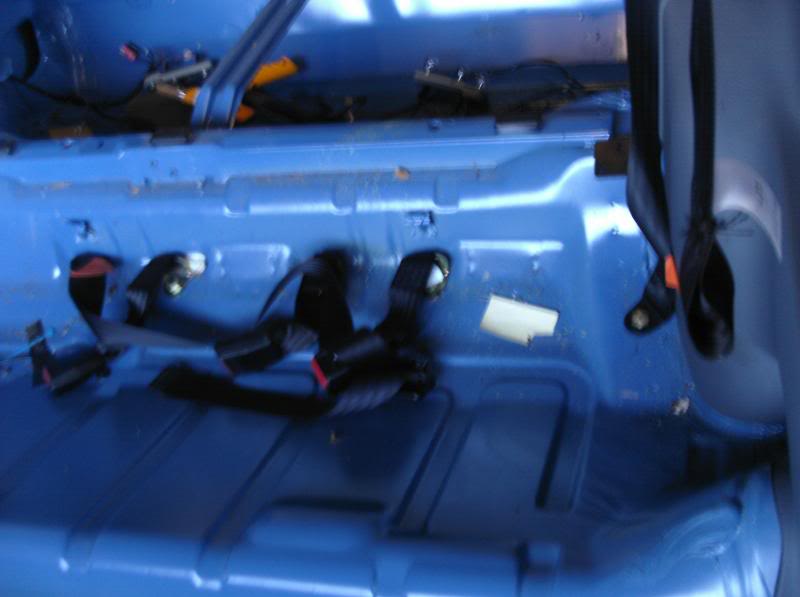
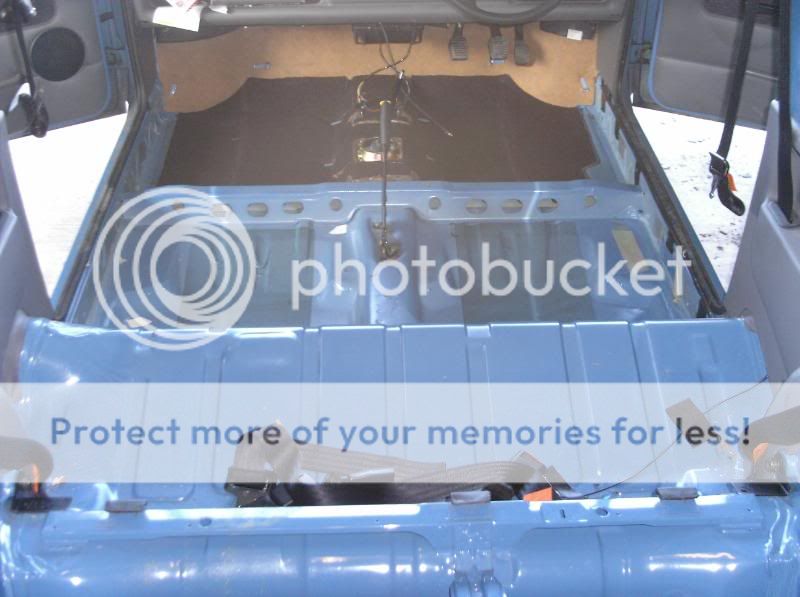
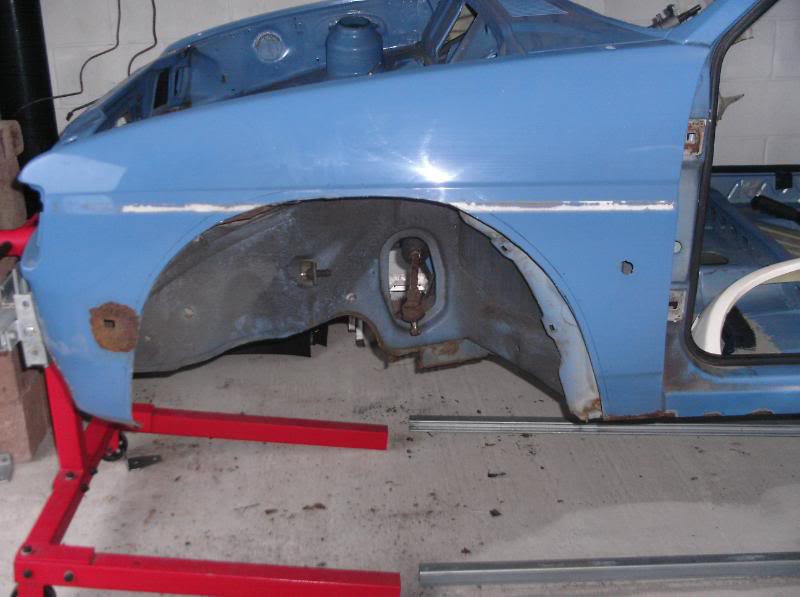
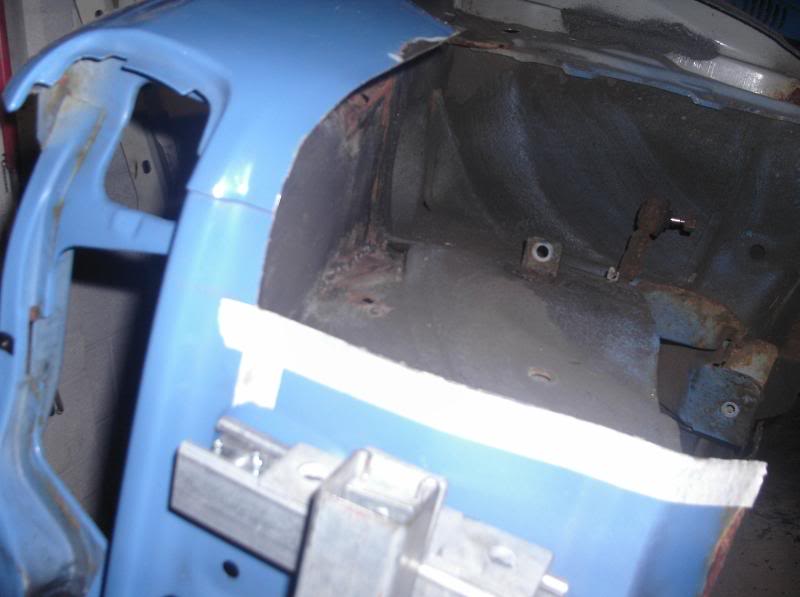
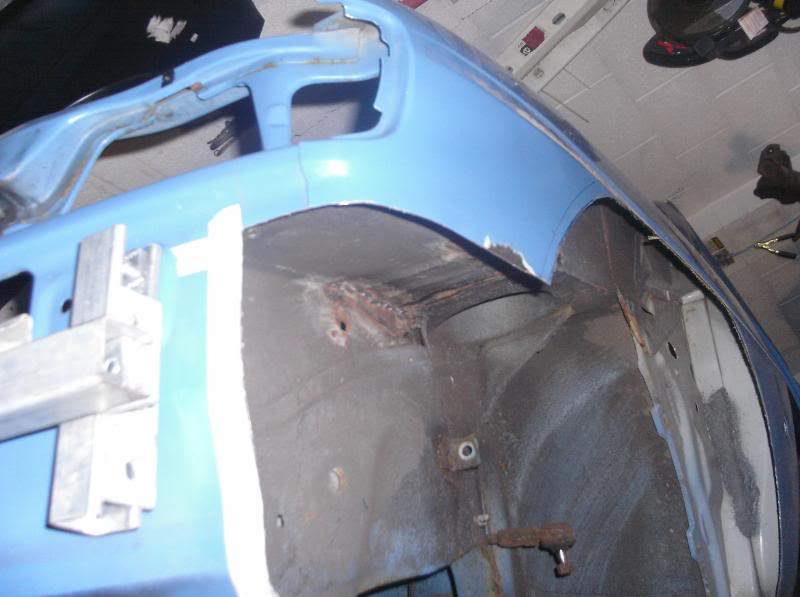
Here are some of the before pics
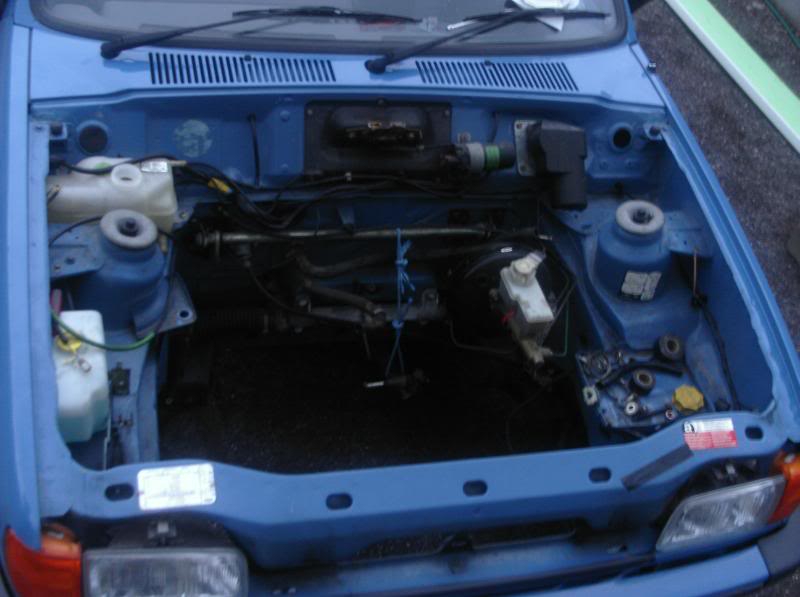
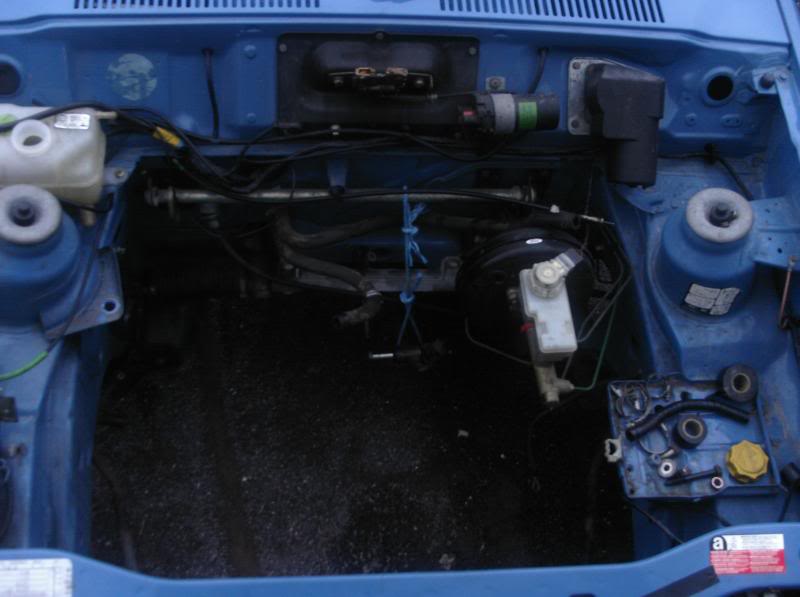
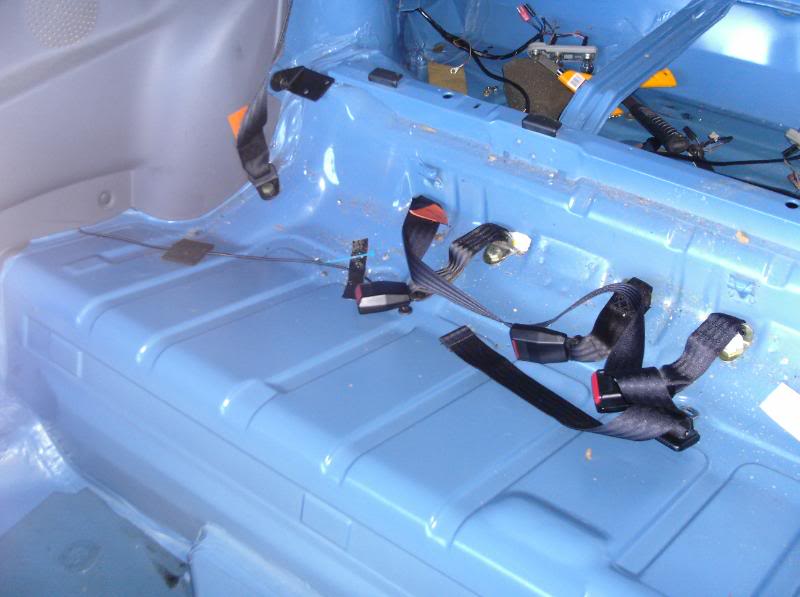
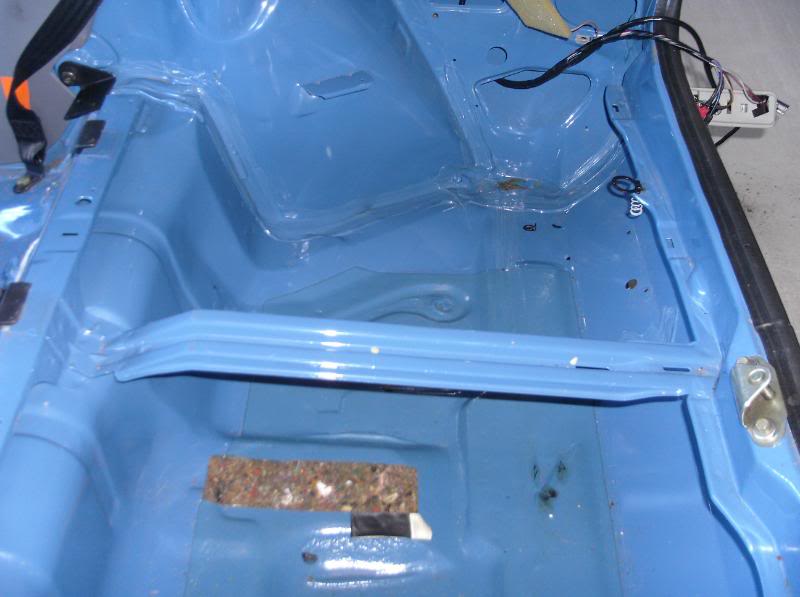
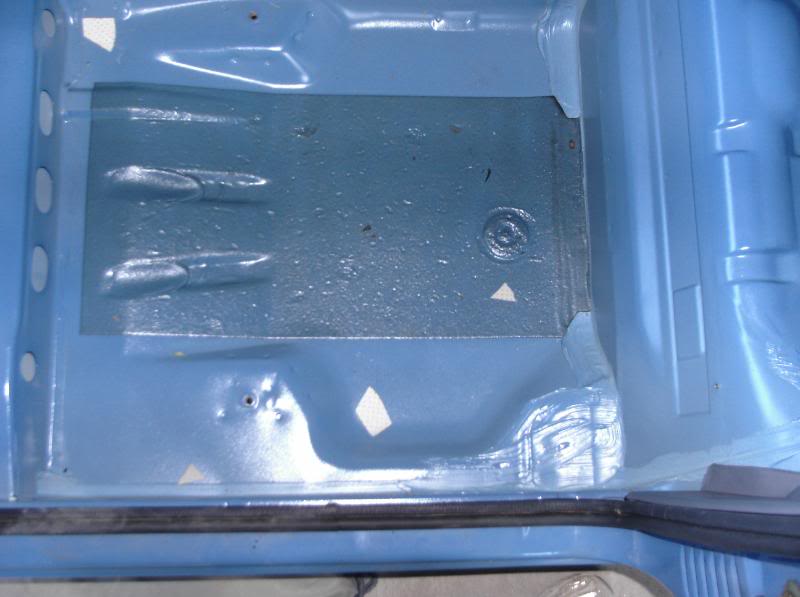
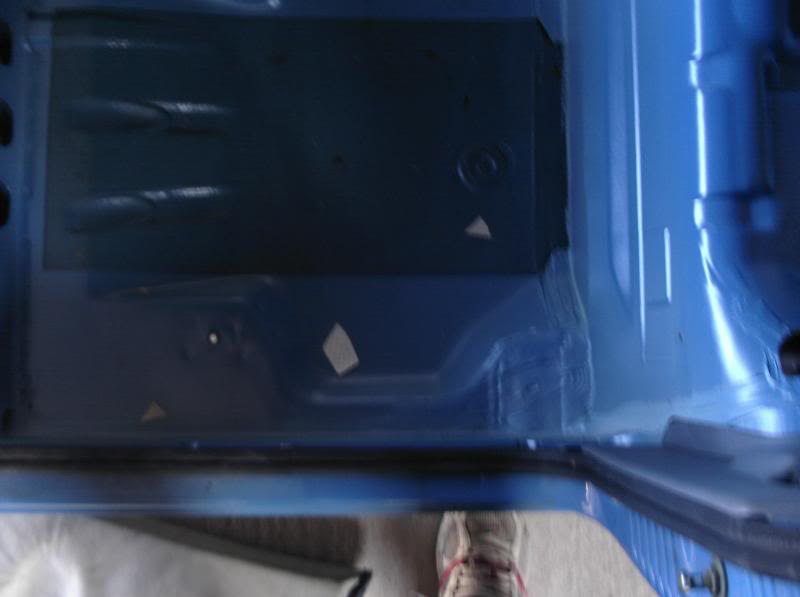


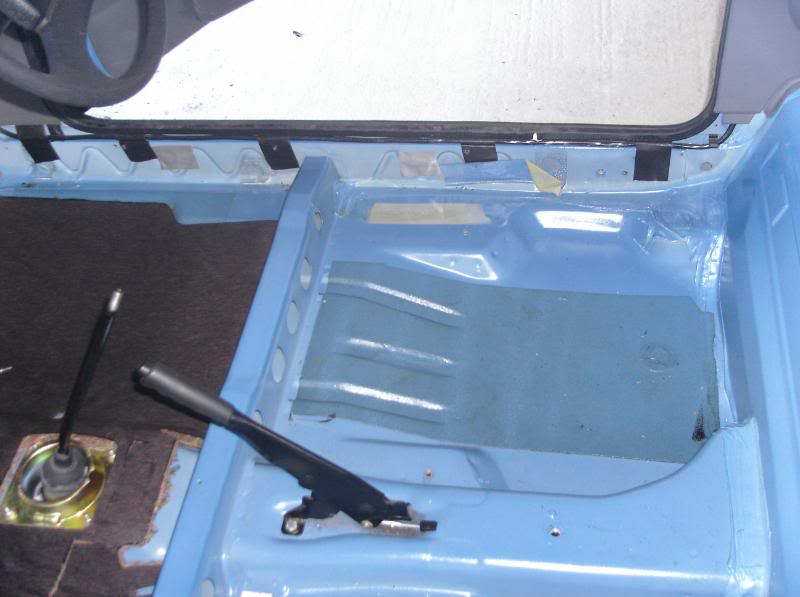
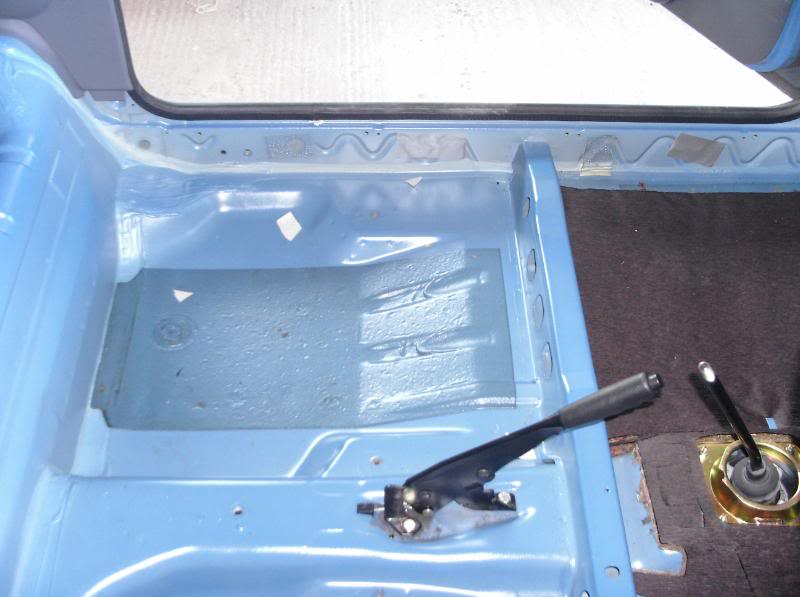
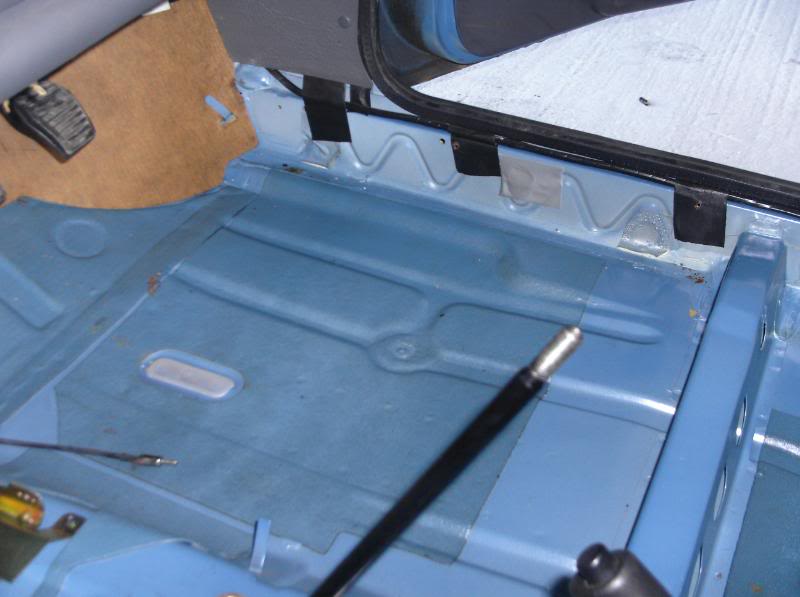
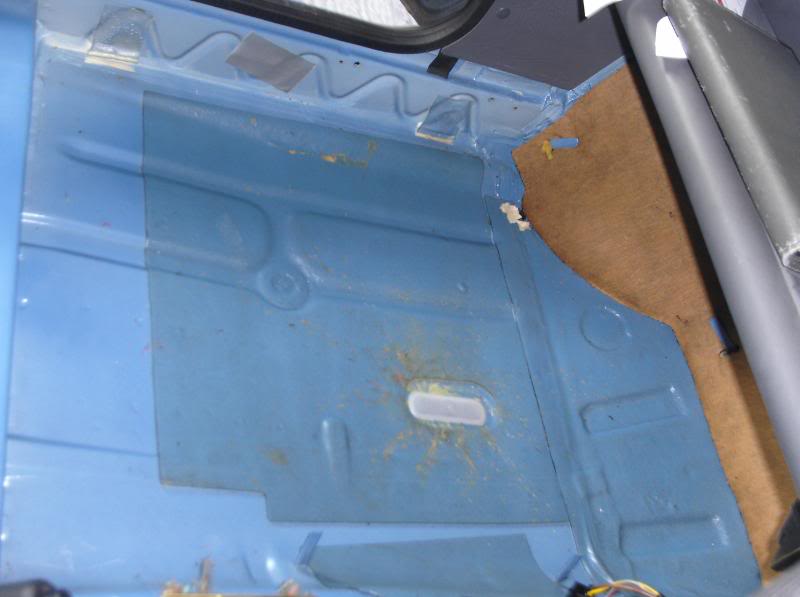
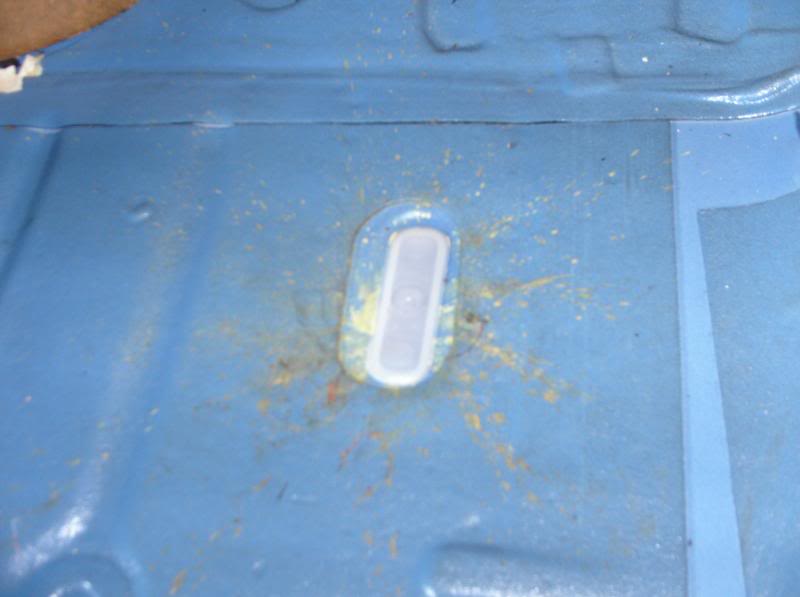
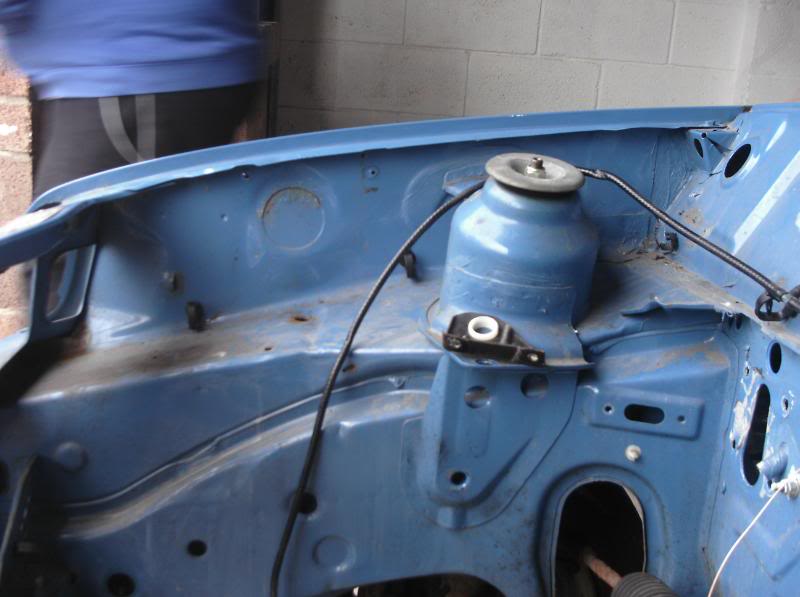
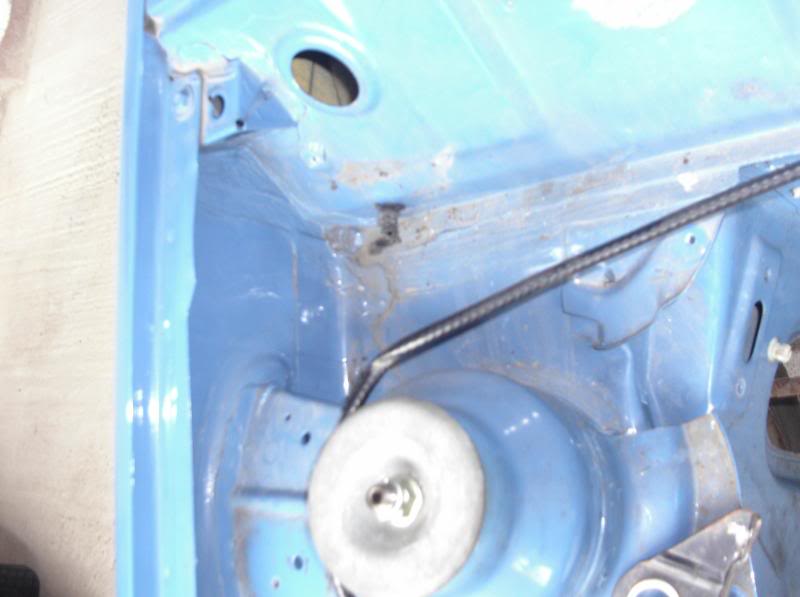
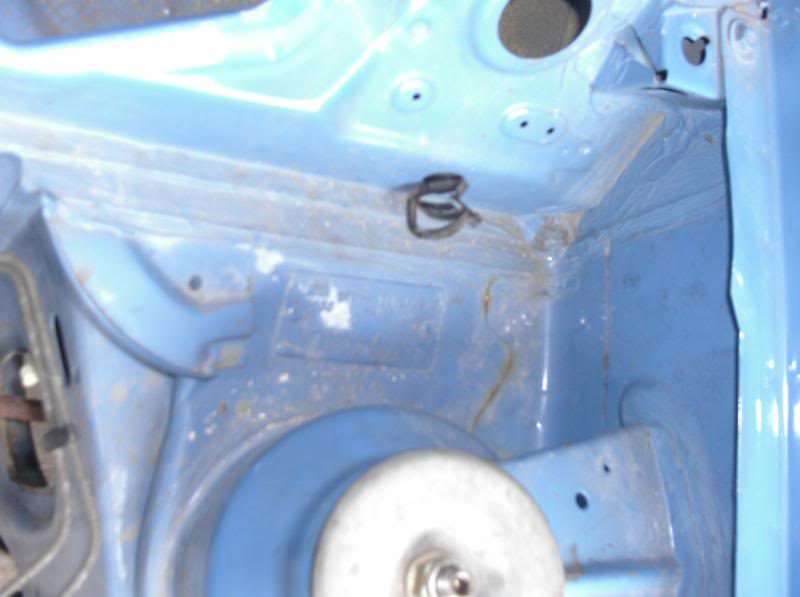
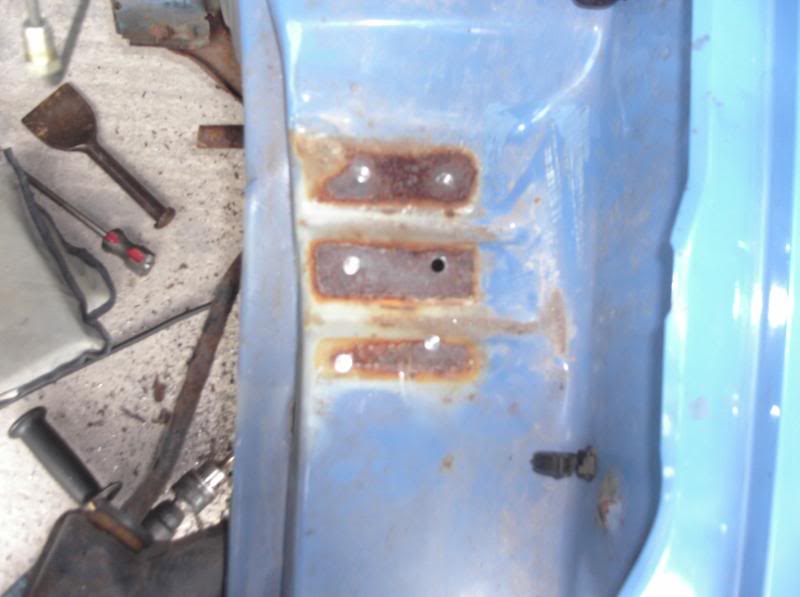
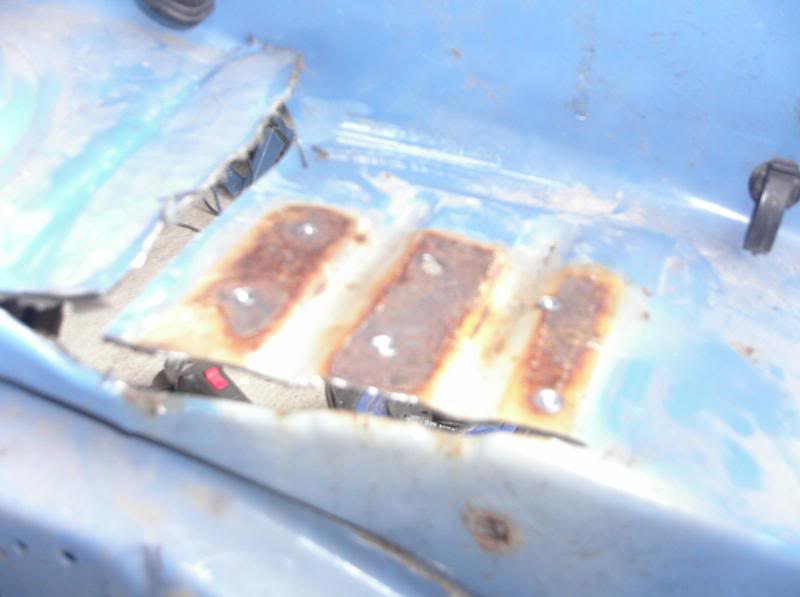
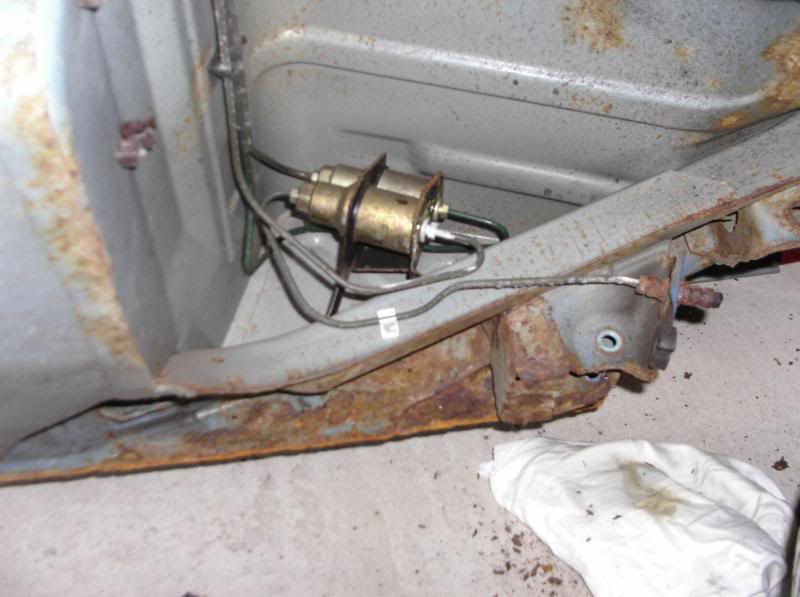
The next few are the removeal of the battery try which was 100%mint, but need to go to make room in the bay, Also the under side of the tray has been pulled up to match the drivers side as on my other car when cornering really hard the tire was touching the underneath of the inner wing.
Thats it for now, but more will be done soon as i've changed to a 4 day rota at work and over time is nonexistant
As the car looks ok i thought i'd start with another shell to save cutting this one up as it's gonna have the Fiesta Rally MCR arches, so i bought a very nice base model 17k miler 1.1 popular plus of a guy on xrtwo.com a few months back and after trailering it back from Newcastle to Cardiff it got tucked away in my garage ready for a rainy winters day, well the winters day and rain came so i thought it was new project time .
After a lot of ummmming and arrrring a plan has come together in the form of a PROPER track car.
Reason for this is easy, the XRT as a track car is awesome, but as a road car with 600&550 lbs springs it's a bit "dangerous" and not very nice.
So
The Magenta one will be used as a road car, running a Zetec, and the new shell will be the track car (but road legal). There are various reasons for this that will become clear later.
I could quite easily just sell up and go for something different like Jap, German or something else, but i'll be sticking to the Mk2 Fezzy as i LOVE um.
I've learnt a few things over the last 4 trackdays so this will help with the new build to make a very track usable car.
Here are some of the before pics
The next few are the removeal of the battery try which was 100%mint, but need to go to make room in the bay, Also the under side of the tray has been pulled up to match the drivers side as on my other car when cornering really hard the tire was touching the underneath of the inner wing.
Thats it for now, but more will be done soon as i've changed to a 4 day rota at work and over time is nonexistant
Last edited by GINGExR2 T; 12-10-2010 at 01:10 PM.


 18-11-2008, 07:32 PM
#7
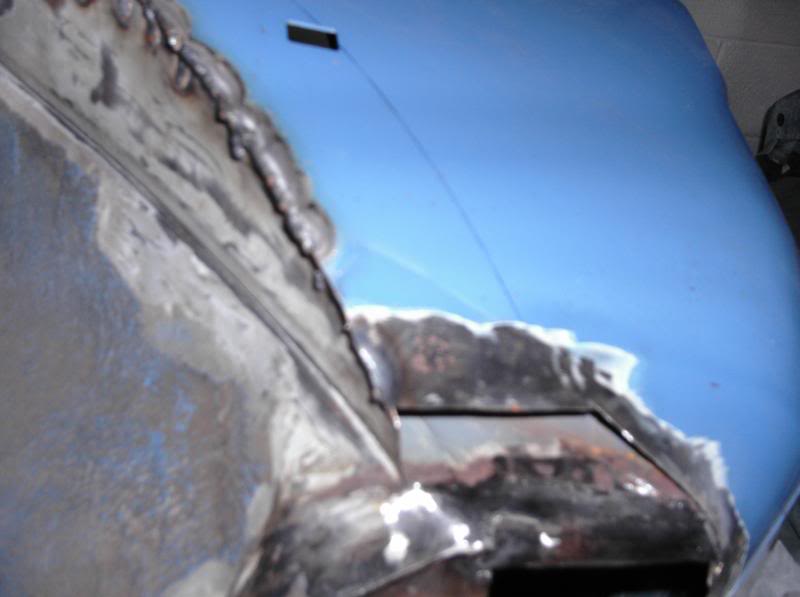
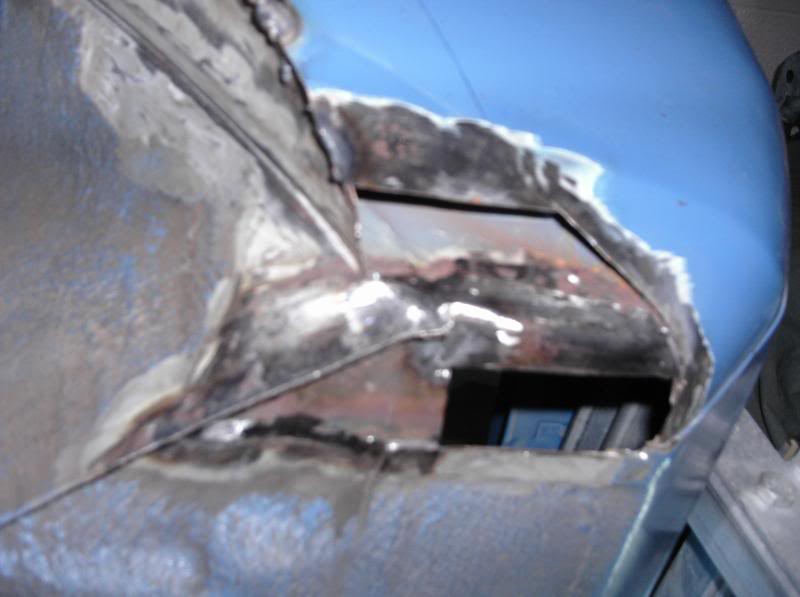
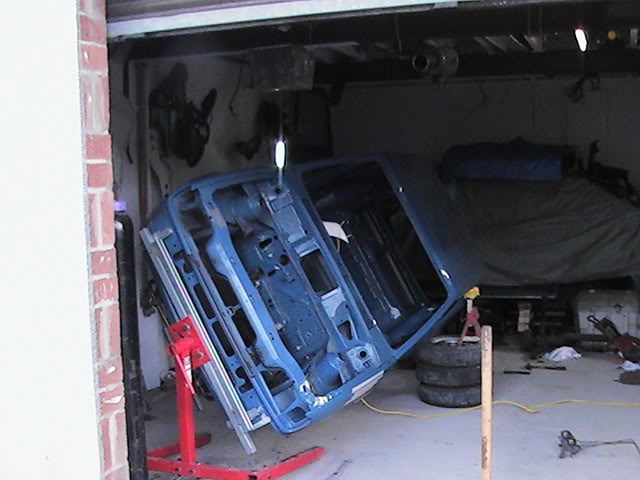
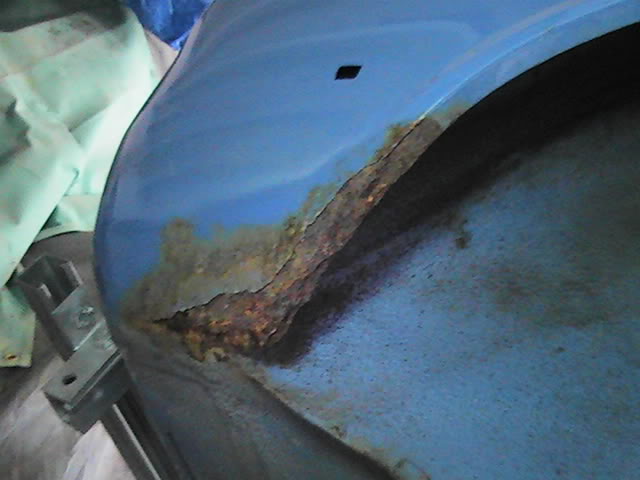
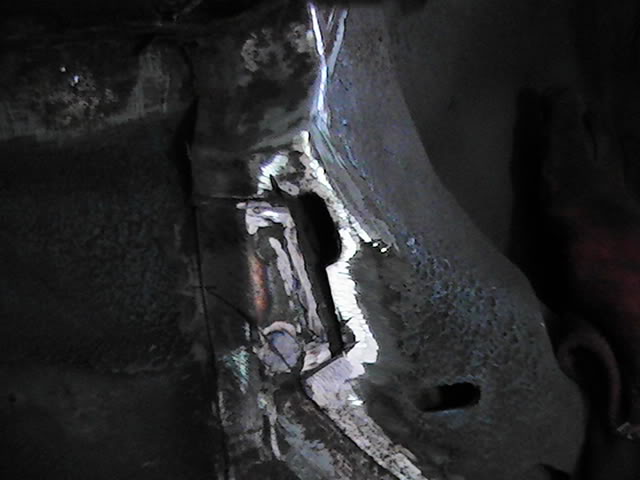
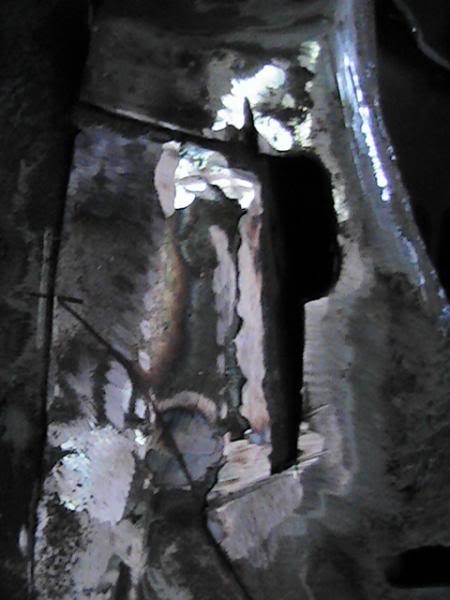
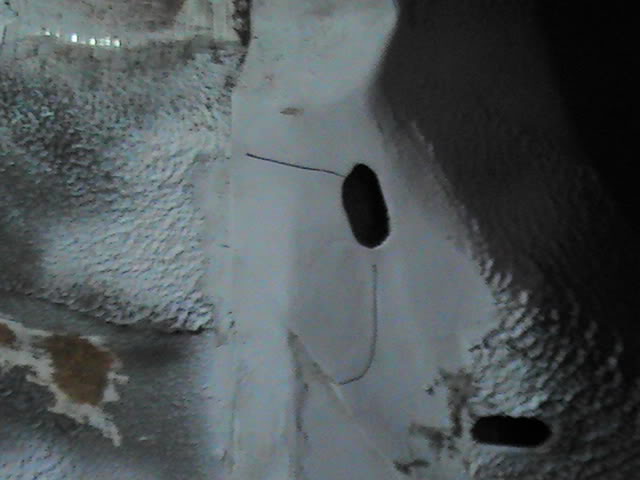
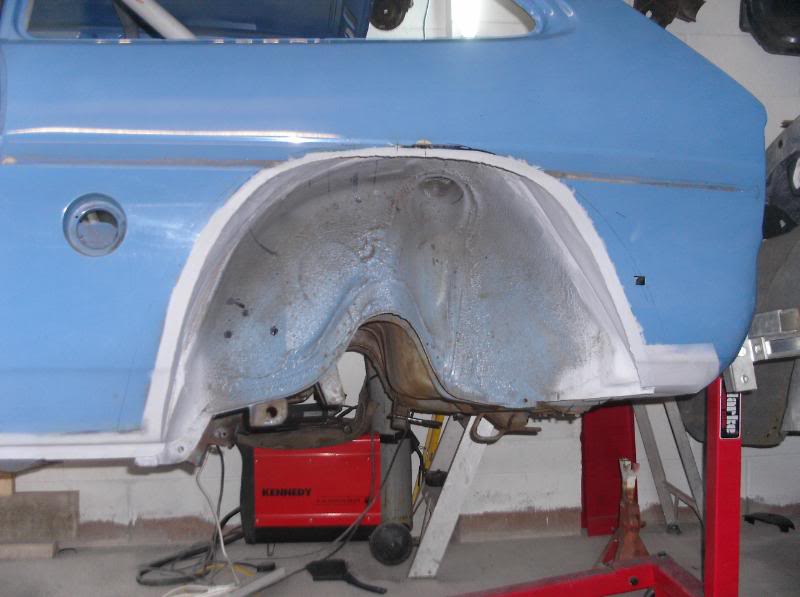
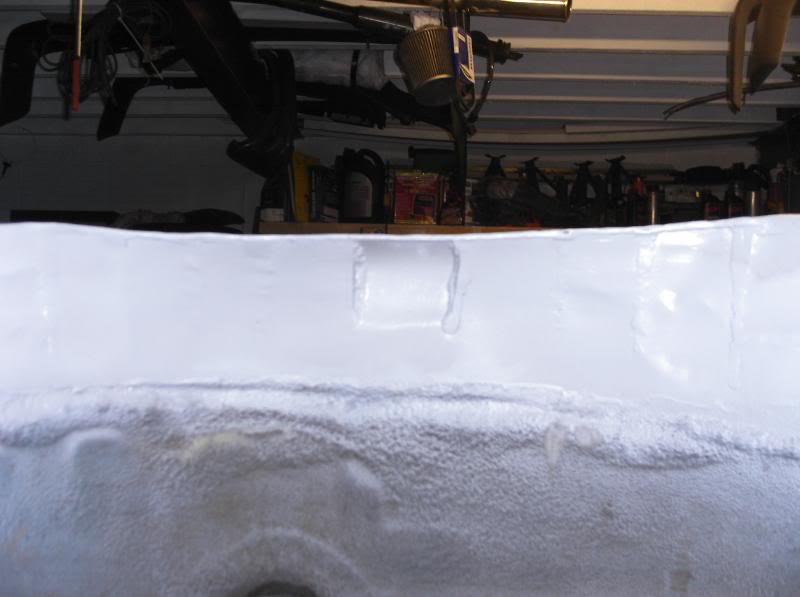
Had a few spare hours so thought i'd get some work done on the car, Well after striping the car bare and getting it onto the spit on i spent sometime getting busy with the body work and getting a bit  as i found a few small holes that turned out to be bigger holes
  After telling myself to get a grip as it's only small easy to fix stuff i got the grinder and Mig out and got to work.
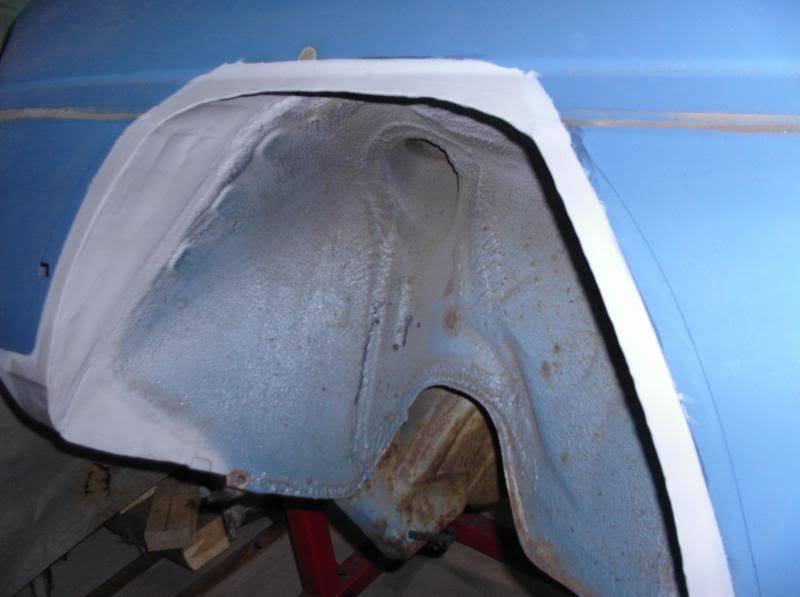
I'm going for the MCrally arches so lots of cutting etc is needed, here are a few pics of the progress, i'll get some more up soon.

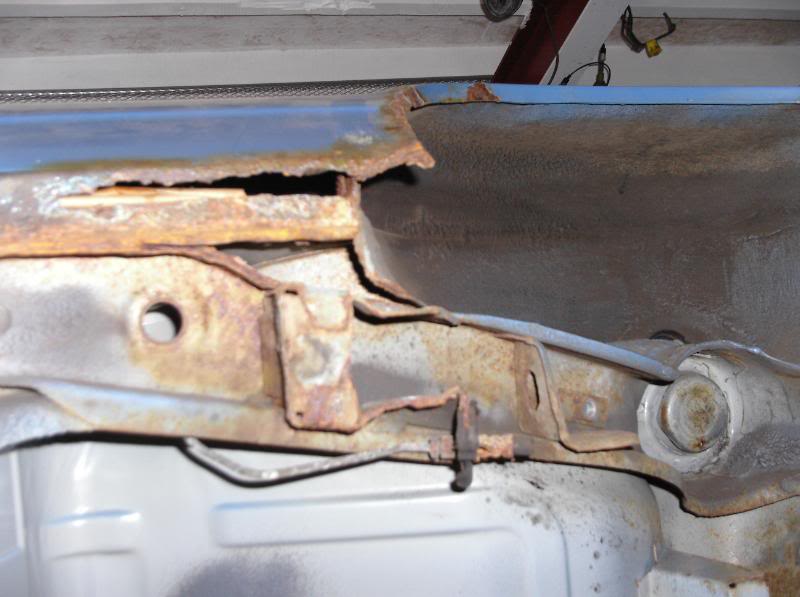

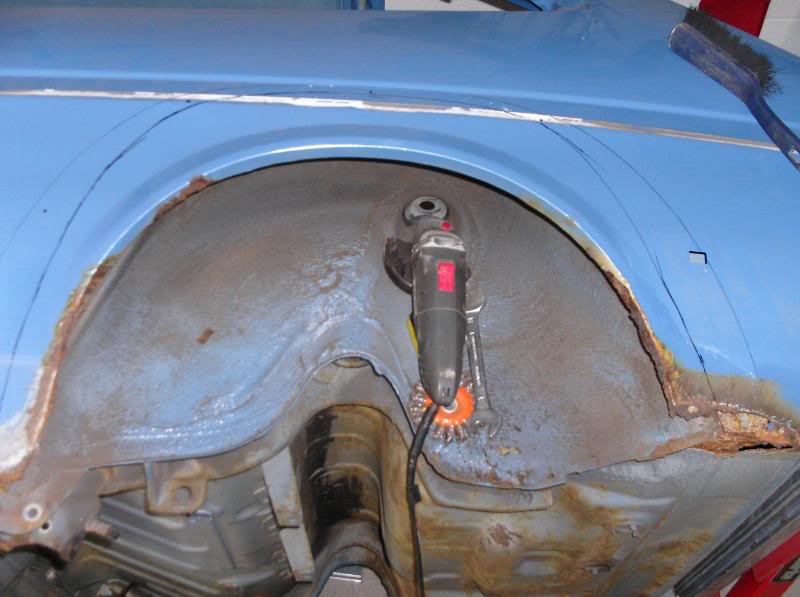
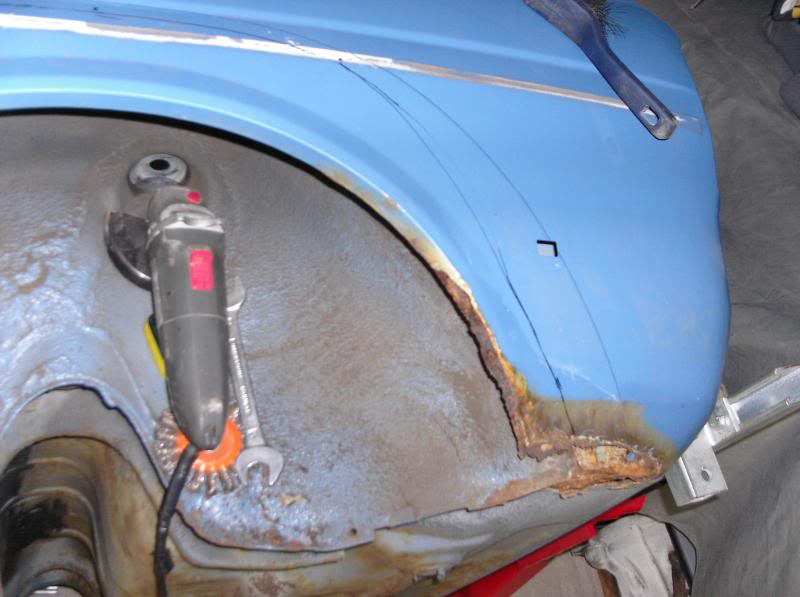
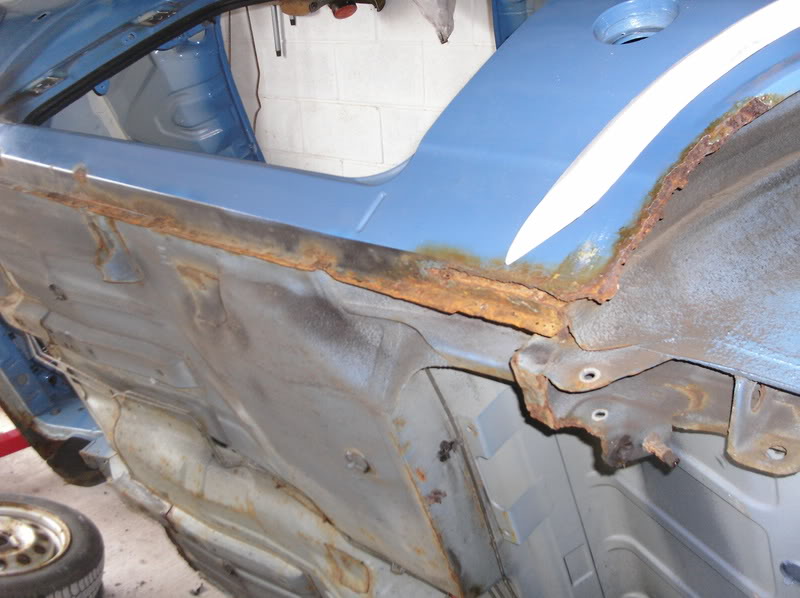
This looked the worst of the 2 sides so thought i get the shit side done 1st
I've made a start on welding the inner and outter arch back together but i'll get some pics od that when finished.
After telling myself to get a grip as it's only small easy to fix stuff i got the grinder and Mig out and got to work. I'm going for the MCrally arches so lots of cutting etc is needed, here are a few pics of the progress, i'll get some more up soon.
This looked the worst of the 2 sides so thought i get the shit side done 1st
I've made a start on welding the inner and outter arch back together but i'll get some pics od that when finished.
Trending Topics

 20-11-2008, 04:32 PM
#9
I've found that life I needed.. It's HERE!!


 22-11-2008, 07:43 PM
#14
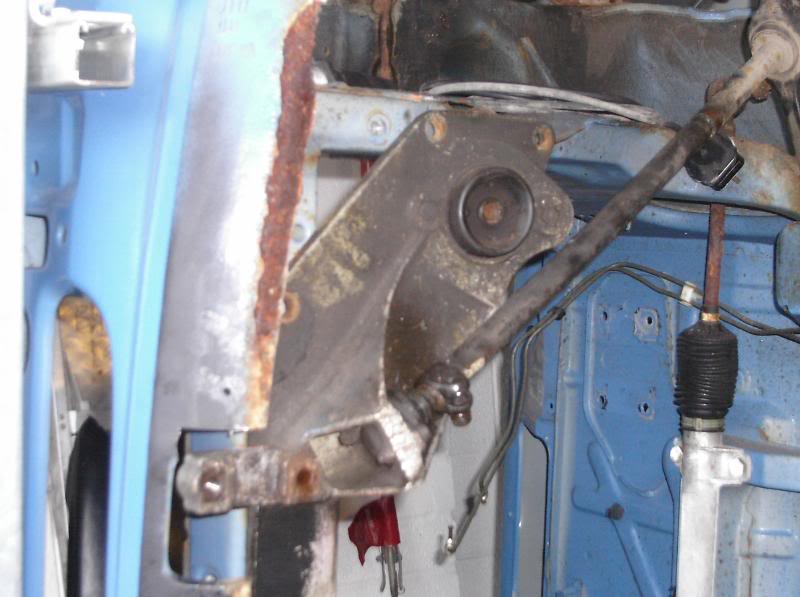
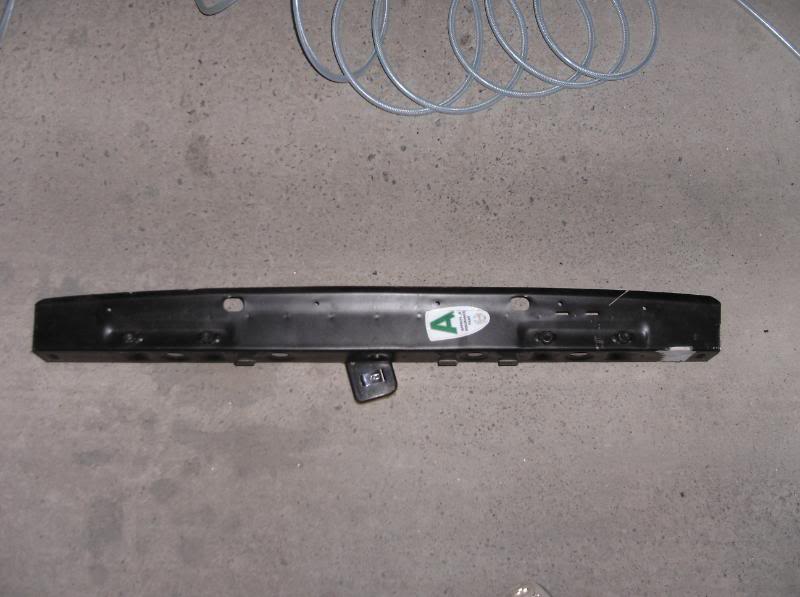
Bit of progress, Well i managed to get what i though was an S1 front anti roll bar set up, but after getting it through post it was different as the S1 is cast steel and this 1 was aluminium, after a bit of research i've found out it is an RS1600i item which is supossed to be better than the S1 item as the anti roll bar is thicker 8) 8)
This is it
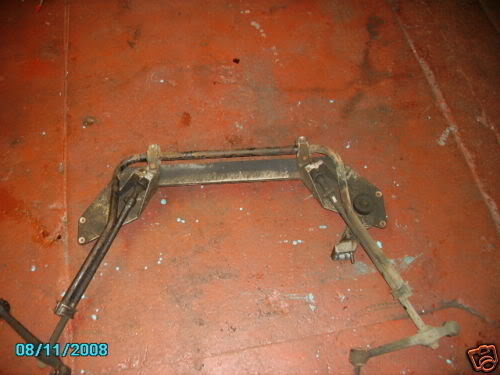
I bought it as a mate is looking for 1 for his Mk3 so if it was no good he was going to have it off me. After offering it up to the car and adjusting the tie bars to make them shorter(they where all free and adjusted no prob's ) it looked like a good fit
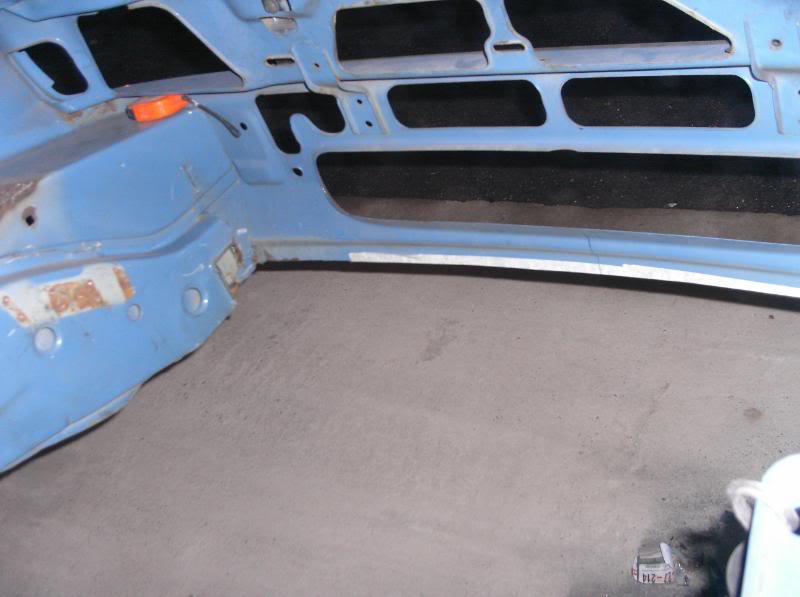
i then had to cut the towing eye space out a little bit
and make one on the drivers side
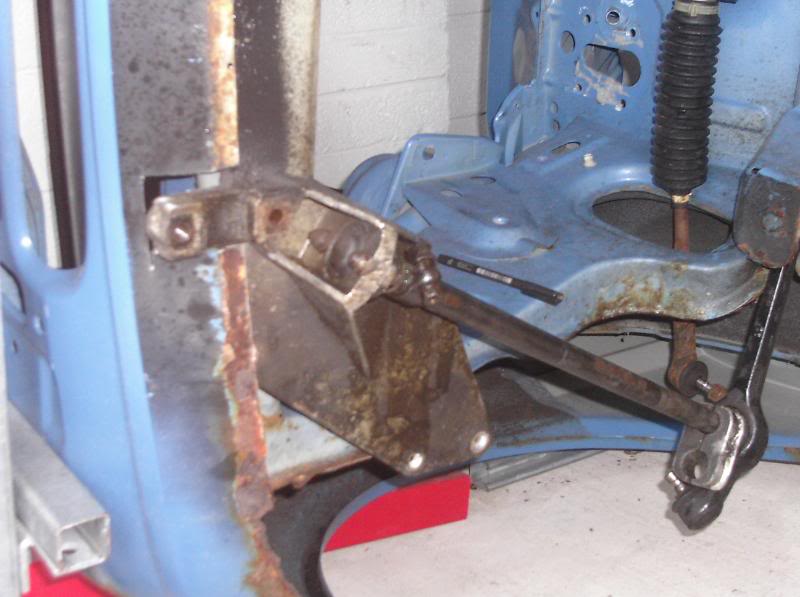
after than it fitted on a lot better and it sat level with the inner most side of the cross member (closest to the bulk head)
after doing that i figured that i could move it forward a fair bit , bit this ment cutting the bottom of the front panel off


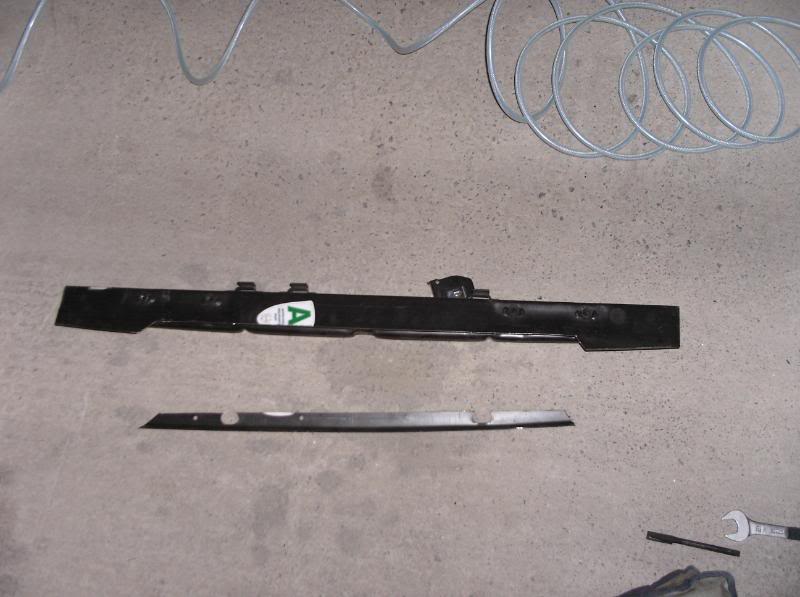
It's a pitty it's the alloy type not the steel as if it where 15mm narrower it would fit perfect between the chassis legs, i might cut it in half yet as 1 of the original tie bar mount holes will line up with it.
I need to weld a box section onto the front of the cross member to mount the front bolts to.
I'm happy with the progress so far and i'm 95% sure it'll go on.
This is it
I bought it as a mate is looking for 1 for his Mk3 so if it was no good he was going to have it off me. After offering it up to the car and adjusting the tie bars to make them shorter(they where all free and adjusted no prob's
) it looked like a good fit i then had to cut the towing eye space out a little bit
and make one on the drivers side
after than it fitted on a lot better and it sat level with the inner most side of the cross member (closest to the bulk head)
after doing that i figured that i could move it forward a fair bit , bit this ment cutting the bottom of the front panel off
It's a pitty it's the alloy type not the steel as if it where 15mm narrower it would fit perfect between the chassis legs, i might cut it in half yet as 1 of the original tie bar mount holes will line up with it.
I need to weld a box section onto the front of the cross member to mount the front bolts to.
I'm happy with the progress so far and i'm 95% sure it'll go on.
 20-01-2009, 07:47 PM
#18
Bit of an up date, seen as though i havn't done one since the middle of November. I've been a bit lazy really especially over Xmas, but i did manage to spend the weekend on it so here are some pics.
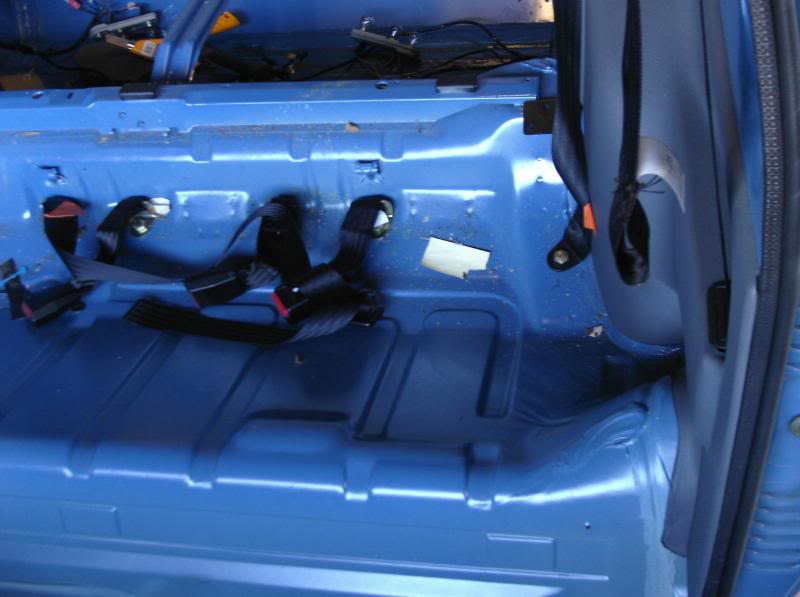
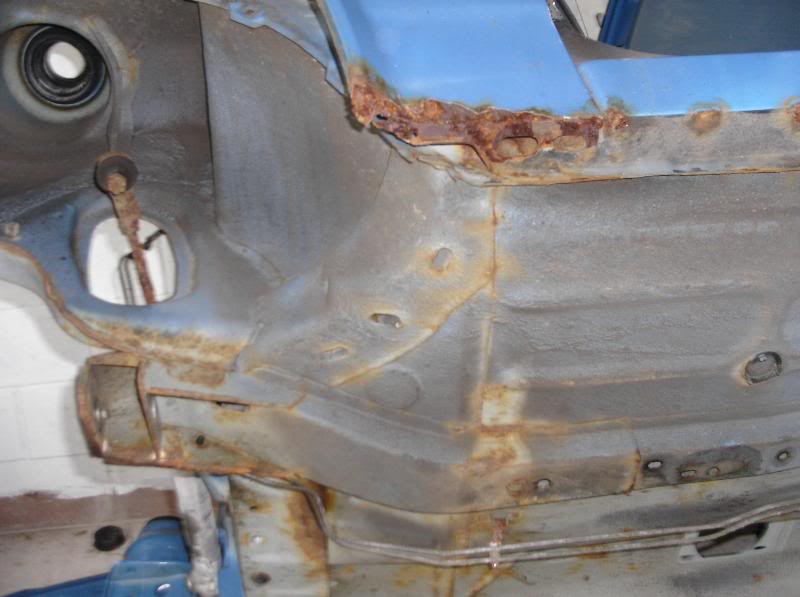
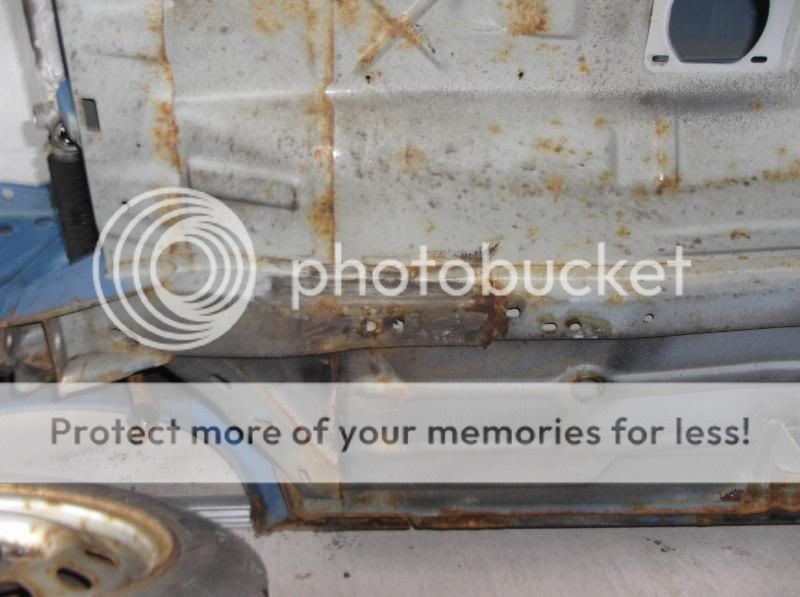
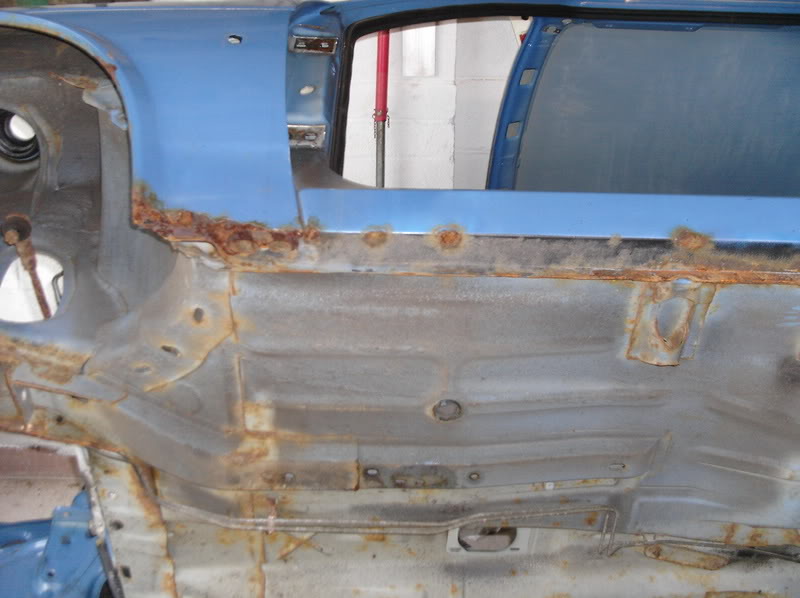
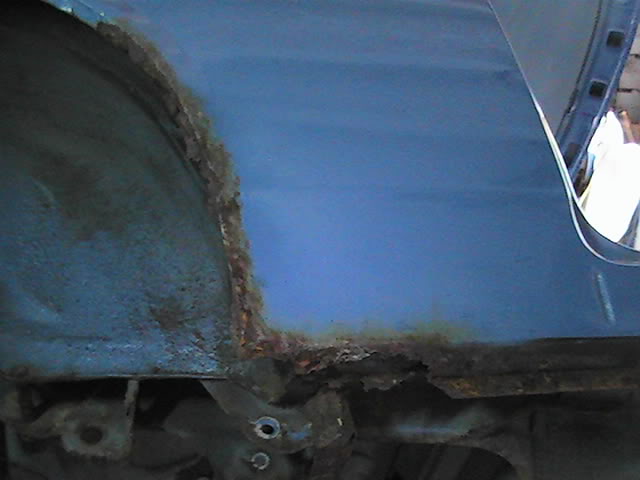
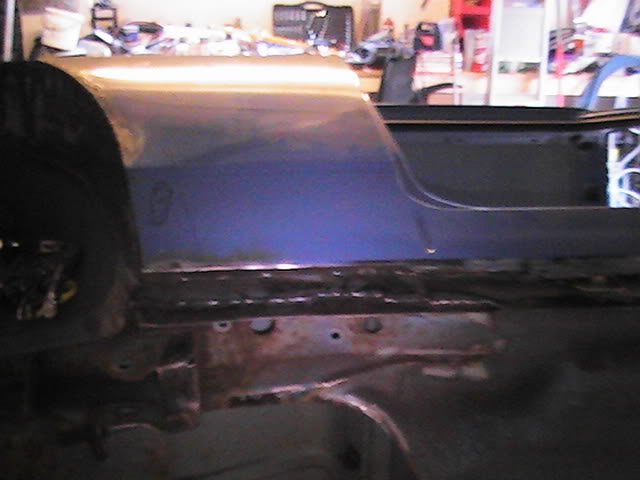
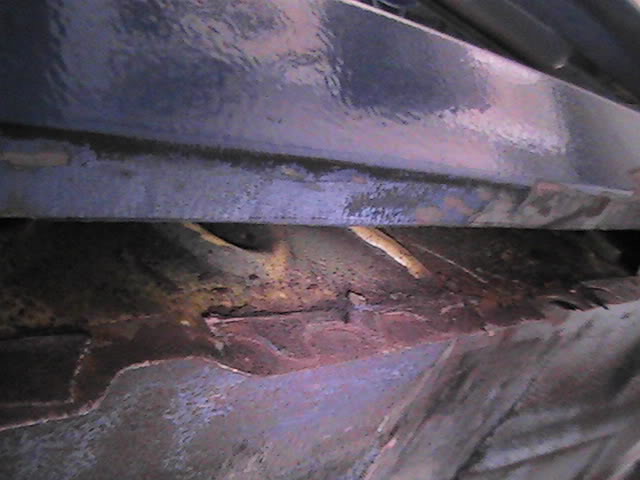
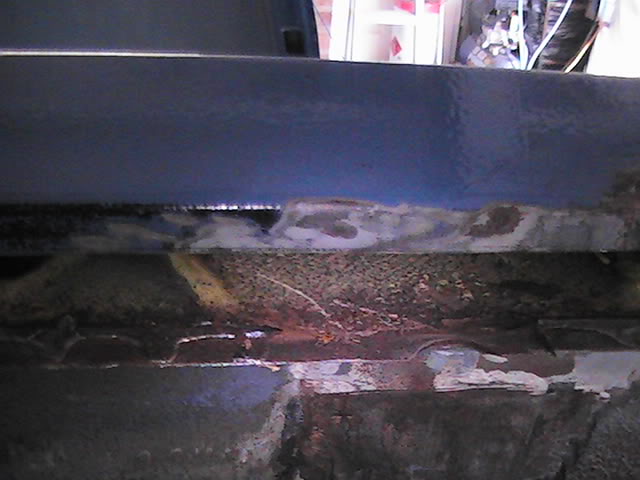
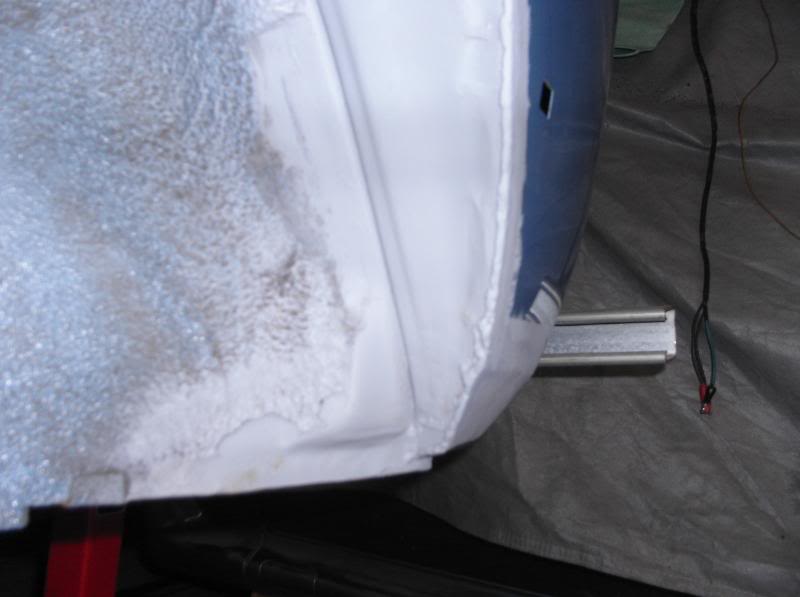
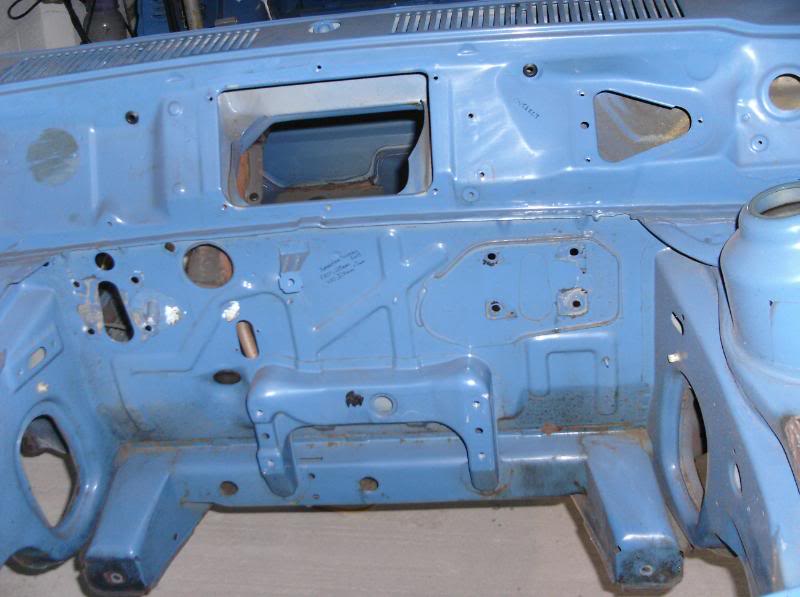
These are the passenger sil and rear end, i'll get the arch pics up later this week.
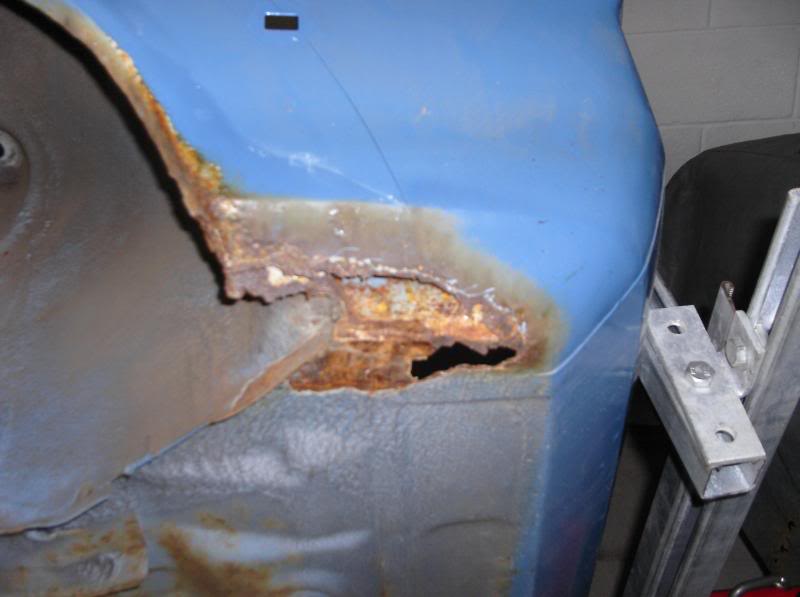
Although the car was in pretty good condition when i started going over it with a wire brush head on my grinder it revealed a few nasties, but nothing i could sort out.
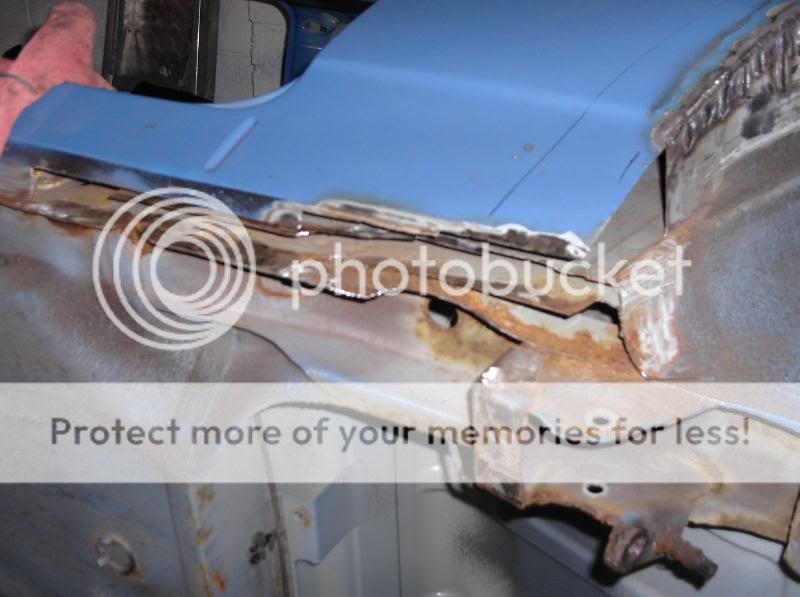

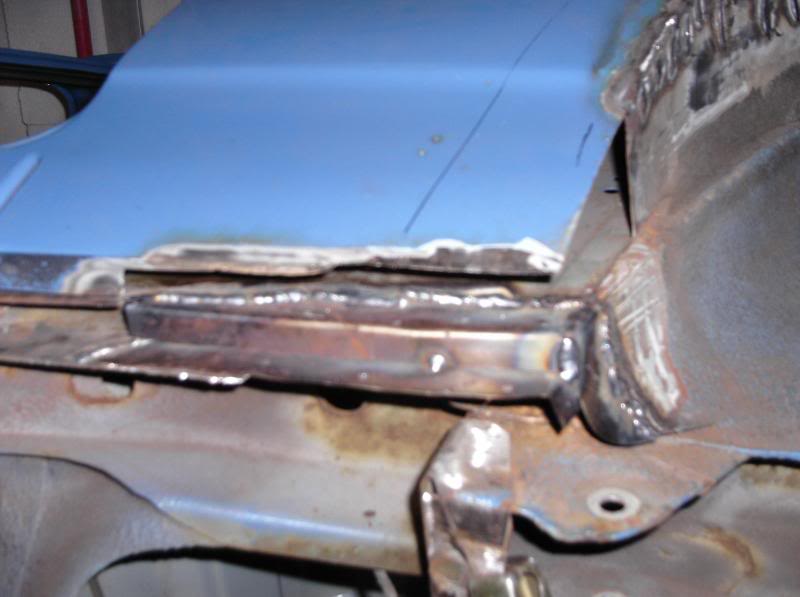
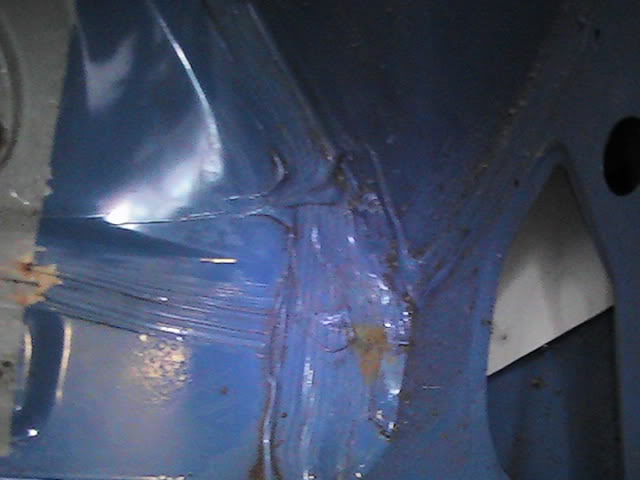
Front arch
front corner of the wing i cut of to patch as i dont want to remove the whole wing
For what i paid for the car i'm a bit gutted that it had holes, but never mind it's a Mk2 Fiesta
These are the passenger sil and rear end, i'll get the arch pics up later this week.
Although the car was in pretty good condition
Front arch
front corner of the wing i cut of to patch as i dont want to remove the whole wing
For what i paid for the car i'm a bit gutted that it had holes, but never mind it's a Mk2 Fiesta


 21-01-2009, 10:41 AM
#26
Advanced PassionFord User
good luck with the build- i still think the shell is pretty good for its age (considering its a ford )
fiestas make great track cars as the handle well and are so light
)fiestas make great track cars as the handle well and are so light
 21-01-2009, 01:30 PM
#28
BANNED
BANNED

Join Date: Aug 2004
Location: The beach
Posts: 5,249
Likes: 0
Received 0 Likes
on
0 Posts

Basically just a bar going forward and shaped to marry into the top of the strut on that one
 22-01-2009, 09:37 PM
#32
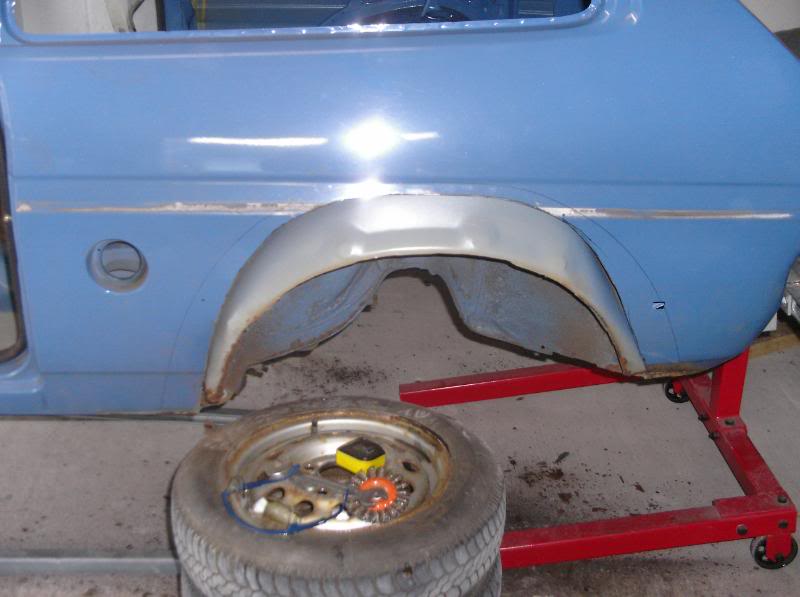
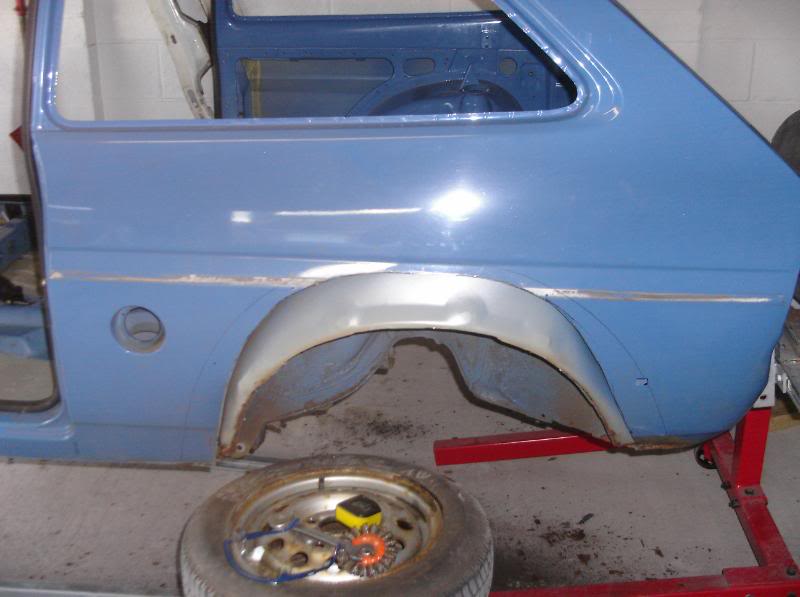
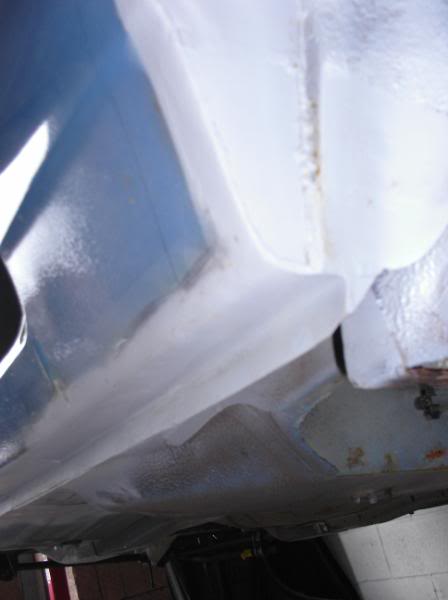
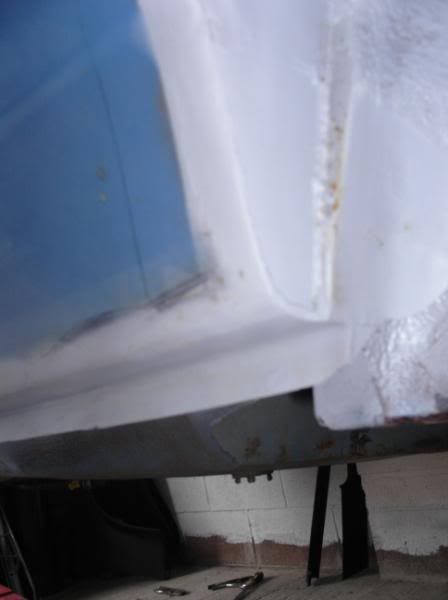
Well the both sides from the front of the sill to the back of the car are all sorted, few pics below with the bare metal just can primered to cover it up til the whole shell's finished.
before
after
sil before
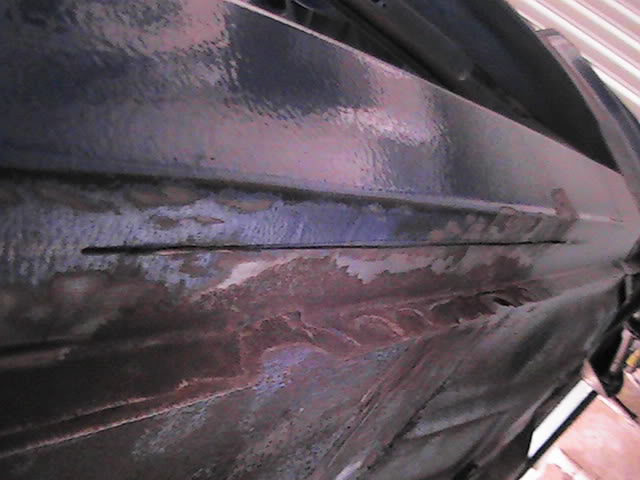
after
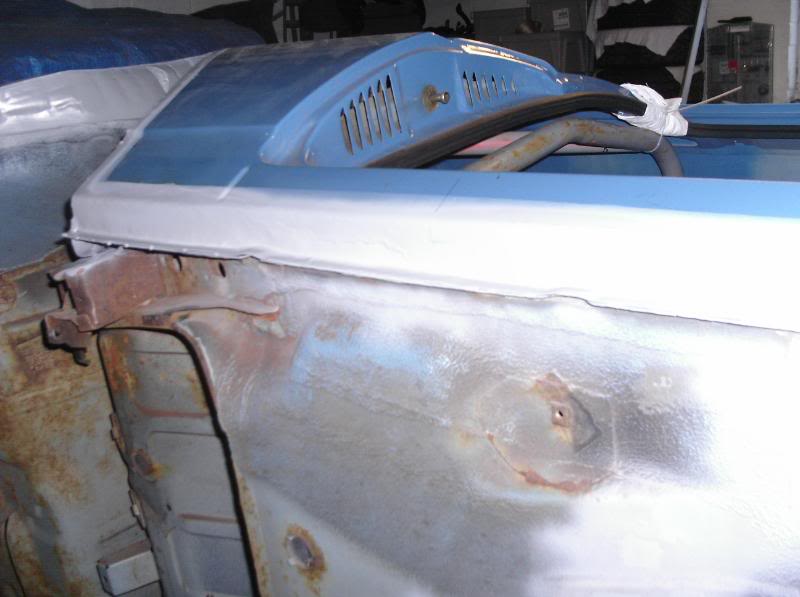
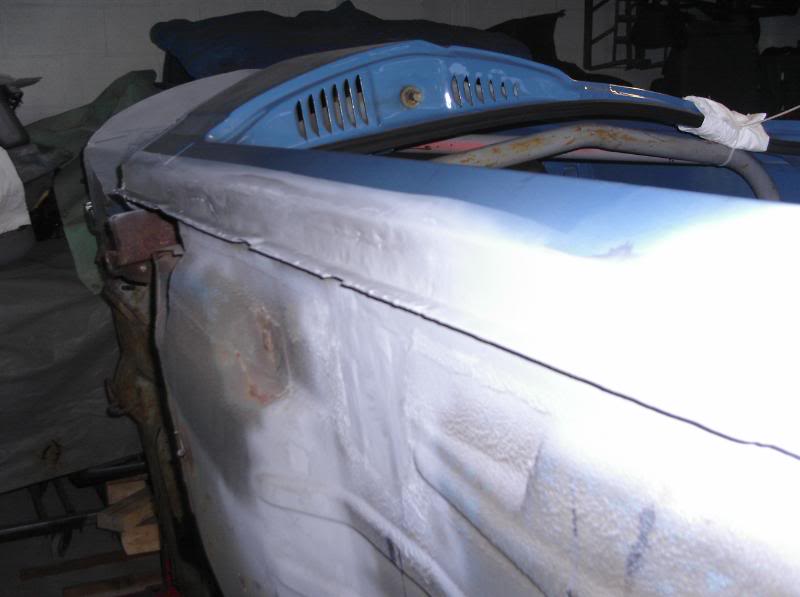
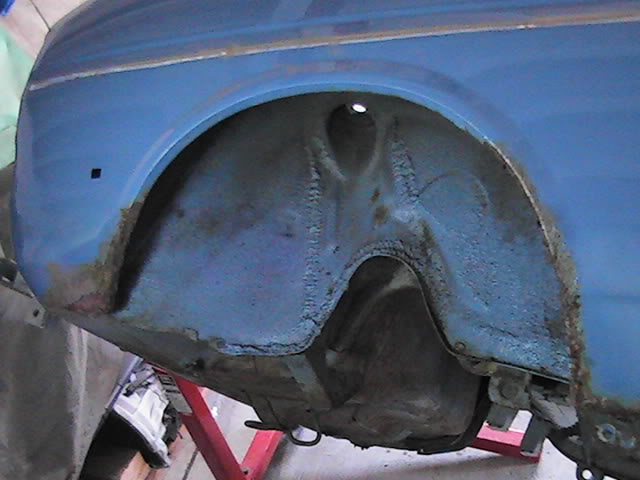
passenger rear arch
drivers rear arch

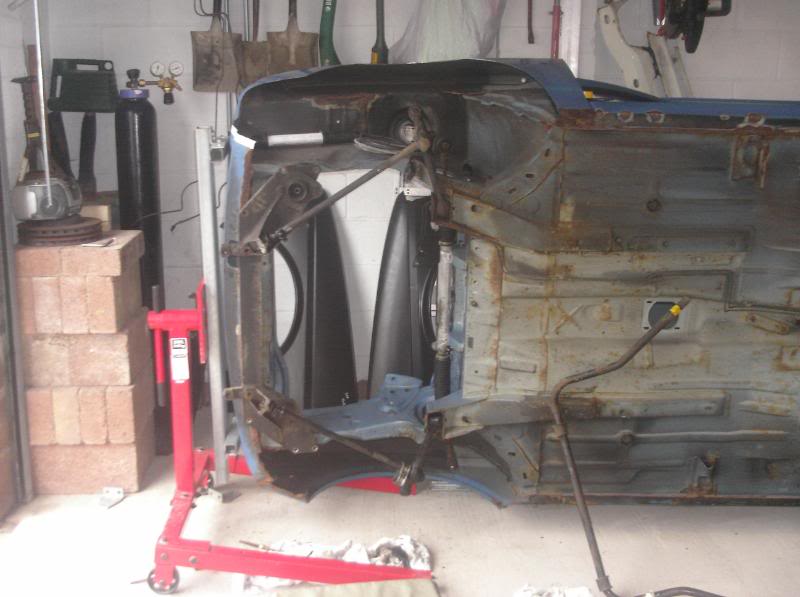
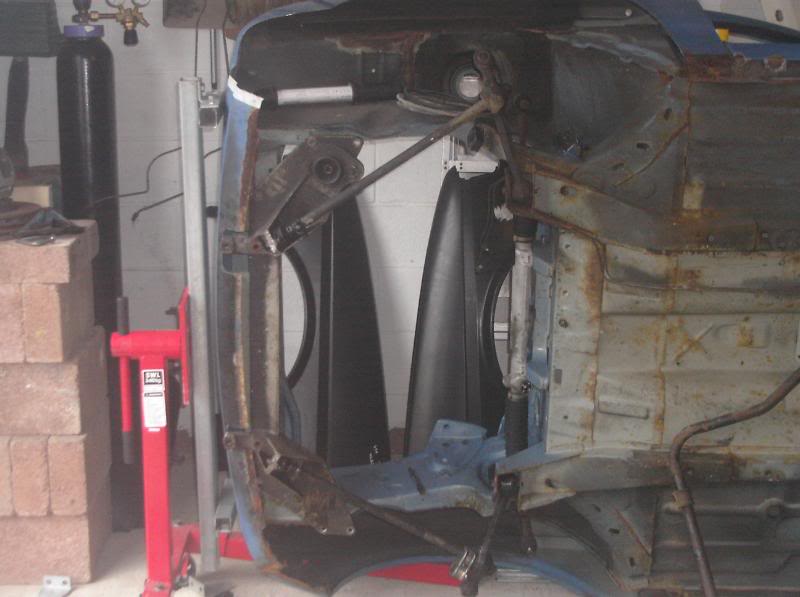
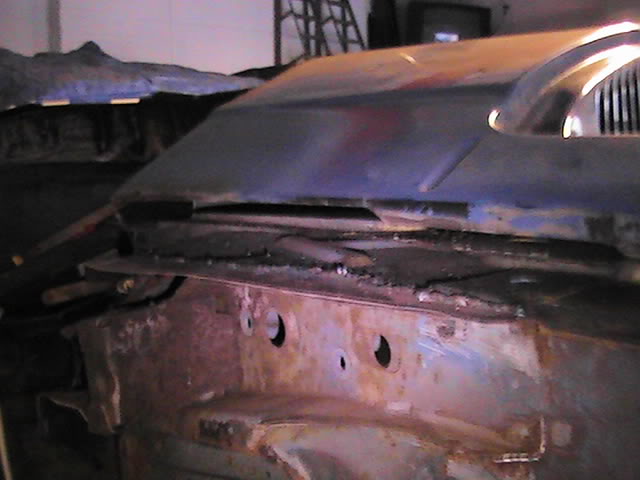
After finishing the both sides i thought i'd tackle the fitting of the RS1600i front setupso the fornt spit was removed and car put on stands.
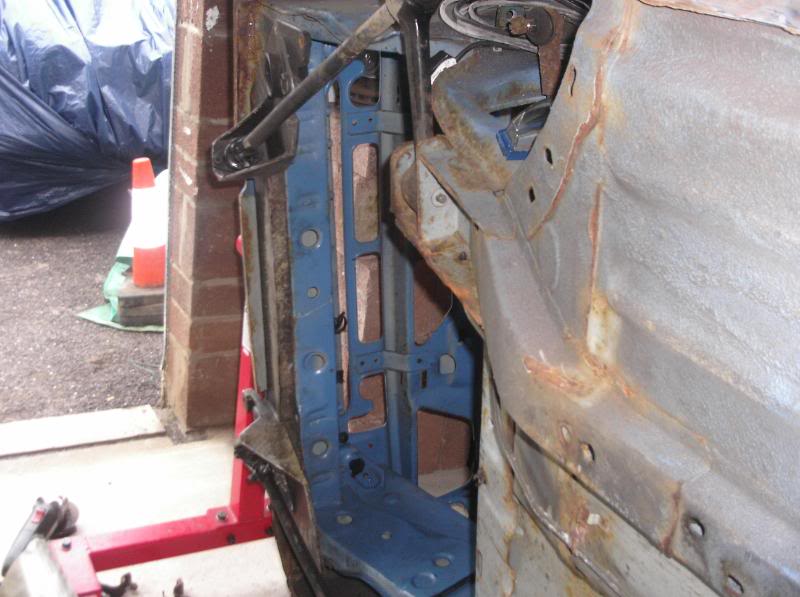
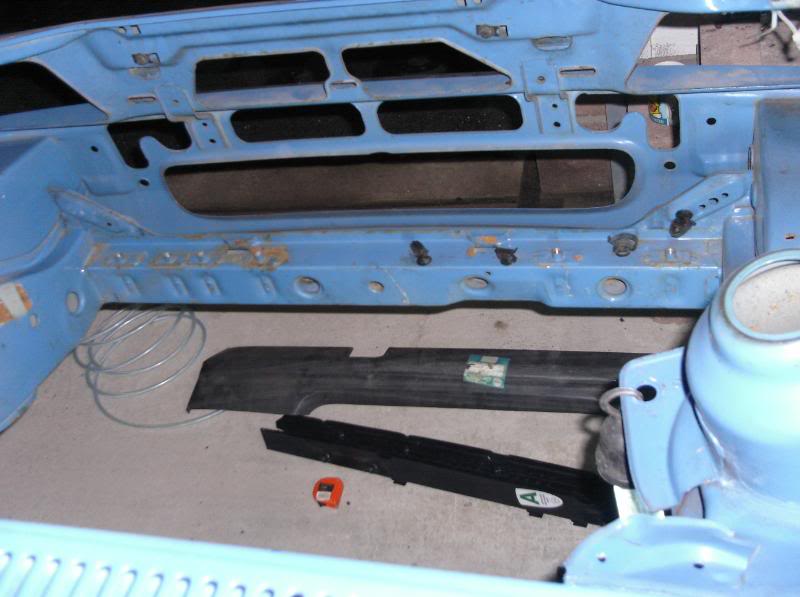
So after 30mins umming and arrring the cross member was cut out to make room for the Mk3 escort replacement, reason for the change is simple, the escort cross member sits further forward than the fiesta one and i can move it up slightly if needed, plus it'll mean that the anti roll bar cross member will bolt straight on and i'll only have to worry aboiut the side mounting bolts.
before
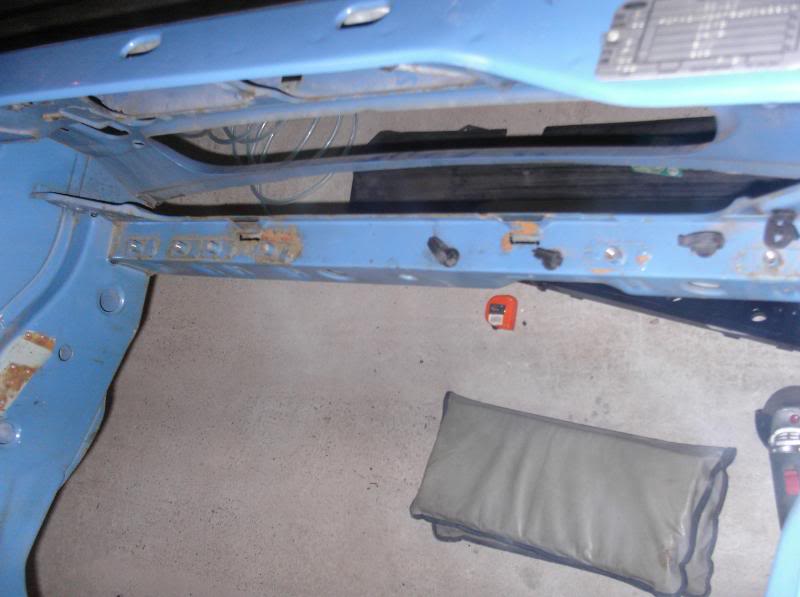
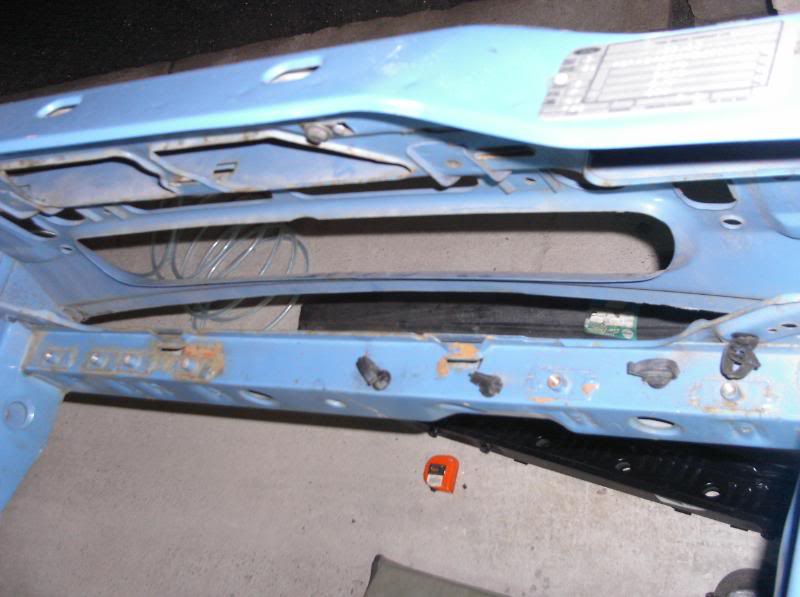
after
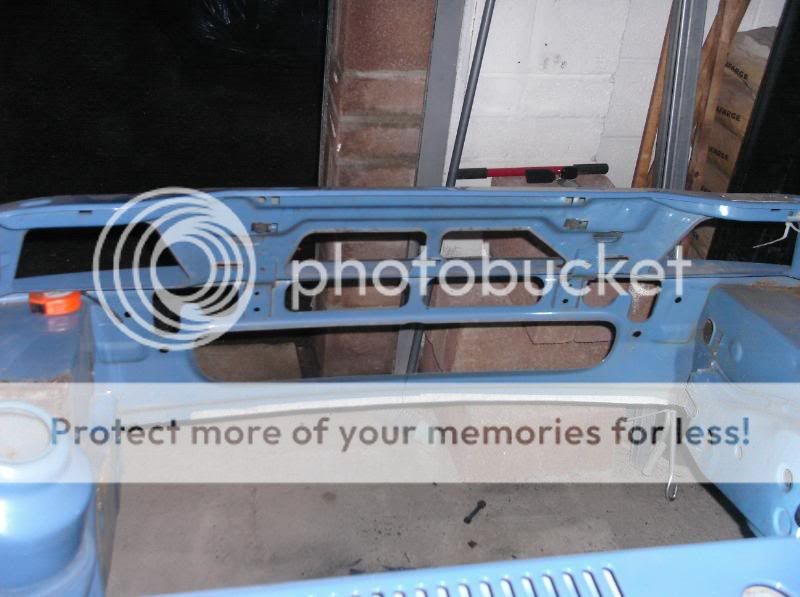
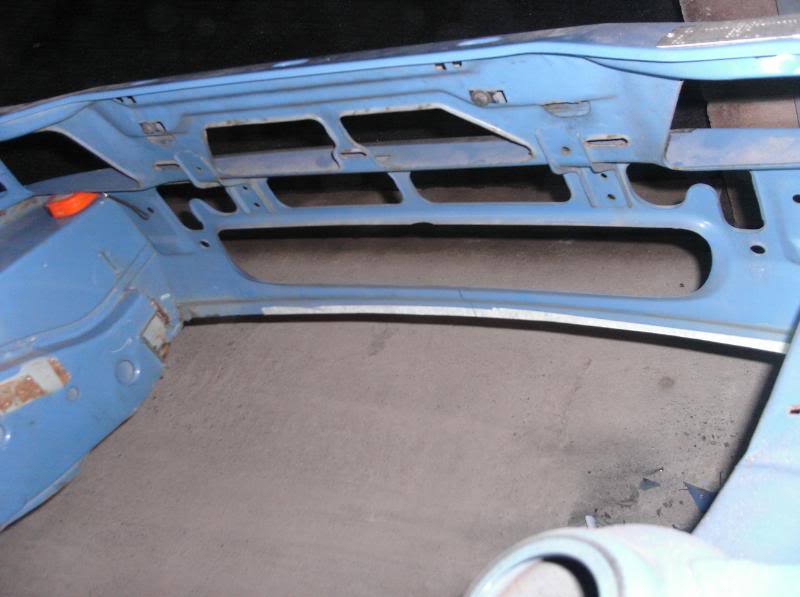
The Mk3 escort cross member is about 10mm wider than the fiesta one so it'll need a bit of a trim, plus the shape of the front part that joins to the escort front panel is different but can and will be trimed to suit the fezzy
Cheers for looking
before
after
sil before
after
passenger rear arch
drivers rear arch
After finishing the both sides i thought i'd tackle the fitting of the RS1600i front setupso the fornt spit was removed and car put on stands.
So after 30mins umming and arrring the cross member was cut out to make room for the Mk3 escort replacement, reason for the change is simple, the escort cross member sits further forward than the fiesta one and i can move it up slightly if needed, plus it'll mean that the anti roll bar cross member will bolt straight on and i'll only have to worry aboiut the side mounting bolts.
before
after
The Mk3 escort cross member is about 10mm wider than the fiesta one so it'll need a bit of a trim, plus the shape of the front part that joins to the escort front panel is different but can and will be trimed to suit the fezzy
Cheers for looking
Last edited by GINGExR2 T; 22-01-2009 at 09:58 PM.
23-01-2009, 03:28 AM
#33
BANNED
BANNED
Join Date: Aug 2004
Location: The beach
Posts: 5,249
Likes: 0
Received 0 Likes
on
0 Posts
How do Brian
Not got any more up to date pics of that, its taken a back seat somewhat for the time being, rest assured there will be a thread coming with all the build pics of it though!
I reckon matt black arches, wide, dished minilite's and a FRS engine should be pretty nifty
This blue one is cracking on too, good progress mate!
23-01-2009, 08:19 PM
#34
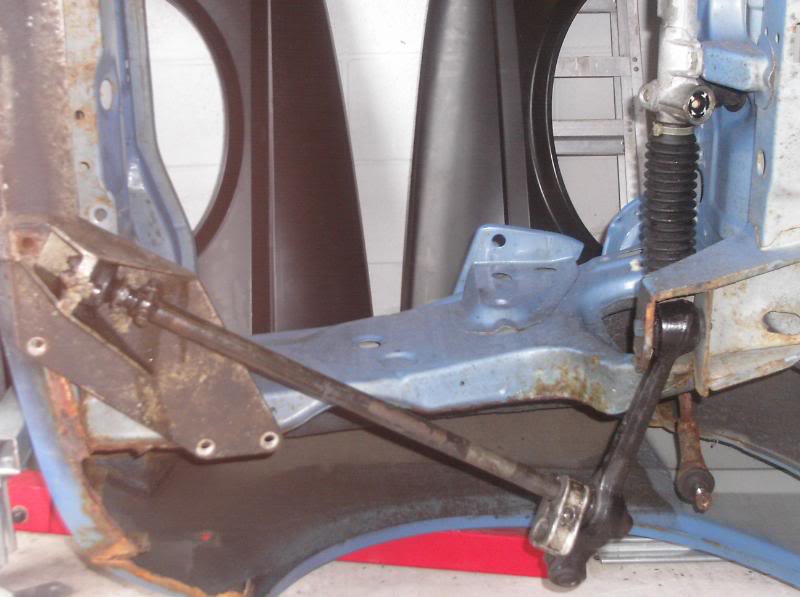
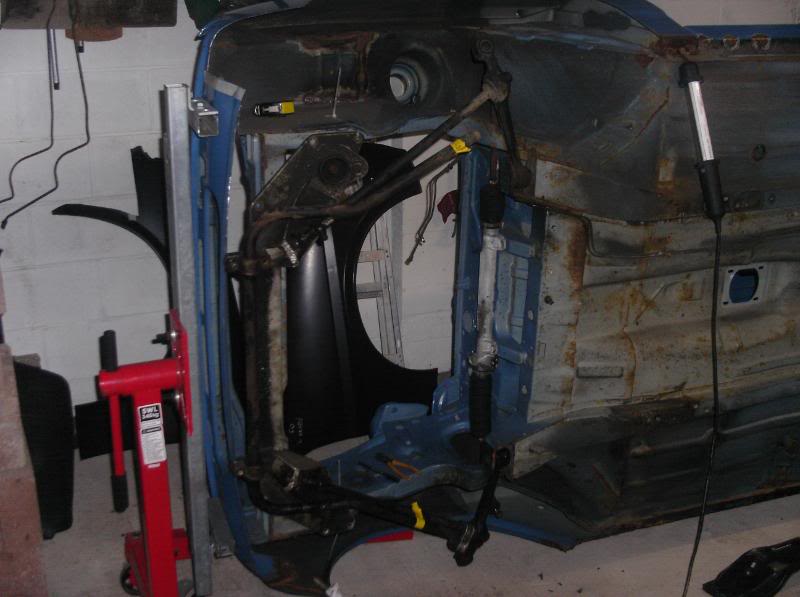
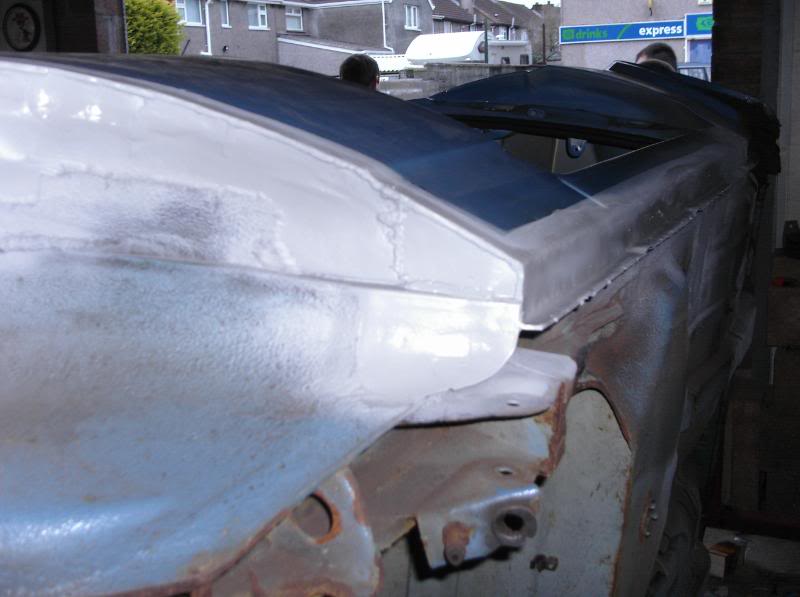
Managed to get a few hours out the garage today so cracked on with the front crossmember and trying to mount the RS16i aluminium cross member section.
If anyone out there with an S1 RST wants to loose a few kg's from the car, get an RS1600i front set up, the differnce in weight is unreal.
Here's the pics,
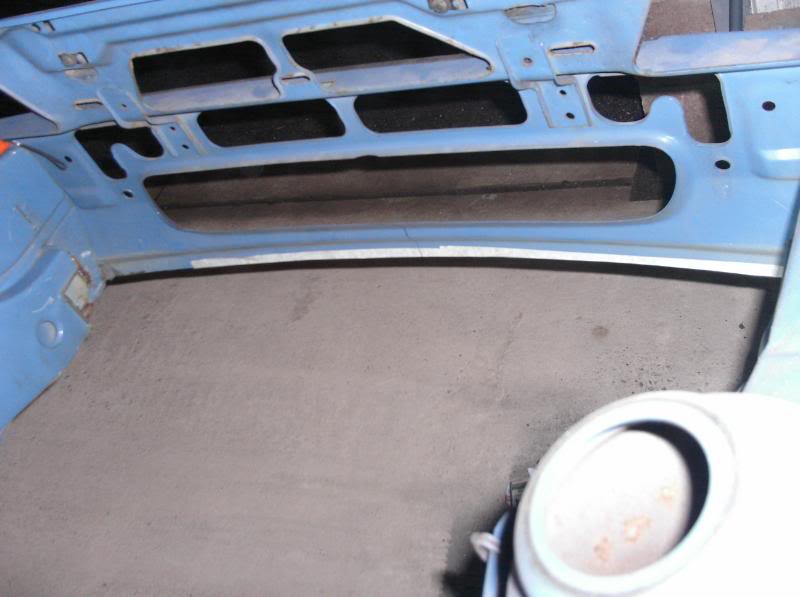
Mk3 cross member
modified to suit the front panel better and so that i could move the member forward as far as possible
offered up in place and tacked inplace
with the RS cross member bolted on
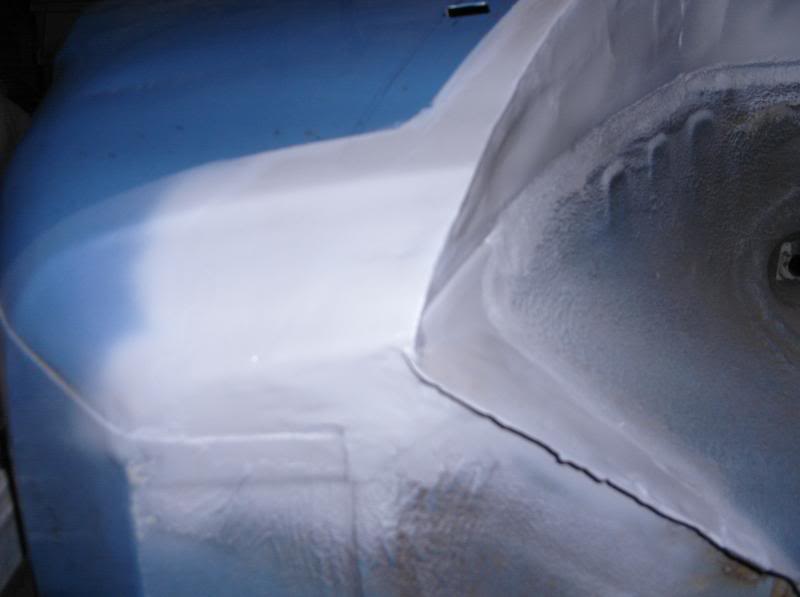
I left the end of the original cross member that connects to the inner wing inplace and seemed around it to add strenght
To add some more strenght to the corner i fitted a triangle section of the original cross member
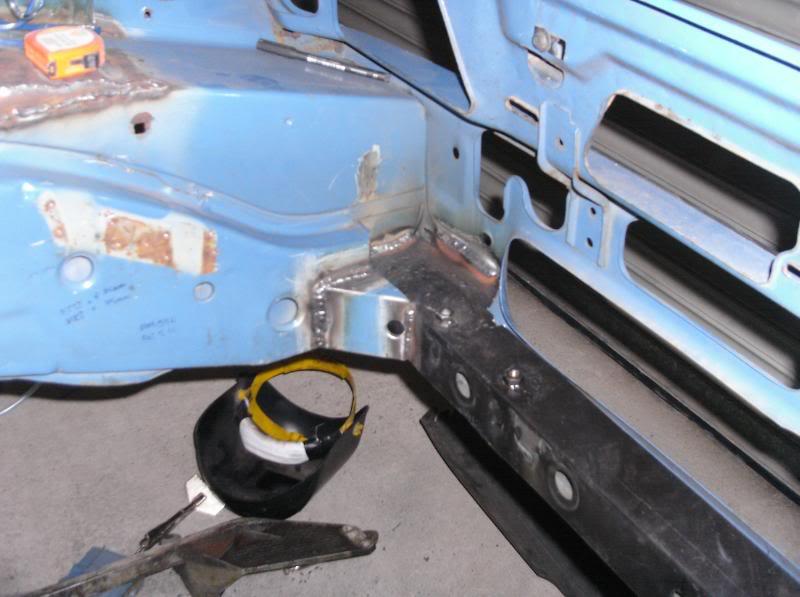
after that i was left with a horrible gap between the inner leg and the front panel that look shit, so i add a section to it to tidy it up, plus it should add strenght at the same time
Well i'm well chuffed so far, plus with the cross member that far forward if i do decide to boot mount the rad i can fit my ProAlloy RS500 intercooler in the front
If anyone out there with an S1 RST wants to loose a few kg's from the car, get an RS1600i front set up, the differnce in weight is unreal.
Here's the pics,
Mk3 cross member
modified to suit the front panel better and so that i could move the member forward as far as possible
offered up in place and tacked inplace
with the RS cross member bolted on
I left the end of the original cross member that connects to the inner wing inplace and seemed around it to add strenght
To add some more strenght to the corner i fitted a triangle section of the original cross member
after that i was left with a horrible gap between the inner leg and the front panel that look shit, so i add a section to it to tidy it up, plus it should add strenght at the same time
Well i'm well chuffed so far, plus with the cross member that far forward if i do decide to boot mount the rad i can fit my ProAlloy RS500 intercooler in the front
 05-02-2009, 07:41 PM
#36
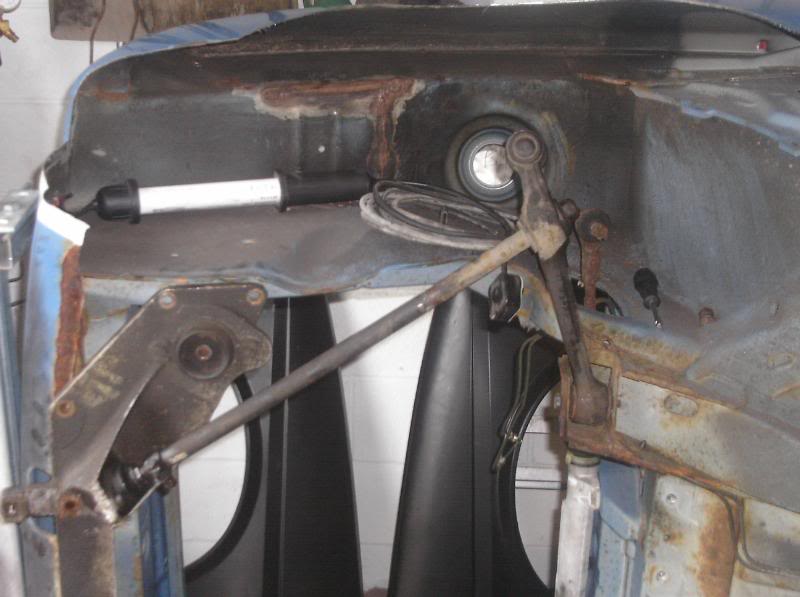
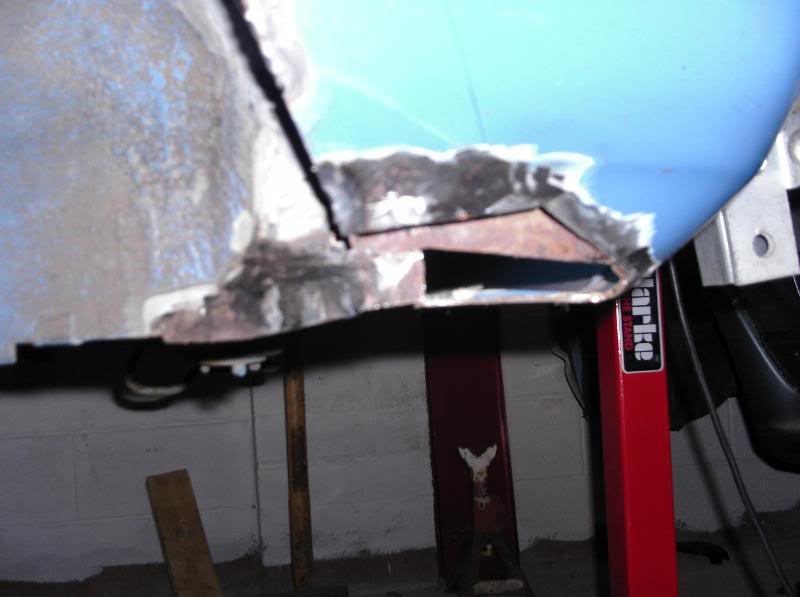
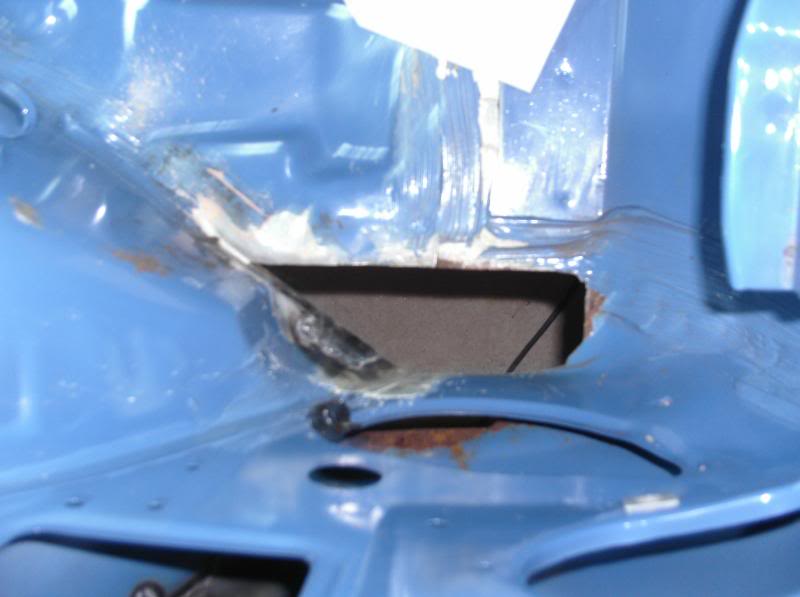
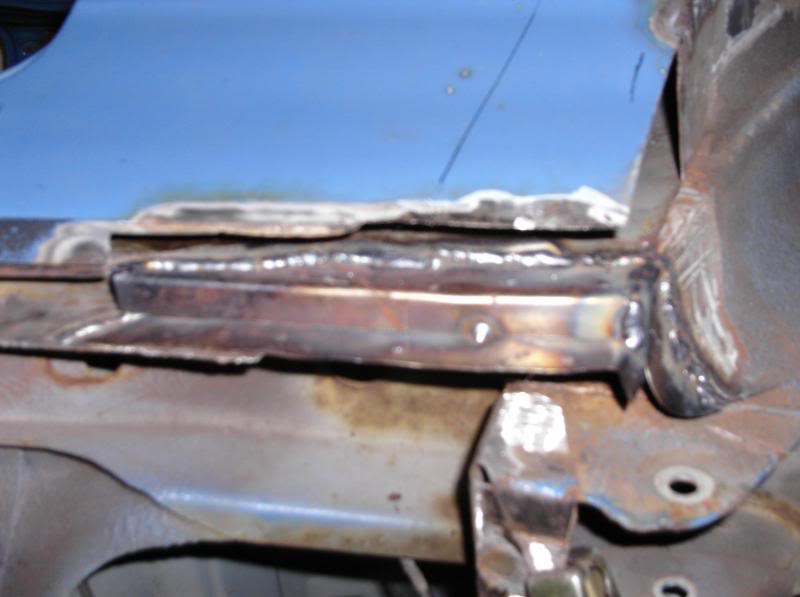
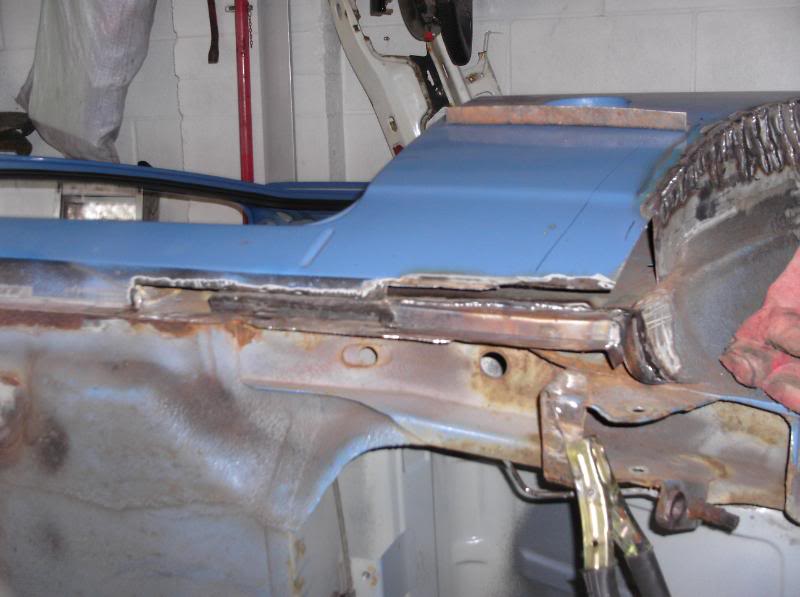
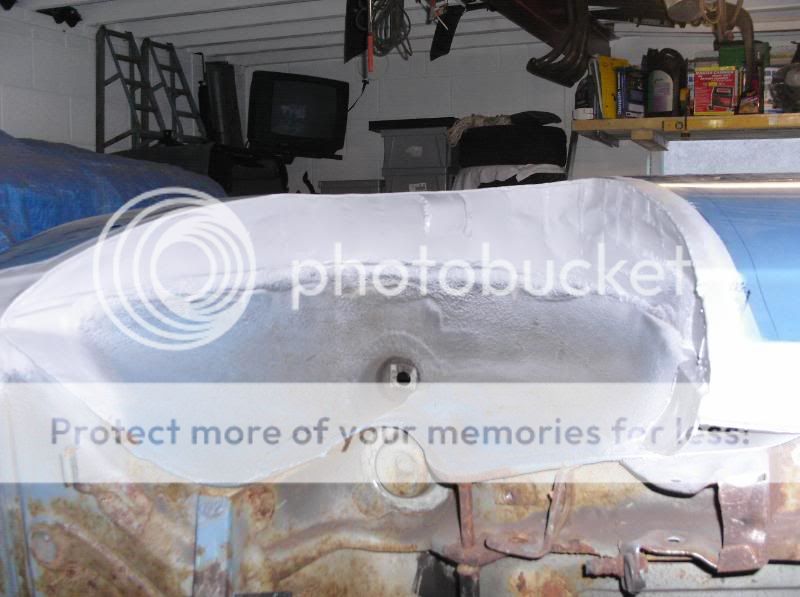
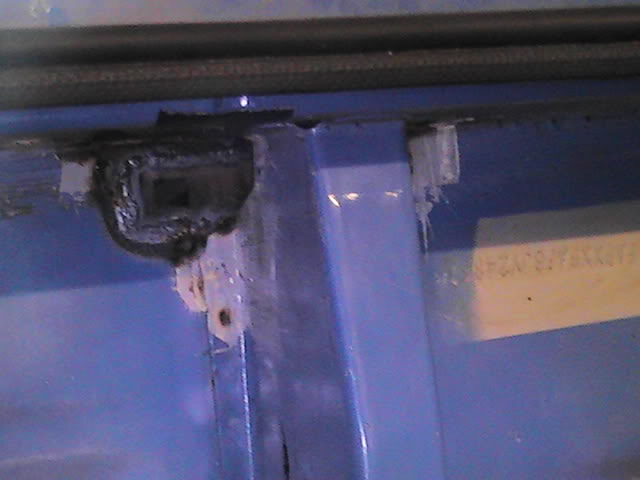
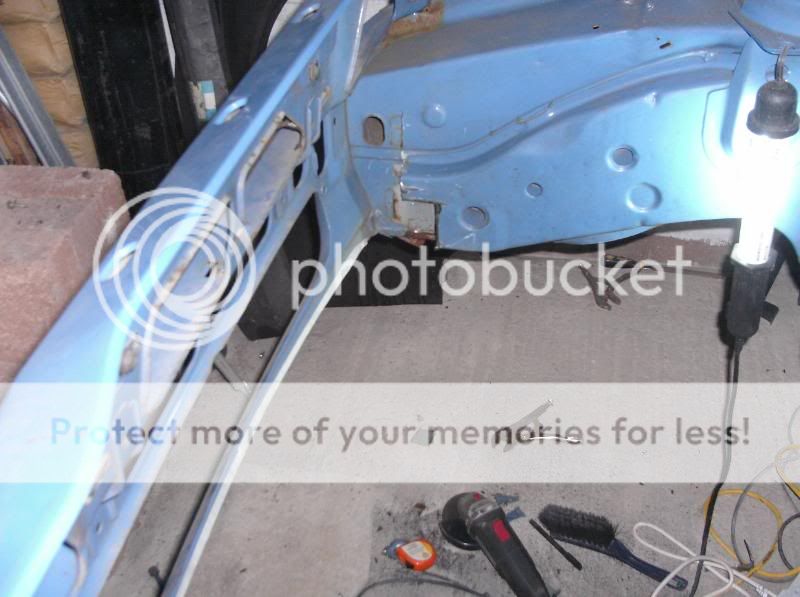
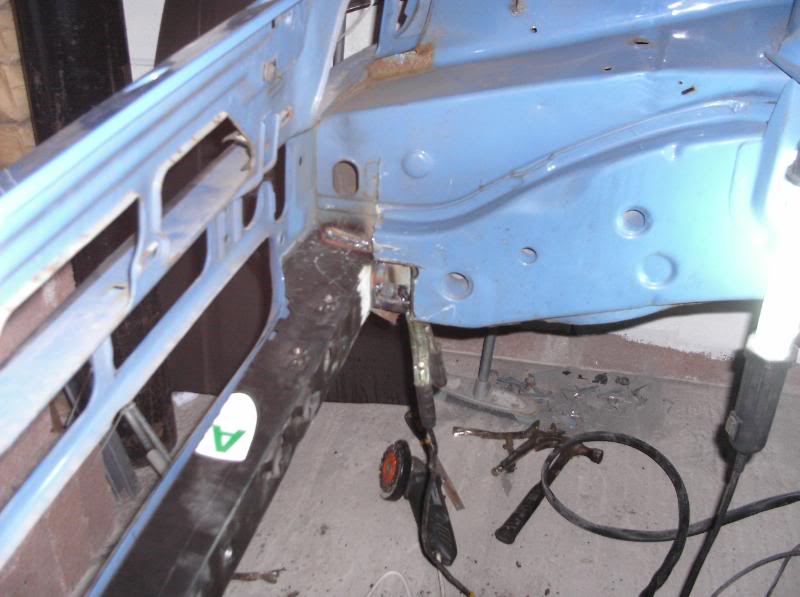
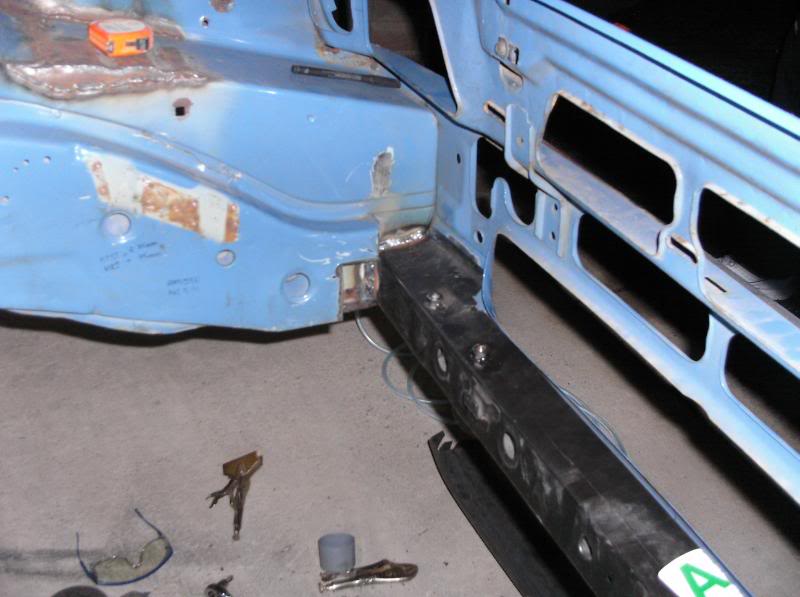
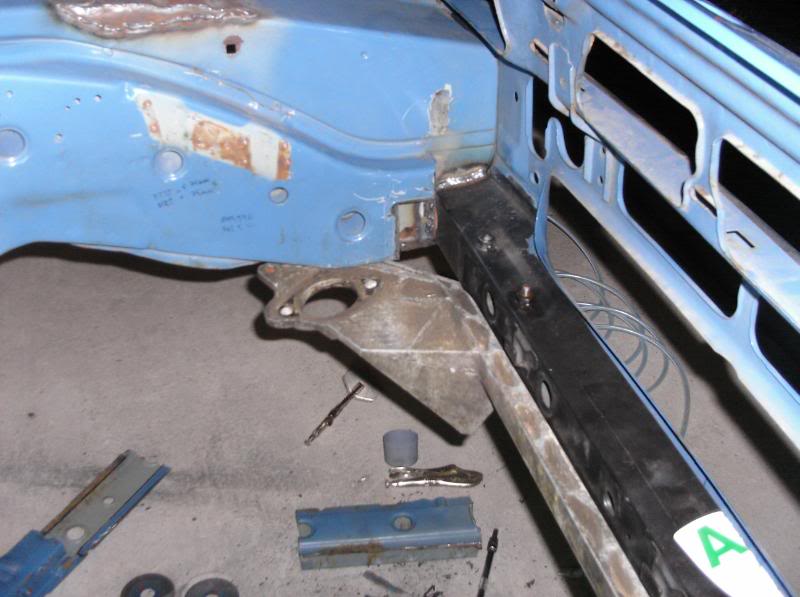
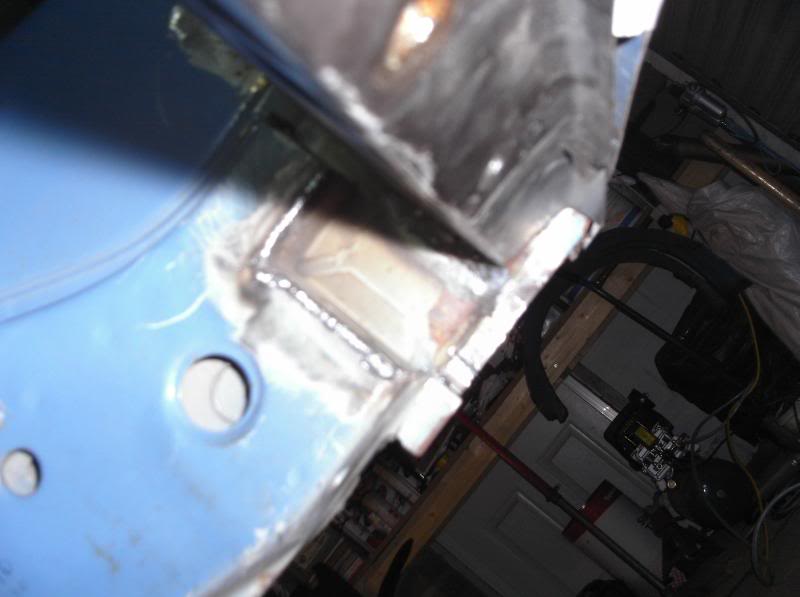
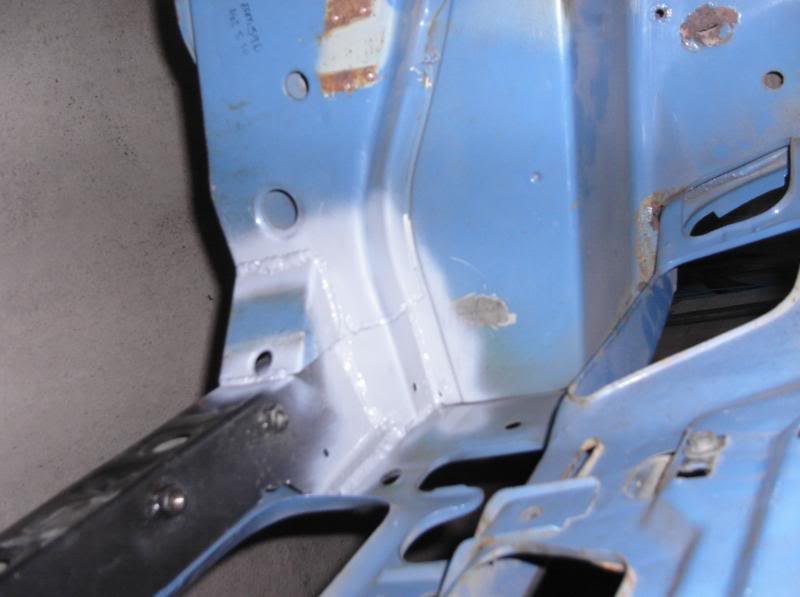
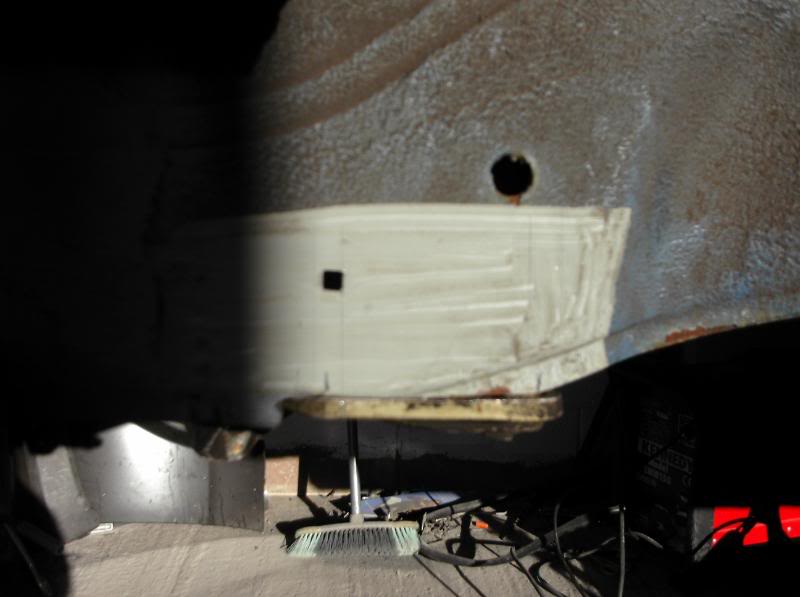
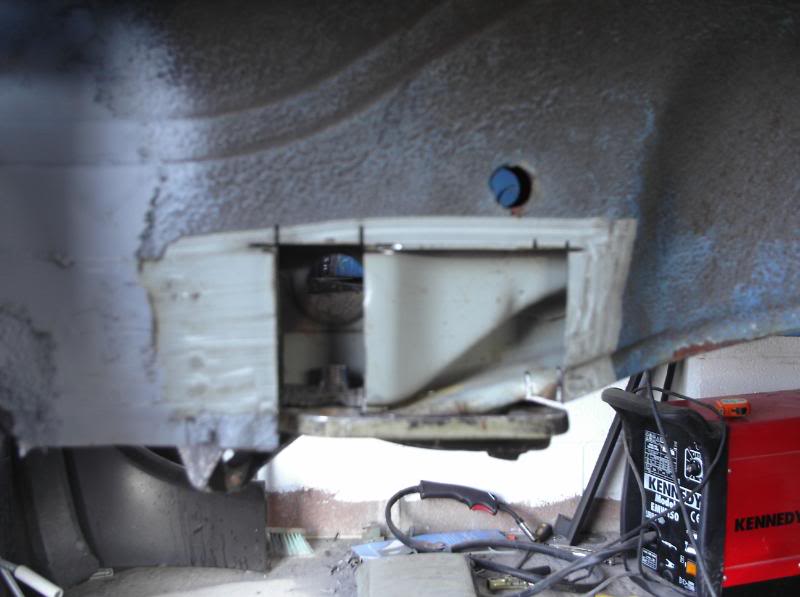
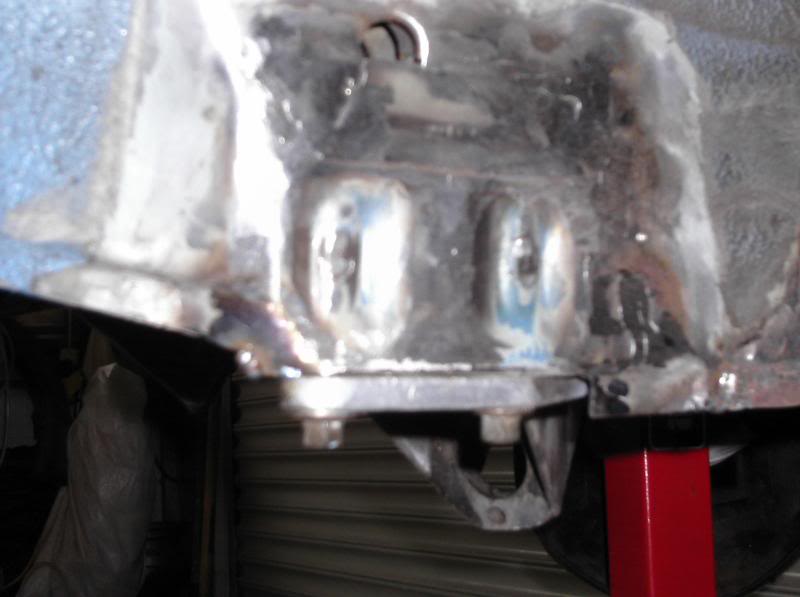
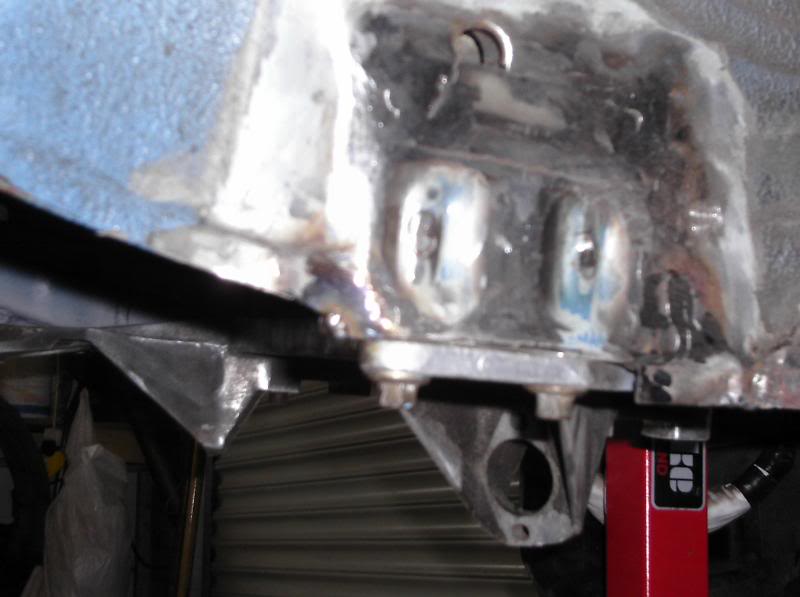
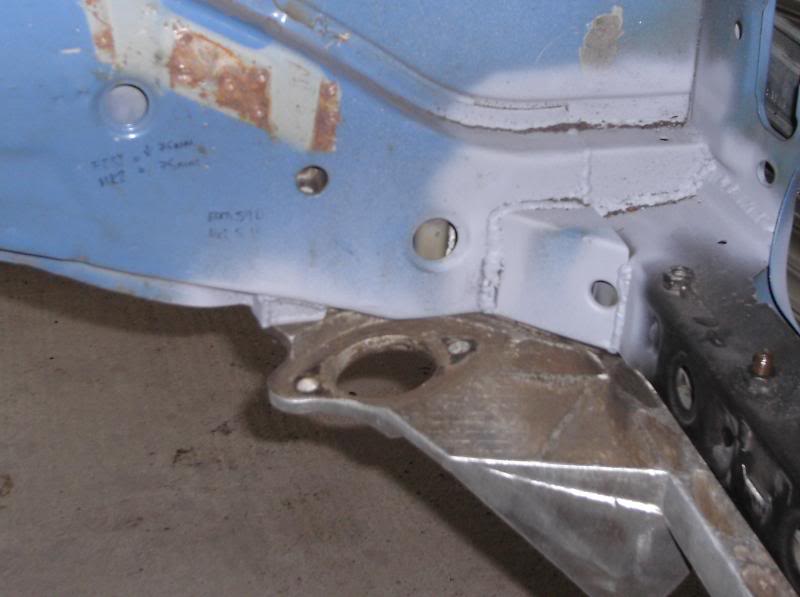
Well the RS cross member is now attached properly, I had to cut a section on the inner front leg out to weld in some mounting /fixings for the 2 side bolts on both ends of the cross member section (see pics below). was a bit of work to do but i do think that the end result is very good, plus i'll have full caster adjustment "nice".
Passenger side
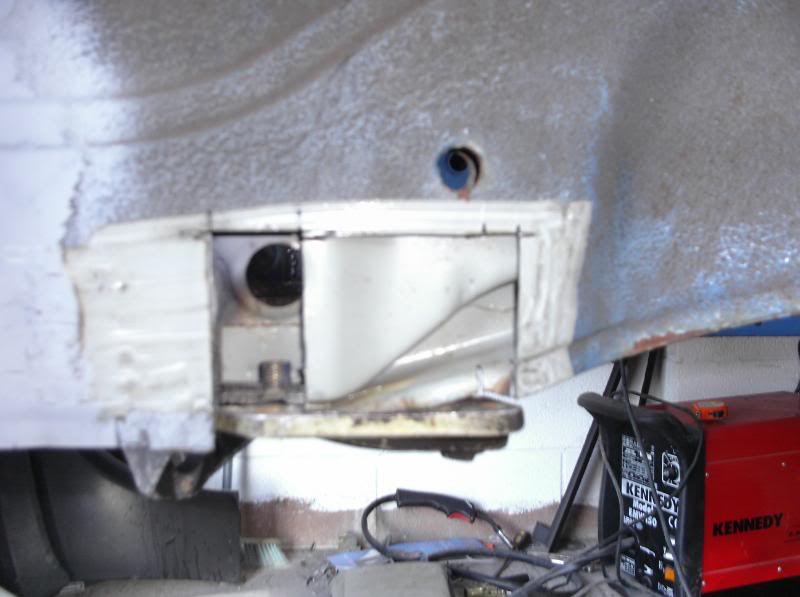
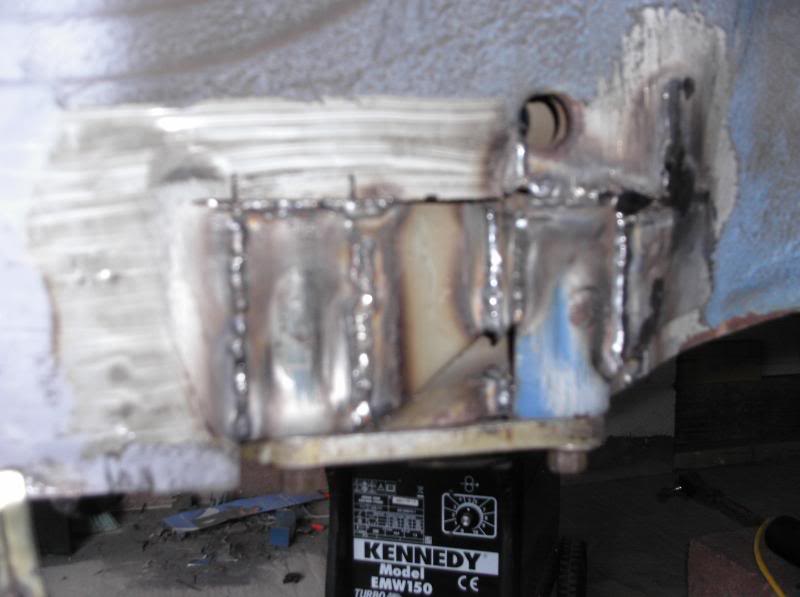
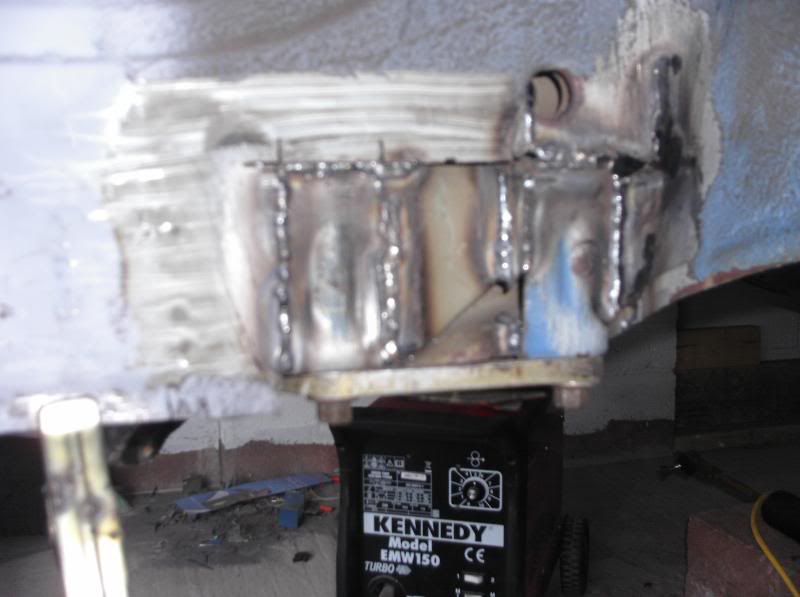
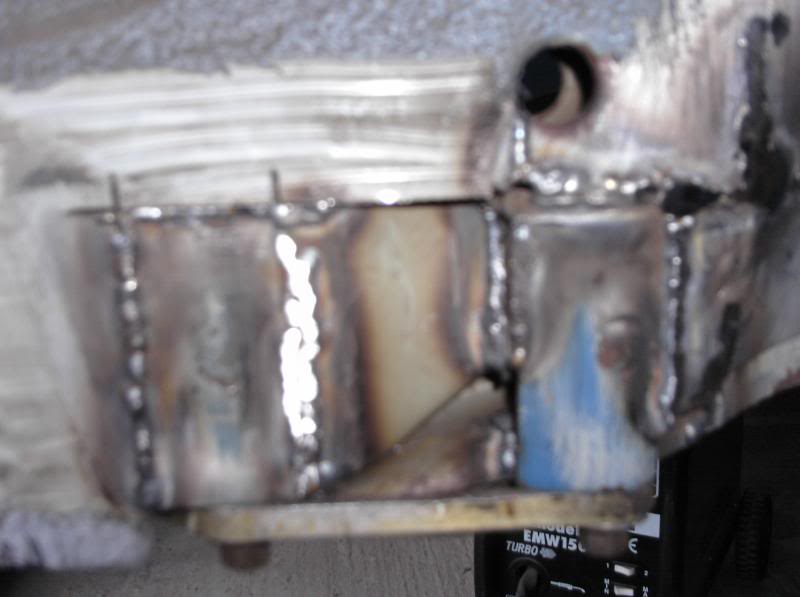

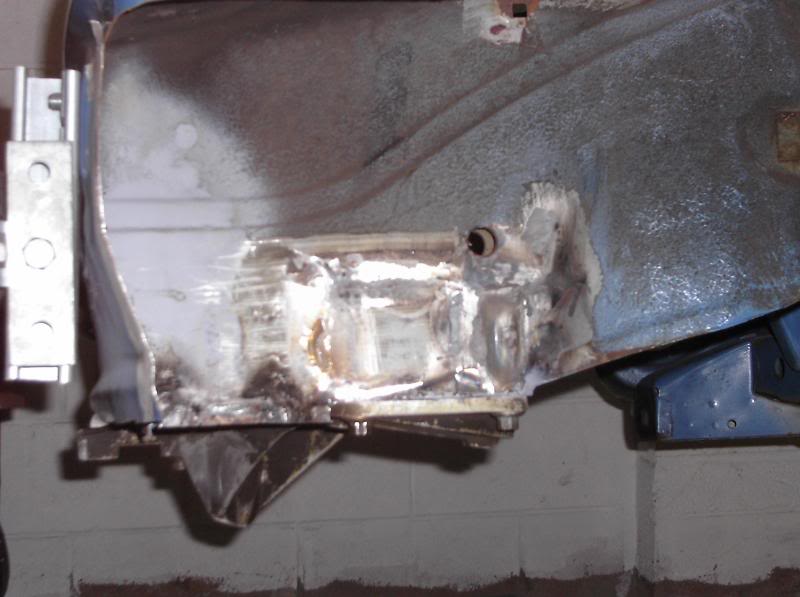
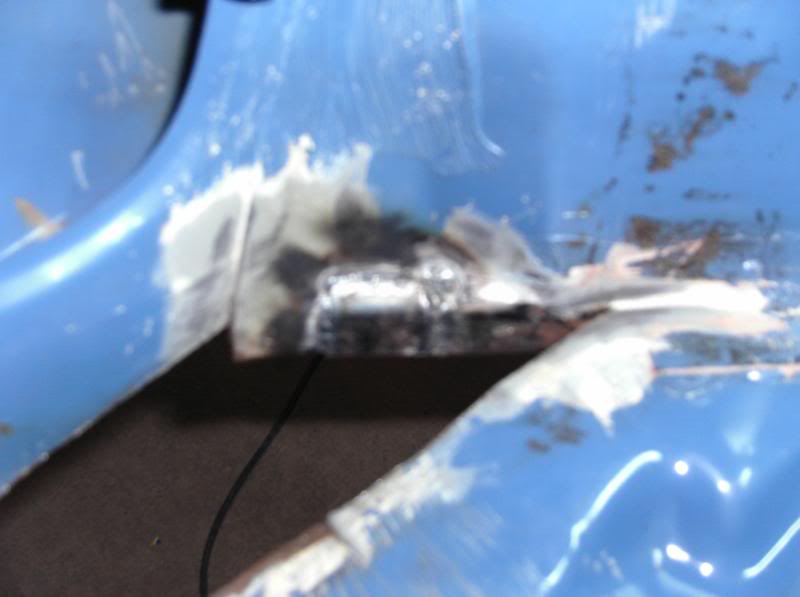
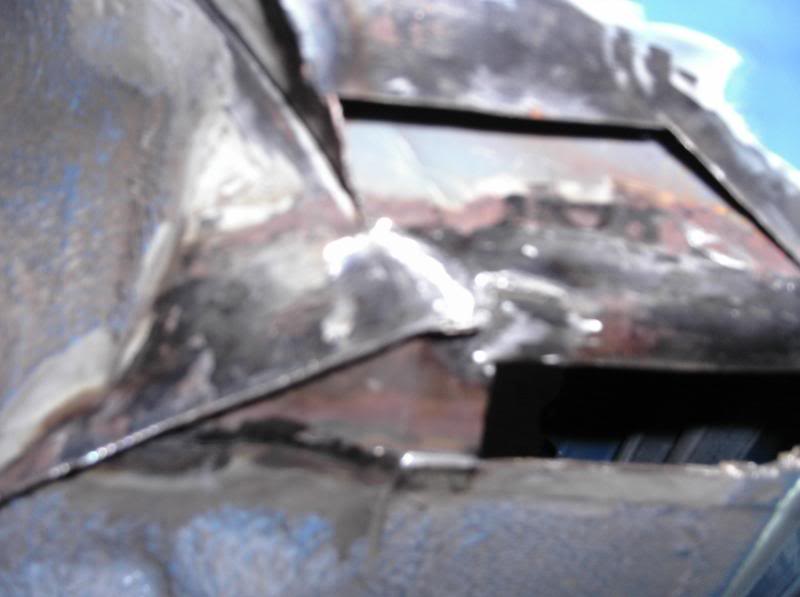
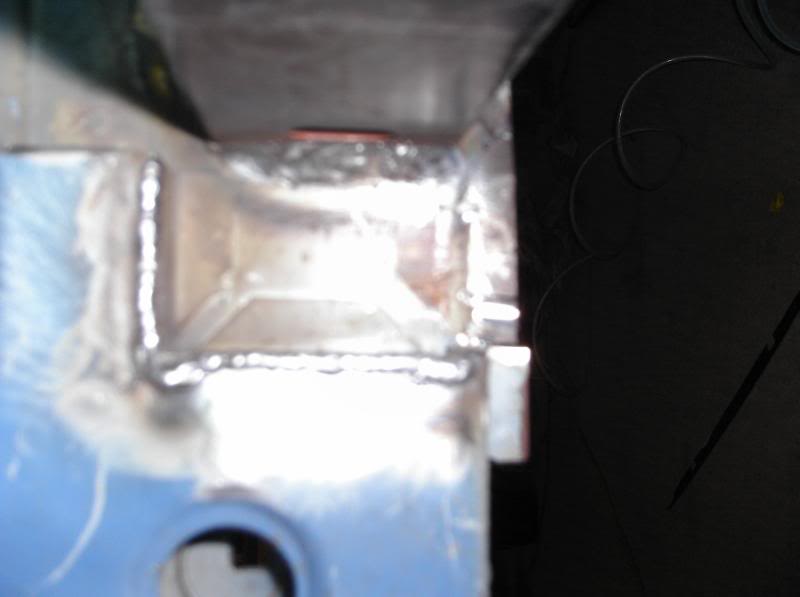
After it was al back together i welded a 2 piece plate ove it to tidy it up and give some extra strenght
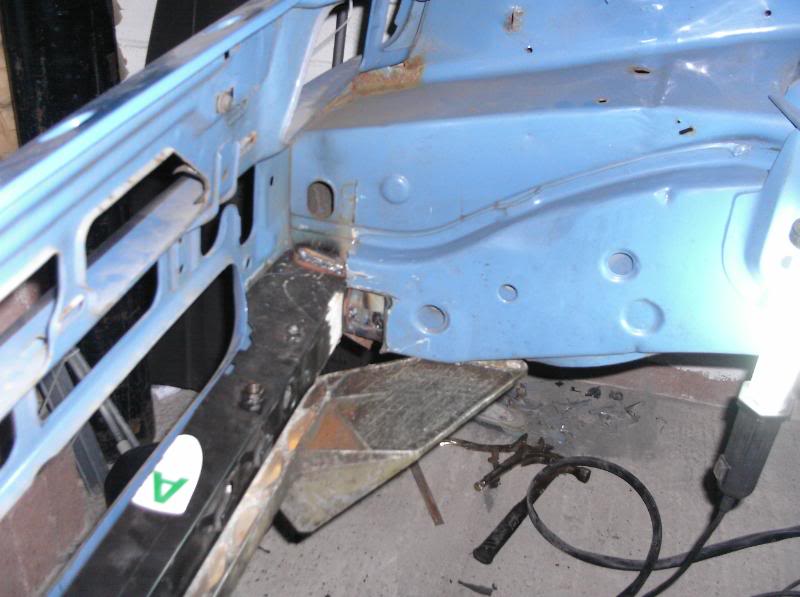
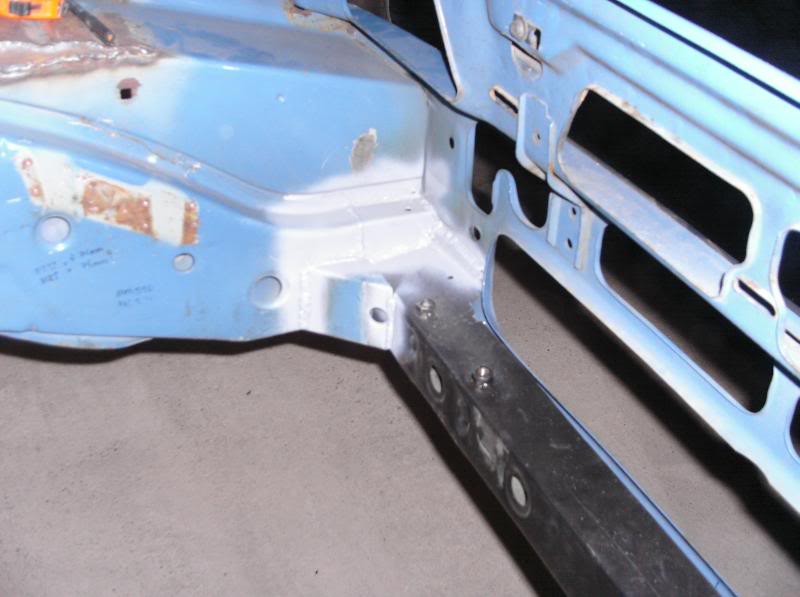
And the drivers, which was a bit eaiser as the fixing points are closer together.
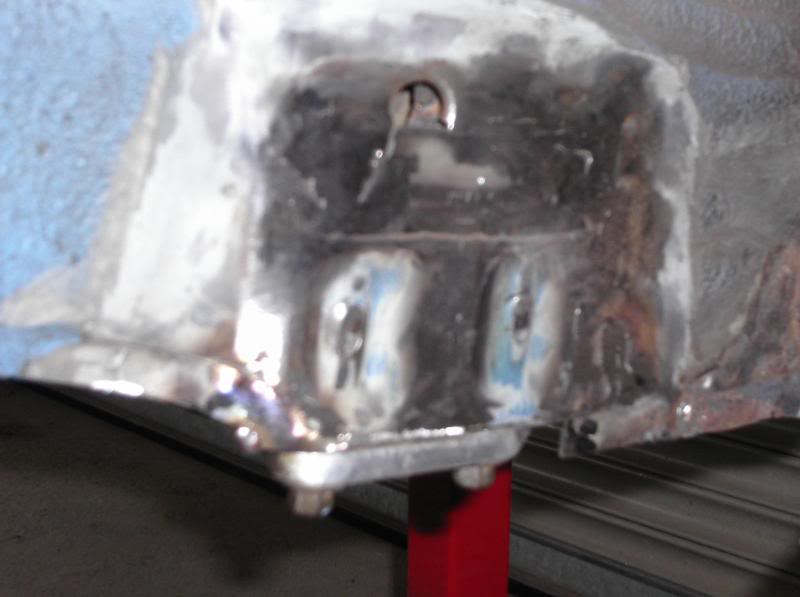
and with a strenghtener plate fitted
Well thats that bit
Passenger side
After it was al back together i welded a 2 piece plate ove it to tidy it up and give some extra strenght
And the drivers, which was a bit eaiser as the fixing points are closer together.
and with a strenghtener plate fitted
Well thats that bit
05-02-2009, 07:51 PM
#37
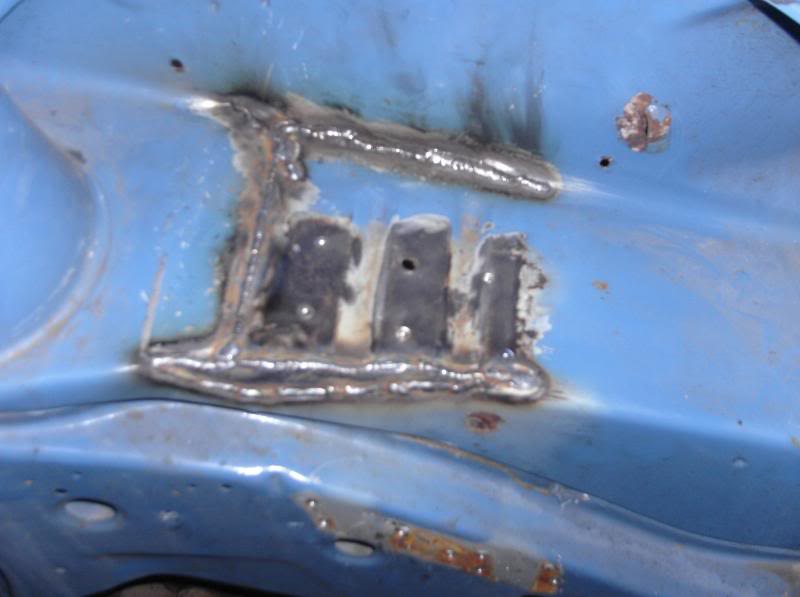
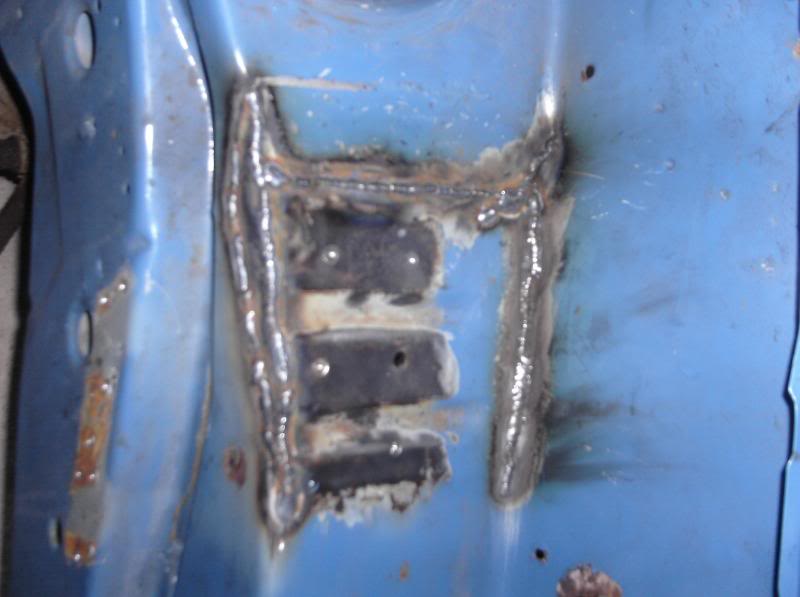
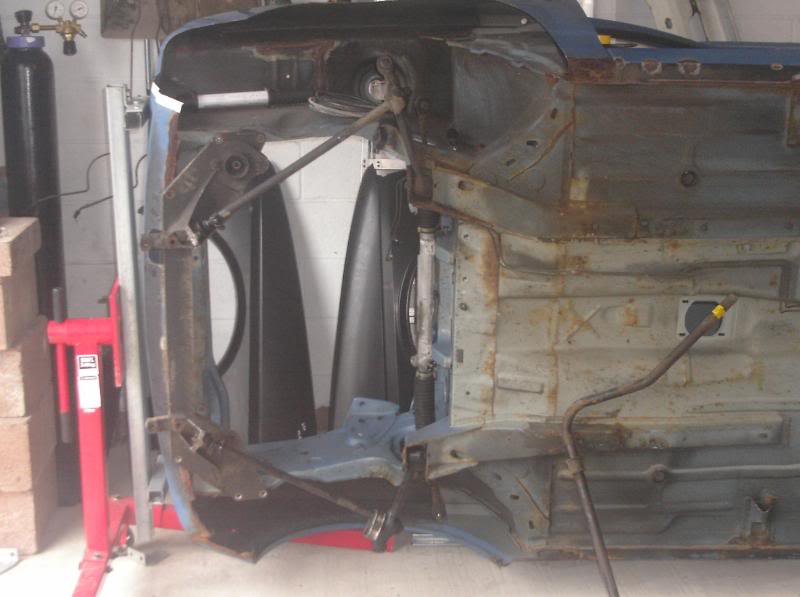
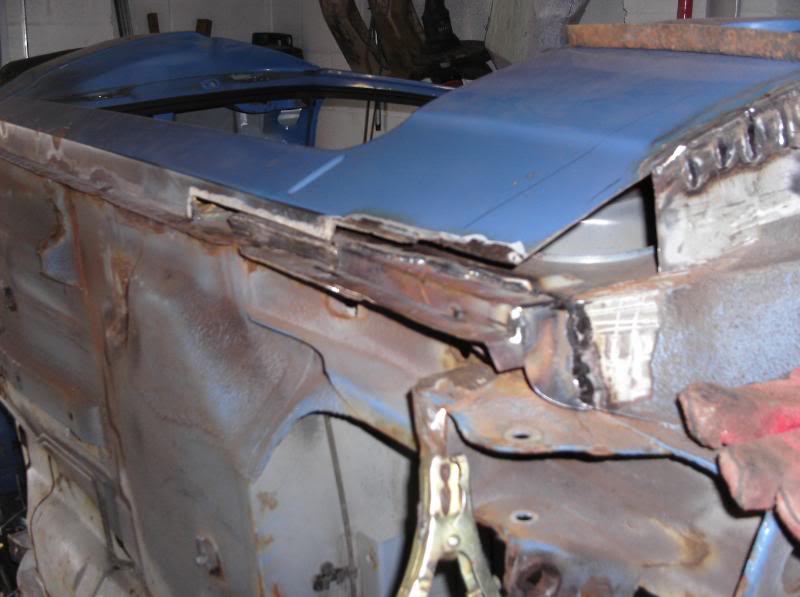
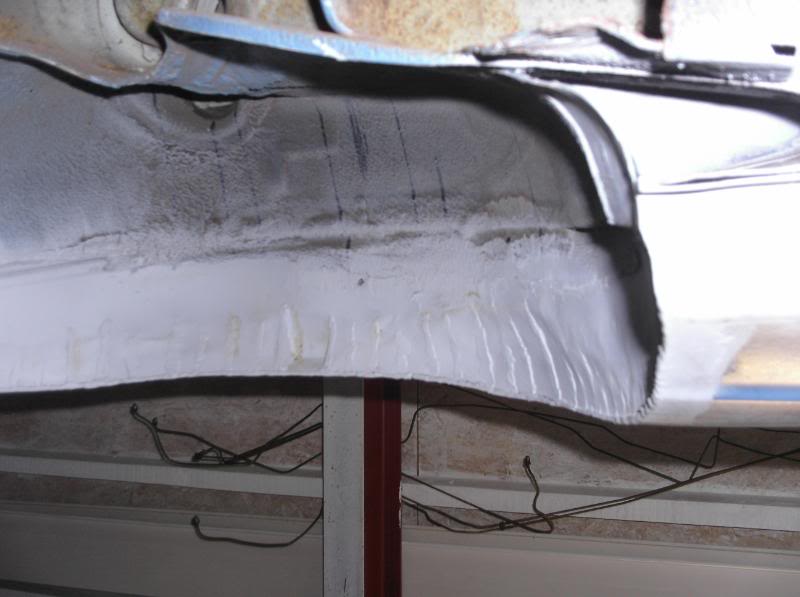
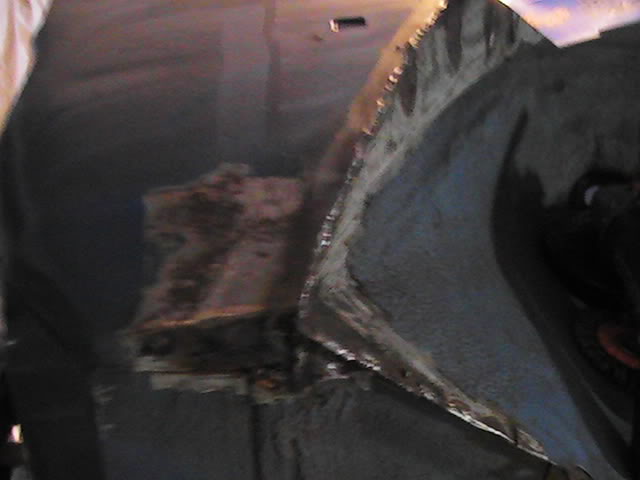
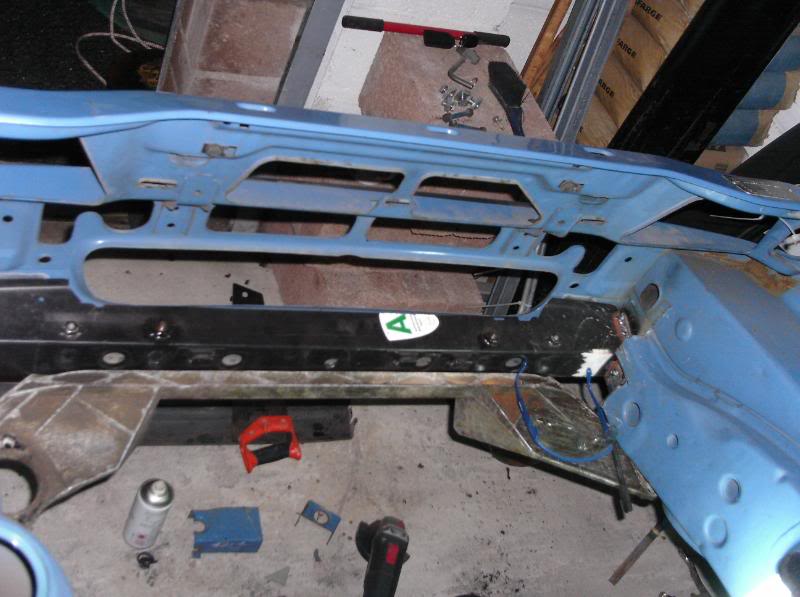
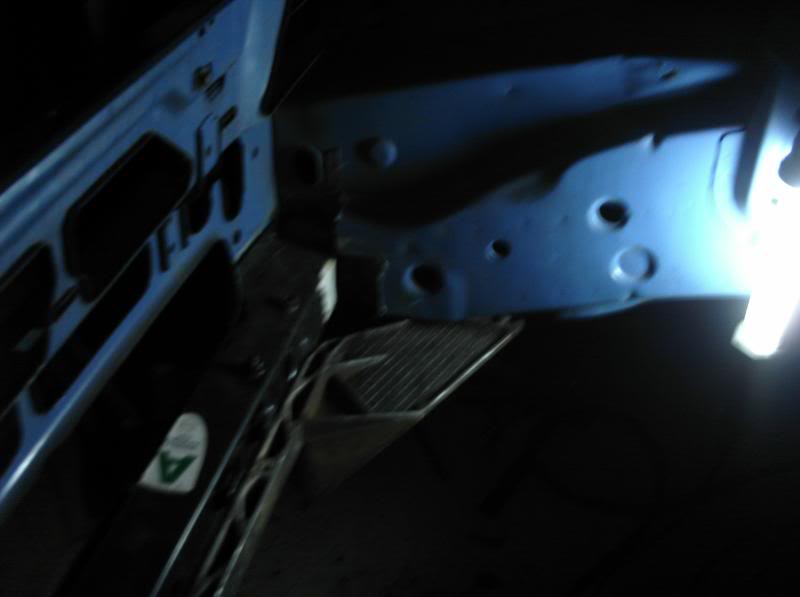
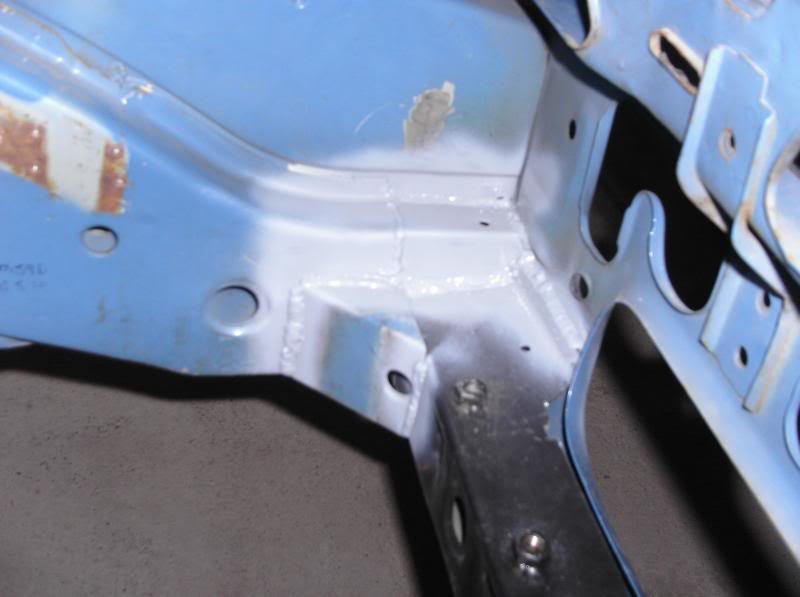
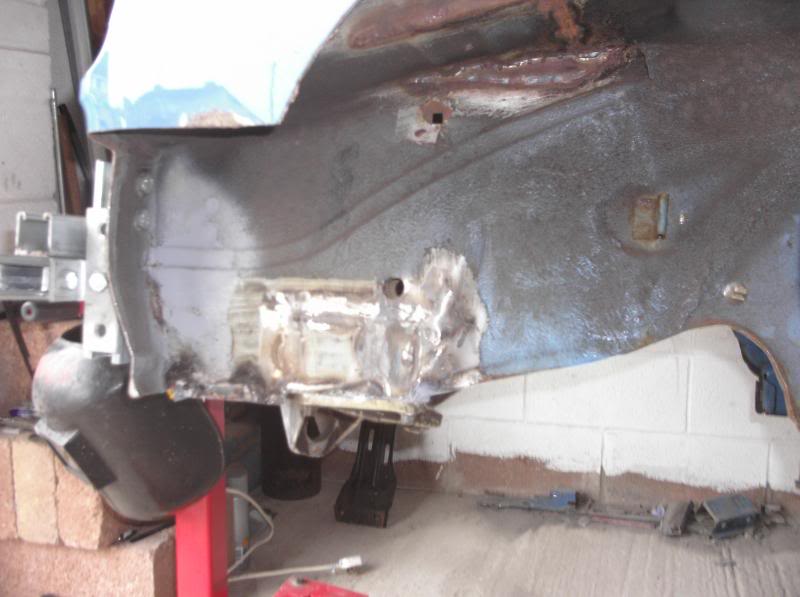
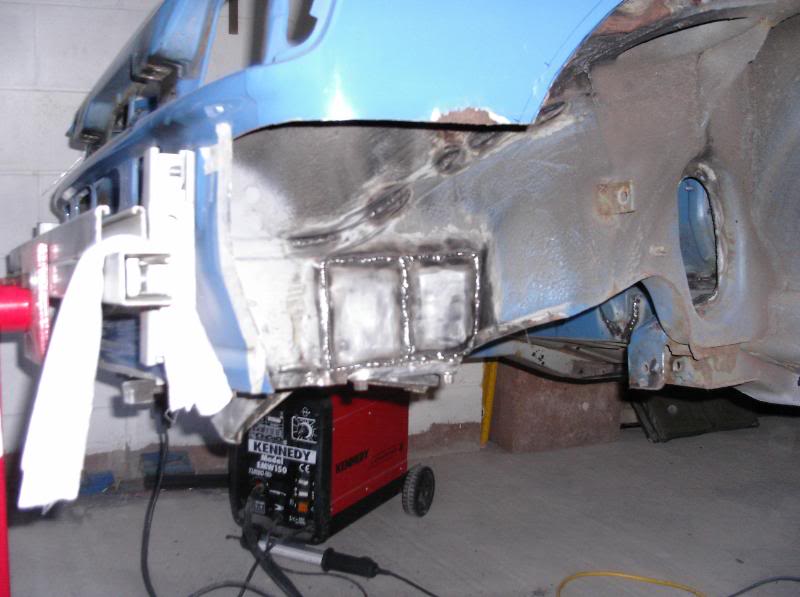
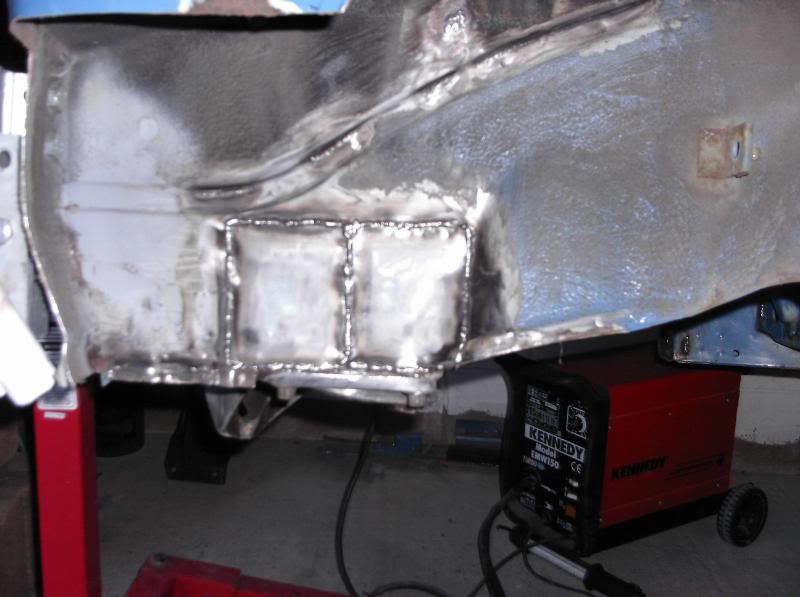
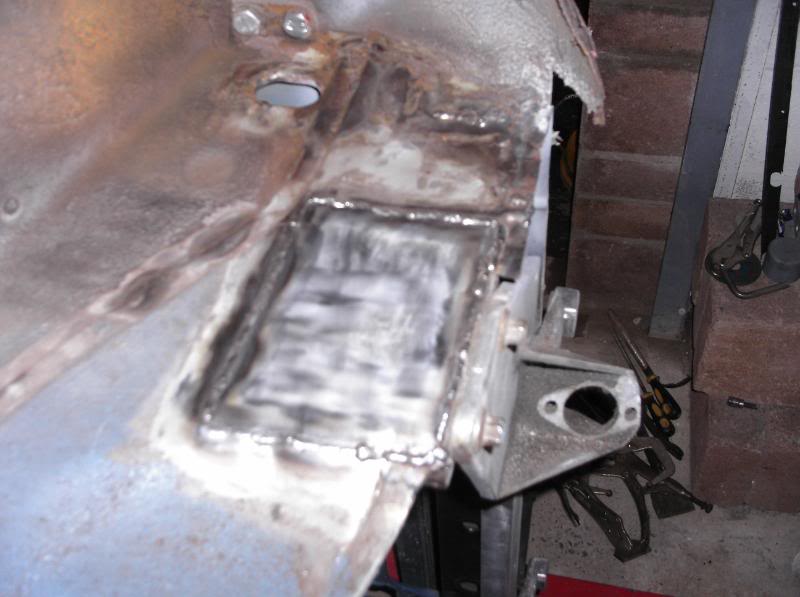
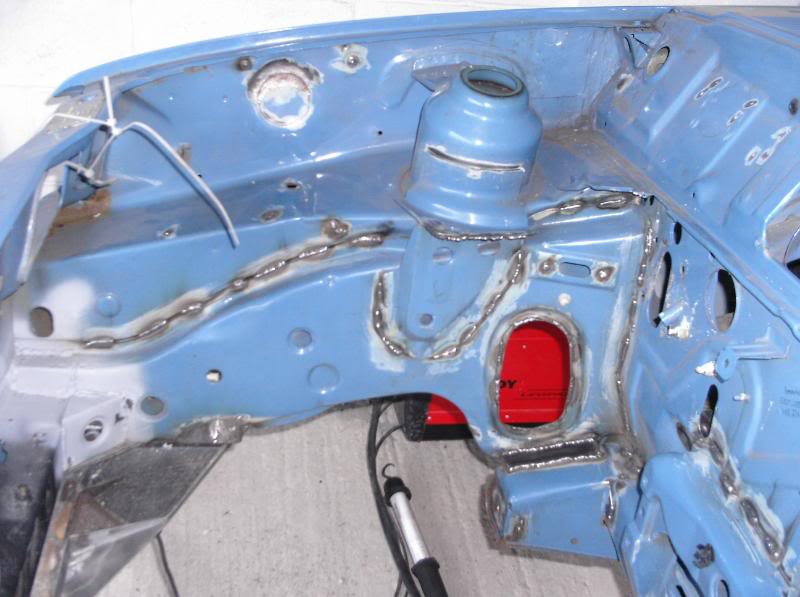
After the cross member was sorted i set about stitching the engine bay up, i also added 2 plates, 1 either side to join the inner leg to bottom mounting point box section so as to stiffen them up a bit, and i welded up all the small holes tah are not needed at the same time to tidy it up.
Before, if you look closely you can see the crossmember fixing sections on the engine bay side
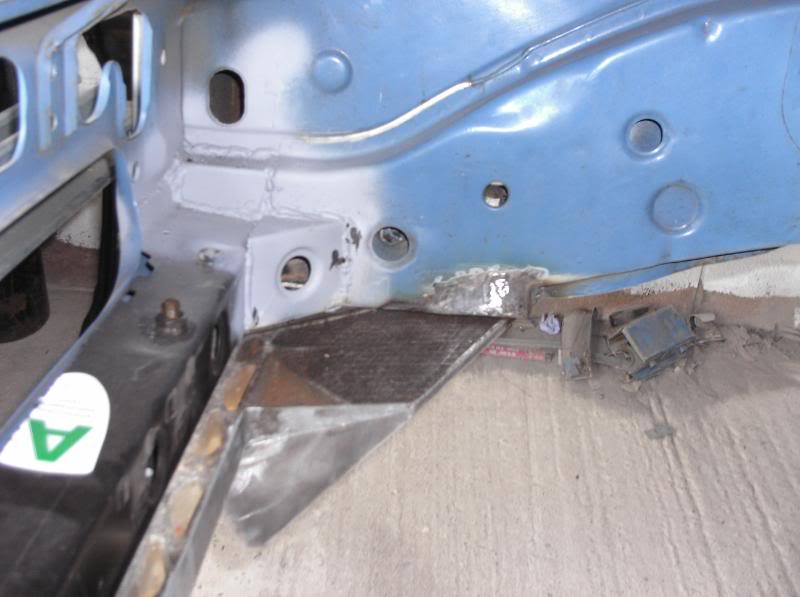

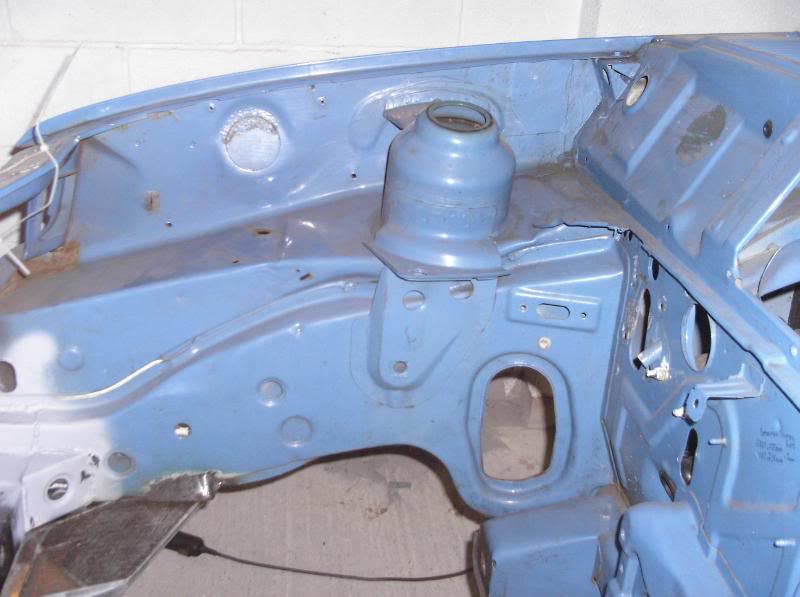

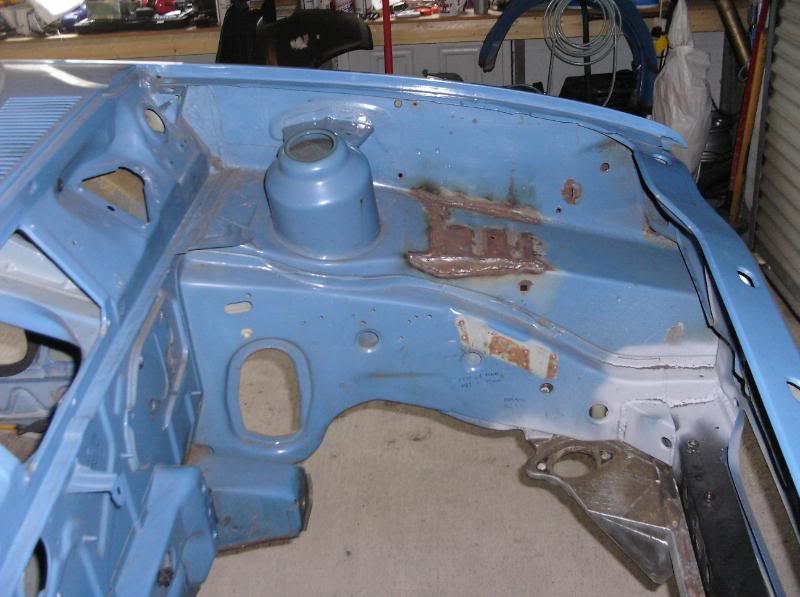
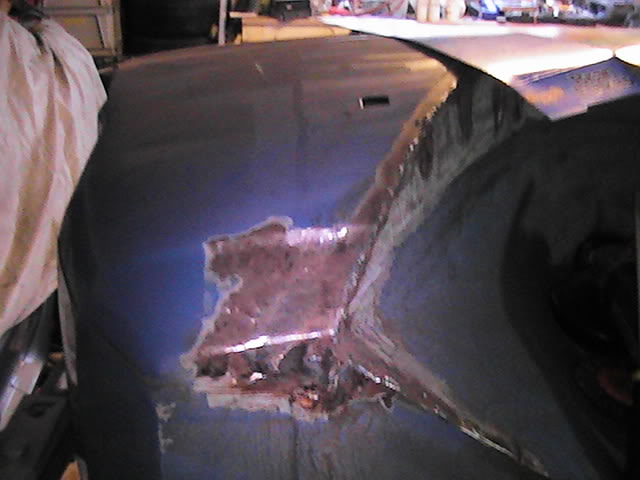
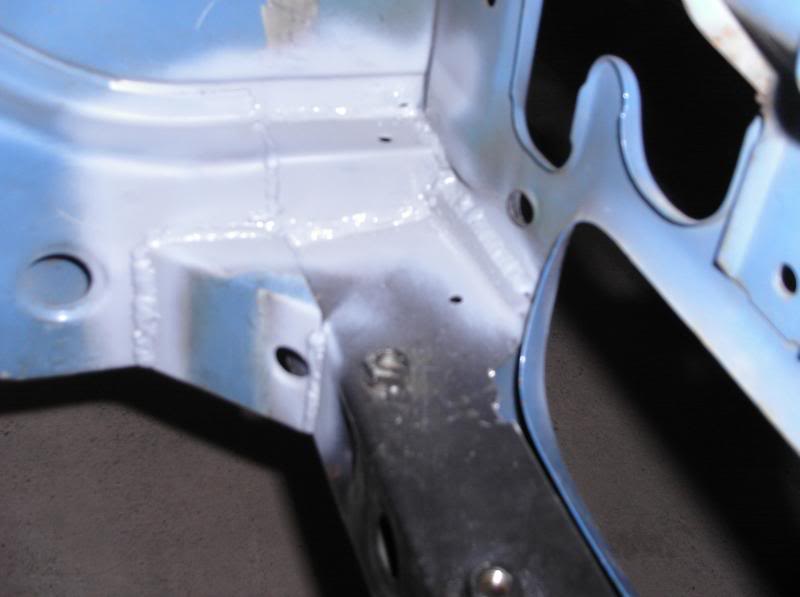
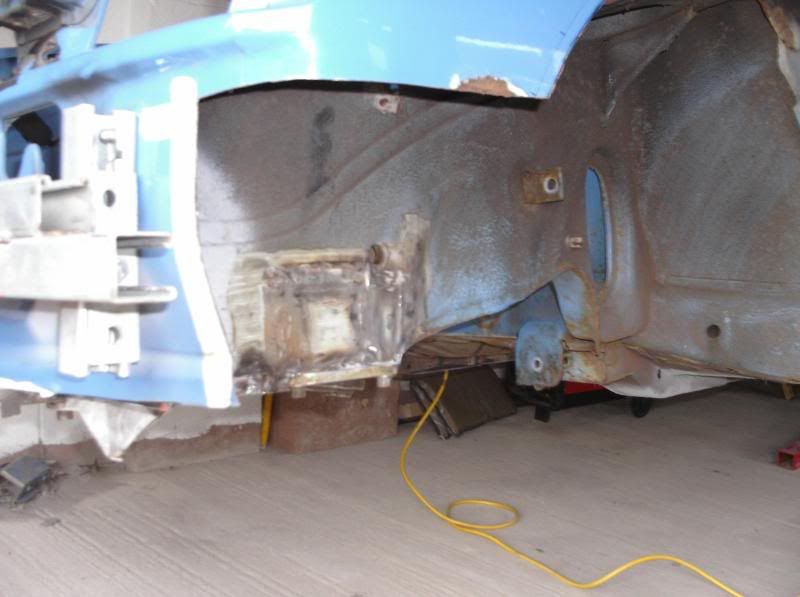
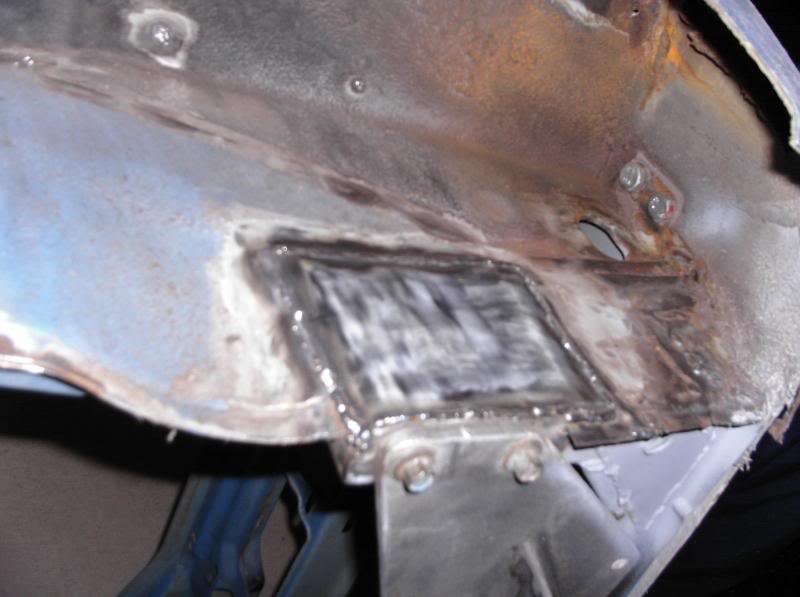
after

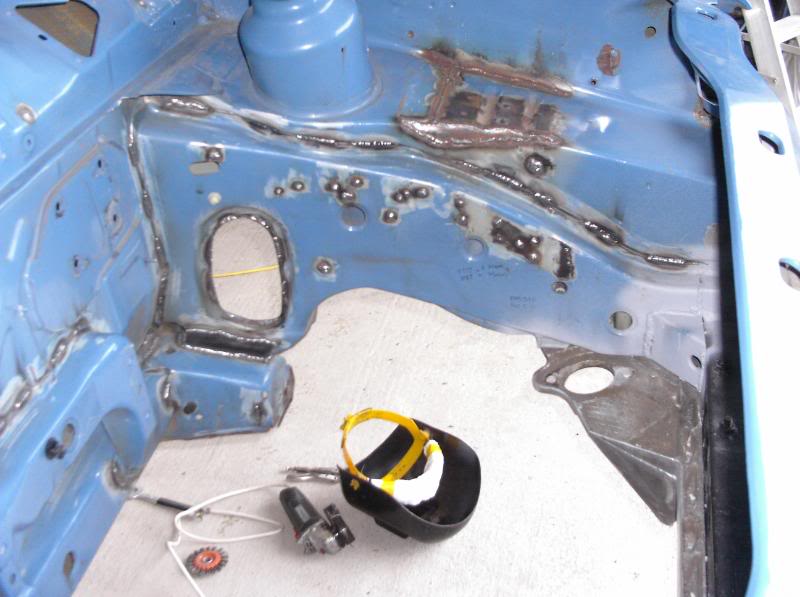
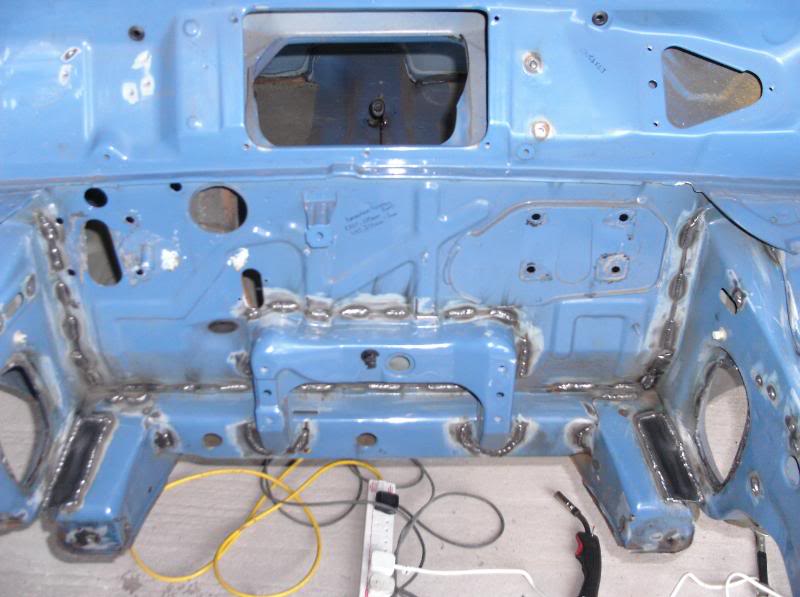
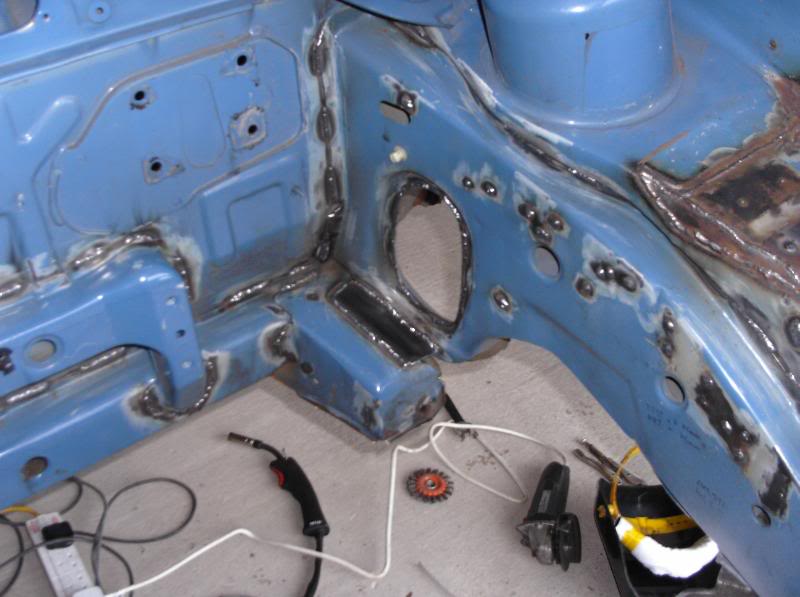
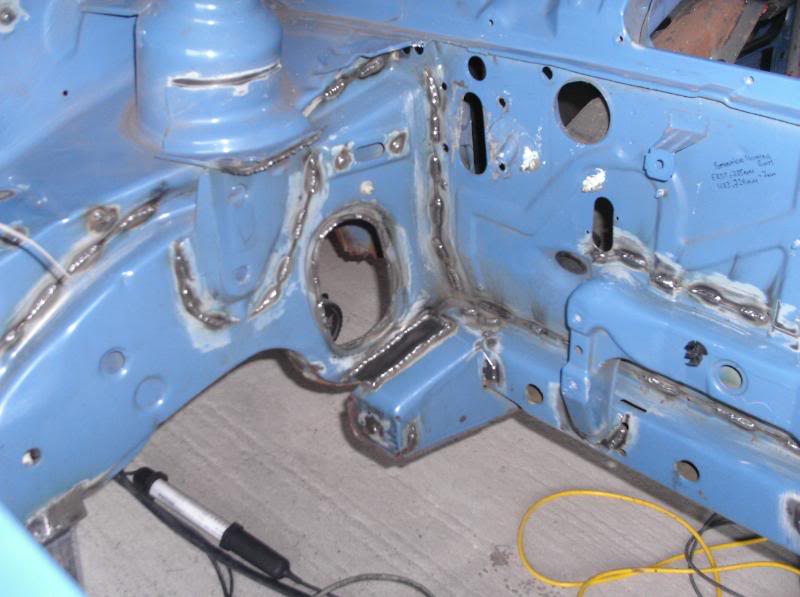
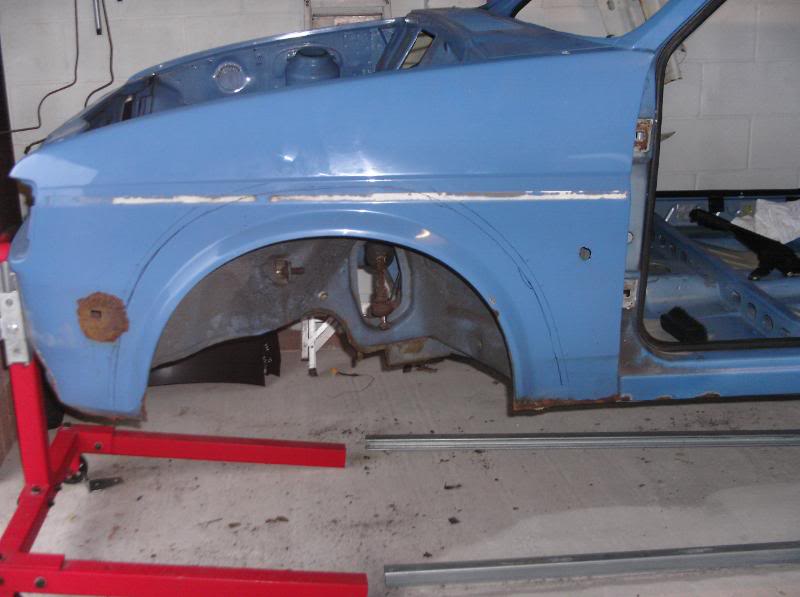
Thats sorted, so i'll get it on it's side next and do the chassis rails under the car from the engine bay back.
Before, if you look closely you can see the crossmember fixing sections on the engine bay side
after
Thats sorted, so i'll get it on it's side next and do the chassis rails under the car from the engine bay back.
Last edited by GINGExR2 T; 05-02-2009 at 07:59 PM.

