Project capri... the long awaited update!
 14-07-2008, 04:23 PM
#1
Too many posts.. I need a life!!
Thread Starter

Join Date: Jul 2007
Posts: 533
Likes: 0
Received 0 Likes
on
0 Posts
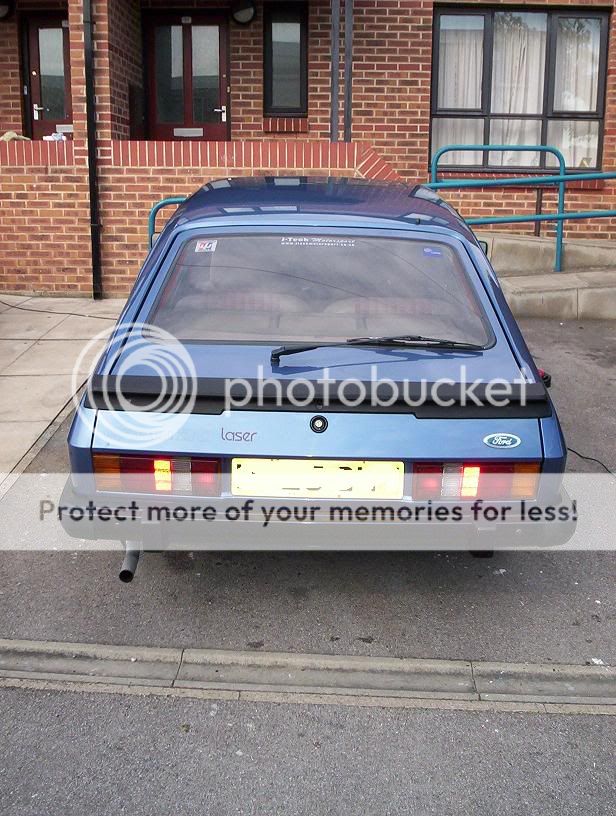
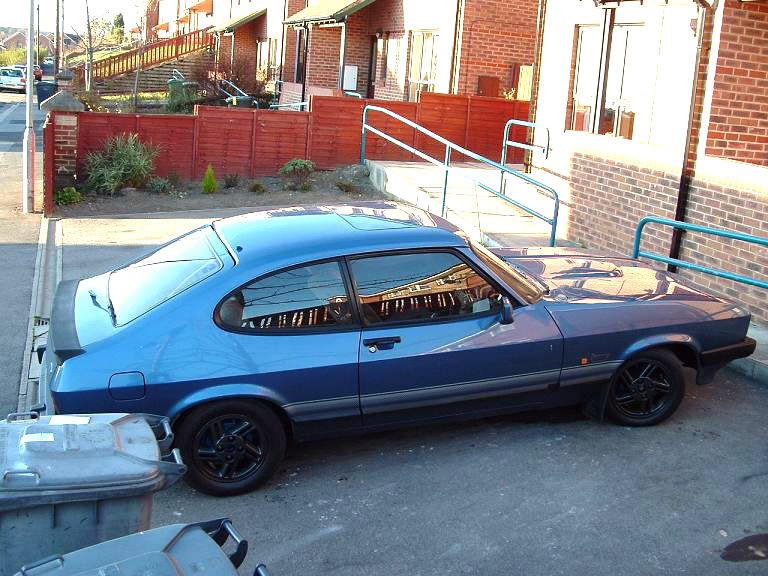
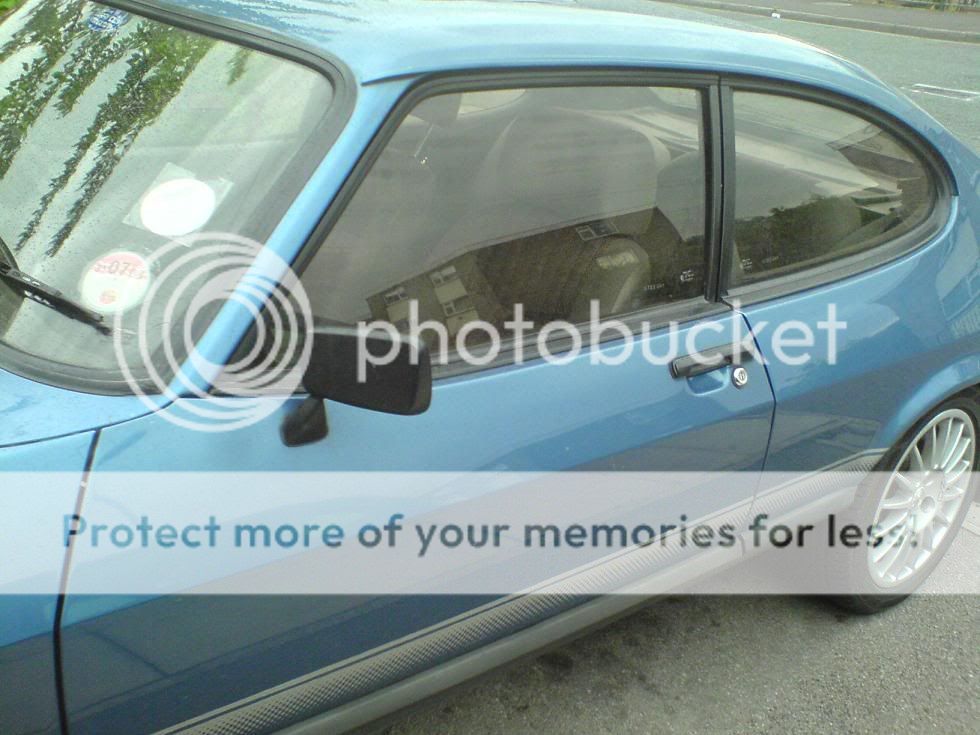
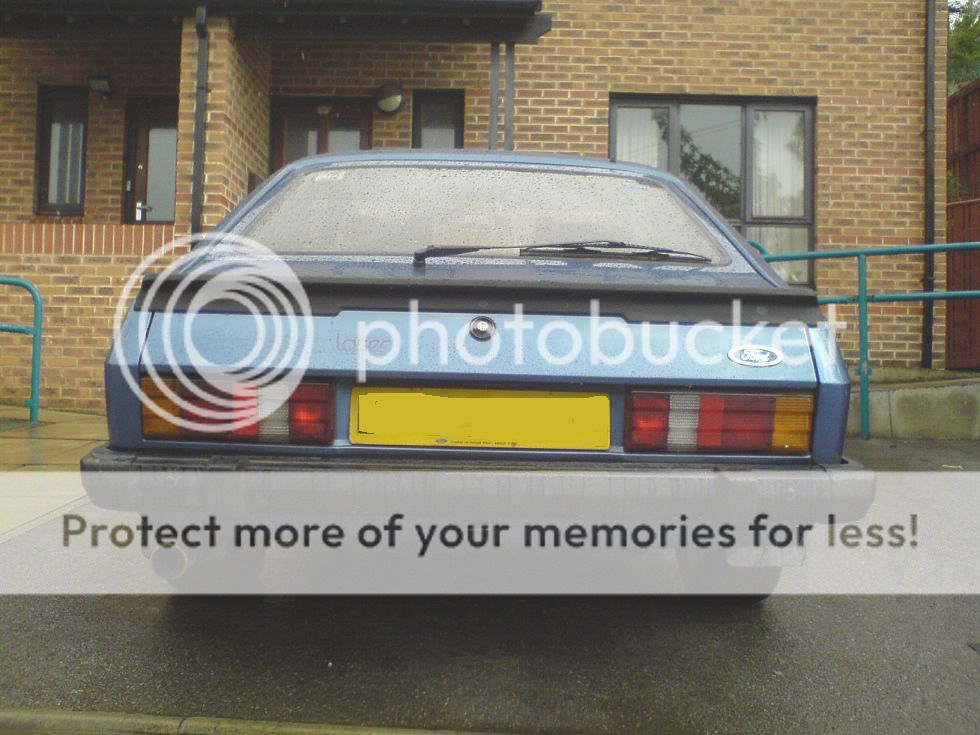
Well, most things will be kept standard on the capri, as i always do heres the before shots  .
.

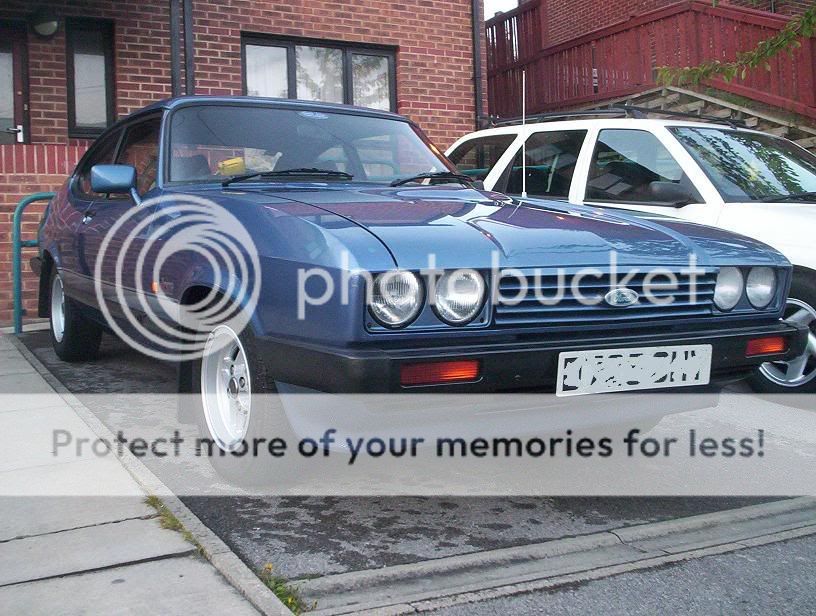
wooo! a day off, bit more cleaning up, polishing up, claybaring etc etc etc, anyway, heres what i ended up with from the days work!
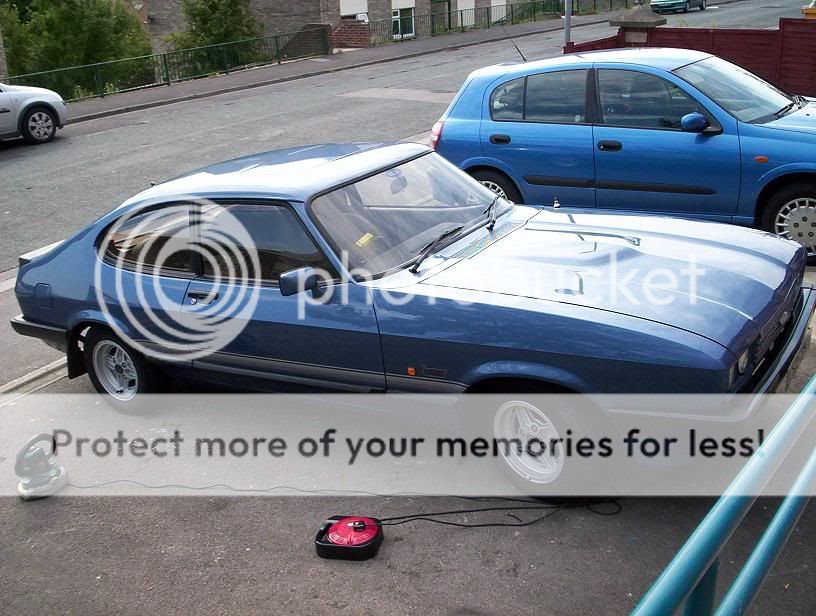

for a 20 year old car, im amazed how much like a mirror this paintwork can become after properly buffing etc!


drivers view! cant get bored of the bonnet bulge, very shiny!
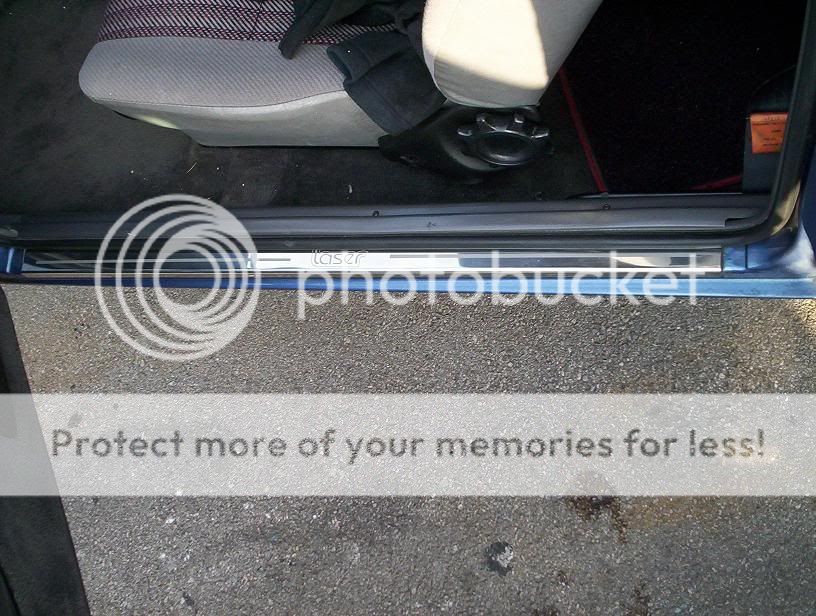
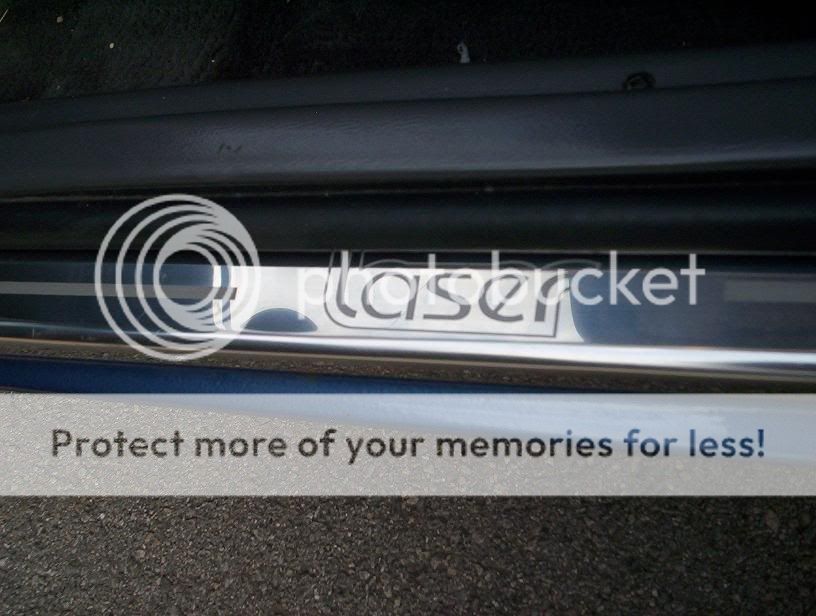
cleaned the inside and got sum nice sill protectors shiny!

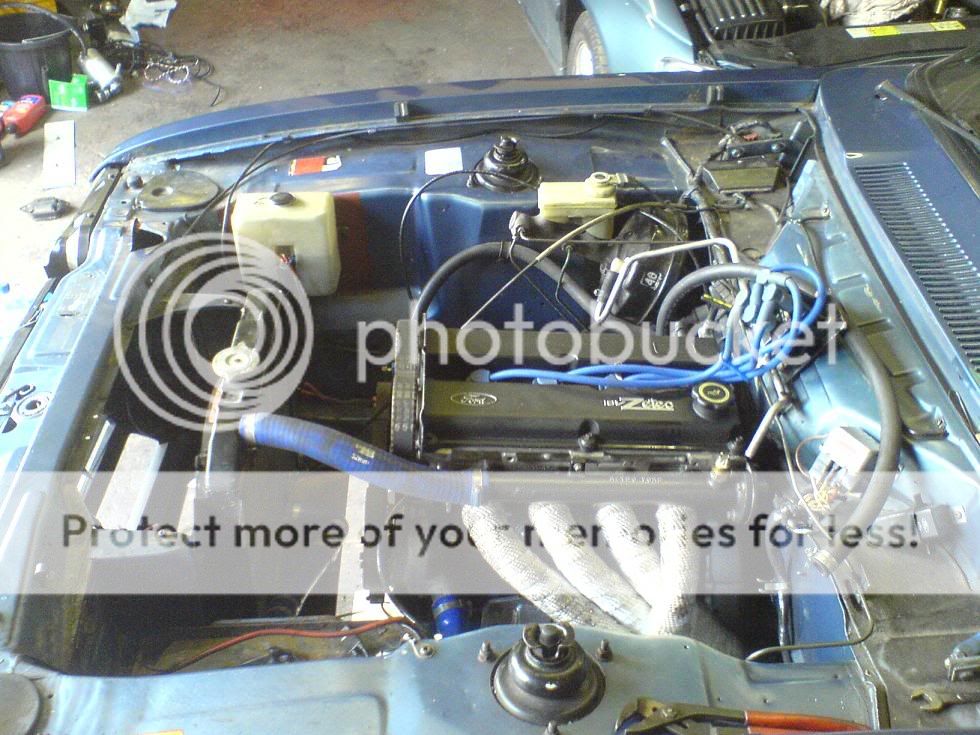
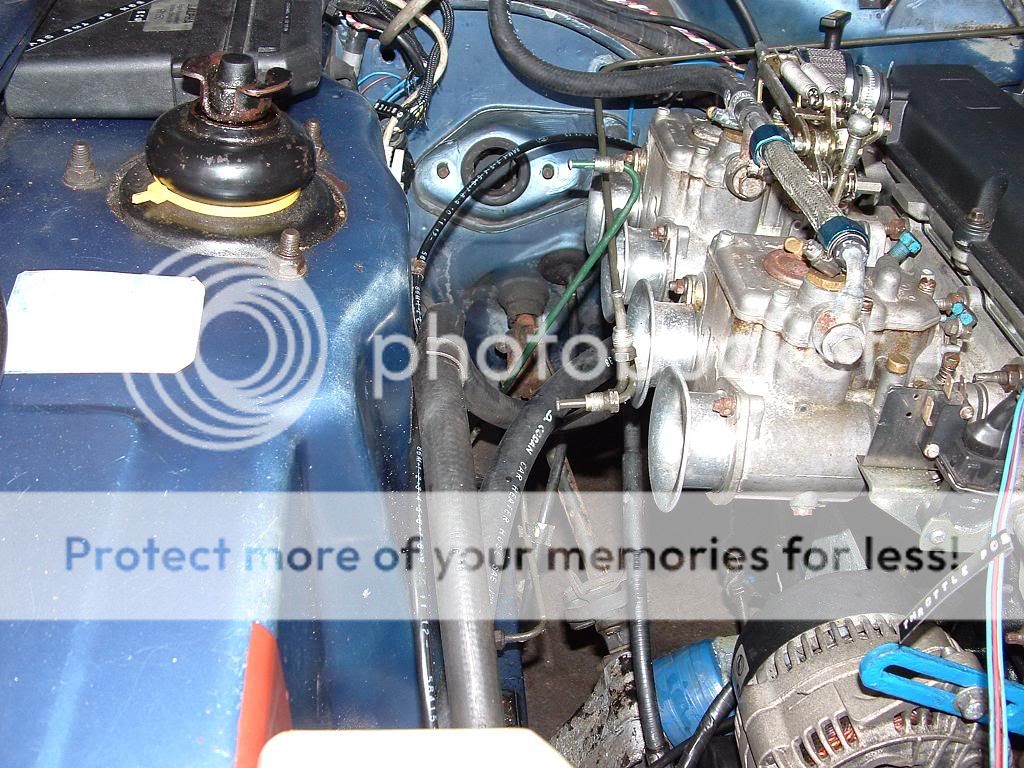
then i went to the engine bay, cleaned the carb inside and out!
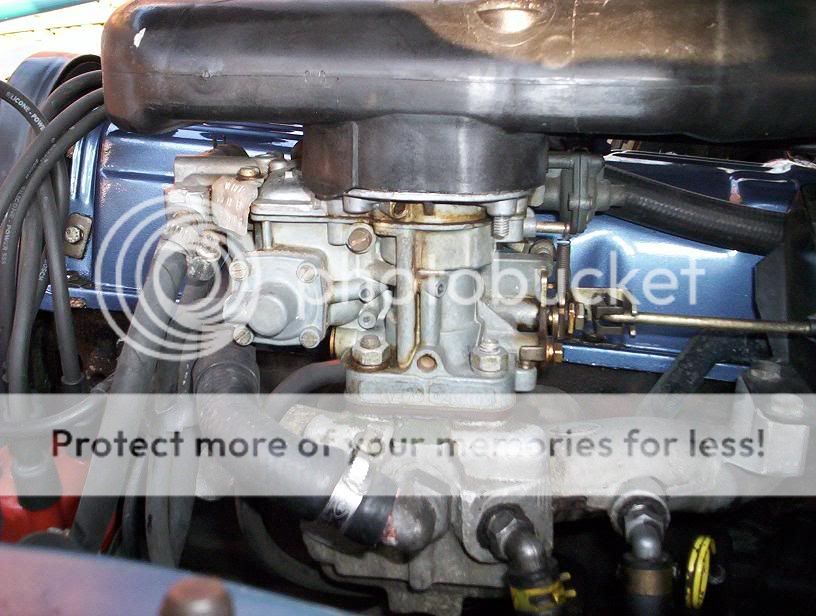
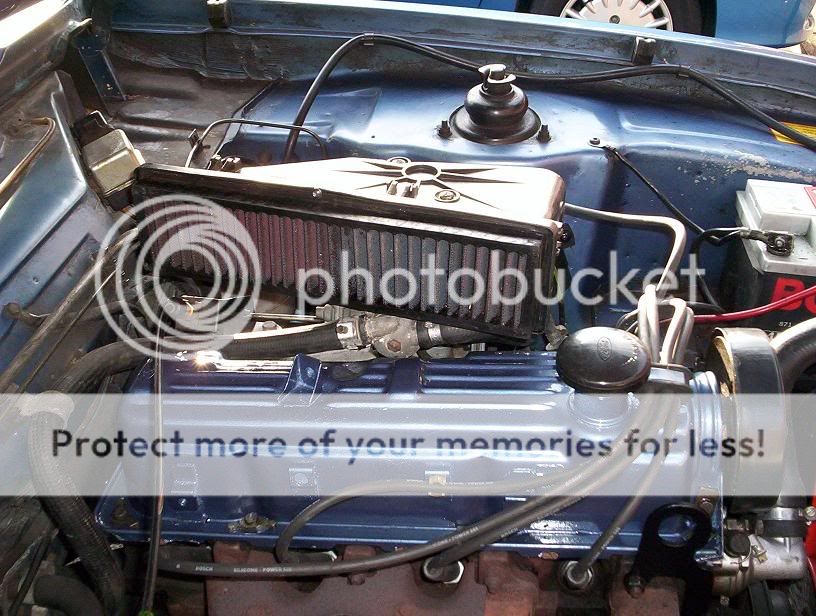
self tapped the airbox, to make it look nicer rather than white tape holding it in
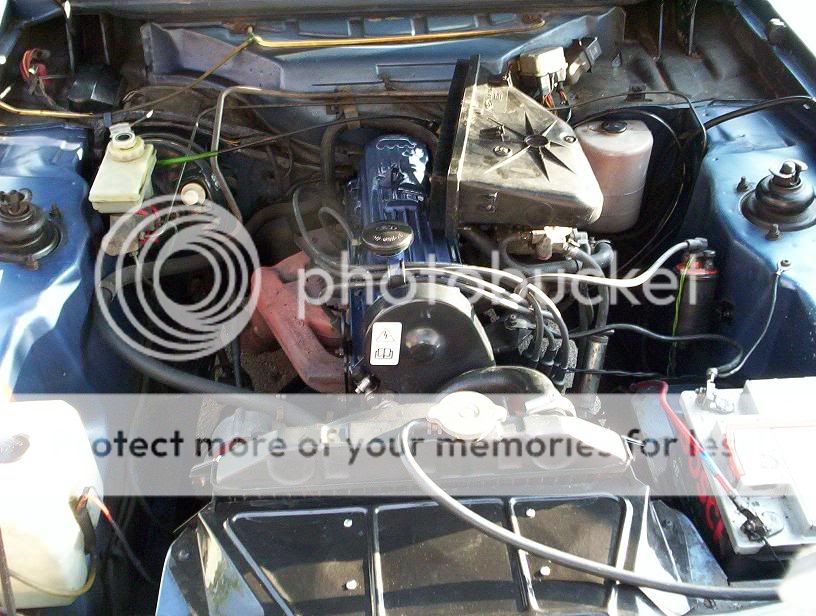
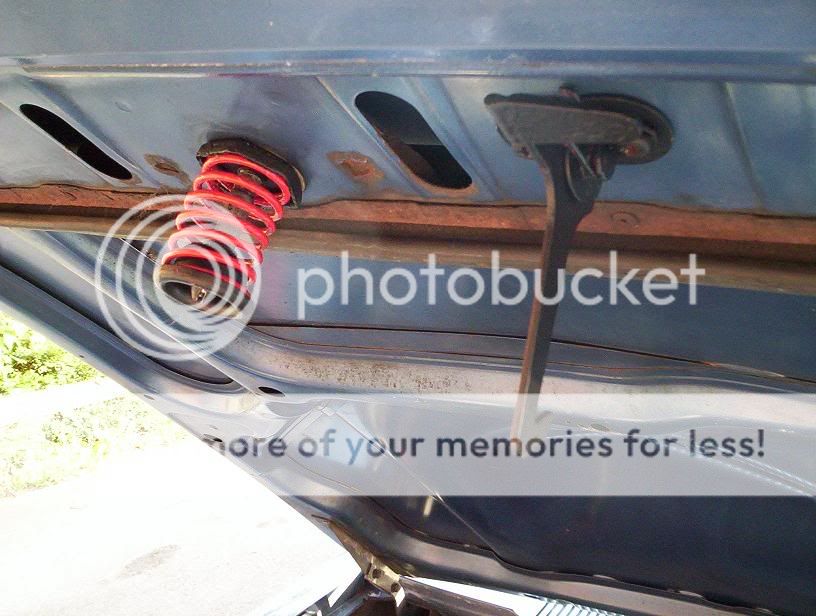
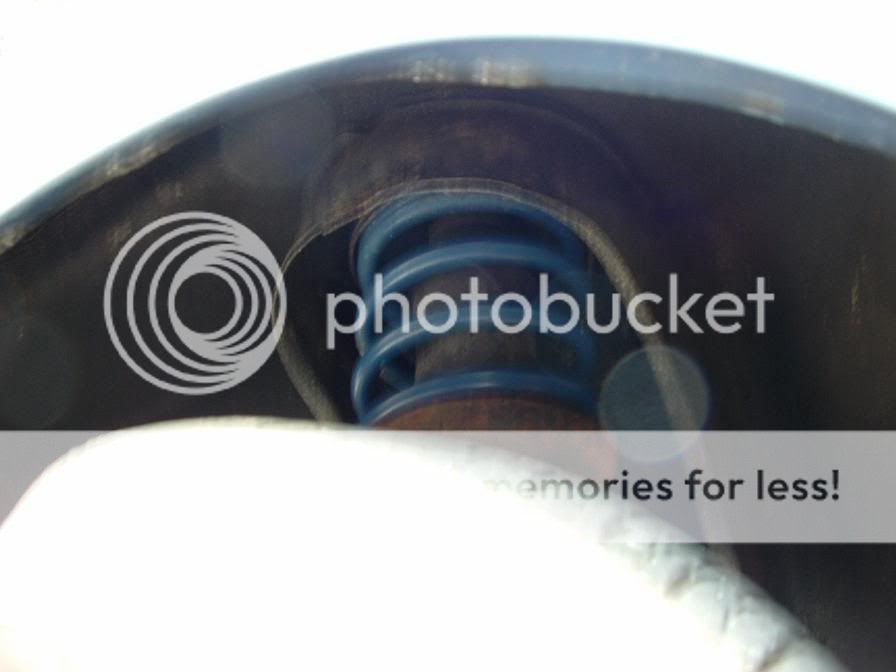
then i re-painted the fixings matt black, leaving just the spring red, looks a lot better
painted some random brackets, from a rusty colour to matt black, neatening up really.


also neatened up the wiring, just need some black masking tape to tape together parts of wire that theres a lot of wire in one section. and then continue on with shiny new tuning bits for the engine 8) 8) 8)
sorry for crap pics, cam has finally died on me, but these came through the post today!!
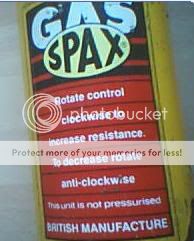
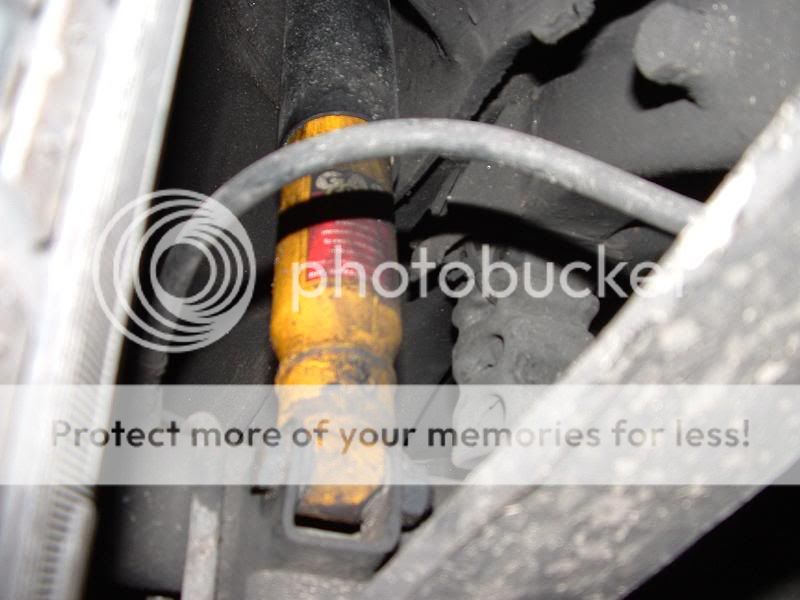
GAS spax rear AJUSTABLE shock absorbers, gonna go on the site see if they are ajustable for bump AND rebound cause there seems to be 2 control knobs.
wooo im off to fit em now
okay i finally got around to buying a new cam, woo yea!
first things first, a quick update.
Fitted the spax on the rear... after quite a few runs out im still not happy with them, i can only ajust the robound and the bump stays the same... but thats where the problem is, the bump is too hard so im getting the back end being thrusted upwards rather than the springs and shocks absorbing the bump....
ah well, guess i shall try either AVO (100pound for 2 shocks) or bilstien (150ish pound for 2)
both ajustable!
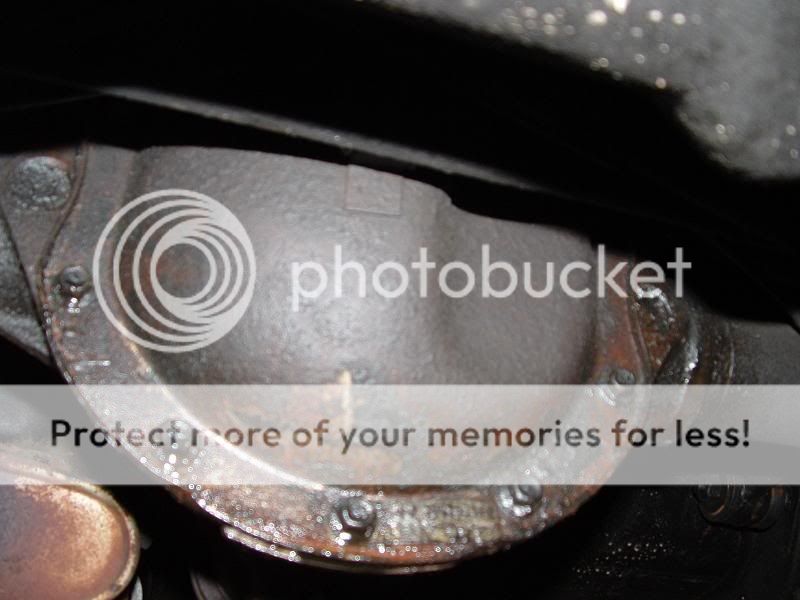
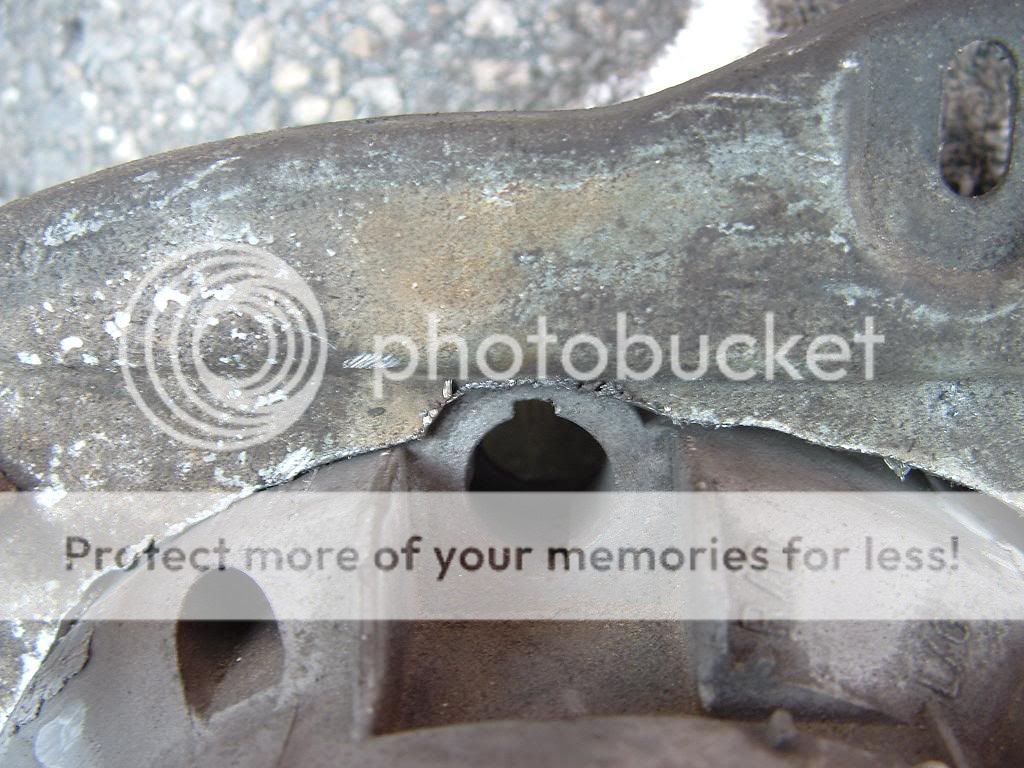
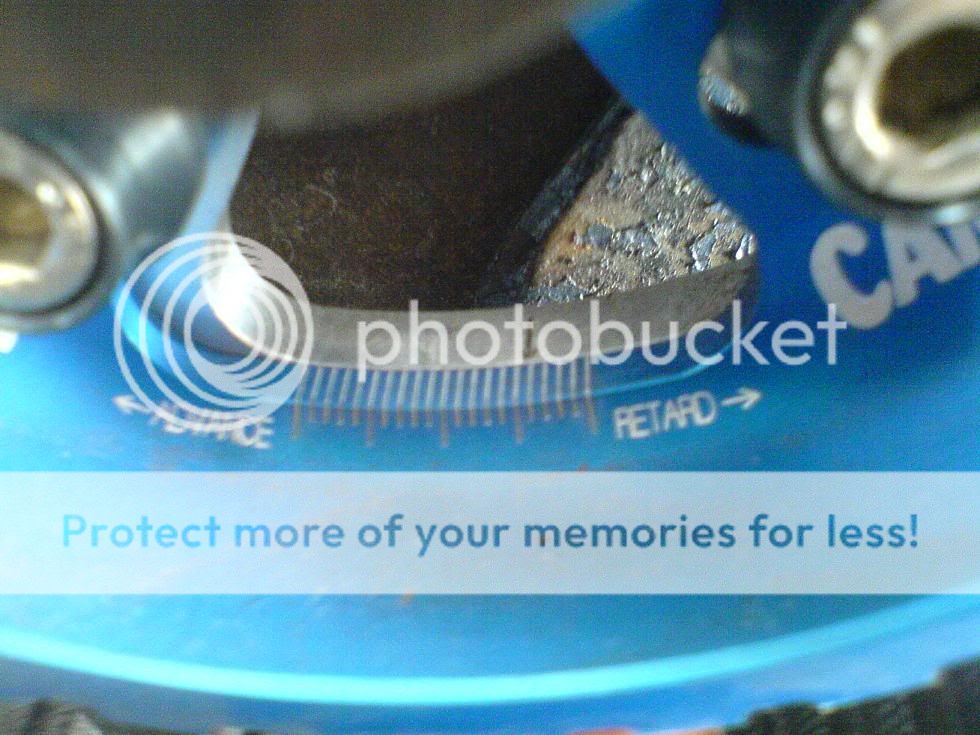
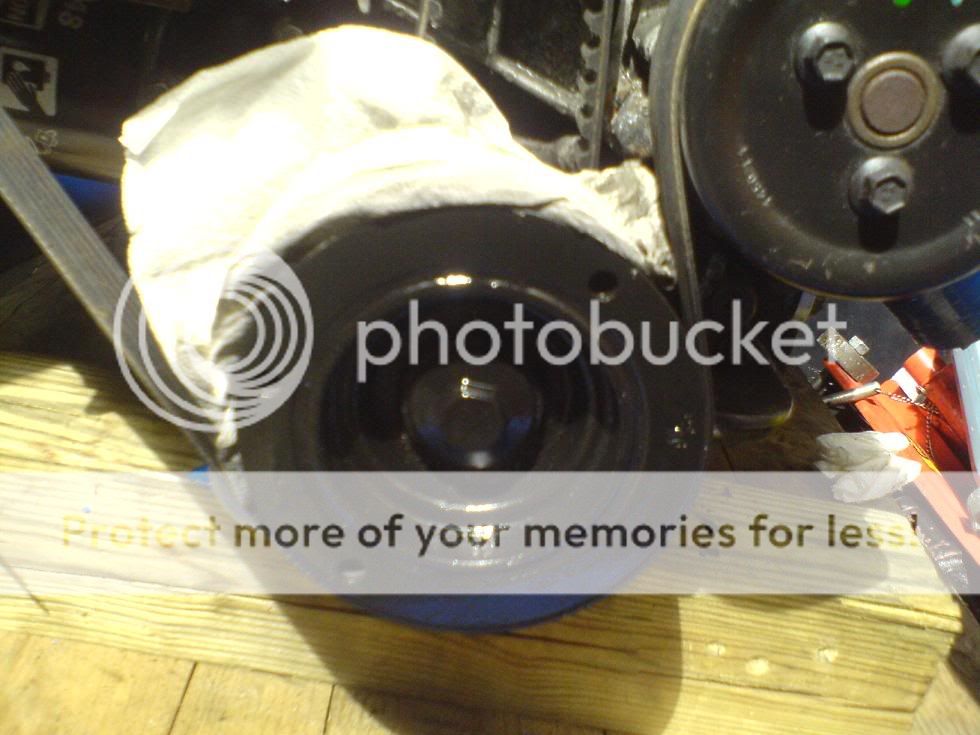
while i was down there i took a pic of the diff cover, for reference if i ever decide i need a LSD!
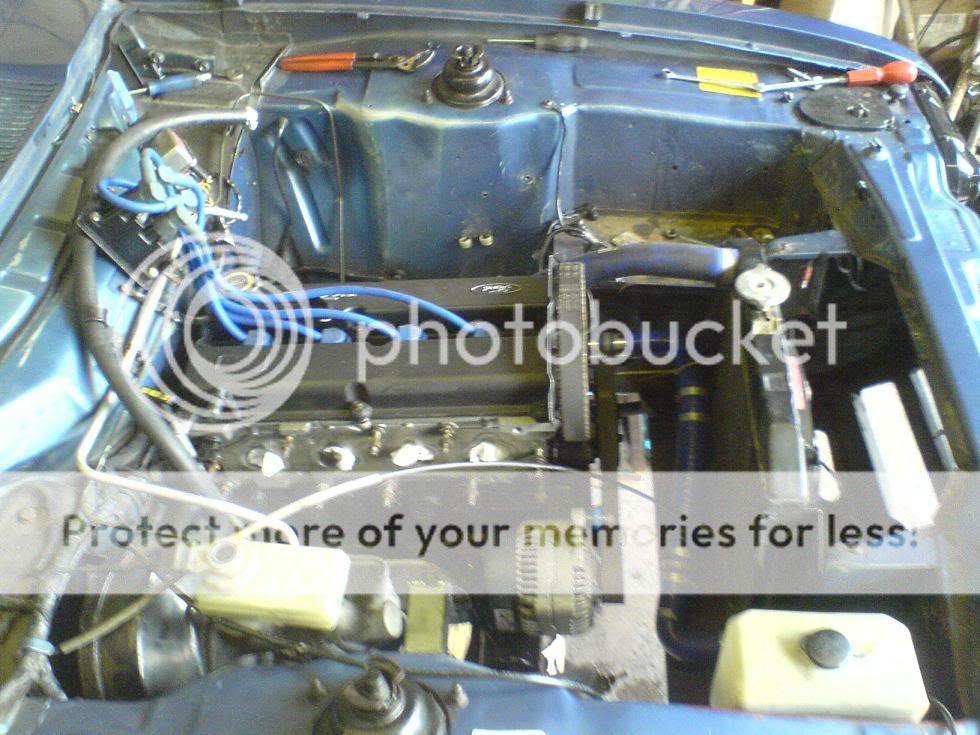
got to the engine bay, cleaned up lots of things, more clips sprayed matt black etc, shined up a couple of shiny items.
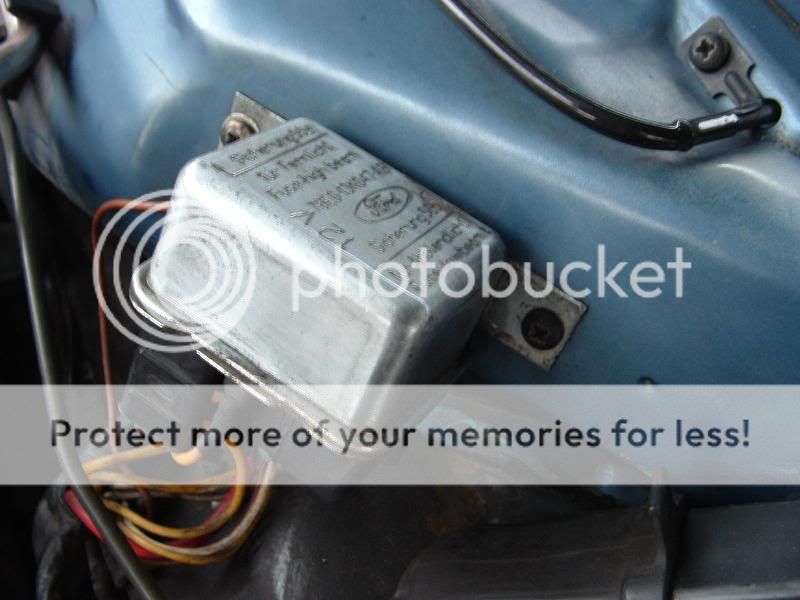
a metal fuse box... retro lol

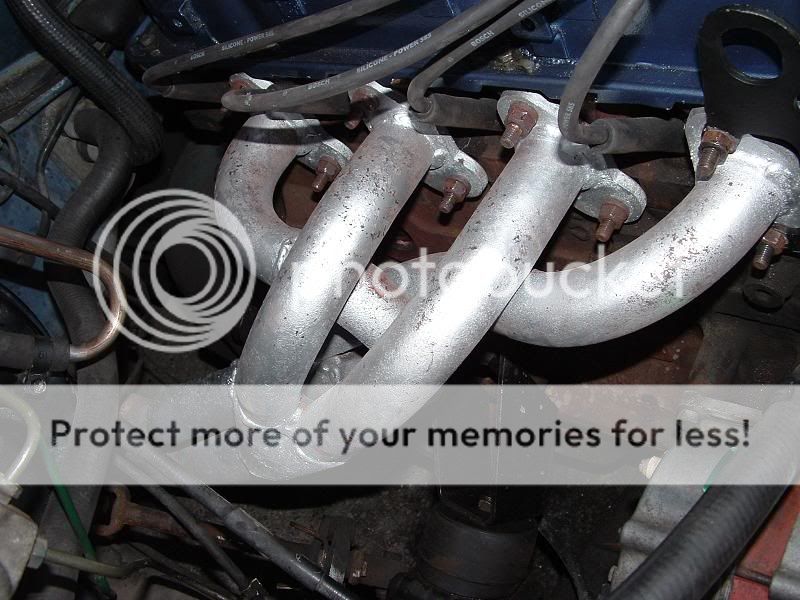
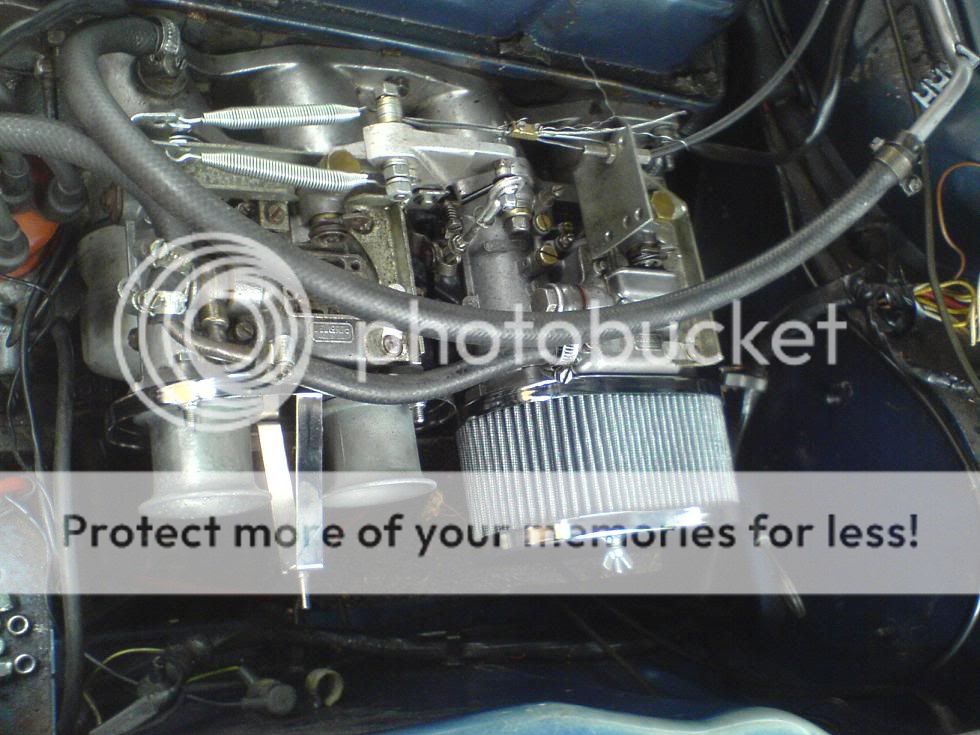
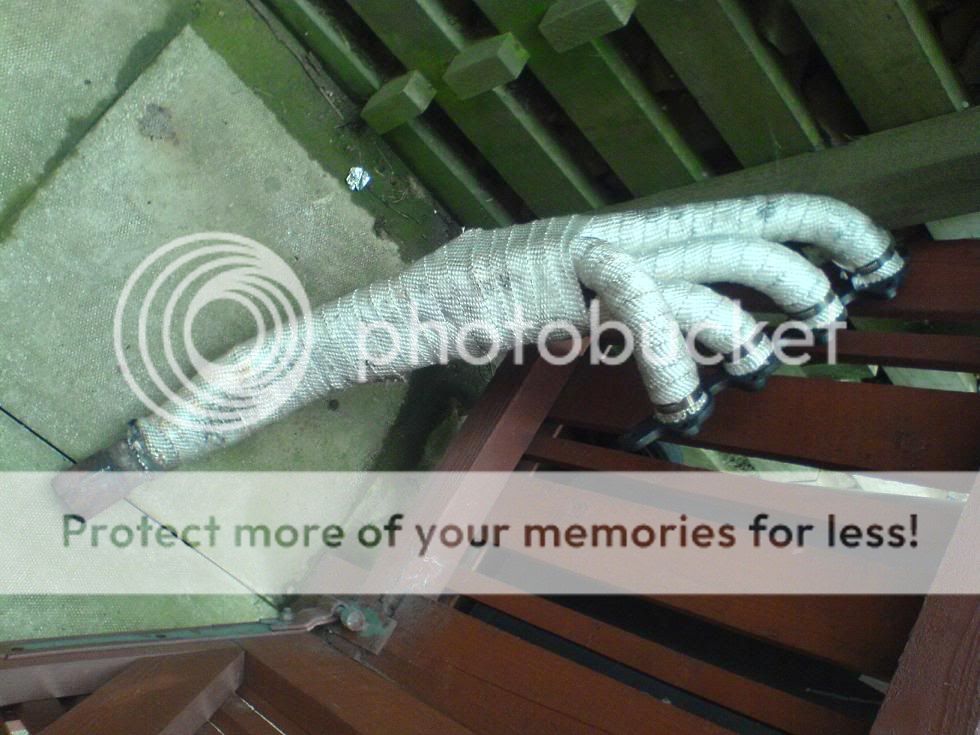
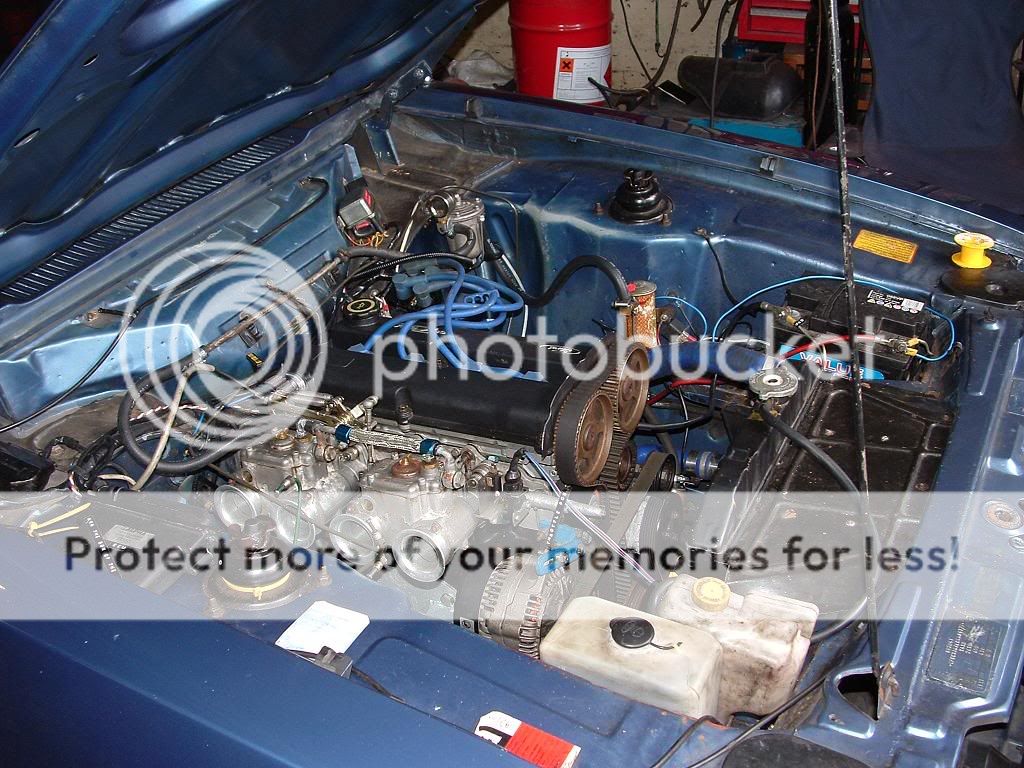
then FINALLY after about 3-4 weeks my manifold came!! apart from the join between this and the rest of the system im very happy with this manifold, gives a very precise powerband from 3000rpm upwards, of more power than there was there before, also increases the throttle responce and when sat, lets the engine rev upto 6k and back down rather rapidly
also altered the tickover so it was just over 1krpm... odd, so i unscrewed the screw and it was back down at 750rpm
this is a 4-2-1 manifold, all polished on the inside and is sprayed quickly to protect it! nothing bling about my painting here because as soon as the exhaust heatwrap comes its getting covered in that!

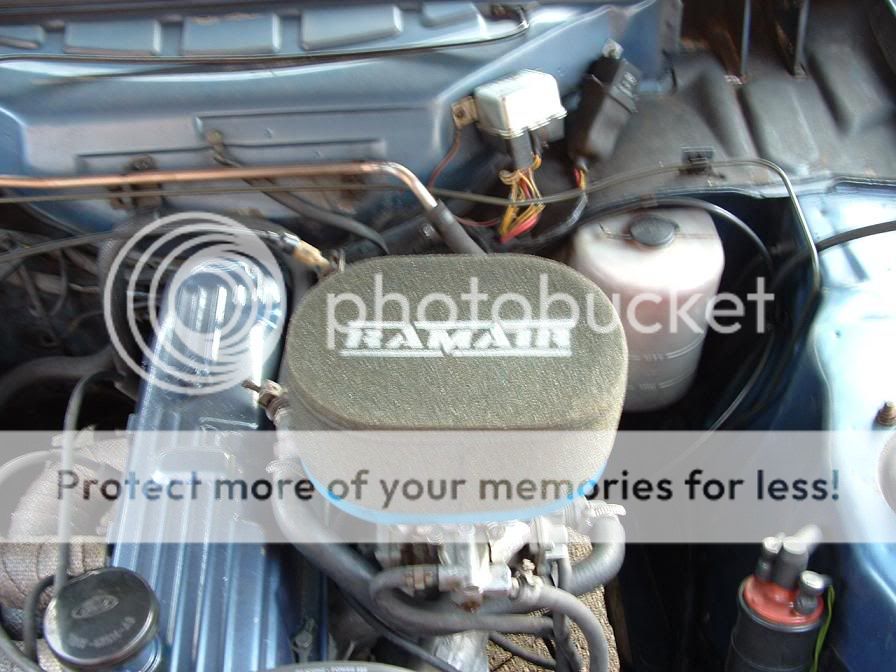
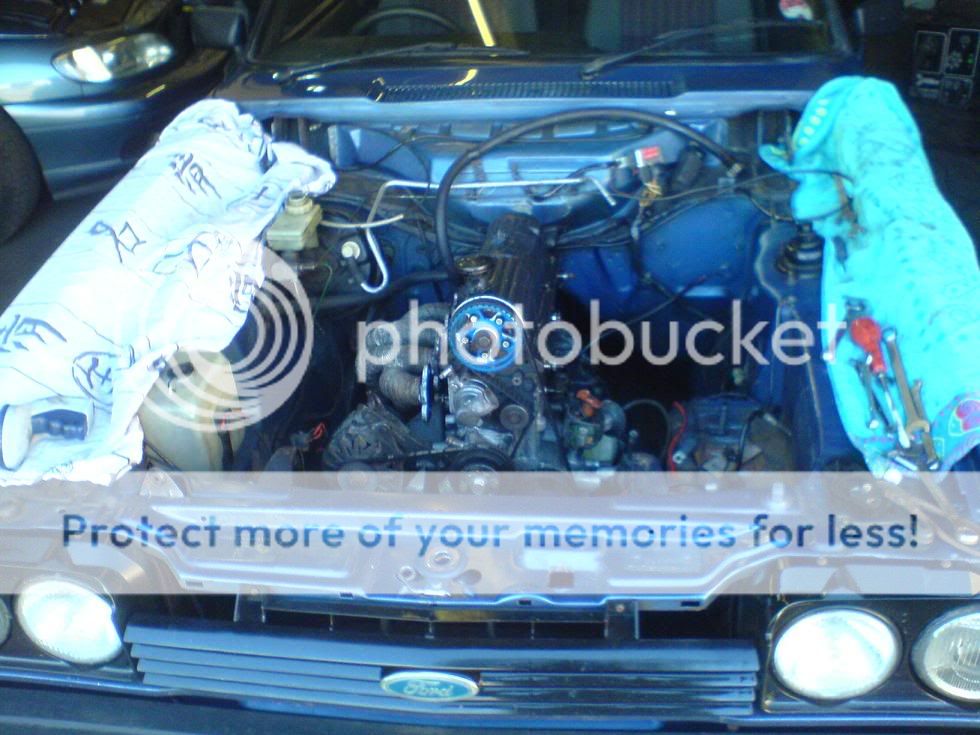
so this is how the engine bay stands now
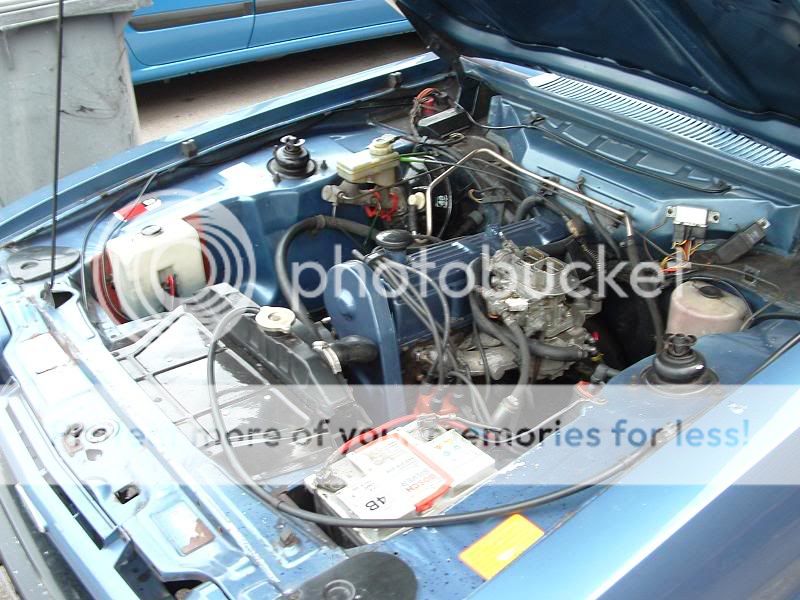
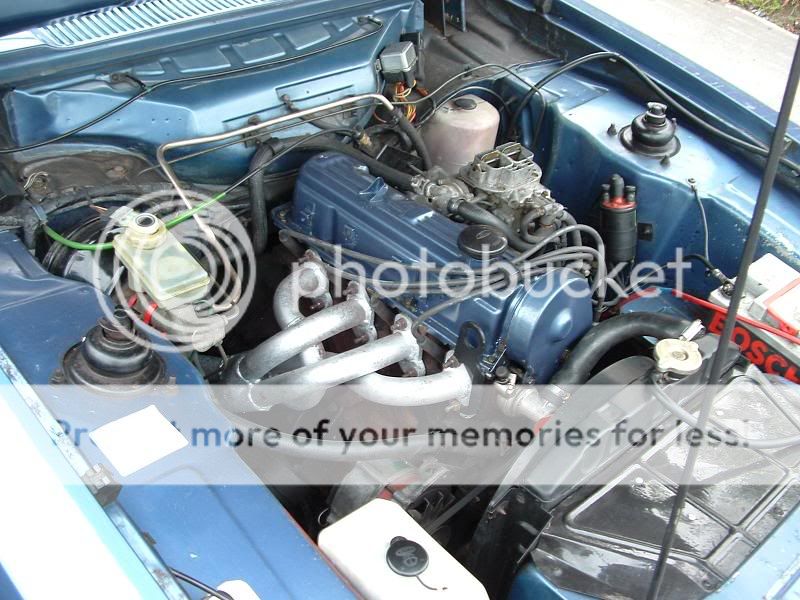
minus the air filter... hehehe
p.s. sorry for crap cam work, i havent had chance to fiddle with the settings yet!
wooo! a day off, bit more cleaning up, polishing up, claybaring etc etc etc, anyway, heres what i ended up with from the days work!
for a 20 year old car, im amazed how much like a mirror this paintwork can become after properly buffing etc!
drivers view! cant get bored of the bonnet bulge
cleaned the inside and got sum nice sill protectors
then i went to the engine bay, cleaned the carb inside and out!
self tapped the airbox, to make it look nicer rather than white tape holding it in
then i re-painted the fixings matt black, leaving just the spring red, looks a lot better
painted some random brackets, from a rusty colour to matt black, neatening up really.
also neatened up the wiring, just need some black masking tape to tape together parts of wire that theres a lot of wire in one section. and then continue on with shiny new tuning bits for the engine 8) 8) 8)
sorry for crap pics, cam has finally died on me, but these came through the post today!!
GAS spax rear AJUSTABLE shock absorbers, gonna go on the site see if they are ajustable for bump AND rebound cause there seems to be 2 control knobs.
wooo im off to fit em now
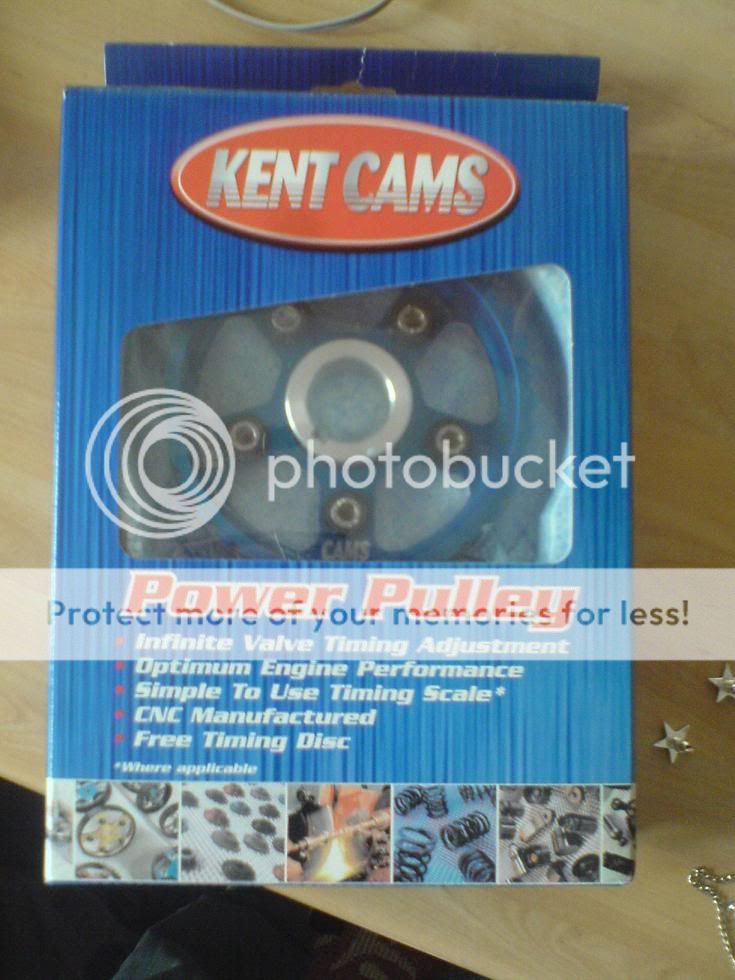
okay i finally got around to buying a new cam, woo yea!
first things first, a quick update.
Fitted the spax on the rear... after quite a few runs out im still not happy with them, i can only ajust the robound and the bump stays the same... but thats where the problem is, the bump is too hard so im getting the back end being thrusted upwards rather than the springs and shocks absorbing the bump....
ah well, guess i shall try either AVO (100pound for 2 shocks) or bilstien (150ish pound for 2)
both ajustable!
while i was down there i took a pic of the diff cover, for reference if i ever decide i need a LSD!
got to the engine bay, cleaned up lots of things, more clips sprayed matt black etc, shined up a couple of shiny items.
a metal fuse box... retro lol
then FINALLY after about 3-4 weeks my manifold came!! apart from the join between this and the rest of the system im very happy with this manifold, gives a very precise powerband from 3000rpm upwards, of more power than there was there before, also increases the throttle responce and when sat, lets the engine rev upto 6k and back down rather rapidly
also altered the tickover so it was just over 1krpm... odd, so i unscrewed the screw and it was back down at 750rpm
this is a 4-2-1 manifold, all polished on the inside and is sprayed quickly to protect it! nothing bling about my painting here because as soon as the exhaust heatwrap comes its getting covered in that!
so this is how the engine bay stands now
minus the air filter... hehehe
p.s. sorry for crap cam work, i havent had chance to fiddle with the settings yet!
 14-07-2008, 04:23 PM
#2
Too many posts.. I need a life!!
Thread Starter
Join Date: Jul 2007
Posts: 533
Likes: 0
Received 0 Likes
on
0 Posts
well, been busy... very busy, deciding that fwd is a lot more simple than rwd... the hard way, anyway heres what is happening at camp capri
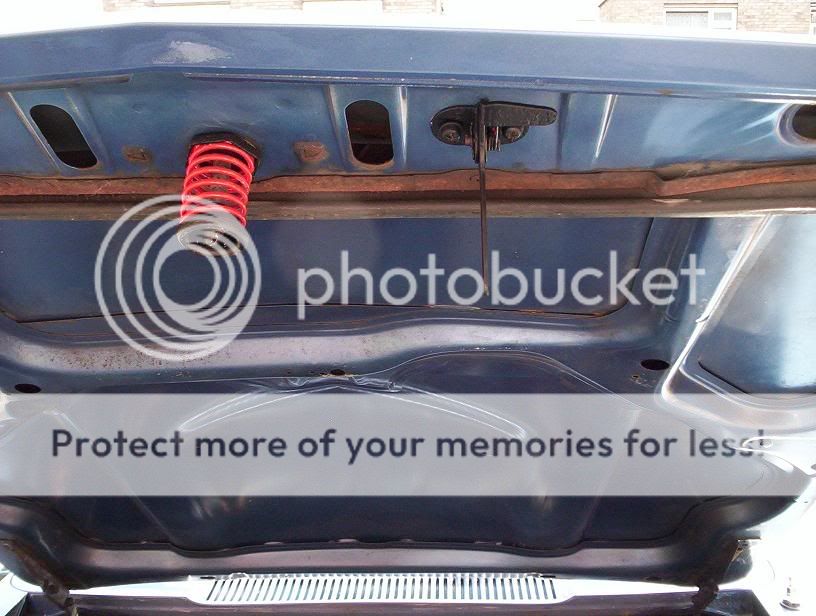
got my 190lb springs, randomly they are the colour of my car... which is cool!
got these half fitted and noticed my shock absorbers were fucked (well i knew this anyway, so i decided to replace these too... BAD idea
anyway, got the spring on before ordering the new shocks which should be here tomorrow.
removed the anti-roll bar so i can fit my anti-dive kit,
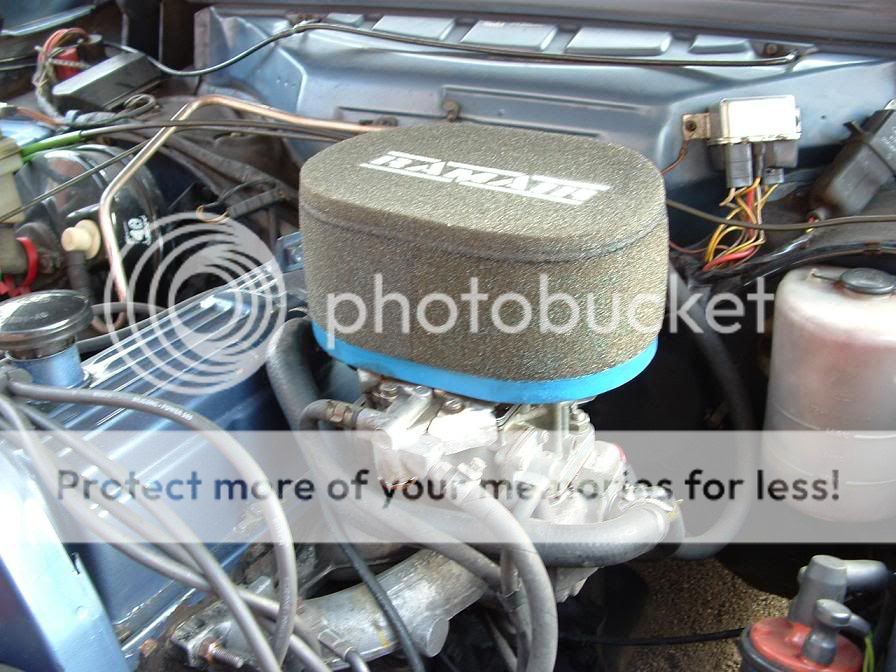
and fitted my new RAMAIR air filter which looks cool!
anyway, only pic as i have no more camera batteries hanging around!

finally 4 days later its done!!
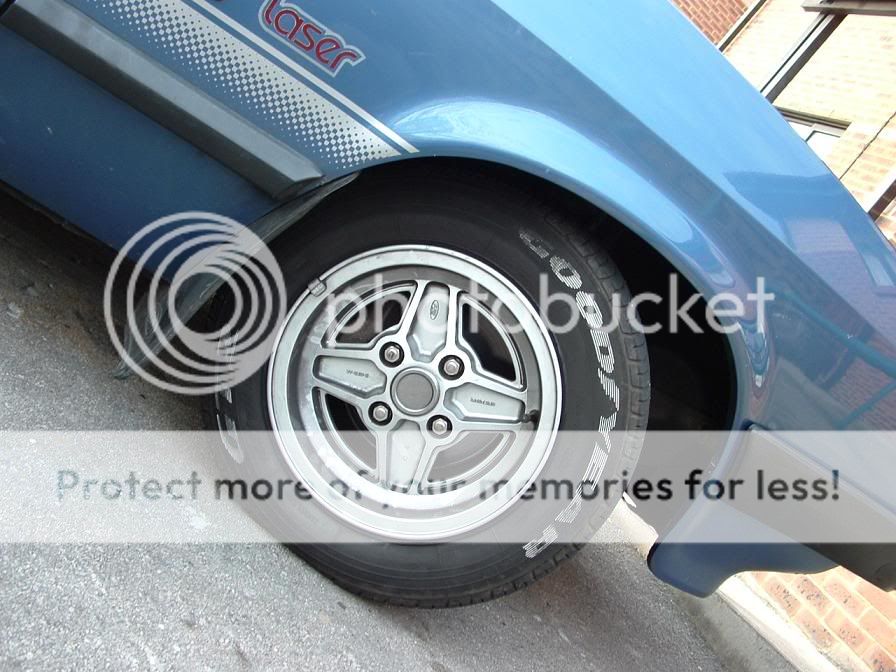
now runing on 190lb springs (a helluva lot stiffer than before) and i dont think its lowered it much (even though it was suppost to be 1") which is always good for me
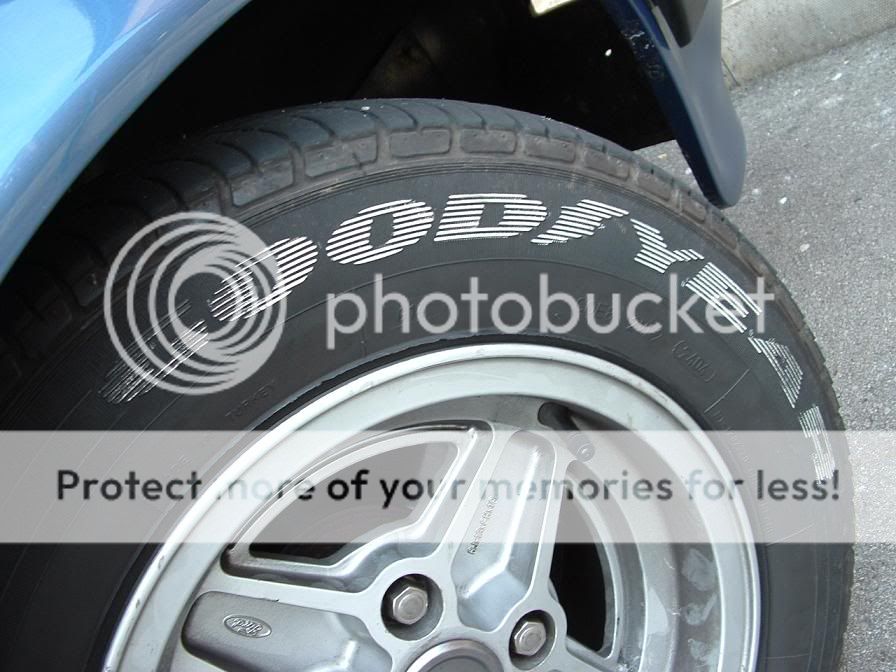
painted the goodyear on my tyes while i was there classy!
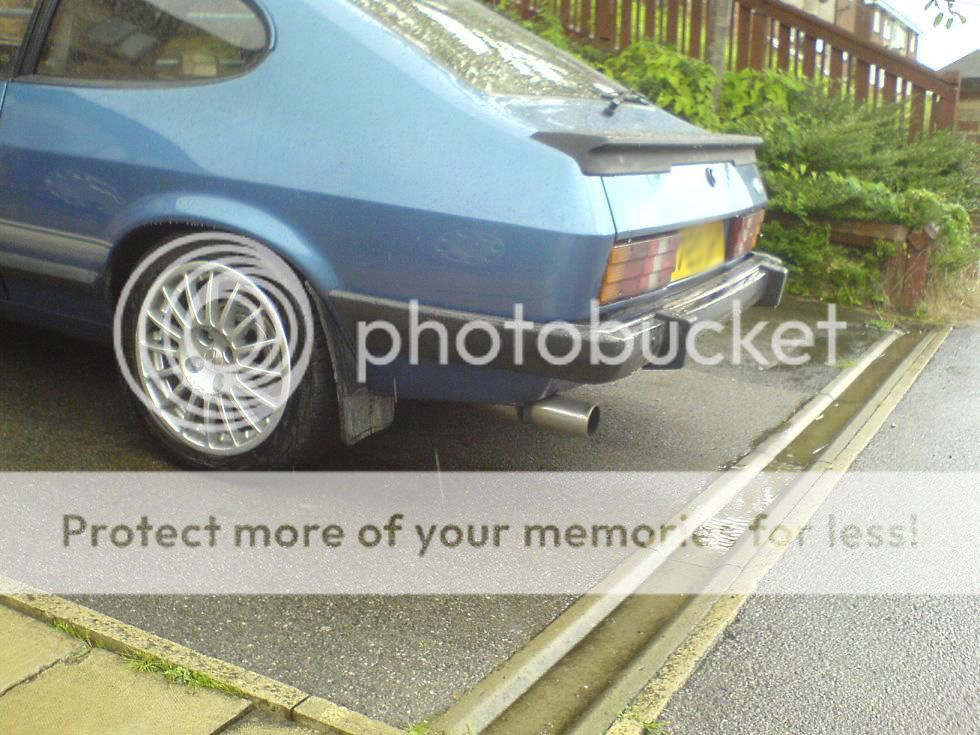
got my exhaust welded, needed quite a large repair doing to it, so its done now

new air filter, done and fitted!
unless ur james and have learnt from your mistakes, this is a sticky sponge and not a good idea to give it a squeeze!
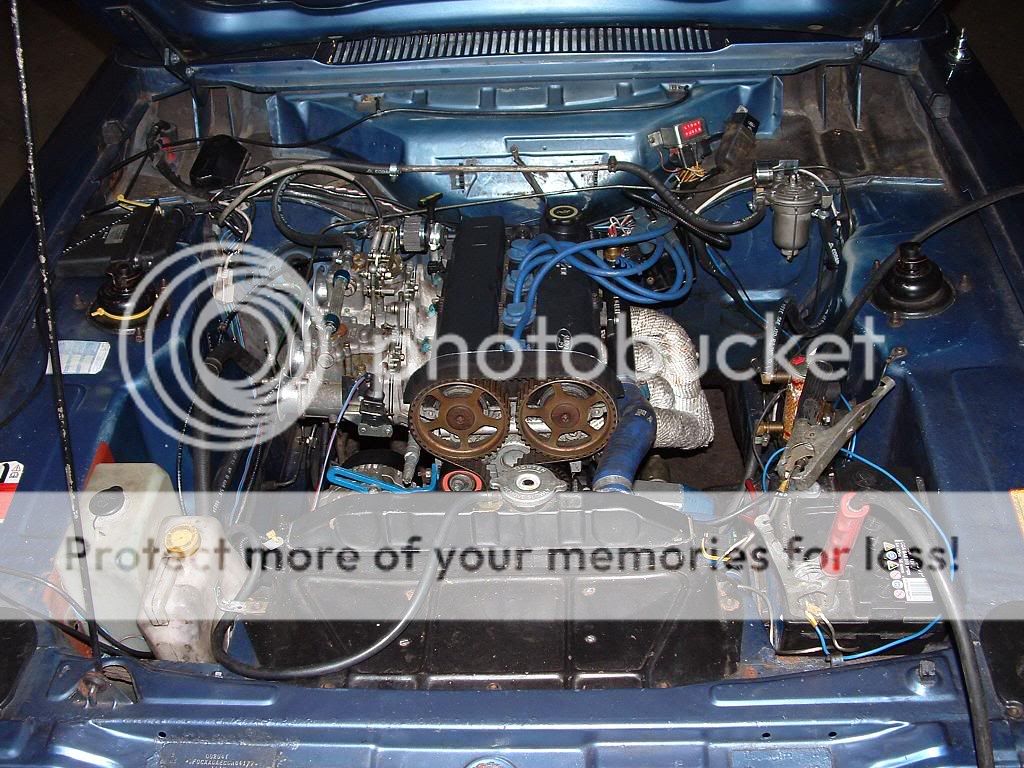
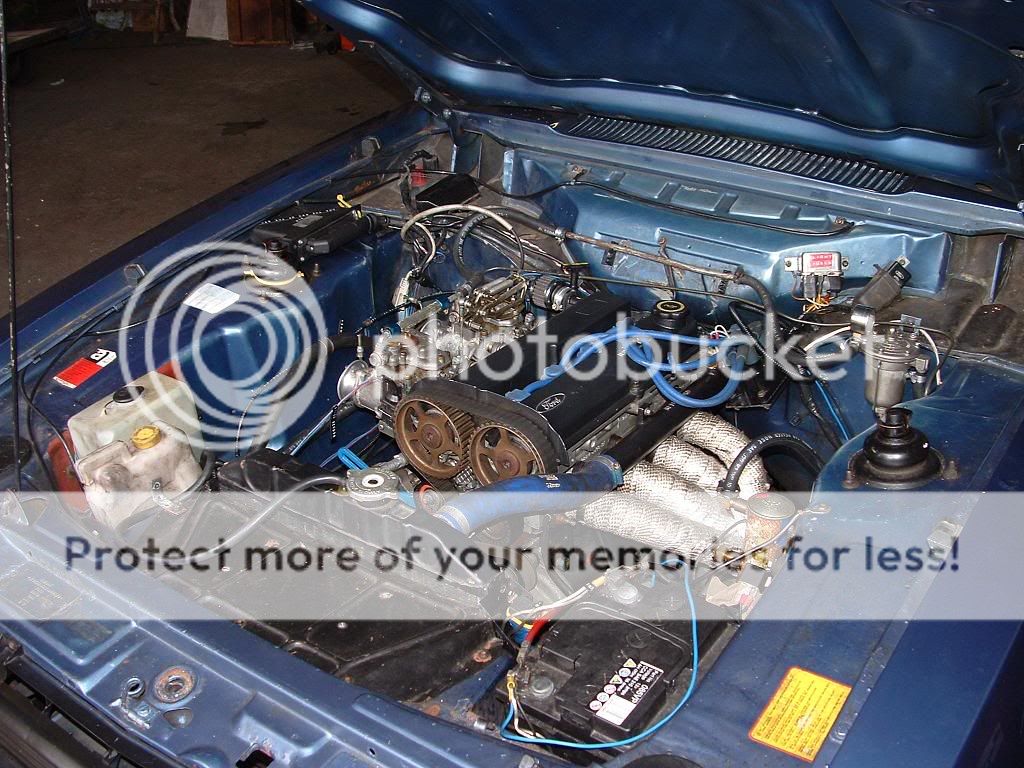
and wrapped the exhaust manifold, to keep under bonnet temparatures down (mainly in traffic on a morning)

so heres how it looks now

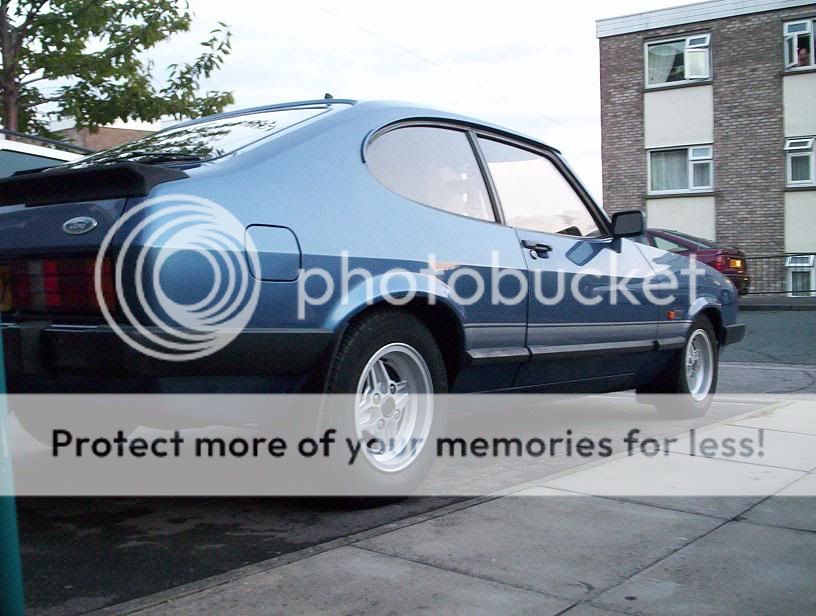
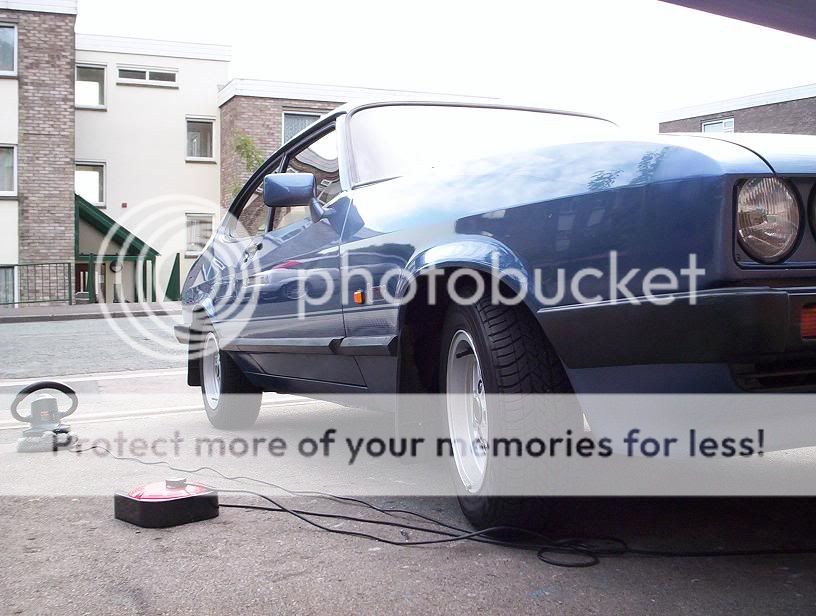
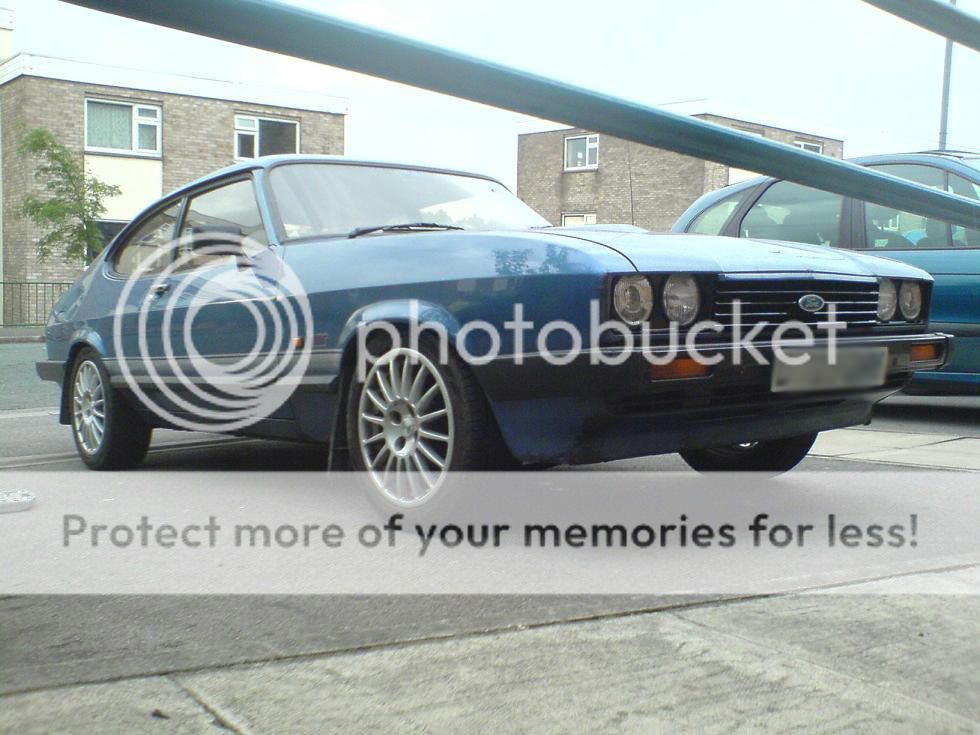
well, after photoshopping randomly those pics and liking them... i did it lol!
heres the results
(�4 later) haha
good finish, i got the reflection of the jack in the distance on the pic somehow, ooo shiny
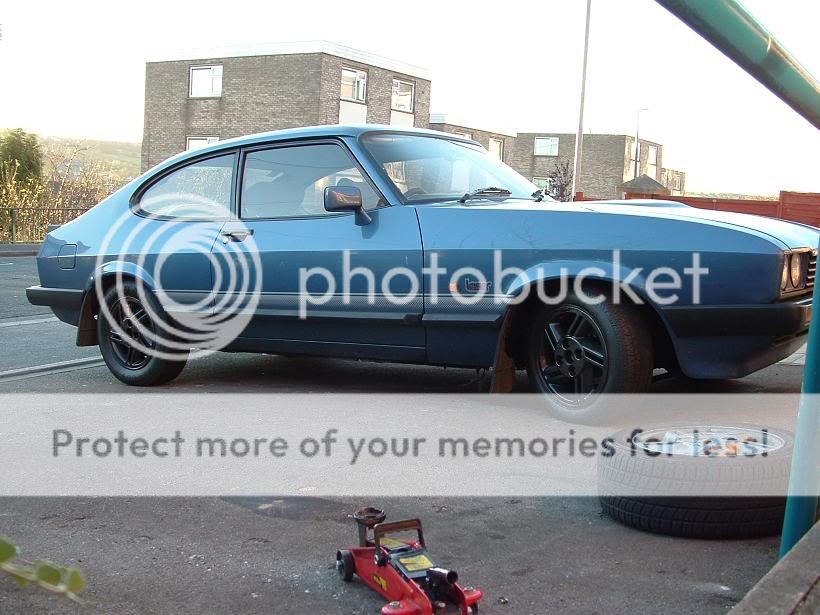
looks better in person cause the wheels are propper ancthrecite and shiny
enjoy,
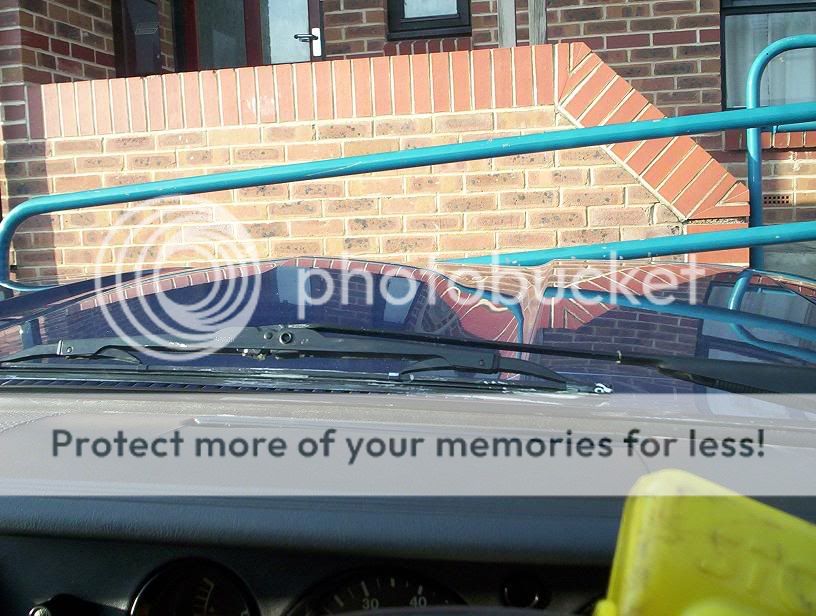
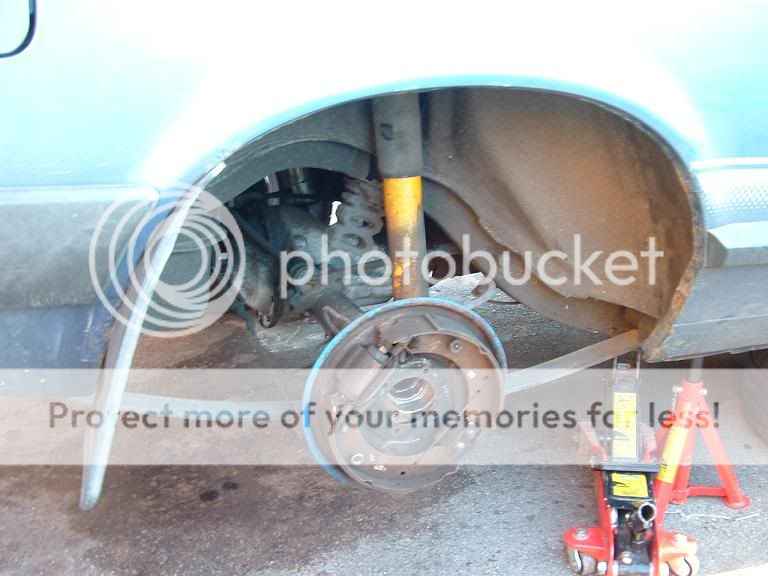
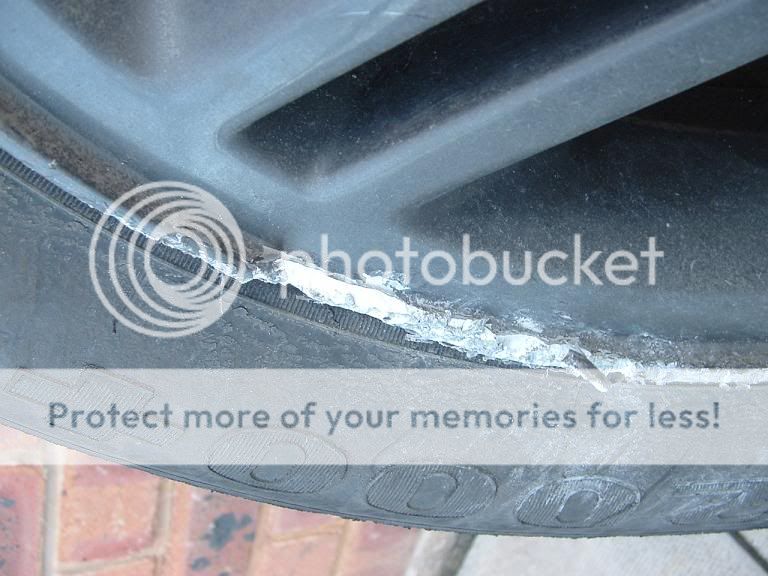
i wonder if anyone can guess what caused this.....

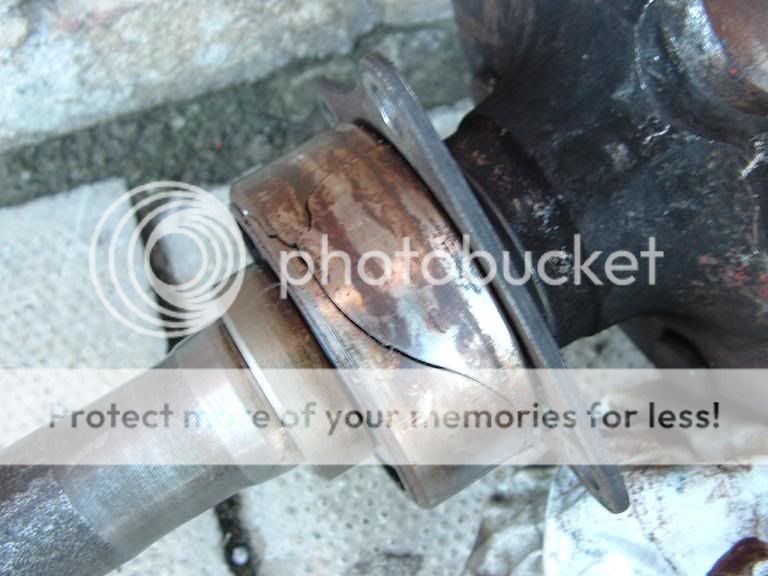
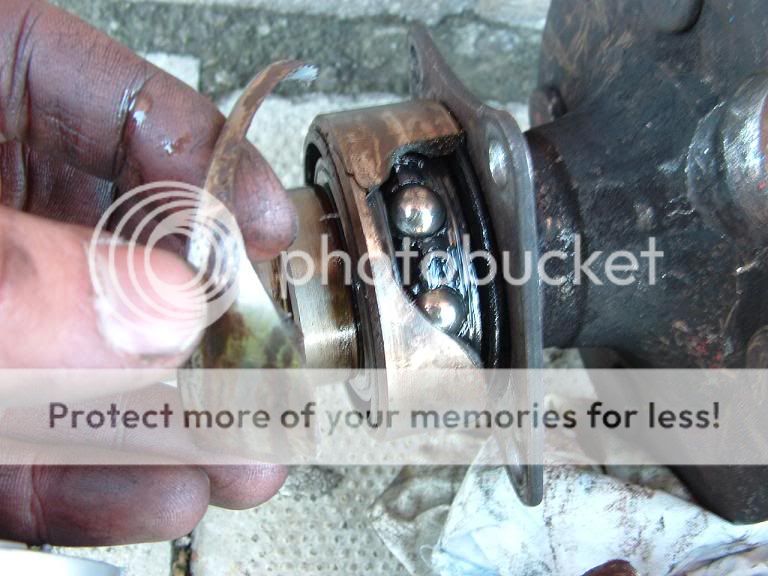
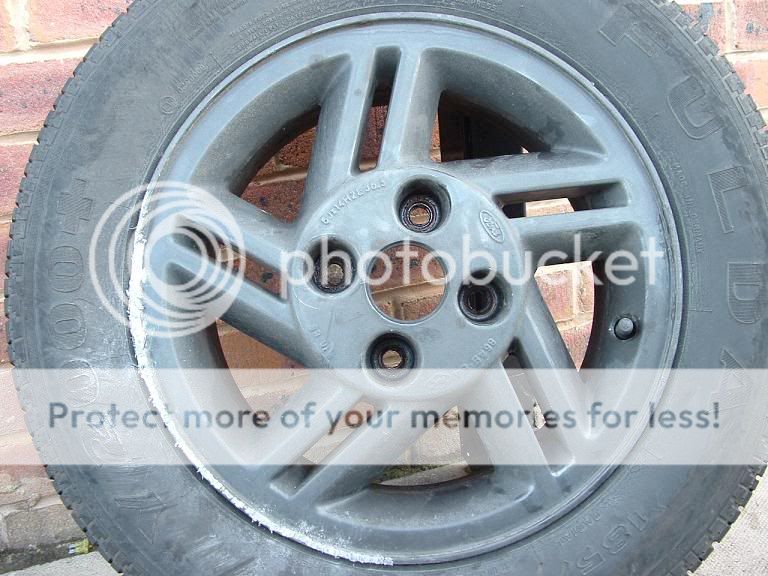
its suppost to look like this....
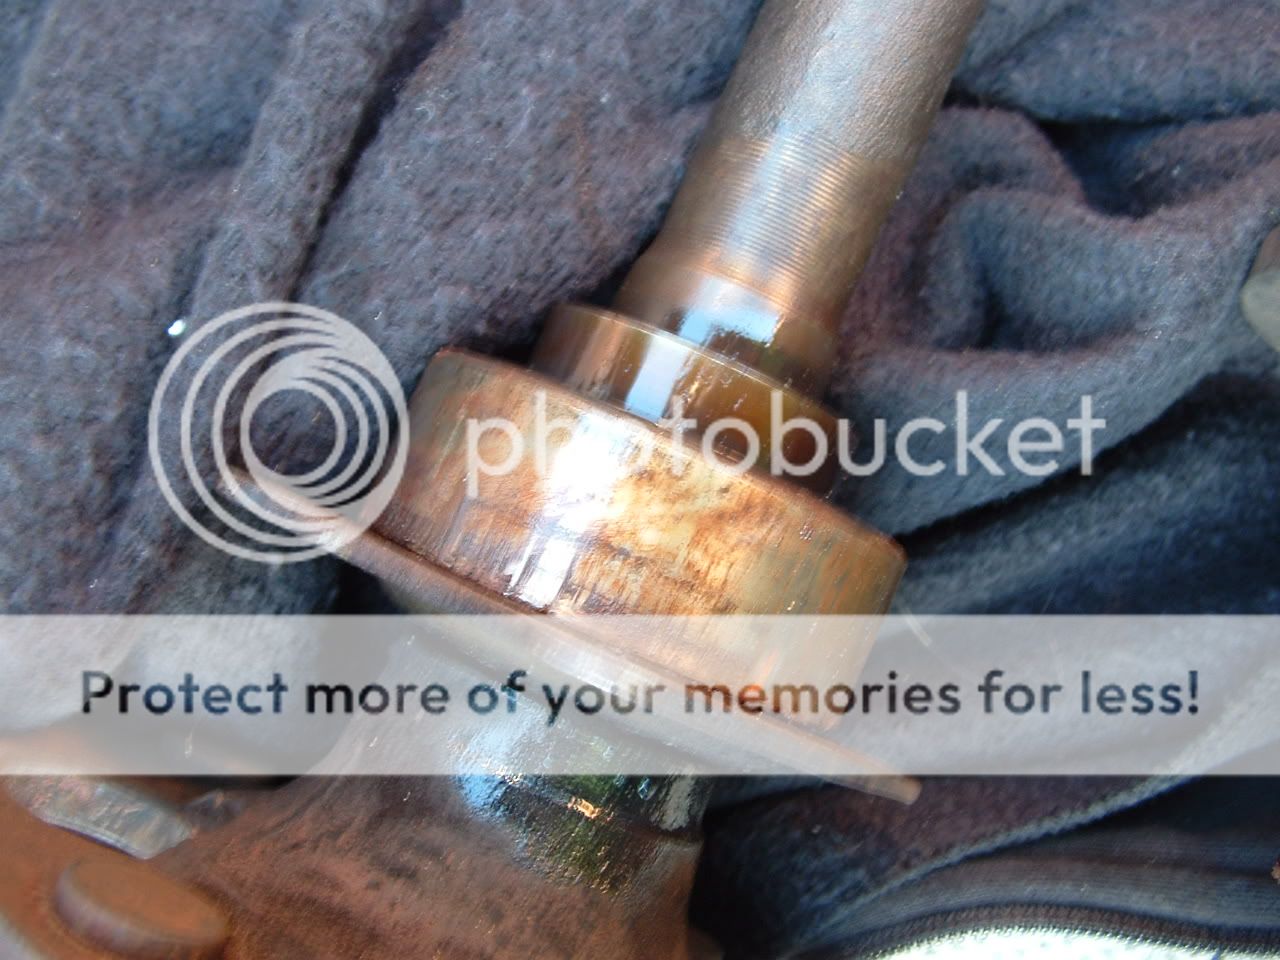
sorry for the blurryness
didnt affect the spines tho

oh ya... if you havent guessed by now... its to do with this part of the car
still havent got it yet??
well... i hit a kurb... hard.... backwards... rear wheel first... sideways whatever direction u wanna call it =( it hurt... a lot
crunch ya =)
all fixed now... �20 later... oh i love old cars
got my 190lb springs
got these half fitted and noticed my shock absorbers were fucked (well i knew this anyway, so i decided to replace these too... BAD idea
anyway, got the spring on before ordering the new shocks which should be here tomorrow.
removed the anti-roll bar so i can fit my anti-dive kit,
and fitted my new RAMAIR air filter
anyway, only pic as i have no more camera batteries hanging around!
finally 4 days later its done!!
now runing on 190lb springs (a helluva lot stiffer than before) and i dont think its lowered it much (even though it was suppost to be 1") which is always good for me
painted the goodyear on my tyes while i was there
got my exhaust welded, needed quite a large repair doing to it, so its done now
new air filter, done and fitted!
unless ur james and have learnt from your mistakes, this is a sticky sponge and not a good idea to give it a squeeze!
and wrapped the exhaust manifold, to keep under bonnet temparatures down (mainly in traffic on a morning)
so heres how it looks now
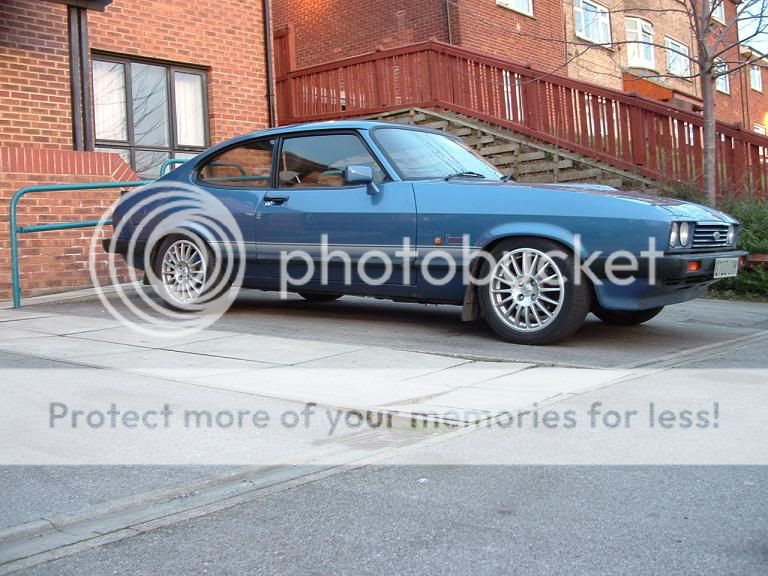
well, after photoshopping randomly those pics and liking them... i did it lol!
heres the results
(�4 later) haha
good finish, i got the reflection of the jack in the distance on the pic somehow, ooo shiny
looks better in person cause the wheels are propper ancthrecite and shiny
enjoy,
i wonder if anyone can guess what caused this.....
its suppost to look like this....
sorry for the blurryness
didnt affect the spines tho
oh ya... if you havent guessed by now... its to do with this part of the car
still havent got it yet??
well... i hit a kurb... hard.... backwards... rear wheel first... sideways whatever direction u wanna call it =( it hurt... a lot
crunch ya =)
all fixed now... �20 later... oh i love old cars
14-07-2008, 04:24 PM
#3
Too many posts.. I need a life!!
Thread Starter
Join Date: Jul 2007
Posts: 533
Likes: 0
Received 0 Likes
on
0 Posts
riight i havent updated in yonks... mainly cause i havent done anything in yonks.
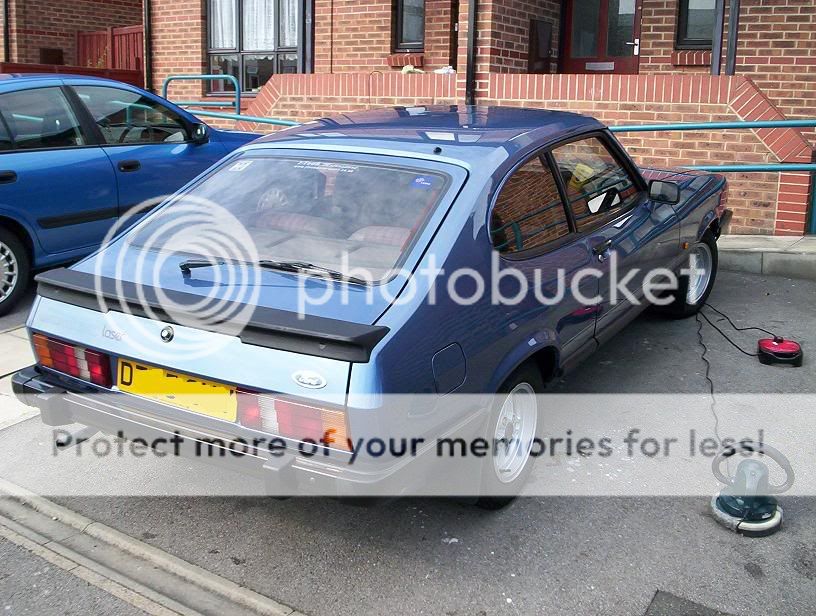
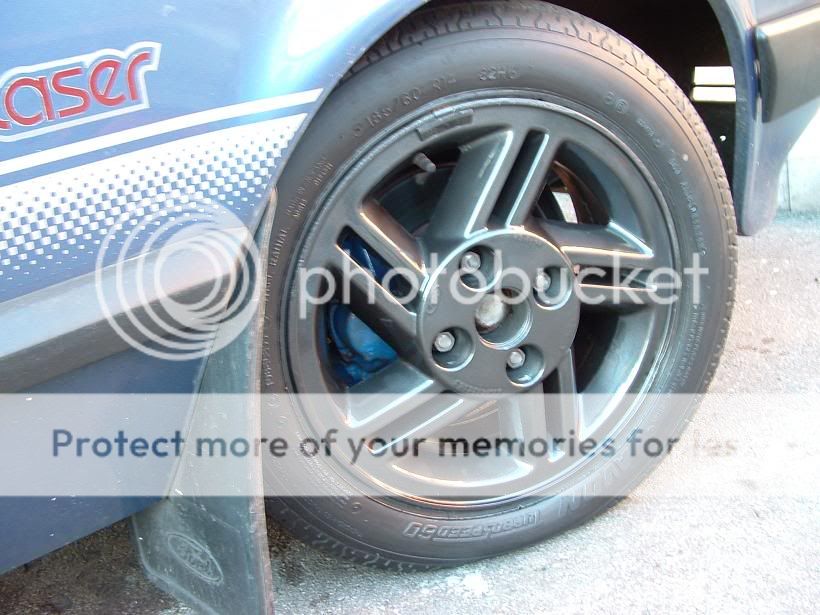
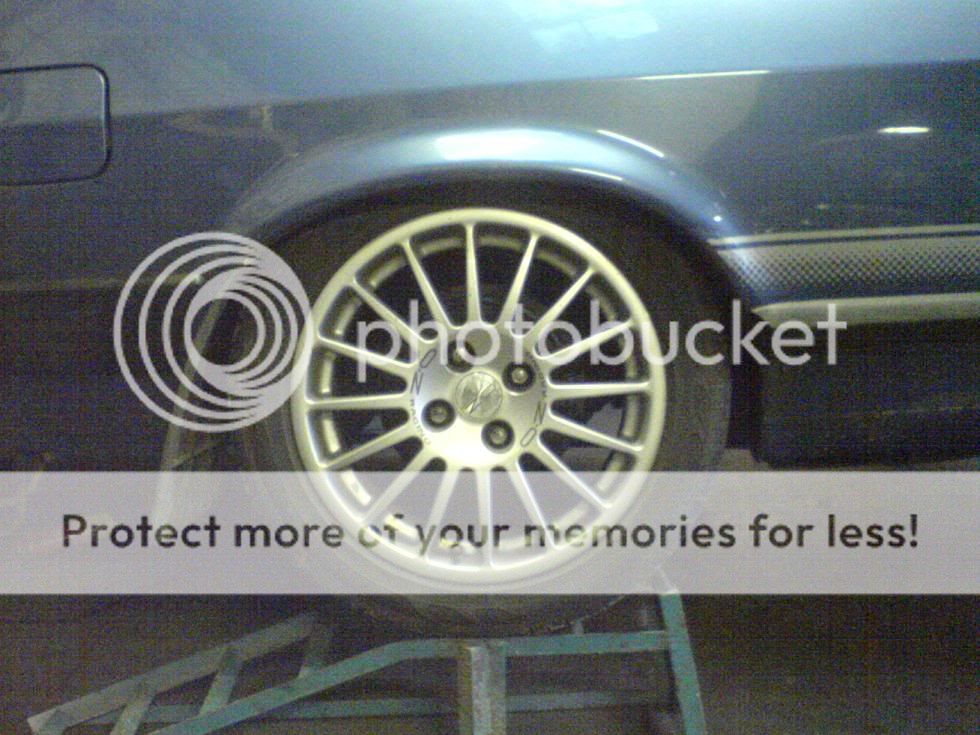
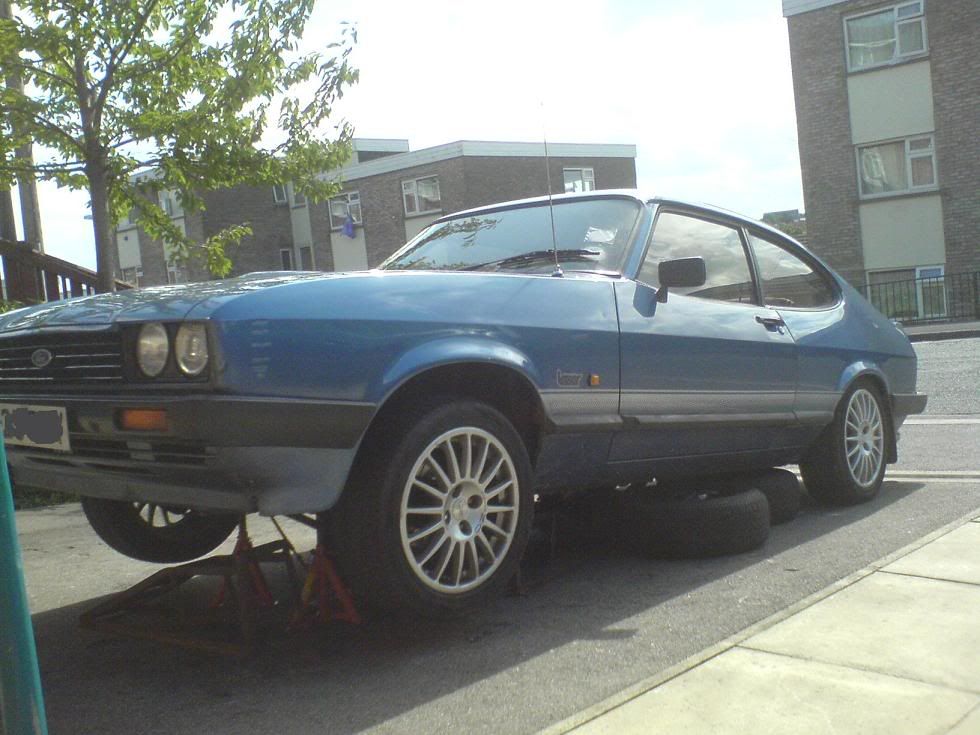
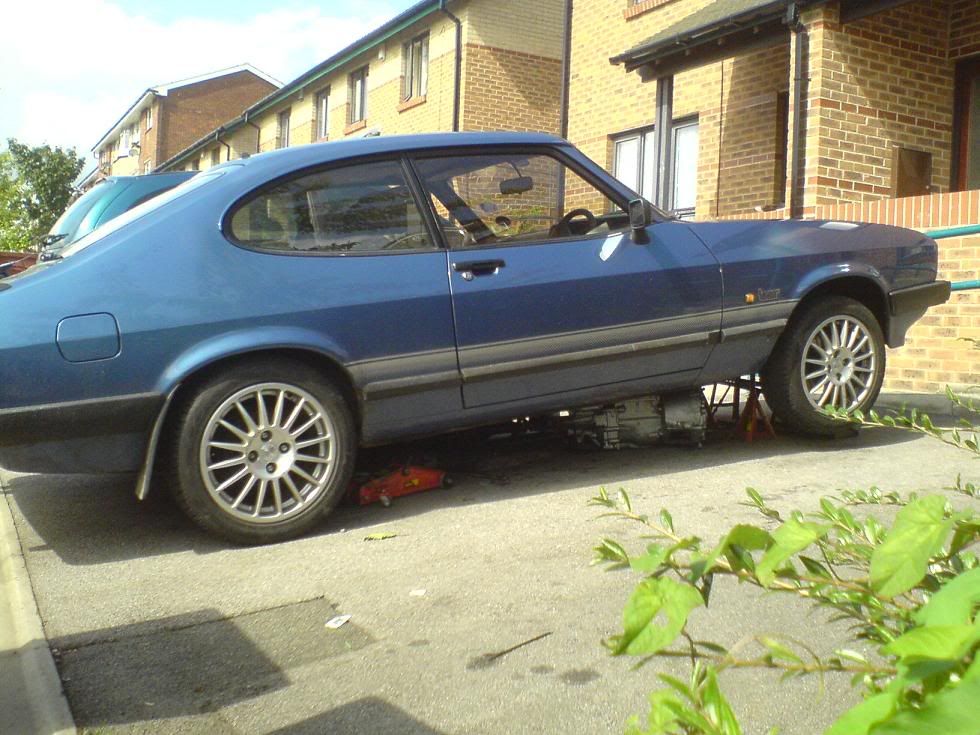
basically, finally my spacers came *YAY* so all 4 wheels are on now, think i want some spacers for the back too cause the rear wheels now look out of place... but thats all to come, small details lol
picss
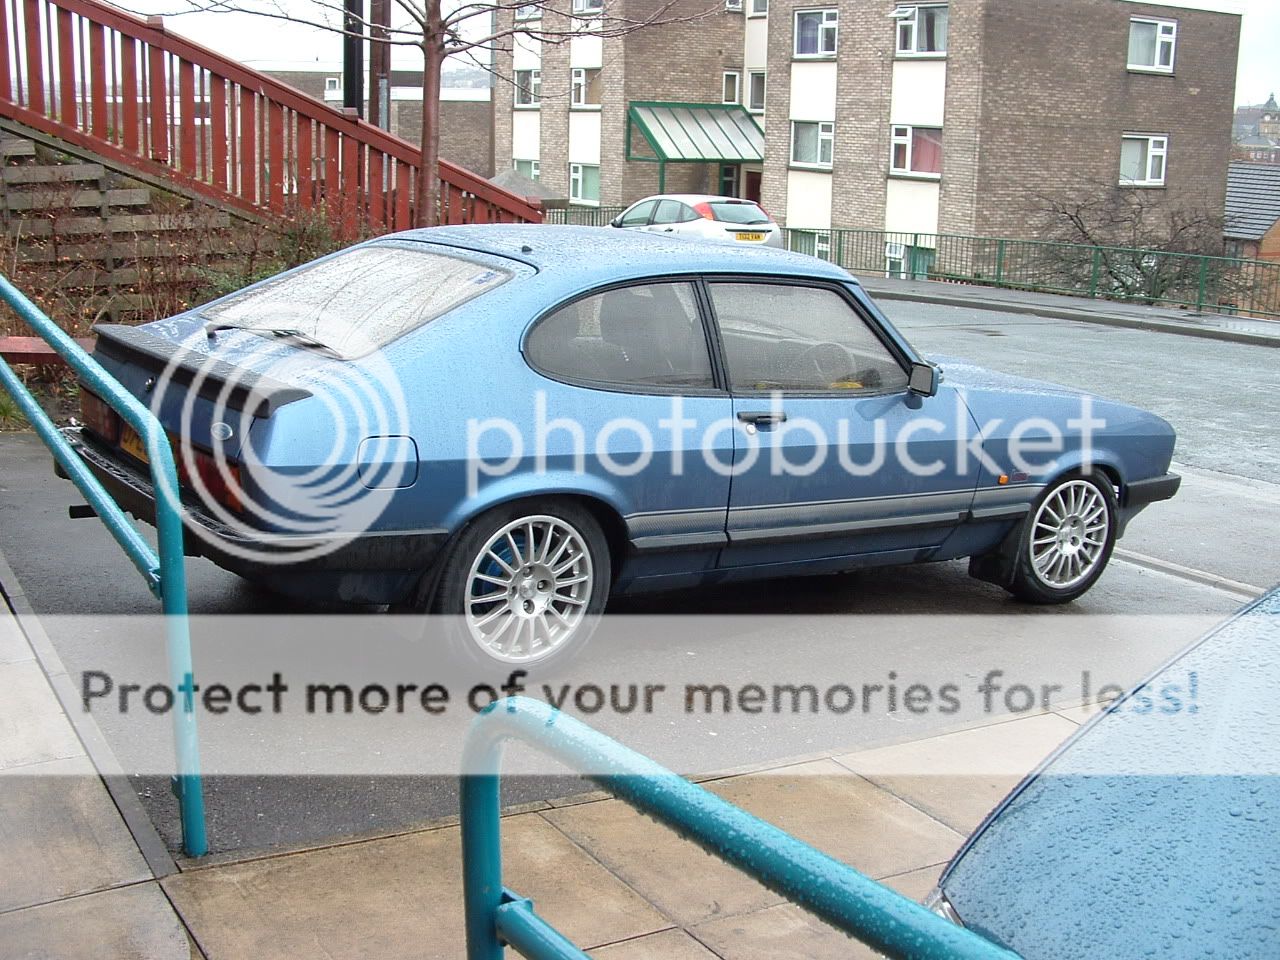
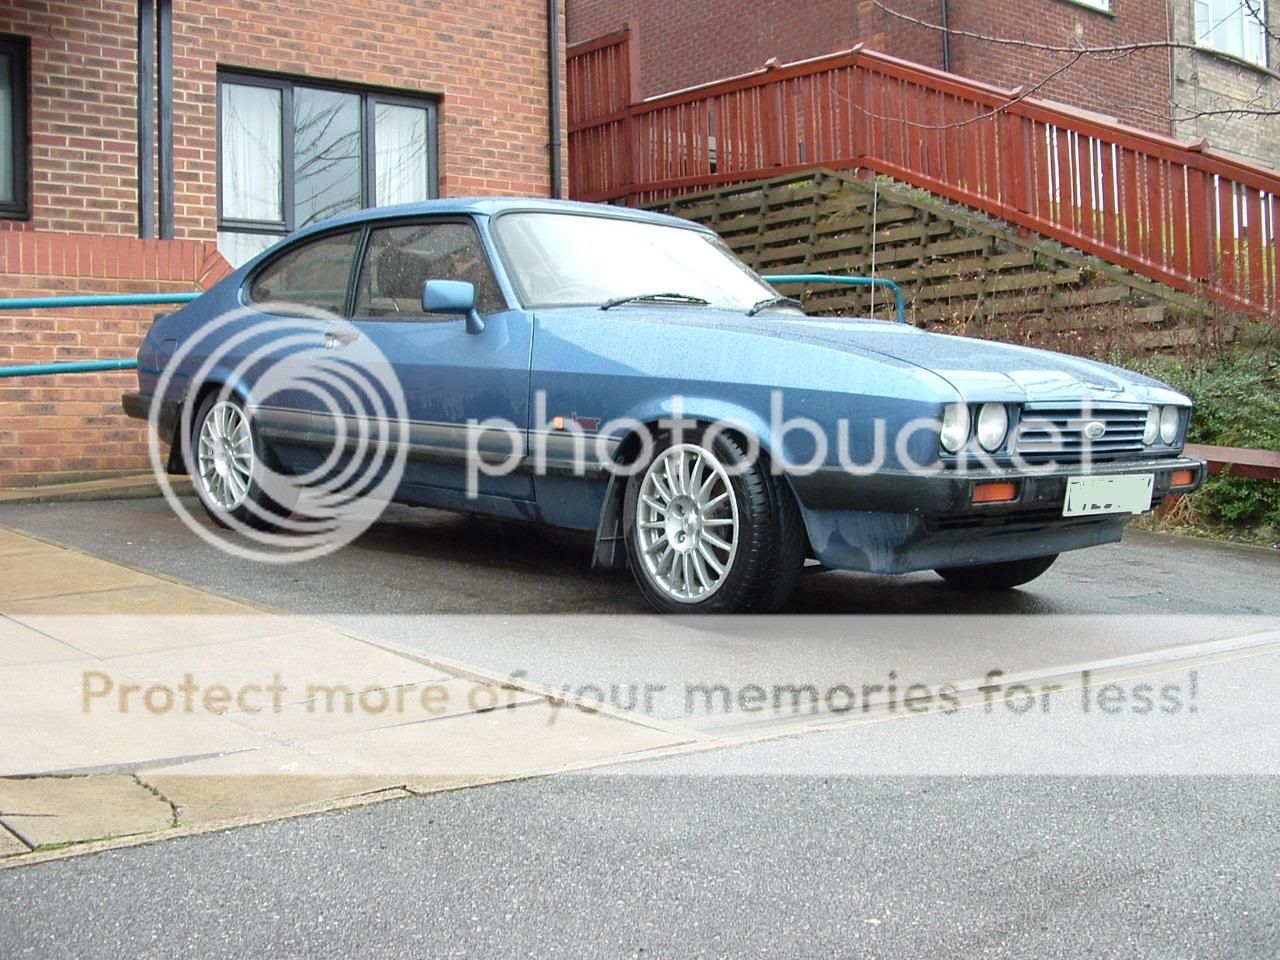
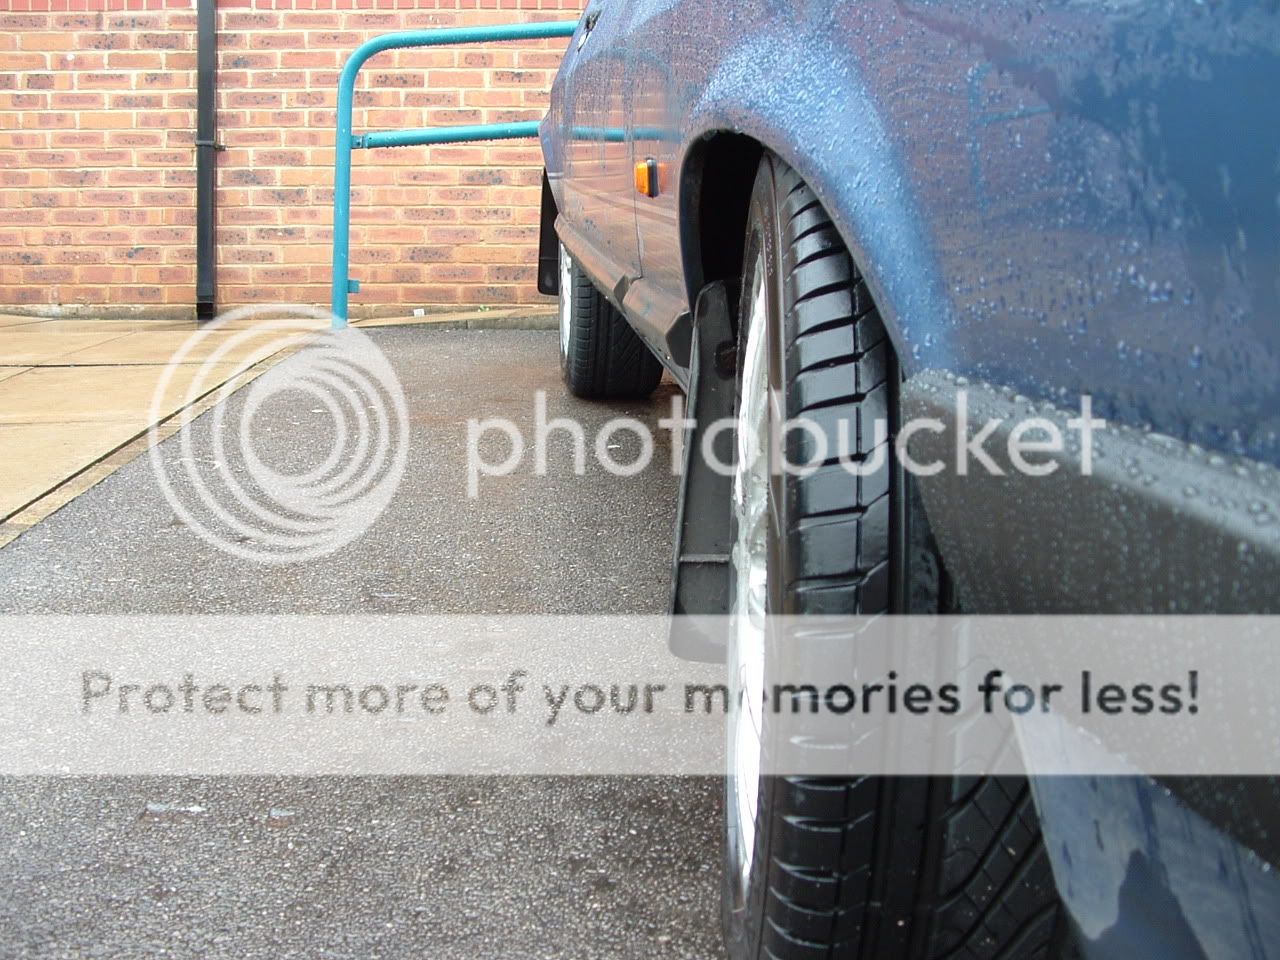
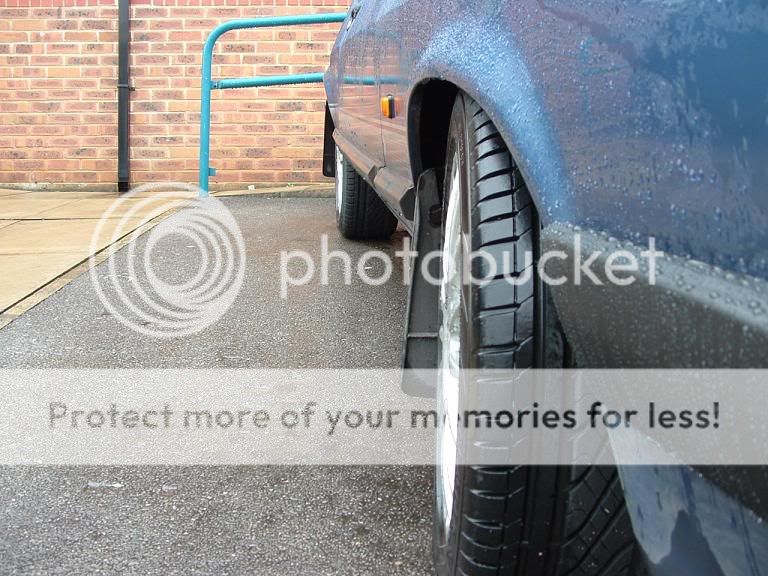
the clearance on the front wheels is JUST right, not had any scrubbing bumping or arch hitting issues to date (apart from the left hand wheel touching the mudflap every now and again) also minor details

mmmm
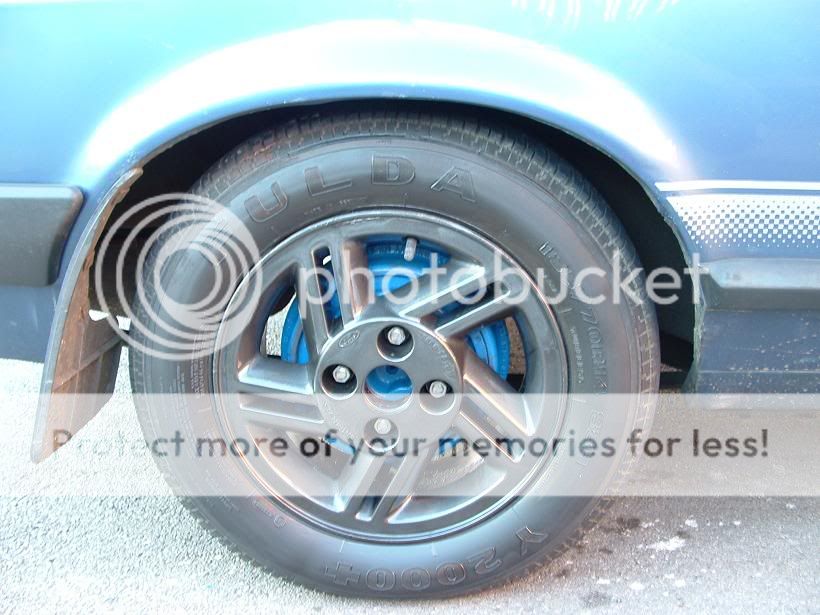
finally.... got some rear spacers sorted!
wooot.
(before u say the wheels could do to come out slightly more... screw off lol, theres about 3mm gap between the outer wheel and the arch! thats it!
perfecto
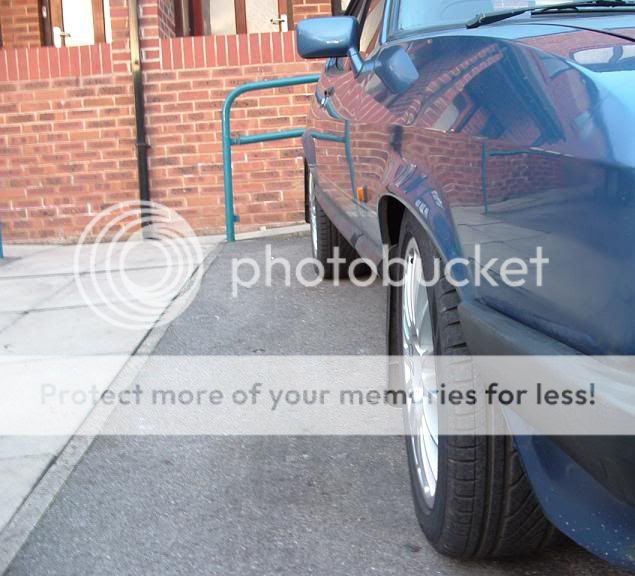
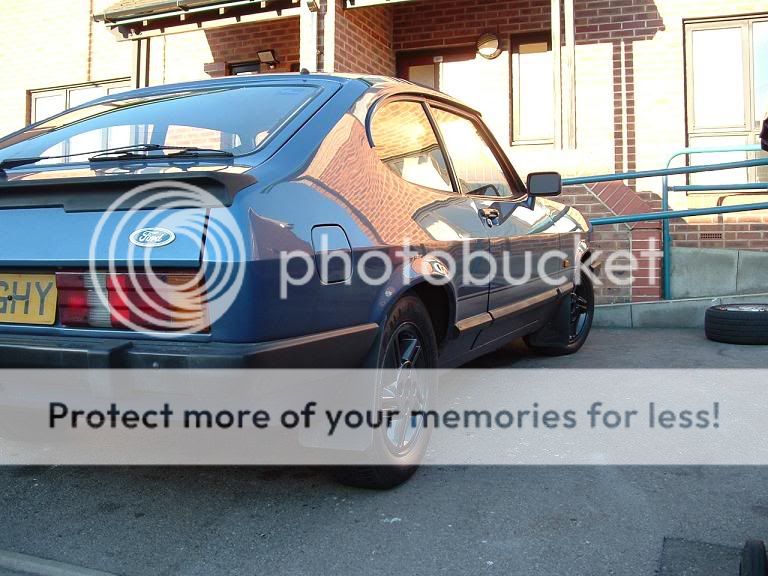
BEFORE&AFTER rear wheels now sat out as far as the fronts

p.s. the rear wheels sit out of the arch in the pic, but thats because its parked on a slope, normally the rear end is lower than the front on flat ground (grip issues)
basically, finally my spacers came *YAY* so all 4 wheels are on now, think i want some spacers for the back too cause the rear wheels now look out of place... but thats all to come, small details lol
picss
the clearance on the front wheels is JUST right, not had any scrubbing bumping or arch hitting issues to date (apart from the left hand wheel touching the mudflap every now and again) also minor details
mmmm
finally.... got some rear spacers sorted!
wooot.
(before u say the wheels could do to come out slightly more... screw off lol, theres about 3mm gap between the outer wheel and the arch! thats it!
perfecto
BEFORE&AFTER rear wheels now sat out as far as the fronts
p.s. the rear wheels sit out of the arch in the pic, but thats because its parked on a slope, normally the rear end is lower than the front on flat ground (grip issues)
14-07-2008, 04:24 PM
#4
Too many posts.. I need a life!!
Thread Starter
Join Date: Jul 2007
Posts: 533
Likes: 0
Received 0 Likes
on
0 Posts
small update!!
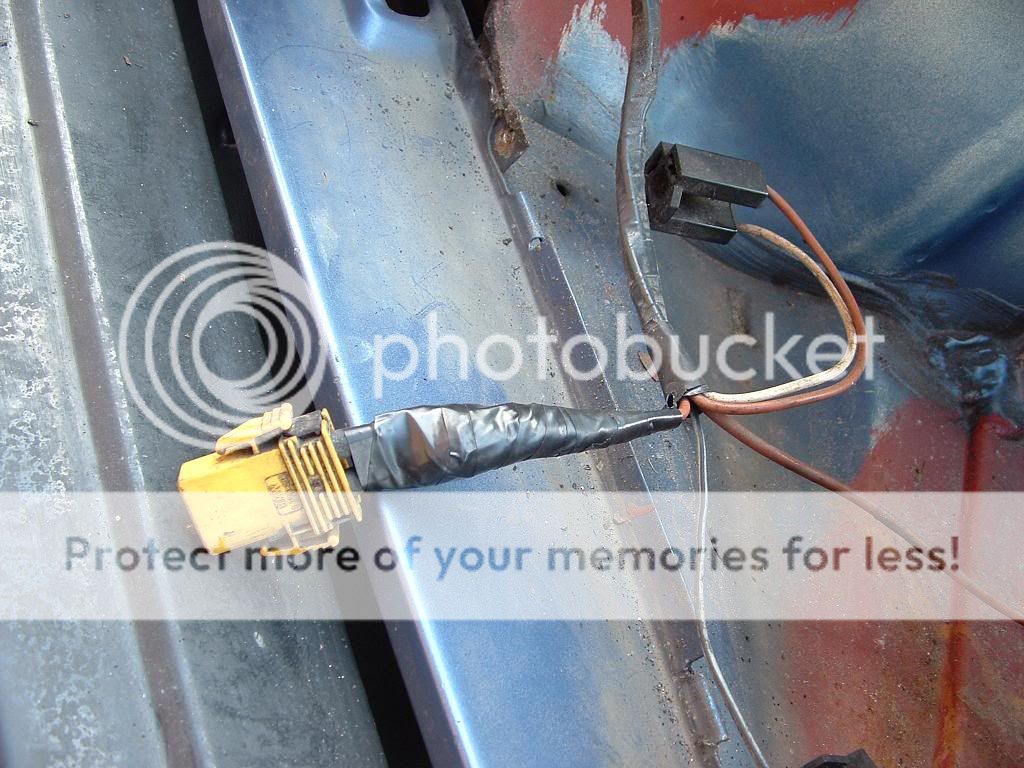
been figuring this out for a while.. how to get LEGAL "HID's" or just better lights onto the capri.
for one my lights arent projector lights, and two they are absolout and utter CRAP!
even with brighter bulbs im not happy with them.
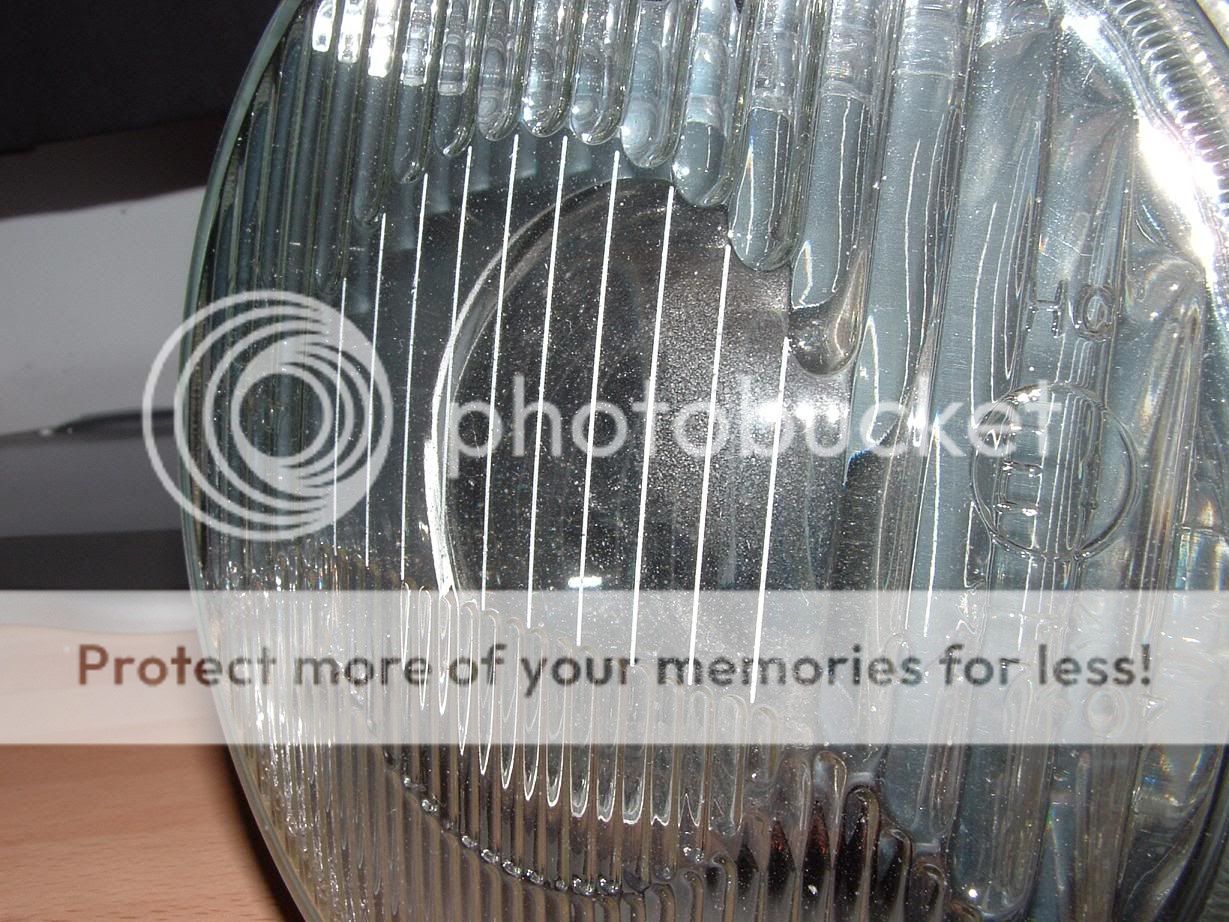
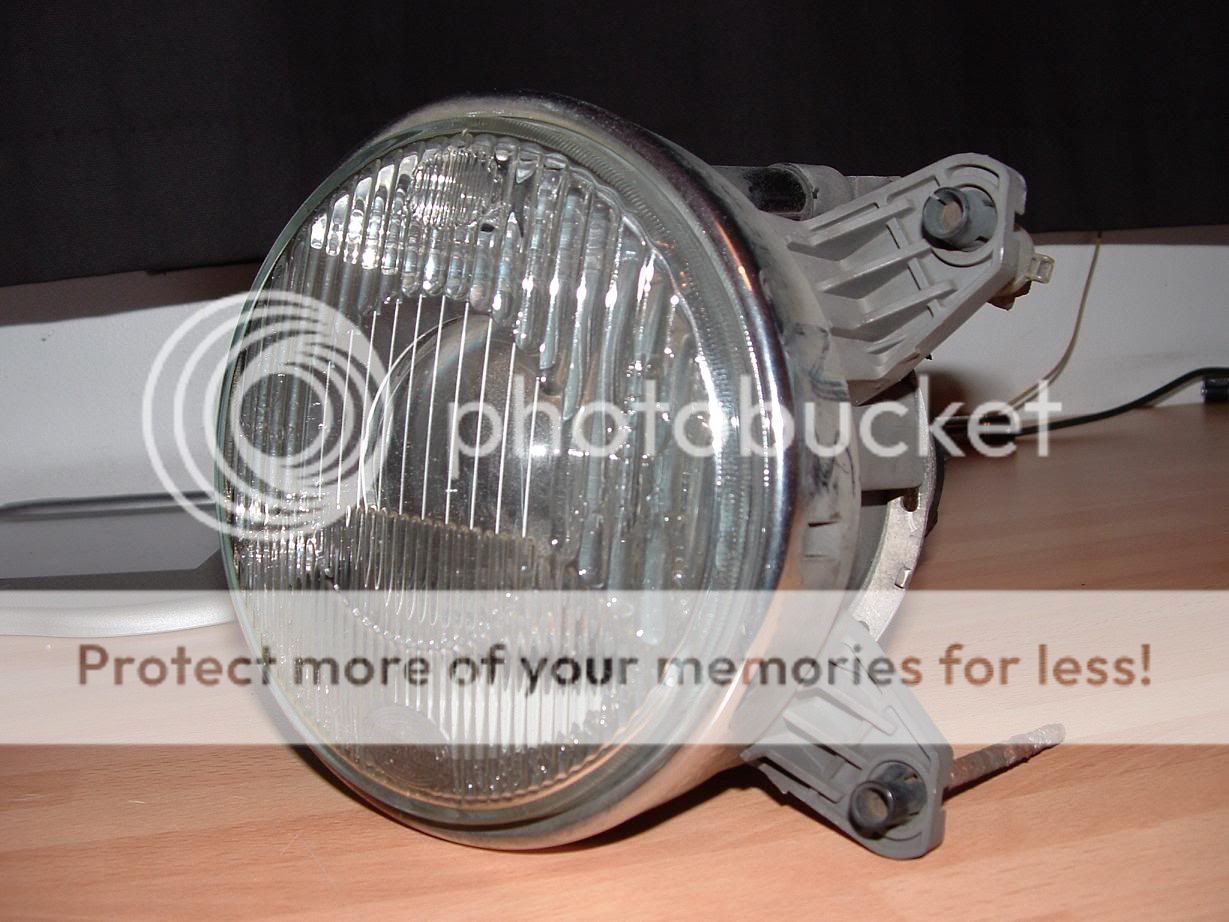
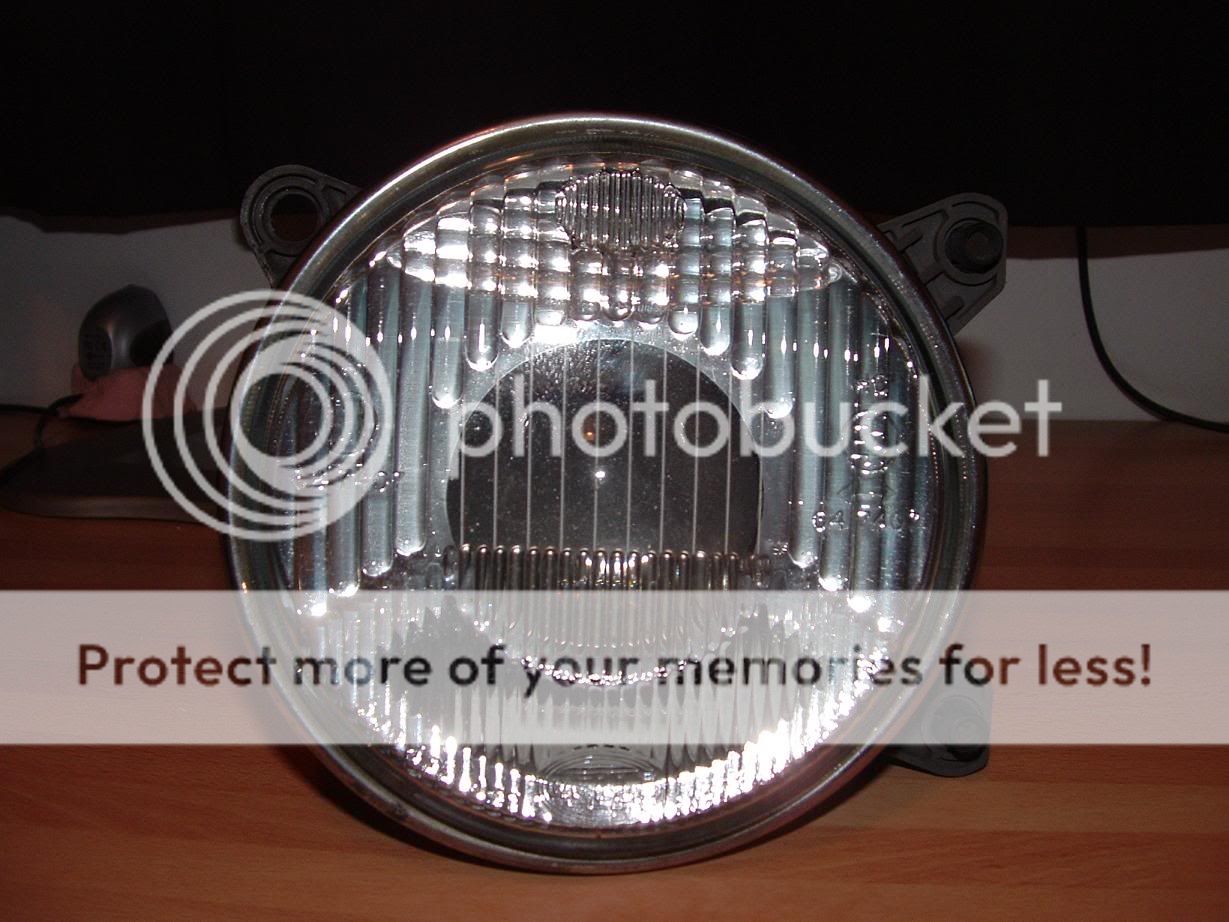
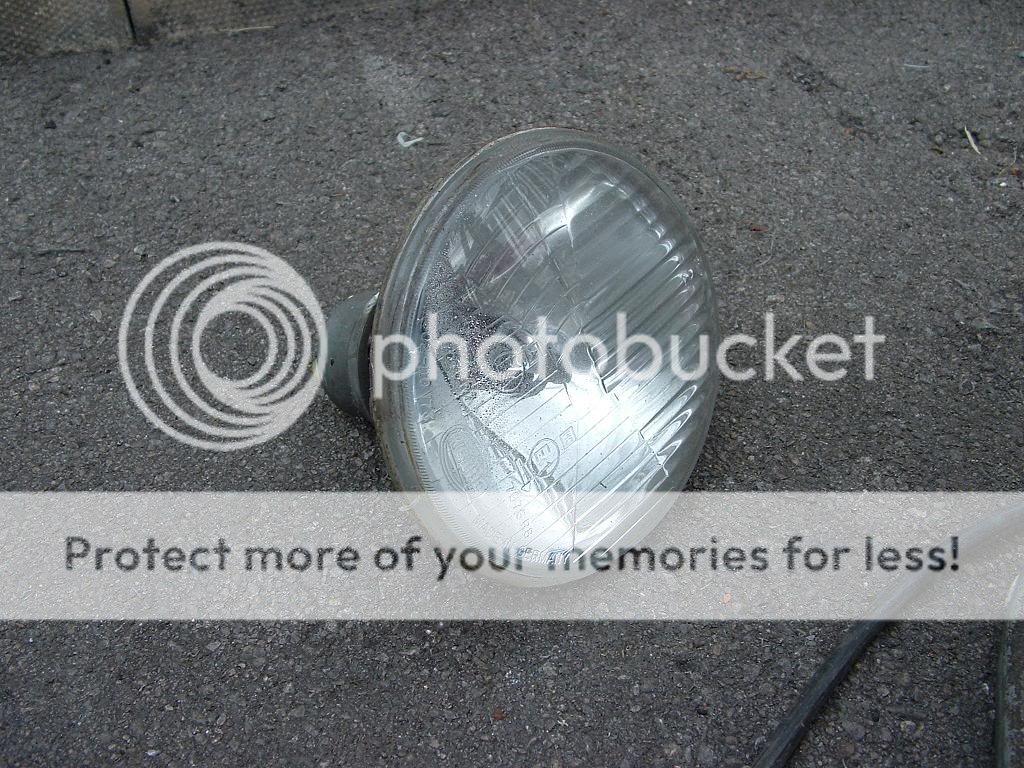
sooooo, my results are these �20 from a nice scrapyard
(hmm i seem to have hit the limit on the number of allowed images on photobucket... ah well!!!!)
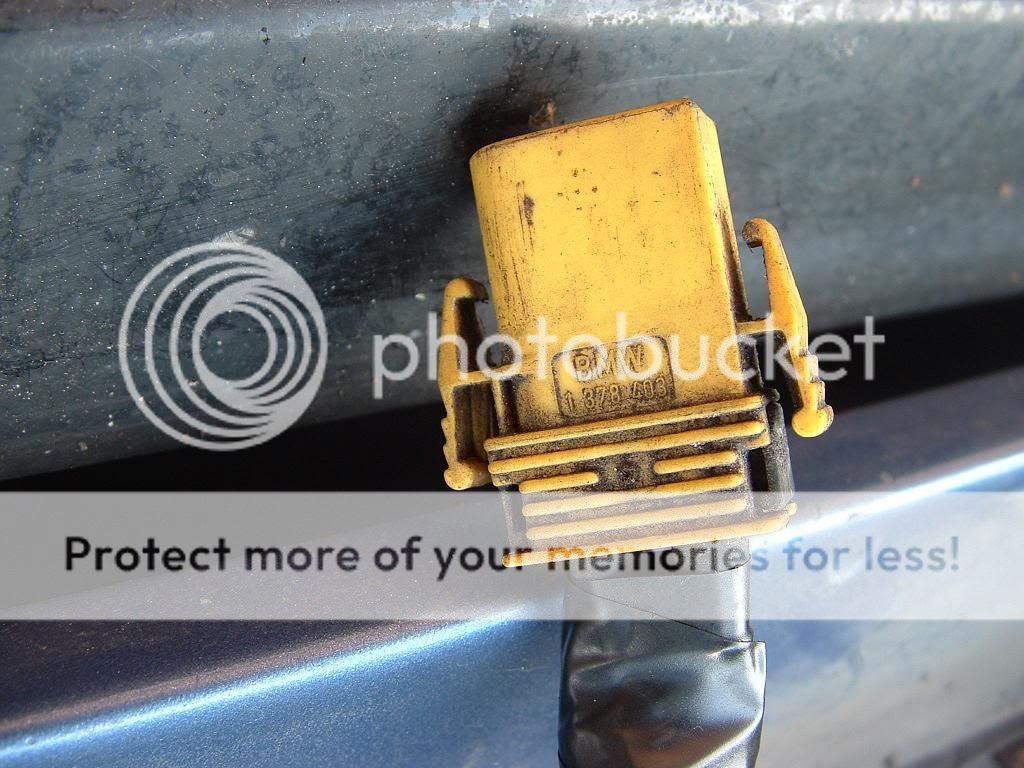
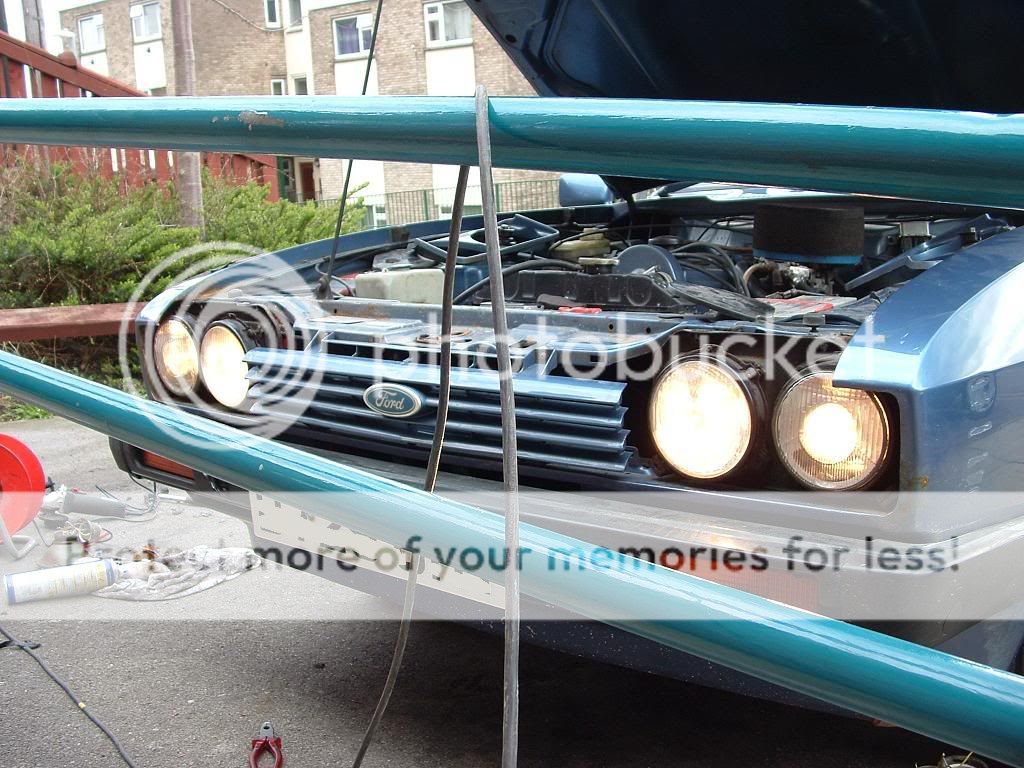
here they are
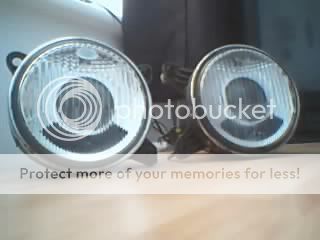


taken from a bmw 3 sieres i think, but the right size for the capri, just need to drill a couple of holes in the baseplate of the existing lights, find a few washers and bolts to take care of the ajustment (for MOT etc) and re-wire the plugs onto the existing capri wires, and there we have it. new headlights
if these dont make me happy on normal xeon bulbs (or whatever they are called) ill be able to convert to HID wooyea (i hope)
anyway, progress report to come in about 2 weeks time when im on holiday from uni!
new toys for fitting
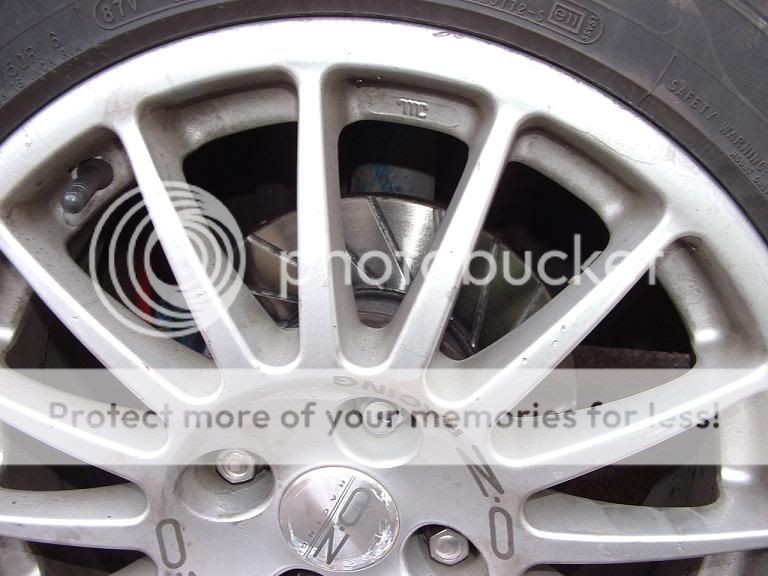
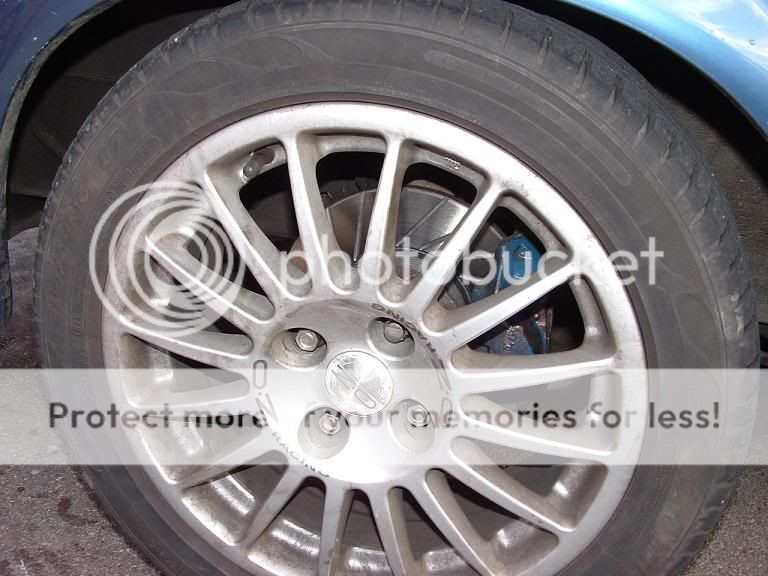
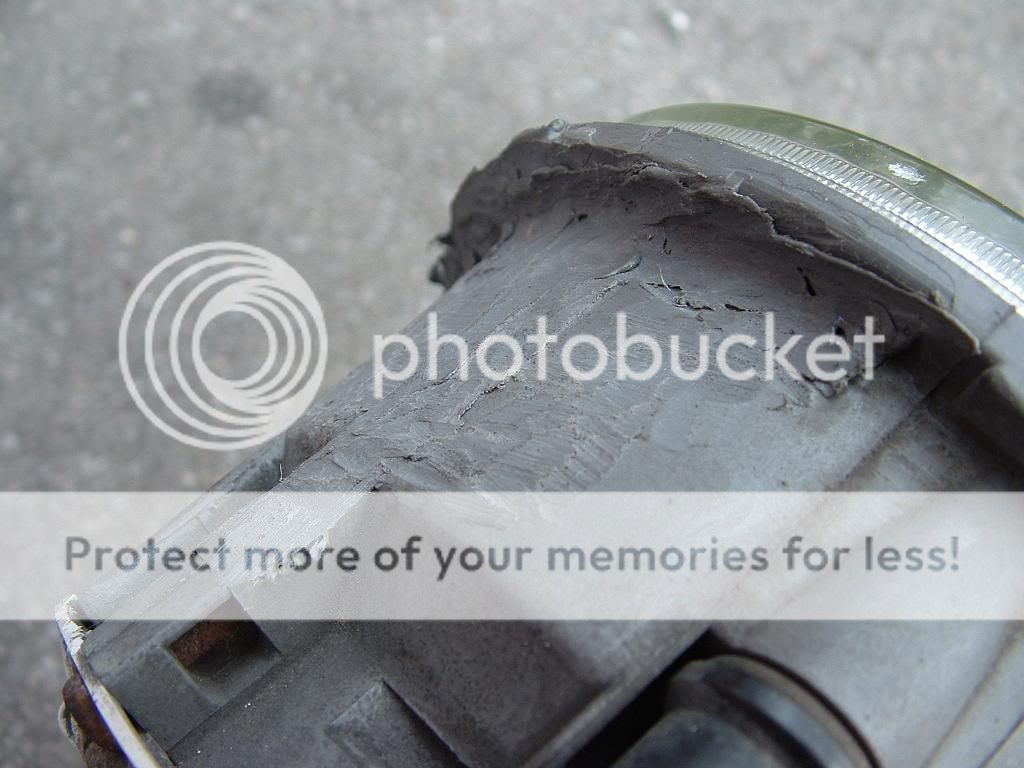
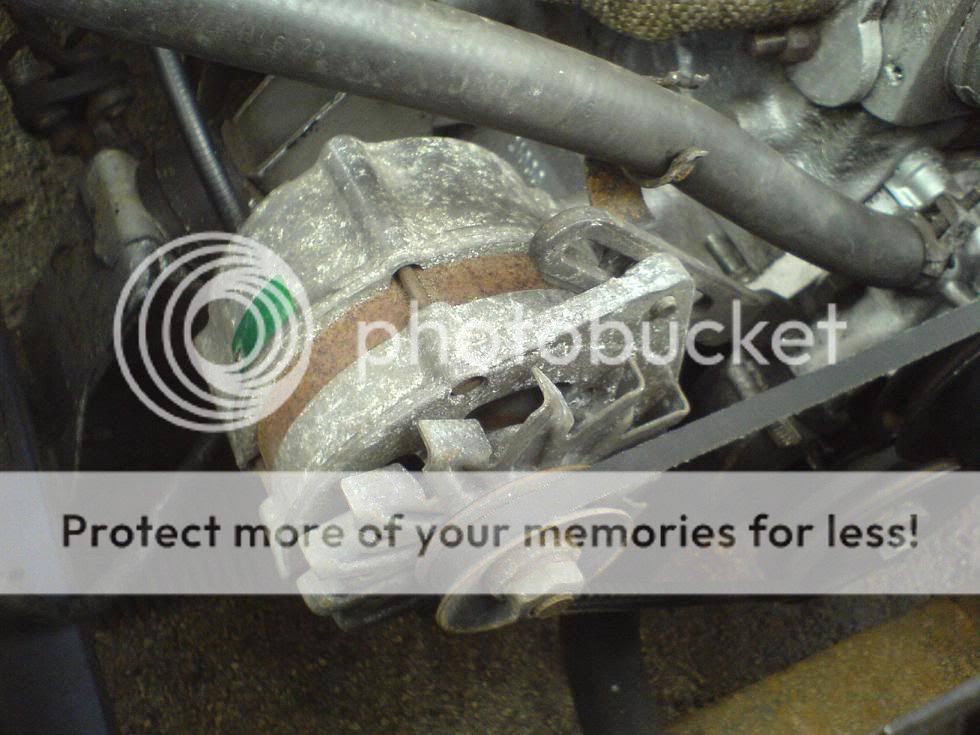
self explanitory really... cheap way out of the problem of overheating brakes, and the fact i need new disks, so i thought i'd try them for myself


new pads coming soon too
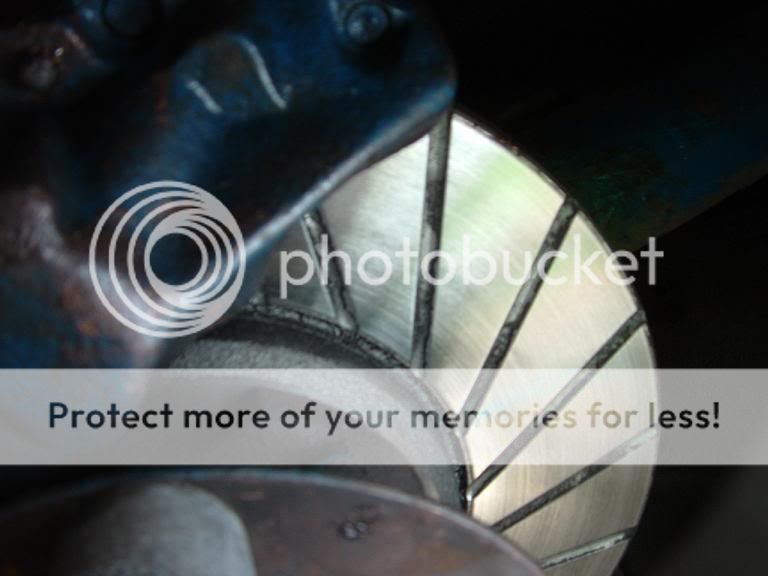
this is to stop this happening... (sorry for crap pics)


yep... thats a glowing red brake disk which comes out in a nice glazed mess after cooling
a few better pics


and fitted brakes,,, taken the shroud off the brakes which restricted airflow around the disk, so this should help too (rather like this shroud)


weedy haha =)
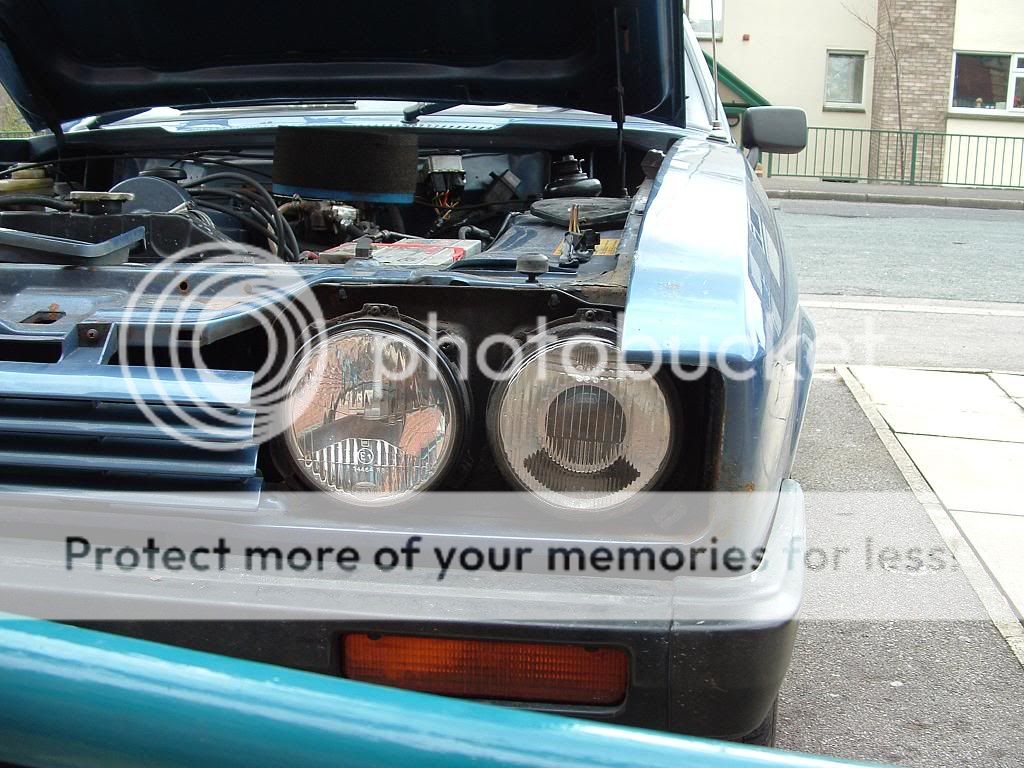
lights fitted AND wired
only took 4 hours!
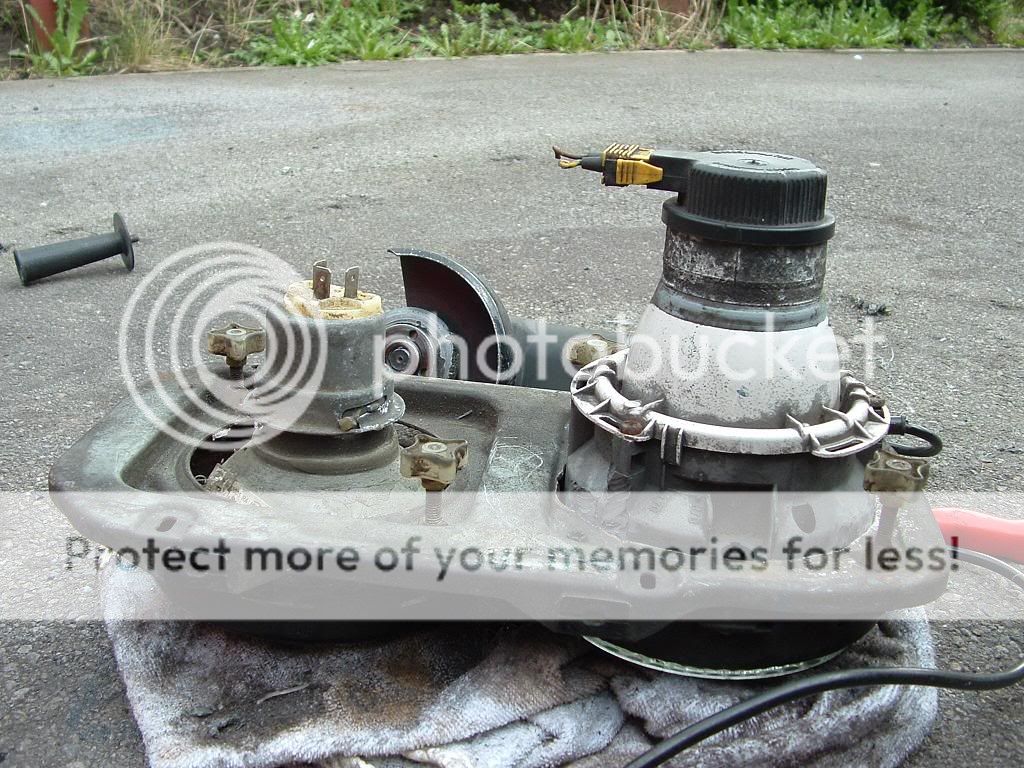
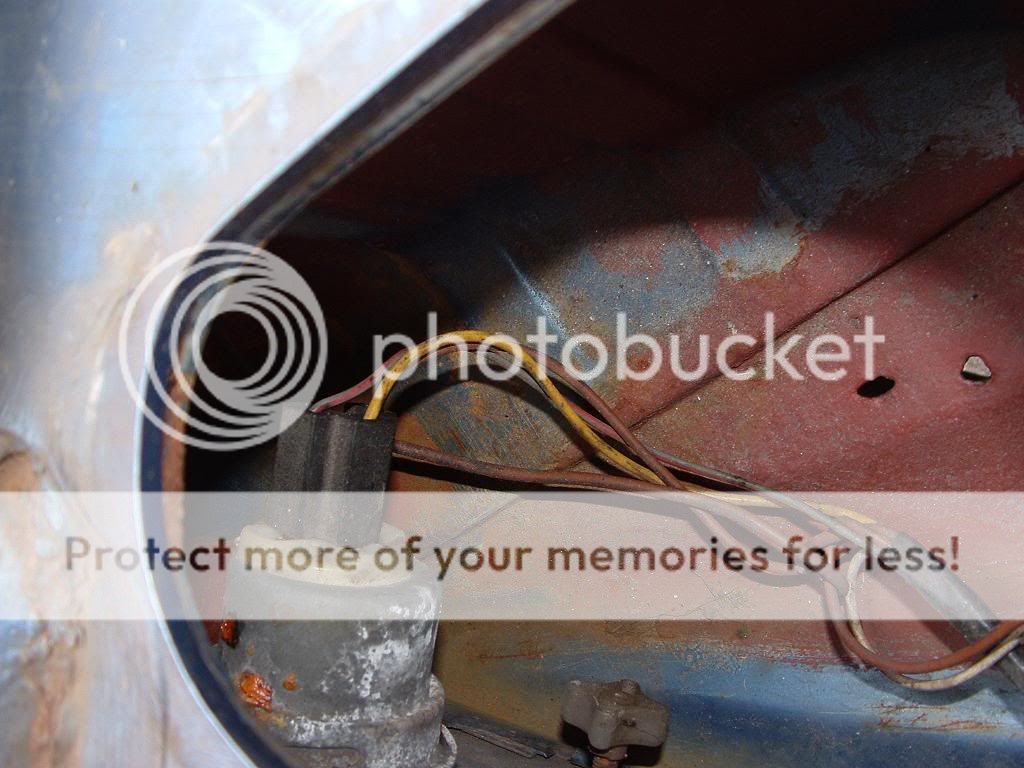
first of all, origional lights out
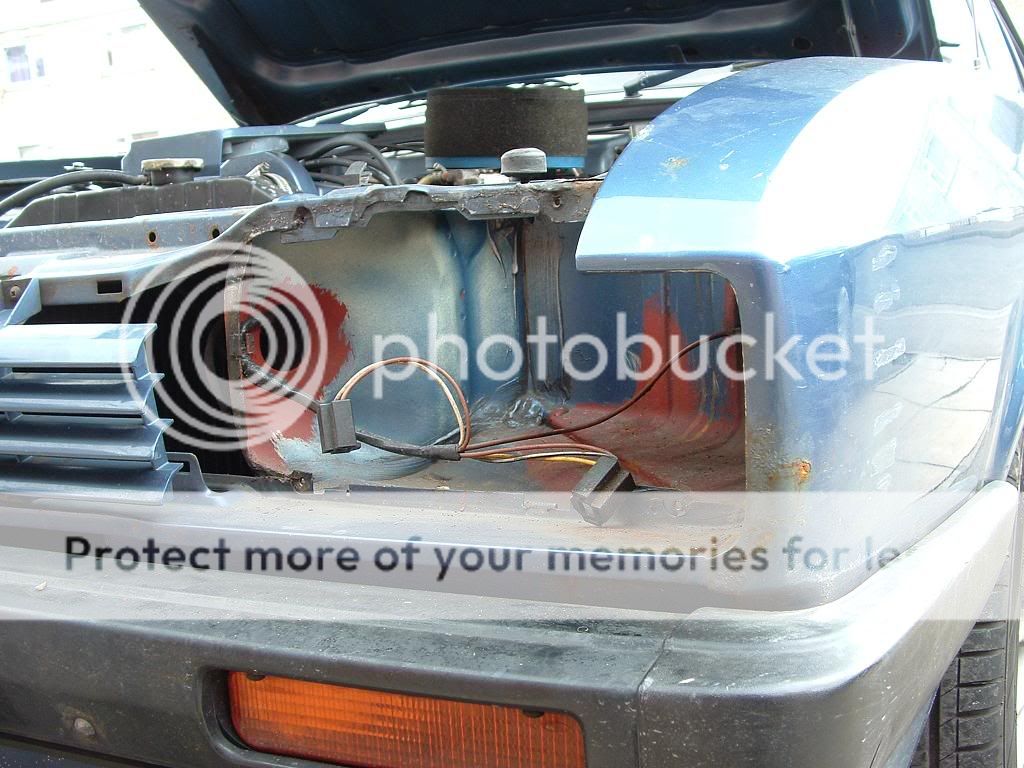
and out of the baseplate
then get ur new light.... and modify it to fit (i.e. chopping the BMW supports off... lol)
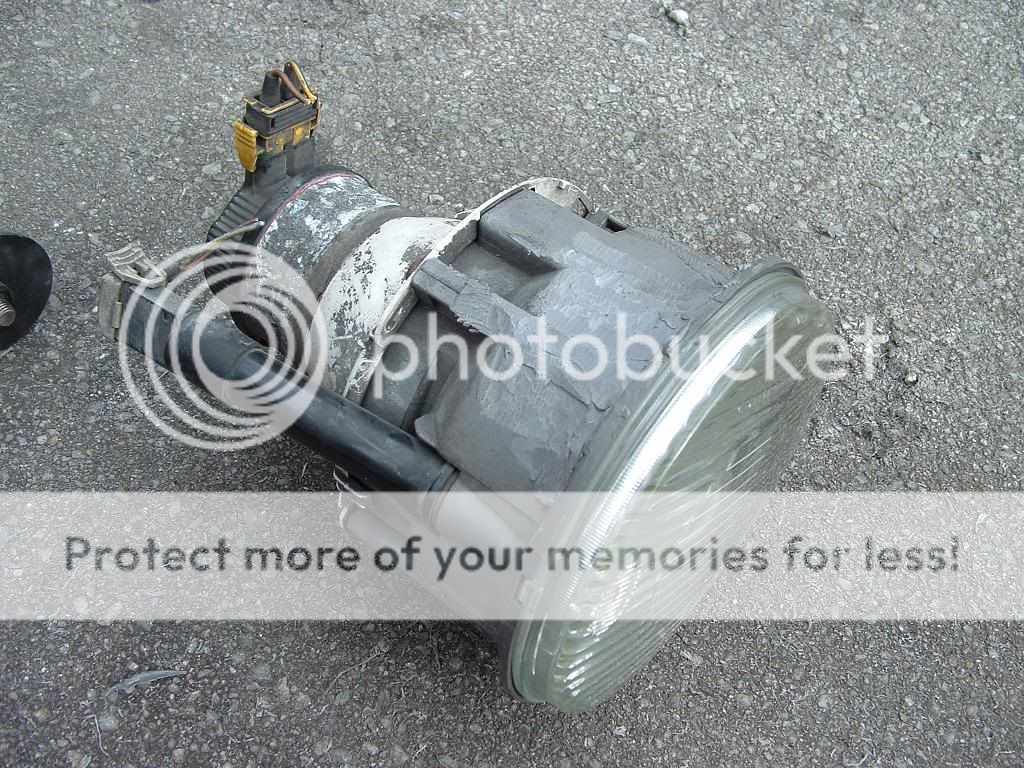
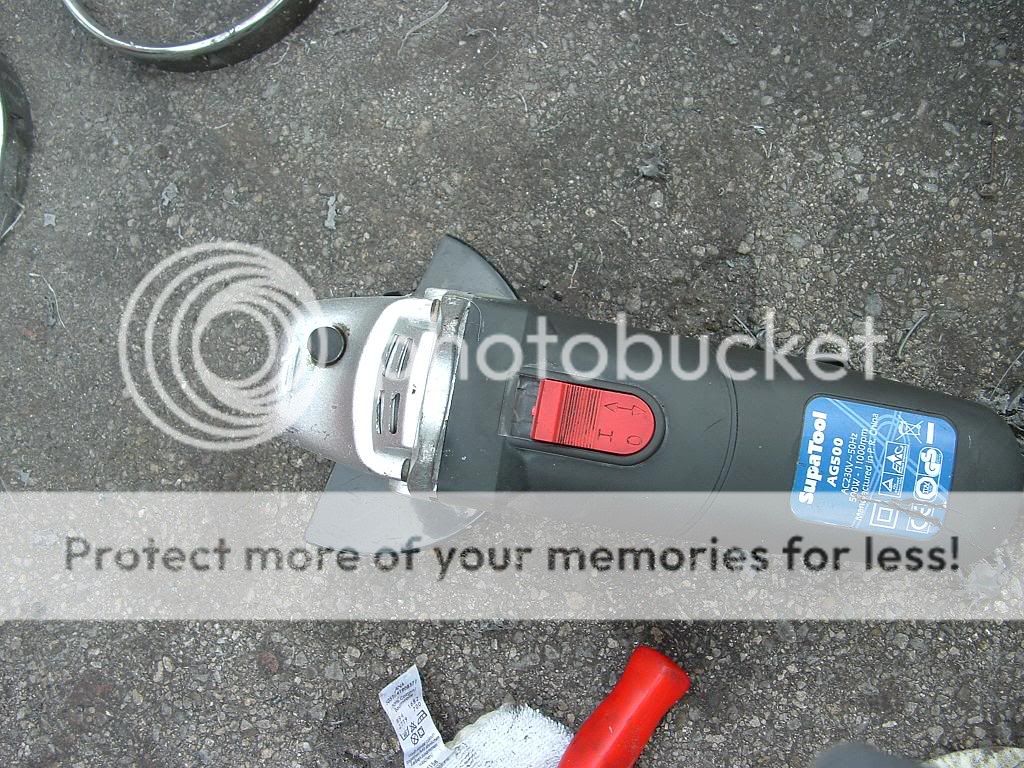
with a cowboys favourite tool... the angle grinder!
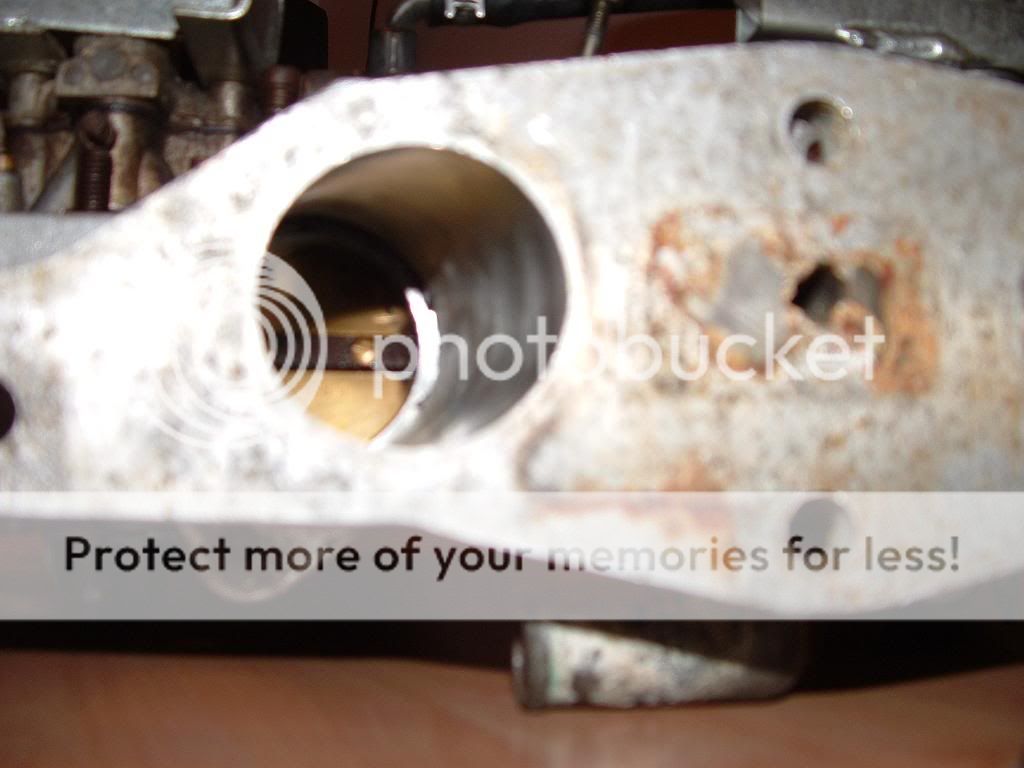
then modify the baseplate of the lights to accept the new slightly wider lights...
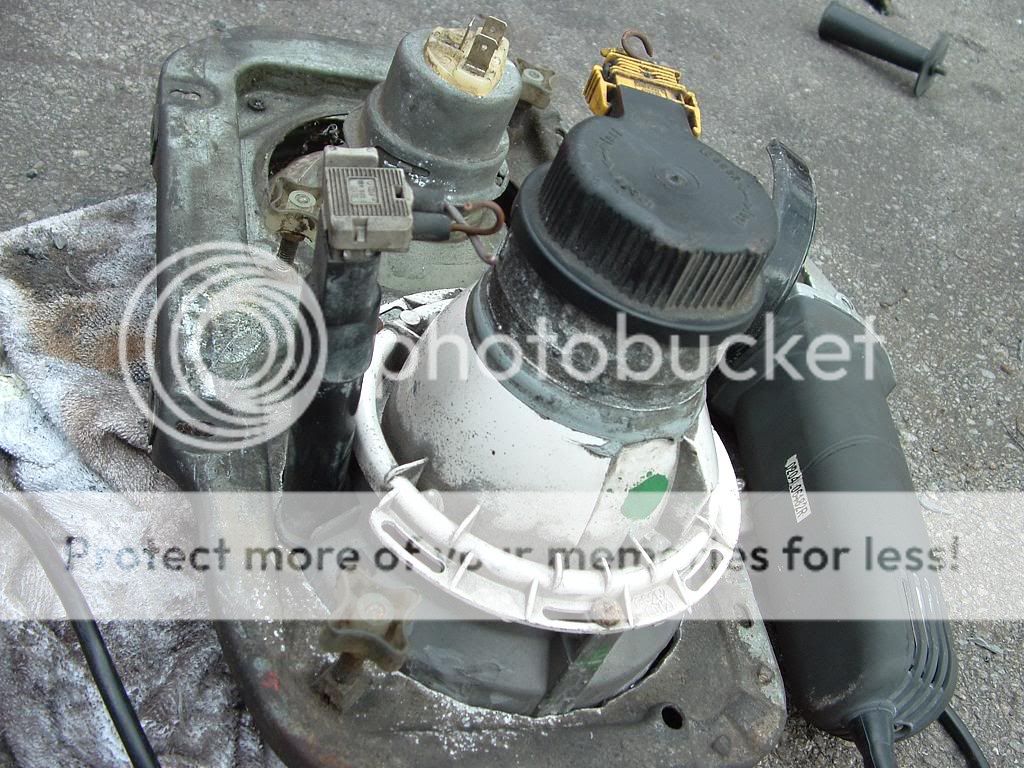
dont forget the large and bleeding annoying tube for the sidelights
done by the favourite, angle grinder
then repeat on nearside light cluster and bolt back on.
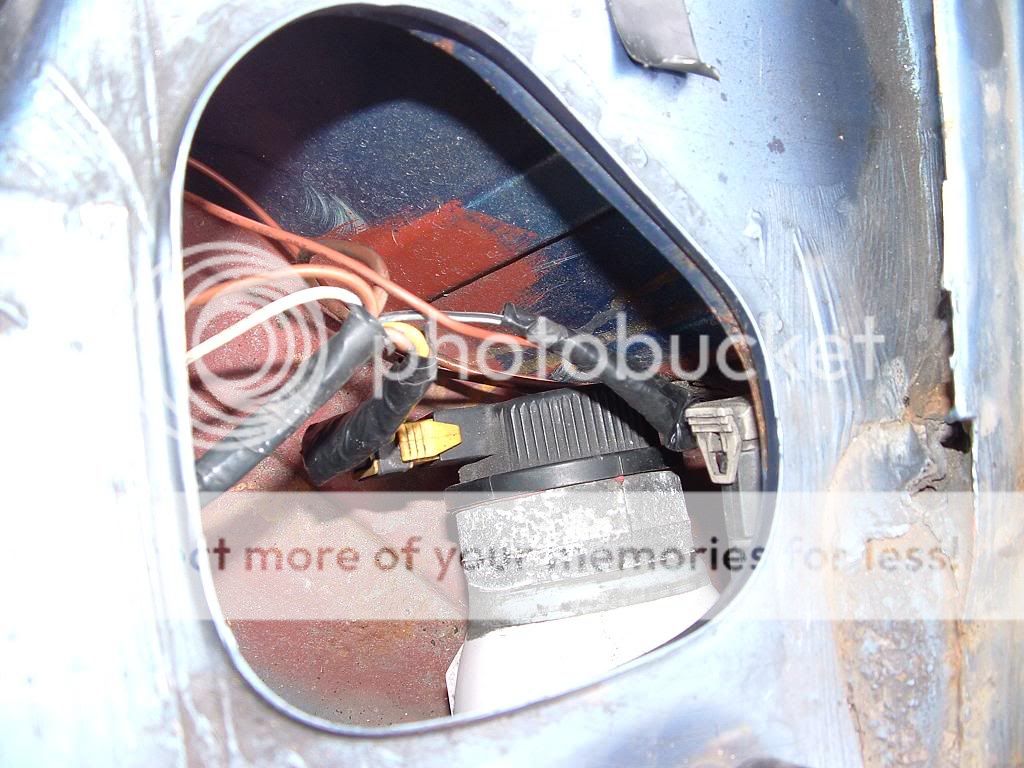
now, the wiring, ive decided NOT to go the cowboy rout, so propper wiring was done, using the ORIGIONAL BMW plugs
then, put ur lights in and test!

repeat on offside

then test functionality of all lights


and marvel at ur work

oh yea... with the new deeper lights, changing a bulb now means the baseplate has to be removed and re-inserted due to the new, deeper lights...
but being projectors, im 1 step closer to LEGAL HID's
old
and the new
now im waiting till dark to align the lights properly and see how they go
been figuring this out for a while.. how to get LEGAL "HID's" or just better lights onto the capri.
for one my lights arent projector lights, and two they are absolout and utter CRAP!
even with brighter bulbs im not happy with them.
sooooo, my results are these �20 from a nice scrapyard
(hmm i seem to have hit the limit on the number of allowed images on photobucket... ah well!!!!)
here they are
taken from a bmw 3 sieres i think, but the right size for the capri, just need to drill a couple of holes in the baseplate of the existing lights, find a few washers and bolts to take care of the ajustment (for MOT etc) and re-wire the plugs onto the existing capri wires, and there we have it. new headlights
if these dont make me happy on normal xeon bulbs (or whatever they are called) ill be able to convert to HID
anyway, progress report to come in about 2 weeks time when im on holiday from uni!
new toys for fitting
self explanitory really... cheap way out of the problem of overheating brakes, and the fact i need new disks, so i thought i'd try them for myself
new pads coming soon too
this is to stop this happening... (sorry for crap pics)
yep... thats a glowing red brake disk
a few better pics
and fitted brakes,,, taken the shroud off the brakes which restricted airflow around the disk, so this should help too (rather like this shroud)
weedy haha =)
lights fitted AND wired
only took 4 hours!
first of all, origional lights out
and out of the baseplate
then get ur new light.... and modify it to fit (i.e. chopping the BMW supports off... lol)
with a cowboys favourite tool... the angle grinder!
then modify the baseplate of the lights to accept the new slightly wider lights...
dont forget the large and bleeding annoying tube for the sidelights
done by the favourite, angle grinder
then repeat on nearside light cluster
now, the wiring, ive decided NOT to go the cowboy rout, so propper wiring was done, using the ORIGIONAL BMW plugs
then, put ur lights in and test!
repeat on offside
then test functionality of all lights
and marvel at ur work
oh yea... with the new deeper lights, changing a bulb now means the baseplate has to be removed and re-inserted due to the new, deeper lights...
but being projectors, im 1 step closer to LEGAL HID's
old
and the new
now im waiting till dark to align the lights properly and see how they go
14-07-2008, 04:24 PM
#5
Too many posts.. I need a life!!
Thread Starter
Join Date: Jul 2007
Posts: 533
Likes: 0
Received 0 Likes
on
0 Posts
neil has some new toys
Decided to keep with the pinto for now, as i was impressed with the performance/handling aspects of NOT having a fuck off cast iron v6 up front...
so... here are my new toys
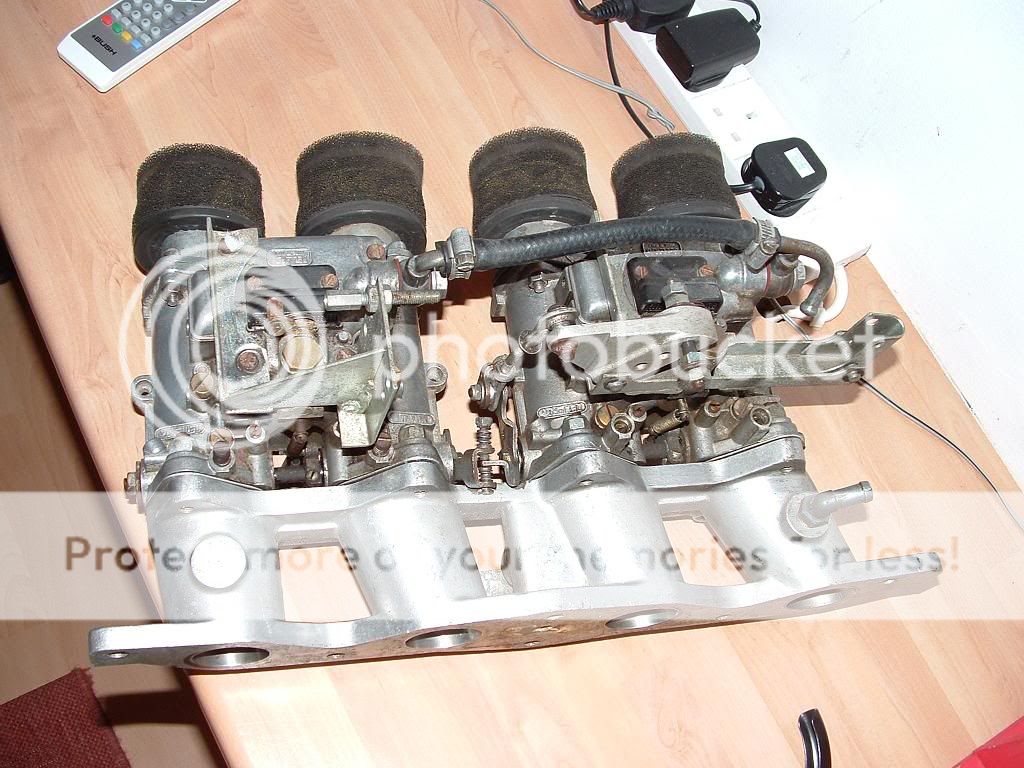
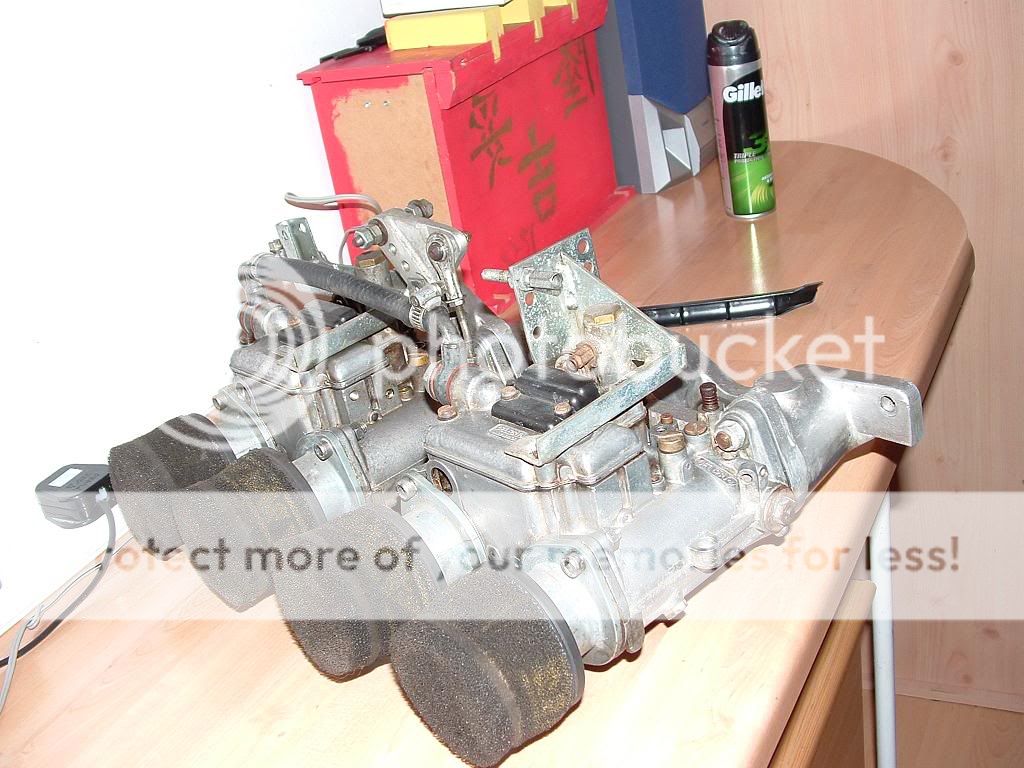

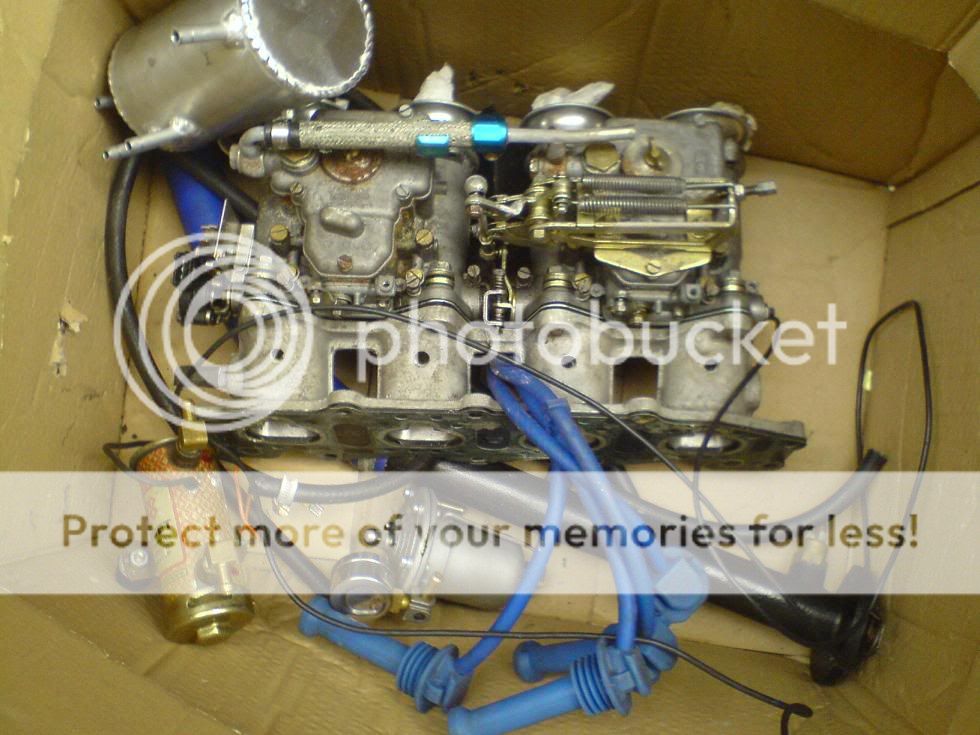
twin 40's with carb linkage, filters and trumpets!!
and it looks like im gonna win a FR32 cam aswel (high lift power band 2500-7000rpm)
thats to go together with the 4 branch, now all i need is a ported/big valve head.... if im not happy with the increases from these addons
AND manifold
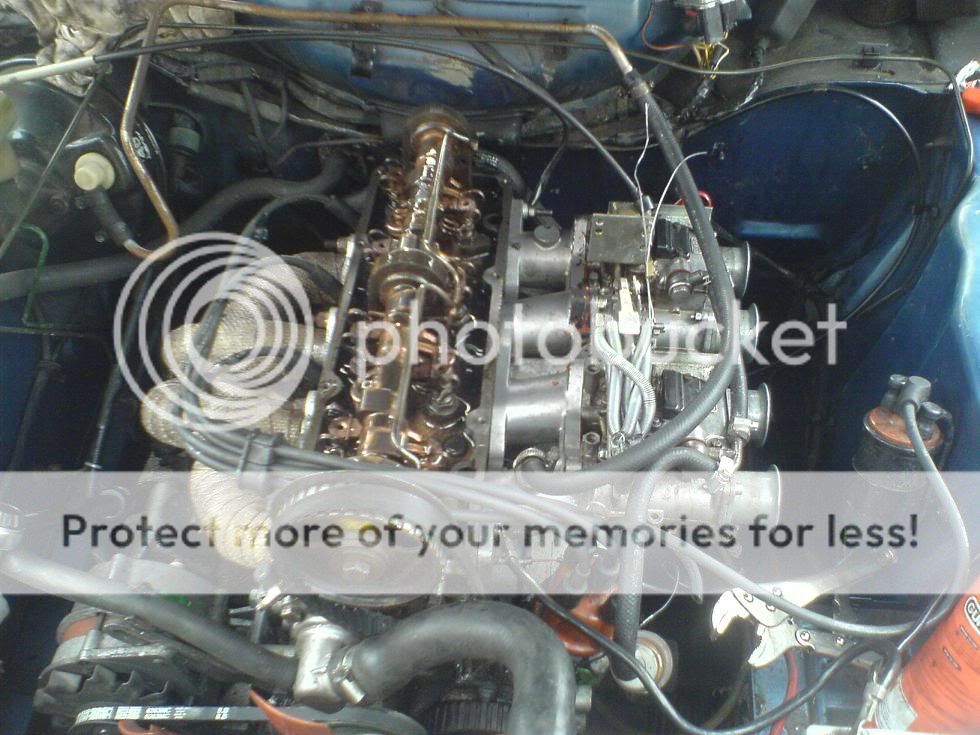
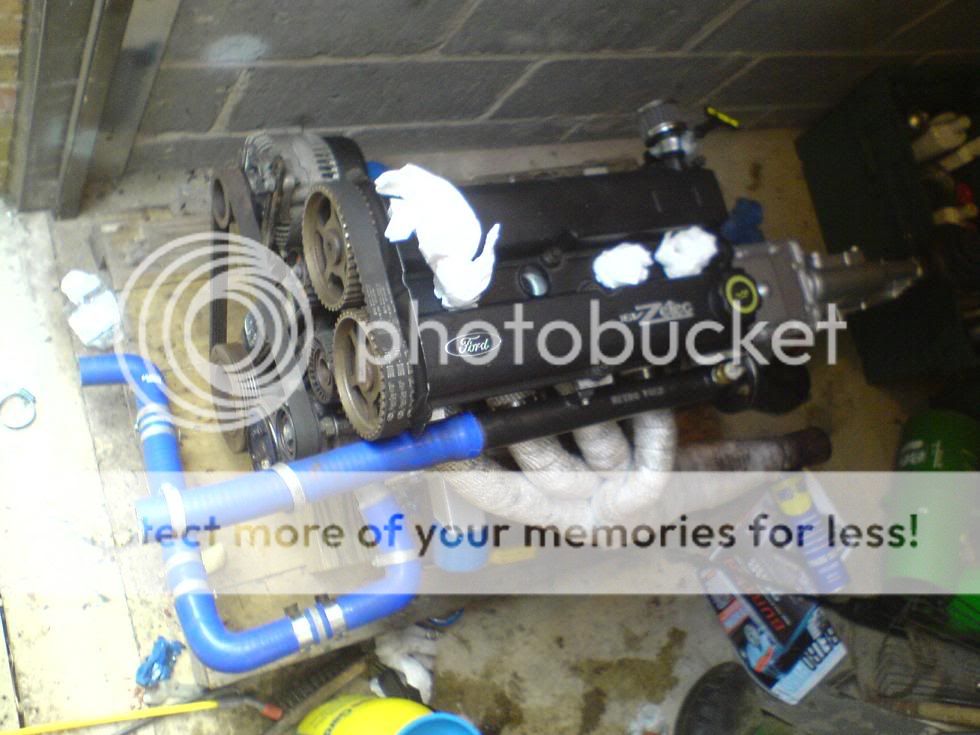
time to fit the new cam
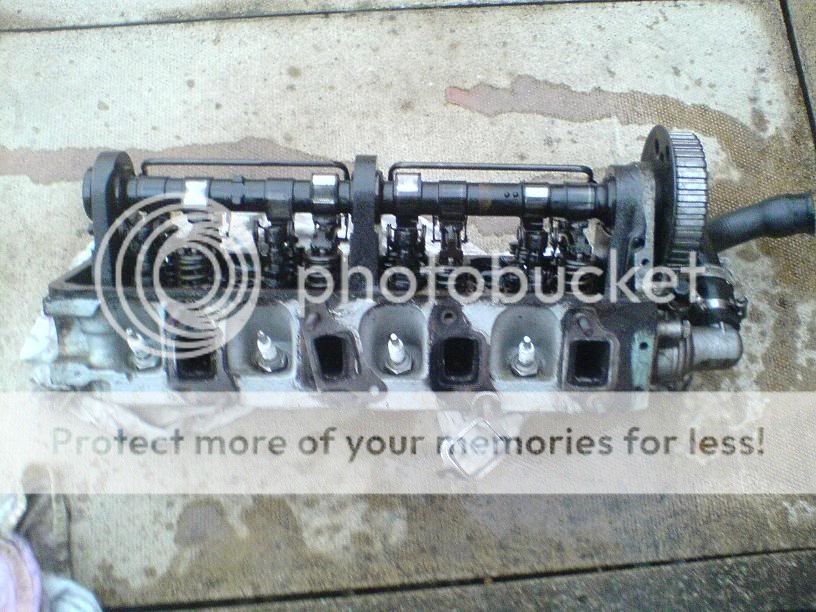
head comes off....
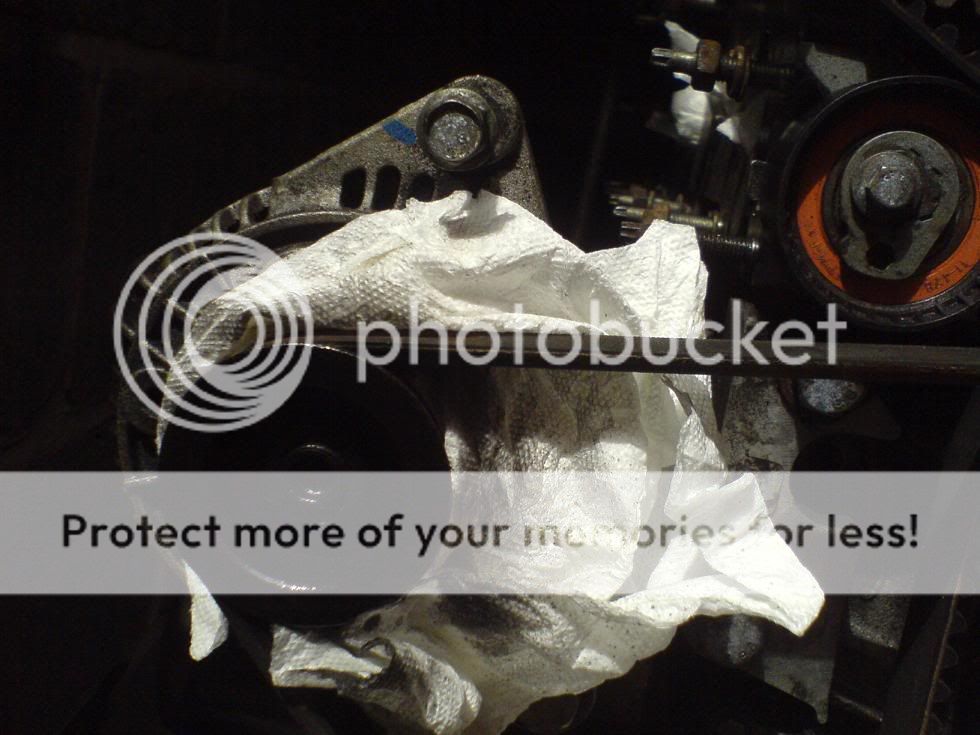
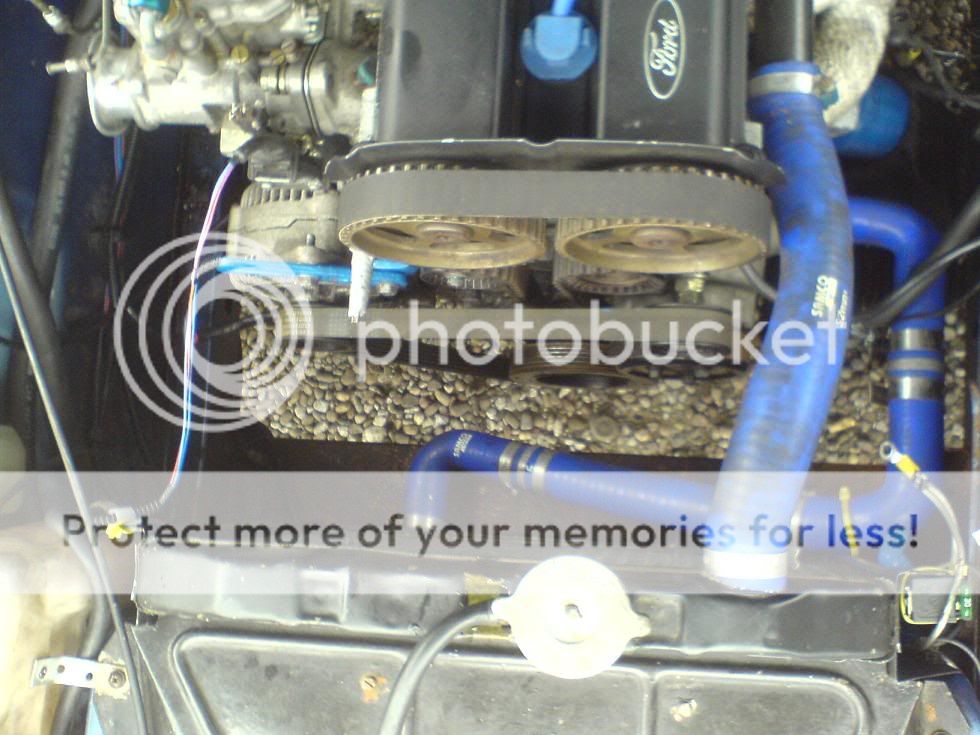
engine gets a nice coat of oil and gets left--- oooo 4 cup holders!!
reference photos taken of timing... useful for re-fitting.
just waiting for gaskets to come now, full set of inlet exhaust head water pump etc gaskets
a good clean up of the bottom and head,
should be runnin well after its been tuned
MAYBE out by sunday, but thatll be on my own tuning talent (haha) so none there then..
enjoy
hmm...
lookin good now tho
might come up colton tonight if my garage dude gets it runniing propper


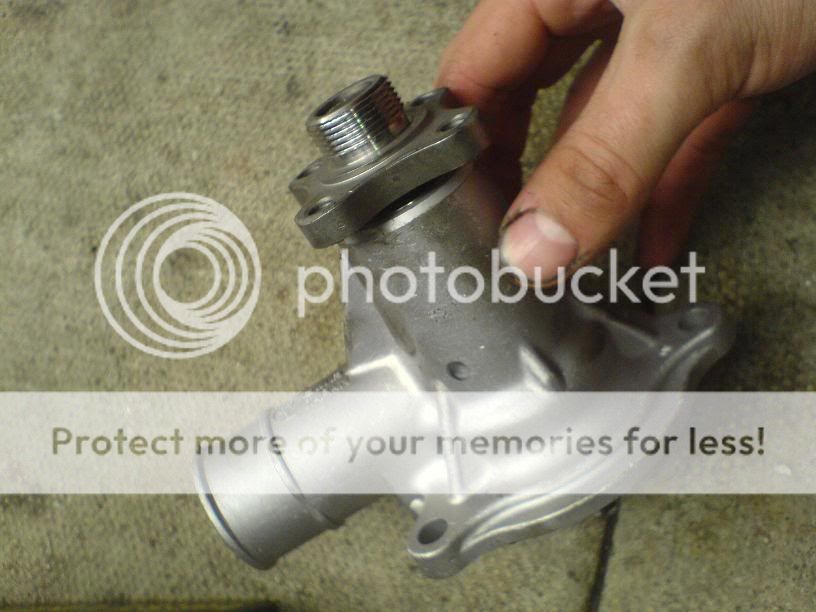
new water pump
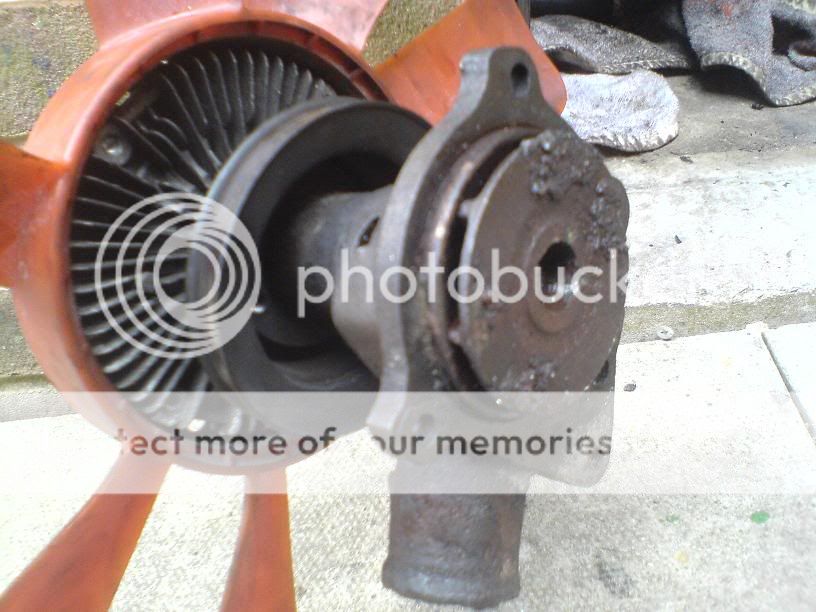
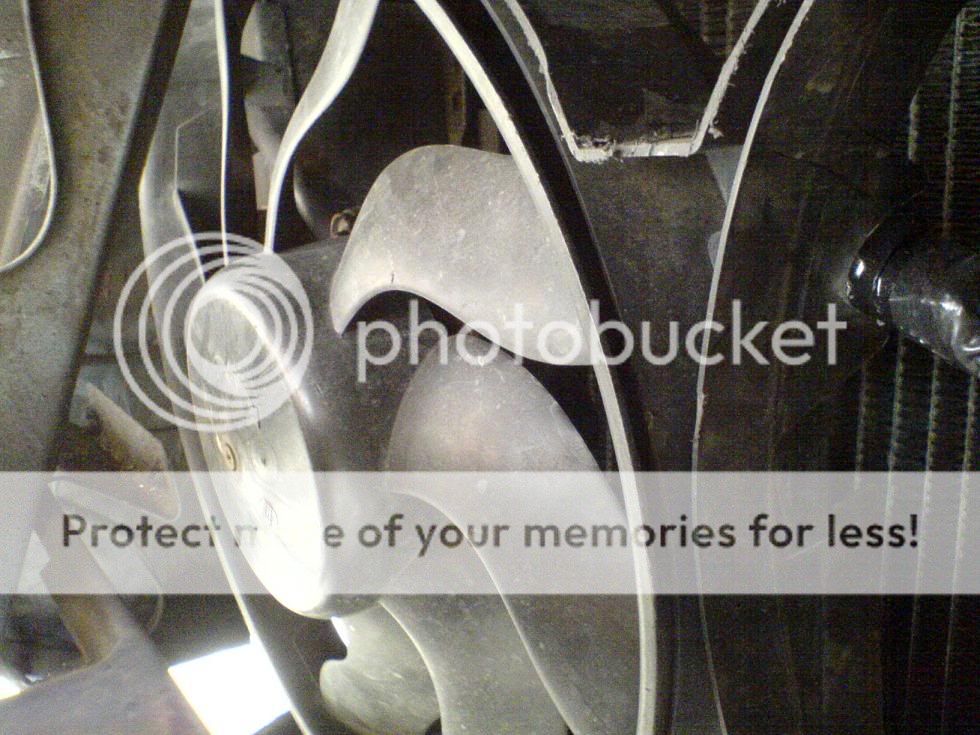
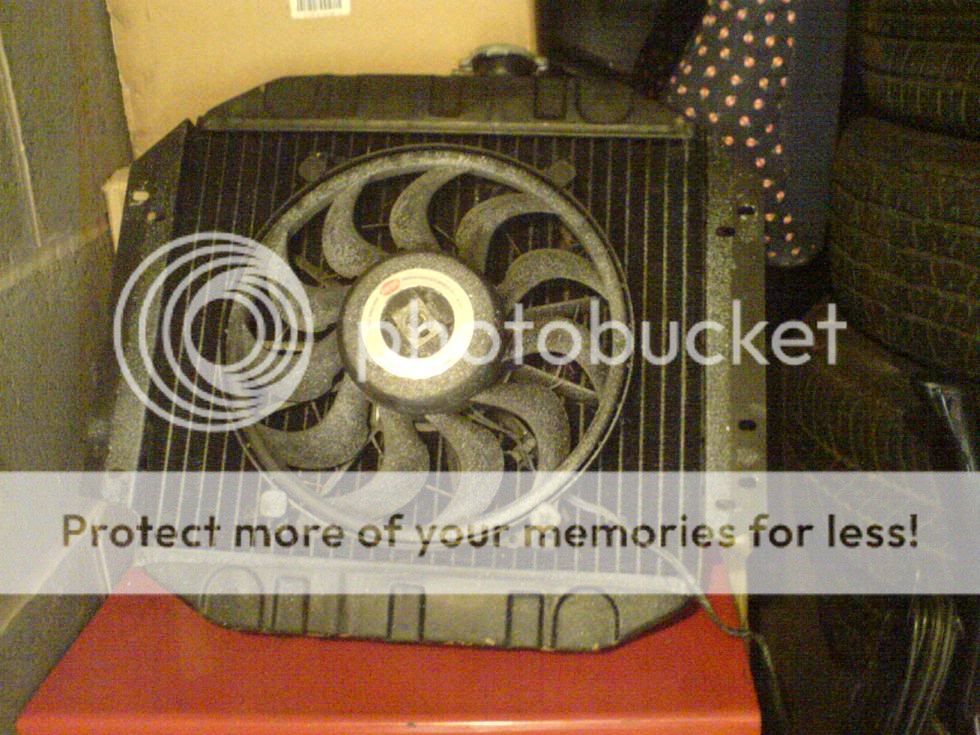
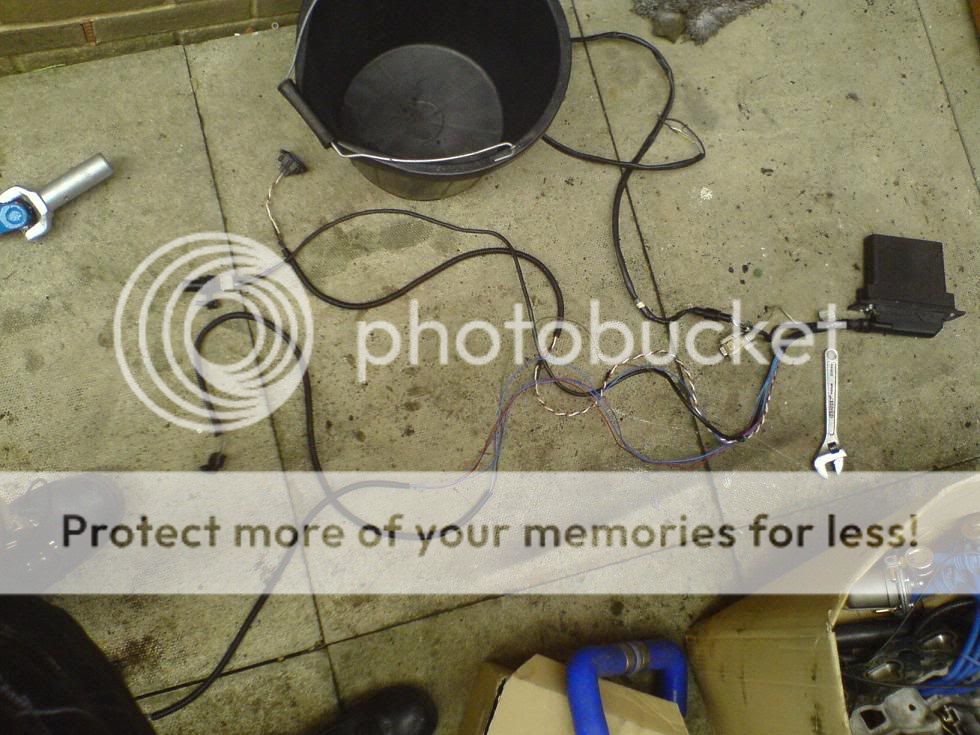
old water pump off, and changed viscous fan for an electric fan, and switched it on a relay well proud of my wiring!
the fan is from a pugeot... hmm not sure which one tho but it shoves some nice air through the rad so thats good!
aaand.... my new toy came!!!!!!!!!!!!!!!!!!!!!!
and its BLUE!! haha
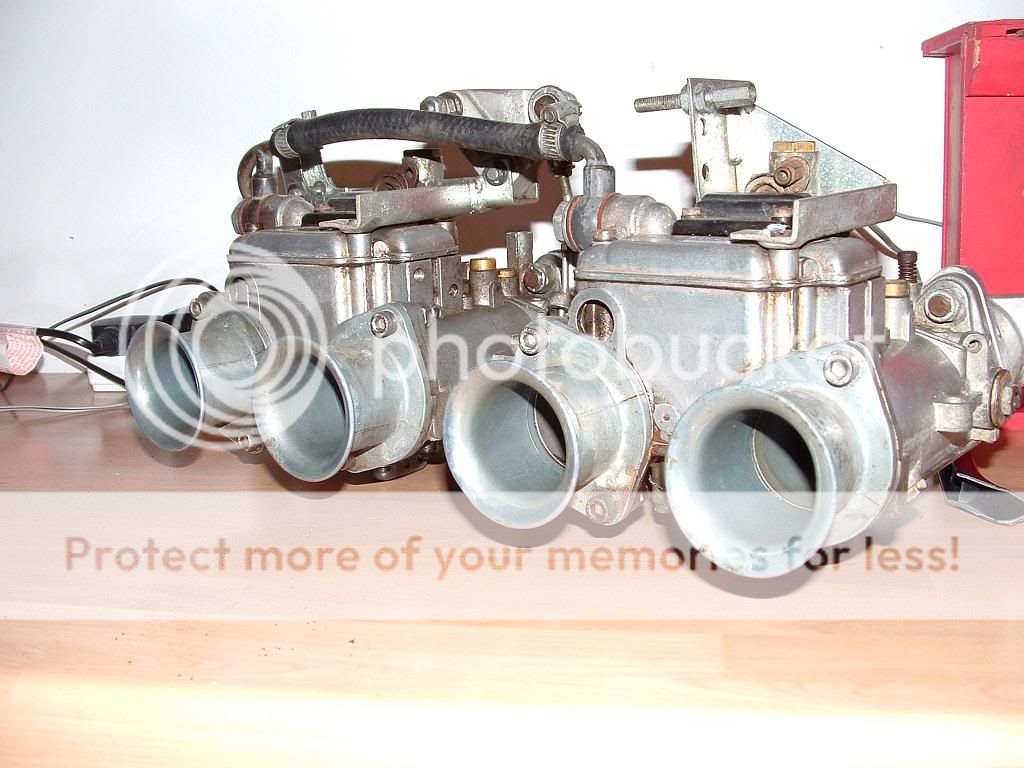
gay gay gay gay gay------ after breaking the base on my old 40's i got fucked off n spent a lot of money and bought.....
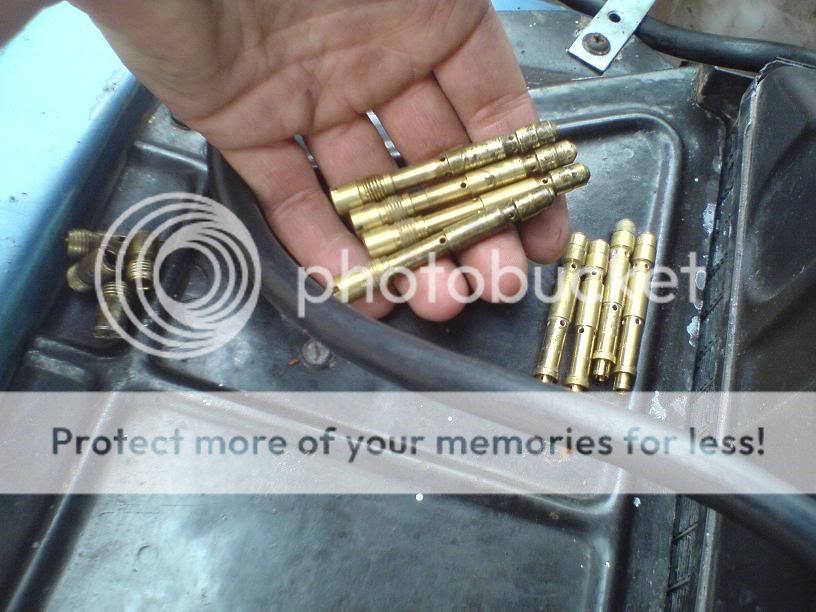
some twin 45 dellortos haha "apparently" jetted to a 2.0
anyway it turns out my old 40's had closer jets for a 2.0 on 45's than the ones in the 45's so i swapped the jets round and its going in for tuning on monday whoop finally!!!
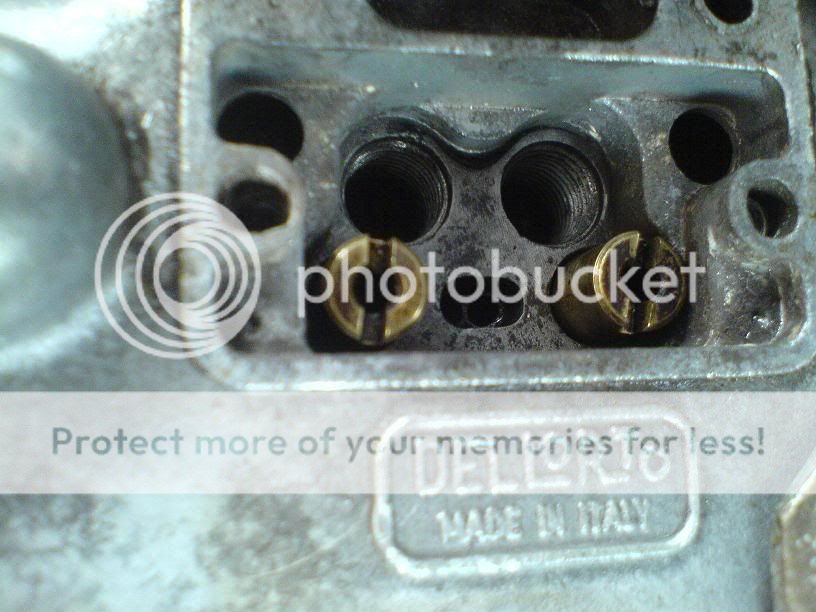
and they are running... well... shit still, still underfuelling like a bitch in cylinders 2 and 3. and not fuelling enough to cause any real power in cylinders 1 and 4..... soooo its goin in for tuning and i cba with it. i just want my car back
vid with 45's .... sorry for the lack of revving noise etc, the sound of the 45's just killed the mic in the camera lol
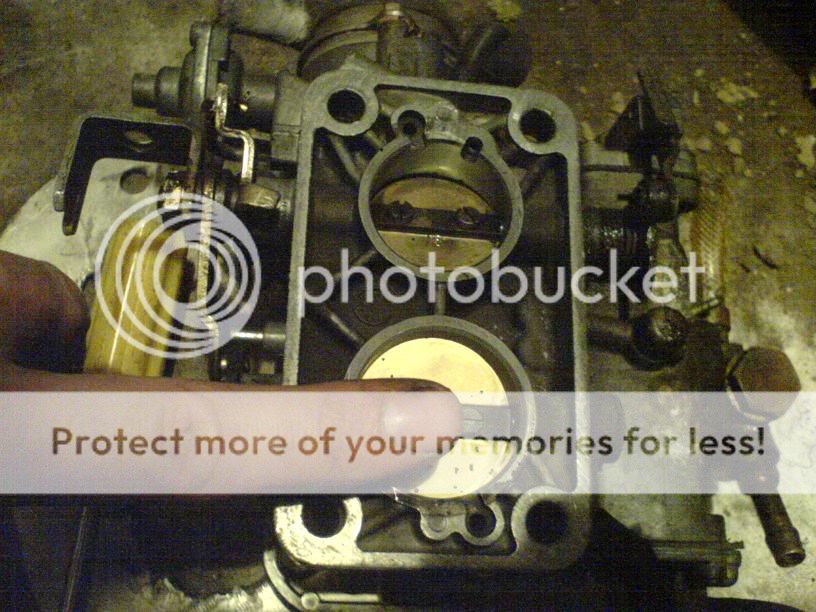
oh yea, and ive sold my old carb, took it off the manifold and actually looked how small the inlets were.... my god the engine was sucking through a bleedin straw on those carbs!!! compared to the 45's 1 per inlet they must have been like straws lol!
and for bork... hids


on bmw projector headlights which iirc are acutally E-approved for HID use... wooo
all coming together now...
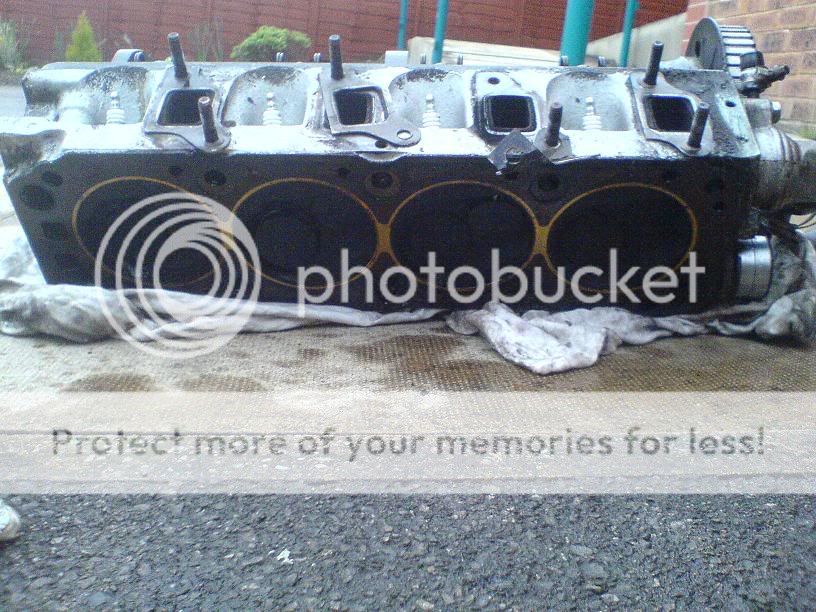
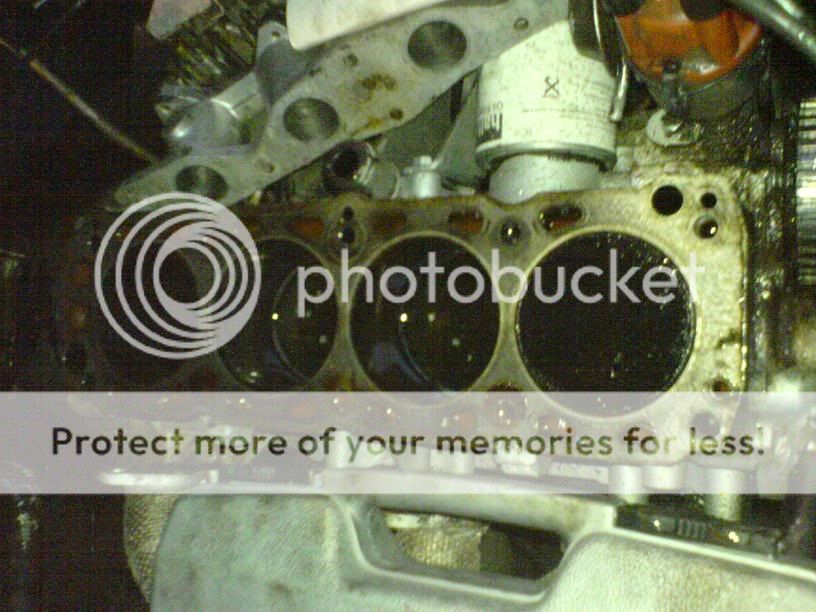
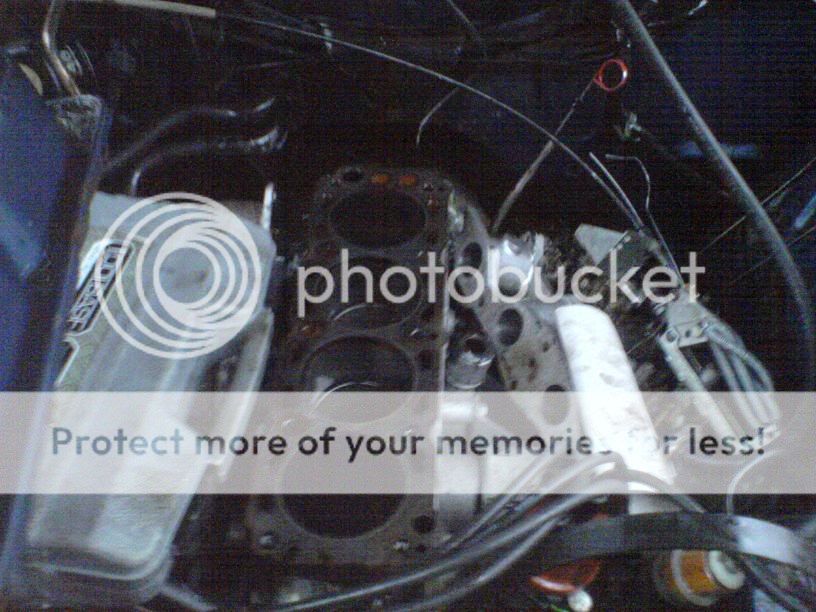
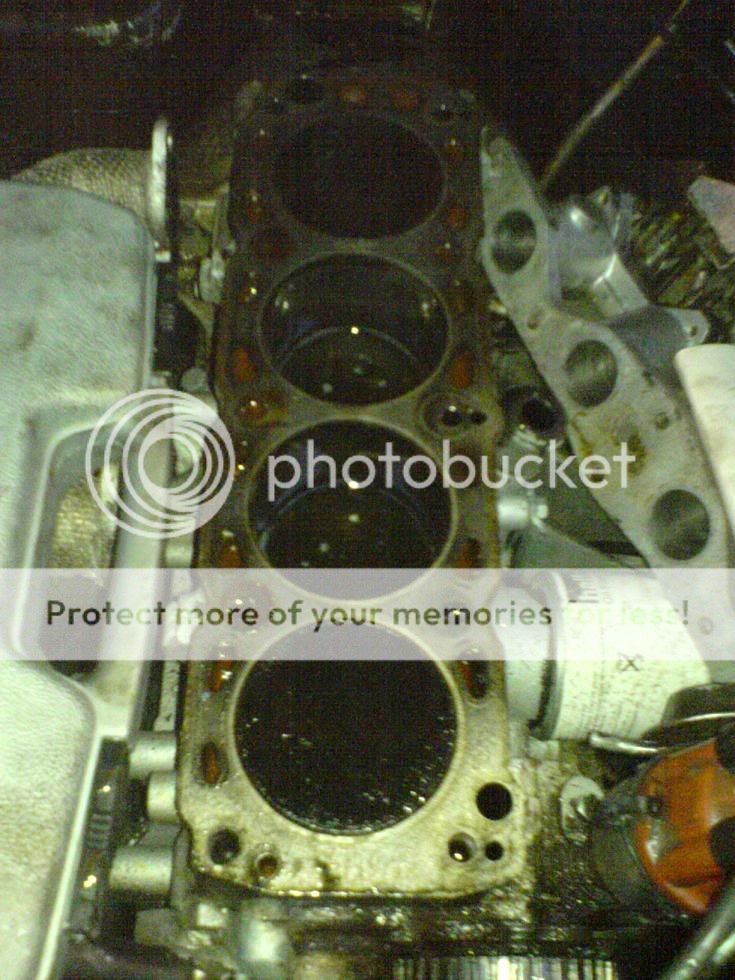
and the problem was........
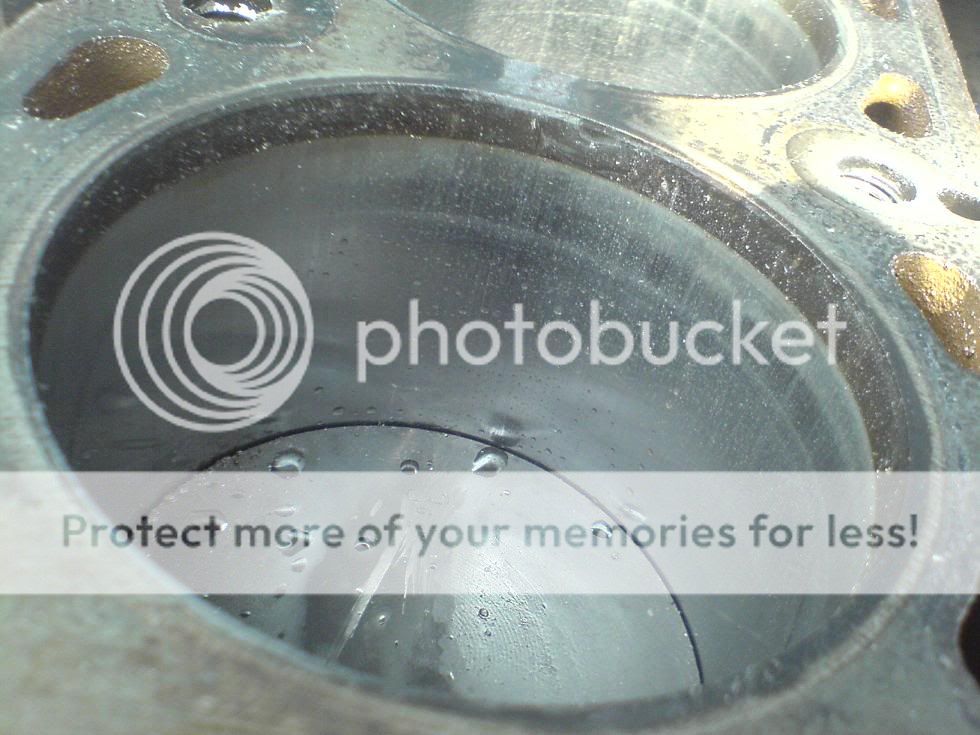
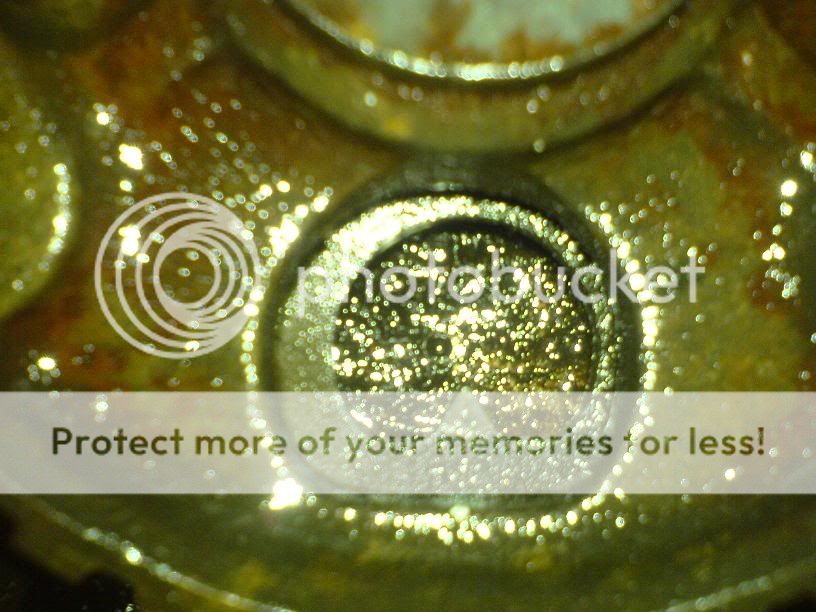
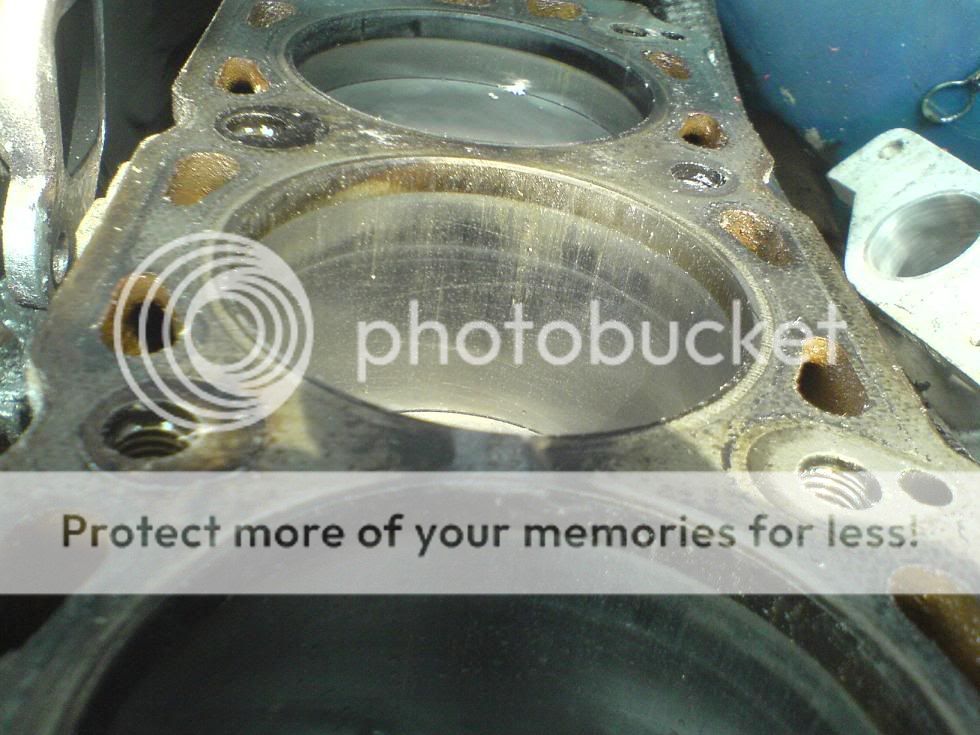
a very good condition cylinder
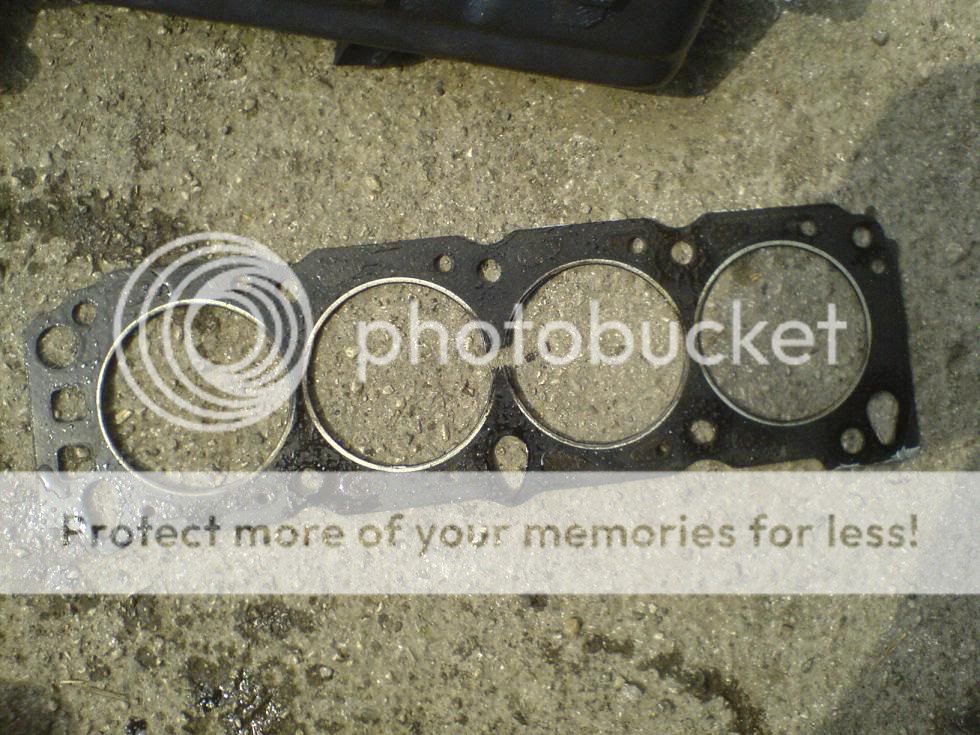
the headgasket, gone between 2 and 3 easy easy!
left a little scorchmark between the cylinders
although its scorched the head so ive gotta clean that up and clean the head up with emery paper before it goes back on, then i MIGHT have it back by the weekend!!
Decided to keep with the pinto for now, as i was impressed with the performance/handling aspects of NOT having a fuck off cast iron v6 up front...
so... here are my new toys
twin 40's with carb linkage, filters and trumpets!!
thats to go together with the 4 branch, now all i need is a ported/big valve head.... if im not happy with the increases from these addons
AND manifold
time to fit the new cam
head comes off....
engine gets a nice coat of oil and gets left--- oooo 4 cup holders!!
reference photos taken of timing... useful for re-fitting.
just waiting for gaskets to come now, full set of inlet exhaust head water pump etc gaskets
a good clean up of the bottom and head,
should be runnin well after its been tuned
MAYBE out by sunday, but thatll be on my own tuning talent (haha) so none there then..
enjoy
hmm...
lookin good now tho
might come up colton tonight if my garage dude gets it runniing propper
new water pump
old water pump off, and changed viscous fan for an electric fan, and switched it on a relay
the fan is from a pugeot... hmm not sure which one tho but it shoves some nice air through the rad so thats good!
aaand.... my new toy came!!!!!!!!!!!!!!!!!!!!!!
gay gay gay gay gay------ after breaking the base on my old 40's i got fucked off n spent a lot of money and bought.....
some twin 45 dellortos haha
anyway it turns out my old 40's had closer jets for a 2.0 on 45's than the ones in the 45's so i swapped the jets round and its going in for tuning on monday
and they are running... well... shit still, still underfuelling like a bitch in cylinders 2 and 3. and not fuelling enough to cause any real power in cylinders 1 and 4..... soooo its goin in for tuning and i cba with it. i just want my car back
vid with 45's .... sorry for the lack of revving noise etc, the sound of the 45's just killed the mic in the camera lol
oh yea, and ive sold my old carb, took it off the manifold and actually looked how small the inlets were.... my god the engine was sucking through a bleedin straw on those carbs!!! compared to the 45's 1 per inlet they must have been like straws lol!
and for bork... hids
on bmw projector headlights which iirc are acutally E-approved for HID use... wooo
all coming together now...
and the problem was........
a very good condition cylinder
the headgasket, gone between 2 and 3
left a little scorchmark between the cylinders
although its scorched the head so ive gotta clean that up and clean the head up with emery paper before it goes back on, then i MIGHT have it back by the weekend!!
14-07-2008, 04:25 PM
#6
Too many posts.. I need a life!!
Thread Starter
Join Date: Jul 2007
Posts: 533
Likes: 0
Received 0 Likes
on
0 Posts
more toys....
precut filters for the delloroto 45's with cleanable filters (and replaceable if i think they are crap and i want to use the baseplates with gay&n filters.

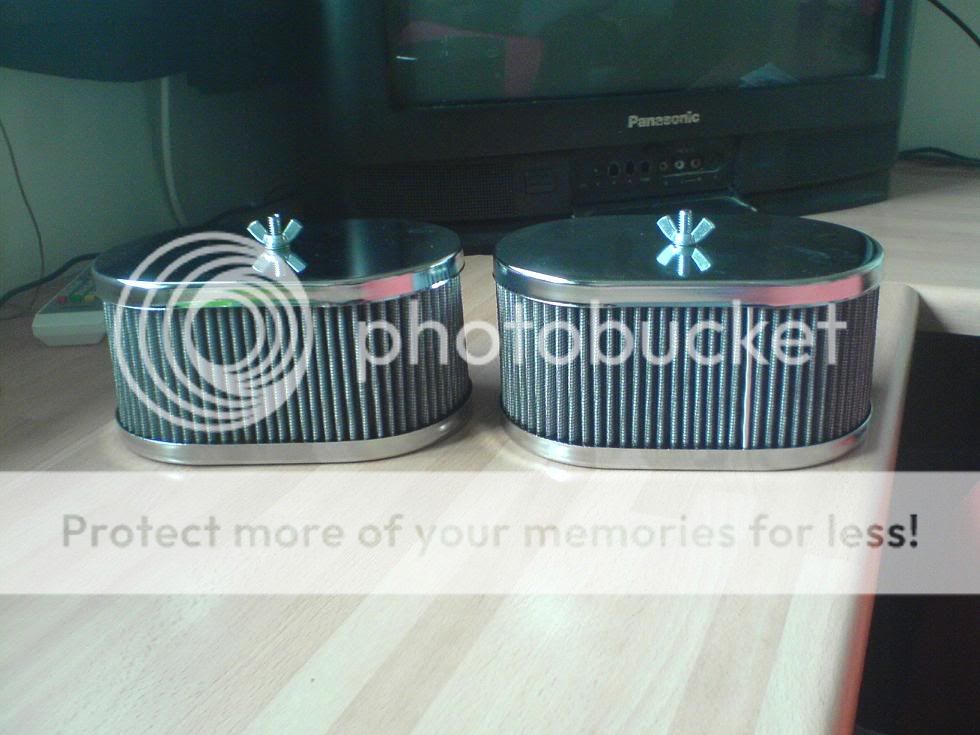
finally =)
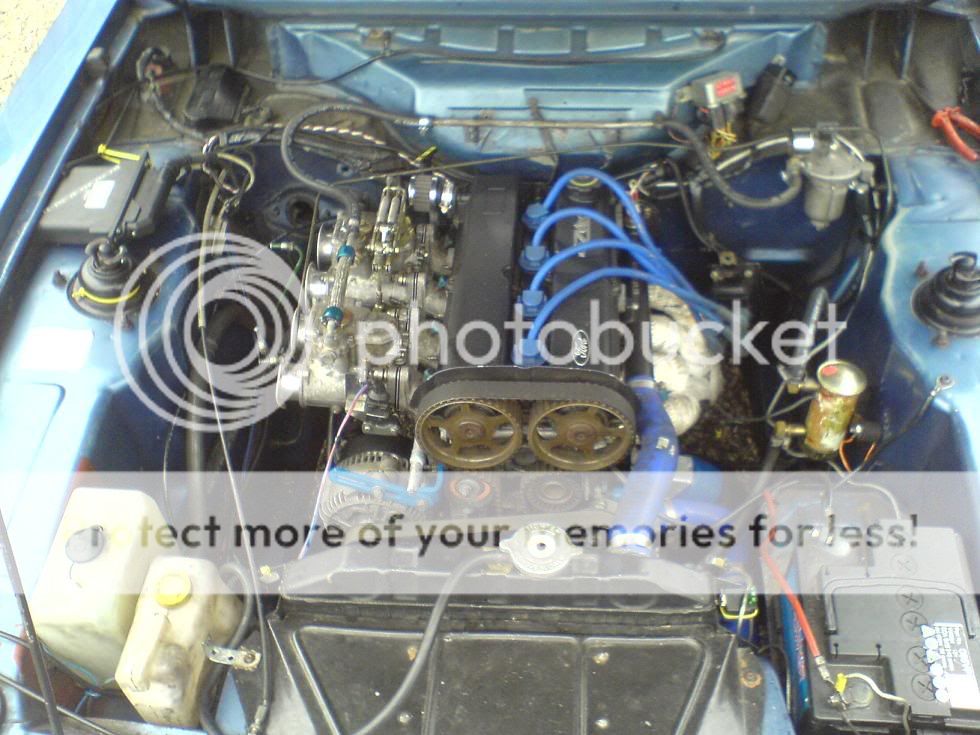
new carbs new jets new cam new filters now on still with plenty of clearance for the trumpets!
Waaay the car is back.... and im a bit dissapointed but MEH!!!
sounds mint, goes well, plenty of torque... but not much OOMPH as i was aiming for... i think its time for a big valve cylinder head haha
got car back as a shit runner with 32degrees ADVANCE on the dizzy MINIMUM! so had to go to another garage to get the cam re-timed properly to TDC so i can have the lower 10degrees advance on the dizzy (so it runs better n more top end power.
anyway got it back its alreet... i guess lol. so i thought i'd fit a few more bits n bobs n update it, so here it is
list of new stuff!!!
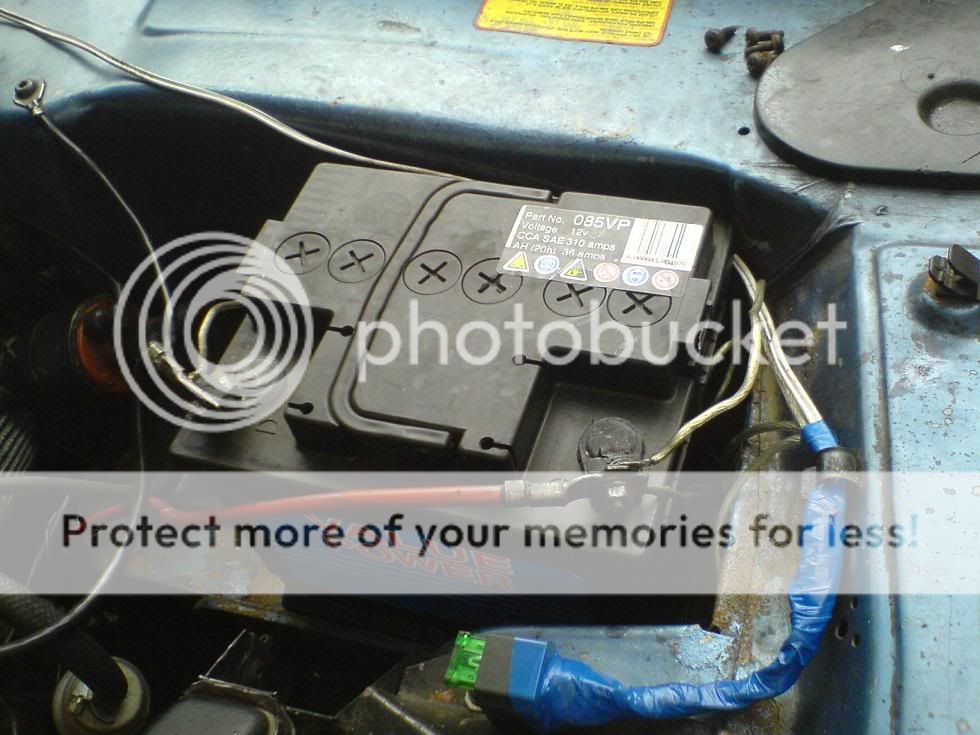
New WORKING alternator
New battery
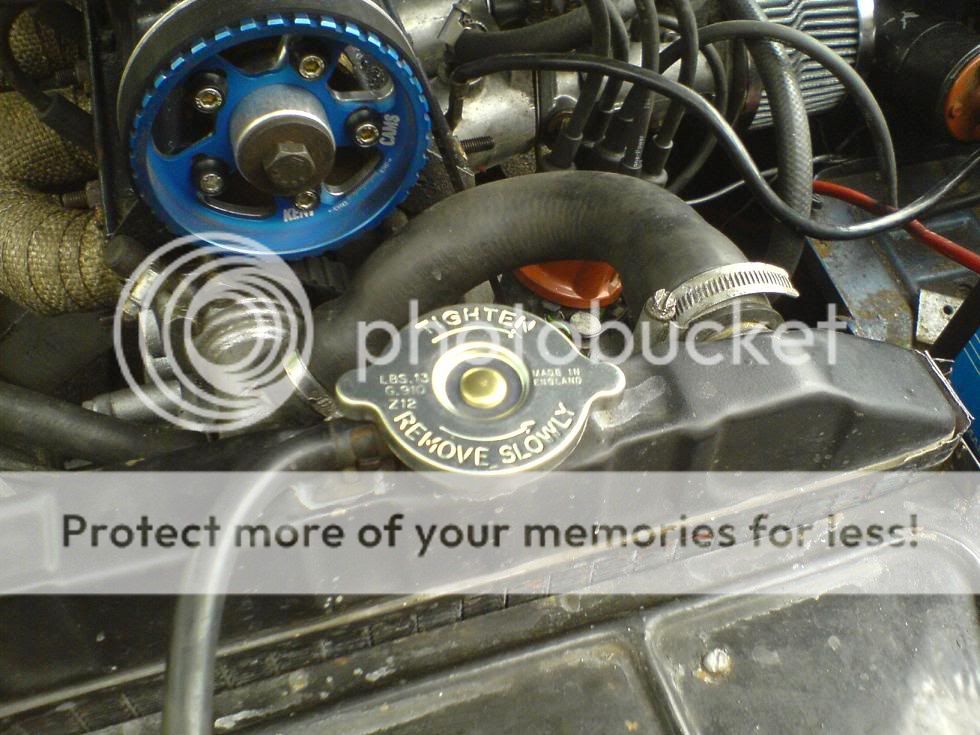
New rad cap
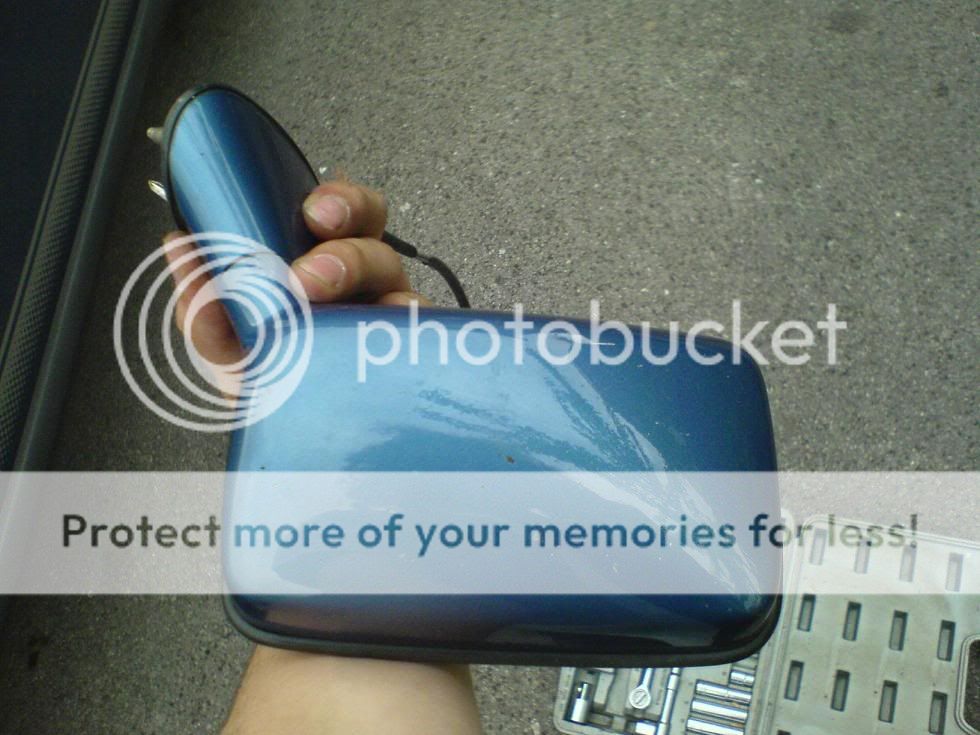
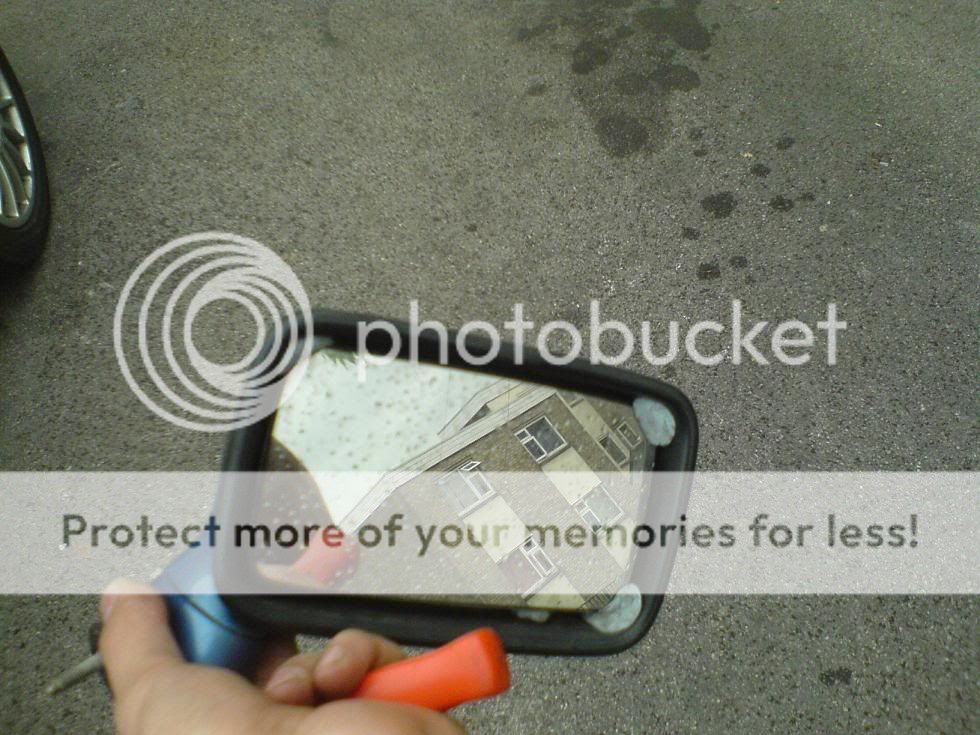
New mirror (working and not blu-taked!!) black to match the later bit of this thread...
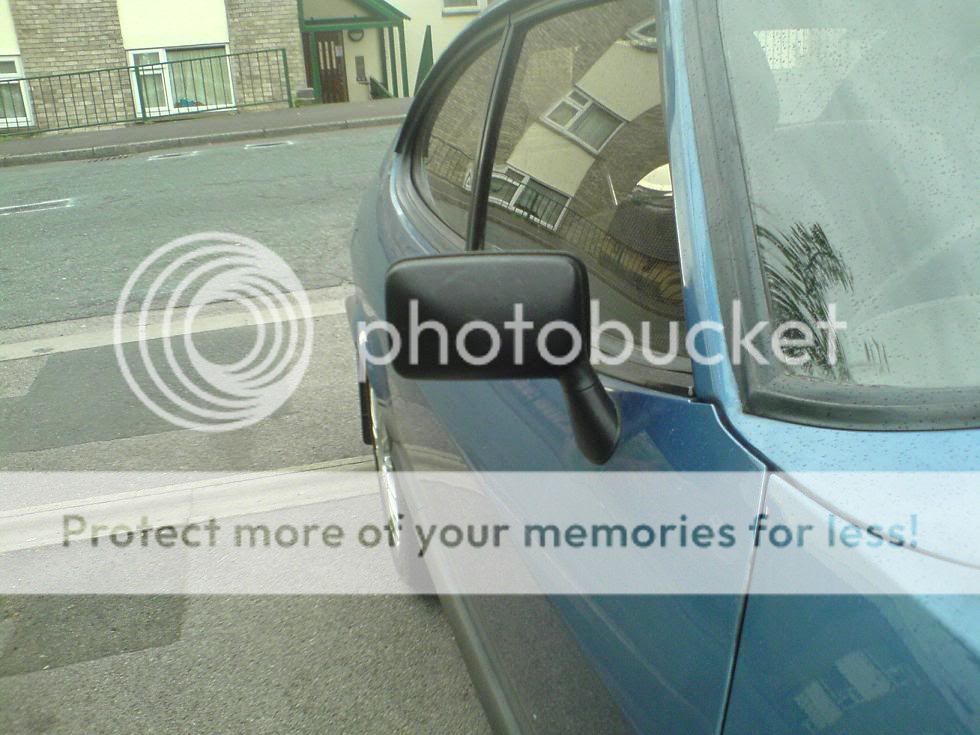

OLD
BLU TAC
Retimed cam
Removed

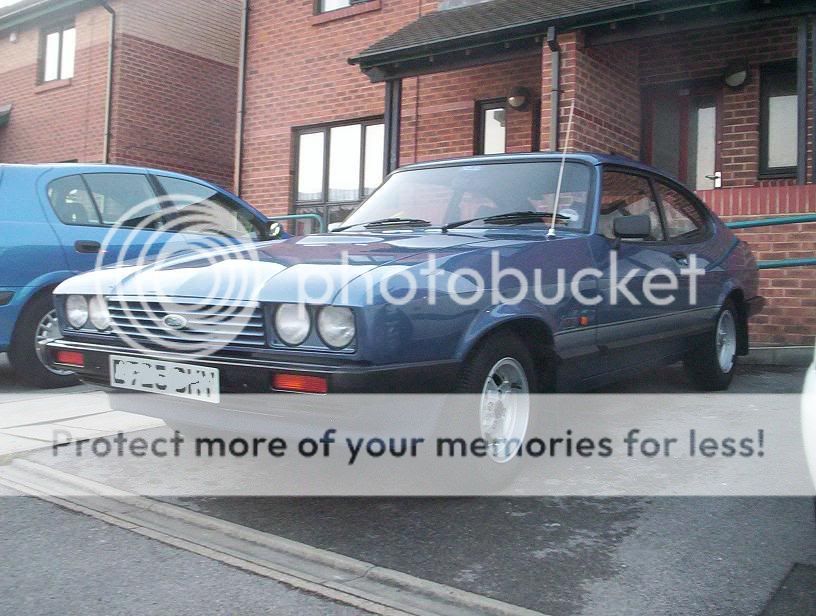
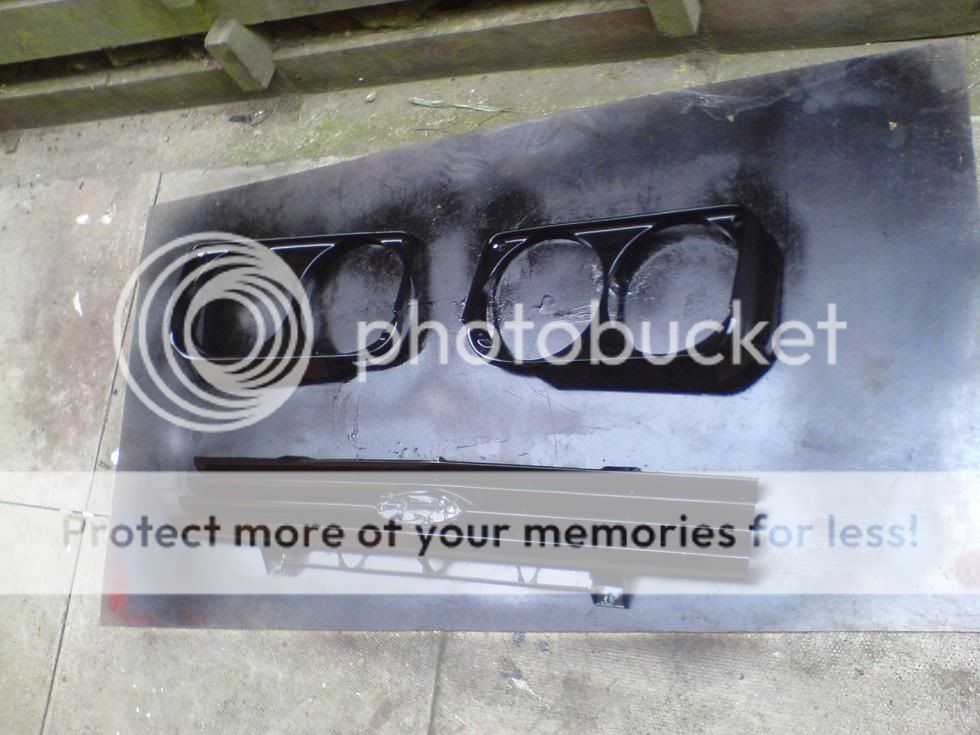
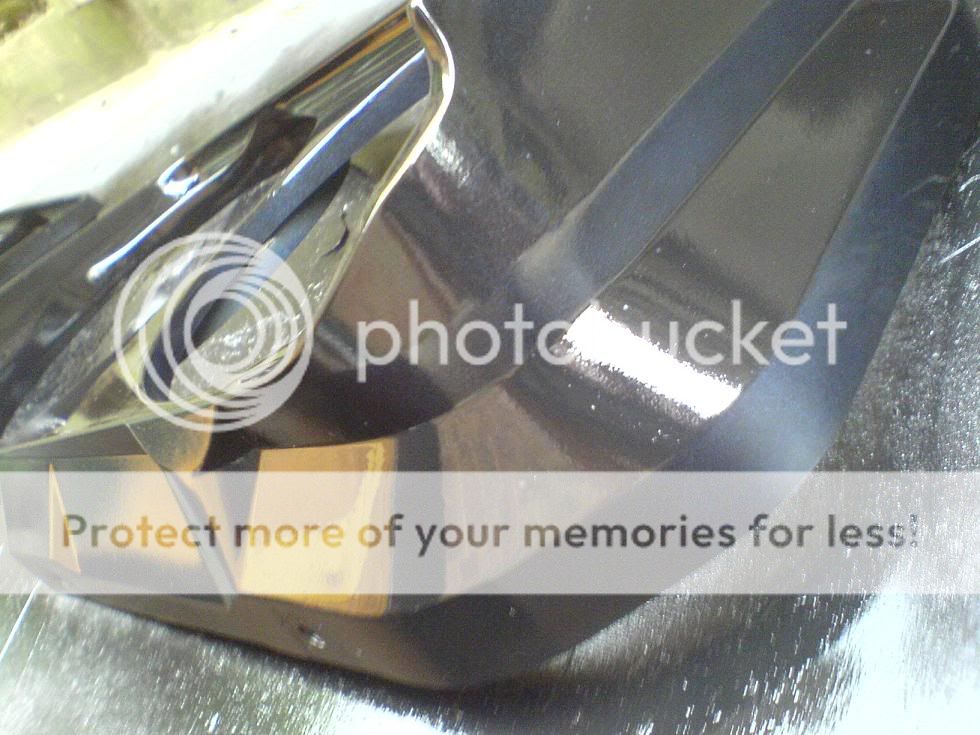
Painted front grill n light surrounds, as i liked the photoshop
with my new black mirror, matches well.


erm thats aboot it for now!
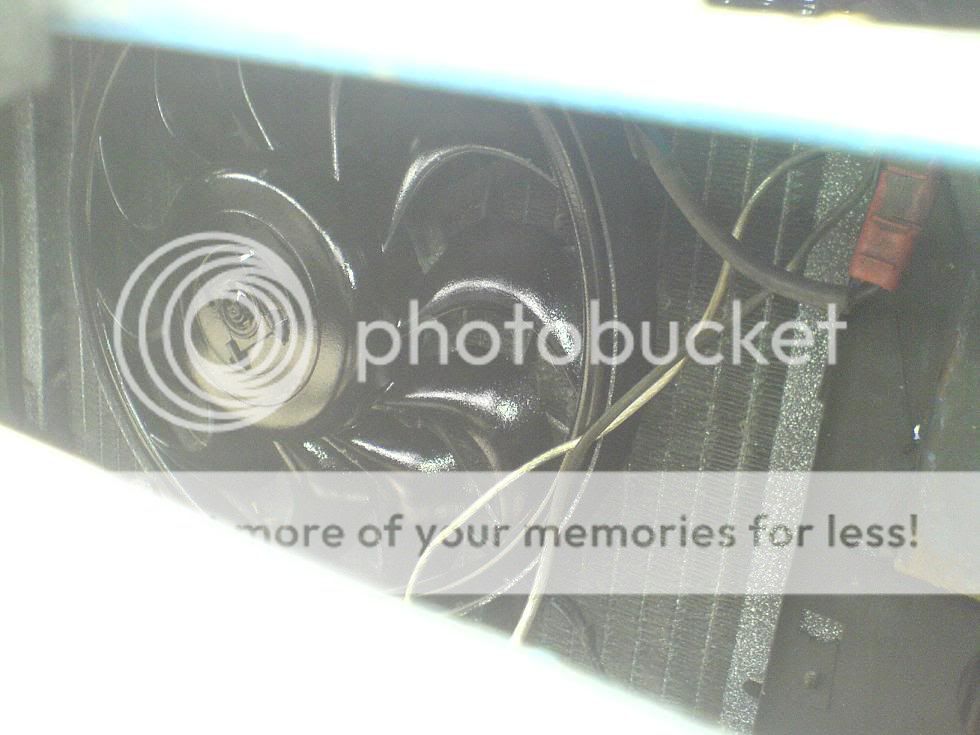
ohhh and a couple of sneaky pics of the rad fan while the grill was off nice n hidden away!

next call of action.... stonechip stonechip stonechip!!

got engine sorted finally..... very happy with the result really, very very very torquey and good runner!!!!
but......
i want more power..... haha :mrgreen: :mrgreen:
precut filters for the delloroto 45's with cleanable filters (and replaceable if i think they are crap and i want to use the baseplates with gay&n filters.
finally =)
new carbs new jets new cam new filters now on
Waaay the car is back.... and im a bit dissapointed but MEH!!!
sounds mint, goes well, plenty of torque... but not much OOMPH as i was aiming for... i think its time for a big valve cylinder head haha
got car back as a shit runner with 32degrees ADVANCE on the dizzy MINIMUM! so had to go to another garage to get the cam re-timed properly to TDC so i can have the lower 10degrees advance on the dizzy (so it runs better n more top end power.
anyway got it back its alreet... i guess lol. so i thought i'd fit a few more bits n bobs n update it, so here it is
list of new stuff!!!
New WORKING alternator
New battery
New rad cap
New mirror (working and not blu-taked!!) black to match the later bit of this thread...
OLD
BLU TAC
Retimed cam
Removed
Painted front grill n light surrounds, as i liked the photoshop
with my new black mirror, matches well
erm thats aboot it for now!
ohhh and a couple of sneaky pics of the rad fan while the grill was off
next call of action.... stonechip stonechip stonechip!!
got engine sorted finally..... very happy with the result really, very very very torquey and good runner!!!!
but......
i want more power..... haha :mrgreen: :mrgreen:
14-07-2008, 04:25 PM
#7
Too many posts.. I need a life!!
Thread Starter
Join Date: Jul 2007
Posts: 533
Likes: 0
Received 0 Likes
on
0 Posts
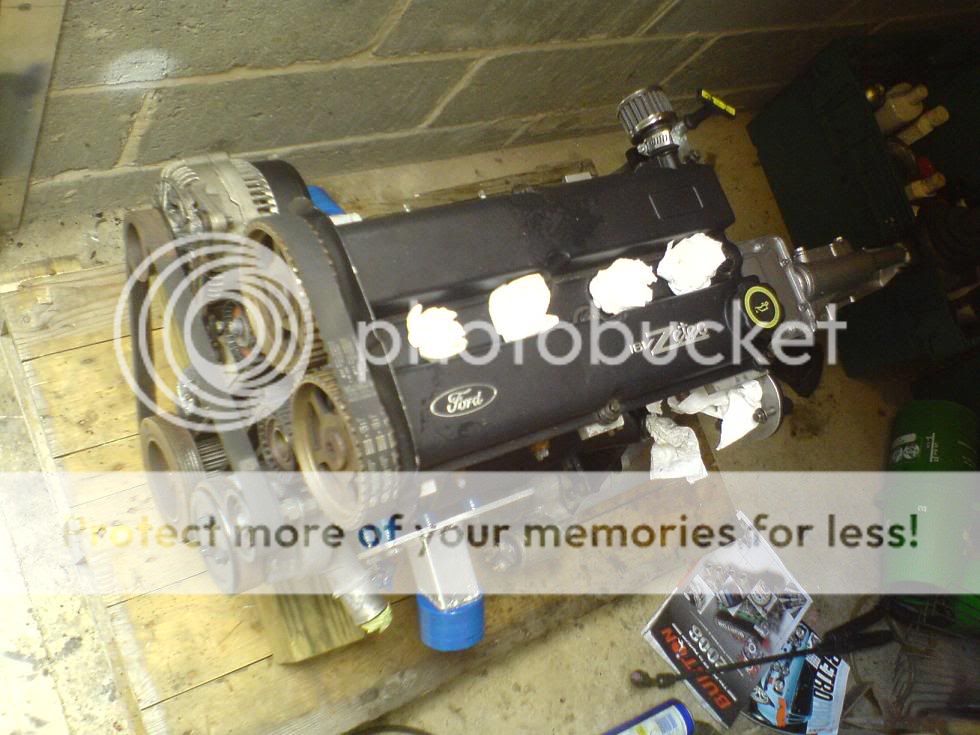
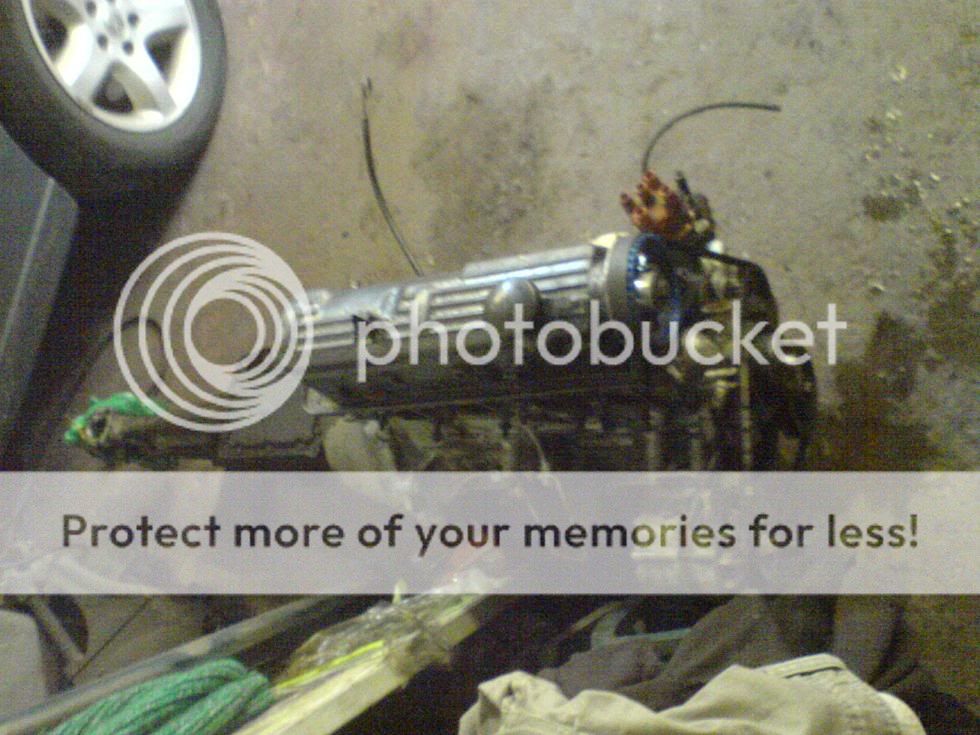
meh after all that work..... i sold the engine.... LOL!
got a new one now though!!!
Specs n better pics to come later!
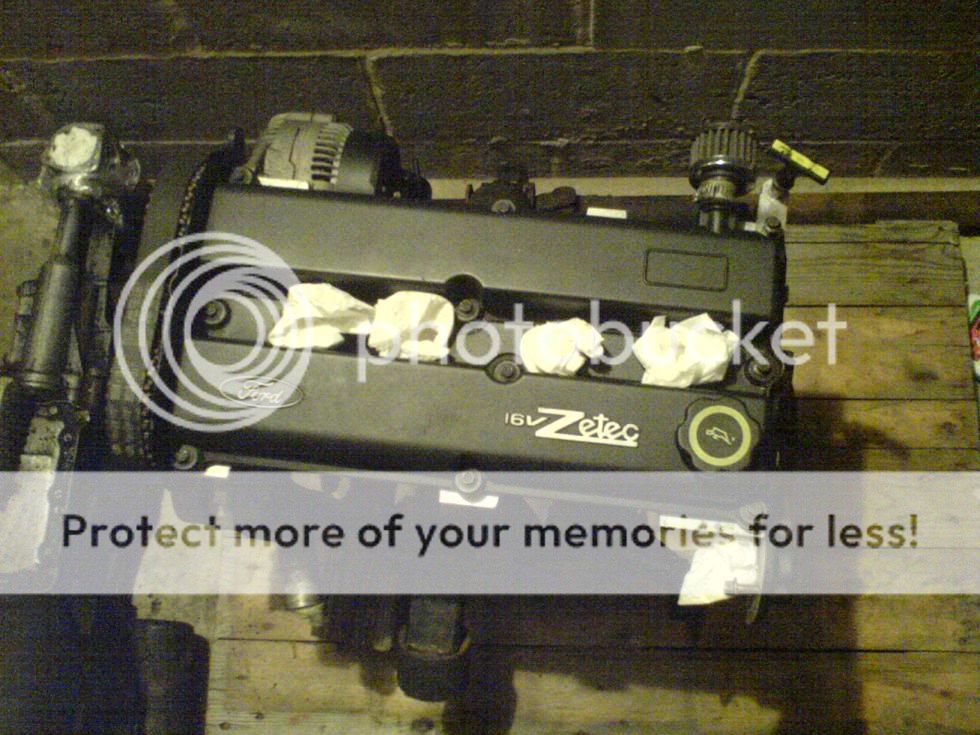


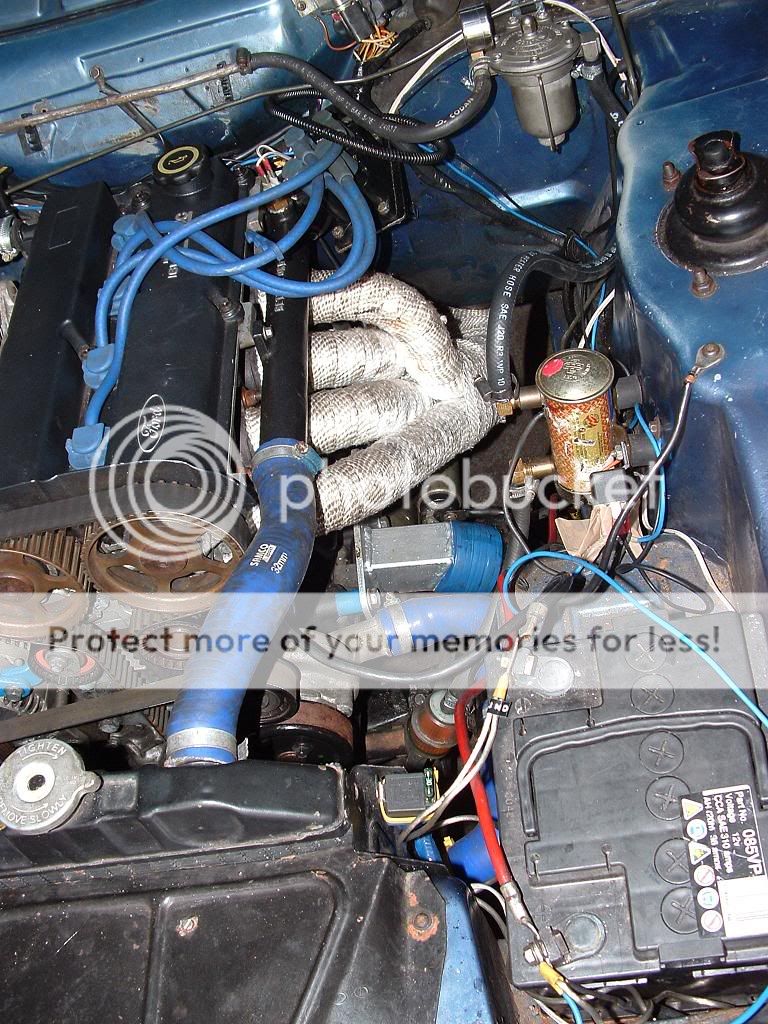
ported n polished
heatwrapped 4-2-1 manifold down to 2.25 inch at the bottom (i think)
new radiator with propper rad fan

water rail conversion for the zetec from fwd to rwd
wiring loom.... ergh!
more carbs!!!! haha
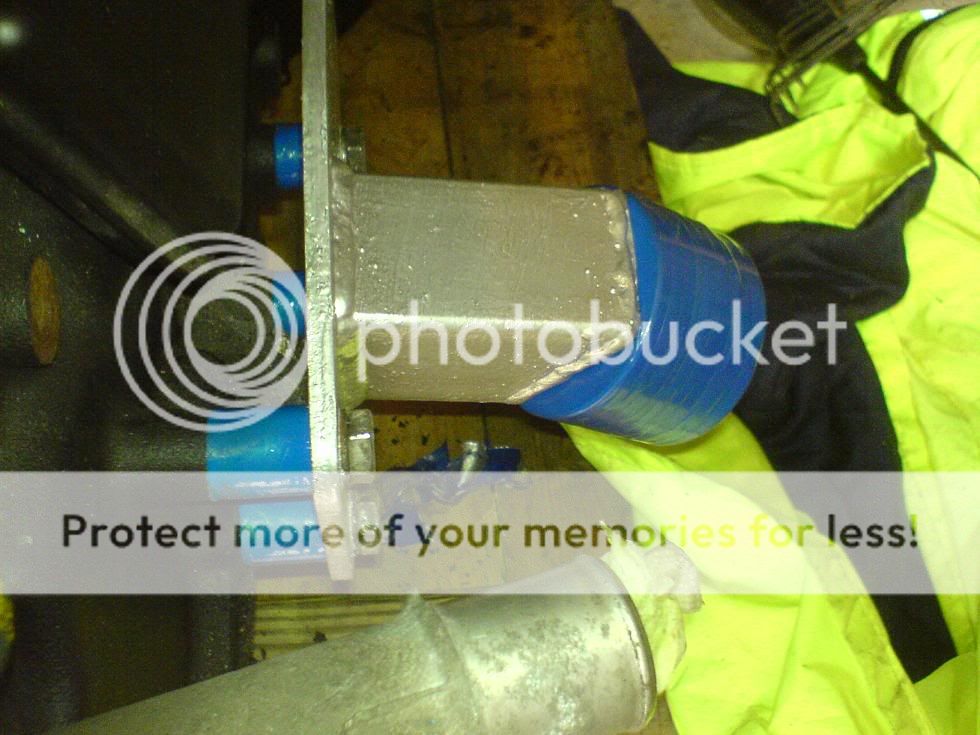
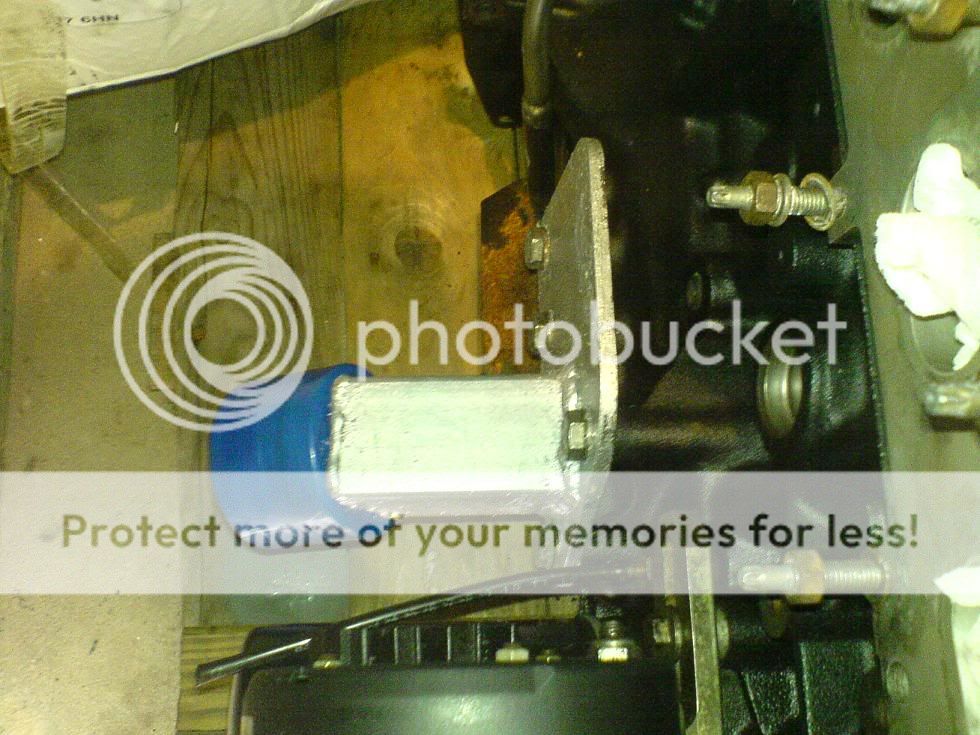
swanky engine mounts for the capri!
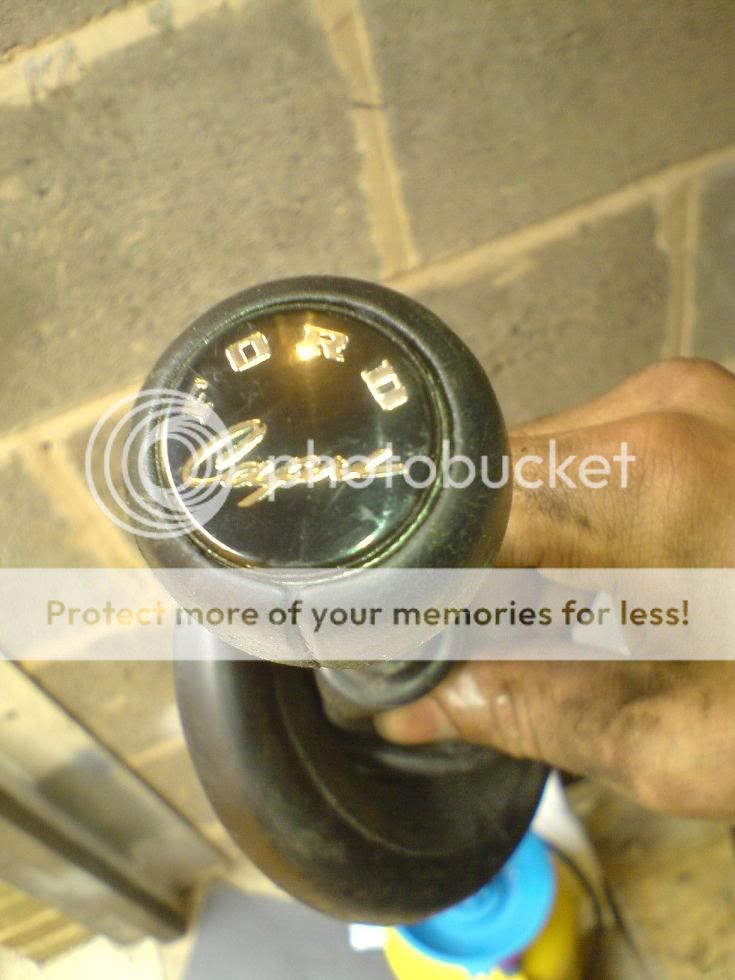
new gearknob+quickshift!!!!
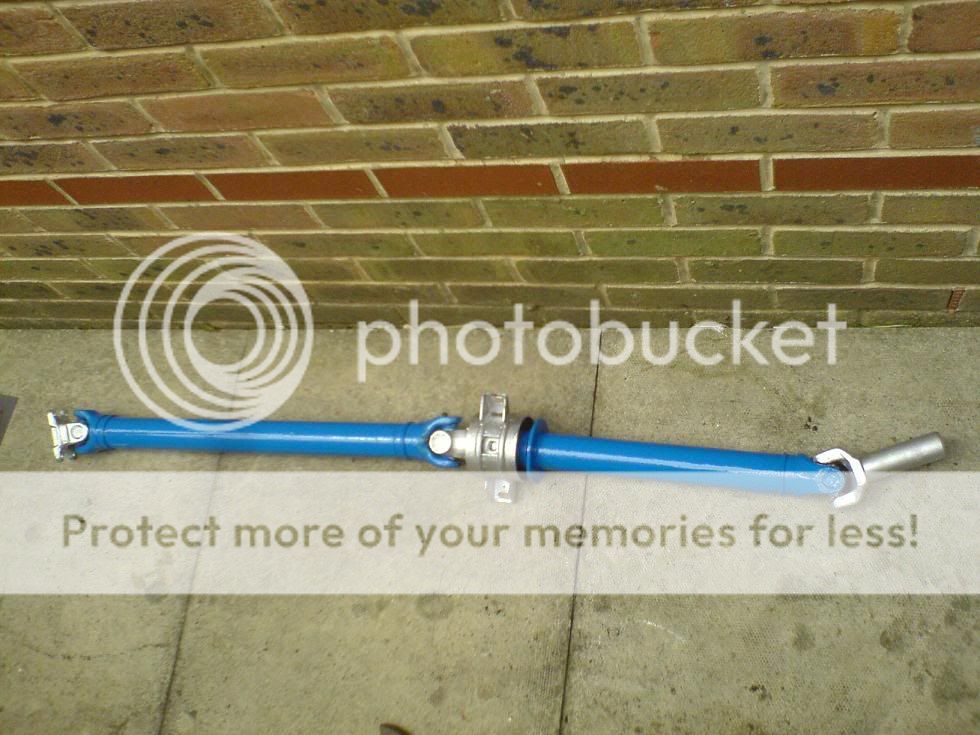
new propshaft! shortened as the engine sits about 2 inches further back!
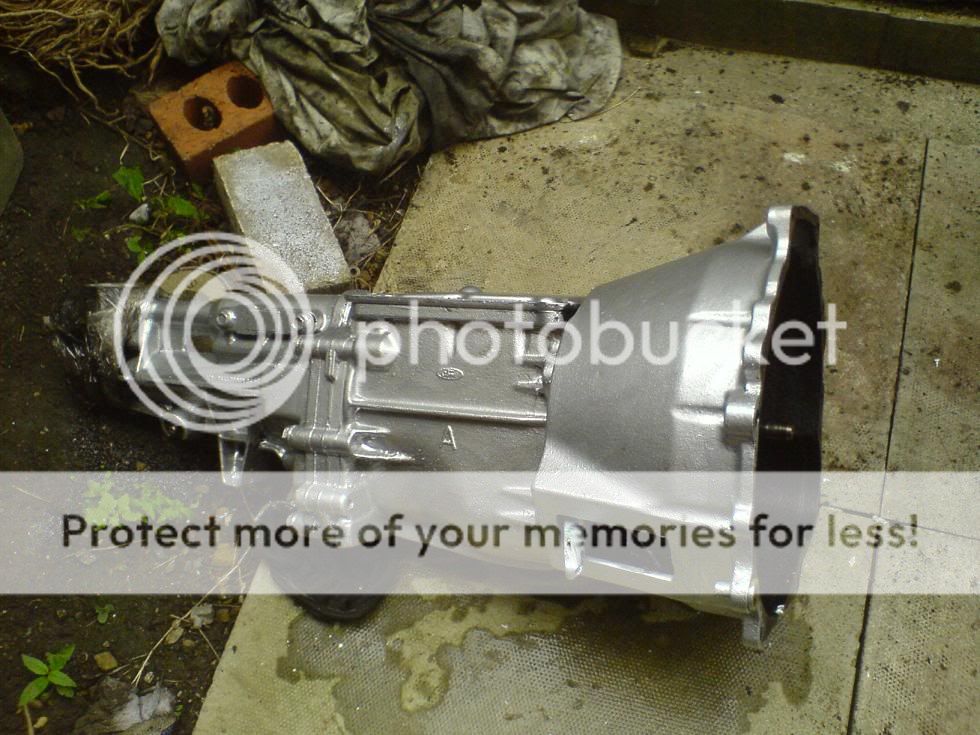
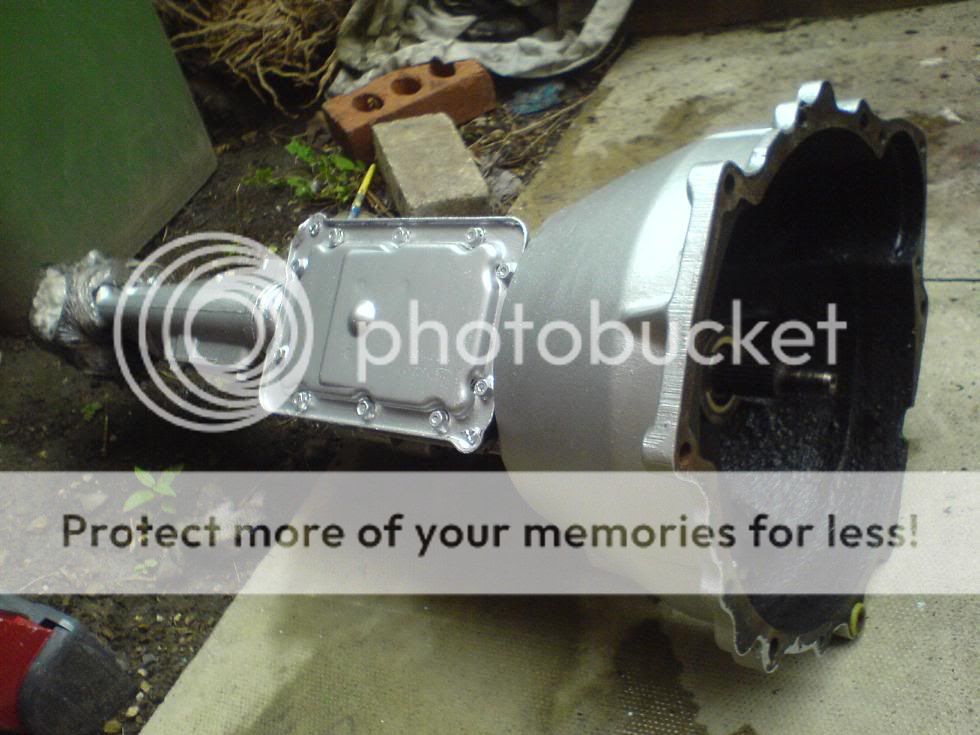

and finally new gearbox! to go with it all.
btw this engine comes with everythign up there. aluminium pots e.g. expansion tank swirl pot, fuel pump, fuel pressure regulator and filter, modified alternator for rwd alpha management and twin 45 webers (yet more carbs lol) shift light box all controlled by management modified gearbox mounts shorter propshaft and loads of other stuff i cba mentioning like relays spares fans belts etc etc etc well worth the money! oh and a modified sump!
thanx very much to a very kind fella off this website
thats it for now.... to date
got a new one now though!!!
Specs n better pics to come later!
ported n polished
heatwrapped 4-2-1 manifold down to 2.25 inch at the bottom (i think)
new radiator with propper rad fan
water rail conversion for the zetec from fwd to rwd
wiring loom.... ergh!
more carbs!!!! haha
swanky engine mounts for the capri!
new gearknob+quickshift!!!!
new propshaft! shortened as the engine sits about 2 inches further back!
and finally new gearbox! to go with it all.
btw this engine comes with everythign up there. aluminium pots e.g. expansion tank swirl pot, fuel pump, fuel pressure regulator and filter, modified alternator for rwd alpha management and twin 45 webers (yet more carbs lol) shift light box all controlled by management modified gearbox mounts shorter propshaft and loads of other stuff i cba mentioning like relays spares fans belts etc etc etc
thanx very much to a very kind fella off this website
thats it for now.... to date
Trending Topics
14-07-2008, 04:26 PM
#8
Too many posts.. I need a life!!
Thread Starter
Join Date: Jul 2007
Posts: 533
Likes: 0
Received 0 Likes
on
0 Posts
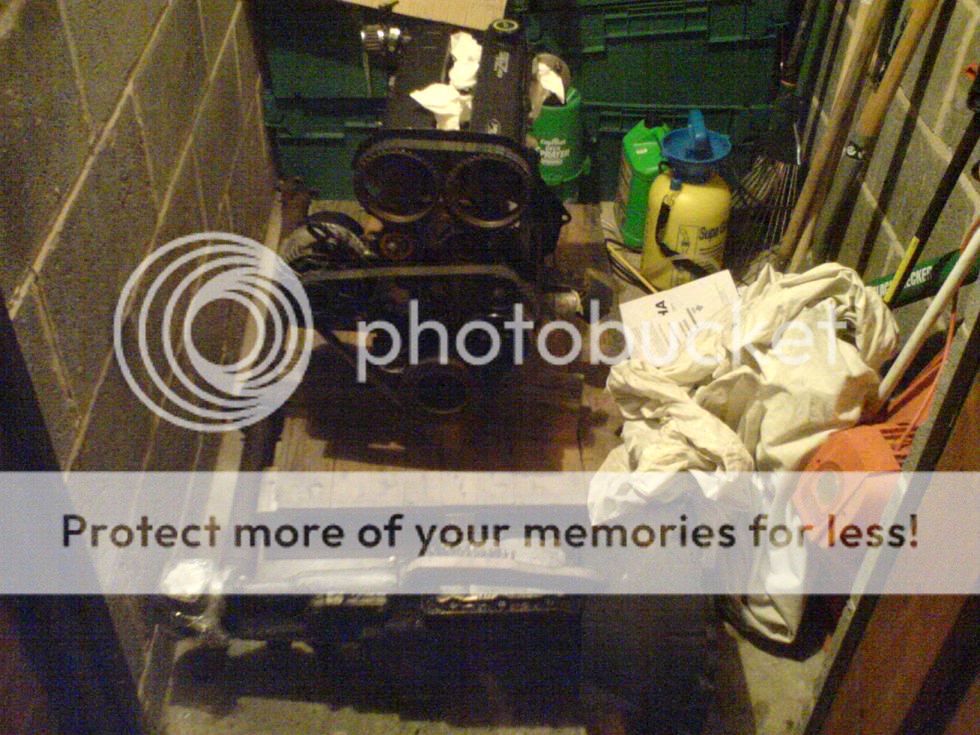
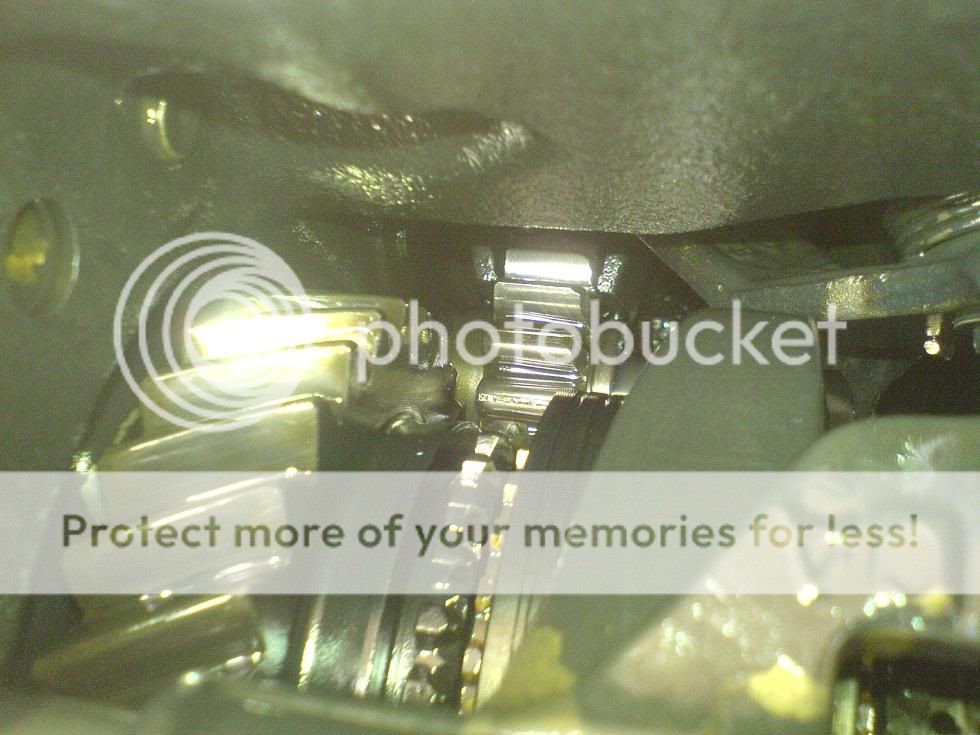
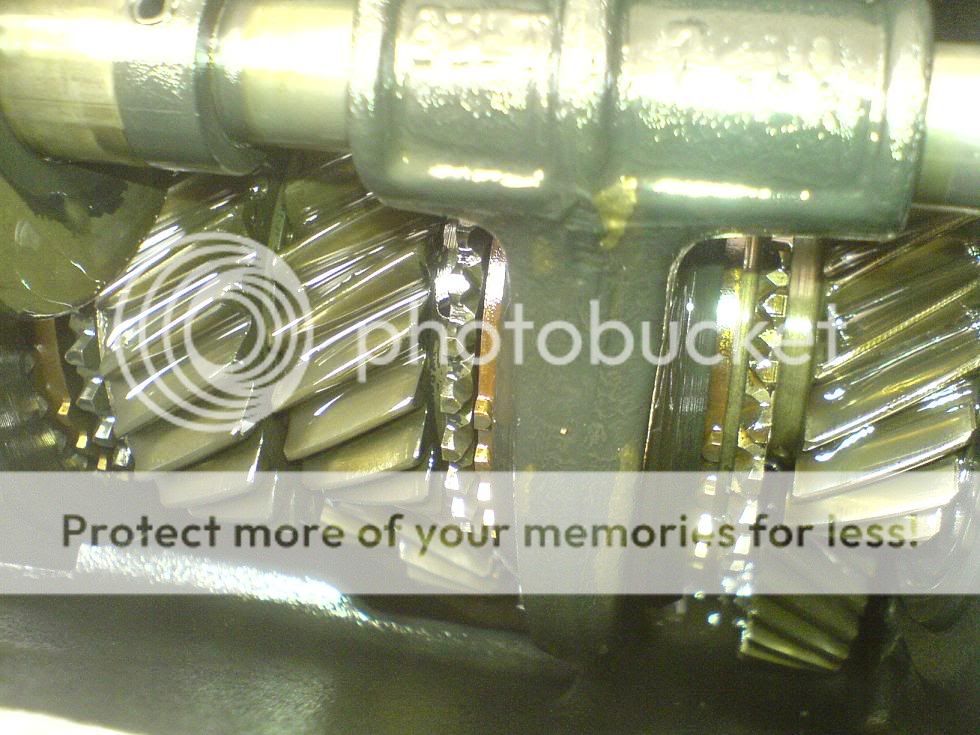
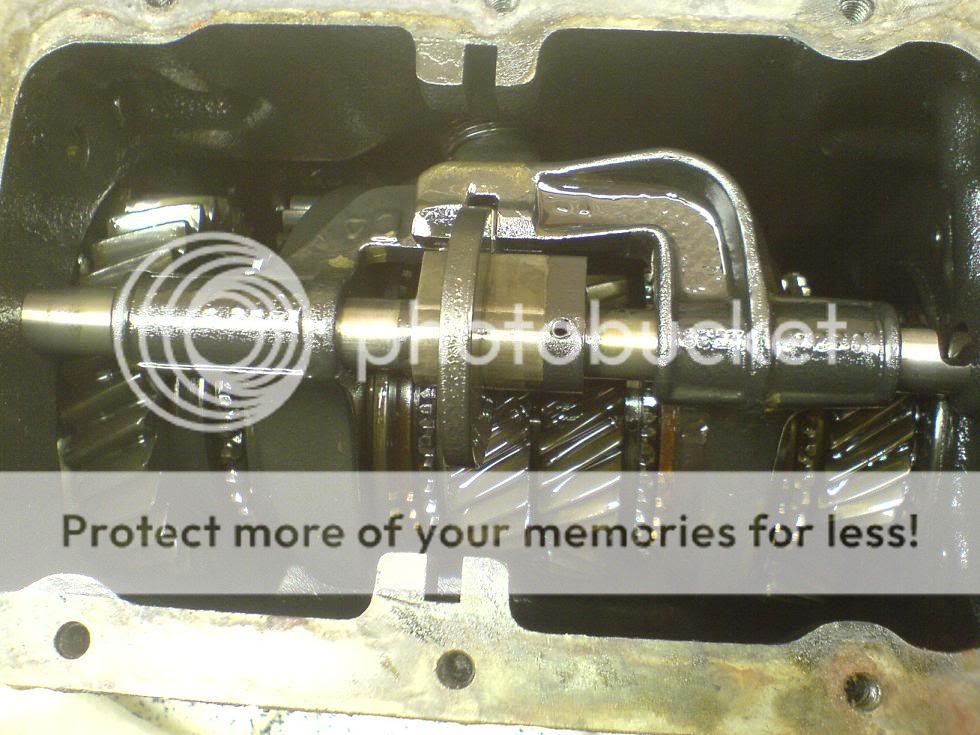
i got loads of spare bits from this engine... i think this should show how much headwork its had.... these are the origional spares by the looks of things...
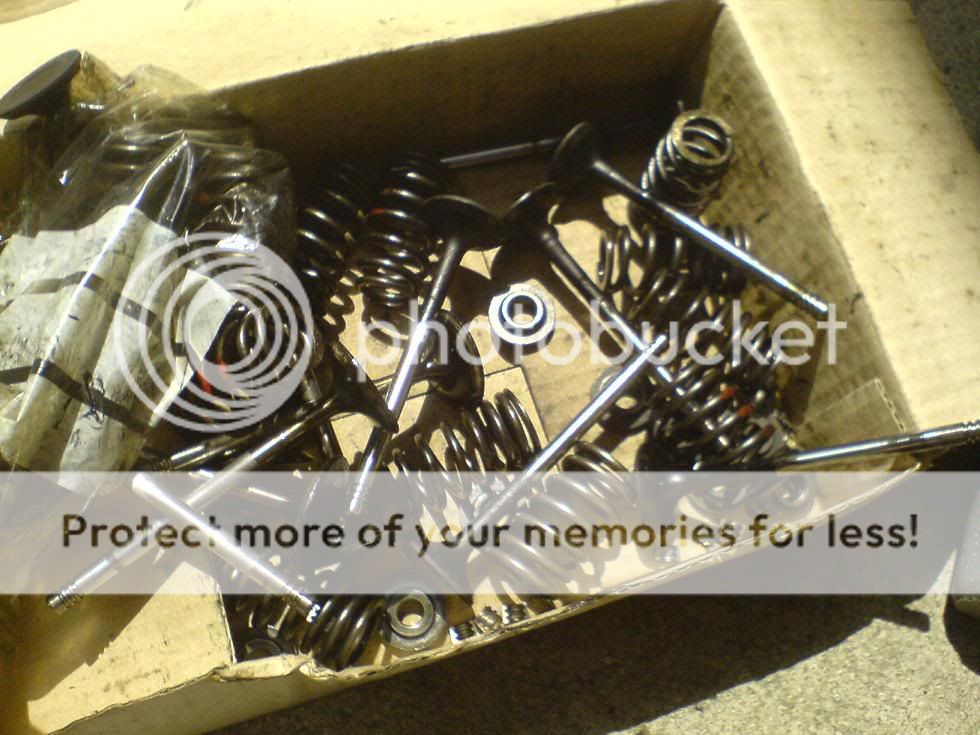
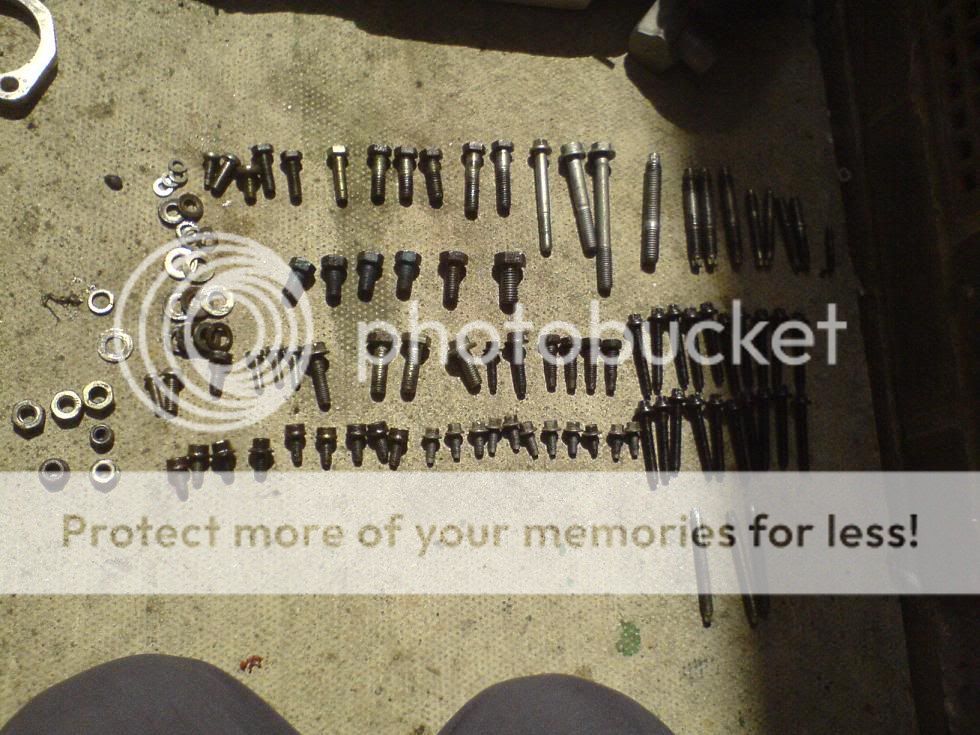
oh... and a big set of nuts bolts etc i gotta file my way through!!
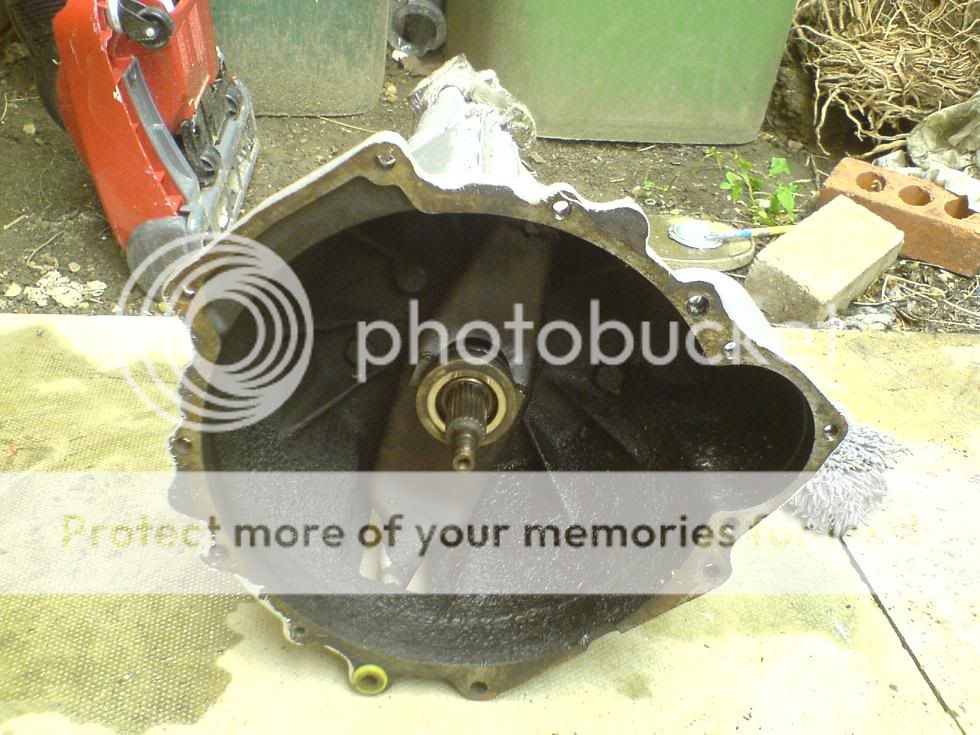
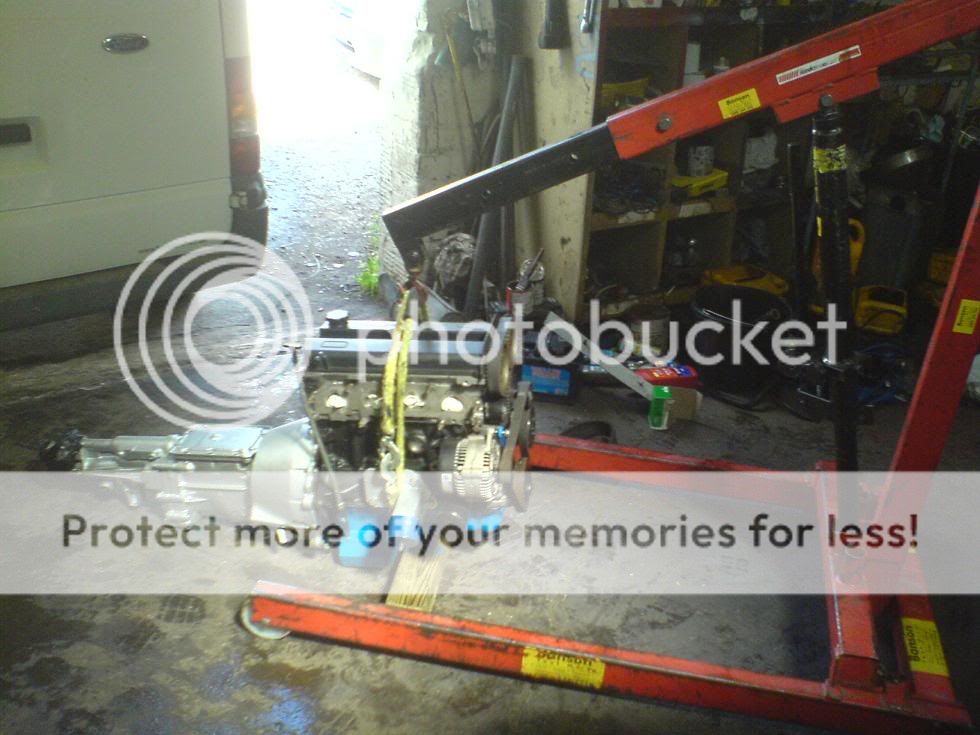
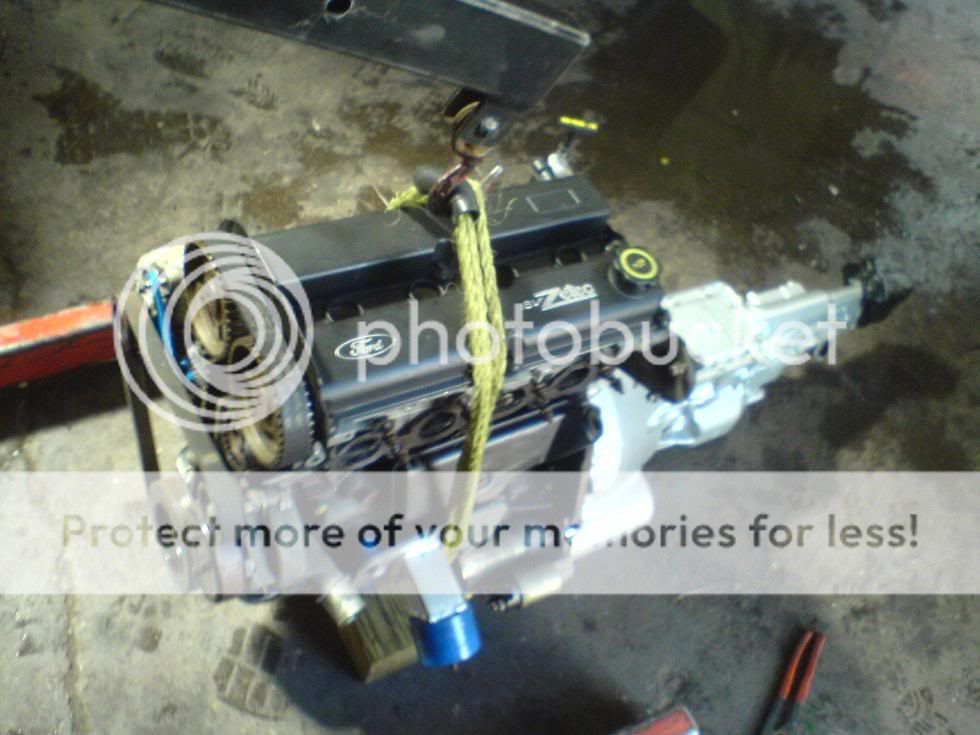
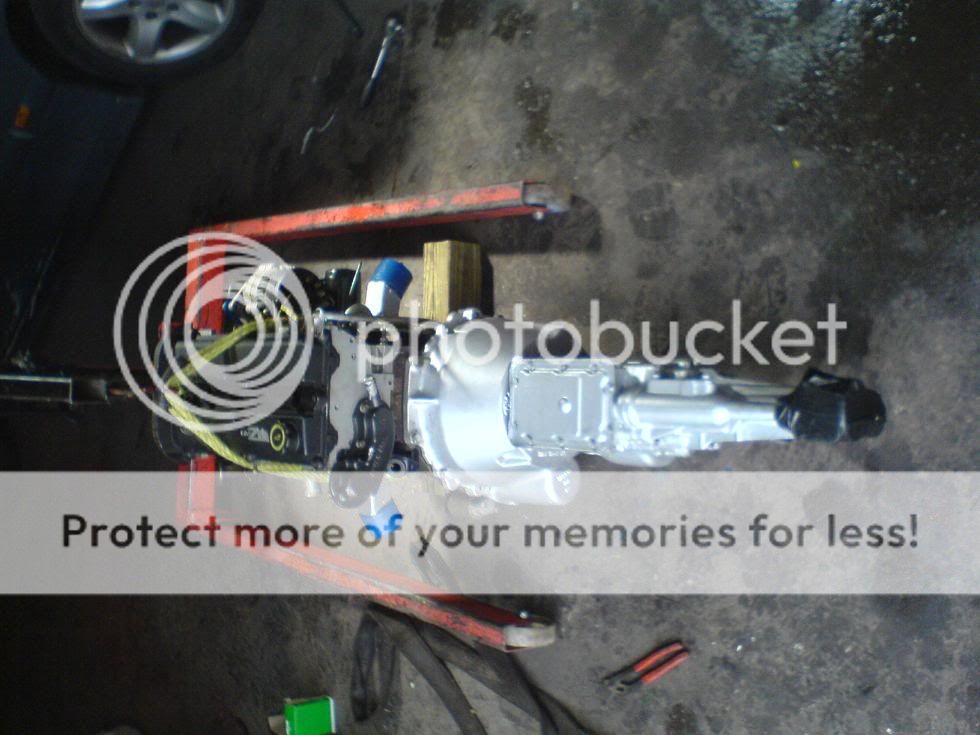
anyway. update- i got the engine and gearbox together
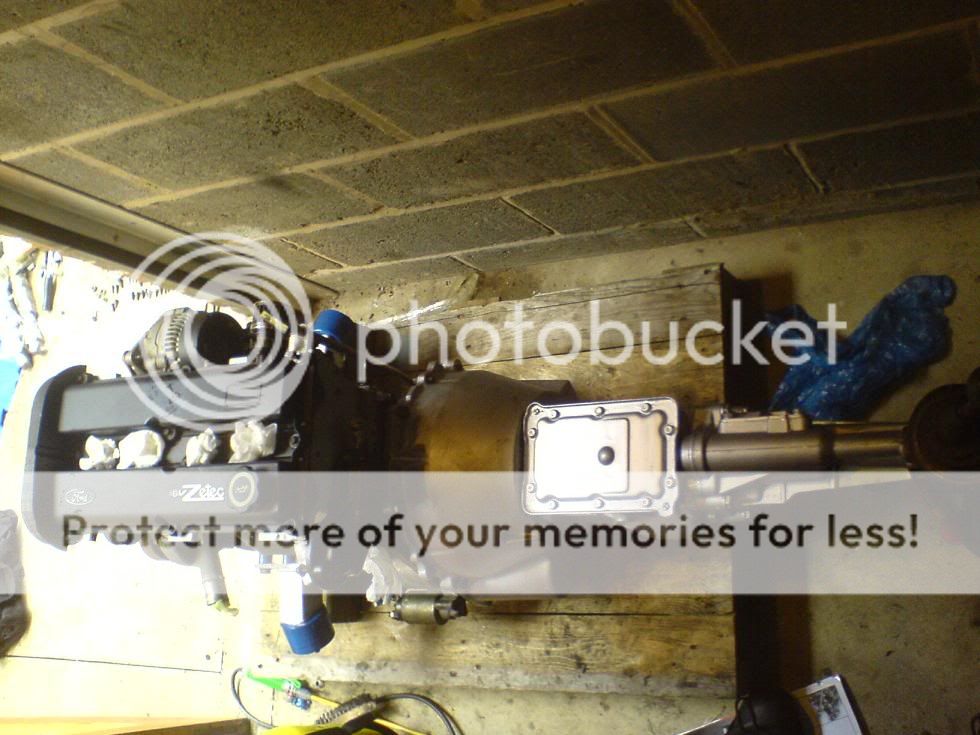
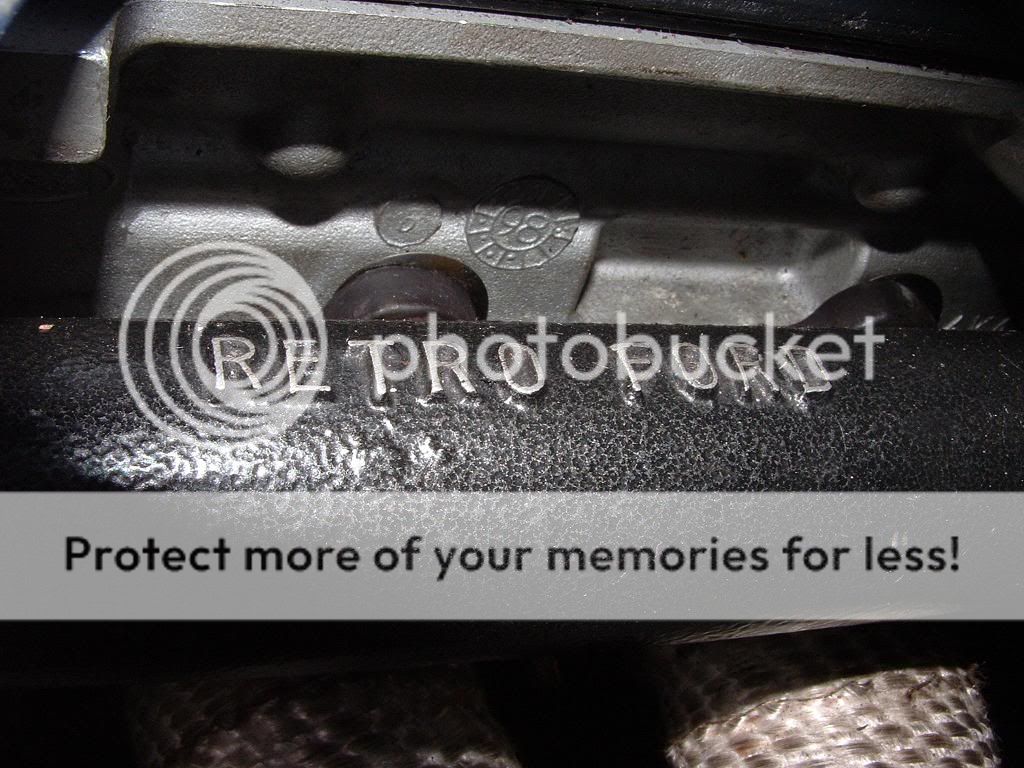
added the all important fuel rail
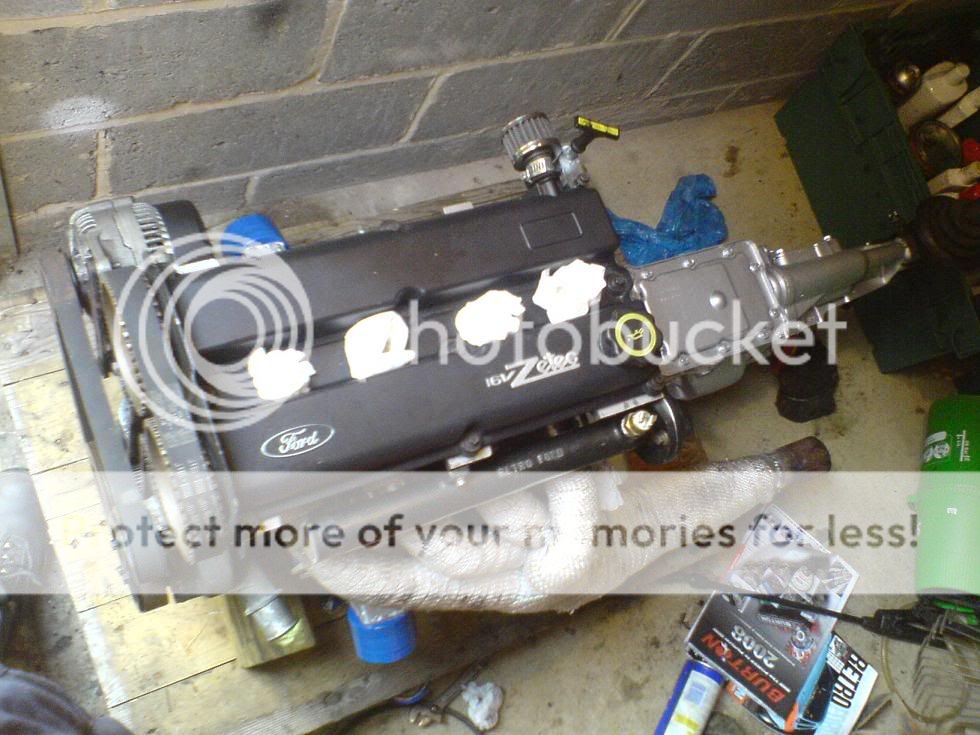
bit of samco to finish it off
oh... and a big set of nuts bolts etc i gotta file my way through!!
anyway. update- i got the engine and gearbox together
added the all important fuel rail
bit of samco to finish it off
14-07-2008, 04:26 PM
#9
Too many posts.. I need a life!!
Thread Starter
Join Date: Jul 2007
Posts: 533
Likes: 0
Received 0 Likes
on
0 Posts
a short update because ive got nuthin better to do and it looks like rain... urgh
engine hoist ordered for saturday!! WAY!!!!
bad thing... i havent managed to sort the brake servo problem out yet.... i say yet because it should be done within the next couple of days
anyway... piccies
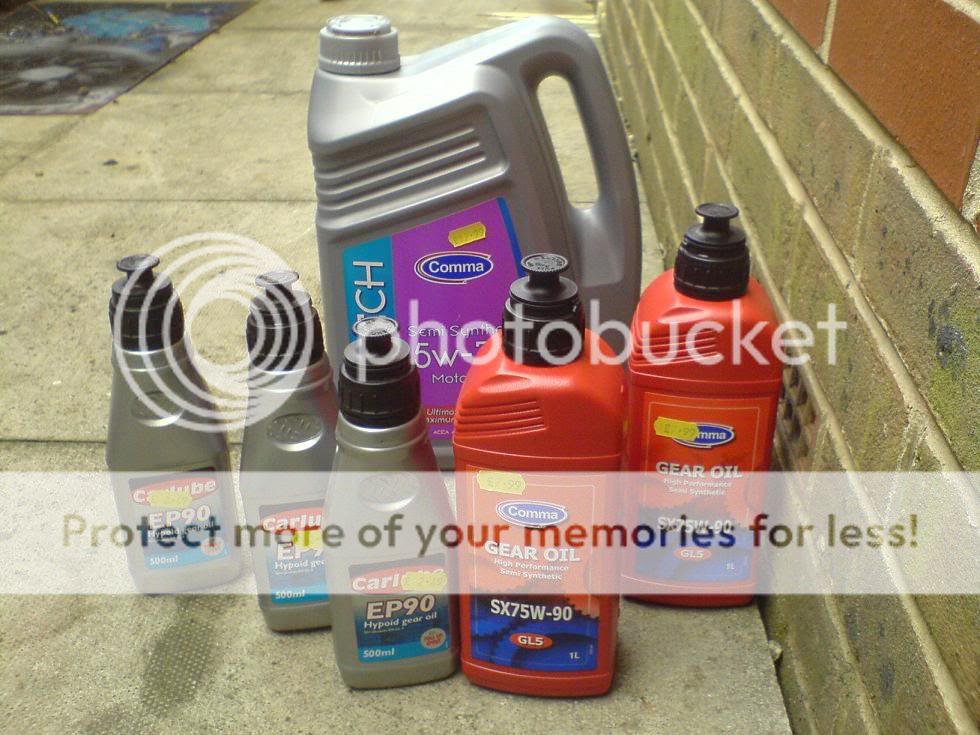
spent my wages on oil oil and more oil.... may aswel while the engine gearbox and diff will be easy enough to do while the engines n gearbox is on the crane and the diff... ill just do that
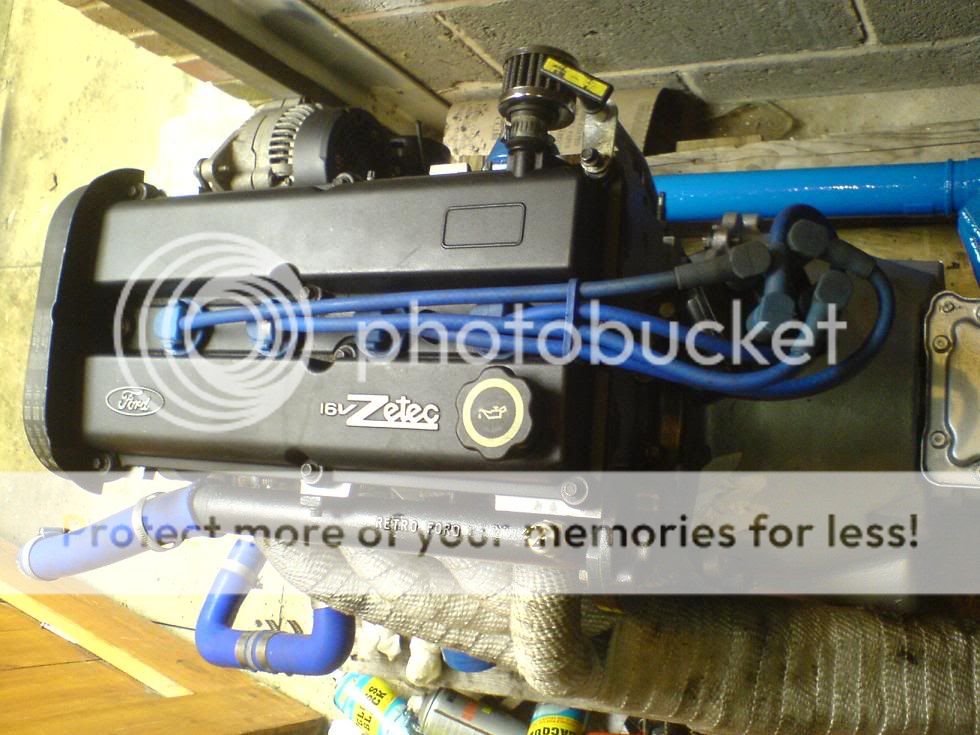
some 10mm "performance" ht leads on... oooh more blue... see the theme yet? lol
sprayed up a couple of pulleys that looked a little rusty. the bottom one isnt blue its just a reflection!!

uh... i got bored
enjoy
engine hoist ordered for saturday!! WAY!!!!
bad thing... i havent managed to sort the brake servo problem out yet.... i say yet because it should be done within the next couple of days
anyway... piccies
spent my wages on oil oil and more oil.... may aswel while the engine gearbox and diff will be easy enough to do while the engines n gearbox is on the crane and the diff... ill just do that
some 10mm "performance" ht leads on... oooh more blue... see the theme yet? lol
sprayed up a couple of pulleys that looked a little rusty. the bottom one isnt blue its just a reflection!!
uh... i got bored
enjoy
14-07-2008, 04:27 PM
#10
Too many posts.. I need a life!!
Thread Starter
Join Date: Jul 2007
Posts: 533
Likes: 0
Received 0 Likes
on
0 Posts
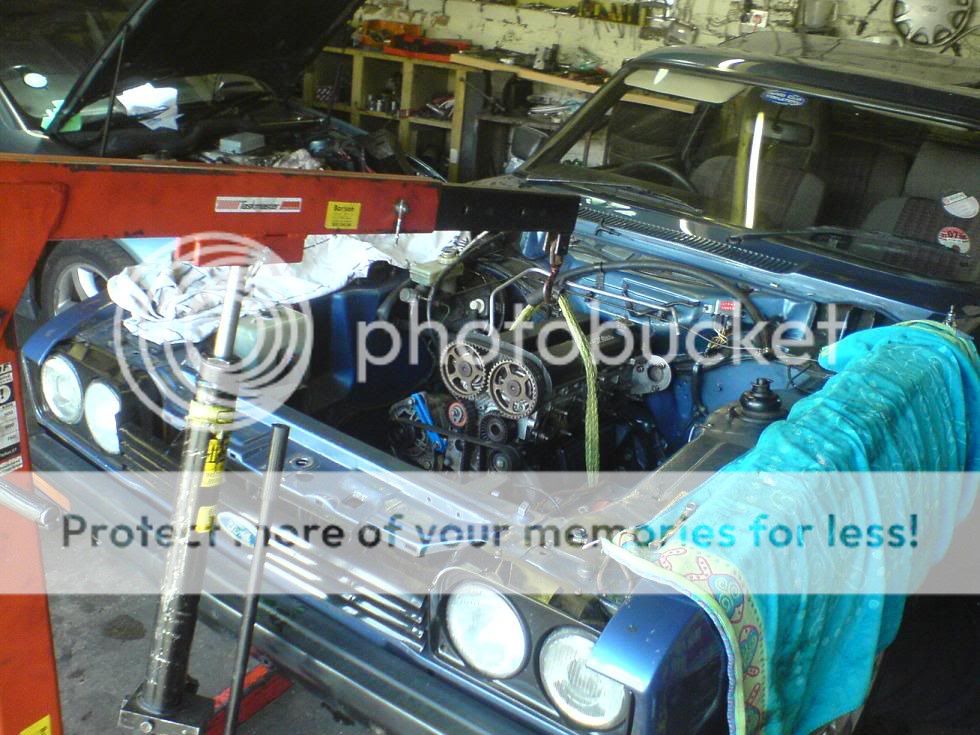
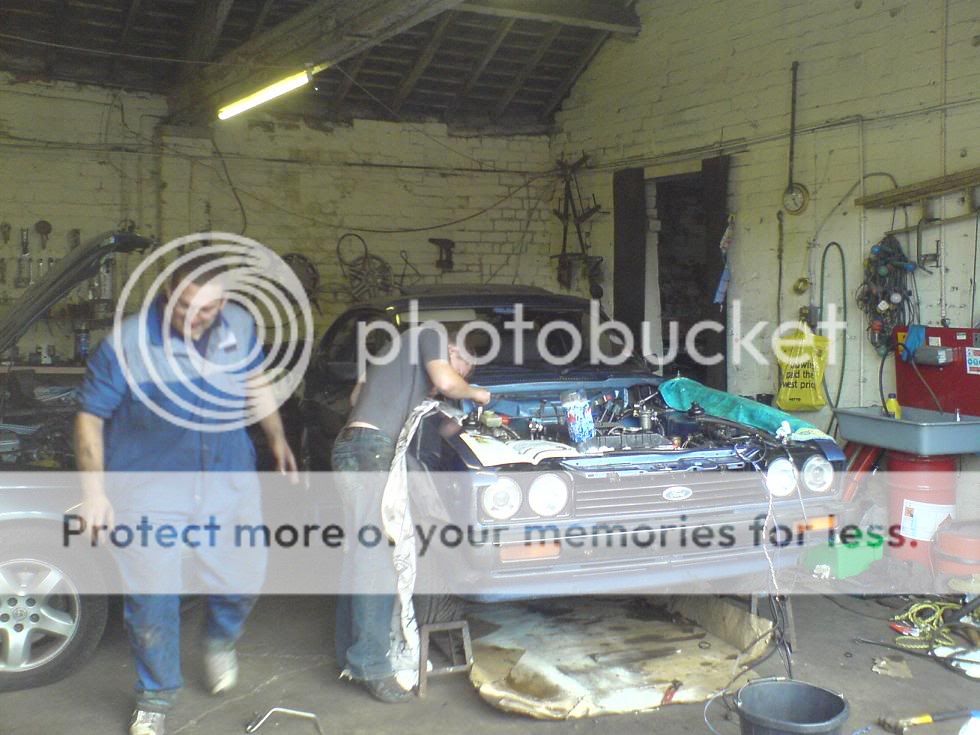
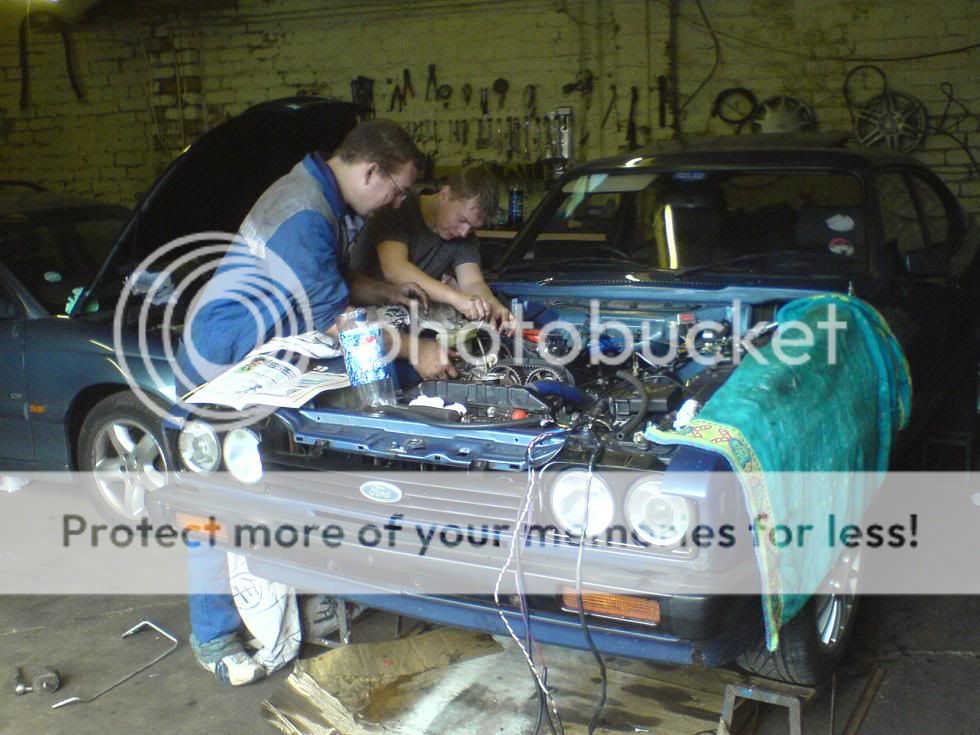
ok here we go!!!
we did it, engine change AND wired up in 10 hours!!!
thats including pizza breaks messing around with the engine hoist brakes etc... as you know.
anyway piccies and a few discriptions!!
First of all, bonnet off (gotta mark this up so it goes back on streight)
gearstick off

carbs off
engine hoist in place

undo stuff!
lift it out!!
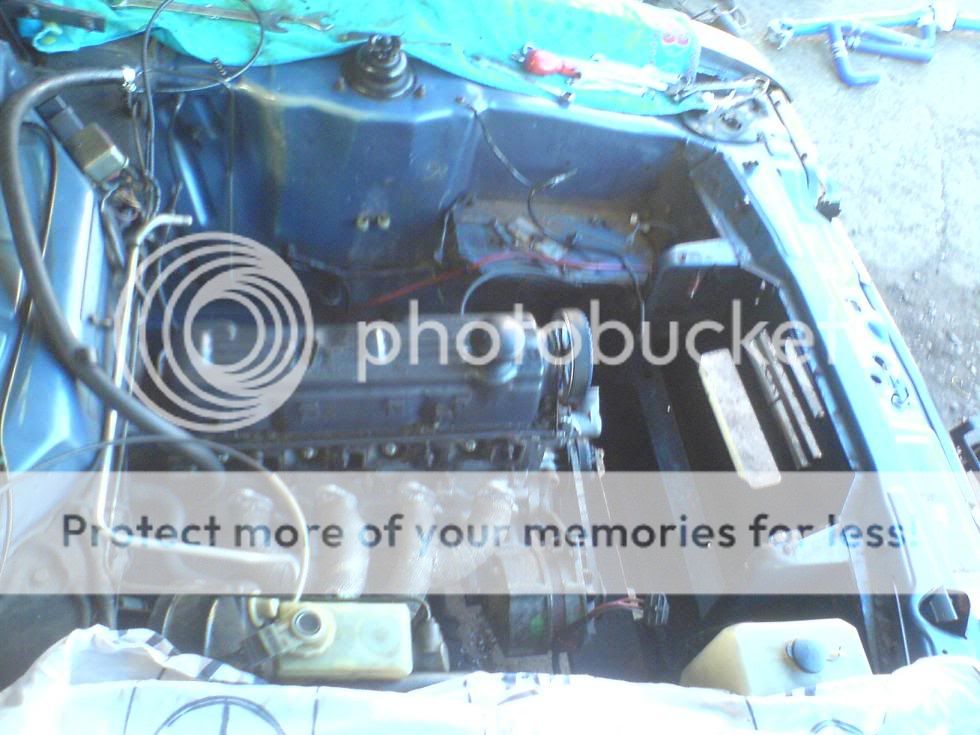
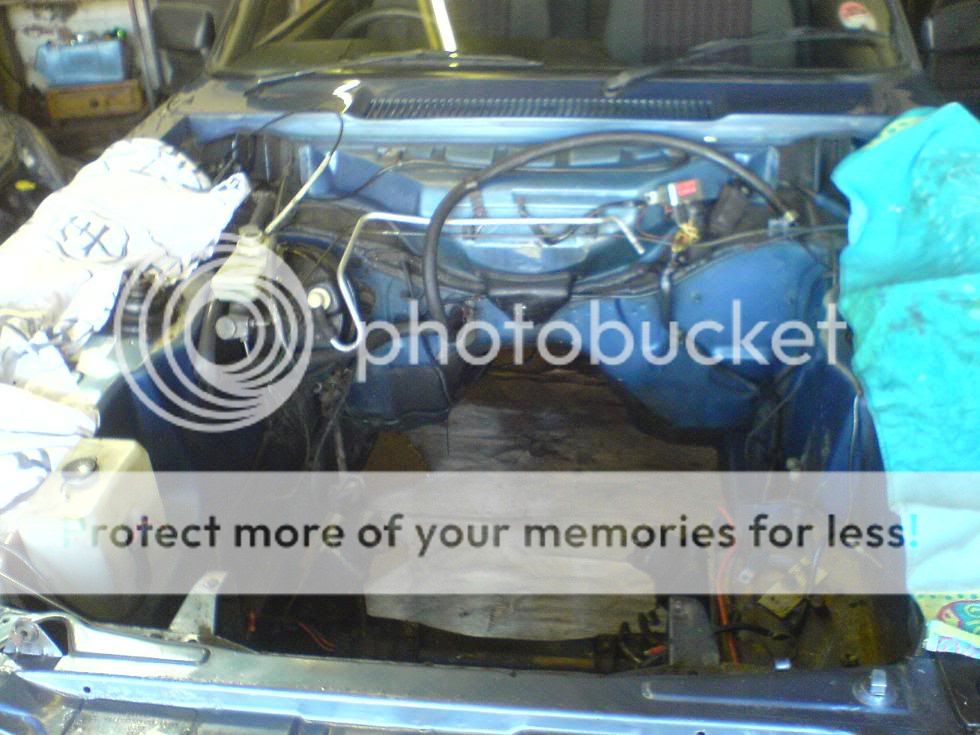
see the big hole you left (omg!)
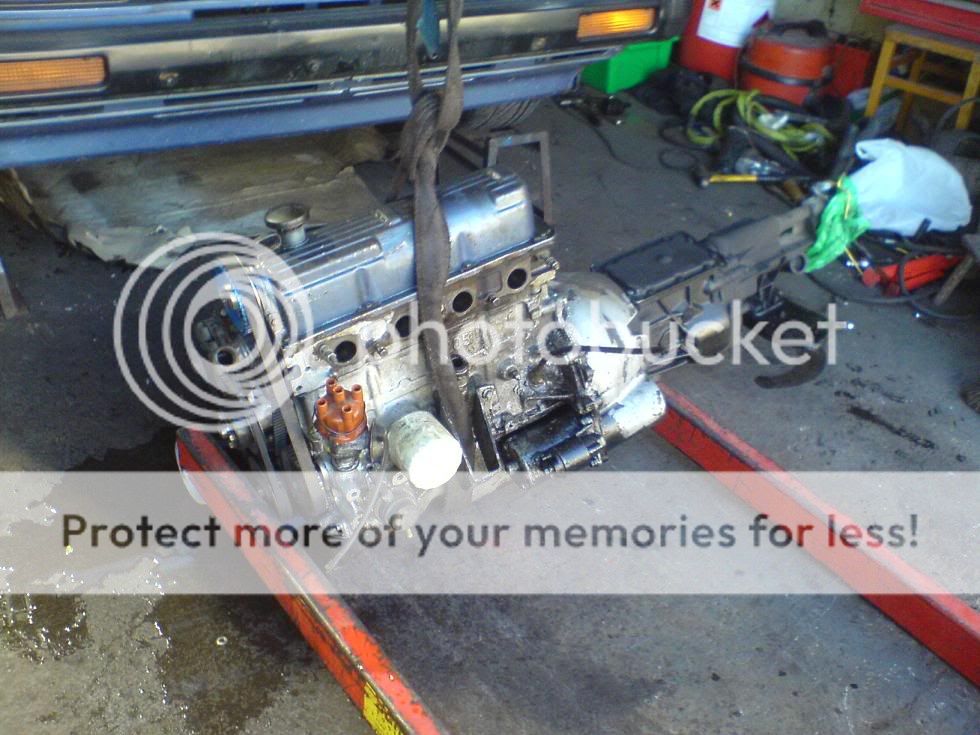
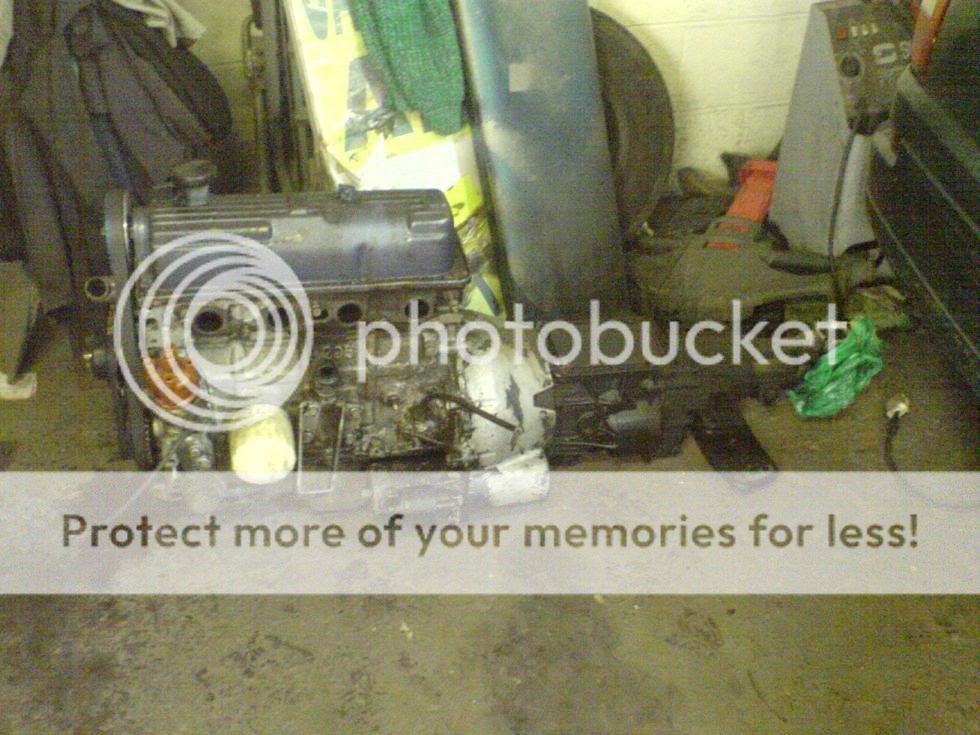
look at the old engine.... with a tear in your eye- say goodbye!
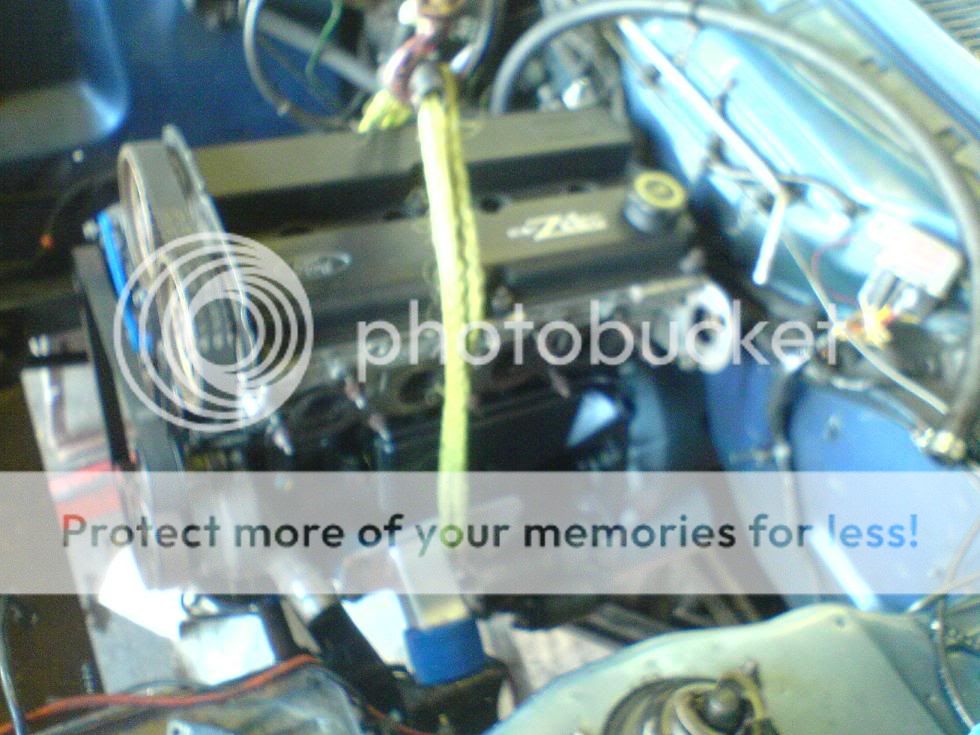
and hello to the new one!!
drop it in. mount it up
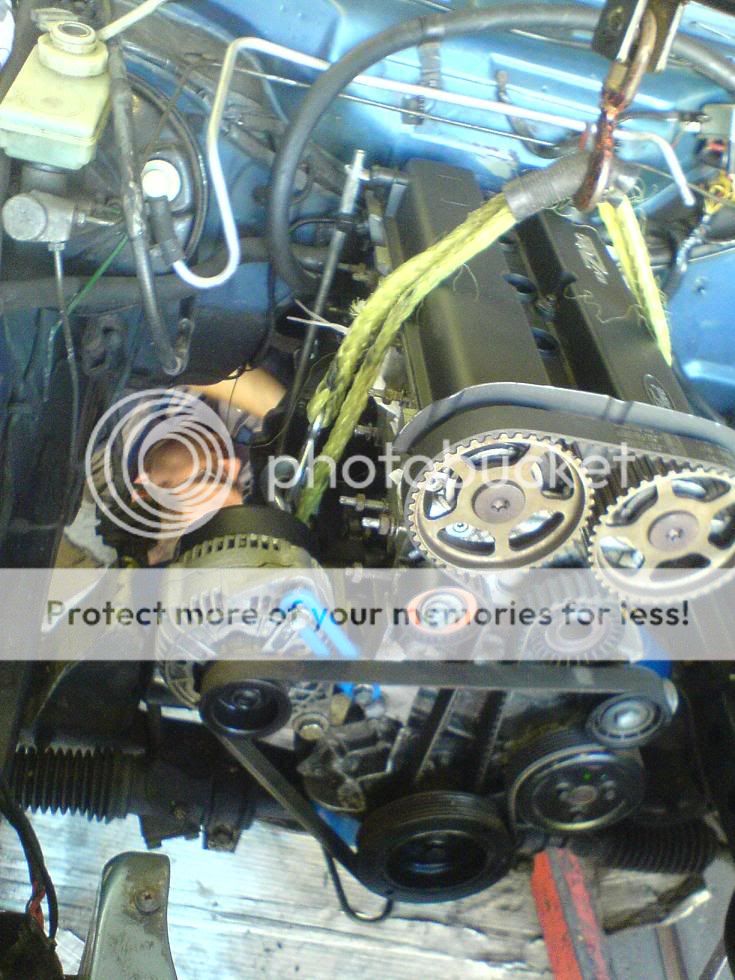
admire your work and start wiring up!
realise the new gearstick doesnt fit under the origional gator... *DOH!*

take random pics to remember how things get wired up while they are down in the car!

why not invite a few friends around to help!

then work away all through the day!
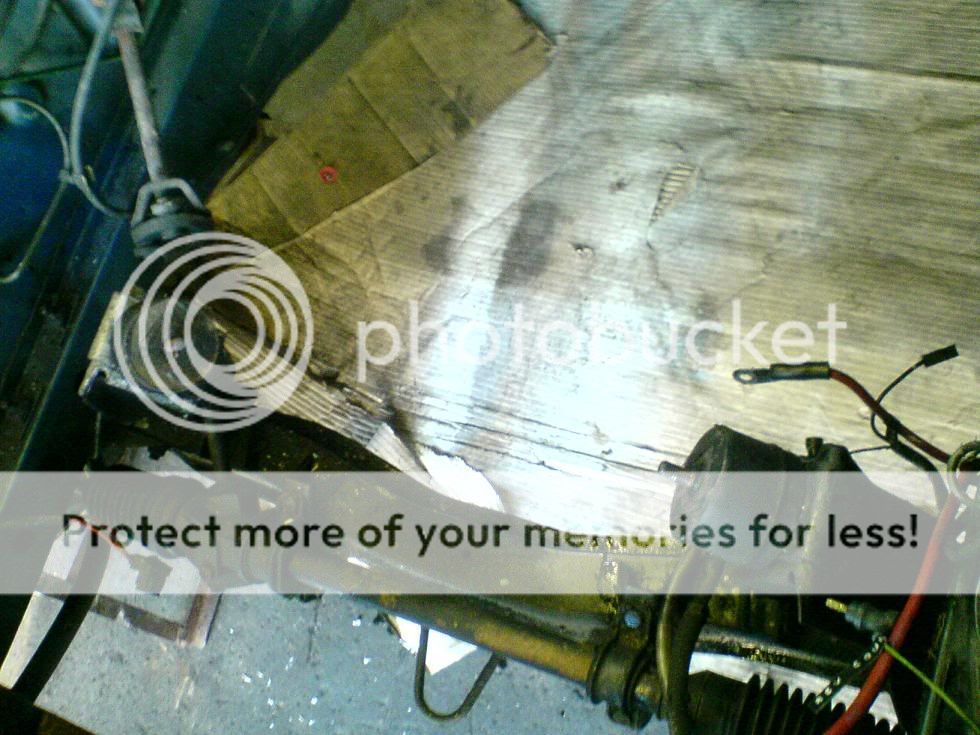
take the car off the jacks... and realise theres a lot of neggy camber of the capper with the rear springs fully compressed!

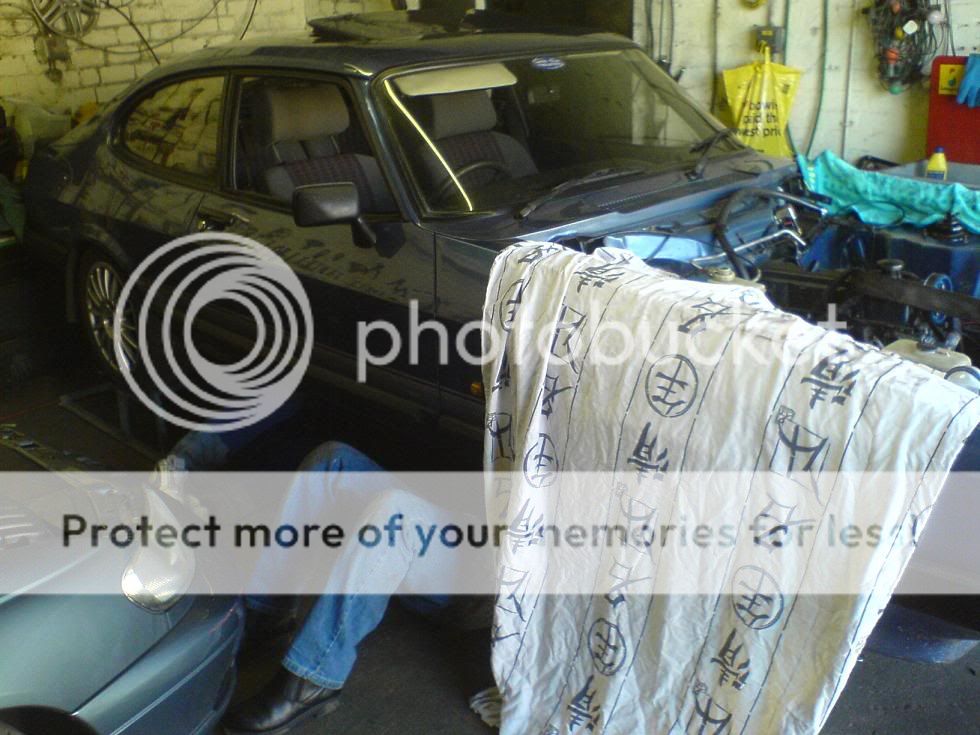
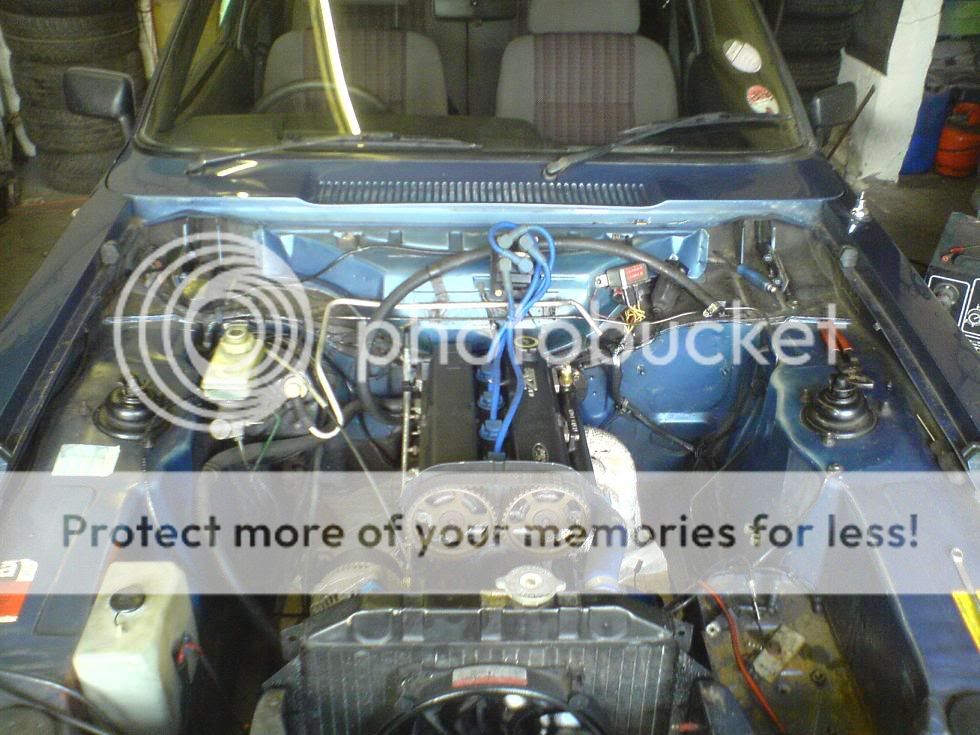
then... marvel at your work!!
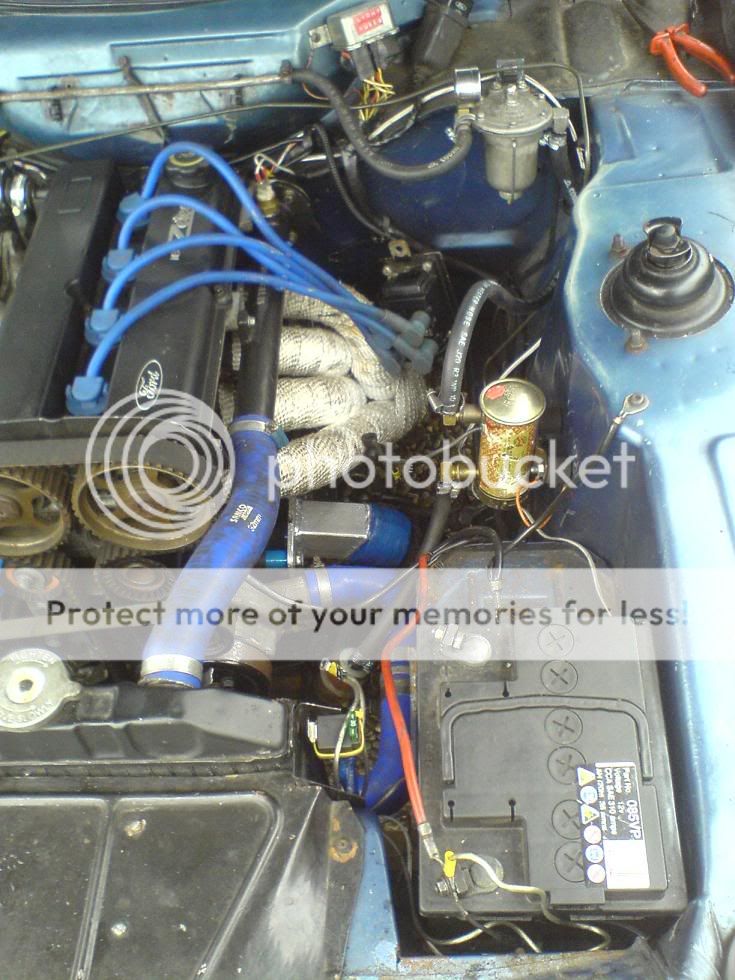
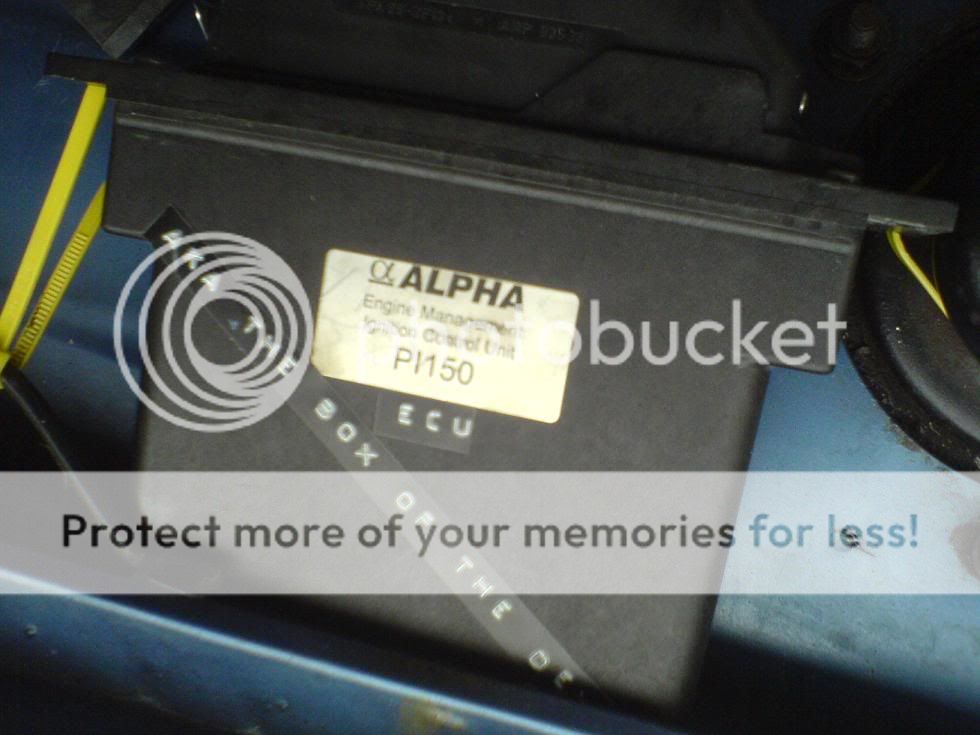
alpha management ECU AKA THE BOX OF THE DEVIL
just to check on the pressure so the carbs dont get overloaded

new electric fan as theres no viscous couplings here!
engine sits nice and far back to the bulkhead
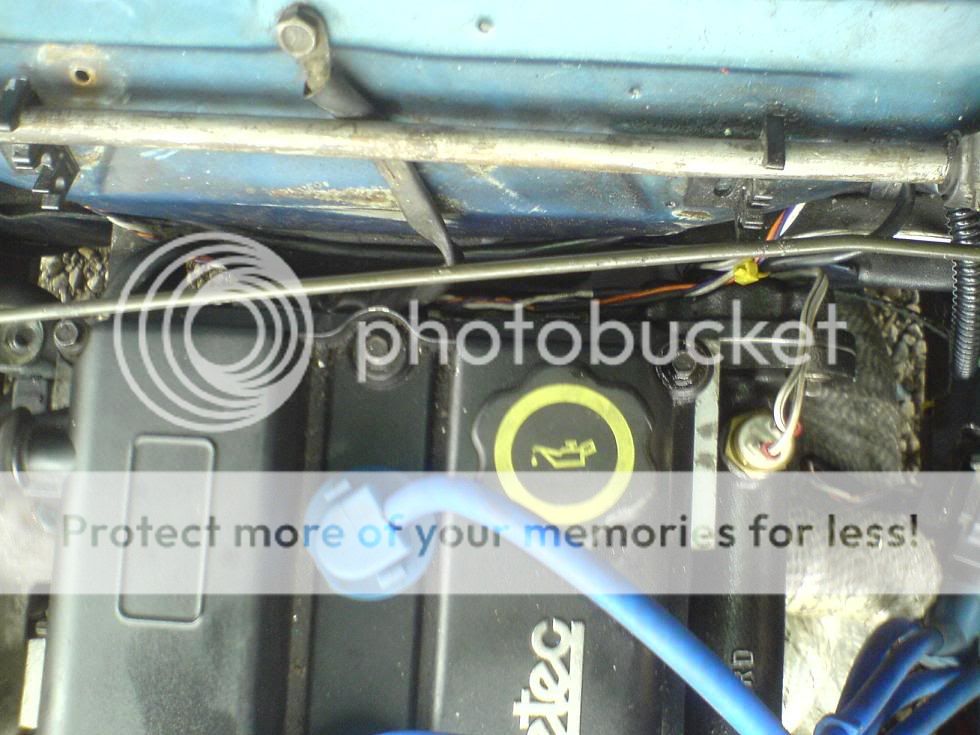
yet still has loads of room up front!
and oh yes...... we cant go away without starting her up and giving her a few revs.
bit of an eventful startup. running no exhaust and just a 4-2-1 ashley manifold... it backfired twice. and when it did it sounded like a bomb went off!!!!
enjoy the video and the updates!!

we did it, engine change AND wired up in 10 hours!!!
thats including pizza breaks messing around with the engine hoist brakes etc... as you know.
anyway piccies and a few discriptions!!
First of all, bonnet off (gotta mark this up so it goes back on streight)
gearstick off
carbs off
engine hoist in place
undo stuff!
lift it out!!
see the big hole you left (omg!)
look at the old engine.... with a tear in your eye- say goodbye!
and hello to the new one!!
drop it in. mount it up
admire your work and start wiring up!
realise the new gearstick doesnt fit under the origional gator... *DOH!*
take random pics to remember how things get wired up while they are down in the car!
why not invite a few friends around to help!
then work away all through the day!
take the car off the jacks... and realise theres a lot of neggy camber of the capper with the rear springs fully compressed!
then... marvel at your work!!
alpha management ECU AKA THE BOX OF THE DEVIL
just to check on the pressure so the carbs dont get overloaded
new electric fan as theres no viscous couplings here!
engine sits nice and far back to the bulkhead
yet still has loads of room up front!
and oh yes...... we cant go away without starting her up and giving her a few revs.
bit of an eventful startup. running no exhaust and just a 4-2-1 ashley manifold... it backfired twice. and when it did it sounded like a bomb went off!!!!
enjoy the video
27-07-2008, 07:07 AM
#12
Too many posts.. I need a life!!
Thread Starter
Join Date: Jul 2007
Posts: 533
Likes: 0
Received 0 Likes
on
0 Posts
was a very good day in the video really... n my friends only cost two pizzas and 2 bottles of buy one get one free pepsi for all their hard work.... haha
27-07-2008, 09:32 AM
#13
PassionFord Regular

Join Date: Aug 2007
Location: kent
Posts: 436
Likes: 0
Received 0 Likes
on
0 Posts
thats a sweet capri well done. bet it goes well with the zetec.
Arh you could have just put a cvh sump on the zetec engine , dont have to move the engine back then .
Arh you could have just put a cvh sump on the zetec engine , dont have to move the engine back then .
 29-07-2008, 12:04 PM
#16
Too many posts.. I need a life!!
Thread Starter
Join Date: Jul 2007
Posts: 533
Likes: 0
Received 0 Likes
on
0 Posts
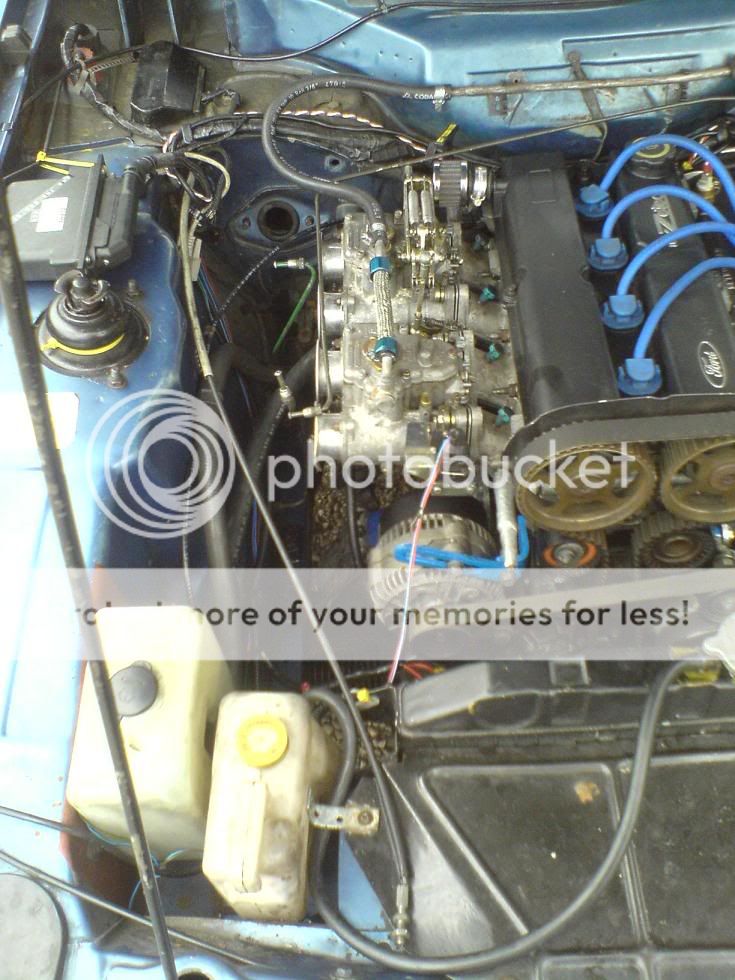
few piccies with the propper cam
thanx very much
having trouble with space in the engine bay (believe it or not)
so having to move the bake master cylinder and servo.... not a small job believe me.
engine change took 10hrs brake servo's gonna take 2 weeks!!!!
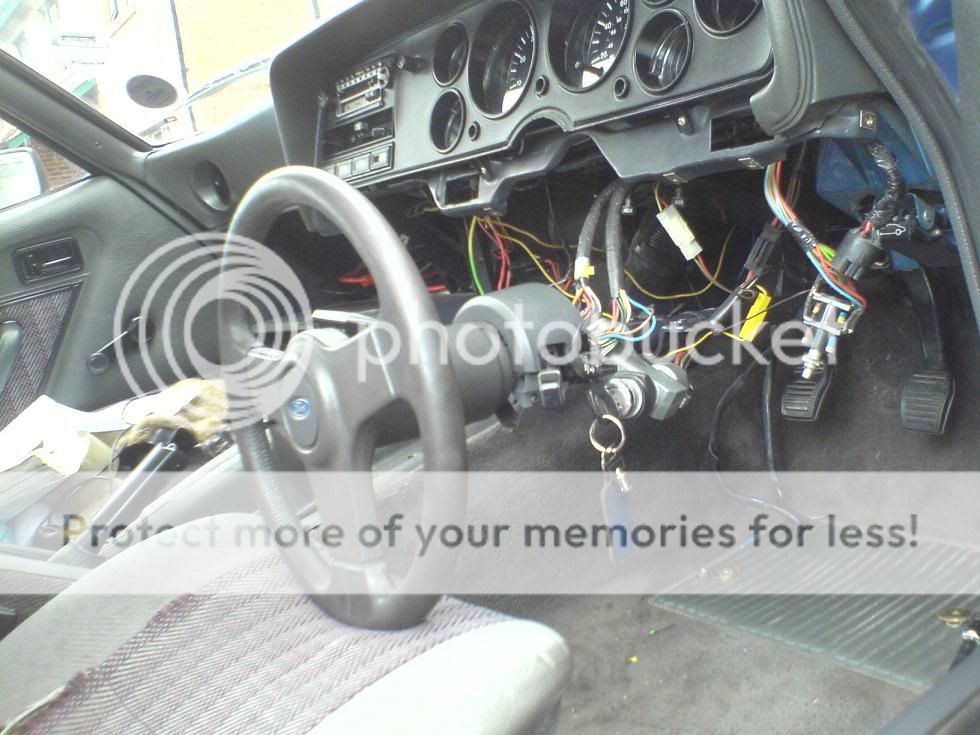
heres a little insight....
the mess continues, a little insight into the work required to remove the pedal box!!!

=)
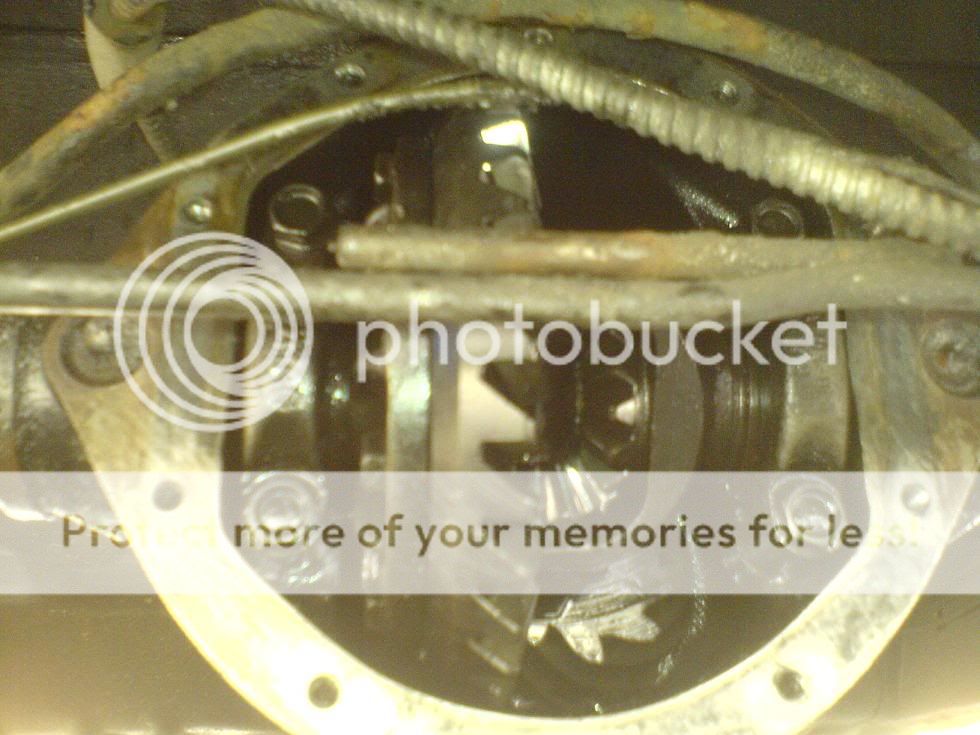
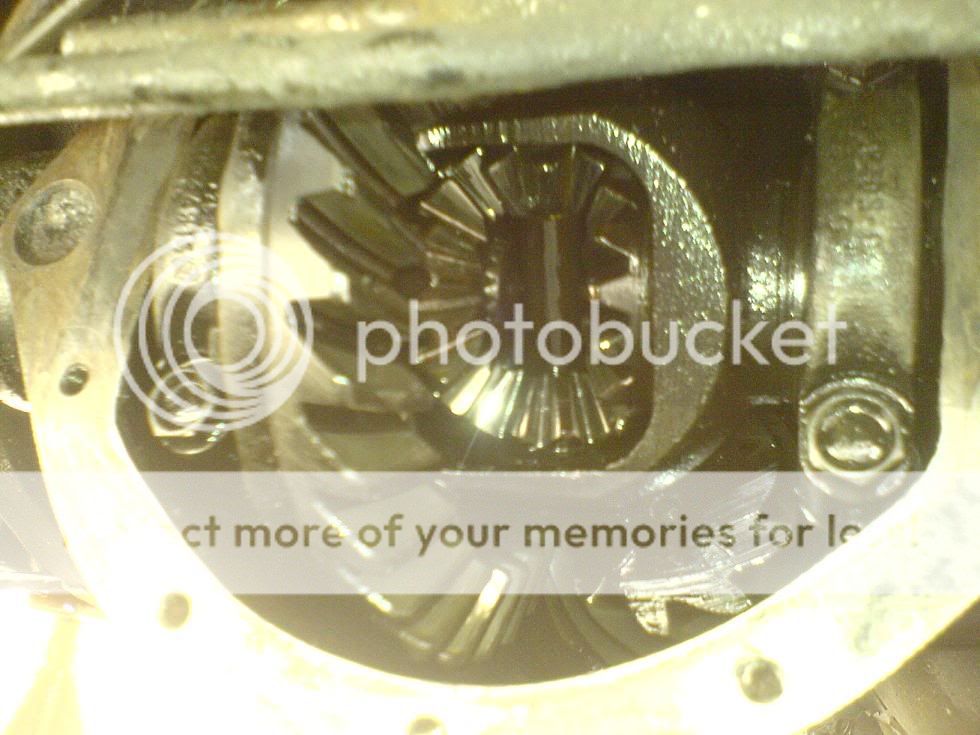
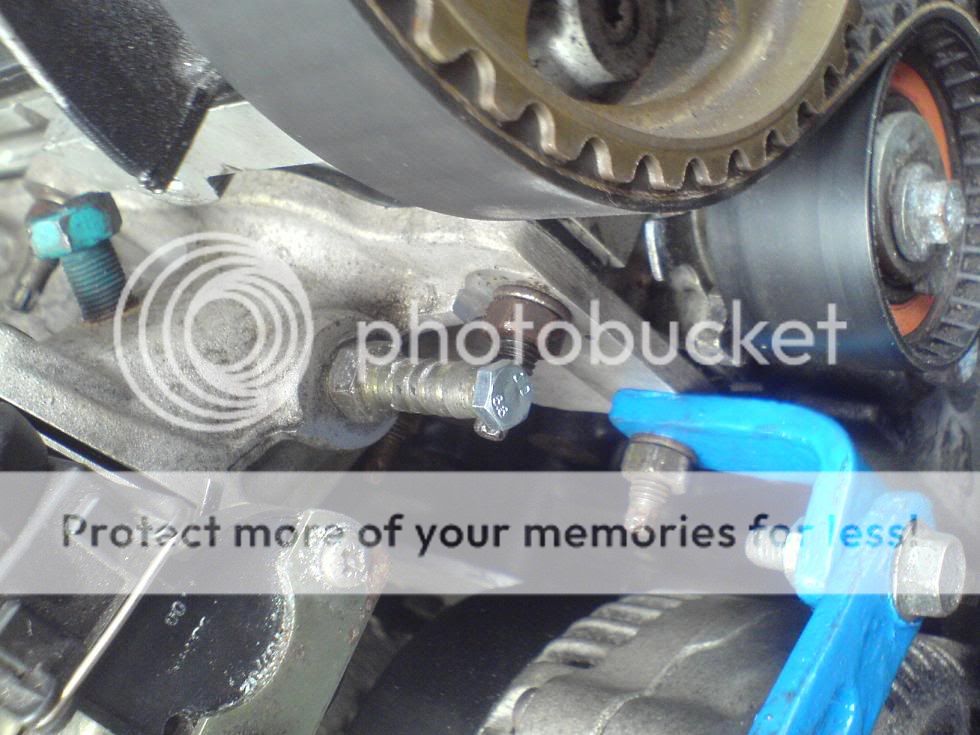
while im waiting for my pedal box back from peter lloyd (for the brakes) ive had some time free, so i thought id do the rear diff gasket.... and im GLAD i did it!!
taking the cover off, about 5 tablespoons full of oil came out...... oh deary me, theres suppost to be 1 and a half liters in there!!!
anyway piccies do the talking, cause i cba typin =)

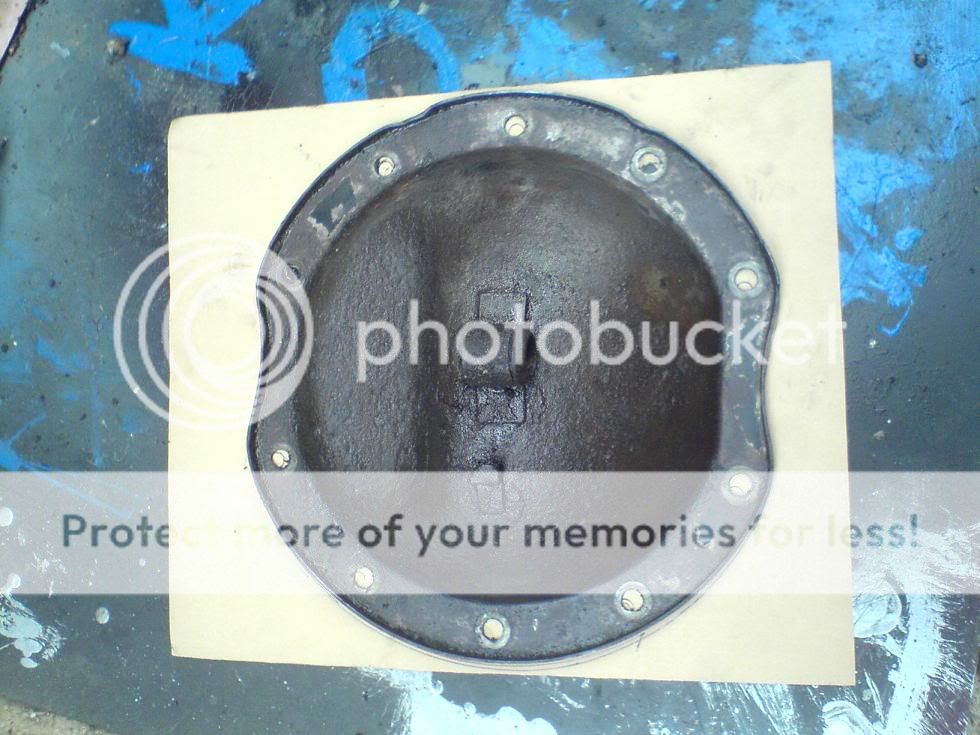

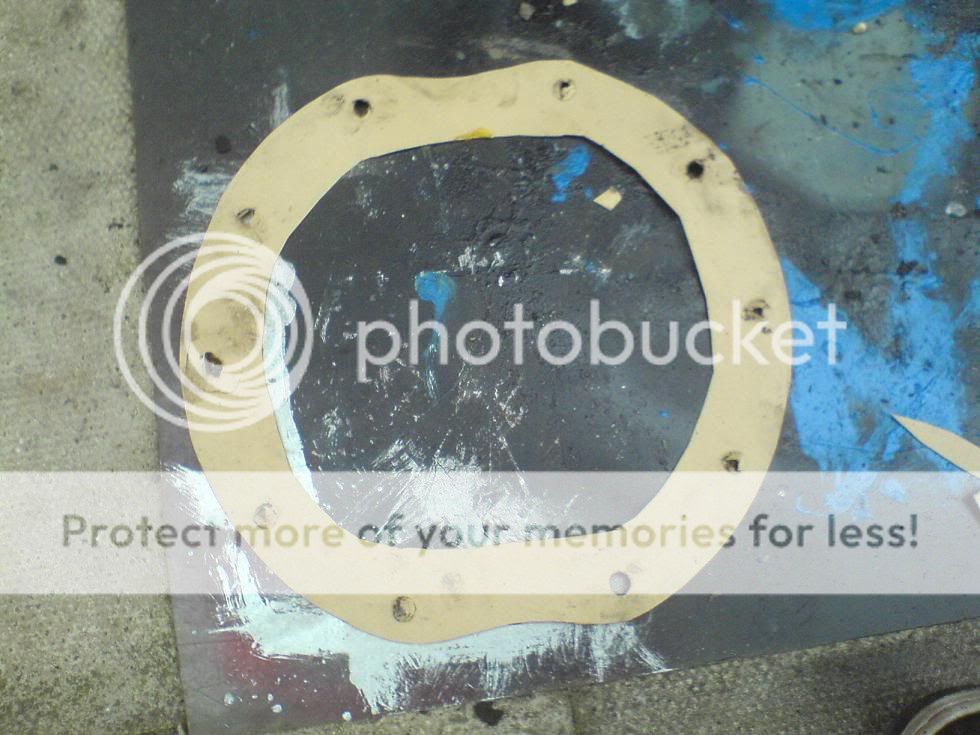
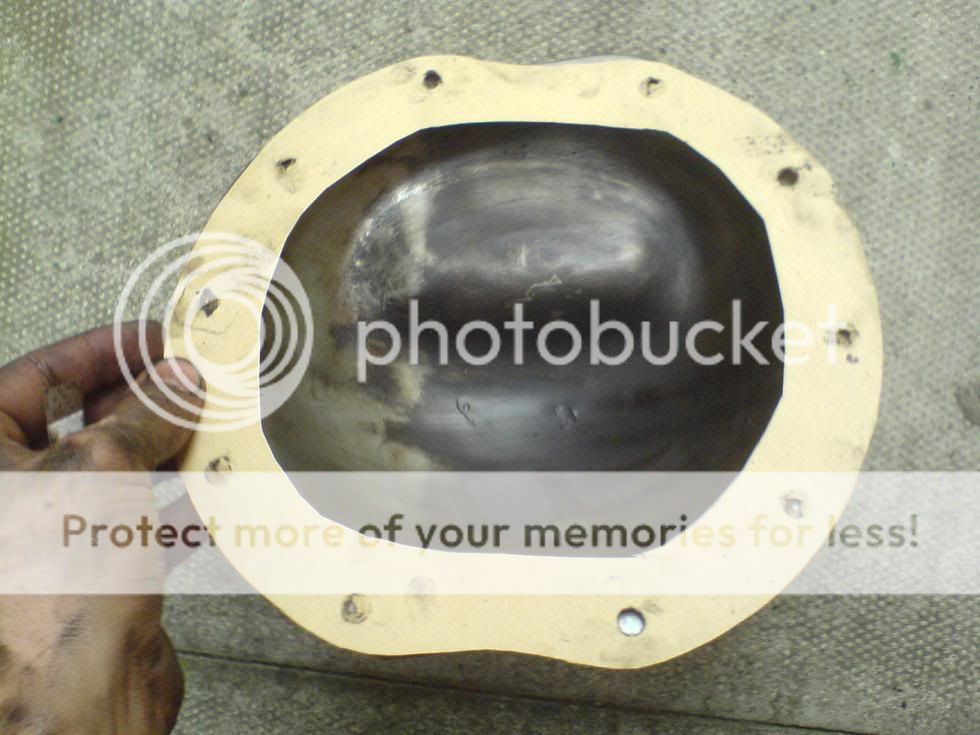
=) then fit with some gooey stuff.
easy. just gotta refill the diff in the morning when the gunky stuff has set!
should make less noise now!!
thanx very much
having trouble with space in the engine bay (believe it or not)
so having to move the bake master cylinder and servo.... not a small job believe me.
engine change took 10hrs brake servo's gonna take 2 weeks!!!!
heres a little insight....
the mess continues, a little insight into the work required to remove the pedal box!!!
=)
while im waiting for my pedal box back from peter lloyd (for the brakes) ive had some time free, so i thought id do the rear diff gasket.... and im GLAD i did it!!
taking the cover off, about 5 tablespoons full of oil came out...... oh deary me, theres suppost to be 1 and a half liters in there!!!
anyway piccies do the talking, cause i cba typin =)
=) then fit with some gooey stuff.
easy. just gotta refill the diff in the morning when the gunky stuff has set!
should make less noise now!!
30-07-2008, 04:59 PM
#17
Too many posts.. I need a life!!
Thread Starter
Join Date: Jul 2007
Posts: 533
Likes: 0
Received 0 Likes
on
0 Posts
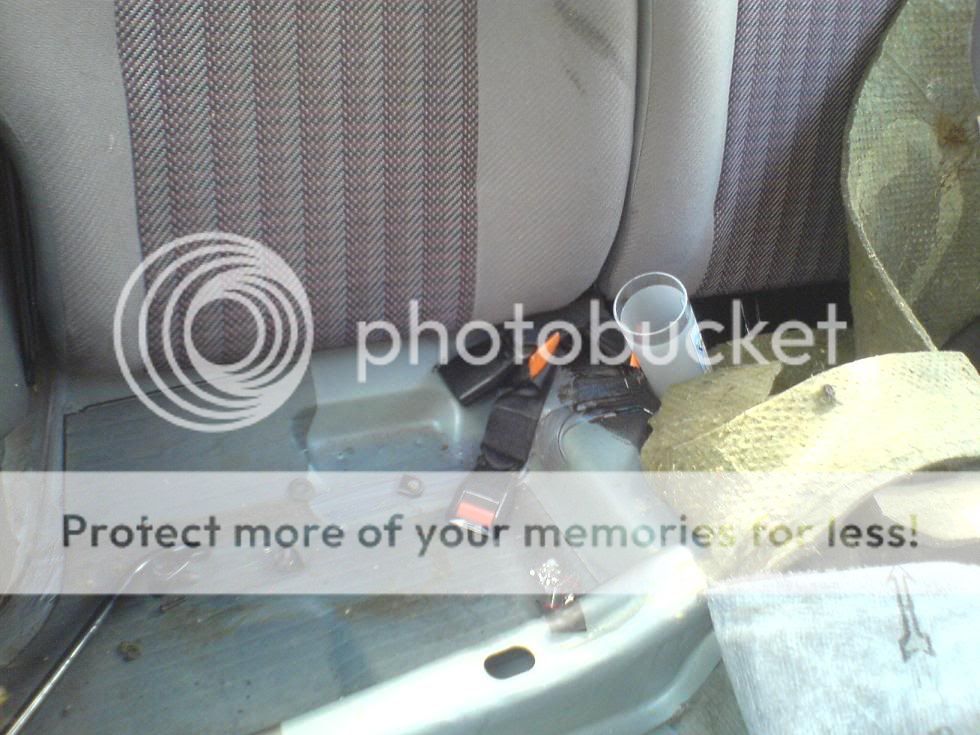
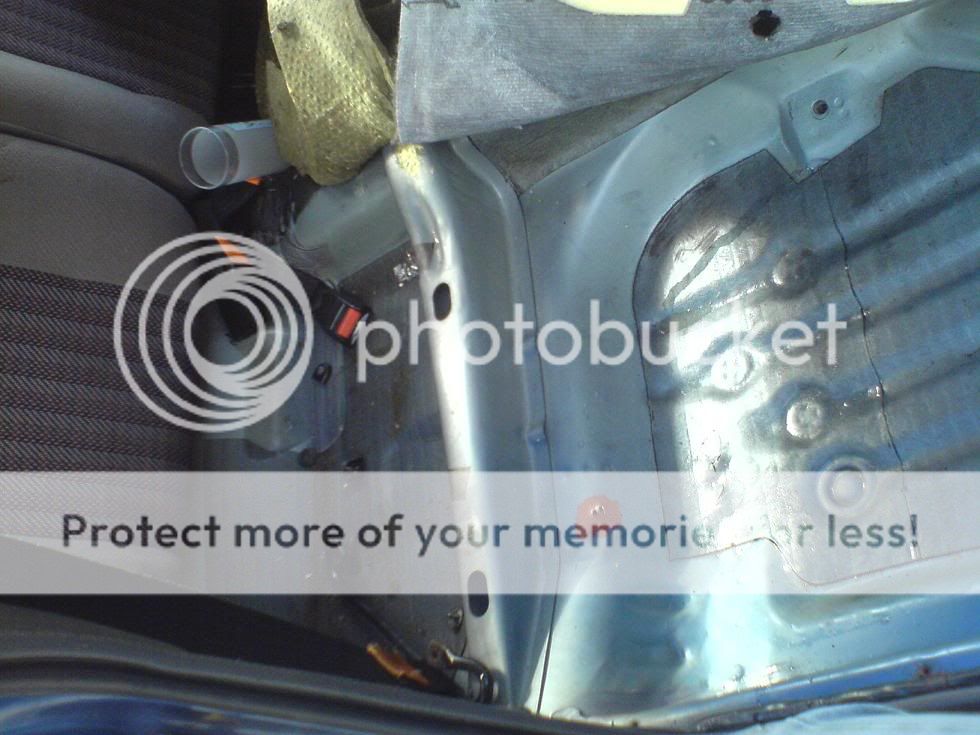
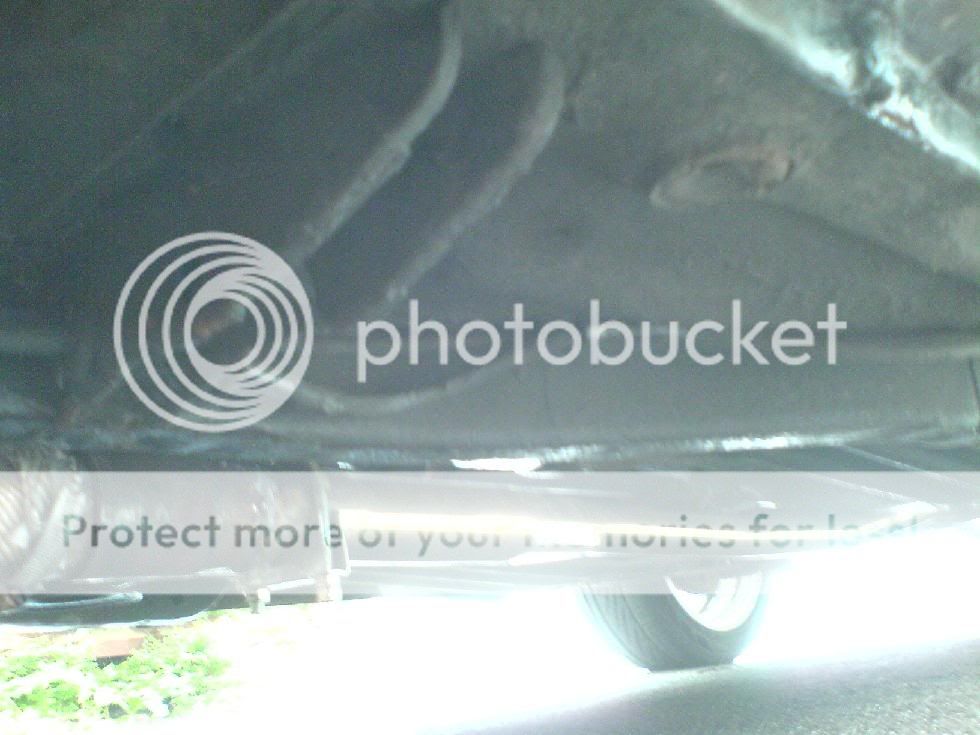
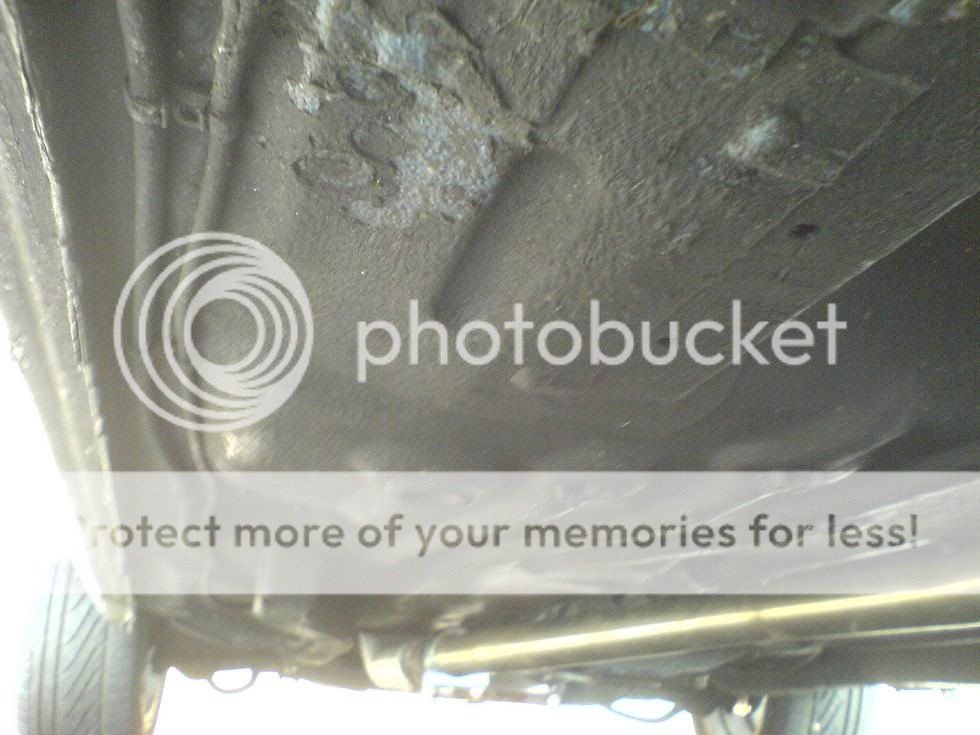
thought i'd be productive today.... found where my water leak was, sealed it up.... and went on about checking the state of the floor for rust etc... then undersealing when i was happy with how it was =)
ill let the pics do the talking...


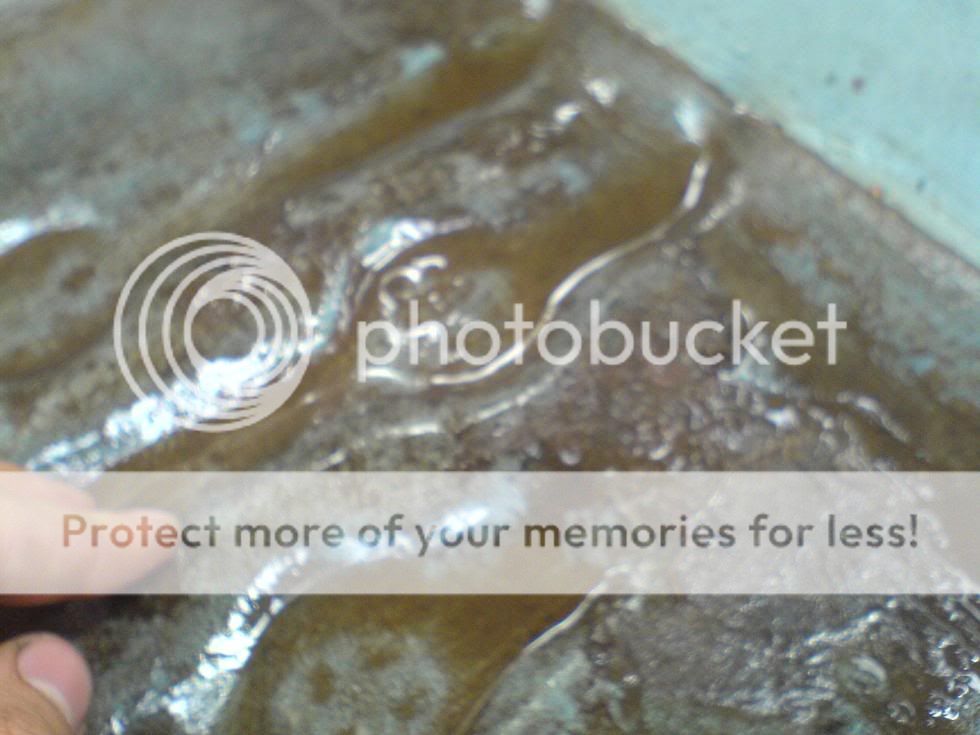
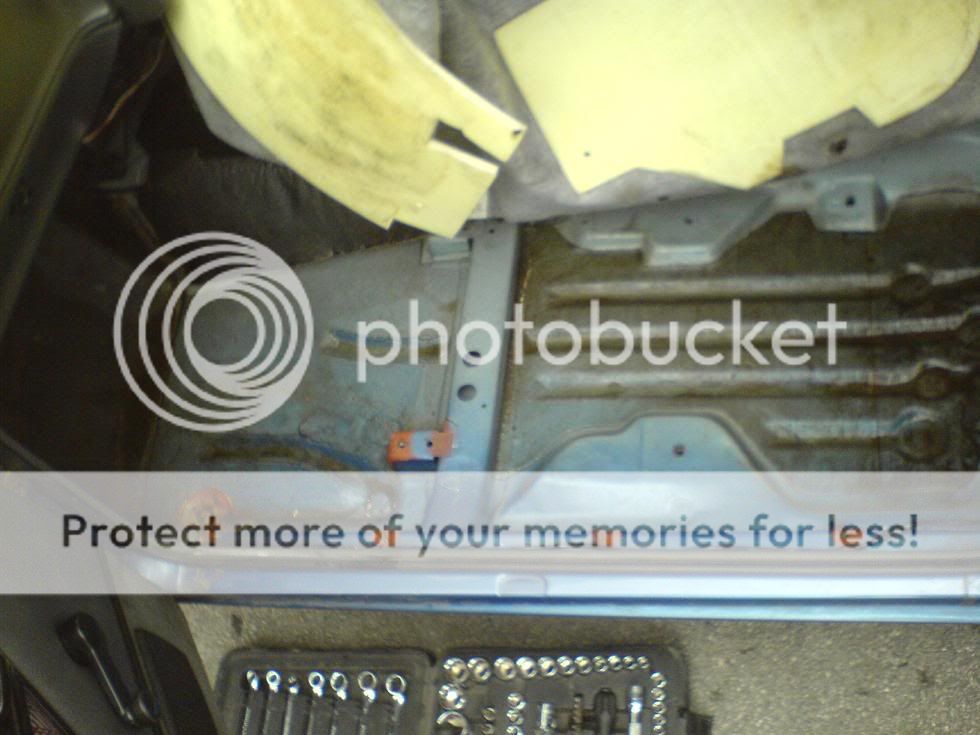
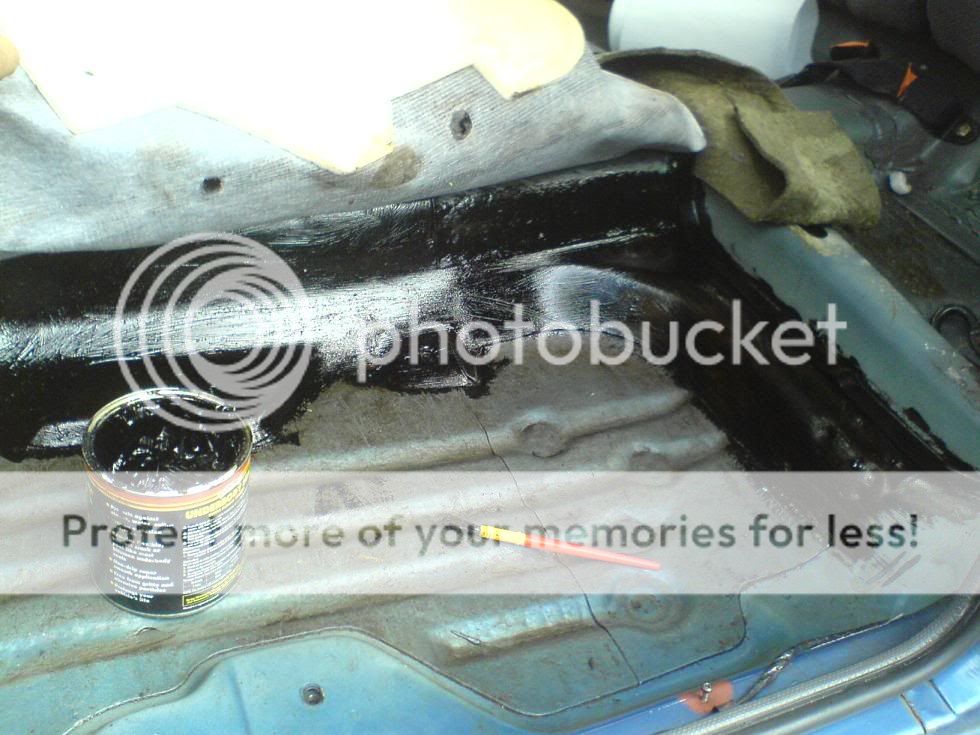
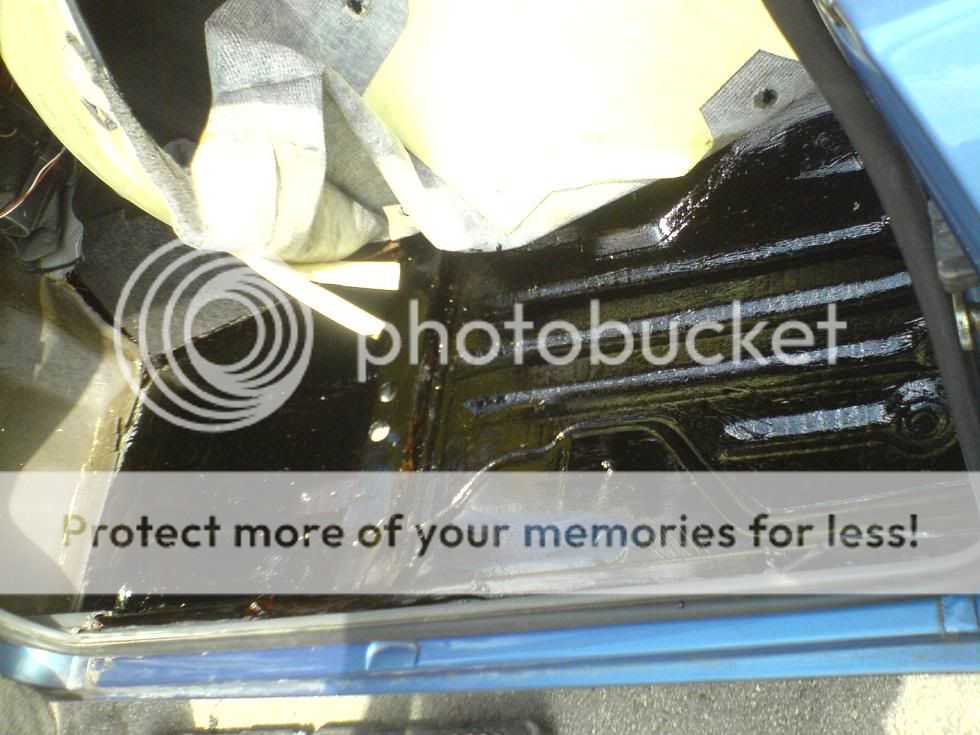
ill let the pics do the talking...
09-08-2008, 05:19 PM
#18
Too many posts.. I need a life!!
Thread Starter
Join Date: Jul 2007
Posts: 533
Likes: 0
Received 0 Likes
on
0 Posts
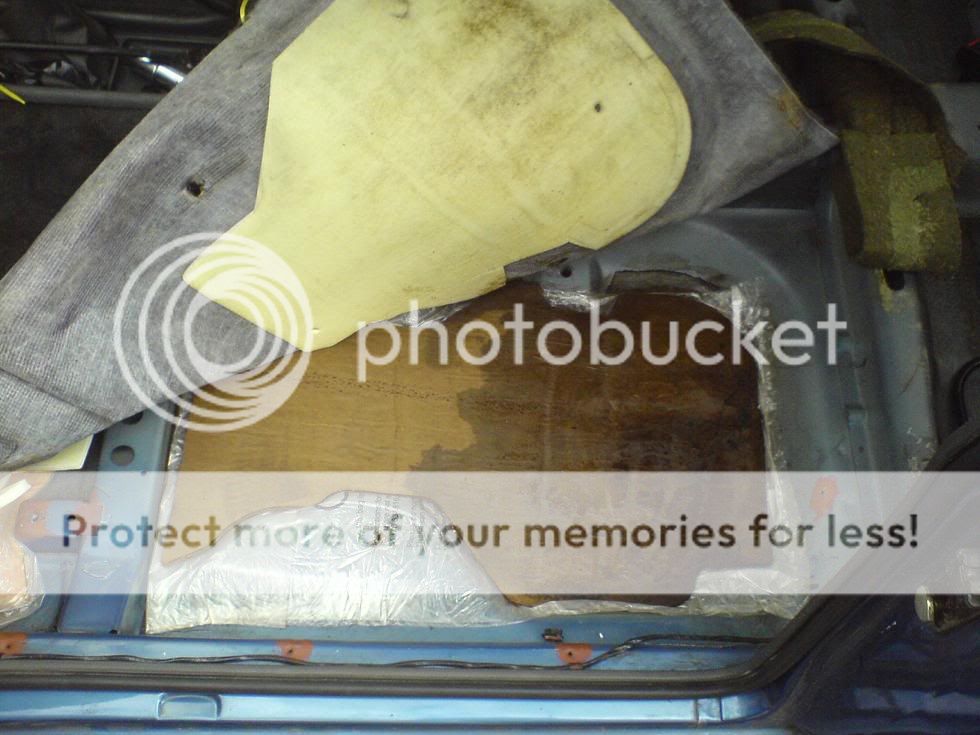
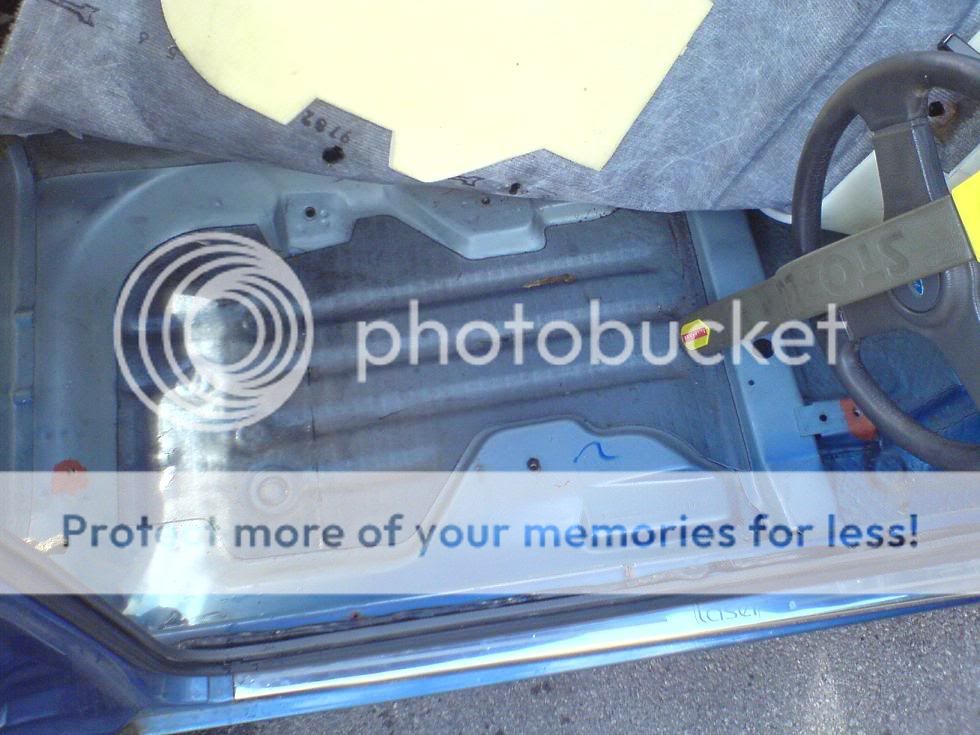
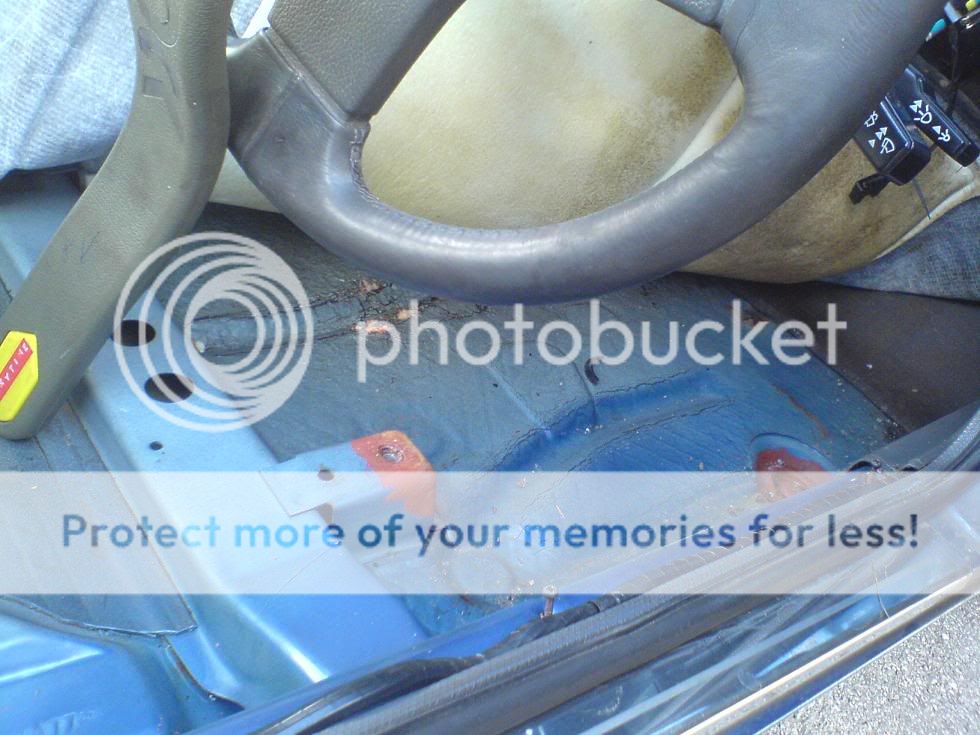
got a new door seal for the passenger side.
stripped the drivers side down... ohhh its so concourse and origonal!!!
all the overspray from factory and everything!!!!
damn.... trouble is, ive come here to underseal it and keep a clean shell less of rust........
damn i think i should do the drivers side haha
(p.s. on the stoplock it does say sexytime before anyone asks lol)
ohhhh and my gearknob came!!!!
crap pics. its just a polished aluminium sphere.. nice n simple

well.... tough week
pedal box has been here since friday morning... but i havent been able to do anything as ive been very ill and had an operation to remove my apendix =(.
so im not able to do anything on the car for a while. but im home and ok so thats all good.
anyway modified pedal box came.
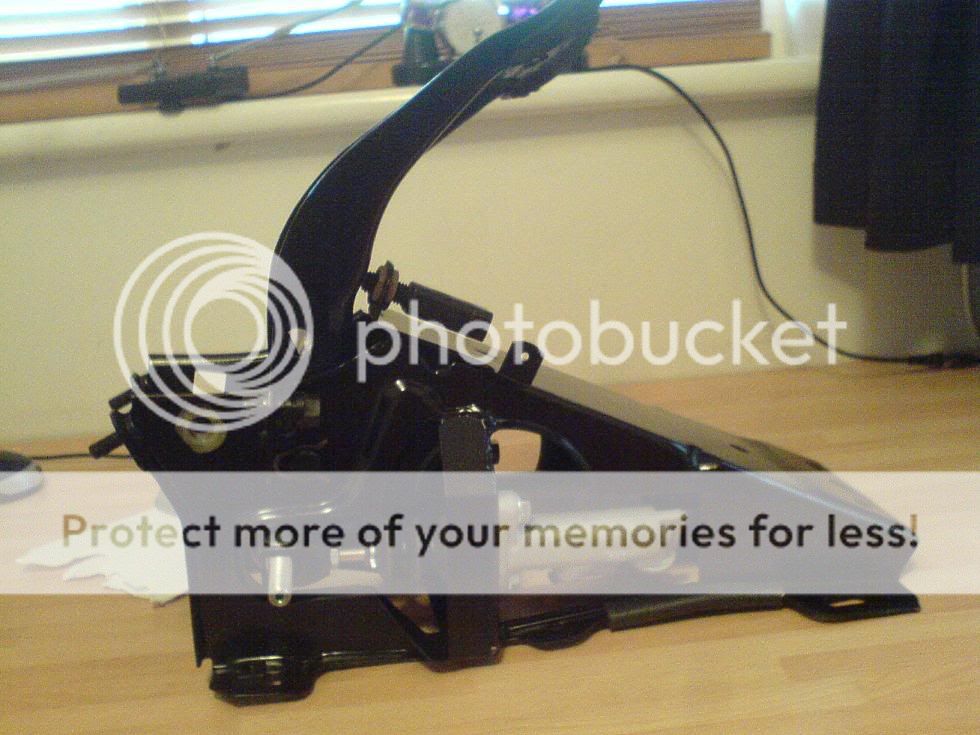
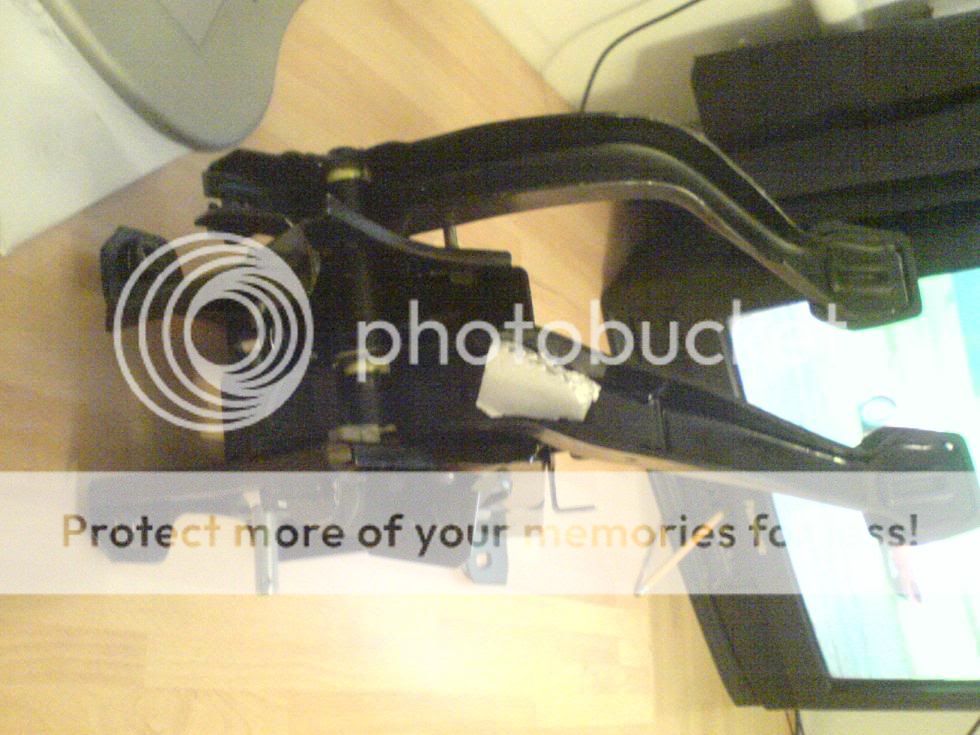
1. acc pedal modified with a kink in it, not sure if its longer or shorter, but didnt have that kink in it when i sent it off
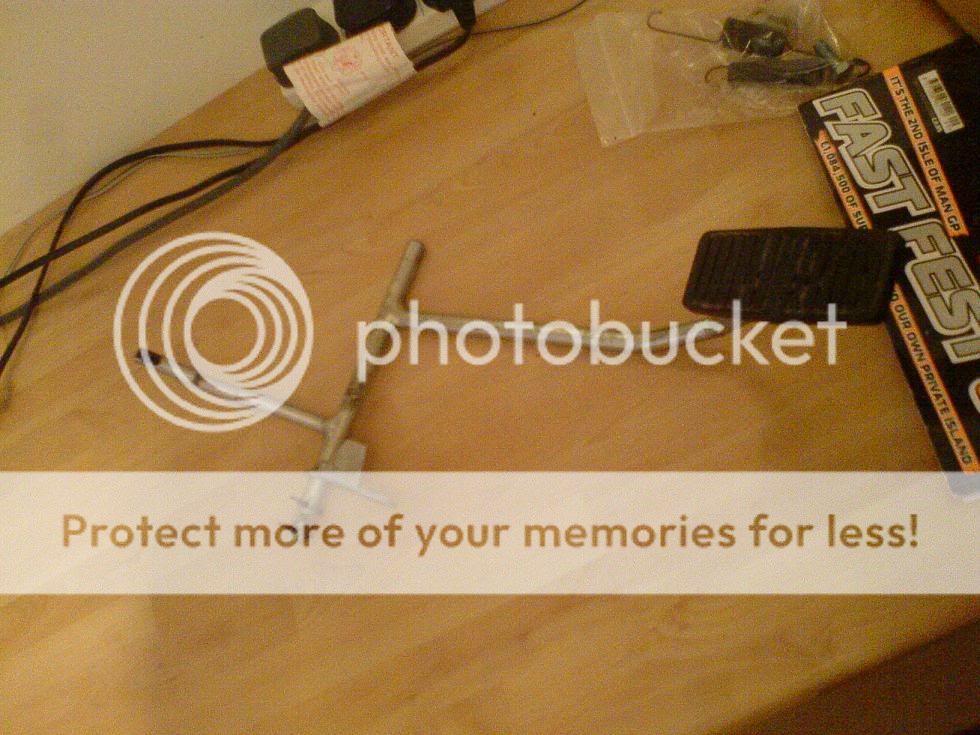
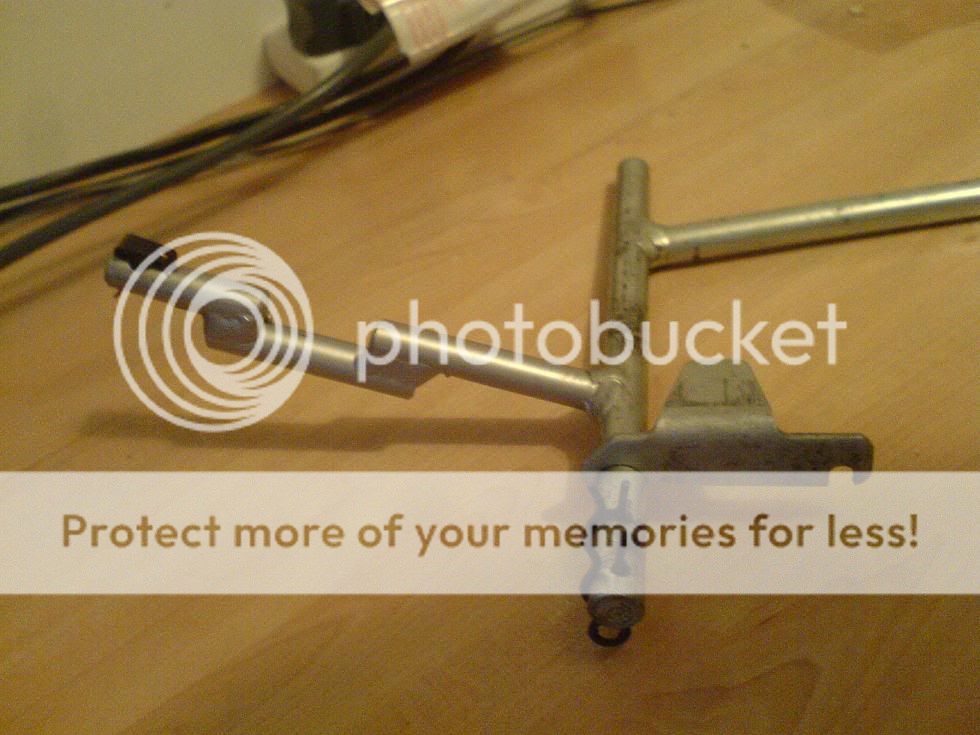
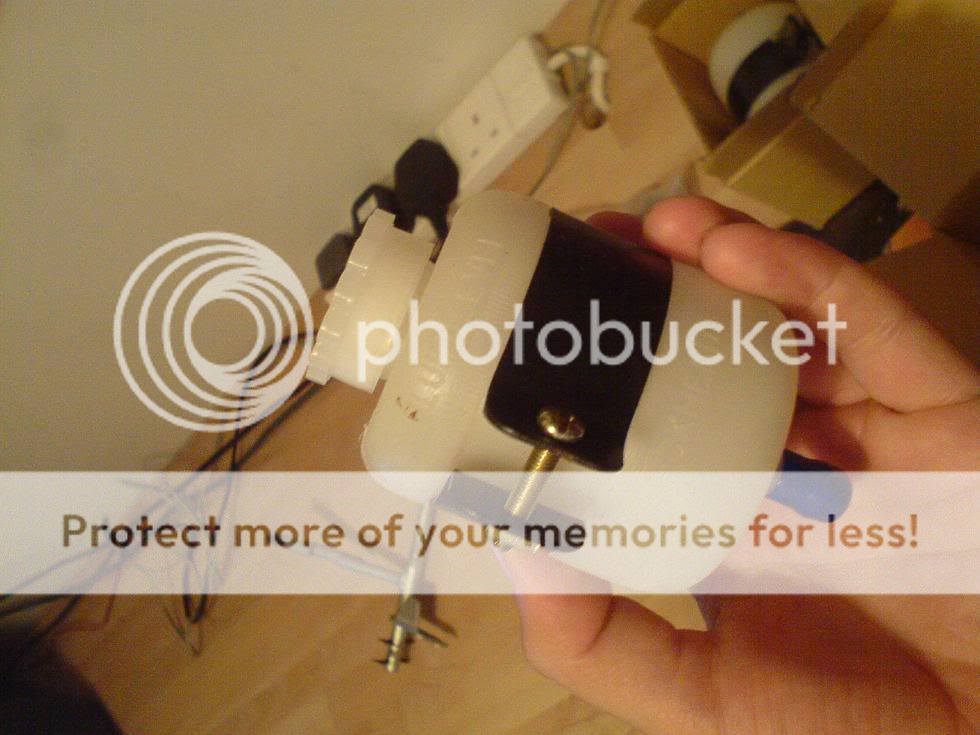
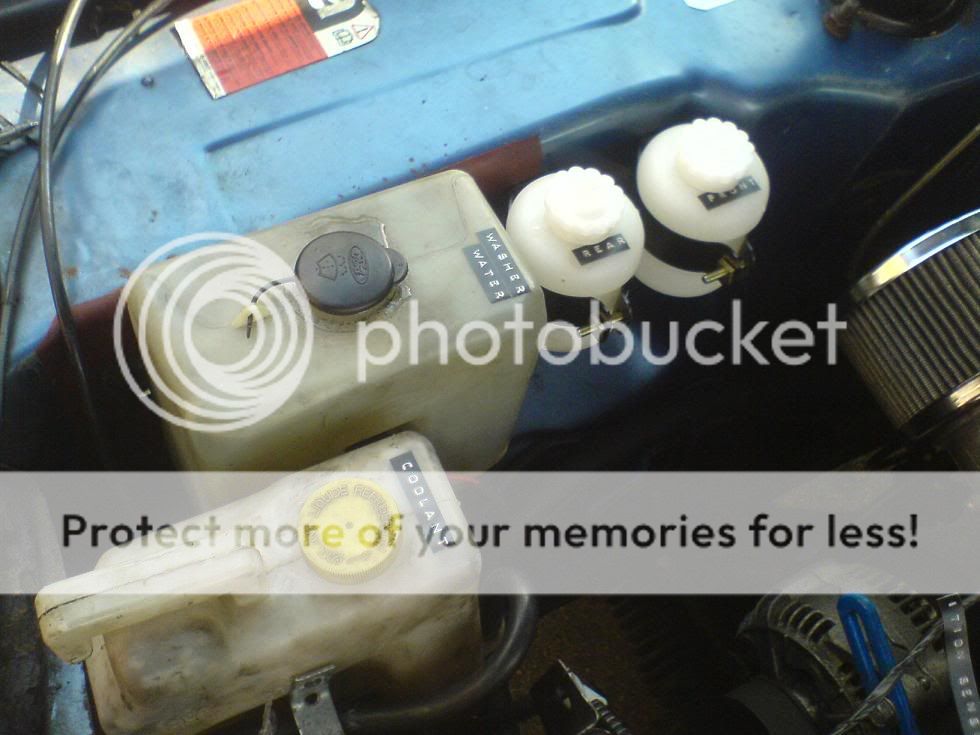
secondly got two resevoir pots for the brake fluid (front n rear)


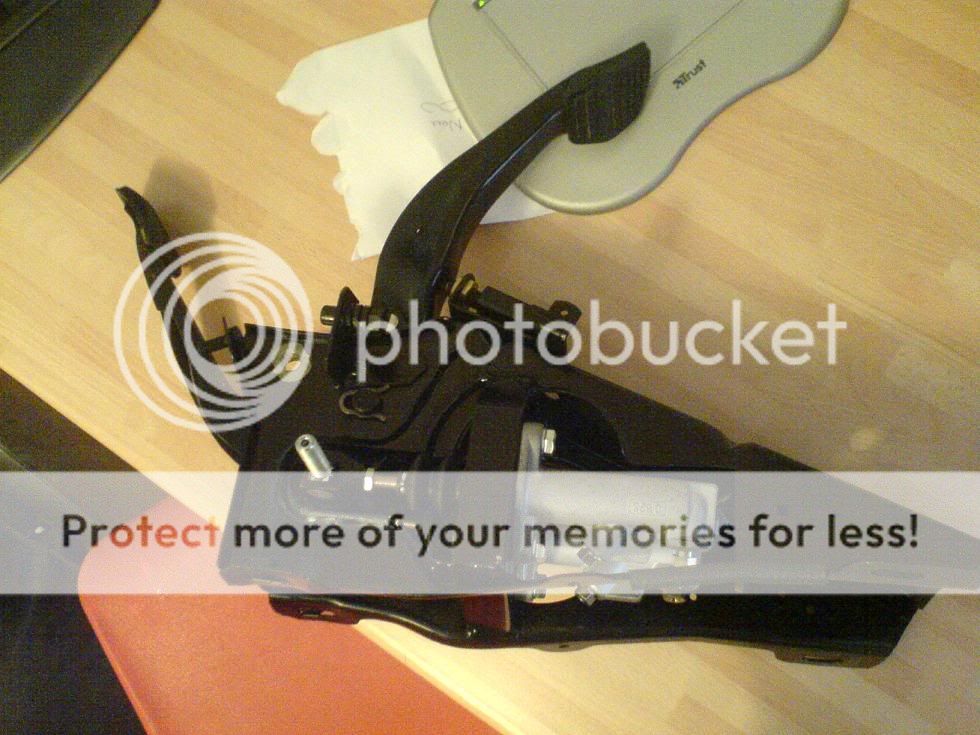
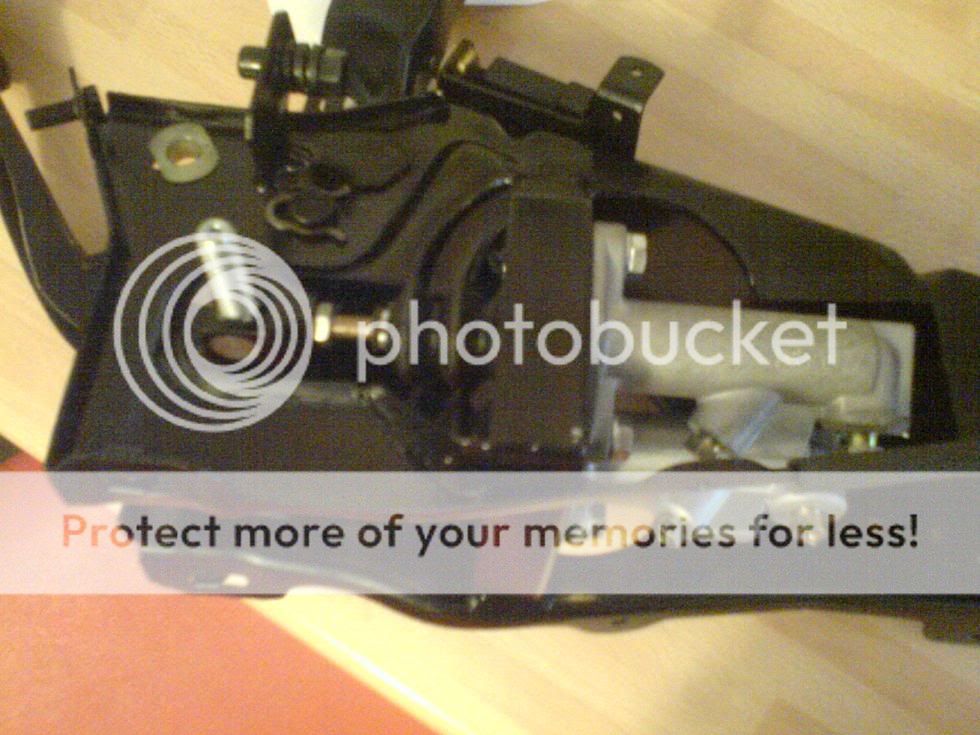
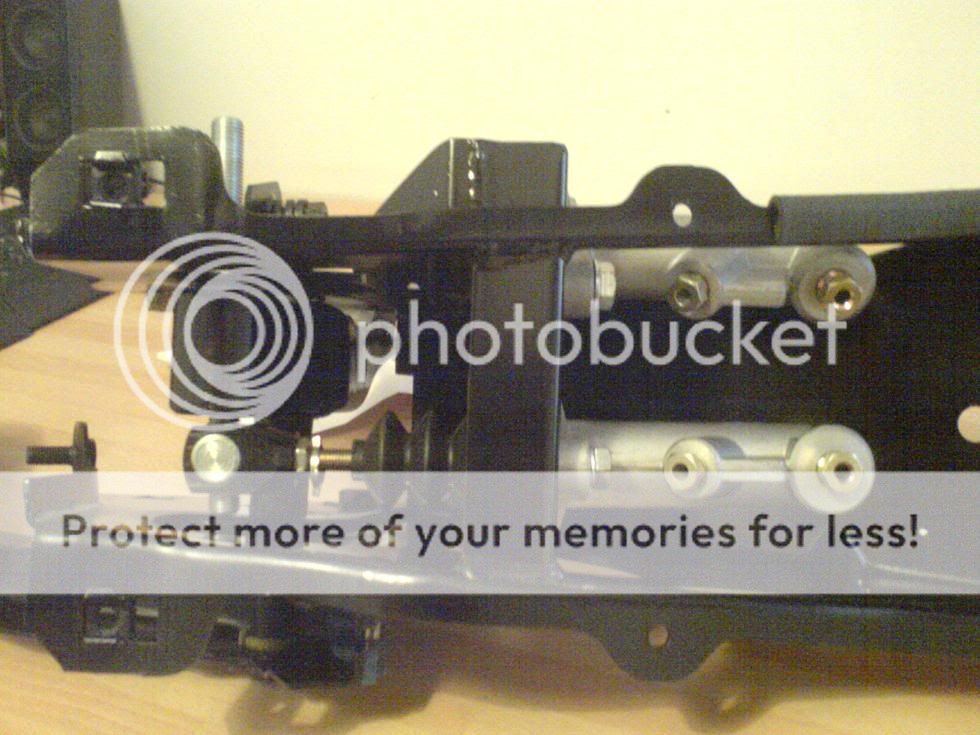
and finally. the pedal box.
if you havent seen a std capri pedal box you wont know the difference, but its really very different to the std one.
two master cylinders and a balance bar between the two. swanky
all painted black (think they powdercoated it too)
=)
stripped the drivers side down... ohhh its so concourse and origonal!!!
all the overspray from factory and everything!!!!
damn.... trouble is, ive come here to underseal it and keep a clean shell less of rust........
damn i think i should do the drivers side haha
(p.s. on the stoplock it does say sexytime before anyone asks lol)
ohhhh and my gearknob came!!!!
crap pics. its just a polished aluminium sphere.. nice n simple
well.... tough week
pedal box has been here since friday morning... but i havent been able to do anything as ive been very ill and had an operation to remove my apendix =(.
so im not able to do anything on the car for a while. but im home and ok so thats all good.
anyway modified pedal box came.
1. acc pedal modified with a kink in it, not sure if its longer or shorter, but didnt have that kink in it when i sent it off
secondly got two resevoir pots for the brake fluid (front n rear)
and finally. the pedal box.
if you havent seen a std capri pedal box you wont know the difference, but its really very different to the std one.
two master cylinders and a balance bar between the two. swanky
all painted black (think they powdercoated it too)
=)
 16-08-2008, 02:33 PM
#22
Too many posts.. I need a life!!
Thread Starter
Join Date: Jul 2007
Posts: 533
Likes: 0
Received 0 Likes
on
0 Posts
well after having my appendix out i havent been able to do much really.
got a couple of easy things done today though =)
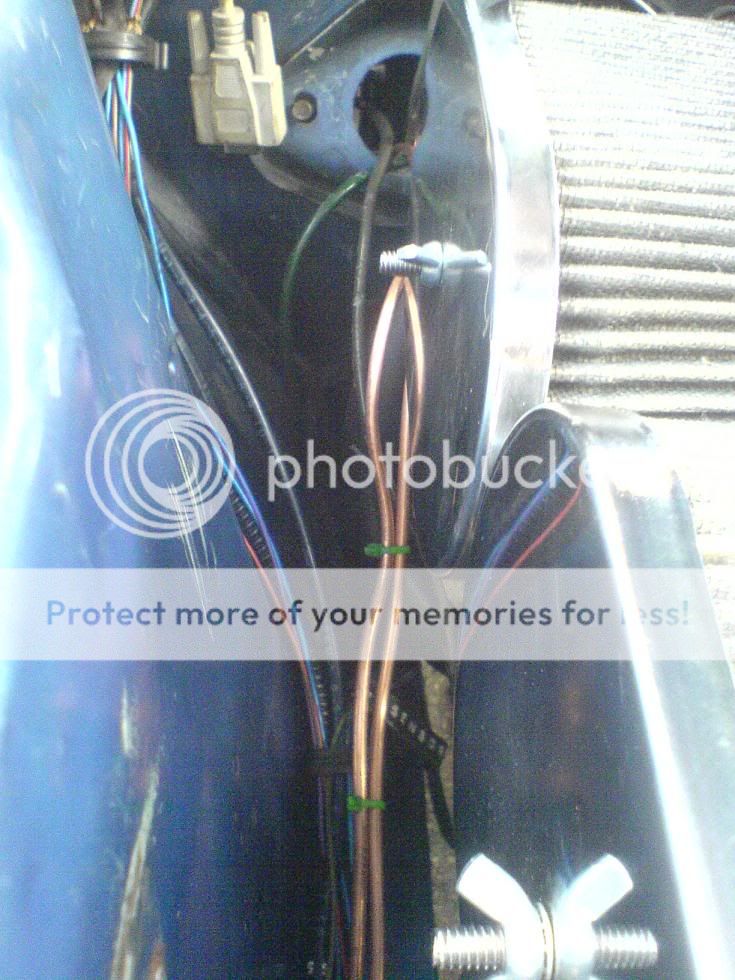
sealed up the vaccum advance on the inlet mani, as i wont be needing it no longer...
fitted my T-piece and plumbed in the heater matrix!

fitted my temp sender, making a small cut in the silicoln and stretching it around the temp sender... then sealing with araldite... good seal

and finally mounted my resevoir pots, the only place there was room left!!

got a couple of easy things done today though =)
sealed up the vaccum advance on the inlet mani, as i wont be needing it no longer...
fitted my T-piece and plumbed in the heater matrix!
fitted my temp sender, making a small cut in the silicoln and stretching it around the temp sender... then sealing with araldite... good seal
and finally mounted my resevoir pots, the only place there was room left!!
18-08-2008, 12:18 PM
#23
Too many posts.. I need a life!!
Thread Starter
Join Date: Jul 2007
Posts: 533
Likes: 0
Received 0 Likes
on
0 Posts
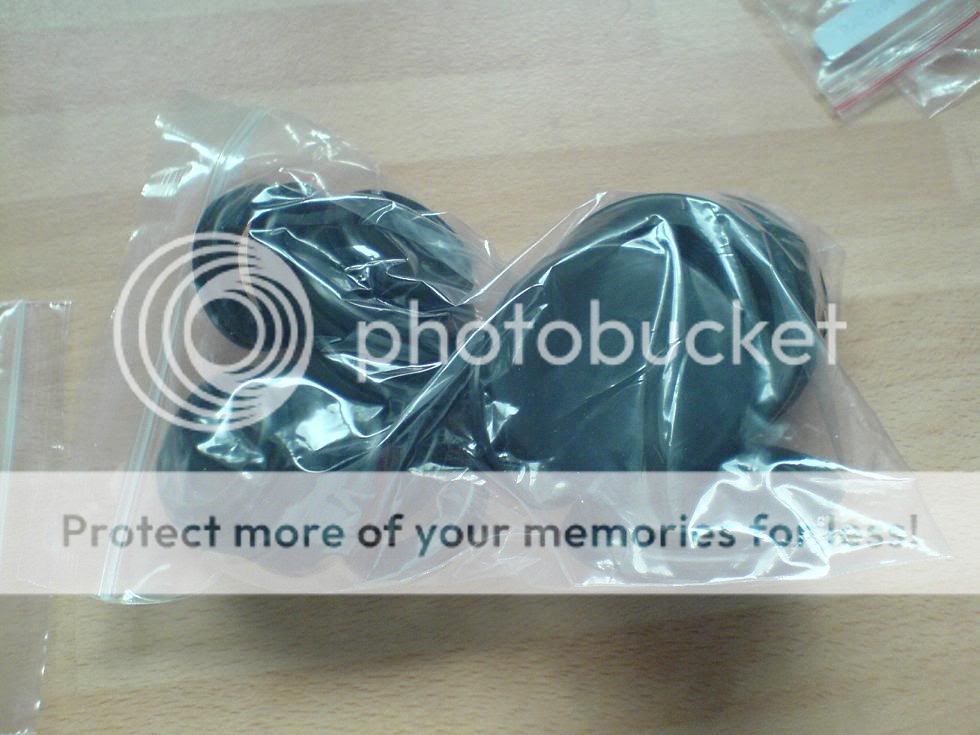
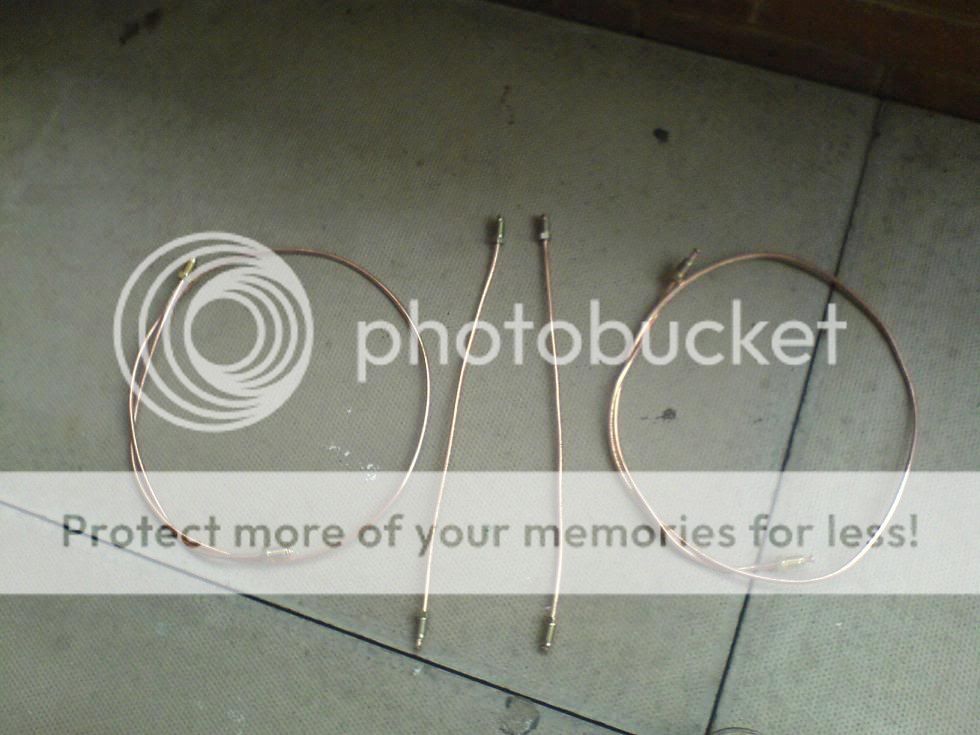
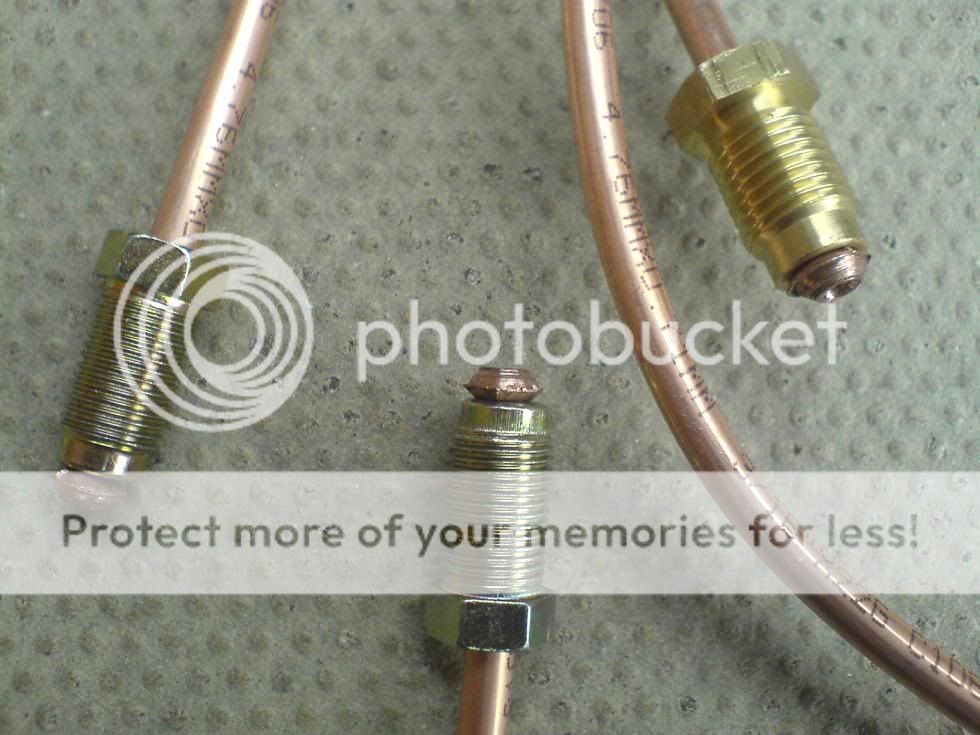
quick update. my parts arrived from www.carbuildersolutions.co.uk today (a day after i ordered them again... brilliant website, only reason im plugging it!)
nothing more nothing less to what i need
some gromits as they were cheap
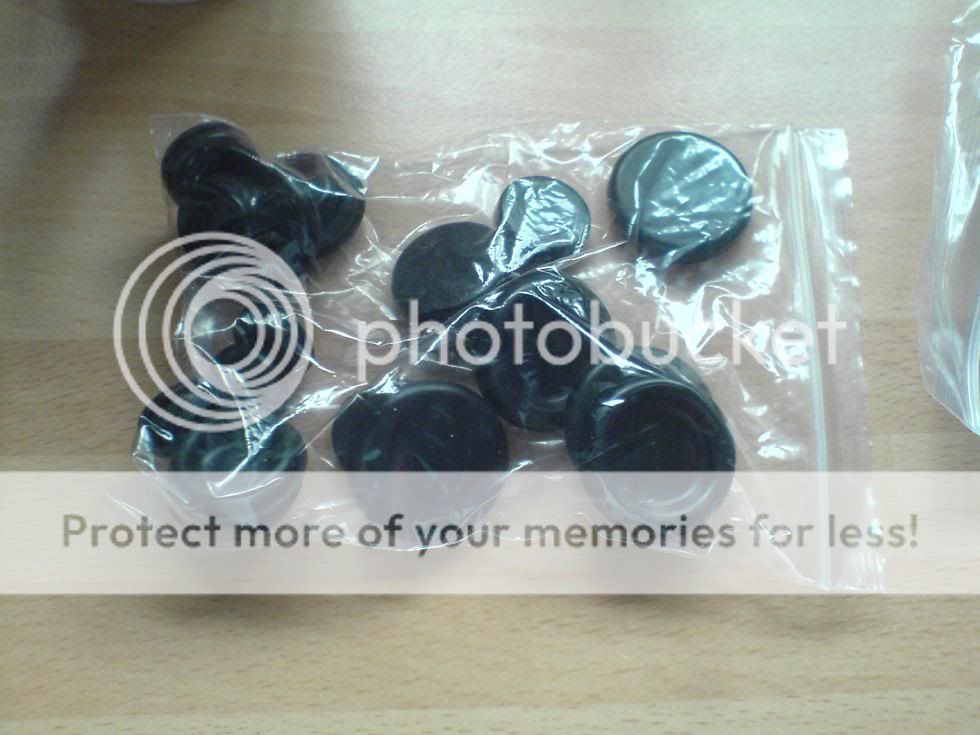
and my fuel line fittings
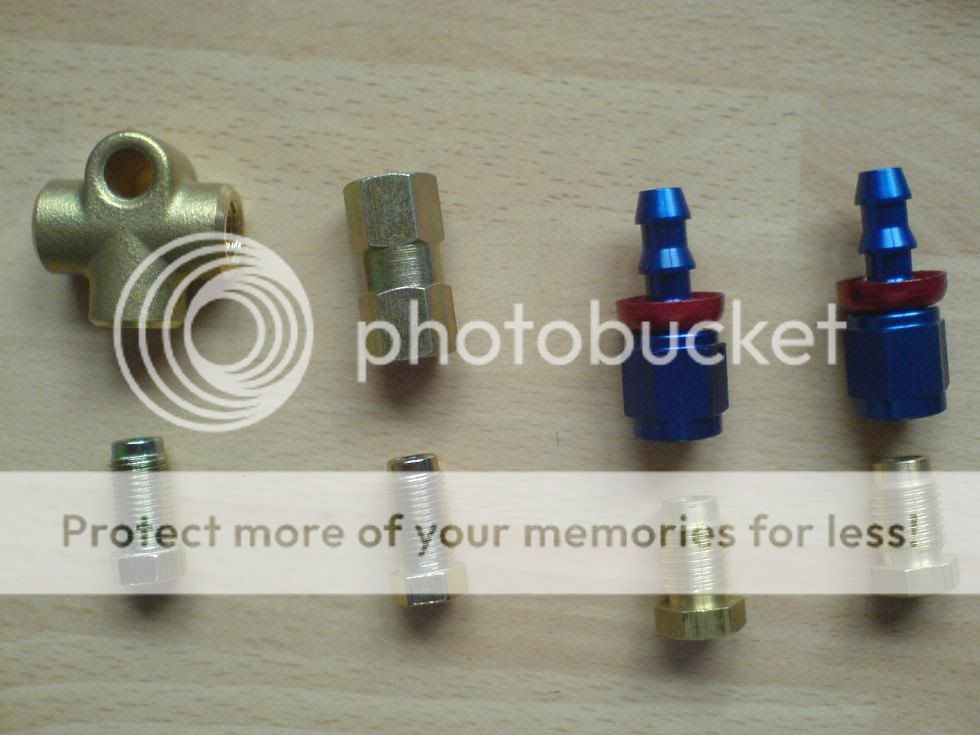
one male to a T-piece fitting
one male to a Joiner fitting to the existing rear brake line
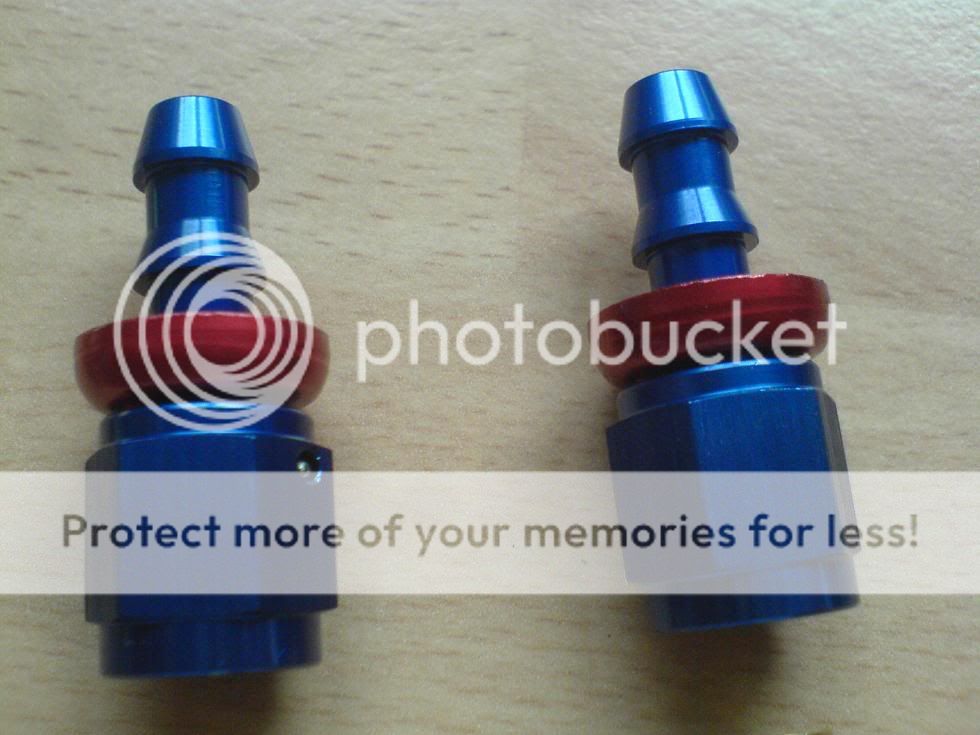
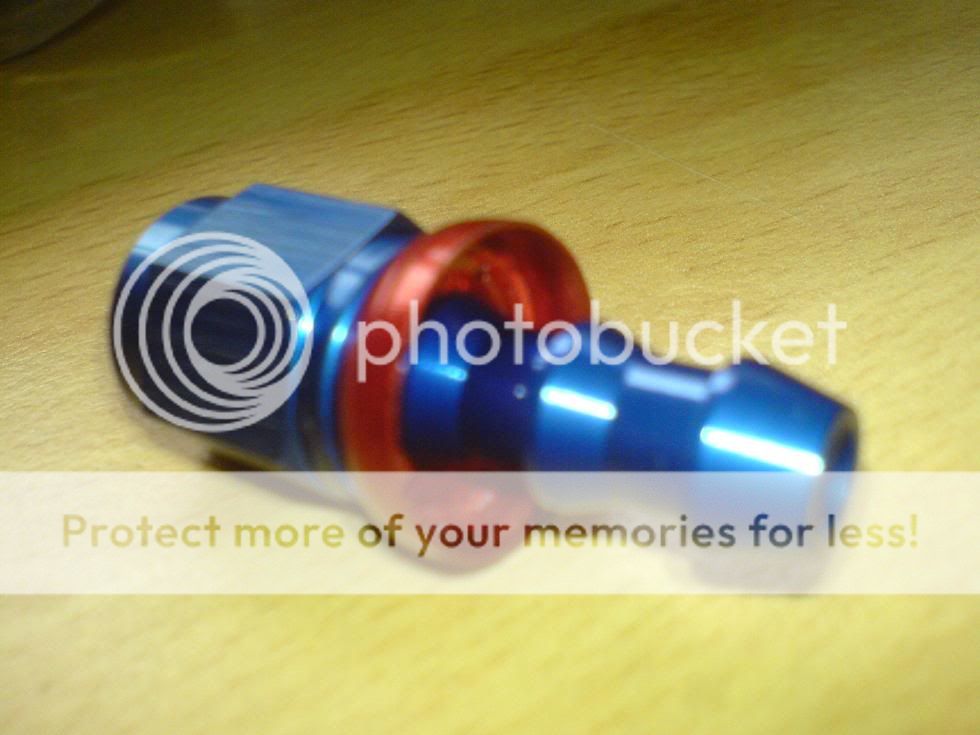
and two males to two fluid pipe banjo fittings for resevoirs, cool, in blue!!
nothing more nothing less to what i need
some gromits as they were cheap
and my fuel line fittings
one male to a T-piece fitting
one male to a Joiner fitting to the existing rear brake line
and two males to two fluid pipe banjo fittings for resevoirs, cool, in blue!!
 18-08-2008, 05:24 PM
#25
PassionFord Regular
Join Date: Dec 2004
Location: durham
Posts: 439
Likes: 0
Received 0 Likes
on
0 Posts
nice capri. wot does it go like with the zetec in compared to the pinto?
i will soon be changing the engine in my mk2 escort and cant decide wether to go for a slightly tuned pinto or go for a zetec. had a standard pinto in my old 1 and wasnt all that quick.
also was it difficult to wire in?
i will soon be changing the engine in my mk2 escort and cant decide wether to go for a slightly tuned pinto or go for a zetec. had a standard pinto in my old 1 and wasnt all that quick.
also was it difficult to wire in?
18-08-2008, 06:34 PM
#26
Regular Contributor
Join Date: Aug 2005
Location: Midlands
Posts: 284
Likes: 0
Received 0 Likes
on
0 Posts
Nice project you have mate, like what you have done with the lights! Really admire people like yourself that make a project your own in a garage rather than pay someone to do it. Good luck with it!!
18-08-2008, 06:45 PM
#27
Too many posts.. I need a life!!
Thread Starter
Join Date: Jul 2007
Posts: 533
Likes: 0
Received 0 Likes
on
0 Posts
nice capri. wot does it go like with the zetec in compared to the pinto?
i will soon be changing the engine in my mk2 escort and cant decide wether to go for a slightly tuned pinto or go for a zetec. had a standard pinto in my old 1 and wasnt all that quick.
also was it difficult to wire in?
i will soon be changing the engine in my mk2 escort and cant decide wether to go for a slightly tuned pinto or go for a zetec. had a standard pinto in my old 1 and wasnt all that quick.
also was it difficult to wire in?
also to get 170bhp from a pinto you'd be able to put a st170 in for the same money, easy answer really
fitted brake lines bar one is leaking at the T-piece, the flaring looks perfect on the brake line but it just leaks when you screw it in???
any ideas??
19-08-2008, 07:52 AM
#29
Too many posts.. I need a life!!
Thread Starter
Join Date: Jul 2007
Posts: 533
Likes: 0
Received 0 Likes
on
0 Posts
19-08-2008, 03:29 PM
#30
Too many posts.. I need a life!!
Thread Starter
Join Date: Jul 2007
Posts: 533
Likes: 0
Received 0 Likes
on
0 Posts
FINISHED!!!!!!!!
finished plumbing in the pedal box, both master cylinders and pots plumbed in and all the old fluid flushed out!
just need to bleed them tonight!!
but... goood news, i had a little drive in it, with the clutch engaged perminantly i couldnt change gear or set off without being in a gear. but after a steep hill in first gear with the clutch pedal down, hammering on the accelerator it broke free!!
now i can change gears which is a BIG relief, dont have to change the clutch thank god!.
going to get my new exhaust tomorrow morning towing car somewhere near and in the morning driving it down, allbeit noisily!
cant wait!!!!
couple of vids of the finished engine in it
19-08-2008, 08:31 PM
#31
Too many posts.. I need a life!!
Thread Starter
Join Date: Jul 2007
Posts: 533
Likes: 0
Received 0 Likes
on
0 Posts
Originally Posted by SAF_Capri
Sounds lovely mate :thumbsup: how did you find fitting the servo and all the connections? any great indepth photos would be great.
pedal box mounts back as it came off
erm.... ok ill start from the start with the best pics ive got
right... the T-piece and two male unions go to the FRONT master cylinder
the Female to female and two male unions goes to REAR master cylinder
and One male and one pipe union goes for the resevoirs.
then measure up how long you need the brake lines between these unions to fit between the pedal box and the standard capri locations and take em to a local garage n ask em to join them up by flaring the ends... like this..
use the blue n red things and a small bit of tubing to connect to the remote resevoirs.

then join these down to the master cylinders using the longer pipework
running without a servo!! doesnt seem bad at all so far!
21-08-2008, 09:36 AM
#32
PassionFord Post Whore!!

Join Date: Jul 2003
Location: Sudbury Suffolk, Drives: Octavia VRS & XR2i 1800 Zetec track car
Posts: 4,275
Likes: 0
Received 0 Likes
on
0 Posts
Nice to see you still enjoying the old girl! A mix of the old with the new 
Please tell me your next job is to touch up the front of the wings where the rust moth has started at it
Almost a year to the day we sold her to you have gone and bought ourselves another 2.0 laser! https://passionford.com/forum/general-car-related-discussion/253394-i-was-supposed-to-get-a-sapph-cos-this-w-e-got-this-instead.html
Z
Last edited by cabrio zo; 21-08-2008 at 09:40 AM.
21-08-2008, 10:41 AM
#33
Too many posts.. I need a life!!
Thread Starter
Join Date: Jul 2007
Posts: 533
Likes: 0
Received 0 Likes
on
0 Posts
Nice to see you still enjoying the old girl! A mix of the old with the new
Please tell me your next job is to touch up the front of the wings where the rust moth has started at it
Almost a year to the day we sold her to you have gone and bought ourselves another 2.0 laser! https://passionford.com/forum/showthread.php?t=253394
Z
Please tell me your next job is to touch up the front of the wings where the rust moth has started at it
Almost a year to the day we sold her to you have gone and bought ourselves another 2.0 laser! https://passionford.com/forum/showthread.php?t=253394
Z
then its to touch up around the front headlights and the N/S wing, the O/S wing bubble hasnt changed in the year ive had it so far, so that can stay, im not a bufty!
got a quote for 350quid for around the headlights, N/S O/S wings and the bonnet respraying (blending in to match the colour down the wing). is that good? or expensive
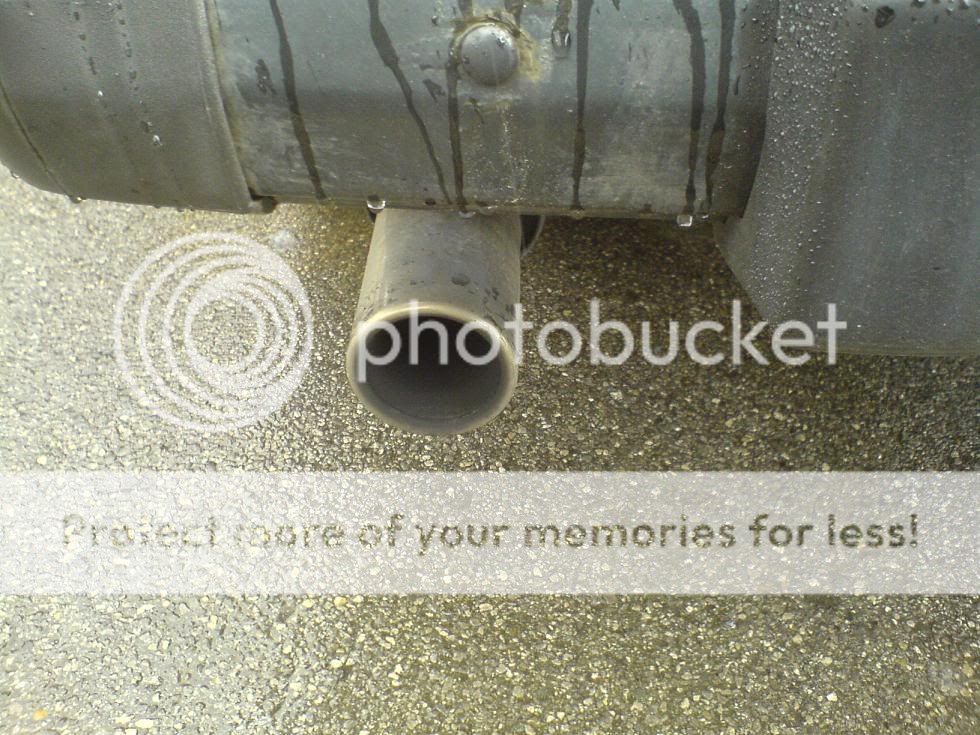
exhaust fitted. car runs sweet.... but the clutch slips
ffs why cant anything go right.
oh.. it sounds MINT! like a boxer engine really is what it reminds me of.
its brilliant.

i seriousley need a second page on this project lol!
Last edited by vibrating_cake; 21-08-2008 at 11:11 AM.
21-08-2008, 02:52 PM
#34
PassionFord Post Whore!!
Join Date: Jul 2003
Location: Sudbury Suffolk, Drives: Octavia VRS & XR2i 1800 Zetec track car
Posts: 4,275
Likes: 0
Received 0 Likes
on
0 Posts
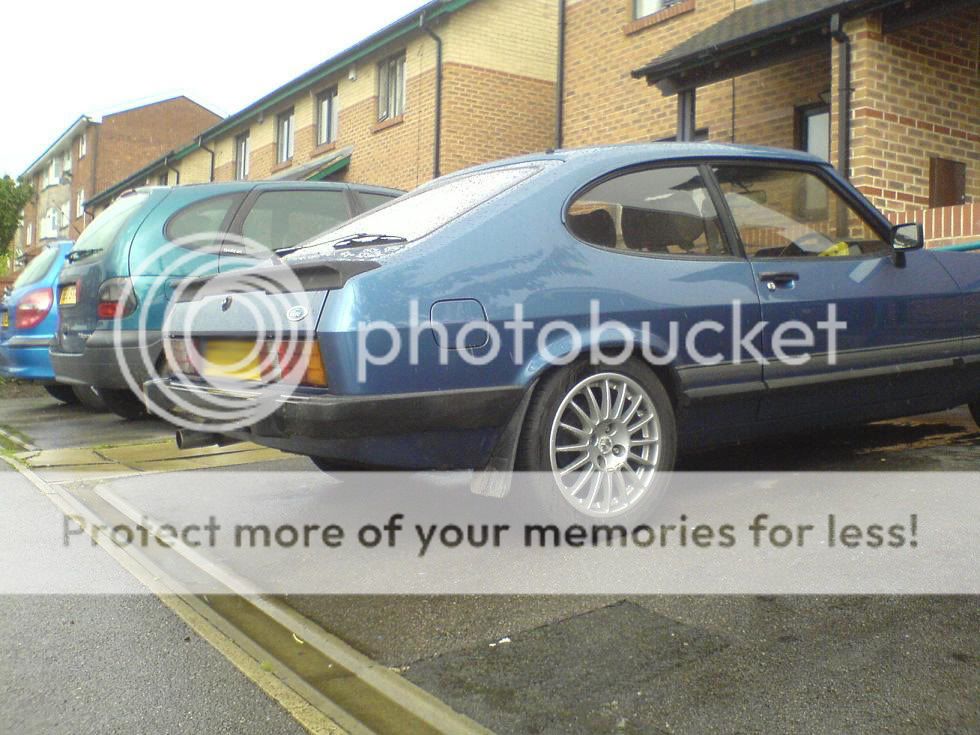
Exhaust looks sweet! I reckon you should put RS alloys back on, but with the centre of the spokes painted black and chrome rim
Z
Z
21-08-2008, 03:43 PM
#35
Too many posts.. I need a life!!
Thread Starter
Join Date: Jul 2007
Posts: 533
Likes: 0
Received 0 Likes
on
0 Posts
might go ahead n spray them up, might do the centres the same blue as the car.
i like the 16's because it means i can sit it in 3rd and drive it everywhere (im so lazy i know)
cant beat the dish on the origionals tho
02-09-2008, 10:32 PM
#37
Too many posts.. I need a life!!
Thread Starter
Join Date: Jul 2007
Posts: 533
Likes: 0
Received 0 Likes
on
0 Posts
not done much really since last update... just give the new engine what for and shown it who's boss.....
sadly the clutch kept slipping at peak torque, so i decided to replace it... and what a b*stard of a job it was!!!!
got car up as far as possible and dropped the box out the middle
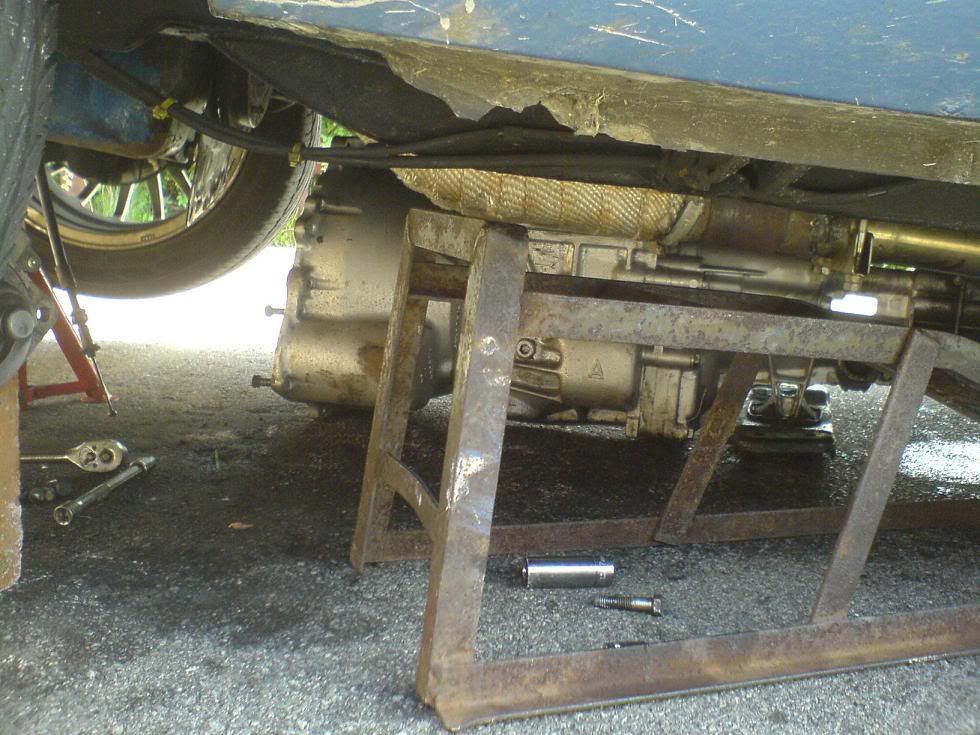
inspected the old clutch once it was out..... now that was the easy bit. lol
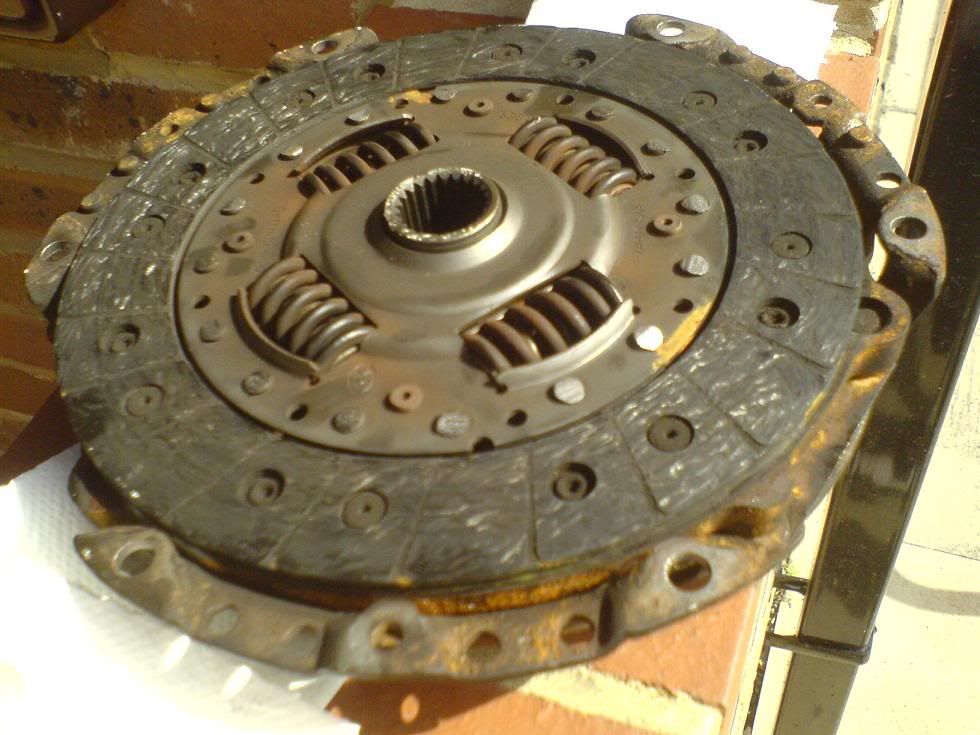

it wasnt badly worn, was perfectly useable and would have lasted a lot longer, but with the power of the engine, it just couldnt cope at peak torque so.... out it comes
when i went down to the clutch shop (yes there is a shop that JUST sells clutches)
he identified it as a 1800zetec clutch&housing and a 2.0 sierra release bearing
no wonder the bleeding thing was slipping. so i got this checked up and replaced with the zetec tdci clutch (a lot more heavy duty and can cope with the extra torque)
and a new release bearing.... all for...... �35 Whoop whoop!!!!
then fitting it back was a pain in the arse got so many cuts bruises etc from doing this i dnt know what, after lifting it using THREE jacks i finally got the bleeding thing back in... and oh what a difference its made! perfect!!
sadly the clutch kept slipping at peak torque, so i decided to replace it... and what a b*stard of a job it was!!!!
got car up as far as possible and dropped the box out the middle
inspected the old clutch once it was out..... now that was the easy bit. lol
it wasnt badly worn, was perfectly useable and would have lasted a lot longer, but with the power of the engine, it just couldnt cope at peak torque so.... out it comes
when i went down to the clutch shop (yes there is a shop that JUST sells clutches)
he identified it as a 1800zetec clutch&housing and a 2.0 sierra release bearing
no wonder the bleeding thing was slipping. so i got this checked up and replaced with the zetec tdci clutch (a lot more heavy duty and can cope with the extra torque)
and a new release bearing.... all for...... �35
then fitting it back was a pain in the arse got so many cuts bruises etc from doing this i dnt know what, after lifting it using THREE jacks i finally got the bleeding thing back in... and oh what a difference its made! perfect!!
Last edited by vibrating_cake; 02-09-2008 at 10:35 PM.
 28-03-2011, 08:09 PM
#39
Virgin

Join Date: Feb 2010
Location: ireland
Posts: 7
Likes: 0
Received 0 Likes
on
0 Posts
Nice car.Im doing the the same job except running with injectors and origional ecu.
Where did u get the peddle box done? and how did u get the rev counter to work with the zetec?
Where did u get the peddle box done? and how did u get the rev counter to work with the zetec?


Thread
Thread Starter
Forum
Replies
Last Post
nicodinho
Ford Non RS / XR / ST parts for sale.
6
07-10-2015 12:56 PM
SMILER258
Restorations, Rebuilds & Projects.
36
28-09-2015 09:04 AM