Mid engined, cossie'd, rwd, renault 5! update 27/5/15
 16-11-2011, 01:08 PM
#241
good to see you still improving on the old 5 Stu i like your number plate mod 
as for spring poundage the best way to do it is get your car on a set of scales then contact some one like black art suspension tell them the weight of each corner of car & they should tell you what poundage spring you should be using
http://blackartdesigns.com/
as for spring poundage the best way to do it is get your car on a set of scales then contact some one like black art suspension tell them the weight of each corner of car & they should tell you what poundage spring you should be using
http://blackartdesigns.com/
 16-01-2012, 11:08 PM
#243
PassionFord Post Whore!!
Thread Starter
actually yes
ive bought a new charge cooler, pump and pipework
ive got an AH fabrications cooler, 25mm pipework and a davies craig engine water pump.
old pump/pipe vs new pump/pipe
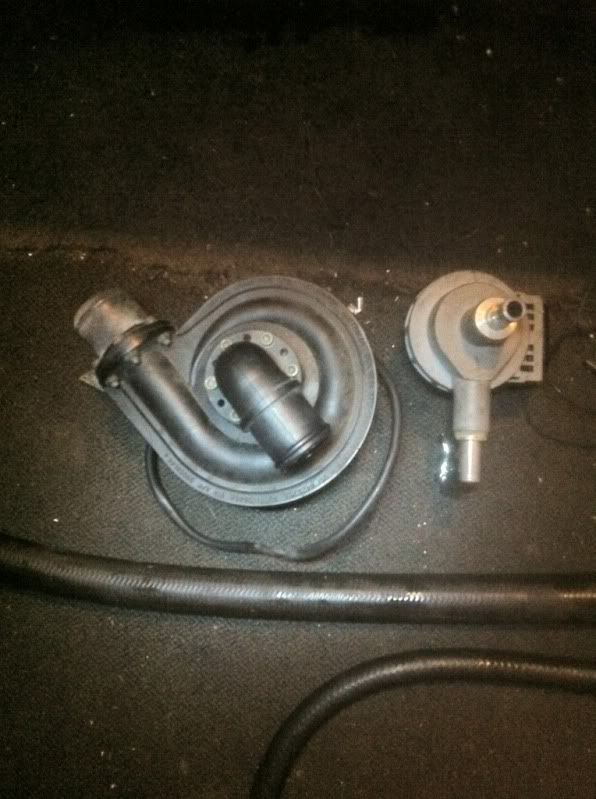
new cooler

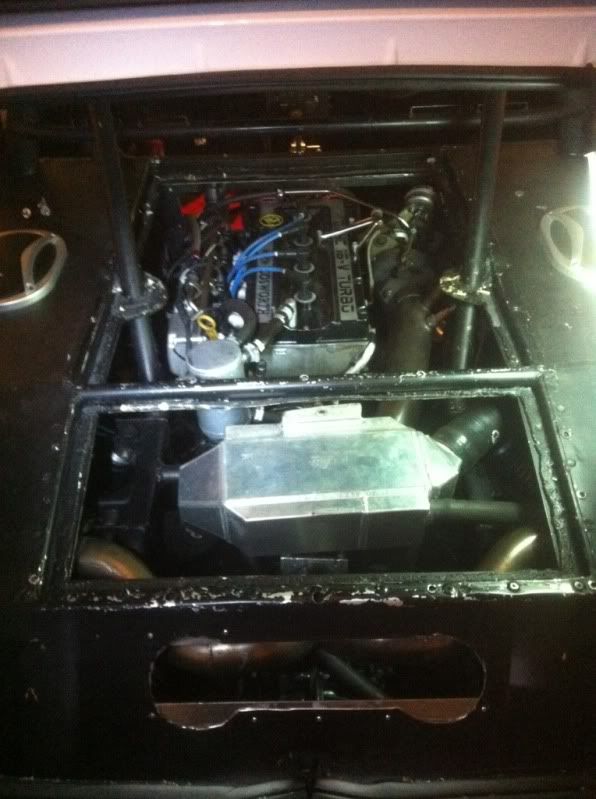
its in temporarily so i can test it will work ok.
then it will be off for new end tanks and inlets
i will then make some heatshields out of nimbus g2, heatwrap the manifold and exhaust again and get a turbo jacket for it.
then im back to 2 bar
ive bought a new charge cooler, pump and pipework
ive got an AH fabrications cooler, 25mm pipework and a davies craig engine water pump.
old pump/pipe vs new pump/pipe
new cooler
its in temporarily so i can test it will work ok.
then it will be off for new end tanks and inlets
i will then make some heatshields out of nimbus g2, heatwrap the manifold and exhaust again and get a turbo jacket for it.
then im back to 2 bar
05-02-2012, 06:00 PM
#246
PassionFord Post Whore!!
Thread Starter
hahaha thanks
well ive taken it apart again lol
ive cut the end tanks off the chargecooler ready for new ones,
cut the rad pipes off ready for bigger ones
taken the plenum and going to cut the elbow and throttle off to get it turned around and improve the airflow into the plenum too
im in the process of getting a new header tank for the charge cooler system as well now
and a new throttle cable to suit the reversed throttle that will have less bends in it and they will be smoother allowing the cable/pedal to move easier
then can start on the heat management and tidying up lol
Last edited by stu21t; 05-02-2012 at 06:03 PM.
 09-02-2012, 11:50 AM
#248
PassionFord Post Whore!!
Thread Starter
Always gary lol.
Well ive been cutting!
Cut the end tanks off the chargecooler ready for new ones
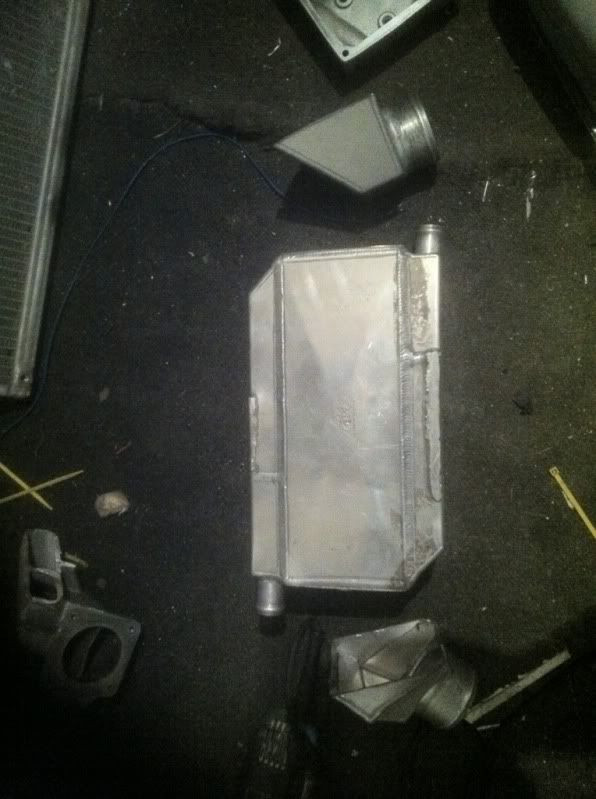
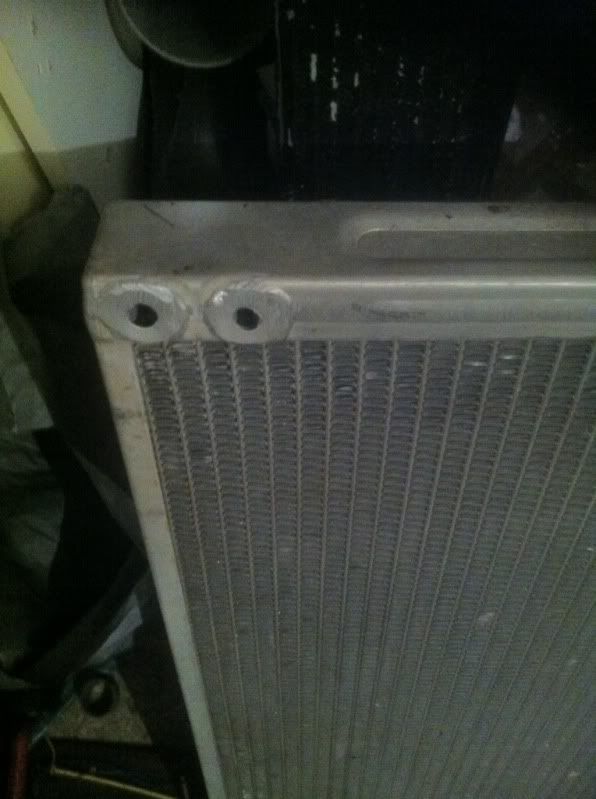
Pic of the core, meant to be the same core as they use on the wrc cars
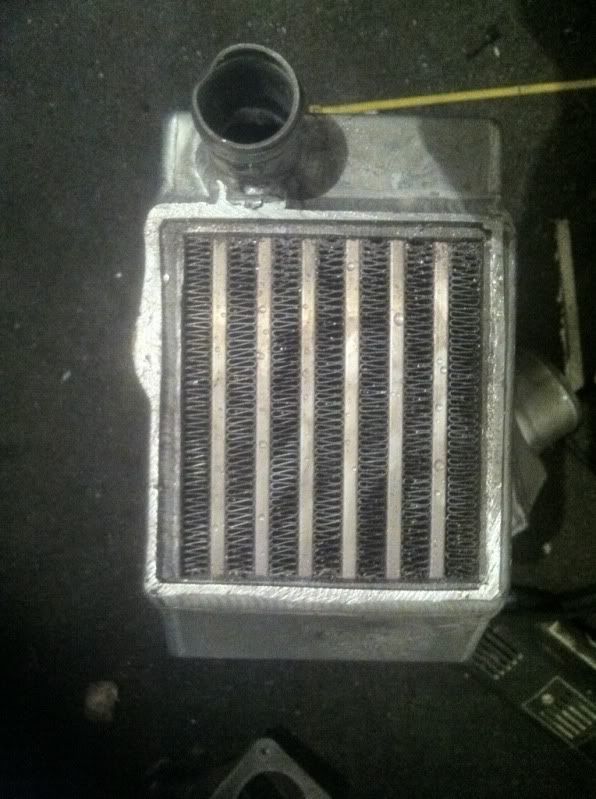
Ive cut the pipe in/outlets off of the chargecooler pre rad, going up to 25mm pipework


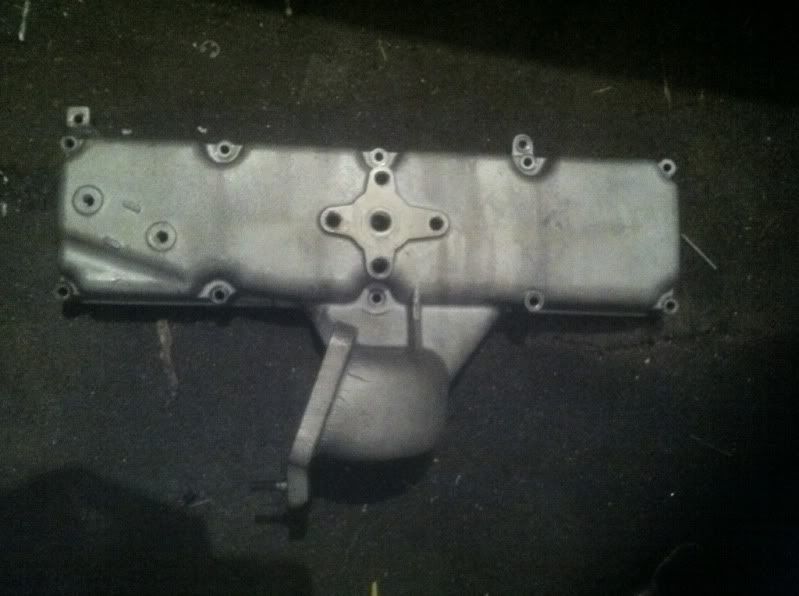
And im modifying the 4x4 plenum
I want to turn the throttlebody round to face the rear of the engine, this will help my boost run and also make the trottle cable run smoother giving a smoother/softer pedal
And at the same time it will improve the distribution of the air into each cylinder.
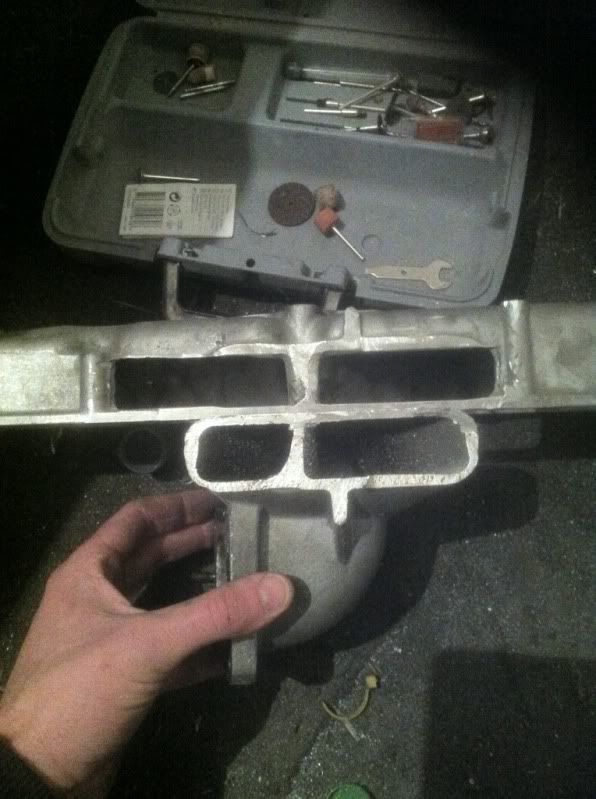
Ive opened up the hole where it enters the plenum from 120x25mm (3000mm area) to 185x25mm (4625mm area) the area of a 60mm throttle body is 2828mm.
I will probably open up the width more when i get new grinding wheels.
Well ive been cutting!
Cut the end tanks off the chargecooler ready for new ones
Pic of the core, meant to be the same core as they use on the wrc cars
Ive cut the pipe in/outlets off of the chargecooler pre rad, going up to 25mm pipework
And im modifying the 4x4 plenum
I want to turn the throttlebody round to face the rear of the engine, this will help my boost run and also make the trottle cable run smoother giving a smoother/softer pedal
And at the same time it will improve the distribution of the air into each cylinder.
Ive opened up the hole where it enters the plenum from 120x25mm (3000mm area) to 185x25mm (4625mm area) the area of a 60mm throttle body is 2828mm.
I will probably open up the width more when i get new grinding wheels.
Last edited by stu21t; 09-02-2012 at 11:54 AM.
 01-08-2012, 11:58 AM
#251
PassionFord Post Whore!!
Thread Starter
Funny enough ive spent some money on it this week.
Wasnt gunna bother updating this thread for a while tho.
Ive had a year off the car after my daughter being born 16weeks early and being in intensive care for 5 months and us having to move to brighton for the whole time.
I did send off the chargecooler and inlet to AH fabrications to have the work done.
24weeks later they hadnt done a thing so i got the stuff sent back untouched!
Im now going to get a swedish plenum and rotate it 180degrees so the throttle faces backwards...
I bought acharge air temp gauge off isaac hunt on here. Lol
I will get something going on it fairly soon tho.
It has to be finished for next year!
01-08-2012, 01:38 PM
#253
PassionFord Post Whore!!
Thread Starter
Do you know what, i didnt even think of that 

I just got carried away "modifying" lol
That would put the throttle body above the injectors which i dont have room for, it might even hit them?
Swedish is the way foreward, dunno y i didnt think of it earlier lol. Just gotta check theres room.
I might even look into flipping a std one. Id have to buy another on now tho lol but it would be the cheapest way.
ARSE
Last edited by stu21t; 01-08-2012 at 02:03 PM.
01-08-2012, 08:03 PM
#255
Be very thorough cleaning any metal filings or swarf from the parts you have cut!!!
I cut and moved my intercooler pipes once when building my old 300bhp xr2 turbo, cleaned all the filings and flushed the cooler with a hose etc and it looked mint, no swarf anywhere..........
Until i got it mapped and it had 2.5 bar of boost through it and it blew out loads of swarf that was stuck in the cooler fins i didnt see or know was there, went into the intake, into the head, jammed in the valve seats, snapped 2 valves, holed 2 pistons and ruined the head and block < real tears
That engine was 6 miles old and cost 3k to repair nearly, expensive lesson learnt
I cut and moved my intercooler pipes once when building my old 300bhp xr2 turbo, cleaned all the filings and flushed the cooler with a hose etc and it looked mint, no swarf anywhere..........
Until i got it mapped and it had 2.5 bar of boost through it and it blew out loads of swarf that was stuck in the cooler fins i didnt see or know was there, went into the intake, into the head, jammed in the valve seats, snapped 2 valves, holed 2 pistons and ruined the head and block
< real tearsThat engine was 6 miles old and cost 3k to repair nearly
, expensive lesson learnt
01-08-2012, 09:05 PM
#256
PassionFord Post Whore!!
Thread Starter
Good point, other than flushing with brake cleaner and an air line what more can you do?
Ive had a look at the car tonight, 1st time this year.
A swedish plenum wont work, a std plenum flipped 180 wont work cos the elbow hits the fuel rail, so im back to modding mine.
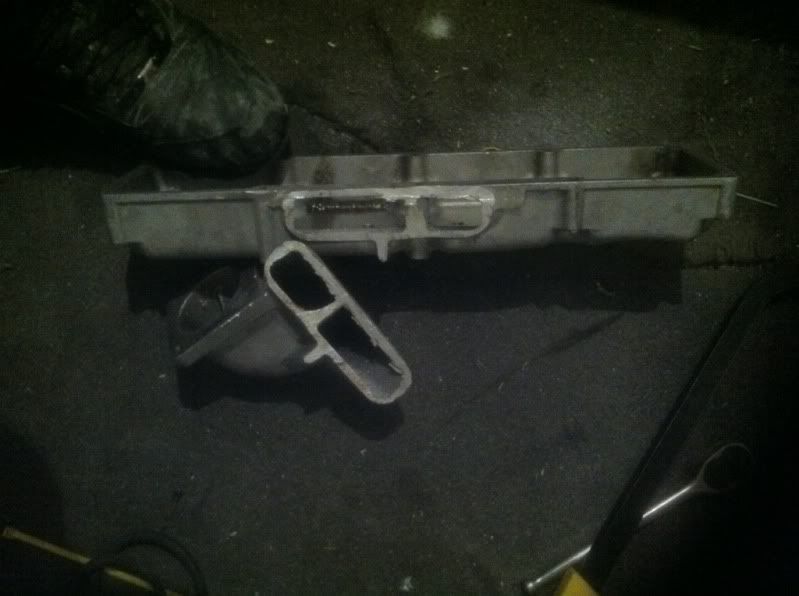
I bought a 63mm elbow and shortened it, hammered the end into a rectangle then found some odd bits of ally and cut it up into a flute to go into the plenum.
What AH failed to understand or do in 6 months took me 15 mins in my garage with old bits of crap.
Im gunna take my blue peter effort to a local firm to copy and redo it neatly.
Ive had a look at the car tonight, 1st time this year.
A swedish plenum wont work, a std plenum flipped 180 wont work cos the elbow hits the fuel rail, so im back to modding mine.
I bought a 63mm elbow and shortened it, hammered the end into a rectangle then found some odd bits of ally and cut it up into a flute to go into the plenum.
What AH failed to understand or do in 6 months took me 15 mins in my garage with old bits of crap.
Im gunna take my blue peter effort to a local firm to copy and redo it neatly.
26-04-2015, 10:57 PM
#258
PassionFord Post Whore!!
Thread Starter
well I thought I would update this thread, finally lol.
the car has been off the road for nearly 3 1/2 years now, and in that time I have done very very little with it.
what I have done however is...
spent a lot of time with my daughter who is now three and doing very well.
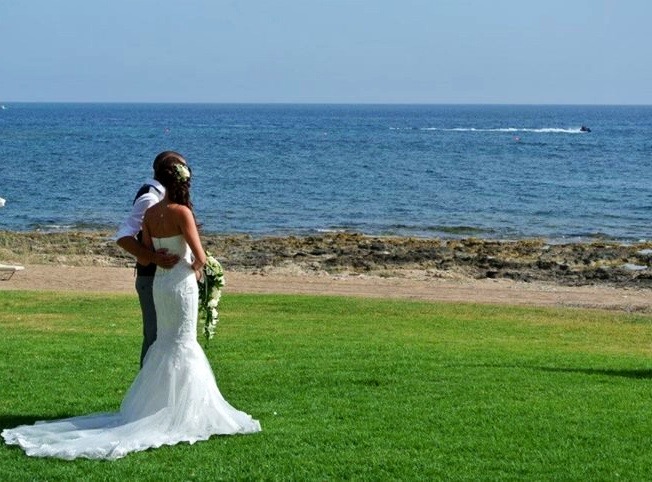
got married in Cyprus last year,

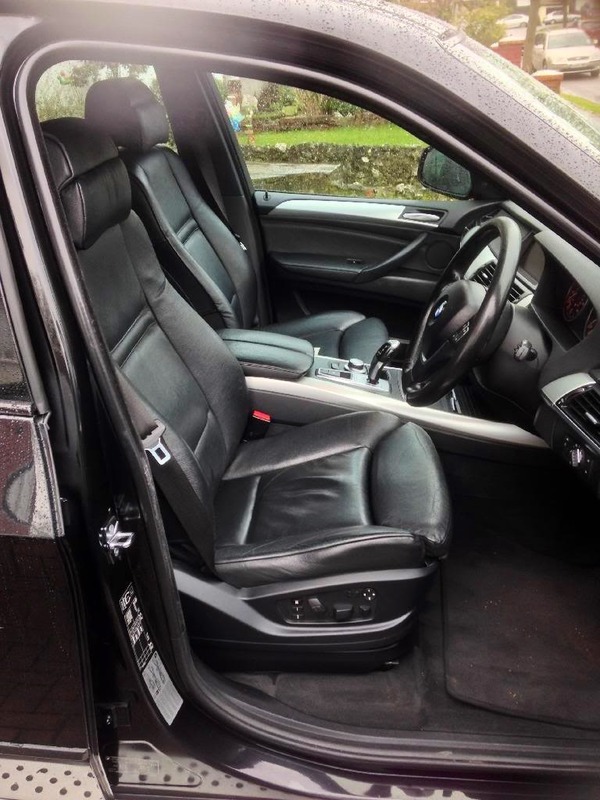
bought an X5 for the misses and done a few bits to that (love this car lol)
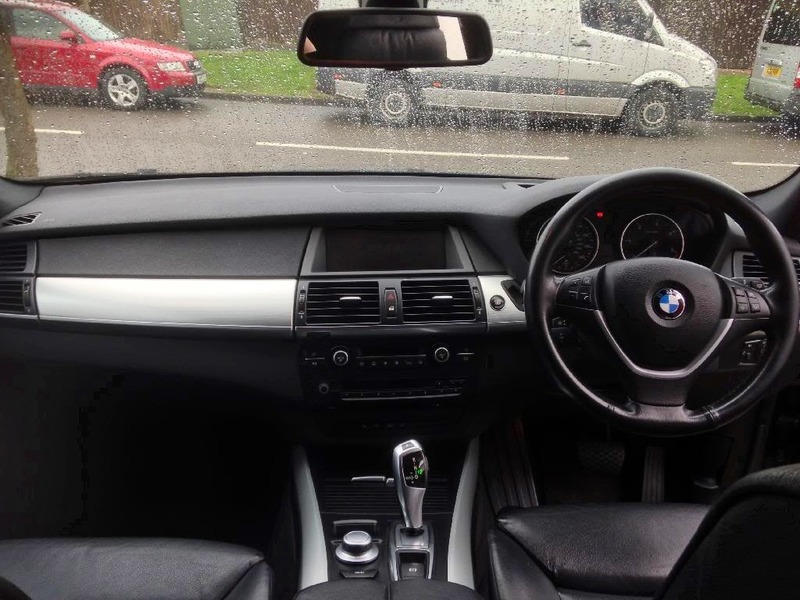
its a great spec too, heads up display, keyless, comfort seats, sports suspension delete, 4 zone air con, full multimedia inc. freeview, dab bluetooth and ipod, adaptive headlights... plus loads more.
only pic I can find from when I first got it.
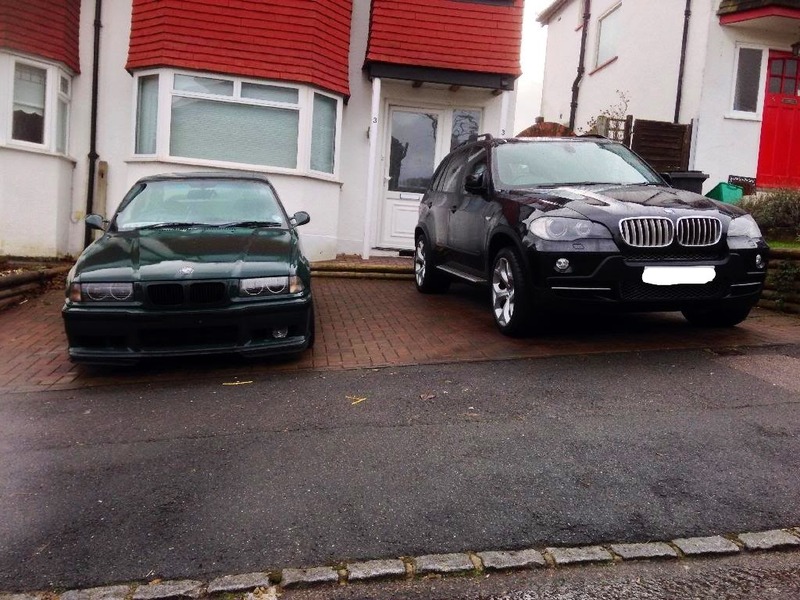
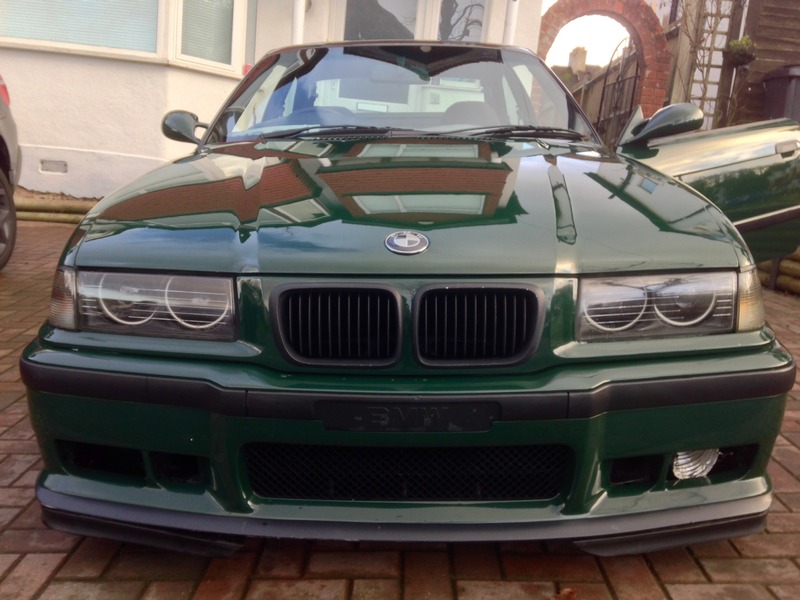
and now
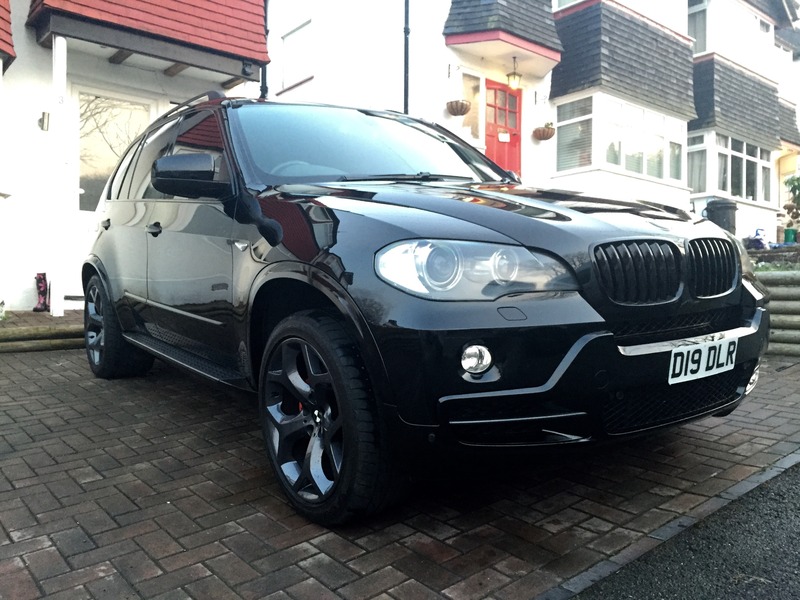
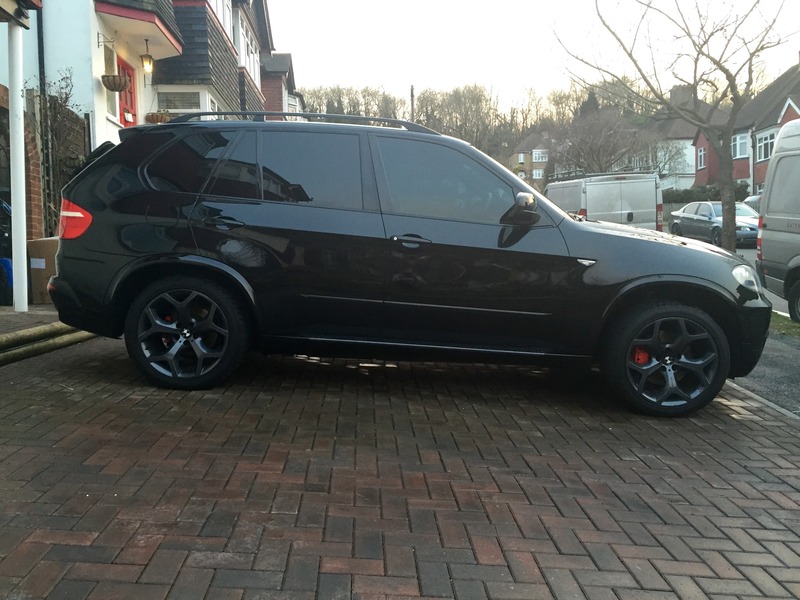
I have had the whole bodykit and front grilles colour coded, refurbed the wheels in gunmetal grey and had the side steps and bumper trims done to match, carbon badges, red calipers lol, drug dealer tints...
all that's left is to detail the bodywork and paint the interior trims to match the wheels...
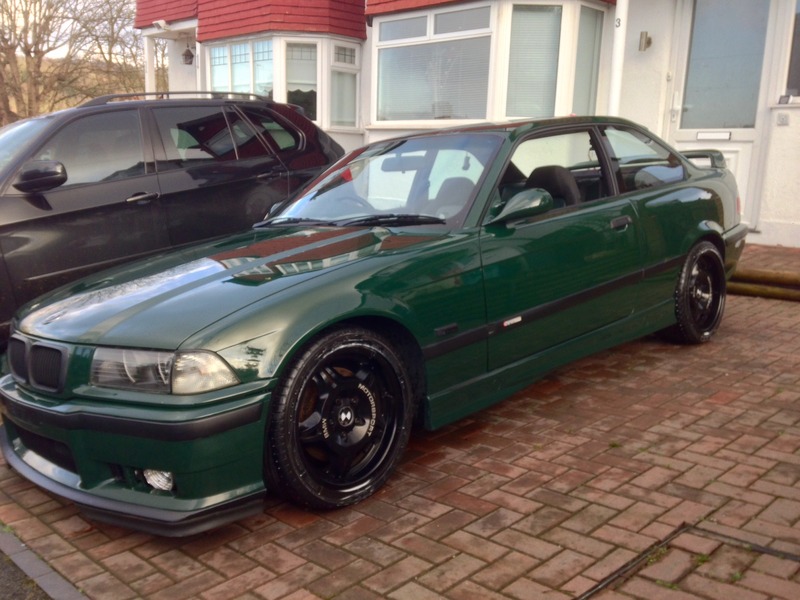
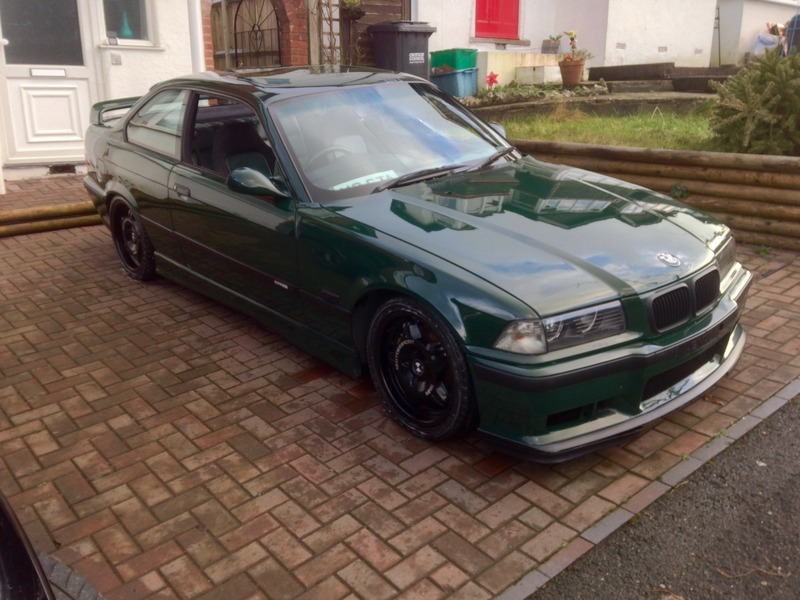
done a mini resto on my E36 M3 and put it back to std then sold it
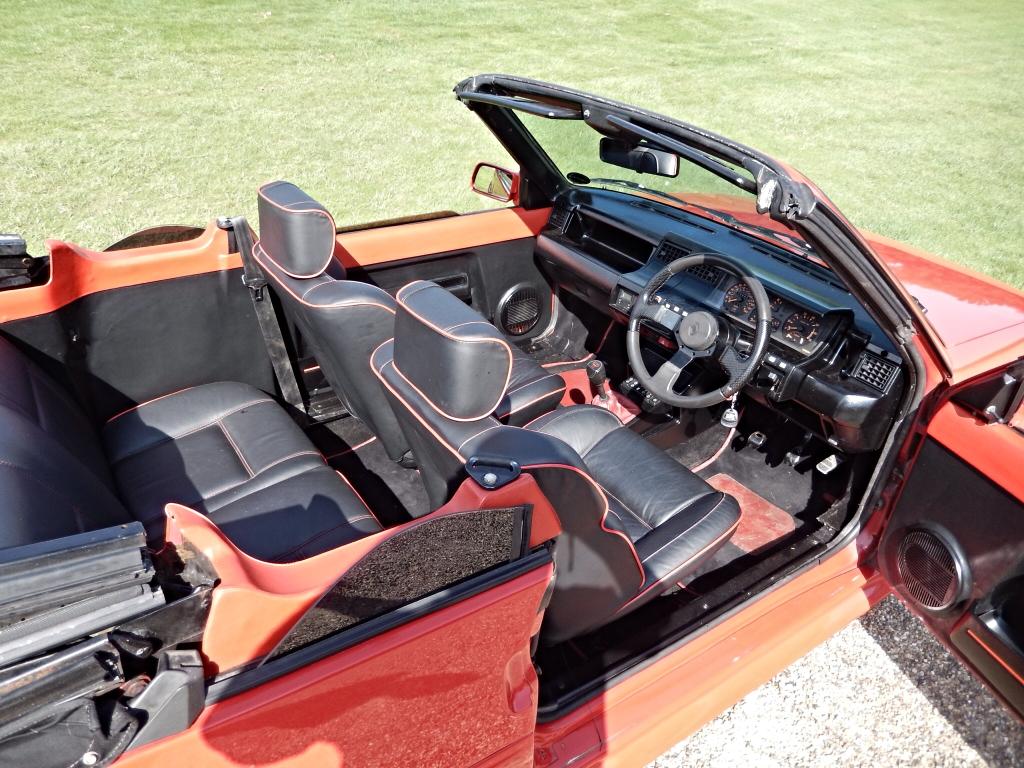
done a resto of my EBS GTT cabriolet

been very busy at work
and im most of the way through completely redesigning my bathroom at home.
now onto the 5.
selling my M3 gave me the kick I needed to start work on the 5 again.
since the last update I had finished all the ally welding I had started.
I bought some ally offcuts and a 60mm bend and made a cut n shut plenum.
its now all welded up and working.
the rads are all done with new inlet/outlets and bleeds,
the chargecooler is finished,
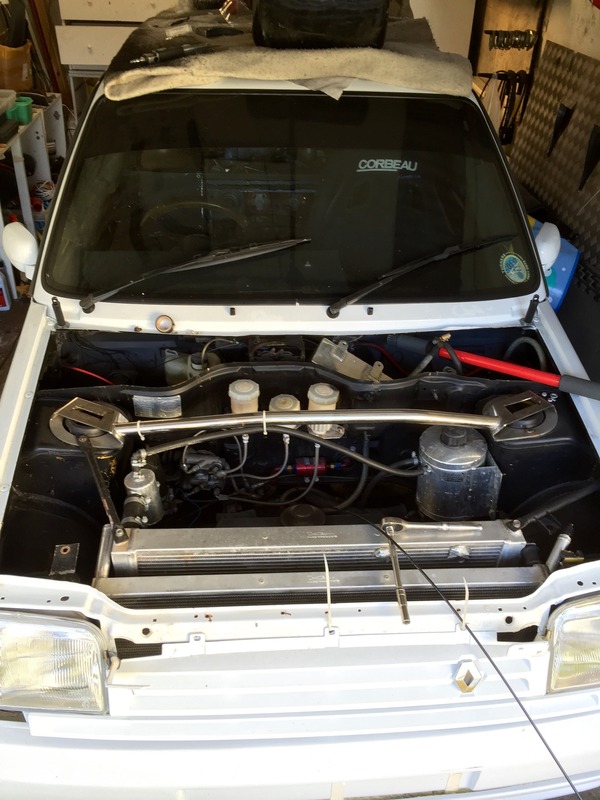
I got it all back together and working on temporary hoses/pipes just to test it was working.
then I didn't even bother going in the garage for years lol.
until now.
all I needed to do was fit the new hoses and do a bit of tiding up.
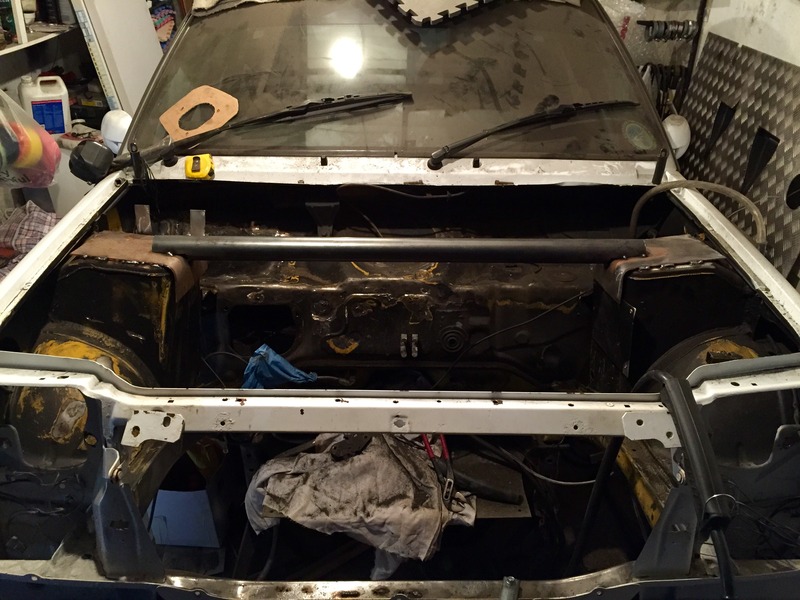
this is how it was
well I got a little carried away.
I bought a new header tank for the chargecooler and where I wanted to fit It I needed to drill a hole in the scuttle.
that escalated into ...
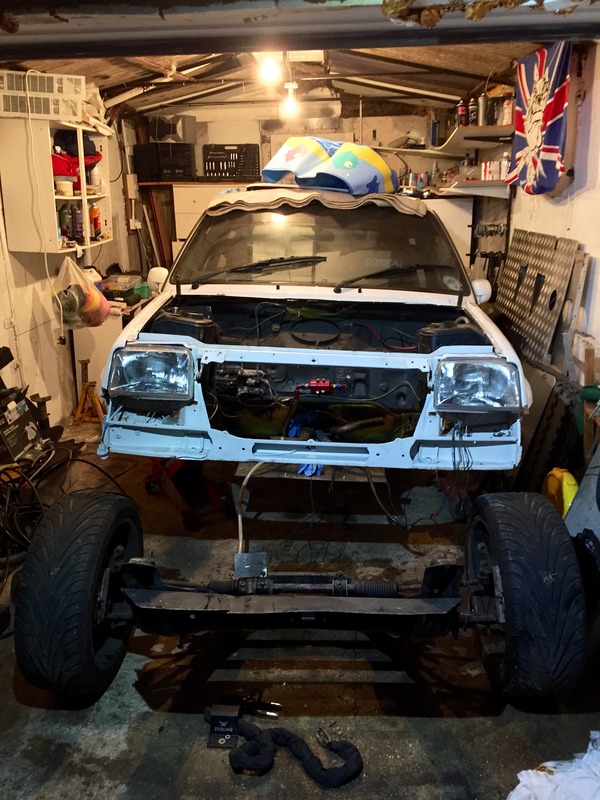
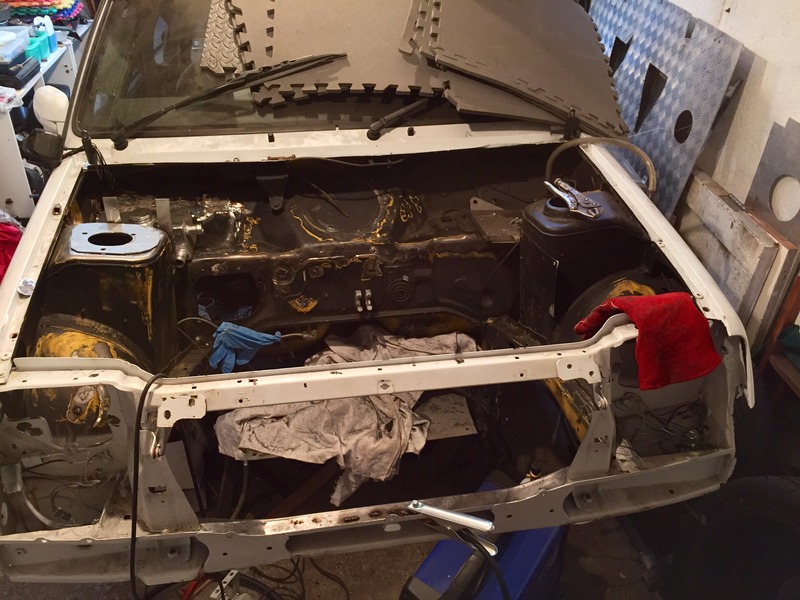
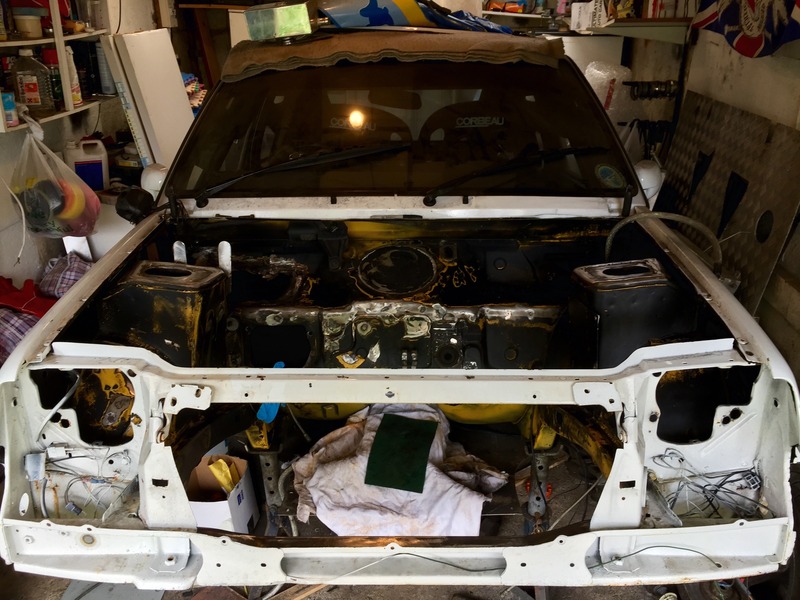
I have completely stripped the whole front end of the car.
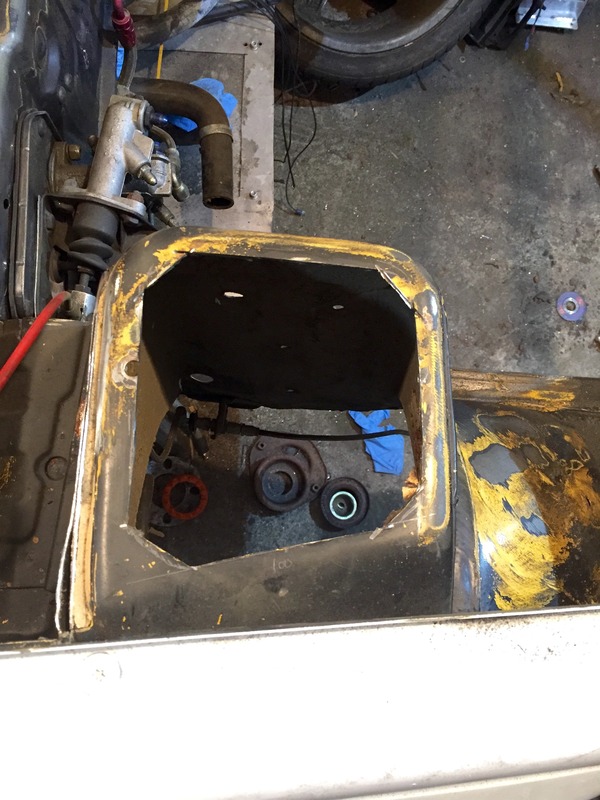
I cut the whole scuttle out as its something I always wanted to do.
it looks a lot neater, gives more room and will let more heat out.
then I thought why stop there lol.
the subframe, wishbones, hubs, antiroll bar, and all associated parts have been removed, sandblasted and powder coated.
I bought new anti roll bar bushes and brackets as the old ones werent a great fit, new wheel bearings.
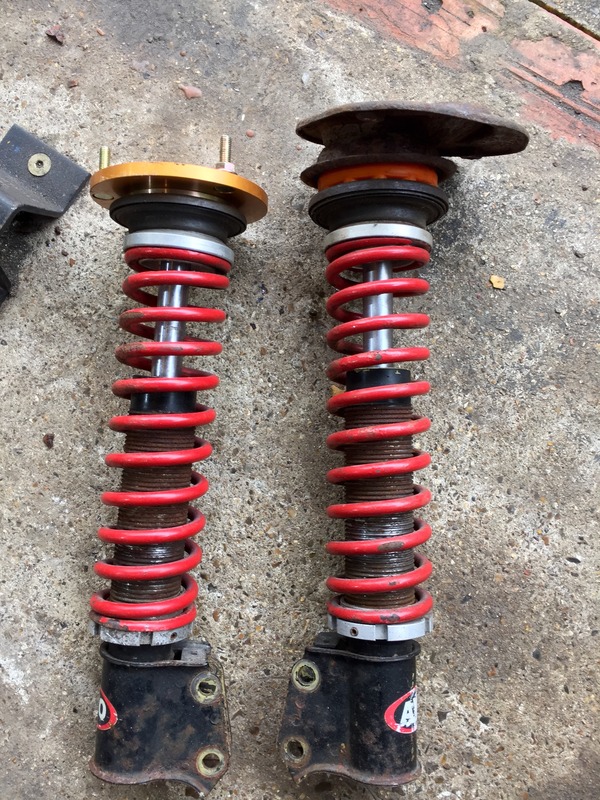
the suspension is also stripped and getting painted
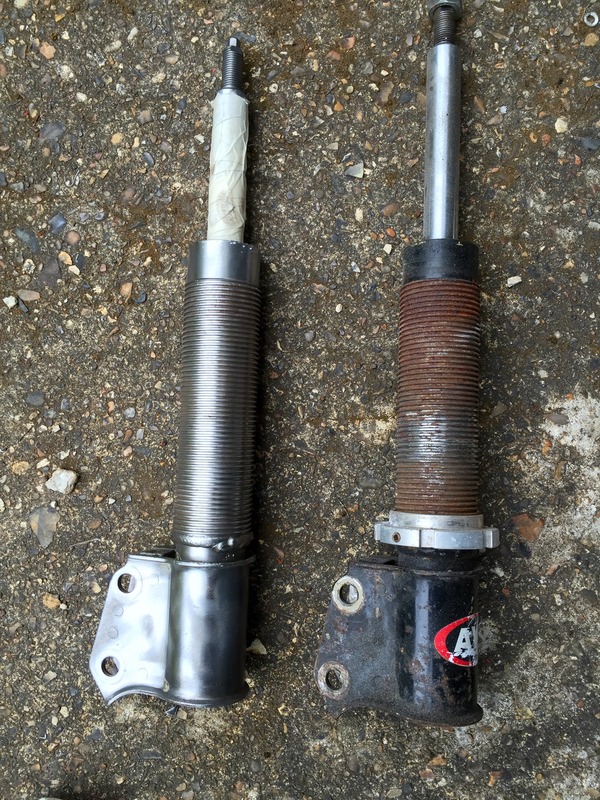
nobody makes adjustable top mounts for the 5, so I made my own.
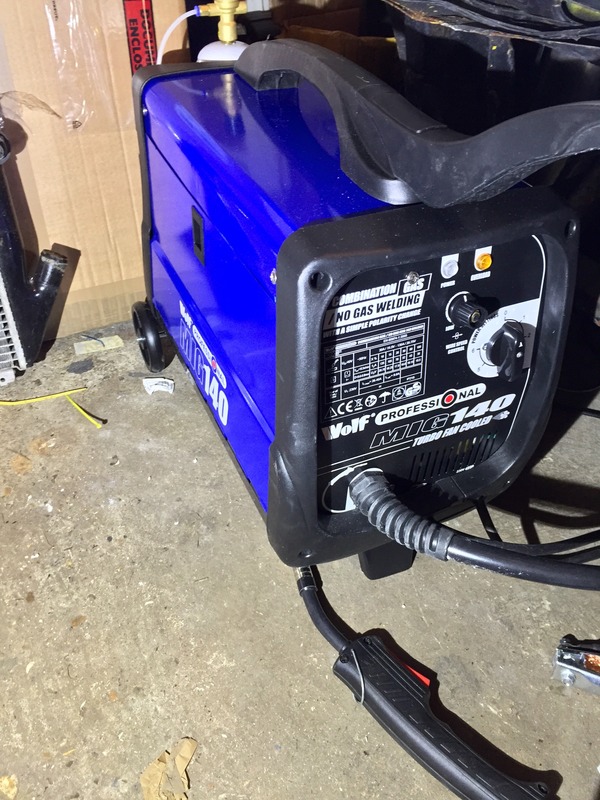
I bought a welder, ive never welded before but have always wanted to learn. so, in at the deep end lol...
I cut the strut tops off and made some new plates so I could fit some top mounts I had bought that were meant for another car (E36 M3)
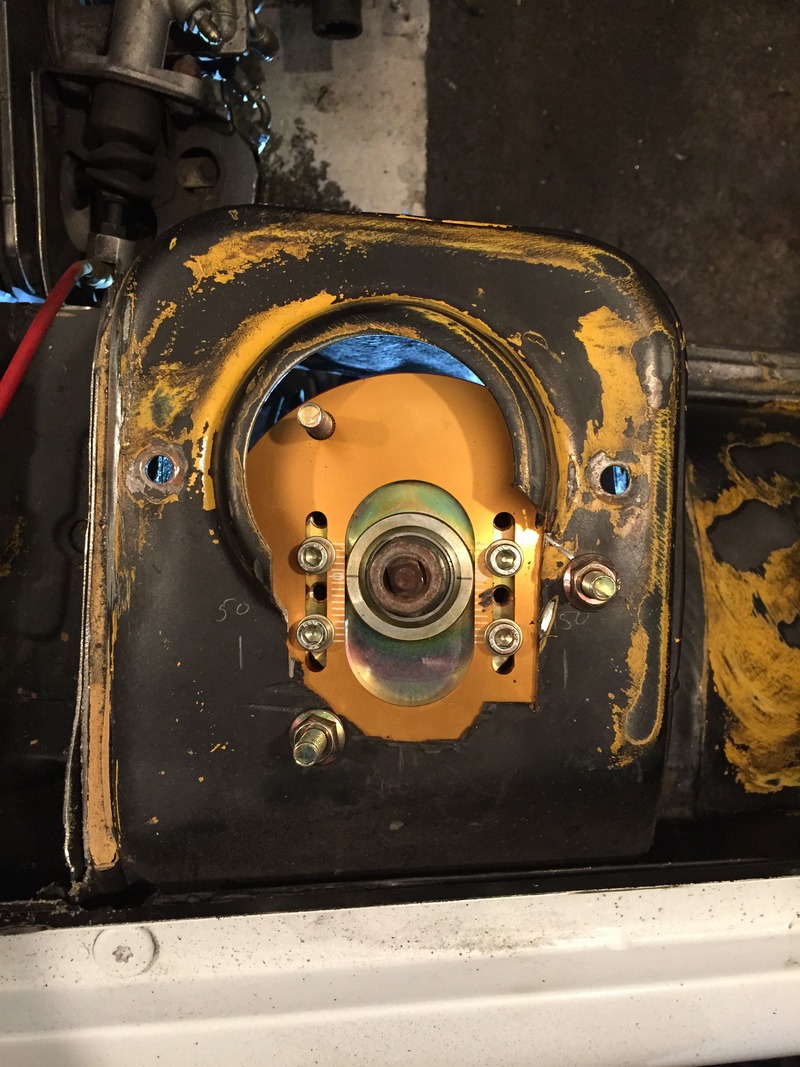
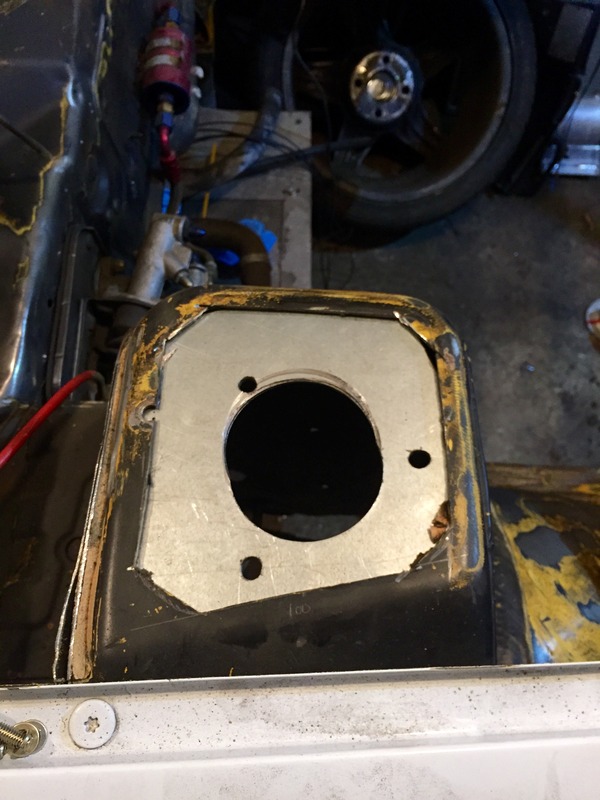
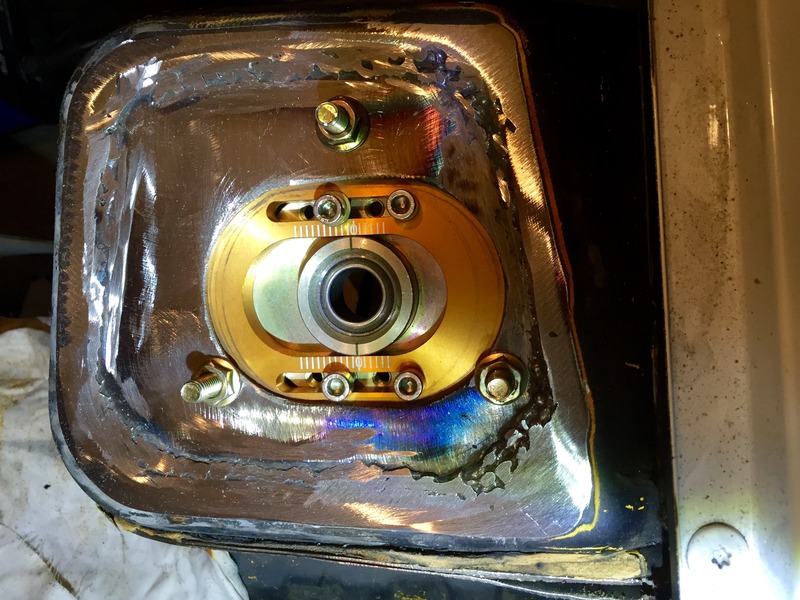
old vs new
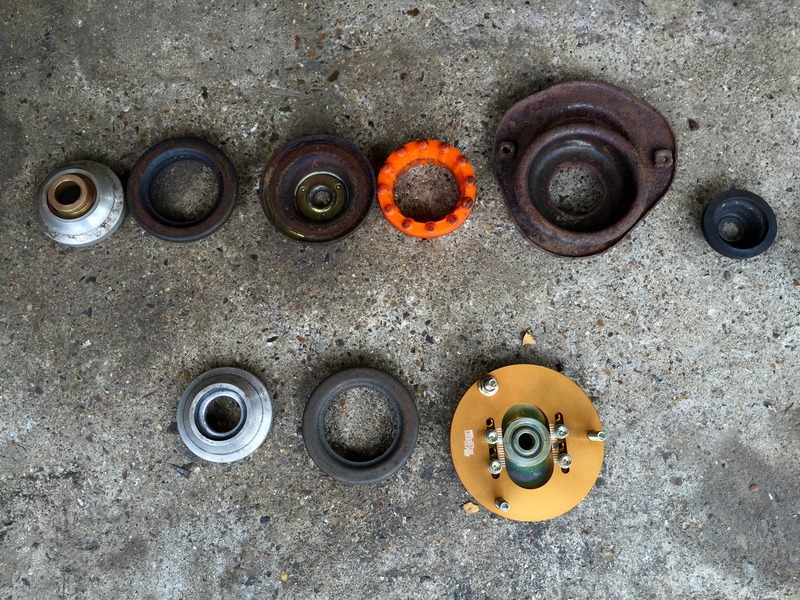
so now im a pro welder why stop there lol.
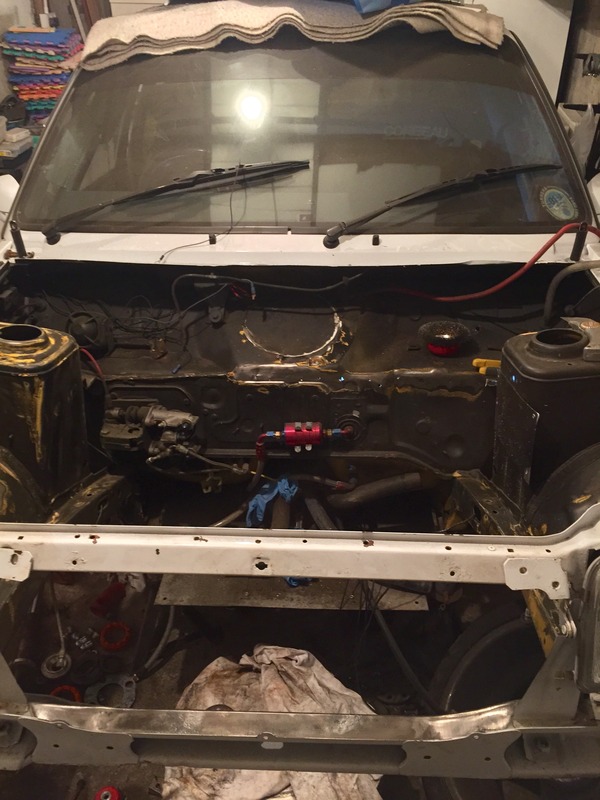
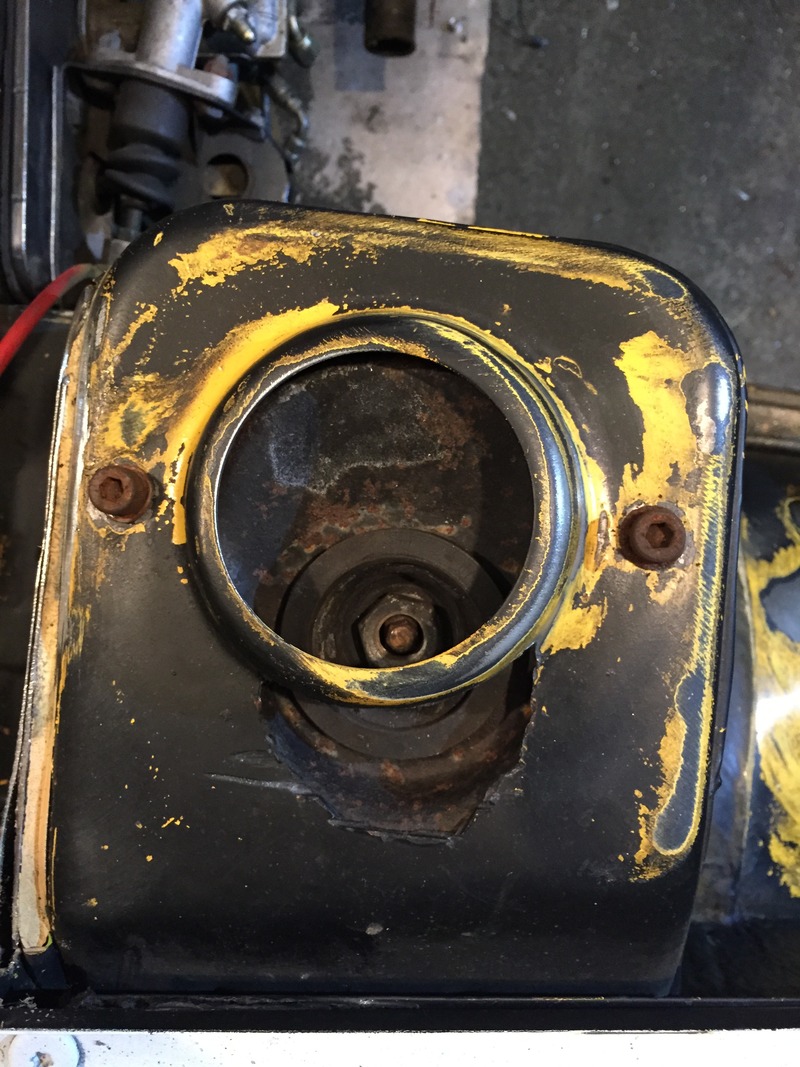
I cut out the std battery tray, which revealed some rust, so I cut the out and welded in a new panel.
after welding the top mount I cut away some more of the old scuttle to tidy it up and welded it to the strut tower, ive also welded up all the old bolt holes in the firewall that are not needed, made and welded some new brackets for various things...
next im going to make my own strut brace as obviously the old one wont fit any more.
while im at it im going to extend the roll cage from the A post to the turrets too.
Ive also bought a mini spray gun so I can paint the engine bay next too, I will paint the steering rack and shocks too.
any parts that are being removed are getting replaced or cleaned and painted to look like new.
this is where im at with it at the mo,
as well as the work that's been going on at the front of the car ive also been buying parts for the rest of the car.
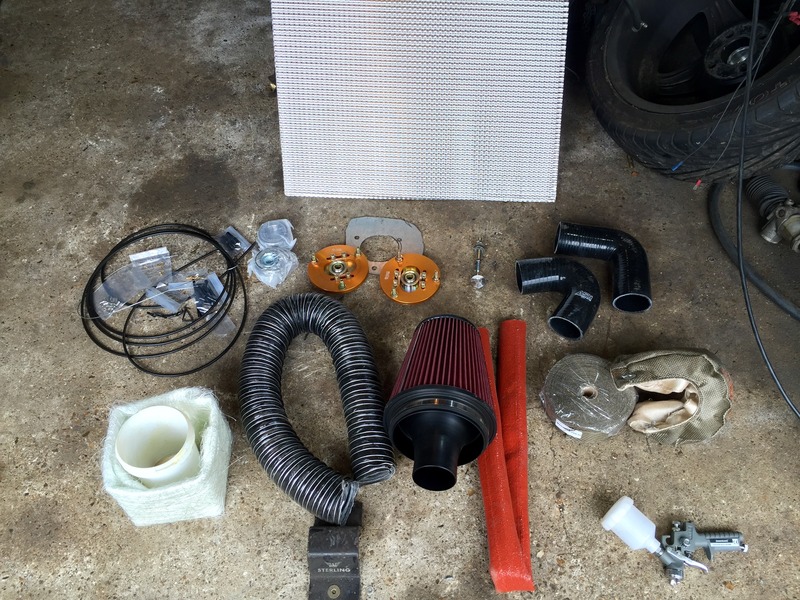
I have bought
titanium turbo blanket
titanium exhaust wrap
huge k&n air filter
flexible 2ply air duct
nimbus g2 (to make a heatshield for the chargecooler)
fibrglass matting (going to make a fibreglass airbox)
25mm firesleeve (to put over the chargecooler water pipes to keep cool)
new boost pipes
new chargecooler water pipes
new rear bumper quick release fixings
new longer throttle cable
new longer wheel studs
that's about all I can think of for now.
progress is slow as I only get 2 evenings a week to work on the car for 2hrs each but it is constant now.
I will keep the thread updated now to.
the car has been off the road for nearly 3 1/2 years now, and in that time I have done very very little with it.
what I have done however is...
spent a lot of time with my daughter who is now three and doing very well.
got married in Cyprus last year,


bought an X5 for the misses and done a few bits to that (love this car lol)
its a great spec too, heads up display, keyless, comfort seats, sports suspension delete, 4 zone air con, full multimedia inc. freeview, dab bluetooth and ipod, adaptive headlights... plus loads more.
only pic I can find from when I first got it.


and now


I have had the whole bodykit and front grilles colour coded, refurbed the wheels in gunmetal grey and had the side steps and bumper trims done to match, carbon badges, red calipers lol, drug dealer tints...
all that's left is to detail the bodywork and paint the interior trims to match the wheels...
done a mini resto on my E36 M3 and put it back to std then sold it


done a resto of my EBS GTT cabriolet


been very busy at work
and im most of the way through completely redesigning my bathroom at home.
now onto the 5.
selling my M3 gave me the kick I needed to start work on the 5 again.
since the last update I had finished all the ally welding I had started.
I bought some ally offcuts and a 60mm bend and made a cut n shut plenum.
its now all welded up and working.
the rads are all done with new inlet/outlets and bleeds,
the chargecooler is finished,
I got it all back together and working on temporary hoses/pipes just to test it was working.
then I didn't even bother going in the garage for years lol.
until now.

all I needed to do was fit the new hoses and do a bit of tiding up.
this is how it was

well I got a little carried away.
I bought a new header tank for the chargecooler and where I wanted to fit It I needed to drill a hole in the scuttle.
that escalated into ...


I have completely stripped the whole front end of the car.
I cut the whole scuttle out as its something I always wanted to do.
it looks a lot neater, gives more room and will let more heat out.

then I thought why stop there lol.
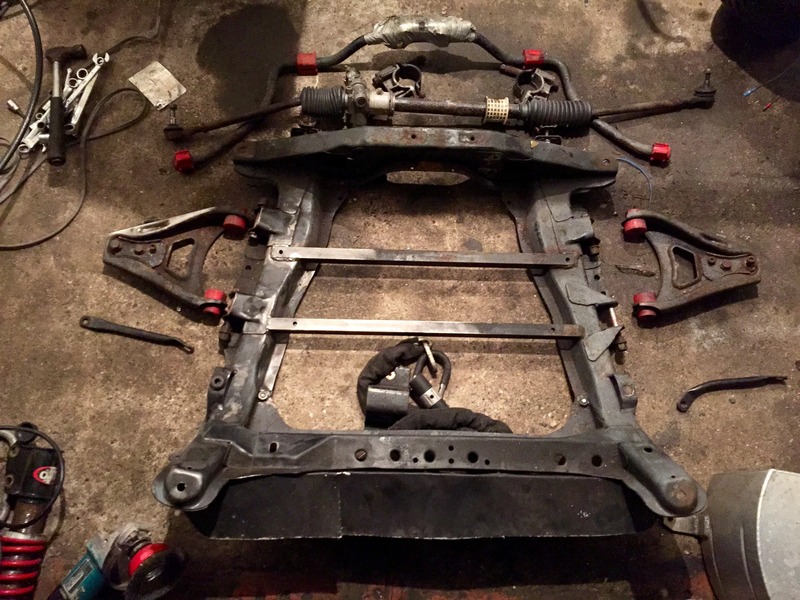
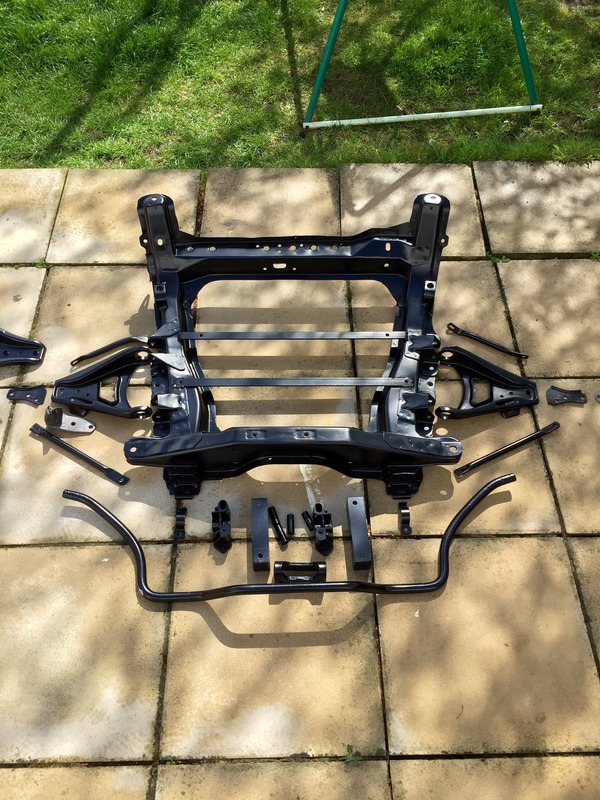
the subframe, wishbones, hubs, antiroll bar, and all associated parts have been removed, sandblasted and powder coated.
I bought new anti roll bar bushes and brackets as the old ones werent a great fit, new wheel bearings.


the suspension is also stripped and getting painted
nobody makes adjustable top mounts for the 5, so I made my own.
I bought a welder, ive never welded before but have always wanted to learn. so, in at the deep end lol...

I cut the strut tops off and made some new plates so I could fit some top mounts I had bought that were meant for another car (E36 M3)


old vs new


so now im a pro welder why stop there lol.
I cut out the std battery tray, which revealed some rust, so I cut the out and welded in a new panel.
after welding the top mount I cut away some more of the old scuttle to tidy it up and welded it to the strut tower, ive also welded up all the old bolt holes in the firewall that are not needed, made and welded some new brackets for various things...
next im going to make my own strut brace as obviously the old one wont fit any more.
while im at it im going to extend the roll cage from the A post to the turrets too.
Ive also bought a mini spray gun so I can paint the engine bay next too, I will paint the steering rack and shocks too.
any parts that are being removed are getting replaced or cleaned and painted to look like new.
this is where im at with it at the mo,

as well as the work that's been going on at the front of the car ive also been buying parts for the rest of the car.

I have bought
titanium turbo blanket
titanium exhaust wrap
huge k&n air filter
flexible 2ply air duct
nimbus g2 (to make a heatshield for the chargecooler)
fibrglass matting (going to make a fibreglass airbox)
25mm firesleeve (to put over the chargecooler water pipes to keep cool)
new boost pipes
new chargecooler water pipes
new rear bumper quick release fixings
new longer throttle cable
new longer wheel studs
that's about all I can think of for now.
progress is slow as I only get 2 evenings a week to work on the car for 2hrs each but it is constant now.
I will keep the thread updated now to.
27-04-2015, 08:12 PM
#259
10K+ Poster!!


Awesome car, just read the whole thread, you have done a great job and looks great as a near sleeper!
 05-05-2015, 09:17 PM
#263
PassionFord Post Whore!!
Thread Starter
Not much to see but
I finished all the welding today and got the strut brace tacked together. I will take it off to finish it.
Next job is to clean up the welds and clean the engine bay ready for some filler.

I finished all the welding today and got the strut brace tacked together. I will take it off to finish it.
Next job is to clean up the welds and clean the engine bay ready for some filler.
The following users liked this post:
R5EVO (06-05-2015)
06-05-2015, 08:33 PM
#264
PassionFord Post Whore!!
Thread Starter
well I had the day off work today as I had the brown rain
So thought I'd make the most of it and spend some time in the garage.
All the grinding is done and the welds all cleaned up.
Then I scotched the whole engine bay, etch primed all the bare metal, filled and rubbed down then filled and rubbed down some more.
Then I re etch primed all the bare metal and seam sealed the welds that needed it.
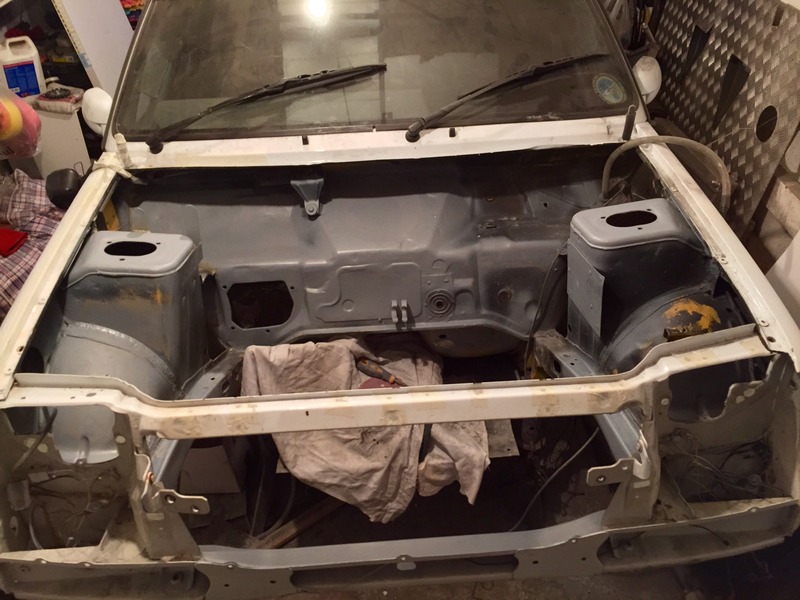
I forgot to take pics of the stages but that's how it sits tonight.
Next job is to key it all up mop it down and get some high build primer on it.
I'm not after a perfect finish as I want it back on the road asap and I'm no expert, but it has to look good.
So thought I'd make the most of it and spend some time in the garage.

All the grinding is done and the welds all cleaned up.
Then I scotched the whole engine bay, etch primed all the bare metal, filled and rubbed down then filled and rubbed down some more.
Then I re etch primed all the bare metal and seam sealed the welds that needed it.

I forgot to take pics of the stages but that's how it sits tonight.
Next job is to key it all up mop it down and get some high build primer on it.
I'm not after a perfect finish as I want it back on the road asap and I'm no expert, but it has to look good.
Last edited by stu21t; 06-05-2015 at 08:34 PM.
06-05-2015, 08:41 PM
#265
10K+ Poster!!
Looks great...seems you have taken to the welding....good feeling when it goes well isn't it!
07-05-2015, 06:32 PM
#267
PassionFord Post Whore!!
Thread Starter
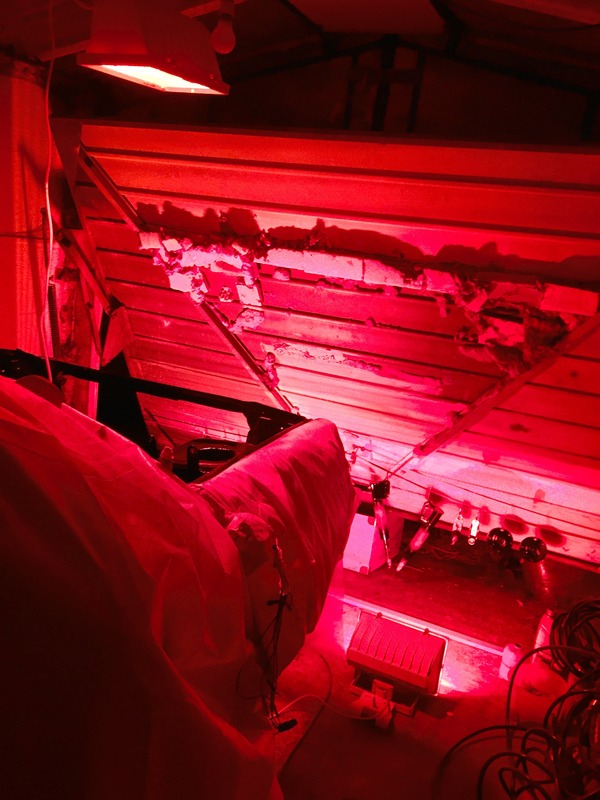
When you get a clean bit of metal and the right settings it's surprisingly easy, but it's knowing the right settings that's hard. Plus my auto mask is really dark so most of the time I struggle to see what I'm doing but I guess that's down to being in a small garage with poor lighting.
07-05-2015, 06:57 PM
#268
10K+ Poster!!
I'll let you know when it goes well lol.
When you get a clean bit of metal and the right settings it's surprisingly easy, but it's knowing the right settings that's hard. Plus my auto mask is really dark so most of the time I struggle to see what I'm doing but I guess that's down to being in a small garage with poor lighting.
When you get a clean bit of metal and the right settings it's surprisingly easy, but it's knowing the right settings that's hard. Plus my auto mask is really dark so most of the time I struggle to see what I'm doing but I guess that's down to being in a small garage with poor lighting.
07-05-2015, 07:56 PM
#269
Ben

Jesus, like you say, nothing like jumping in the deep end Would steer clear of gasless though.
Would steer clear of gasless though.
07-05-2015, 07:59 PM
#270
10K+ Poster!!
Defo stay away from gas less, that is too hard work. Gas makes it so much easier and the hobby bottles are pants. ( the pics show the little hobby gas bottles which are better tha nowt but much harder to use for good results)
Last edited by Caddyshack; 07-05-2015 at 08:01 PM.
08-05-2015, 05:32 PM
#271
PassionFord Post Whore!!
Thread Starter
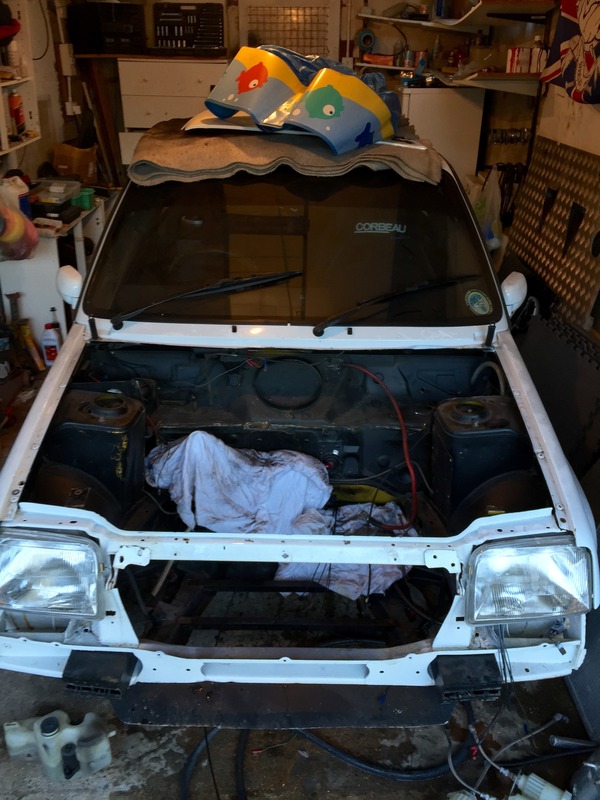
Here it is primed and ready for paint
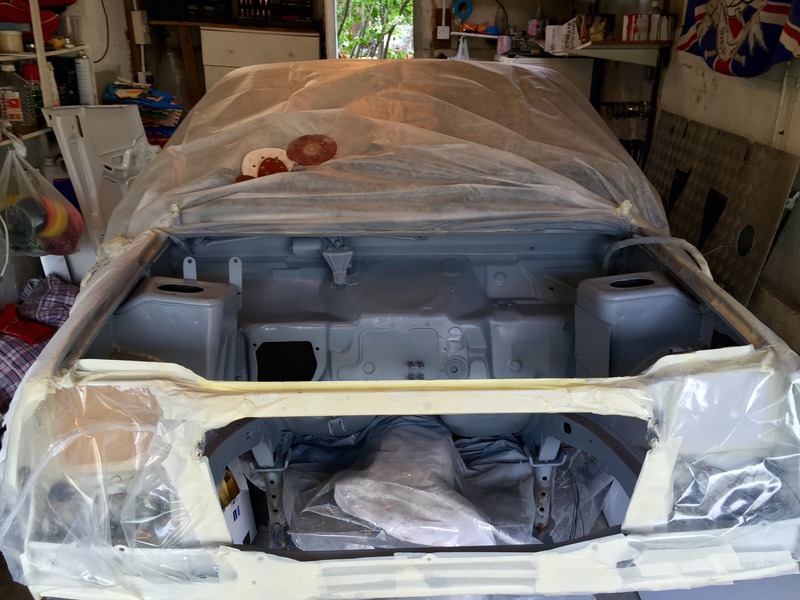
It's not the best job as basically I can't be bothered to spend more time prepping it. I want to drive the bloody thing.
It will be plenty good enough for an engine bay in a toy car tho.
All I gotta do now is decide whether I want to just go ahead and paint it tomorrow or wait till next week when my painter mate is back and he can show me how to mix the paint and set the gun up.....
I've never done any spraying before so have no idea what I'm doing lol.
08-05-2015, 05:35 PM
#272
10K+ Poster!!
Here it is primed and ready for paint

It's not the best job as basically I can't be bothered to spend more time prepping it. I want to drive the bloody thing.
It will be plenty good enough for an engine bay in a toy car tho.
All I gotta do now is decide whether I want to just go ahead and paint it tomorrow or wait till next week when my painter mate is back and he can show me how to mix the paint and set the gun up.....
I've never done any spraying before so have no idea what I'm doing lol.
 09-05-2015, 09:40 PM
#274
PassionFord Post Whore!!
Thread Starter
Well I got to spend a few hours on the car today.
I decided not to touch the paint in the bay but get all the other parts prepped so all the painting can be done at once so,
I stripped everything apart and took it all back to bare metal then polished all threads and bare metal parts and etch primed everything that's getting painted.
Shocks,
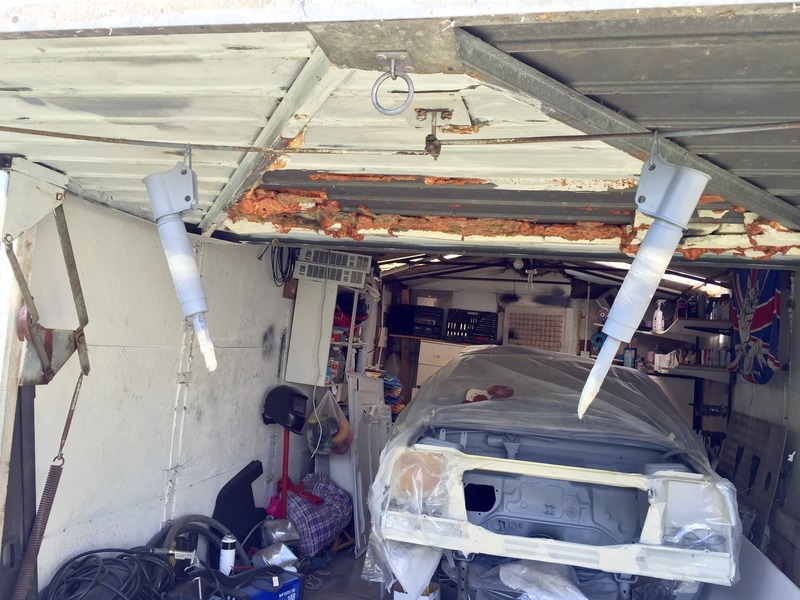
Steering rack,
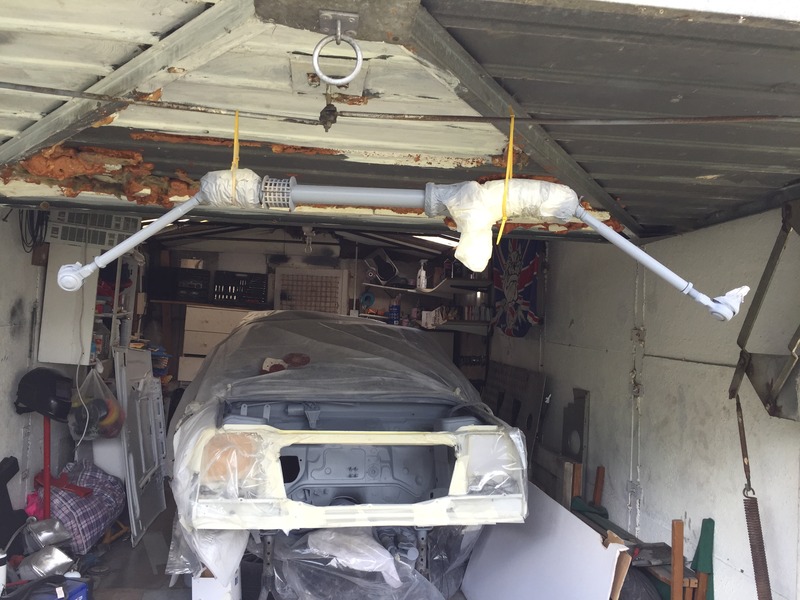
Pedals, bottom ball joints, stud adapters....
I also stripped the pedal box apart and cleaned all of the master cylinders, and took the bias apart and cleaned all that up too. The box itself will go off for sand blasting and powder coating.
So now all I got to do is tidy up the garage ready for spraying hopefully on Monday.
I decided not to touch the paint in the bay but get all the other parts prepped so all the painting can be done at once so,
I stripped everything apart and took it all back to bare metal then polished all threads and bare metal parts and etch primed everything that's getting painted.
Shocks,


Steering rack,

Pedals, bottom ball joints, stud adapters....

I also stripped the pedal box apart and cleaned all of the master cylinders, and took the bias apart and cleaned all that up too. The box itself will go off for sand blasting and powder coating.
So now all I got to do is tidy up the garage ready for spraying hopefully on Monday.
19-05-2015, 08:31 PM
#275
PassionFord Post Whore!!
Thread Starter
Well it should have been painted by now but,
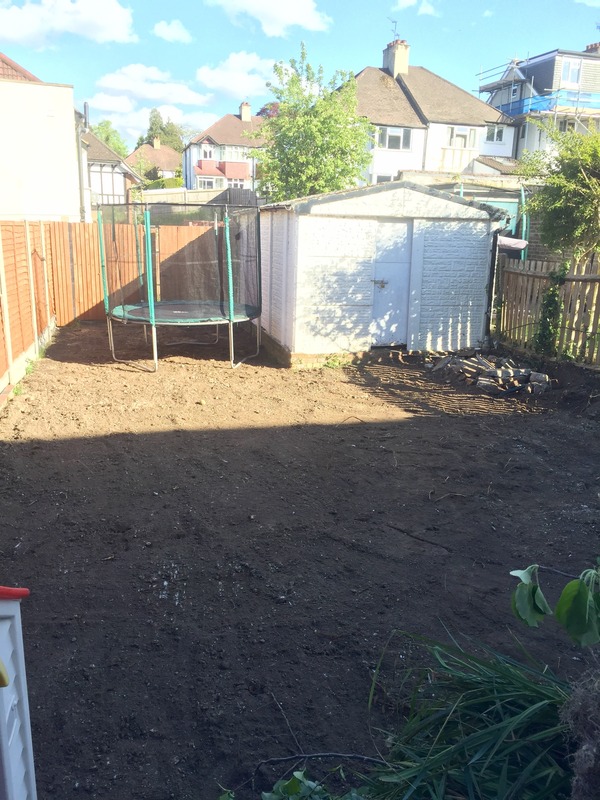
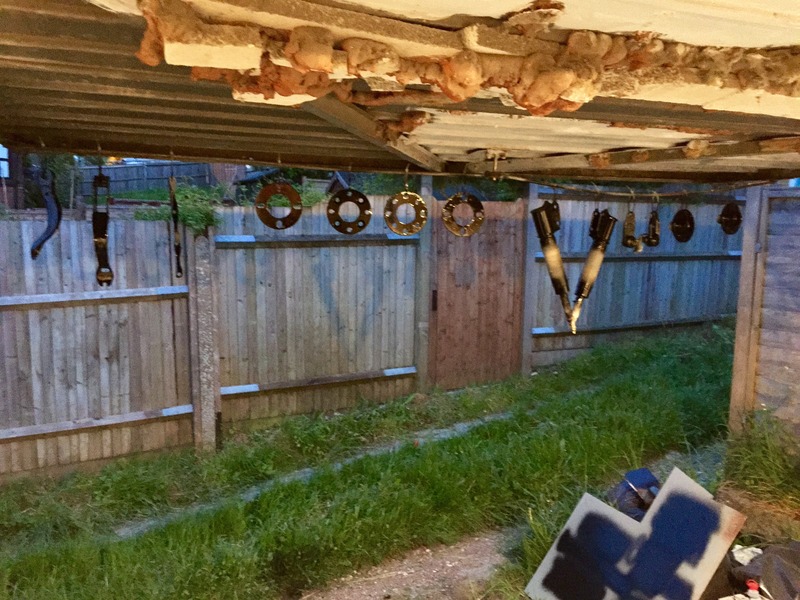
I got a little carried away with "gardening" lol
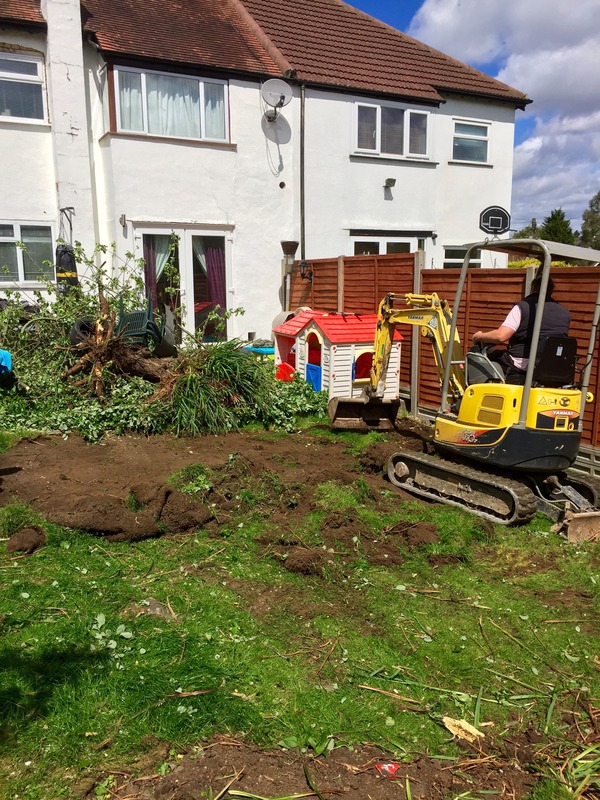
I got a digger in to level the garden, going to redo the whole lot.
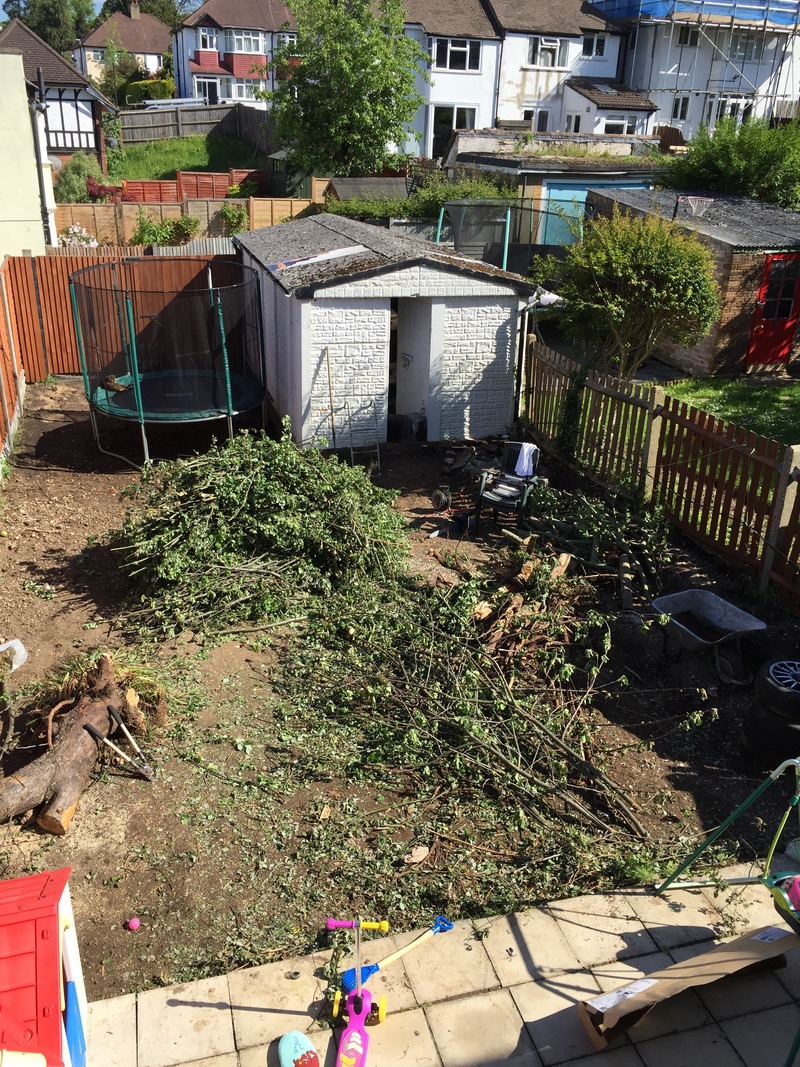
I cut down 2 trees so decided to burn them and...
I poured some thinners on the very small fire which put the flames out ???
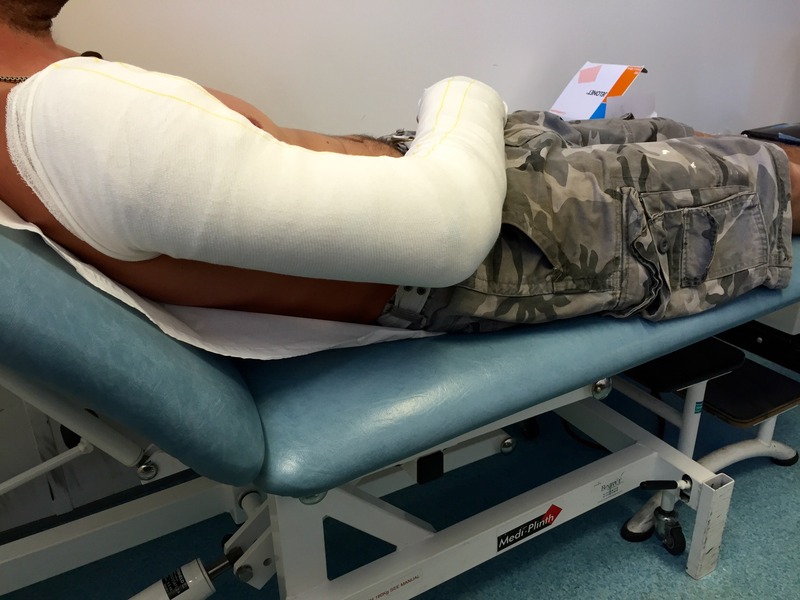
So I then put some brake cleaner on it and when I lit it, it exploded.
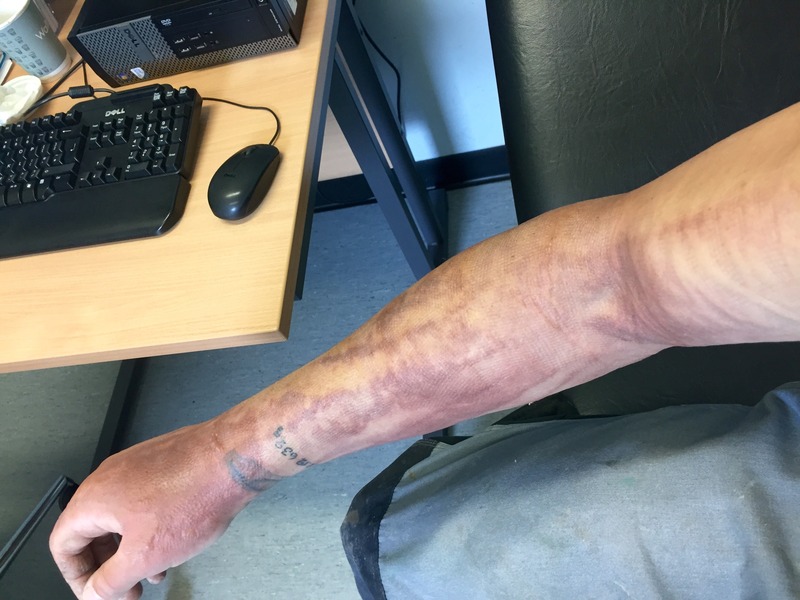
I now have partial thickness burns to my whole right arm.
So I guess progress will be slow for a while lol.
I got a little carried away with "gardening" lol

I got a digger in to level the garden, going to redo the whole lot.


I cut down 2 trees so decided to burn them and...

I poured some thinners on the very small fire which put the flames out ???
So I then put some brake cleaner on it and when I lit it, it exploded.
I now have partial thickness burns to my whole right arm.
So I guess progress will be slow for a while lol.
 27-05-2015, 10:54 PM
#277
PassionFord Post Whore!!
Thread Starter
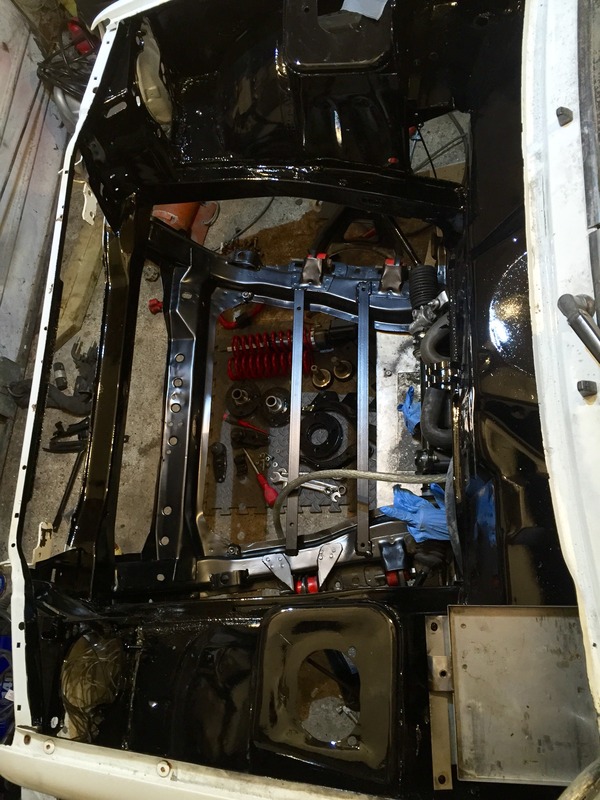
It's finally painted.
I picked up a spray gun for the first time tonight, I think it went rather well, apart from a bit of shit in the paint, I guess I need a bigger filter
I'm happy enough for the engine bay of a toy car.

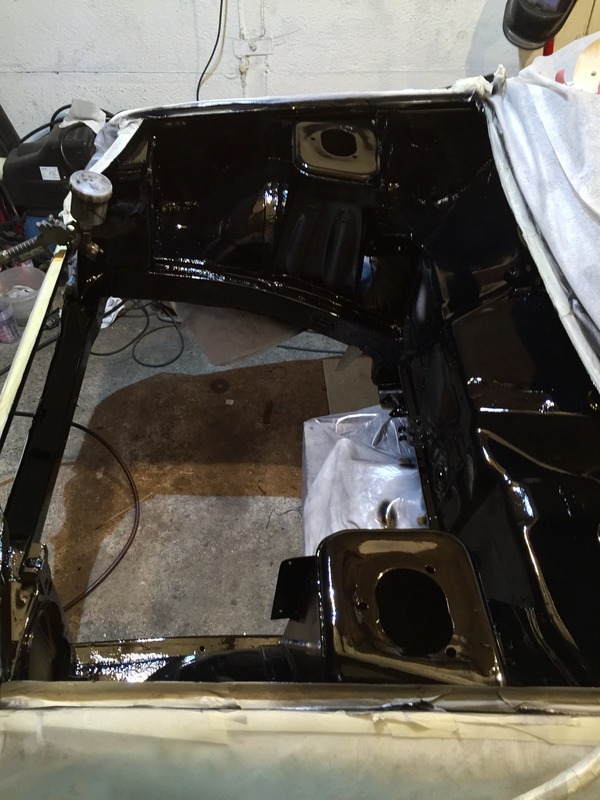
Now I can finally start rebuilding it!
I picked up a spray gun for the first time tonight, I think it went rather well, apart from a bit of shit in the paint, I guess I need a bigger filter
I'm happy enough for the engine bay of a toy car.


Now I can finally start rebuilding it!
28-05-2015, 07:15 AM
#278
Awesome little car! Proper little Ali G sleeper! Hope ya get the little niggles sorted now you're back on with it. Nothing like a bit of fresh motivation to get something finished.
Edit: Realised after I posted that the 'niggles' you were sorting were 3 years ago! Lol. I wasn't quite at the end of the thread. Fair play for having a bash at the welding and painting. Looking good!
Edit: Realised after I posted that the 'niggles' you were sorting were 3 years ago! Lol. I wasn't quite at the end of the thread. Fair play for having a bash at the welding and painting. Looking good!
Last edited by craigk47; 28-05-2015 at 07:21 AM. Reason: Thought I was at the end. I wasn't.
28-05-2015, 10:25 AM
#279
10K+ Poster!!
cool, I hope you are feeling better now
01-06-2015, 08:50 AM
#280
PassionFord Post Whore!!
Thread Starter
I got a couple of hours on the car today so I stripped and painted my front springs and anti roll bar in red.

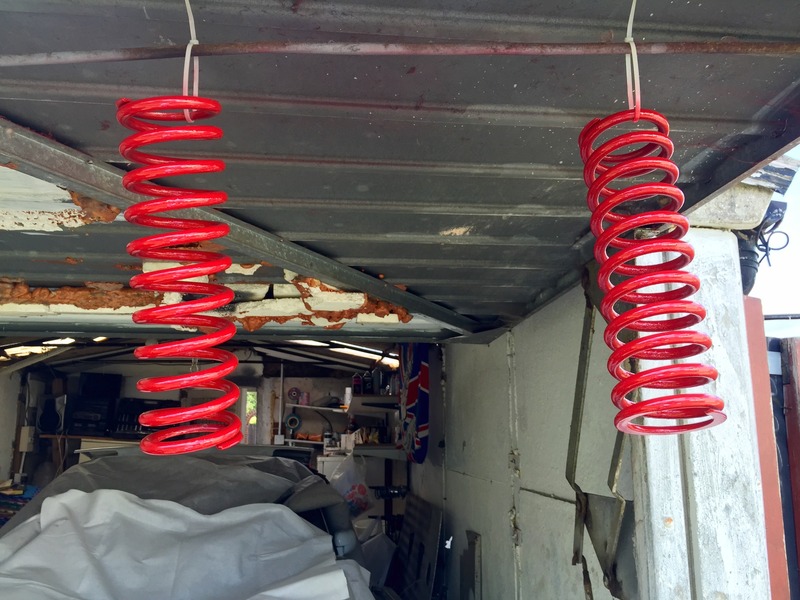
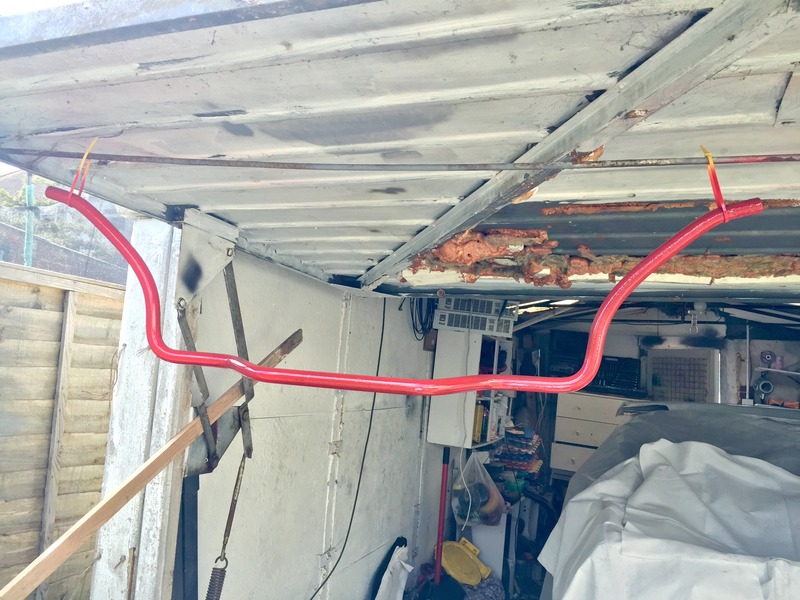
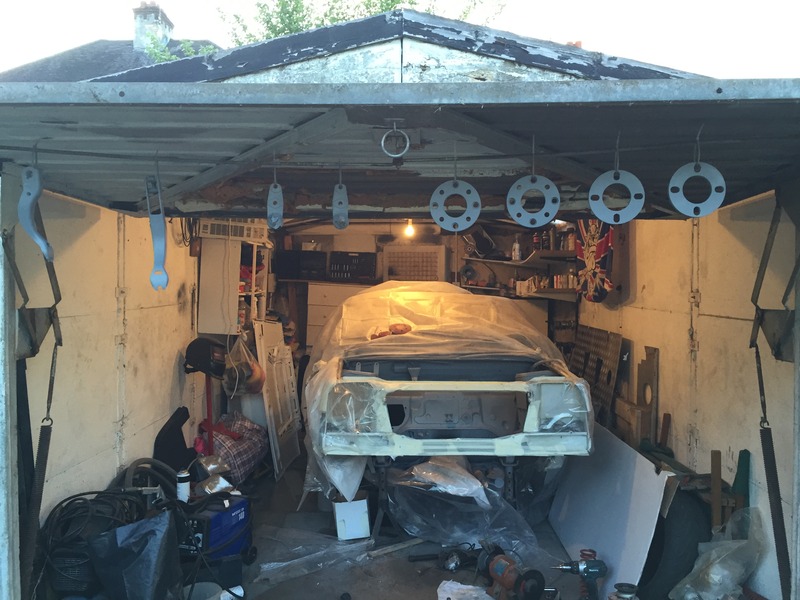
Here's a small collection of my parts all ready to go on, they have either been sand blasted and powder coated or wire brushed, etch primed and painted 2k black.
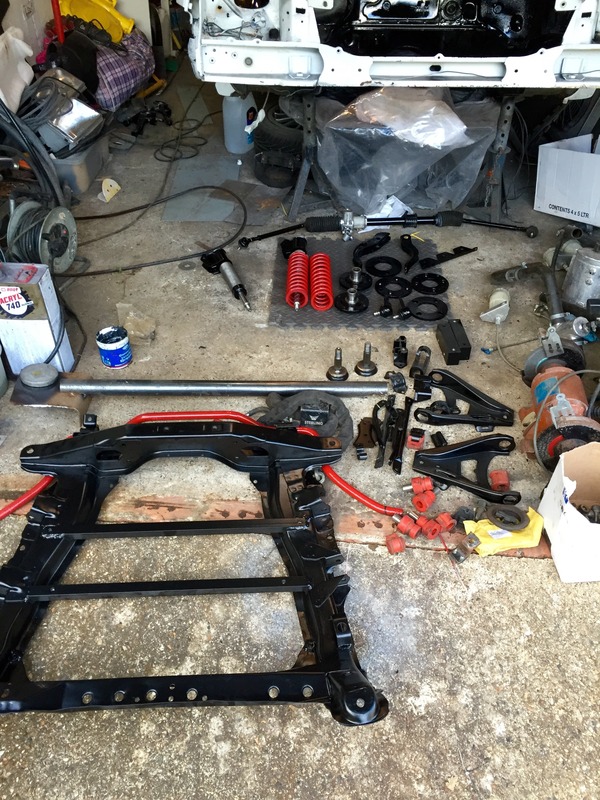
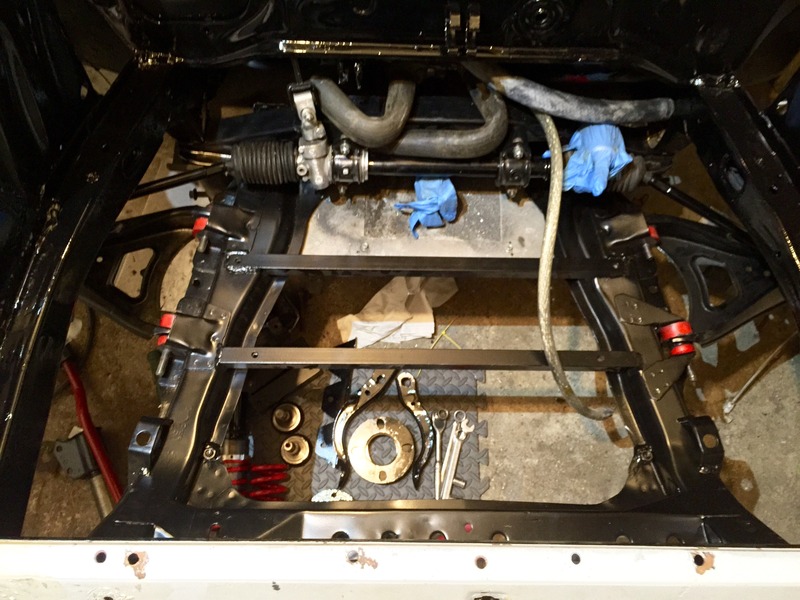
I then got the wishbones assembled, fitted the steering rack and put the subframe back in the car.
Not a lot but progress is progress.


Here's a small collection of my parts all ready to go on, they have either been sand blasted and powder coated or wire brushed, etch primed and painted 2k black.

I then got the wishbones assembled, fitted the steering rack and put the subframe back in the car.


Not a lot but progress is progress.