V8 Sierra 2WD


 06-11-2015, 05:42 PM
#482
Great work mark, love it!
Especially the flywheel and the door pins!!!!
At first I though, whats he doing making such a tiny flywheel, until my brain worked out that it was clamped on a pretty big mill!
Rob,

The head makes the flywheel look like its 100mm across!
Especially the flywheel and the door pins!!!!
At first I though, whats he doing making such a tiny flywheel, until my brain worked out that it was clamped on a pretty big mill!
Rob,
The head makes the flywheel look like its 100mm across!
Last edited by Rob_DOHC; 06-11-2015 at 05:45 PM.
21-04-2016, 05:31 PM
#487
Over due update
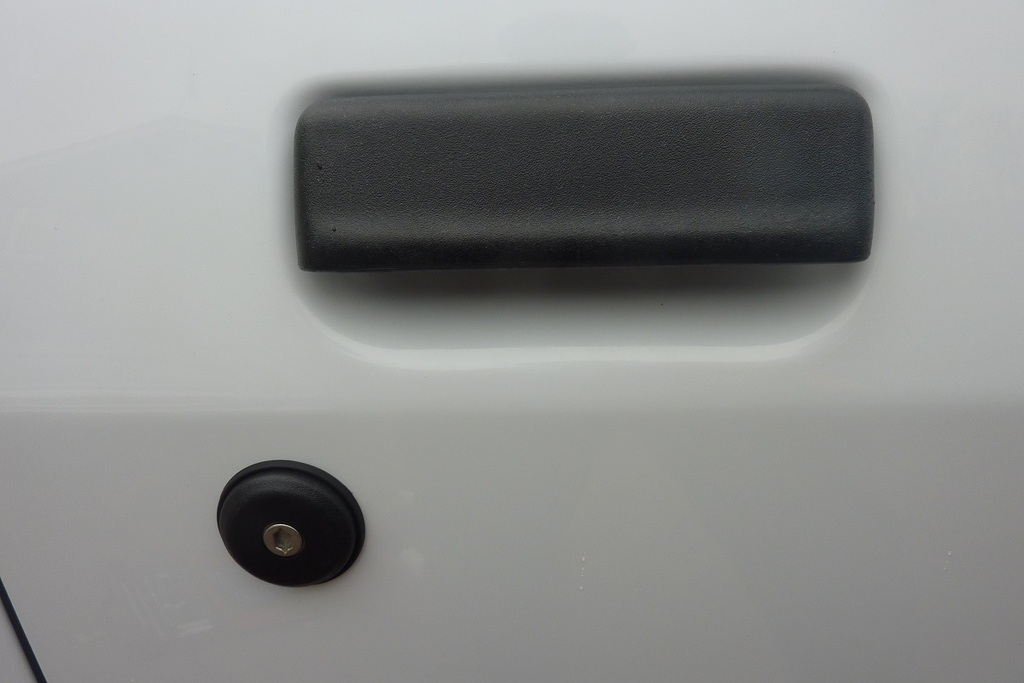
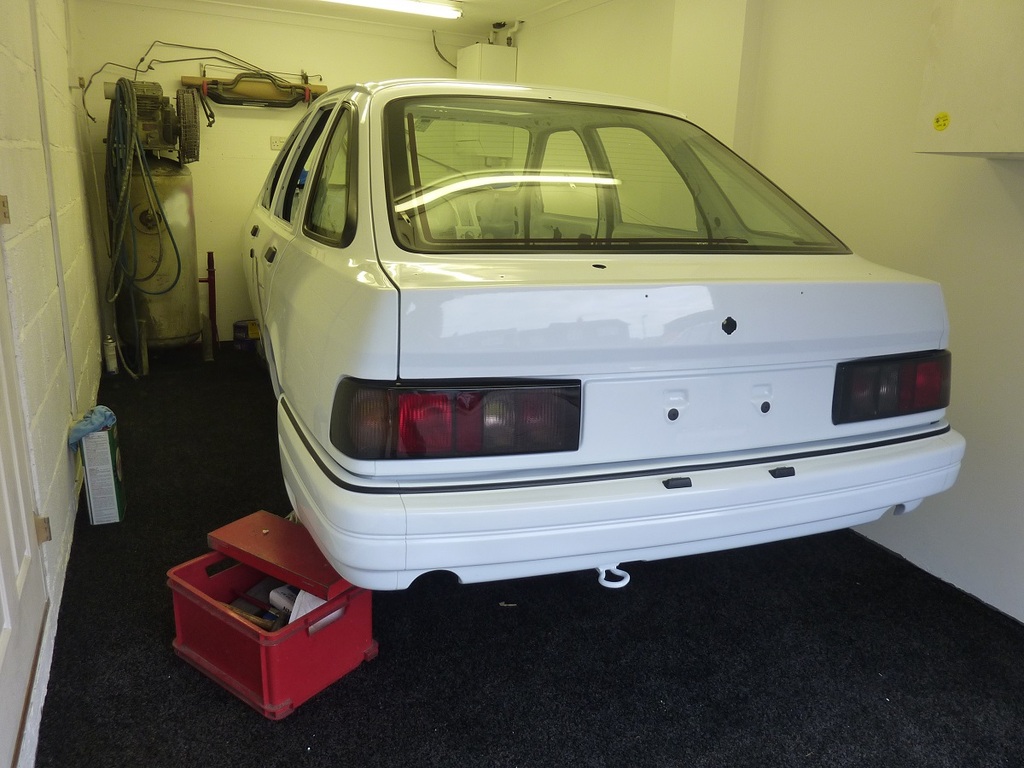
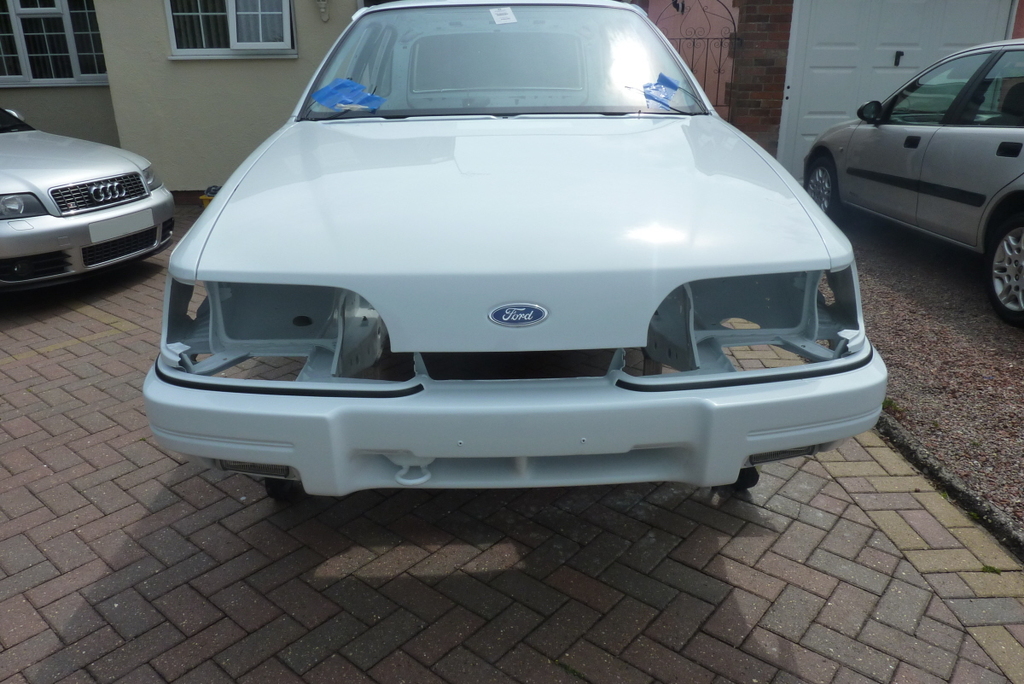
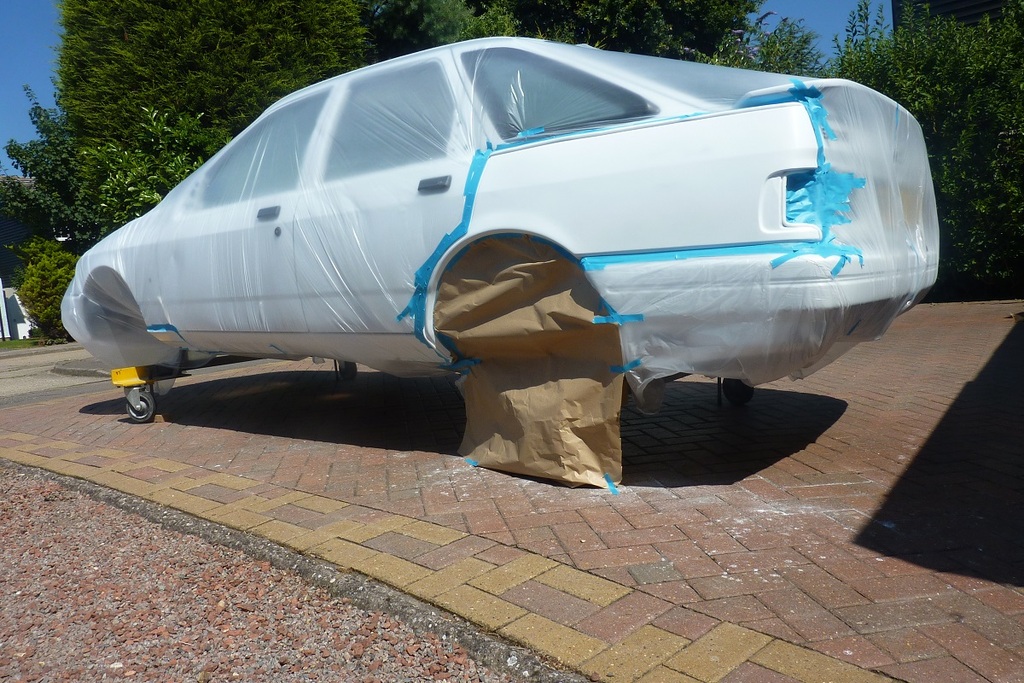
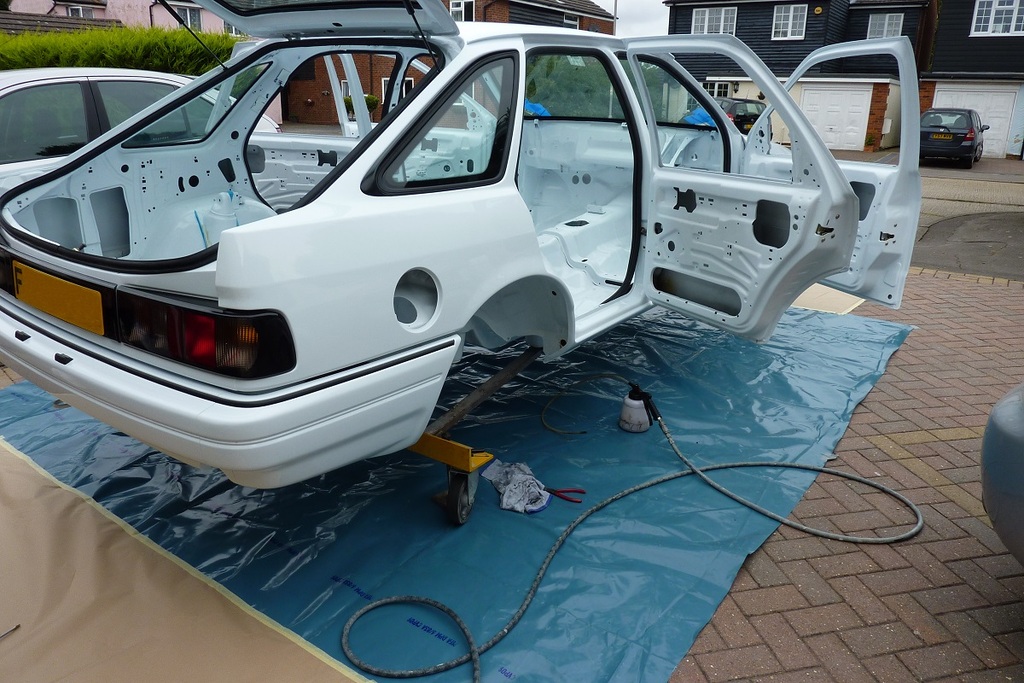
Back from paint with the glass stuck in.
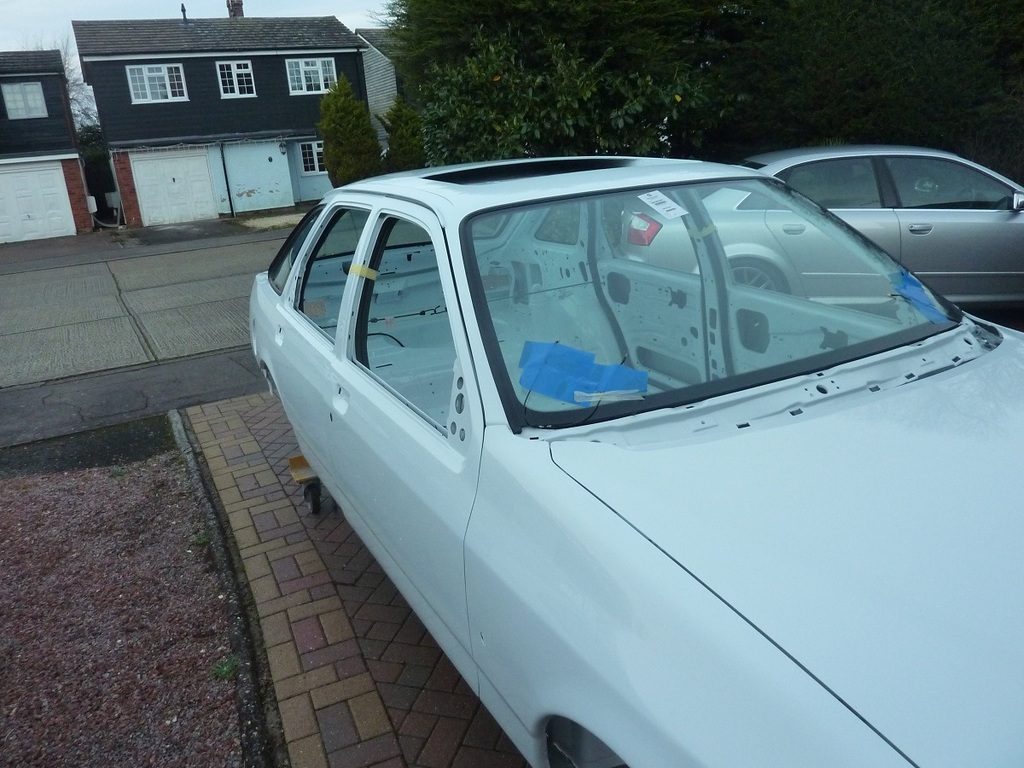
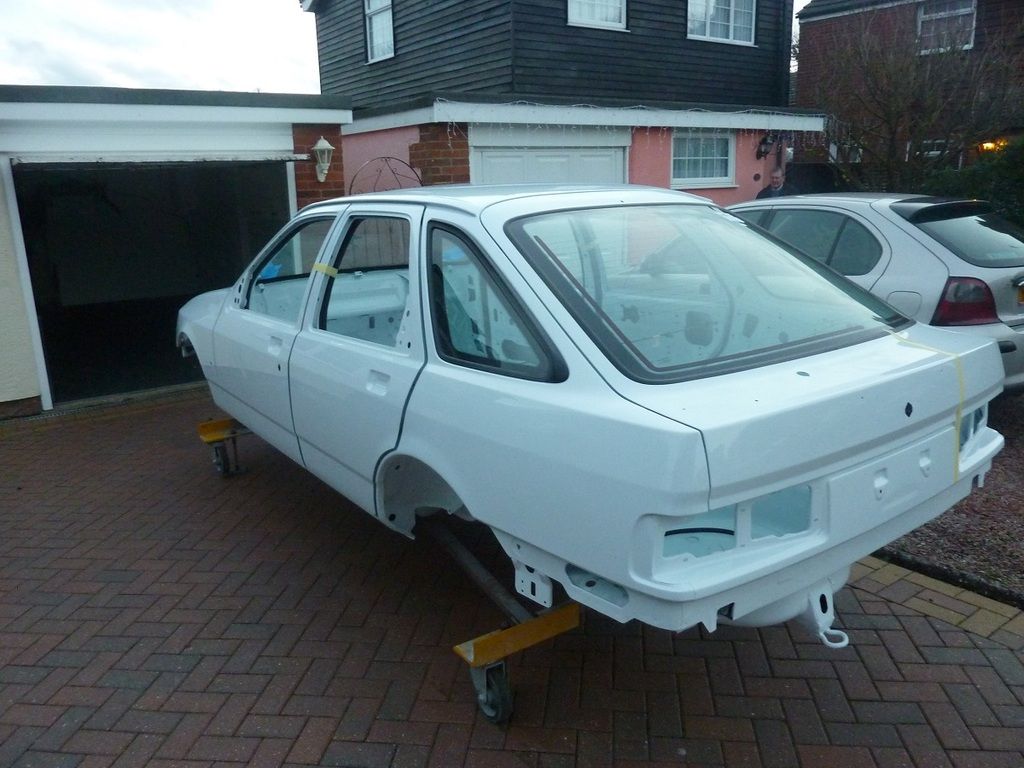
Correcting some bits that weren't quite right
Driver side rear door also had imperfections, so had it re-done elsewhere.
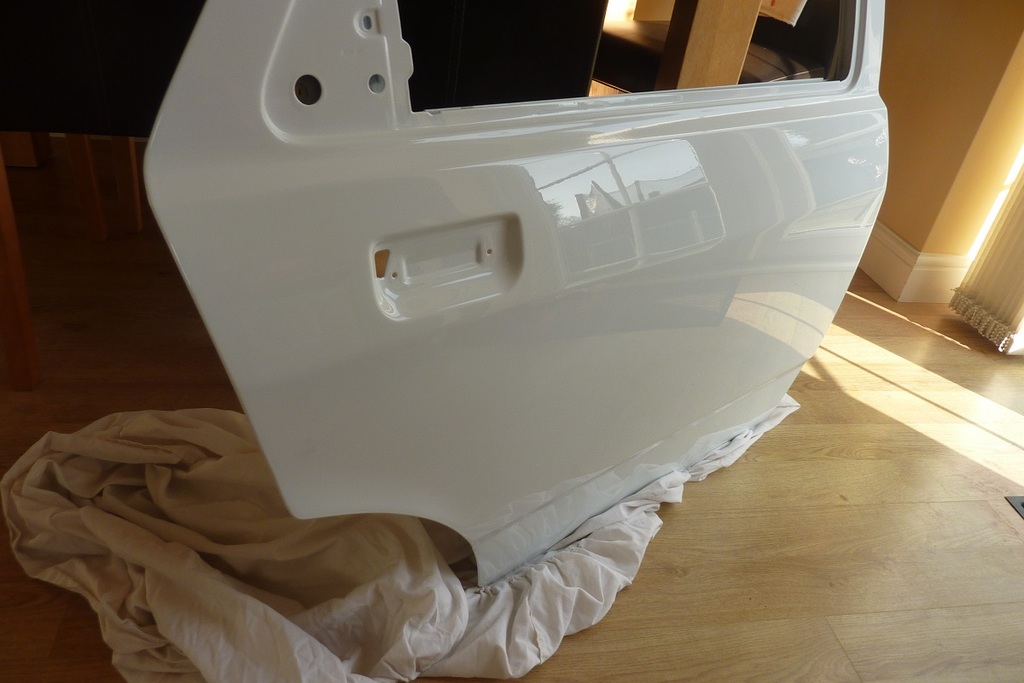
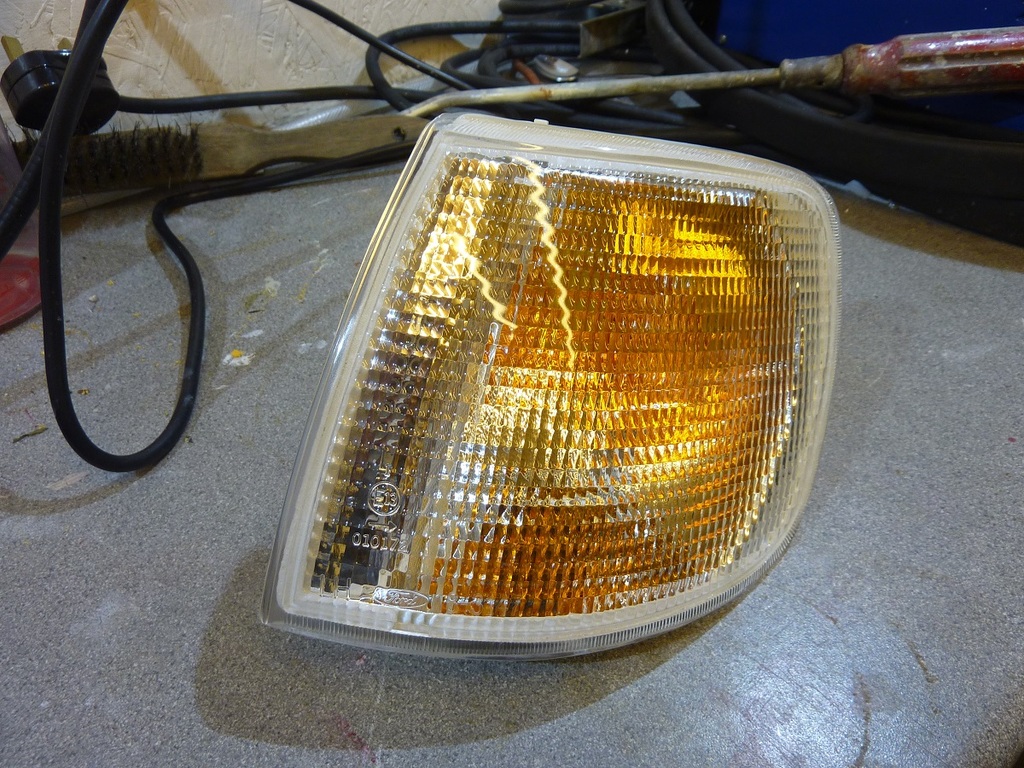
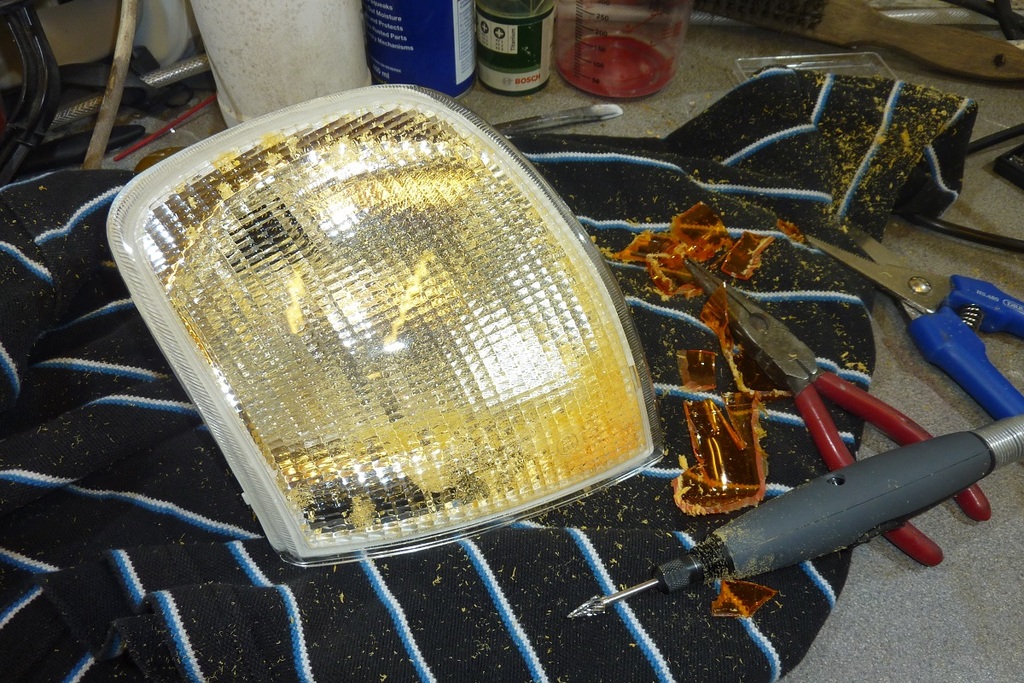
Got hold of some new genuine clear indicators, tried some amber ones but just can't bring myself to like them against the white
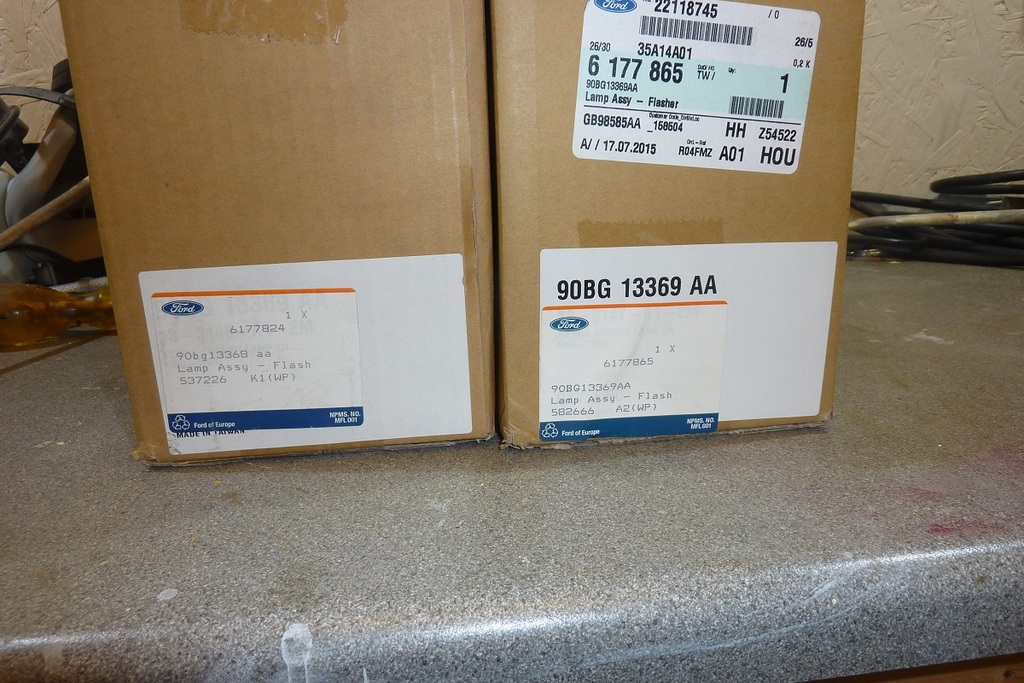
Not liking the orange bits
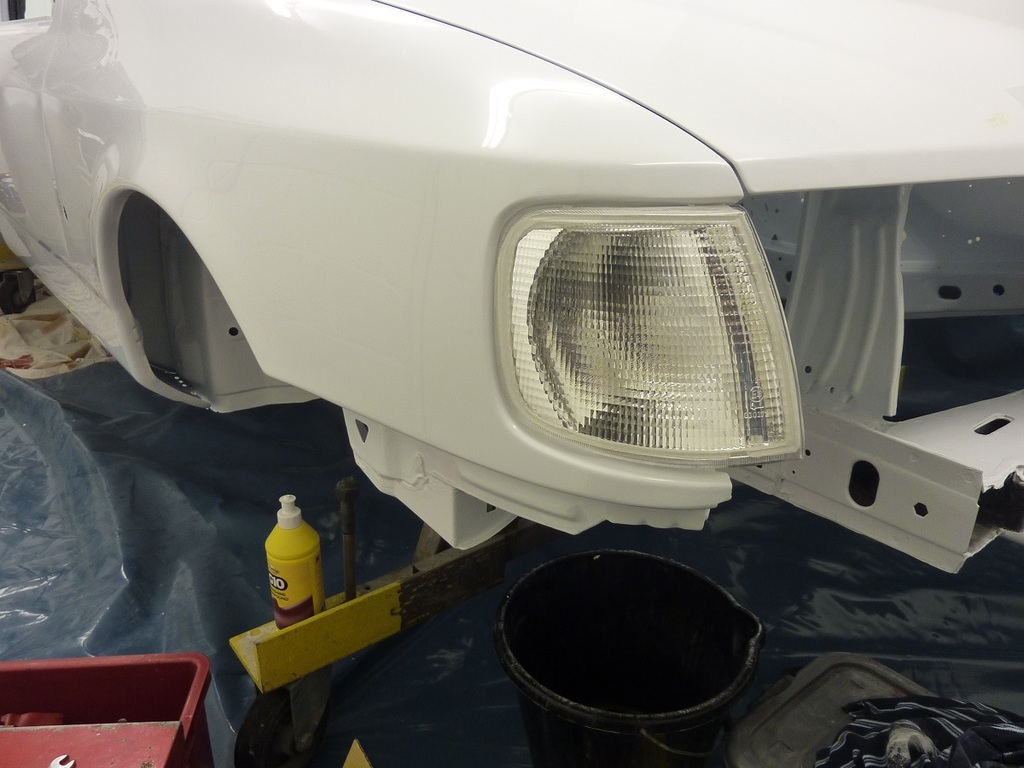
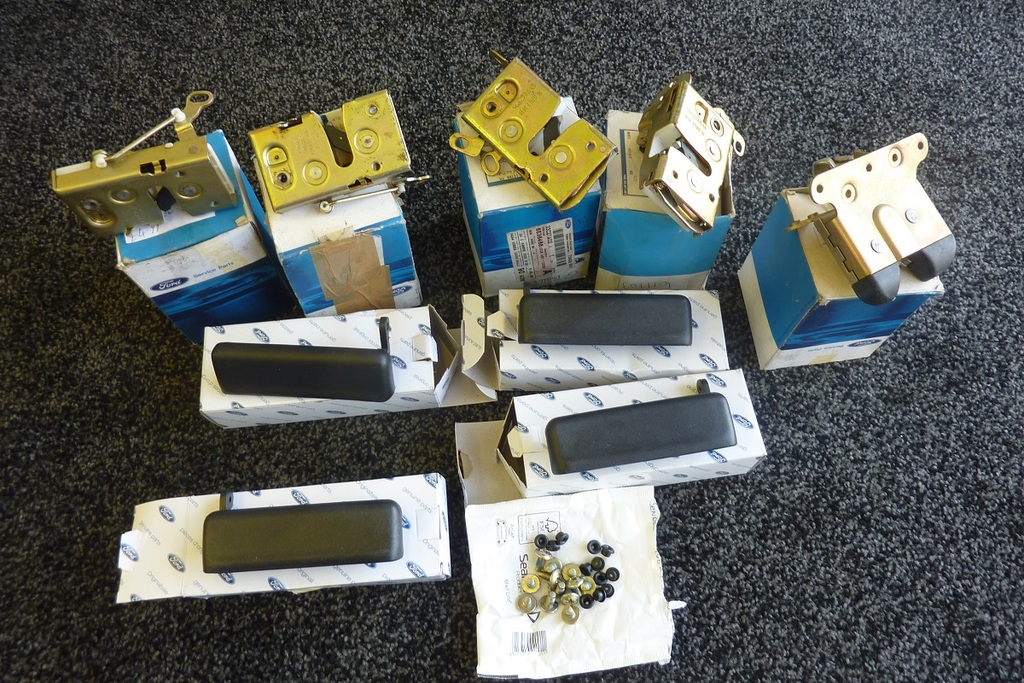
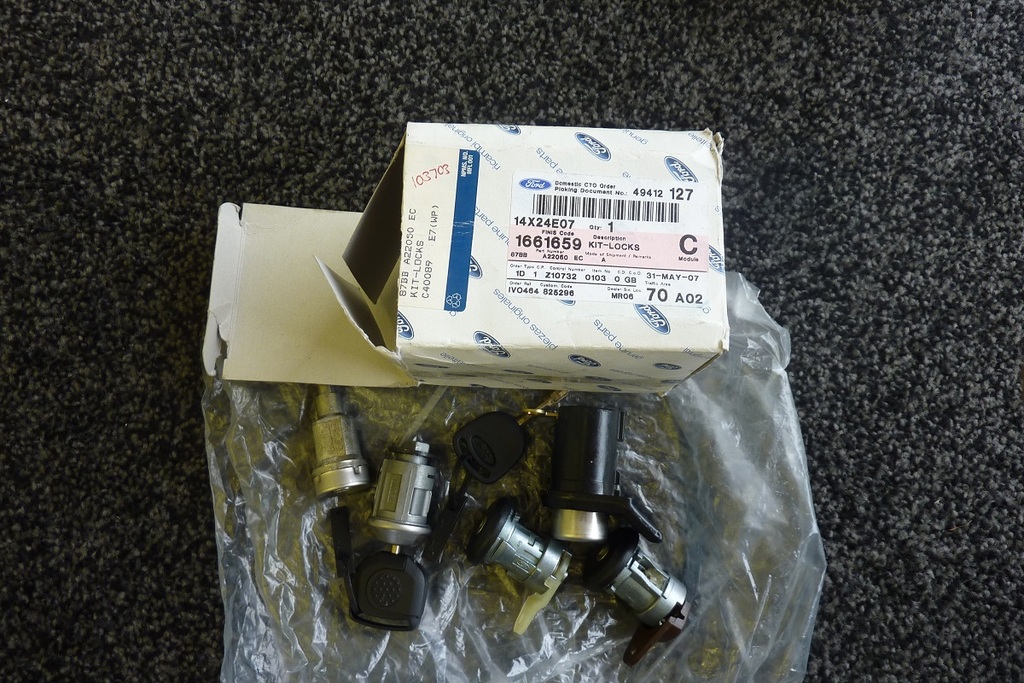
Time to start raiding my stash of new old stock
Still got some paint issues to sort, but it's getting there at long last...
Back from paint with the glass stuck in.


Correcting some bits that weren't quite right


Driver side rear door also had imperfections, so had it re-done elsewhere.

Got hold of some new genuine clear indicators, tried some amber ones but just can't bring myself to like them against the white

Not liking the orange bits


Time to start raiding my stash of new old stock


Still got some paint issues to sort, but it's getting there at long last...

 24-04-2016, 07:15 PM
#494
Ferkin expensive weekend 
One advantage of taking over 5 years to fix this old girl is that it gives more time for saving.
Borrowed works van and had an 8 hour round trip to MK Motorsport to pick up rear beam.
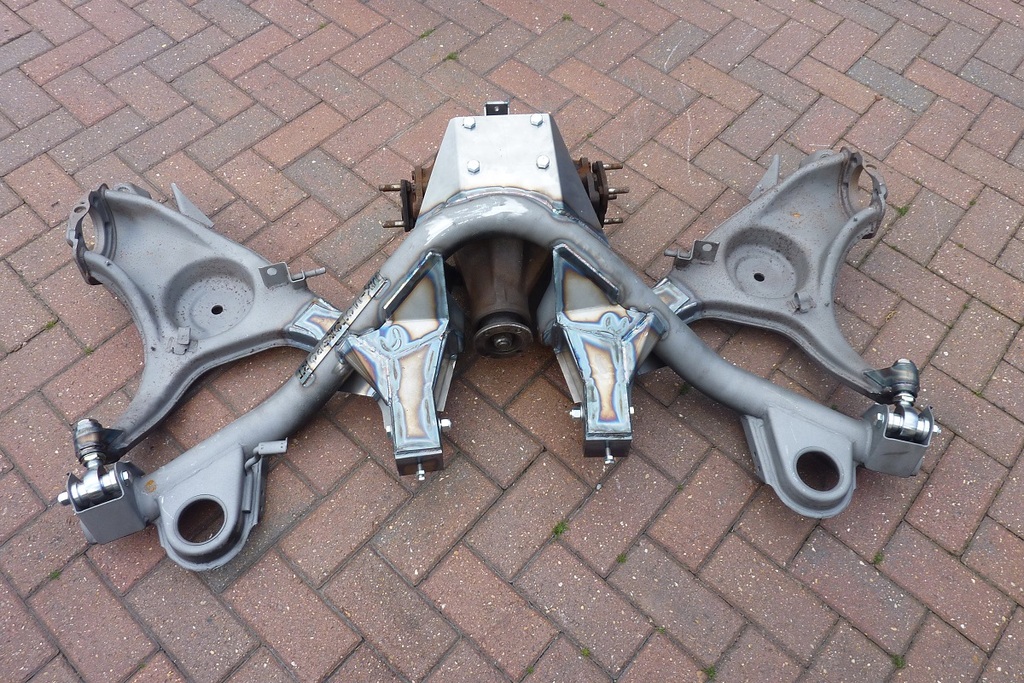
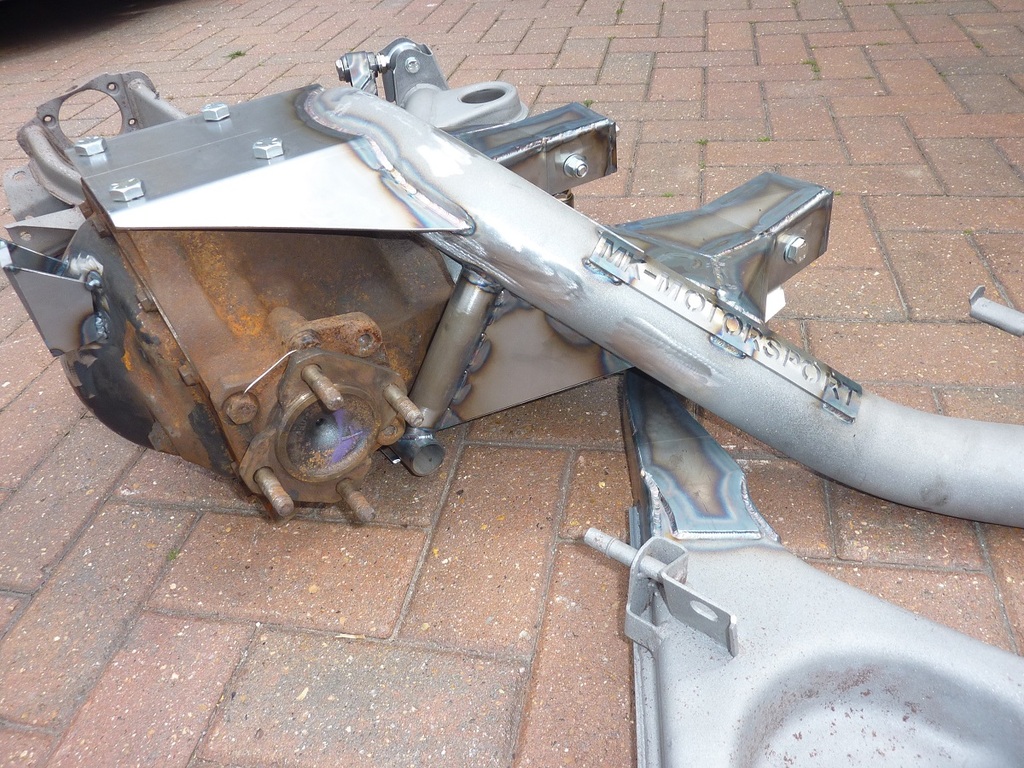

Some lovely welding and fabrication
Fully adjustable rose jointed 6 degree beam with Jaguar Power Lok 3.54 LSD
Can adjust wheelbase side to side along with tow in and camber angles.
Just need to make up a billet rear cover, figure out drive shafts and prop shaft
Dropped it off at home then straight back out to my painter who has finished the bumpers and also wanted paying :'(
Crappy day outside today, garage is full, shed is full so the lounge became my workshop
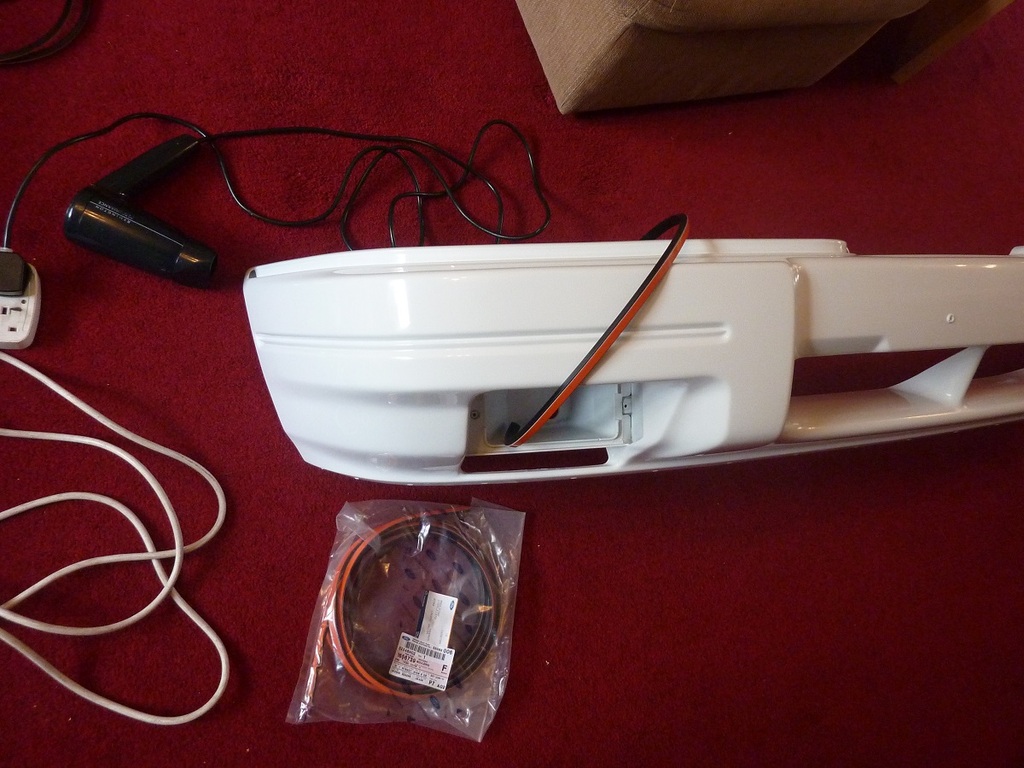
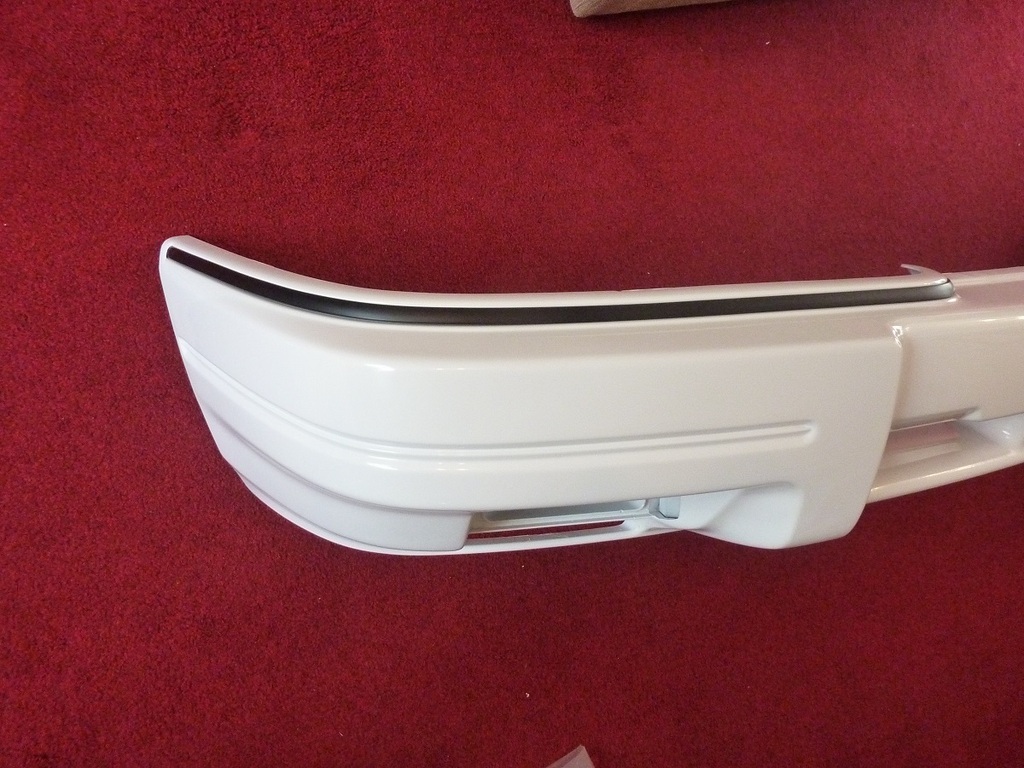
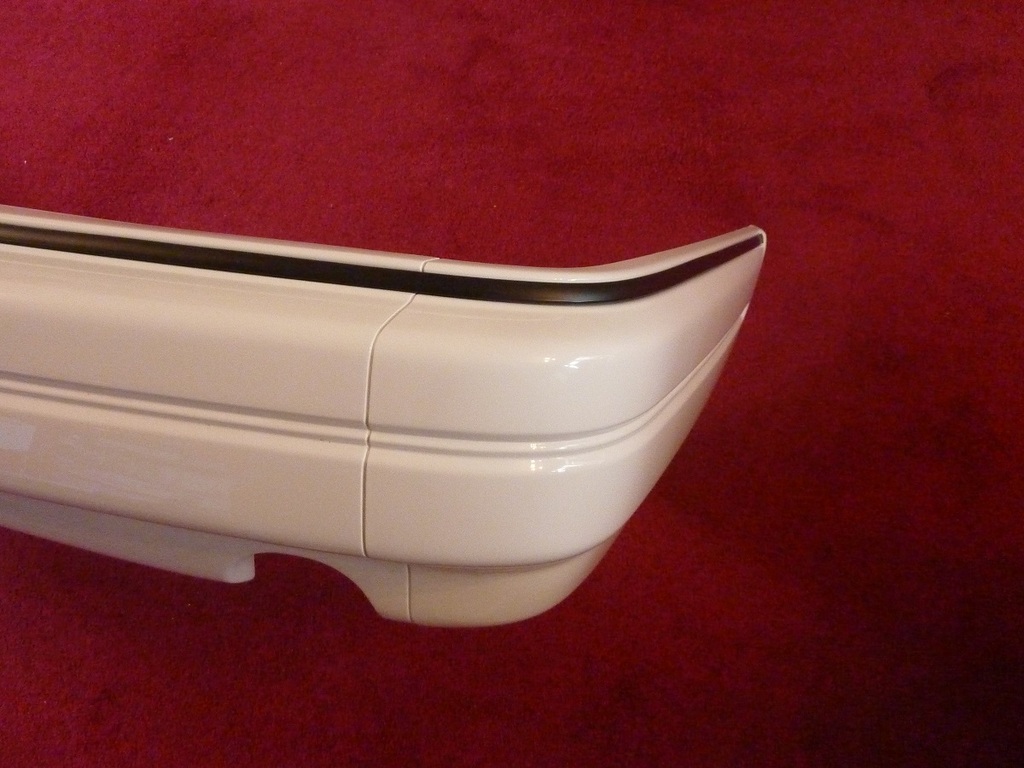
Bumper was a pain to fit as the brackets ran out of adjustment, had to take them off and elongate the holes where they bolt to the bumper.
Re-furbished some old rear lights with 2000 wet and dry and cutting compound.
That's it for now....
One advantage of taking over 5 years to fix this old girl is that it gives more time for saving.
Borrowed works van and had an 8 hour round trip to MK Motorsport to pick up rear beam.


Some lovely welding and fabrication
Fully adjustable rose jointed 6 degree beam with Jaguar Power Lok 3.54 LSD
Can adjust wheelbase side to side along with tow in and camber angles.
Just need to make up a billet rear cover, figure out drive shafts and prop shaft
Dropped it off at home then straight back out to my painter who has finished the bumpers and also wanted paying :'(
Crappy day outside today, garage is full, shed is full so the lounge became my workshop


Bumper was a pain to fit as the brackets ran out of adjustment, had to take them off and elongate the holes where they bolt to the bumper.
Re-furbished some old rear lights with 2000 wet and dry and cutting compound.
That's it for now....
Last edited by Mark V8; 24-04-2016 at 07:37 PM.
24-04-2016, 07:50 PM
#495

The following users liked this post:
Mark V8 (25-04-2016)
 16-06-2016, 09:08 PM
#499
Paint issues have been REALLY pissing me off, they take an age to sort out and there's not much to show for all the effort
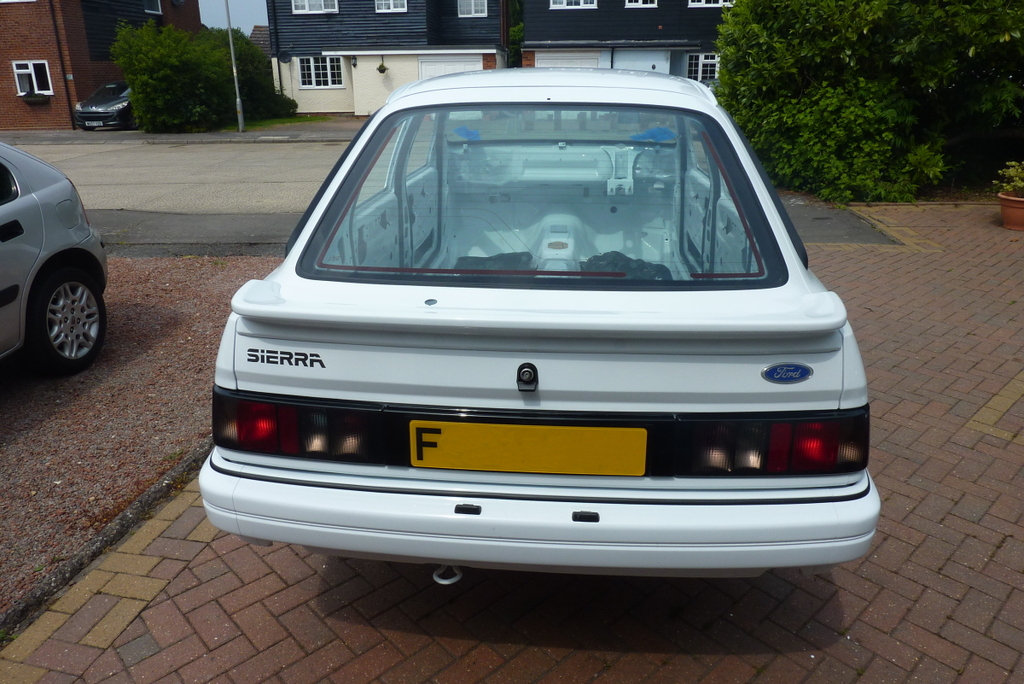
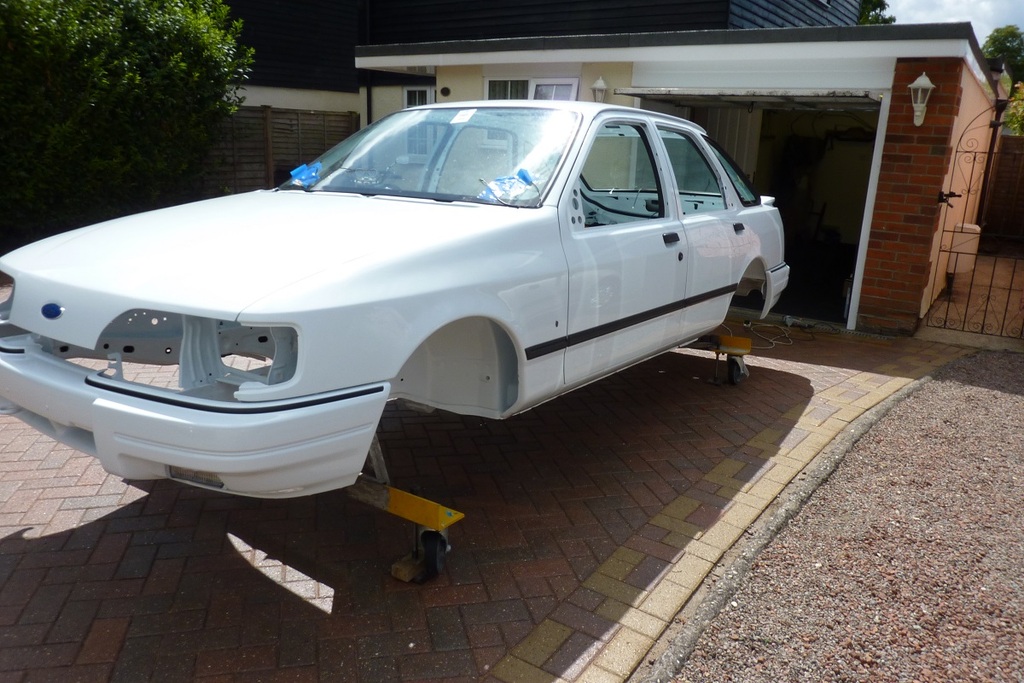
Finally getting some bits back on though
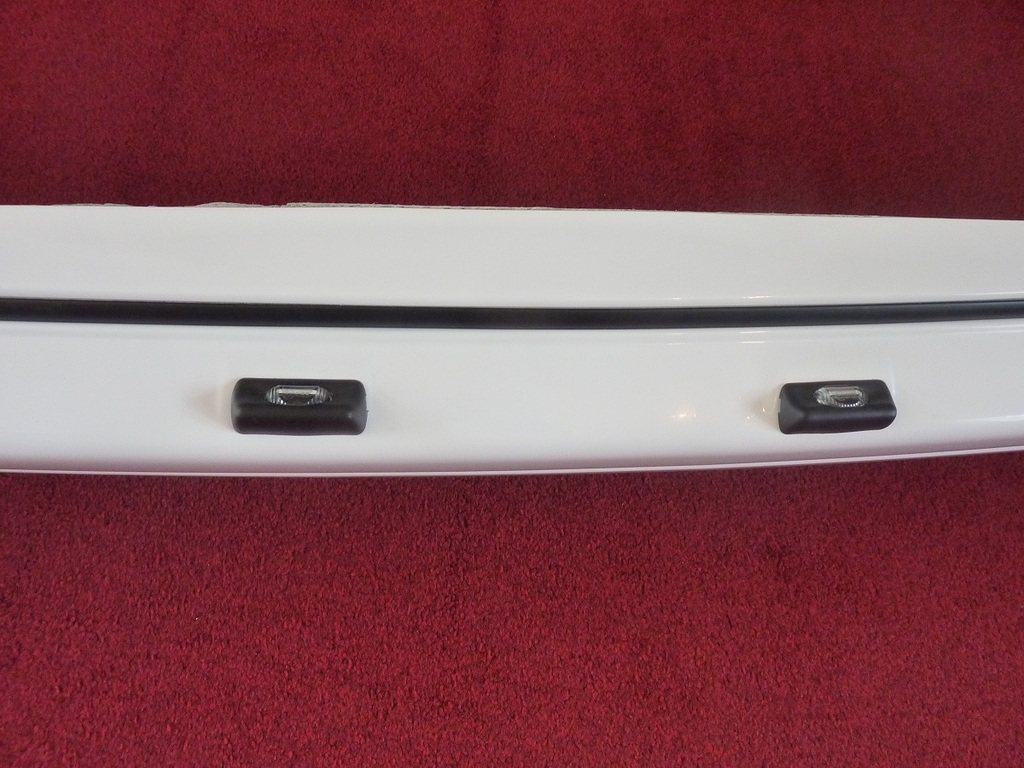
Got hold of a new old stock black rear panel and removed the fixings so it could be fitted with a few dabs of tiger seal, rather than drill holes.
I can always change my mind and fit ambers if the mood takes me - not that there's much chance of that happening

Last edited by Mark V8; 16-06-2016 at 09:09 PM. Reason: carnt speeel proply
The following users liked this post:
Mark V8 (07-08-2016)
07-08-2016, 07:00 PM
#501
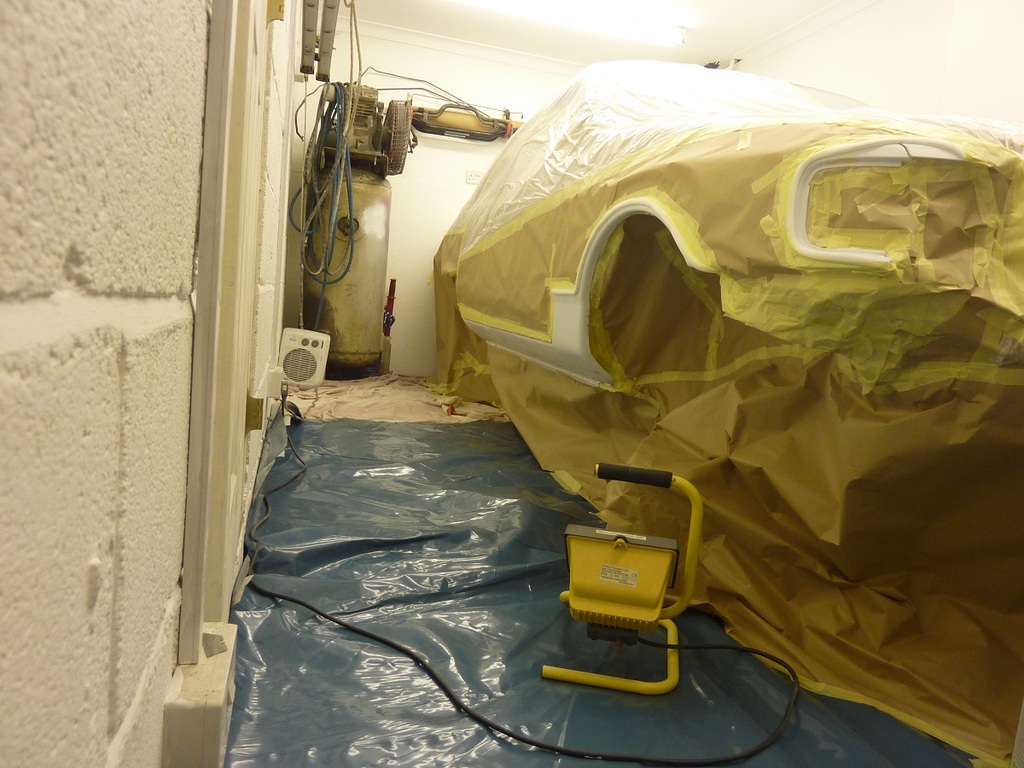
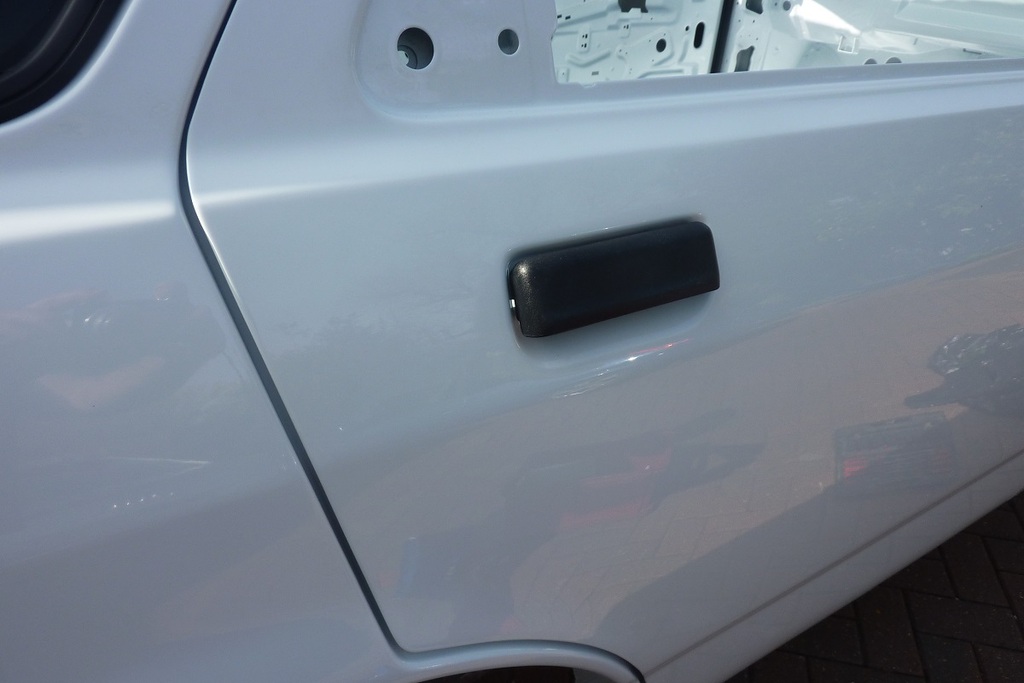
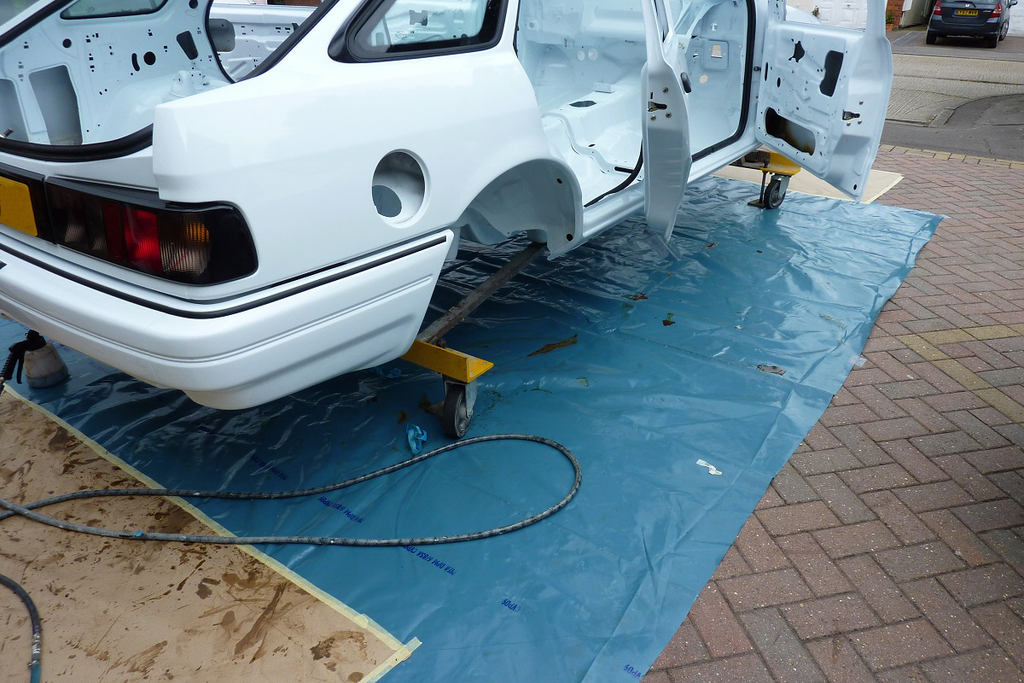
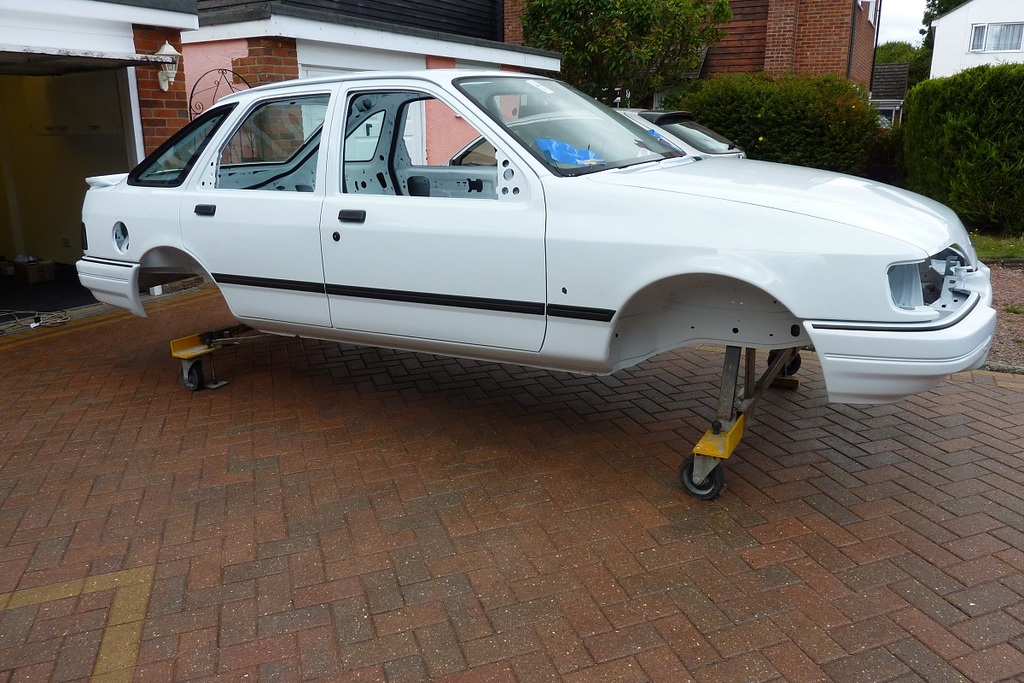
Found some annoying small dents in the passenger side rear door, along with a bit of silicone contamination so took it off and got it re-done.
I'm not good enough with repairs to lose the dents and paid someone who knows what they are doing to sort it.
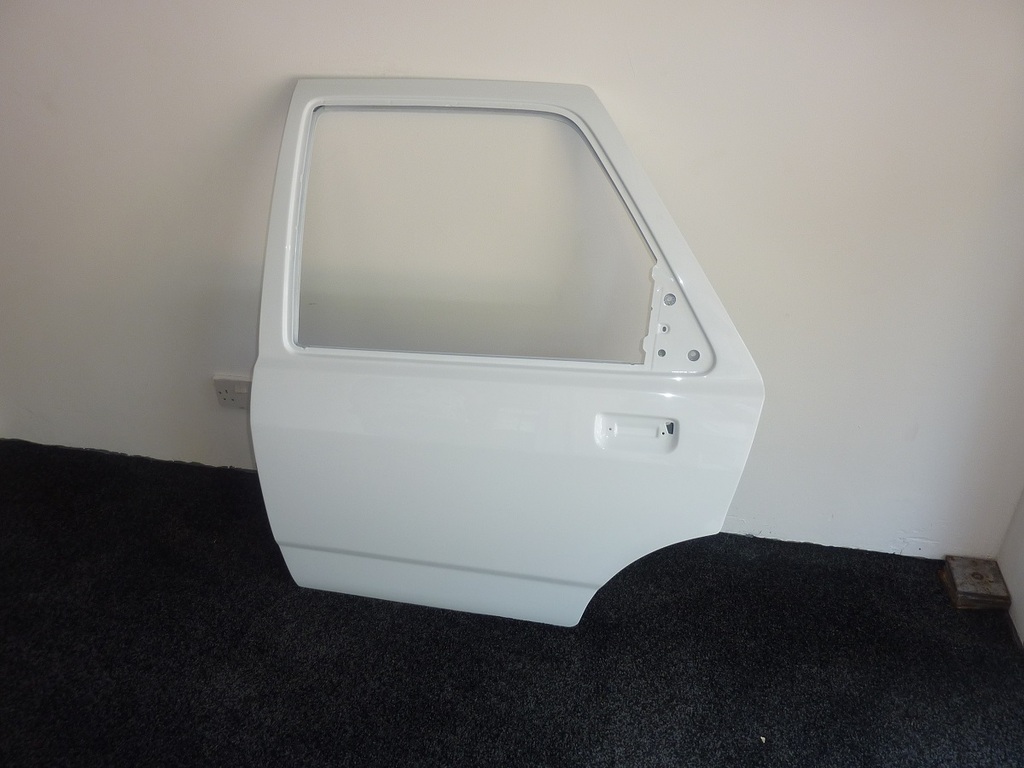
Much straighter when you look down the side of it now
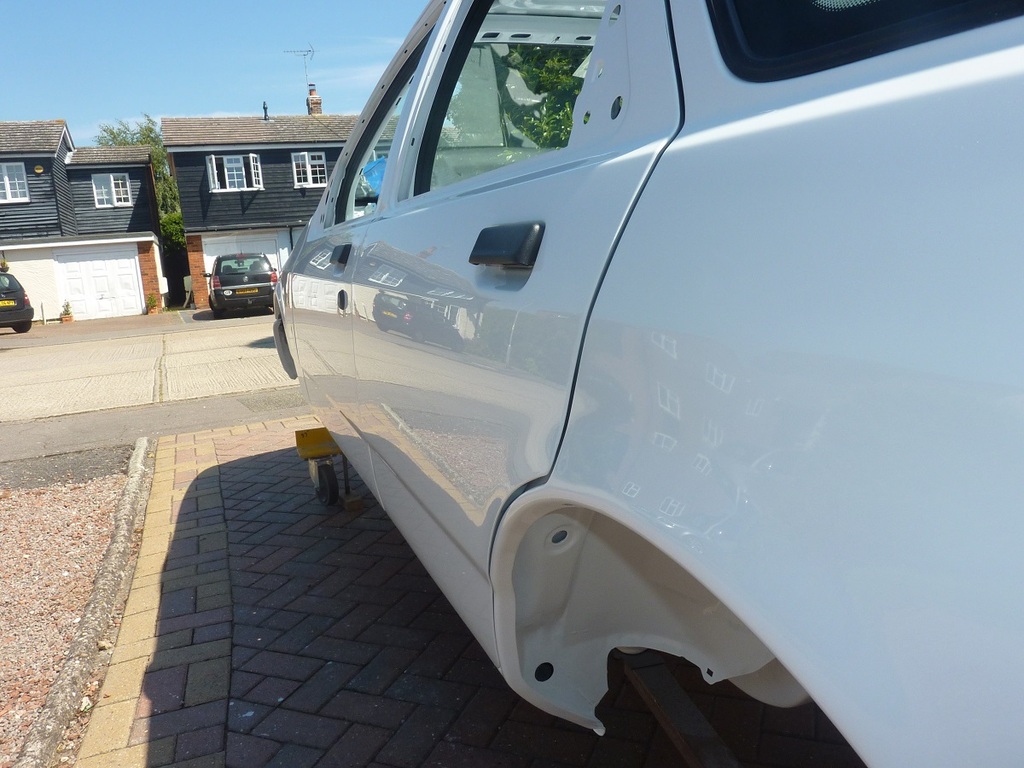
Sorted some very small silicones on the rear quarter myself.

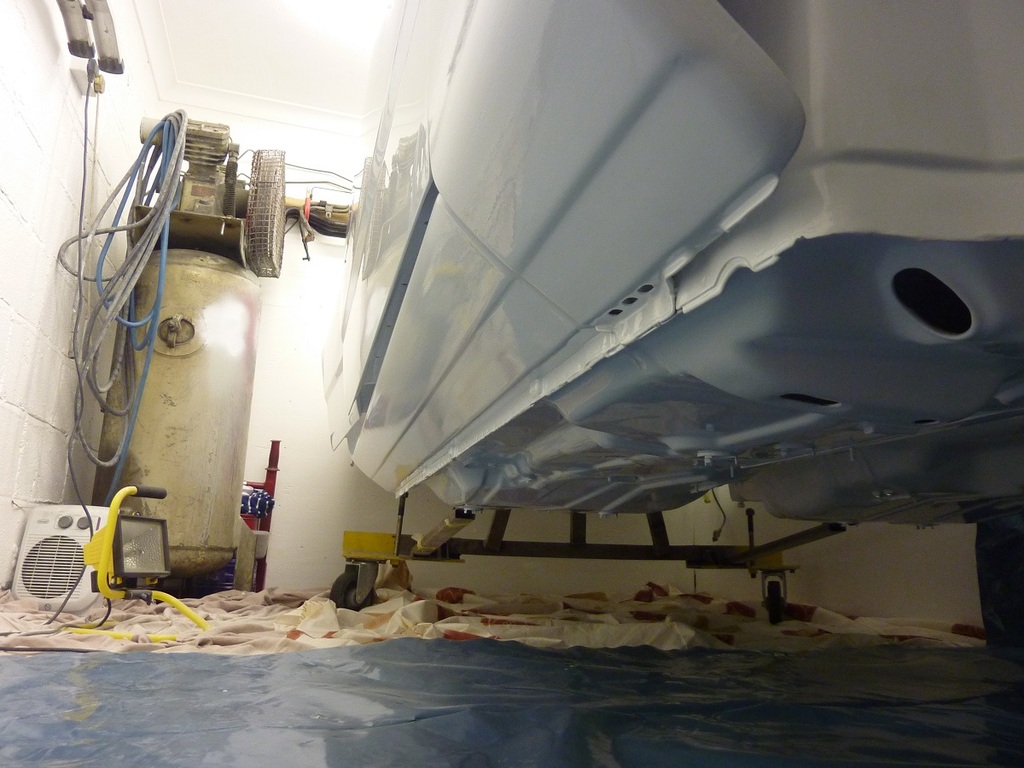
Now the paint's 99% done I rust proofed the life out of it
It ran out all over the show, but there is plenty in all the cavities
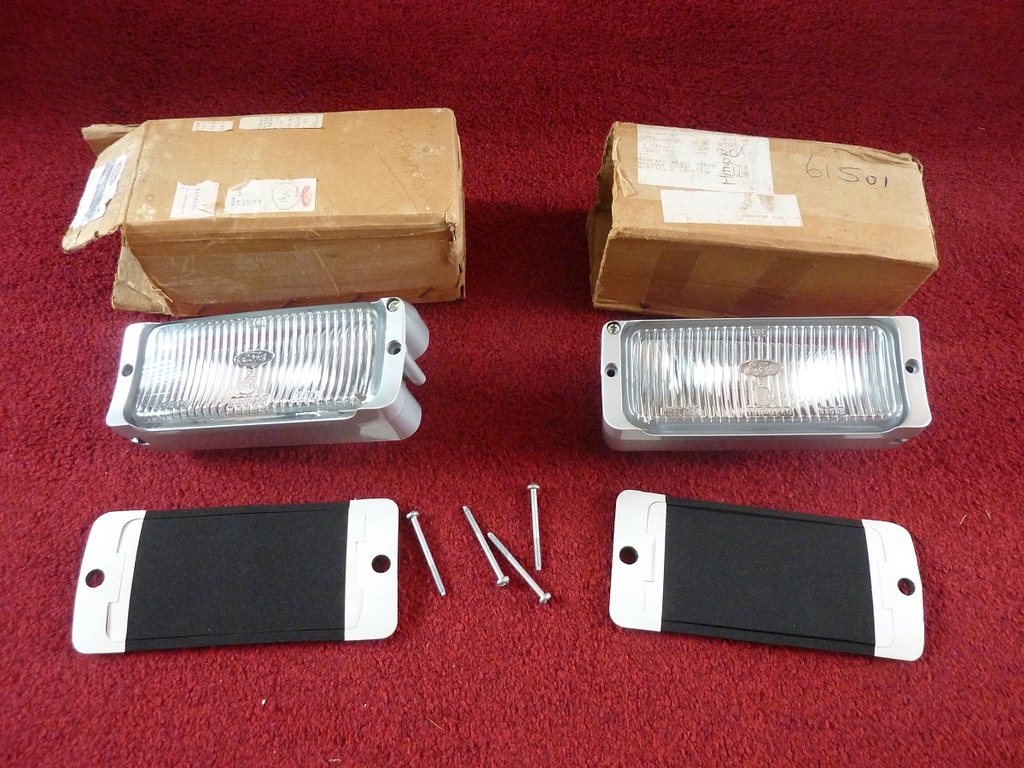
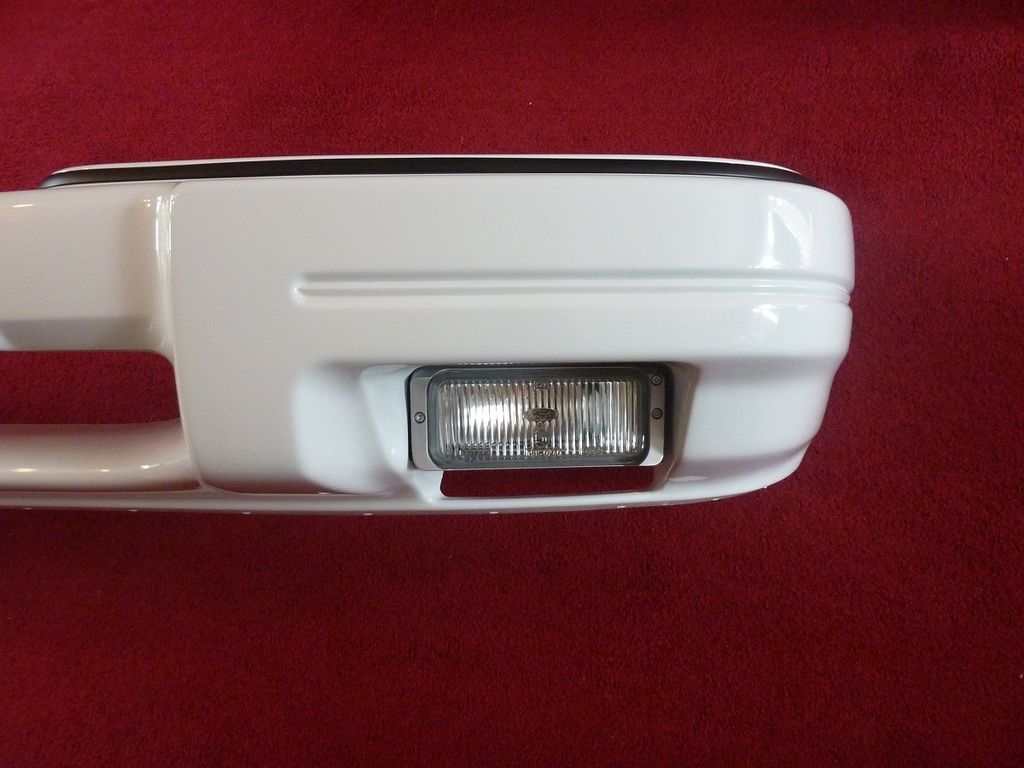
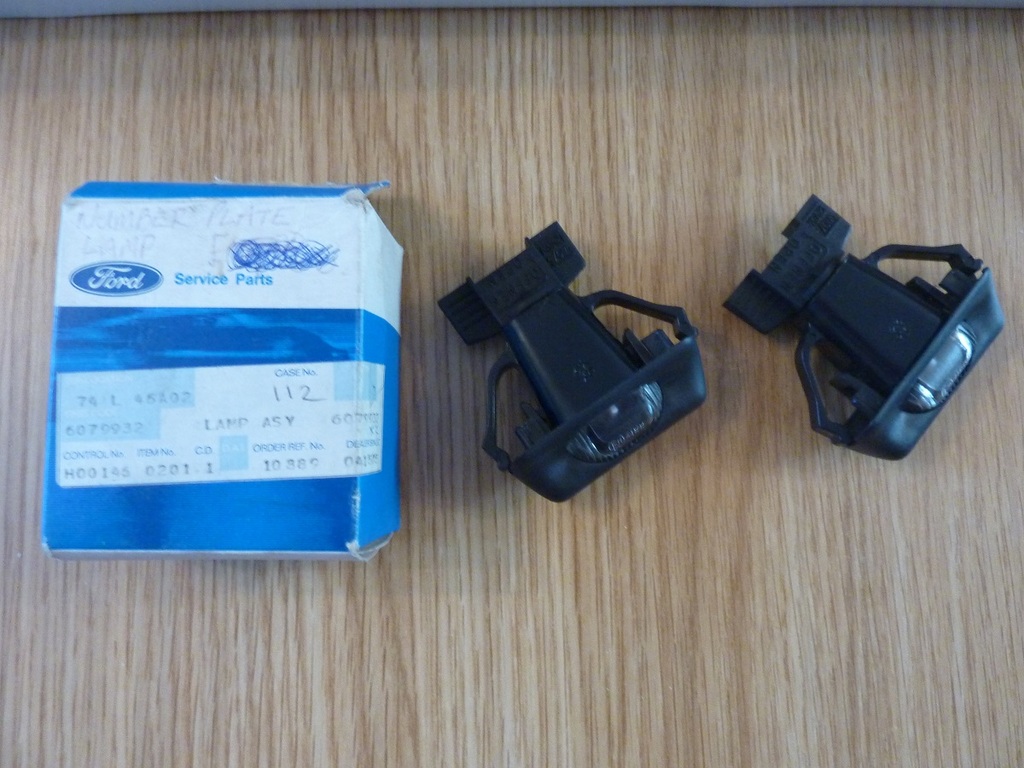
Bought these a few years back, before they became impossible to find !
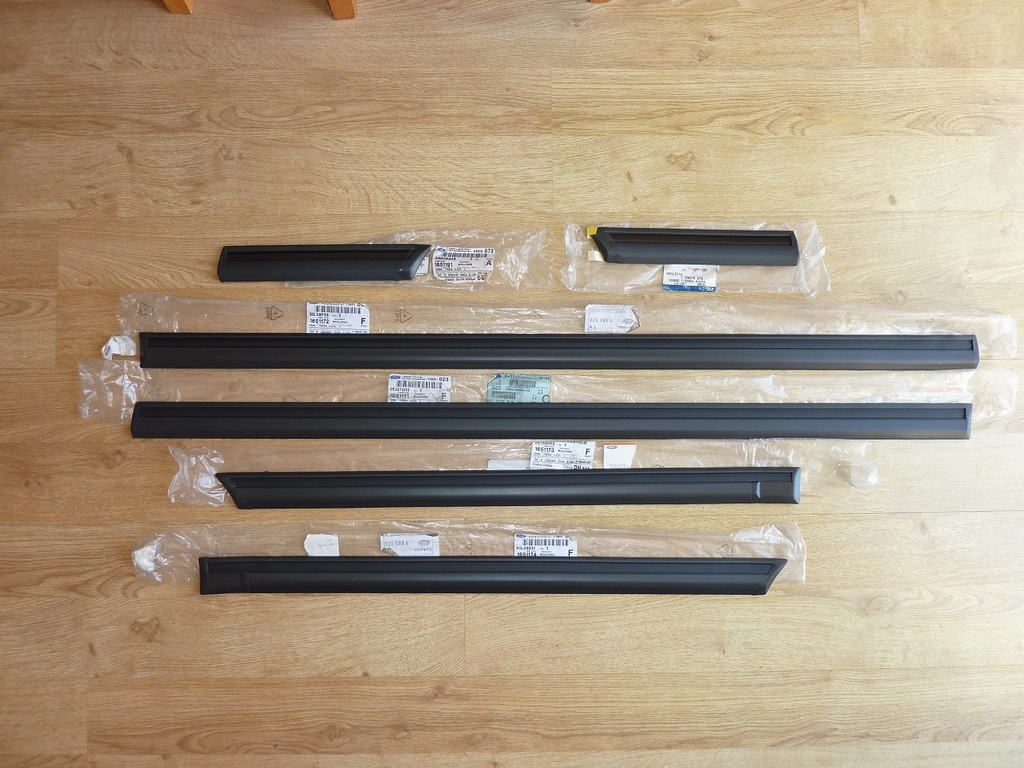
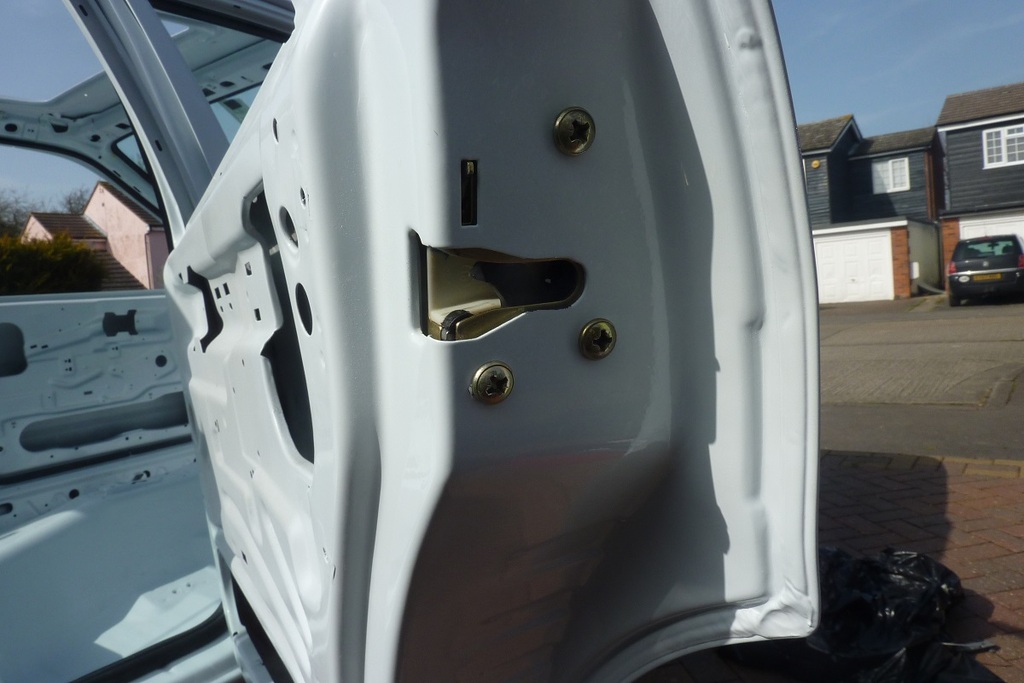
Was dead worried about buggering it up so marked it all out first.
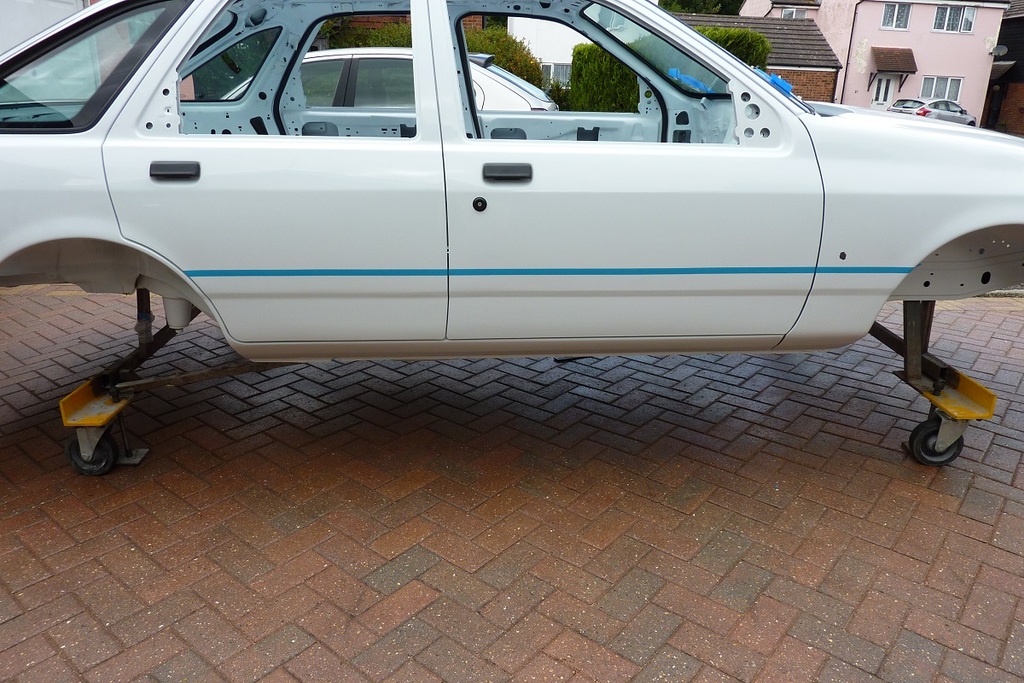
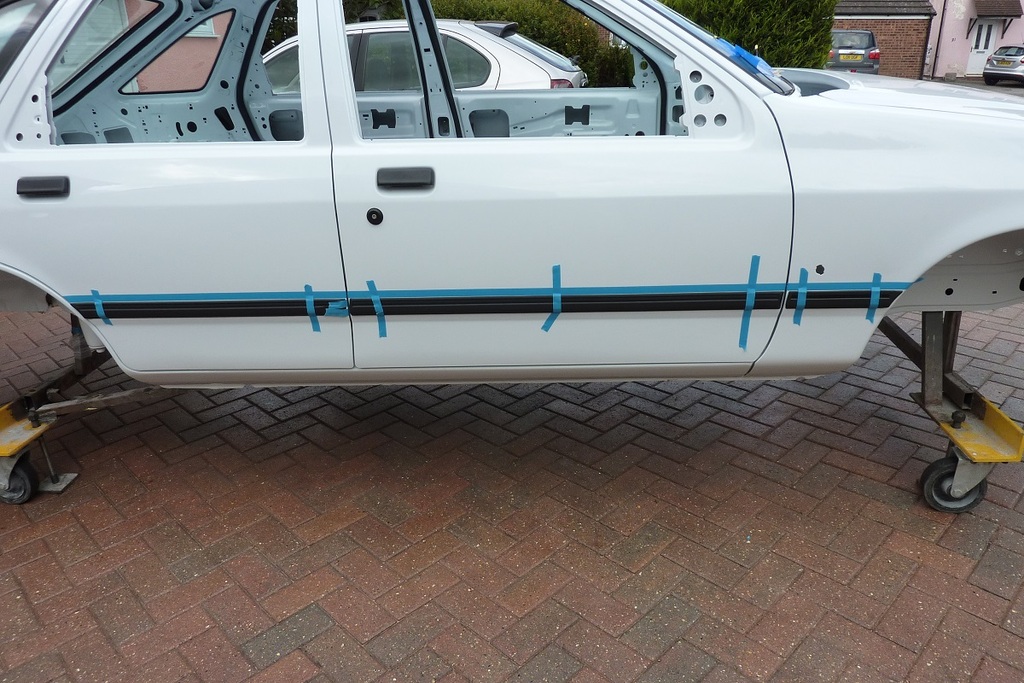
Came out OK in the end
Finished off today by starting on the Dynamat
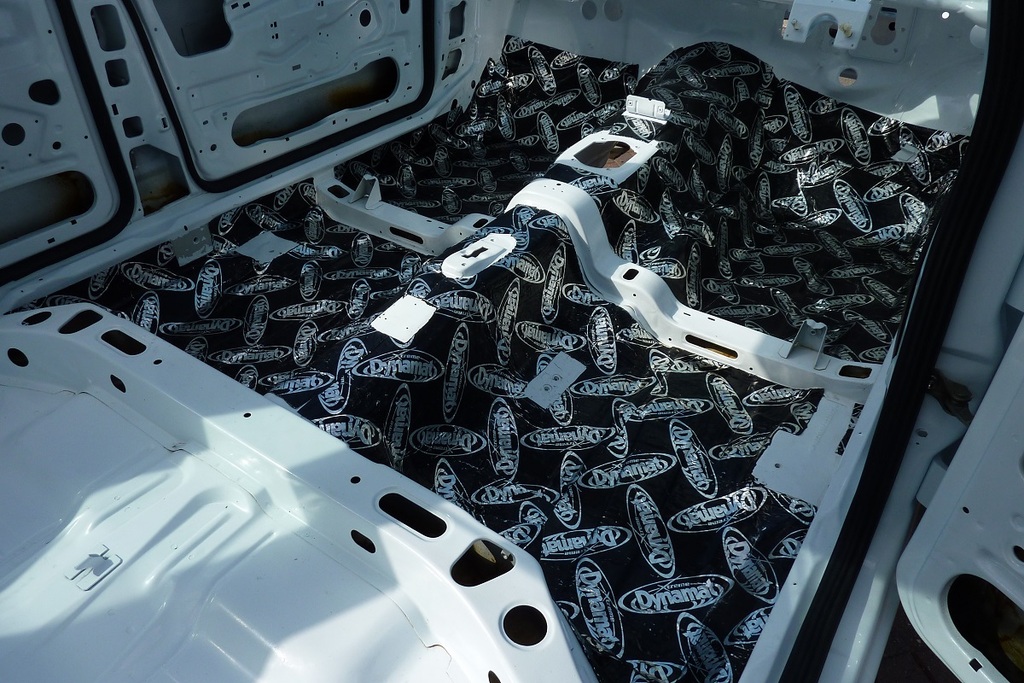
Need to order some more now as it does not go as far as you think !
I'm not good enough with repairs to lose the dents and paid someone who knows what they are doing to sort it.

Much straighter when you look down the side of it now

Sorted some very small silicones on the rear quarter myself.


Now the paint's 99% done I rust proofed the life out of it

It ran out all over the show, but there is plenty in all the cavities

Bought these a few years back, before they became impossible to find !

Was dead worried about buggering it up so marked it all out first.


Came out OK in the end


Finished off today by starting on the Dynamat

Need to order some more now as it does not go as far as you think !
The following users liked this post:
Mark V8 (07-08-2016)

The following users liked this post:
Mark V8 (07-08-2016)
 08-08-2016, 06:09 PM
#507
Bloody expensive, I'll have spunked �300 on this stuff by the time it's finished
Not going to fill it up with speakers, just replace originals with something better - going to drive with the windows down and listen to the V8

The following users liked this post:
Mark V8 (15-08-2016)
29-08-2016, 09:29 PM
#513
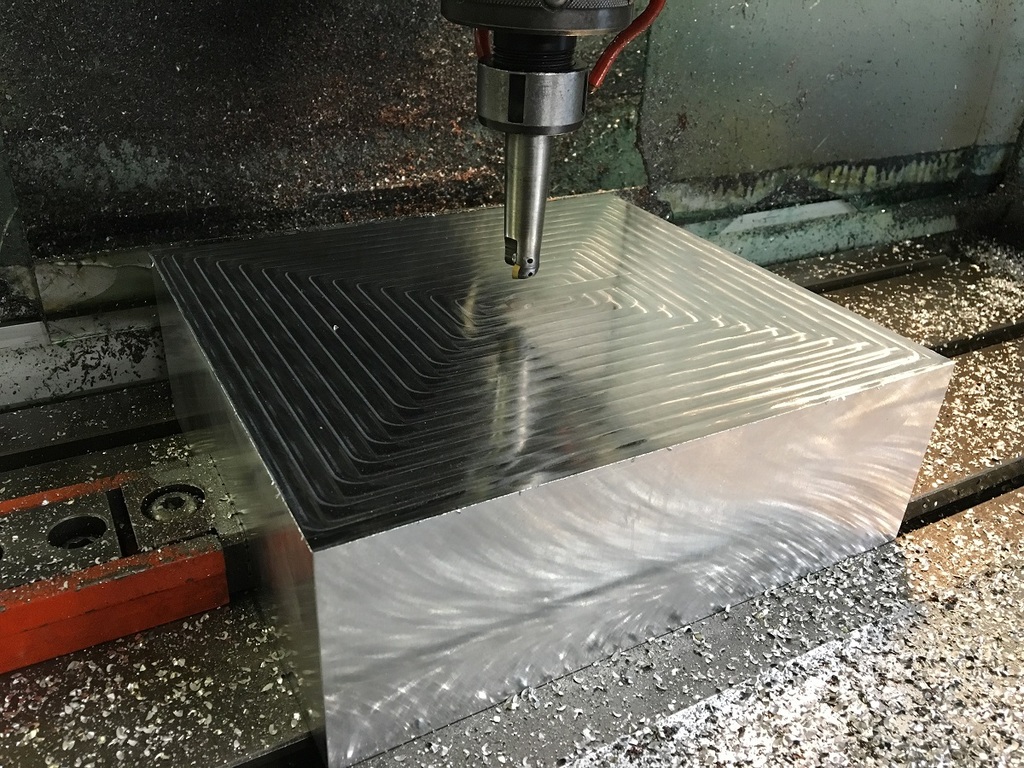
Too damn windy to work on the car the other weekend so went to work and made a start on diff cover.
Big chunk of Alumec 89
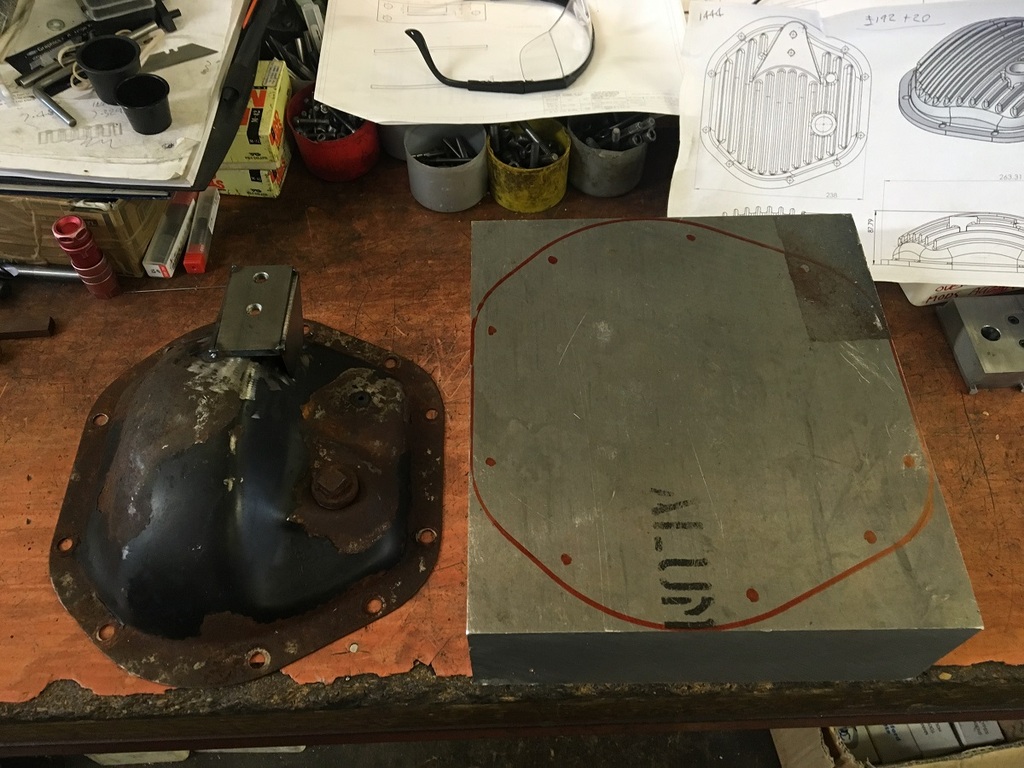
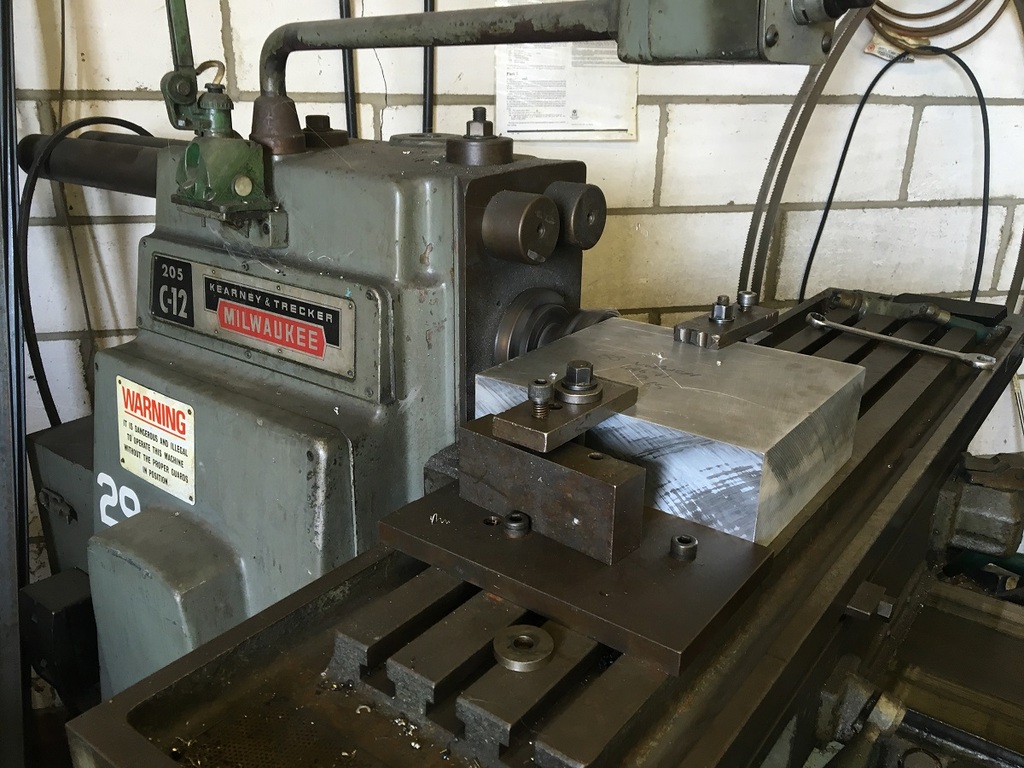
Removed the cobwebs from horizontal mill and squared the block up
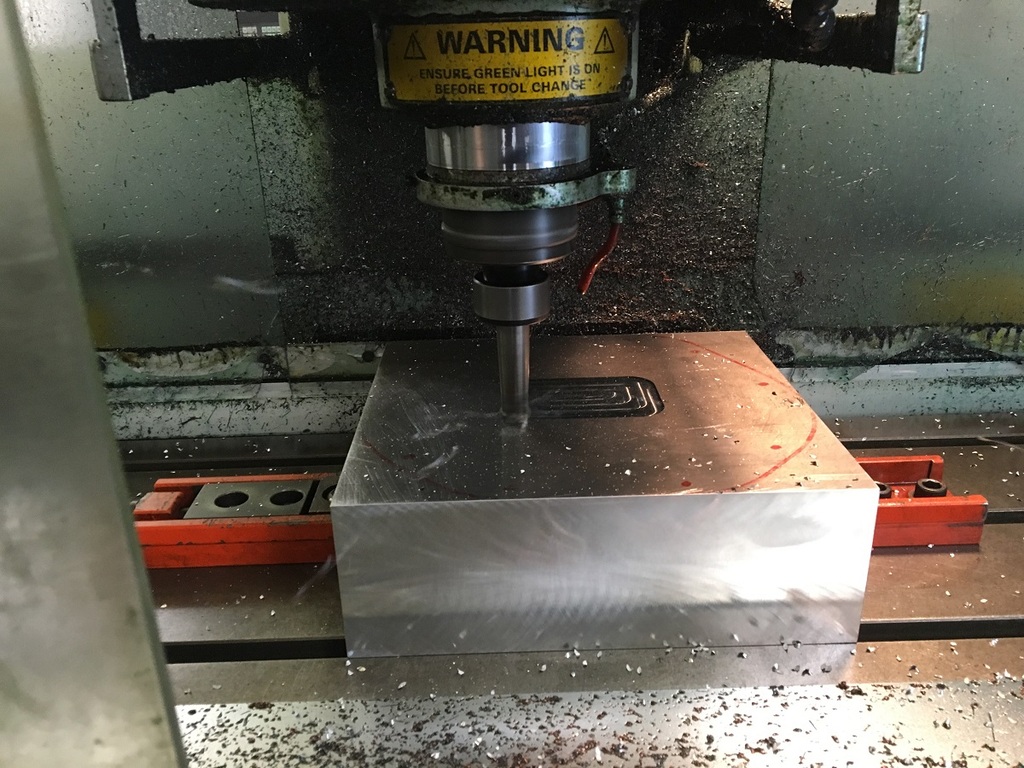
Next was Bridgeport CNC to skim it flat as I'm too lazy to wind the handles on a manual mill ...
Drilled and tapped some fixing holes
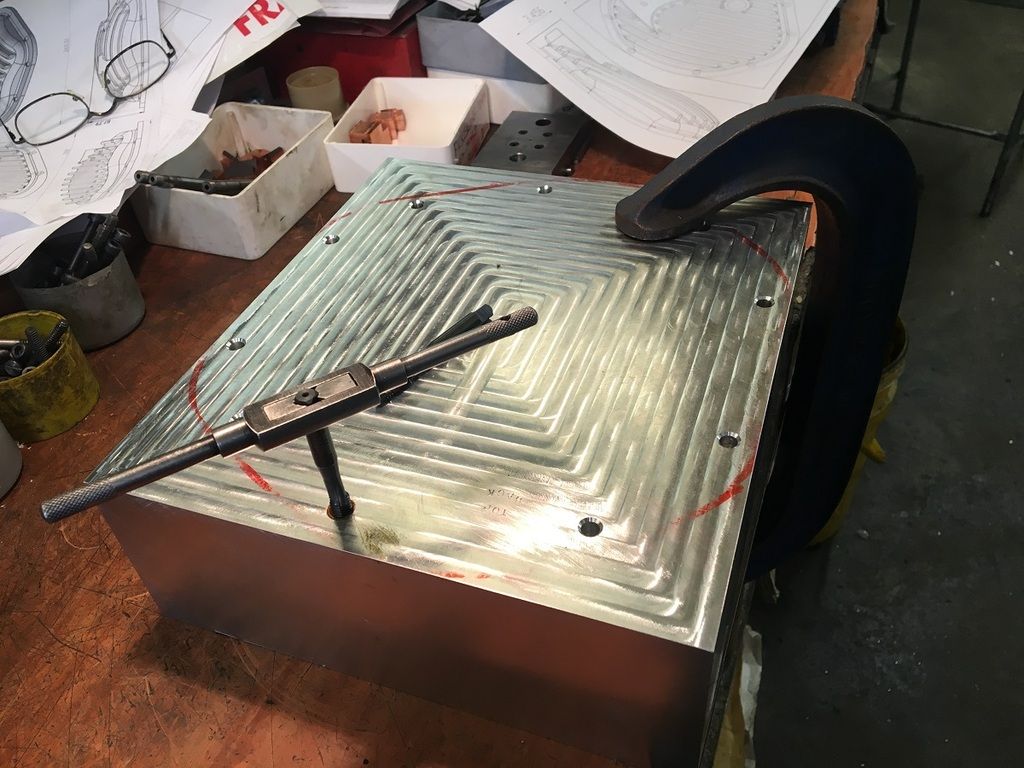
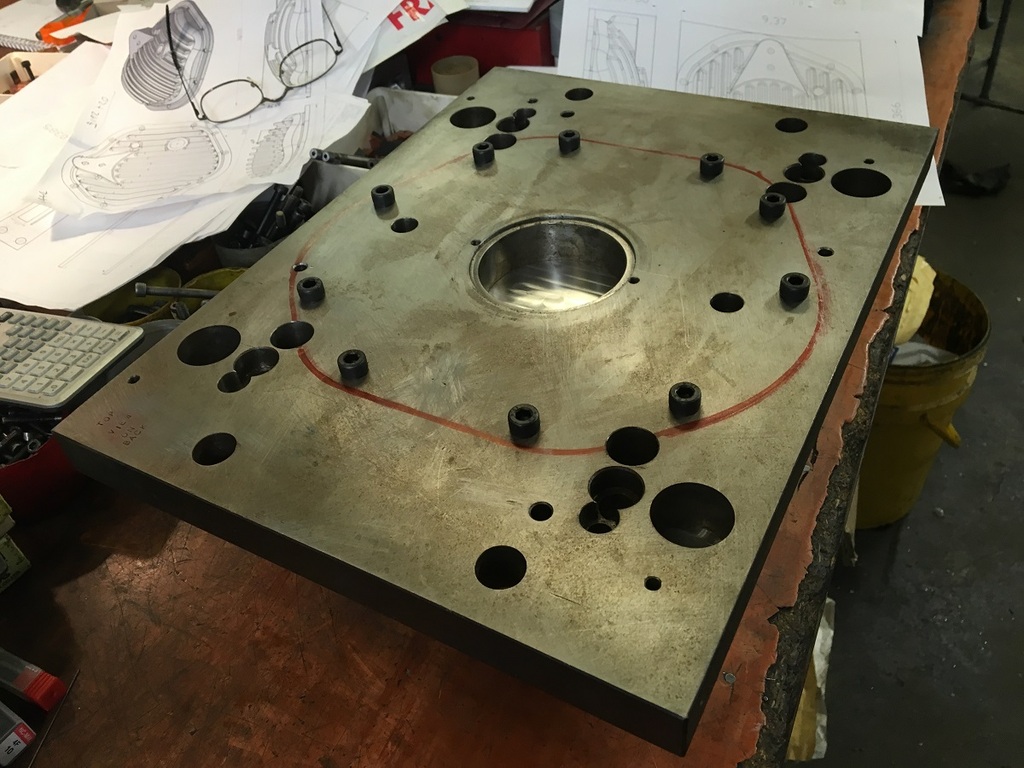
Bolted to an old injection mould tool back plate
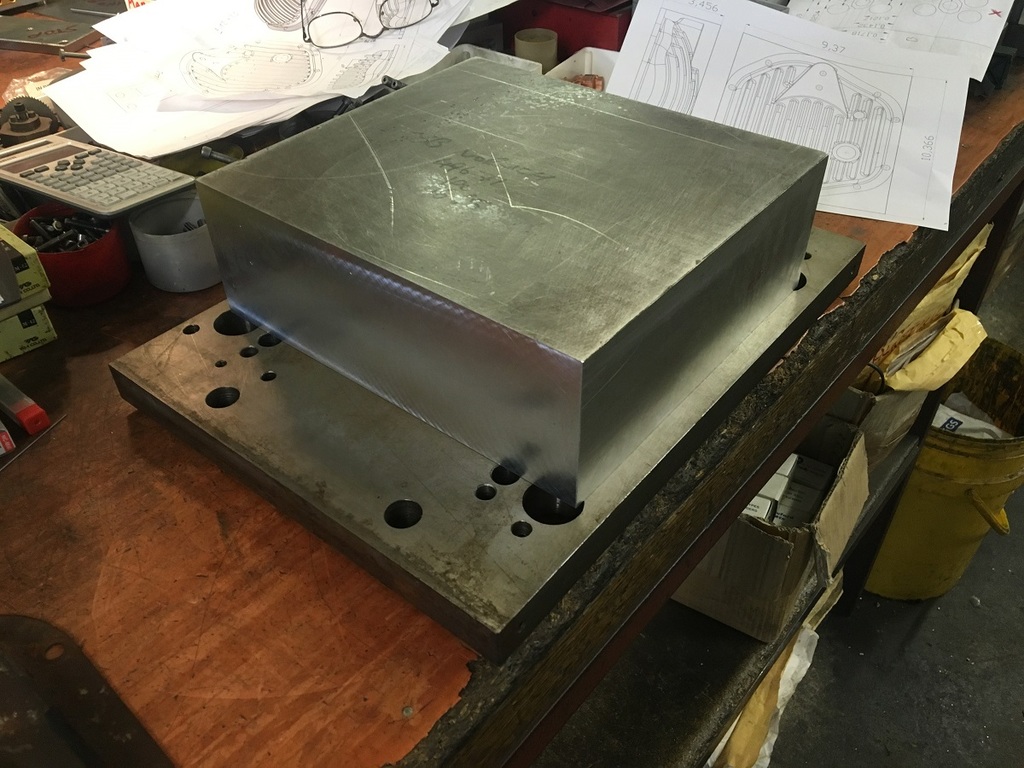
Now I can start machining the rest of it once I've learned some CAM software, some idiot designed a really awkward shape to machine
This weekend brought much better weather
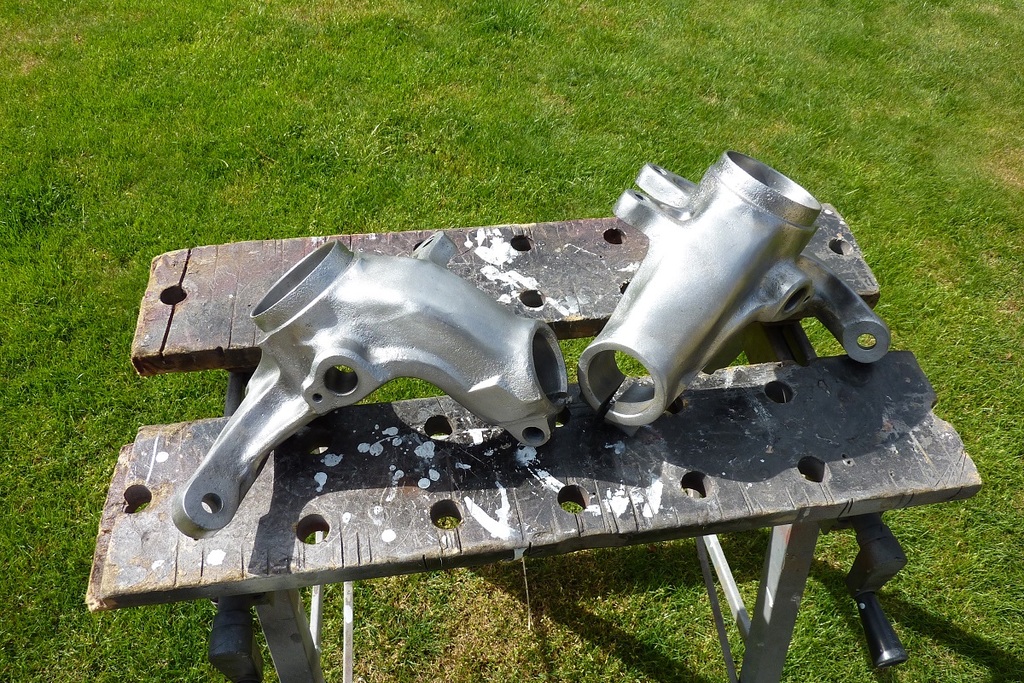
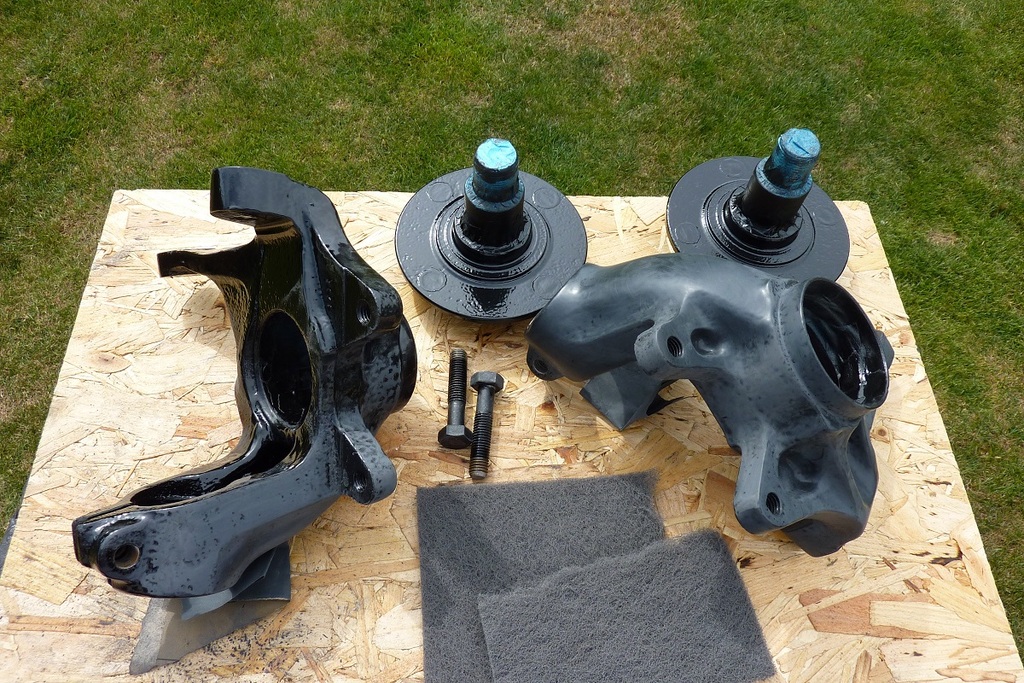
Had front and rear anti roll bar powder coated and got the 3 door front hubs blasted at the same time.
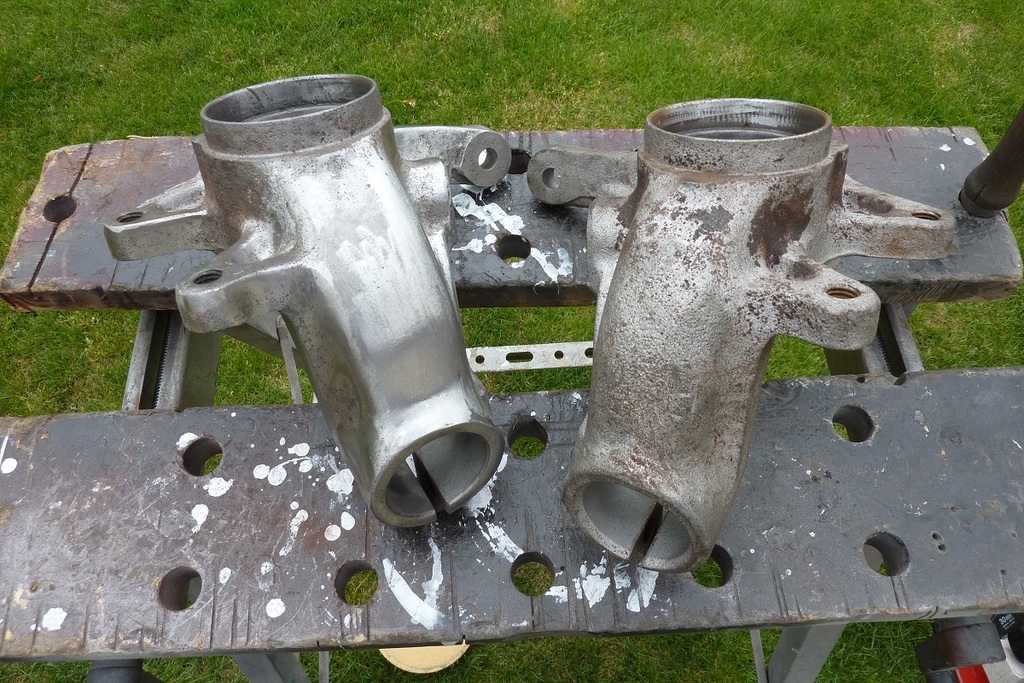
They started to rust almost straight away, so needed some side grinder/dremel/electric drill with wire wheel action.
Cleaned up a treat!
Custom garden rake paint jig
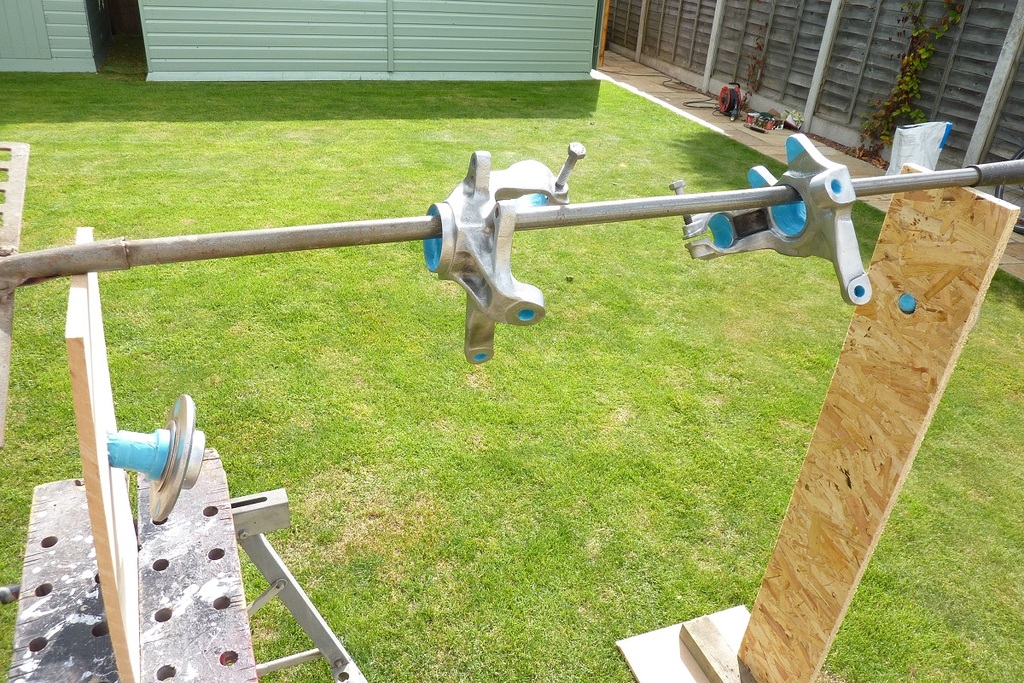
Some epoxy mastic chassis paint
Epoxy mastic does not have a lasting surface finish and will need a coat of satin black later.
That's it for now
Big chunk of Alumec 89

Removed the cobwebs from horizontal mill and squared the block up

Next was Bridgeport CNC to skim it flat as I'm too lazy to wind the handles on a manual mill ...


Drilled and tapped some fixing holes

Bolted to an old injection mould tool back plate


Now I can start machining the rest of it once I've learned some CAM software, some idiot designed a really awkward shape to machine
This weekend brought much better weather
Had front and rear anti roll bar powder coated and got the 3 door front hubs blasted at the same time.

They started to rust almost straight away, so needed some side grinder/dremel/electric drill with wire wheel action.
Cleaned up a treat!

Custom garden rake paint jig

Some epoxy mastic chassis paint

Epoxy mastic does not have a lasting surface finish and will need a coat of satin black later.
That's it for now
The following users liked this post:
H3lsing (30-08-2016)
05-09-2016, 08:48 PM
#514
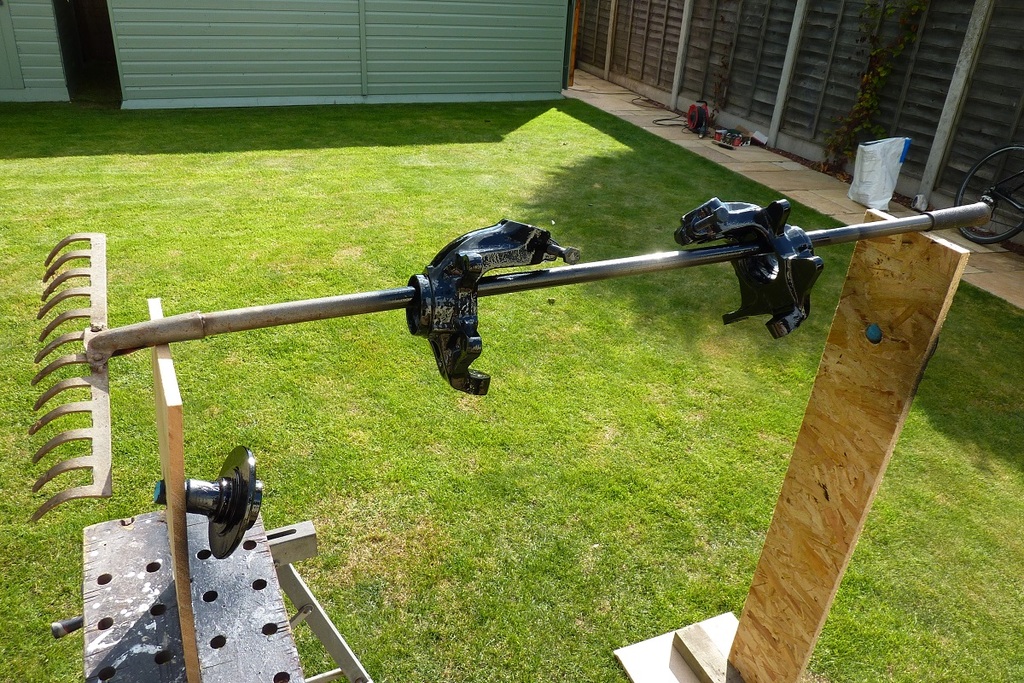
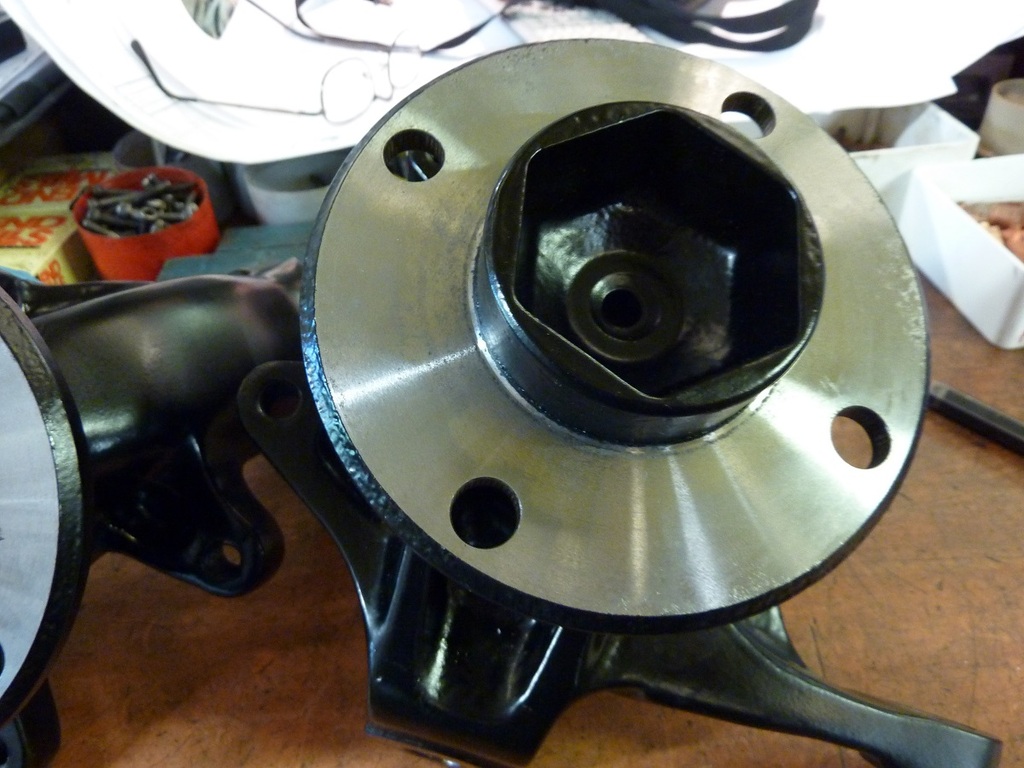
I decided that the paint finish was a bit iffy and rubbed them all down
Epoxied them again, followed by another sanding session and some satin black 2 pack
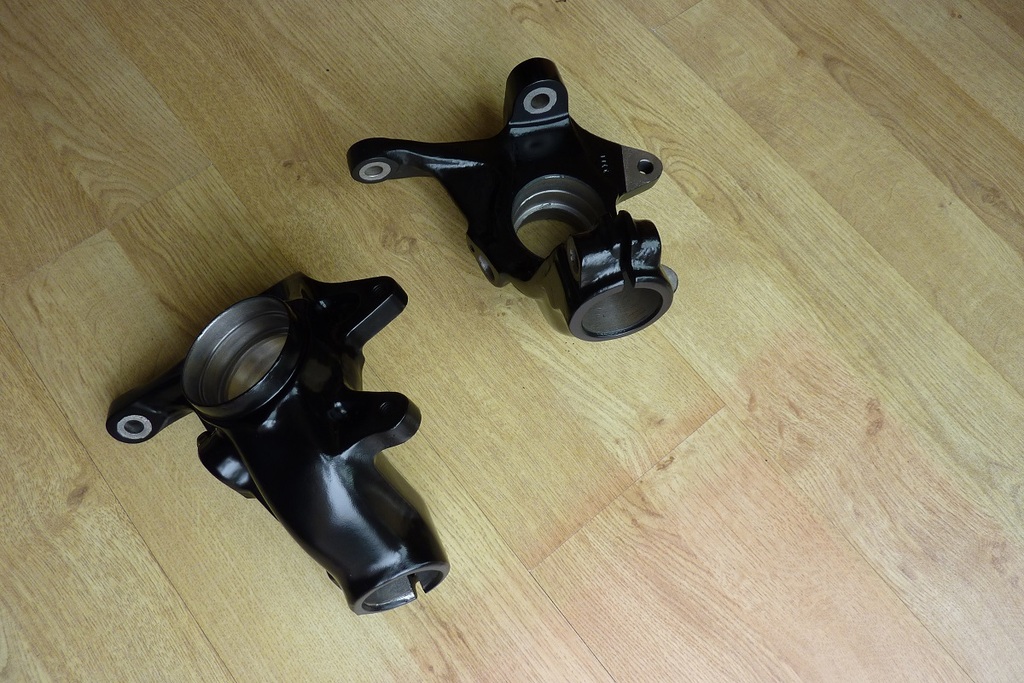
Fitted new bearings and seals, then torqued them up to about one million foot pounds using the patented �� doing up jig

Knocked out old wheel studs as I'm going to try and surface grind the disc mounting face true to the wheel bearings, I've done it before on a XR4x4 and it's a bit tricky/dangerous ...
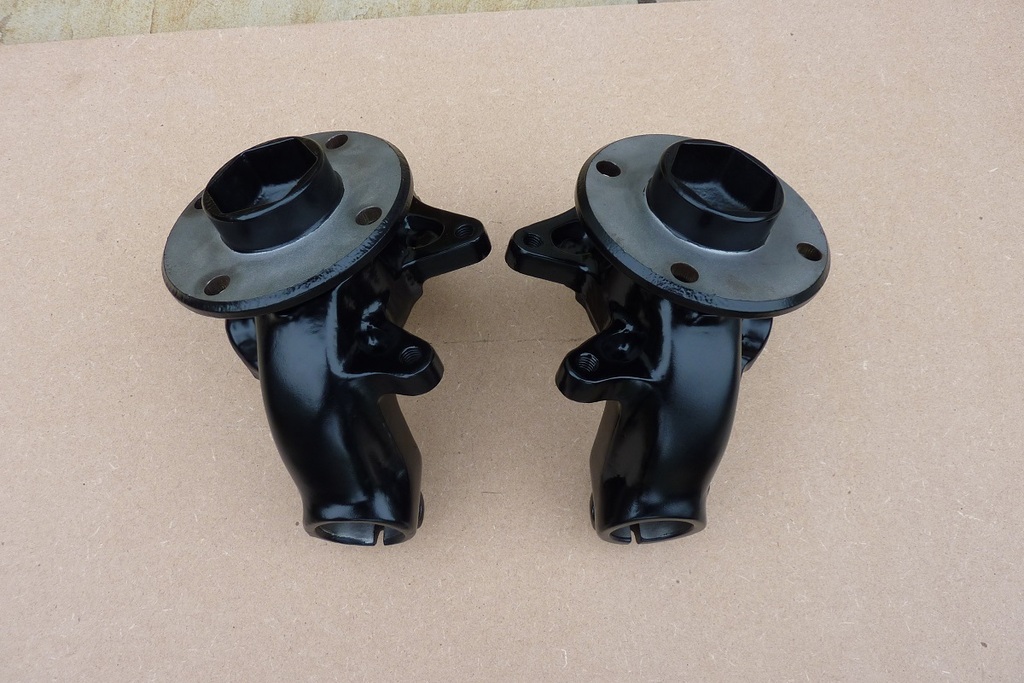
Polished up some new old stock bearing covers and tapped them in.

The following users liked this post:
H3lsing (05-09-2016)
09-09-2016, 07:13 PM
#518
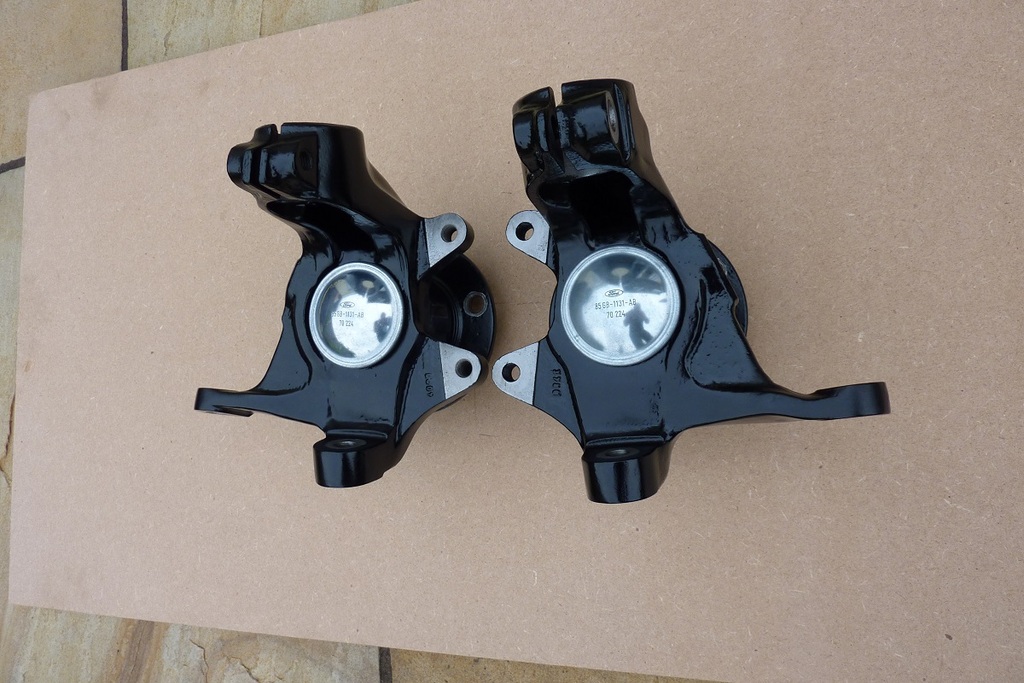
Surface ground hub flanges true to the bearings after work today, took 0.0002 inch cuts and spun the flange by hand.
Luckily they were within 1 thousands of an inch / 0.001 and probably didn't need any attention !
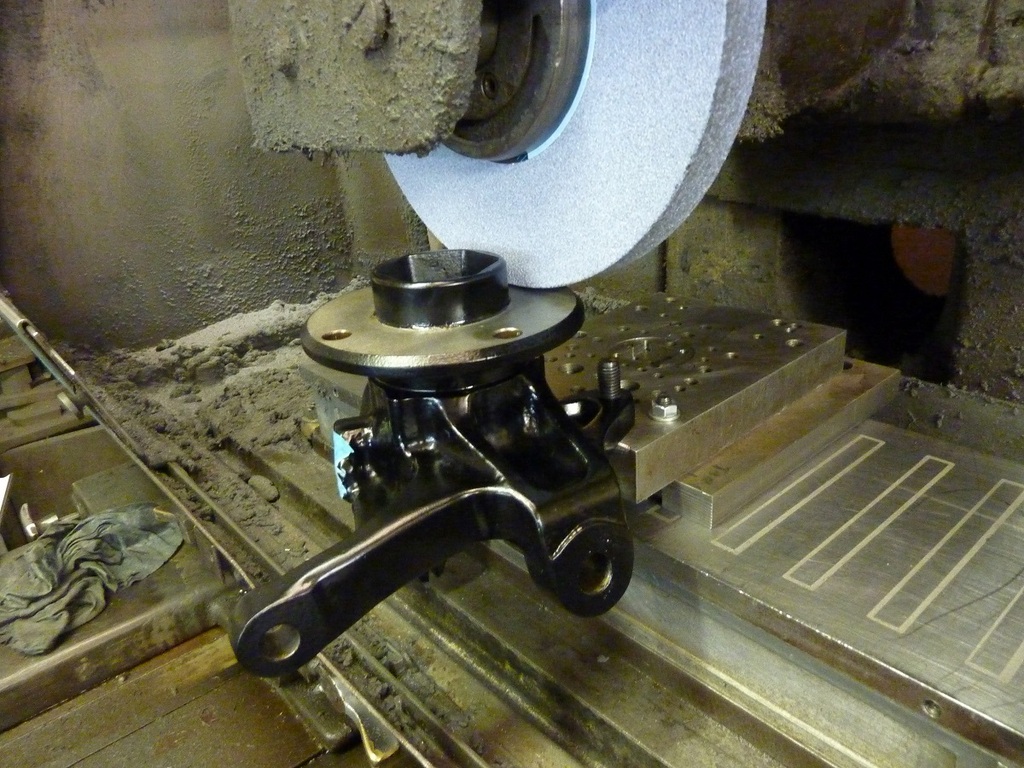
Just need to fit the new wheels studs and they're done
Luckily they were within 1 thousands of an inch / 0.001 and probably didn't need any attention !


Just need to fit the new wheels studs and they're done
09-09-2016, 10:41 PM
#520
Engine has not been touched for years
I've still got lots of bits to buy before it is anywhere close to being fitted.
Before engine is wheels, tyres brakes, wiring, interior etc
Struggling with brake info at the moment
Wheel manufacturers want drawings from the people that do the brakes before telling you what will fit.
People that make the brakes want drawings from wheel manufacturers before telling you what wheels will fit.
I'm stuck in the middle with no info
Only ones to come through with any info so far are these
https://www.dcperformance.co.uk/chea...06-356x32.html

Any idea what they are like ?
Reyland and MT motorsport ignored my emails