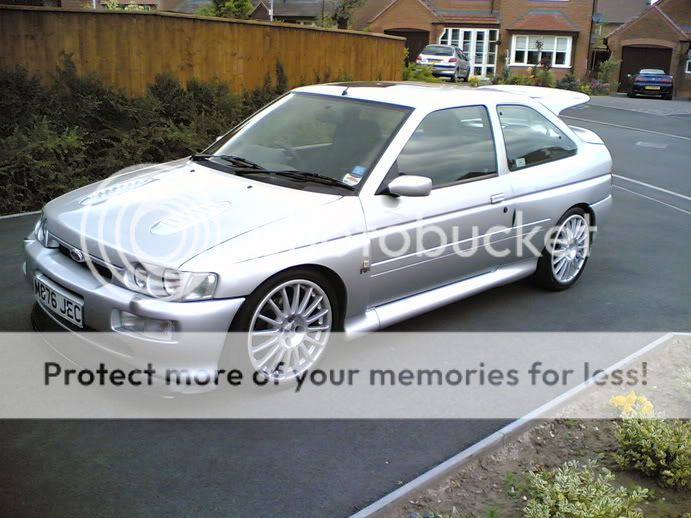
Moondust Silver Escort Cosworth
 08-08-2006, 08:43 PM
#1

bit of a story behind this one but i go through that later...... the basics are i bought what i thought was a good car, turns out someone sold their covered up problem on 
Things went from bad to worse when they took it back for warentey, i got the car back with the engine removed & in pieces, when they removed it they also managed to break the heater matrix & destroy both parts of the front bumper splitter
I was so pissed off & messed about by different people the car has sat for over a year now..................
Anyway i started building a new engine & thought i'd better start a resto thread so myself & who ever is intrested can see the progress
 08-08-2006, 08:52 PM
#2
this was the car when i got it, looked cracking, all seemed ok then...
soon had problems & this was the main issue...

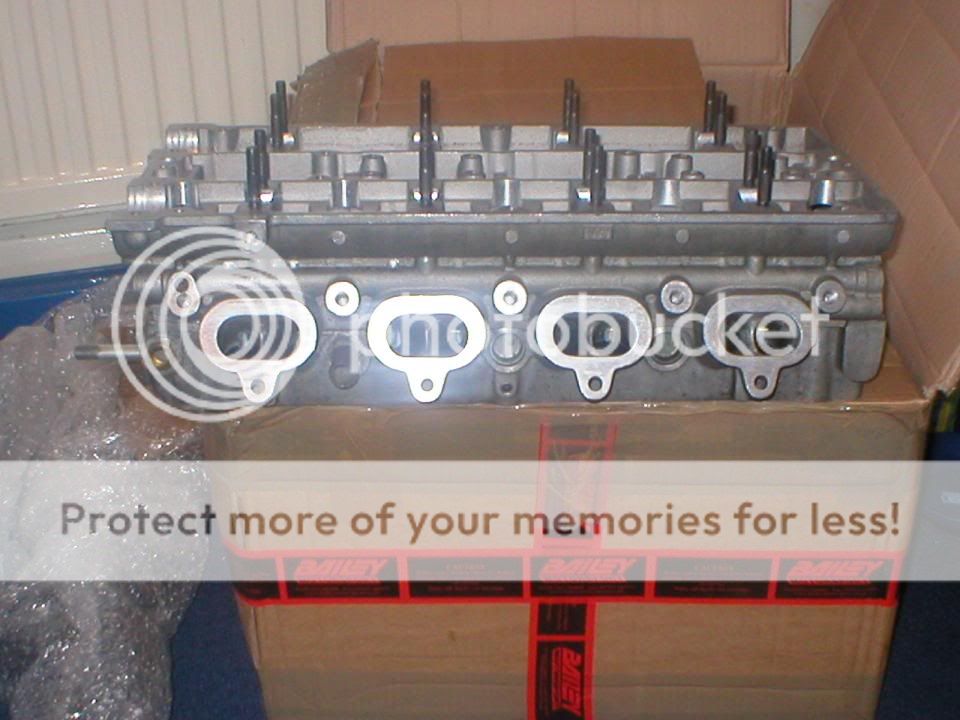
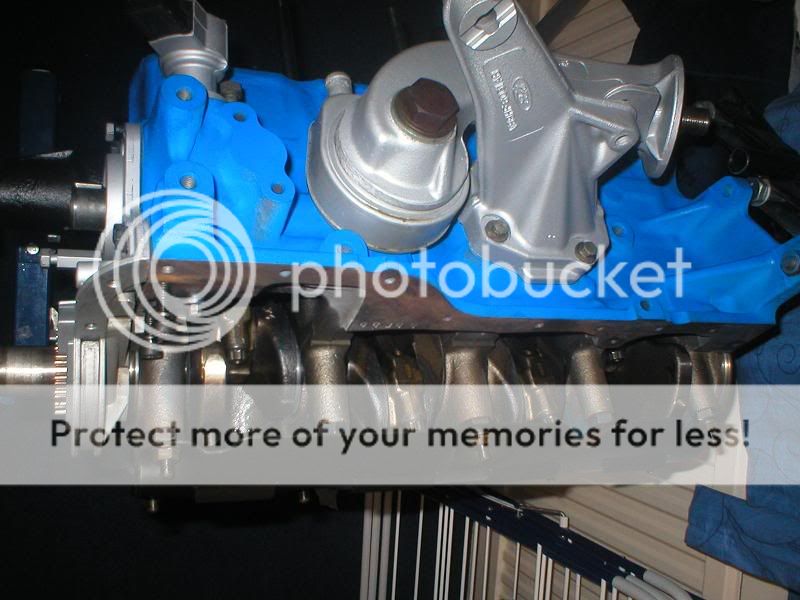
after it sitting around for a year i thought i'd better get on with a rebuild, after thinking of different rebuild plans i finally decided i maight aswell do it properley so i opted for a slightly lower compression with valve cuts in the pistons, 6 long studs & a WRC multi layer head gasket, the head has been ported & gas flowed with new valve guides etc...
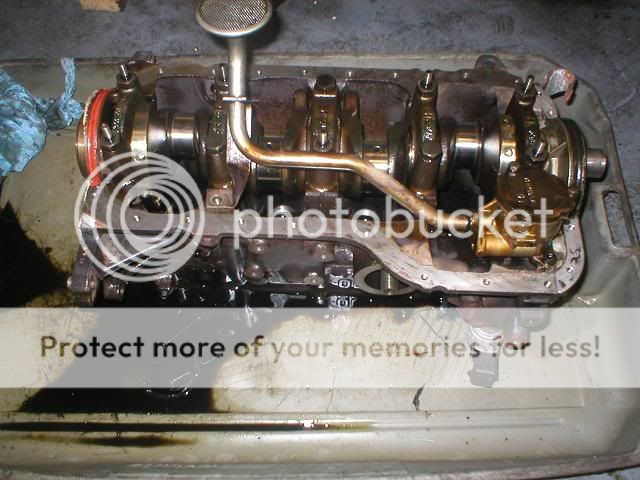
The car started life as a small turbo so it had the advantage of having the YBP engine with the wrc oil squirter etc.
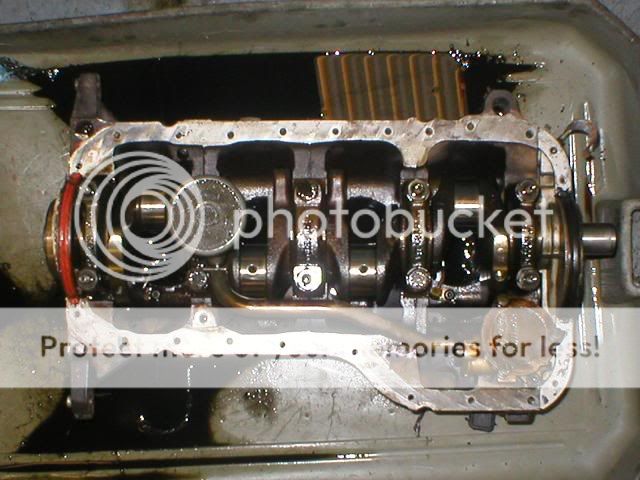
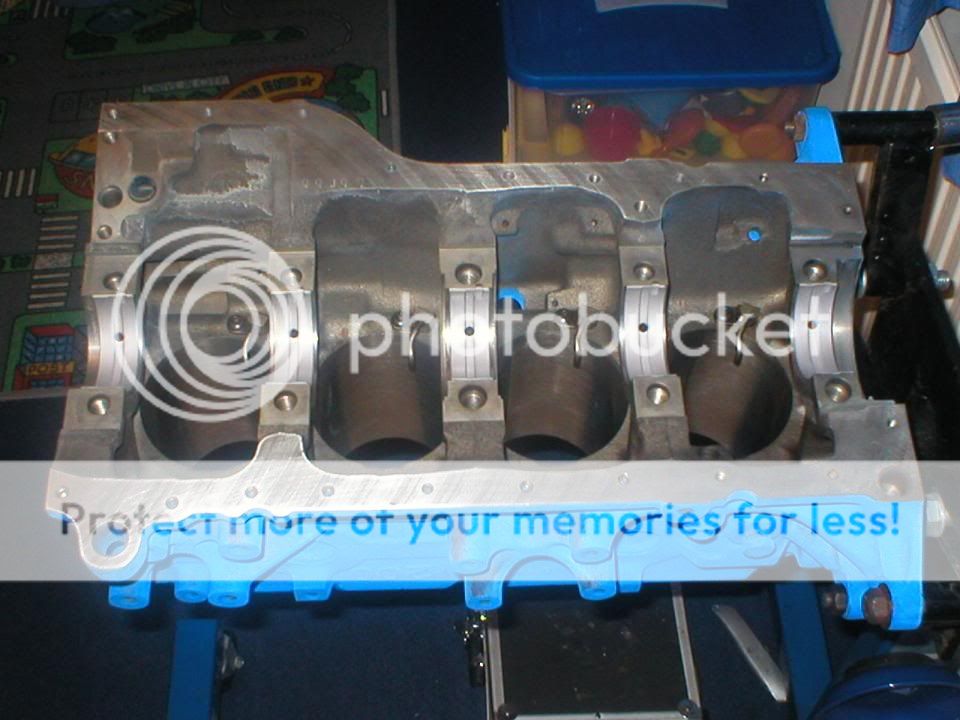
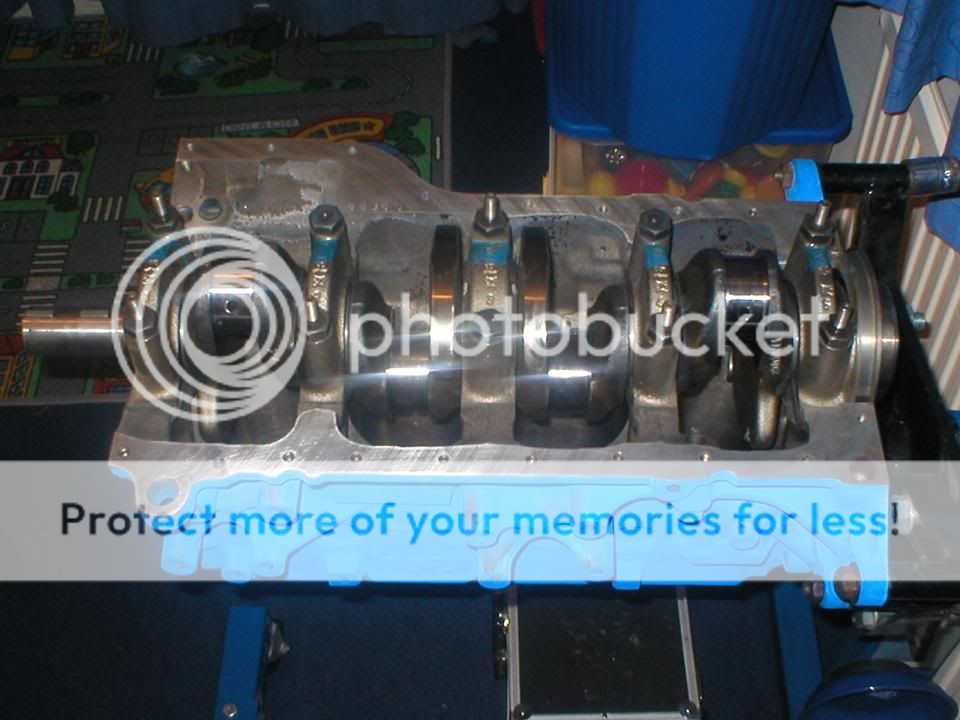
the block being drained of the last of its oil before being completley stripped,
soon had problems & this was the main issue...
after it sitting around for a year i thought i'd better get on with a rebuild, after thinking of different rebuild plans i finally decided i maight aswell do it properley so i opted for a slightly lower compression with valve cuts in the pistons, 6 long studs & a WRC multi layer head gasket, the head has been ported & gas flowed with new valve guides etc...
The car started life as a small turbo so it had the advantage of having the YBP engine with the wrc oil squirter etc.
the block being drained of the last of its oil before being completley stripped,
 08-08-2006, 09:02 PM
#4
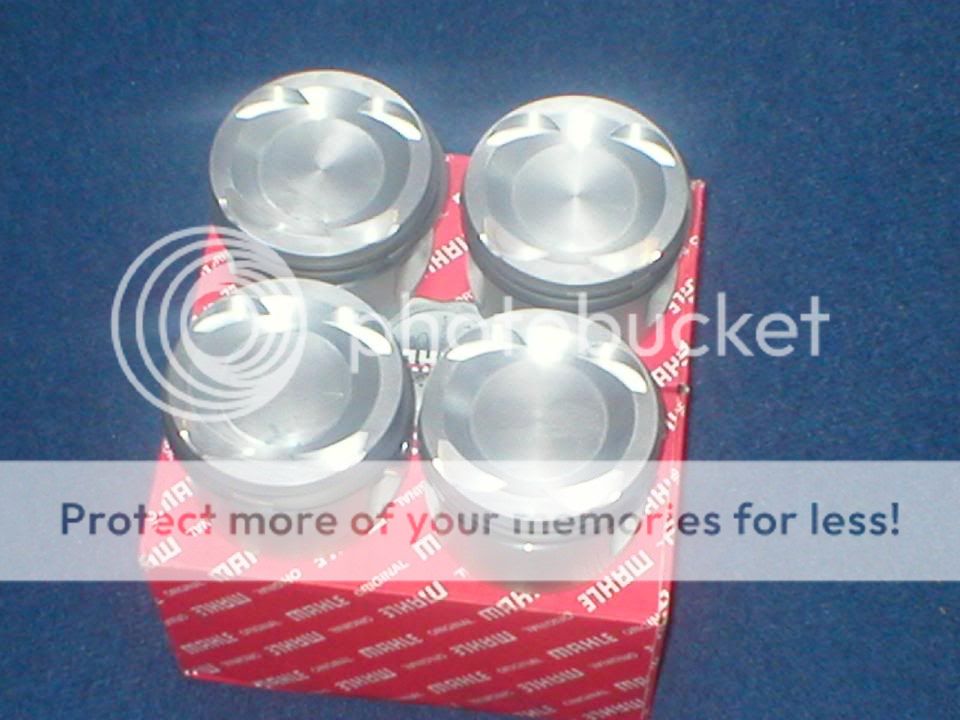
then it was on to getting all the goodies for the build 
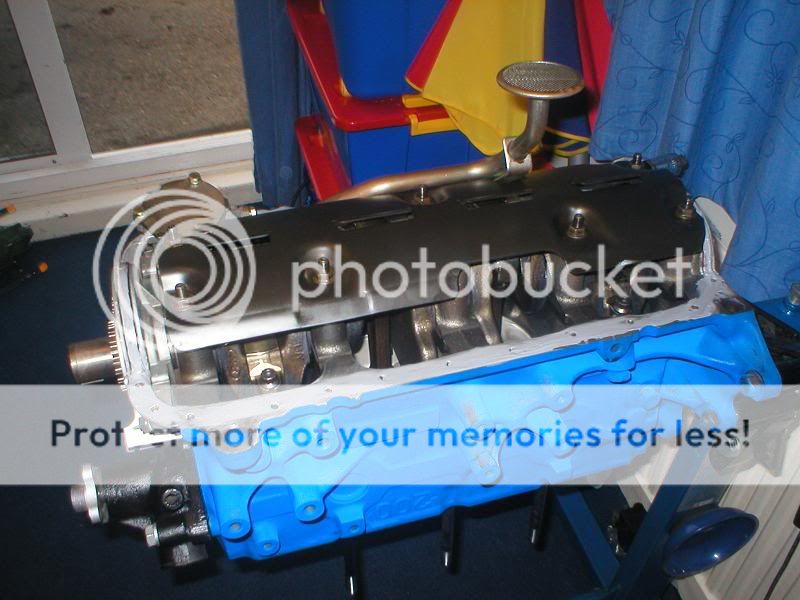
the head done & waiting for the bottom end,


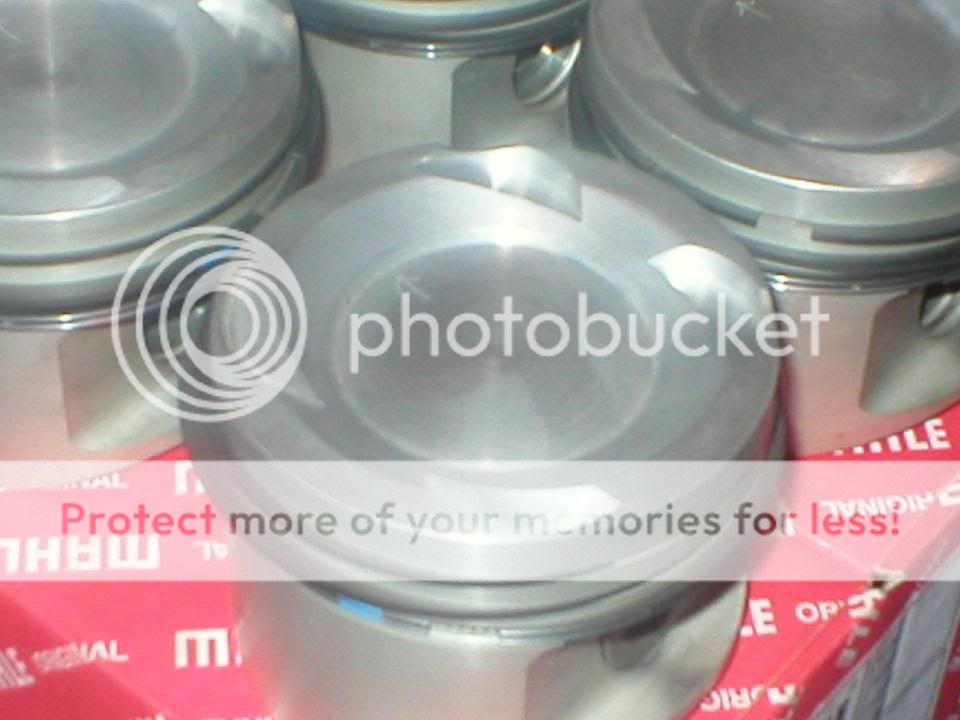
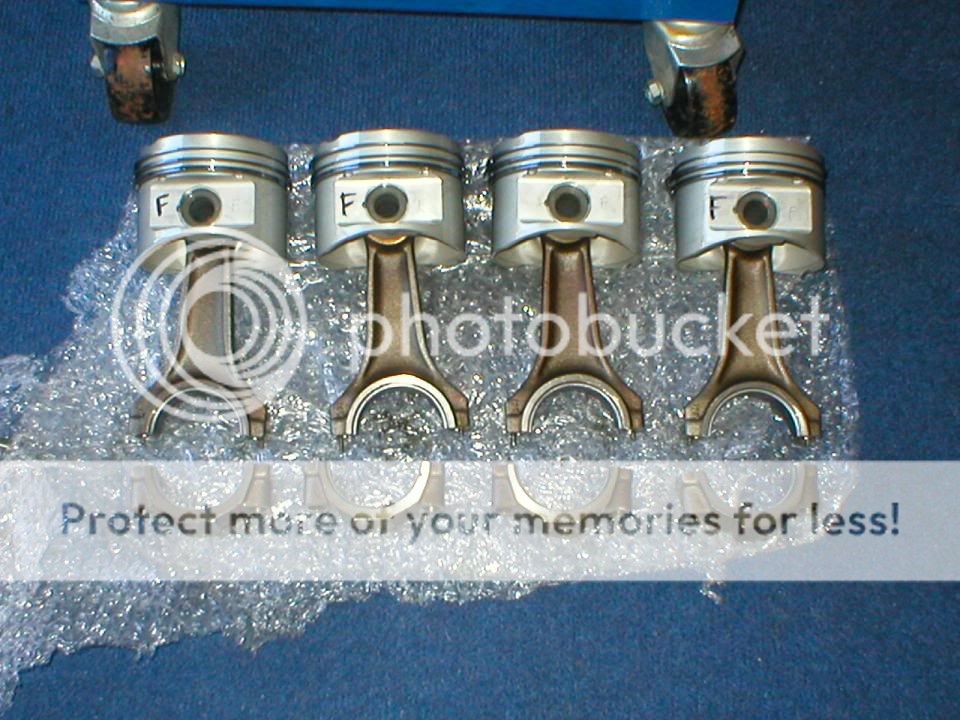
new pistons, decked & valve cut,
crank bearings etc & big end bolts,

engine gaskets & seals,

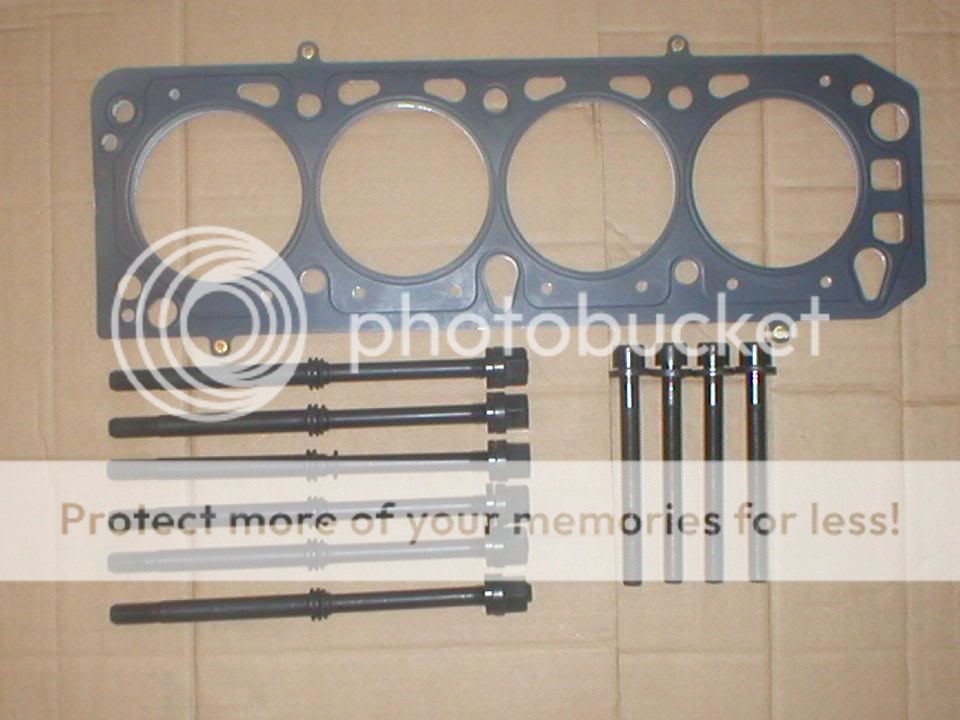
WRC head gasket, long studs & 4 standard bolts,
crank with a fresh grind,

& of course the block for it all to fit to,


the head done & waiting for the bottom end,
new pistons, decked & valve cut,
crank bearings etc & big end bolts,
engine gaskets & seals,
WRC head gasket, long studs & 4 standard bolts,
crank with a fresh grind,
& of course the block for it all to fit to,
08-08-2006, 10:08 PM
#5
Too many posts.. I need a life!!
iTrader: (4)

Join Date: Sep 2004
Location: scotland, under my cossie!
Posts: 630
Likes: 0
Received 0 Likes
on
0 Posts
Looking good.......
wish i had the knowledge to be able to do this sort of thing myself.........oh and the cash to pay for it all!!
wish i had the knowledge to be able to do this sort of thing myself.........oh and the cash to pay for it all!!


Trending Topics
 09-08-2006, 05:48 PM
#10
G60 VV most people seem to think there were 7 right hand drive silver ones, i know of 6 of them & 1 of them has been written off.
Brian i used a high temp paint, its not quite as bright in real life, plus i have since laquered it which makes it look darker.
Brian i used a high temp paint, its not quite as bright in real life, plus i have since laquered it which makes it look darker.
09-08-2006, 05:54 PM
#11
i had standard big end bolts but decided i might aswell fit arp's while it was apart..... (thanks Matt Lewis Motorsport )

Also when looking at the tightening torques i noticed that it said to replace the 'scotchbrite' bolts holdong the front timong cover on, they were only cheap so i got some of them, they come with the locksealer already on them

)Also when looking at the tightening torques i noticed that it said to replace the 'scotchbrite' bolts holdong the front timong cover on, they were only cheap so i got some of them, they come with the locksealer already on them
09-08-2006, 06:14 PM
#12
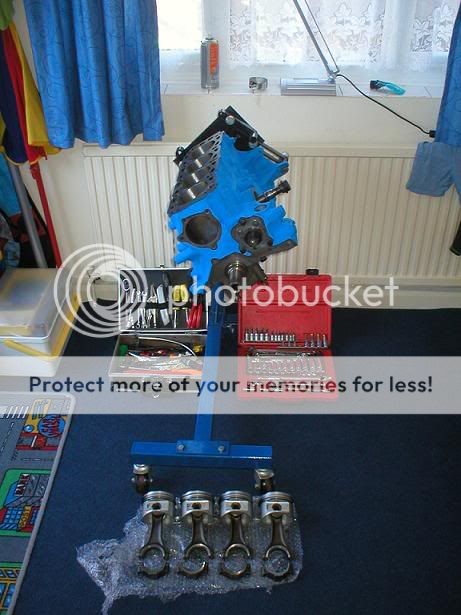
Time to start putting things together......
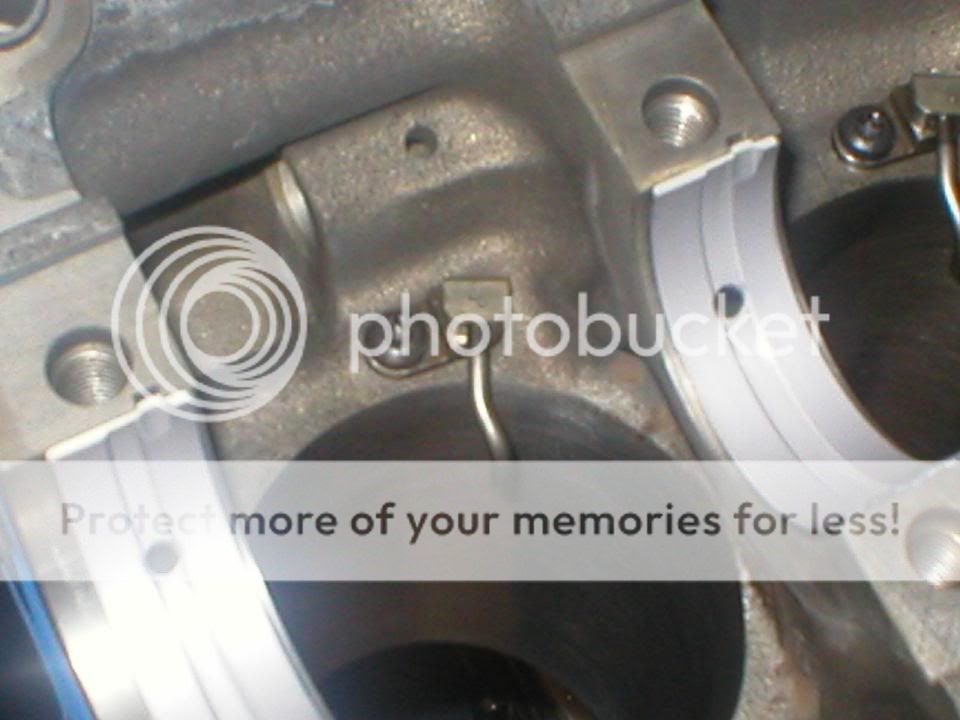
first it was to install the oil squirt jets & get the crank in,
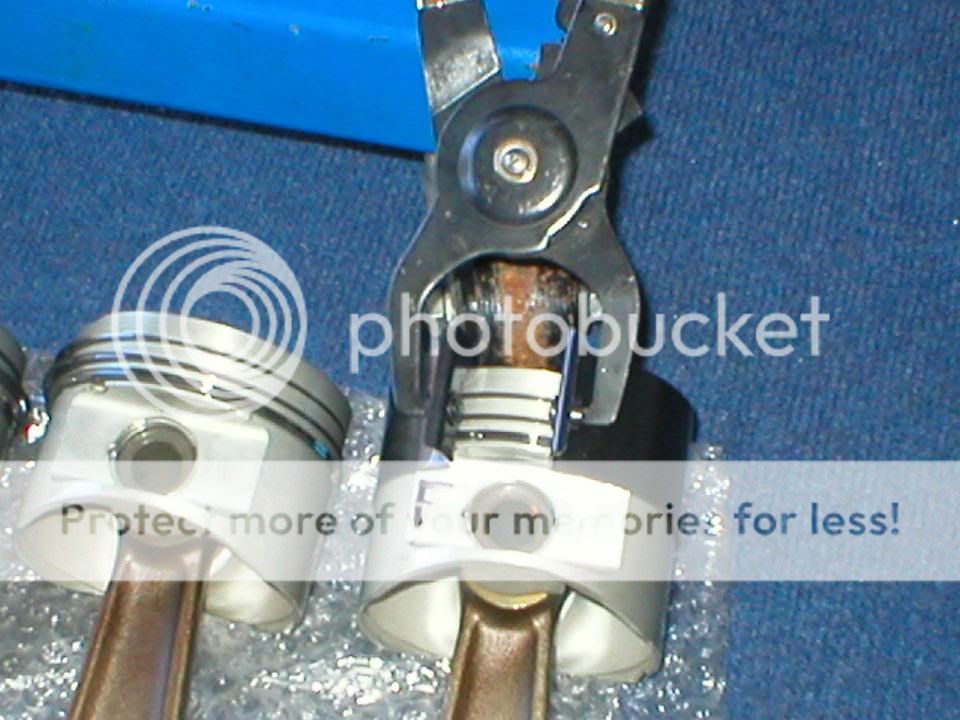
then get the pistons on the rods,

then new big end bearings in the rods & caps,
everything laid out nice & tidy ready to work,
oil the rings then put the piston in the ring compreser ready to install,
no. 1 piston in,
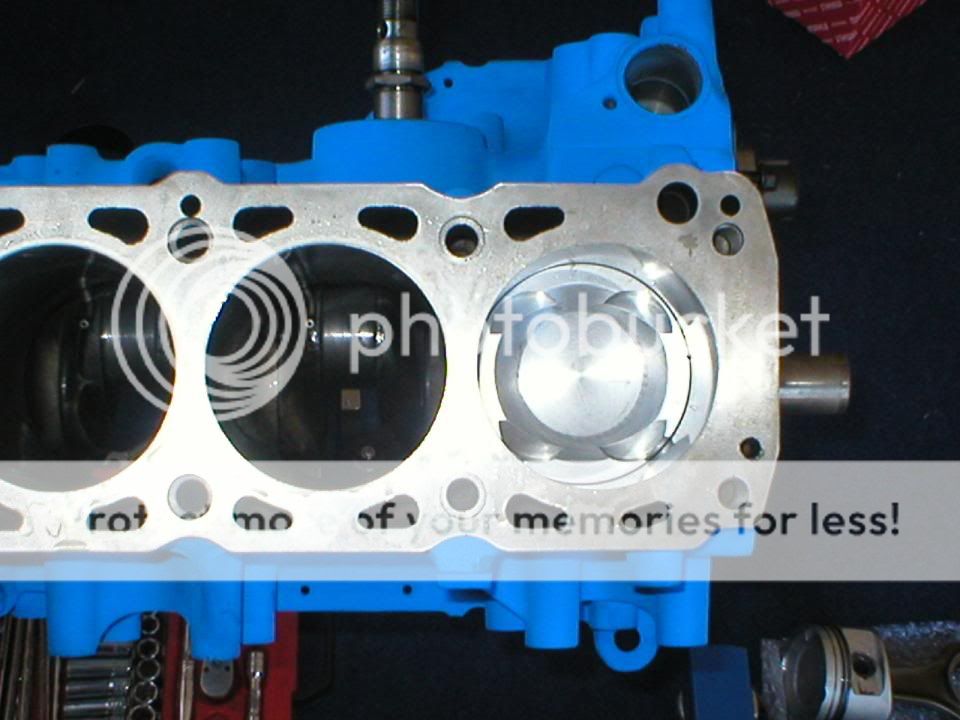

no. 4 ready to in,
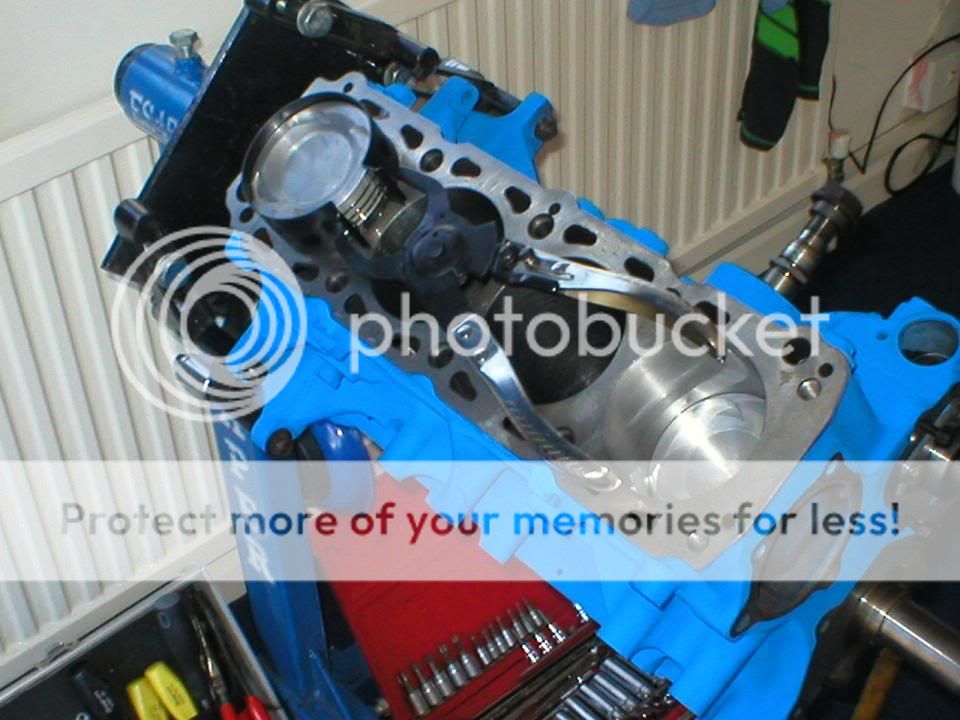
& with the rings inside the bore, just waiting to be tapped in a bit more,

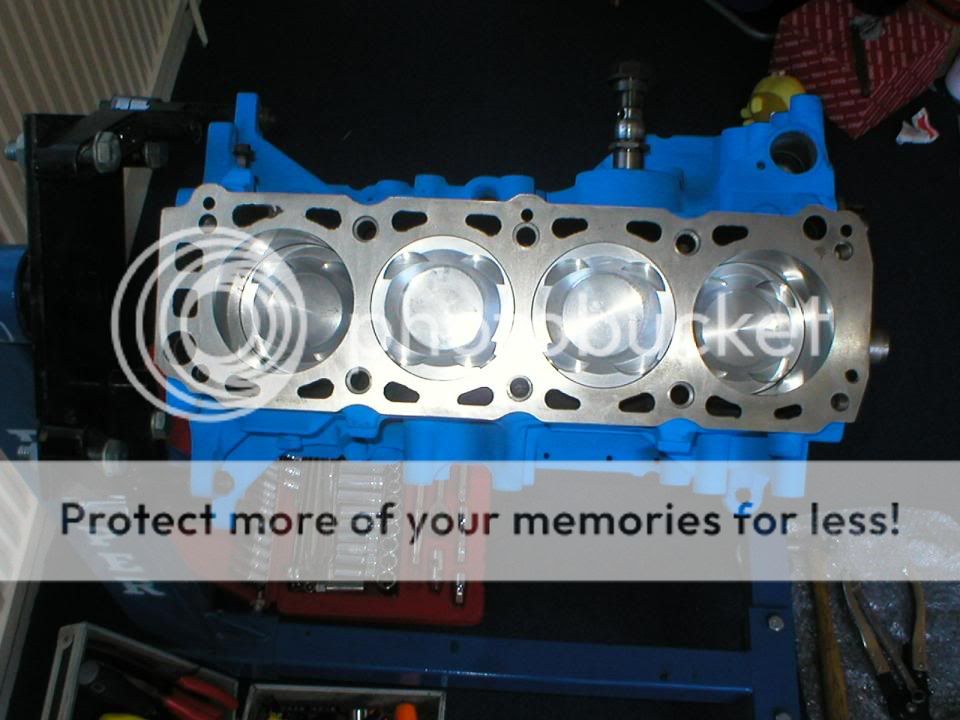
piston 1 & 4 in,
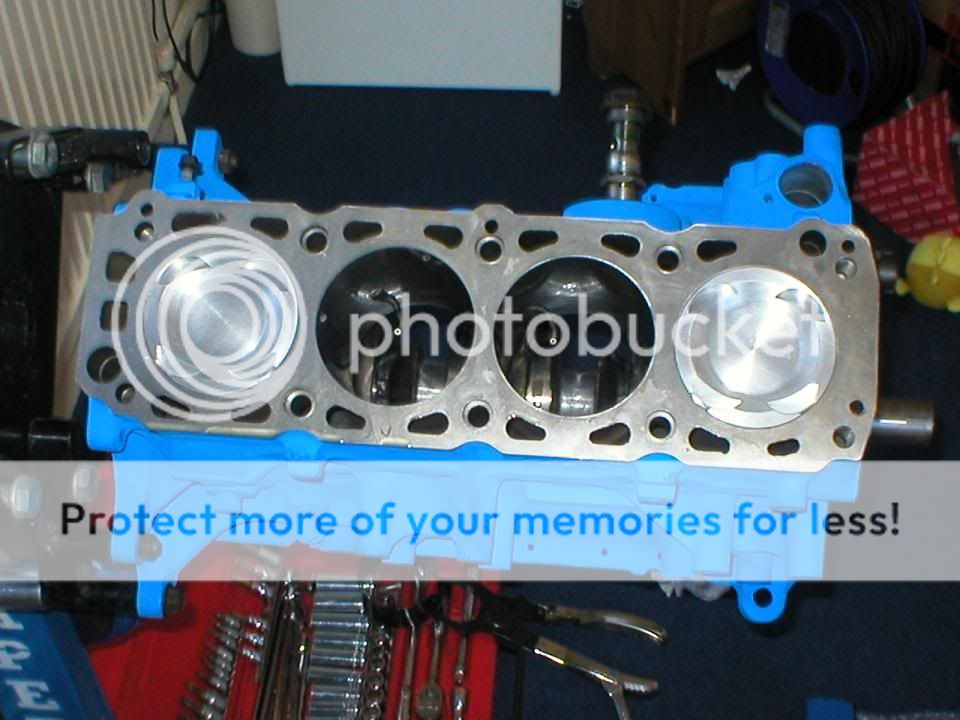
all pistons fitted,
first it was to install the oil squirt jets & get the crank in,
then get the pistons on the rods,
then new big end bearings in the rods & caps,
everything laid out nice & tidy ready to work,
oil the rings then put the piston in the ring compreser ready to install,
no. 1 piston in,
no. 4 ready to in,
& with the rings inside the bore, just waiting to be tapped in a bit more,
piston 1 & 4 in,
all pistons fitted,
 10-08-2006, 03:01 PM
#19
Little Miss...


Join Date: Apr 2004
Location: up north a little lol
Posts: 21,125
Likes: 0
Received 3 Likes
on
3 Posts
Originally Posted by loader5710
Did you bring this to the dorset show this year, Im sure it was? 
So unless someone whacked an engine in it for the day and drove it there then im guessing you were mistaken
13-08-2006, 11:23 AM
#24
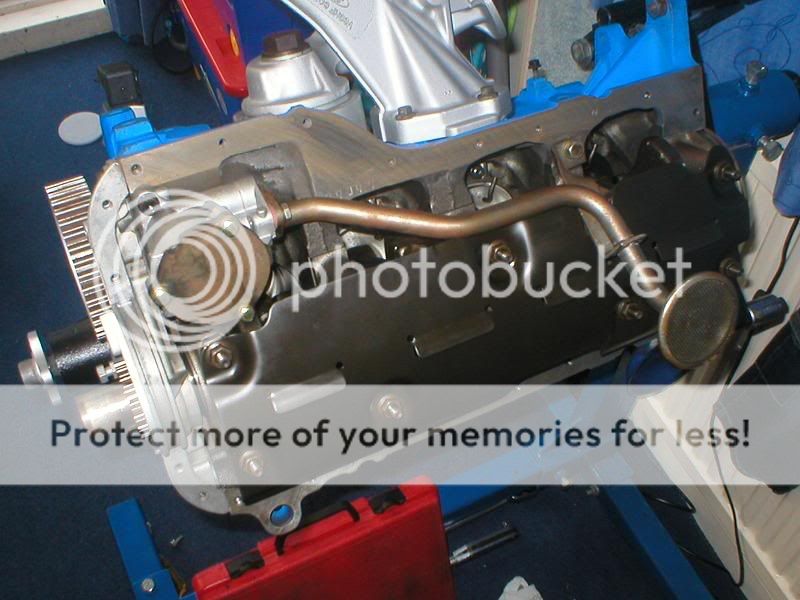
The bottom end is nearly finished now, its all torqued up, i fitted the windage tray, front engine cover, aux shaft & cover & the bottom end oil seals, i also got all new seals for the oil cooler & remote are & fitted these.
Just need to find the lubriplate to prime the oil pump then i can fit that & put the sump on.
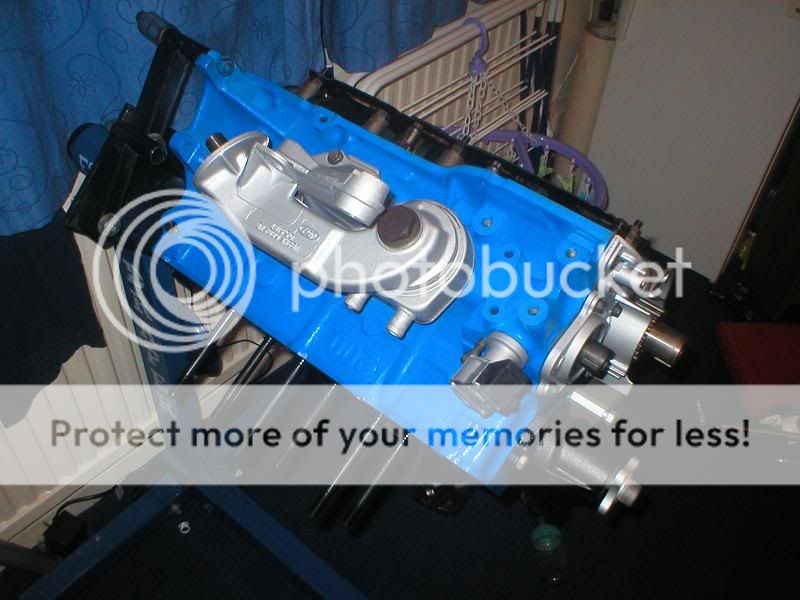
Just need to find the lubriplate to prime the oil pump then i can fit that & put the sump on.

 14-08-2006, 01:57 PM
#31
BANNED
BANNED
iTrader: (2)

Join Date: Jul 2006
Location: West London
Posts: 12,617
Likes: 0
Received 0 Likes
on
0 Posts
that engine looks lovely. defo looks better in the flesh the colour blue too. i love it.....
good on ya Matt...another shit hot strong engine like the 3dr hey
good on ya Matt...another shit hot strong engine like the 3dr hey
14-08-2006, 08:55 PM
#32
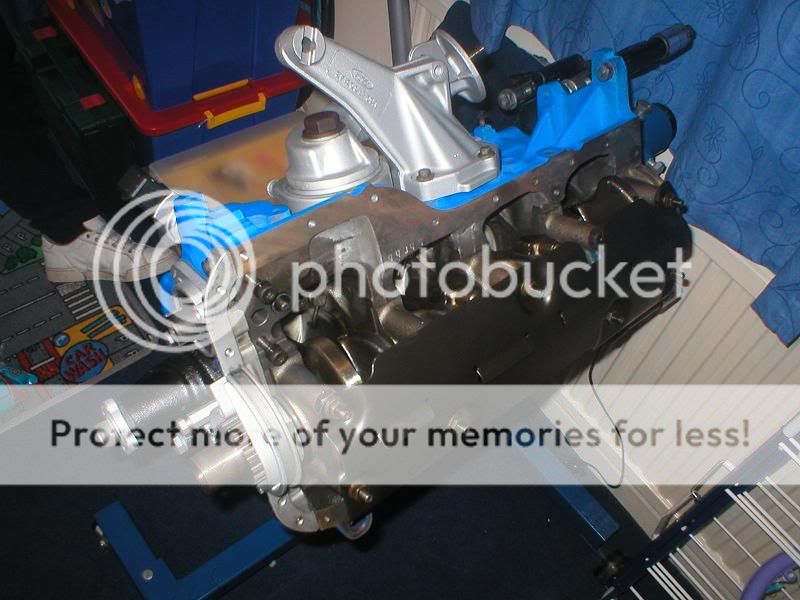
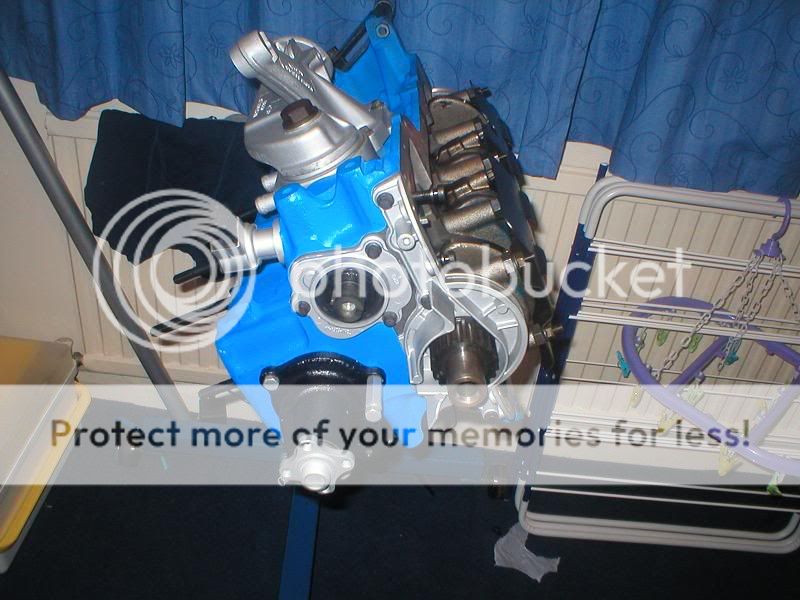
had a spare few minutes yesterday so i poped the oil pump on,
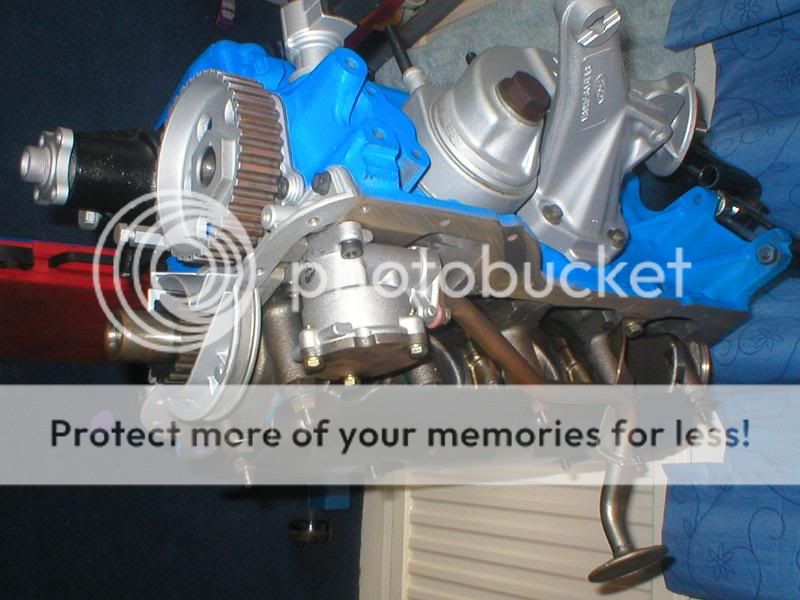
when i got in tonight i thought i might as well fit the sump back on, i made sure everything was clean & all the bolts were there (1 of the long front ones was missing so i had to improvise for now) installed the end seals with some sealer then a smear of sealer around the mating surfaces then on with the sump & torqued all the bolts up,


when i got in tonight i thought i might as well fit the sump back on, i made sure everything was clean & all the bolts were there (1 of the long front ones was missing so i had to improvise for now) installed the end seals with some sealer then a smear of sealer around the mating surfaces then on with the sump & torqued all the bolts up,
15-08-2006, 09:11 AM
#34
Brookesy that was i was thinking, normally you just see a complete engine getting dropped in, i thought i would include the rebuild as part of a resto, then i can look back on how things are coming along & it can also be useful to other people who may need to look at a picture to compare it something on their engine.
