Esc mk4 turbo restoration, Now passed MOT yippee
 22-07-2006, 09:43 PM
#1
Too many posts.. I need a life!!
Thread Starter

Join Date: Jul 2006
Location: Norfolk
Posts: 581
Likes: 0
Received 0 Likes
on
0 Posts
Hi there everyone  I have been browsing this website for a while now and thought i should register and intruduce myself.
First of all i must say what an exellent job everyone else is doing on there own projects
The standard of work that is carried out by some people is unbeliveable and some with very limited space tools and money. Top job guys

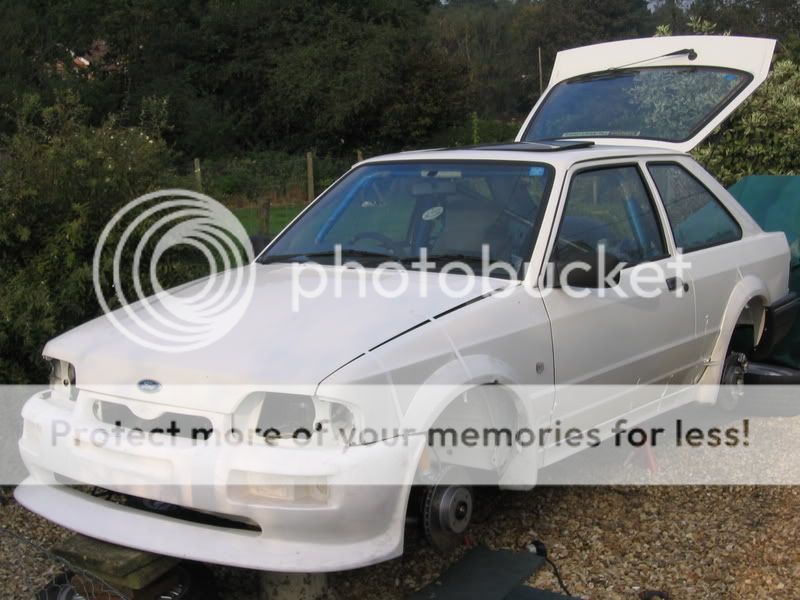
Anyway about 5 months ago i purchased myself my first ever project car which happened to be an escort 1.6 turbo which i bought as an unfinished project. This car started life as a 1.3 and was converted into an rs turbo by the previous owner. The guy before me had spent a fair amount of money on the car so for �850 i consider it a bargin. The engine has not yet been run or run in but hopefully should be later on this year depending if i can source all the bits i require which is becoming a bloody nightmare
I was originaly going to buy an original rs turbo but due to the ever increasing amount rst's with the dreaded tin worm i settled with this one with hardly no rust and all original panels. I also thought to myself there is no point spending out a premium for a sloid original when im only gonna modify the tits off it.
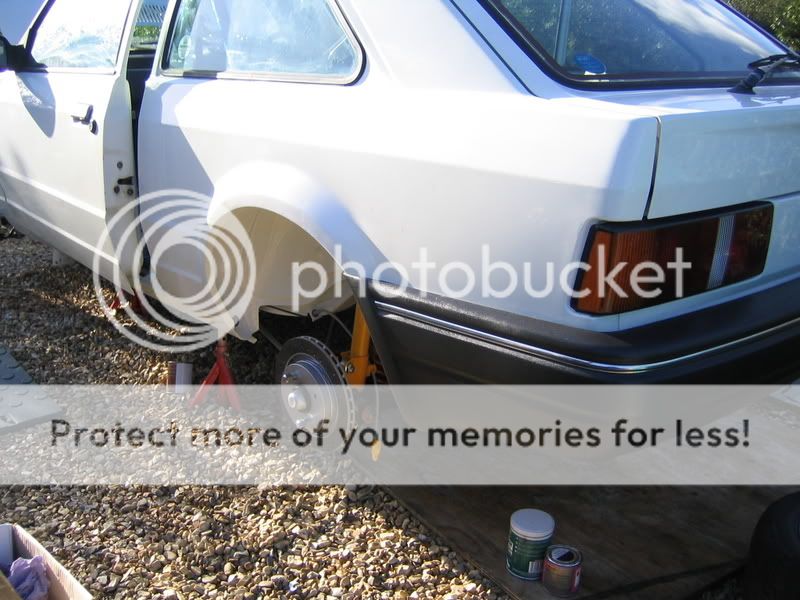
Here are some pictures i took of my car today. Unfortunatly thease are the only pictures i have at the moment as i lost my previous ones from a computer problem that turned faital
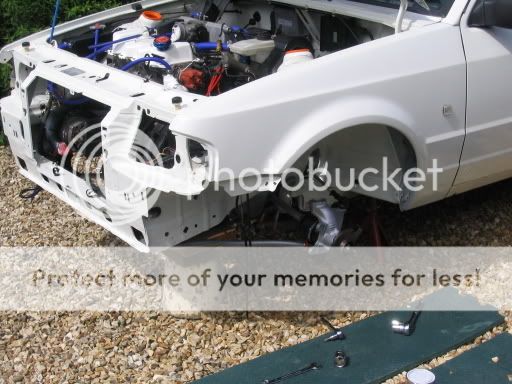
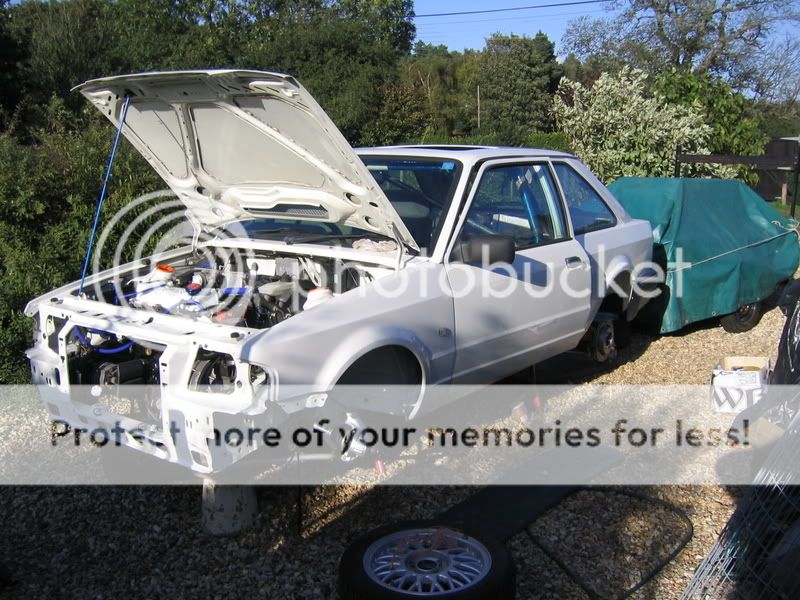
I have removed all traces of rust, treated, and repainted the front of the car. I was lucky to only have only a small amount fo surface rust on the front which ment no welding

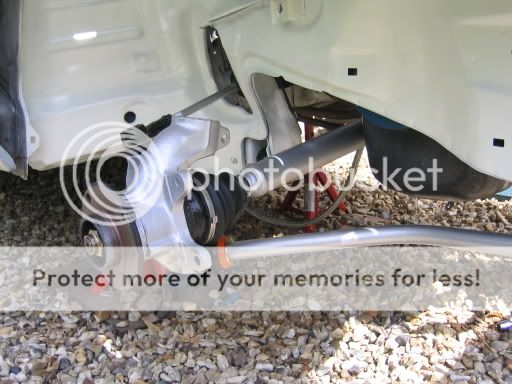
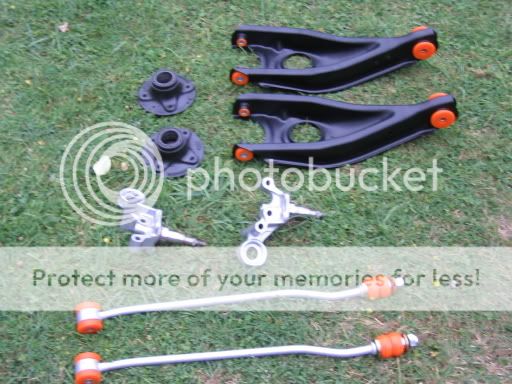
Front arches cleaned, treated, acid eched primed, stonguarded, and painted in ford diamond white. New cv boots, TCA's, track rod ends, deflex bushes. and all new ford bolts all round. New suspention to come!!
Other side
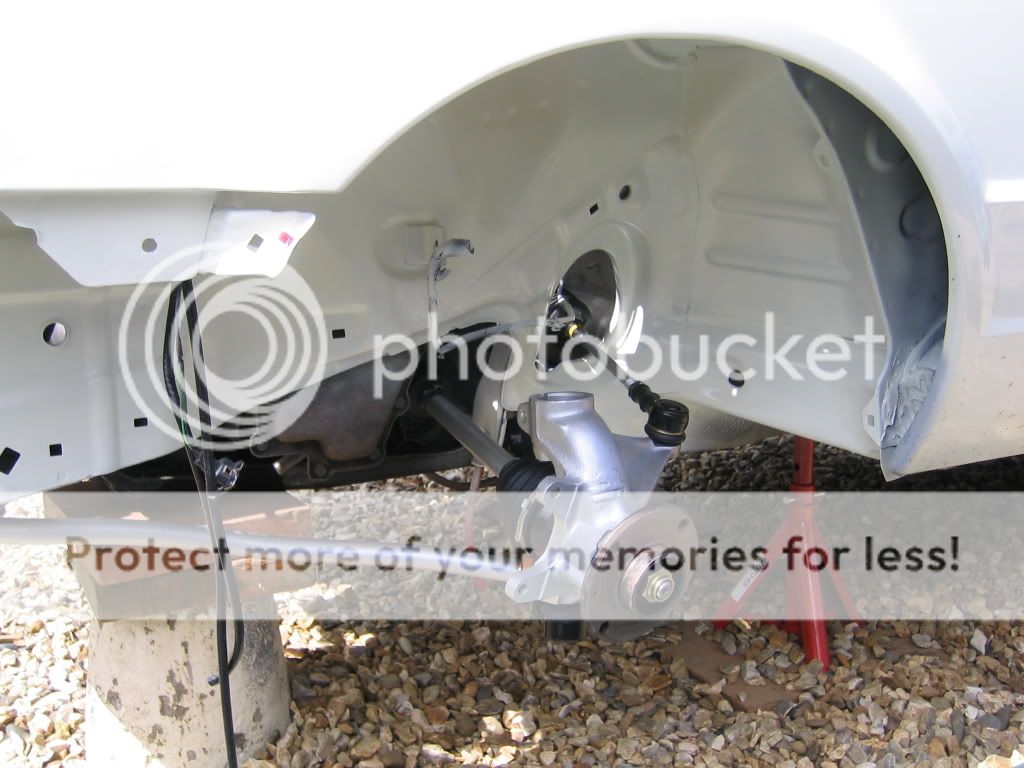
Another pic of front
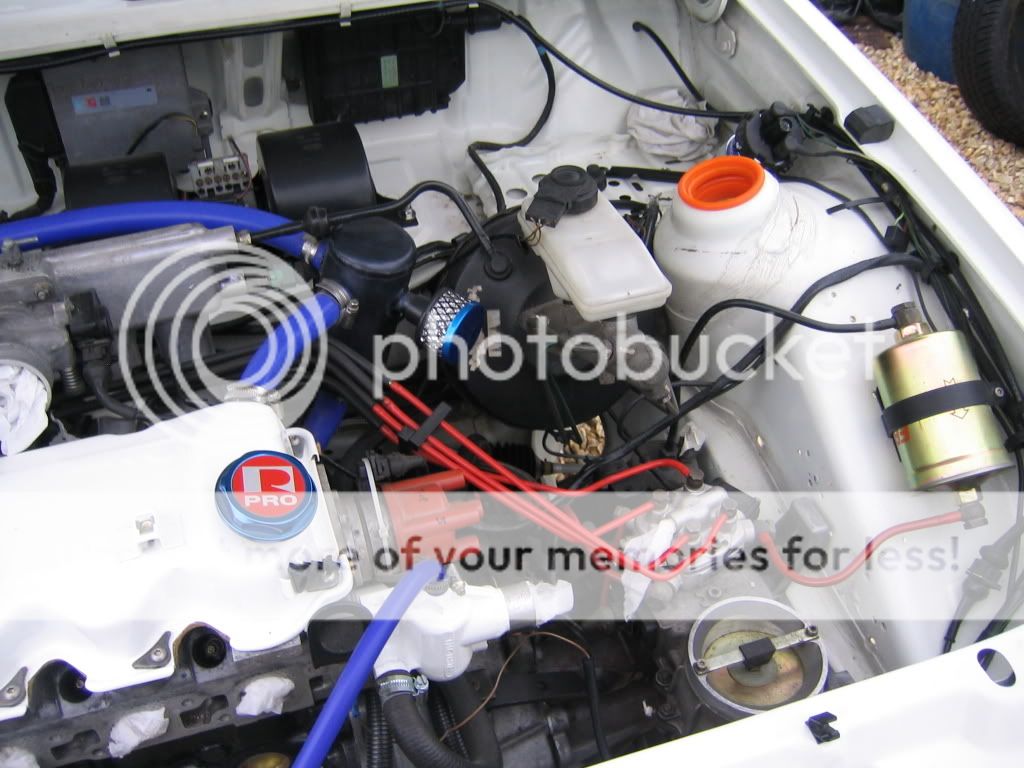
Pic of left hand side of engine. custom header tank which has been anodized black, powdercoated rocker cover, samco hoses, etc. I cant take the credit for the engine work that has been done as this was already done before i purchased the car. if you want to know what has been done to the engine check bottom of this post for spec.
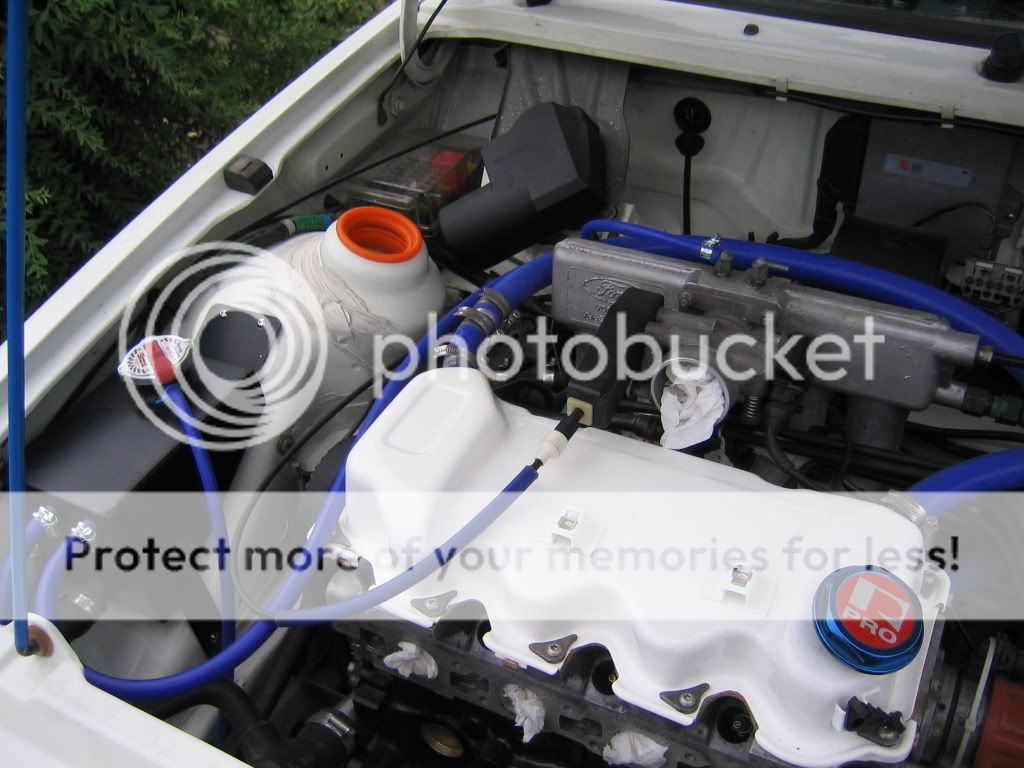
Left hand side of engine
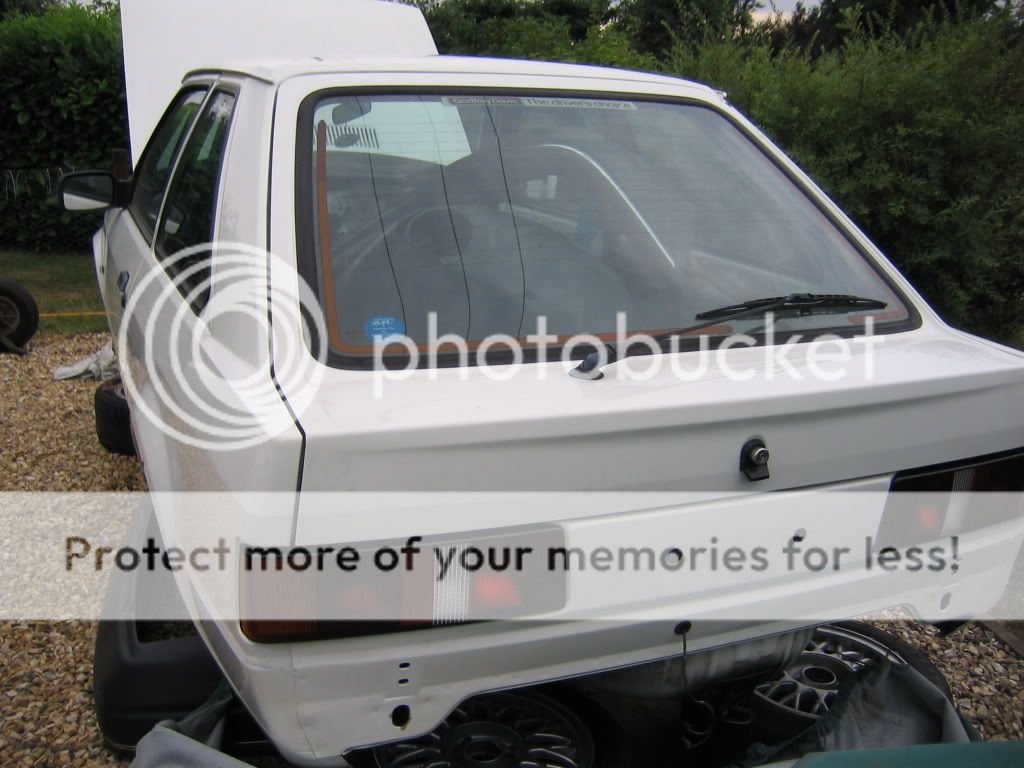
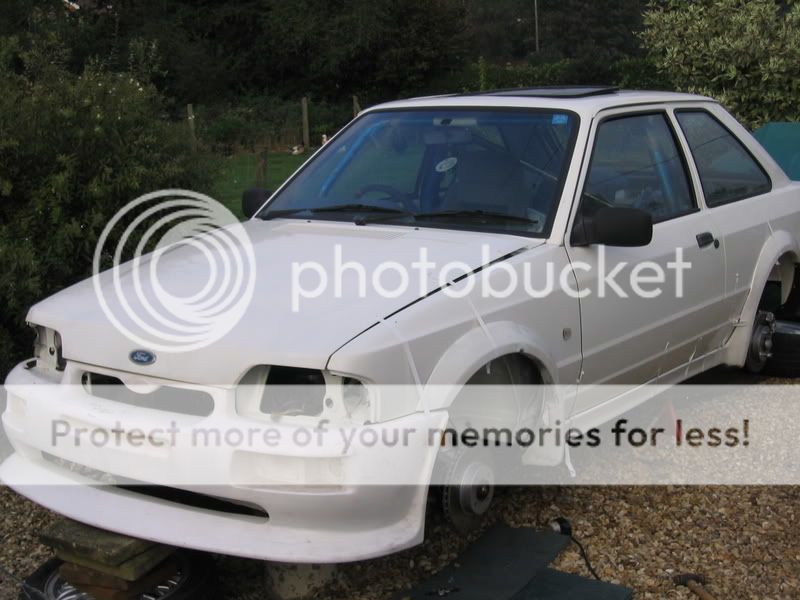
Side pic of car. Gonna fit s1 sideskirts wich i have just purchased Also note six point sparco roll cage. Not fitted properly yet and also requires welding.

Rear
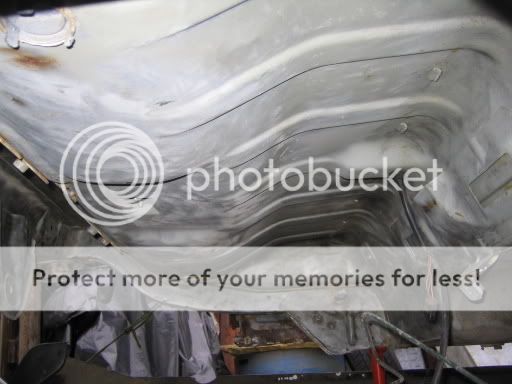
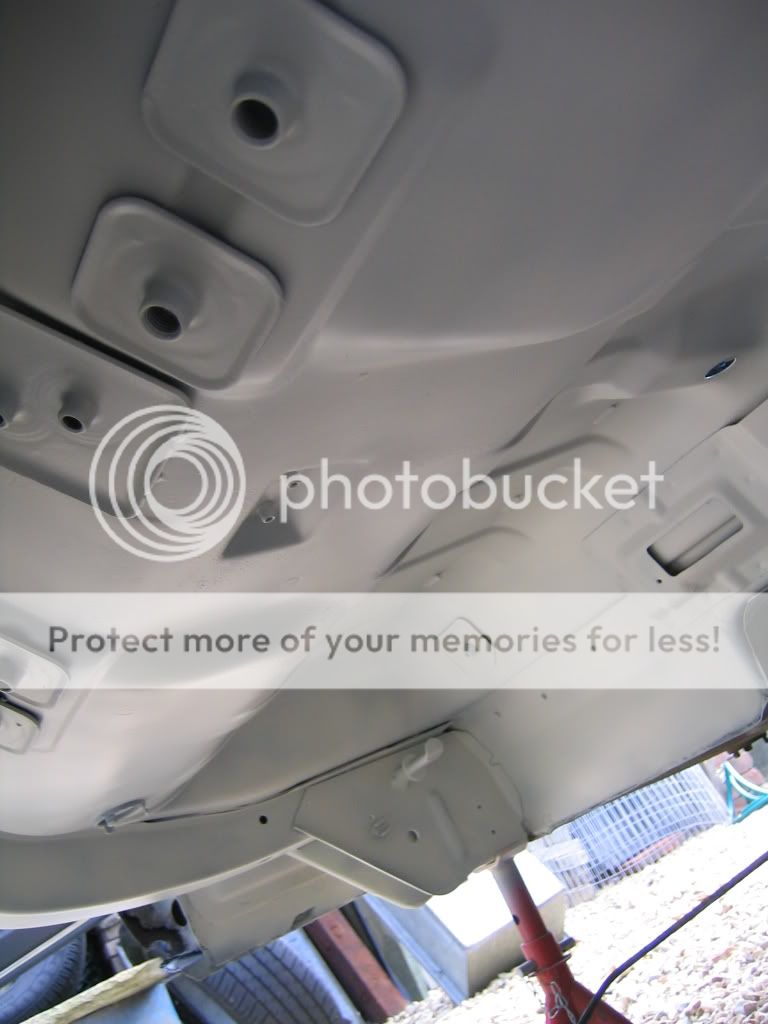
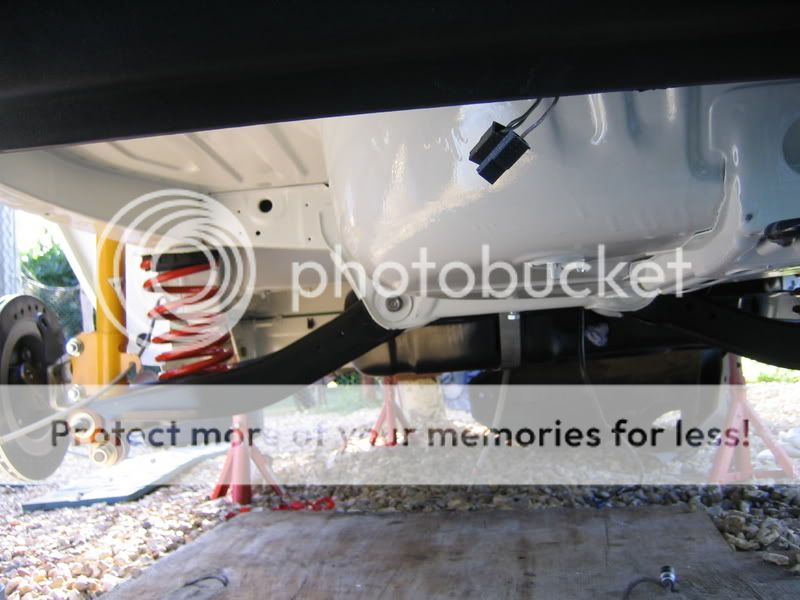
Current progress on the underside rear. all underseal removed. Just needs cleaning propely, rust removing, treating, priming, stonguarded, and painted.
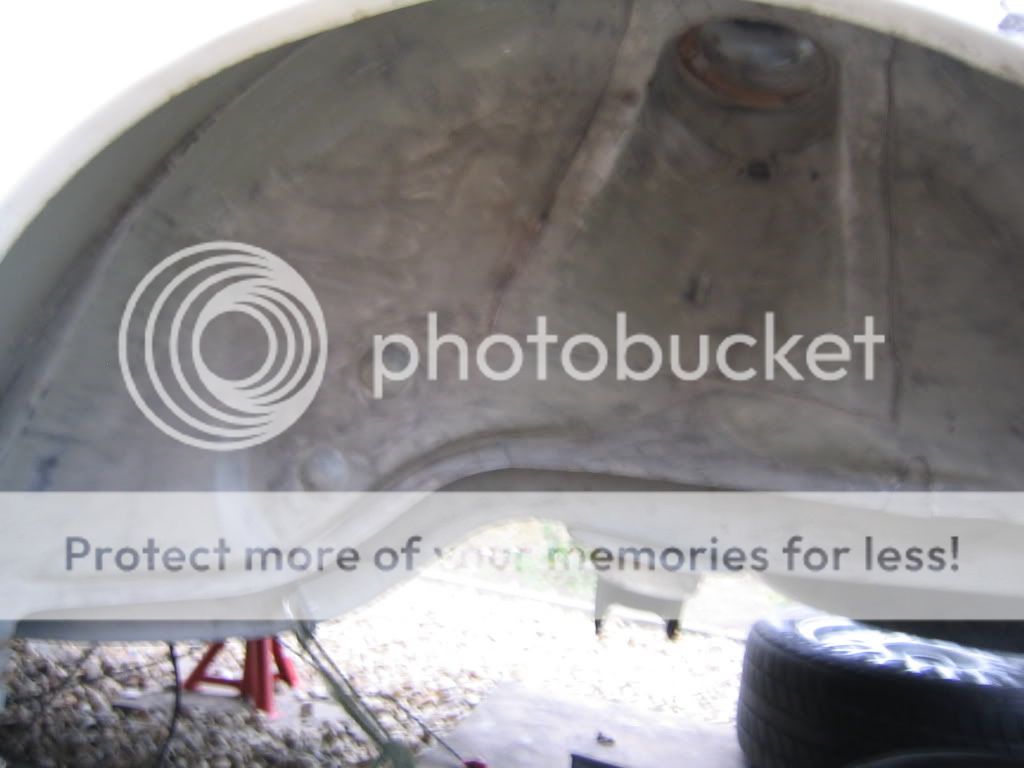
Rear arch cleaned up
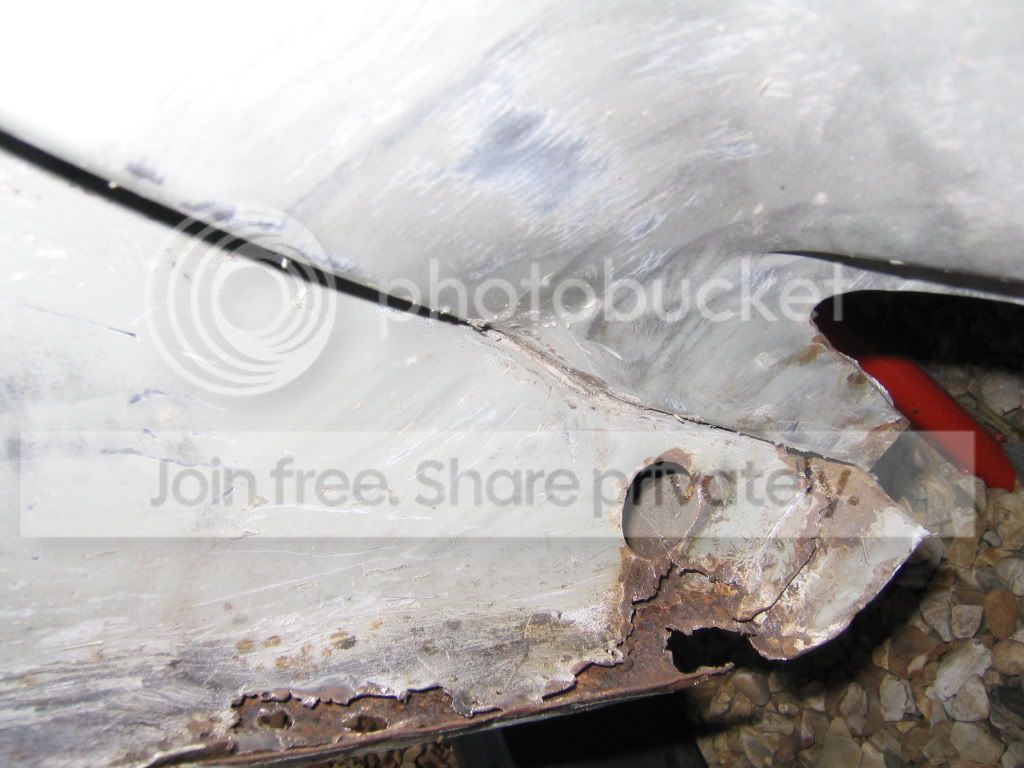
The worst bit of rust on the car wich im gonna weld up sometime this month. Never done welding before so will be a bit of a learning curve.
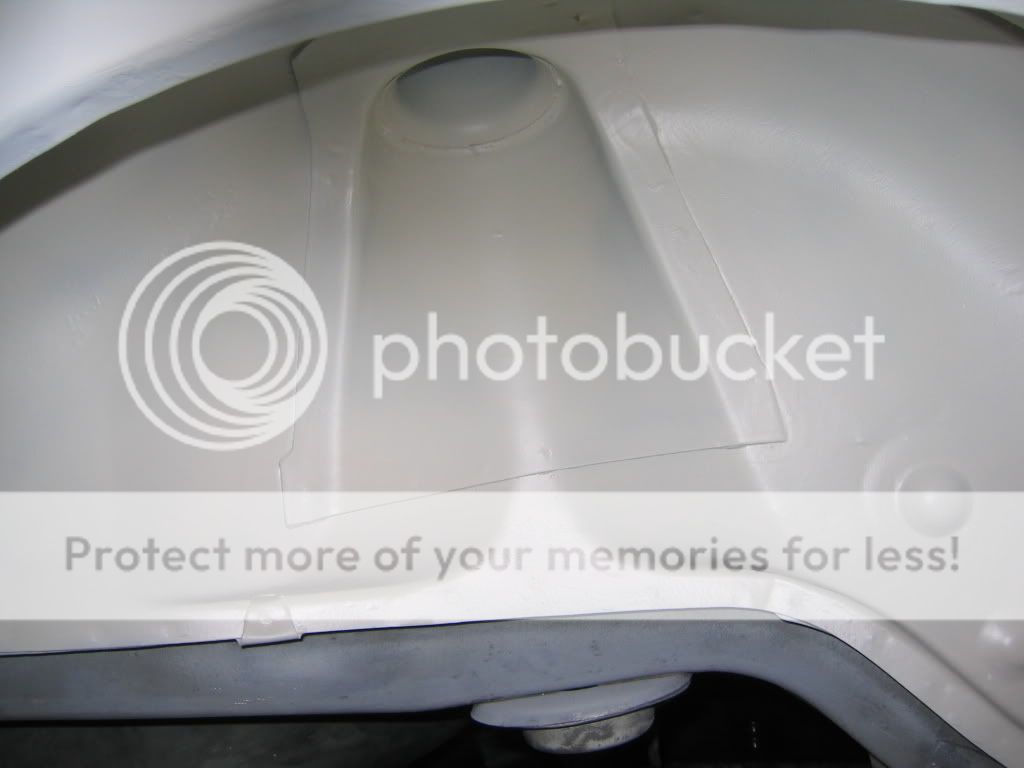
One arch ready to be painted
Pic of parts that have been either powdercoated or cleaned and painted
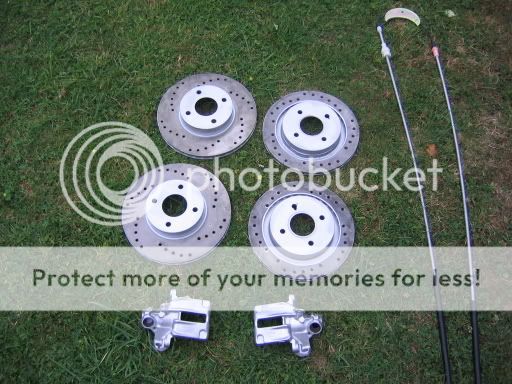
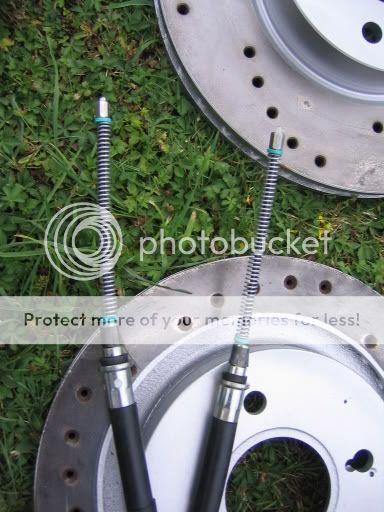
2WD cosworth front rotors, 4x4 rear rotors and calipers. I have totaly stripped the rear calipres to paint and replace all the seals. I even managed to replace the teflon bushes in the caliper as the old ones where damaged. I have cosworth 2wd 4 pots for the front but they are stripped for new seals and machining.
bought a mk5 rs2000 hanbrake cable but doesnt seem to be right????? Can anyone help on this one?
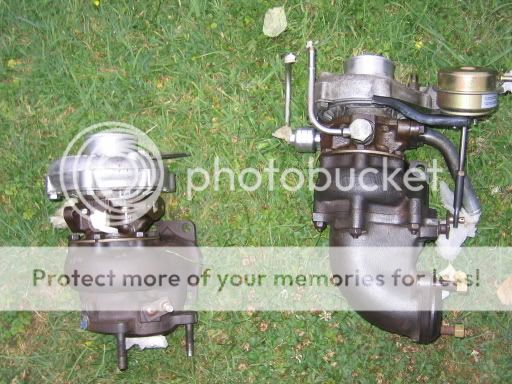
My t3 turbo or t34 cossy 4x4 turbo!! I wonder which one i should use I have been trying to get hold of a .48 housing for the t34 that will take the rs turbo wastegate. What a nightmare
Powdercoated charge carrier

Well hope you like it, I will post more pics as they come available
Engine spec
.5mm rebore
new +.5mm mahle pistons with .5 mm skimmed off top of piston
new rings
new shells
felpro headgasget and uprated headbolts
cvh34 kentcam kit
vernier pully
polished journels
ported and polished head
mached and dowled inlet manoifold
All new bearings thoughout
new waterpump
Uprated oil pump
new clutch
custom header tank, swirl pot and oil breather
uprated fuel pump
chiped ecu (unknown as yet)
t34 turbo + -31 actuator
new rad
radtec front mounted intercooler (to come)
pipercross induction kit (to come)
new ford bolts thoughout
There is probably more but not sure
I have been browsing this website for a while now and thought i should register and intruduce myself. First of all i must say what an exellent job everyone else is doing on there own projects
The standard of work that is carried out by some people is unbeliveable and some with very limited space tools and money. Top job guys
Anyway about 5 months ago i purchased myself my first ever project car which happened to be an escort 1.6 turbo which i bought as an unfinished project. This car started life as a 1.3 and was converted into an rs turbo by the previous owner. The guy before me had spent a fair amount of money on the car so for �850 i consider it a bargin. The engine has not yet been run or run in but hopefully should be later on this year depending if i can source all the bits i require which is becoming a bloody nightmare
I was originaly going to buy an original rs turbo but due to the ever increasing amount rst's with the dreaded tin worm i settled with this one with hardly no rust and all original panels. I also thought to myself there is no point spending out a premium for a sloid original when im only gonna modify the tits off it.
Here are some pictures i took of my car today. Unfortunatly thease are the only pictures i have at the moment as i lost my previous ones from a computer problem that turned faital
I have removed all traces of rust, treated, and repainted the front of the car. I was lucky to only have only a small amount fo surface rust on the front which ment no welding
Front arches cleaned, treated, acid eched primed, stonguarded, and painted in ford diamond white. New cv boots, TCA's, track rod ends, deflex bushes. and all new ford bolts all round. New suspention to come!!
Other side
Another pic of front
Pic of left hand side of engine. custom header tank which has been anodized black, powdercoated rocker cover, samco hoses, etc. I cant take the credit for the engine work that has been done as this was already done before i purchased the car. if you want to know what has been done to the engine check bottom of this post for spec.
Left hand side of engine
Side pic of car. Gonna fit s1 sideskirts wich i have just purchased
Also note six point sparco roll cage. Not fitted properly yet and also requires welding. Rear
Current progress on the underside rear. all underseal removed. Just needs cleaning propely, rust removing, treating, priming, stonguarded, and painted.
Rear arch cleaned up
The worst bit of rust on the car wich im gonna weld up sometime this month. Never done welding before
One arch ready to be painted
Pic of parts that have been either powdercoated or cleaned and painted
2WD cosworth front rotors, 4x4 rear rotors and calipers. I have totaly stripped the rear calipres to paint and replace all the seals. I even managed to replace the teflon bushes in the caliper as the old ones where damaged. I have cosworth 2wd 4 pots for the front but they are stripped for new seals and machining.
bought a mk5 rs2000 hanbrake cable but doesnt seem to be right????? Can anyone help on this one?
My t3 turbo or t34 cossy 4x4 turbo!! I wonder which one i should use
Powdercoated charge carrier
Well hope you like it, I will post more pics as they come available
Engine spec
.5mm rebore
new +.5mm mahle pistons with .5 mm skimmed off top of piston
new rings
new shells
felpro headgasget and uprated headbolts
cvh34 kentcam kit
vernier pully
polished journels
ported and polished head
mached and dowled inlet manoifold
All new bearings thoughout
new waterpump
Uprated oil pump
new clutch
custom header tank, swirl pot and oil breather
uprated fuel pump
chiped ecu (unknown as yet)
t34 turbo + -31 actuator
new rad
radtec front mounted intercooler (to come)
pipercross induction kit (to come)
new ford bolts thoughout
There is probably more but not sure
Last edited by Turbo-Beal; 20-11-2008 at 06:27 PM.


Trending Topics
23-07-2006, 06:41 PM
#8
Too many posts.. I need a life!!
Thread Starter
Join Date: Jul 2006
Location: Norfolk
Posts: 581
Likes: 0
Received 0 Likes
on
0 Posts
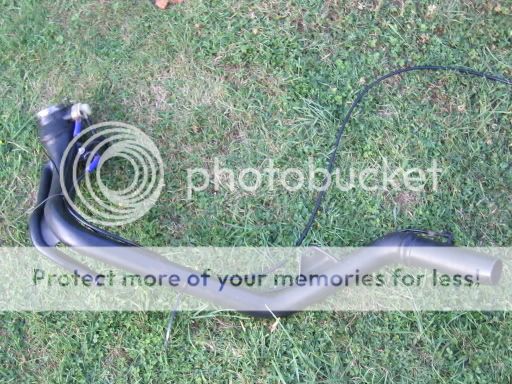
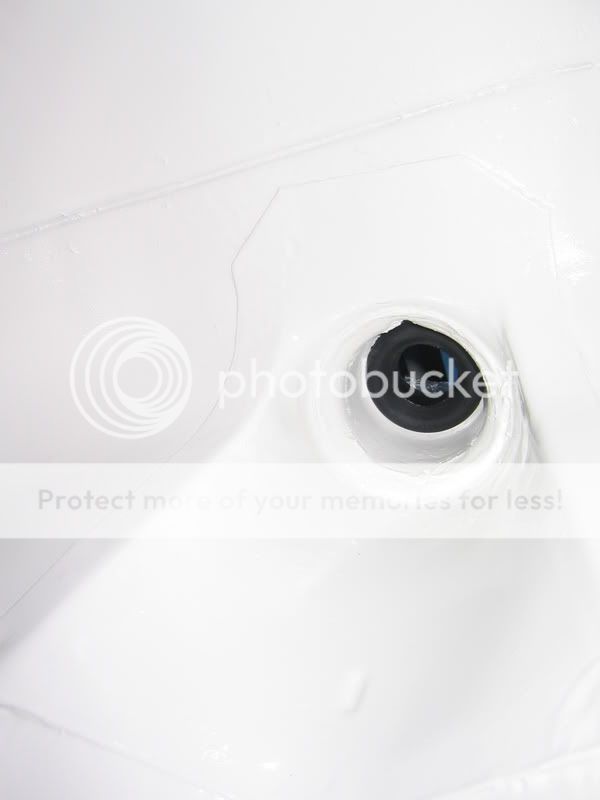
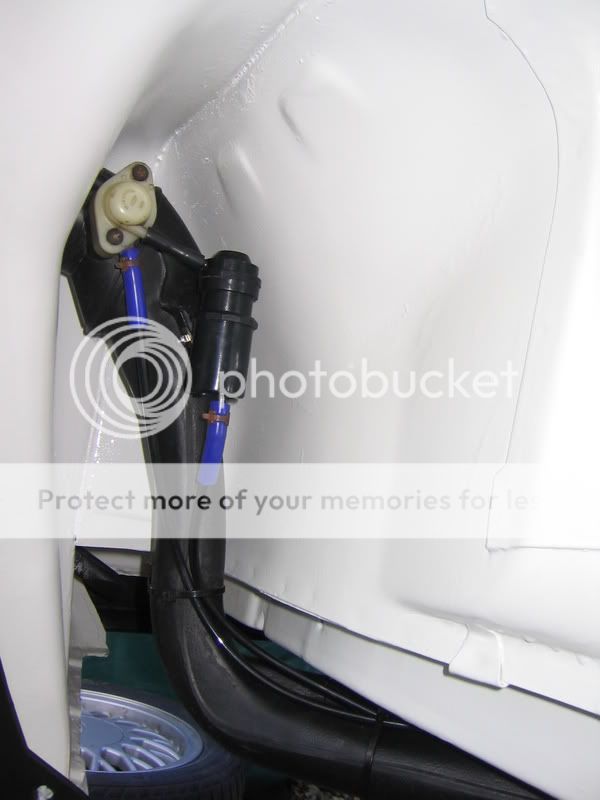
Thanks for the comments guys I have had the car for about 5 months and have been working on it for the past 3 months. I have no real time scale for compleation but i hope to get it finished by next year. I havnt realy done much today as i spent most of the day sorting out my shed as it was getting a bit untidy. I did however clean up the fuel filler neck pipe, replaced the old worn pipe connectors and rusty screws with A2 grade stainless. I also started preping a bit more of the underside of the car.
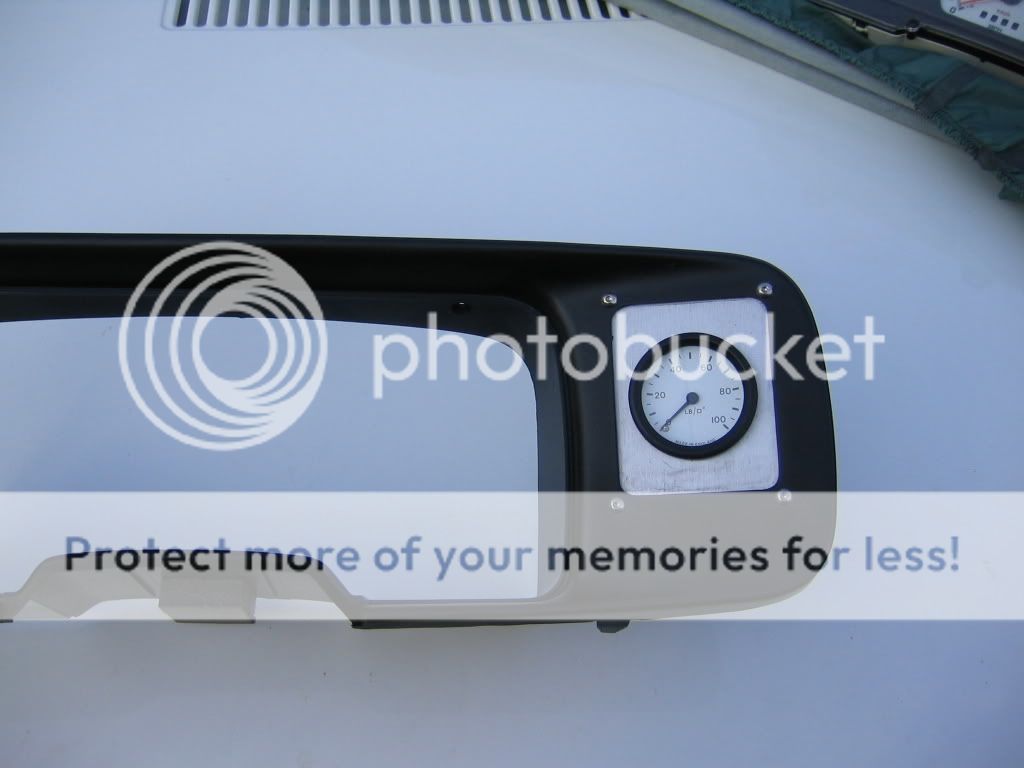
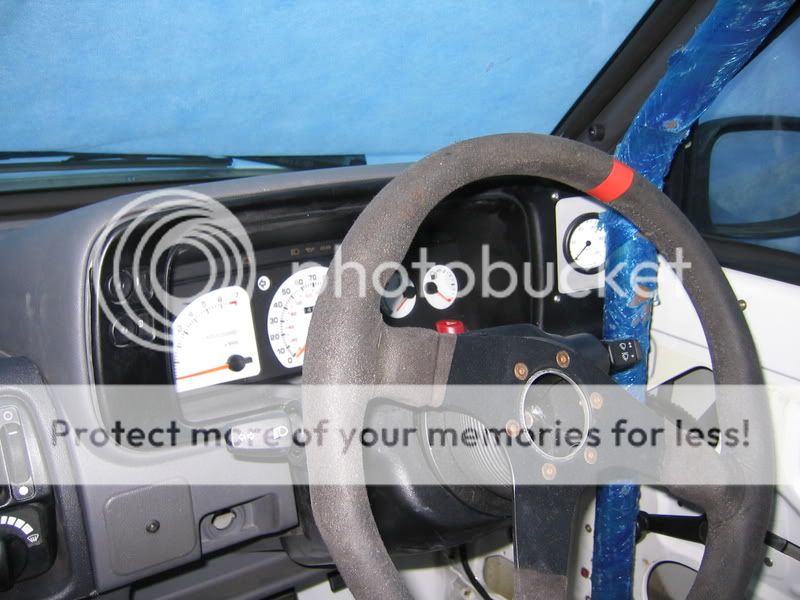
Also took a pic of the lockwood dials and oil pressure guage i fiited the other day. Not very interesting but better than nothing
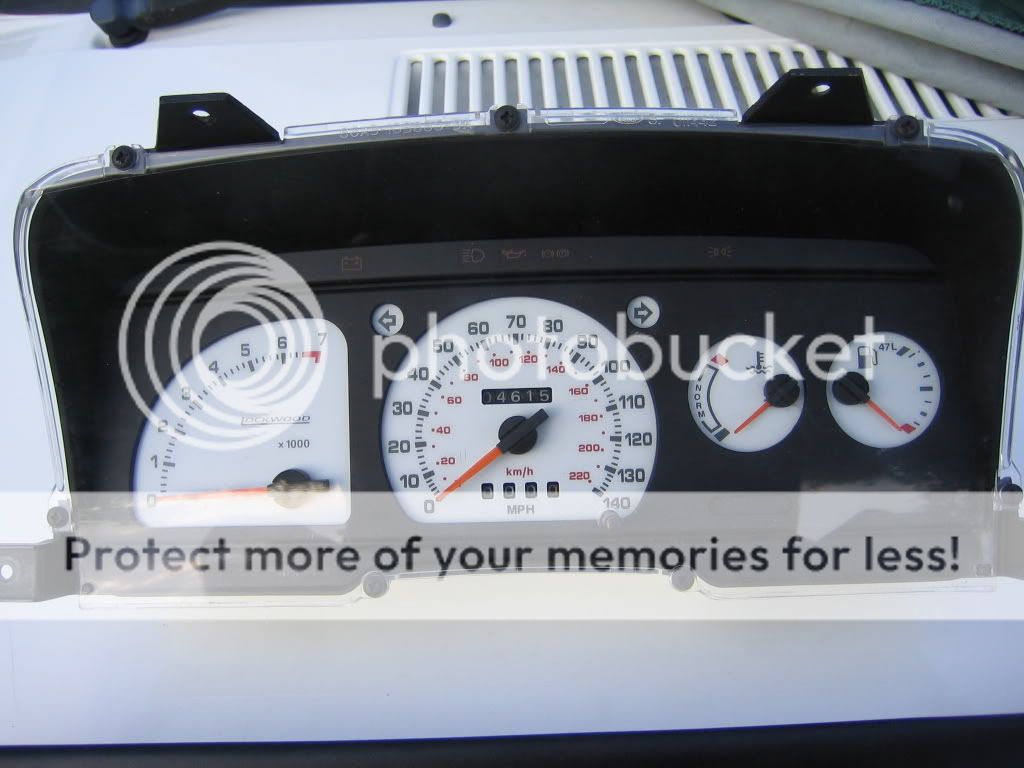
I have had the car for about 5 months and have been working on it for the past 3 months. I have no real time scale for compleation but i hope to get it finished by next year. I havnt realy done much today as i spent most of the day sorting out my shed as it was getting a bit untidy. I did however clean up the fuel filler neck pipe, replaced the old worn pipe connectors and rusty screws with A2 grade stainless. I also started preping a bit more of the underside of the car.Also took a pic of the lockwood dials and oil pressure guage i fiited the other day. Not very interesting but better than nothing
24-07-2006, 05:13 PM
#9
Too many posts.. I need a life!!
Thread Starter
Join Date: Jul 2006
Location: Norfolk
Posts: 581
Likes: 0
Received 0 Likes
on
0 Posts
Well chuffed today as i managed to buy a brand new .48 exhaust housing that i have been after since i bought the car �52 off ebay! A little more than i was expecting to pay but i would have paid up to �100 as i have been struggling to find one.
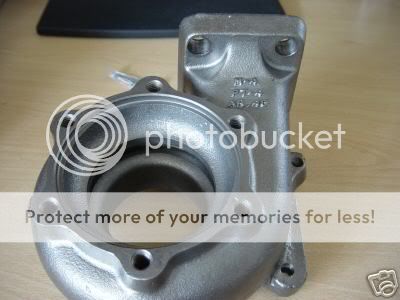
�52 off ebay! A little more than i was expecting to pay but i would have paid up to �100 as i have been struggling to find one.
06-08-2006, 04:33 PM
#10
Too many posts.. I need a life!!
Thread Starter
Join Date: Jul 2006
Location: Norfolk
Posts: 581
Likes: 0
Received 0 Likes
on
0 Posts
Just a quick update on my progress.
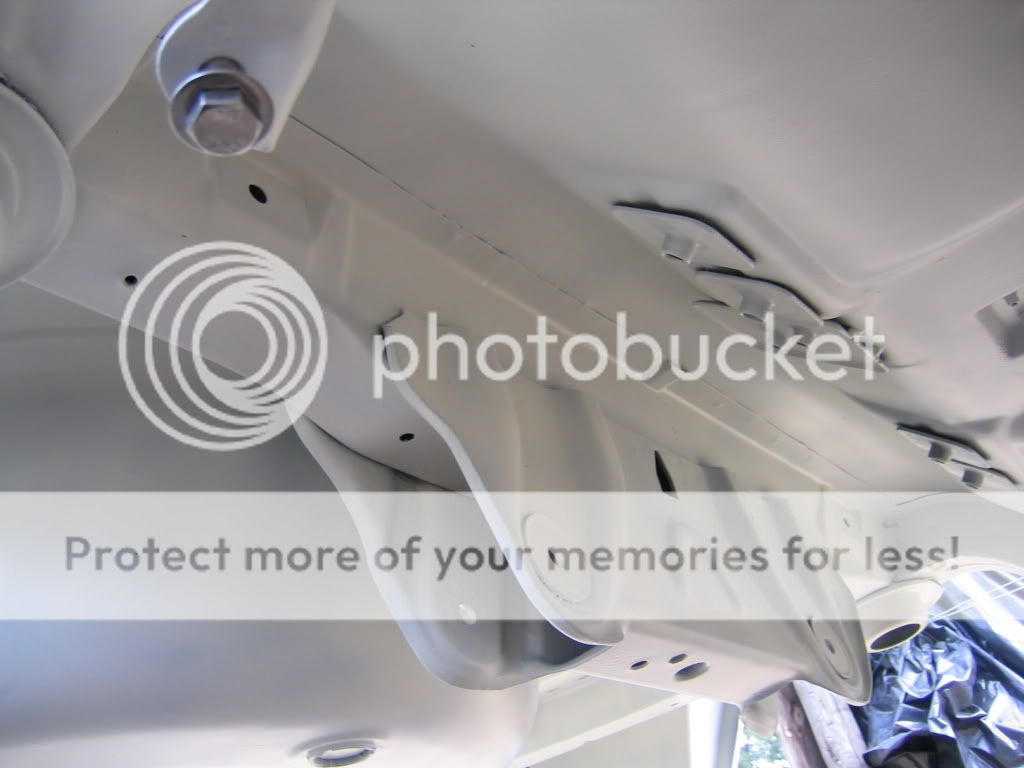
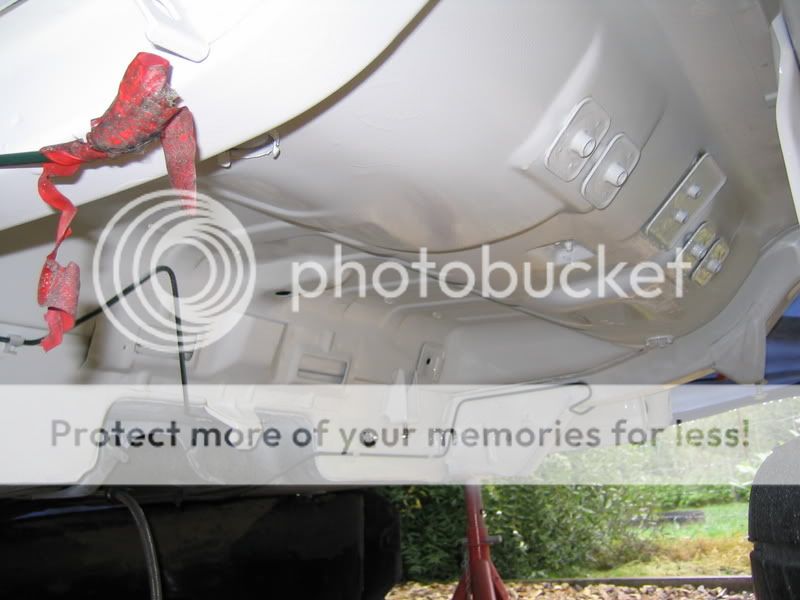
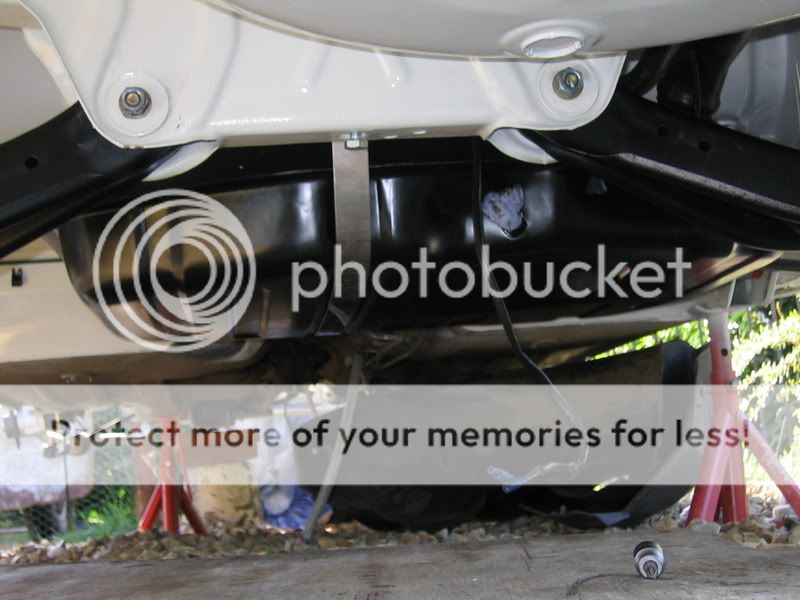
The intire rear of the car in now all stone chipped guarded ready to have some 2k paint applided to it appart form one rear arch which i still have not got round to welding

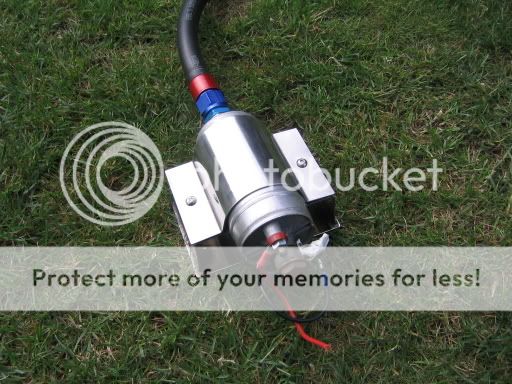
Here is a pic of the fuel pump and bracket i am using. This came with the car but iv polished up the bracket and replaced the rusty screws with stainless ones.
The intire rear of the car in now all stone chipped guarded ready to have some 2k paint applided to it appart form one rear arch which i still have not got round to welding
Here is a pic of the fuel pump and bracket i am using. This came with the car but iv polished up the bracket and replaced the rusty screws with stainless ones.
 06-08-2006, 08:52 PM
#12
BANNED
BANNED

Join Date: Oct 2003
Location: .
Posts: 11,243
Likes: 0
Received 0 Likes
on
0 Posts
Cars looking well nice.
If there's just that little bit of welding to be done I'd pay a professional to do it right first time rather than messing with buying/hiring equiptment and then teaching yourself how to weld.
The handbrake cable in the picture is for a drum braked model. You need one for a 91-95 2.0 16v 150PS Escort (Non Cosworth). This has a half moon shaped bracket at the lever end and rectangular slots at the disc end.
Hope this helps.
 07-08-2006, 06:32 PM
#14
Too many posts.. I need a life!!
Thread Starter
Join Date: Jul 2006
Location: Norfolk
Posts: 581
Likes: 0
Received 0 Likes
on
0 Posts
Cheers for the info on the rear hand brake cable I will get the right one this time
Purchased a new set of koni adjustables last night so i should get them this week I have also ordered a new exhaust gasget, exhaust studs, longer goodrich braided brake hoses for the rear disc conversion, and a few other bits form burton power. I have nearly got everything to start rebuilding the rear running gear, and finishing off the other jobs on the engine.
I will get the right one this time Purchased a new set of koni adjustables last night so i should get them this week
I have also ordered a new exhaust gasget, exhaust studs, longer goodrich braided brake hoses for the rear disc conversion, and a few other bits form burton power. I have nearly got everything to start rebuilding the rear running gear, and finishing off the other jobs on the engine.
17-09-2006, 09:04 PM
#17
Too many posts.. I need a life!!
Thread Starter
Join Date: Jul 2006
Location: Norfolk
Posts: 581
Likes: 0
Received 0 Likes
on
0 Posts
Well i havnt updated for a while as i havnt realy had a chance to do to much to my car
I have however done the small bit of welding required and then finished off with the stoneguard ready for paint. Hopefully i shall paint it next week when im off work if all goes well and then the fun starts puting the rear back together
I have also attacked the wireing loom again removing all the crap i no longer need and rebound it back up. It is quite scary how much you can get rid of when you go for the bare essentials
I have also got my koni kit through and bought another shit load of stuff from fords
I am so looking forward to putting everything back together. Its always a pleasure bolting new parts back on


 19-09-2006, 08:54 PM
#23
Too many posts.. I need a life!!
Thread Starter
Join Date: Jul 2006
Location: Norfolk
Posts: 581
Likes: 0
Received 0 Likes
on
0 Posts
Cheers m8 The more i look at other peoples projects the more it makes me realize how lucky i am. The only real bad bit is the rear arches so eventually im goinig to get them cut out and raplaced and then get a full respray. Ill be happy then
01-10-2006, 05:28 PM
#24
Too many posts.. I need a life!!
Thread Starter
Join Date: Jul 2006
Location: Norfolk
Posts: 581
Likes: 0
Received 0 Likes
on
0 Posts
I thought i would do an update with some more pics. So here i go!
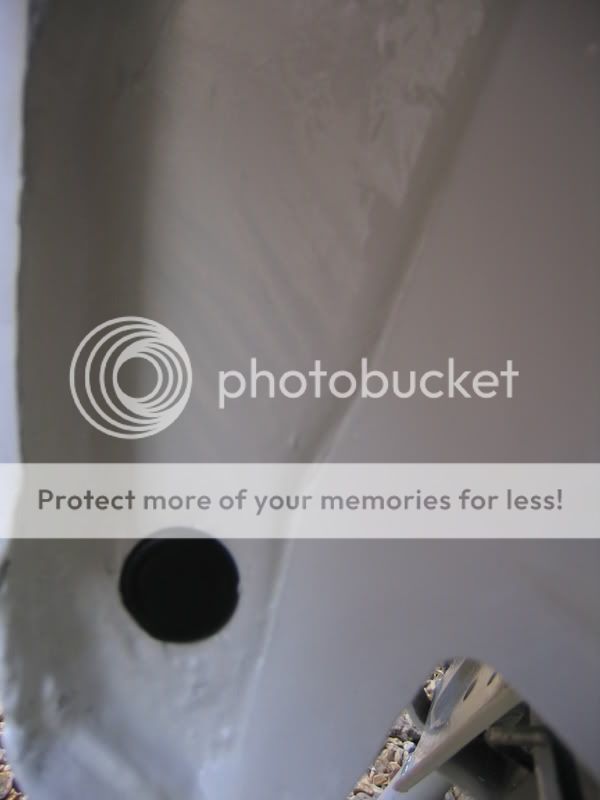
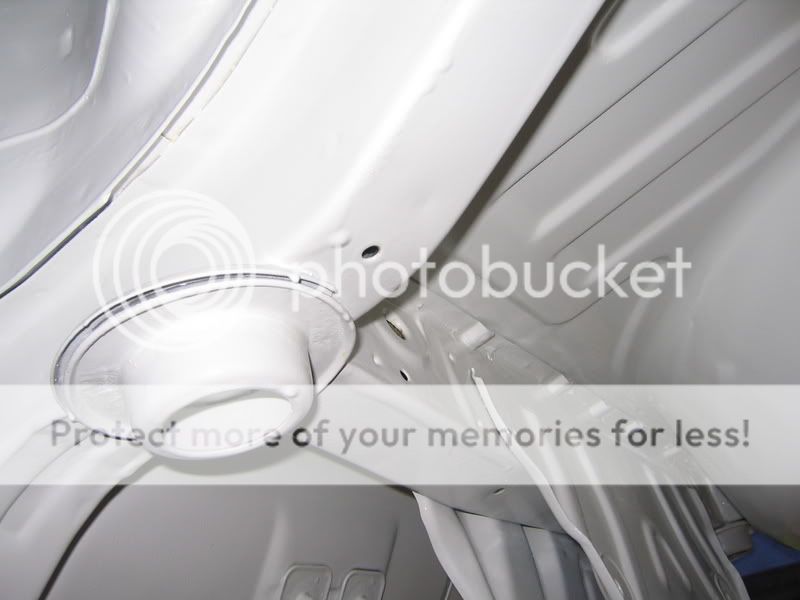
Managed to do the spraying this week Iv got to say that 2k is far superior to any other paint iv used. Its such a good finish. Iv also waxoiled every hole i could find.

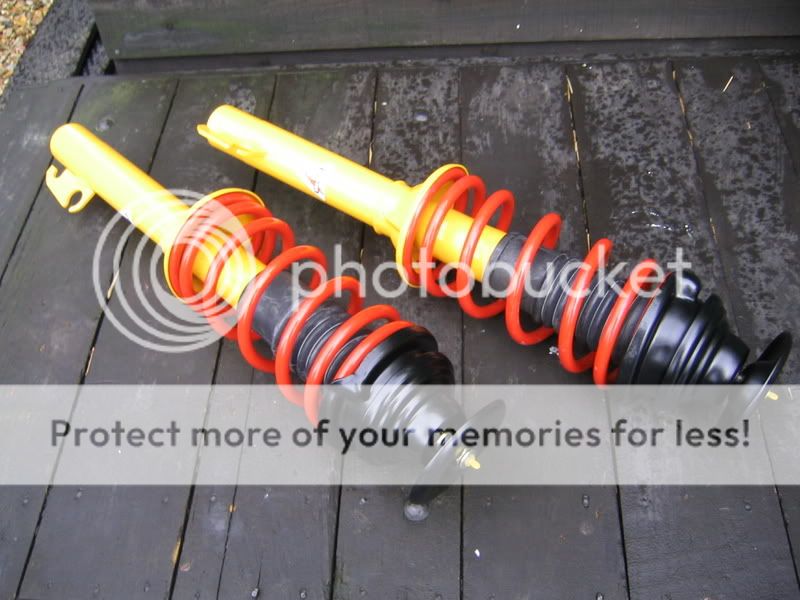
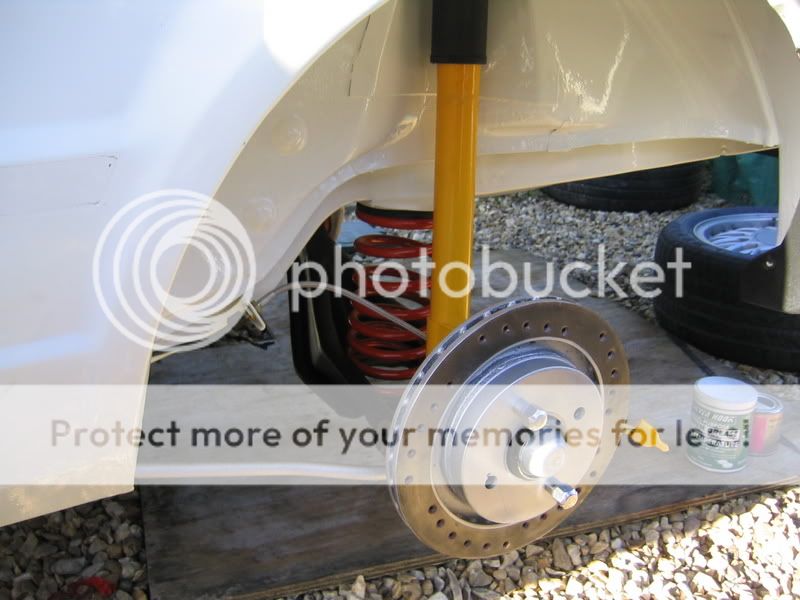
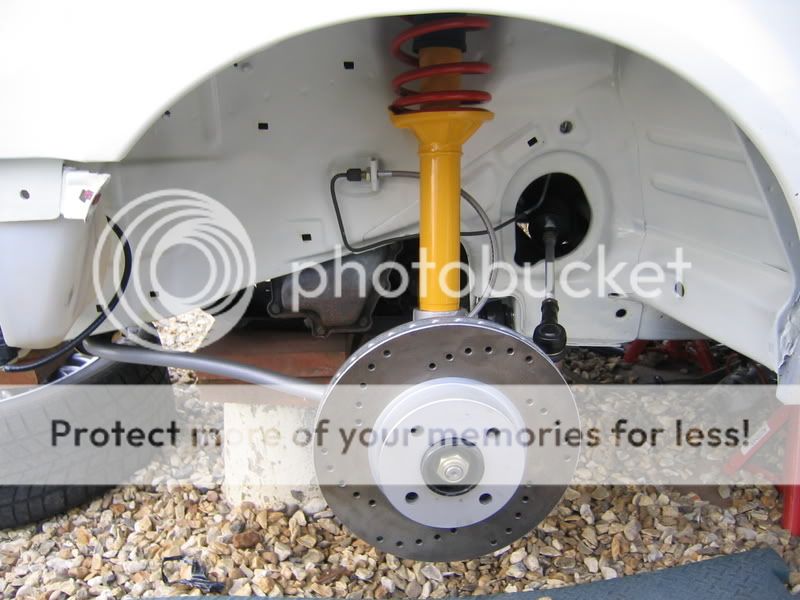
Iv also assembled the front shocks today It took a while as i had to wait for the powdercoaters to finish the top mounts but definately worth the wait.
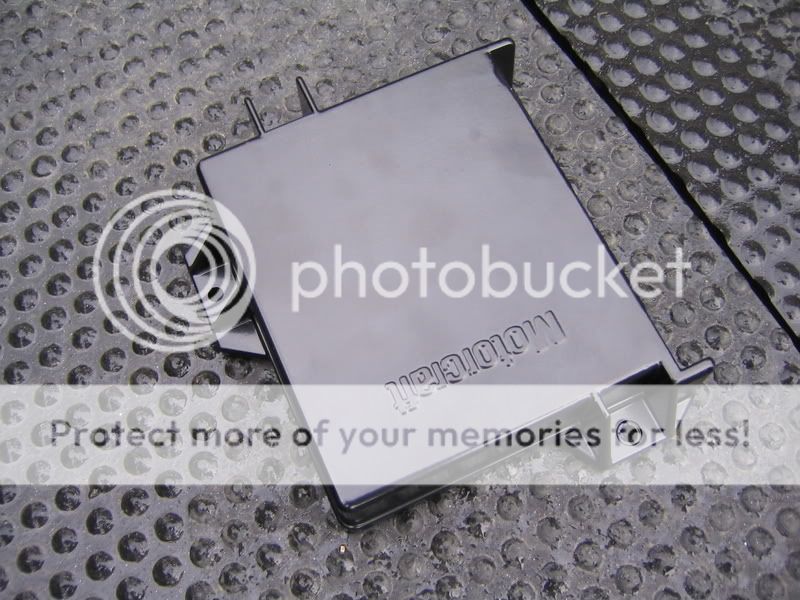
Picked up my spare ecu cover from powdercoters aswell sat! top job!!
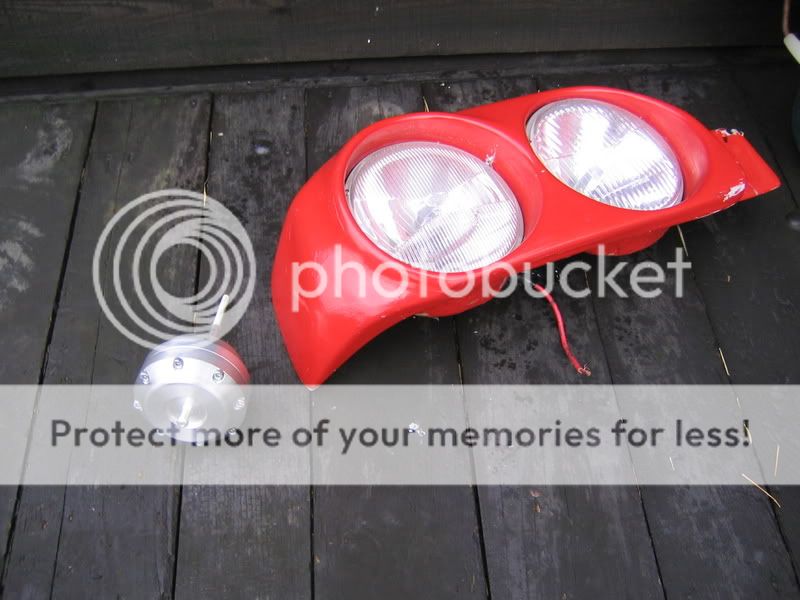
Got my twin headlights through the post this week! a bargin at �15 off ebay And my collins actuator!
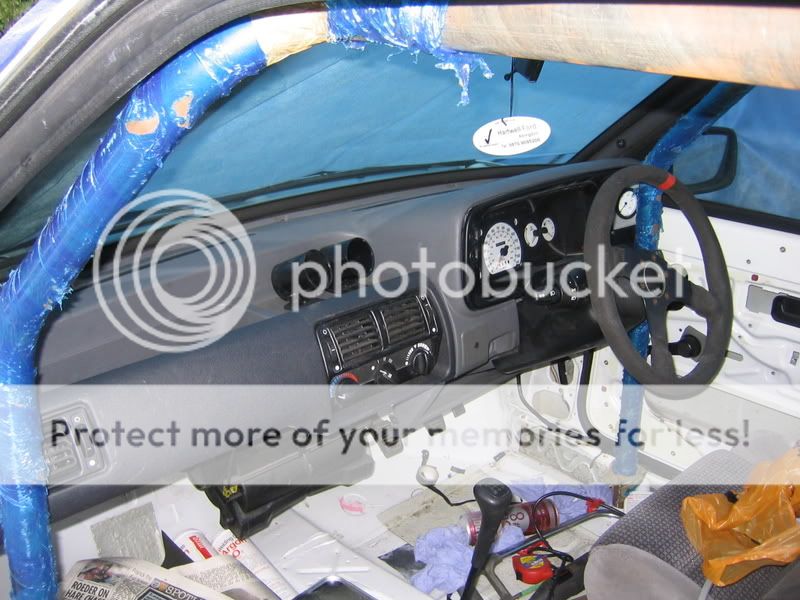
A pic of my dash back in! Eventually i want to get it flocked. Does anyone know how much it will cost roughtly?

A pic of my shed where im storing some of my parts at the moment. I cant even get in there

Managed to do the spraying this week
Iv got to say that 2k is far superior to any other paint iv used. Its such a good finish. Iv also waxoiled every hole i could find.Iv also assembled the front shocks today
It took a while as i had to wait for the powdercoaters to finish the top mounts but definately worth the wait.Picked up my spare ecu cover from powdercoters aswell sat! top job!!
Got my twin headlights through the post this week! a bargin at �15 off ebay
And my collins actuator!A pic of my dash back in! Eventually i want to get it flocked. Does anyone know how much it will cost roughtly?
A pic of my shed where im storing some of my parts at the moment. I cant even get in there
01-10-2006, 05:44 PM
#26
Too many posts.. I need a life!!
Thread Starter
Join Date: Jul 2006
Location: Norfolk
Posts: 581
Likes: 0
Received 0 Likes
on
0 Posts
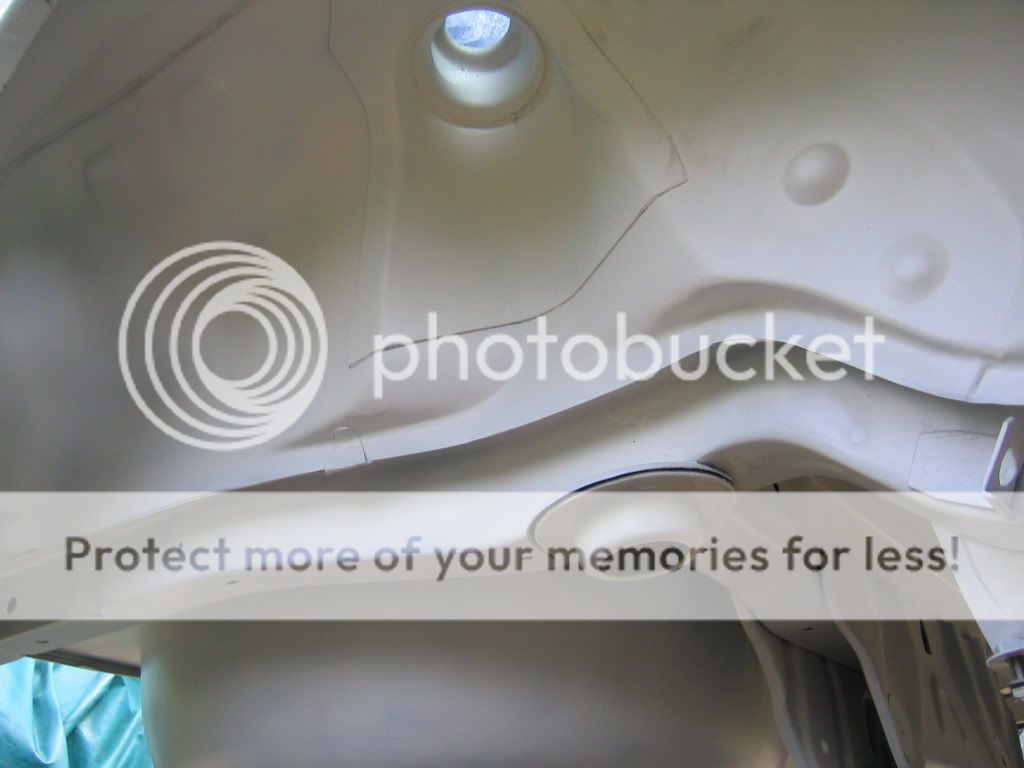
The main reason for removing the sealer was to expose any rust that was underneath so it could be treated. Now i recon it should last longer
01-10-2006, 08:37 PM
#27
PassionFord Post Whore!!
iTrader: (4)
Looks like a really good shell!
What exactly did you use to get all the old sealer and paint off the bottom of the car? Wnat to do my RS 2000 next year so any tips would be very handy!!!!
What exactly did you use to get all the old sealer and paint off the bottom of the car? Wnat to do my RS 2000 next year so any tips would be very handy!!!!
02-10-2006, 07:33 PM
#28
Too many posts.. I need a life!!
Thread Starter
Join Date: Jul 2006
Location: Norfolk
Posts: 581
Likes: 0
Received 0 Likes
on
0 Posts
Hi paul! When i striped the undereseal off my car i used a wire brush attachement on a drill and a scraper to remove the underseal fom the areas which i could not do with the drill. I dont think this is the best method of removing it though as it took me ages. I have read about people using electric scrapers to remove it and also using a heat gun to soften the underseal before removal. people have also used a notted type wire brush attachements on an angle grider with sucsess but there is always gonna be small ereas which you will have to do by hand as you will not be able to get a power tool in there.
It will always be a time consuming job but as you will only ever do it once its worth spending the extra time to do it right. Hope this helps
It will always be a time consuming job but as you will only ever do it once its worth spending the extra time to do it right. Hope this helps
07-10-2006, 08:08 PM
#30
Too many posts.. I need a life!!
Thread Starter
Join Date: Jul 2006
Location: Norfolk
Posts: 581
Likes: 0
Received 0 Likes
on
0 Posts
Been working on my car today so i thought i would show you all what i managed to do
Iv fitted fuel tank, fitted fuel filler neck, fitted all the rear suspension minus brakes and waxoiled the sunroof. My favorite part putting it all back together

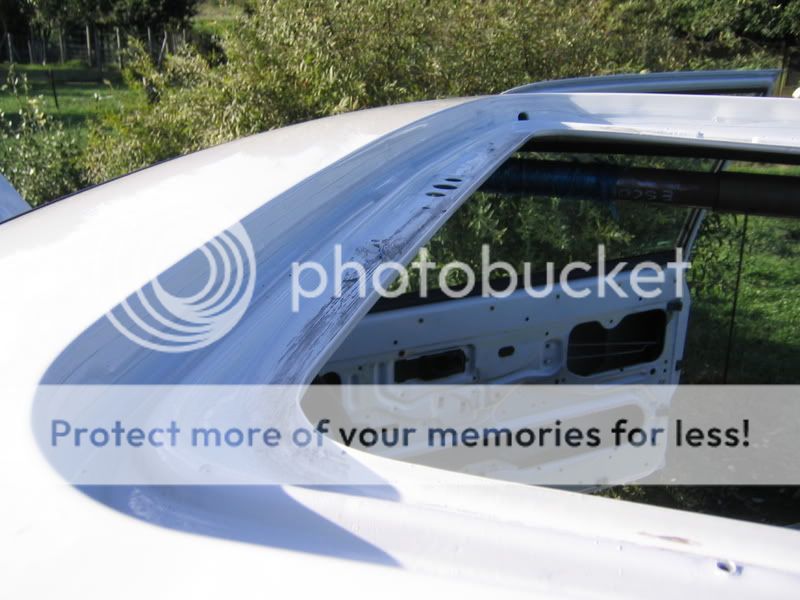


Iv fitted fuel tank, fitted fuel filler neck, fitted all the rear suspension minus brakes and waxoiled the sunroof. My favorite part putting it all back together

 12-10-2006, 05:35 PM
#35
Too many posts.. I need a life!!
Thread Starter
Join Date: Jul 2006
Location: Norfolk
Posts: 581
Likes: 0
Received 0 Likes
on
0 Posts
Cheers people Got a coulple of small bits today. Got the right handbrake cable iv been after and also got some new injector retainers as for some reason the one that are on there at the moment are all chewed up
I also got some front and rear cosworth style bumpers yesterday but i am not shure if im gonna use them yet until i fit them to the car and see how they look. I dont think im gonna like em but as iv got them ill try them.
and also got some new injector retainers as for some reason the one that are on there at the moment are all chewed up I also got some front and rear cosworth style bumpers yesterday but i am not shure if im gonna use them yet until i fit them to the car and see how they look. I dont think im gonna like em but as iv got them ill try them.
15-10-2006, 07:33 PM
#36
Too many posts.. I need a life!!
Thread Starter
Join Date: Jul 2006
Location: Norfolk
Posts: 581
Likes: 0
Received 0 Likes
on
0 Posts
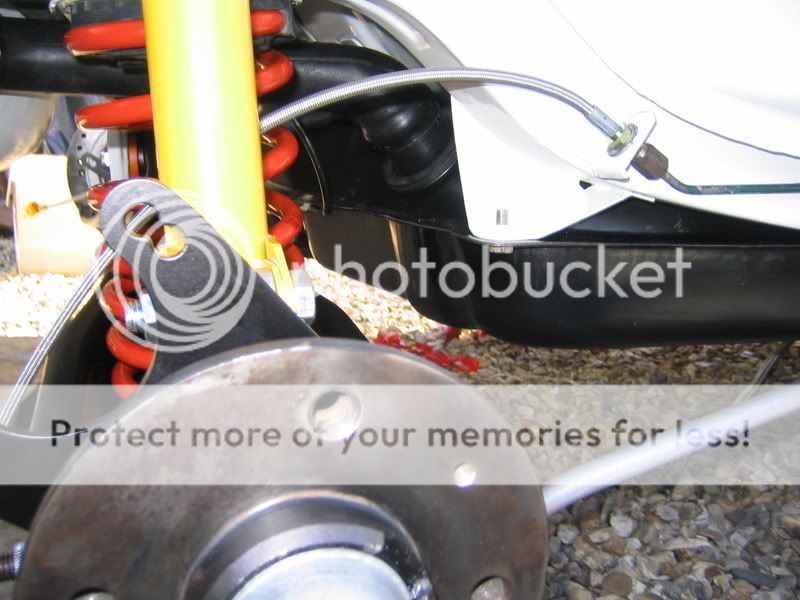
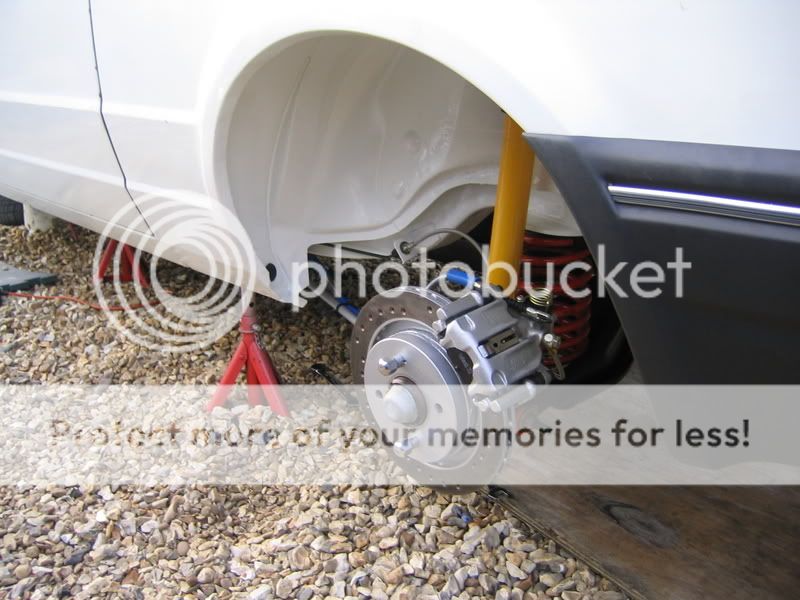
Today i managed to fit rear calipers, hanbrake cable, braided fuel lines and a few other litle bits. I also put the cosworth front bumper and s1 sideskirts up on the car with tape to get a feel for what it would look like. Iv been looking at it for a while but not shure which way to go?
Do i either
put the cossy front and rear bumpers on with the s1 sideskirts?
Use rsturbo 90 spec bumpers with the s1 sideskirts?
Or use the original 1.3 bonus ones as a sleeper?
I realy dont know which way to go. What do ya think?
Rear calipers installed
Front shocks installed
Do i either
put the cossy front and rear bumpers on with the s1 sideskirts?
Use rsturbo 90 spec bumpers with the s1 sideskirts?
Or use the original 1.3 bonus ones as a sleeper?
I realy dont know which way to go. What do ya think?
Rear calipers installed
Front shocks installed


