Born again Cabby ..... Now out of storage !!!
 12-05-2006, 11:56 PM
#1
Regular Contributor

Thread Starter

Join Date: May 2006
Location: Bristol
Posts: 246
Likes: 0
Received 0 Likes
on
0 Posts
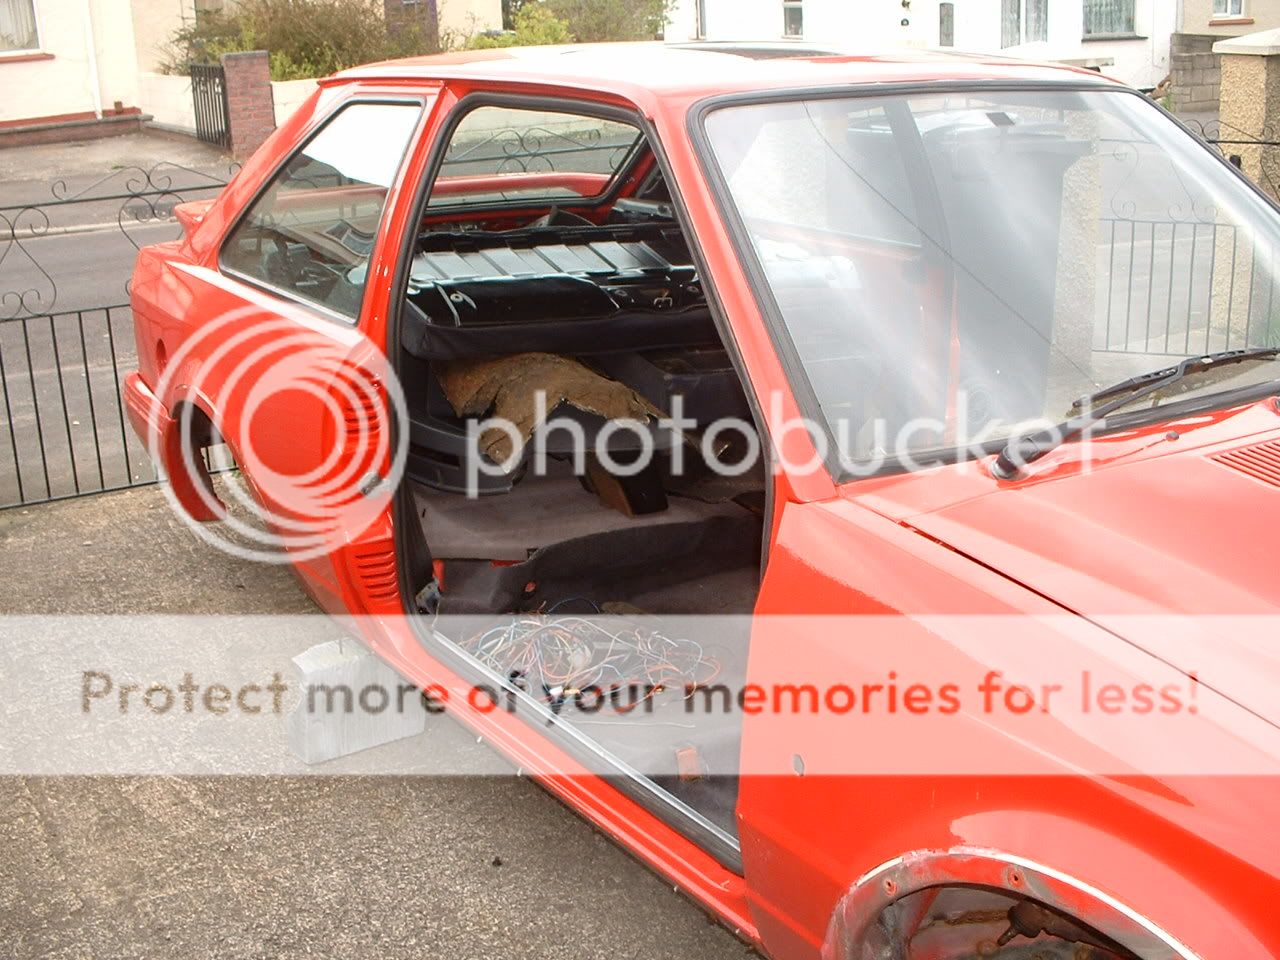
Here is the donor car - rotted ...... not worth repairing .....
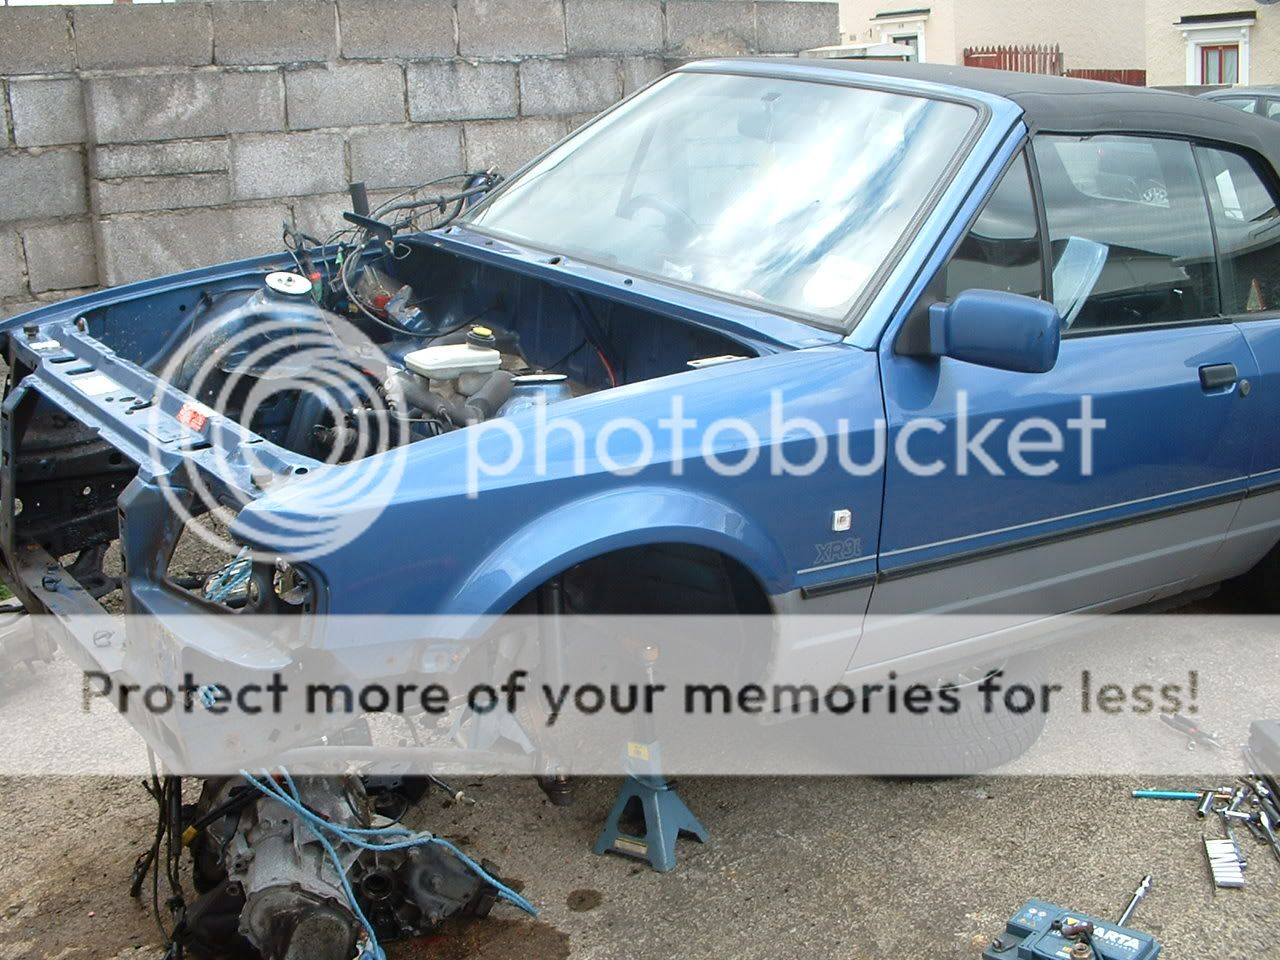
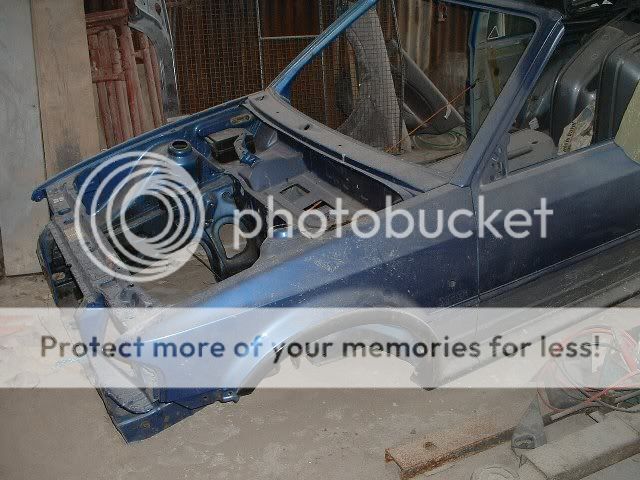
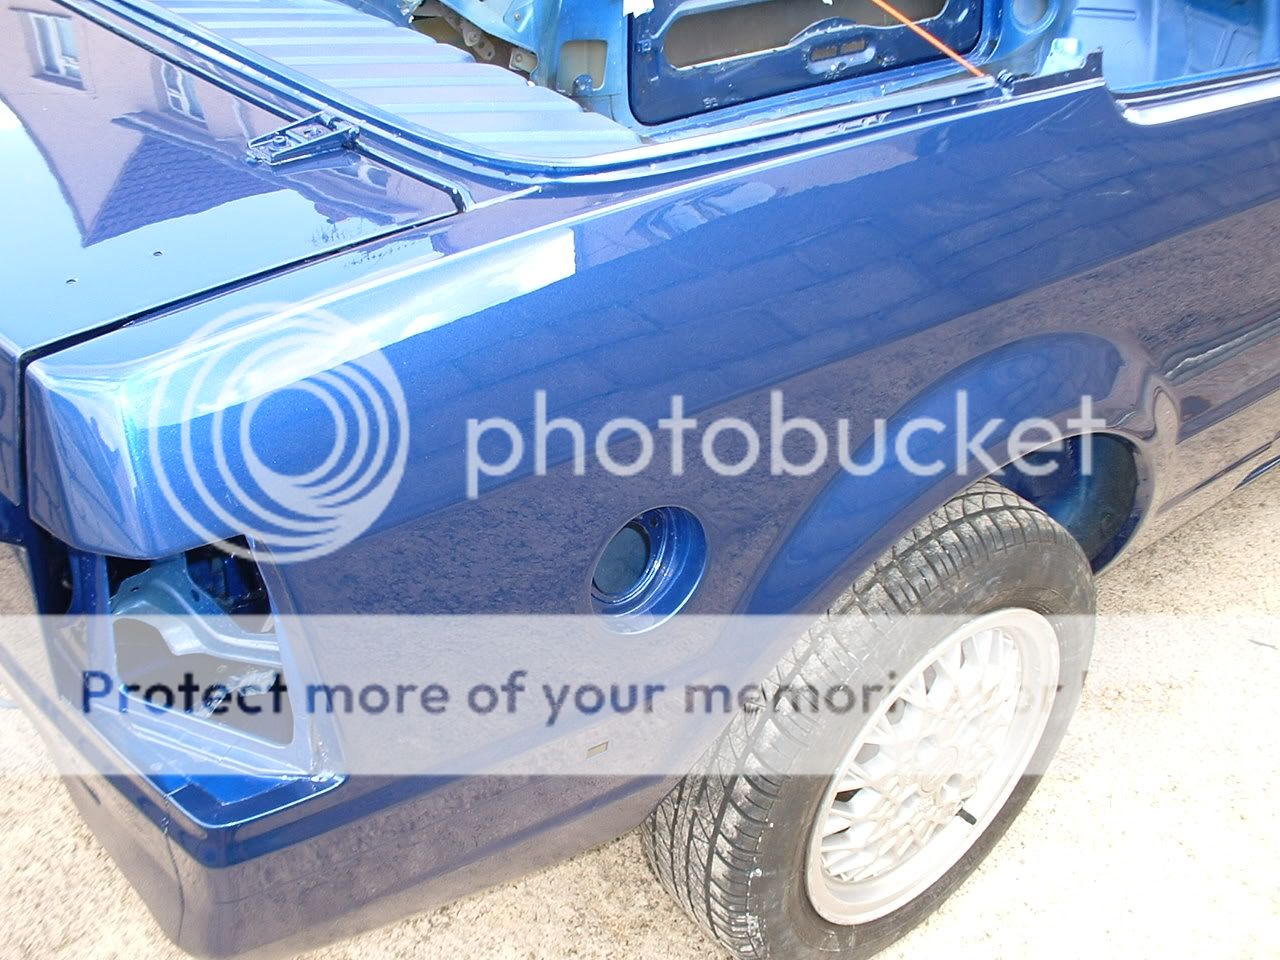
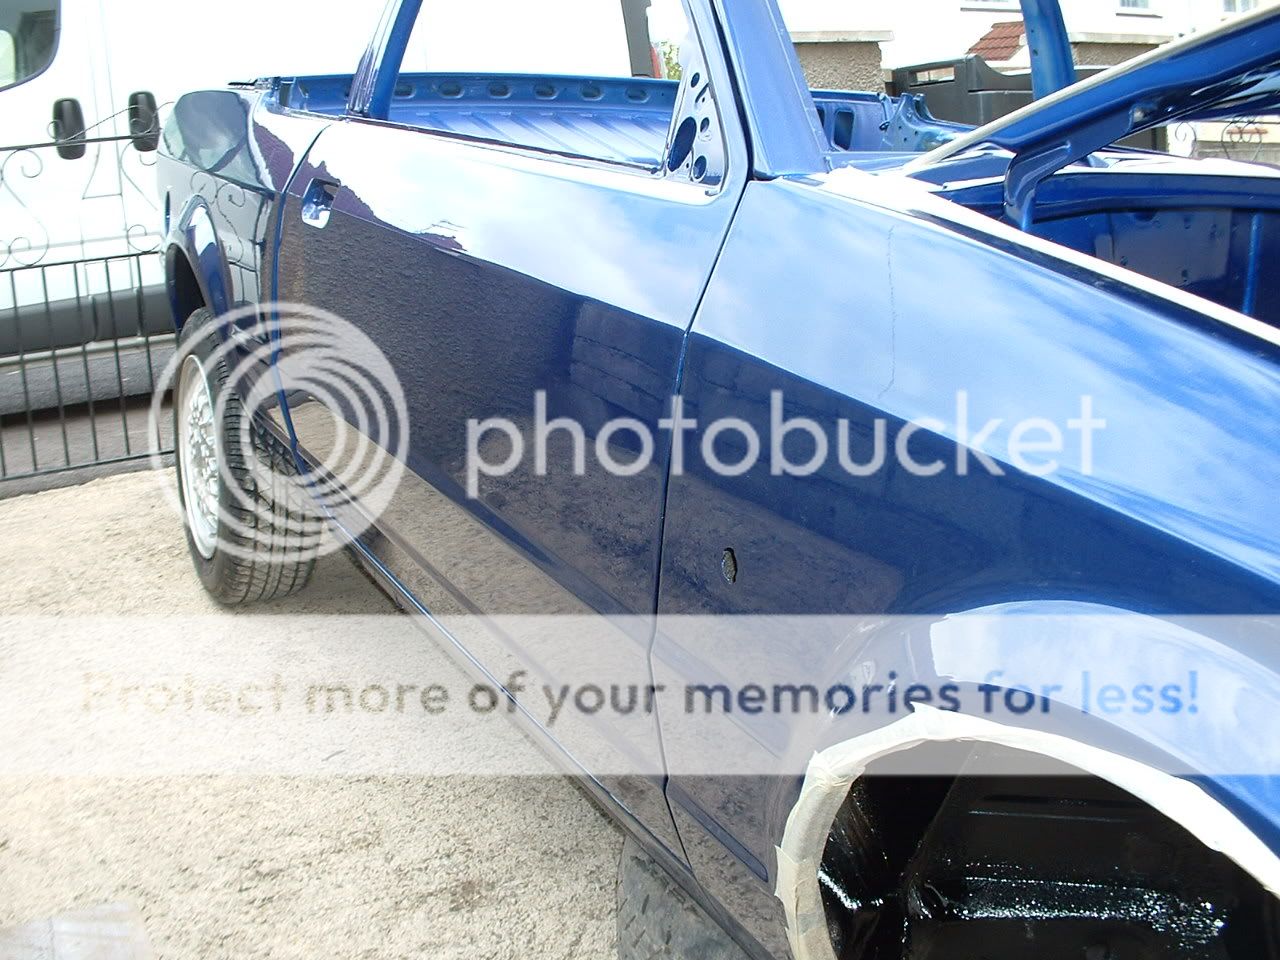
100 % BETTER Shell ...... as most of the cabby shell's were ......
Engine ready for TOTAL Strip ....
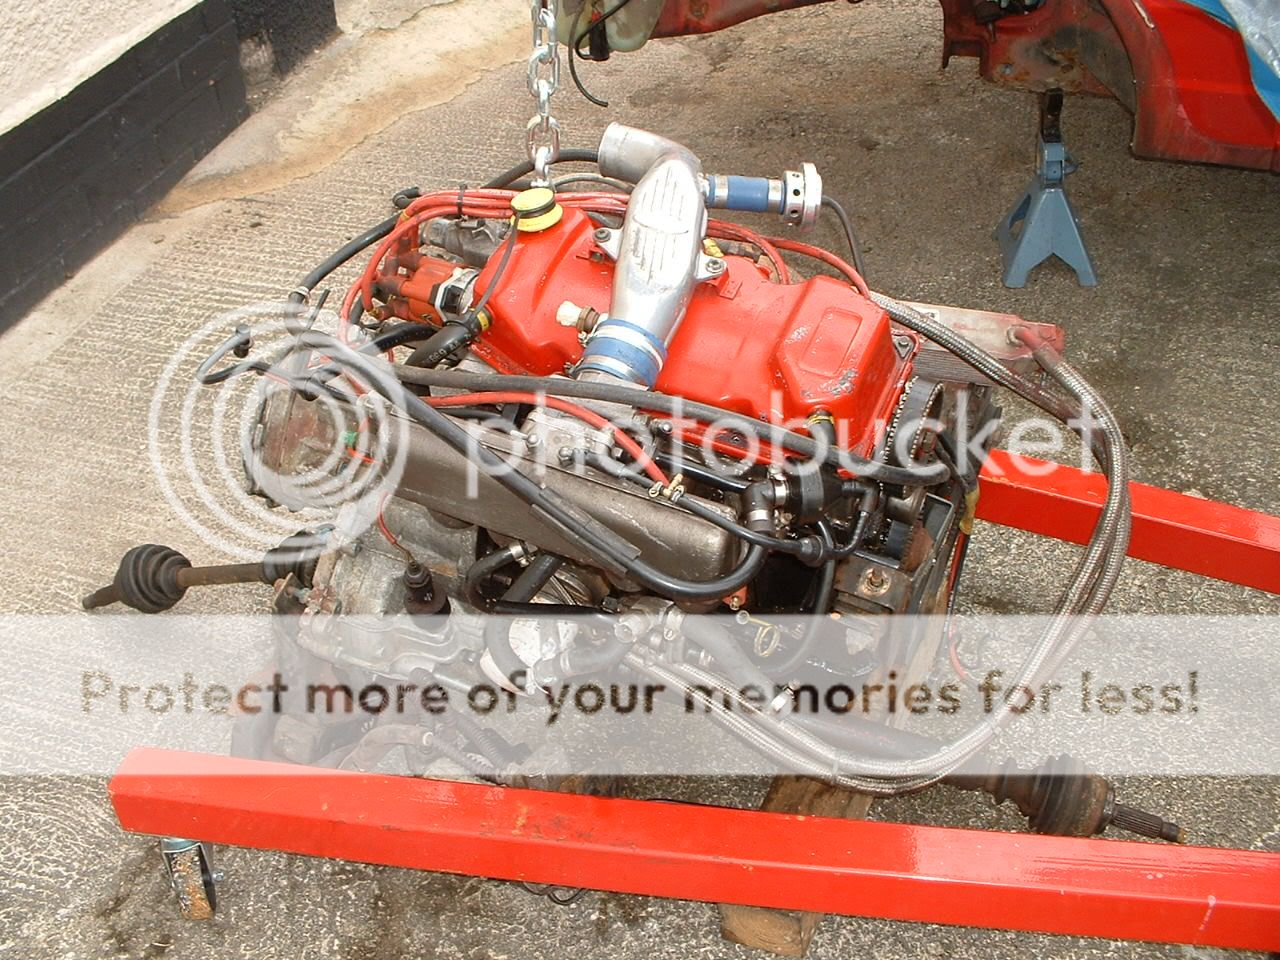
Engine from turbo before a little tidy-up .....
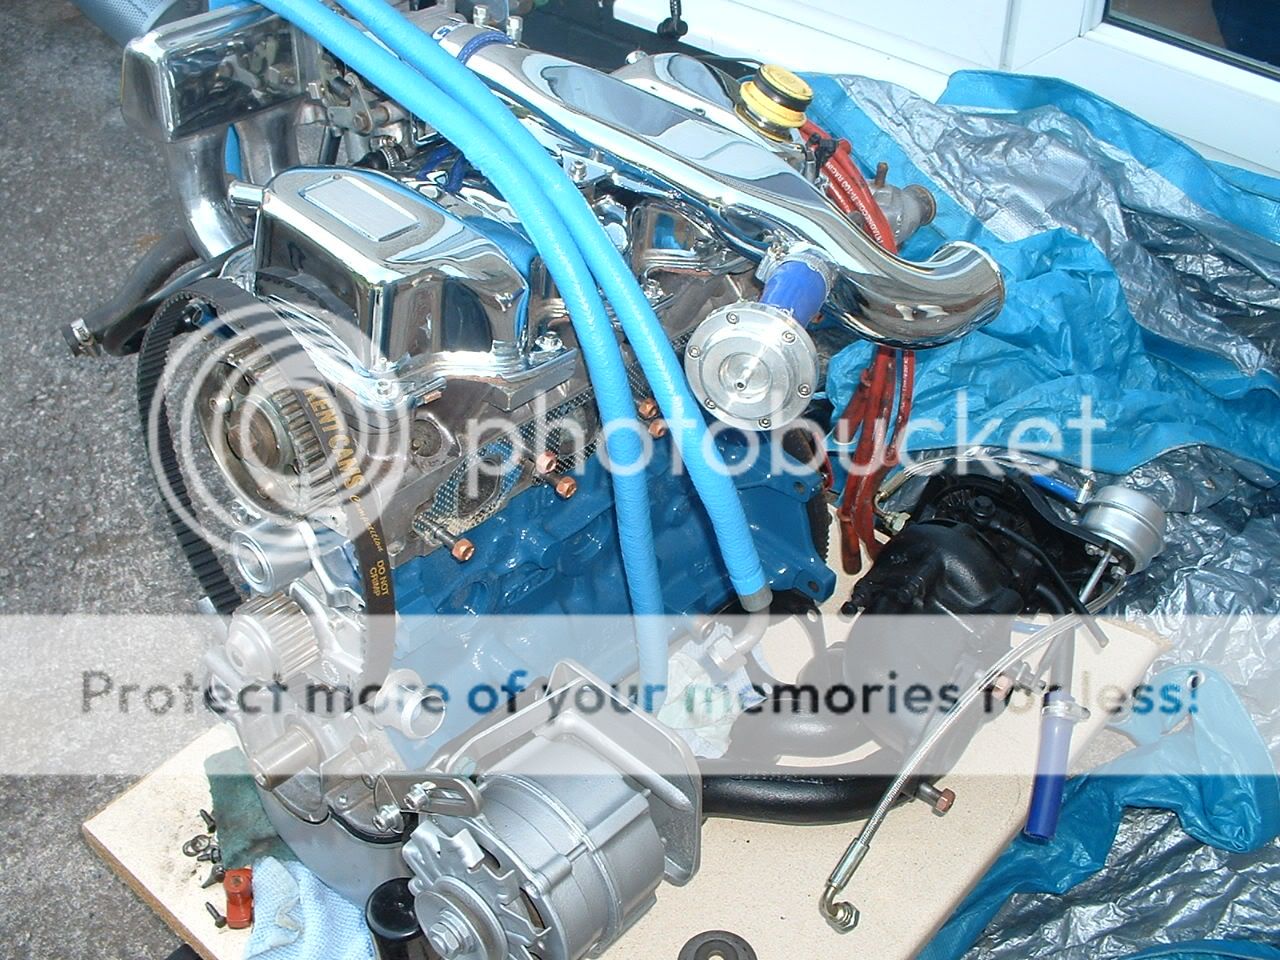
Engine after a lick of paint & some changes ....
Gearbox ....

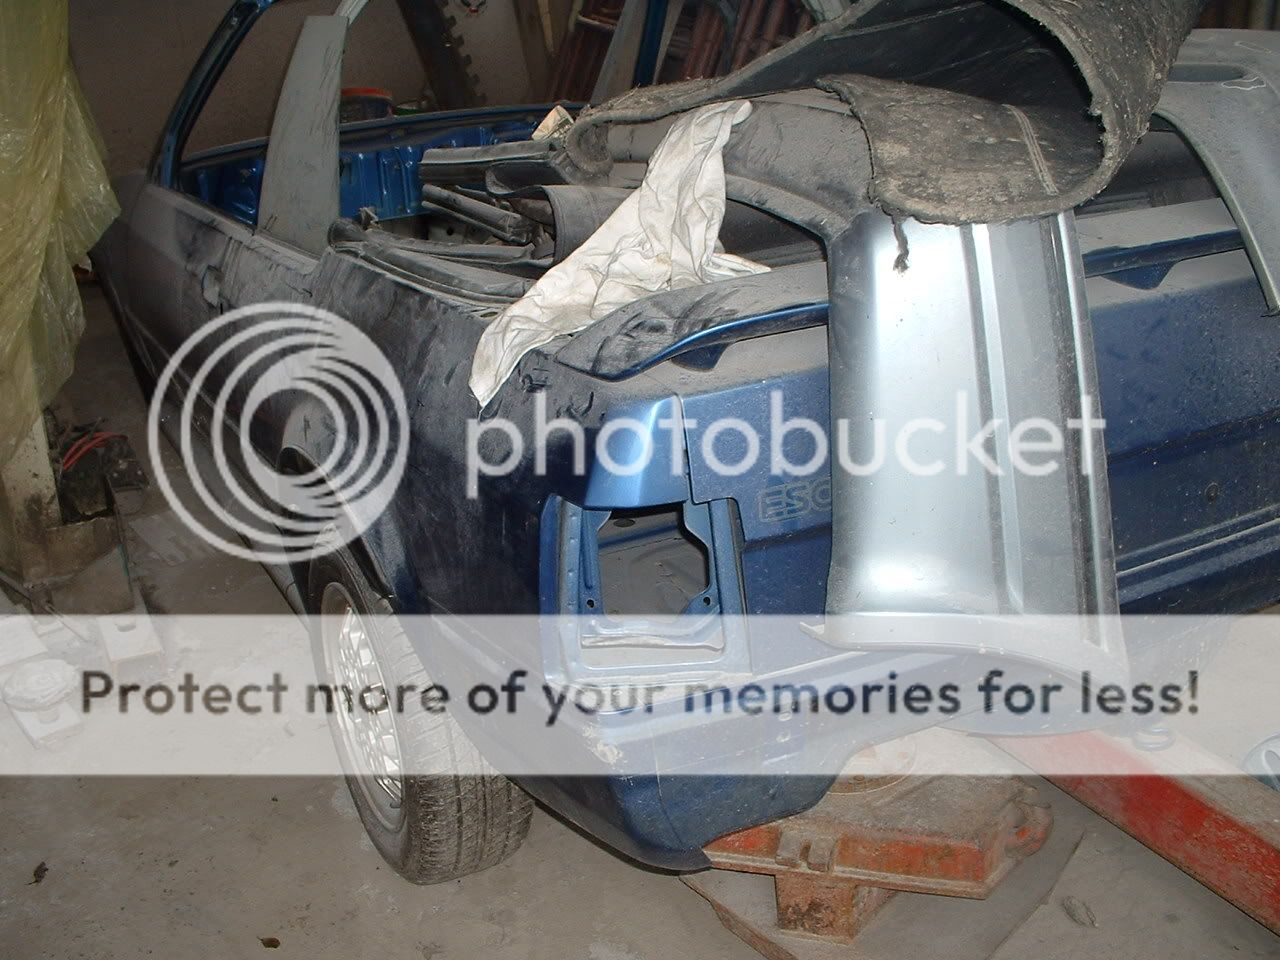
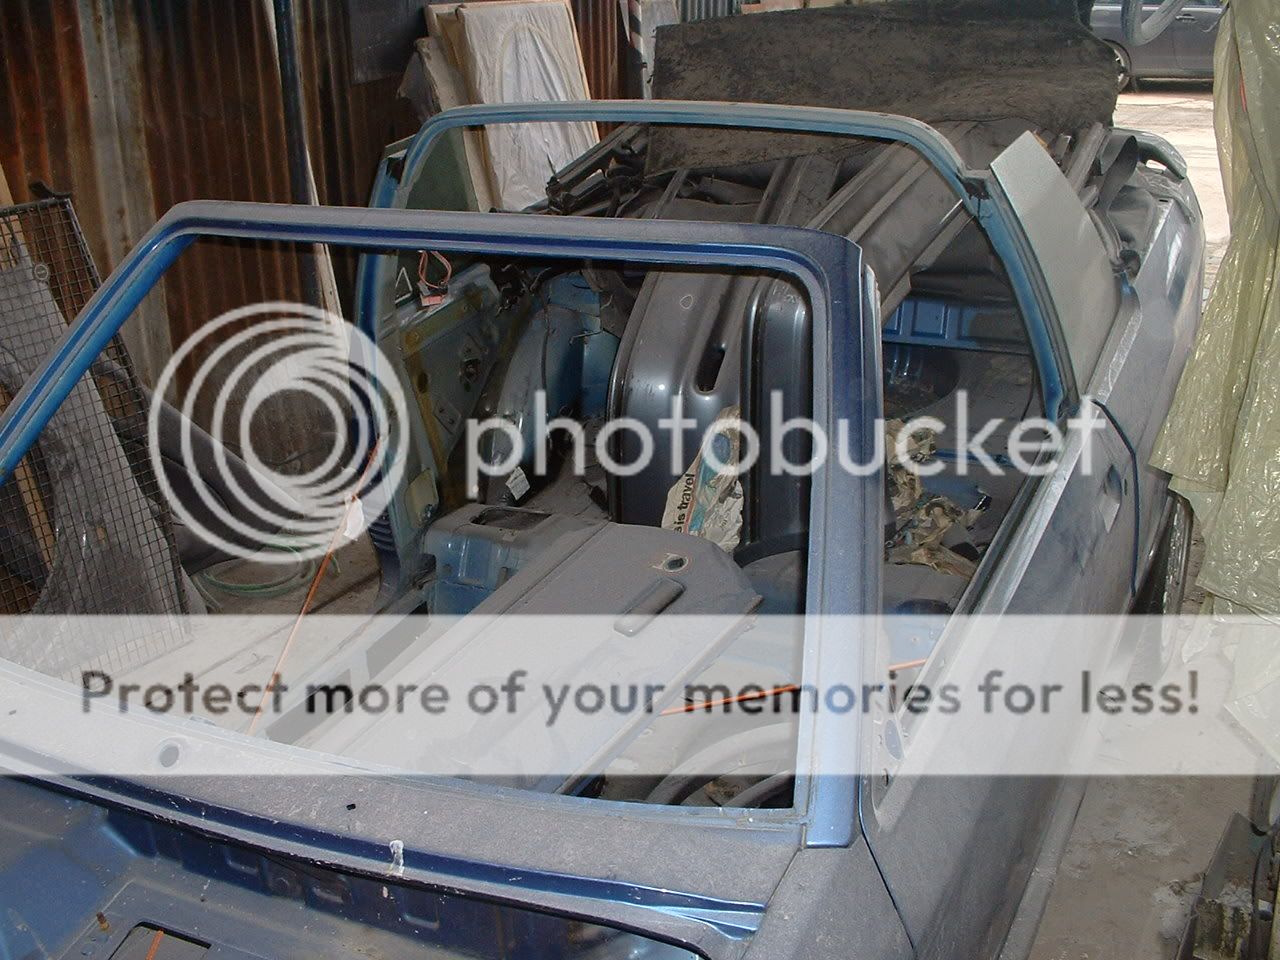
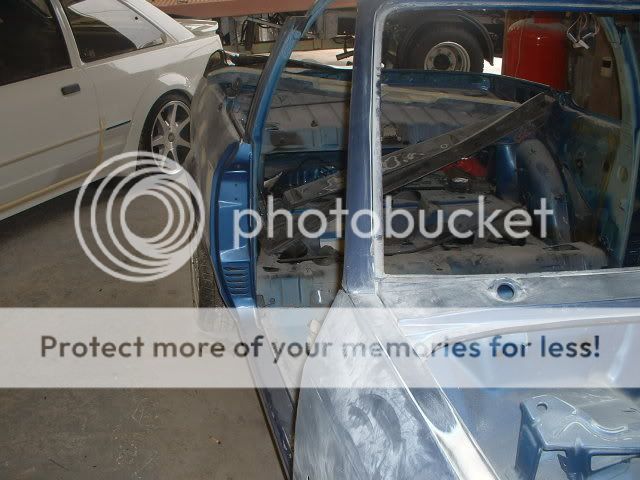
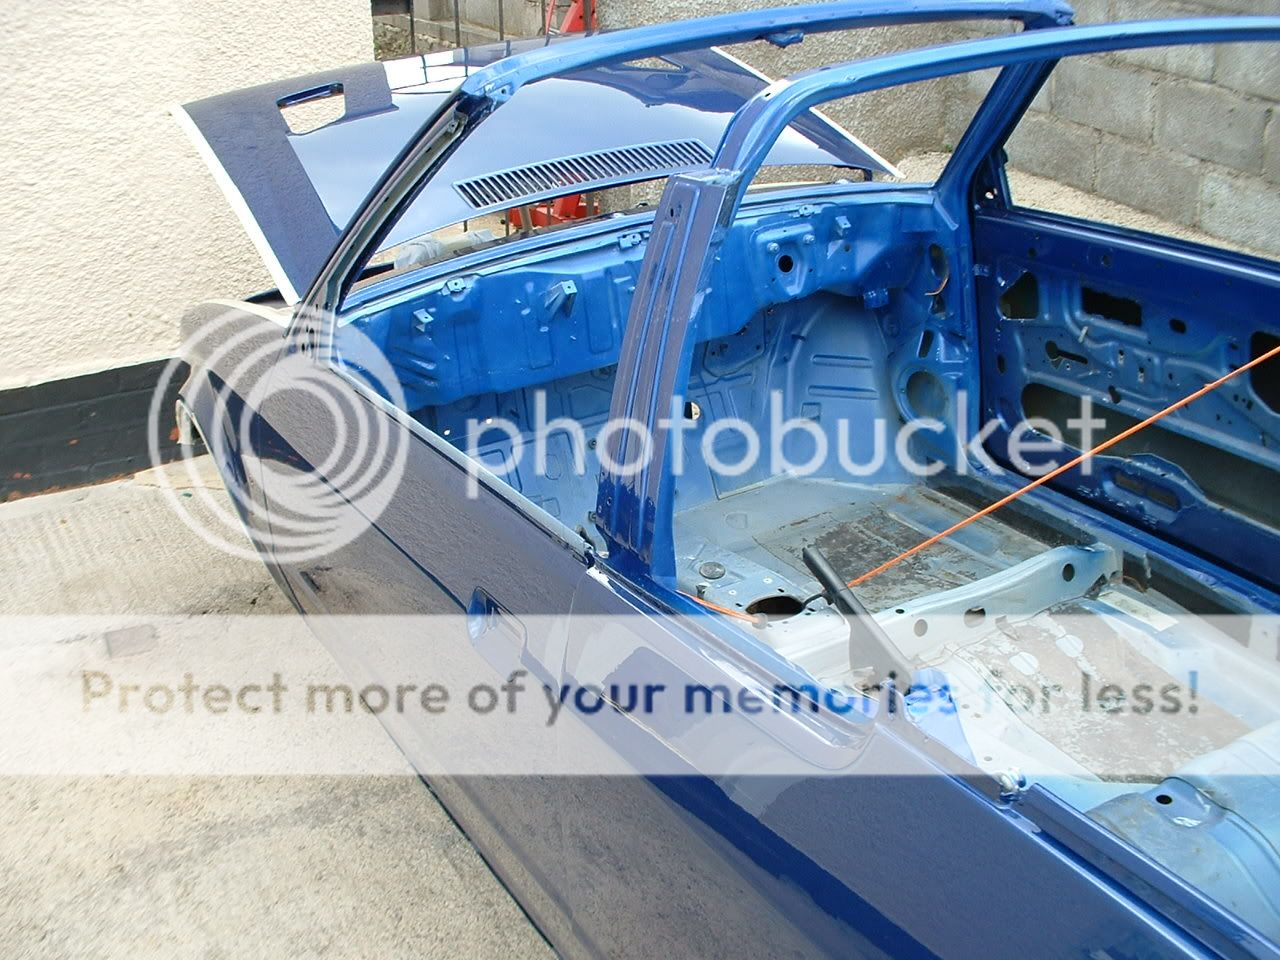
Cabby shell stripped .......
Shell havin had new battery tray - as they all need one eventually !!
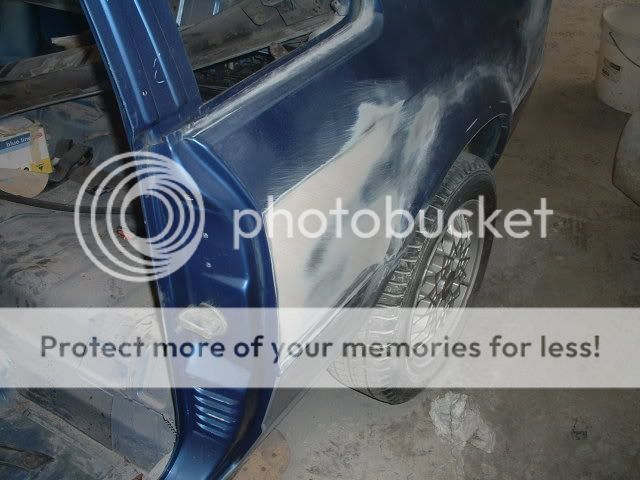
Some dents repaired .....

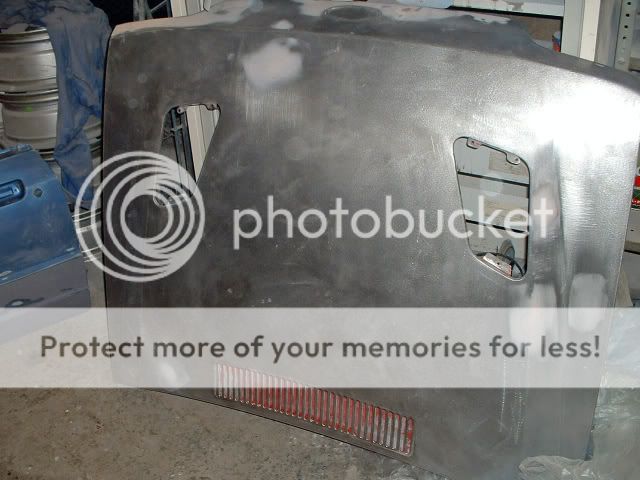
Bonnet stripped .....
Quick shot of series 1 just been restored in back ground
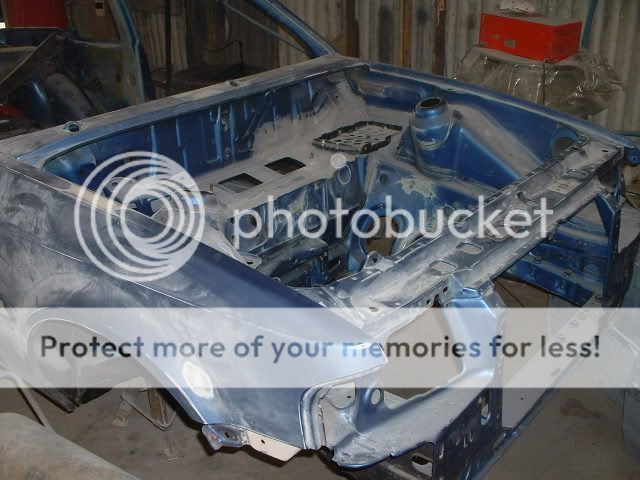
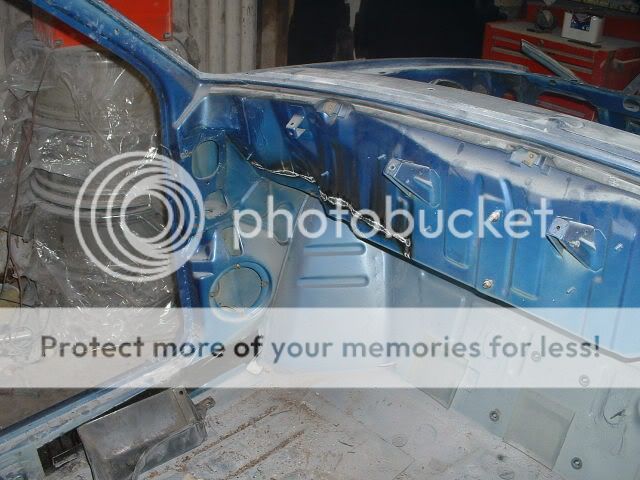
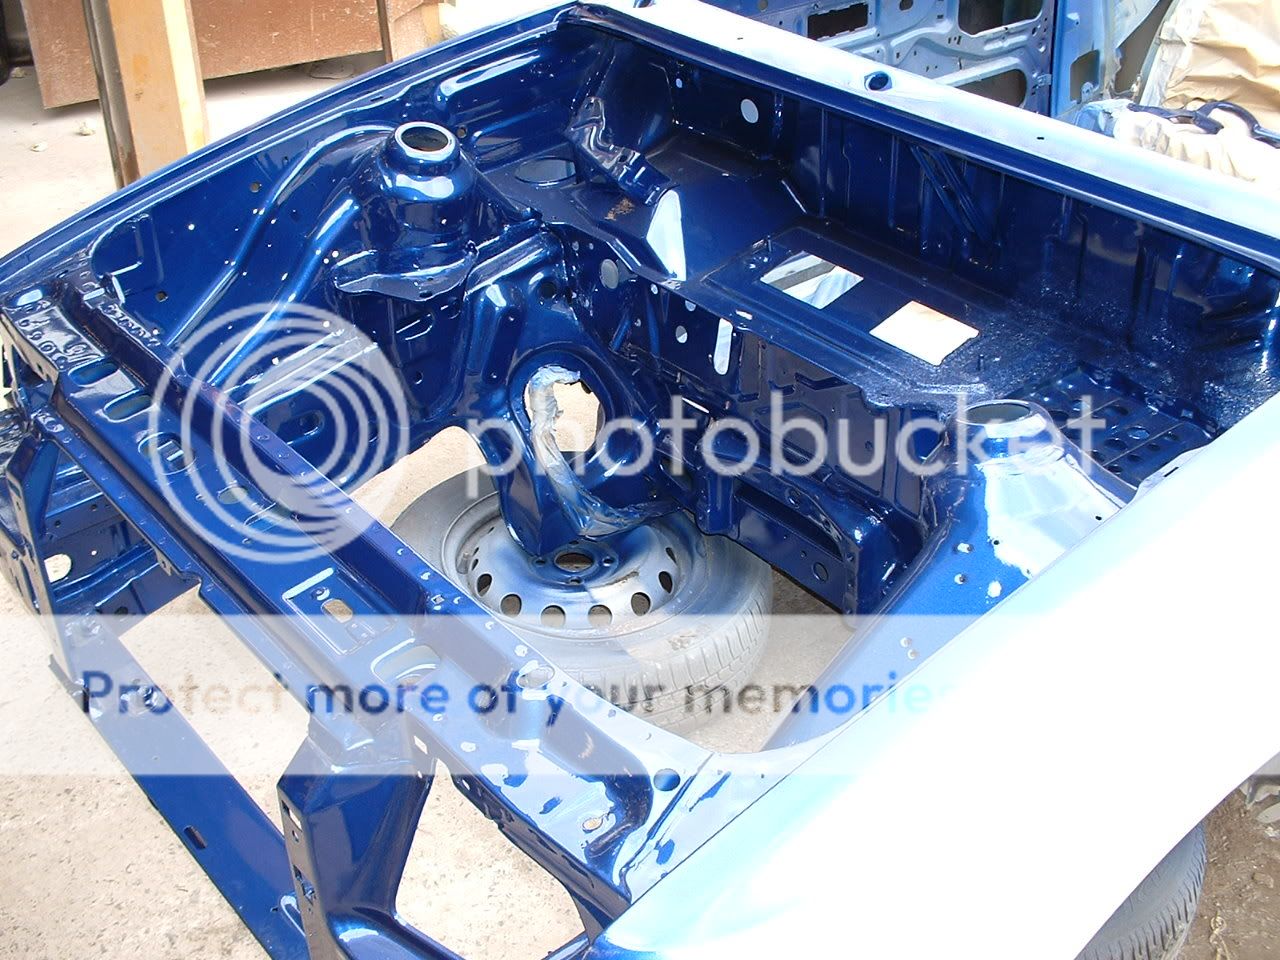
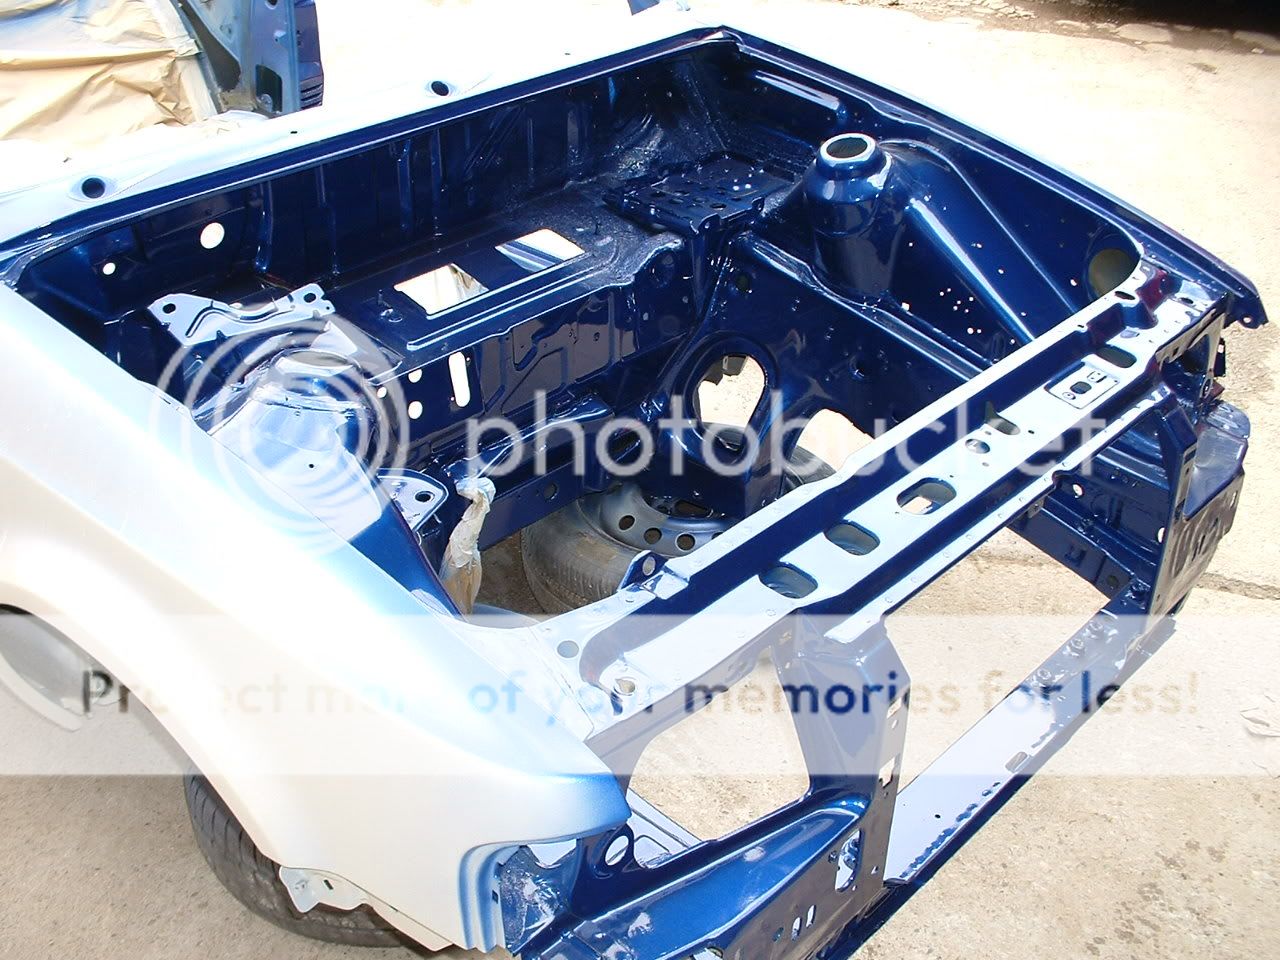
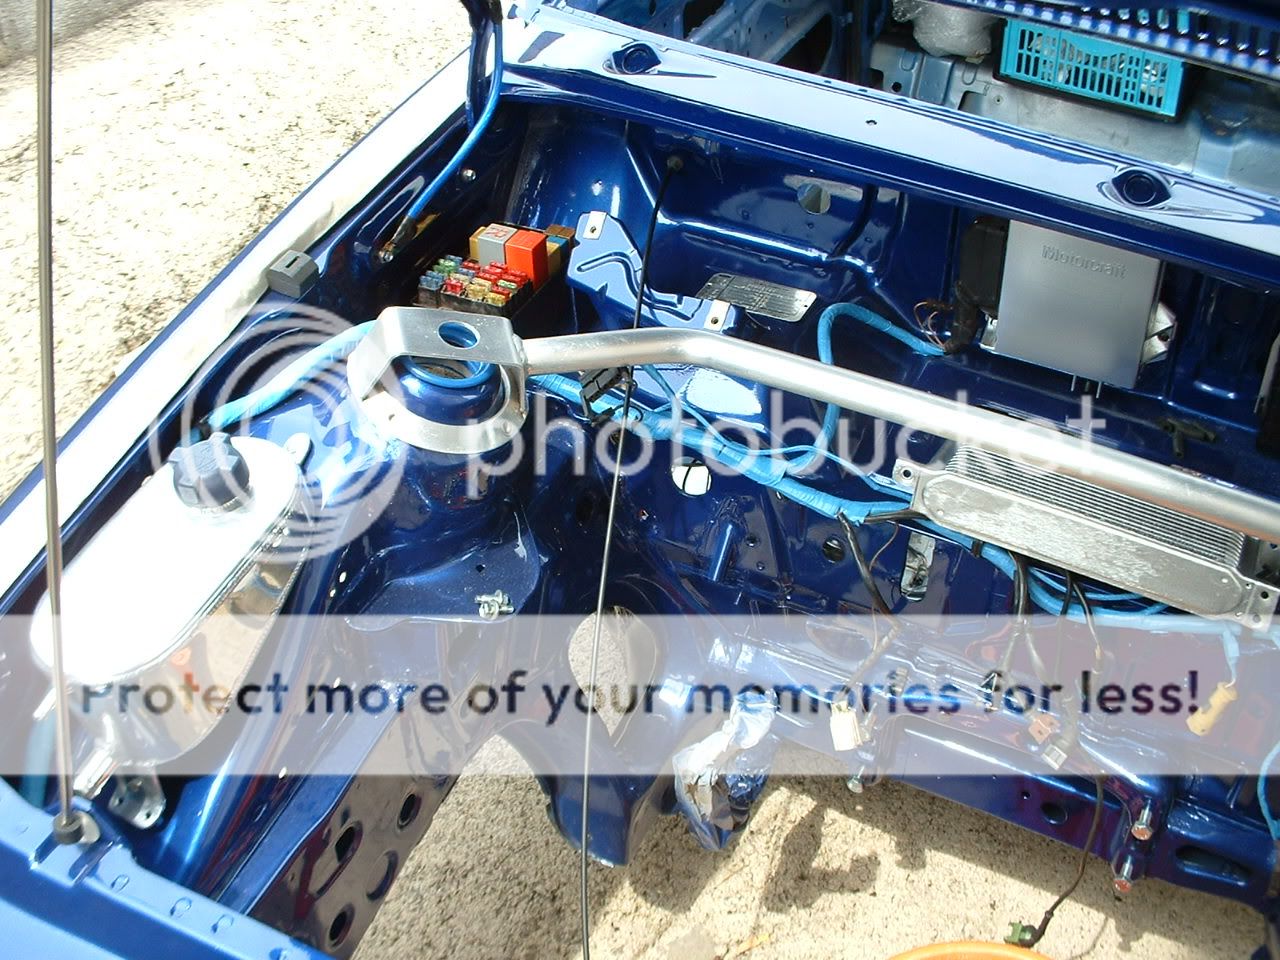
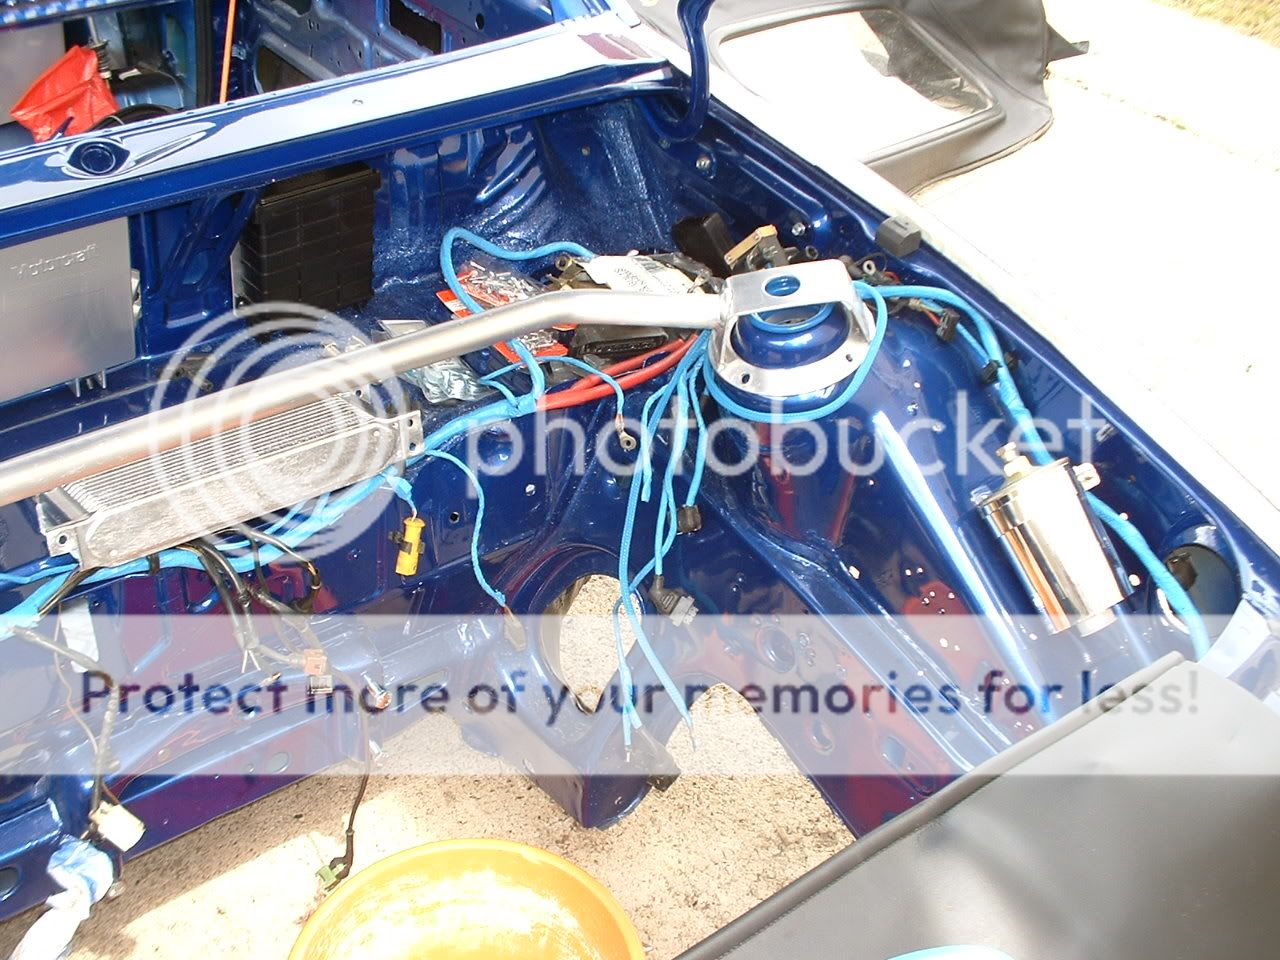
Paint applied & engine bay seam welded .....
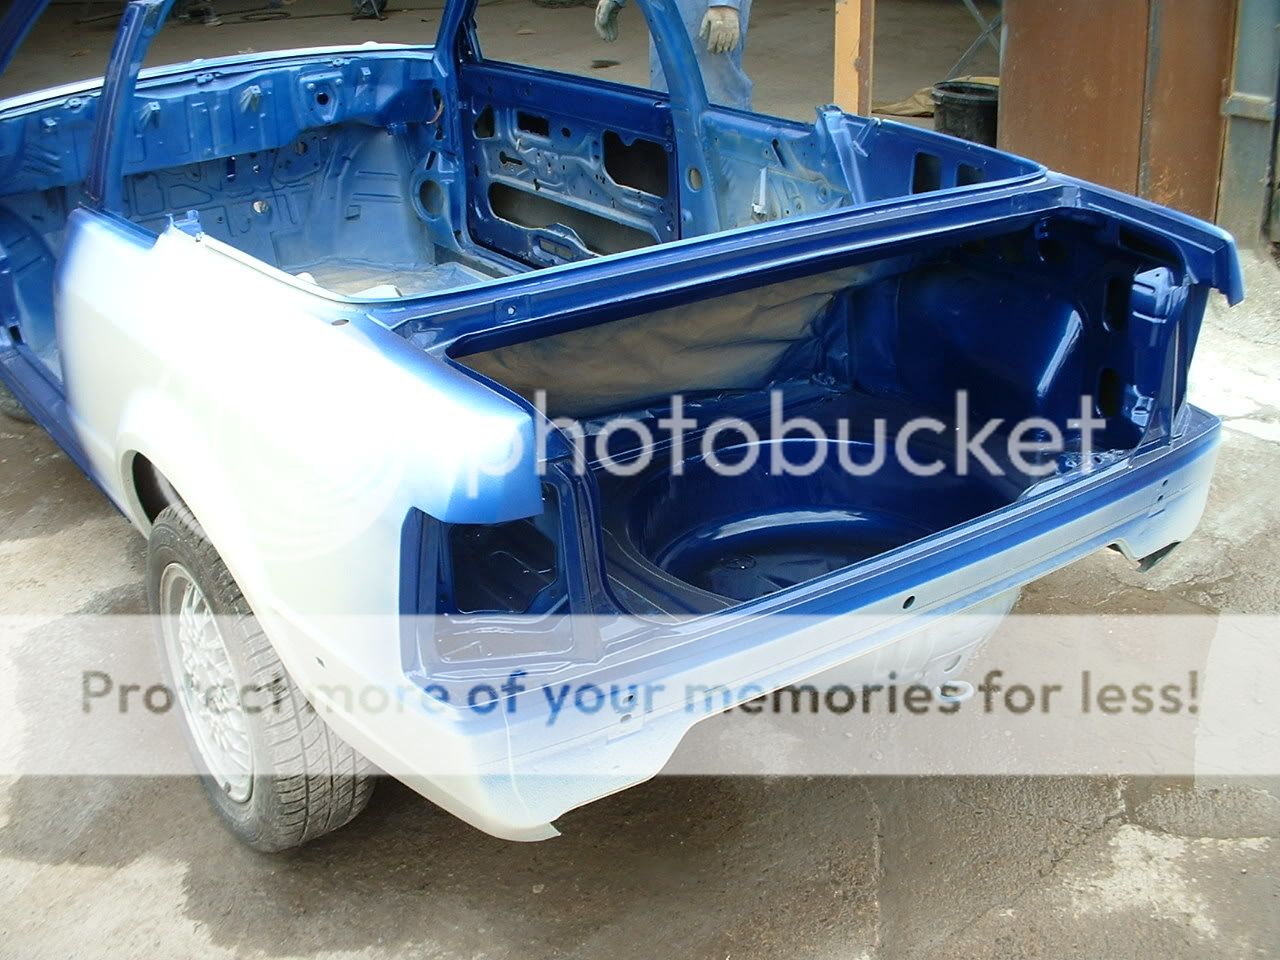
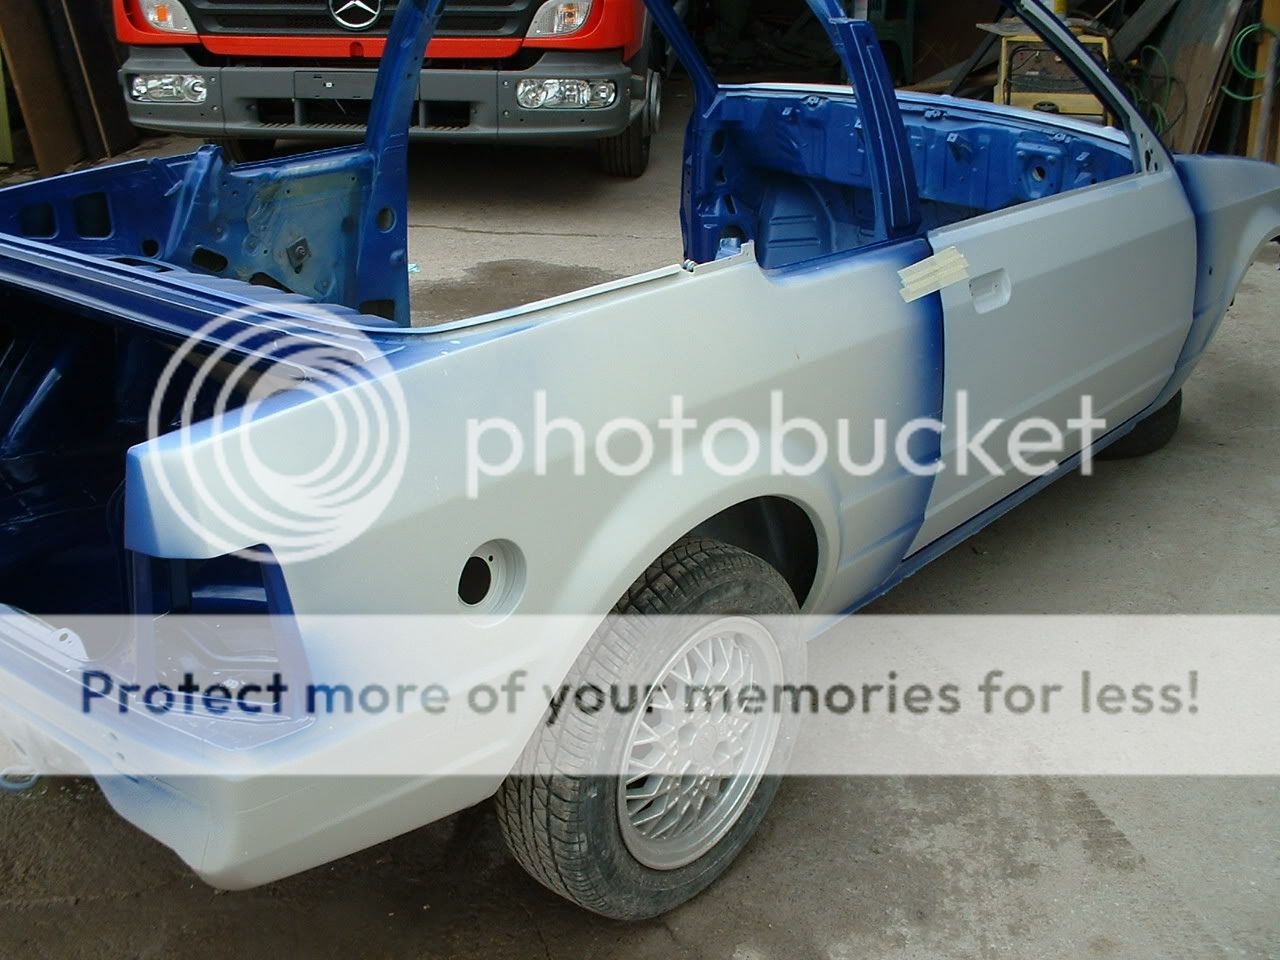
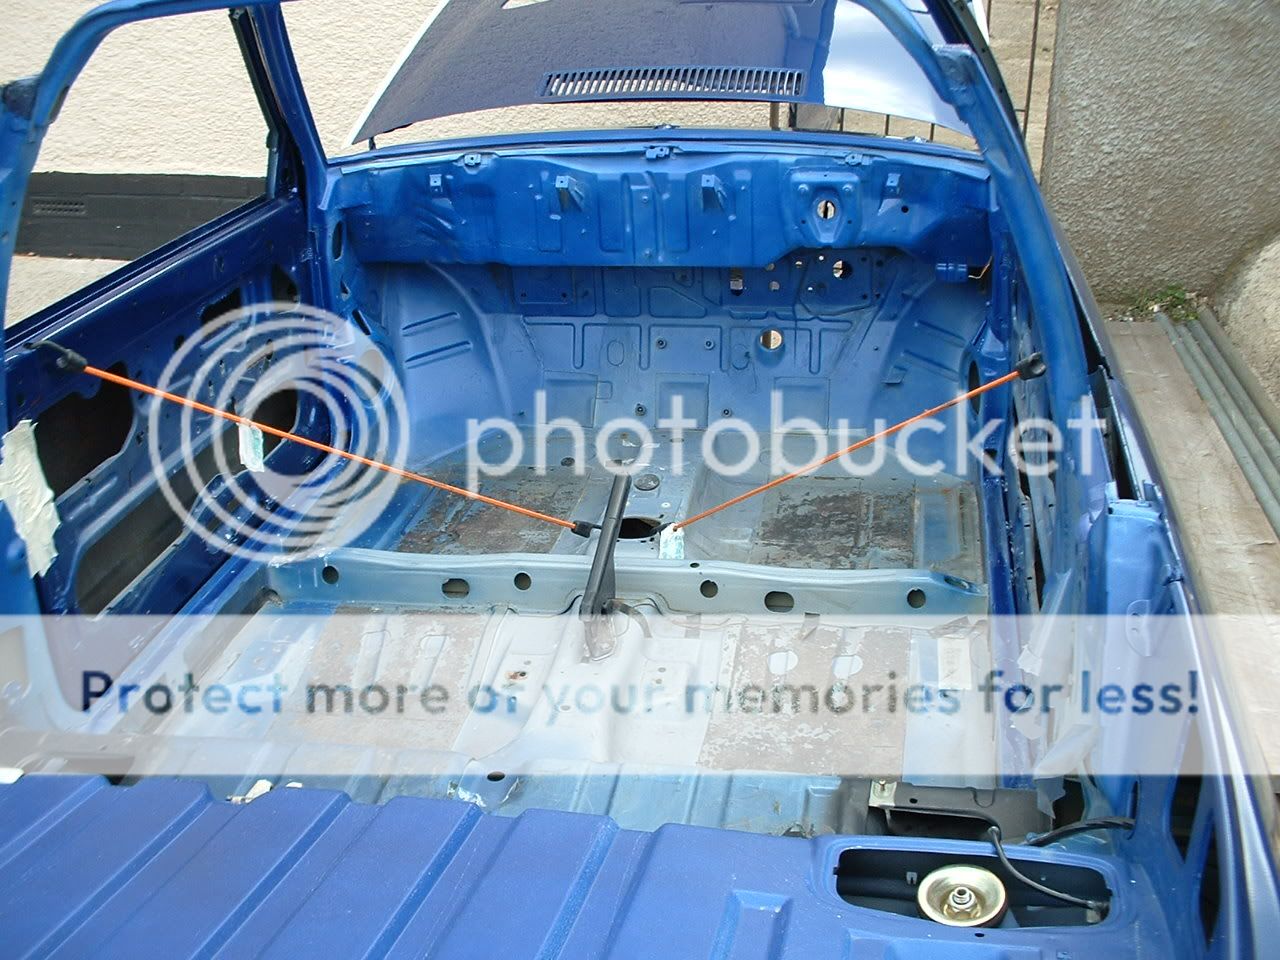
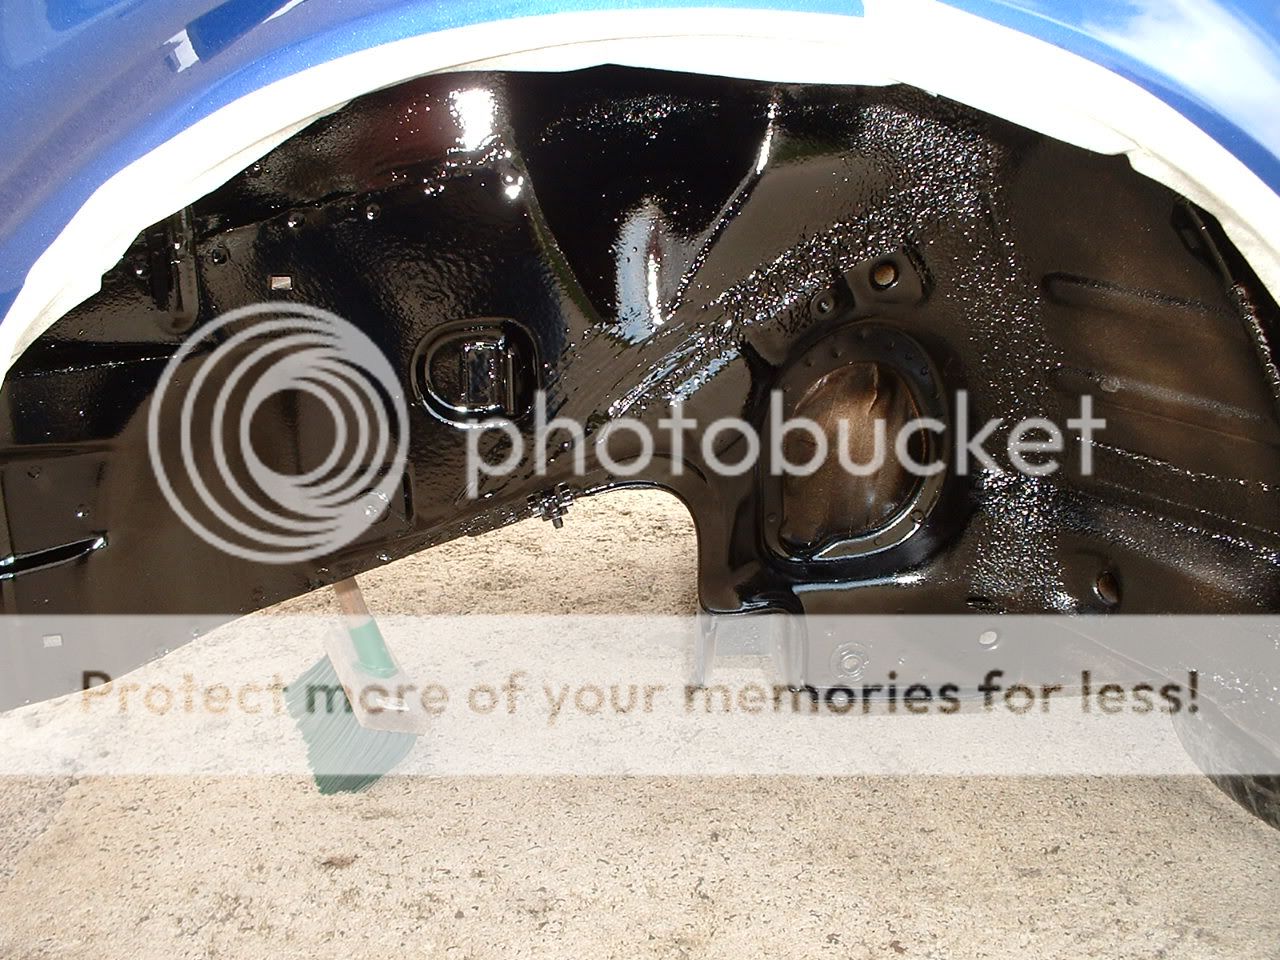
Gettin started on the underside ......
More pics to follow as have started putting back together ....

100 % BETTER Shell ...... as most of the cabby shell's were ......
Engine ready for TOTAL Strip ....
Engine from turbo before a little tidy-up .....
Engine after a lick of paint & some changes ....
Gearbox ....
Cabby shell stripped .......
Shell havin had new battery tray - as they all need one eventually !!
Some dents repaired .....
Bonnet stripped .....
Quick shot of series 1 just been restored in back ground
Paint applied & engine bay seam welded .....
Gettin started on the underside ......
More pics to follow as have started putting back together ....


Trending Topics


 14-05-2006, 01:52 PM
#20
Part of the Furniture

Join Date: Jan 2005
Location: Camberley Surrey
Posts: 198
Likes: 0
Received 0 Likes
on
0 Posts
How did you go abouth the wiring as my brother inlaw is doing a turbo cab and were a little stuck there
Also does the engine bay need to be seam welded, some little scrote told me it had to but i dismissed it now seeing yours im not sure
CheeRS
Also does the engine bay need to be seam welded, some little scrote told me it had to but i dismissed it now seeing yours im not sure
CheeRS
14-05-2006, 02:43 PM
#21
Regular Contributor
Thread Starter
Join Date: May 2006
Location: Bristol
Posts: 246
Likes: 0
Received 0 Likes
on
0 Posts
MikeeB
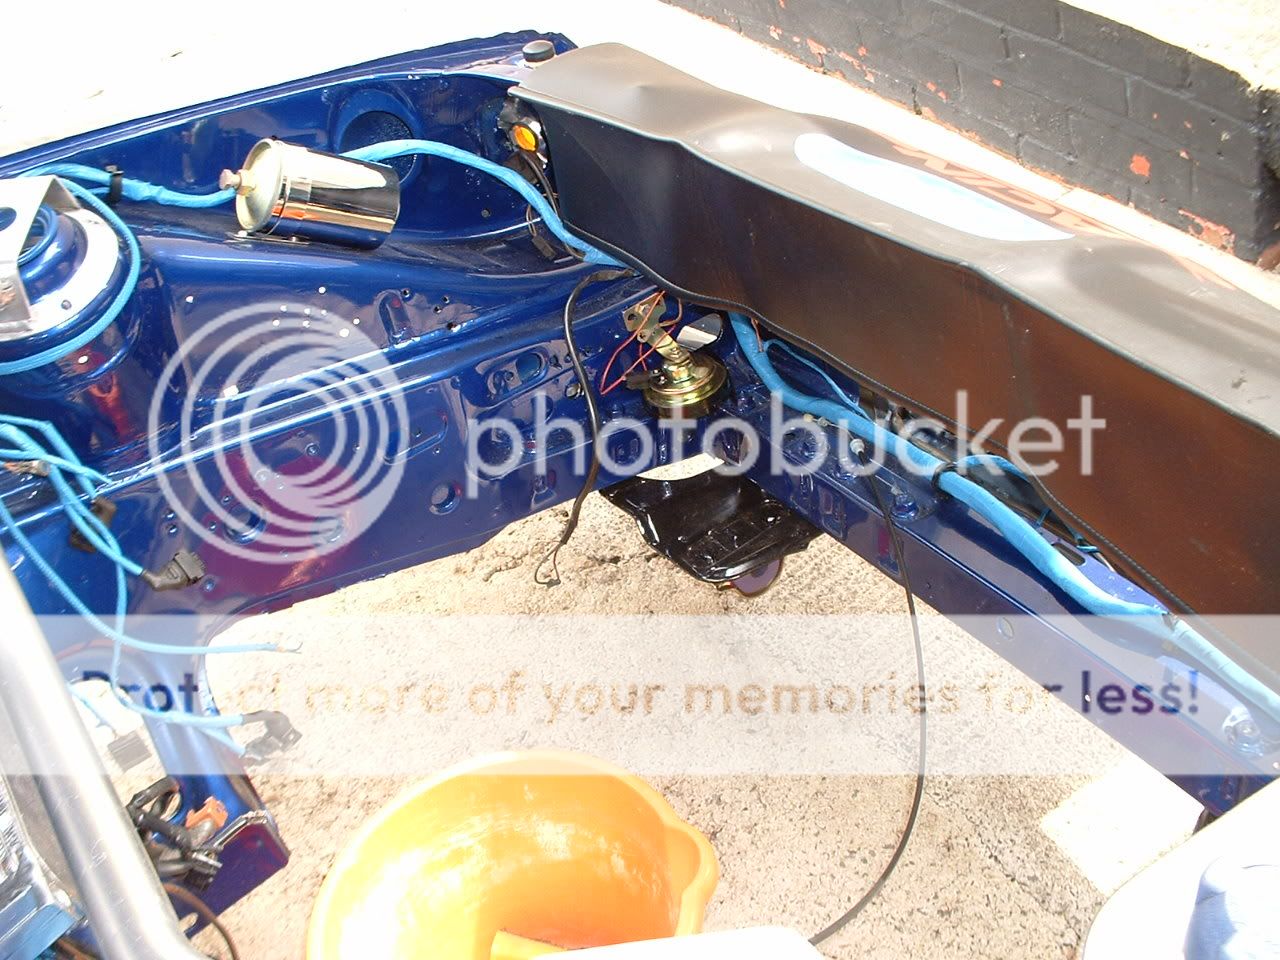
The wiring is straight forward - runs down the driver's side - just cut it where the fuel wiring separates under the side of the backseat base - keep the cabby loom back half & mate it up to the turbo loom - just remember to cut the turbo loom further so you have plenty to play with & you can then tuck it down in the back wing (below rear wind down window).
As for seam welding i had it done as the shell was being resprayed at the time - Basically depends on how much bhp you intend to put through the shell - anything over 250 bhp then i would advise to have it done - I have seen one rip the inner legs away from the bulkhead - the other common problem with any high powered engine is that it cracks along the scuttle panel at either end.
Hope this helps ....
14-05-2006, 02:48 PM
#22
Part of the Furniture
Join Date: Jan 2005
Location: Camberley Surrey
Posts: 198
Likes: 0
Received 0 Likes
on
0 Posts
Thanks mate thats a big help we have looked at several ways of doing the wiring and a few people have mentioned using more or less the whole turbo loom some say just splice in what you need under the bonnet but the way youve explained seems the way forward for us
Hes only going to be running 190bhp max so the engine bays not a worry yet,if you dont mind me asking how did the seam welding cost or did you do it yourself if so roughly what does it entail as ive never seen it done
CheeRS
Hes only going to be running 190bhp max so the engine bays not a worry yet,if you dont mind me asking how did the seam welding cost or did you do it yourself if so roughly what does it entail as ive never seen it done
CheeRS
 14-05-2006, 03:05 PM
#24
Regular Contributor
Thread Starter
Join Date: May 2006
Location: Bristol
Posts: 246
Likes: 0
Received 0 Likes
on
0 Posts
Basically i had a mate do it - cost �100 but i think it was worth it.
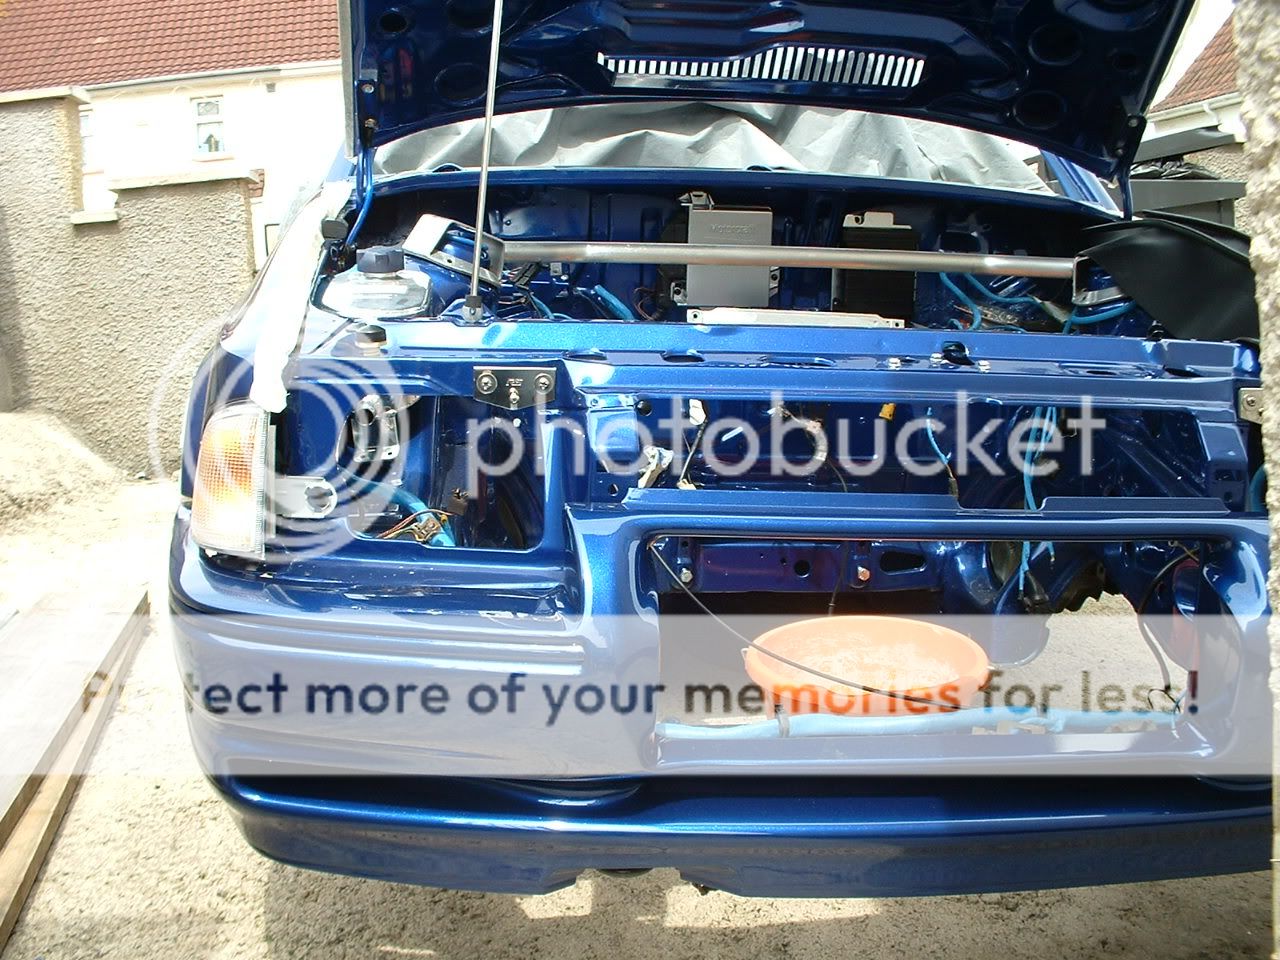
He stripped off all the seam sealer from all the joins in the engine bay then welded up all the joins were panels are spot welded together the re-sealed with seam sealer - look closely at the top strut (above picture) & you can see the difference.
He stripped off all the seam sealer from all the joins in the engine bay then welded up all the joins were panels are spot welded together the re-sealed with seam sealer - look closely at the top strut (above picture) & you can see the difference.

 14-05-2006, 05:29 PM
#29
Regular Contributor
Thread Starter
Join Date: May 2006
Location: Bristol
Posts: 246
Likes: 0
Received 0 Likes
on
0 Posts
I completely stripped it out...
The body work only took a 5 days - went over to the bodyshop last november for storage until the better weather as i don't have a garage - picked it up 2 weeks ago all done ready for me to re-fit.
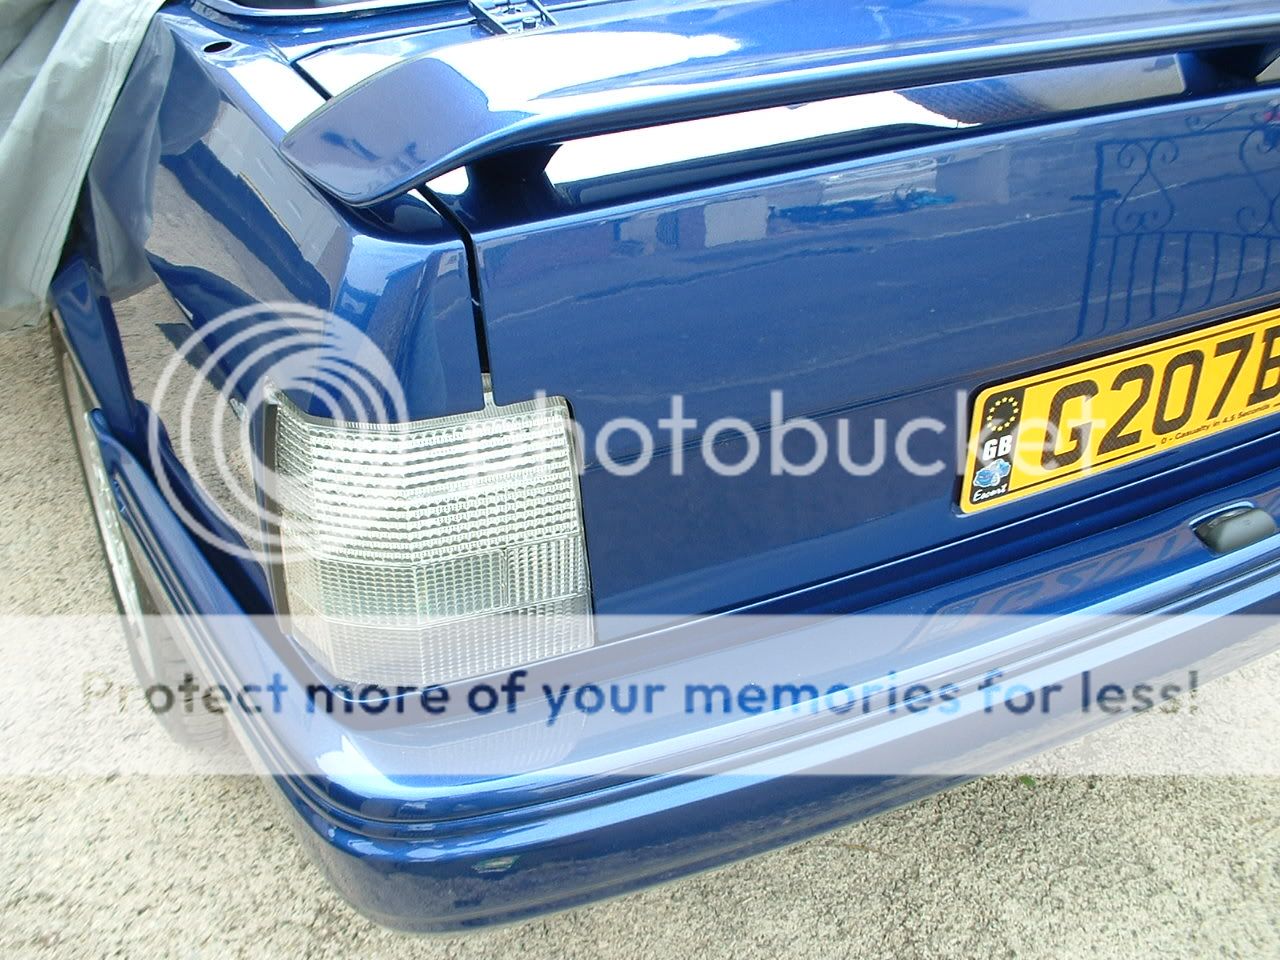
They started it on the monday - finished on the friday - picked it up on the saturday - then went back 2 days later to pick up the bumpers,spoiler,bonnet vents,mirrors.
The back lights i got from e-bay.....
yesterday i drove upto northampton to pick up a ltd edition BLUE top tint heated screen from another passion ford member & he gave me a complete series 1 front arb set-up - so have plans for that over next winter ......
The body work only took a 5 days - went over to the bodyshop last november for storage until the better weather as i don't have a garage - picked it up 2 weeks ago all done ready for me to re-fit.
They started it on the monday - finished on the friday - picked it up on the saturday - then went back 2 days later to pick up the bumpers,spoiler,bonnet vents,mirrors.
The back lights i got from e-bay.....
yesterday i drove upto northampton to pick up a ltd edition BLUE top tint heated screen from another passion ford member & he gave me a complete series 1 front arb set-up - so have plans for that over next winter ......
14-05-2006, 07:34 PM
#31
Wahay!! I've lost my Virginity!!

Join Date: Jul 2005
Location: Essex
Posts: 87
Likes: 0
Received 0 Likes
on
0 Posts
Yes matey,
Looks real good and i think the engine bay piping look good too in answer to that question. The chrome and painted stuff looks just as fresh also. I was thinking of using gold on my sierra in places and i like what ya done.
look forward to seeing it done.
Looks real good and i think the engine bay piping look good too in answer to that question. The chrome and painted stuff looks just as fresh also. I was thinking of using gold on my sierra in places and i like what ya done.
look forward to seeing it done.
 15-05-2006, 07:50 AM
#34
Regular Contributor
Thread Starter
Join Date: May 2006
Location: Bristol
Posts: 246
Likes: 0
Received 0 Likes
on
0 Posts
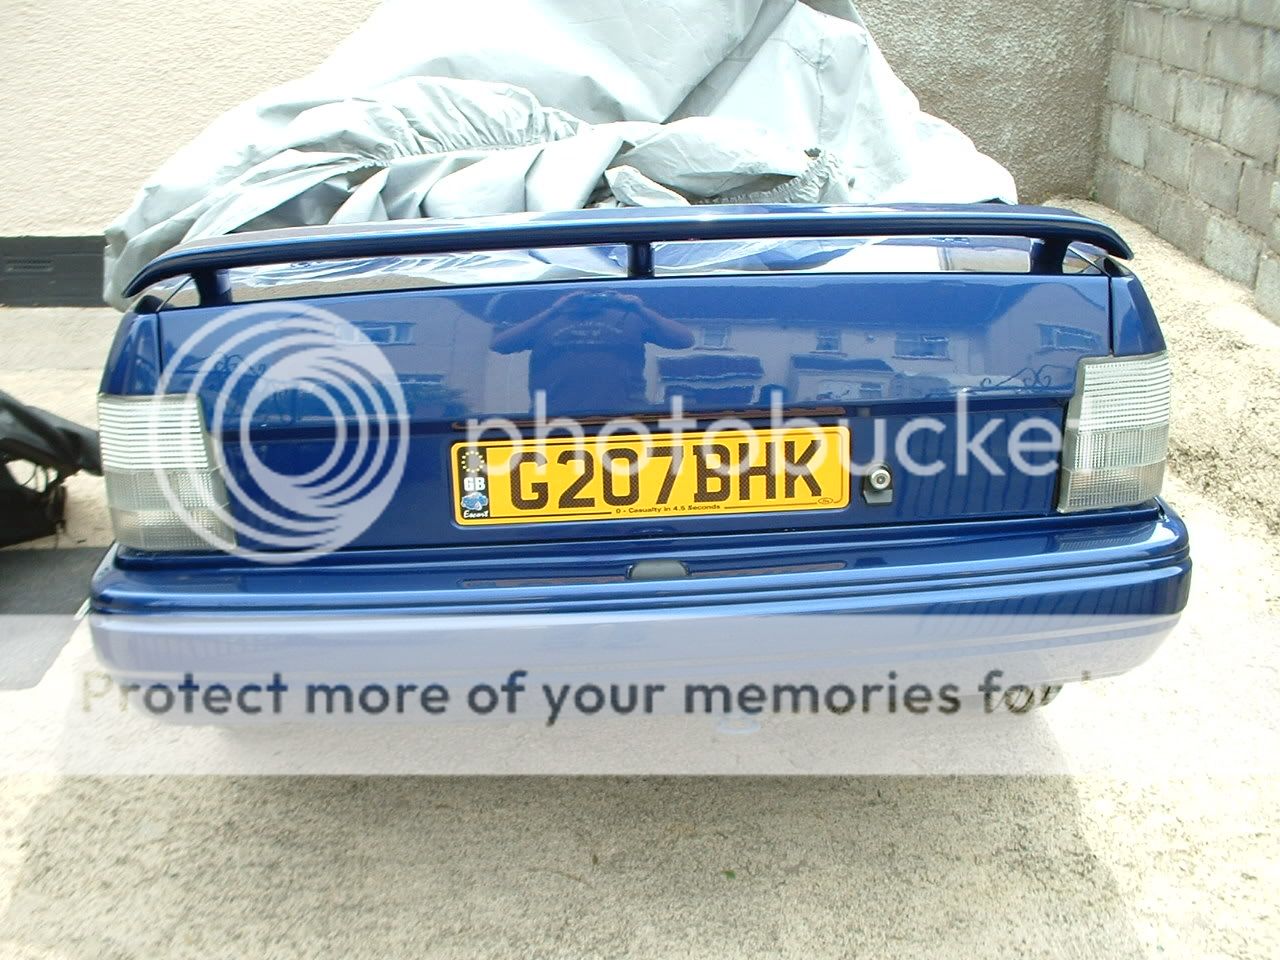
Quick shot of front with bumper placed on ....
Newly made earth strap
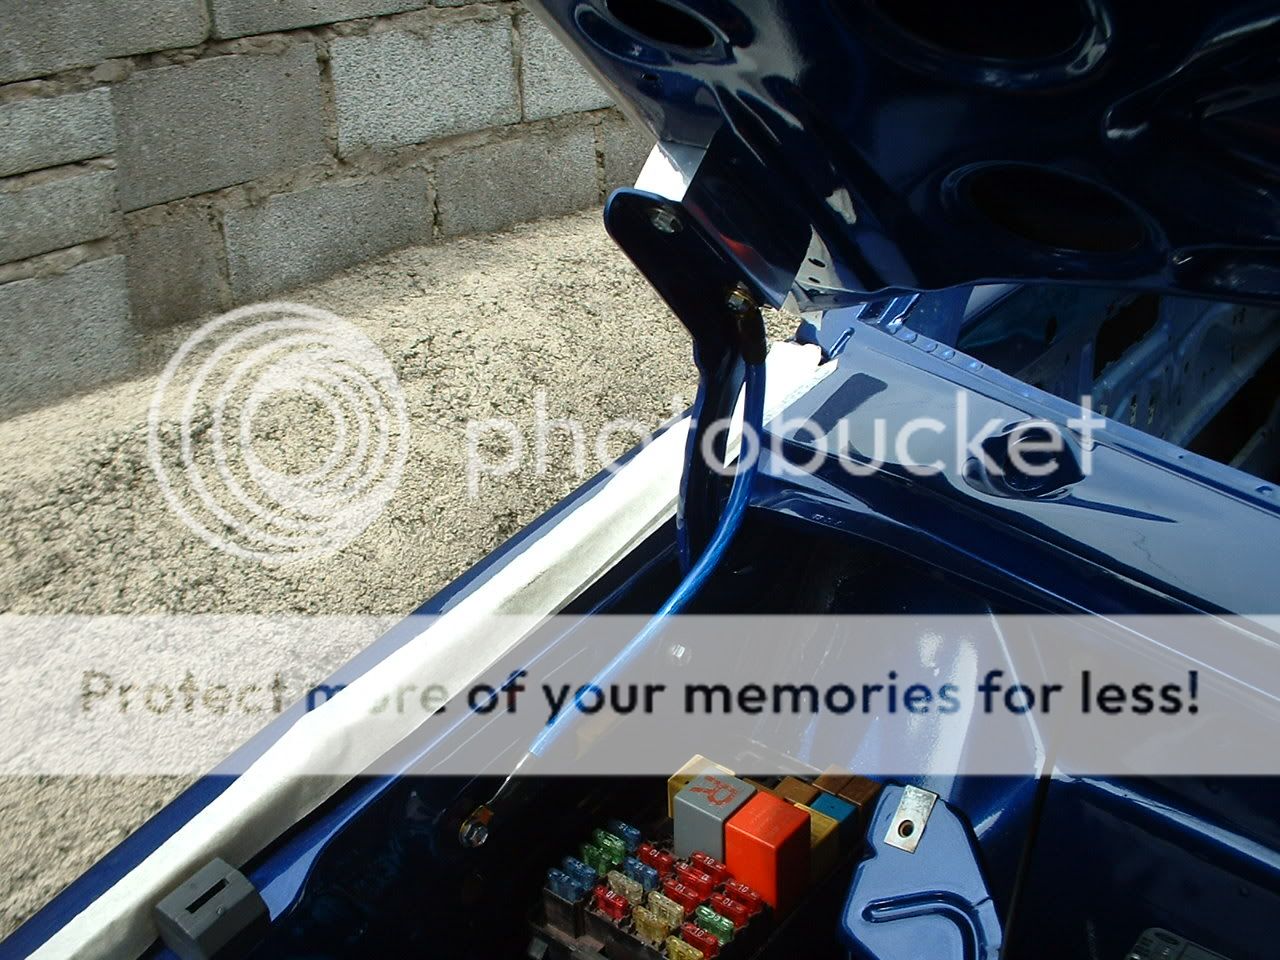
Bonnet catch still available from ford

Made a start on the exhaust ....
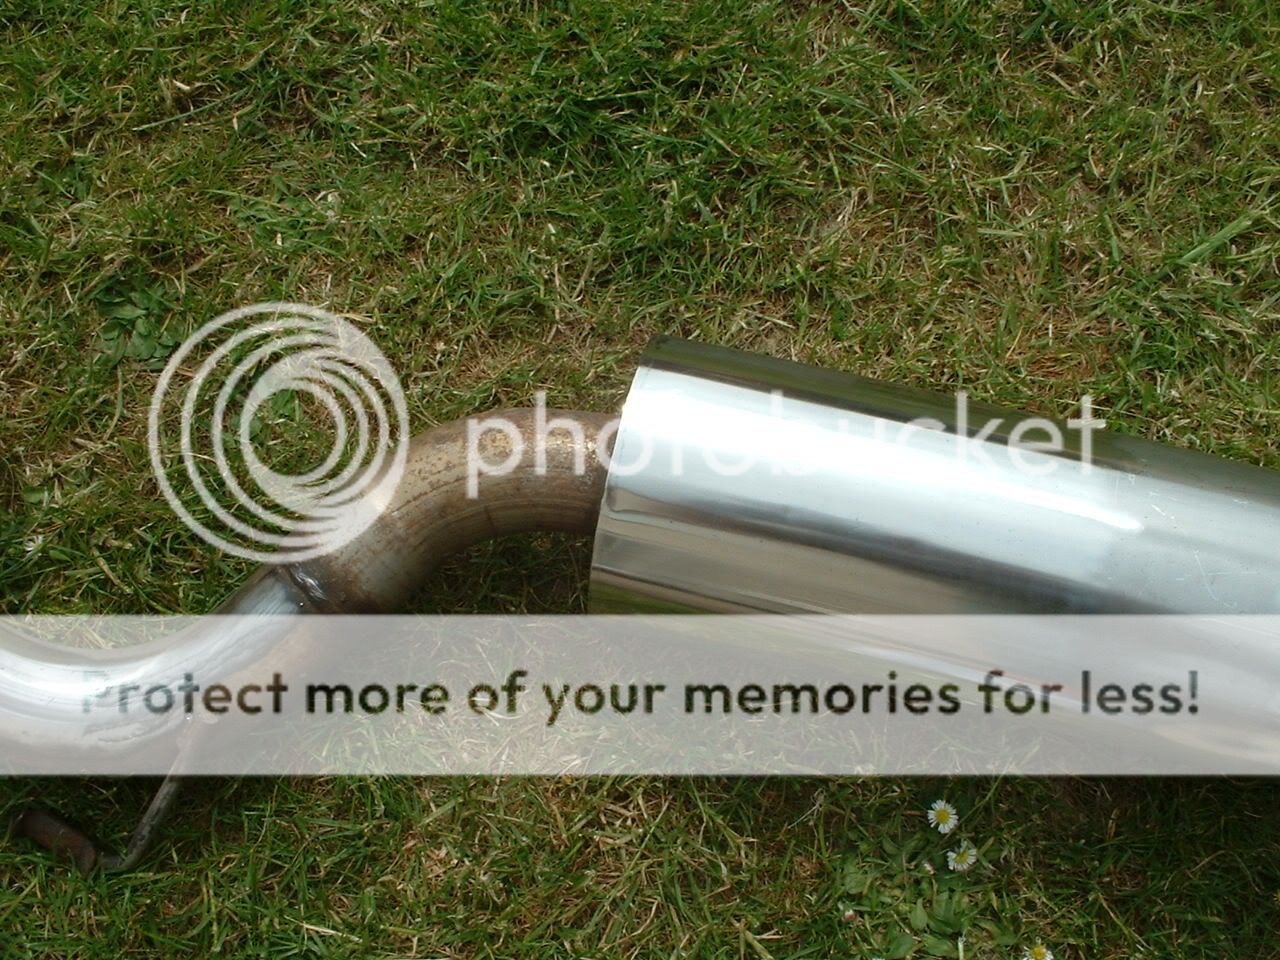
That's gonna take a few days work ..........
Newly made earth strap
Bonnet catch still available from ford
Made a start on the exhaust ....
That's gonna take a few days work ..........


 17-05-2006, 12:12 AM
#40
Regular Contributor
Thread Starter
Join Date: May 2006
Location: Bristol
Posts: 246
Likes: 0
Received 0 Likes
on
0 Posts
Well here's another mod out of the way .......
Mk5 clutch pedal conversion .... For uprated paddle clutch.
Firstly bits required ...

First off the quadrant needs tobe modified like this ....


Then we need to start taking the original pedals apart ..
First the securings clips ...


Then the rest of the pedals come apart ...

We then have to modify the new mk 5 clutch arm or it fouls the pedal box ...

We cut the over hang off ...
Then place the quadrant & new washers in place ... & add a lock nut to the thread on the adjuster to stop it from un-doing completly when adjusted ...

Then re-fit as step by step as taken apart ..... should then look like this ...

Job done .....
Mk5 clutch pedal conversion .... For uprated paddle clutch.
Firstly bits required ...
First off the quadrant needs tobe modified like this ....
Then we need to start taking the original pedals apart ..
First the securings clips ...
Then the rest of the pedals come apart ...
We then have to modify the new mk 5 clutch arm or it fouls the pedal box ...
We cut the over hang off ...
Then place the quadrant & new washers in place ... & add a lock nut to the thread on the adjuster to stop it from un-doing completly when adjusted ...
Then re-fit as step by step as taken apart ..... should then look like this ...
Job done .....