When you click on links to various merchants on this site and make a purchase, this can result in this site earning a commission. Affiliate programs and affiliations include, but are not limited to, the eBay Partner Network.
Has anyone done a full restoration on just a factory ford sierra sapphire / rs cosworth etc sunroof.
So a complete strip: repair to frame work of vehicle body & panel assembly, new seal, paint, glass remount ect.
I'm busy trying to scrounge around for a seal now and also do some repair to the frame. So was wondering what everyone else has done. Please show pics or refer to a thread.
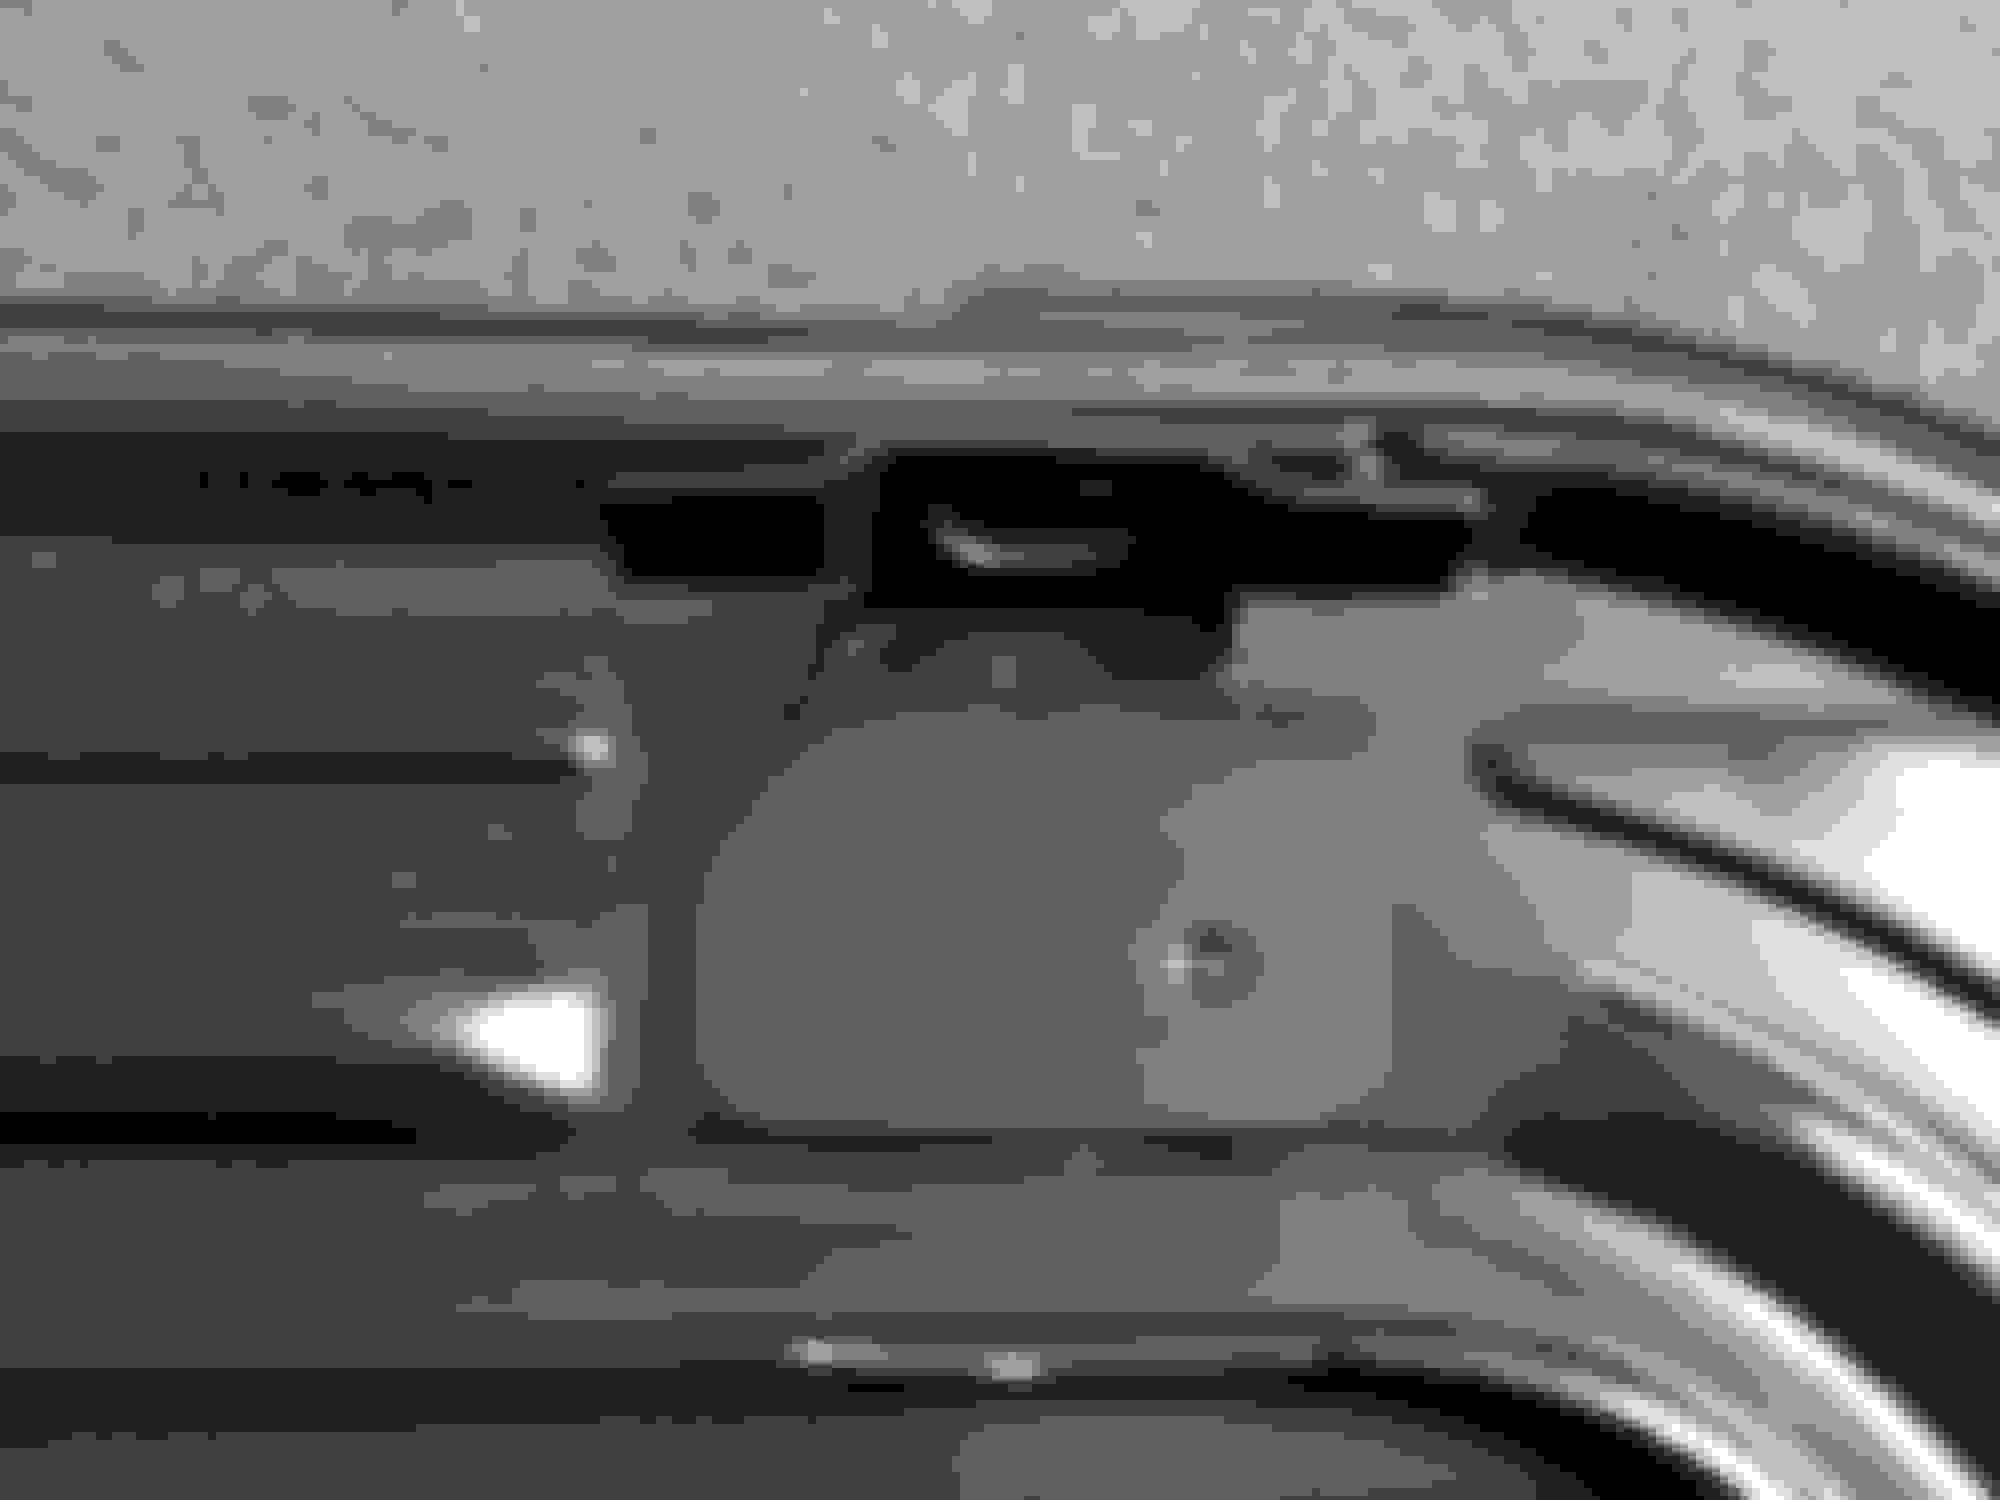
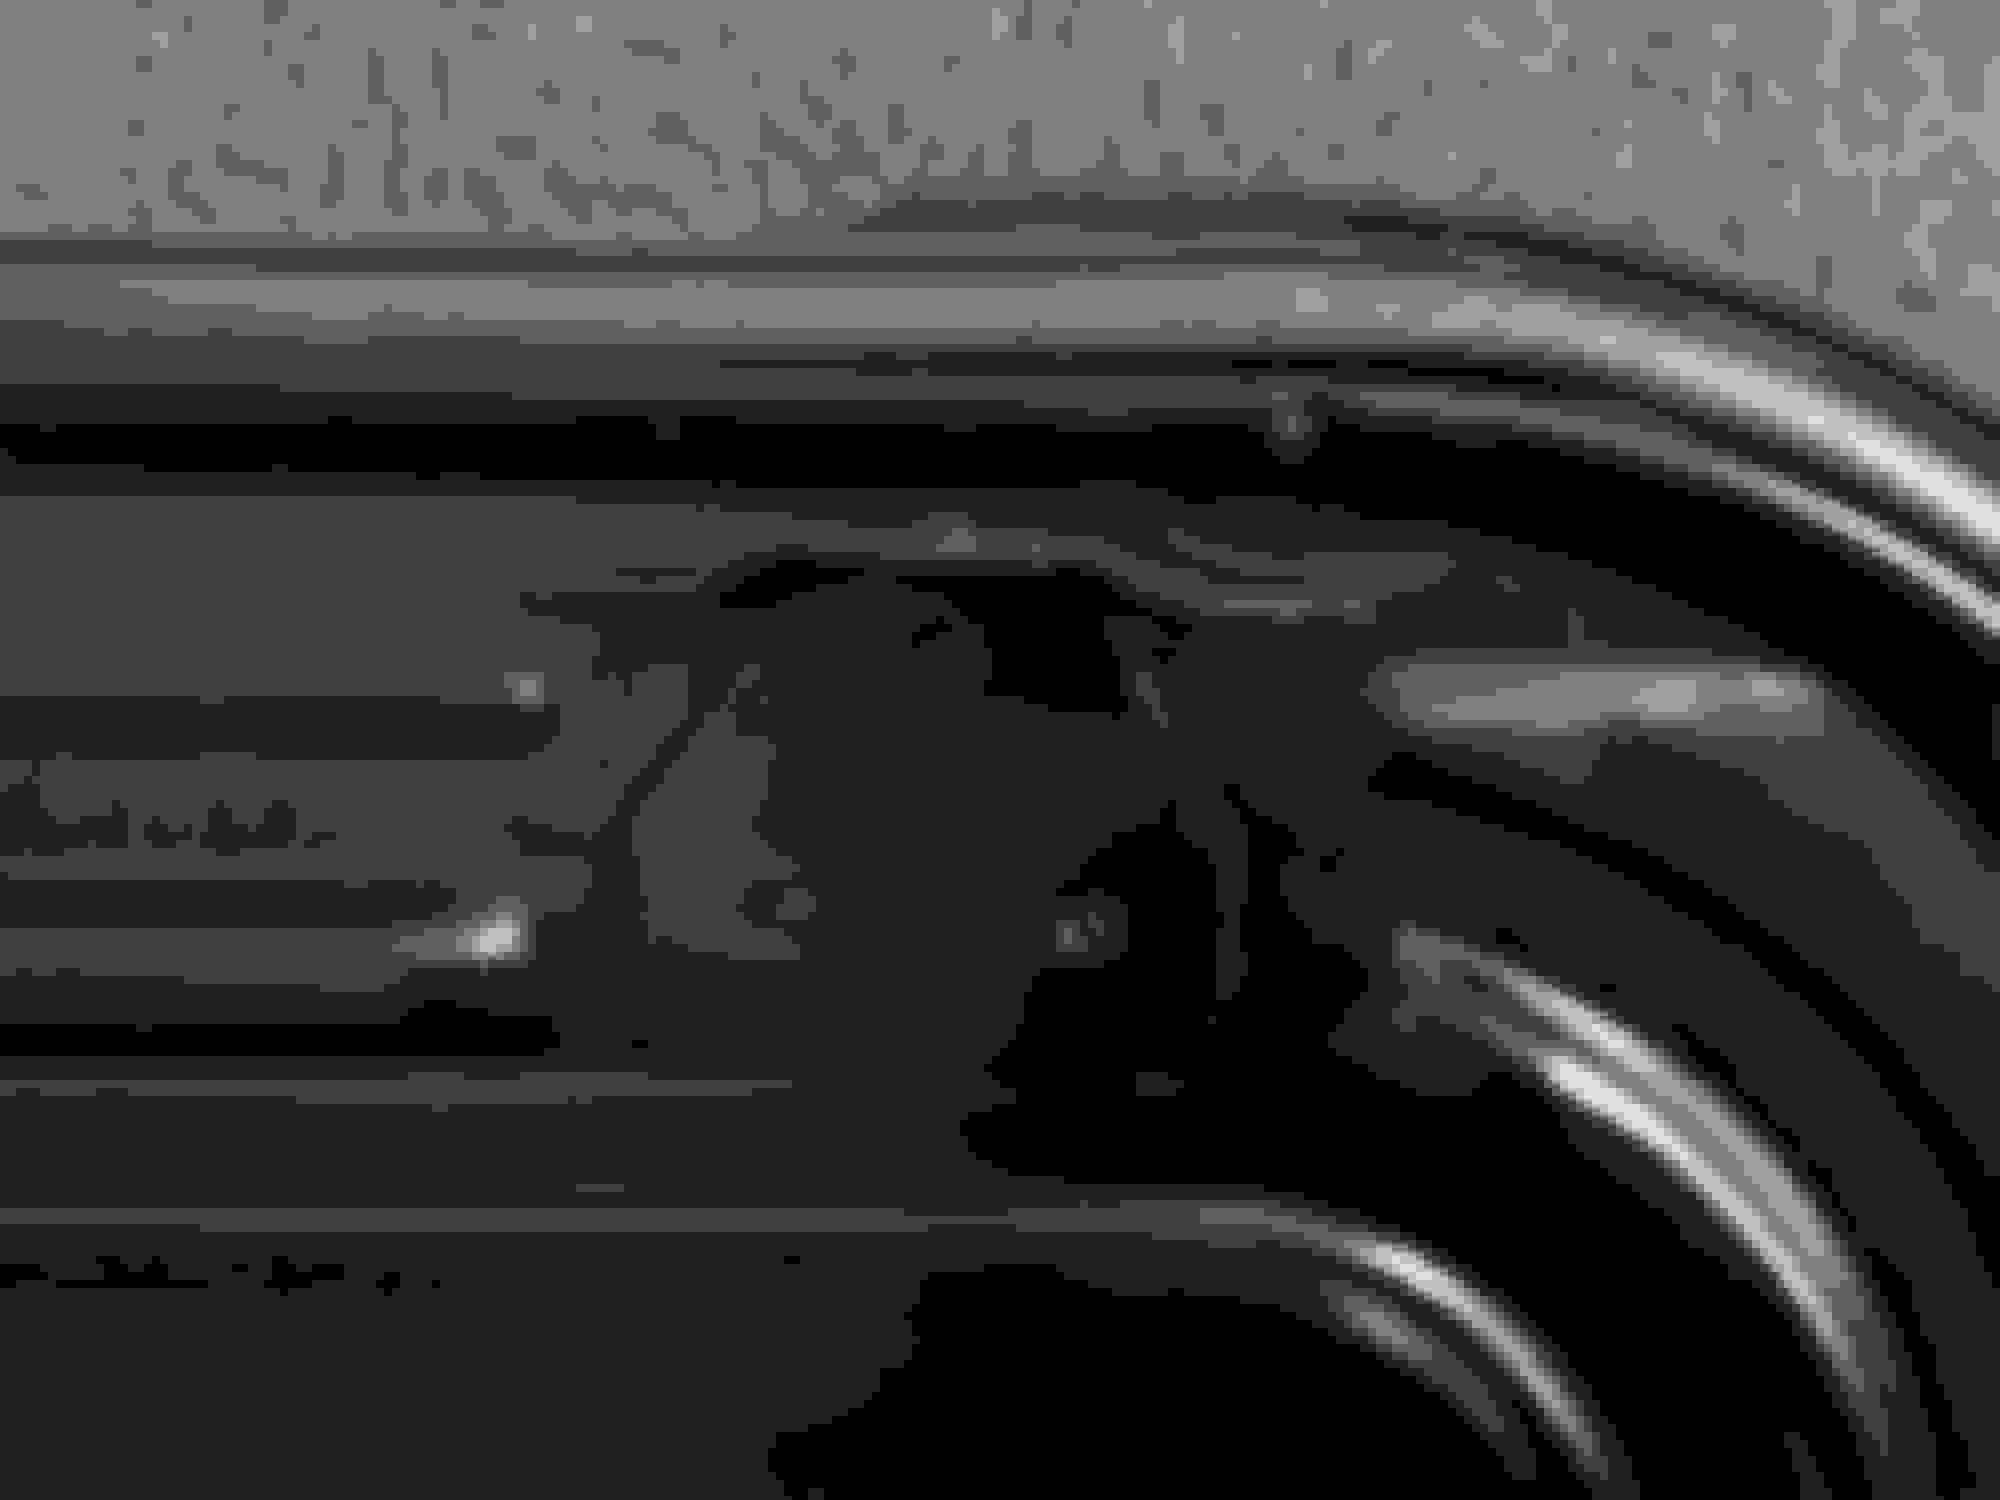
Has anyone got pics of a cossie sunroof, the underside portion. The front brackets on the panel which I need to fabricate and I need a picture to refer to. Its the ones that look like a sort of t piece. Also will be nice if i could get some dimensions. Mine were properly corroded away so i have nothing to mock up against???
Hi mate have just seen your PM, I will try and take some photos of it this weekend for you and will post them on here, I'm I right in saying it's the underside of glass frame you need to see with the four lugs that bolt to the plastic slide and riser mechanism?
Hi mate have just seen your PM, I will try and take some photos of it this weekend for you and will post them on here, I'm I right in saying it's the underside of glass frame you need to see with the four lugs that bolt to the plastic slide and riser mechanism?
Hi Tosh Thanks for getting back to me. Yes its Its exactly that and also 6 (3 on either side) of the mounting brackets that fit to the sliding link arms.
I've trolled on the net and a few of the big restos on the forum and can't get what i need.
I need some close ups please.
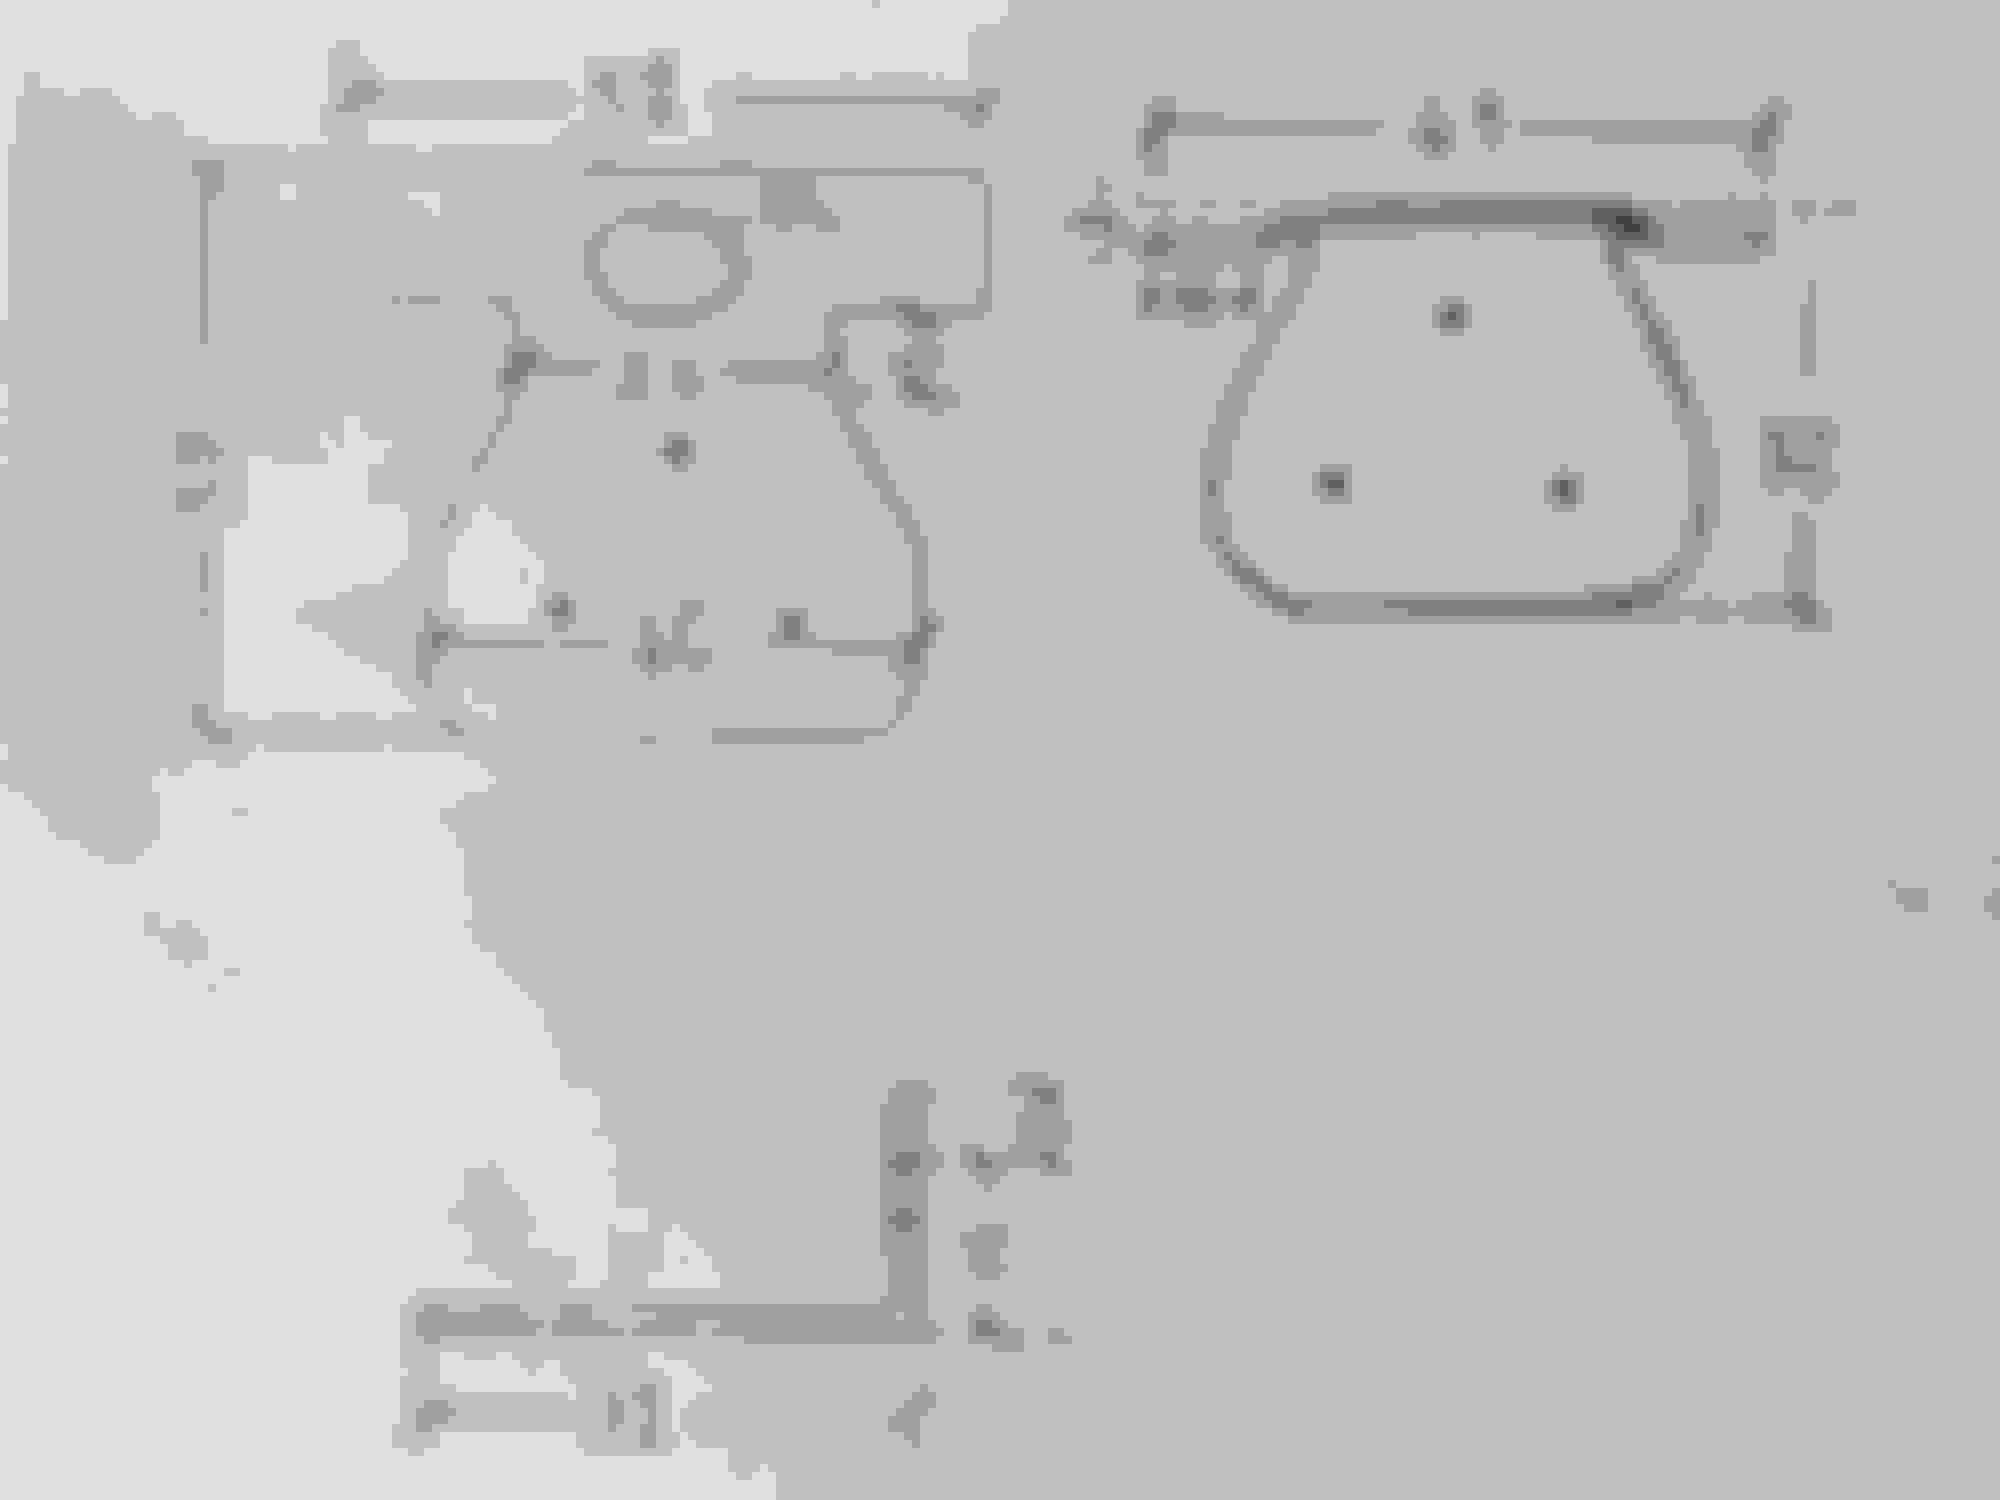
If you have the time and energy please could I ask if you could take dimensions of just the front bracket as those are the ones that clip together with the sliding link arms.
Measurements needed of front bracket:
width of bracket across the t-section
width of bracket across the shank
height of bracket as mounted from the panel
width & length of flat surface(base) mating with the panel
I know its finicky but as mentioned previously I need to fabricate the brackets from scratch.
Note: the measurements on mine very when measured from outer face of the bracket to outer face of bracket when measured across the width of sun roof frame, they also don't lign up when a straight edge is held against the outer mounting face, you would probably be better off measuring the distance between your slider brackets do make sure that the dims on this picture are similar to yours.
I would say that the most important dimensions would be the Heights from the frame face to the top of the whole shown above, the holes look like they are made large enough to allow for final adjustment.
This is exactly what I need. I'm over the moon with this info and has made my day a whole much better.
You outdid yourself mate. A huge thanks too you and I will definitely benefit from this. I will post preview pics of this resto as I go.
I cannot thank you enough and wish I could repay you better than kindness but I'm afraid just kindness at the moment as I'm all the way in SA and glad you could assist.
No problem mate it gave me something to do last night while the mrs was watching her usual crap on the TV.
I wouldn't have expected anything in return pal, like most people on here it's just good to help fellow owners out, hope it goes well and don't forget to post your progress up.
No problem mate it gave me something to do last night while the mrs was watching her usual crap on the TV.
I wouldn't have expected anything in return pal, like most people on here it's just good to help fellow owners out, hope it goes well and don't forget to post your progress up.
Most Definitely will post up pics here.
There is also just one more thing. Can you sort of take a picture of the sunroof seals profile?
Now I know this can be difficult and you don't have to as I understand that if you peel the end away there is a risk of damaging the seal.
I'm trying to match a similar type of seal from another vehicle. If you know something better please let me know.
I don't want to chance pulling it off as I think they are bonded on, I will put some close up pic's on here over the weekend for you, also found this after a quick google not sure if it's correct though, it looks similar,
Found on merkurdepot.com but look at th f***ing price
Also read somewhere that the Fiat 131 & 128 had the same sunroof, don't know how true that is!!
the problem with the roof is the mechanism cable thats clipped into plastic lugs in the frame
if they snap off the cables won't move the mechanism, only the cable
make sure they are all in correctly before you do anything else
also, if you can't remove the screws that hold the glass in place it's going to be another hurdle to cross
the glass though was the same size for all cars of that era, so you can fit different bits from other fords to replace yours, i put on it from a granada even though the mechanism was different, and the escorts glass fitted too
I've chopped my sunroof frame to get rid of all the rot used 2 crap frames to make 1good one, it's worked ok but not perfect but is rot free!!
I used a Peugeot 406 seal as it was the same to look at and was only a few quid!
the problem with the roof is the mechanism cable thats clipped into plastic lugs in the frame
if they snap off the cables won't move the mechanism, only the cable
make sure they are all in correctly before you do anything else
also, if you can't remove the screws that hold the glass in place it's going to be another hurdle to cross
the glass though was the same size for all cars of that era, so you can fit different bits from other fords to replace yours, i put on it from a granada even though the mechanism was different, and the escorts glass fitted too
Originally Posted by Matt Baxter
I've chopped my sunroof frame to get rid of all the rot used 2 crap frames to make 1good one, it's worked ok but not perfect but is rot free!!
I used a Peugeot 406 seal as it was the same to look at and was only a few quid!
Thanks Gents for the good info. Will take your advice.
Last couple questions.
1. What primers and paints do I use to coat the frame? Keep in mind I'm sending for electroplating.
2. What is the best product to bond the glass to the frame and is there any special techniques or requirements I need to know of besides using clamps for the bonding process?
I was thinking of using Dow's Betaseal 1407 adhesive to bond?
Please advise further.
Thanks to all who are contributing to this thread. It makes car building and repairs easier.
The only difference I can see from the original one and the eBay Version is the little tongue on the bottom edge, "can't really see what this does anyway"!
My panel beater is still brazing up the last bit on the edges.
-->Then I'll do some shaping, cutting, grinding and smoothing. (fabrication)
--> Paint strip or might send for blasting (cleaning)
--> off to electroplater. (magic)
--> Painting / coating (extra Protection). Please advise on products
--> Assembly (Gluing, Seal). I still cant get a replacement.
--> Final Product
Another top update its been 2 months since this last one on the frame refurb. I'm happy to report that I'm 95%complete with the fabrication work
Let me take you through the in between detail processes. I apologize for bad quality pics upfront
So from previous post. I had my repairman weld/braze almost the entire edge/lip of the frame
1.
2.
3.
4.
Then I used My Dremel to hack away at the brazing. I didn't take pics of those parts as I thought i would never see the end of it. Took me ages. Brazing is hard to grind and cut. It been an intricate refurb.
5.
6.
7.
And now finally this evening I show until the primer has been sprayed
8.
9.
10.
11.
I also Placed an order for the seal for the merker. It came from Argentina ....came at a price of course but I had to have it. The seller was very amenable and friendly
12.
13.
14.
15.
There is still a little more brazing to do but is just touch ups now. Once this is complete the plan still continues.
Next is, I'm going to have a dummy seal made so we can temporary test fit the glass to the frame. Fit the dummy seal to the sunroof panel and then my main man will shape the body right and complete the paint job on my vehicle. while he is a painting I will then:
1. Disassemble the panel for the last time, but in this process mock up the glass to the frame with markings and thick cardboard for realignment and installation later.
2. Paint strip, clean and polish the frame nicely.
3. The frame will then go to electro-platers to get zinc plated with yellow passivate.
4. Primer the frame with zinc primer, but only the exposed surfaces. Not where the glass requires bonding.
5. Paint with satin black over the primed area's (Can i use any automotive paint?)
6. Prepare the frame and glass for the bonding process. (Dow's Betaseal 1407 adhesive and a shiaat load of clamps?)
7. Once bonded and cured. Mount/install the the new seal to the panel, using hot water and a Hairdryer. (Where do the ends meet? at the rear of the panel?)
Is there any advise or objections to the overall scheme?
Thank you very much. A lot of time effort and money have gone into this restoration. I don't think i will attempt another one. If someone does ask they going to have to give me their arm and leg.
Furthermore Frame is now painted with ms primer grey. Is non etching so will not influence the electroplating.
1.
2.
Its going to get finished in thin coats of Hammerite, hammered black for extra protection.
I have some questions.
Q1.
I am going to use Dows Betaseal 1407 kit to bond glass to frame. I have the instructions on the product and application process, but I want to know is, where about do I apply the sealant to the frame. I have 15 min window to get it all lined up and in position before its starts setting and curing.
I have used this for illustration purpose one of my recent pics.
Yellow = inner channel ridge
Blue = flats
Red = Drain holes
To what area to apply according to arrows?
Q2.
Would I need to glue the rubber seal in place maybe using sikaflex sealant?
Suggestions needed and will be greatly appreciated
I'm happy to announce that I'm just about complete on restoring my sunroof panel. There is still a bit of cleaning up and finishing to do to get it spiffy.
Wednesday evening this week we had all the relative parts adhiesves and apparatuses to assemble
Apologize for the bad quality pics but I will get some nice clear shots once finally sorted.
Wednesday evening pics.
01. Clamped up and setting
02.
Myself and 2 other gentleman assisted me and we had 15min to get everything on and in position. Wasn't easy but we managed
After leaving the workshop on the way home, the brain realized that something wasn't right but it wasn't a super major and there was nothing that could be done anyway.
Fault No 1
I realized that we put the clamps on the wrong way around.
Fault No 2
The panel was supposed to be left upside down in a better setting position
We could've got a very close to 100% but instead I think we achieved a 93-95% result. Anyway Hopefully it will work with the Mech and will still look good.
I had left the panel for 1 day and a half to set and removed the clamps yesterday afternoon with the following results
03
04.
05.
06.
07.
As said earlier, a clean up and some small issues to deal with but Its almost there. I will also give the under side frame a last lick of paint just to finish it off nicely
yeah, almost there...
well done. beautiful guide this one.
at the end, where did you put the sealant? in the inner channel ridge, on the flats or in the drain holes? did you glued the rubber?
however, the result looks great mate .
most important things are that it fits, it doesn't leak and that it'll last for long time (and for sure it will ).
We used the sealant on the flats. How we worked this out was looking at the glass we could see an imprint where the sealant was before and decided that would be the possible place. We applied 2 layers, outer and inner.
However I think we applied too much of a bead as when we put the frame on we had to really press down hard. The bead made was triangular and roughly 1 cm high. When we put the clamps down the sealant started pushing out in all places. All the drain holes, and a little out the sides, so we just went with it and that the way it going to be. At least I know its not going to come off in a hurry.
We also put Sika sealant along the rubber seal as we went along.Tomorrow after work, will head to the workshop for a clean-up and deal with the smaller issues.
yeah, almost there...
well done. beautiful guide this one.
at the end, where did you put the sealant? in the inner channel ridge, on the flats or in the drain holes? did you glued the rubber?
however, the result looks great mate .
most important things are that it fits, it doesn't leak and that it'll last for long time (and for sure it will ).
The sunroof was always ment to leak thats why you have drain channels front and behind the gully underneath the sunroof
Jack and the Beanstalk Awesome Love your work
But check your not airtight before slamming your last door shut you may break a seal somewhere else
I've had my boot lid slammed shut by the wind and the sunroof has risen due to the air pressure
Quality job
Thank You very Much for the advice SS1. Will take into account. I don't know if you recall but the saloons have 2 vent holes right at the back on either side hidden by the rear bumper. I never know what they called, but it is exactly for that reason they have them so the pressure can escape especially in the boot area. Not sure about the cab but suppose pressure creeps out there as well...
How are the sunroof plastic arms fastened? Hard to explain but, where the pin of the sliding fork arms attach and go into the plastic arm, is there suppose to be a circlip?
I'm also looking for a LHS arm (the long plastic one) from a sierra / sapphire anyone got a spare they willing to post to me
 13-01-2016, 06:09 AM


 ....came at a price of course but I had to have it. The seller was very amenable and friendly


 ).
).


 you may break a seal somewhere else


