Haven't had time for the car or money really over the last month or so due to other things like stag doo's to Puerto Banus and house and dog sitting lol but i finally had a couple of days to get a few things done, only small things but needed doing all the same
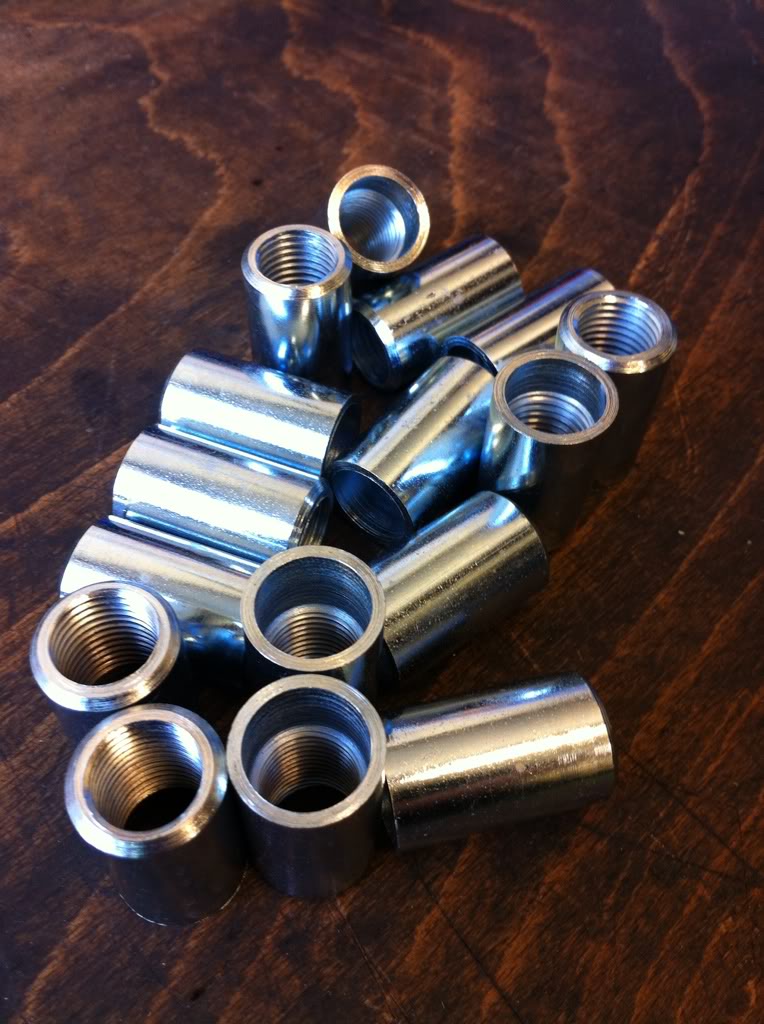
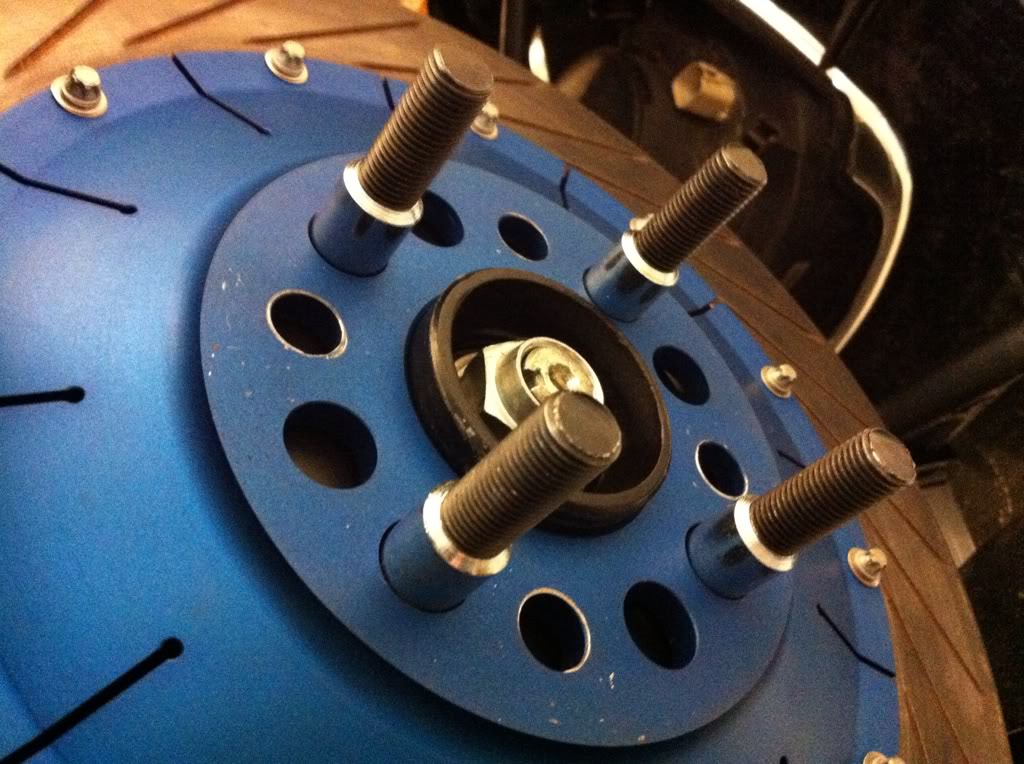
I made my self some wrc/grpa style wheel stud sleeves for strengthening the studs when i had my old lathe but it drilled slightly off center so when fitted the sleeves sat offset on the studs, causing the disc bell holes to need drilling out and the wheels to be fiddly to get on so i was never happy. Well i bought another small lathe as i found i could no longer be without one when doing a build like this or any for that matter, and made myself a new set,
Lathe drilled almost arrow straight, about as good as your get with one of these chinese lathes anyway
So a new set was ready

You can see above they line up nicely when screwed onto these old studs which shows they are drilled as good as dead center,
Then i got them plated, meant to be yellow zinc but he done them silver but looks fine to me,
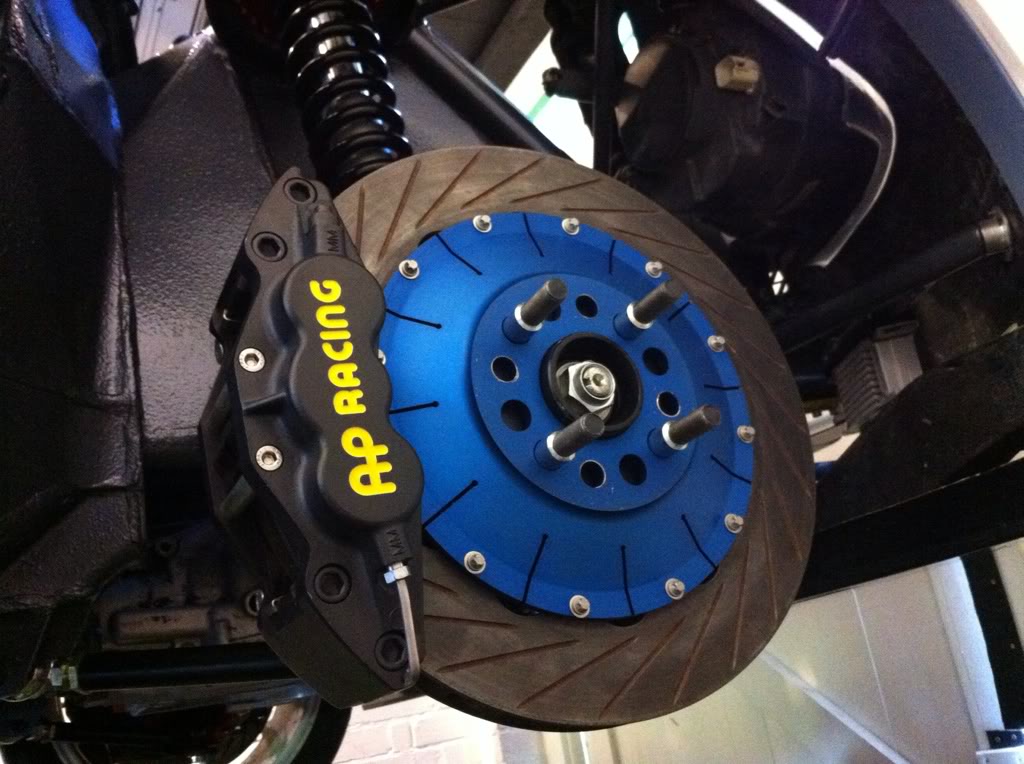
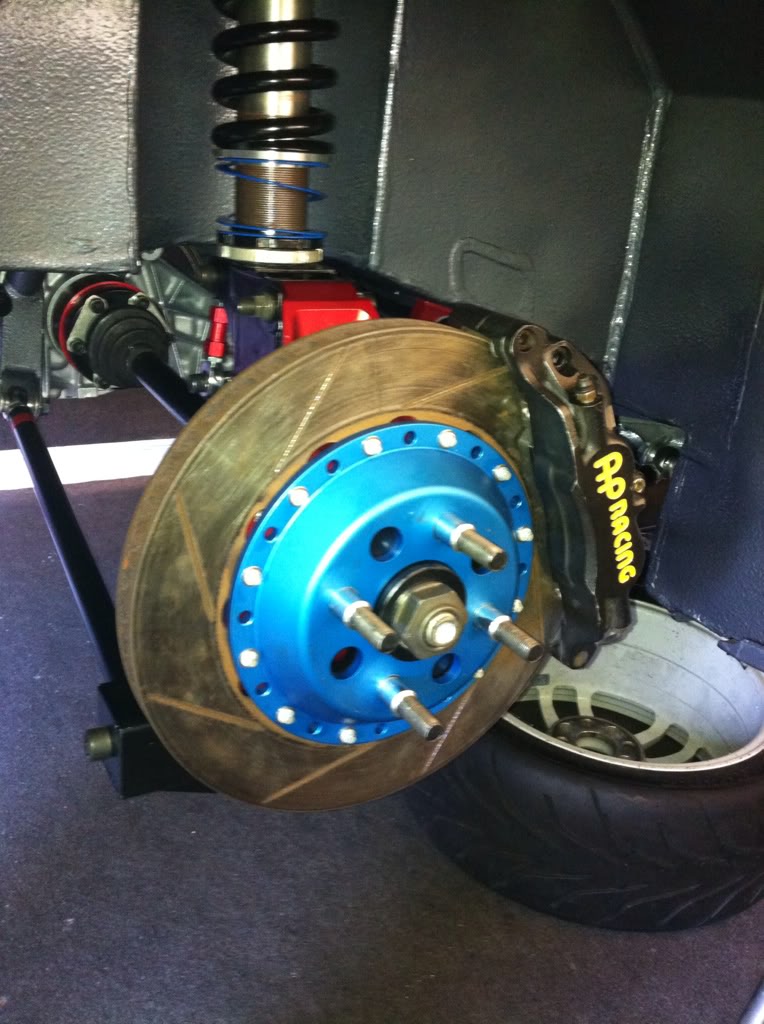
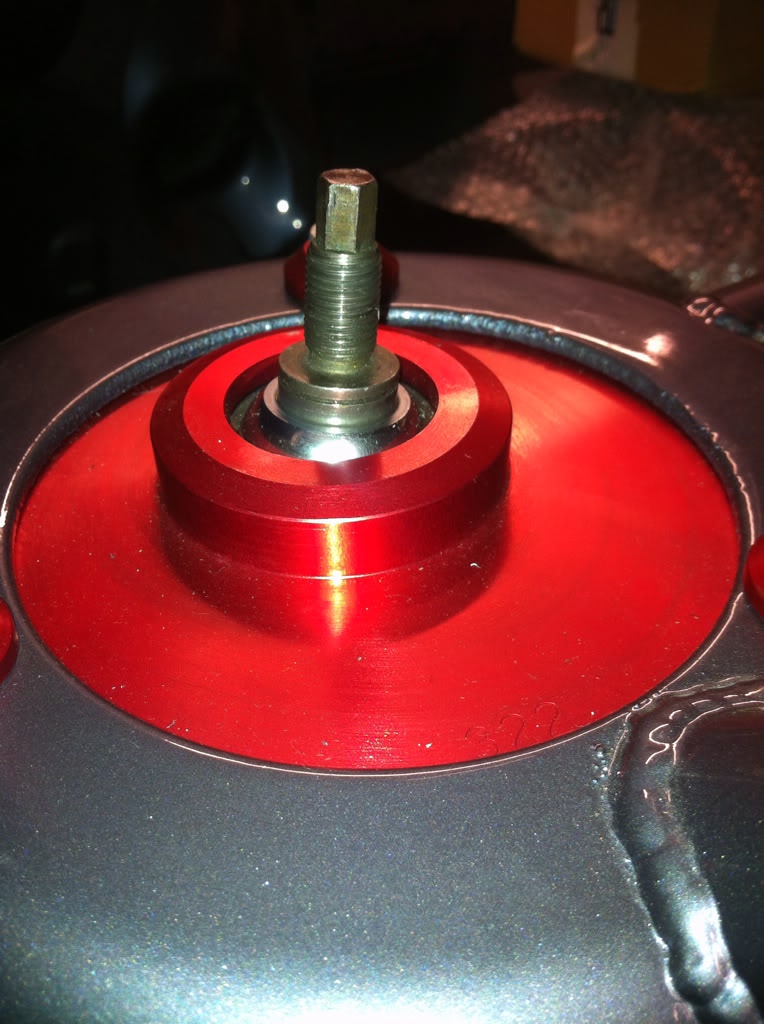
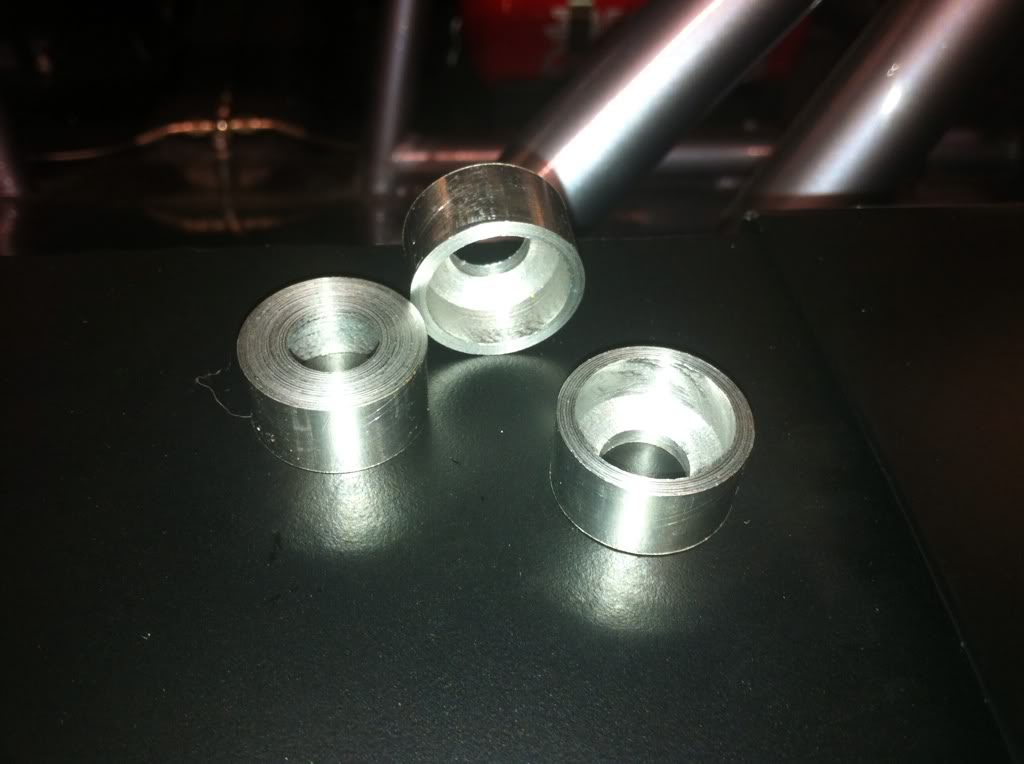
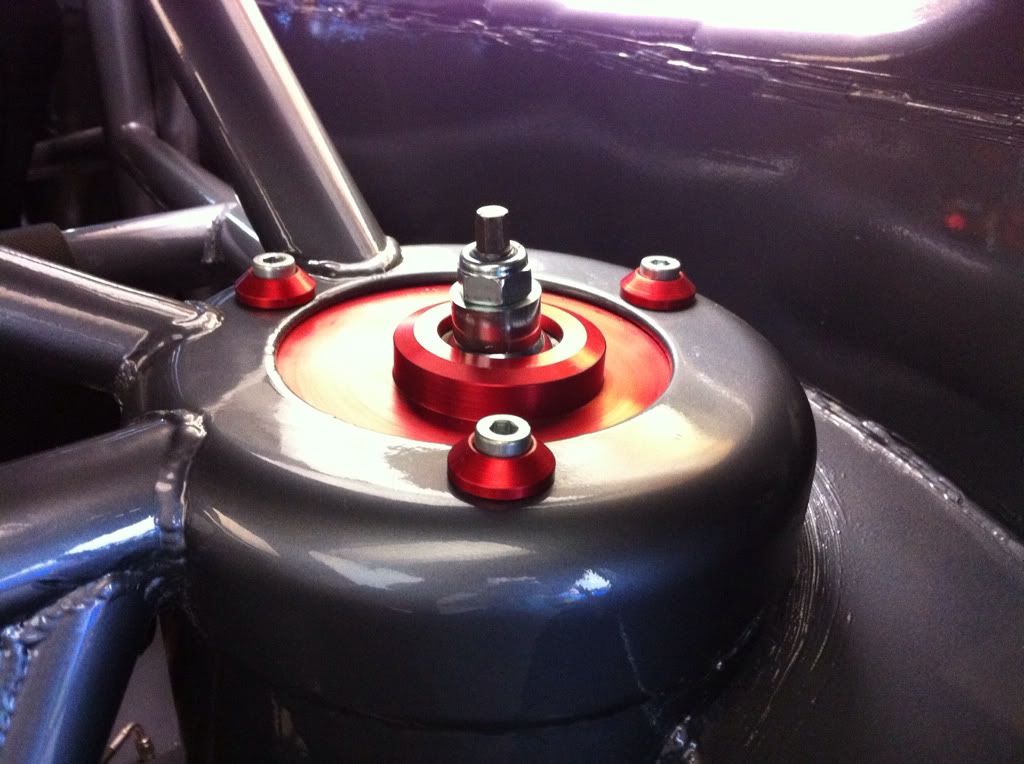
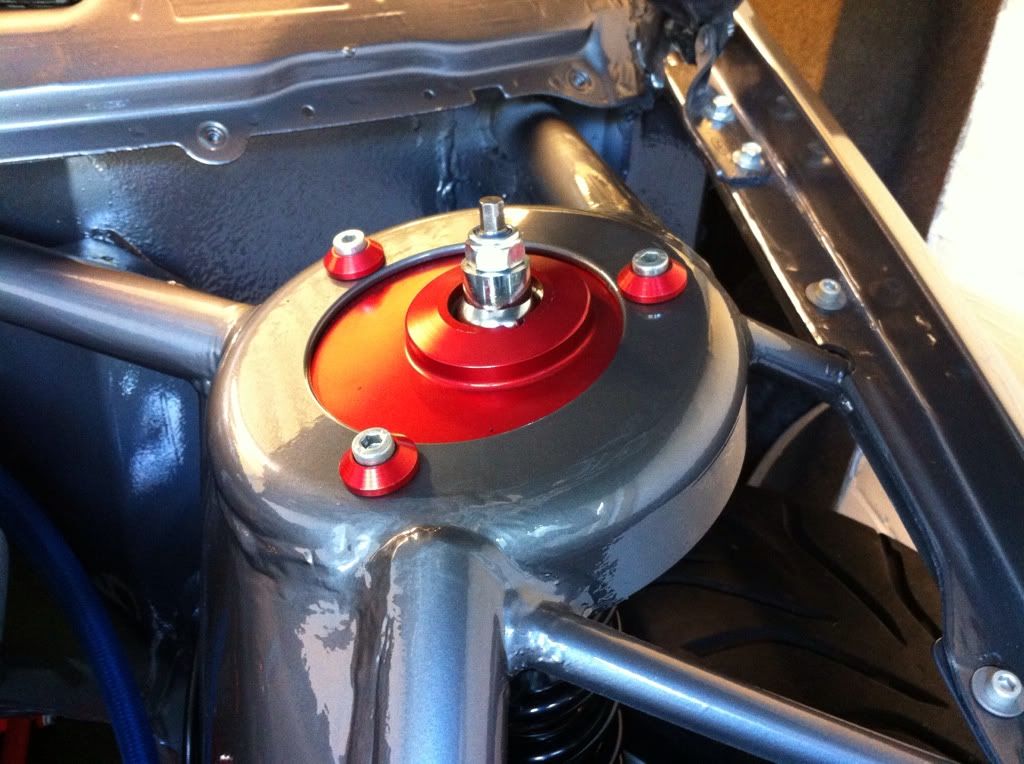
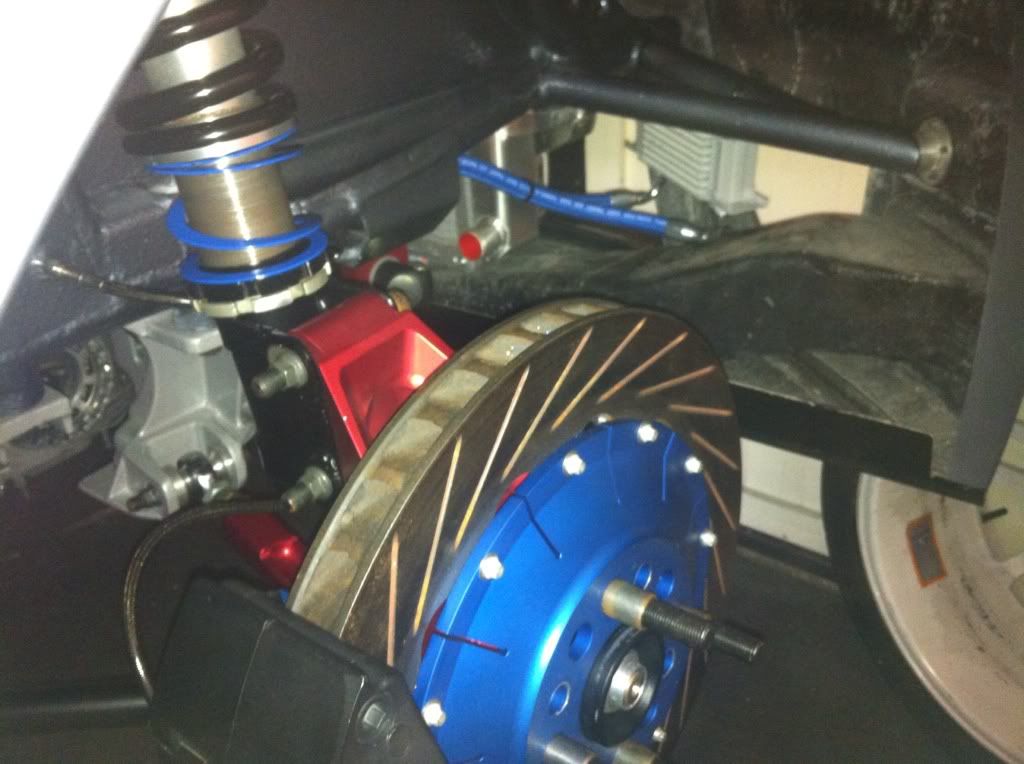
Another thing i got done was the spacers for the top of the bilstein inserts that come through the top mount, needed some counterbored items to clear the shoulder and pull the insert fully up into the mount so knocked these up and had them plated as well
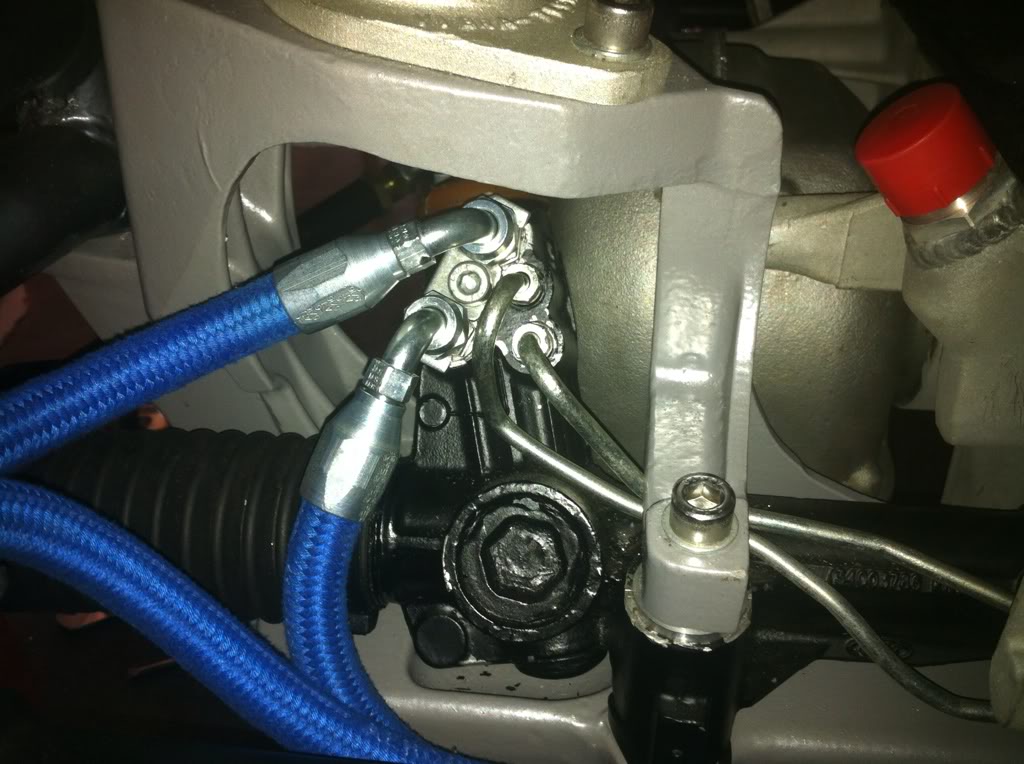
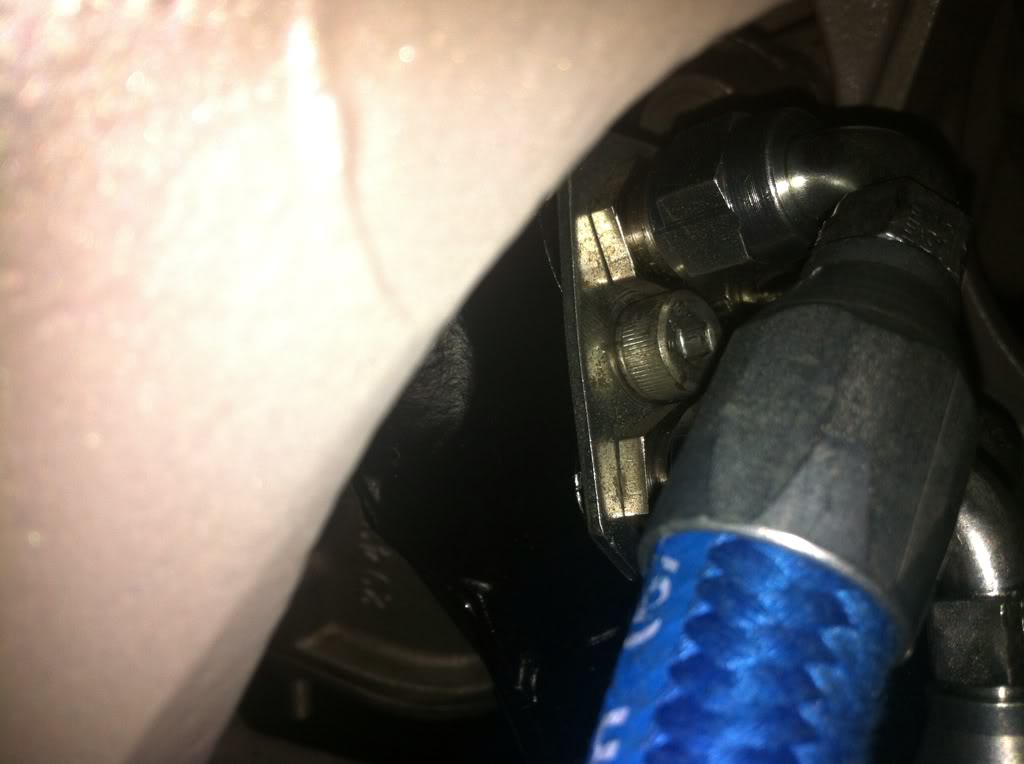
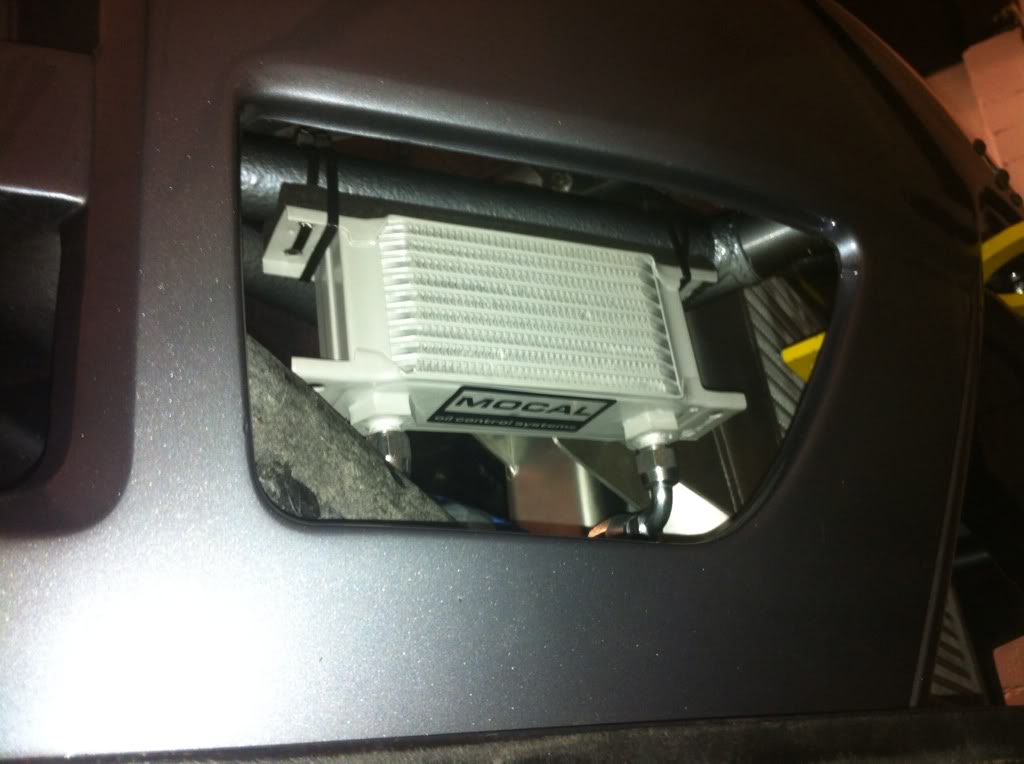
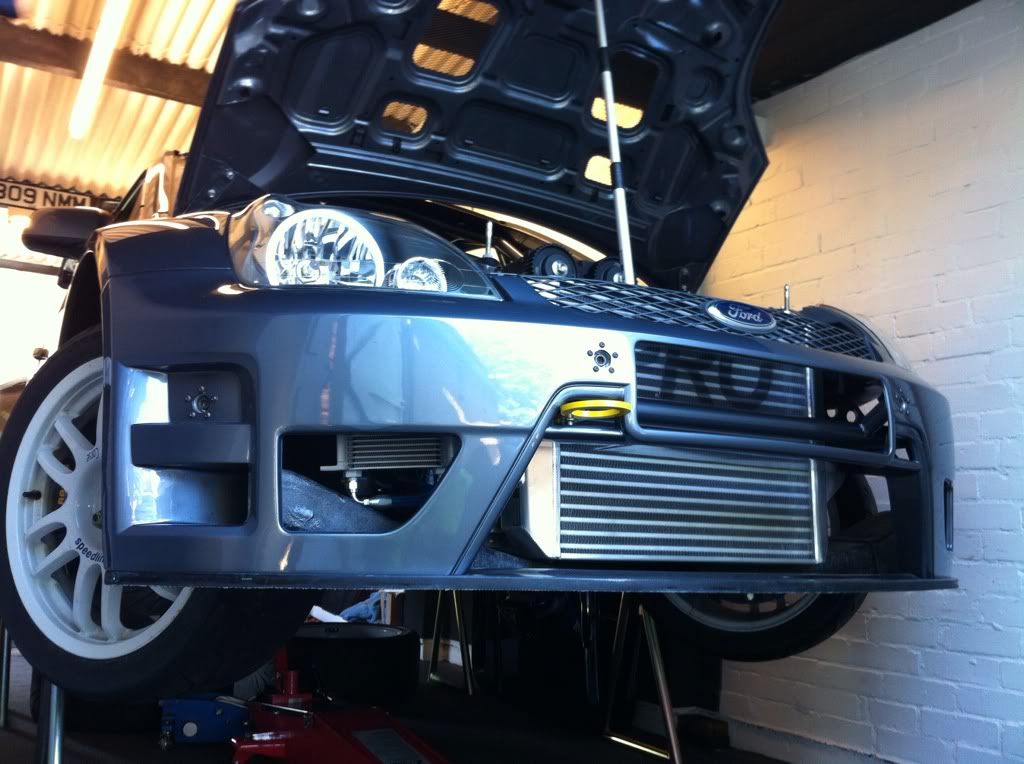
Got the last bit of power steering hose i needed through from earls, i know the high pressure hose is not needed on the return but being fussy i wanted it to match, so fitted the power steering cooler, not in direct full airflow but just having the cooler fitted will be enough regardless, so thats another thing done and off the list
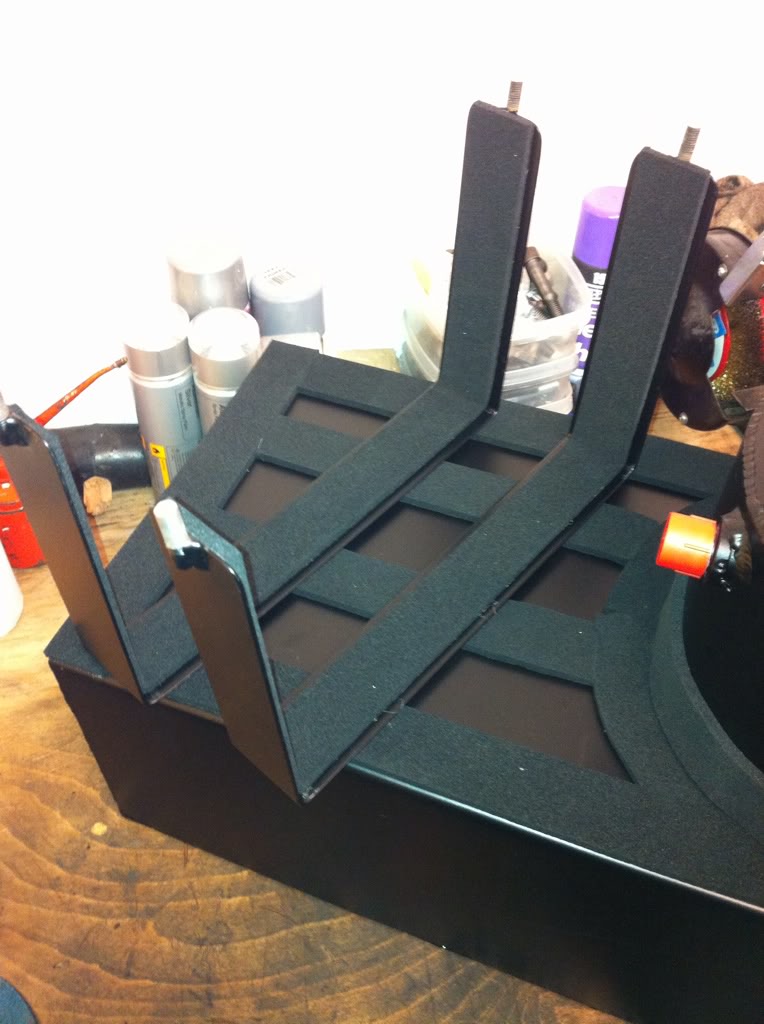
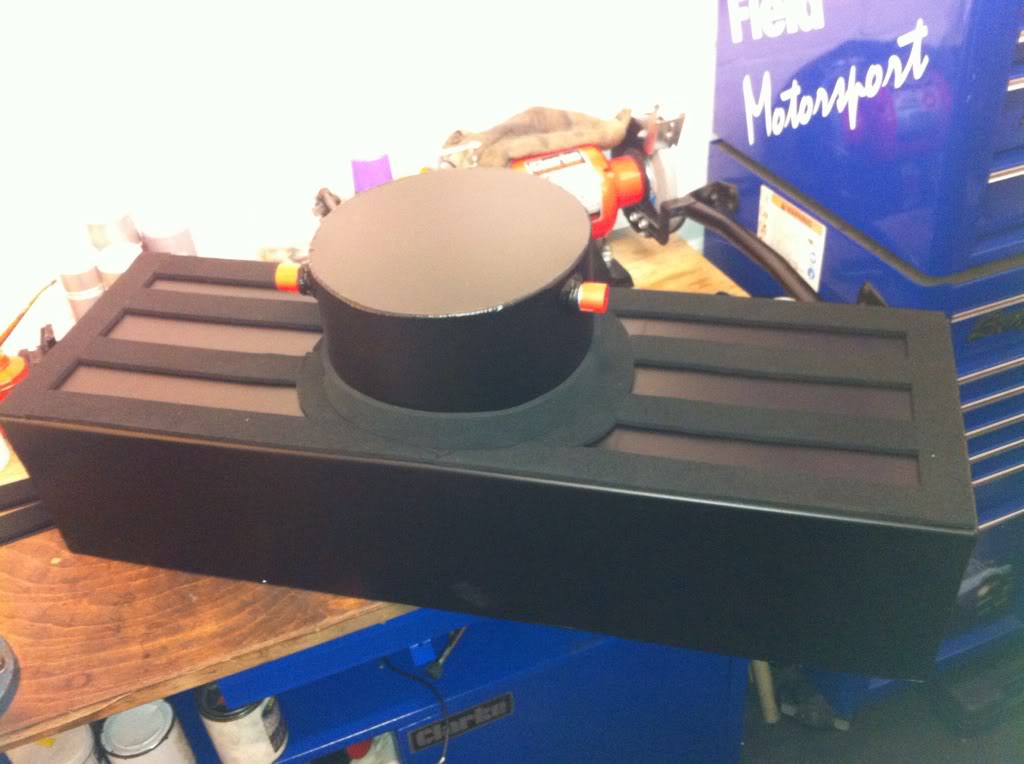
Small job but another one that needed doing was fitting foam to the base of fuel tank and to the straps, don't want any annoying rattles that can be avoided, i also put some in the battery recess and the battery strap but no pics of that
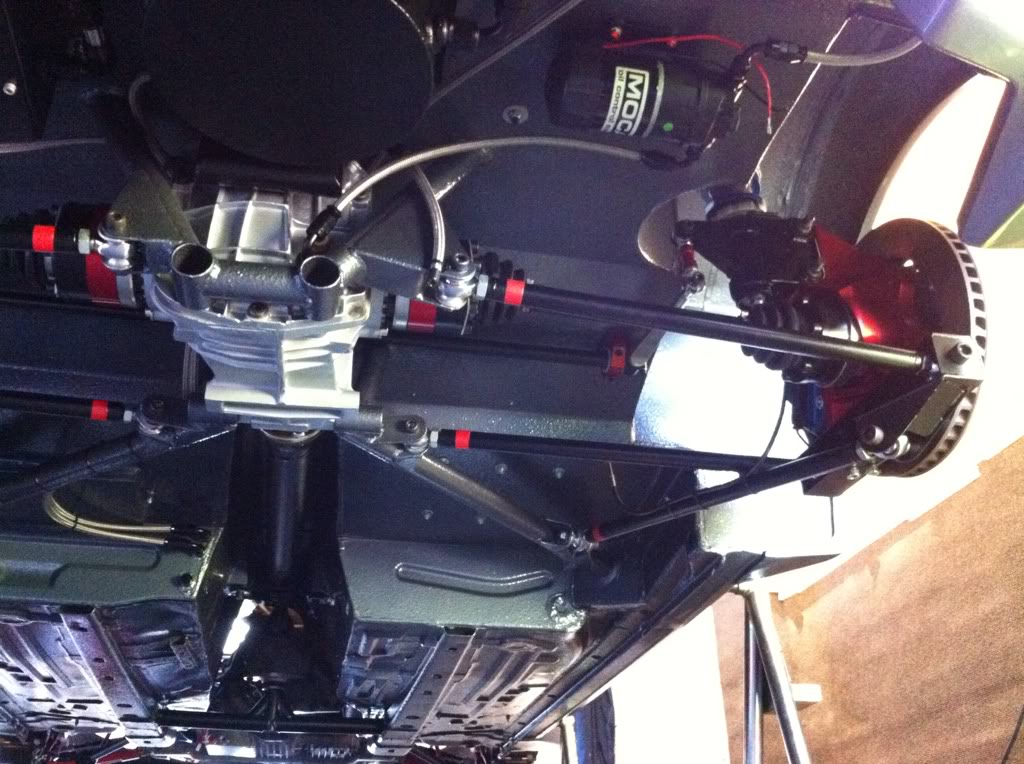
Next up a bit more machining work, as the cars track was widened about 50mm - 60mm i needed to space the rear driveshafts out at the diff flanges so went about getting some custom spacers sorted out of some aircraft spec alloy, due to the pattern i could not do this all myself so i have to make the initial ring then get someone else to mill the pattern i gave them then once that was done i finished them off by turning the inside and outside step so the the driveshaft cv sits into the spacer and the spacer into the flange just like standard, then just get them anodised in my red as per everything else,
I also bought longer 12.9 high tensile cap heads to suit the now widened joints
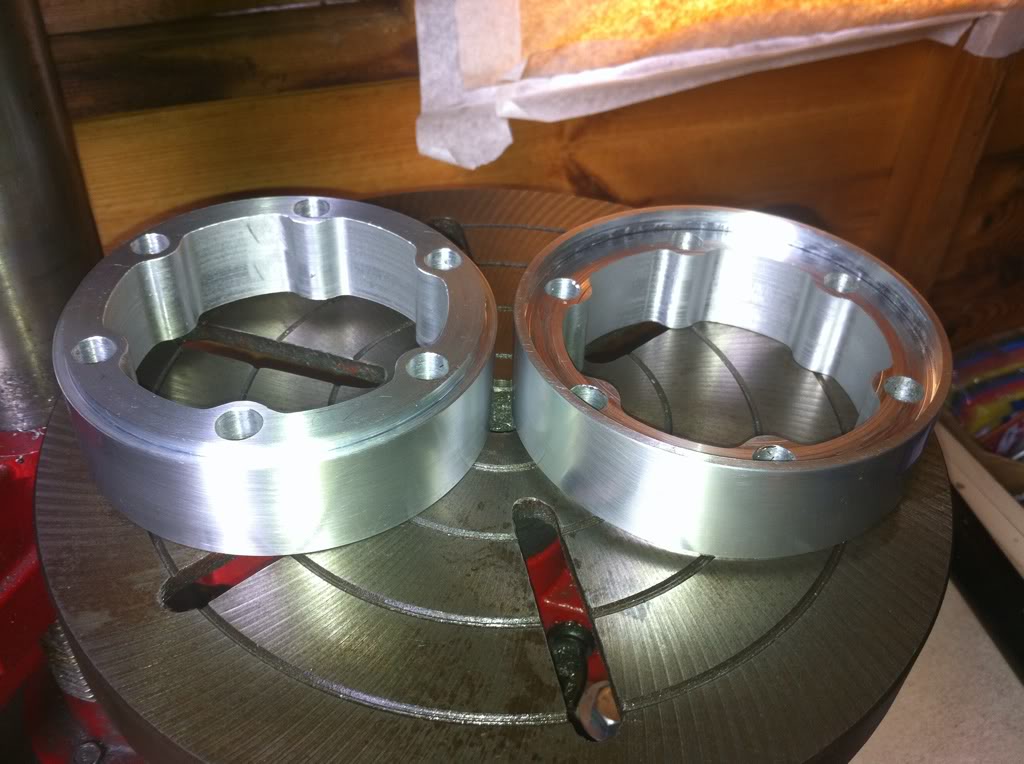
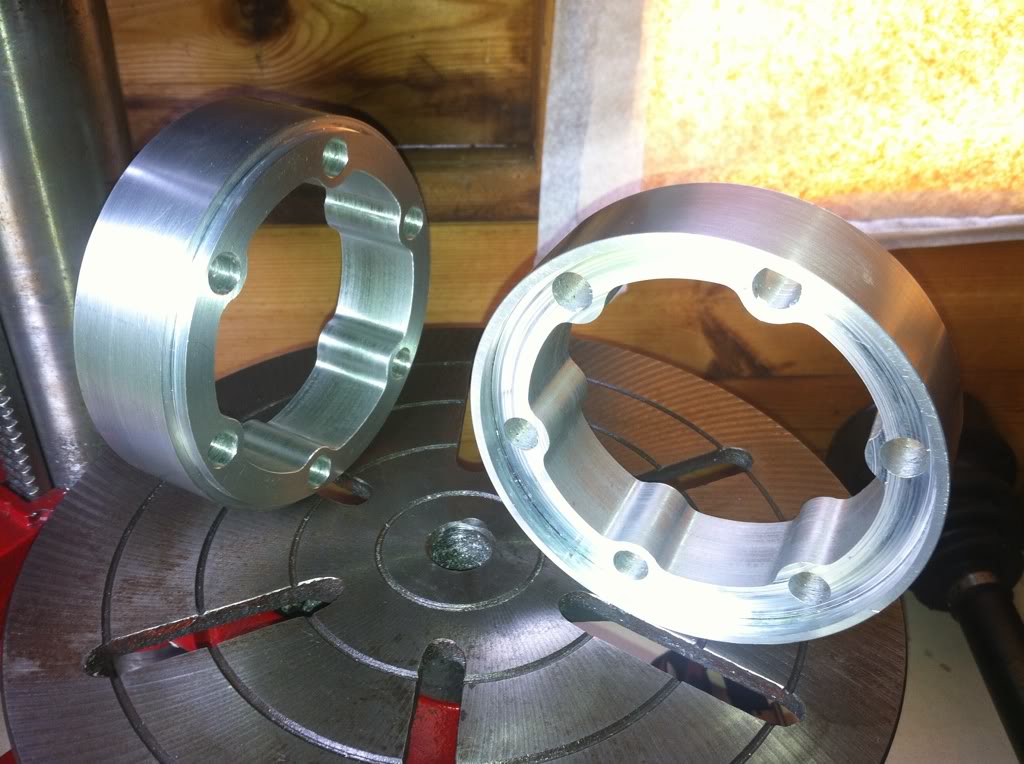
Pattern which clears all ball bearing ways etc, copied from the diff flanges
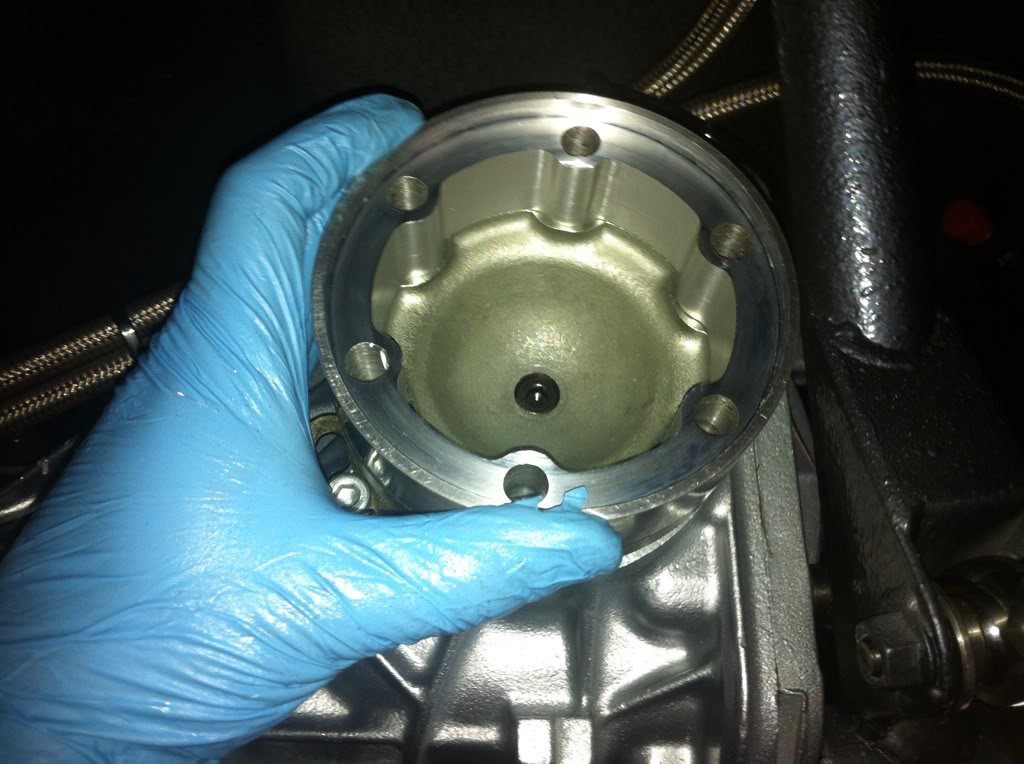
Fits snug into the diff flange due to the turned down step i put on the end
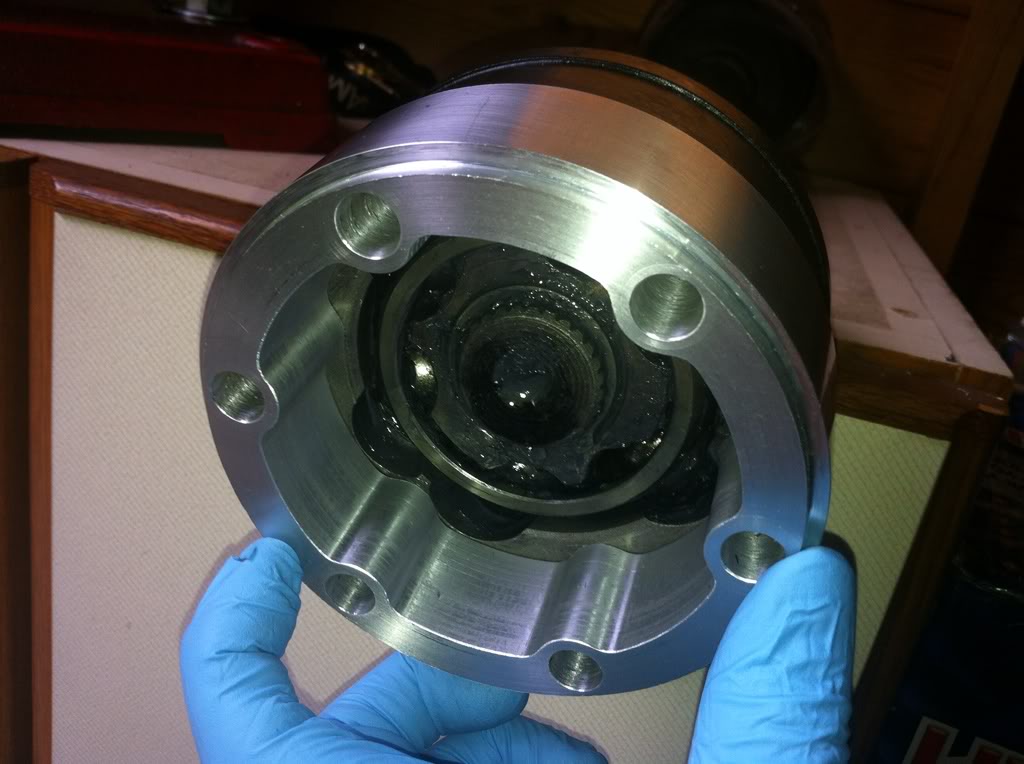
Same with the cv side but this time i machined an internal step so the cv fits snug inside the spacer
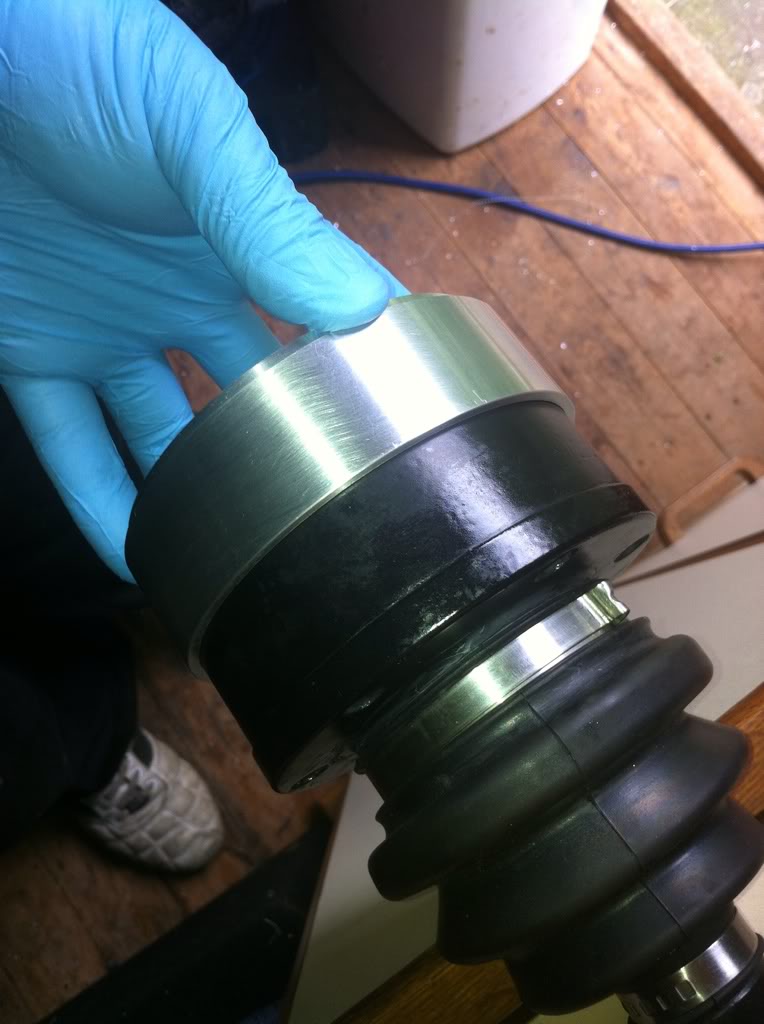
Test fit
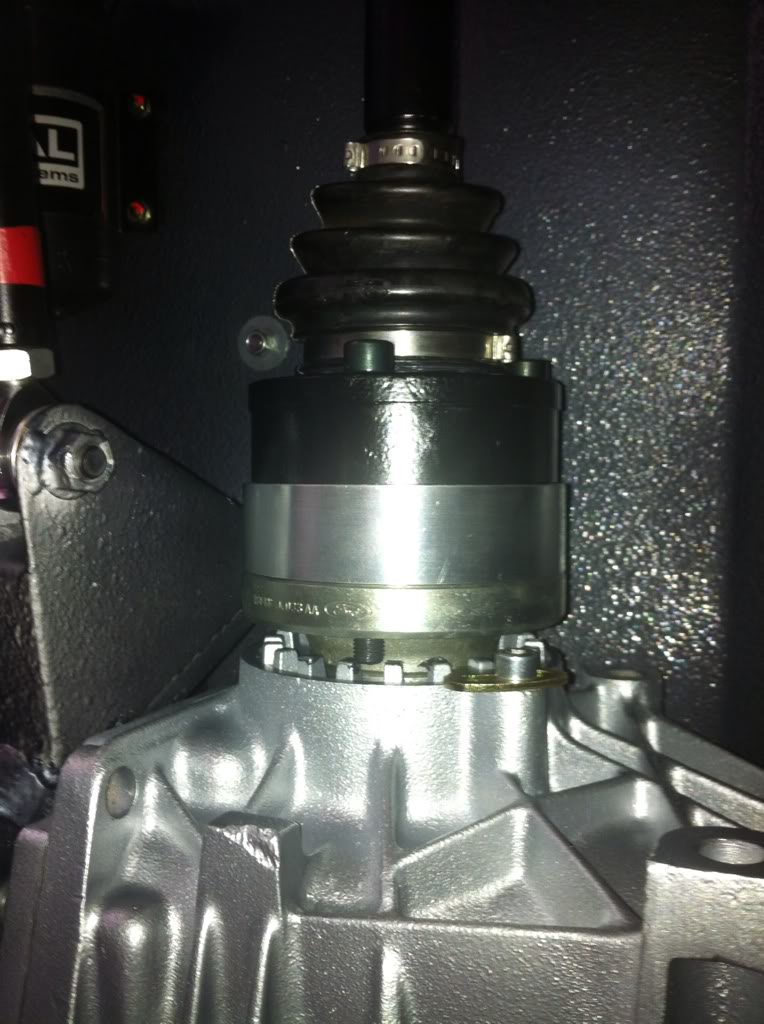
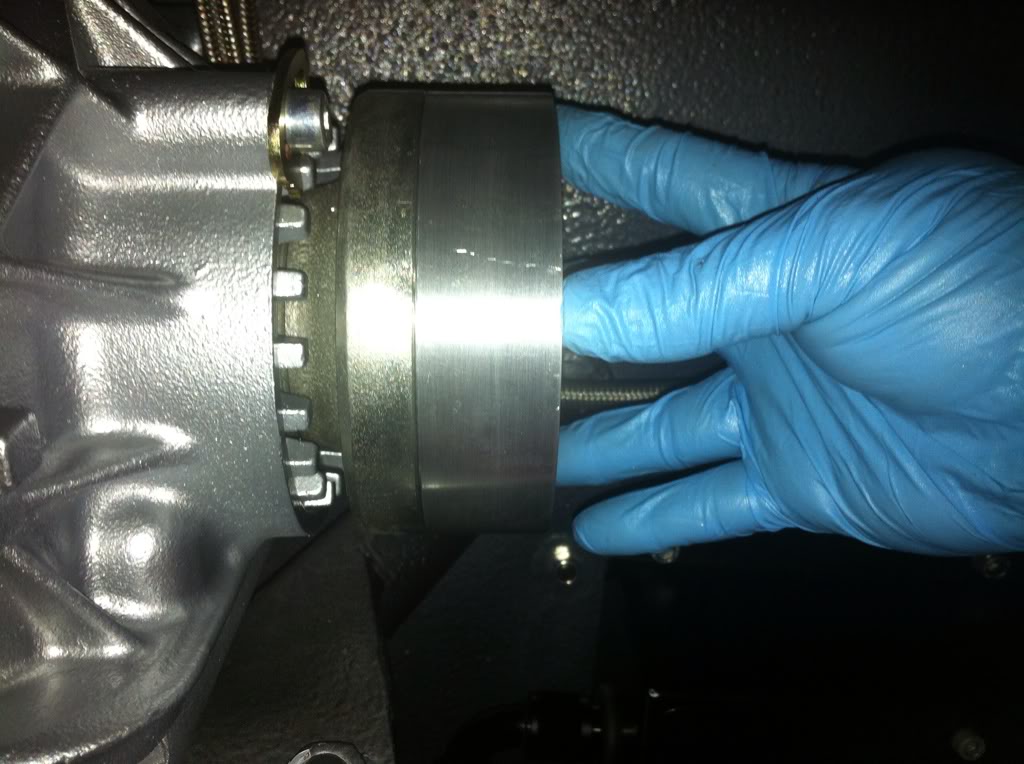
Then anodised and fitted for good, used a load of cv grease though to pack the spacer full with or due to the big gap all the cv would most likely end up in the spacer and none in the joint so packed it to be safe
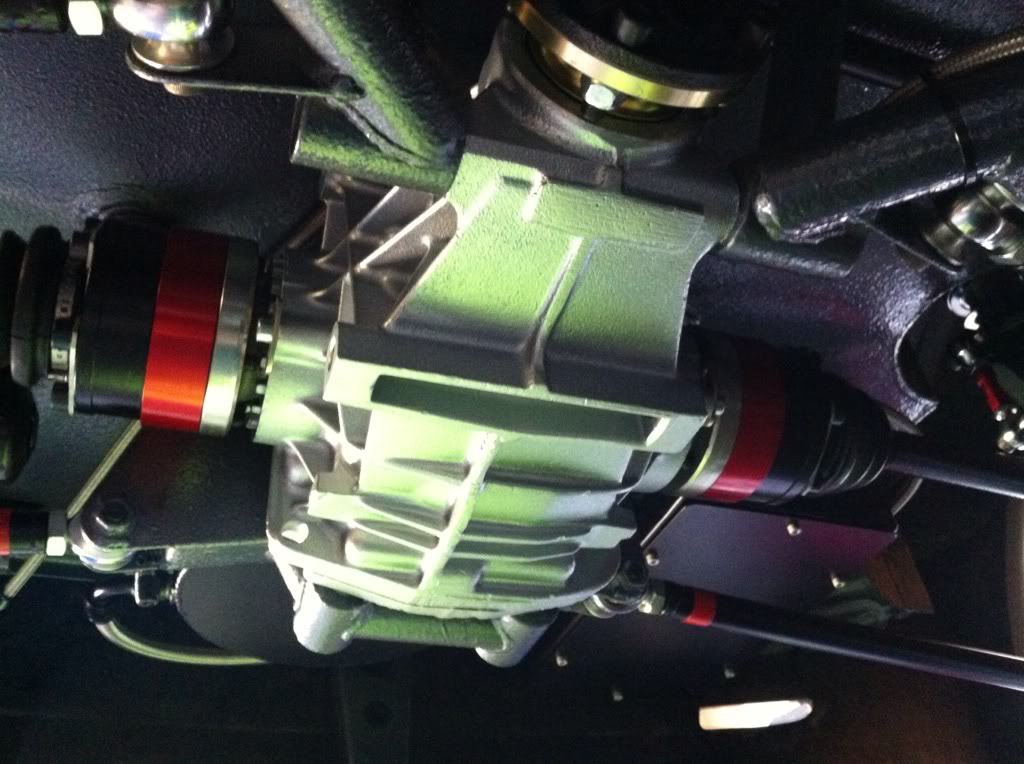
Can also see the new smaller rear drop links i made and had anodised as my last ones were too long and fouled the driveshaft once fitted
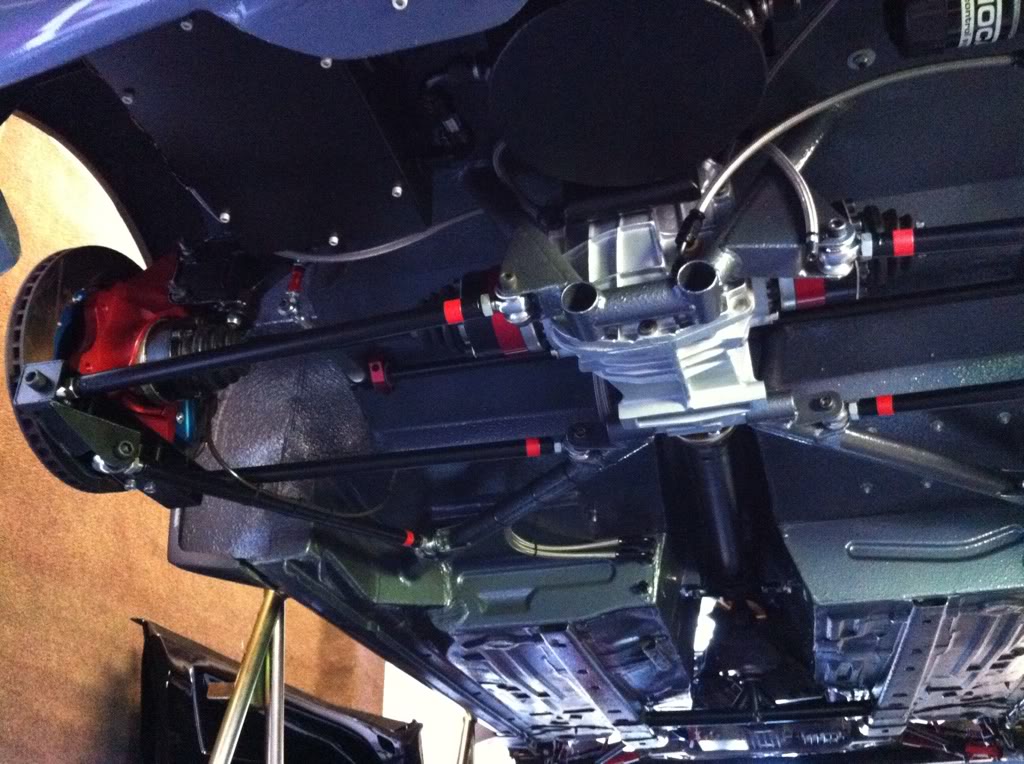
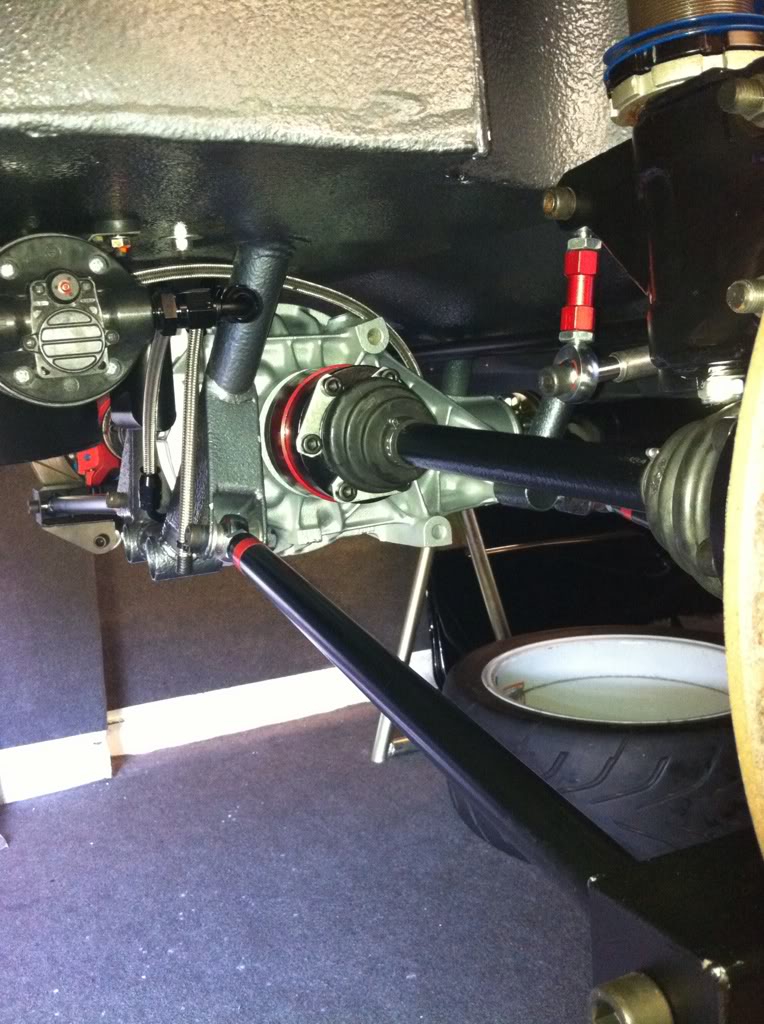

Whilst working on the rear end i fitted the rear diff cooler, got all the fittings i needed from torques as usual apart from one banjo i had to get from think auto as a normal fitting fouled on the boot floor when trying to fit into the top of the diff for the return, got to fit that this week some time so you may notice the un fitted hose in the pics lol
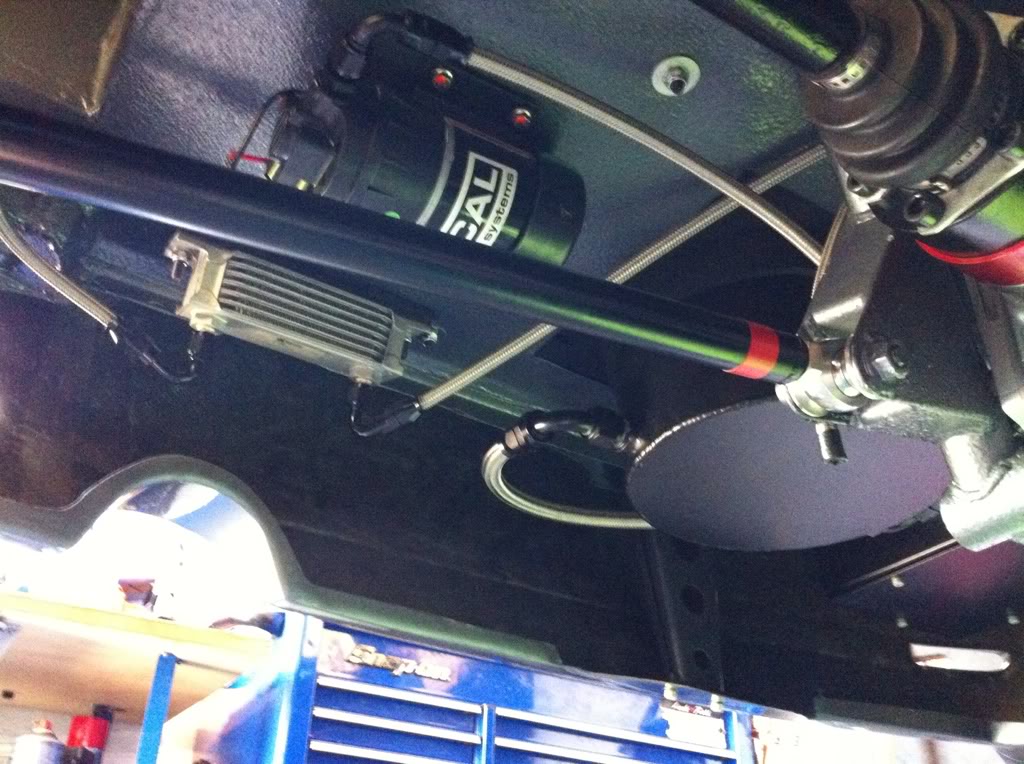
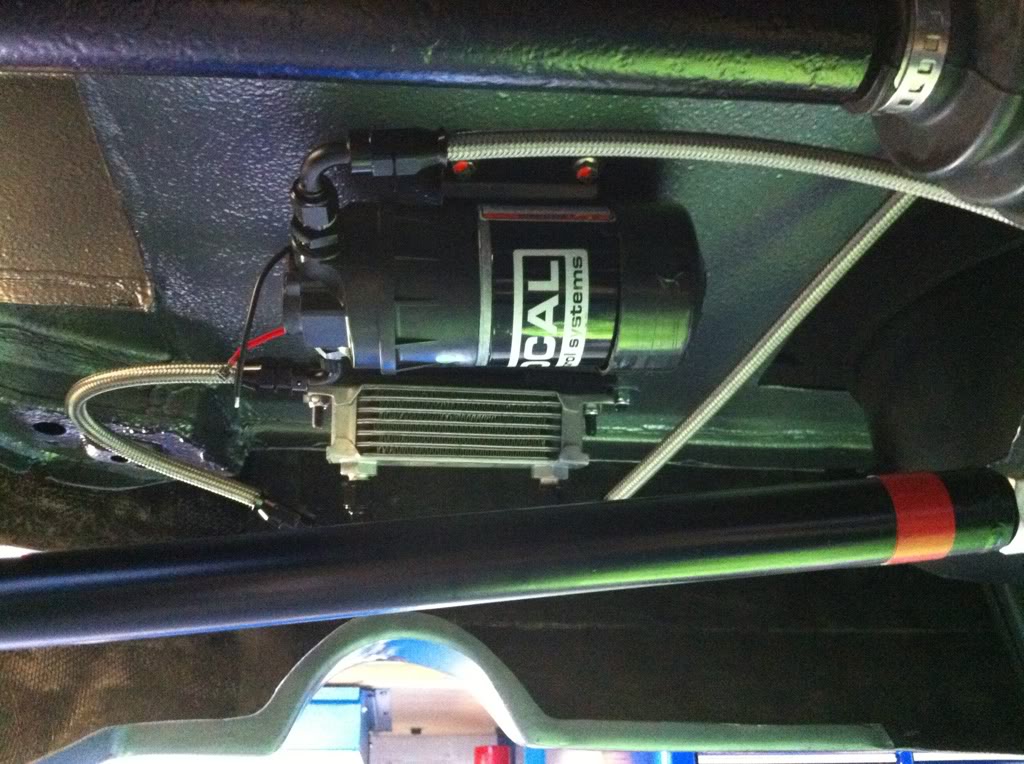
Just need to get a fluid switch to fit into the diff cover where the fitting come out at the bottom so that when the oil reached 87 degrees it turns the pump on and turns off again if it drops to 65 degress, but there is a few weeks wait for that so will be done when it turns up.
And the very last thing i did and have been meaning to do for a while was this
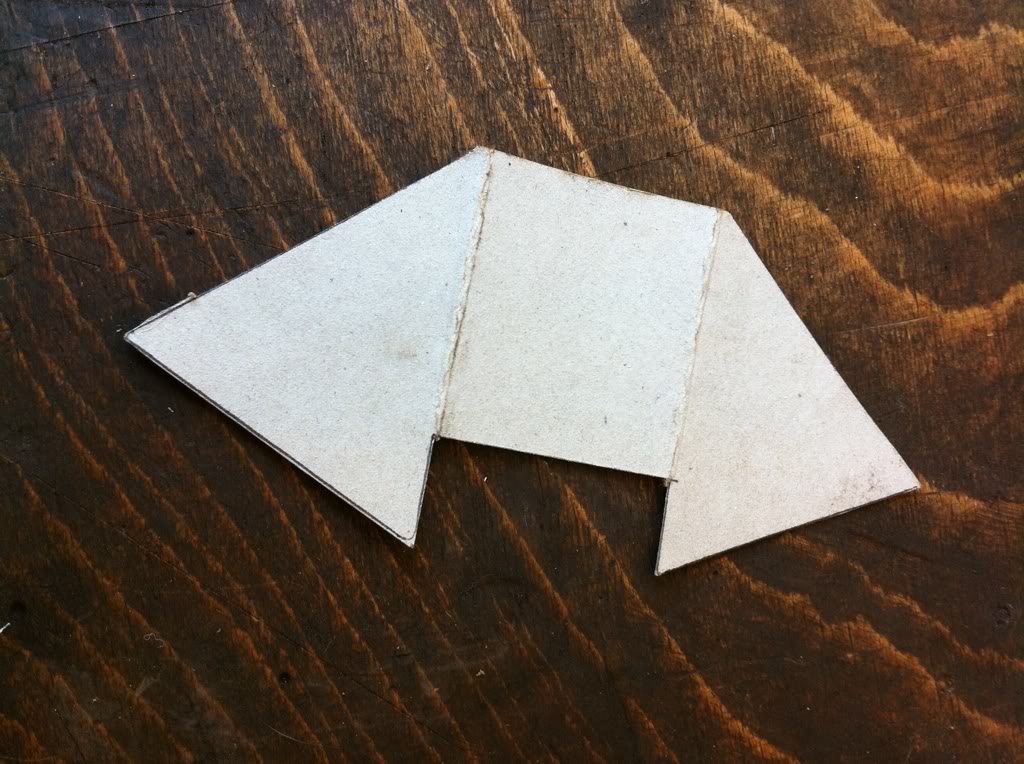
Any ideas what this is the start of???????????????????????????
