update time, only a little one though
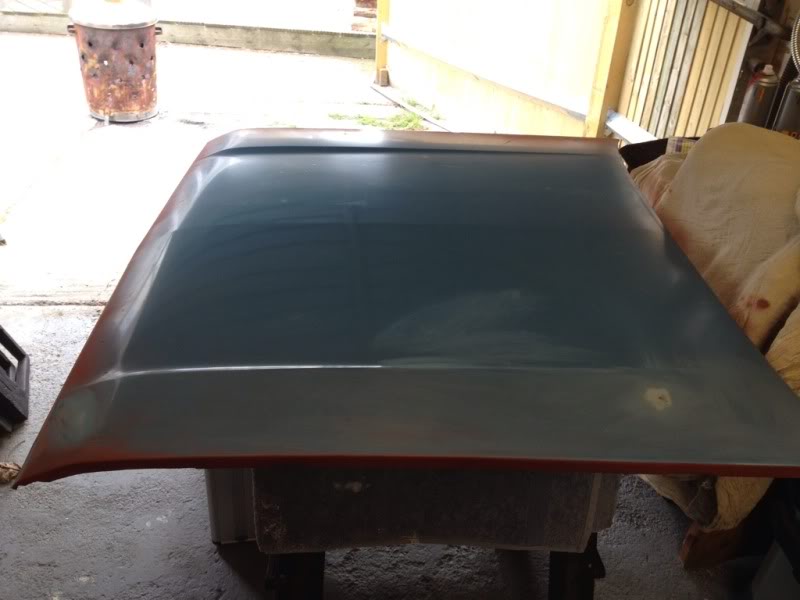
made a start on the new bonnet the other day, it was relatively clean but had abit of surface rust on the underside so i set about rubbing it all down to prevent the rust getting any worse and gave it a coat of primer.
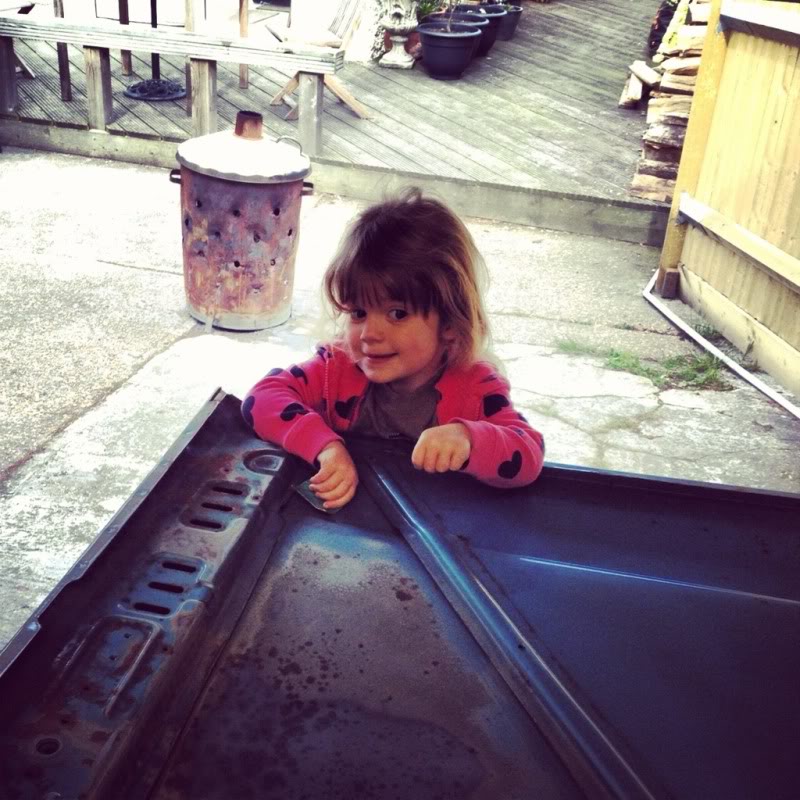
my little girls now at the age where she must help with everything so gave her abit of sand paper

hopfully one day she'll be bringing me my spanners and sockets lol
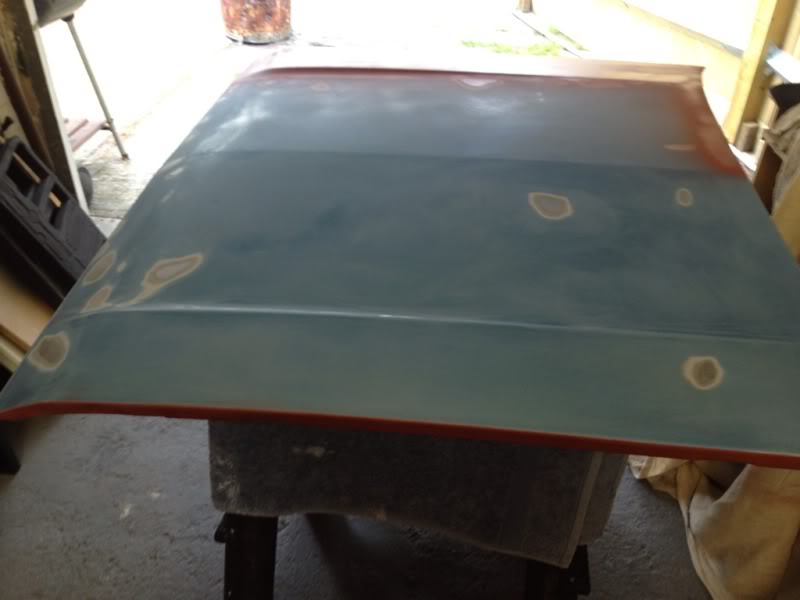
and done bar the odd patch which is where i had to rub it down again
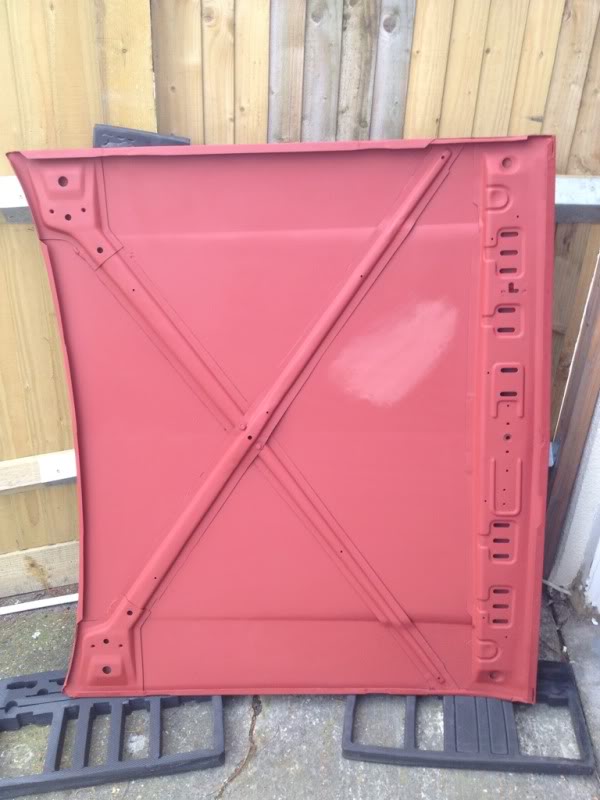
and now fitted with janky old bonnet pins until i get some lockable aero catchs
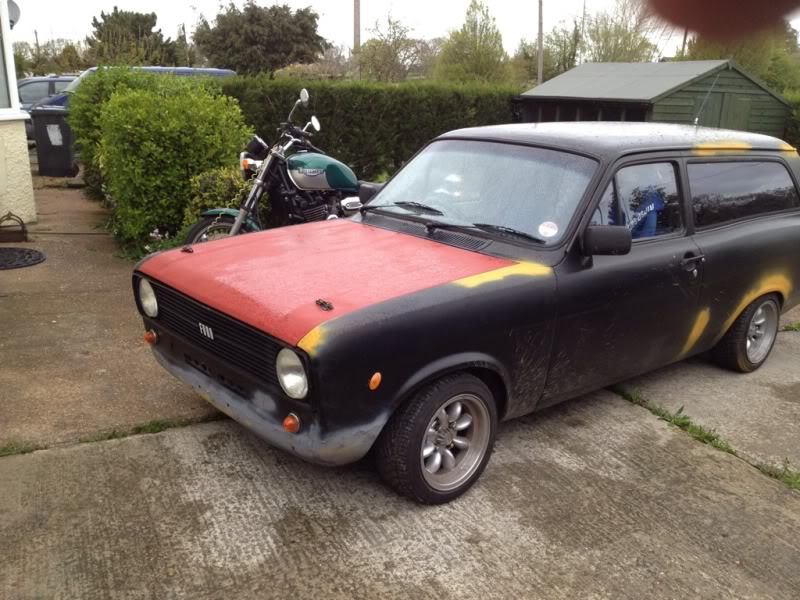
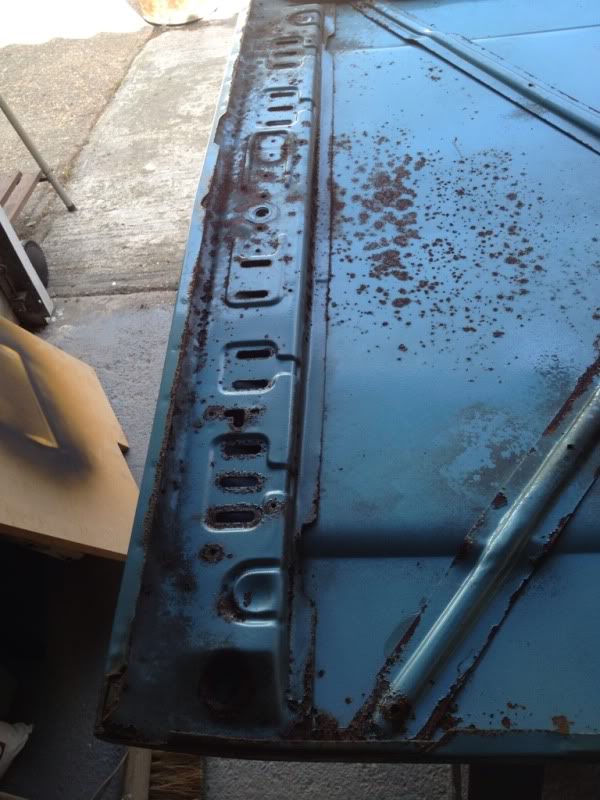
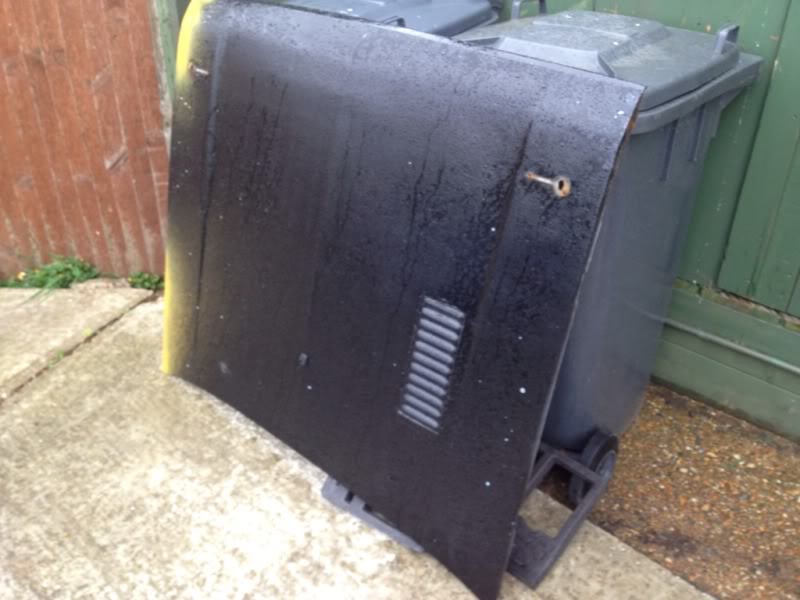
and the old one, what a mess that was!! ideal for a grass track escort if anyone knows anyone

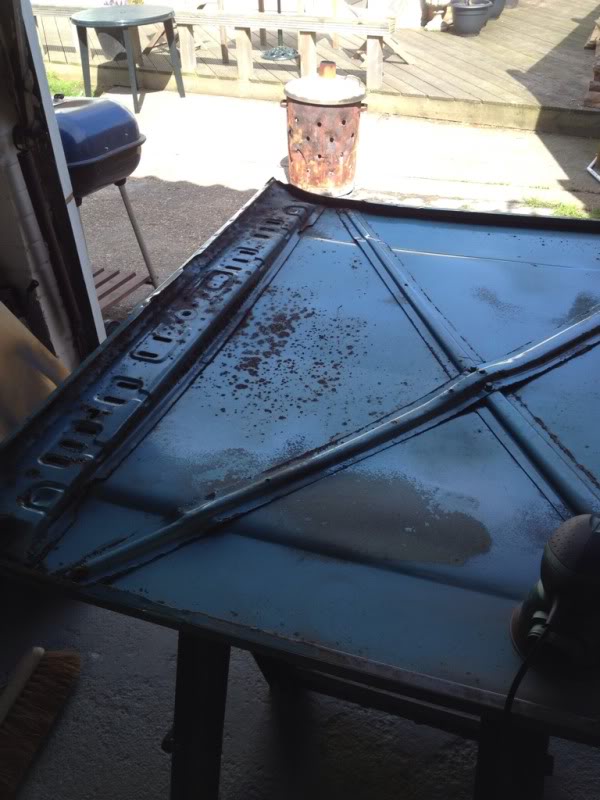
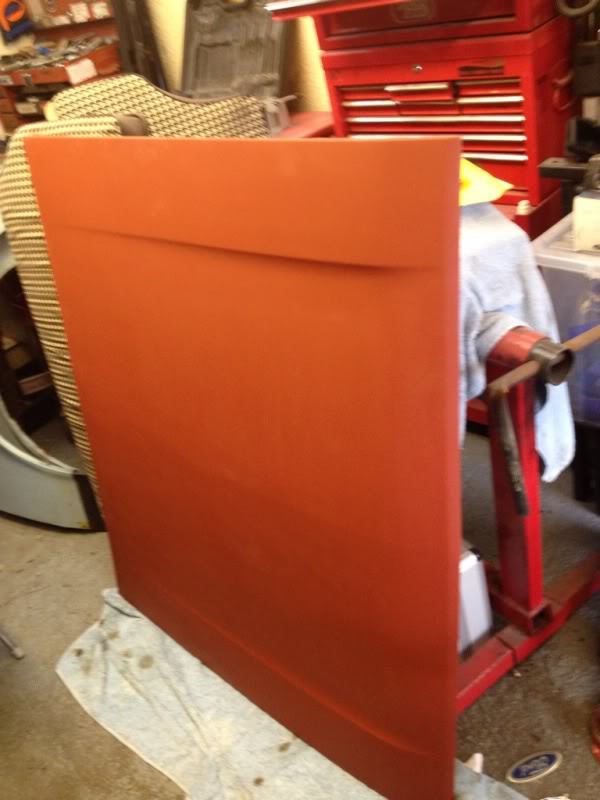
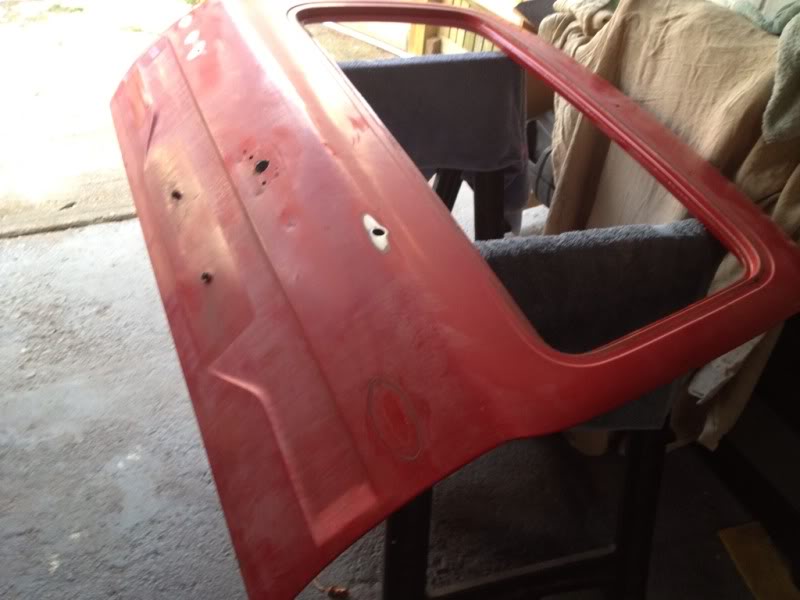
with the bonnet done i then set about doing the tailgate, this is also pretty clean, just needed the holes for the badges and rear wiper welder up and good rub down...
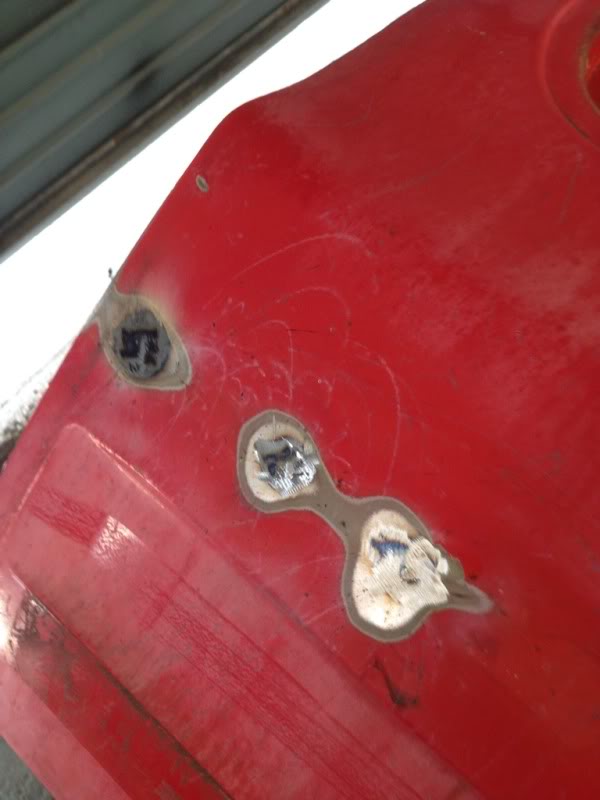
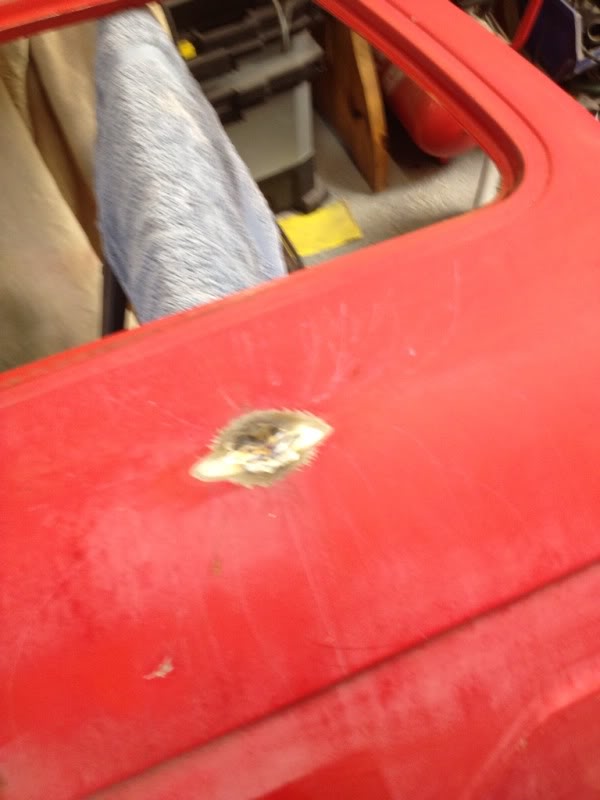
while rubbing it down i found a little hole where the boot handle/lock is so welded that up aswel...
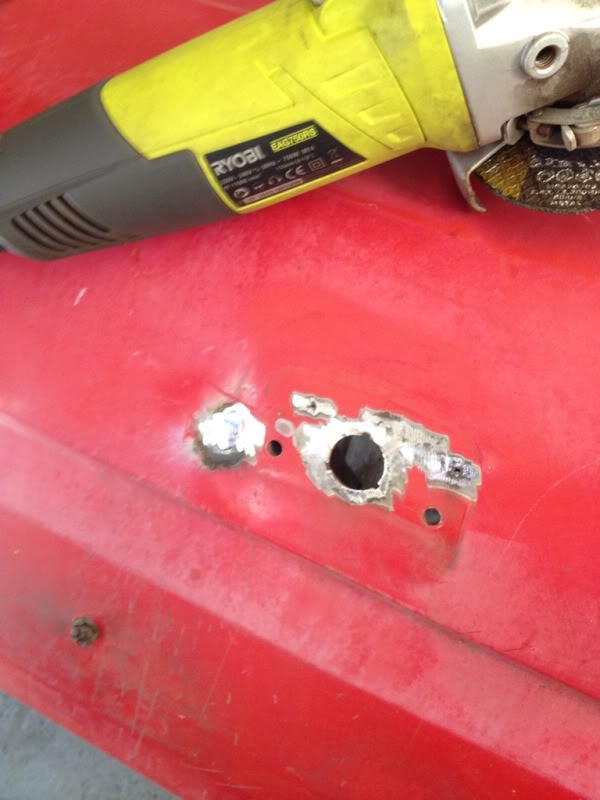
thats as far as i have managed to go with the tailgate for now, need to get some more sanding disc's befour i can go on rubbing down and weld up where the rear window washer jet used to sit
sinse i ran out of sanding discs iv not really had alot i could get on with because the weathers been crap down here and i cant get the car upto my garage :banghead: but i had a quick break it the weather the other night so had another poke about around the car, this time i focused on the rear lower valance because it just looked shot, completly out of shape and you could just tell filler was hiding a few secrets lol
my main focus at first was on the where the rear bumper should mount because it had been filled, so with my hammer and chisel at the ready i started chipping away and then suddely a big old chunk came off and fell to the floor revealing this :no:
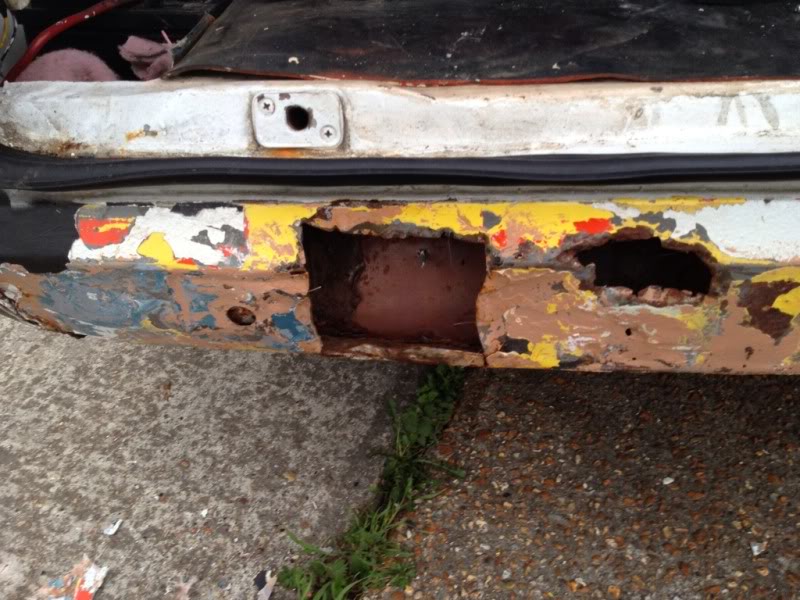
couldnt beleive how much fibre glass and filler was there so had to take a picture...
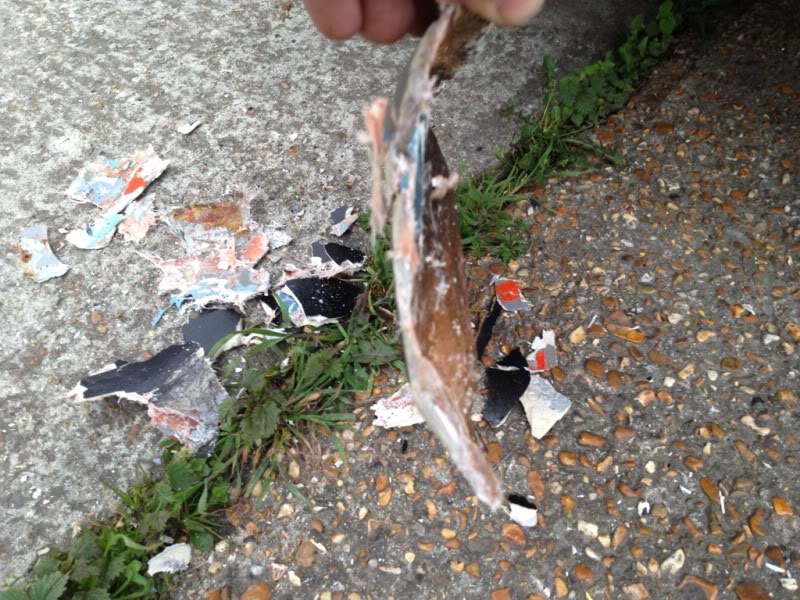
and another bit sized up against a stanley to show how much was there
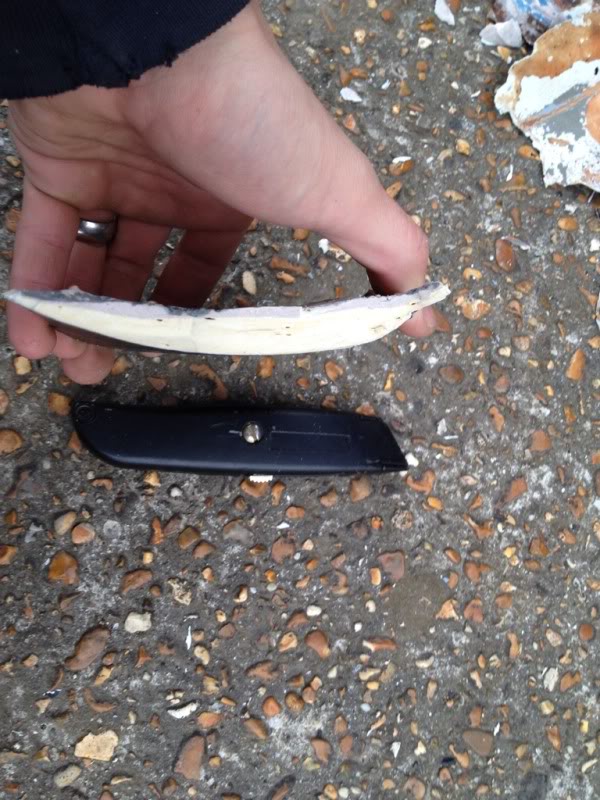
this car will proberly actually be a little bit lighter once iv removed all the filler and repalced with proper metal

i was expecting that panel to be rot from when i first looked over the car and managed to source a new genuine ford replacement panel befour actaully doing the deal to swop so quite lucky i did find it really...
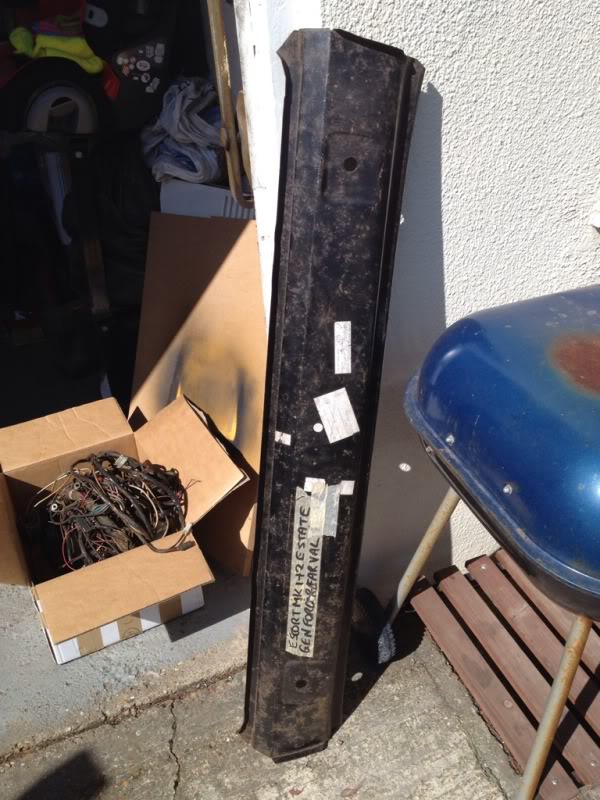
when weather permits im going to chop the old one out and replace all the rot metal thats behind it on the rear underside part if that makes sense? and then fit the new valence but il update as and when i get to that
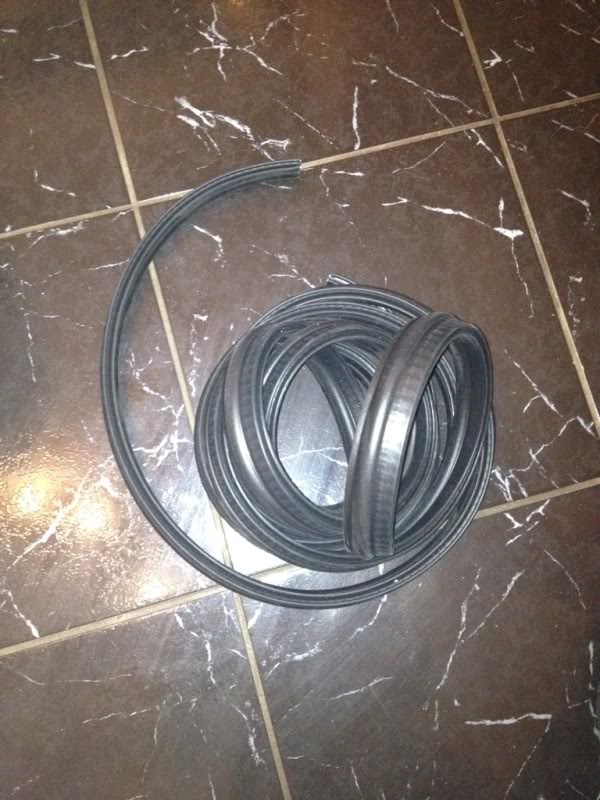
sinse we've had all this bad weather iv noticed i have a couple of leaks on the car, first is coming in through the window wiper area in the middle of the dash and dripping down on to the gearbox tunnel, 2nd is coming in near the drivers side bottom corner of the windscreen and it looks like it's just coming in where the wing meets the front door piller bit (A piller?) so that will have to wait until im ready to fit the wings and the 3rd was coming in around the tailgate, so i had a look and when sitting in the back with the tailgate shut you could see daylight through where the seal should be sealing, so i had a look at the seal and it just looked completly wrong, it didnt sit up to where it should be sitting, looked more like the door seals so seeing as there was nothing i could do with it i ordered a new seal, and sure enough, when it arrived it was completly different, unfortunetly i forgot to take pics of the 2 but i will next time im out there!
here's the new seal anyway...
and finally to finish this update, iv admitted defeat with the wireing in this car and got another off g.s.escort which only needs a couple of repairs which is alot beter than my current loom which needs ALOT of work!
just need to find myself a mk2 estate haynes manual so i can go through it all and tidy it up abit, anyone have a haynes manual? or mk2 estate wireing diamgrams you could e-mail me atall?

more to come soon hopfully :thumbsup: